wm cheng
-
Posts
4305 -
Joined
-
Last visited
Content Type
Profiles
Forums
Events
Gallery
Everything posted by wm cheng
-
Cockpit bye, bye (for the time being...)

-
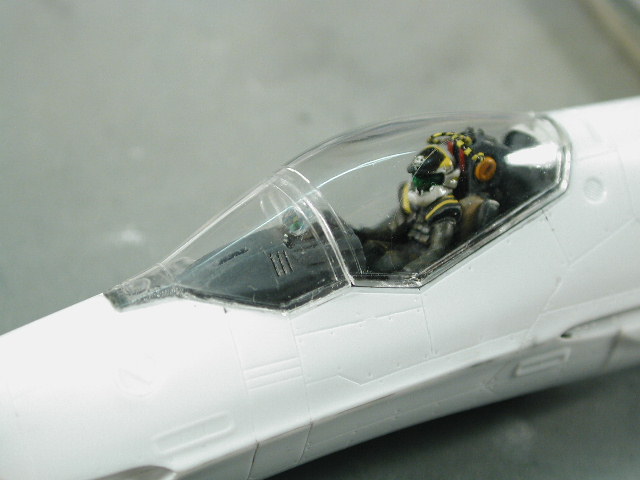
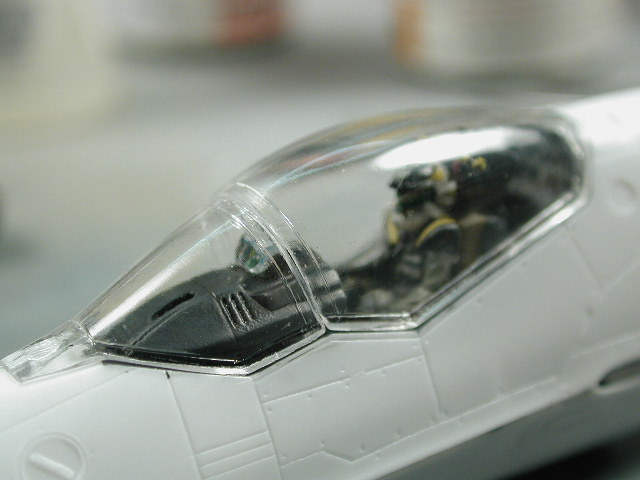
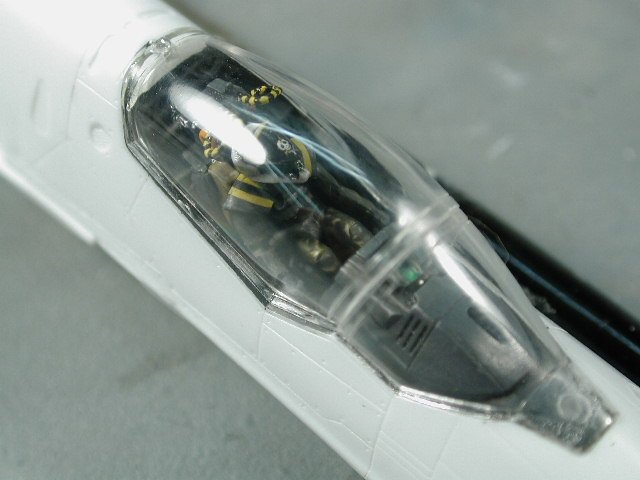
I've glued the forward windscreen on, and attached the rear portion of the canopy. The paper clip idea seems to hold for now, I re-inforced it with a piece of plastic in the back cut to resemble a bulkhead. As long as I don't try to pivot the rod, pull it out and stick it straight in for the open position or take it out and stick it in for the closed position the canopy works fine. I'd love to see someone attempt to actually make a hinge for this baby - I'd buy a few. But at least, this option allows us to display the plane with the canopy open or closed - I always hate being forced to choose one or the other.
-
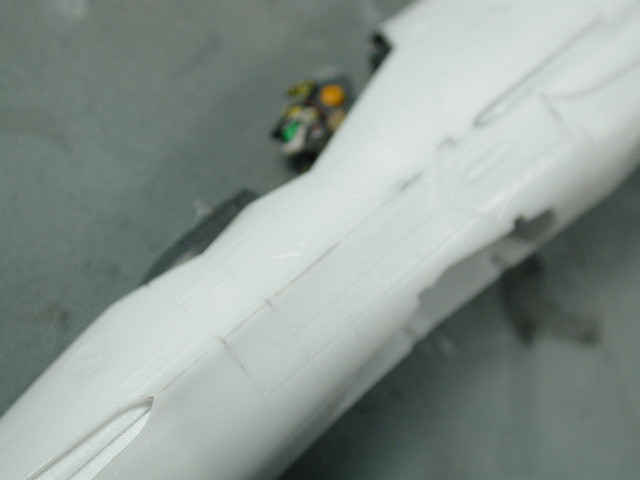
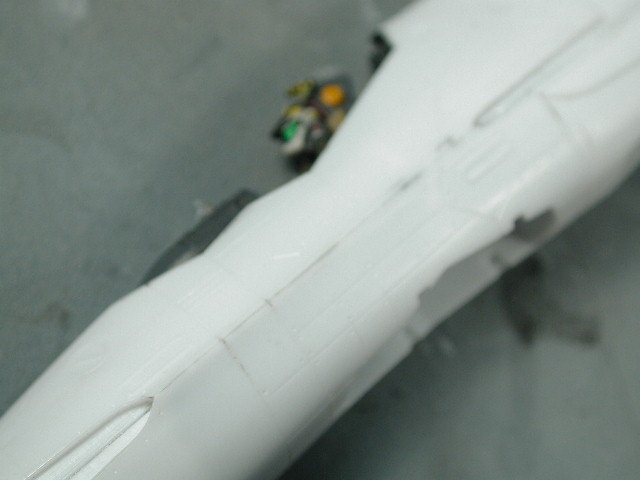
Here's a shot of the side seam - the otherside has a larger gap, so I'd have to use some more Mr. Surfacer to fill it in and let it dry.
-
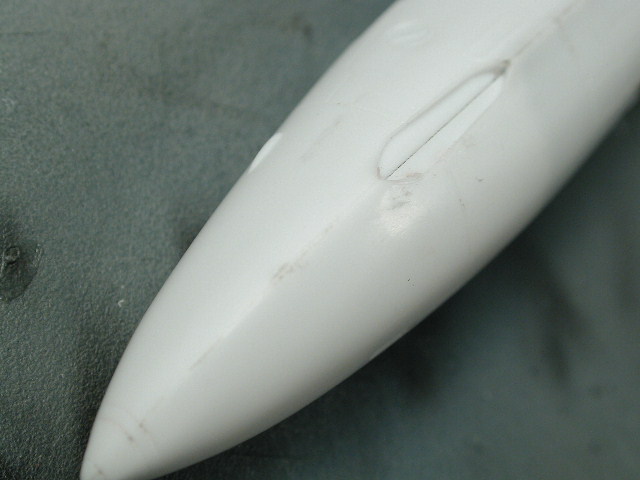
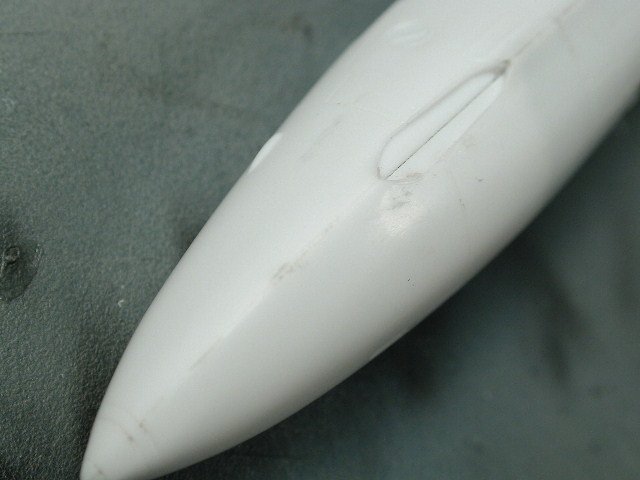
My camera is having a hard time focusing on a white object with little detail - excuse the photos. The nose cone should look pretty smooth - the hints of grey are the Mr. Surfacer doing its job filling in the hairline cracks - remember to be careful not to make the nosecone round, it is somewhat squashed with a bit of an edge like the YF-19 - over sanding can dull this lateral edge.
-
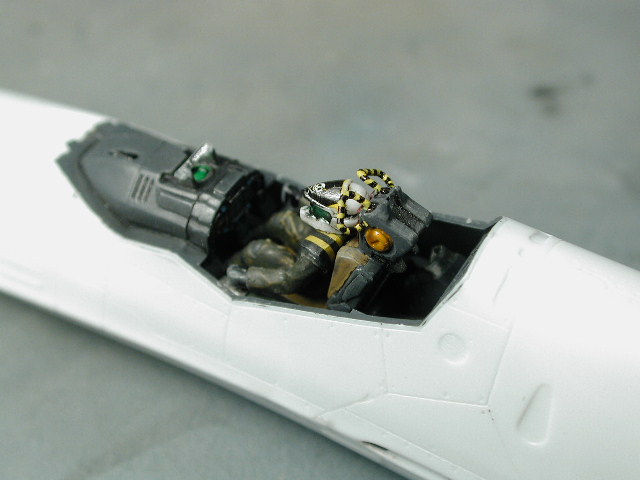
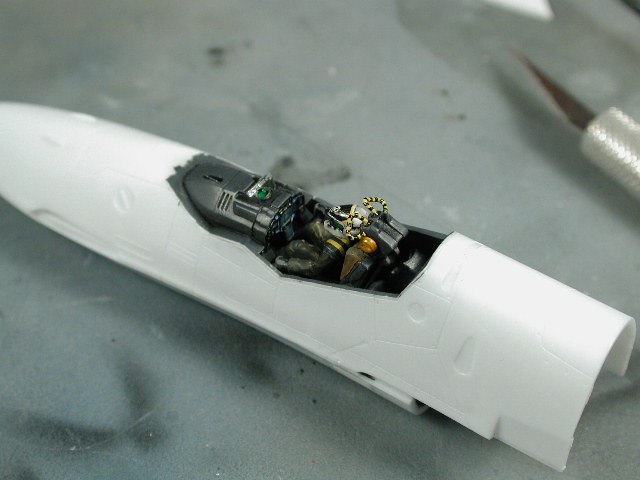
Here's the other side. These will probably be some of the last shots of the cockpit for a while. I plan to seal it up inside the canopy till I'm done with painting. It took me half an hour trying to clean all that sanding gunk out of the finished cockpit! Remember, sand after the cockpit is protected (duh!)
-
I didn't inset it totally, just left it sticking out just a tad. You know what, the circular impressions on either side of the seats are not symetrical - oh well, not a biggie.
-
Okay, bad idea... wait till you temporarily glue on the canopy and seal it in with a liquid mask before you start sanding away. Man I got all sorts of little fillings, particles and water inside the cockpit. In fact I almost lost that HUD display glass since it came off sometime while I was handling the fuselage while I was sanding. Valkyrie was right, it is a bit thick, I was going to fashion a new one from some clear styrene, but it had the cool hud display decal on it already. Luckily I managed to find it in my mess. The sanding of the side seams was done with 600 grit paper/film using the wet method, whereby you use a lot of water to help prevent the sandpaper from clogging. This shot shows the orange minus mold properly seated within the larger hole. Stamen is absolutely right, it looks so much better this way - I just wished I did it with the seat out before it was glued in.
-
I'd thought that while I was waiting for that little hole to dry, I'd start sanding the side seams - the Mr. Surfacer from last night had dried. I put some masking tape on either side of the seam to help protect some of the really fine engraved details from accidentally being sanded off.

-
Here's the other side, I painted the shallow hole dark grey as well.

-
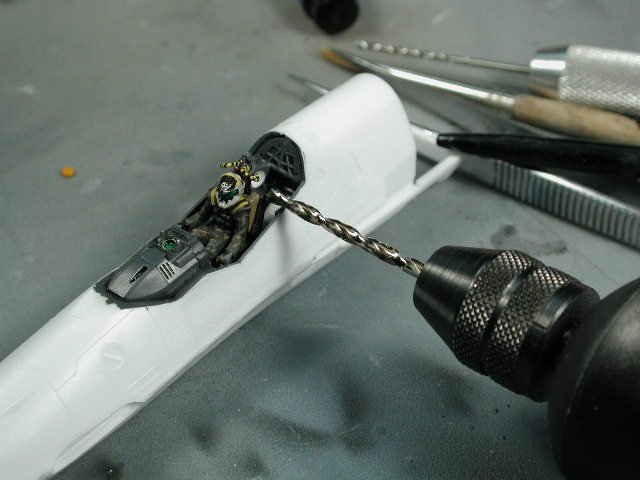
You're right stamen, the orange minus molds do look a bit out of place - damn, I wished I hadn't glued everything together yet. Oh, well here goes - wish me luck. I am going to try to drill out a larger hole to sink the orange minus mold into. I used the largest drill bit I had for my hand pin-vise, but it was still too small, so I used it to drill a pilot hole, now I am using a 7/64" bit on a dremel with a really steady hand at the slowest setting.
-
I've painted a thick stripe of Mr. Surfacer500 (the grey line) along this horizontal seam so that it will help fill in some gaps when I sand the seam down tomorrow. Thats it for tonight...

-
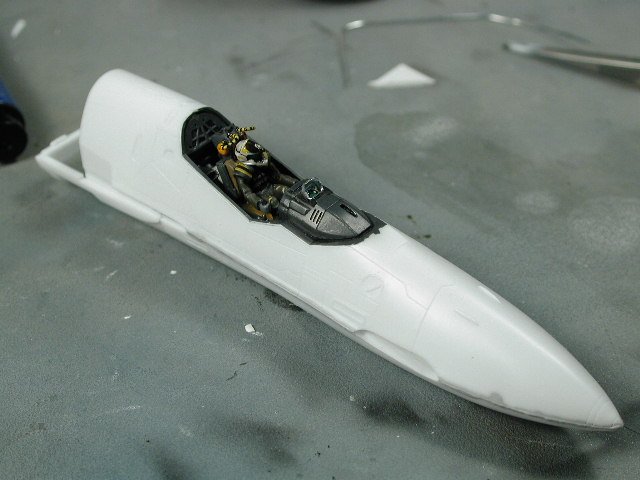
Here we go, I've glued the top and bottom fuselage halves with tube cement, because I need this to be strong and the tube thicker glue with help with the seam - in fact, that seam/gap at the rear bulkhead of the cockpit closes up nicely when you glue the top and bottom down tightly (I guess Hasegawa did know a thing or two, and weren't just being lazy).
-
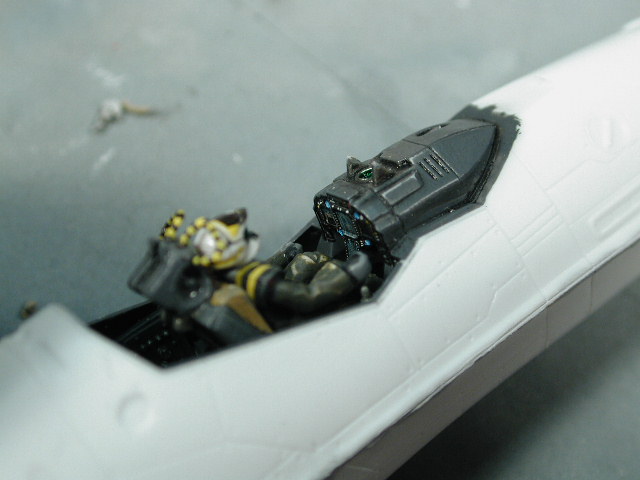
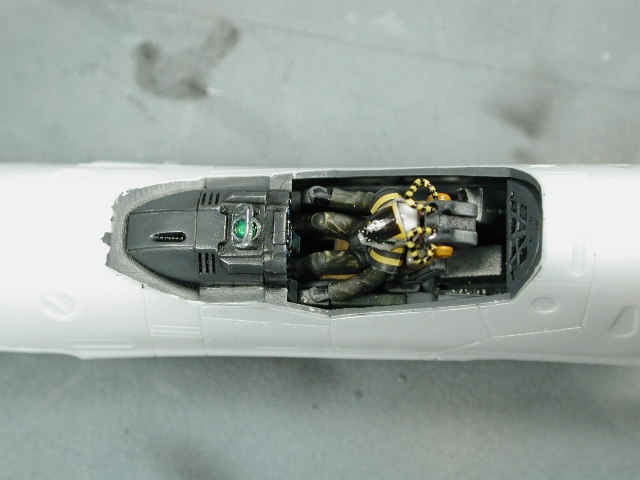
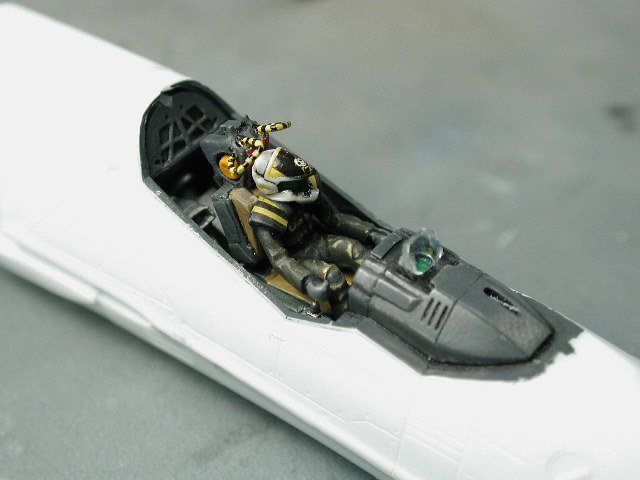
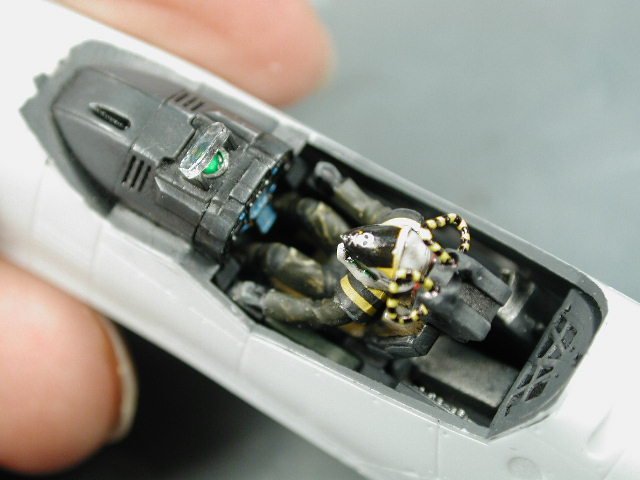
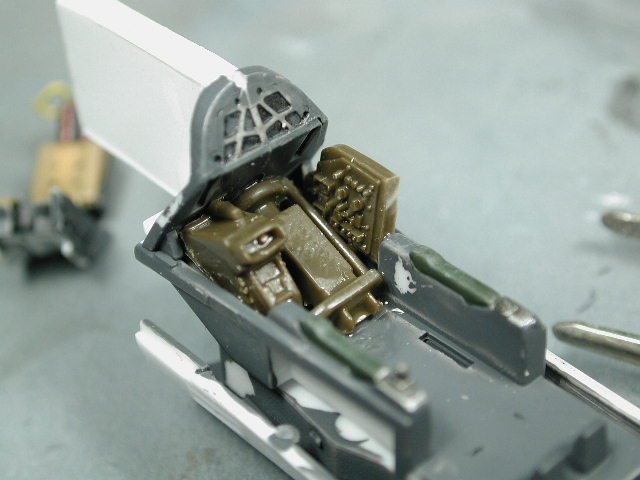
Here's a view down into the cockpit.

-
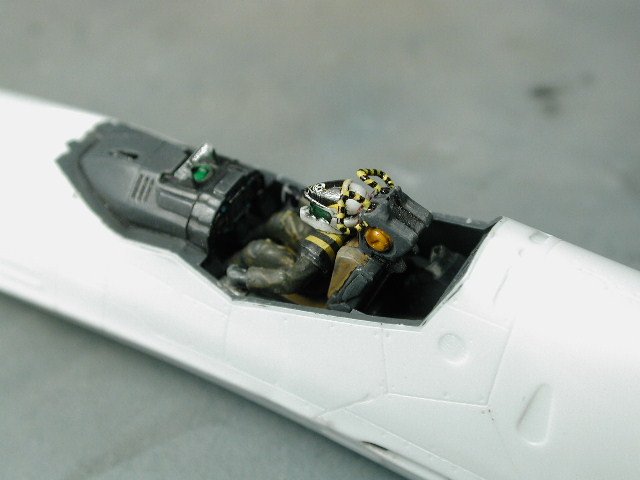
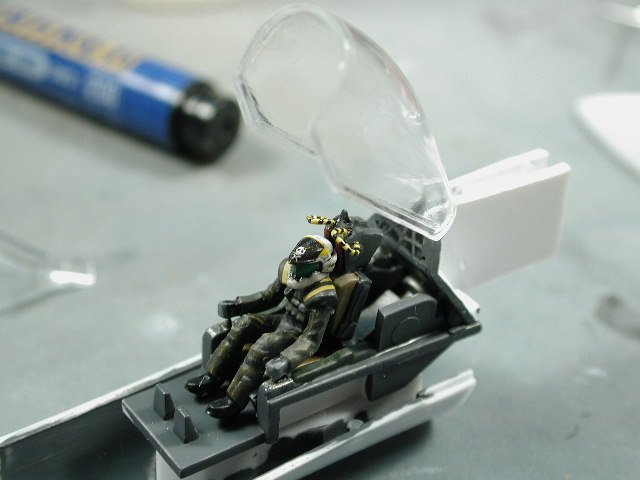
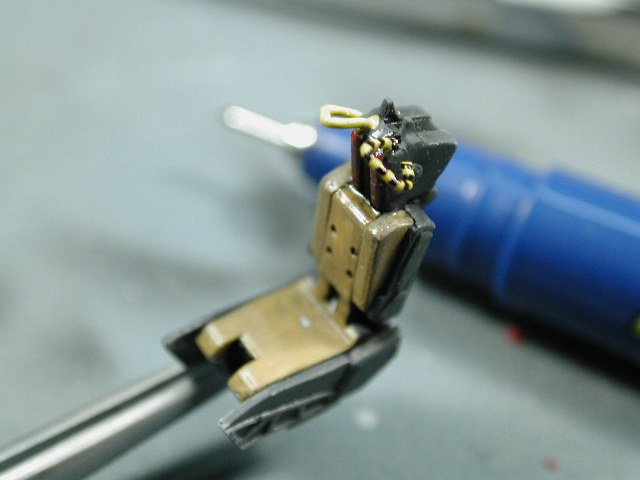
Okay, I've re-epoxed the canopy rod and we'll have to wait till tomorrow to see if this will hold. I've glued those two orange thingys on now, they look pretty cool.

-
Hmm, it looks like it should work - it makes sense... but unfortunately it doesn't really work. When I try to pivot the canopy down, the metal rod just gets ripped out of the canopy. There isn't enough of a surface for the epoxy to hold onto, and there is just too much torque when the canopy is pivoting. The rod and ball of epoxy just comes off - luckily without damage to the canopy. It can't hinge, but it may be able to be stuck in at an angle for ether open or closed. I am going to try to cut the rod shorter and glue in a piece behind the two sheets that will allow the rod to ether go in straight (closed) or at an angle (open position).
-
Just checking to make sure everything closes up tight.

-
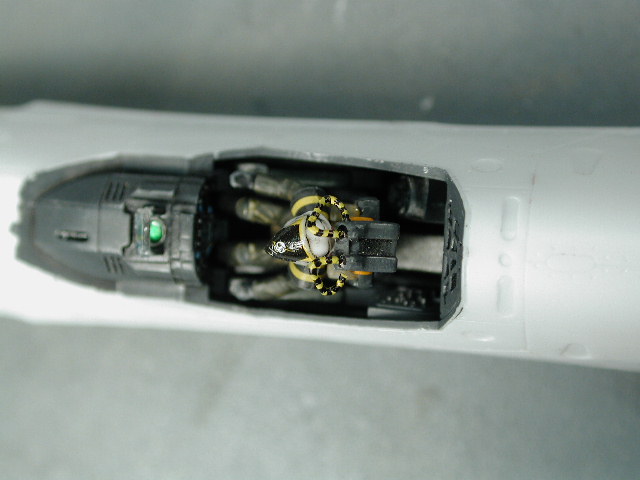
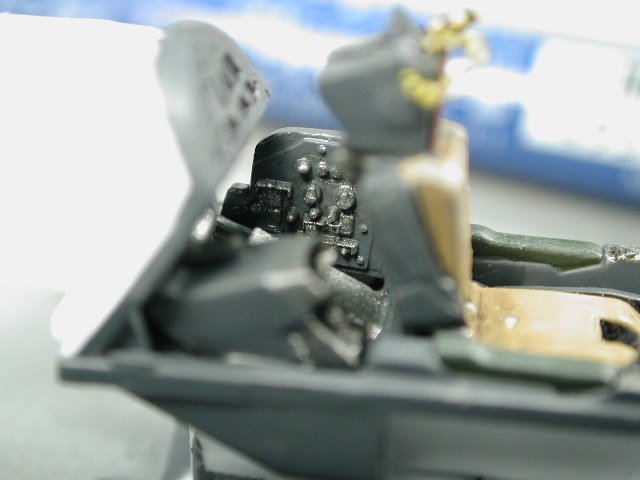
A shot from behind...

-
Don't know what it is - but it looks like it could belong...
-
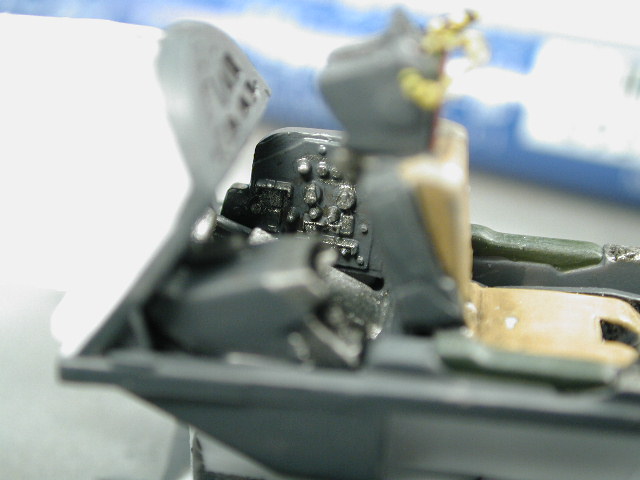
At least the space behind the seat now doesn't look so empty.

-
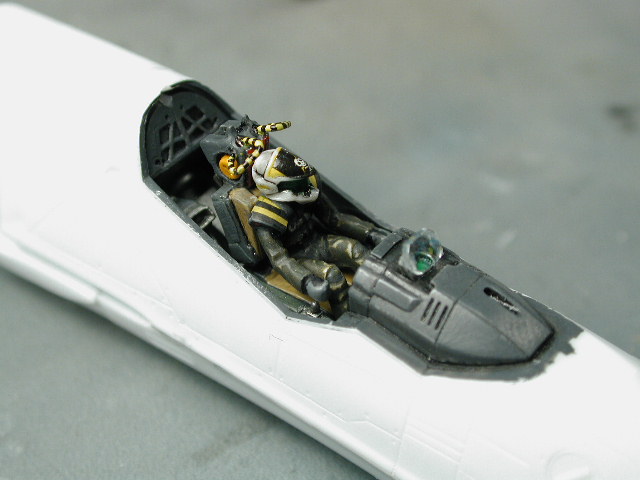
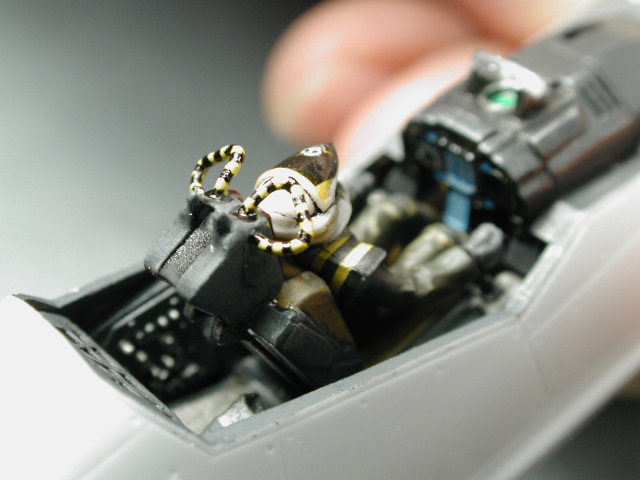
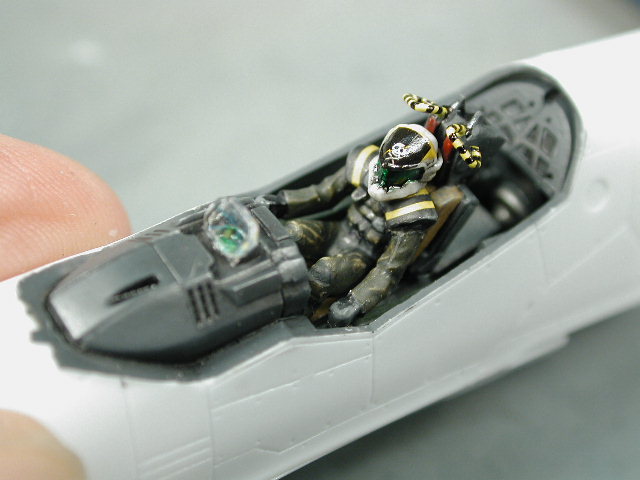
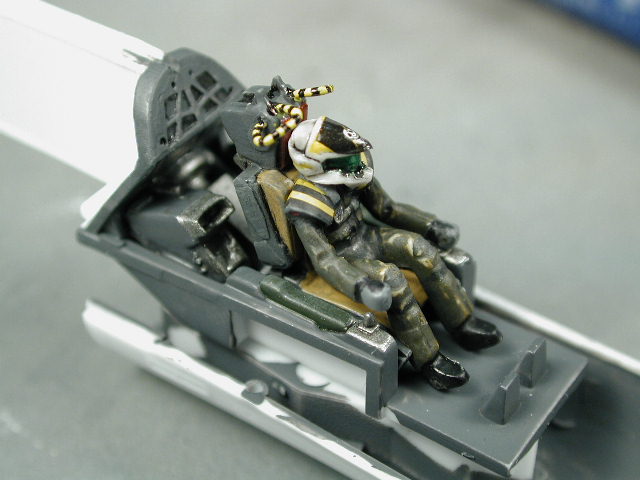
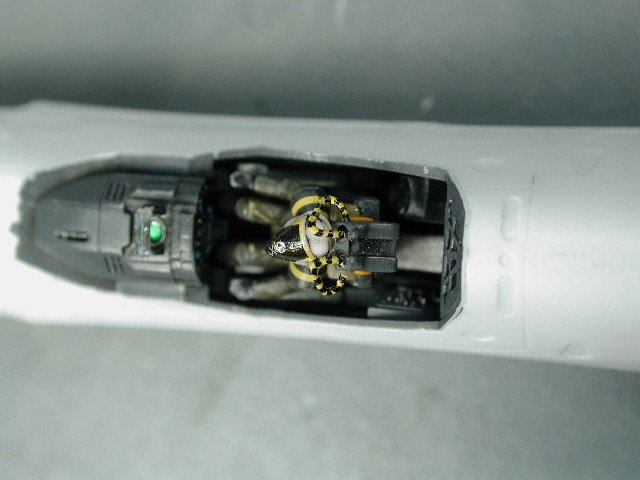
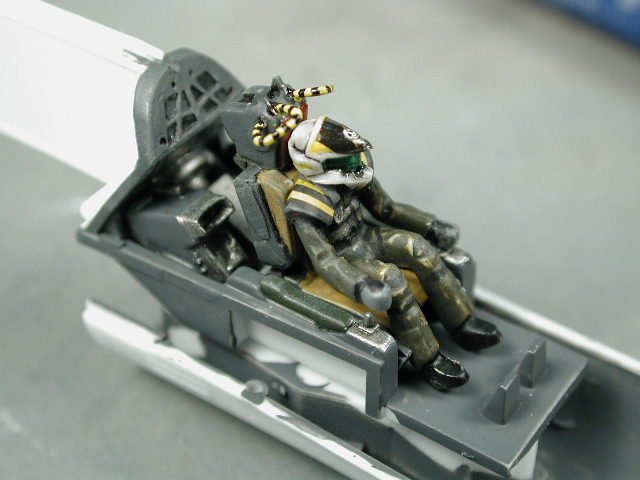
A shot with the pilot in place.
-
I brush painted them grey to blend into the cockpit - I don't want them to stand out - just a little texture when you're looking directly in. I brushed a little metallic grey over top to pick out some highlights.
-
Here's a shot with one side of the handles done with the black stripes.
-
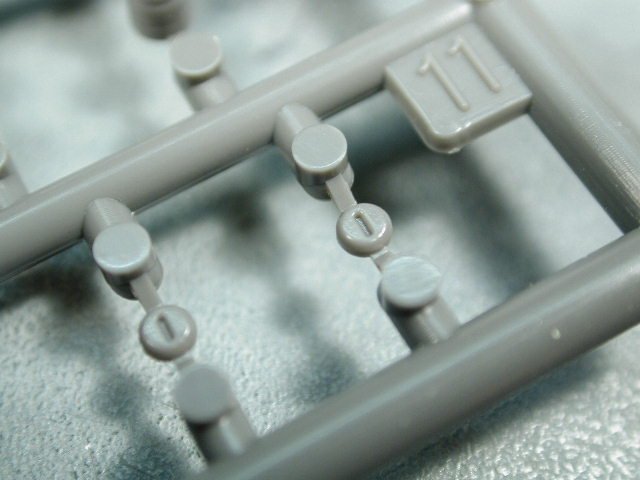
I'd thought I start to put some "gak" in the back behind the seat to make it look more technical. Thanks David for the heads up - I will try to restrain myself These parts are left over bits from an old 1/48 scale Apache helecopter (monogram I believe) that was being mined for spare parts anyways. (FYI the pilot for the 1/48 Apache makes a really good rebel pilot for the AMT X-Wing with minimal modifications) I tried to keep it to the edges.
-
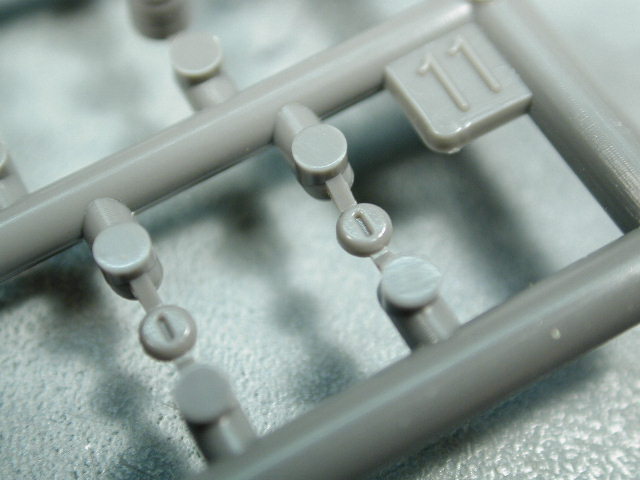
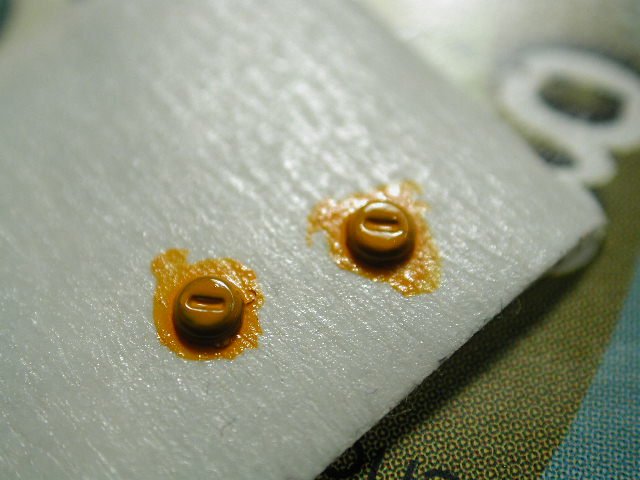
here they are on a piece of masking tape (so that I don't lose them, they are so small after all) and I painted them with orange.
-
I thought I'd use these tiny little puppies...