wm cheng
-
Posts
4306 -
Joined
-
Last visited
Content Type
Profiles
Forums
Events
Gallery
Everything posted by wm cheng
-
This would be cool if I had all the weapons laid out - too bad I don't have any for the YF-19 (my resin kit isn't built) nor any for the VF-0 yet.
-
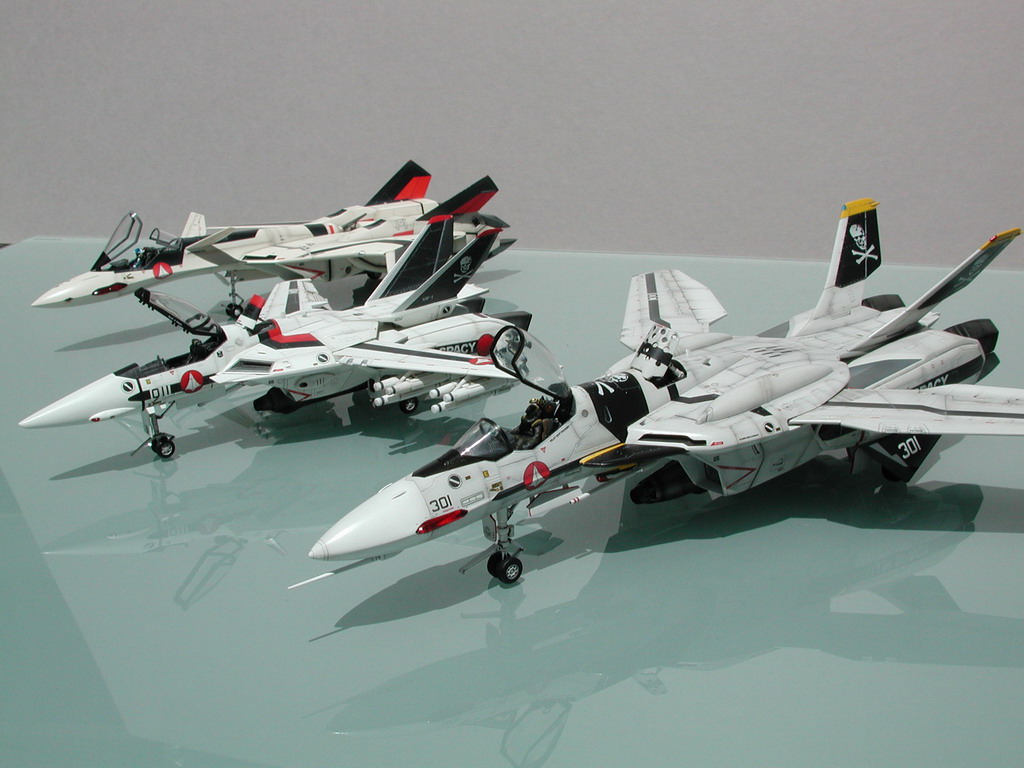
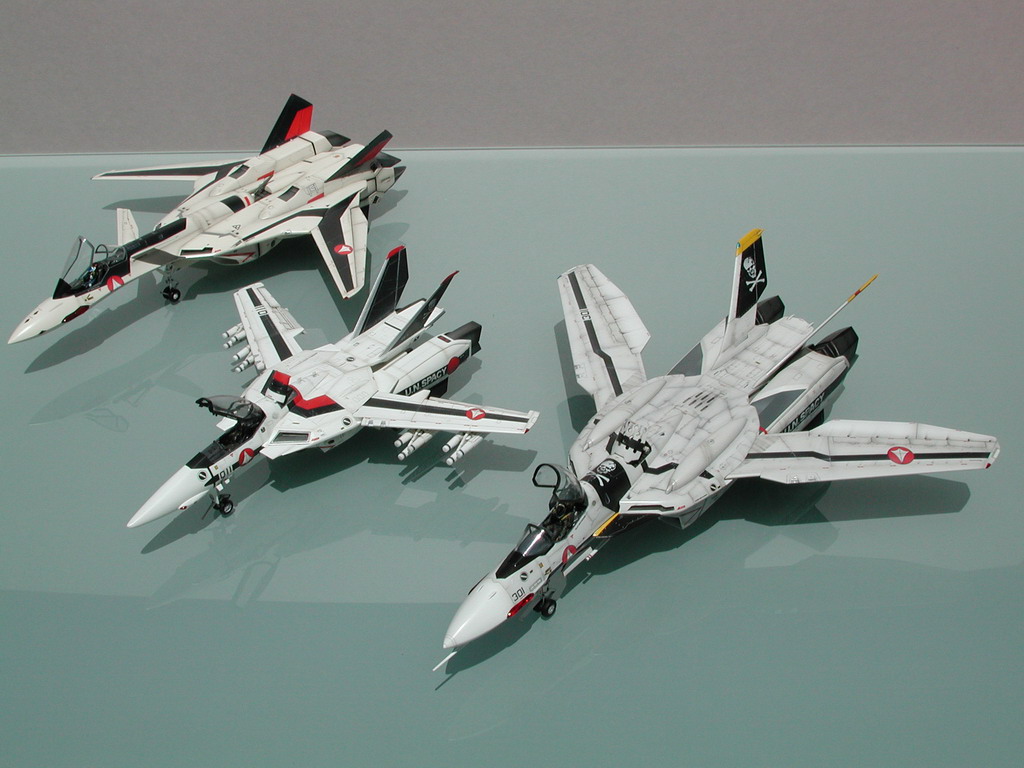
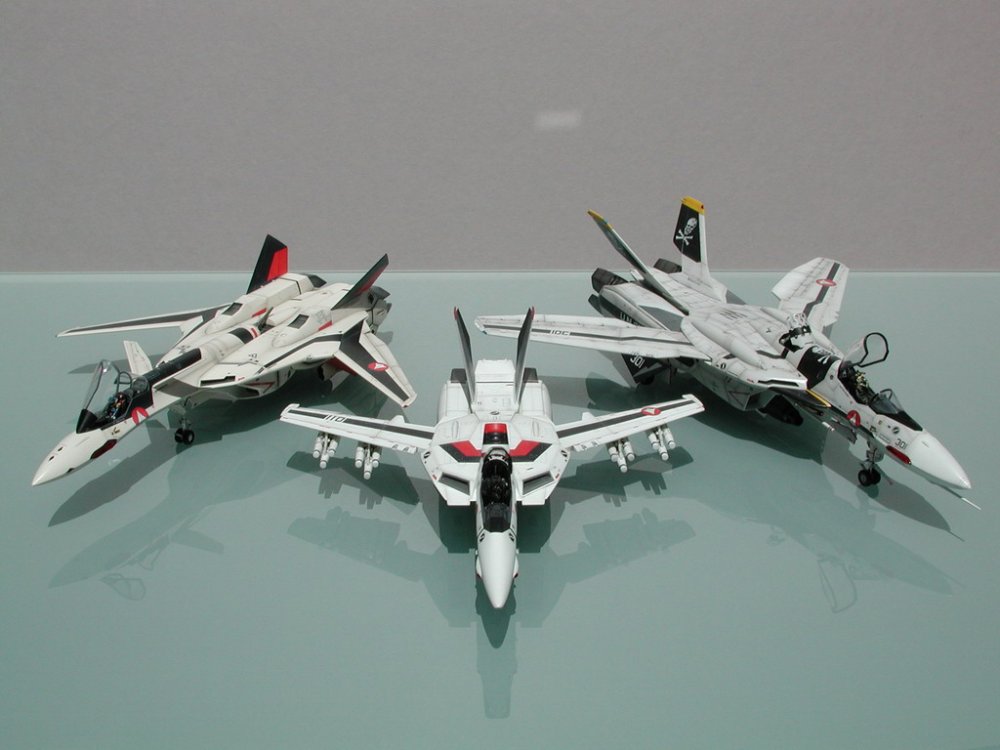
Just too much of a size difference between the VF-0 and the VF-1

-
Hey a sunny day and I've got some time... Hey GobotFool, check out my step-by-step thread, it outlines the steps I used for the panel lines and weathering. JA Dare, I would consider it safe to go hand held down as far as 1/15 sec - as long as the camera is properly held (2 hands) close to the body and you are in the proper stance. I've shot as slow as 1/8 bracing my body. But anything over 1/30 you don't really have to worry about unless its moving or you are at extreme zoom 100mm or more. The new VF-0's weathering almost makes the others brand spanking new...

-
Absolutely inspired scheme - I never really liked the SV-51 (didn't think it look too aircraft like) especially with that red scheme. But your flanker scheme is making me think twice about this kit. Again, great job - let's see some nice finished pics soon.
-
Wow! Nice Y-Wings - are those completely scratch built, or is there some Y-Wing kit out there?
-

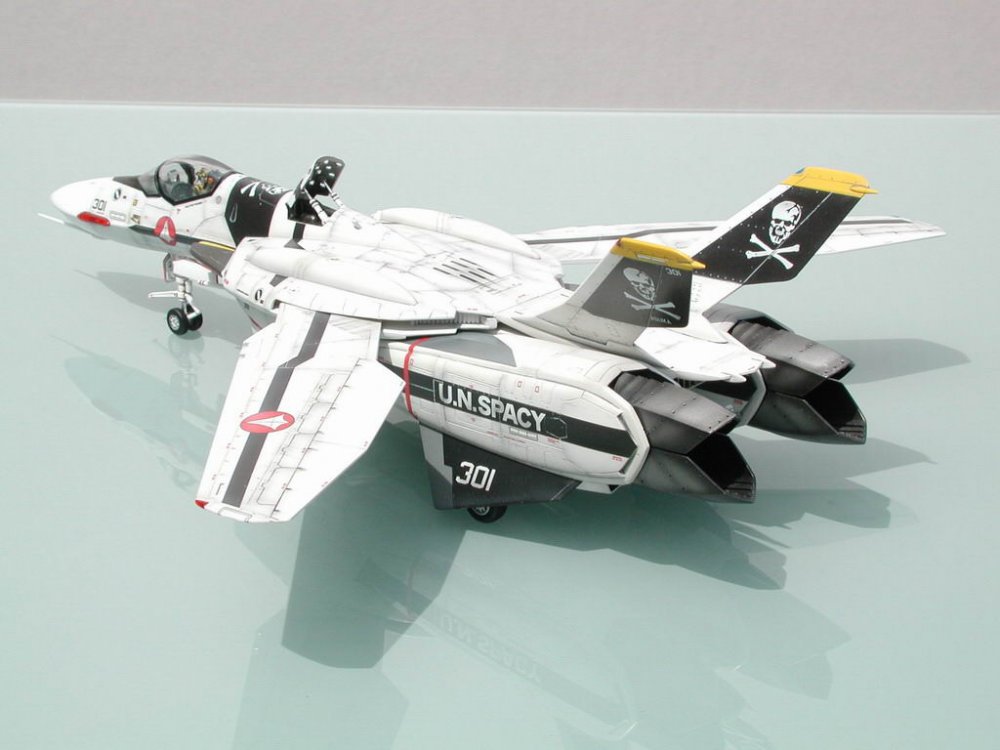
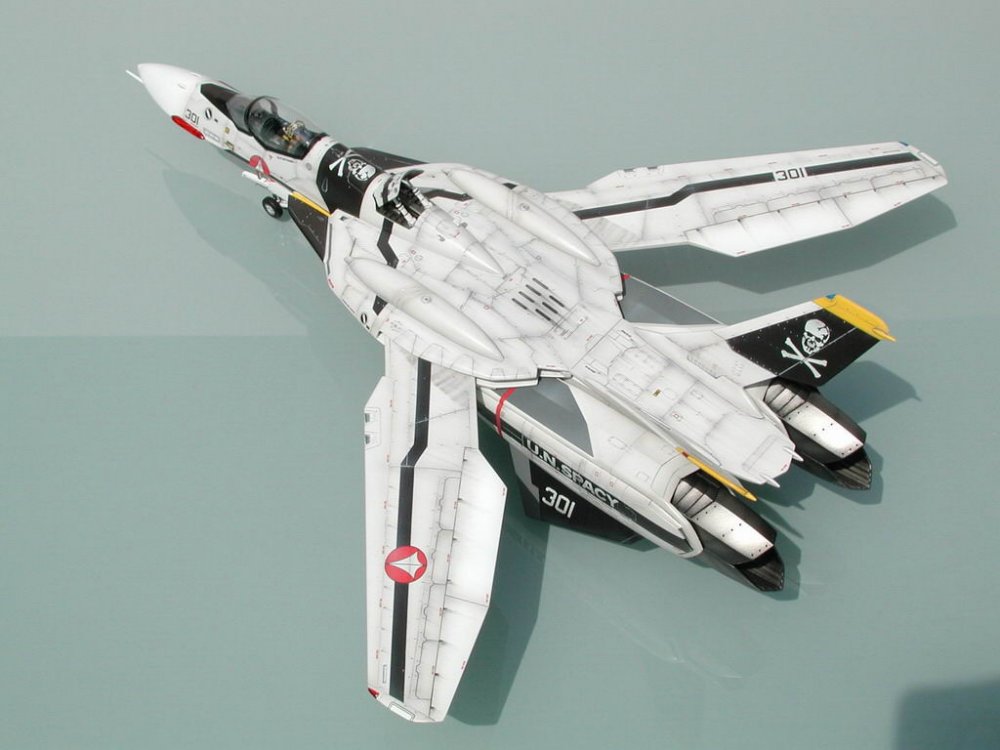
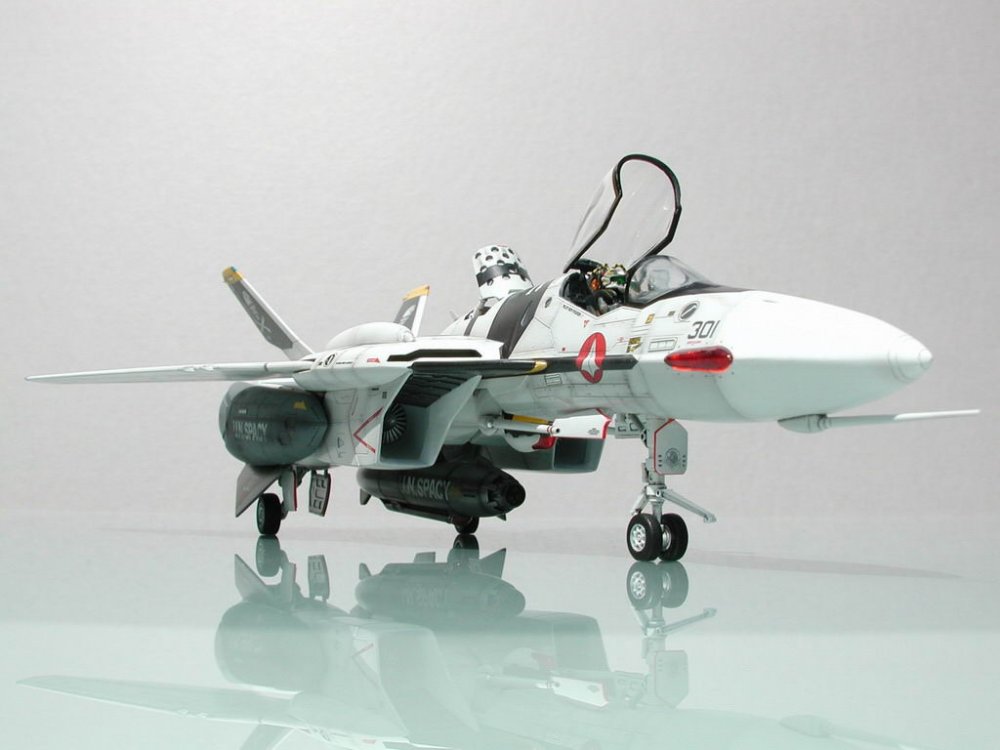
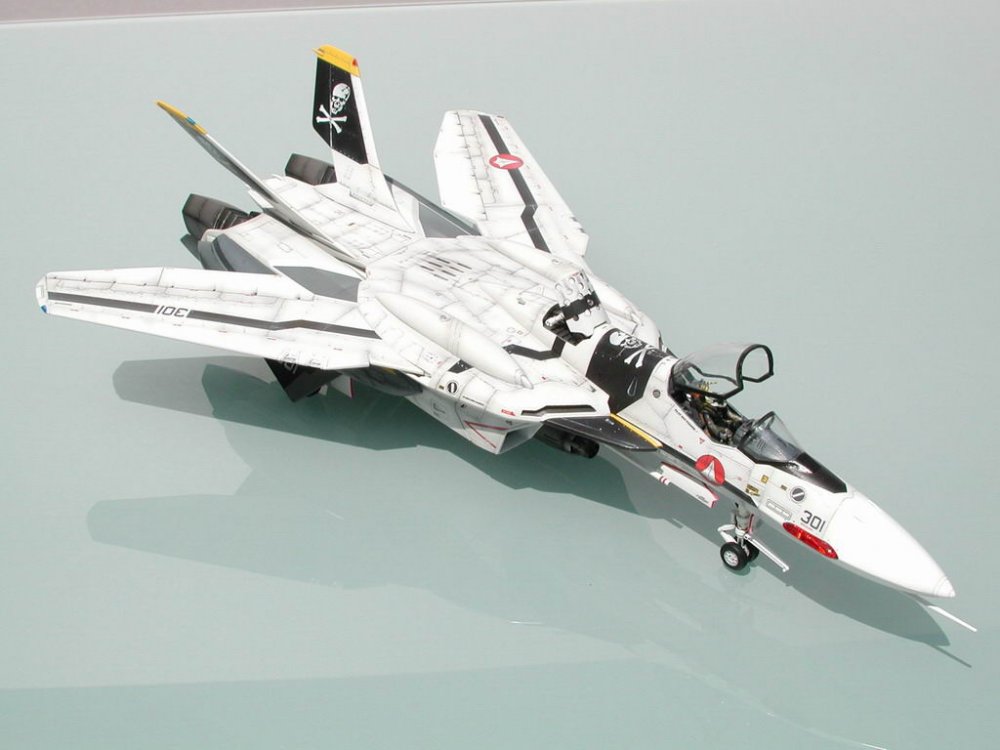
Who wants a guide on how to make Shin's F-14?
wm cheng replied to David Hingtgen's topic in The Workshop!
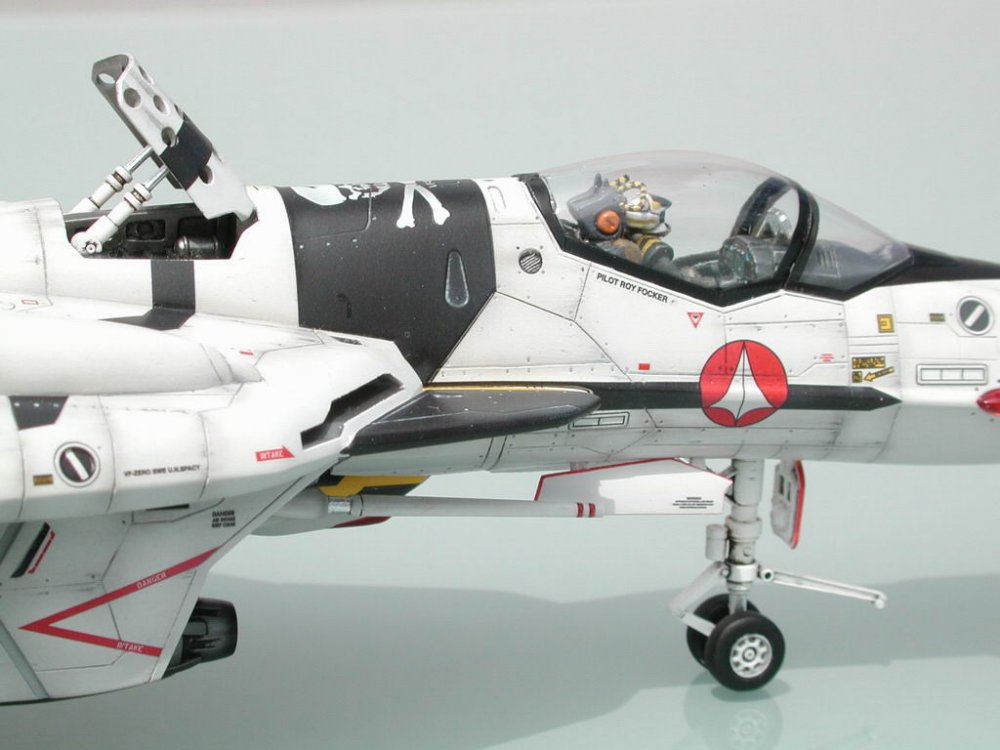
Hey David, I for one would be really interested in see your progress and following along. I love this stuff and plan on doing a Hasegawa 1/72 F-14 sometime... Can't wait. I'd invest in a resin cockpit though, the Verlinden ones are only $10 bucks (plus they include seats!), and they look great - I don't care that much if at 1/72 scale if all the buttons are in the right place, but I do think that the cockpit should be more than just decals (unless you're gluing the canopy shut). As long as it looks cool overall, than that's more important than if all the toggles are in the right place! Good luck, looking forward to it. -
SPACE PROVING WING hmm... I'm not to sure about that, I guess its not too far of from SPACY I think I'll hold off for the VF-0D - unless they come out with a low-viz version. However, if someone had that SuperTomcat 14B, then this would look nice next to it.
-
Hi all - thanks for all the kudos, Hopefully I'll have some flightline stuff with the other Valks soon. In the meantime - I've been asked a lot about photography tips - so I'll post some here: I am taking them with a Nikon 990 - its old, but decent. I always shoot on manual mode with ISO 100. The key thing is lighting - without it, you can't do anything. So short of a studio setup with proper lights, I have to wait until there is sun and I do it outside under direct sunlight. Second most important thing is the background - a simple neutral background will do so much more to enhance your model - the actual subject matter. Remember to always meter for neutral grey (30% - skin tones) - if you have a white plane and meter for the plane, then you will get a grey plane - all camera meters measure light accurately for 30% grey. Either stick your hand (skin tone is pretty close to 30% grey in B&W) in front of the model and meter for that, or buy a grey card at a local photo shop and meter for that to get the proper exposure. Close down on the aperature, use the smallest aperature your lighting condition will allow, F-11 and smaller (higher number 16,22) will get you a larger depth of field so both the front and tail of your model will be in focus. Biggest giveaway of scale or size is to have a short depth of field. Get down and try to shoot your plane from the "ground" level. Being a small model, the tendency is to shoot all the shots from above - because we usually look down on models. But we rarely look down on an plane, we usually look across or up at it - try to think as though you are walking around a real aircraft.
-
Hey Neova, I'd be very interested in what you come up with. I am in the basement, but I would like to vent to the exterior too. I think the hobby ones are too expensive and small - I was hoping to find some industrial ones, but the kitchen idea seems neat. If you can send any sites for research - it would help. My dream would be a retractable setup, pulled down to paint, and retract up to the ceiling to build my model in the same place - I can't afford the space for a separate spray booth. Does anyone here work in a vented setup?
-
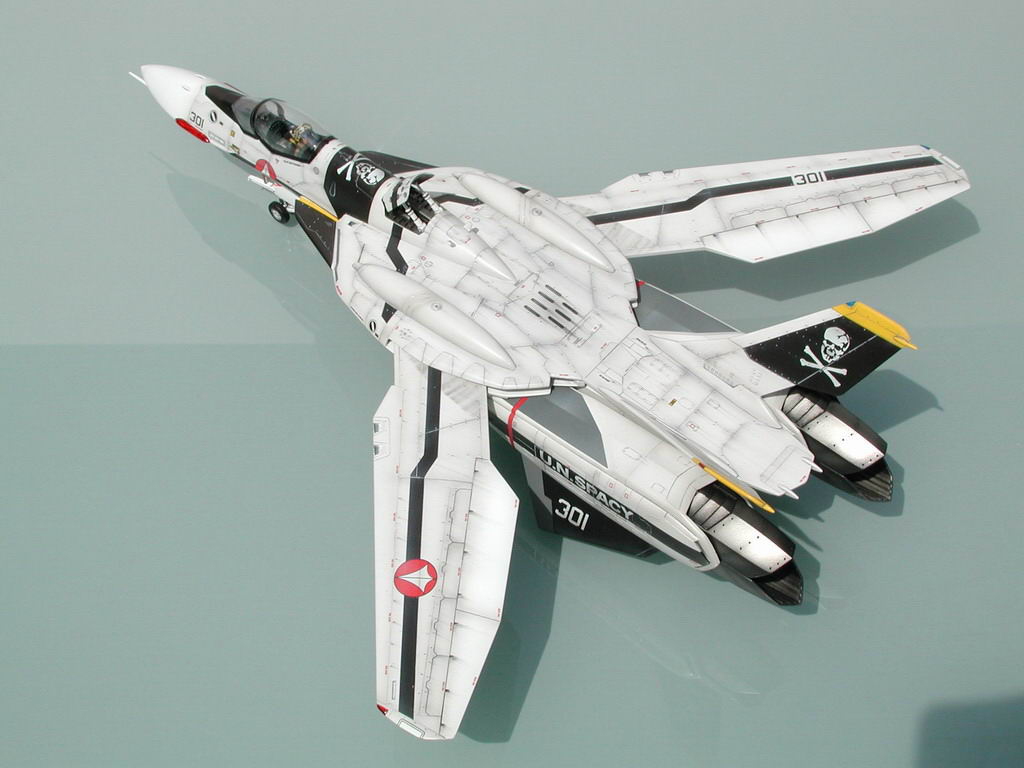
Hi all, The sunny day completed photos are posted in the Model section: http://www.macrossworld.com/mwf/index.php?showtopic=7956 The light grey is really white with a few drops of sky grey maybe 90:10 ratio - its amazing how little you need to ruin a pure white

-
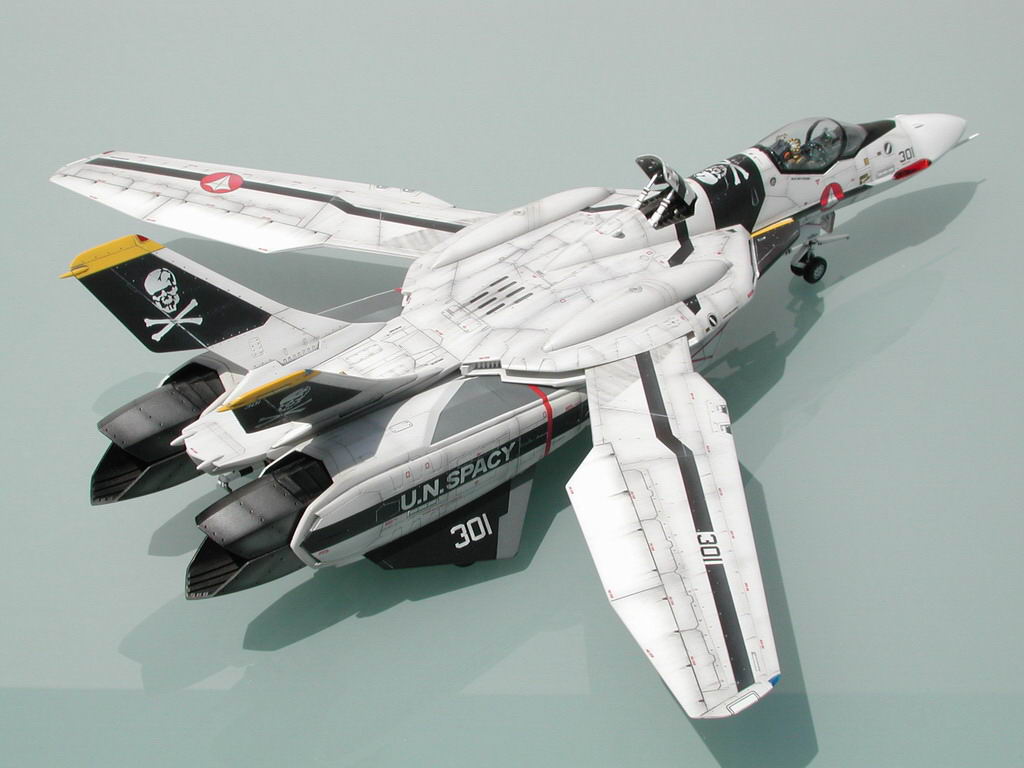
That's it folks - thanks for tuning in. I just remembered that I didn't take anything with the VF-0 next to my other planes - the older VF-1 or YF-19 for size comparison - I'll do that later. The sun has gone away. Here is the link to the step-by-step build up: http://www.macrossworld.com/mwf/index.php?showtopic=5881 Cheers
-
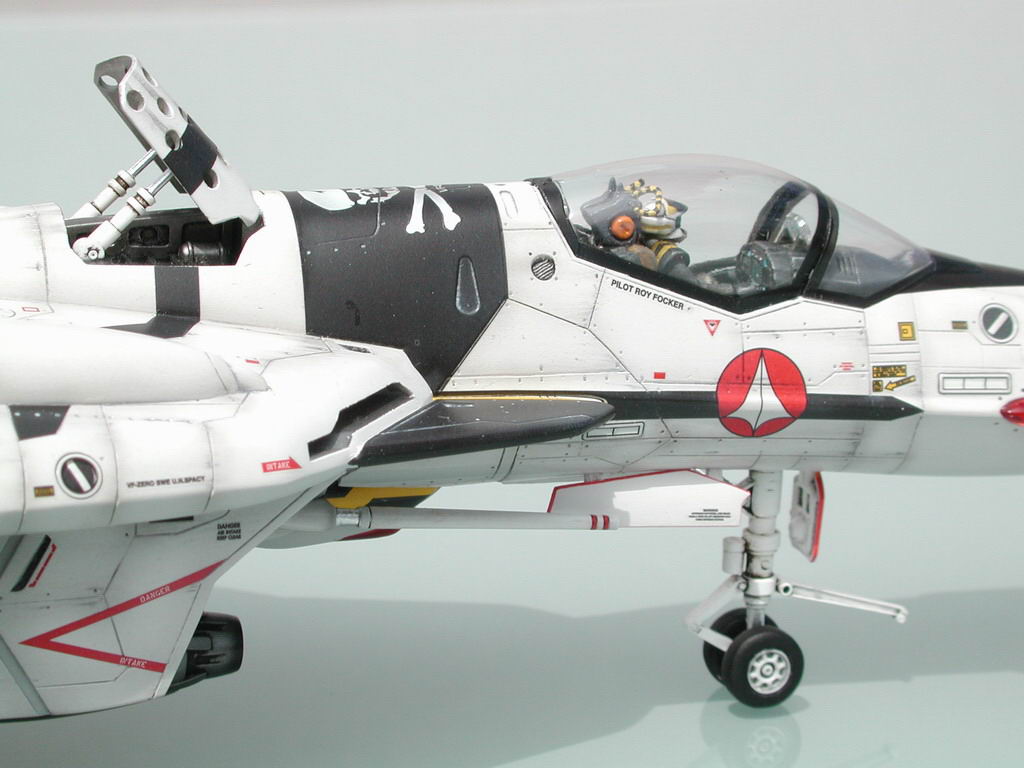
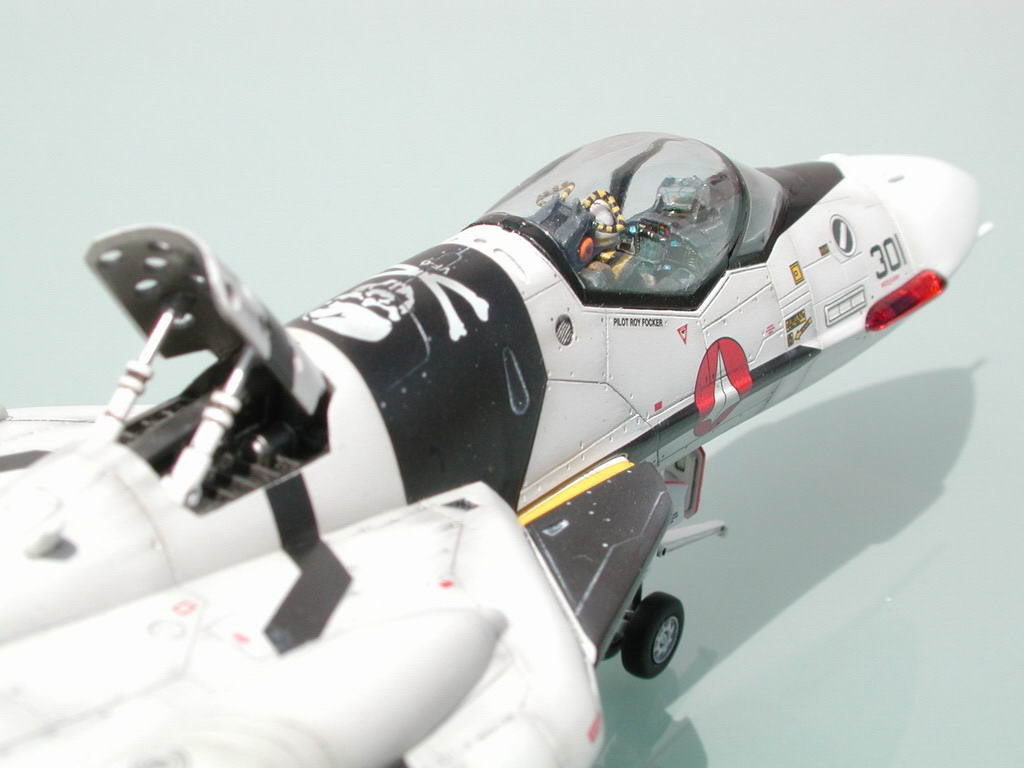
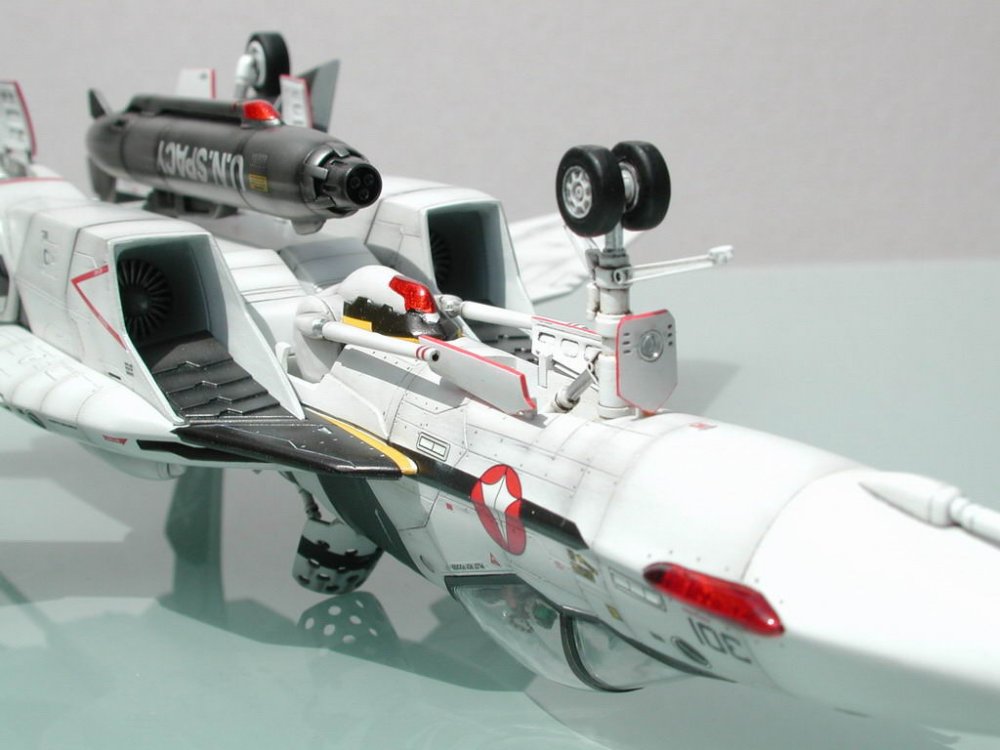
Front gear and gun pod details - you can just make out the spinners inside the intakes. I love that landing light on the forward door!
-
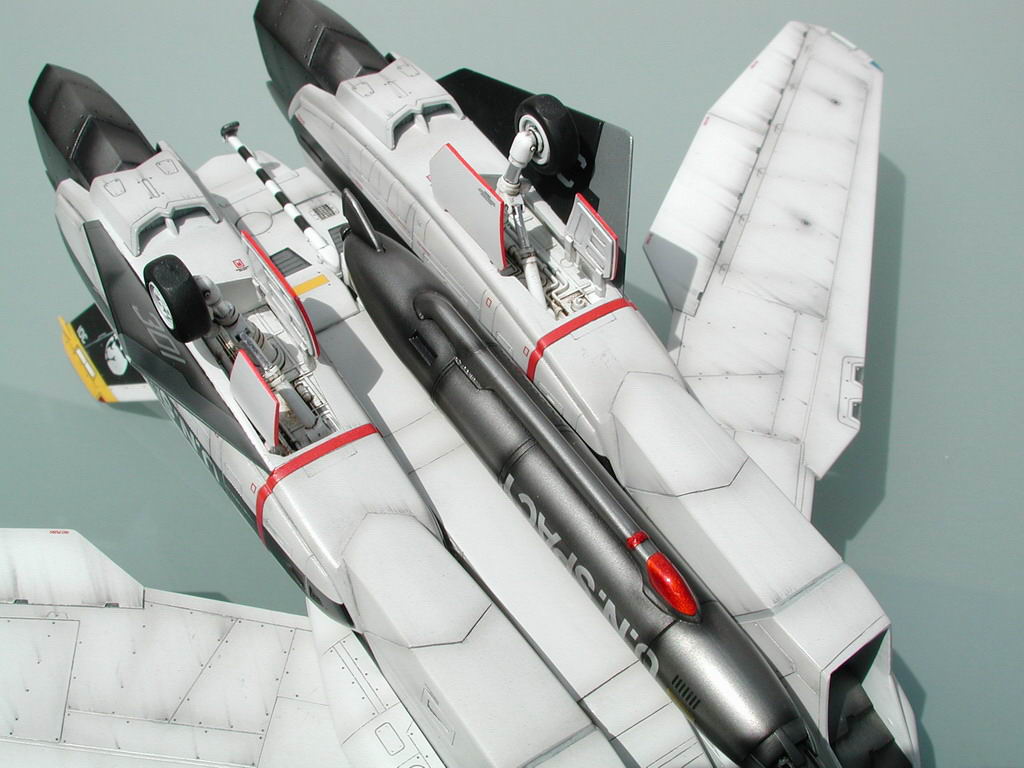
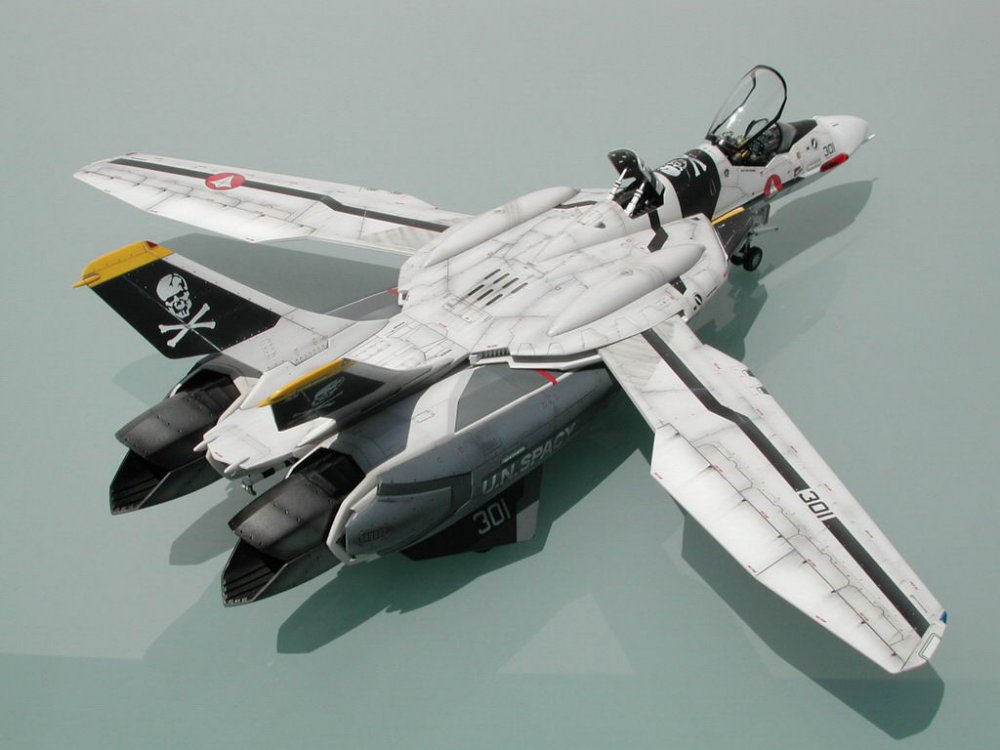
Some closeup landing gear and gun pod details.

-
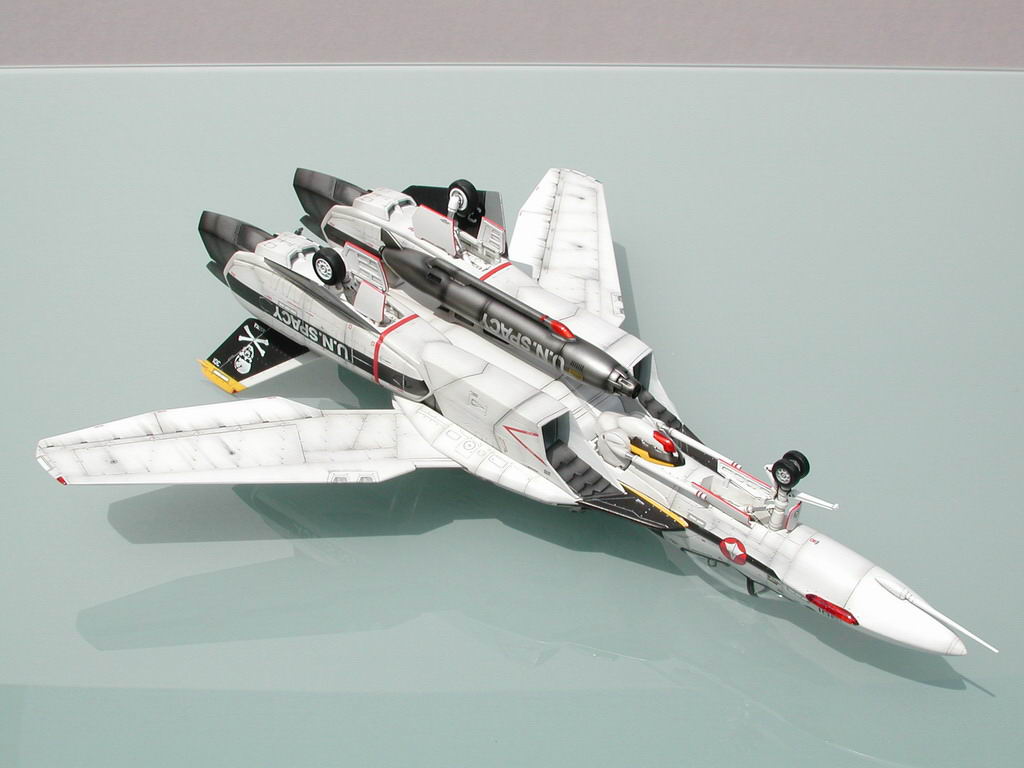
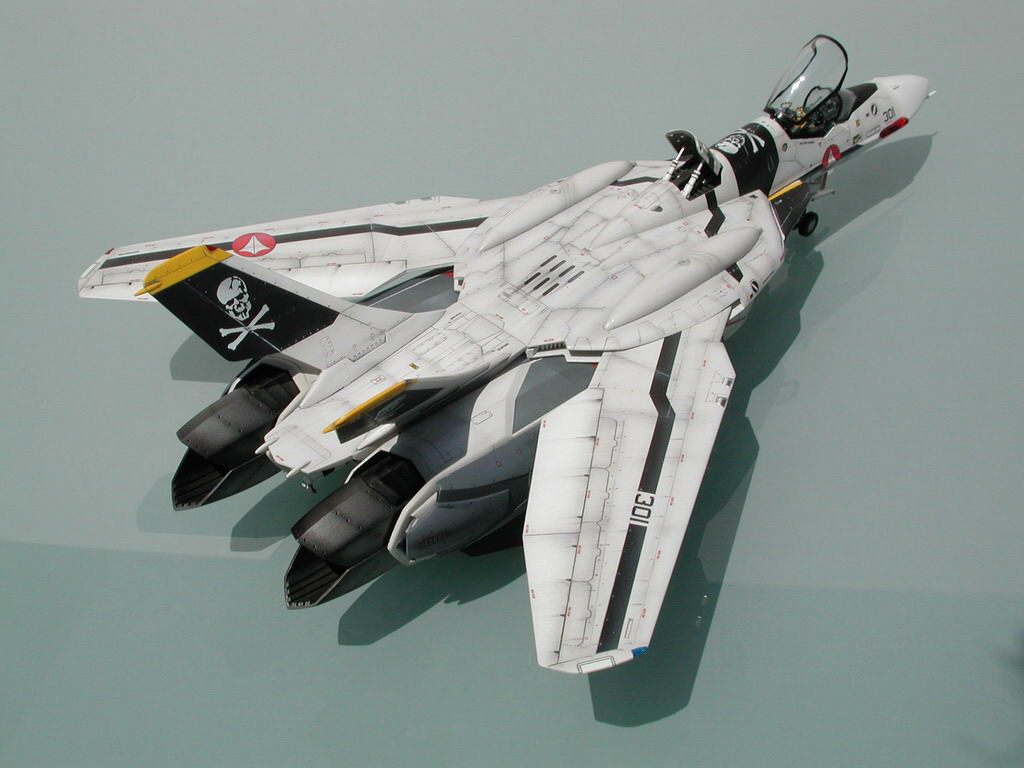
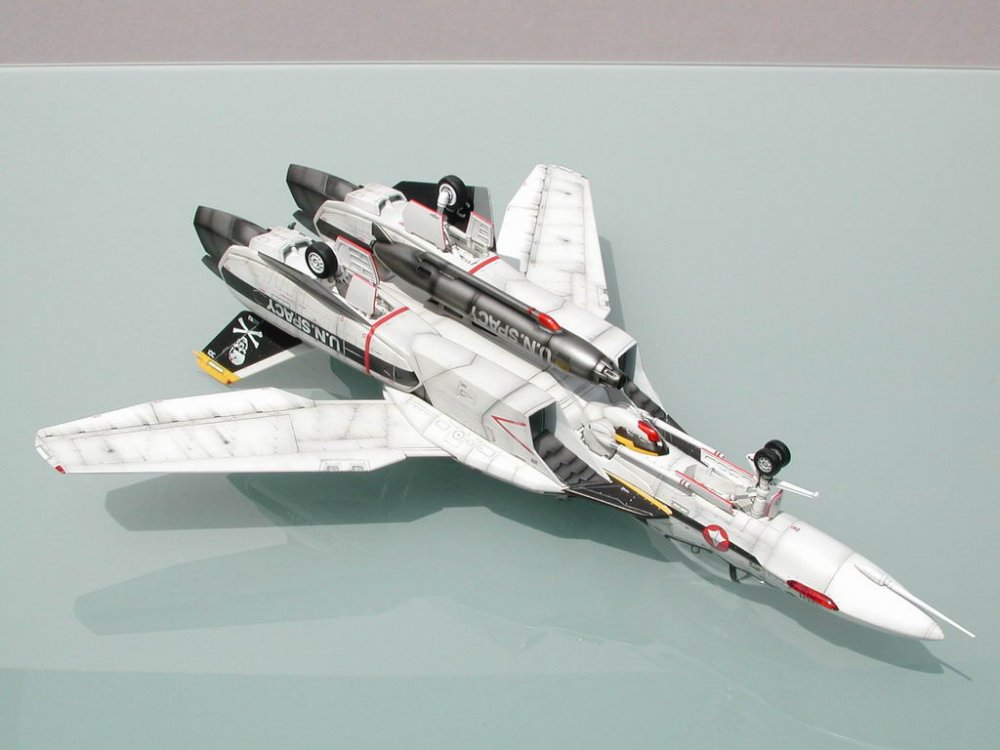
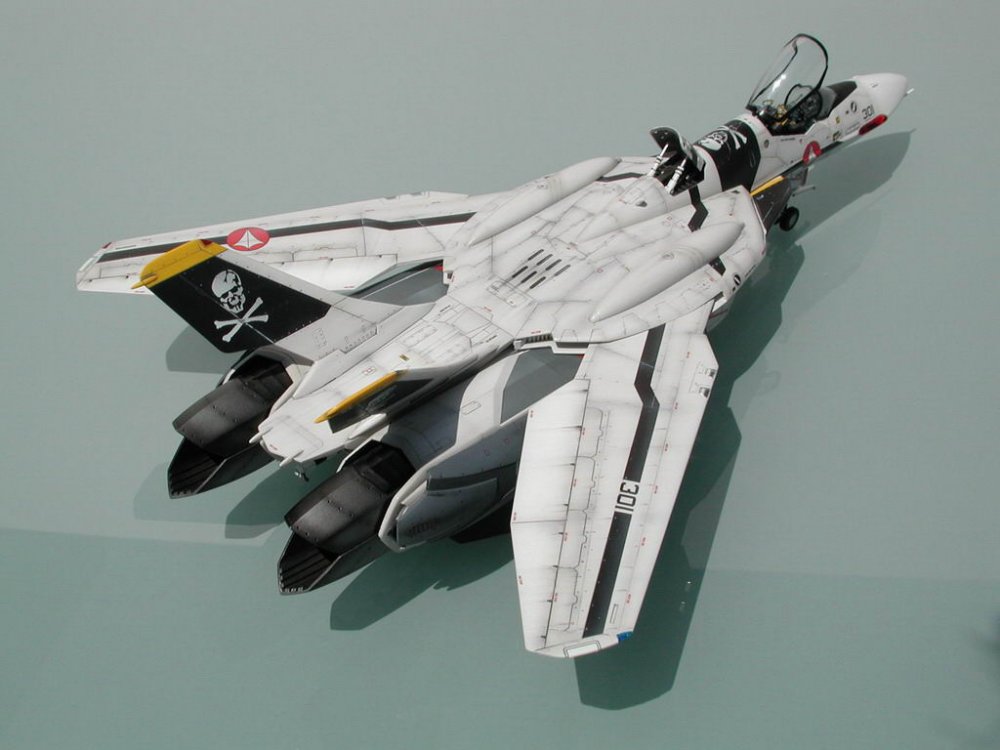
The underside, often neglected...
-
-
-
A closeup, you can just make out the HUD display!!

-
Canopy down...

-
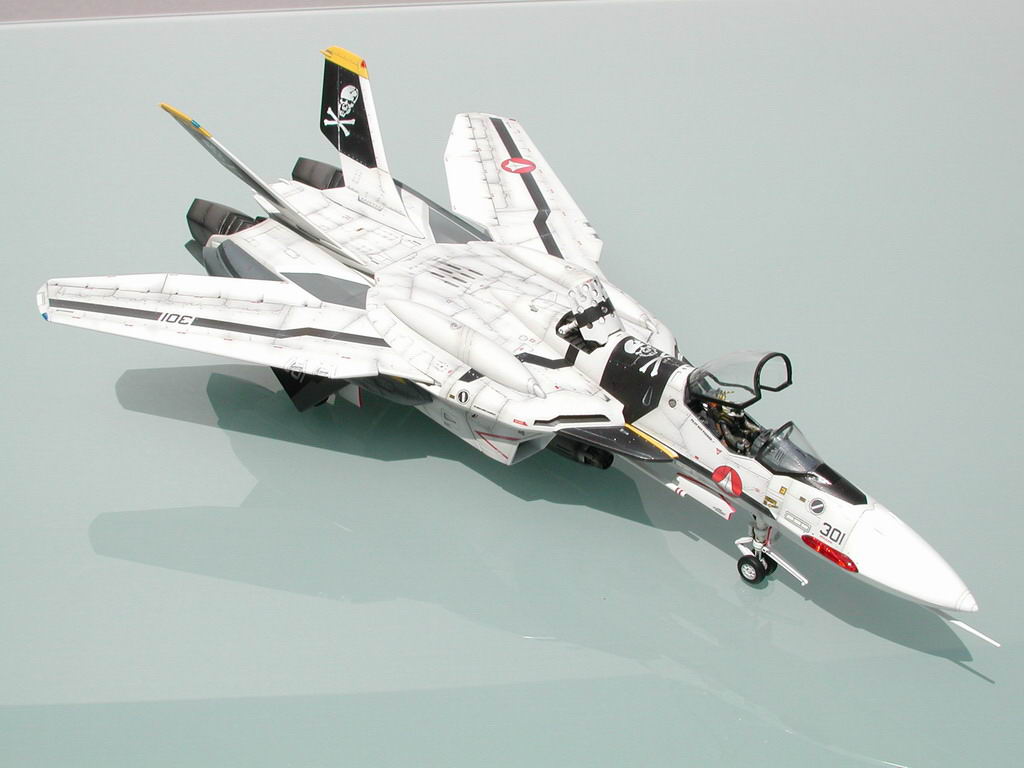
Ground crew view.
-
-
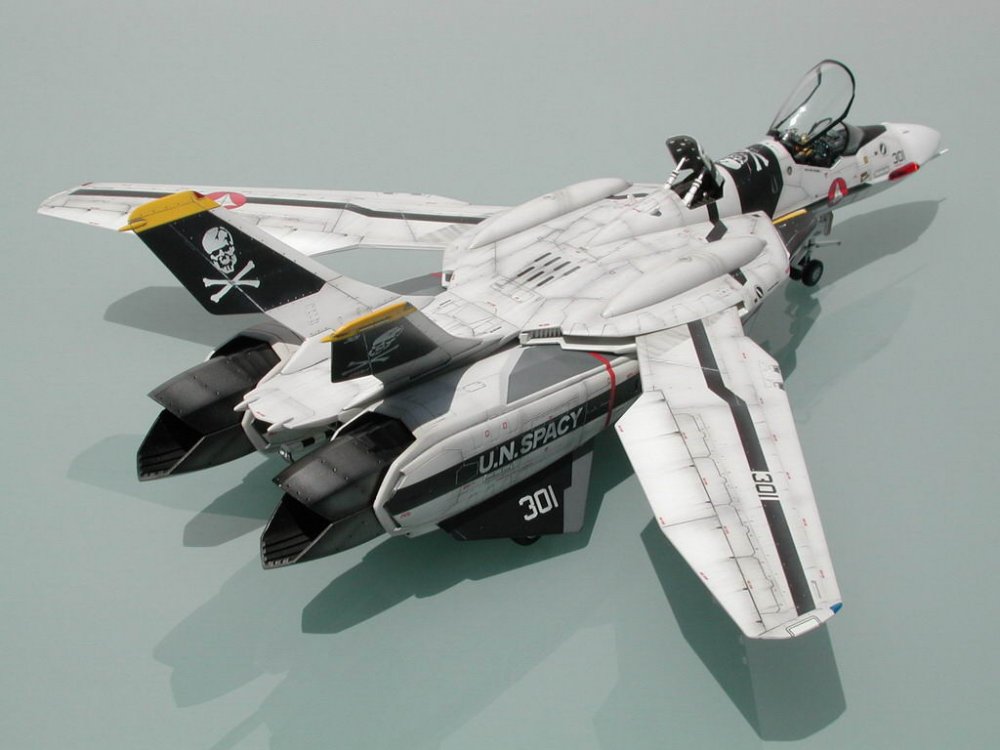
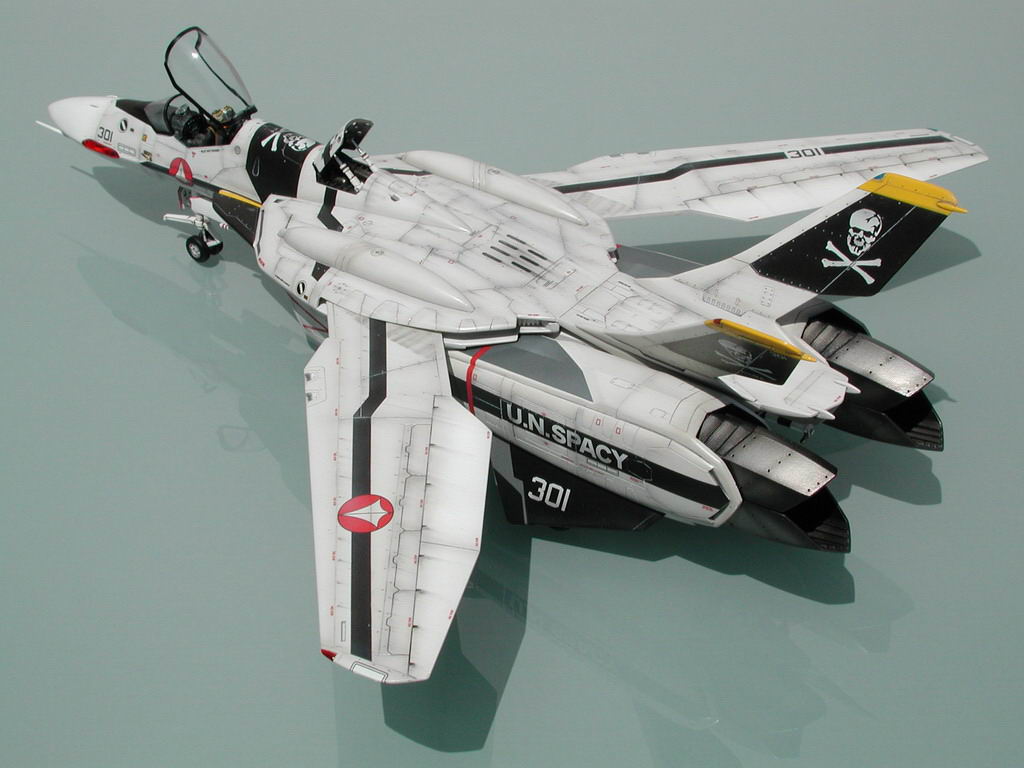
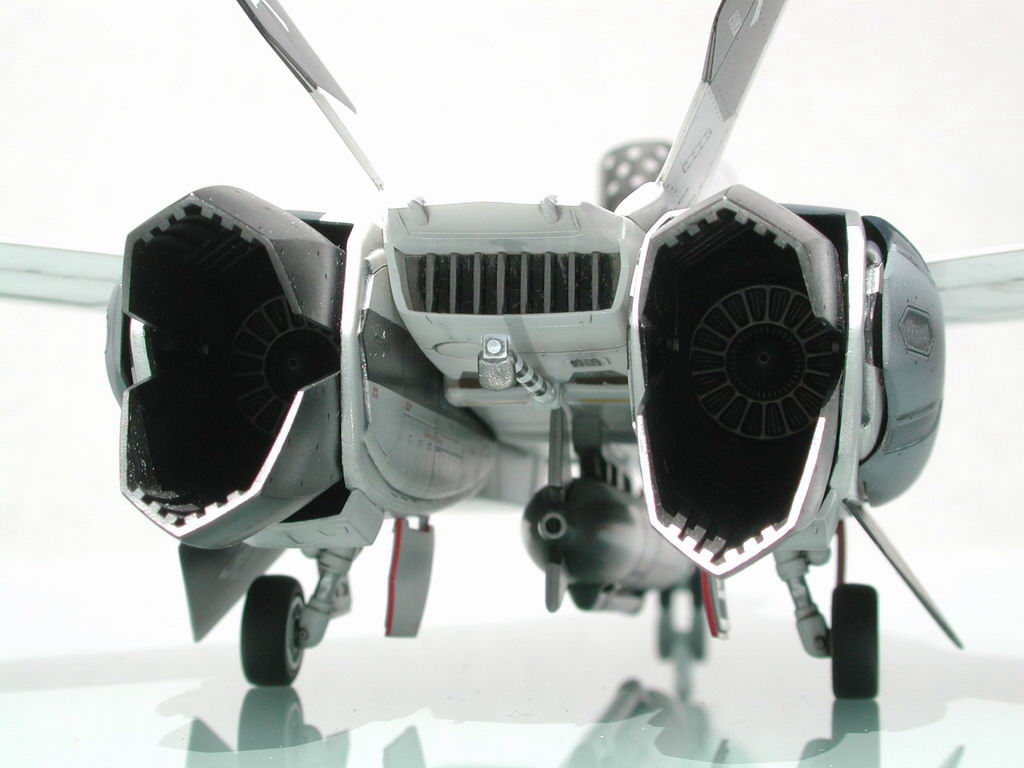
The tailcone ribbing adds alot to the finished appearance, you can just make out the afterburners inside - its too bad, but with the naked eye you can see quite a lot and what a great job Hasegawa did with them.

-
With all that power, better sweep back the wings before they tear off!
-
Magnet power!!
-
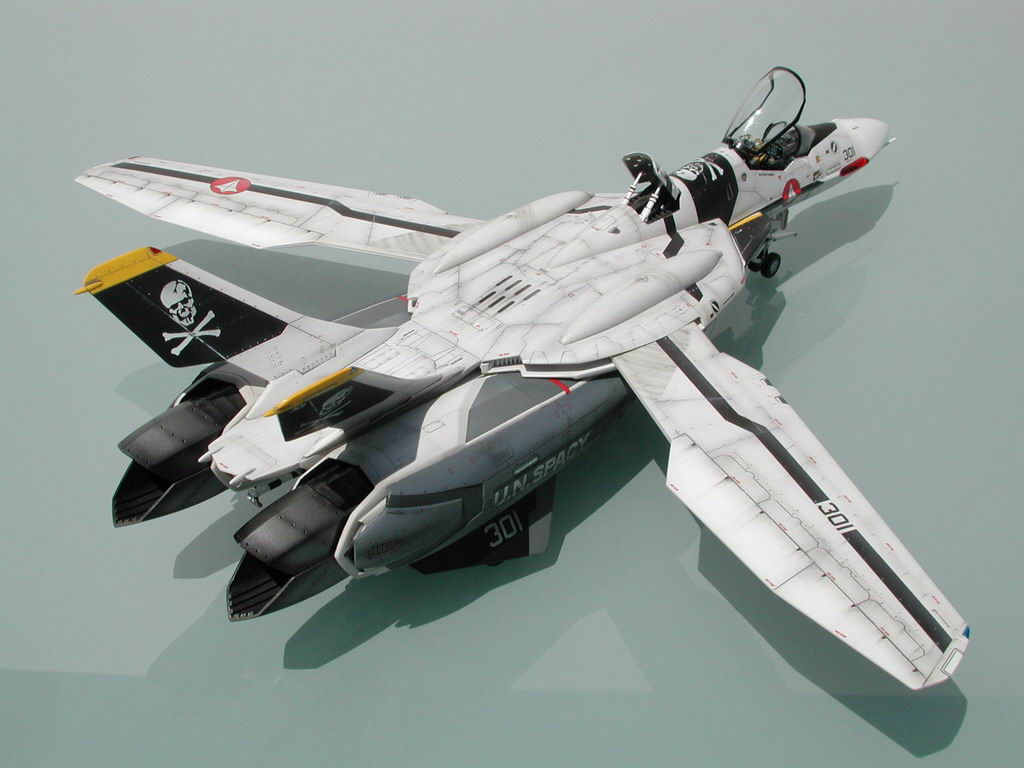
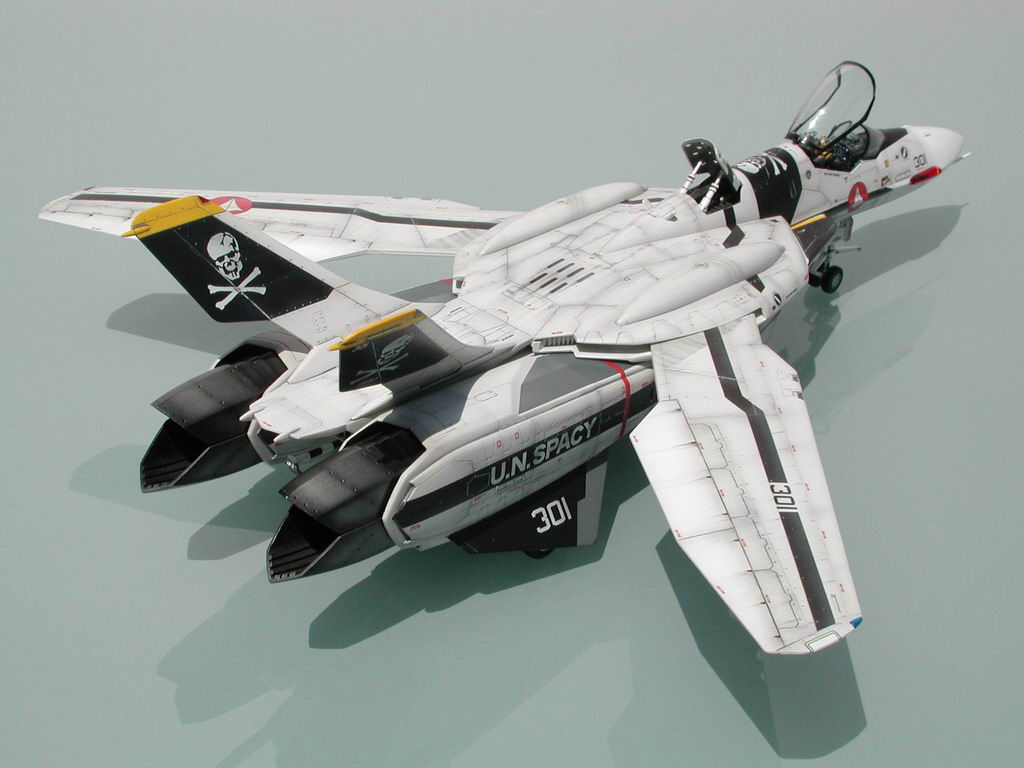
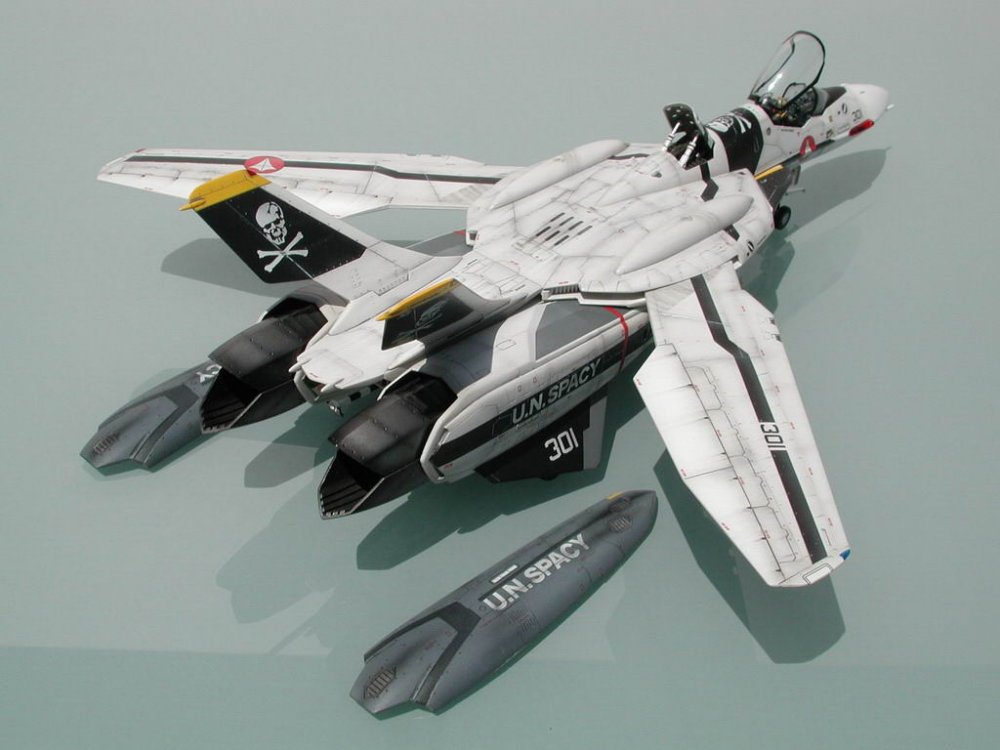
The fast packs...
-
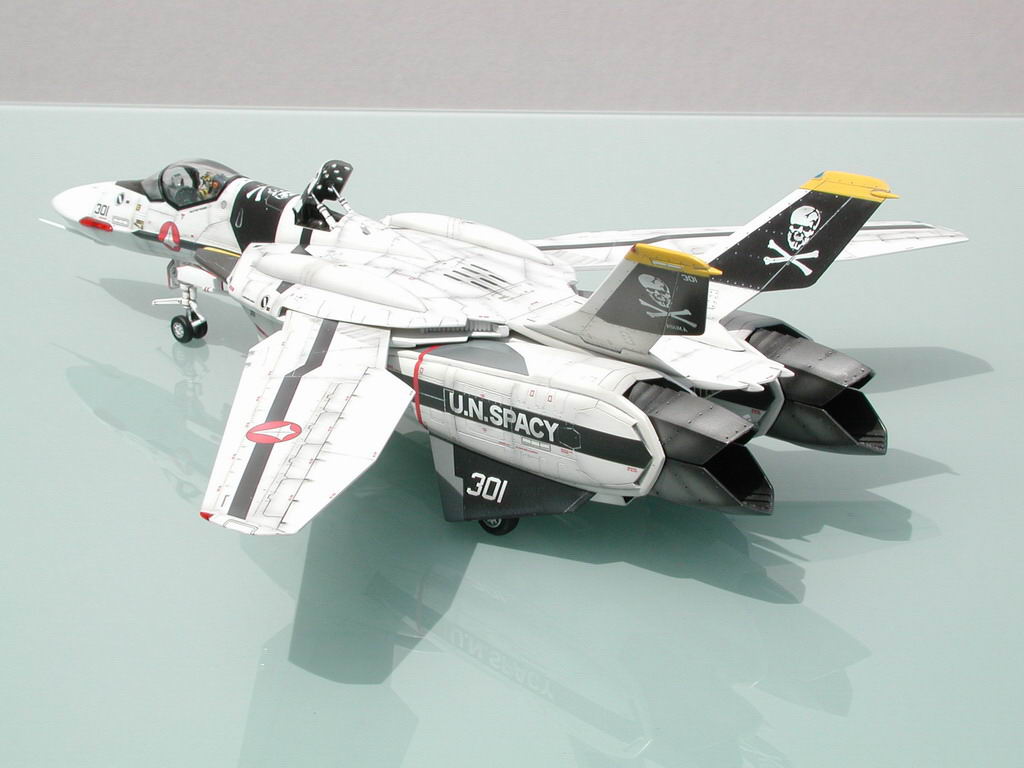
Another one of my favourites