wm cheng
-
Posts
4311 -
Joined
-
Last visited
Content Type
Profiles
Forums
Events
Gallery
Everything posted by wm cheng
-
With all that power, better sweep back the wings before they tear off!
-
Magnet power!!
-
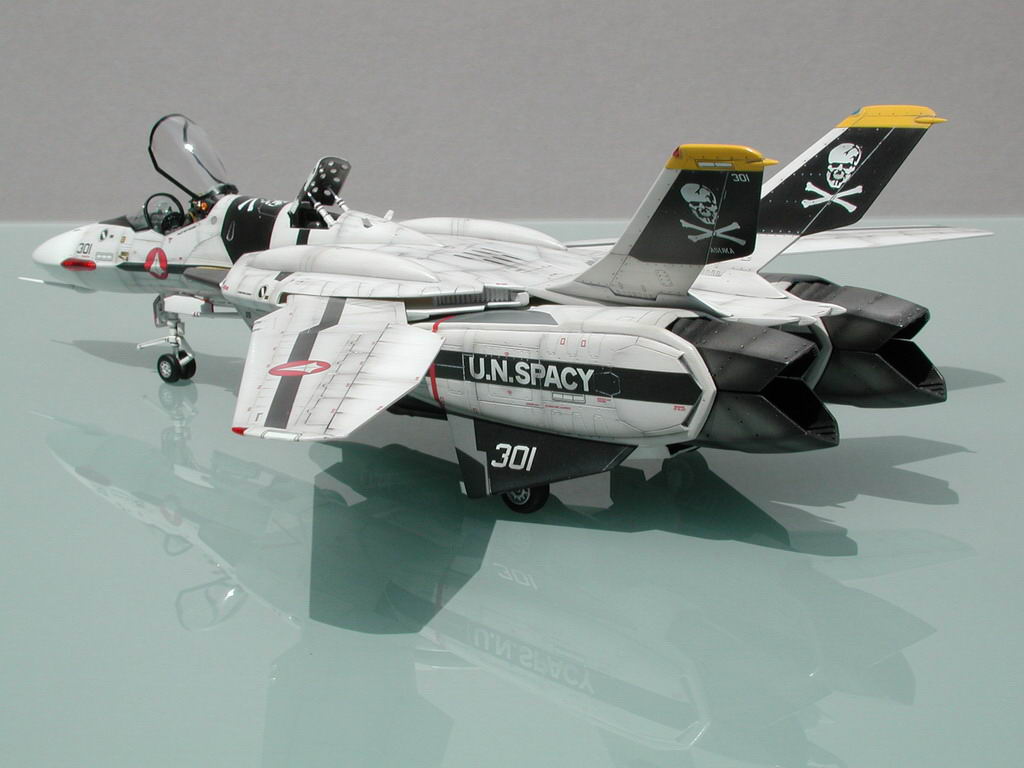
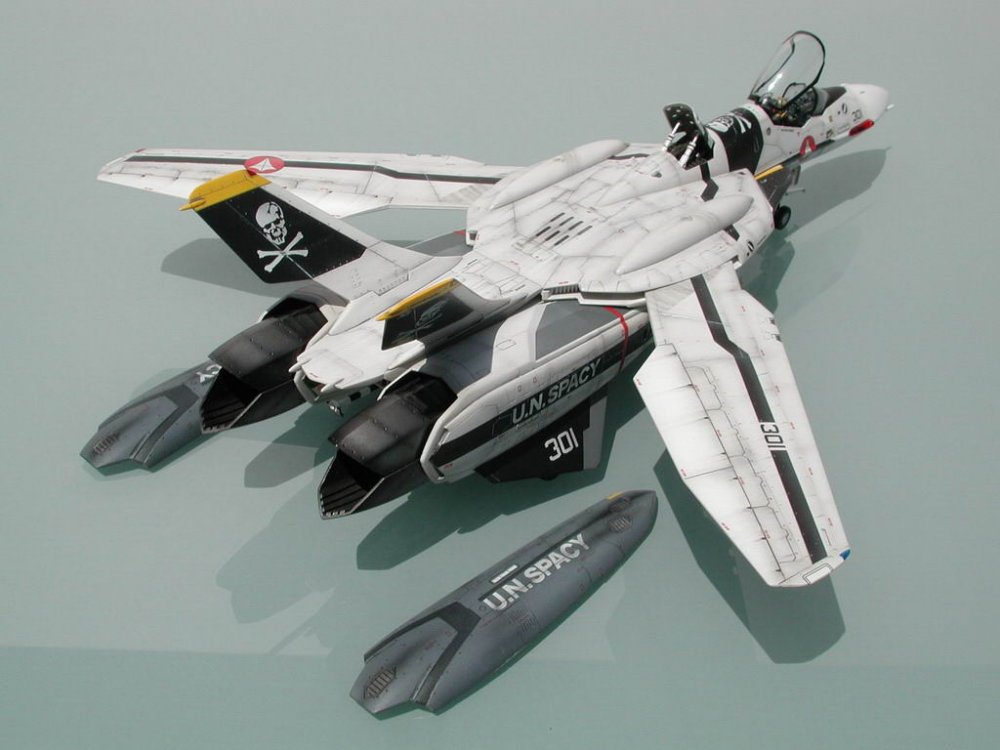
The fast packs...
-
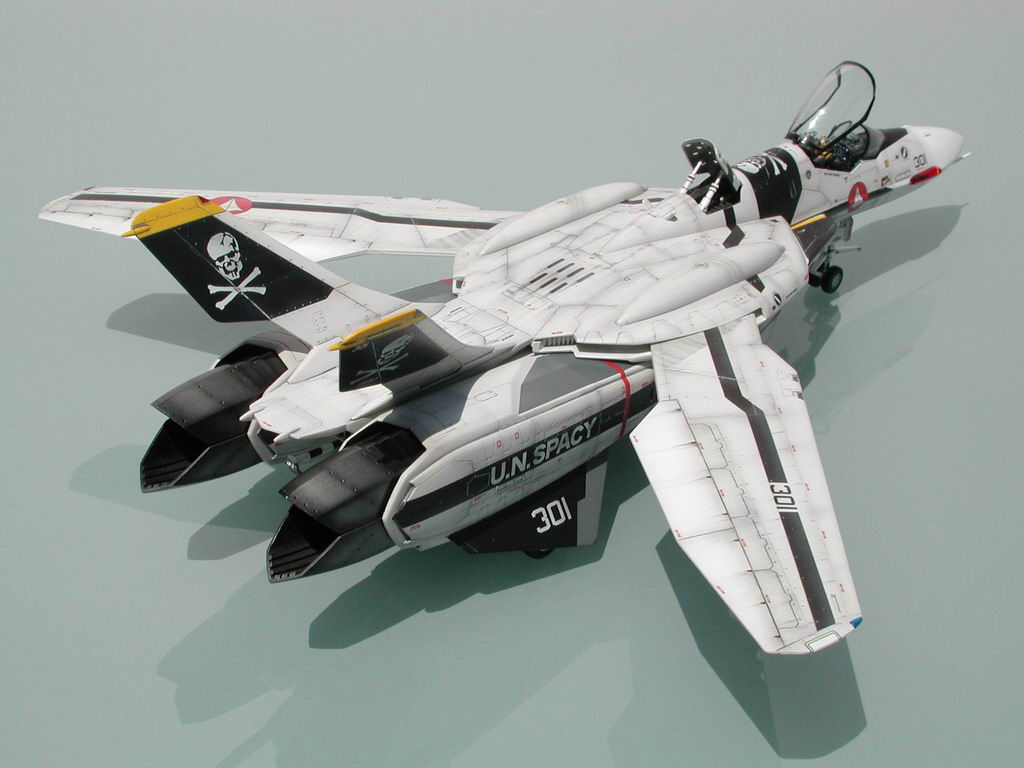
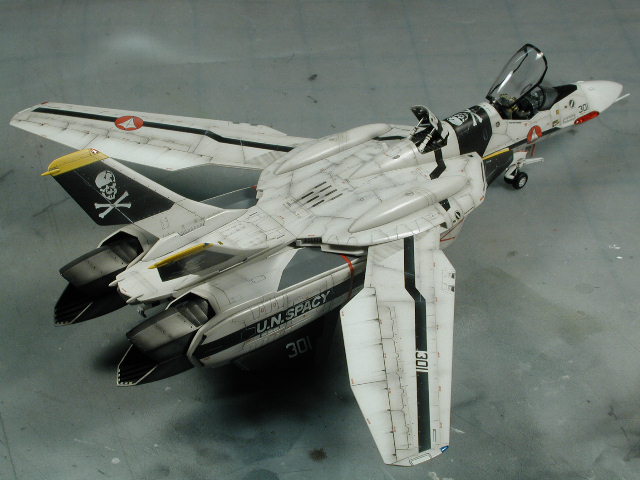
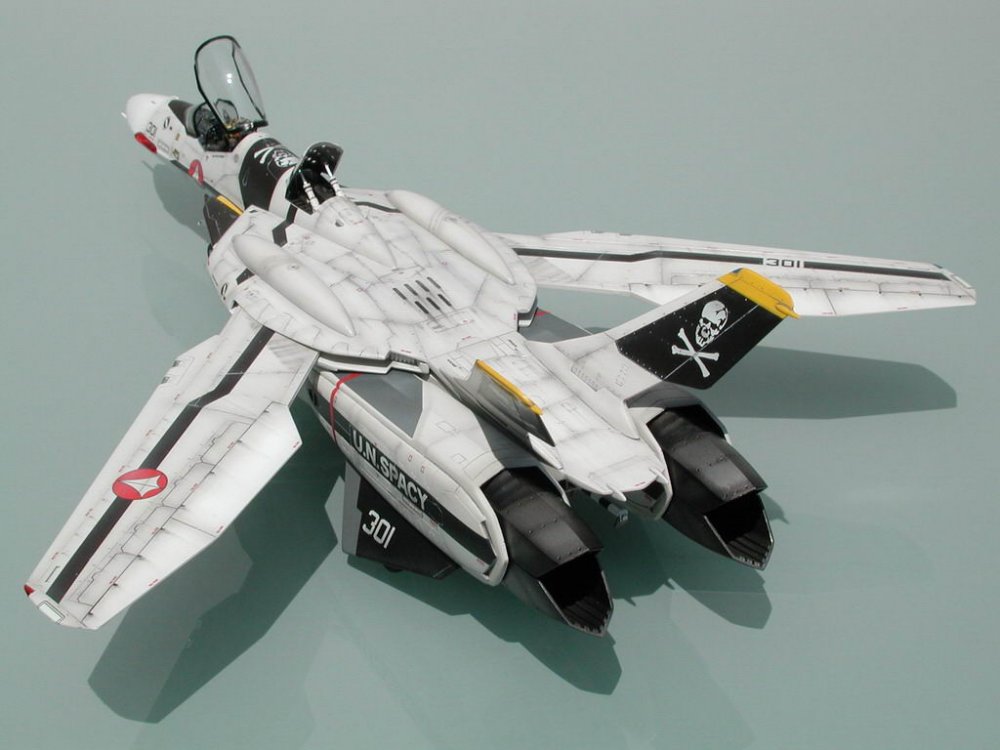
Another one of my favourites
-
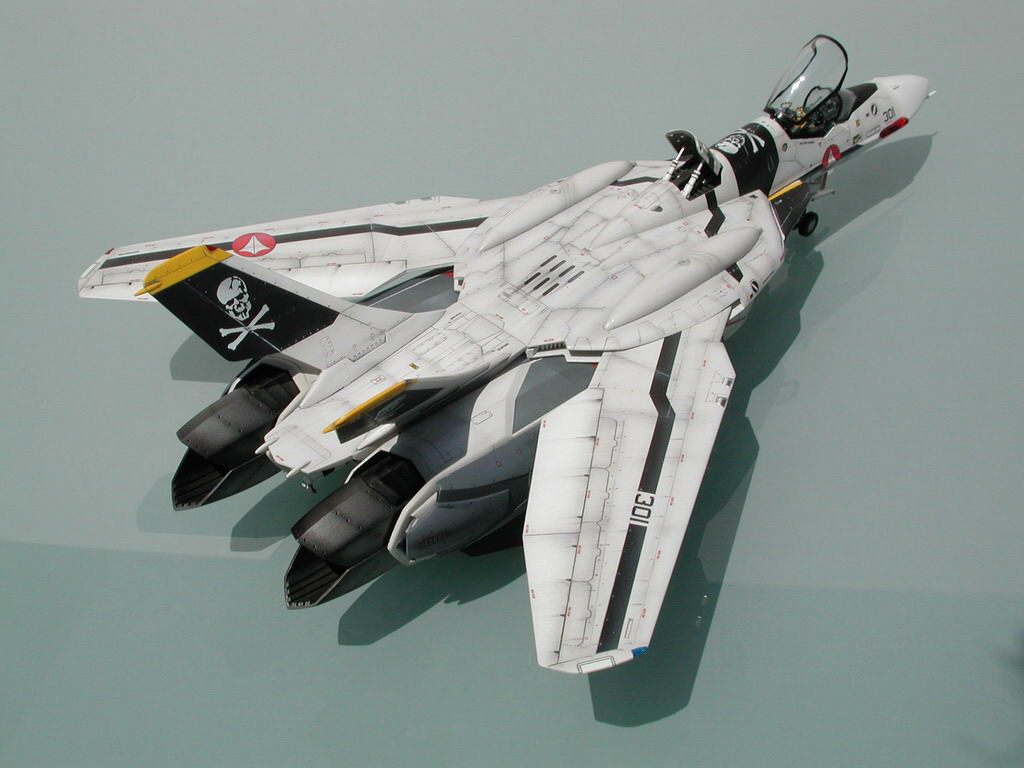
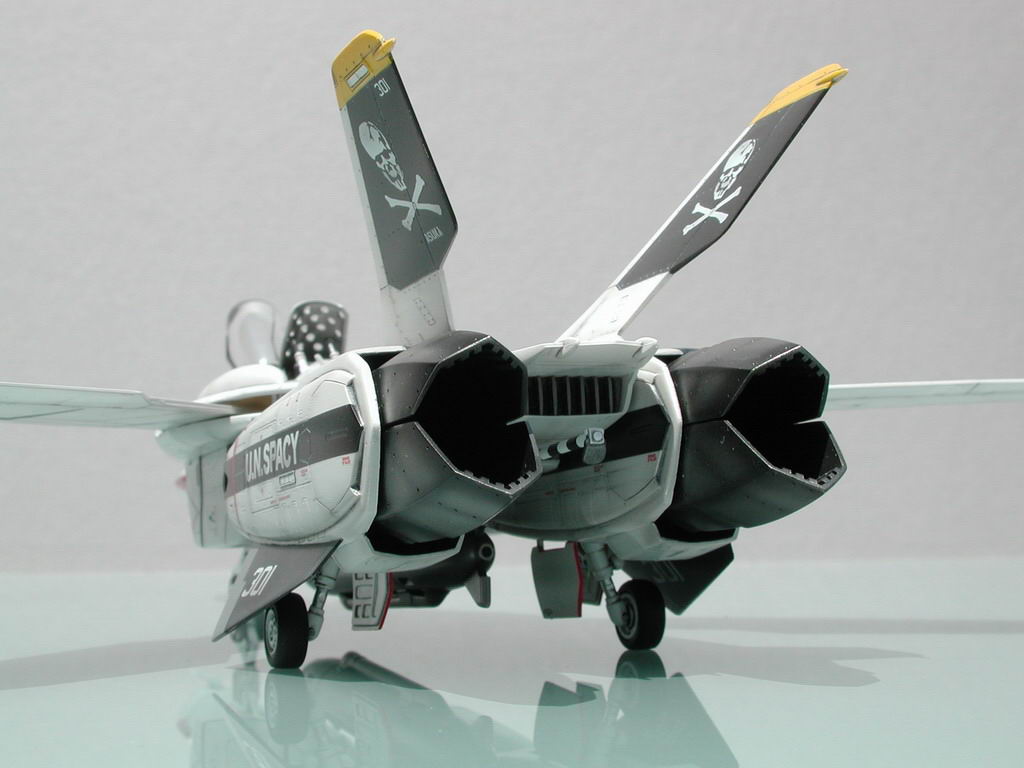
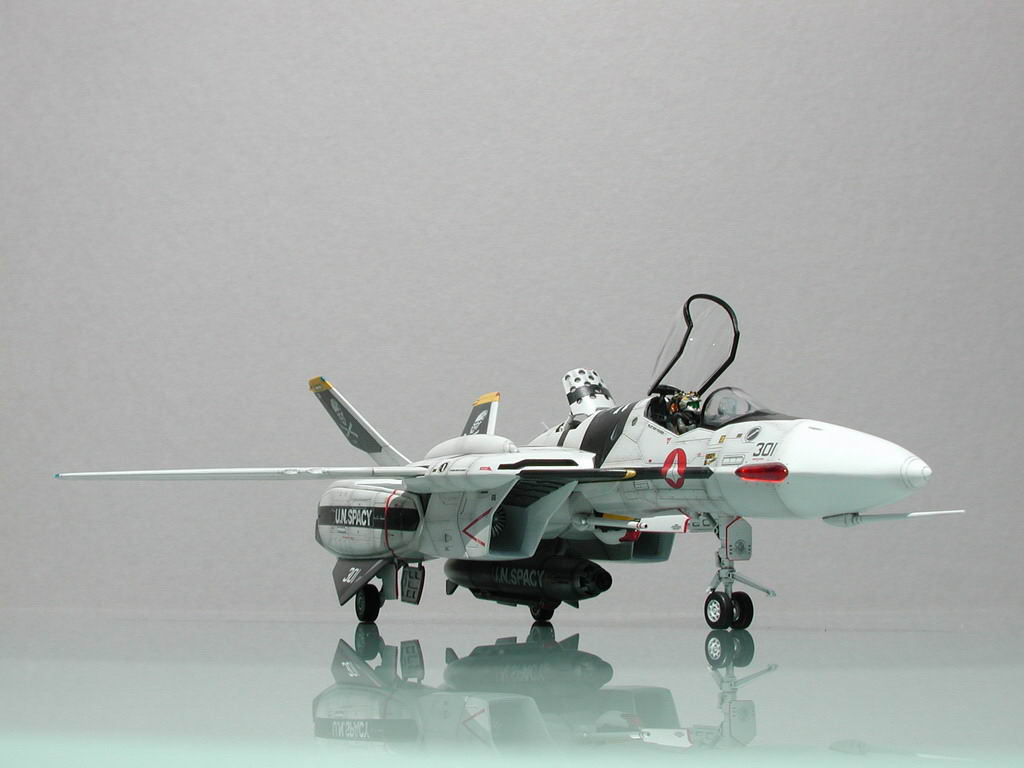
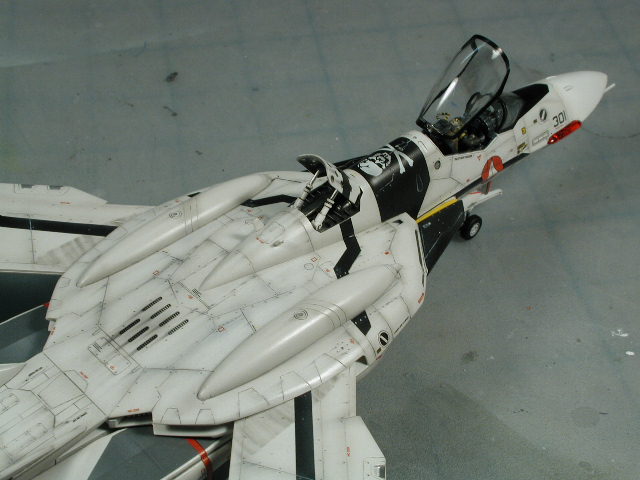
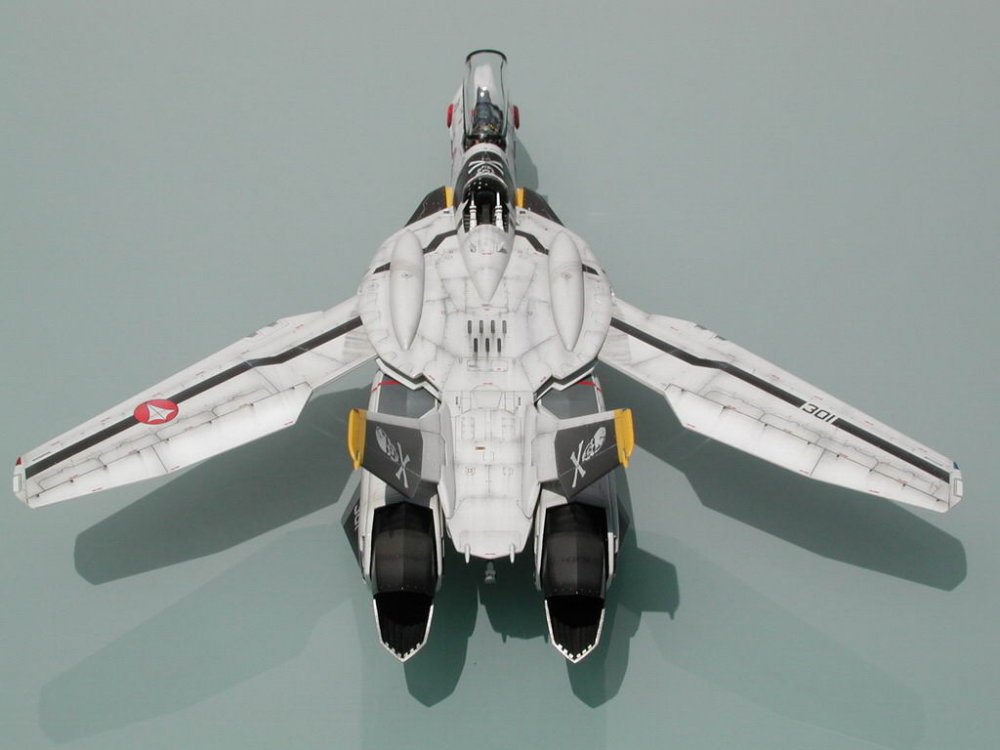
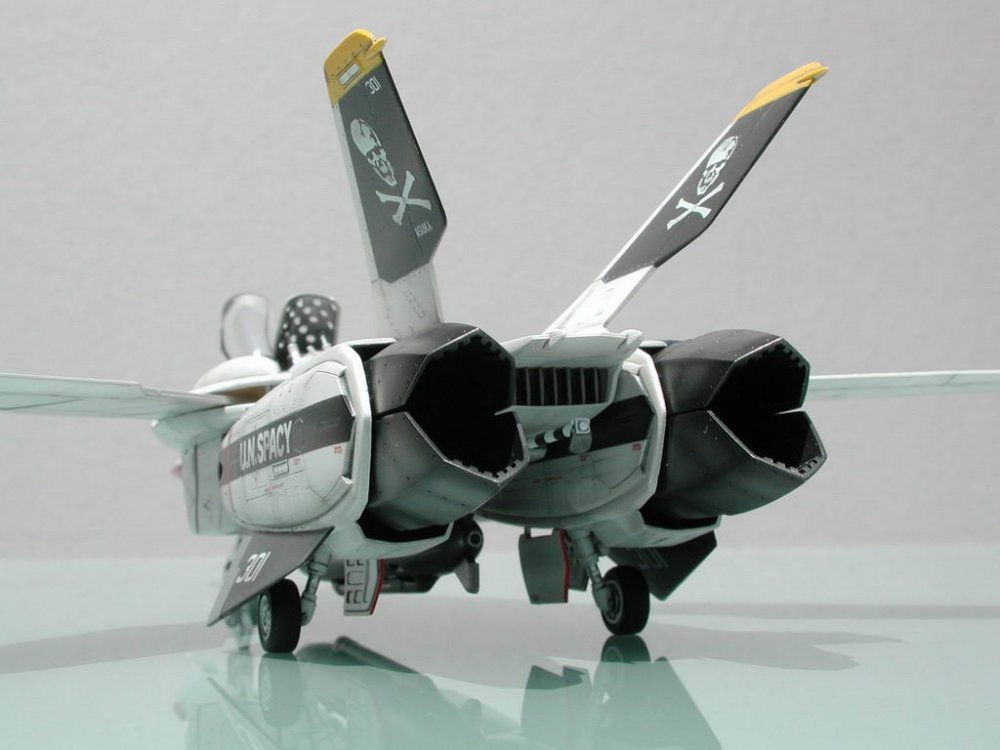
Rear view
-
I love how canted the rear "vertical" stabilizers are!
-
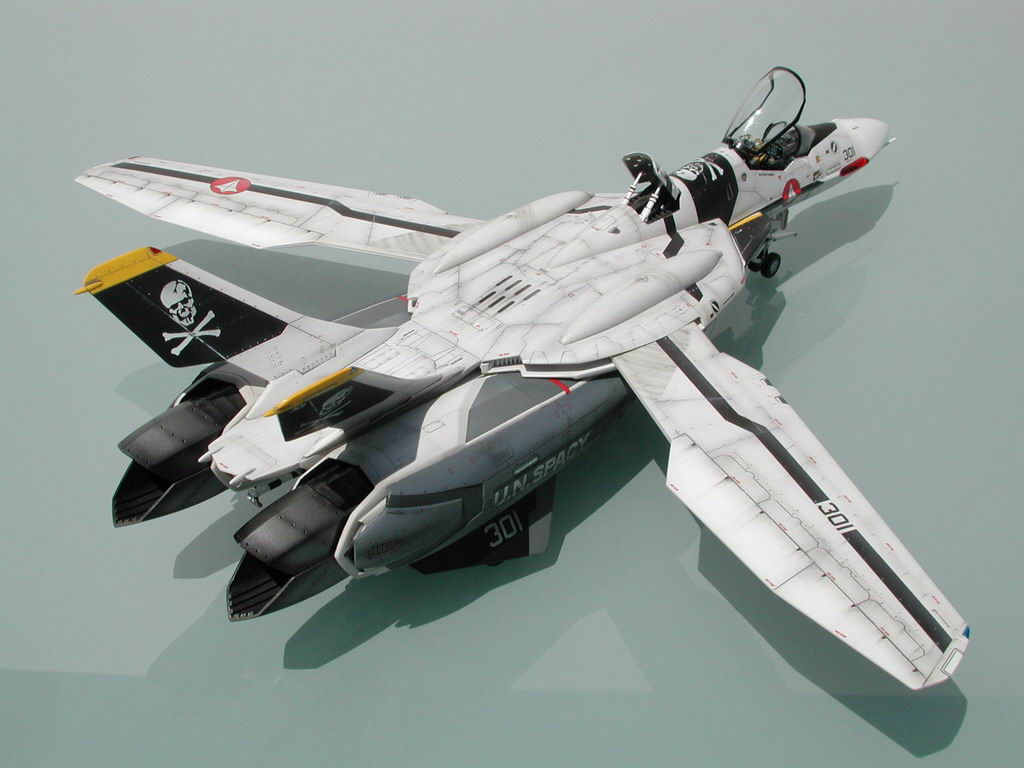
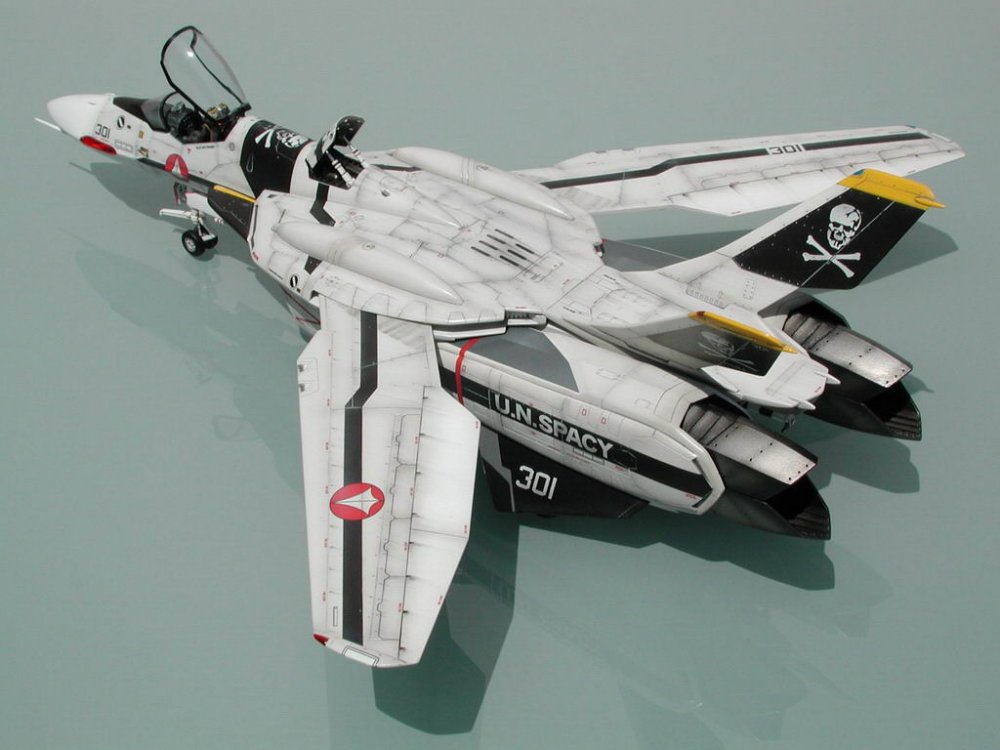
A little truer colours.
-
Maybe if there was a way to hinge the flaps - I didn't want the flaps down since I wanted to swing the wings in or out, but this view begs for the flaps to be down.
-
Ah, this exposure shows off some of the weathering a bit better.
-
I'd love to see any photoshoped magic...
-
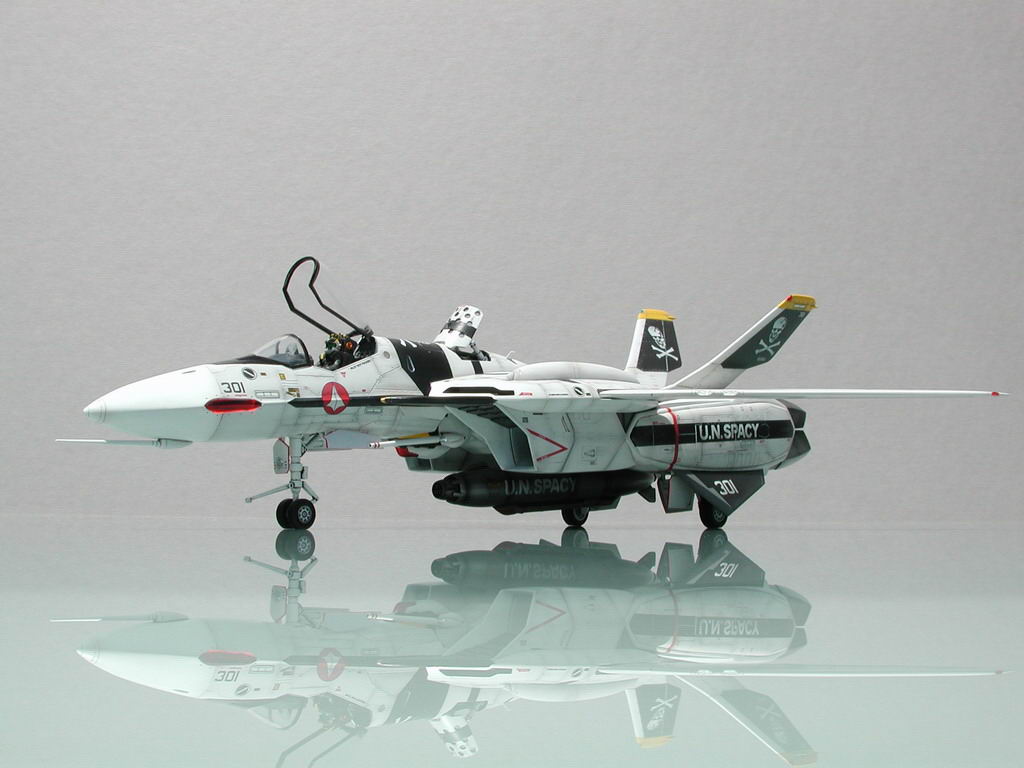
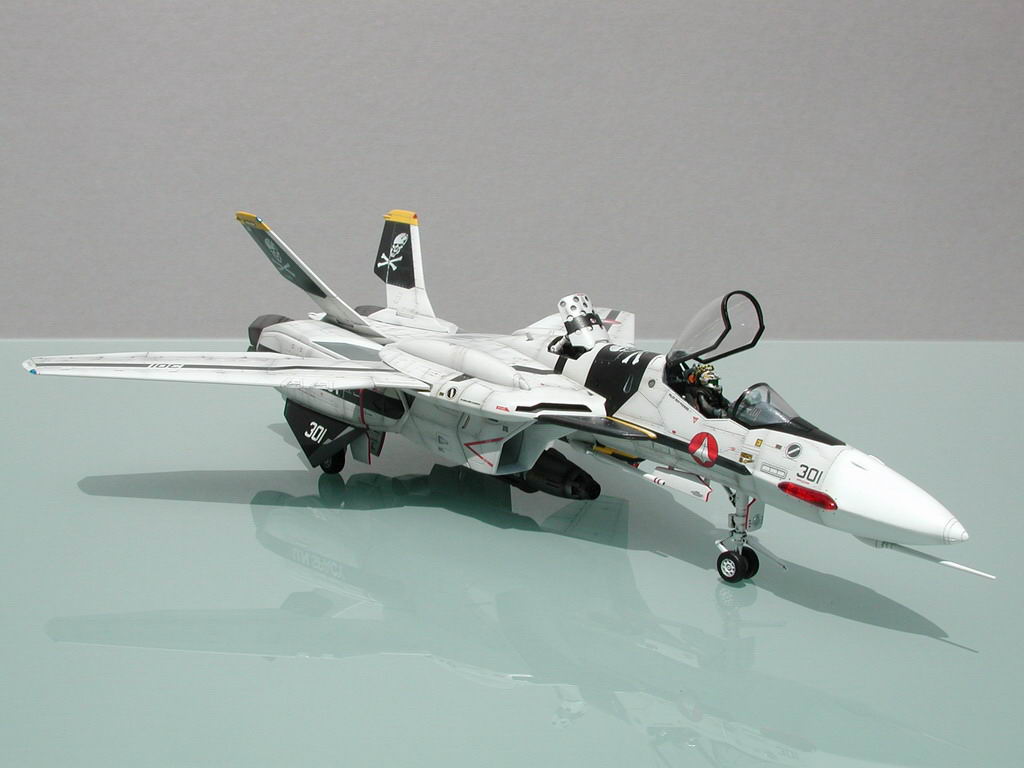
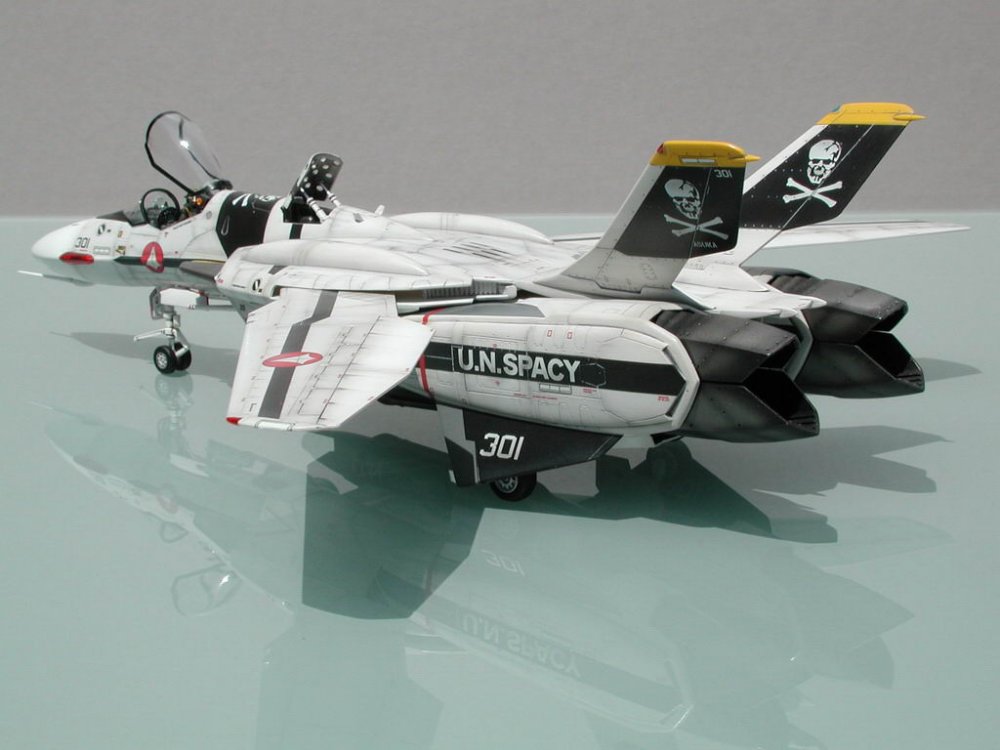
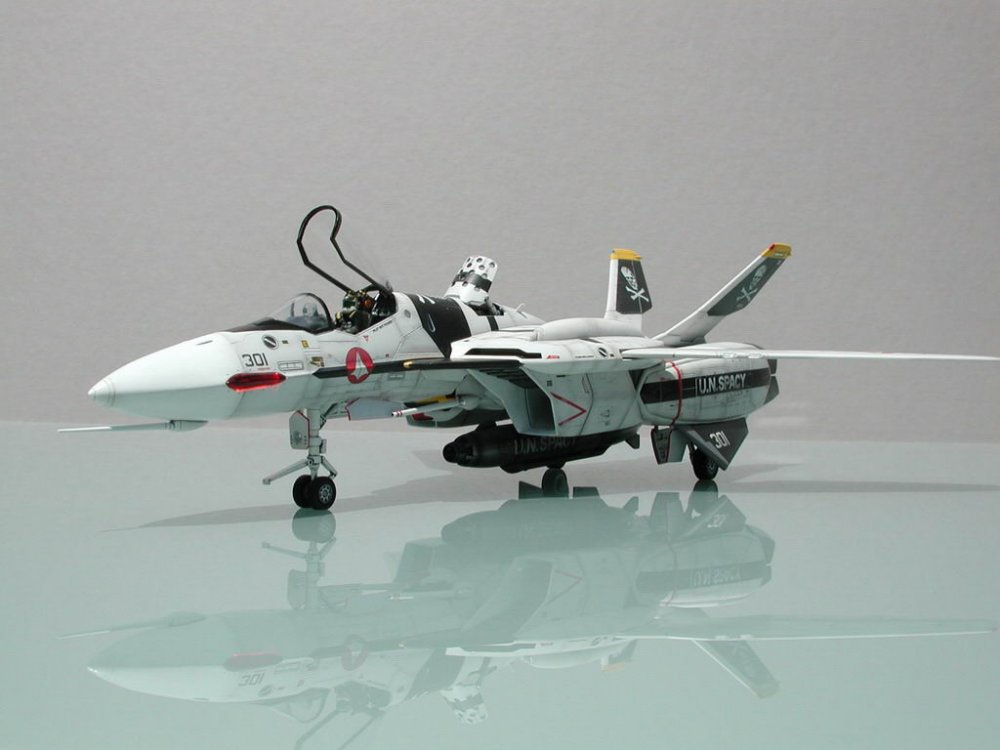
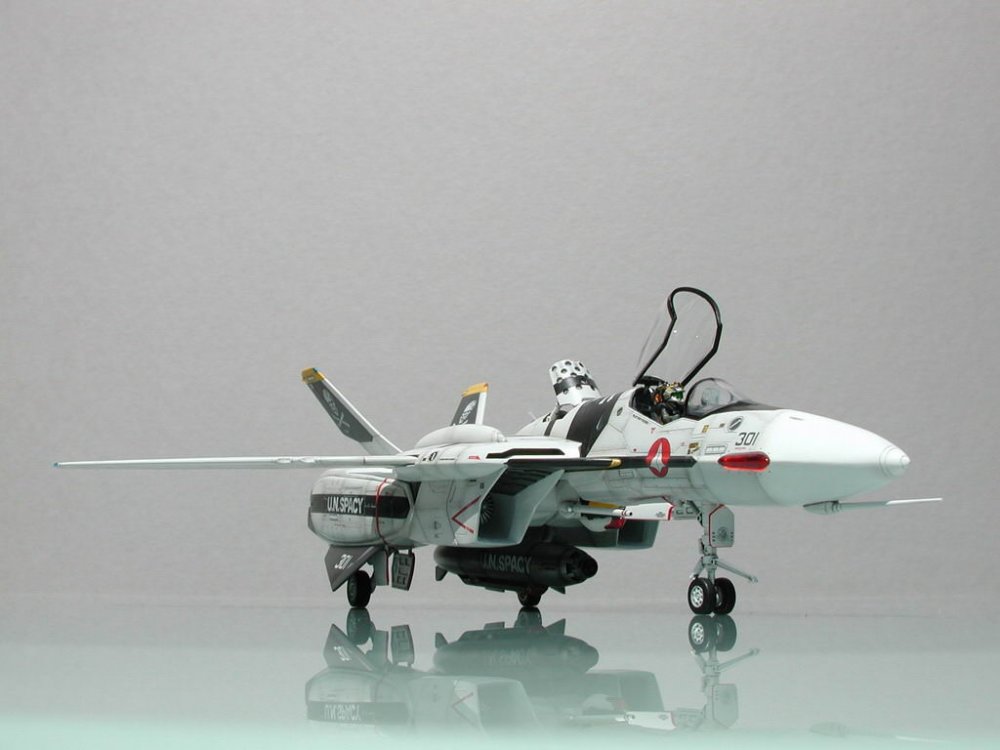
There ya go - the requested side view.

-
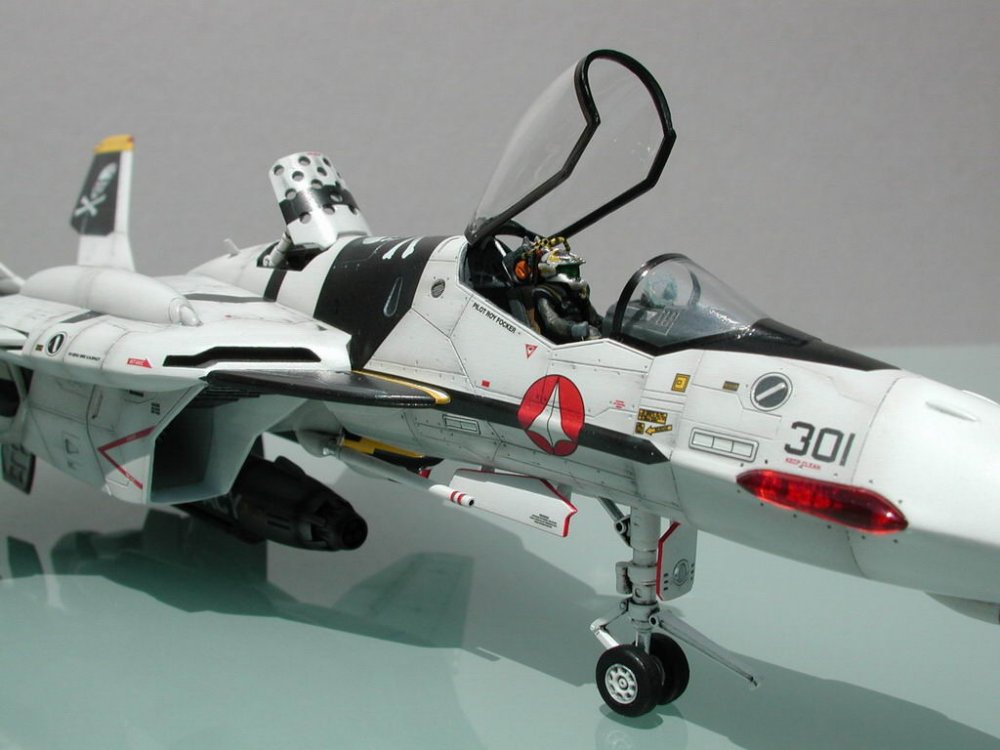
Roy's looking right at us!
-
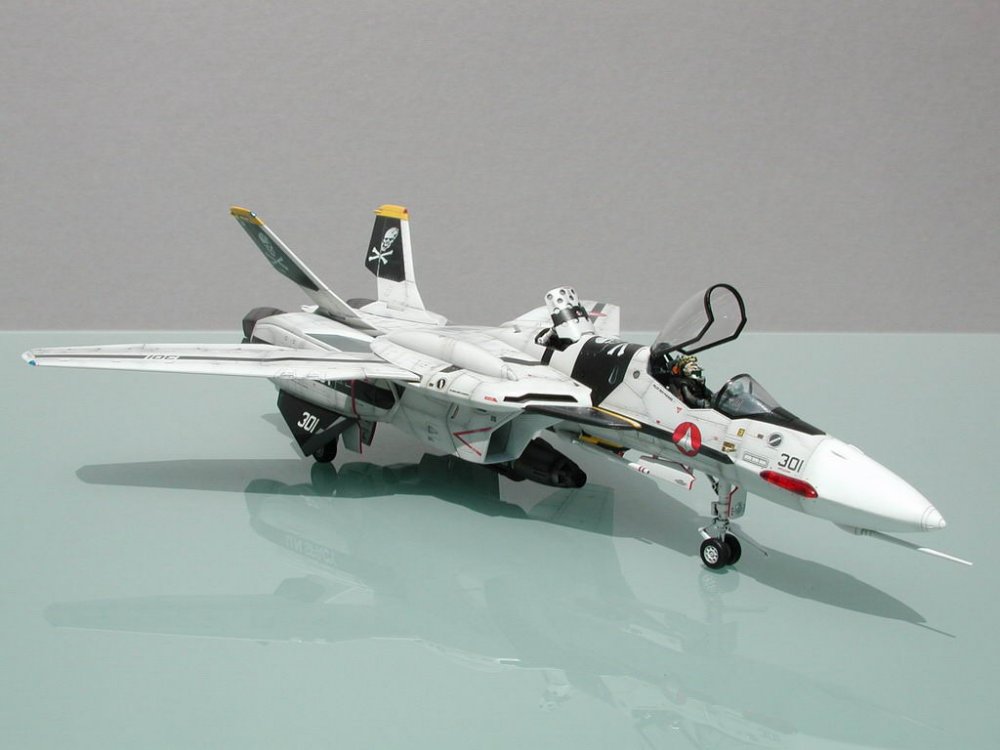
One of my favourites!

-
I thought the grey background is better than a white one for a white bird.
-
Catapult ready...
-
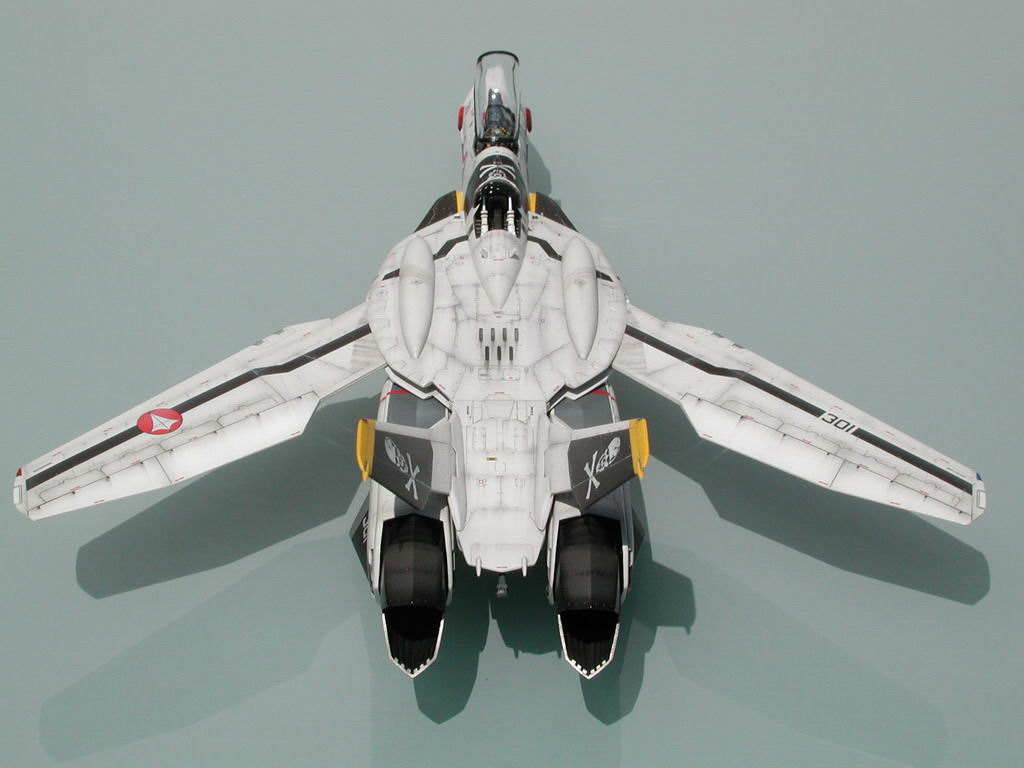
Head on!!

-
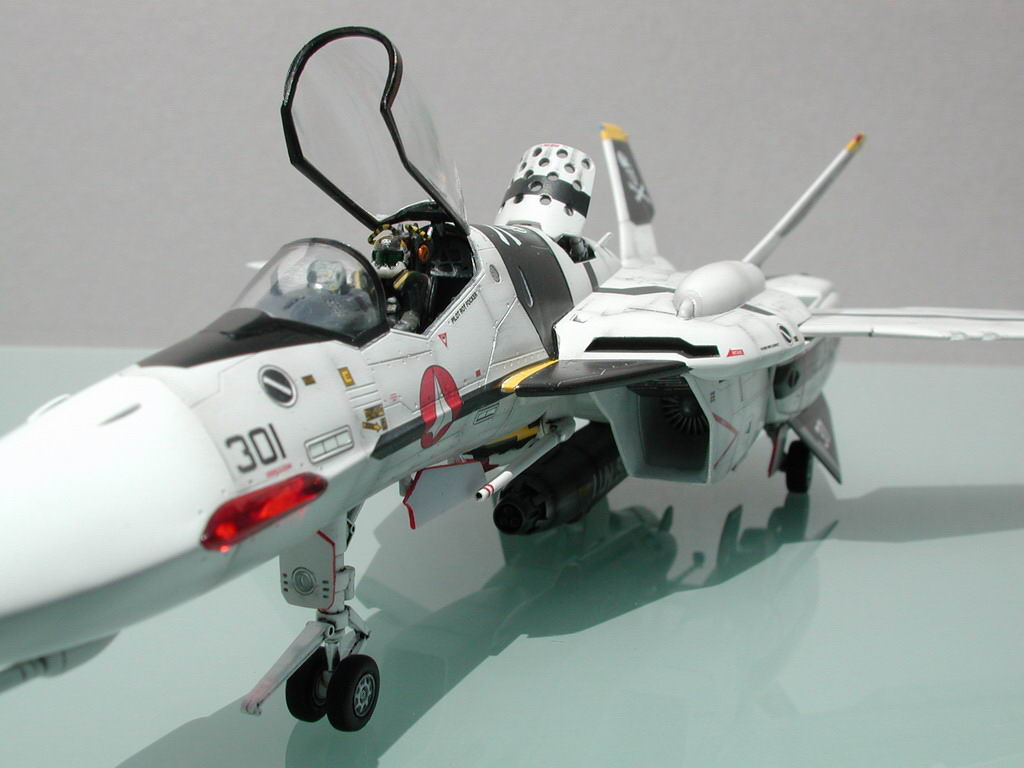
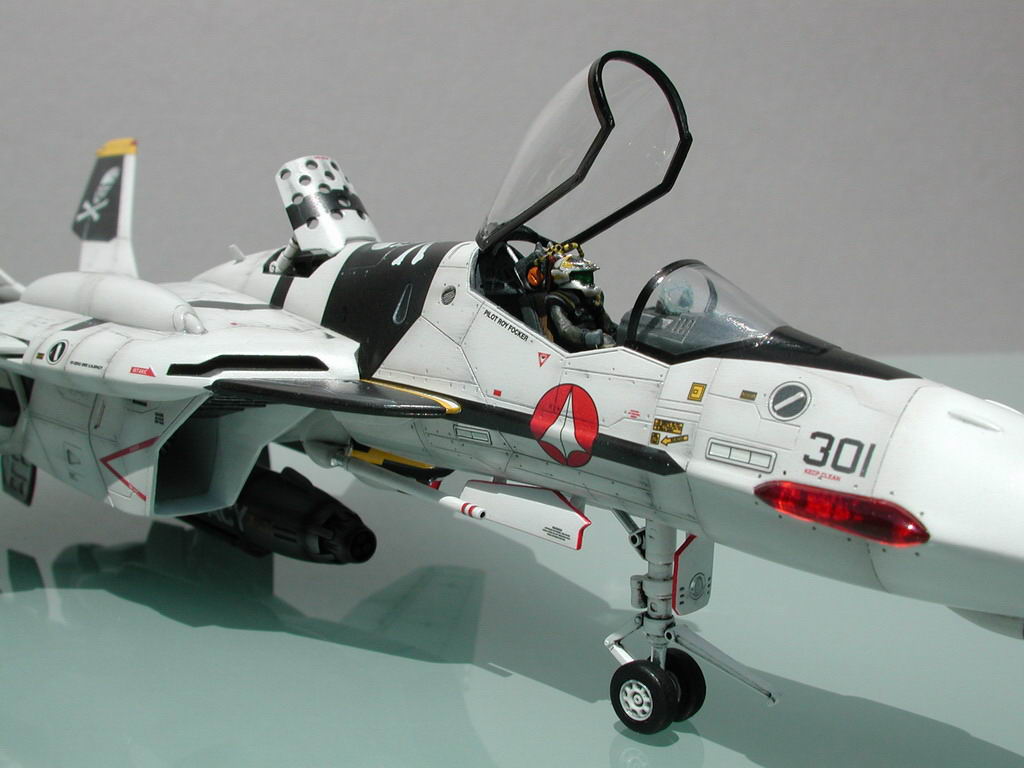
Close up...
-
Now for the walkaround...
-
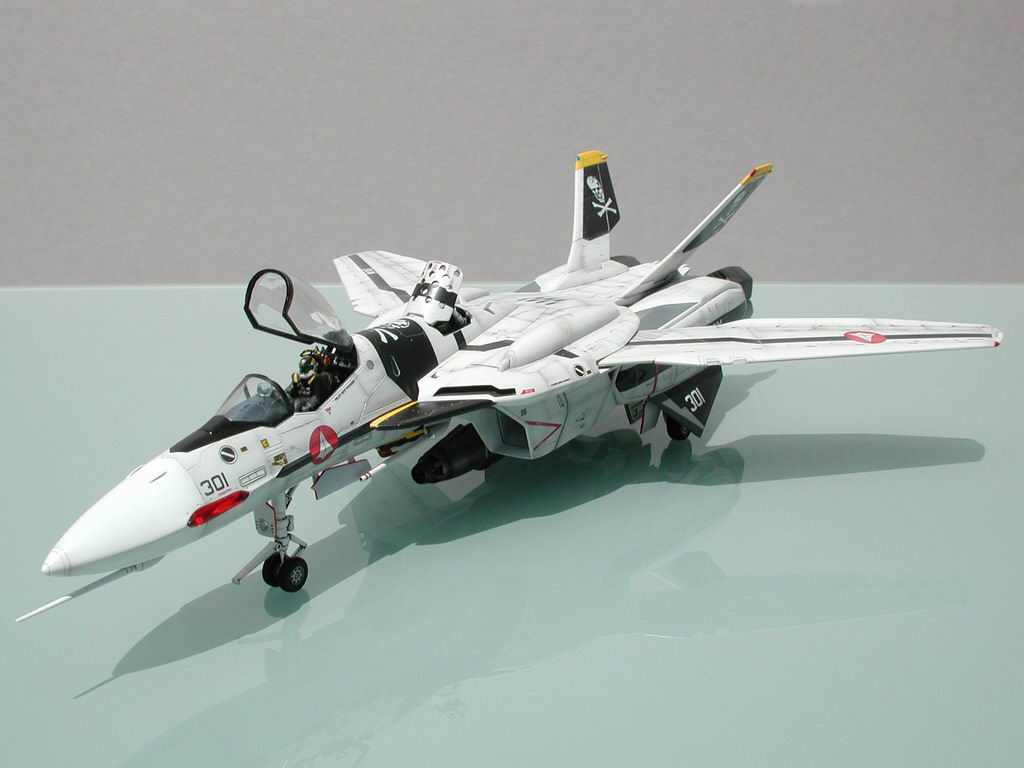
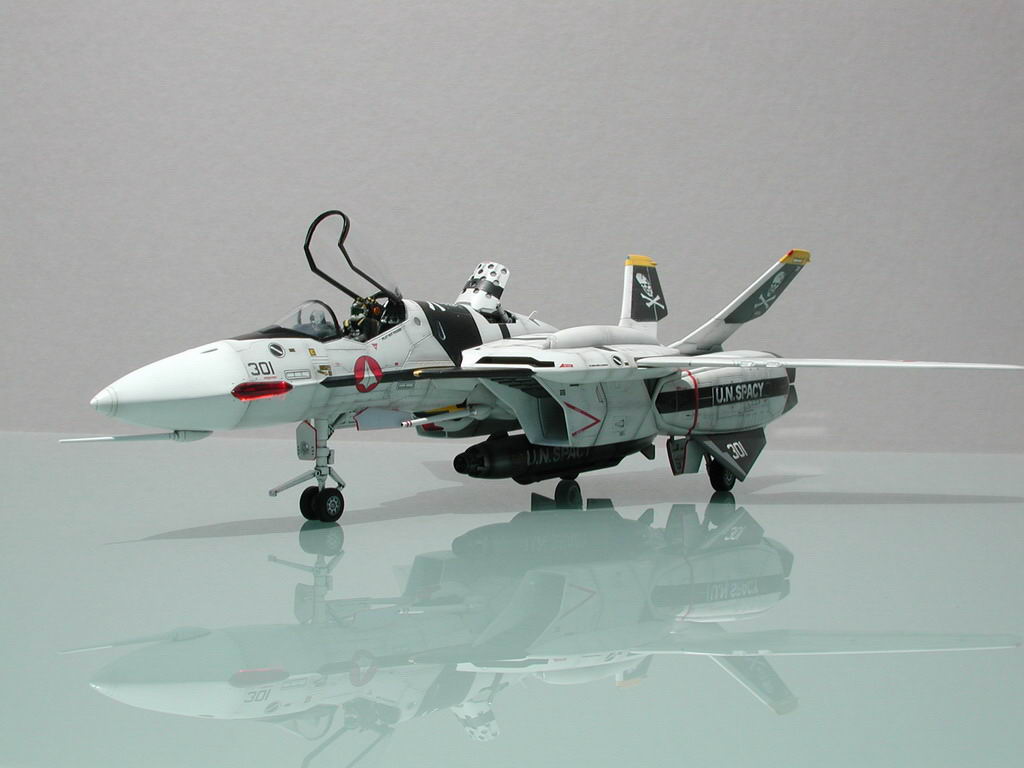
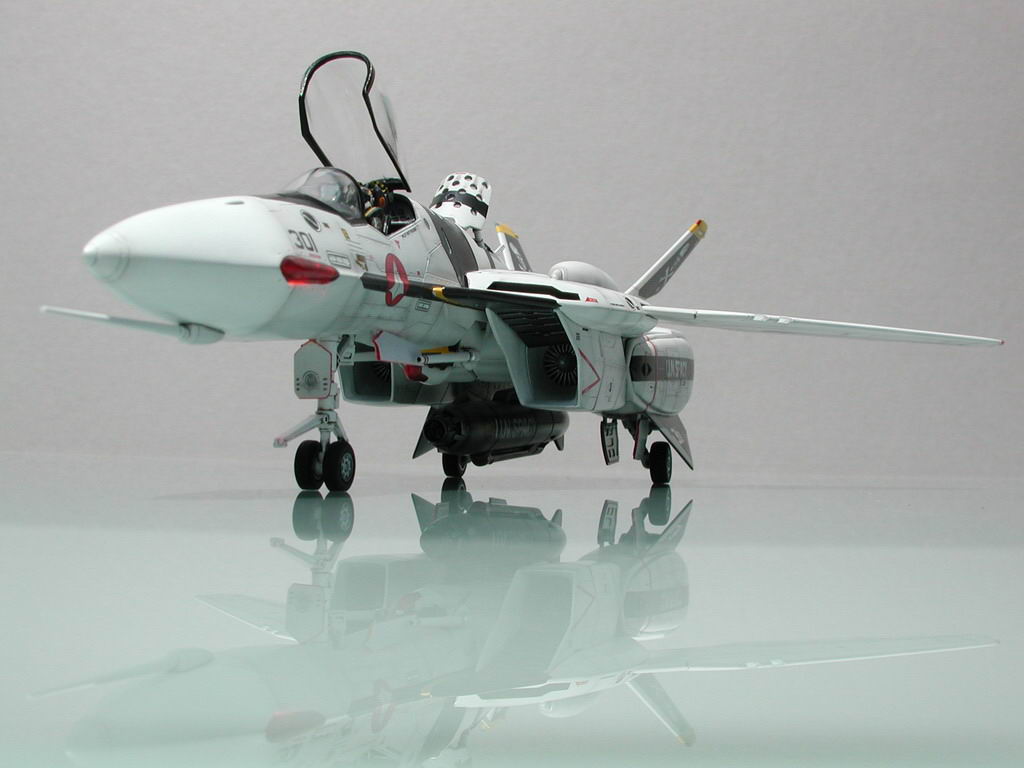
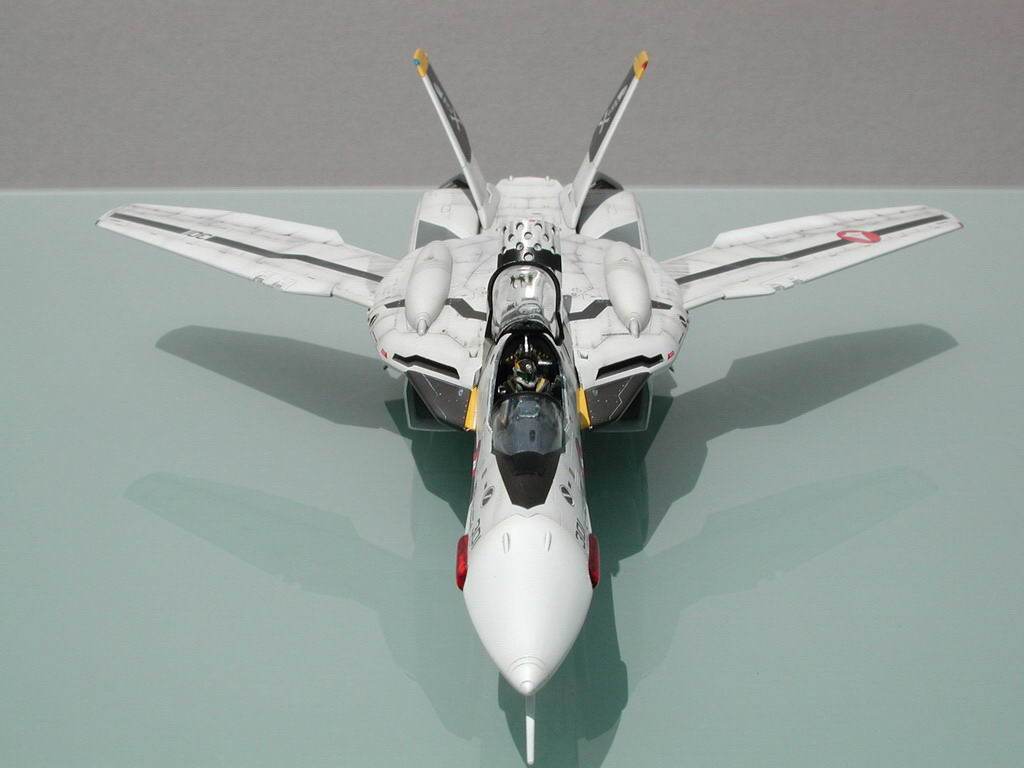
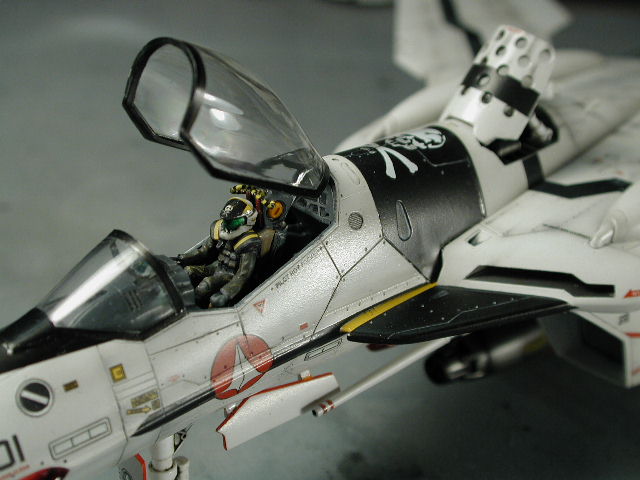
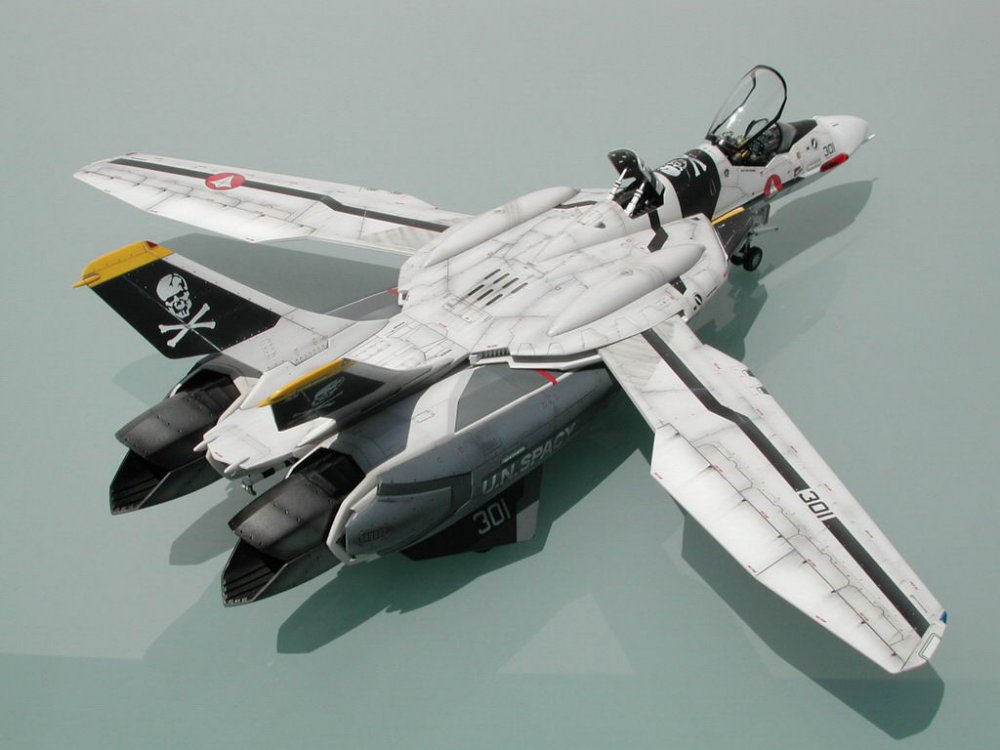
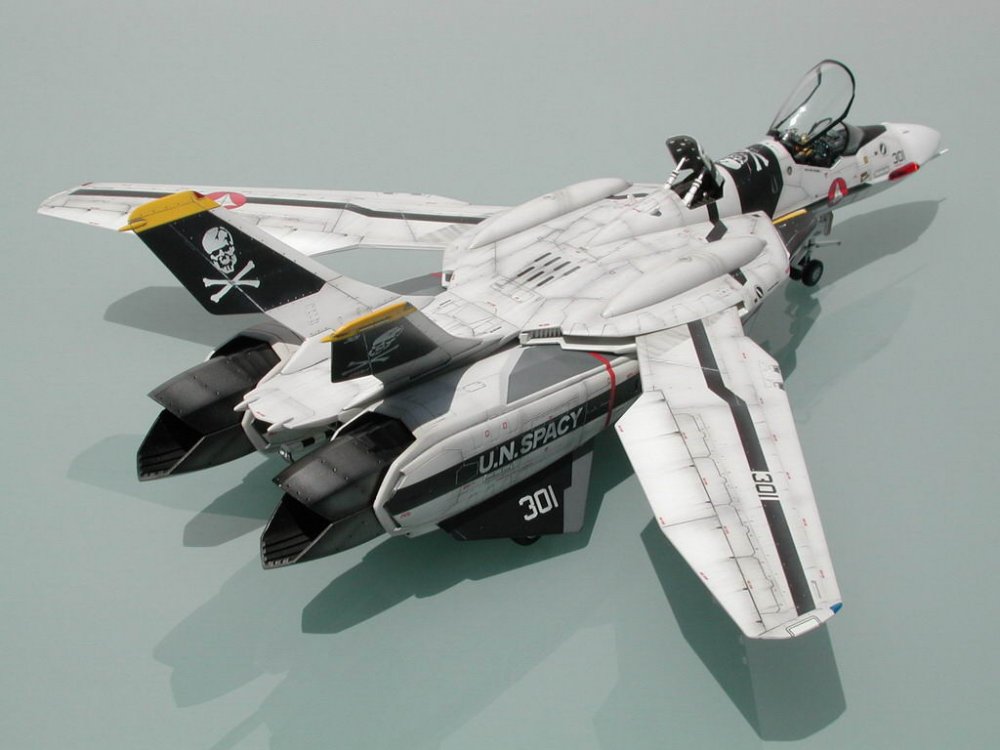
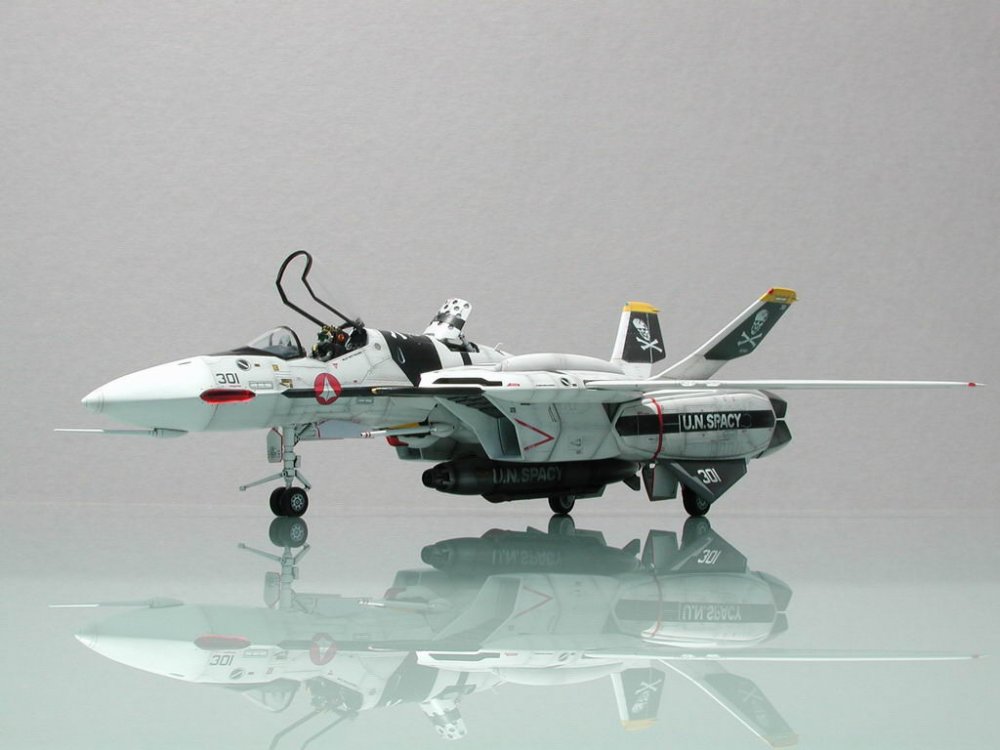
Hi all, Thanks for all the input and feedback - it really helped. As promised, the first sunny day, I went out and took some proper photos of my latest bird. I feel as though this is the best yet. Its always nice to look back and see that you're improving. The sun was a bit bright, and some of the weathering is a bit washed out - it looks a bit greyer and darker in real life, but it is essentially a white plane - even though its a really light grey - only the nose cone and flaps are pure white. I hope you guys enjoy it as much as I did sharing and building it.
-
Dear Mods, may I request again to have this topic pinned? I noticed that there weren't really any pinned topics here - and when I update/edit the original posting, it no longer bumps up to the recent list. It would be helpful for me (and others I believe ) if this was pinned. Your help is appreciated. Wm.
-
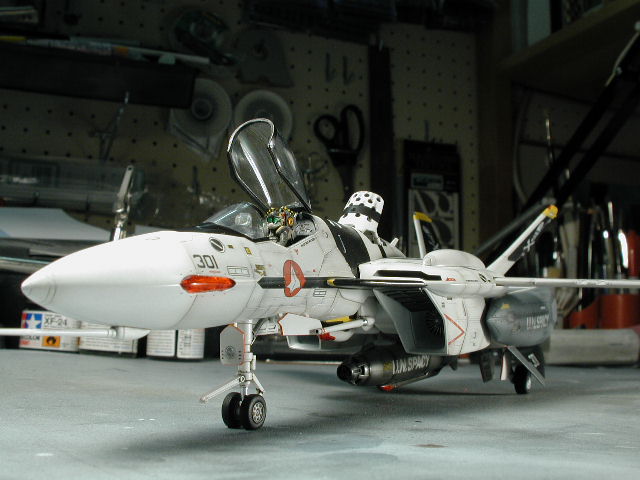
Ground crew view with the packs on. Let's see... parting tips: don't glue the front pilots tube till the very end (you will snap it off otherwise ), Decal the lower ventral fins (grey & black) at the end, since the plane rests on these fins most of the time - before the gears are glued on - the grey tips will rub off and you need to touch them up. Can't wait for the VF-0D or a low-viz fodder to come out - will do that one with the gears up. Its so much bigger than the VF-1, they look out of scale when placed next to each other - hmm, kind of like a 1/72 next to a 1/100. I'll post some shots of the flight line up soon. I would like to say again a big thank you to Myersjessee for sending me this kit - It was an unexpected surprise and I really appreciate it. Also I am most grateful for David H.'s expertise in aircraft - thanks for all the ideas and reference materials. Also thank you all for following along and providing input and feedback - it really made this model better than I could of done by myself (thanks Shawn & Graham for making this possible). I know... I can hear the music start up... - just 30 more seconds... Hasegawa really out done themselves this time - I think its their most detailed best kit yet. Come on, lets see everyone's VF-0 soon! Hey, any model contests comming up soon Wow, its been a long ride (with working in the middle there) - I'd really appreciate it if someone would edit this thread and turn it into a PDF file for me. Its too bad I lost some of the older threads on the old boards.

-
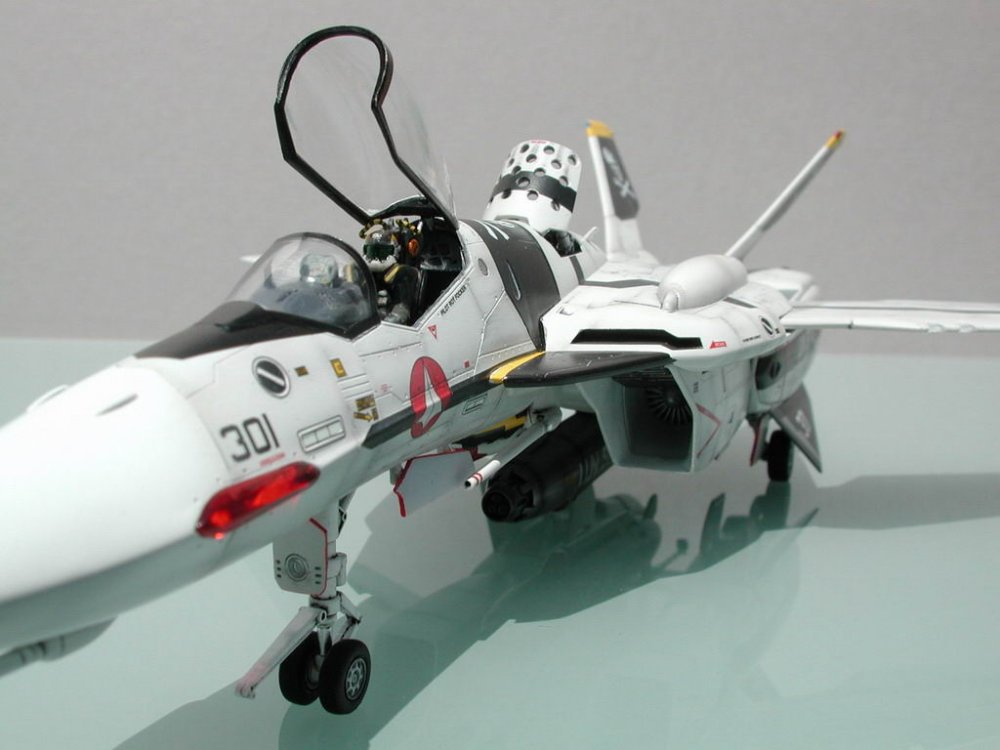
Cockpit closeup!

-
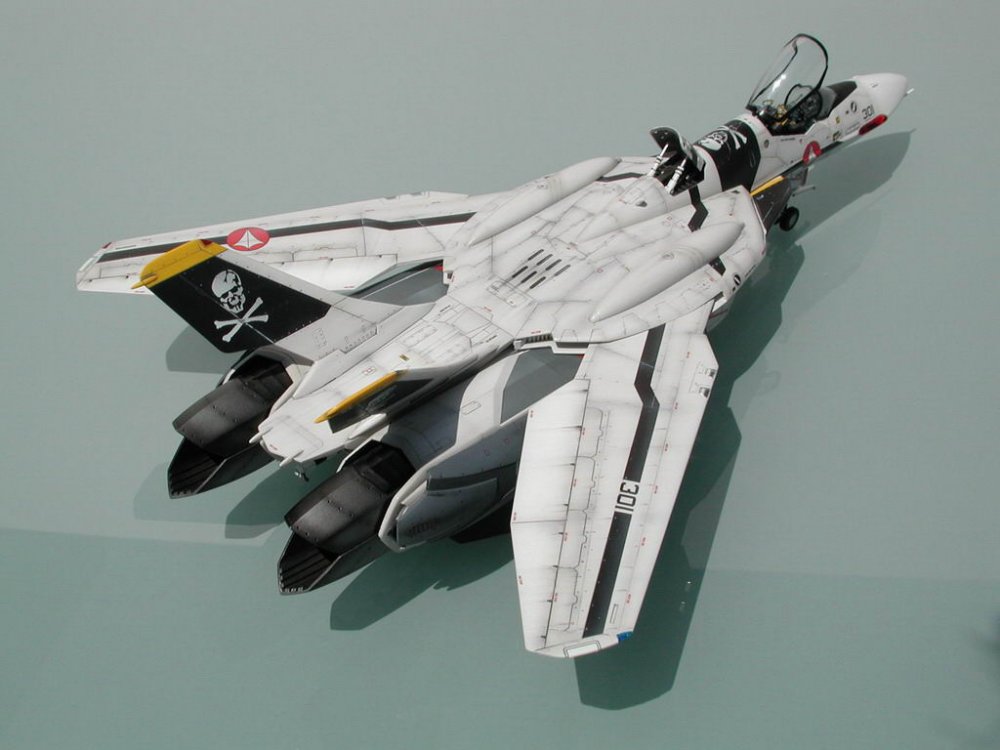
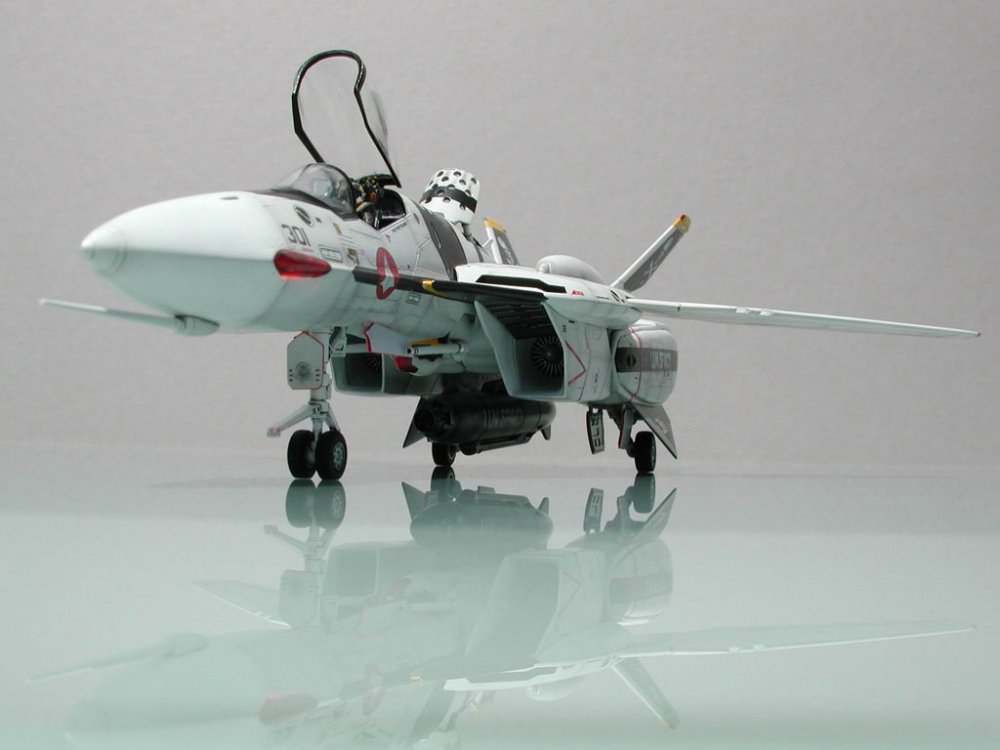
A shot of the underside.

-
Detail shot of the back weathering which I am most proud of.

-