Ido
-
Posts
847 -
Joined
-
Last visited
Content Type
Profiles
Forums
Events
Gallery
Everything posted by Ido
-
Really, these faults call for tamiya polyester or mori-mori putty they have resin like consistency and are used by resin kits builders.
-
All ready to be glued together. Intakes... Details Engines... The fitting test show a good fitting, my greatest fear its that paint or glue will end on the exhausts, I wish Hasegawa made them detachable, damn.... I'm surprised myself that nothing bad happened yet, the worst part will be canopy and clear parts I guess. I'l will mess up, don't worry I'm 99% sure it will happens.
-
Ok, now that wings and fuselage are perfect I can start with the legs. Testing... There a lot of injection marks in the intakes, I will try to hide them with white putty and base white.
-
The yf-21 has external mounted gunpods, the vf-22 gunpod its store internally. The legs are stored retracted inside the fuselage under the two large panels you see in the bottom, its a unique feature of this valk, the arms are the fusulage sides. Most of the yf-21 anime magic its the front fuselage that become very short in battroid mode. Look at this perfect transformation model. http://park1.wakwak.com/~jasshy/yf21.html
-
There are 4 canon color schemes for the 22, Max's light blue and white, Millia's Red and white, Gamlin's Navy blue and yellow with red tinted canopy or VFX game blue.
-
Vf-0 proportion are so better then the vf-1, it looks nice in battroid mode, closer pics? No skull on the heatshield... NO! we don't want to put your crappy sticker on it!
-
Bubbles can be fixed with mr.surfacer 500 I think, tamiya polyester putty or epoxy should be very good for resin gaps. You can also use Mr. base white 1000 as primer if you worry about the color.
-
Worked out seams and pin marks Empty space filled with epoxy putty Airbrake sanded down a little to fit better with the fuselage. It isn't primed cause is already painted with mr.base white. The Bird! I have to fix some faults the primer showed me in the wings and main fuselage, then I will finish the interiors, after that I'll start with the legs/engines block. Really hope nothing bad happens
-
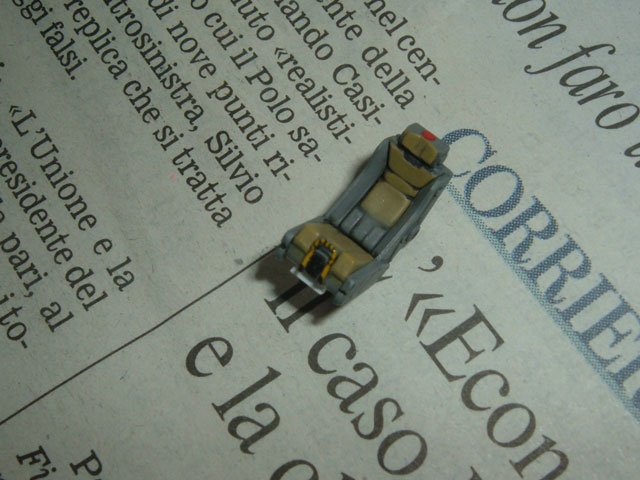
Really that kodak digital camera sucks, my father fujifilm is way better. I think I'll use this for the next pics. Too bad that exhausts and cockpit are already sealed, so I got pics only for the seat and ehausts vents. Finally the eject handle its a bit more visible.

-
Great news, but what about a VF-22 instead of the YF-21, or both ? (nicer canopy) What about mind control system? <-YF-21 <-VF-22S Good luck for the tests!
-
Yeah, tenjim just rocks, everybody, buy his book! I agree but Hasegawa valks doesn't have default landing gear up option, you must customize it to make it with them up so it will be silly to display the model with a not existing option. The vf-1 doesn't ever have the open canopy option. The stands are nice, I was thinking about a battroid CF next, that will be nice.
-
If are going to paint it with acrylics its better use a primer first, a clear coat help to protect the paintjob. However, I suggest to use Mr.color lacquers that are a lot tougher.
-
There aren't straight rules for thinning and psi pressure, use others modelers tips as starting point, after some times that you airbrush you will understand a lot better how much you should thin it or what pressure use. I always check the paint thickness in the bottle (and test how much it covers the first time I use it) and then think about how much I should thin it, then check again the thickness in the cup with a toothpick. Always test it on a piece of paper before paint something!
-
Nice anime look and scheme, but, something is missing
-
My wallet cry! But it's so good to know this, please hasegawa a VF-0D battroid! please! Notice: its say "vf-0" not just "vf-0s" Ps And Macross its dead...yes
-
WOW! Wave vf-0 battroid kit! Plastic, vynil or resin? Wave show love for Macross once again, it's a good thing.
-
What tube cement do you use? I tried the testor orange one with the yf-19 fuselage and the two halves opened after few handlings after that I only use liquid cement for big parts. The exhausts looks wonderful, I think i'll use the exhaust metalizer for the next valk, I used mr. metal color dark iron that looks very similar and I'm very pleased, the problem is that I need to polish and seal it. The steel metalizer IMO its too light, I prefer a darker shade. I heard nikon are really good cameras for details, I have a crappy kodak, always dark or blurry pics for small parts.
-
Just want to let you know that I will not visit the forum for some time(about 2 weeks) in the near future cause I'm changing my ADSL connection, so don't worry I'll continue to build it while I'm off-line and take pictures.
-
Sorry for your friend, surely some stuff we use is very dangerous, I don't use acrylics and I always wear the respirator while airbrushing. Your pics are always clear, what digital camera do you use? Some tips? Mine are all crappy. Alclad metalizers look sweet but why metalize the gunpod?You do it just cause its cool?
-
Worked a little more on the bird, the backpack looked simple but I messed up with the glue, after sanding priming, sanding priming again ots okay, now I'm currently doing the wings, I messed up a little on one wing, but nothing serious. Just hope to don't run out of primer
-
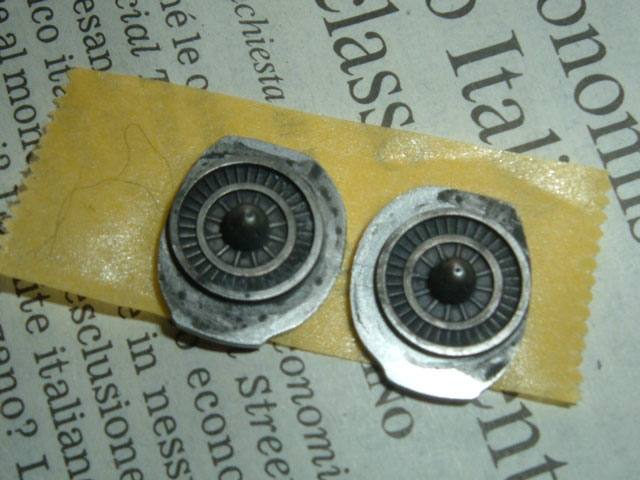
Awesome skills, what are the two round things in the empty part of the cockpit, two styrene tubes?
-
http://cgi.ebay.it/ws/eBayISAPI.dll?ViewIt...=ADME:B:SS:IT:1 LOL, this Italian seller, sell anime dvds bootlegs and claim that they are legal because he made them himself! Never heard such a stupid thing, there are a lot of typos in the description too. He also don't accept negative feeback.
-
I have to, sorry, crappy camera for this kind of stuff. Its just black and white pastel, nothing special aniways. No, I mean just watching in the the exhausts with a lamp... Quick test.. uhm I think I'll assemble the backpack too.
-
They are a pain and while I appreciate your thoroughness, you'll never see those pin marks once it's together. 327991[/snapback] I agree with Grayson, that's a bit of overkill. I applaud your thoroughness and enthusiasm, though. 328042[/snapback] It may be overkill, IMO it isn't cause they aren't invisible, anyway I have to detail the exhaust, you can light up the inside and say, Holy crap!. I painted the inside with burnt iron, metalized the outside with mr. metal color dark iron and the turbines with mr. super metallic , super iron. The weathering was done with pastels, I don't even try to take a pics of the inside, it's already hard take a pic of the outside, sorry for the crappy pic. The mr. metal colors paint the needs to be polished besides sealing are a pain in the ass to work with, must pick up some alclad metallizer before the next model. I will surely pick up steel, can you suggest me some other metal tones? The next step it's assemble the wings and fix the chest area mechanism. I was thinking about jet exhaust too, dark alliminum is darker then steel?
-
That's all for today The injection marks are a pain.