Xigfrid
-
Posts
2601 -
Joined
-
Last visited
Content Type
Profiles
Forums
Events
Gallery
Everything posted by Xigfrid
-
Haha! That's exactly what I was thinking :) Jasonc let me know if the canopy is still workable to be assembled on the opening mechanism (I know the hole will need to be drilled again), if yes I would love to have a few recasted canopies (about 6x) for me
-
Looking great Jasonc!
-
Shoji Kawamori's Juushinki PANDORA (Spring 2018)
Xigfrid replied to sh9000's topic in Anime or Science Fiction
All three mechas are CG animated so I would say it would be easy to make a toy directly from the show. One thing though, I noticed the car battroid mode sometime is pictured much smaller than a VF-1 and in another scene (with the black mécha battroid) it looks taller than a VF-31.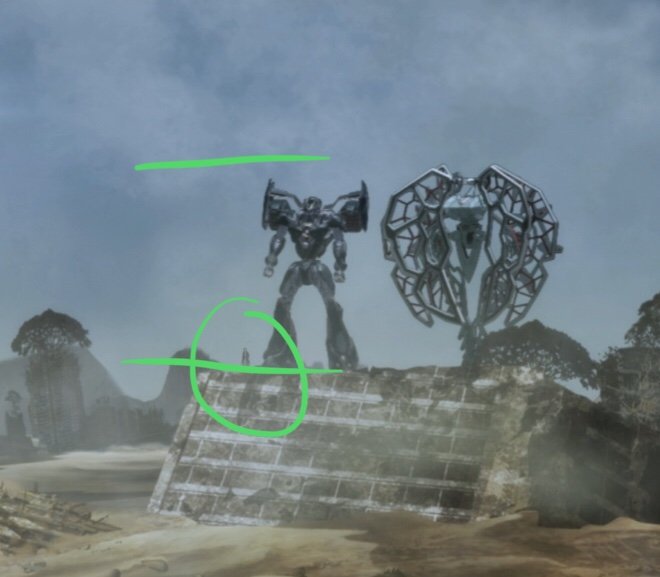
-
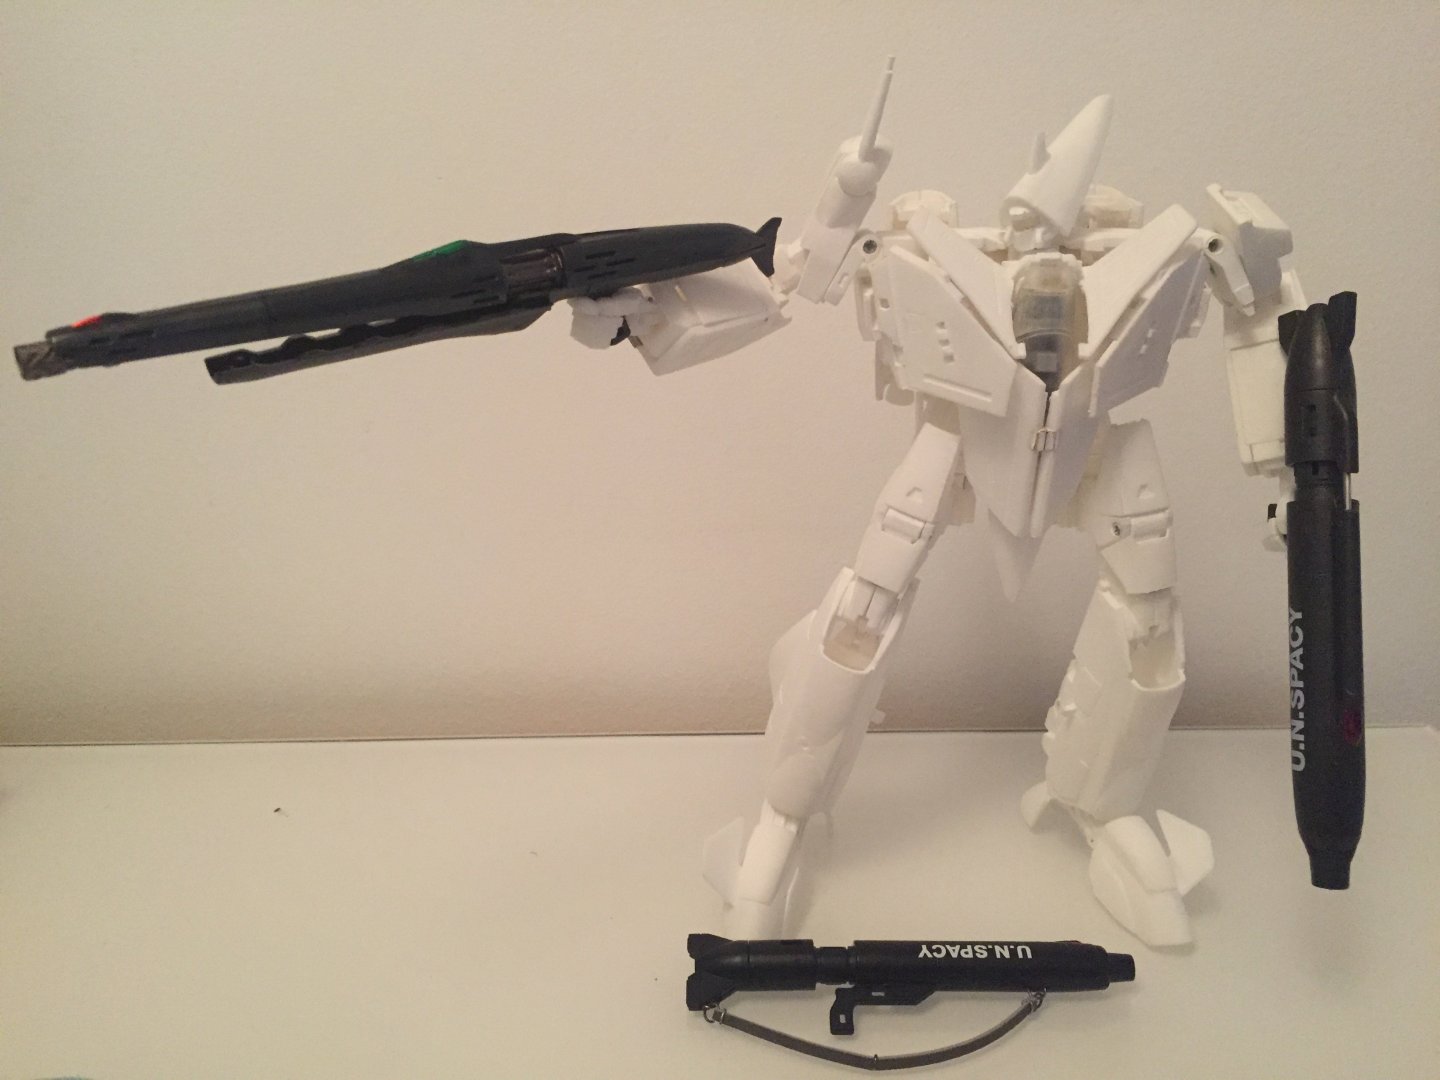
What can be more satisfying than swooshing and transforming a VF-9? Transforming and posing two VF-9 at once!
-
That would be an expensive trip just for a transforming video except if @jenius feels like buying a pre-assembled one
-
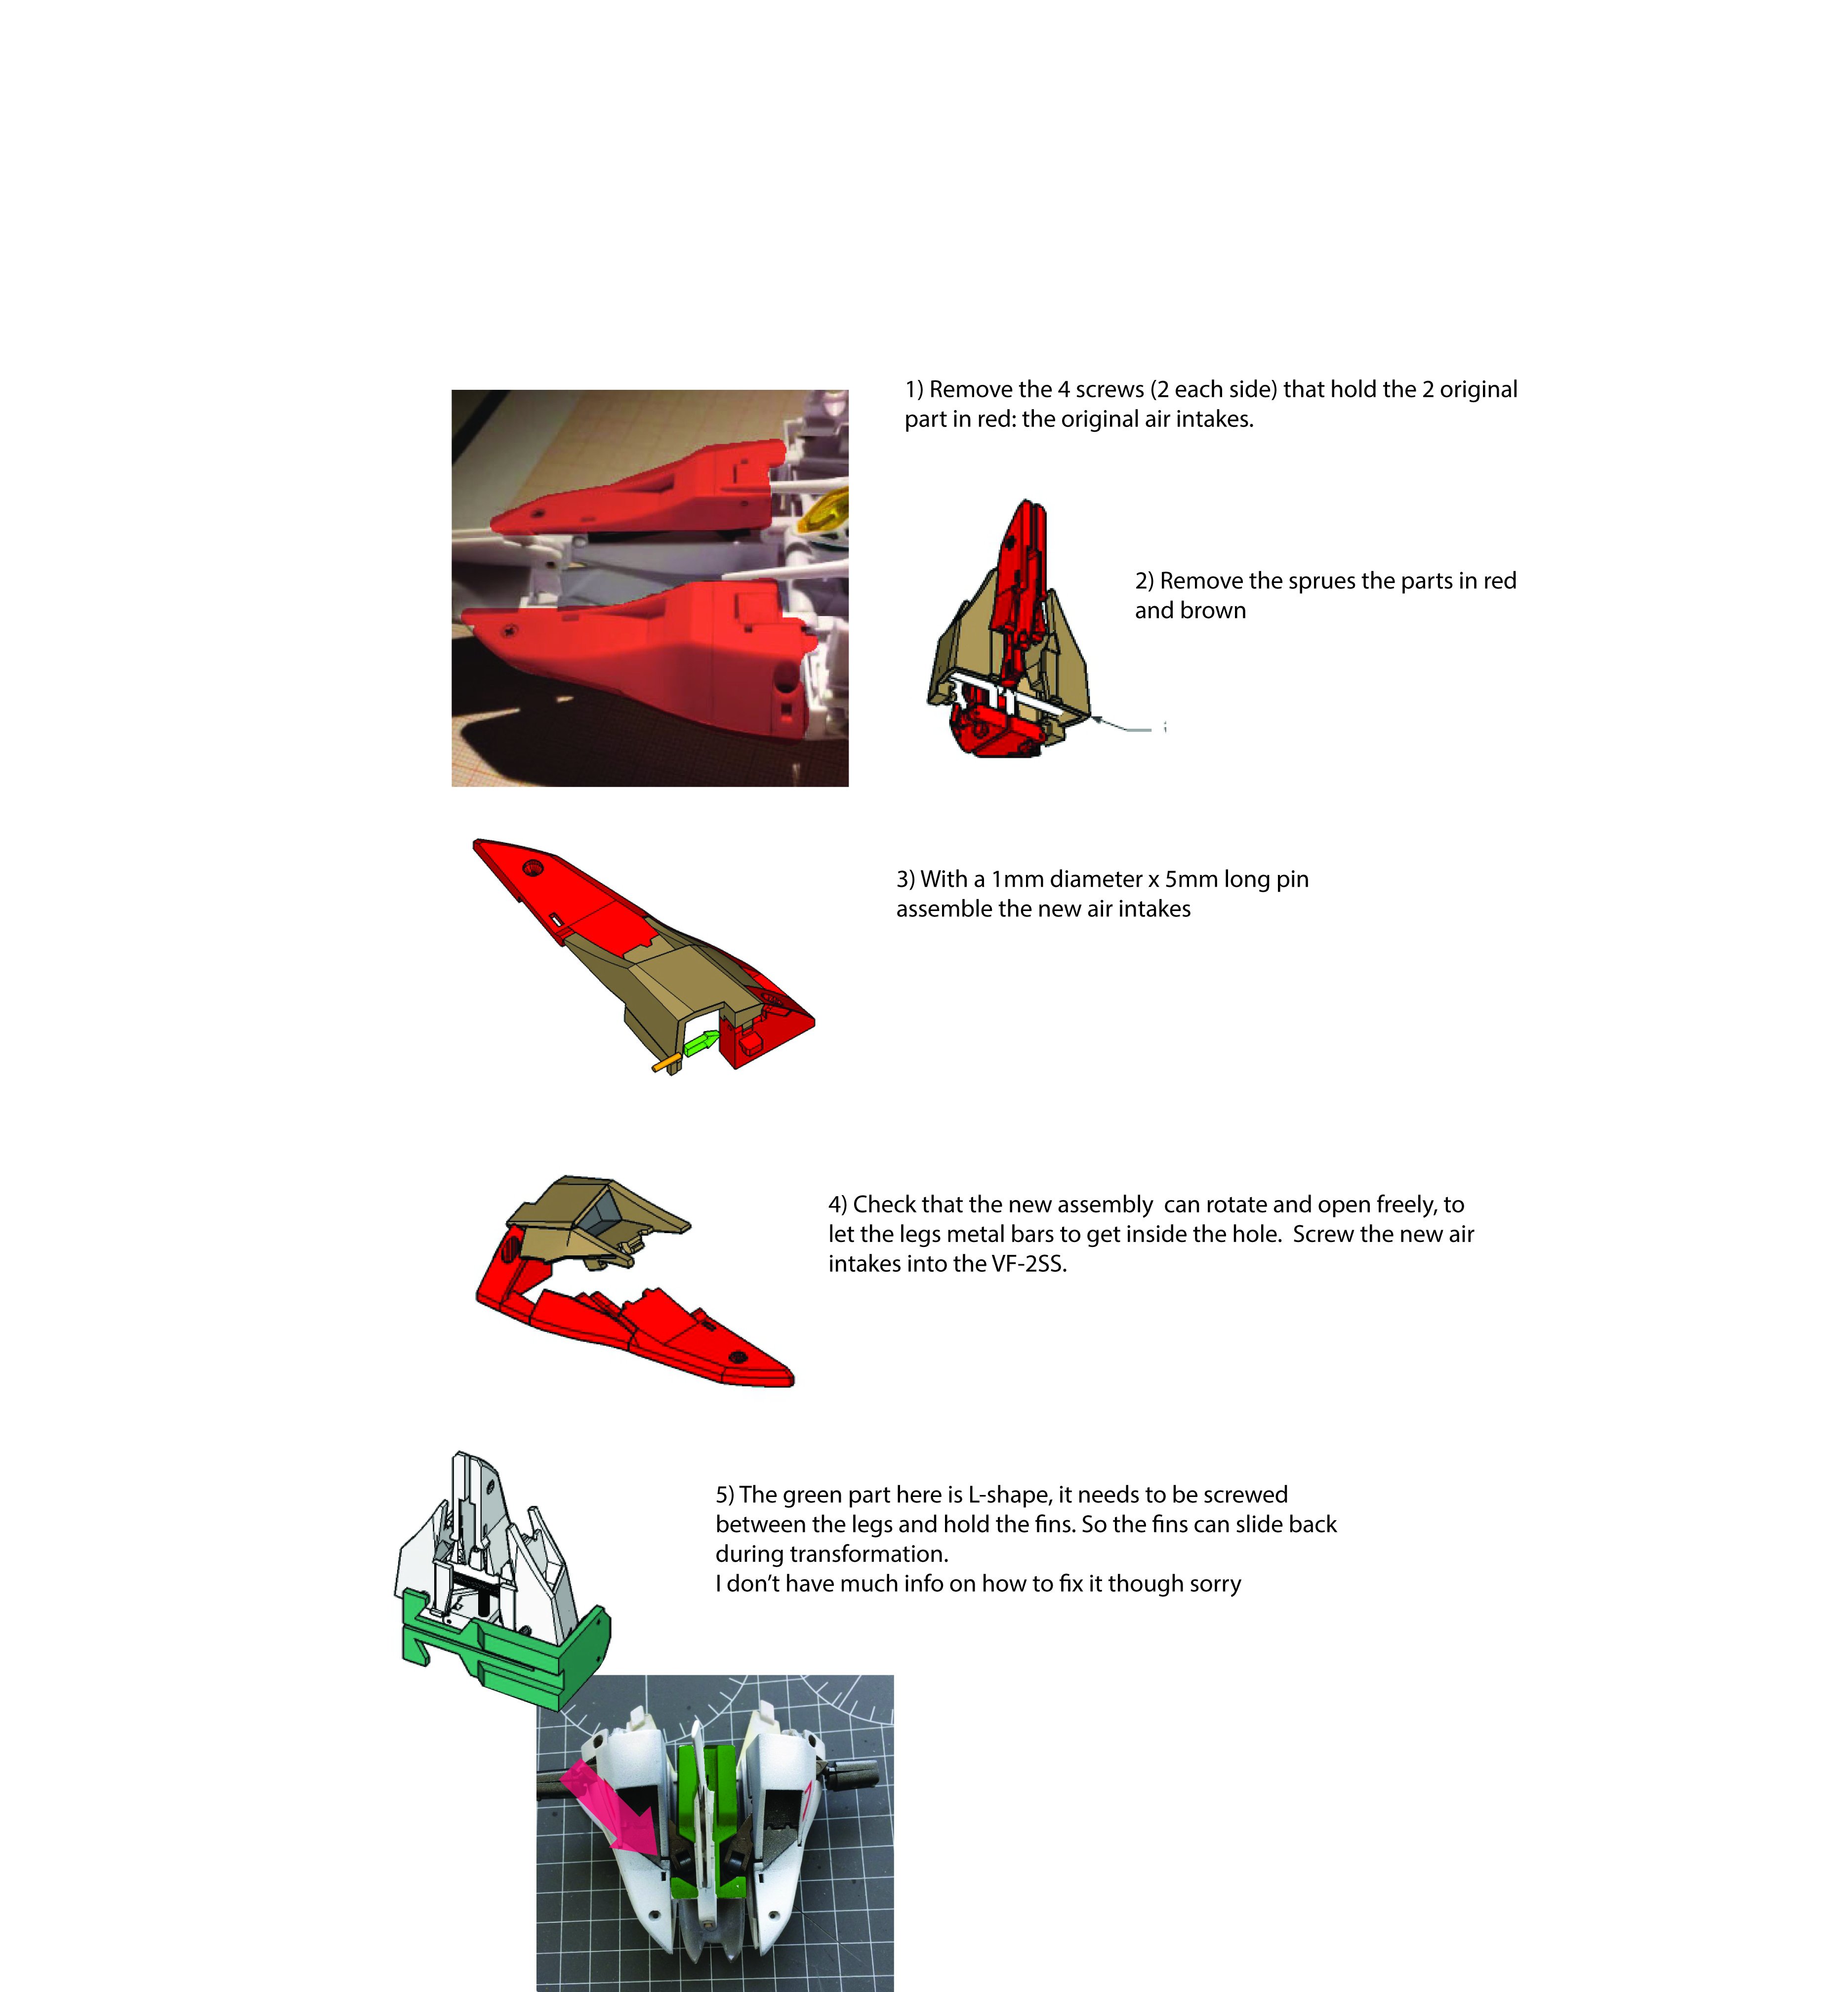
I don't know much about the ventral fin assembly, but here is a description of assembly

-
I am trying to put things up together and make a transformation video.
-
vf-31 siegfried WIP: Alternate Weapons Pods for VF-31
Xigfrid replied to Sanity is Optional's topic in The Workshop!
I think Bandai really failed with this armor design, they could at least put hard points directly into the armor part instead of making a clip -
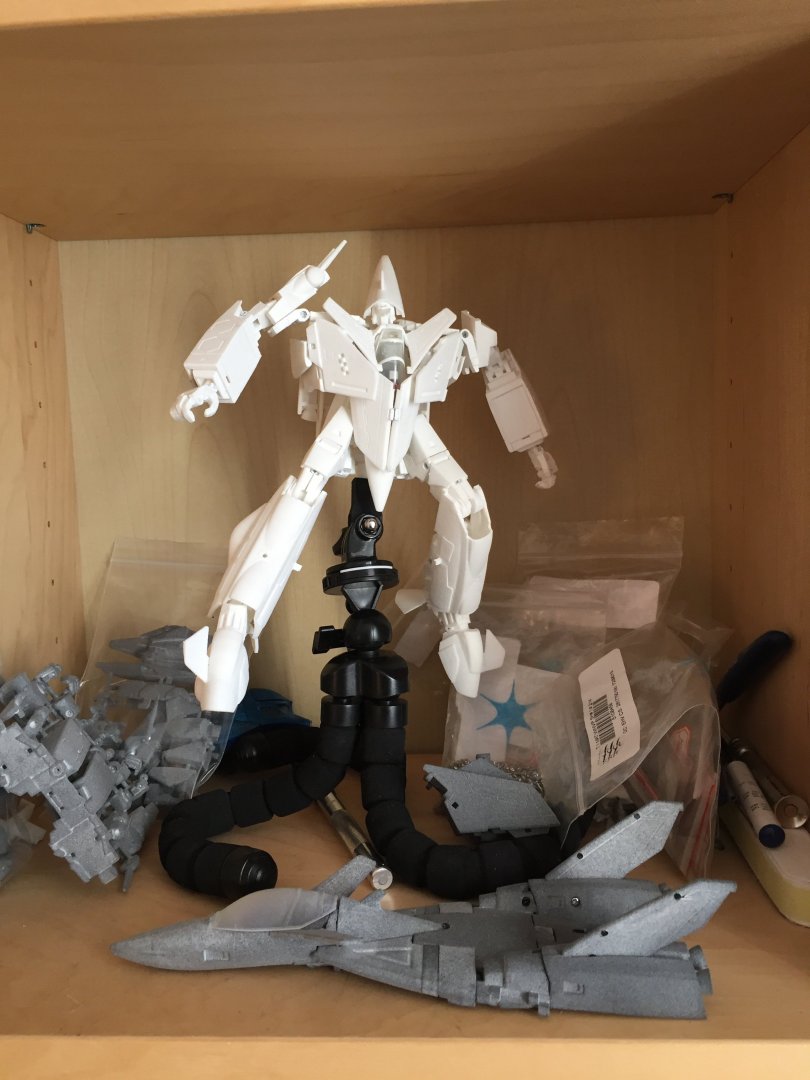
The white is rougher on the surface compared to the HP plastic, thing is my white VF-9 has been sanded 3 times already and it needs only painting now.
-

-
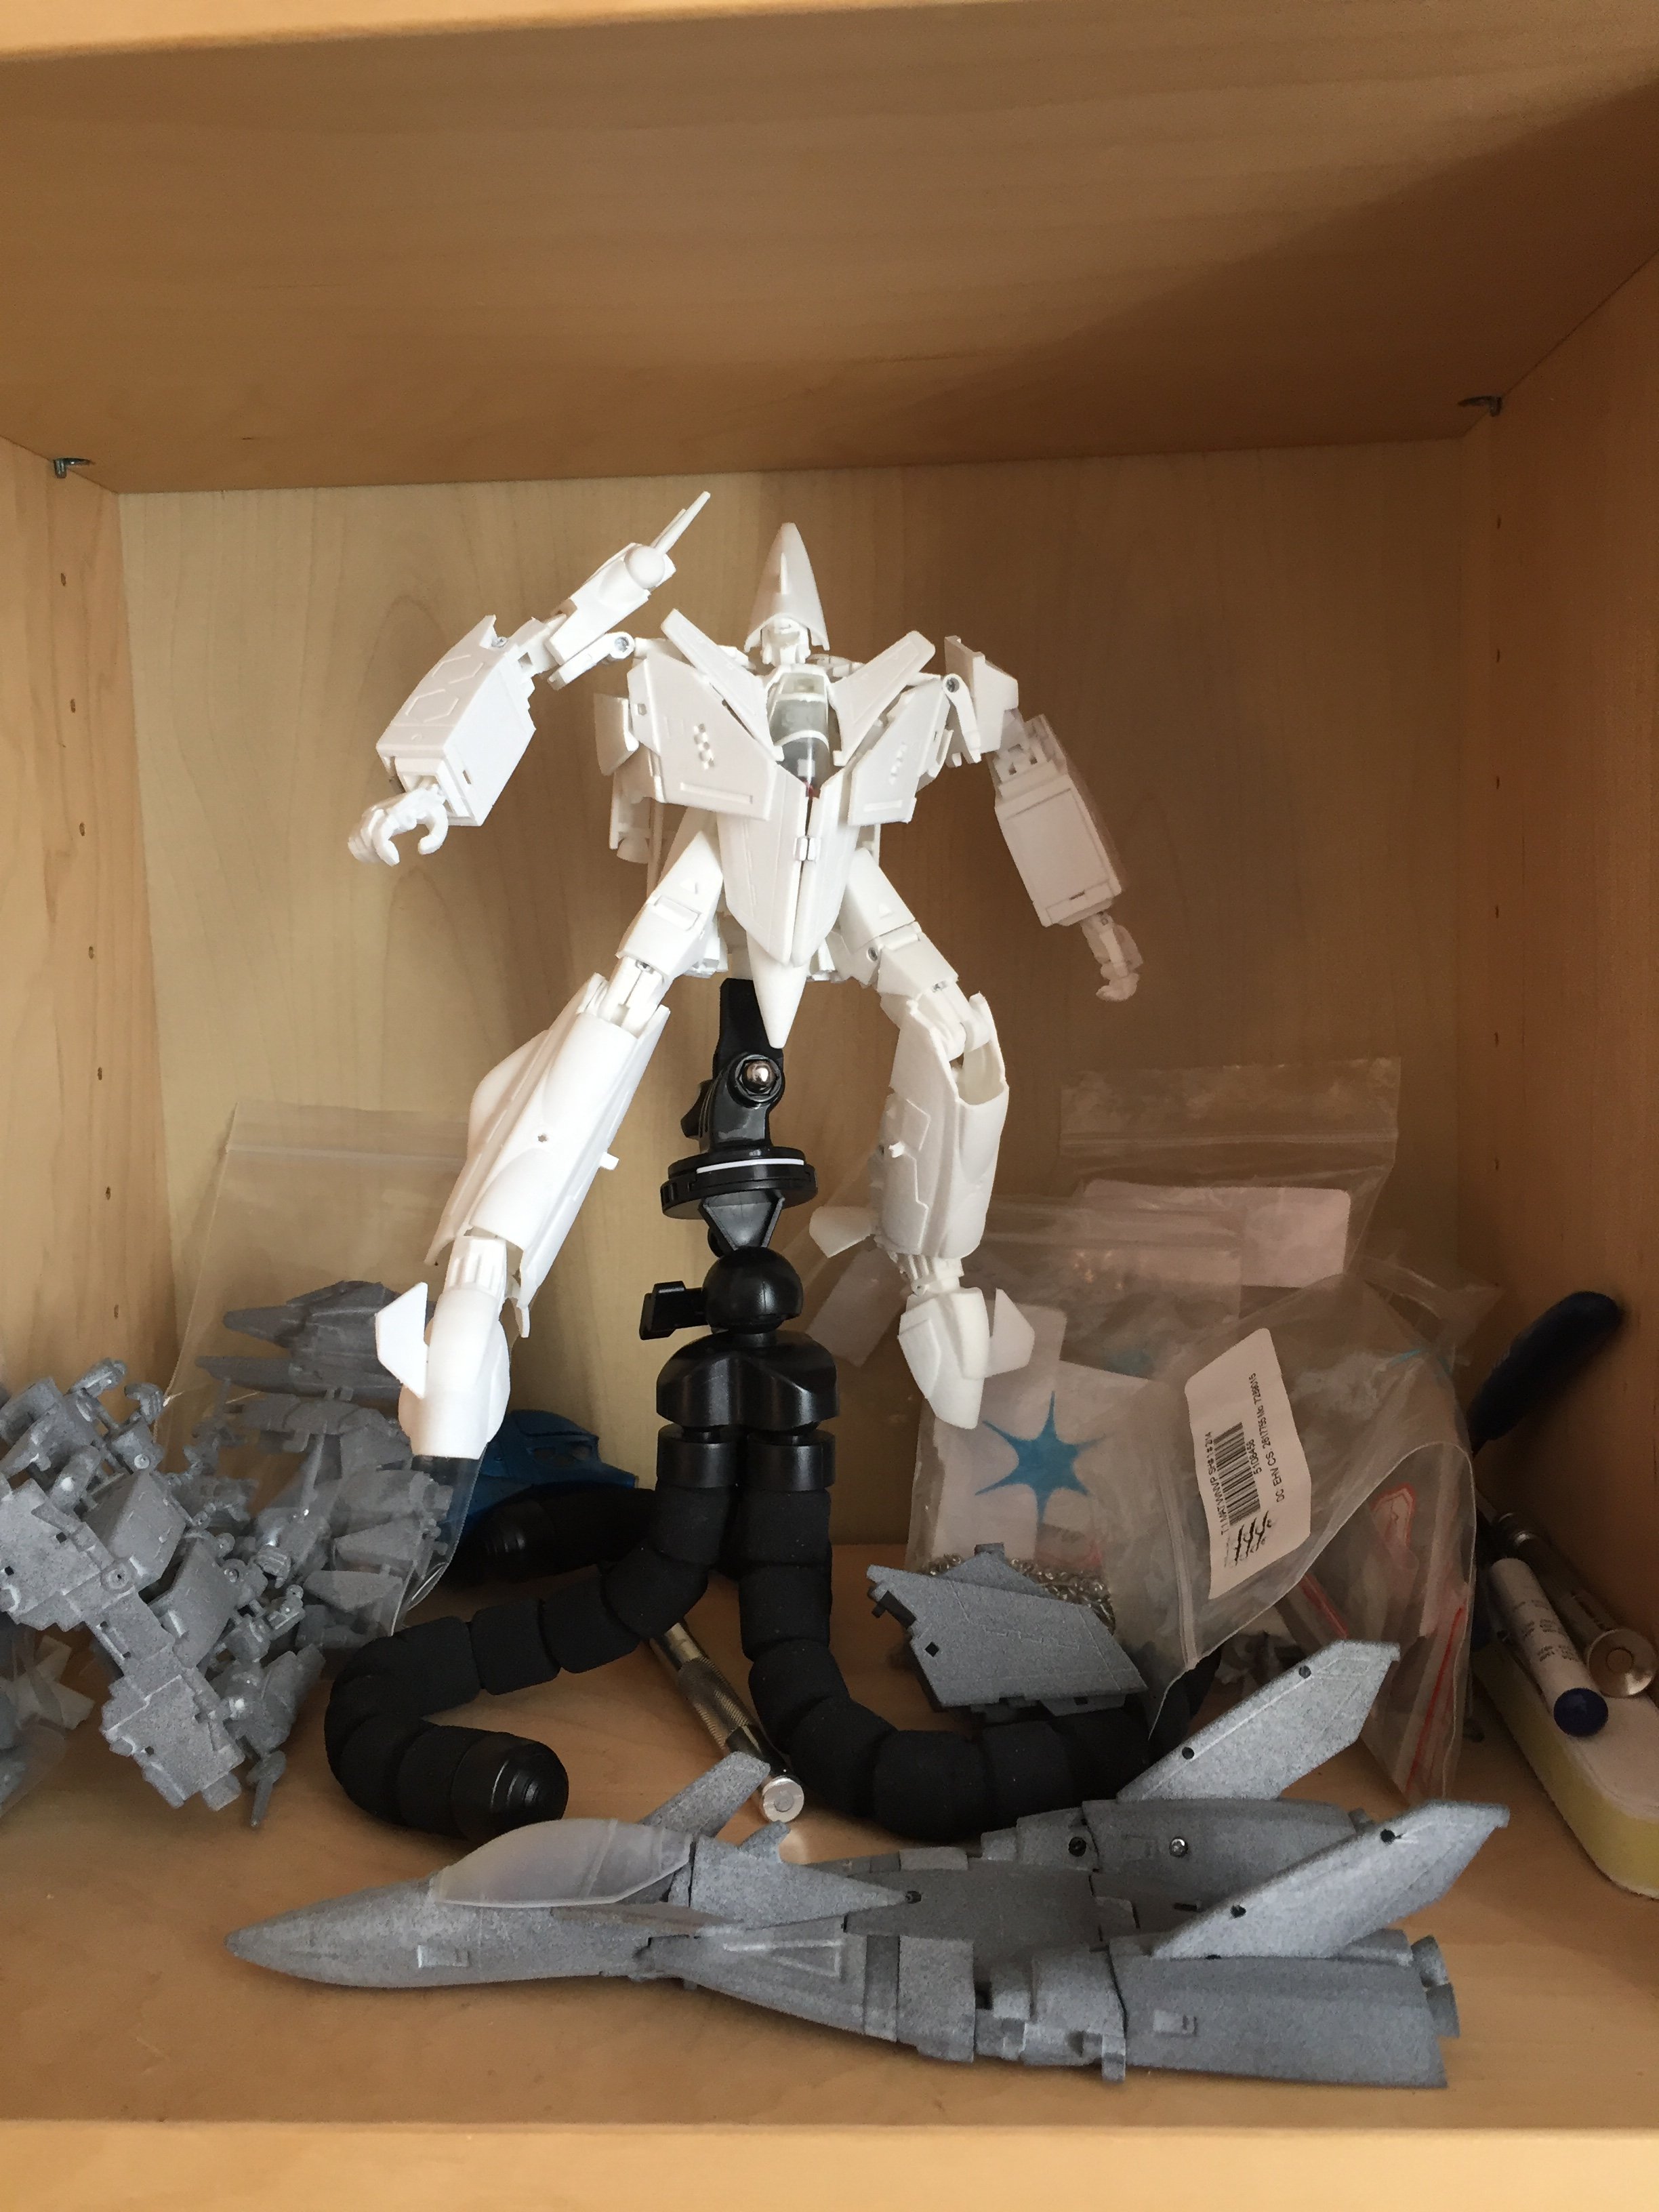
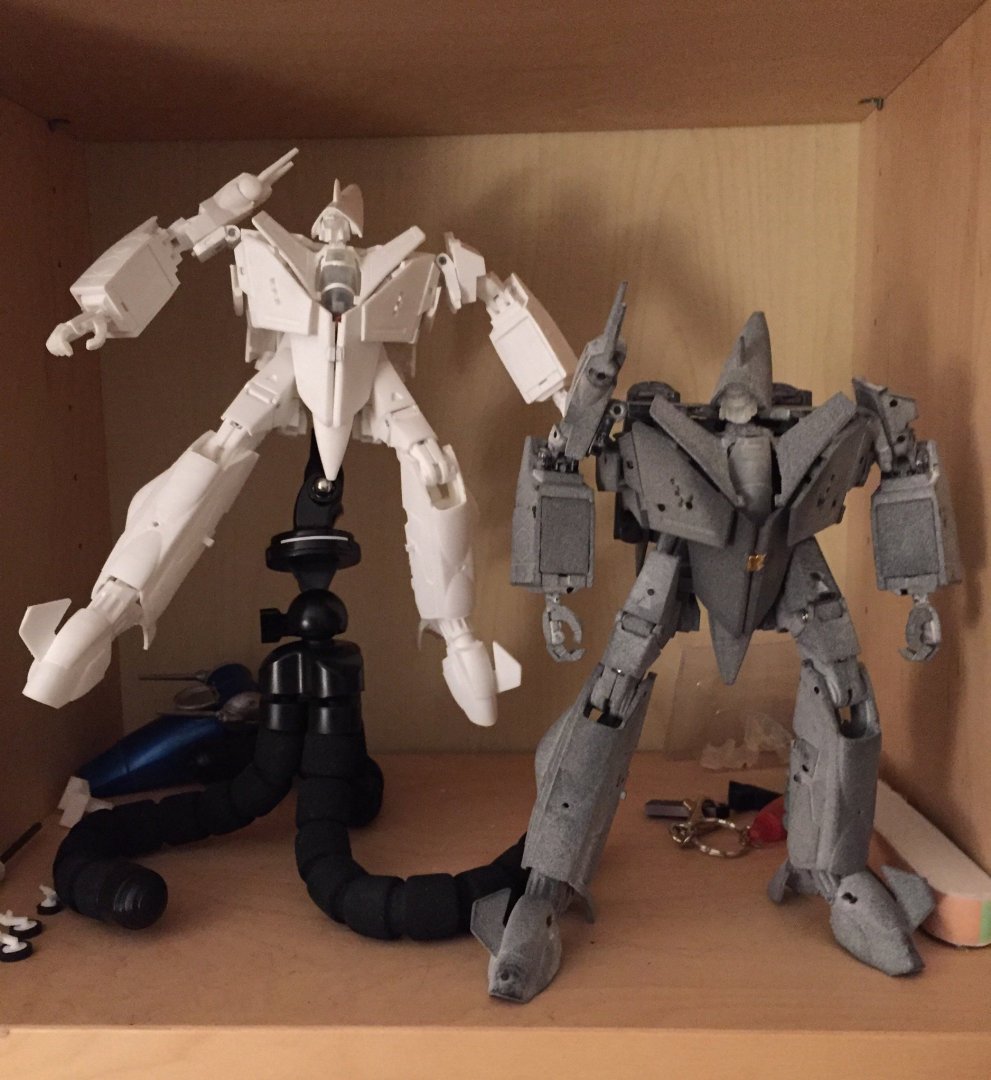
Thanks @valhary! I couldn’t resist or I love assembling Macross robots... but now I have a grey VF-9 on the bench too I have to admit the HP precision is a little better than the standard plastic, but a little more flexible. Both plastics are great, but the HP Version closes better out of the box. WIP


-
From the album: Draft and misc
-
Ok! New funds came in and I have begun the assembly of the Cheyenne I, Macross Zero version. There are a few details that were not really highlighted in the show but that tell the difference between the Cheyenne I and the other versions.

-
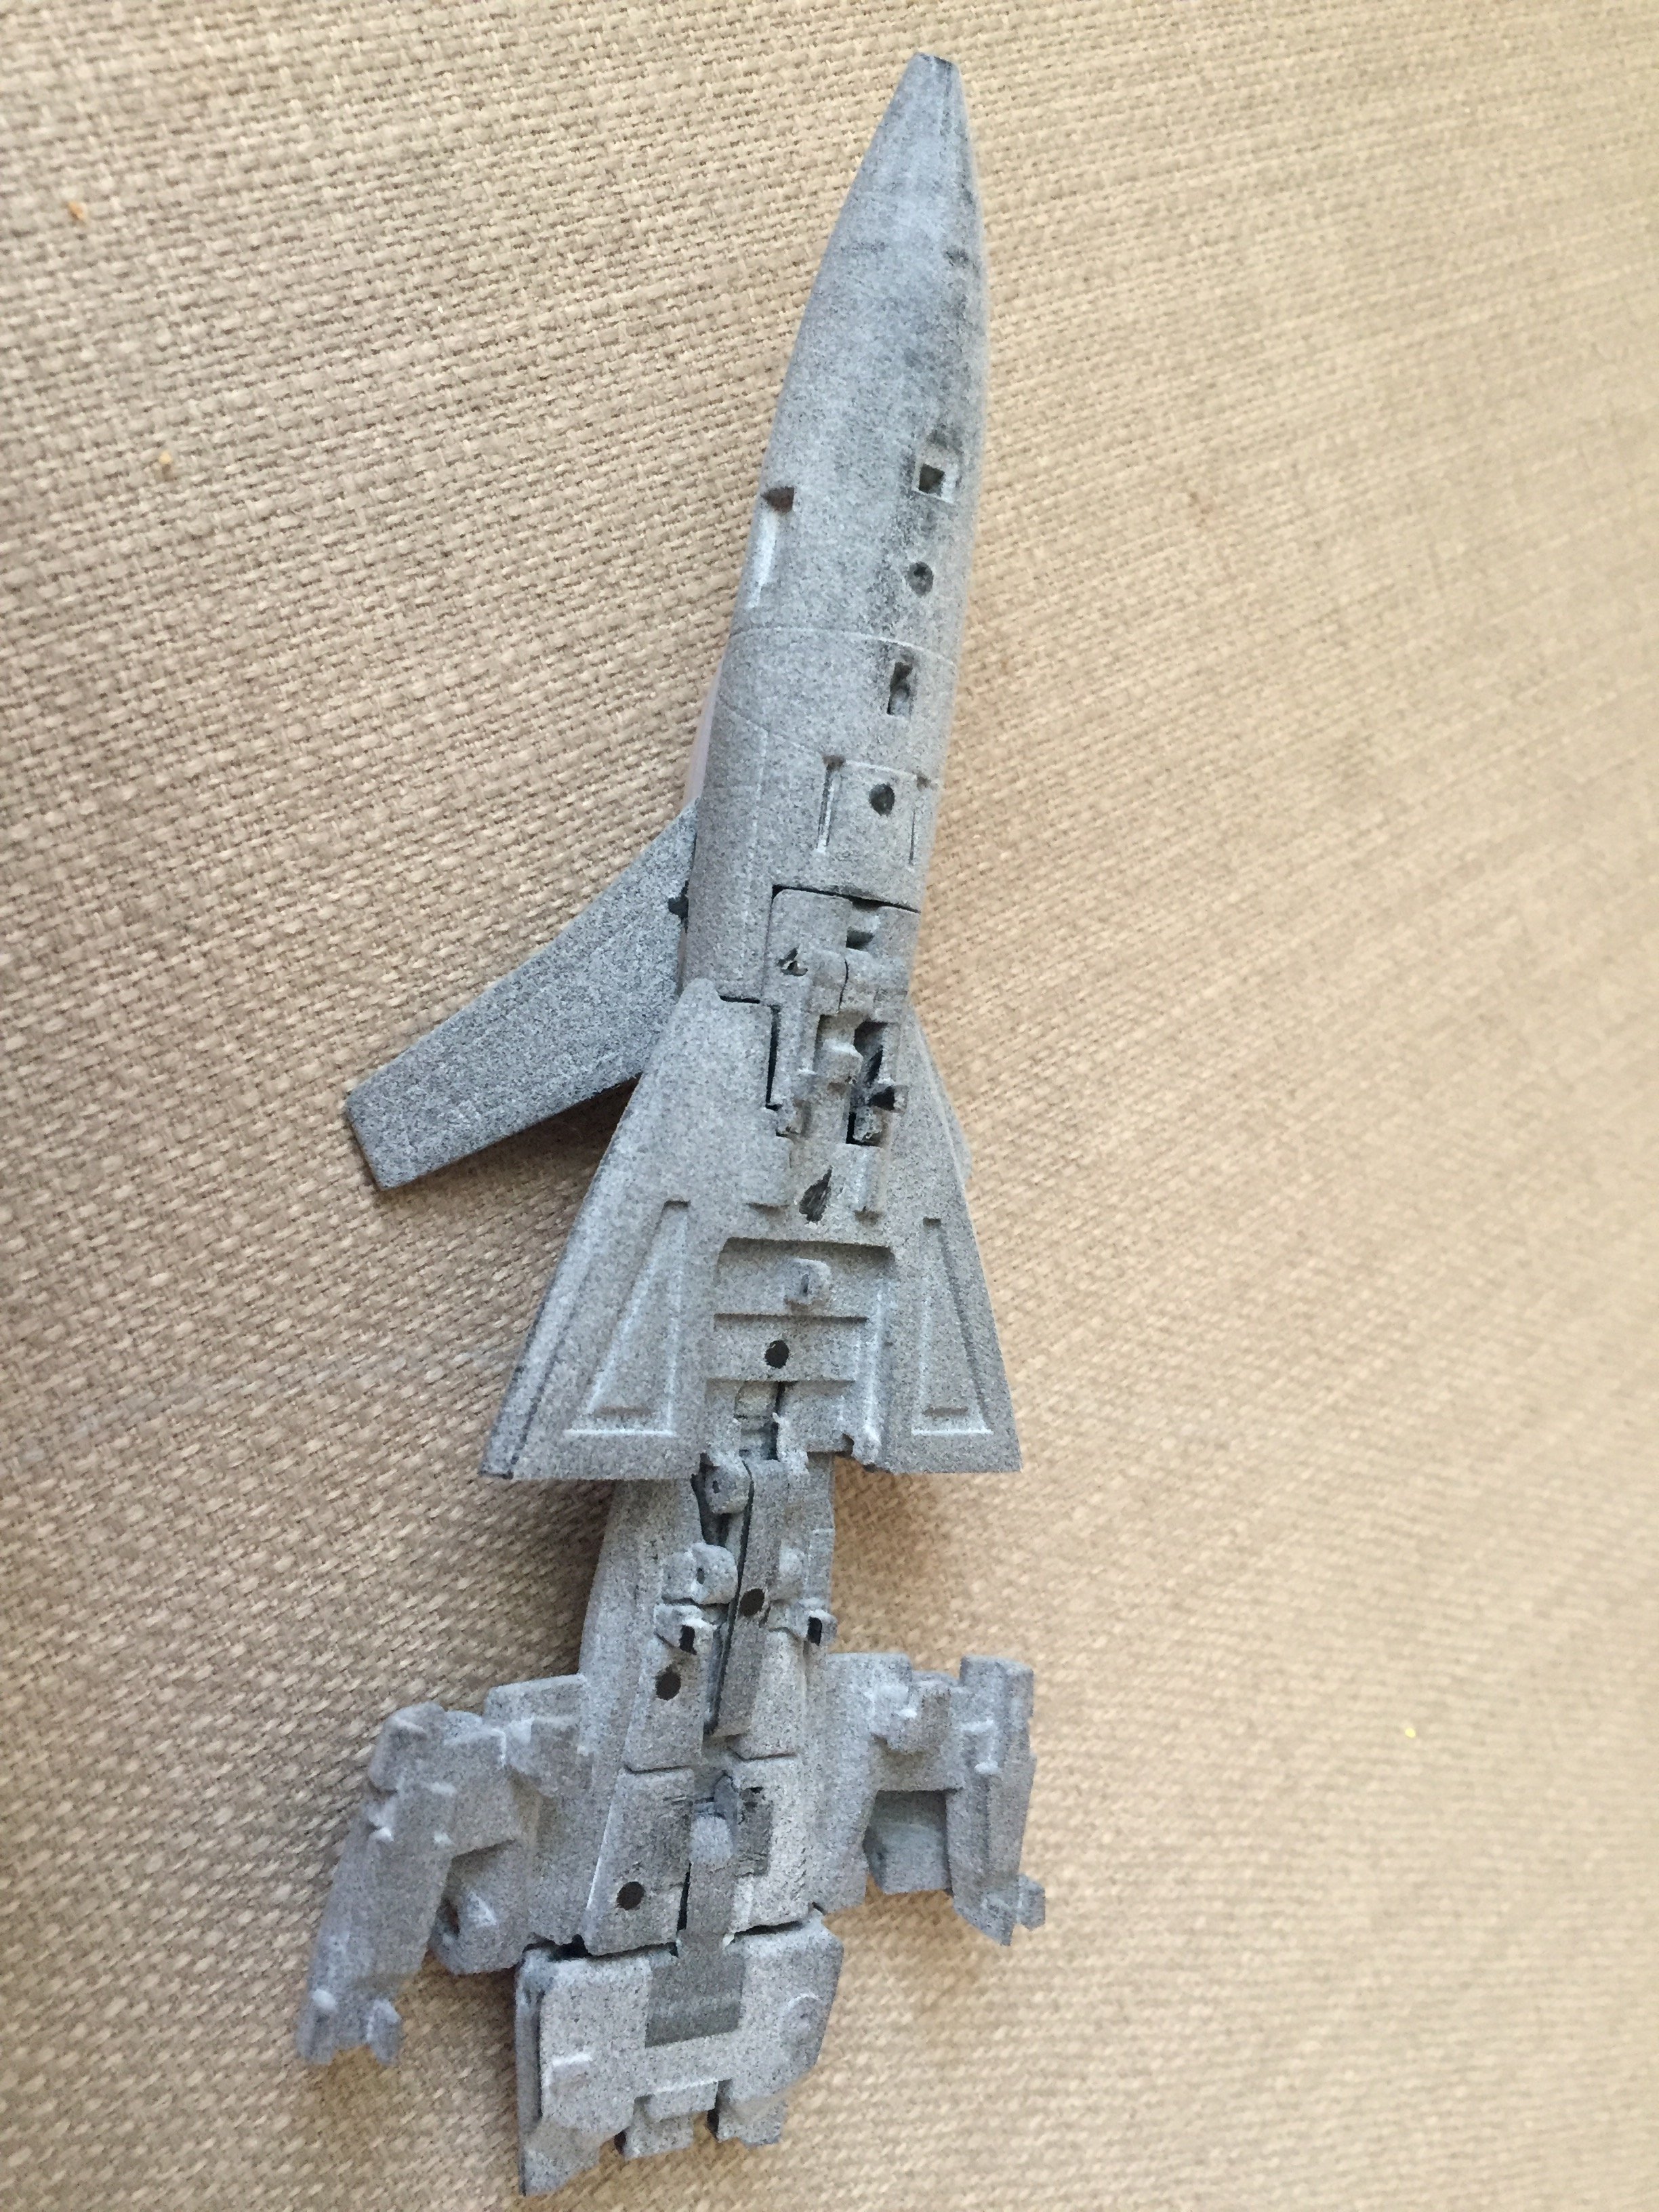
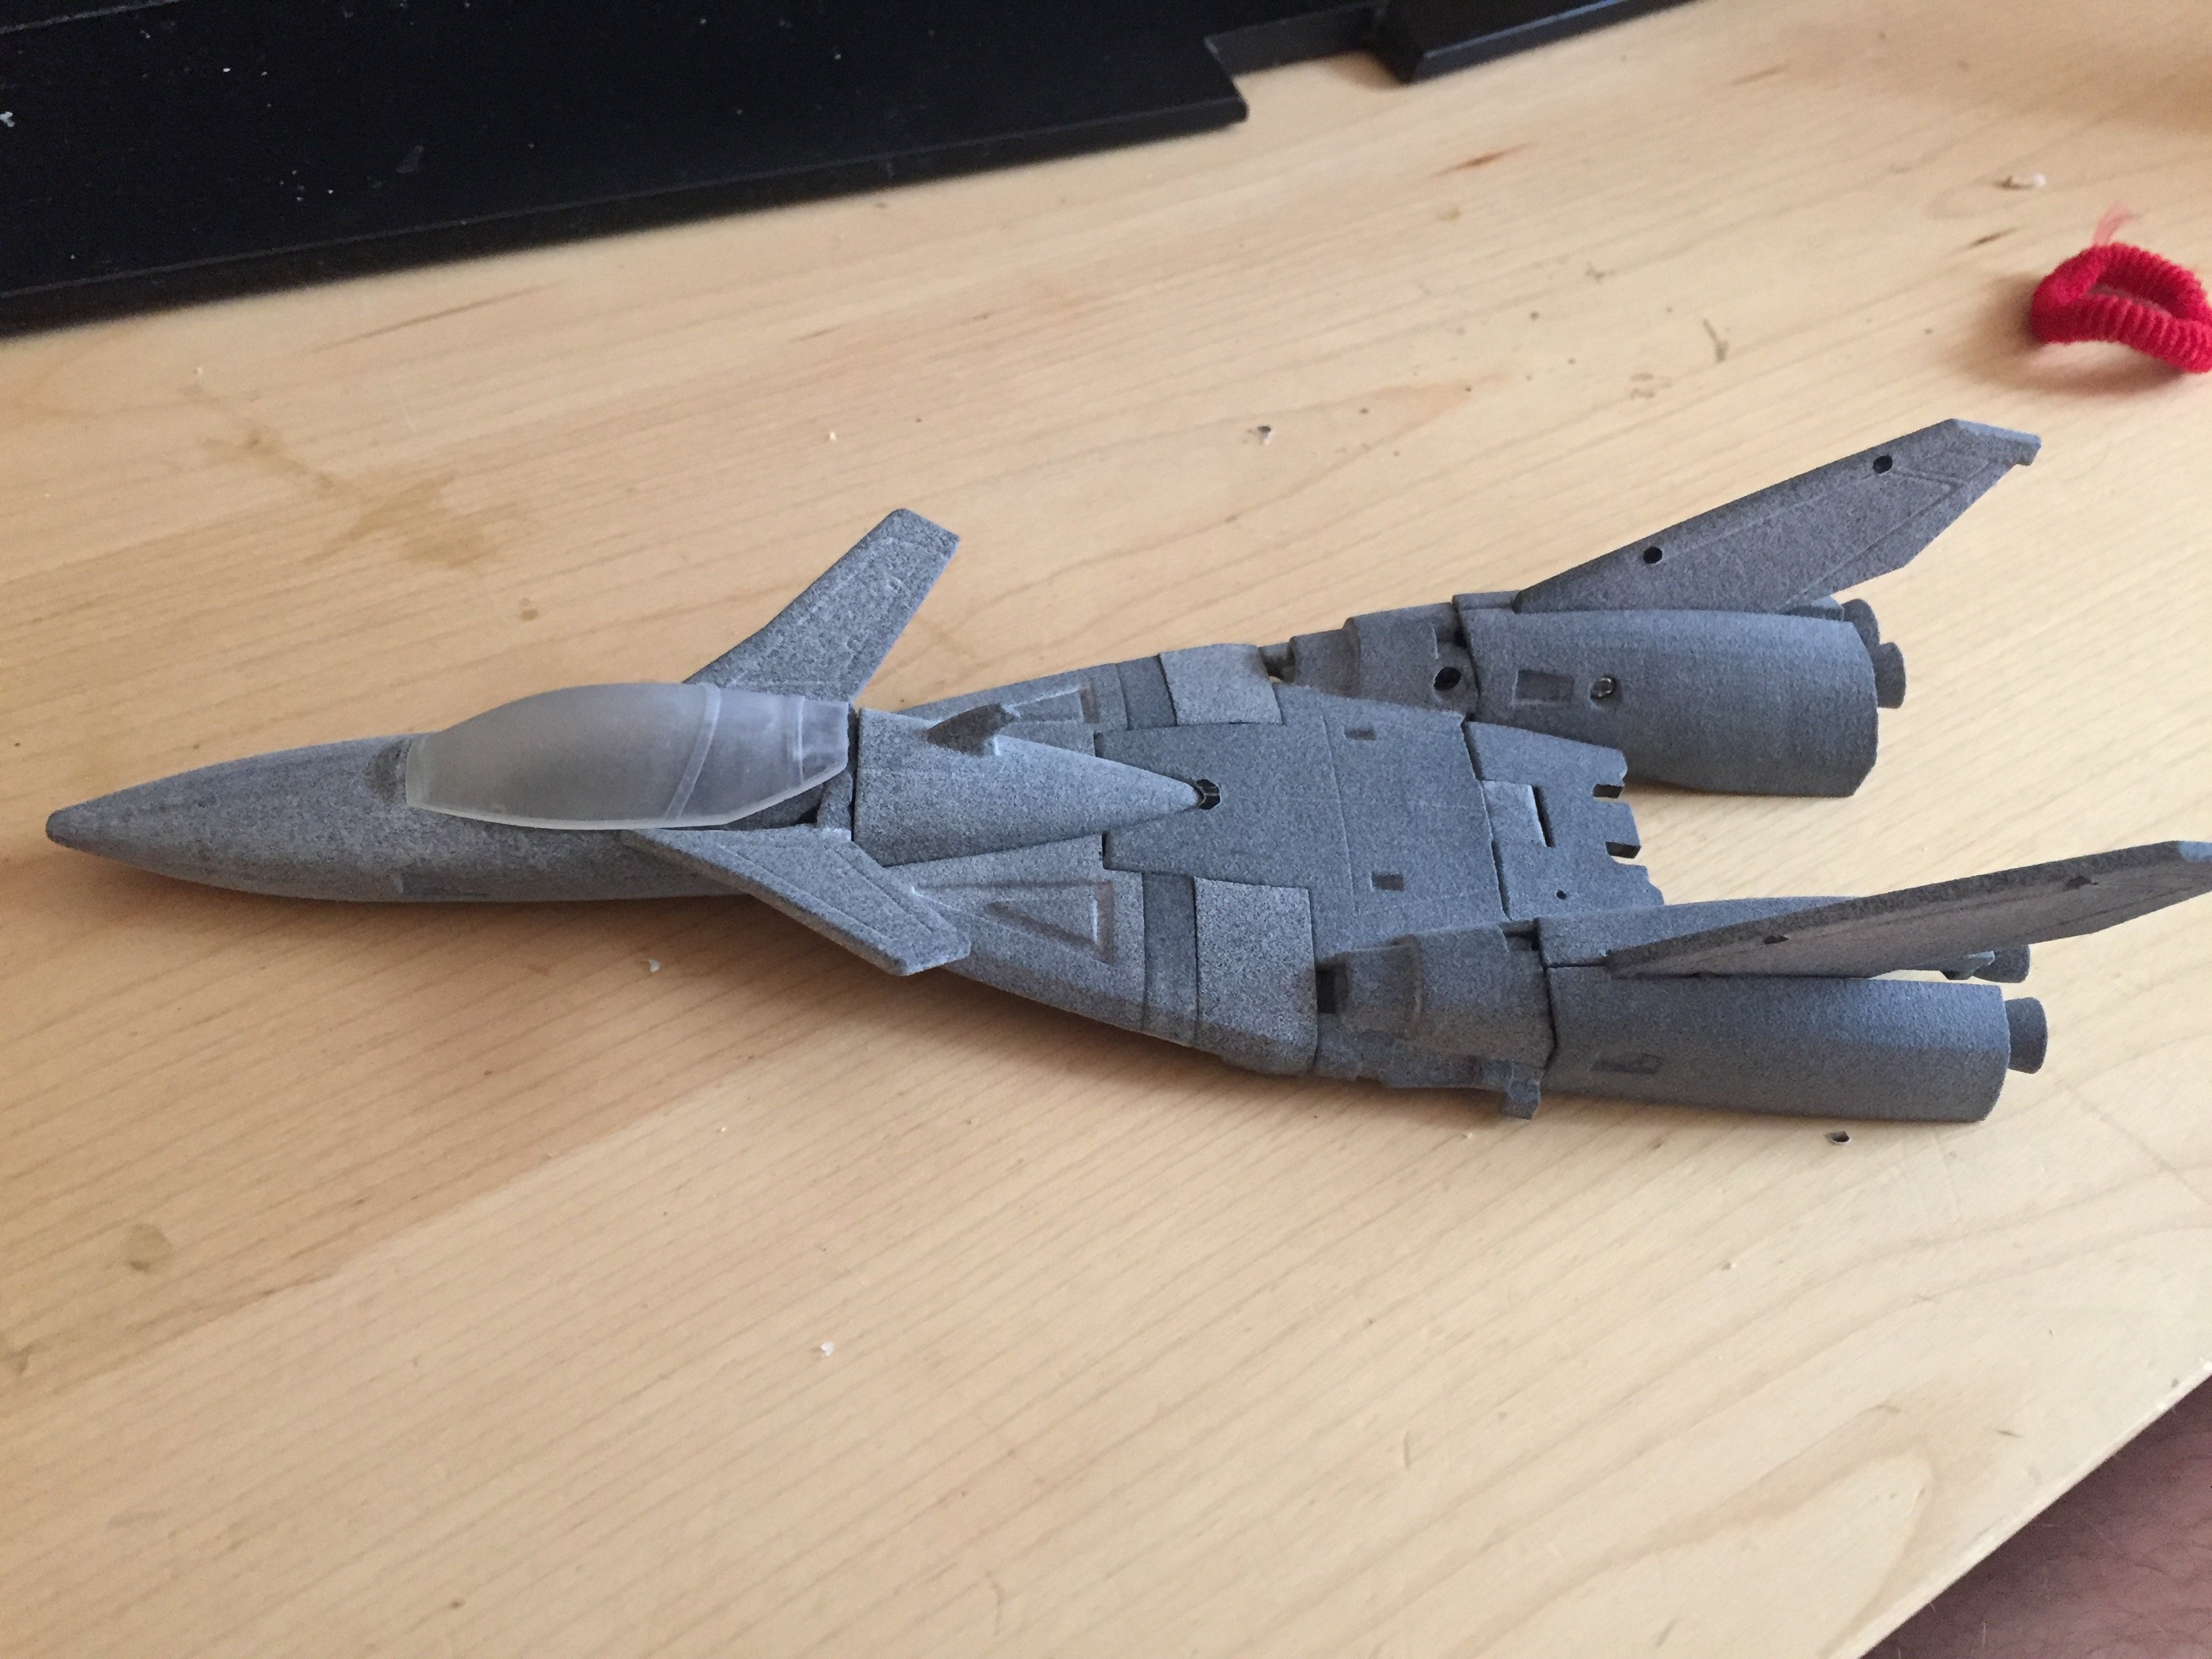
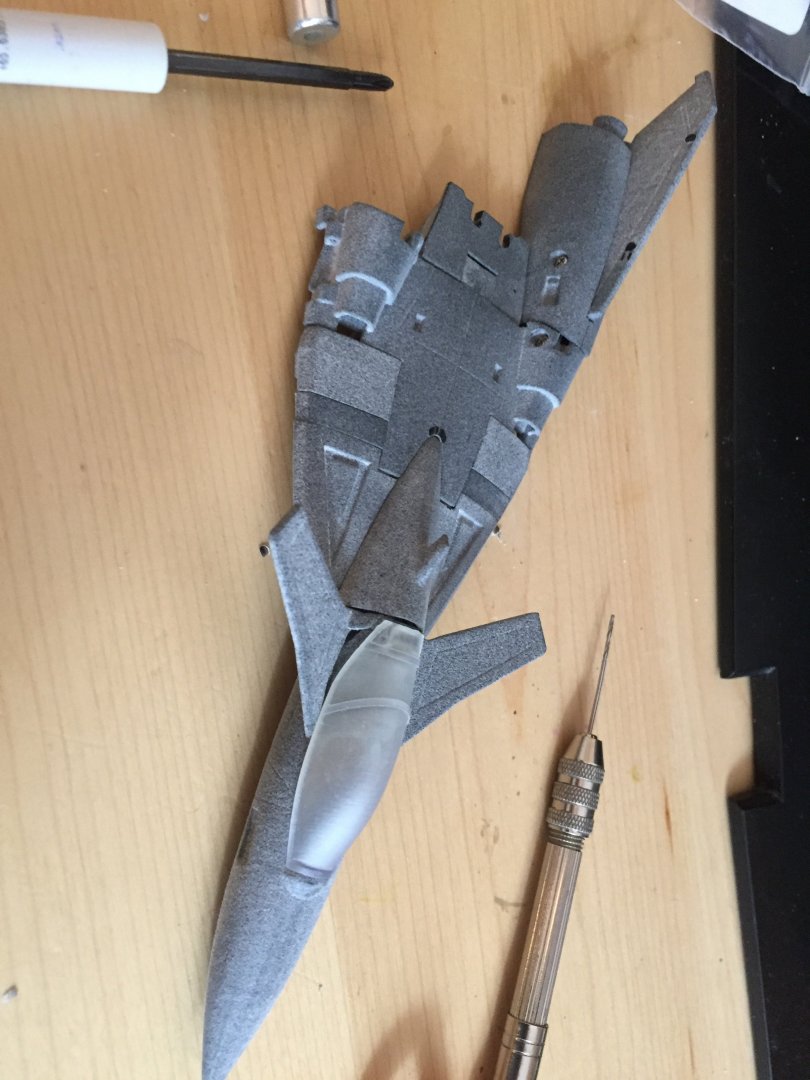
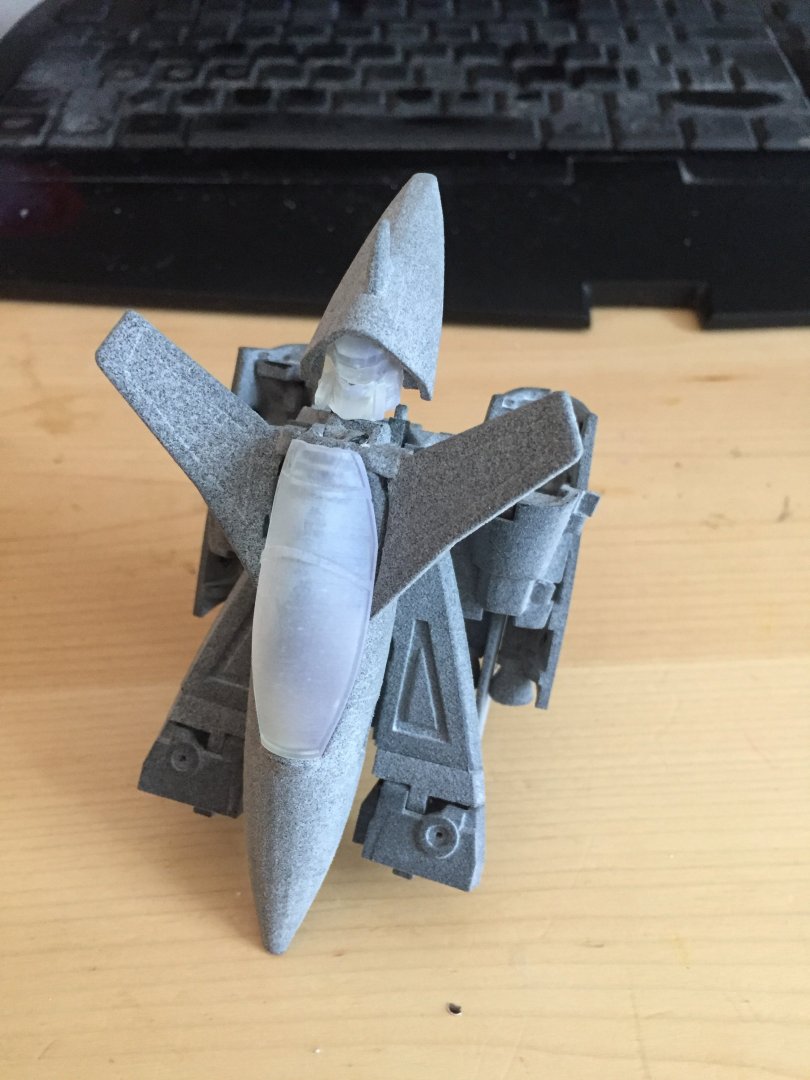
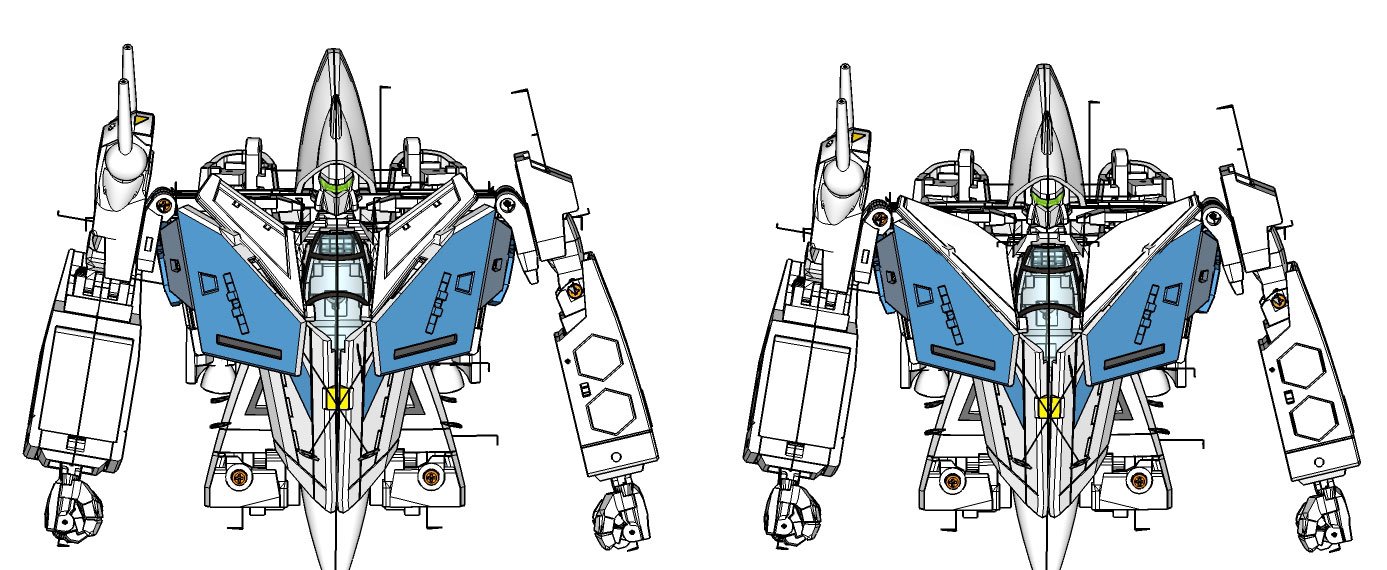
Hi guys, I have begun the Gunpod, that will take a bit of time to complete because I want to use standard plastic as the inside/sliding mechanisms core and High detail plastic for the surface details. This is a process I have used for my VF-31 speaker pod. I think that the Gunpod is small enough to make the increase of price almost unnoticeable compared to a full standard plastic design. Also: easier and faster addon! I made the VF-9 fins version 3. It is a more "line-art accurate" fins design for my VF-9 with the following mods: inner flaps removed, less surface detailing and the general shape modified to better fit the line art shape. This new shape will close better the battroid chest, so this is more like a battroid "lover" addon. Personally I prefer the previous version (version 2 illustrated on the left side, version 3 on right side) that comes with the standard VF-9 release, but feel free to add it on your next order if you feel so.
-
I finally got my Kairos shipped from NY They didn't want to ship with SAL, so I had to pay an additional fee to upgrade the shipping. Still fair compared to the current 31A price on secondary market
-
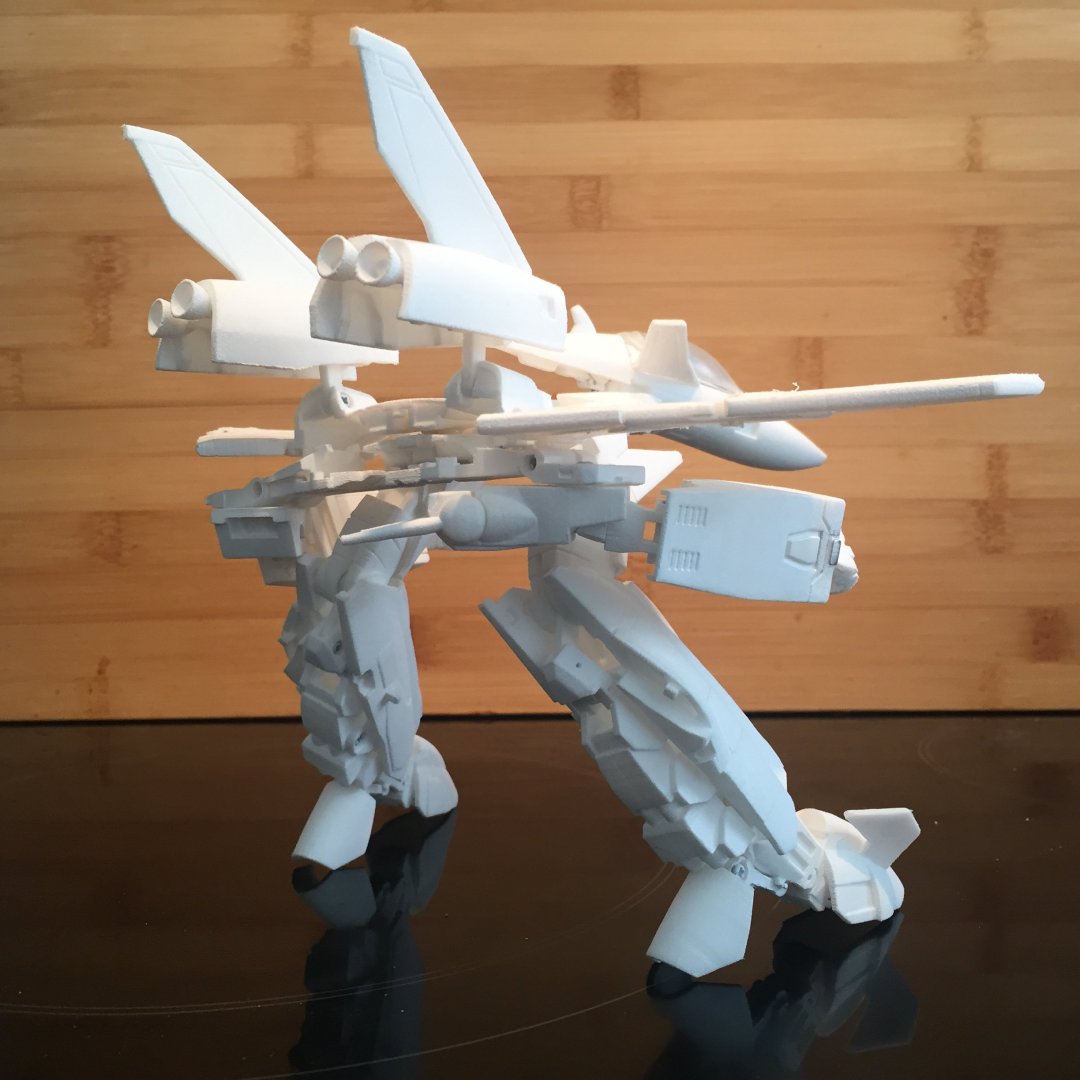
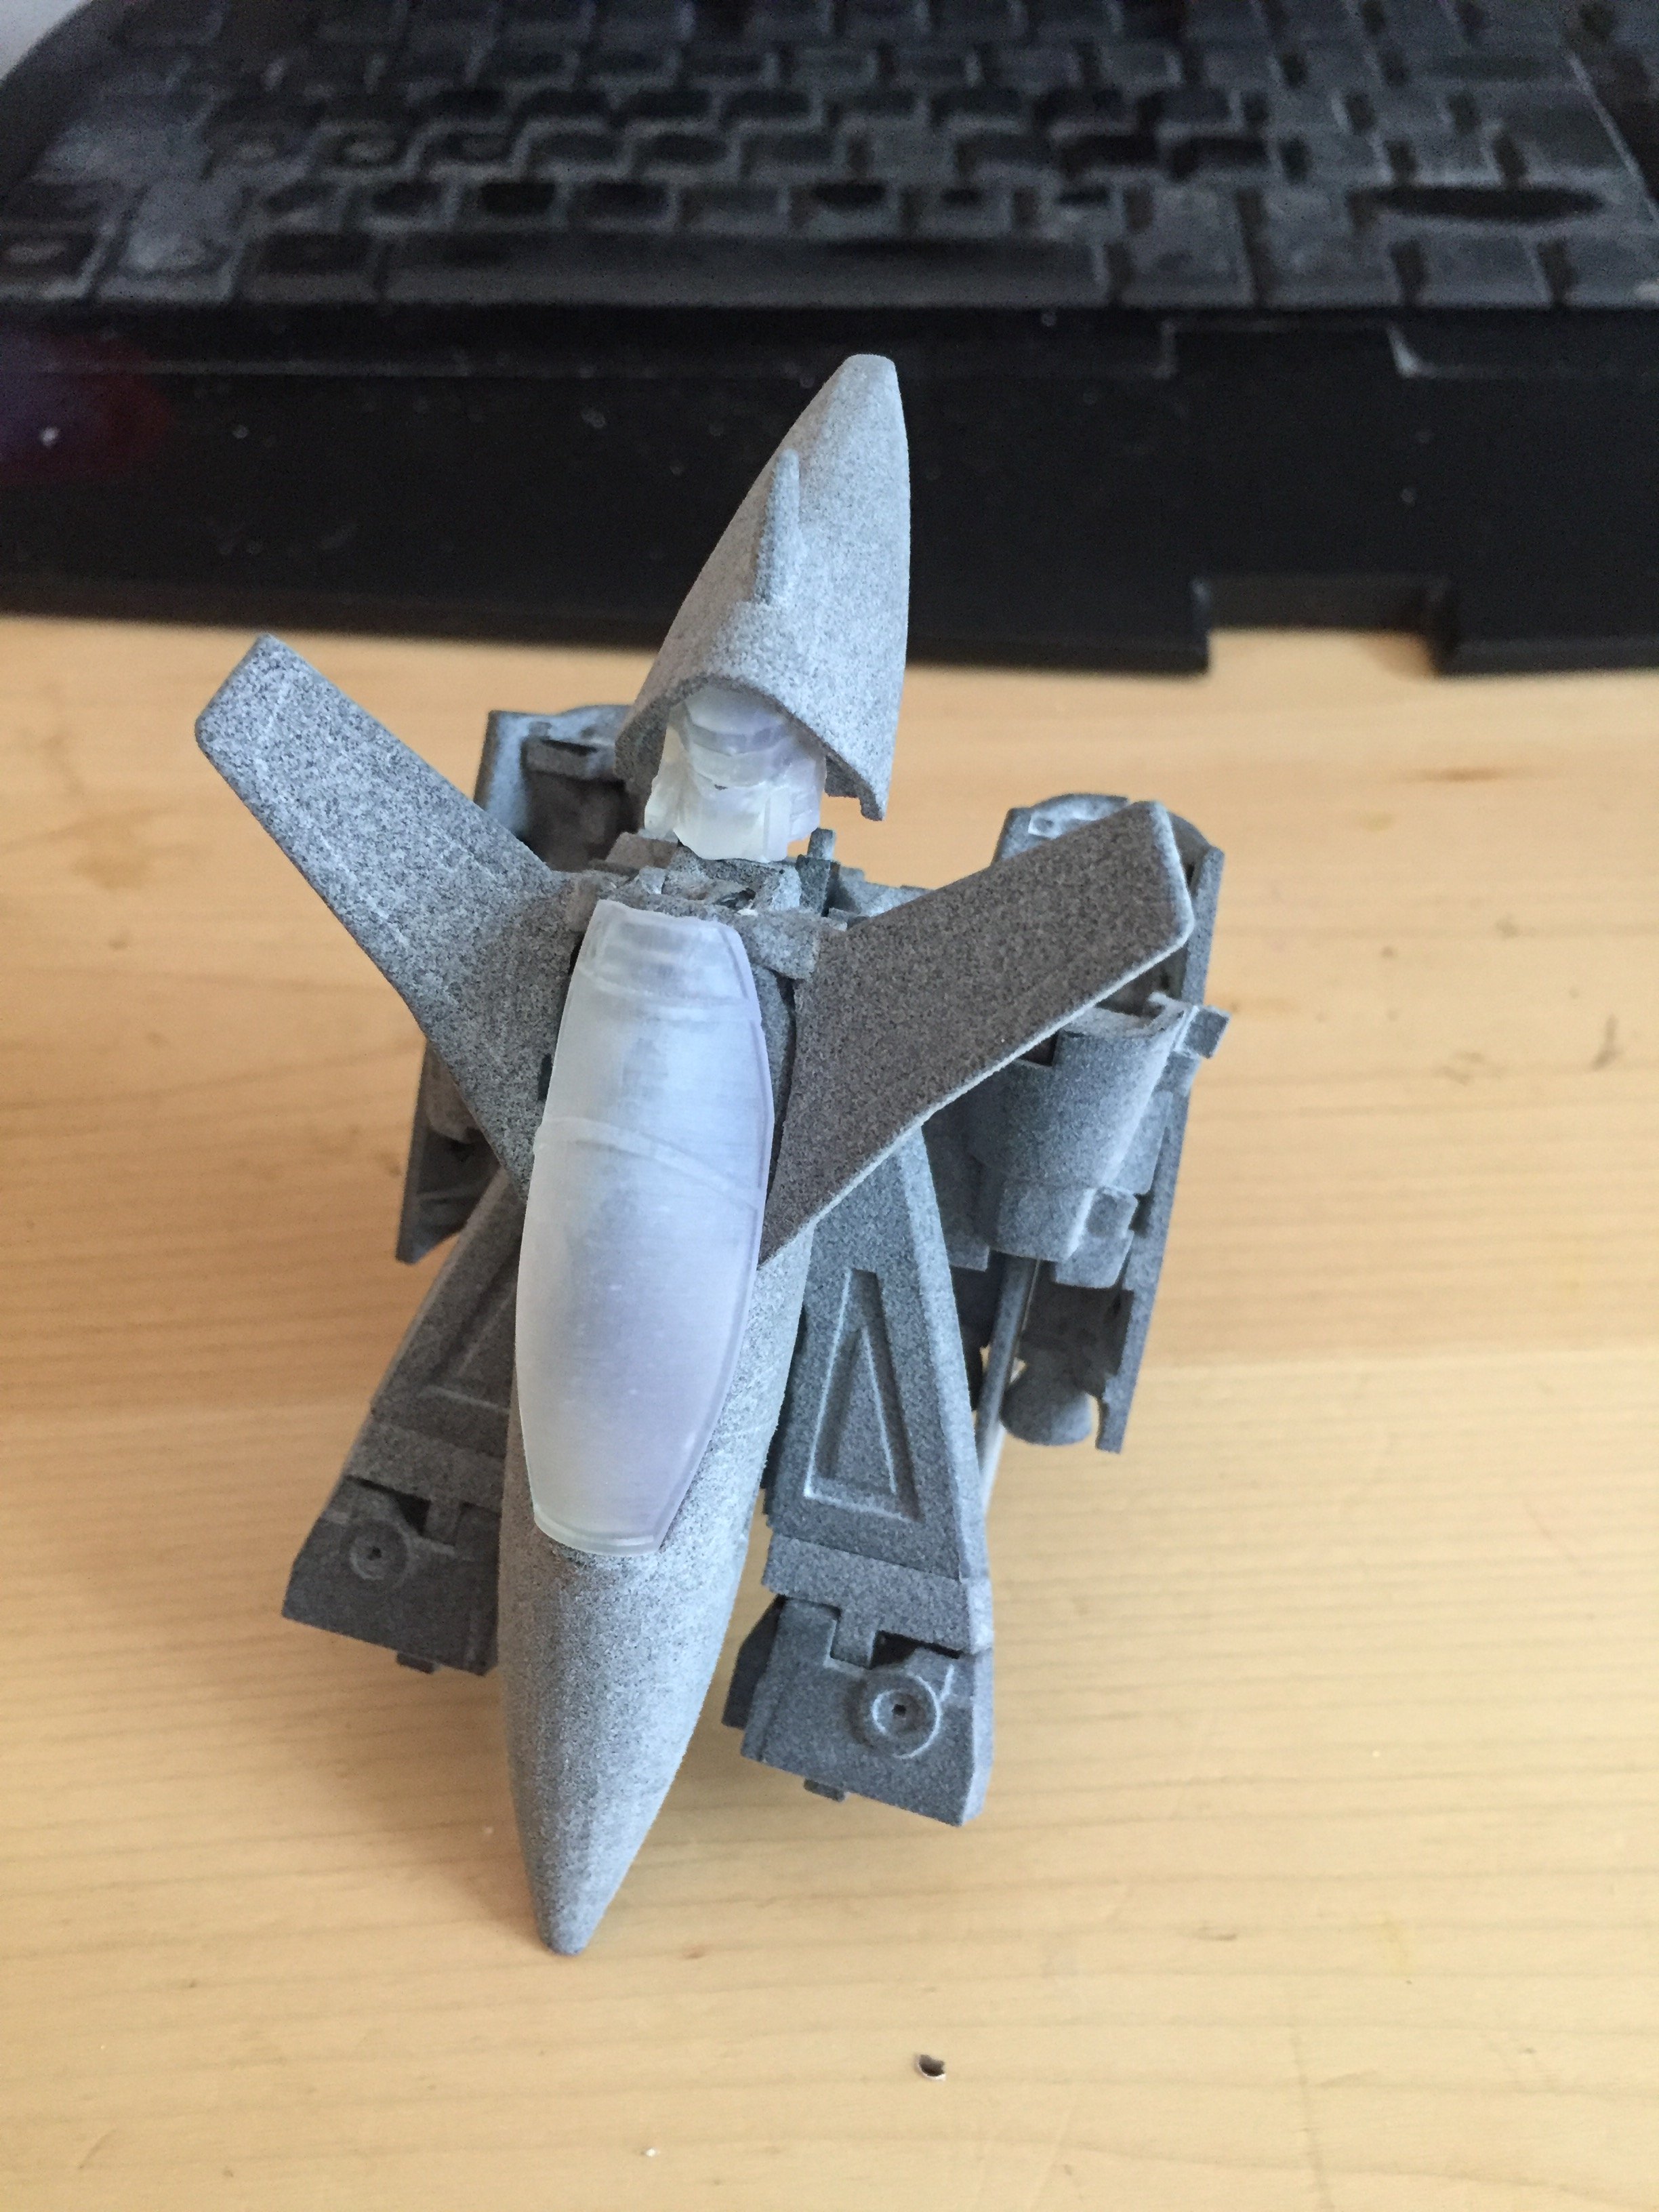
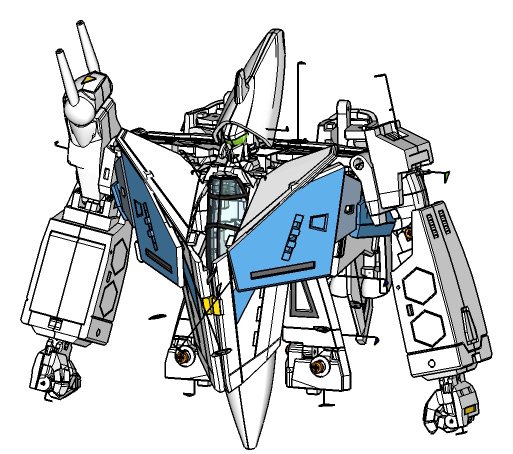
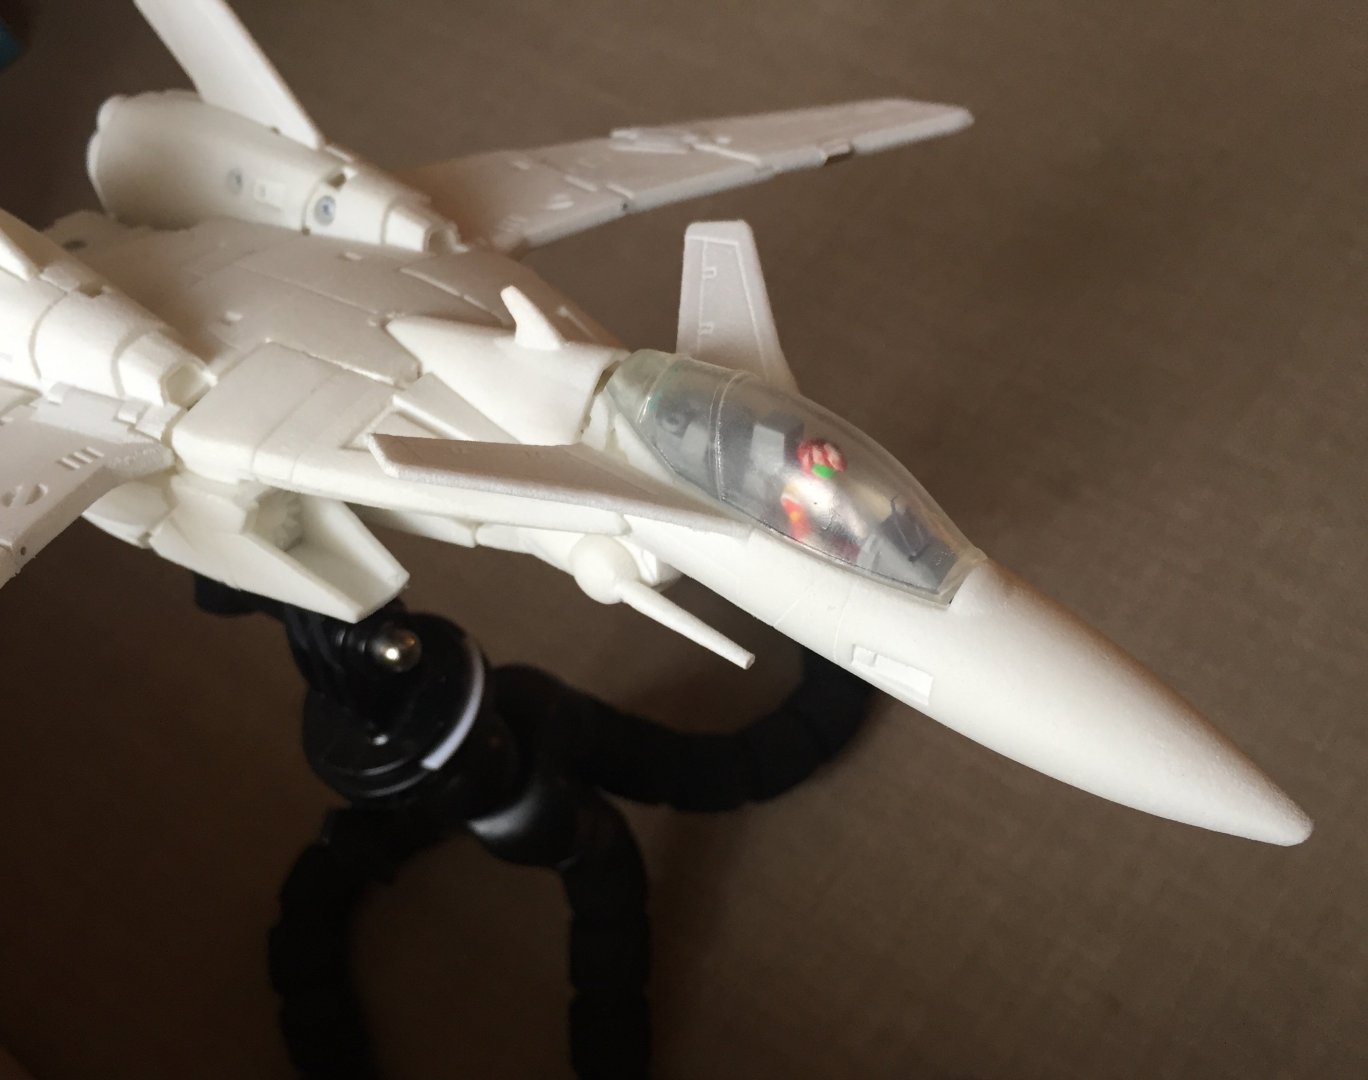
That's looking promising Jasonc, I am also curious to see how it will look like once casted. Here is how my Shapeways canopy looks like, and I am receiving soon a 3D printed copy in clear resin that will be much easier to work with. @Raptor One I wasn’t a fan of the VF-9’s Gerwalk but now that I have transformed it a few times, I surprisedly dig the gerwalk look. -except for the official awkward heel position, I prefer to the the heel in the standard feet position-
-
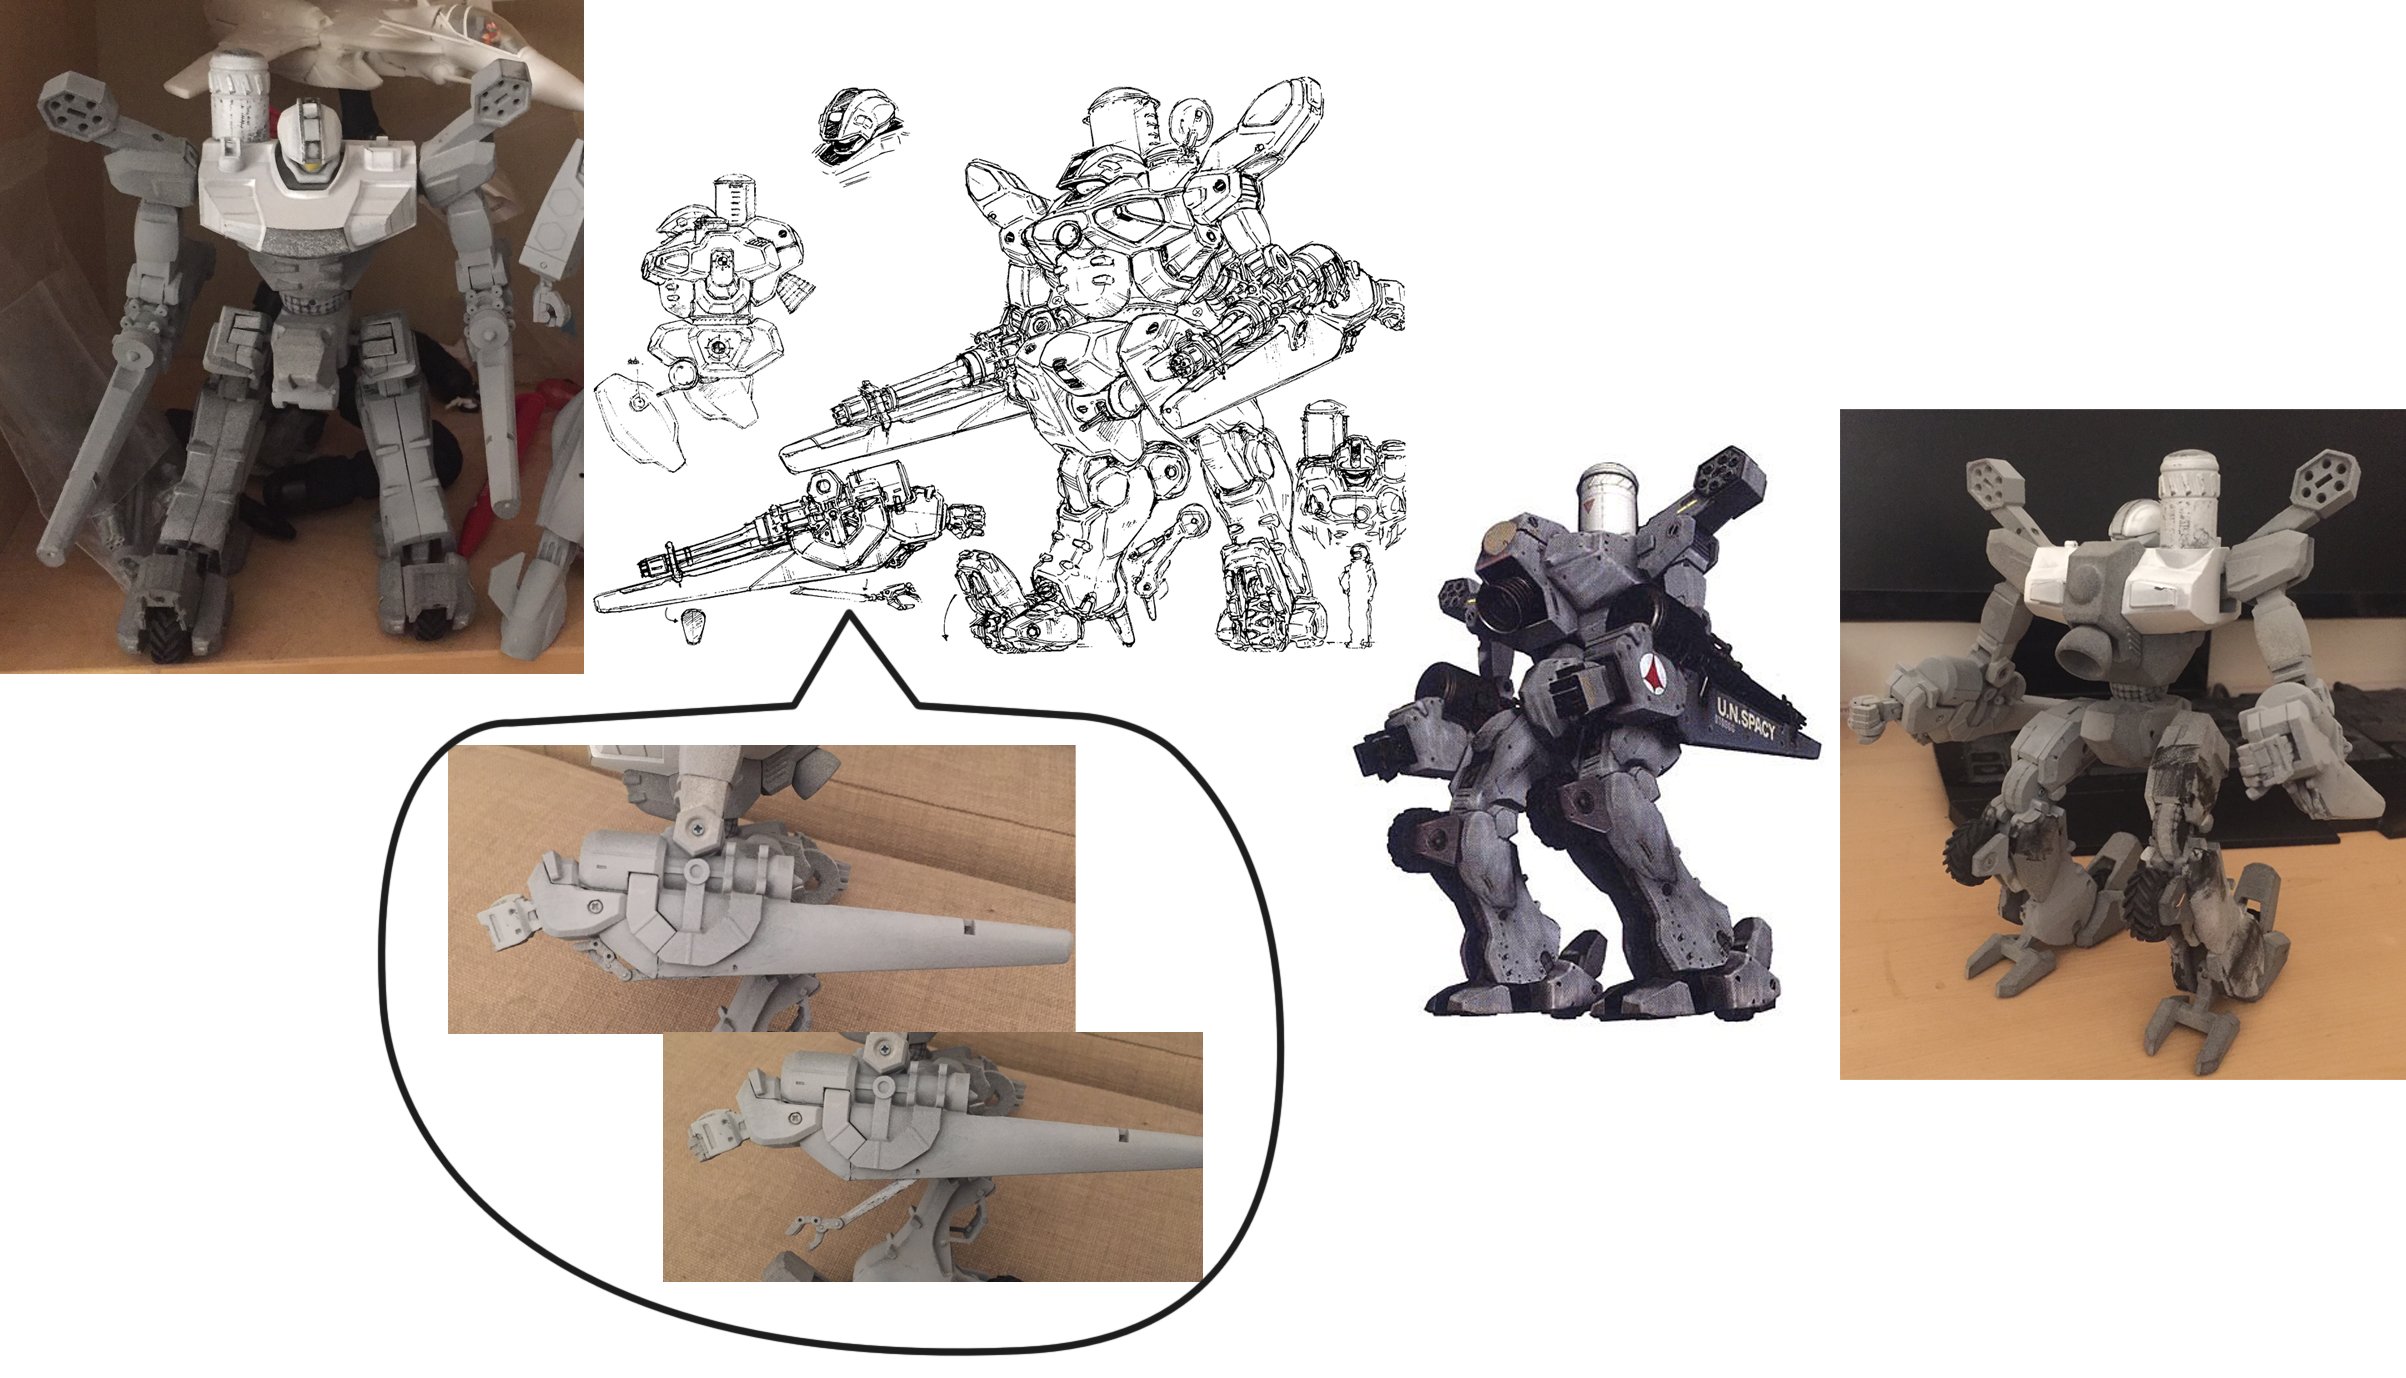
Concerning this model, my main issue was to make a great design for battroid and fighter modes. I would say this is something like an artistic job. Then I made the simpler way to transform everything back and forth between the two modes, this is an kind of engineer job. Surely during his process, I didn’t had second thoughts of using the full possibilities of SLS printing, but still you can make most of the parts in a single mold, and a few remaining parts will need to be exploded in two halves and be glued together during assembly. After the first prototype, I had to make a deep Quality Check job because of wrong proportions and bad lock mechanisms. And then the second prototype which i think is a really great result. I am sure there is a lot of room for mechanical improvements but in terms of global design and articulations I am rather satisfied by it !
-
Hey guys, you will make me blush... btw I AMM glad you all like my models
-
Your most recent Macross or toy purchase! General thread.
Xigfrid replied to Gakken85's topic in Hall Of The Super Topics
That makes me wonder if a crazy 3P manufacturer would do over-oversized VF-1 one day, a la Atlas Optimus Prime. Credits to @tekering for this blowing mind picture! -
Yes they are a bit different because of the new wings' folding shape. Now that you mention them, they can easily be straitened in a new version, or printed in SLA/DLP resin to obtain better surface details. My next step is the Gunpod. Landing gears ... hum that's quiet a challenge so I promise I will give it a try at my 30th sold VF-9 !
-
Hey, isn't your neighbor's Evangelion figures that we can see ? I really need to know what kind of job is yours :)
-
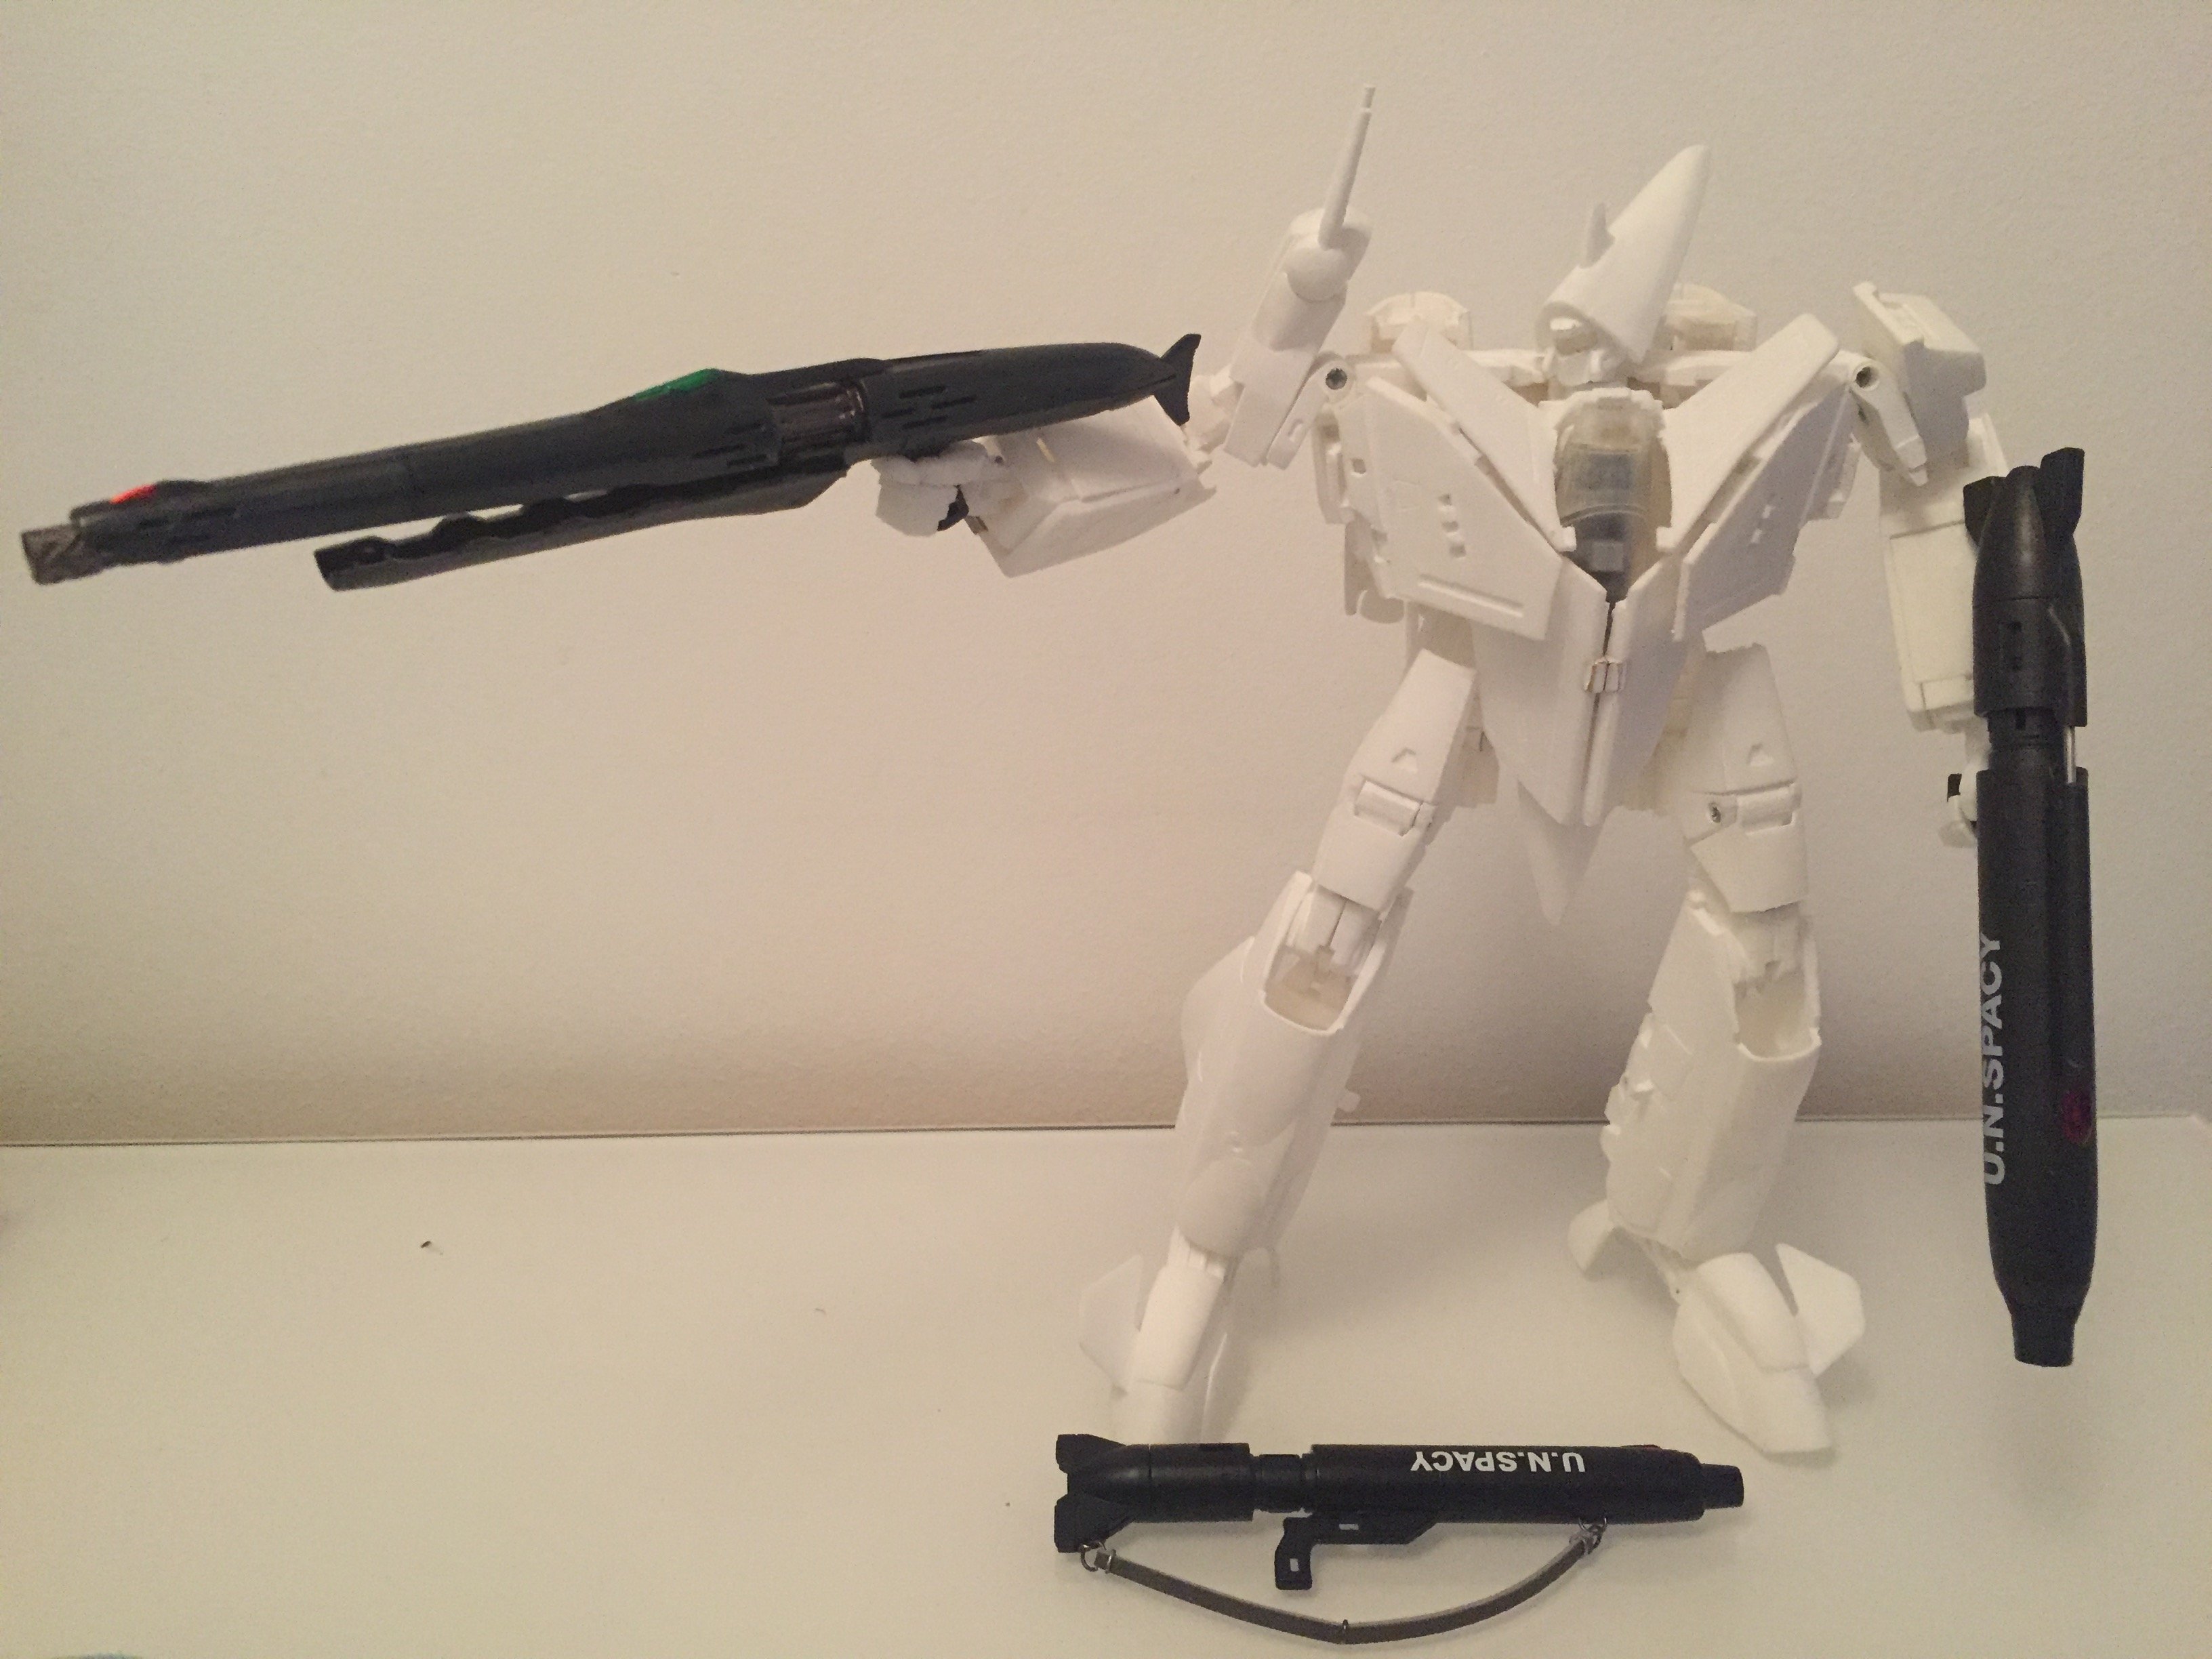
In the game you can fire it in fighter mode, this is kind of official I think. Just like @valhary posted, the gunpod is located under the arms in fighter mode. I have already placed 2 magnets at this location that are meant to hold the gunpod. I have no excuse for not making it except that the gunpod is large and would add even more to the price.
-
Choose your favorite! 25, 0 or 1’s?
-
I have had a slightly different process for mine: 1) I have assembled the whole valk, sanding the plastic directly a bit the rougher surfaces with a 6-steps nail buffer 2) Apply white primer layer in fighter / gerwalk mode wait 24H to dry 3) transform to battroid and apply another white primer layer, let dry 24h 4) quick sanding with dremel 60 grit disc (Low speed - light pressure on the tool) 5) same with dremel 240 grit disc (Low speed - light pressure on the tool) 6) thorough sanding with dremel 120 grit EZ472SA detail abrasive brush (Medium speed - standard pressure on the tool) Most surfaces are almost good. I will next apply another prime layer, but ignoring steps 4) and 5) and use the brush used in step 6). And then go to paint.
-
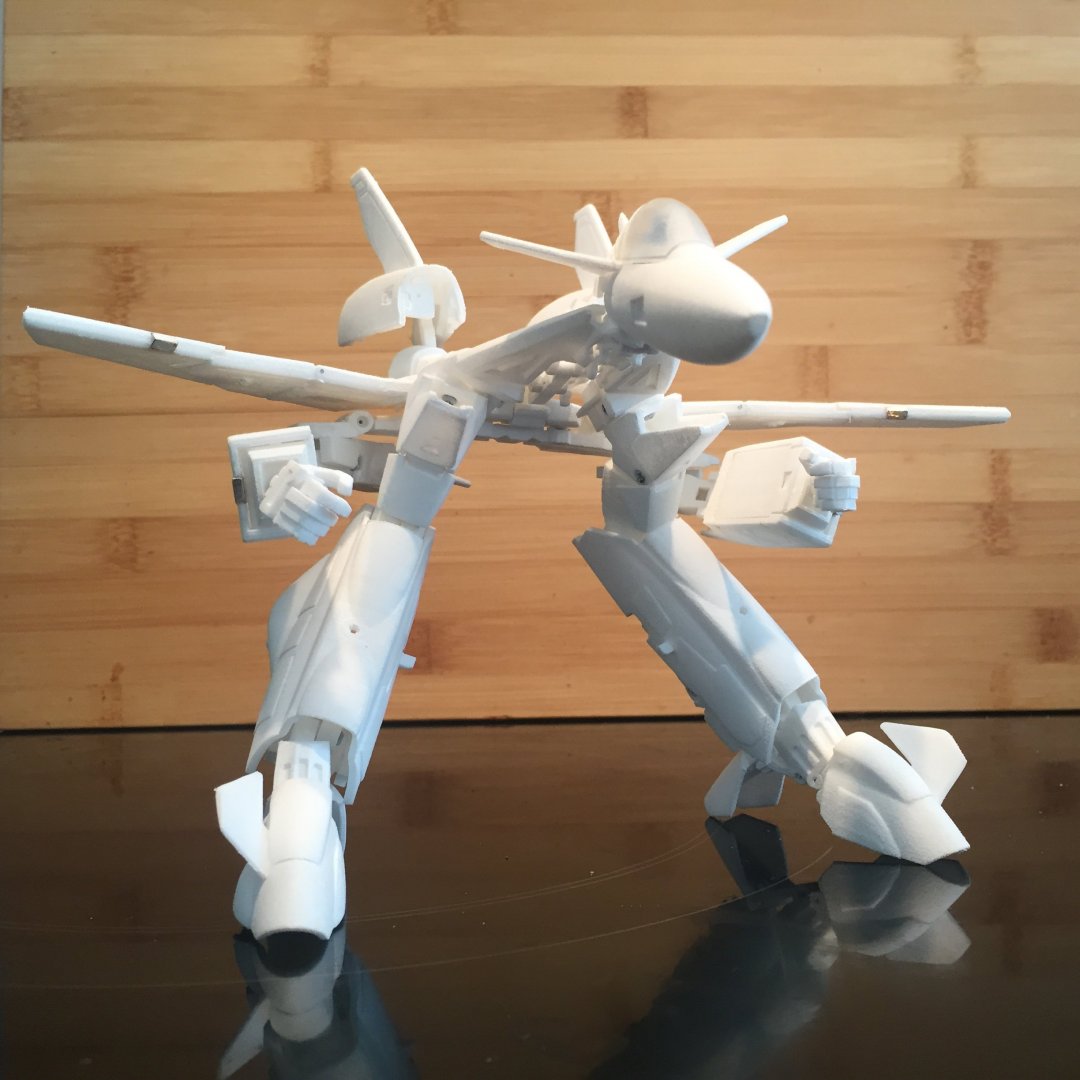
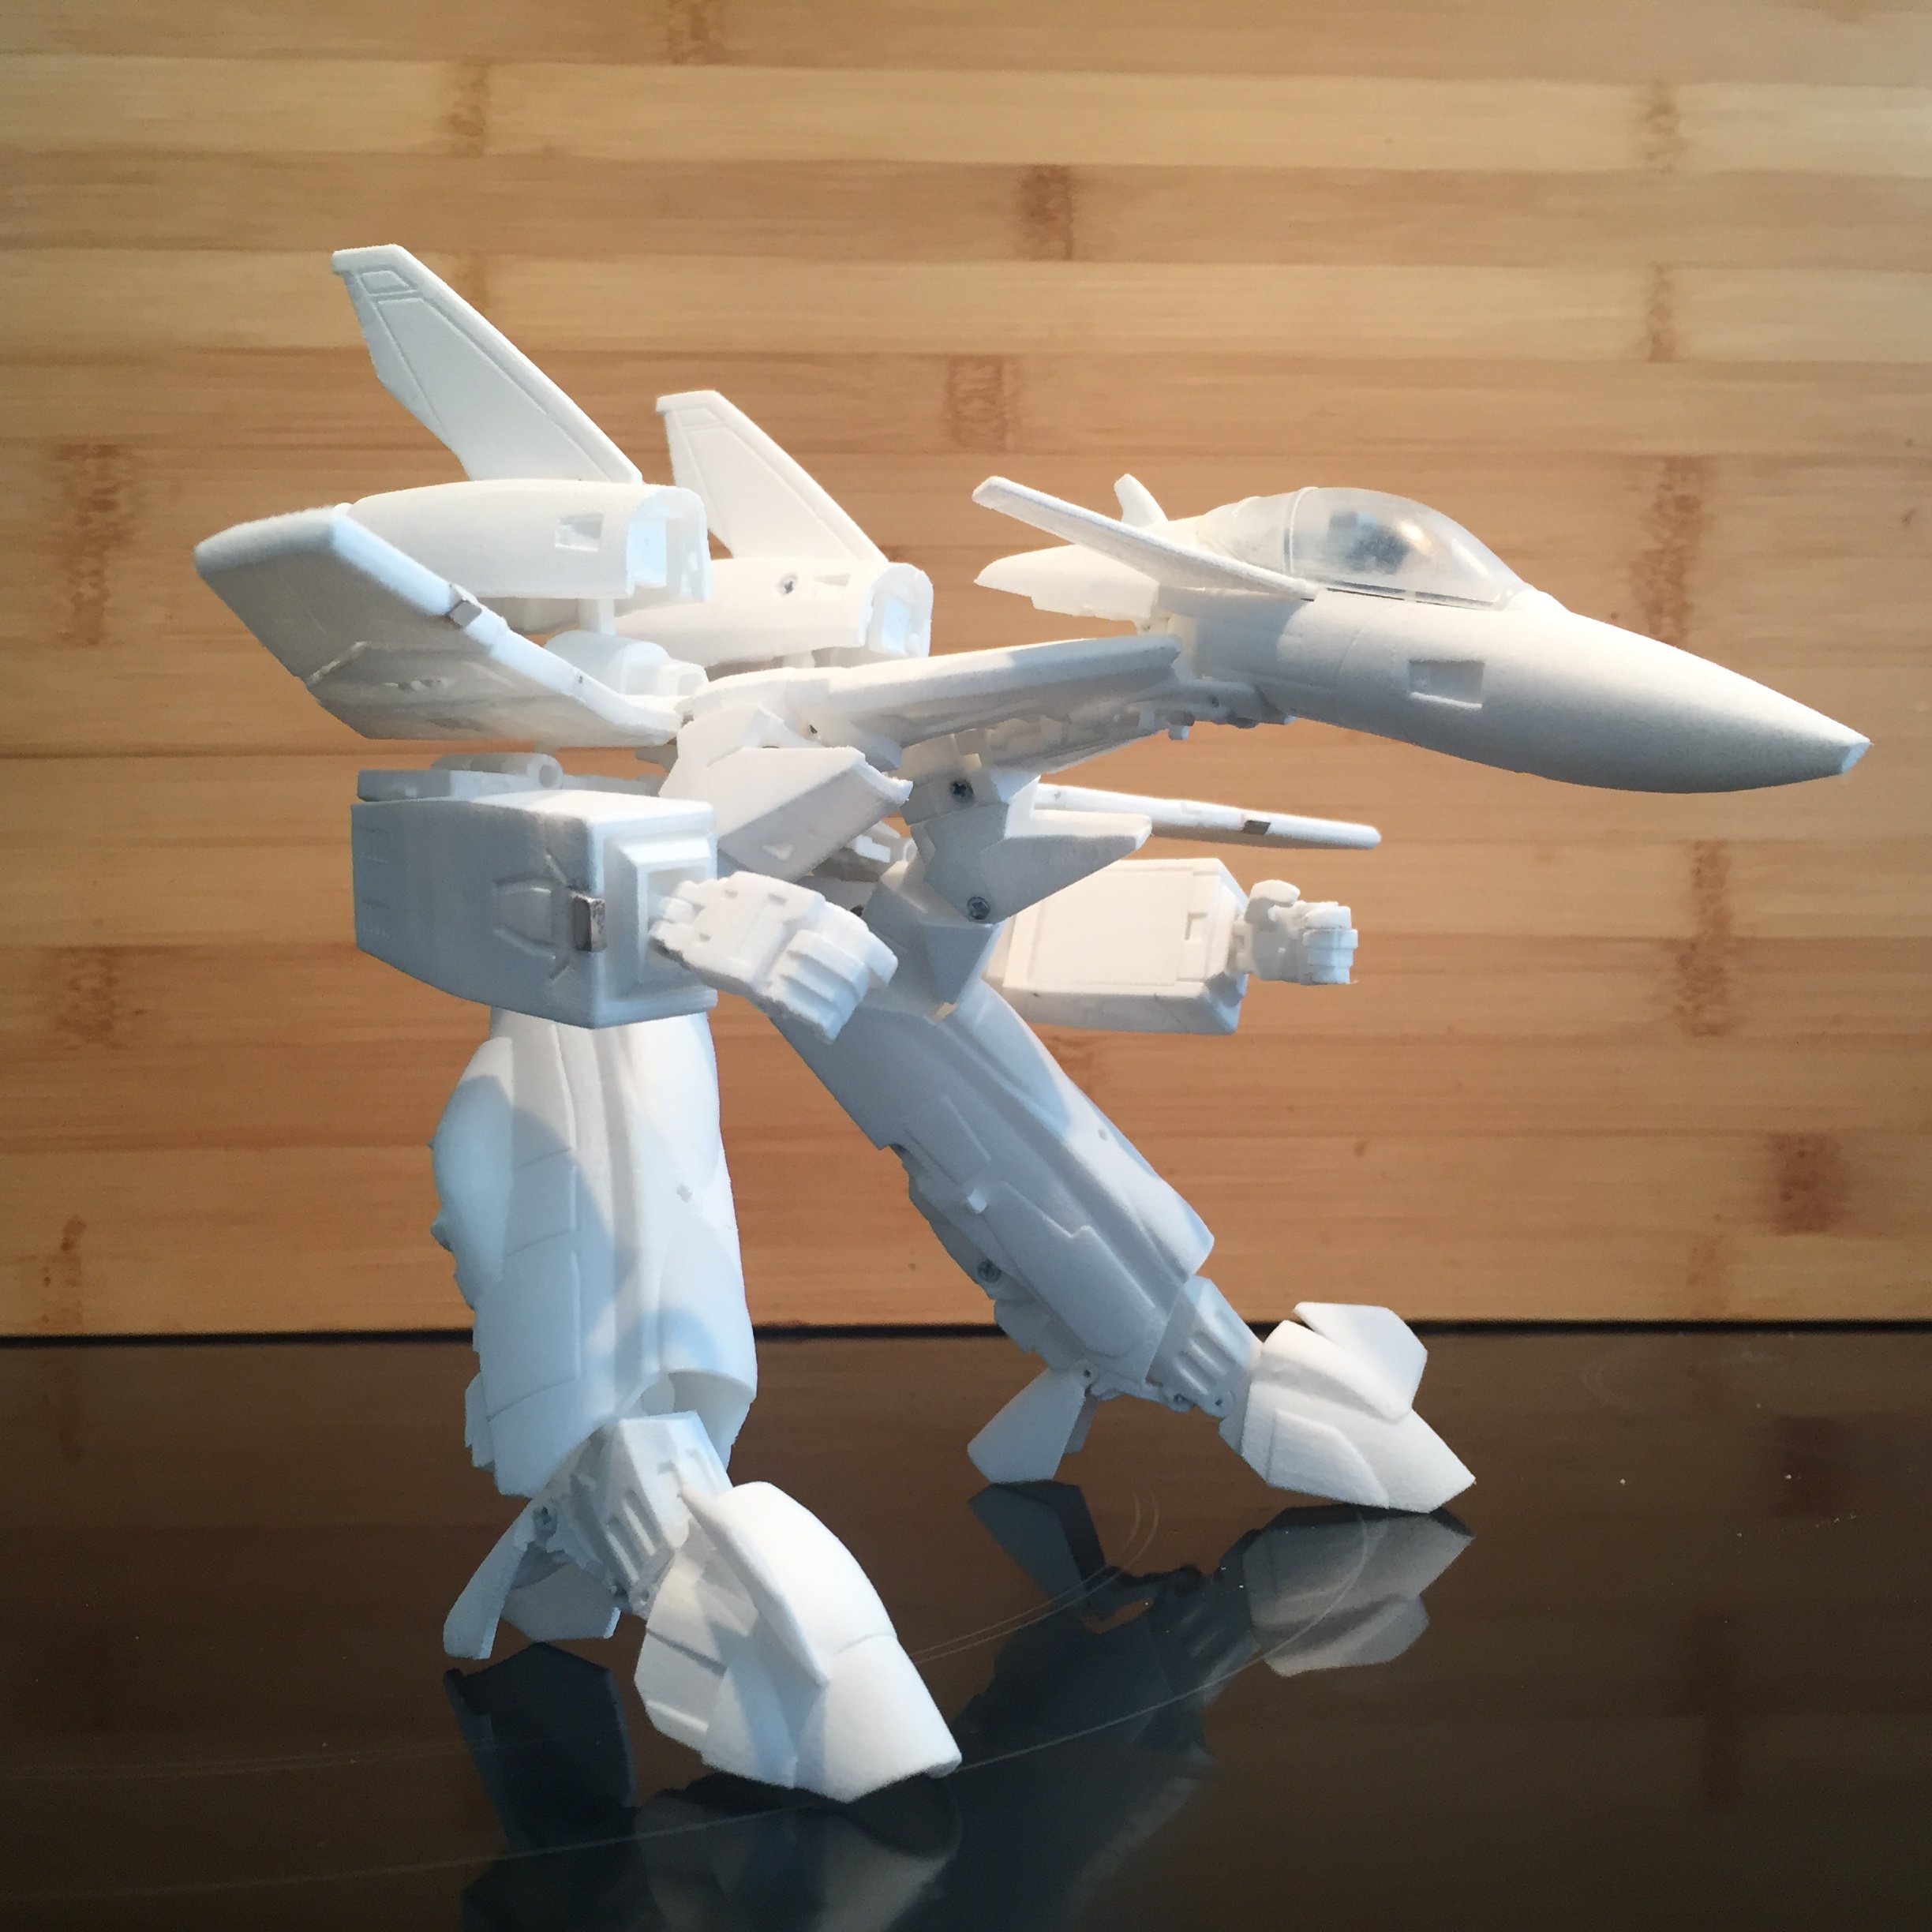
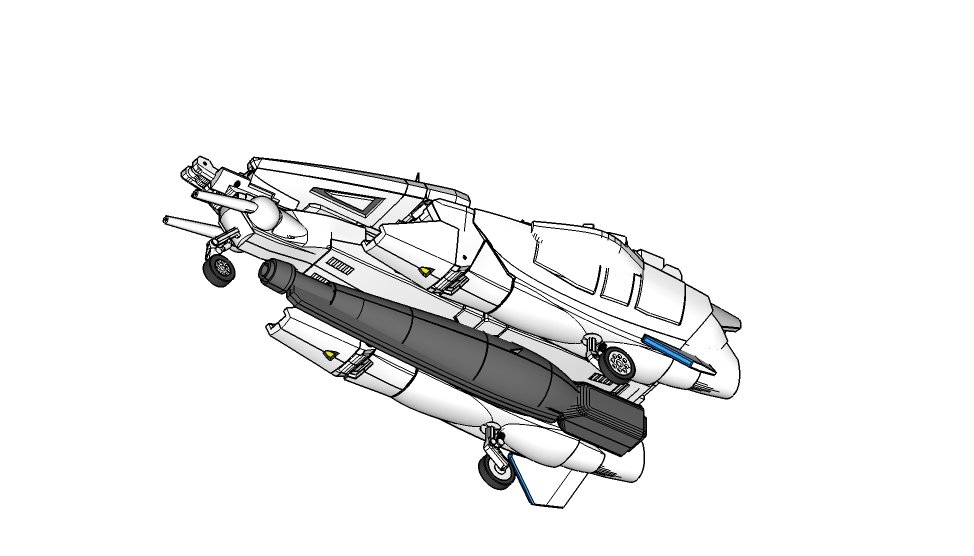
For the gerwalk lovers