Search the Community
Showing results for tags 'vf-1a'.
-
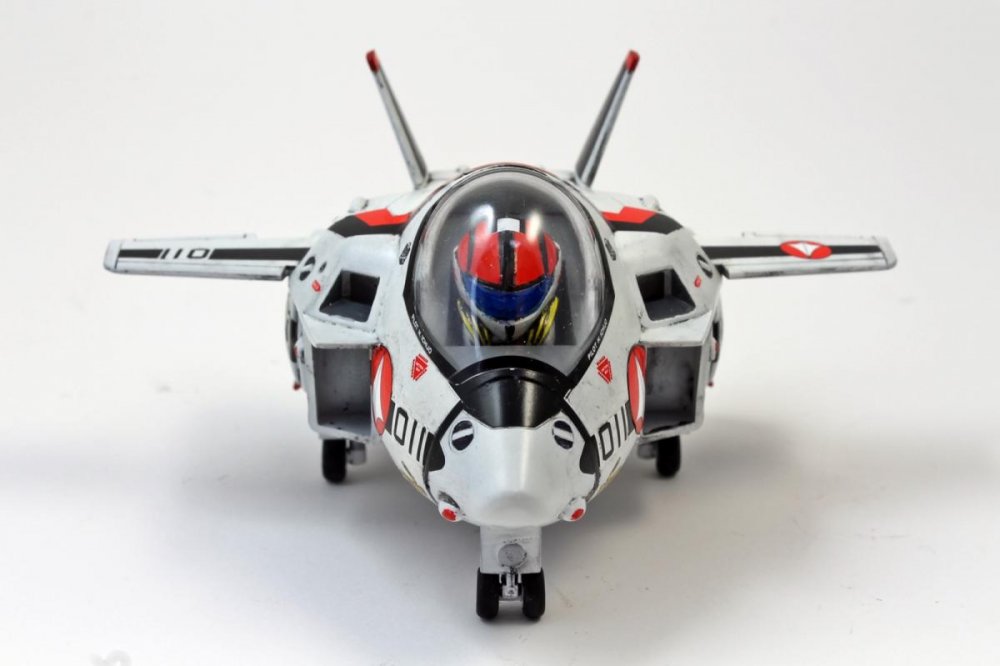
On display at Tamashii Nation 2017 but no pics... for now. Supposedly 1/48 scale. Reported from:
-
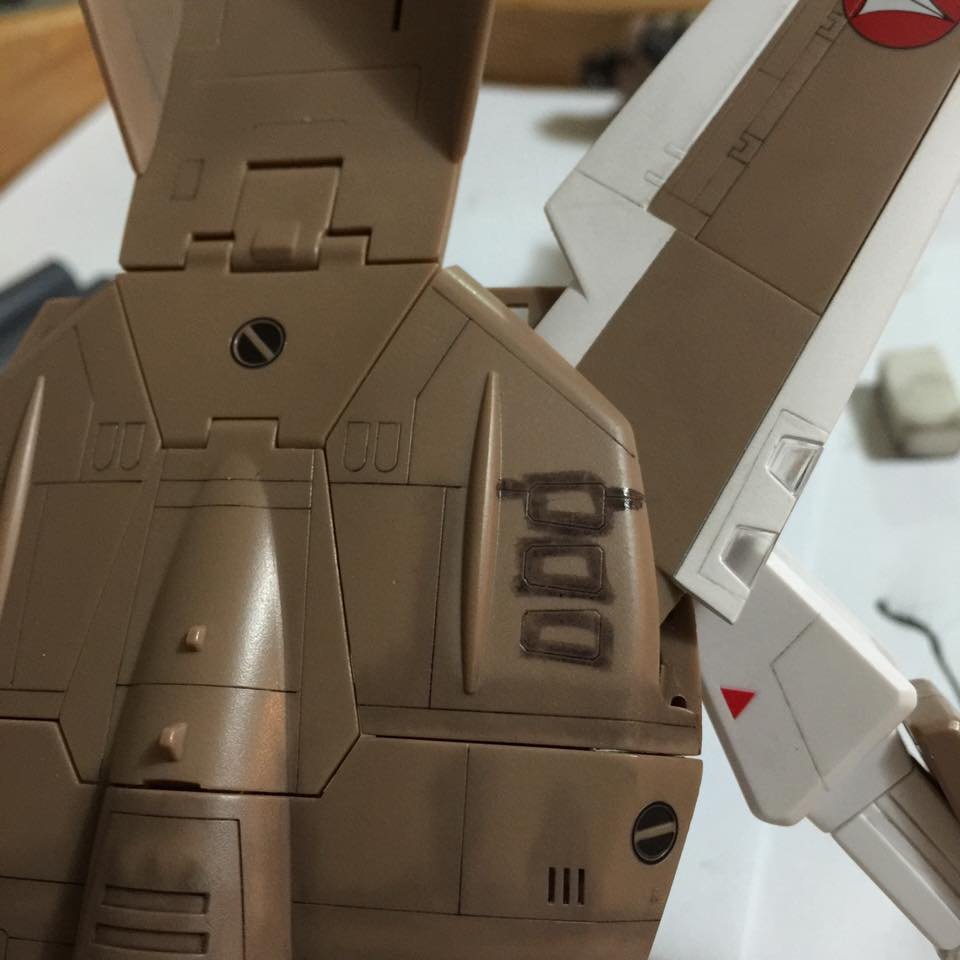
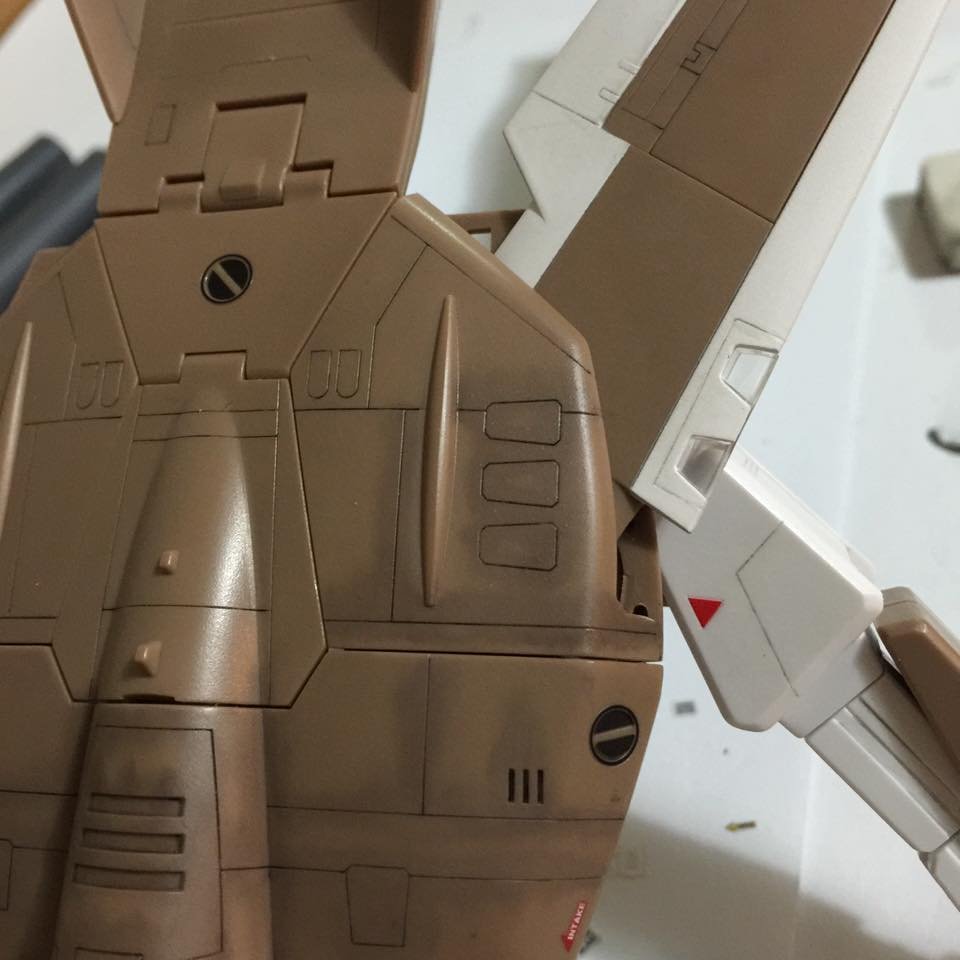
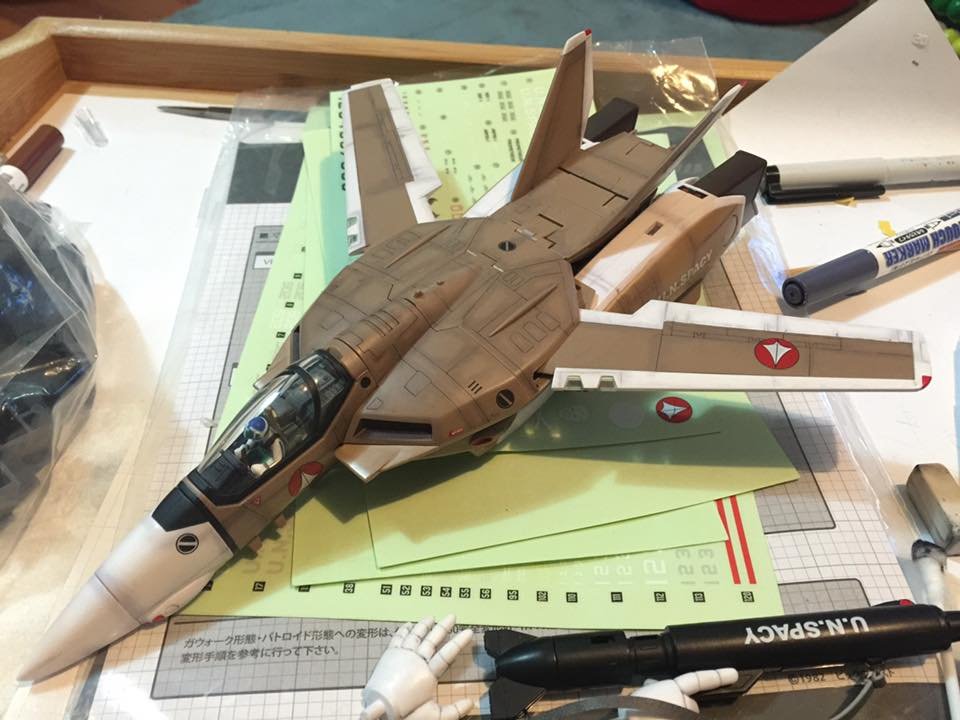
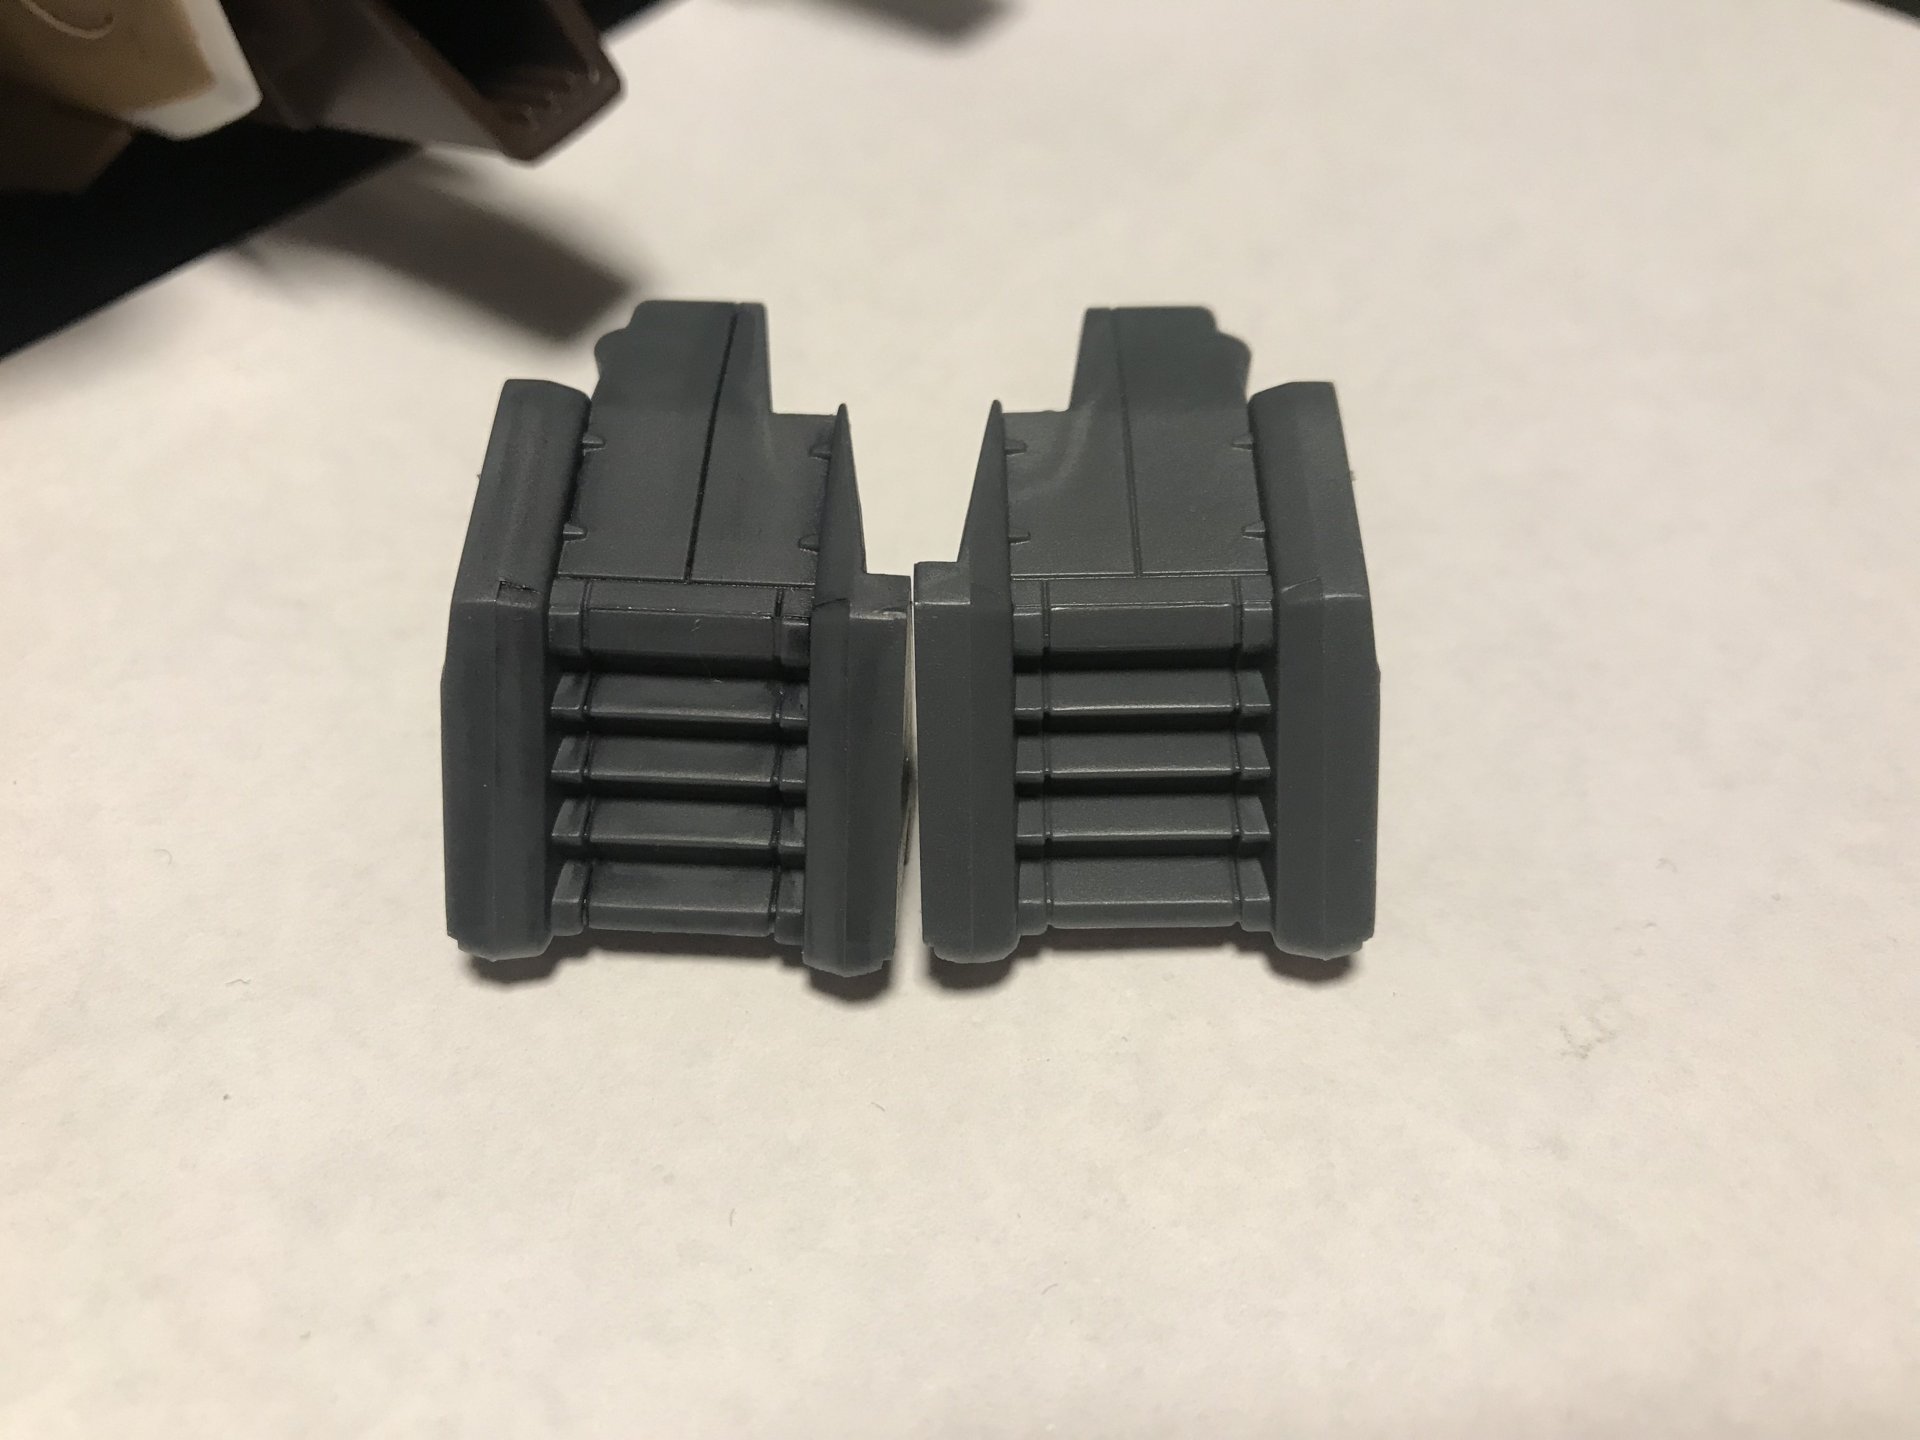
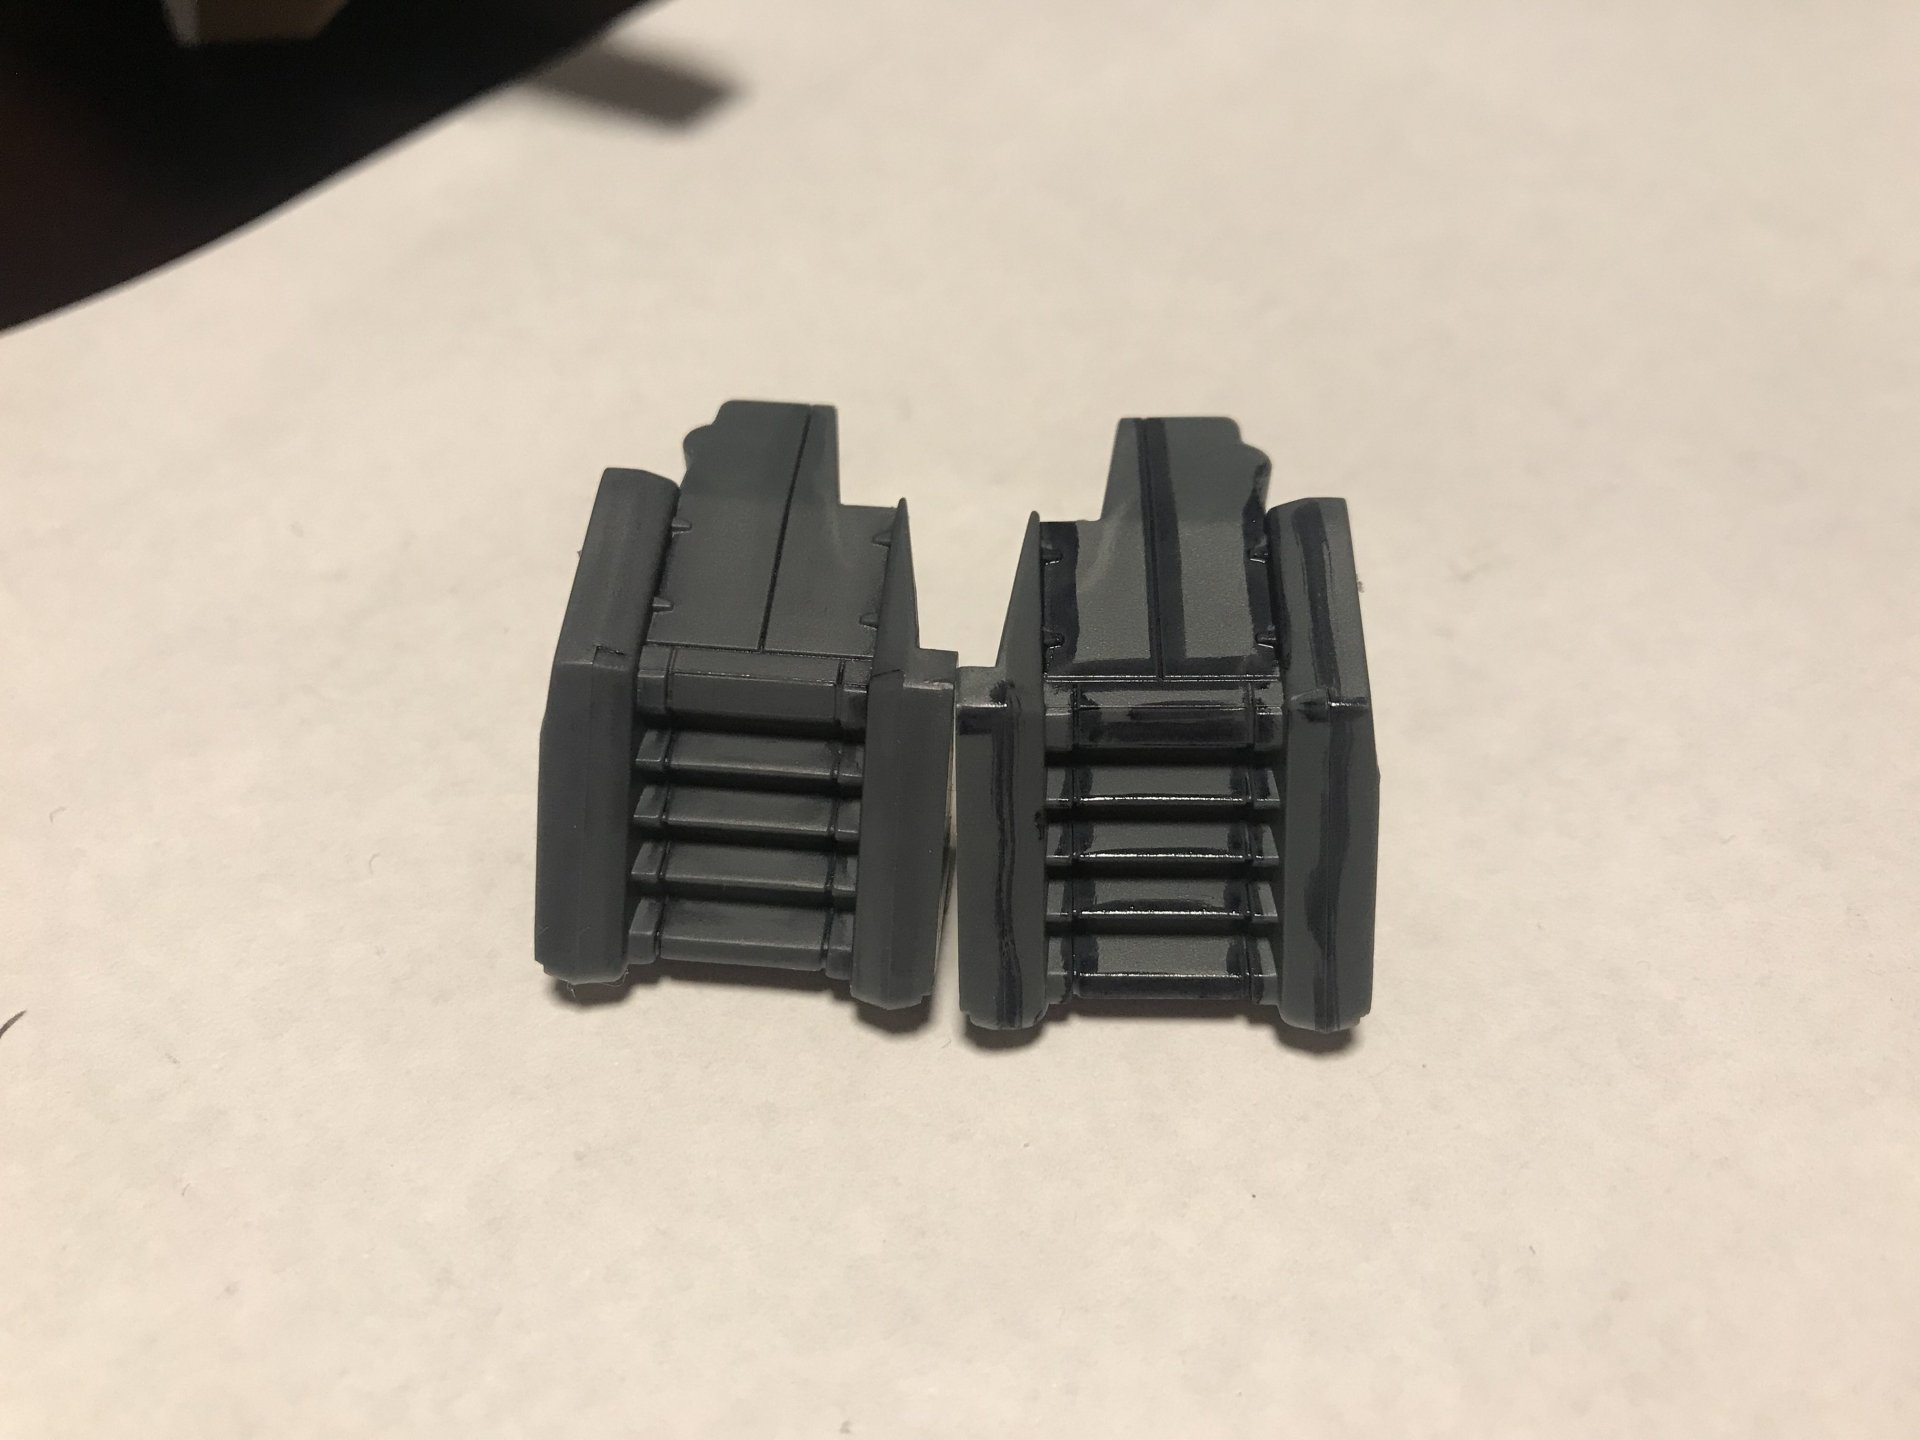
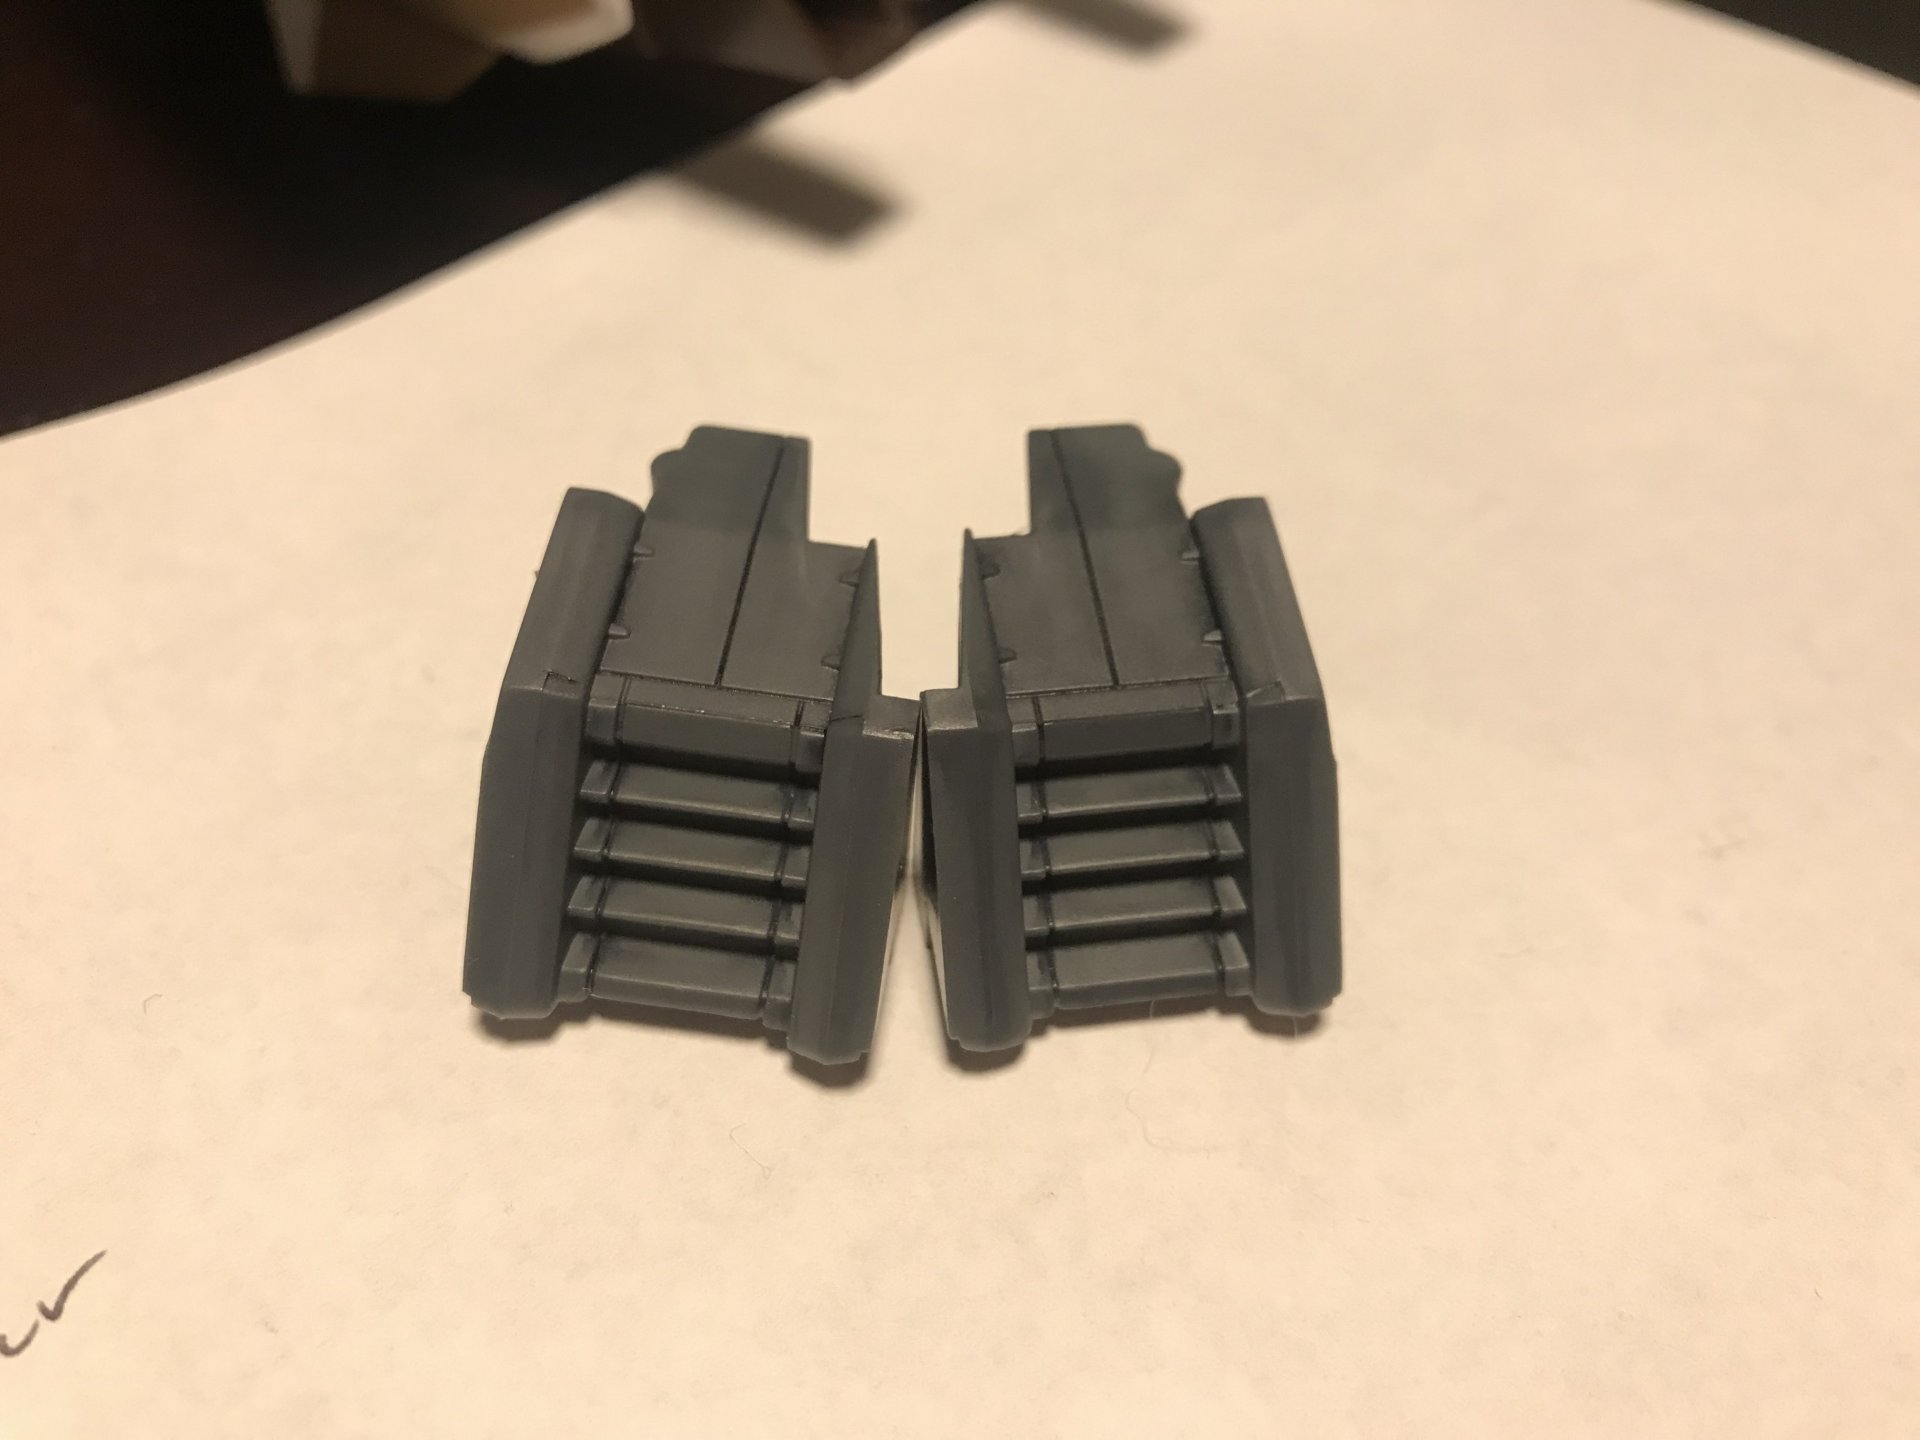
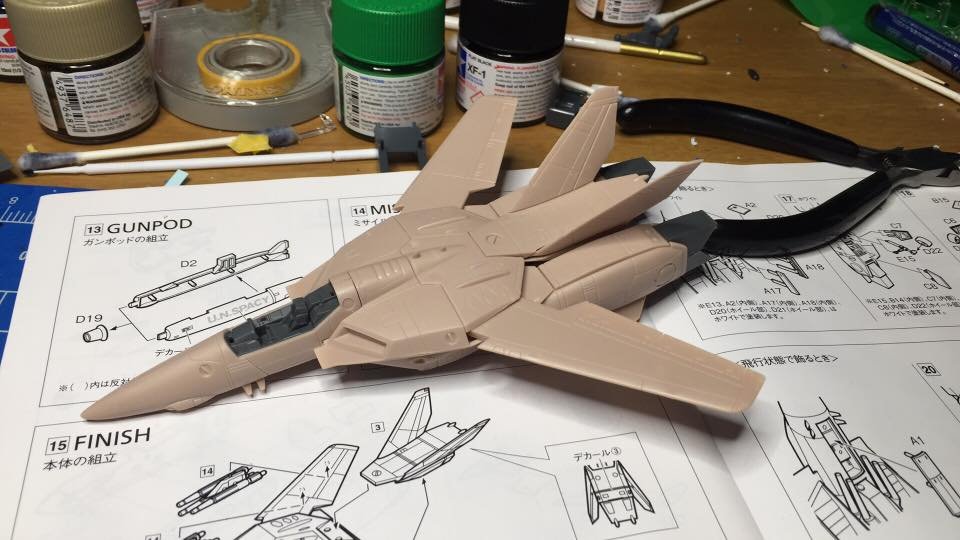
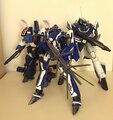
I'm finally getting back into weathering and stickering my Yamato VF-1 cannon fodders. I completed the VF-1J... 4 years ago, and I started on the 1A shortly after. Around 6 months later I had pretty much completed the 1st part of the weathering (darkening), and then... got lazy - probably due to some other distraction - maybe a video game or something. Just did a little bit tonight, which was darkening the option part side covers and intake covers. The next part is dry brushing on some metallic weathering to the darker areas - feet, intake covers and gunpod. Then stickers and a flat coat. I wonder how many months it will be until I find time to do that. Have to wait until the weather is warmer to even use my flat coat Mr Hobby spray. Well, enjoy the WIP photos. The darkening is all done using Gundam Real Touch markers, and a cotton bud/q-tip these top 3 photos were taken in 2015-2016... Left side already weathering, and right side bare. Photos taken tonight. The intake covers are really subtle so no point showing those. I think the effect doesn't show up on my phone camera and during the night with the room lights. It'll be much more pronounced once the dry brushing is done. I had forgetten how therapeutic and relaxing this hobby is.
- 10 replies
-
- 1
-

-
- customized
- weathering
-
(and 2 more)
Tagged with:
-
From the album: IMAI VF-1A
I had this model in line to be painted for 2 years, I decided to try some modern paint techniques on it such as the popular: "color modulation" used by modellers so indiscriminately today, (BTW, the correct term should be actually "color gradation"). I used Gunze and Tamiya paints, despite being an old kit (1983 or so), panel lines are superb and help a lot with the paneling process. Its a very fun weekend project. I used the kit base and made a hole backwards for mounting as I did not want to drill the gunpod.© Warlock Team
-
- VF-1A
- Imai 1/100
-
(and 2 more)
Tagged with:
-
There's a local modeling competition in less than 3 weeks. Suddenly felt the need to enter into the scifi portion of the competition. Last year a friend of mine entered with a very basic HG gunpla kit he did in candy colors. I think I can top that! My idea is to use this wave 1/100 VF-1A I got from a convention a couple years ago and turn it into some kind of a low-viz scheme with some kind of a Macross First twist like Hikaru's VF-1J, not so crazy though. But I also thought I saw someone did a custom job on their take of the brownie but I can't find it anywhere. I'd like too if possible try to even replicate that. I may even go as far as to customize my own decals since I'm a bit of a graphic designer and we got excellent printers so long as I'm not doing white. Any suggestions you guys got to help make this kit stand out would be appreciative as I'd like to take home my first trophy. Couple things I'm curious over are seamline removal since there's 4 locations I'd like to fix in the nosecone and fuselage and than the underbelly at the knees up to the thighs. Also how to properly paint the canopy if there are good easy to follow tutorials. Some of the ones I found on youtube seem to have some really bad dislikes for some reason.
- 3 replies
-
- Workshop
- Competition
-
(and 6 more)
Tagged with:
-
From the album: sh9000's collection
-
From the album: sh9000's collection
-
From the album: Minecraft Macross update 8-20-15
-

Minecraft PlayStation®4 Edition 20150429224956
Vermillion3 posted a gallery image in Macross Collections
From the album: Minecraft Macross
Max Jenius's VF-1A in Fighter mode-
- VF-1A
- Max Jenius
-
(and 1 more)
Tagged with:
-

Minecraft PlayStation®4 Edition 20150429224944
Vermillion3 posted a gallery image in Macross Collections
From the album: Minecraft Macross
Hikaru's VF-1A Valkyrie in Gerwalk mode -
First build completed for 2015! Had this sitting on my shelf for a few years, finally decided to go ahead and build it. Very quick and easy.
-
So, how does this look as a possibility? Anyone interested in a custom head based on this, cast in resin? This is just a very basic dryfit on a Bandai reissue DYRL 1/55 VF-1A. The head actually comes from this plastic SD-series kit: Thoughts, anyone? While it's SD, I think it has the style of interpretation seen in the other superchunk 1/55 heads. It would look right at home on those big square shoulders...
- 6 replies
-
- 1/55
- old school
-
(and 3 more)
Tagged with:
-
From the album: Custom DYRL 1A 1/55 Head Project
Source kit for my custom DYRL style 1/55 VF-1A head project.© Ray "AcroRay" Miller
-
From the album: Custom DYRL 1A 1/55 Head Project
A closer shot of the dryfit of Bandai SD Super Max VF-1A SD kit's head to reissue Hikaru Bandai 1/55 DYRL VF-1A (which I obtained minus its original head, fitted with an old Jetfire head instead), to check scale & style. Looks in-scale, and the big SD-style eye doesn't look out of place on the big, blocky 1/55 body design.© Ray "AcroRay" Miller
-
From the album: Custom DYRL 1A 1/55 Head Project
Dryfit of Bandai SD Super Max VF-1A SD kit's head to reissue Hikaru Bandai 1/55 DYRL VF-1A (which I obtained minus its original head, fitted with an old Jetfire head instead), to check scale & style. Looks in-scale, and the big SD-style eye doesn't look out of place on the big, blocky 1/55 body design.© Ray "AcroRay" Miller
-
From the album: happy_spike collection
Update 2 of my Bandai Fighter Collection (mostly series 1 with a few series 2) at my desk at work. -
Sorry if it is somewhat off topic, but this seemed the best location for it. Palladium is doing a kick starter for their Robotech mass combat game, and the models looked very nice and are in the common micro armor scale. Though you diorama folks might be interested in checking it out. http://www.kickstarter.com/projects/rrpgt/robotech-rpg-tacticstm
-
And here we are with the second epic installment of Noob Vs. Models. This threads victim will be ARII's 1/100 scale VF-1A. Now, last time with the Fan Racer, it was all about your basic masking, painting, and sanding. This time I'm going to experiment with some slightly more advanced techniques such as applying waterslide decals, panel lining, and weathering. I have on order some black Promodeller's Wash but it's about 2 weeks out. And as usual, all veteran modeller's are welcome to chime in and share their experience. Since I don't really care about this particular model I'd be more than happy to let someone else pick the paint scheme as long as it's within my abilities. So fire away with your suggestions. I personally was leaning towards the new Alaska Base scheme but we'll see. I can't actually do any priming or painting in the next couple of days because it's hailing/raining/storming out right now and last time I tried to paint after it rained I had to sand it all down, reprime, and repaint. I had no idea that was a bad thing. Oh well, lesson learned and that's what this thread is for. So this what's we'll be working with. Not to complicated, so that's good. First thing I noticed was that the nosecone could be screwed up pretty easy. The way the sprue is connected to the actual piece is going to be a pain in the turdcutter to clip and sand right. On a side note it's taken about 2 and 1/2 hours just to get this single post up because I keep getting sidetracked playing Final Fantasy V.


