peter
-
Posts
4487 -
Joined
-
Last visited
Content Type
Profiles
Forums
Events
Gallery
Everything posted by peter
-
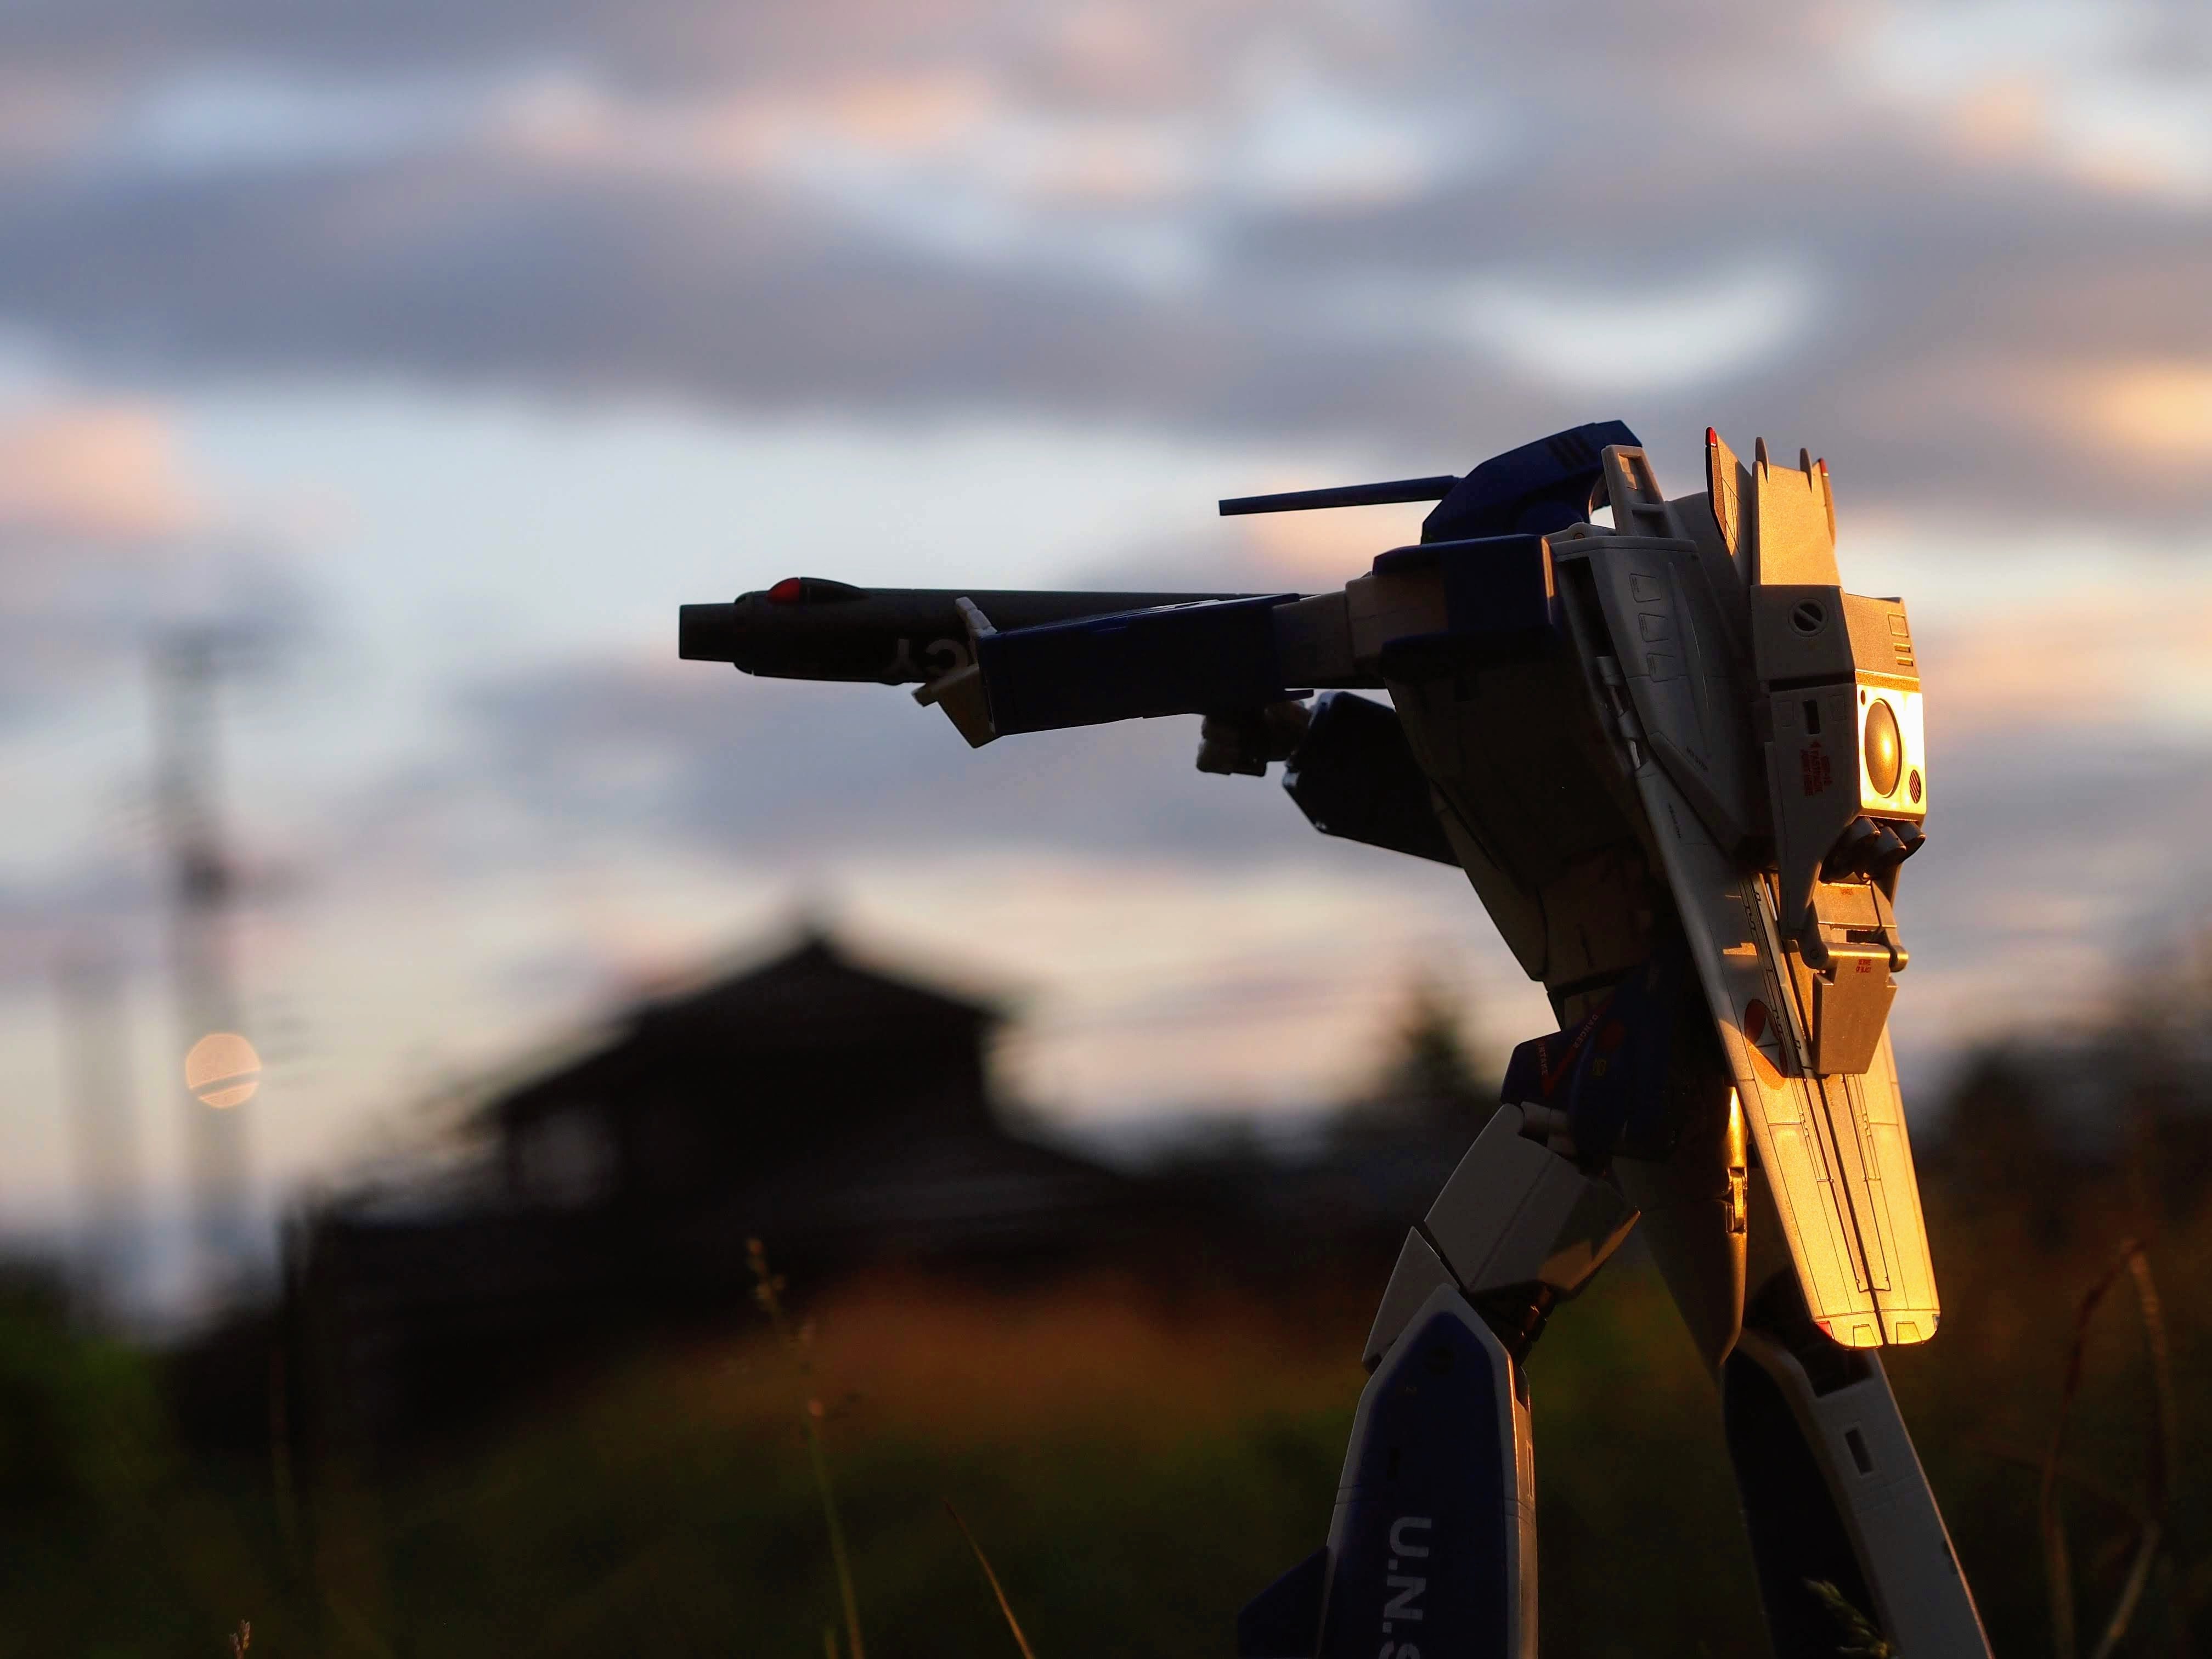
Haha, I have to drive 4 hrs to shoot my 50.....so it sees the light of day only a few times a year. I was thinking about the gunpod's ejection chamber on my DX and noticed that it closes when the gunpod stock is collapsed....but I've seen the thing shoot in fighter mode....so does it extend when firing to let the empty cases eject, is there an alternative ejection port for fighter mode, or maybe uses an internal brass catcher when collapsed, or maybe Bandai got the design wrong, or maybe I'm overthinking it since it's a cartoon, lol!
-
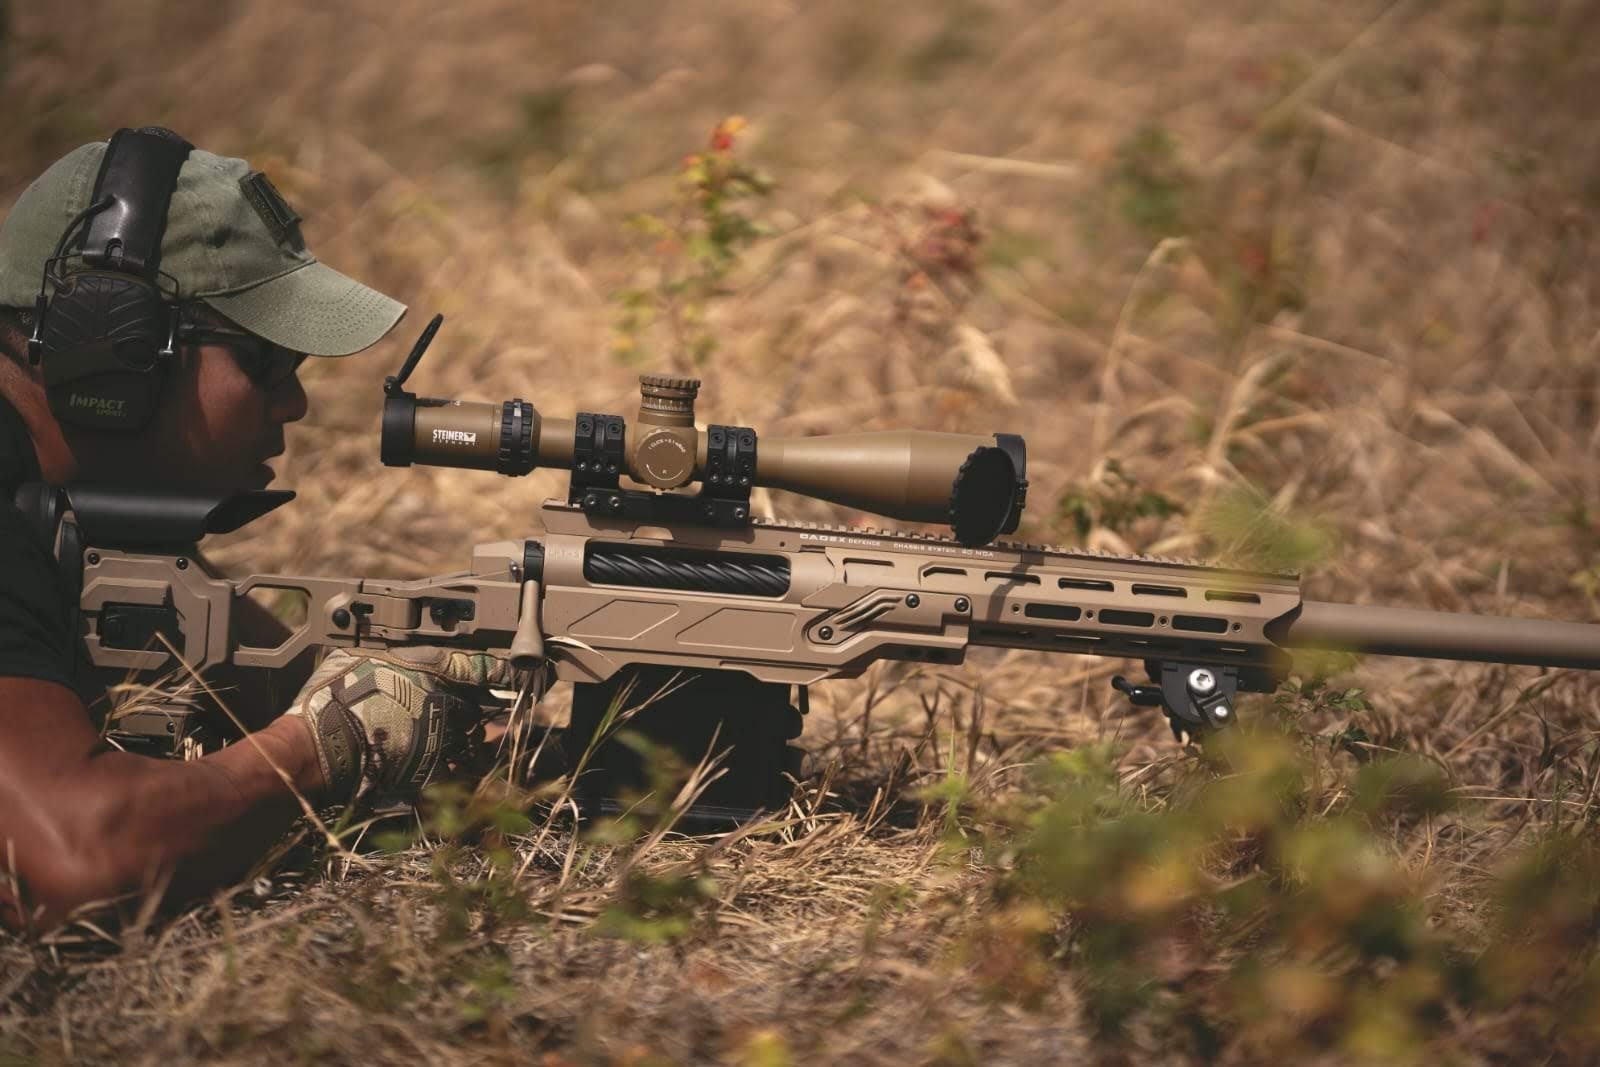
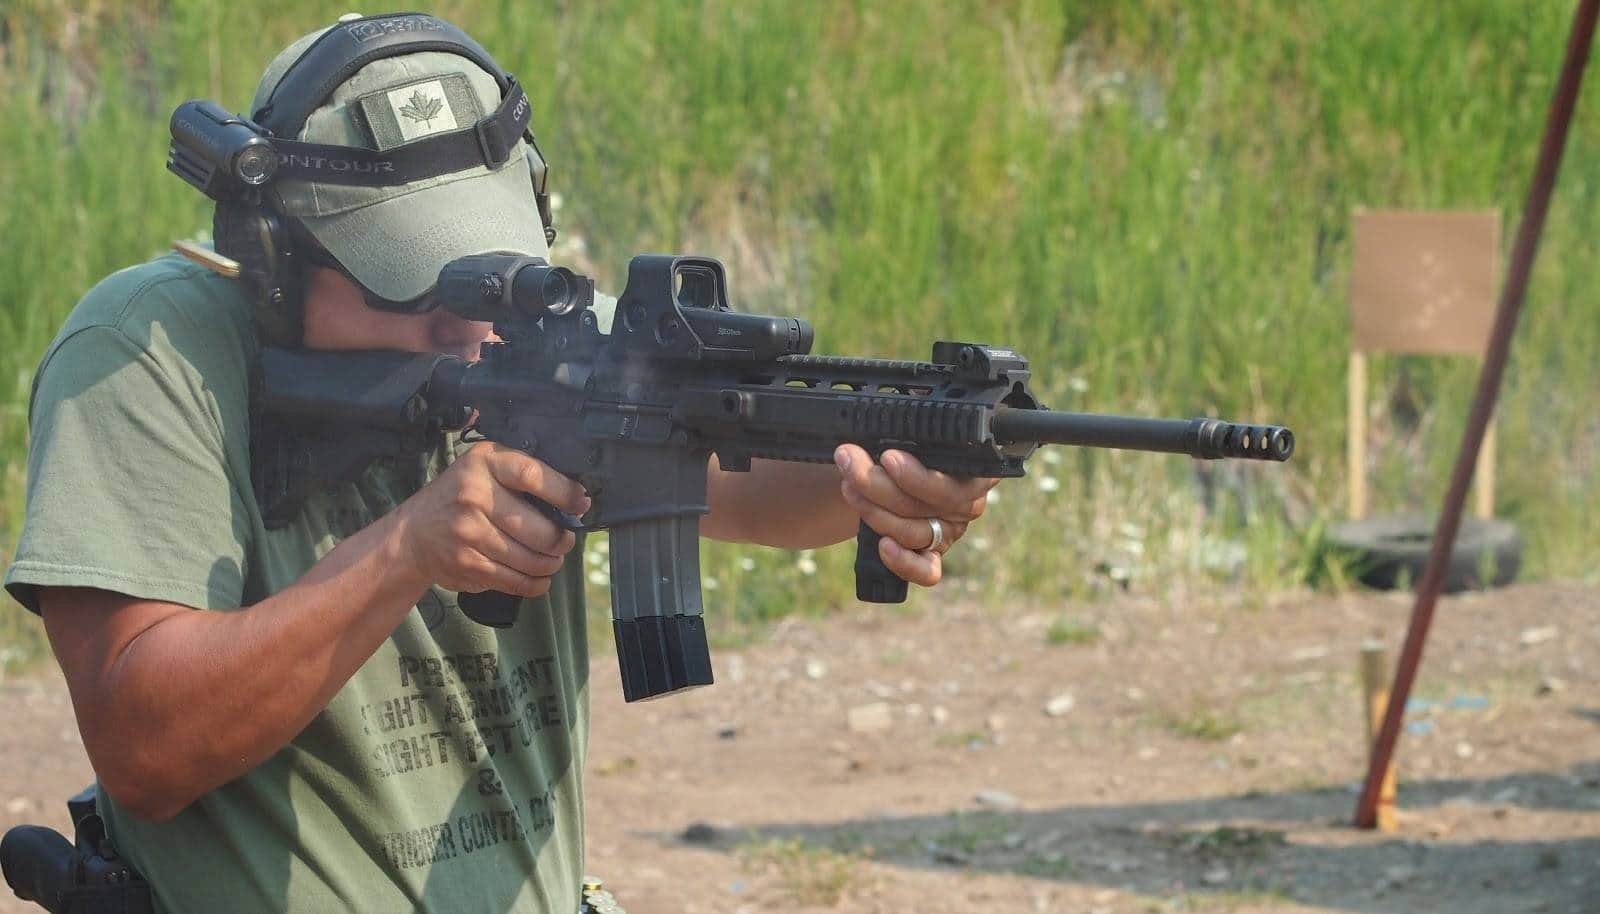
How big is that round? I shoot my 50bmg out to 1km once in a while. All depends on whether I'm using $hitty bulk ammo or the match grade stuff. That being said, I also have 308 and 6.5cm that can easily reach out to 1km and hit a torso sized gong.
-
Chris Costa Imust have watched Magpul's Art of the Tactical Carbine a million times when it first came out, lol! I tried to get the Valk to hunch over more, but it wasn't possible.
-
Wow, those are some pretty awesome vintage kits!
-
Lol!
-
Damn right. I won't buy anything with HG or Robotech on it. I'd rather give my money to a 3rd party knock off company in China than to anything "Licensed" by HG. Fuk HG.
-
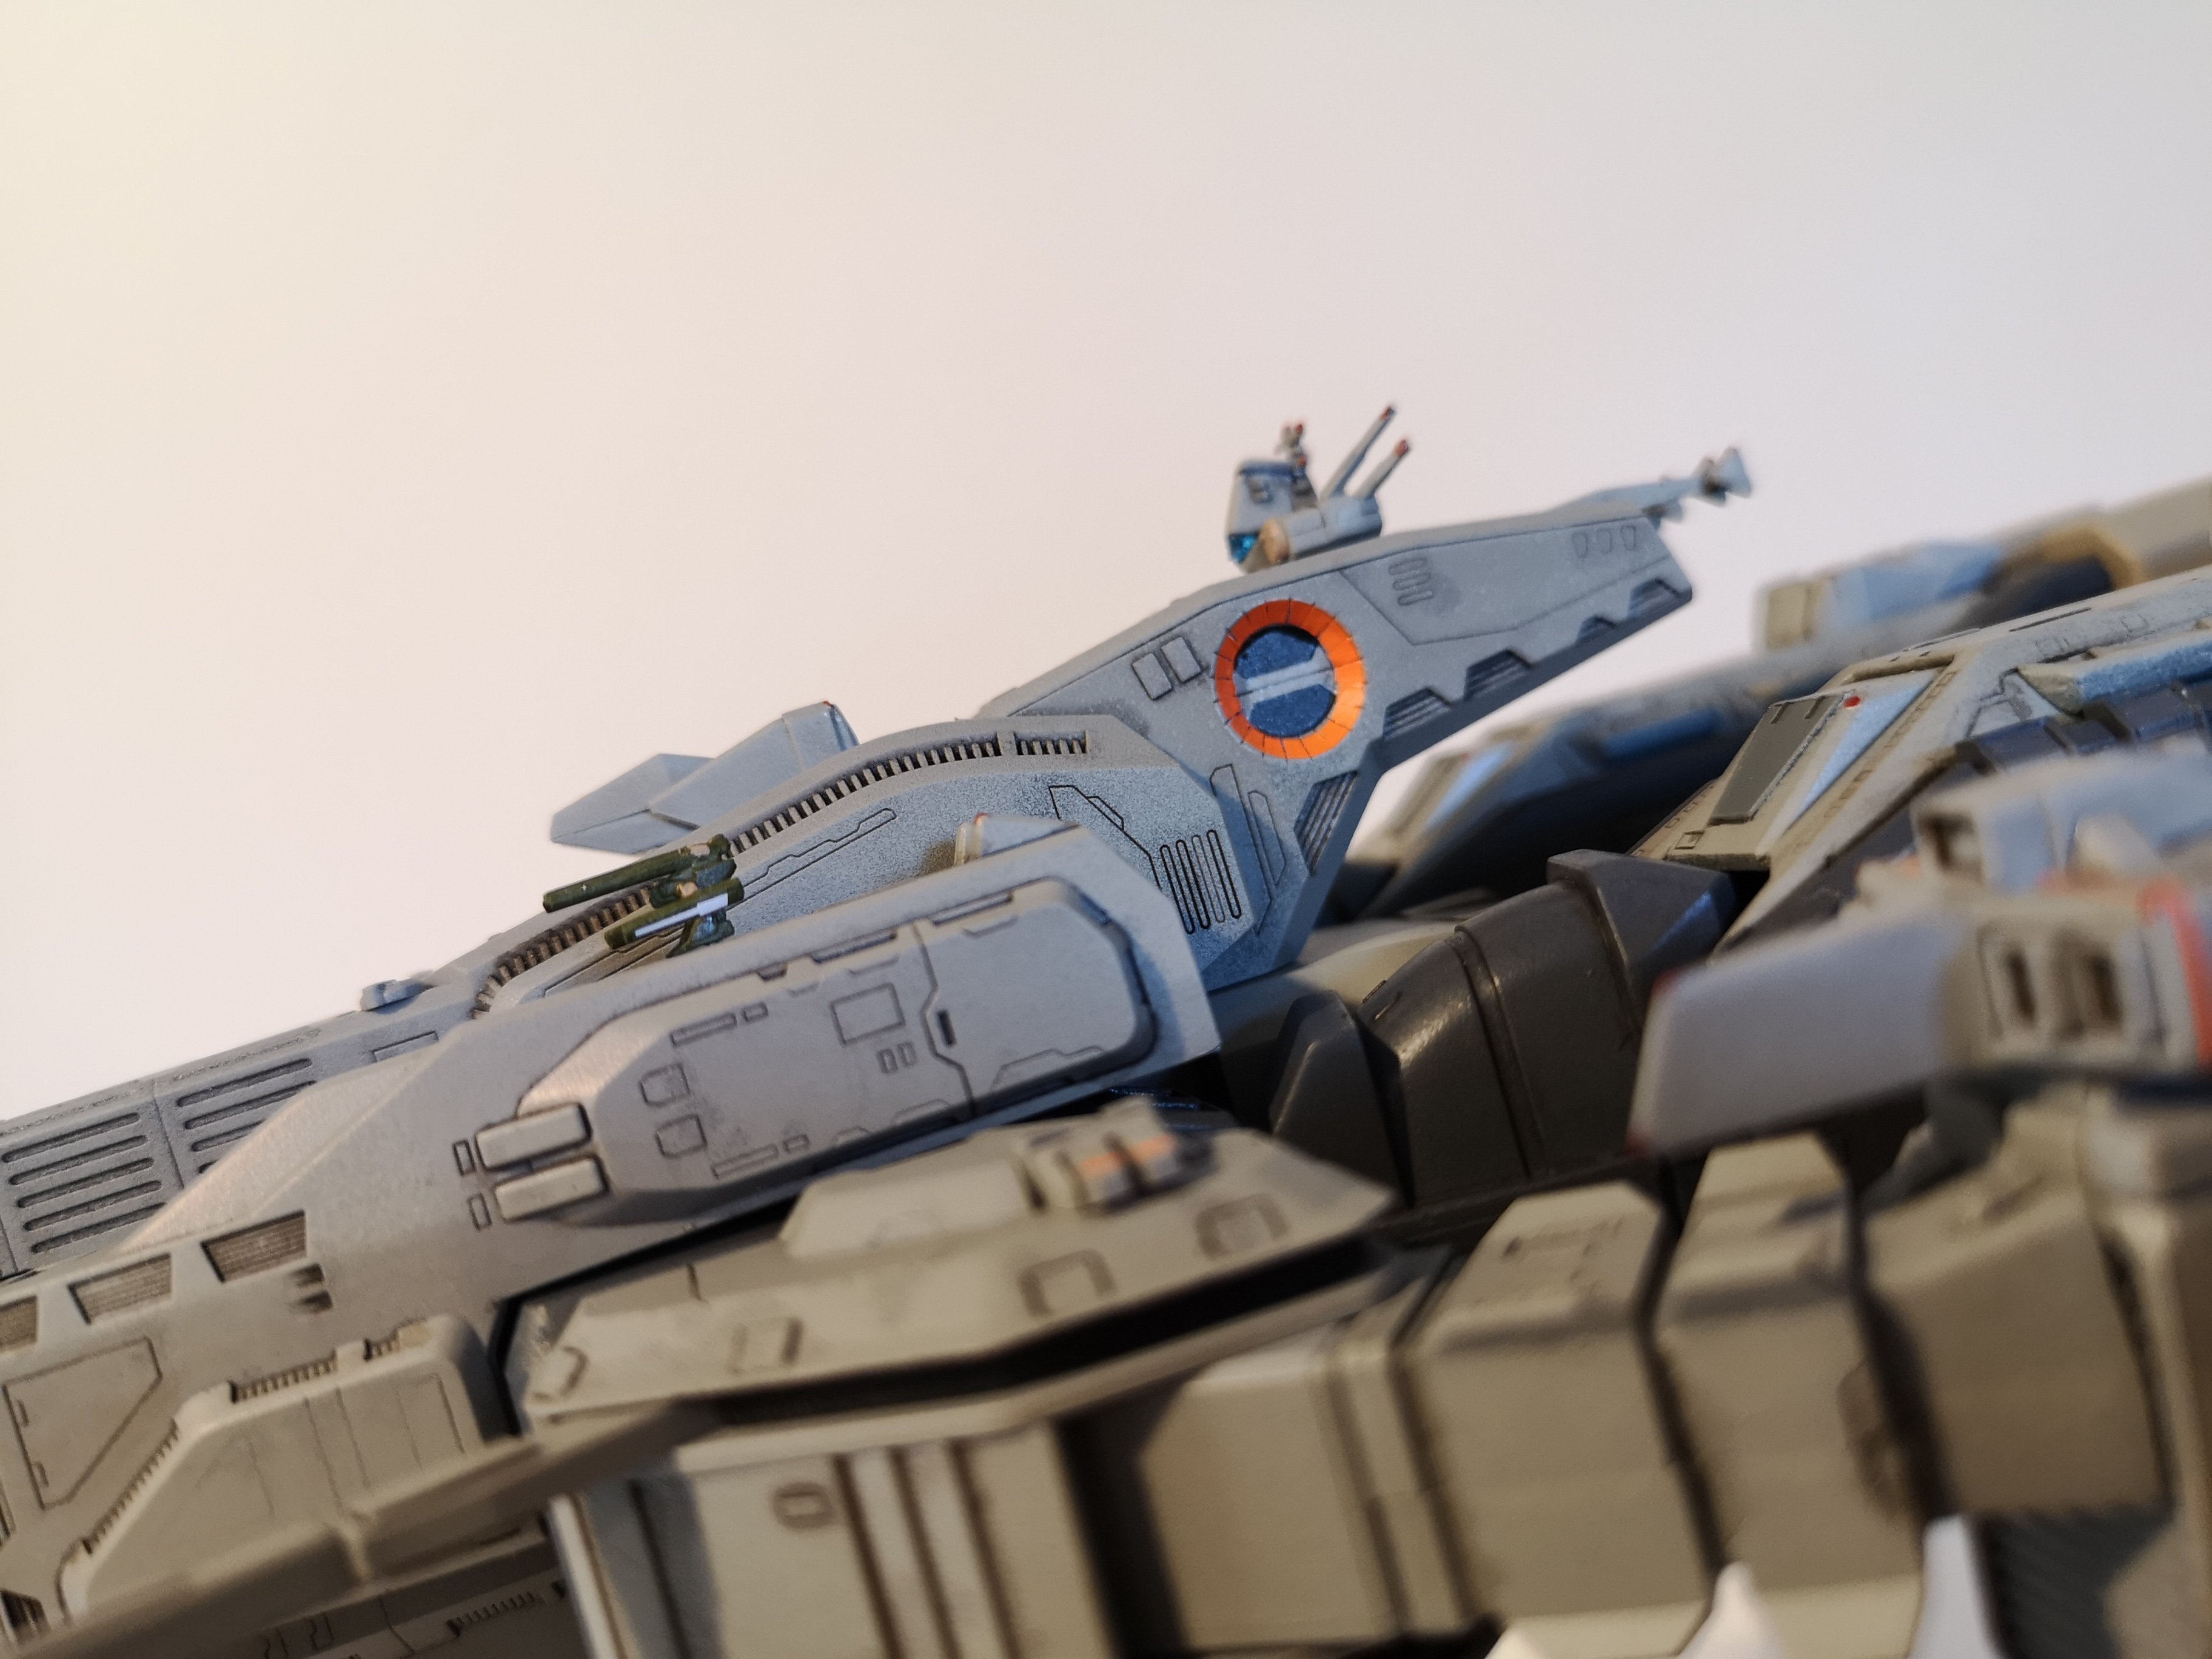
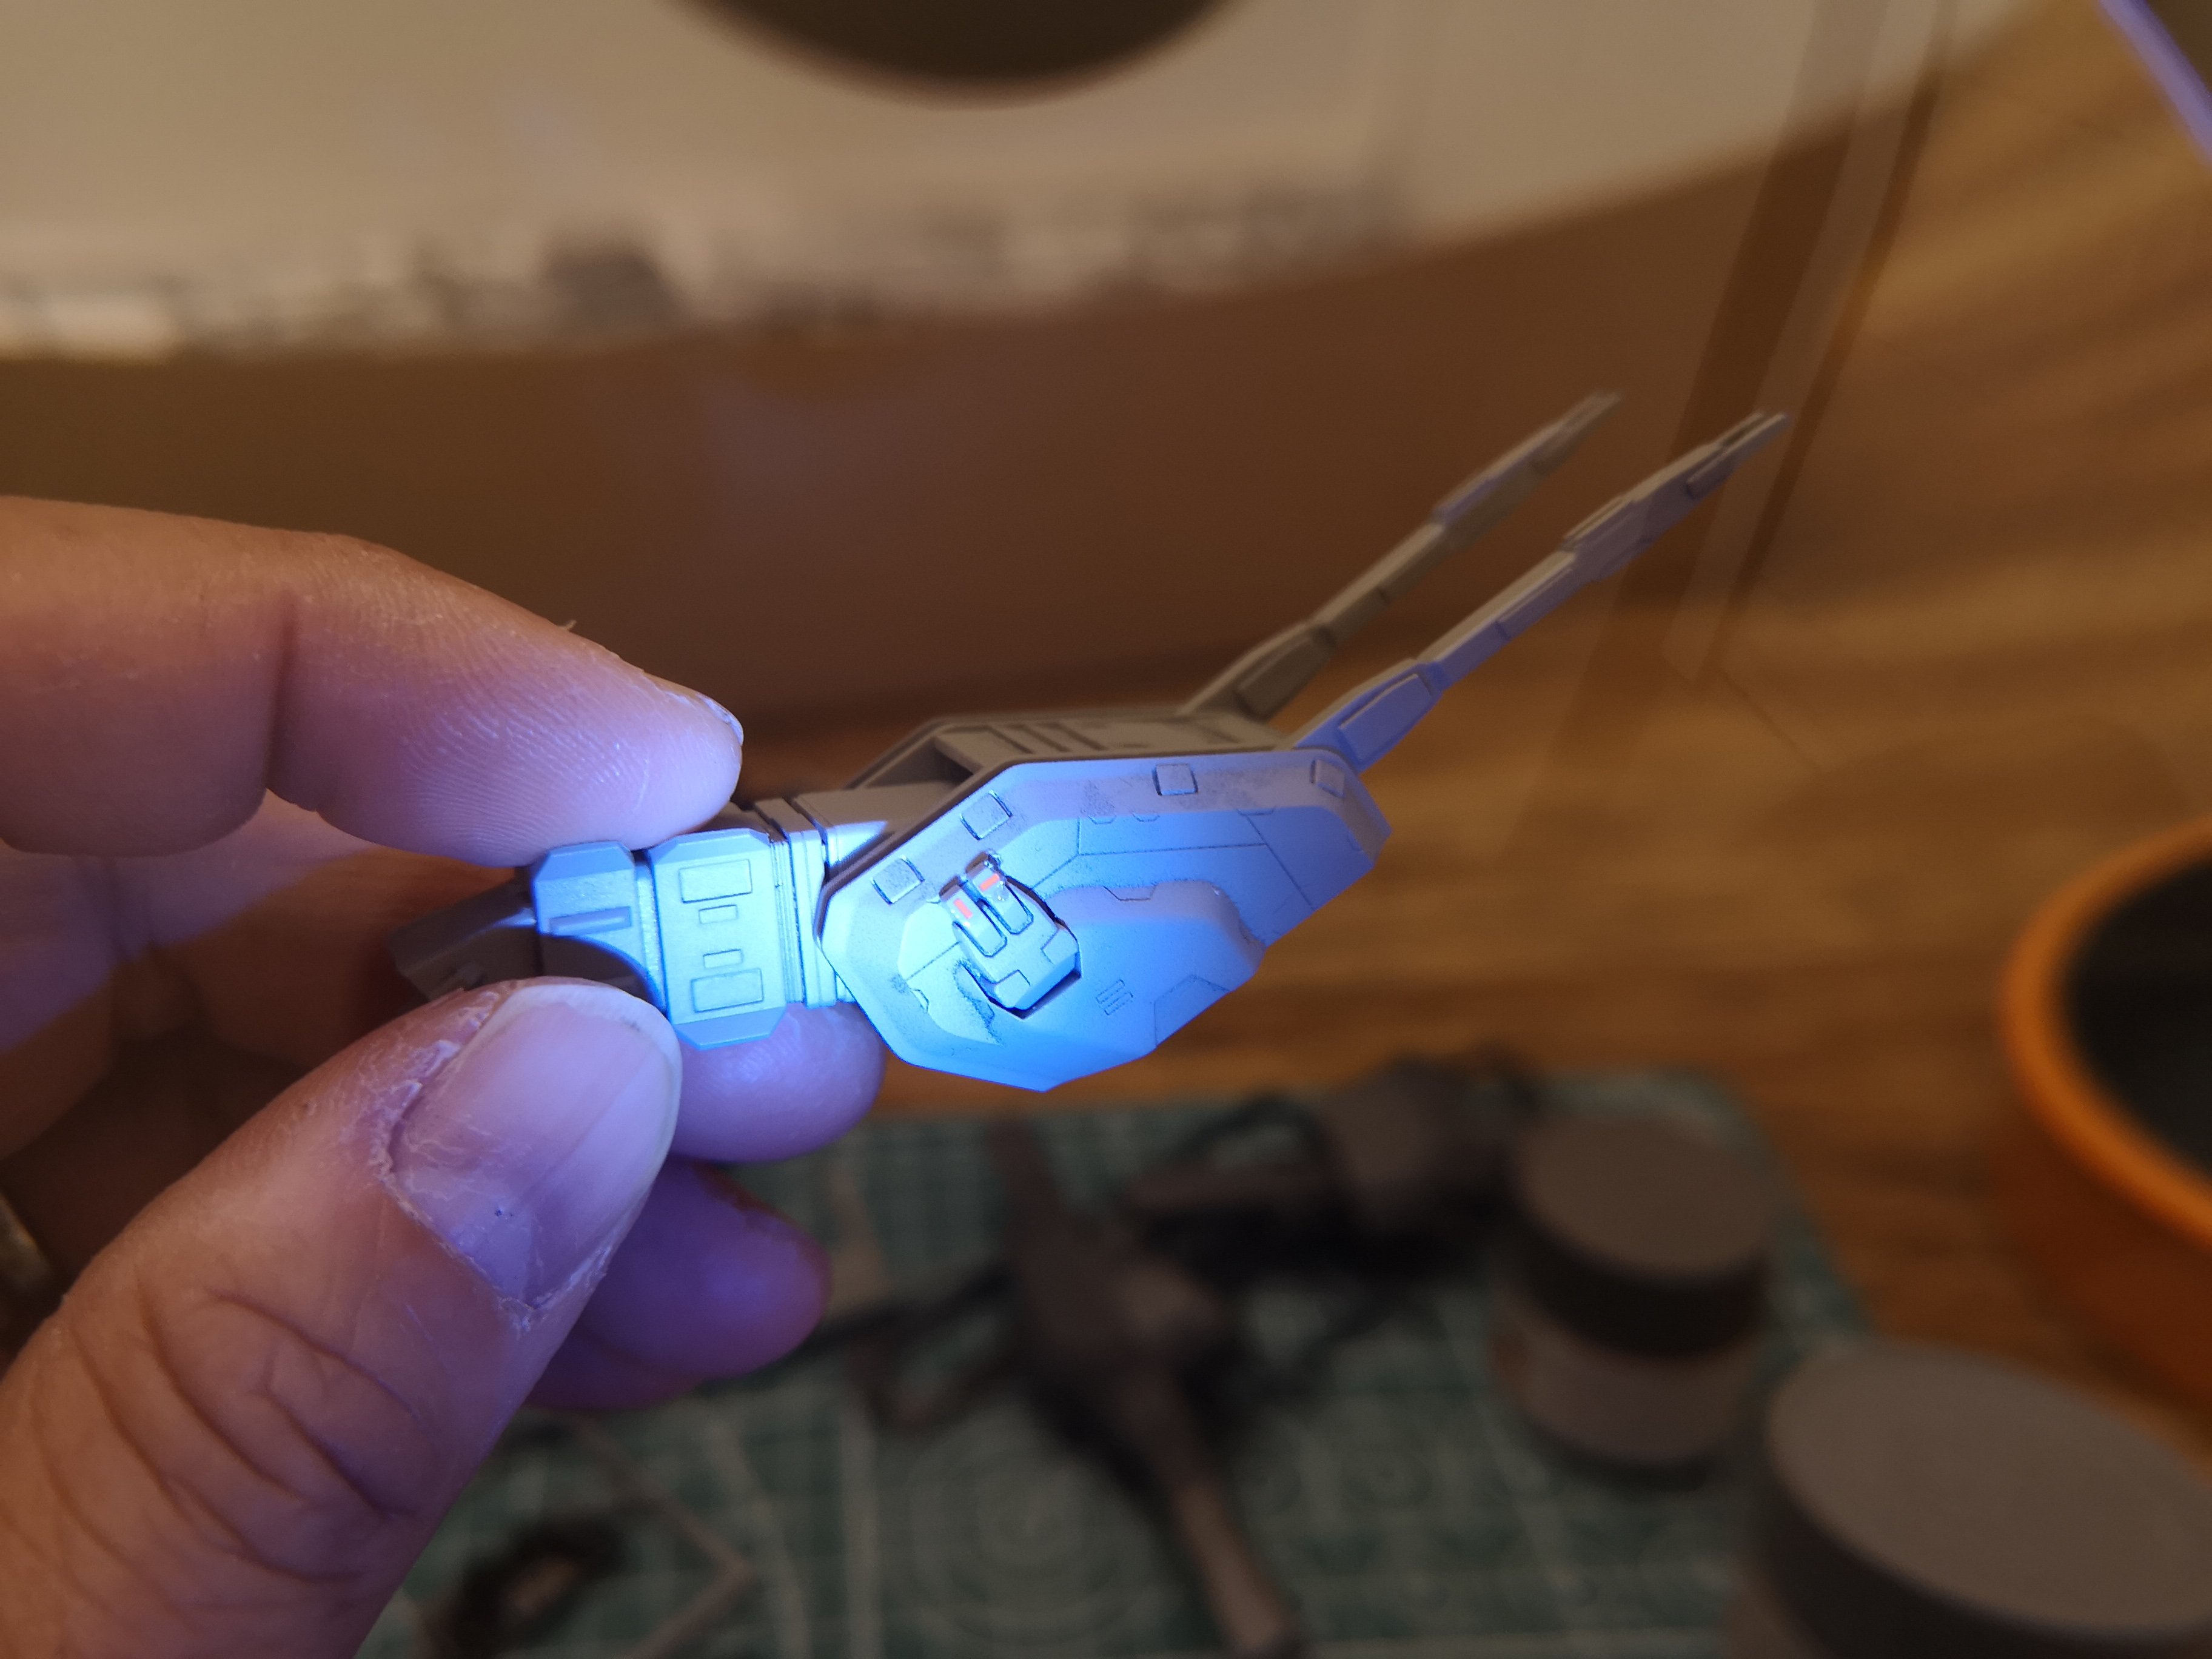
Thanks! Your custom 1/3000 inspired me to add some of the red lights.It's hard to notice on my 1/4000 scale though. The amount of detail you added to your kit is mind boggling
-
Thanks guys! I noted the blacked out hangar doors on other builds too. I was thinking about going gray, just to highlight them, but that would require skilled masking or skilled brush work, and I possess neither of those skills so I figured the wash would be good enough to make them pop a bit. I hope to see more builds here. Would be neat to see some customized ones, like mid-transformation, or maybe one in Zentran colors, or even a Supervision Army version? Wasn't there something in DYRL about the ship possibly belonging to the Meltran army? Have to go back and watch it again.
-
Haha, thanks This kit is pretty cool. Glad Hasegawa made it possible for us to have this. I came from a time when the only DYRL SDF1 Macross kits available were really expensive garage kits (Yellow Submarine)? The Yamato 1/2000 and 1/3000 toys weren't exactly super cheap either so to be able to have a model for about $50, it's not too bad.
-
Yup, it's not that noticeable unless you're looking for it. Actually, there's all kinds of things wrong with my build, lol!


-
Lol, I used to wonder about that too, why does the city get wrecked if the city is in the leg.
-
This I want to see. Please post pics
-
Next to the last SDF1 I built, lol! Might have been more than 30 years ago
-
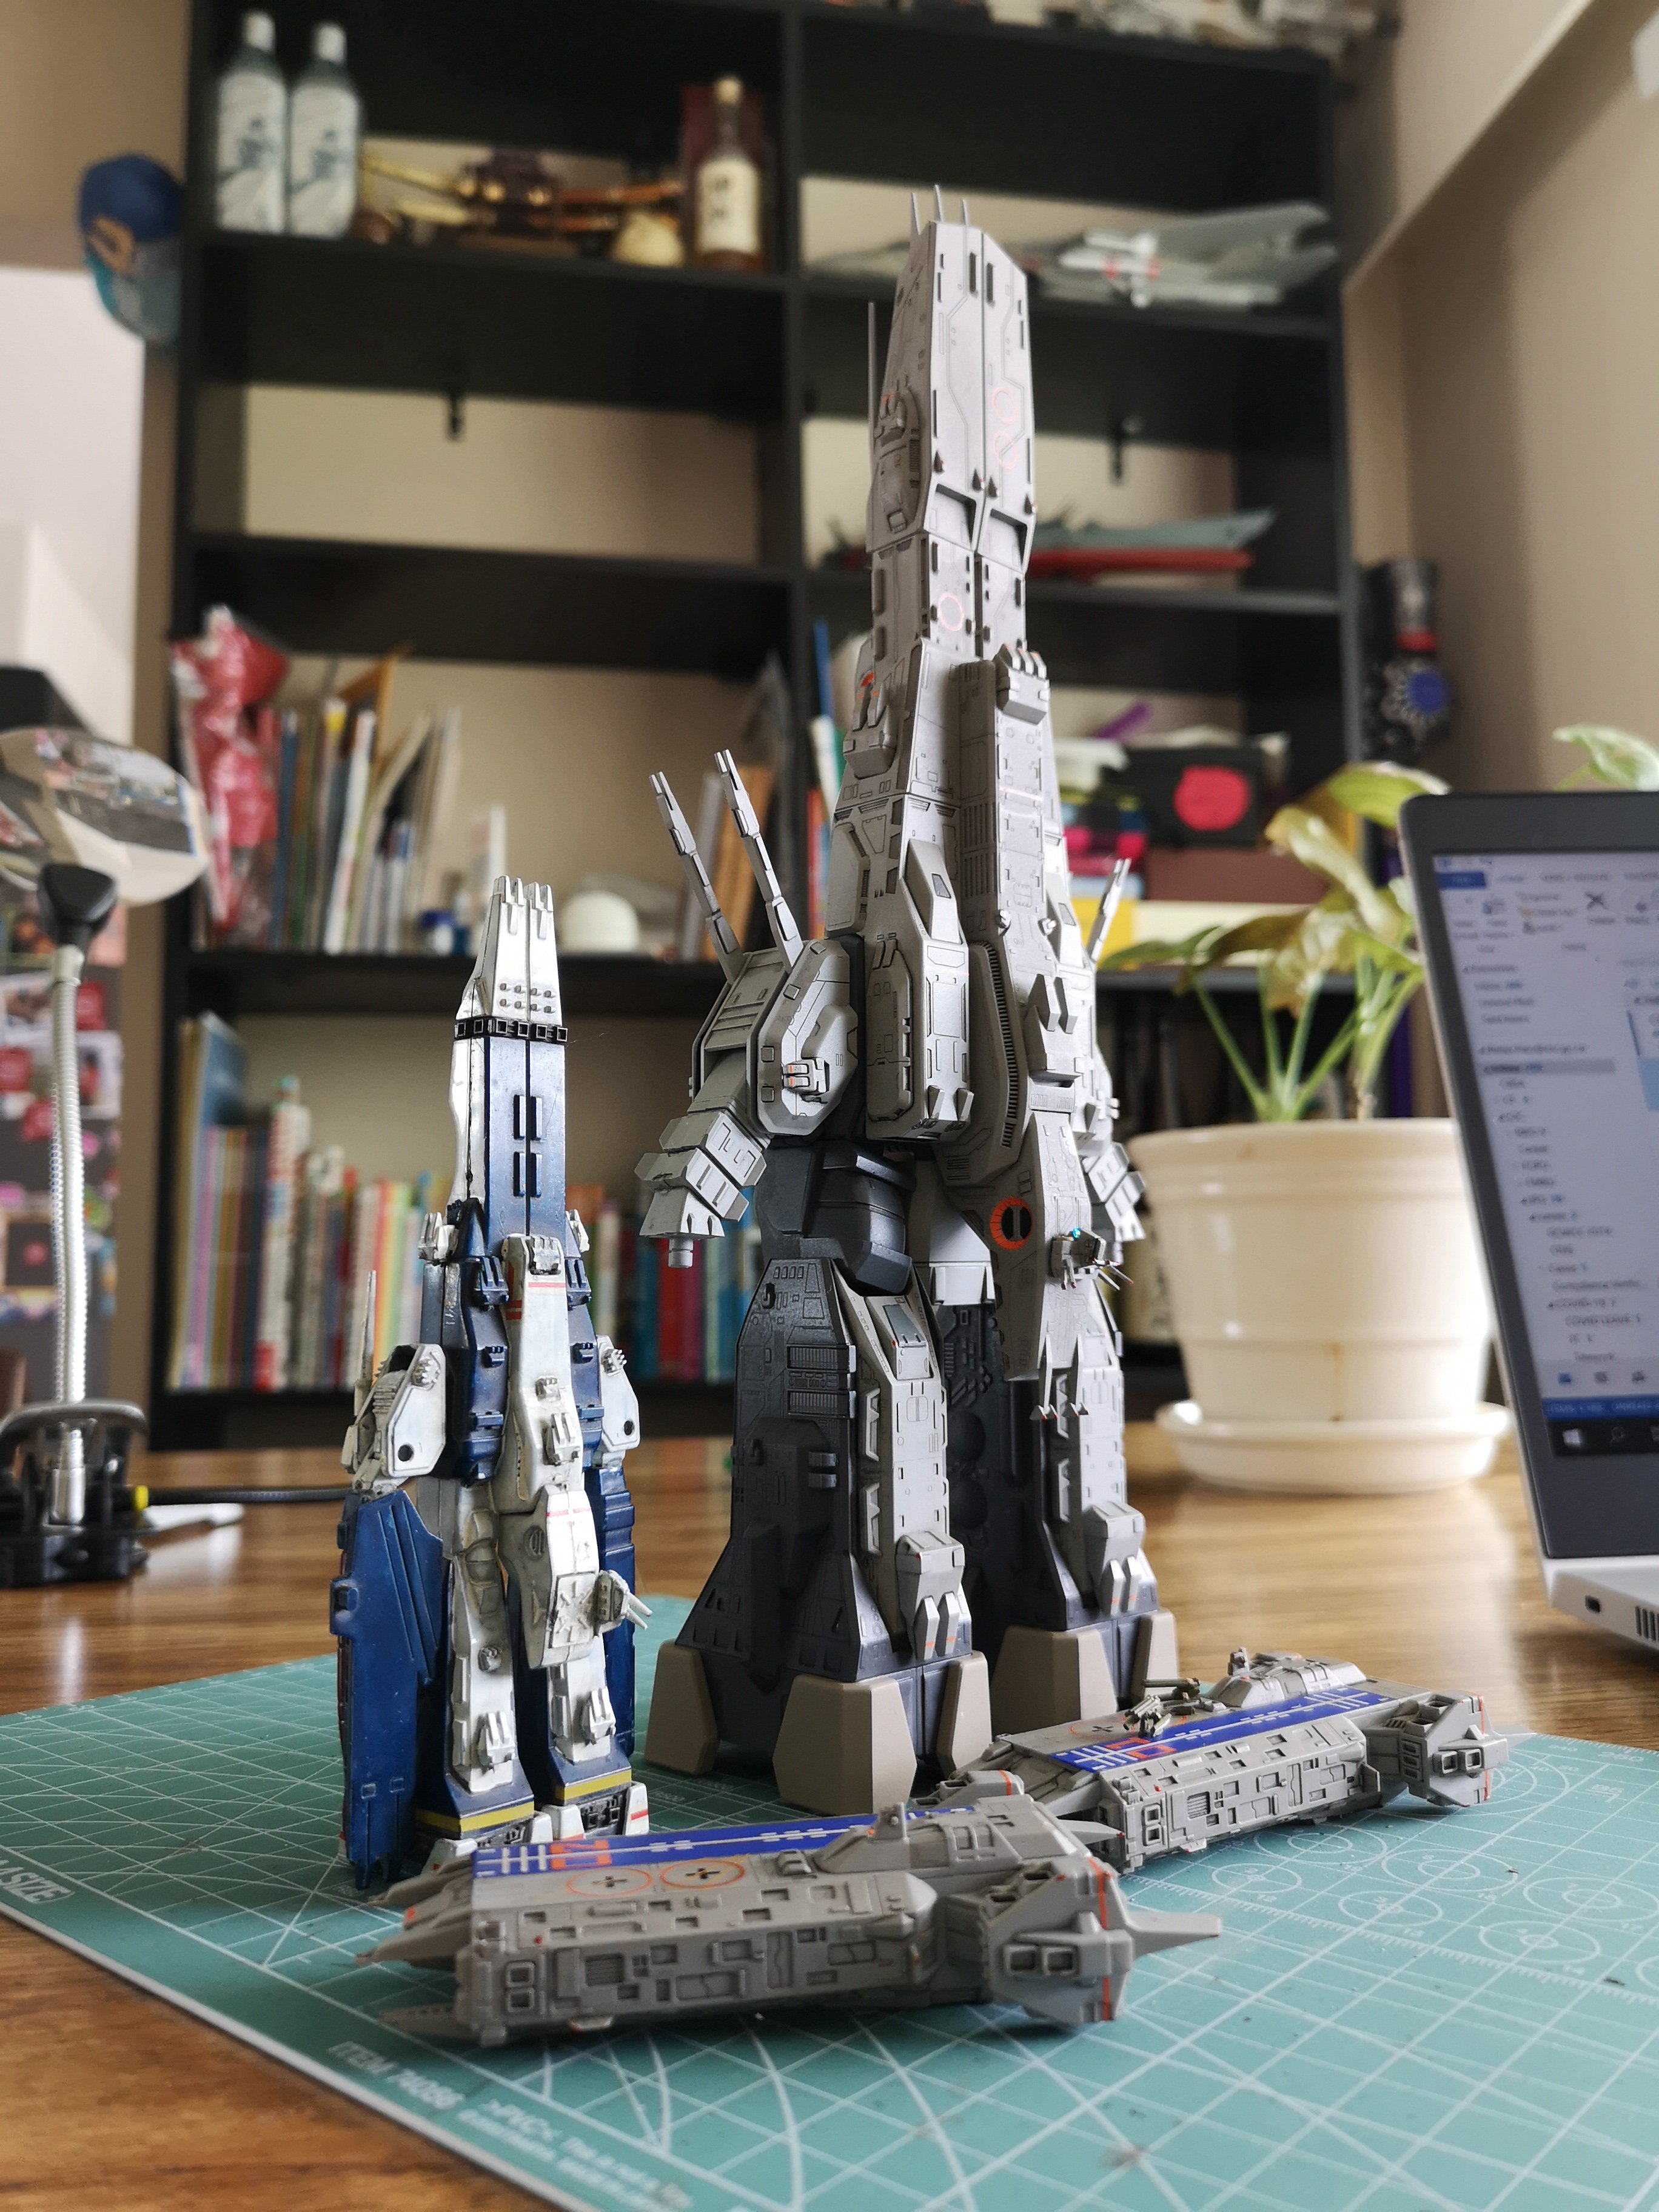
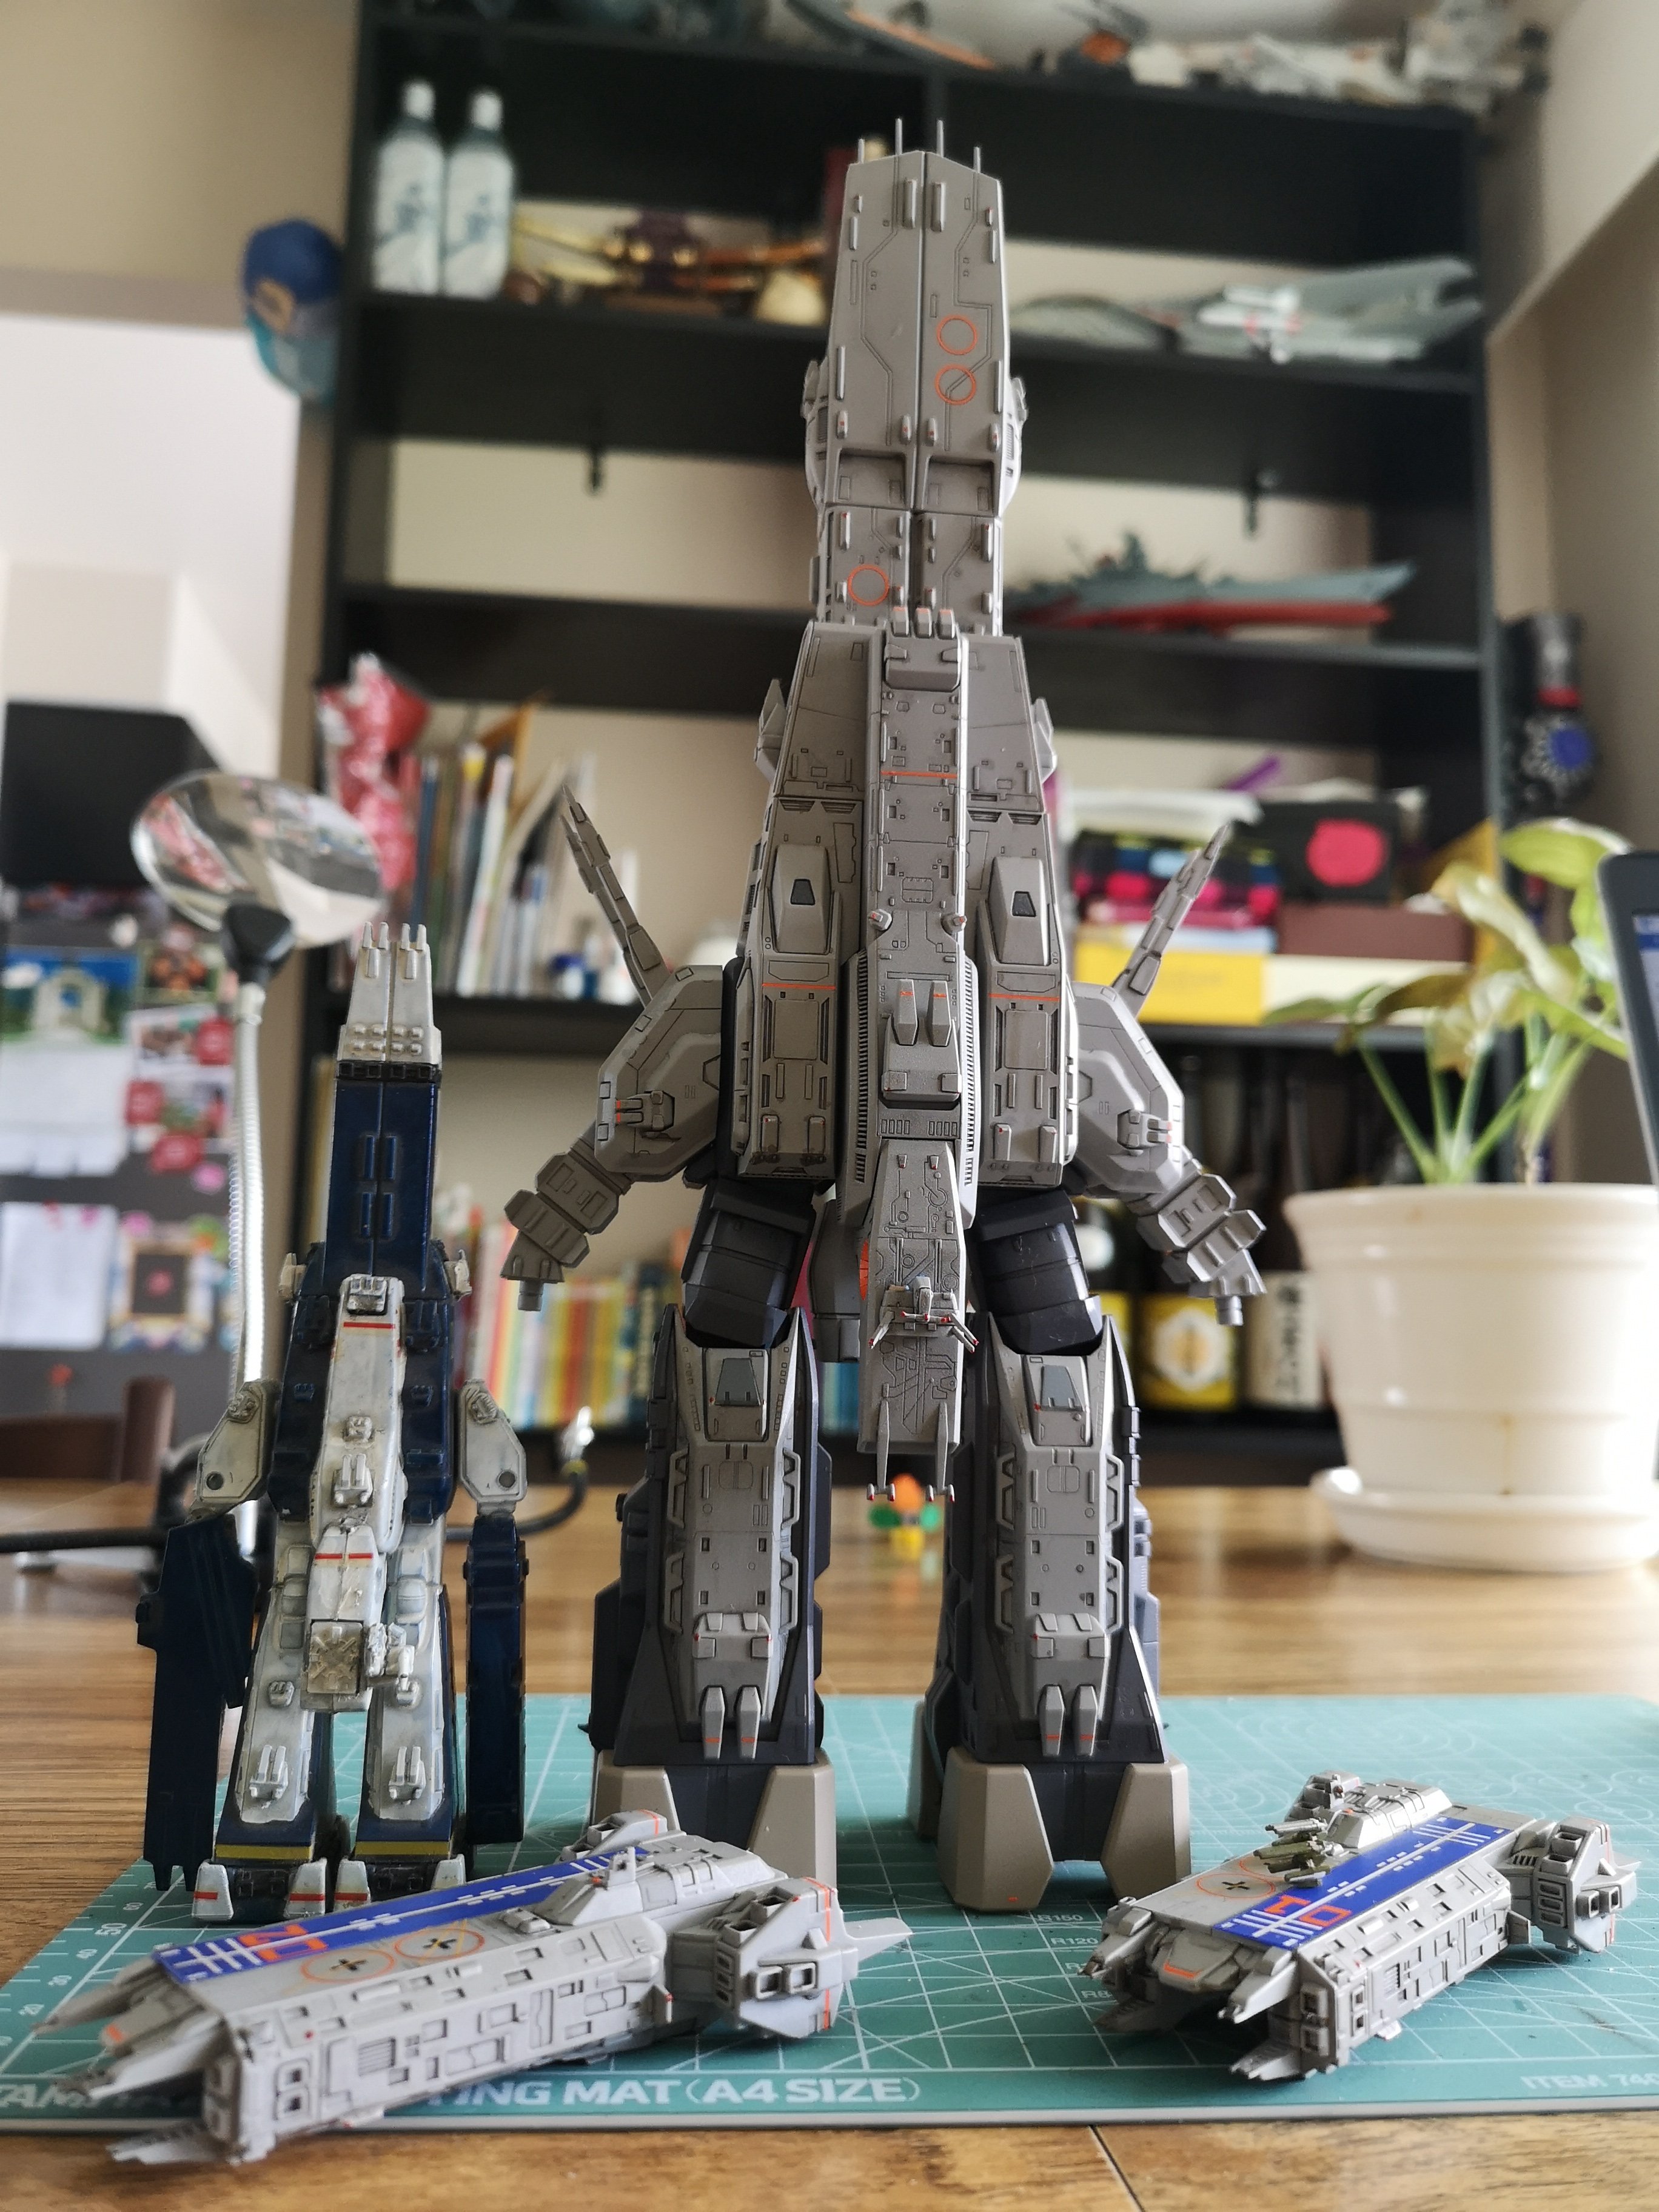
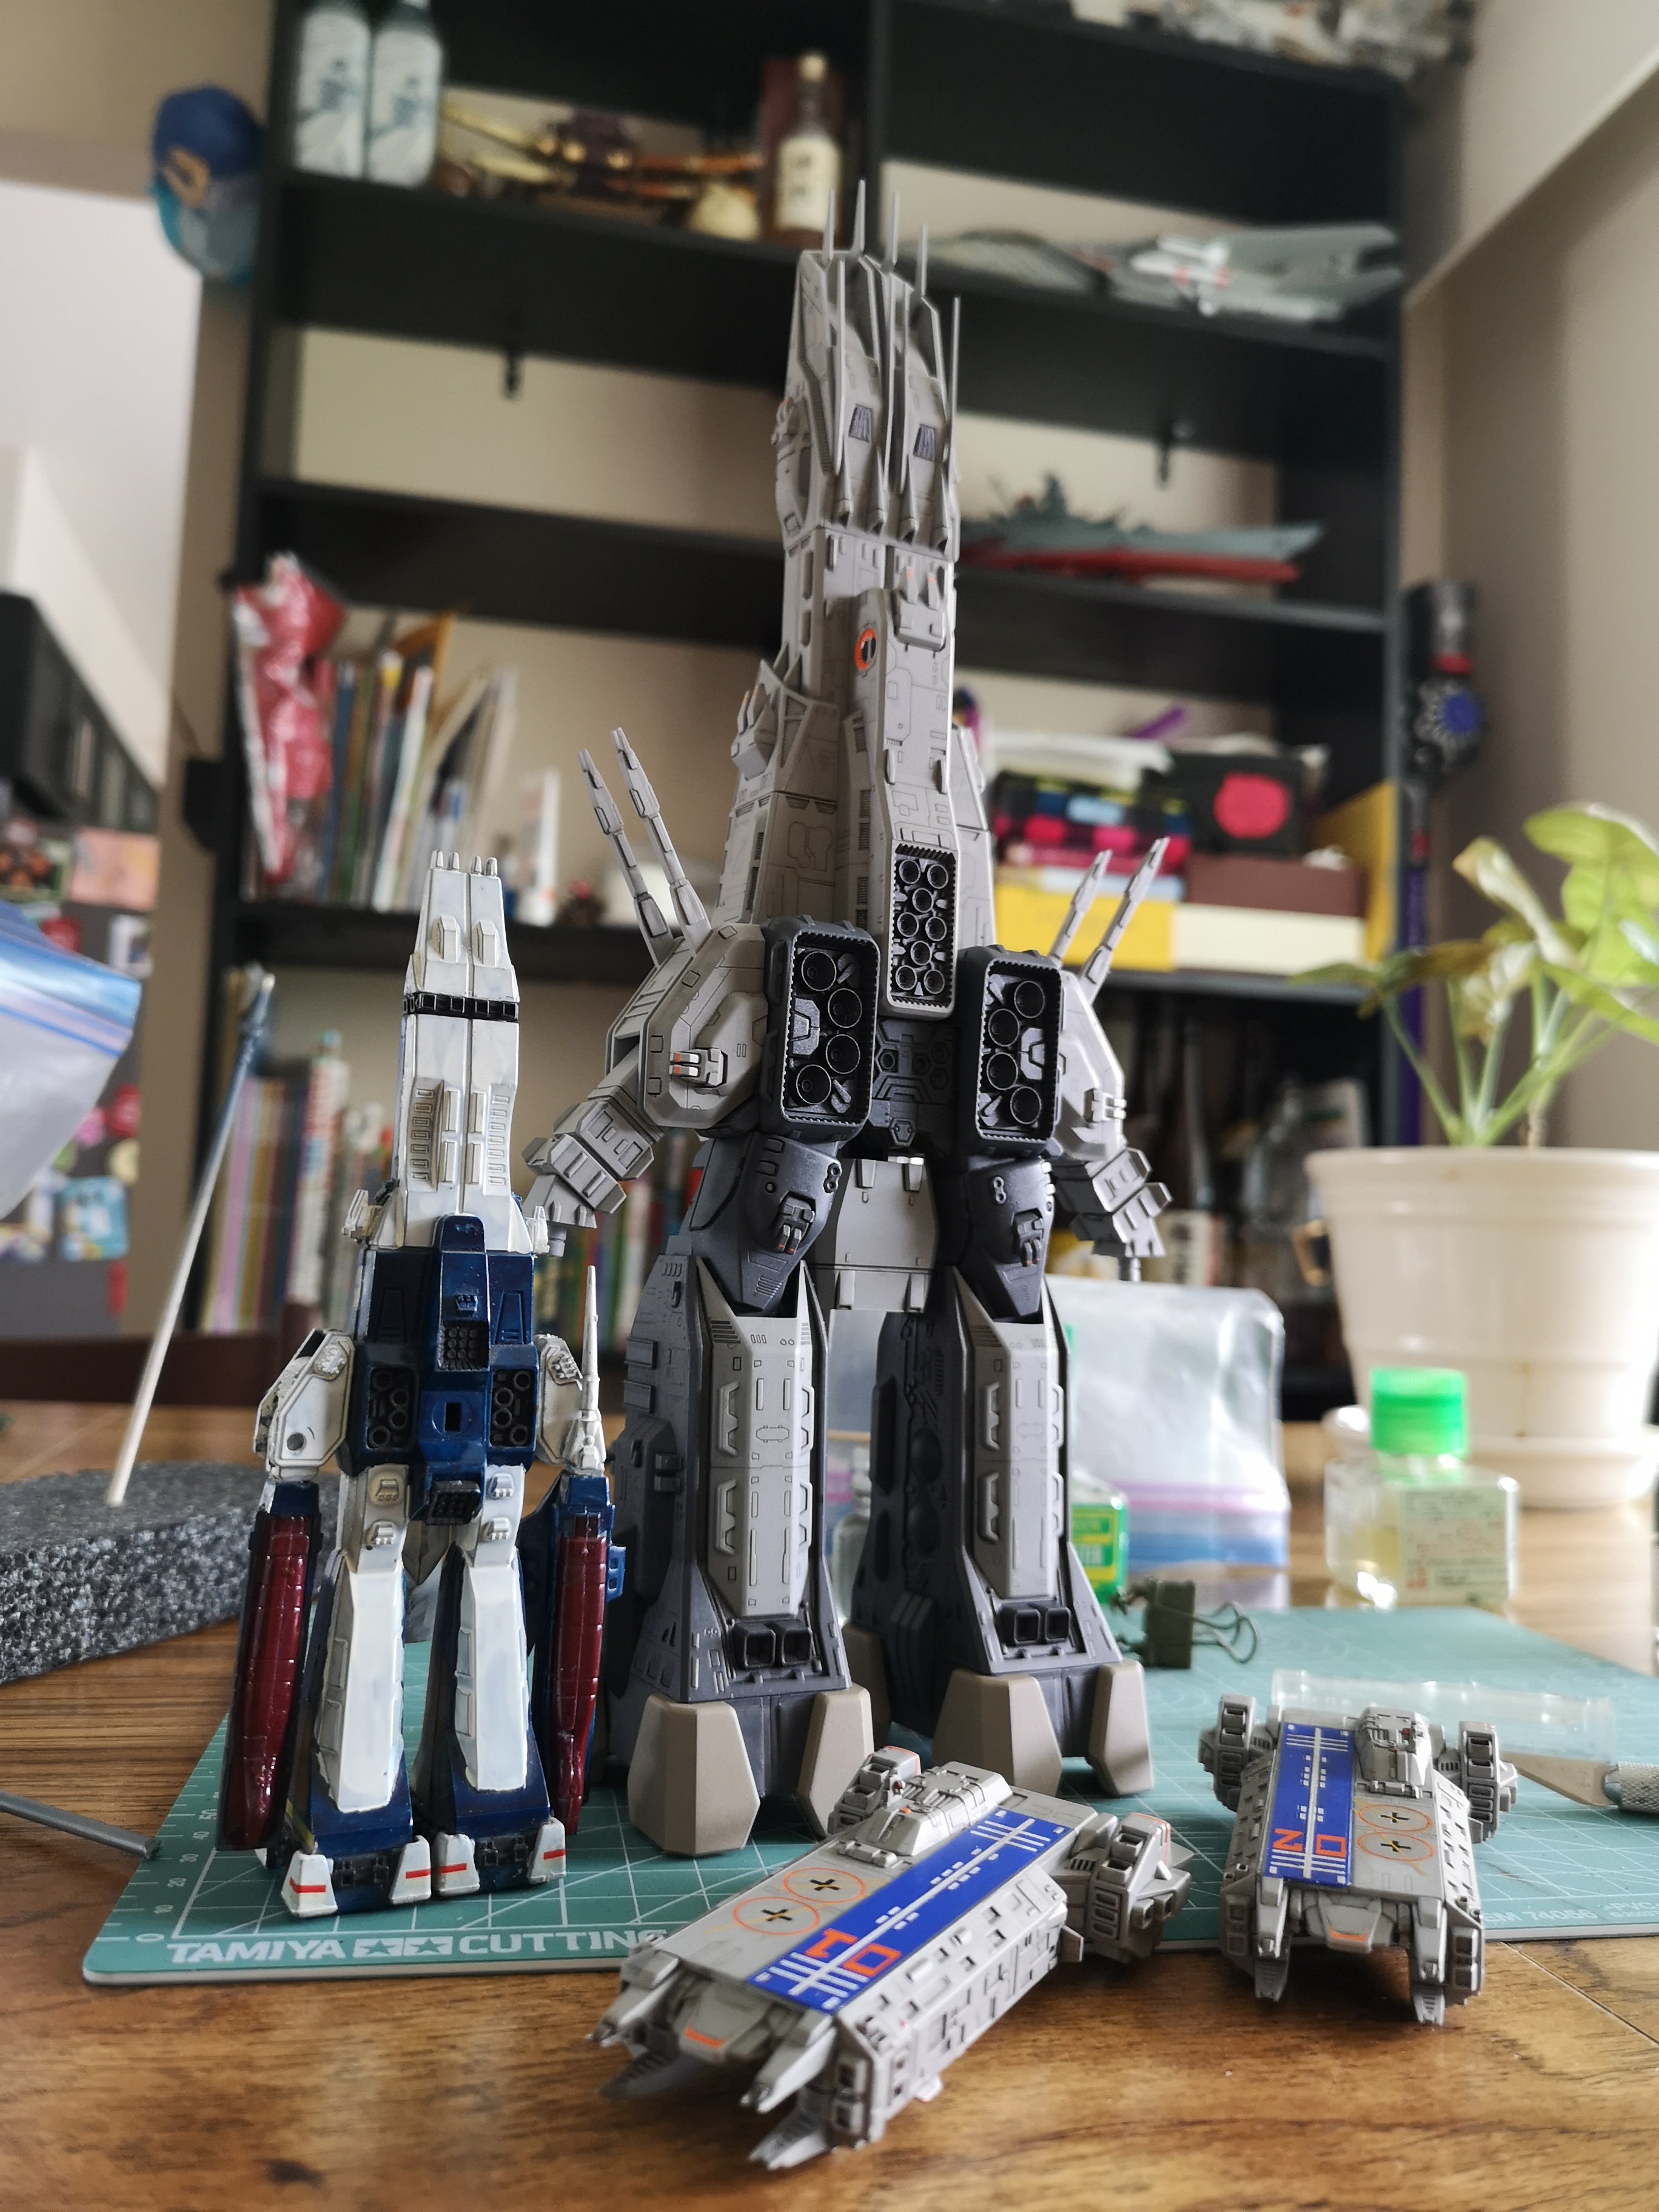
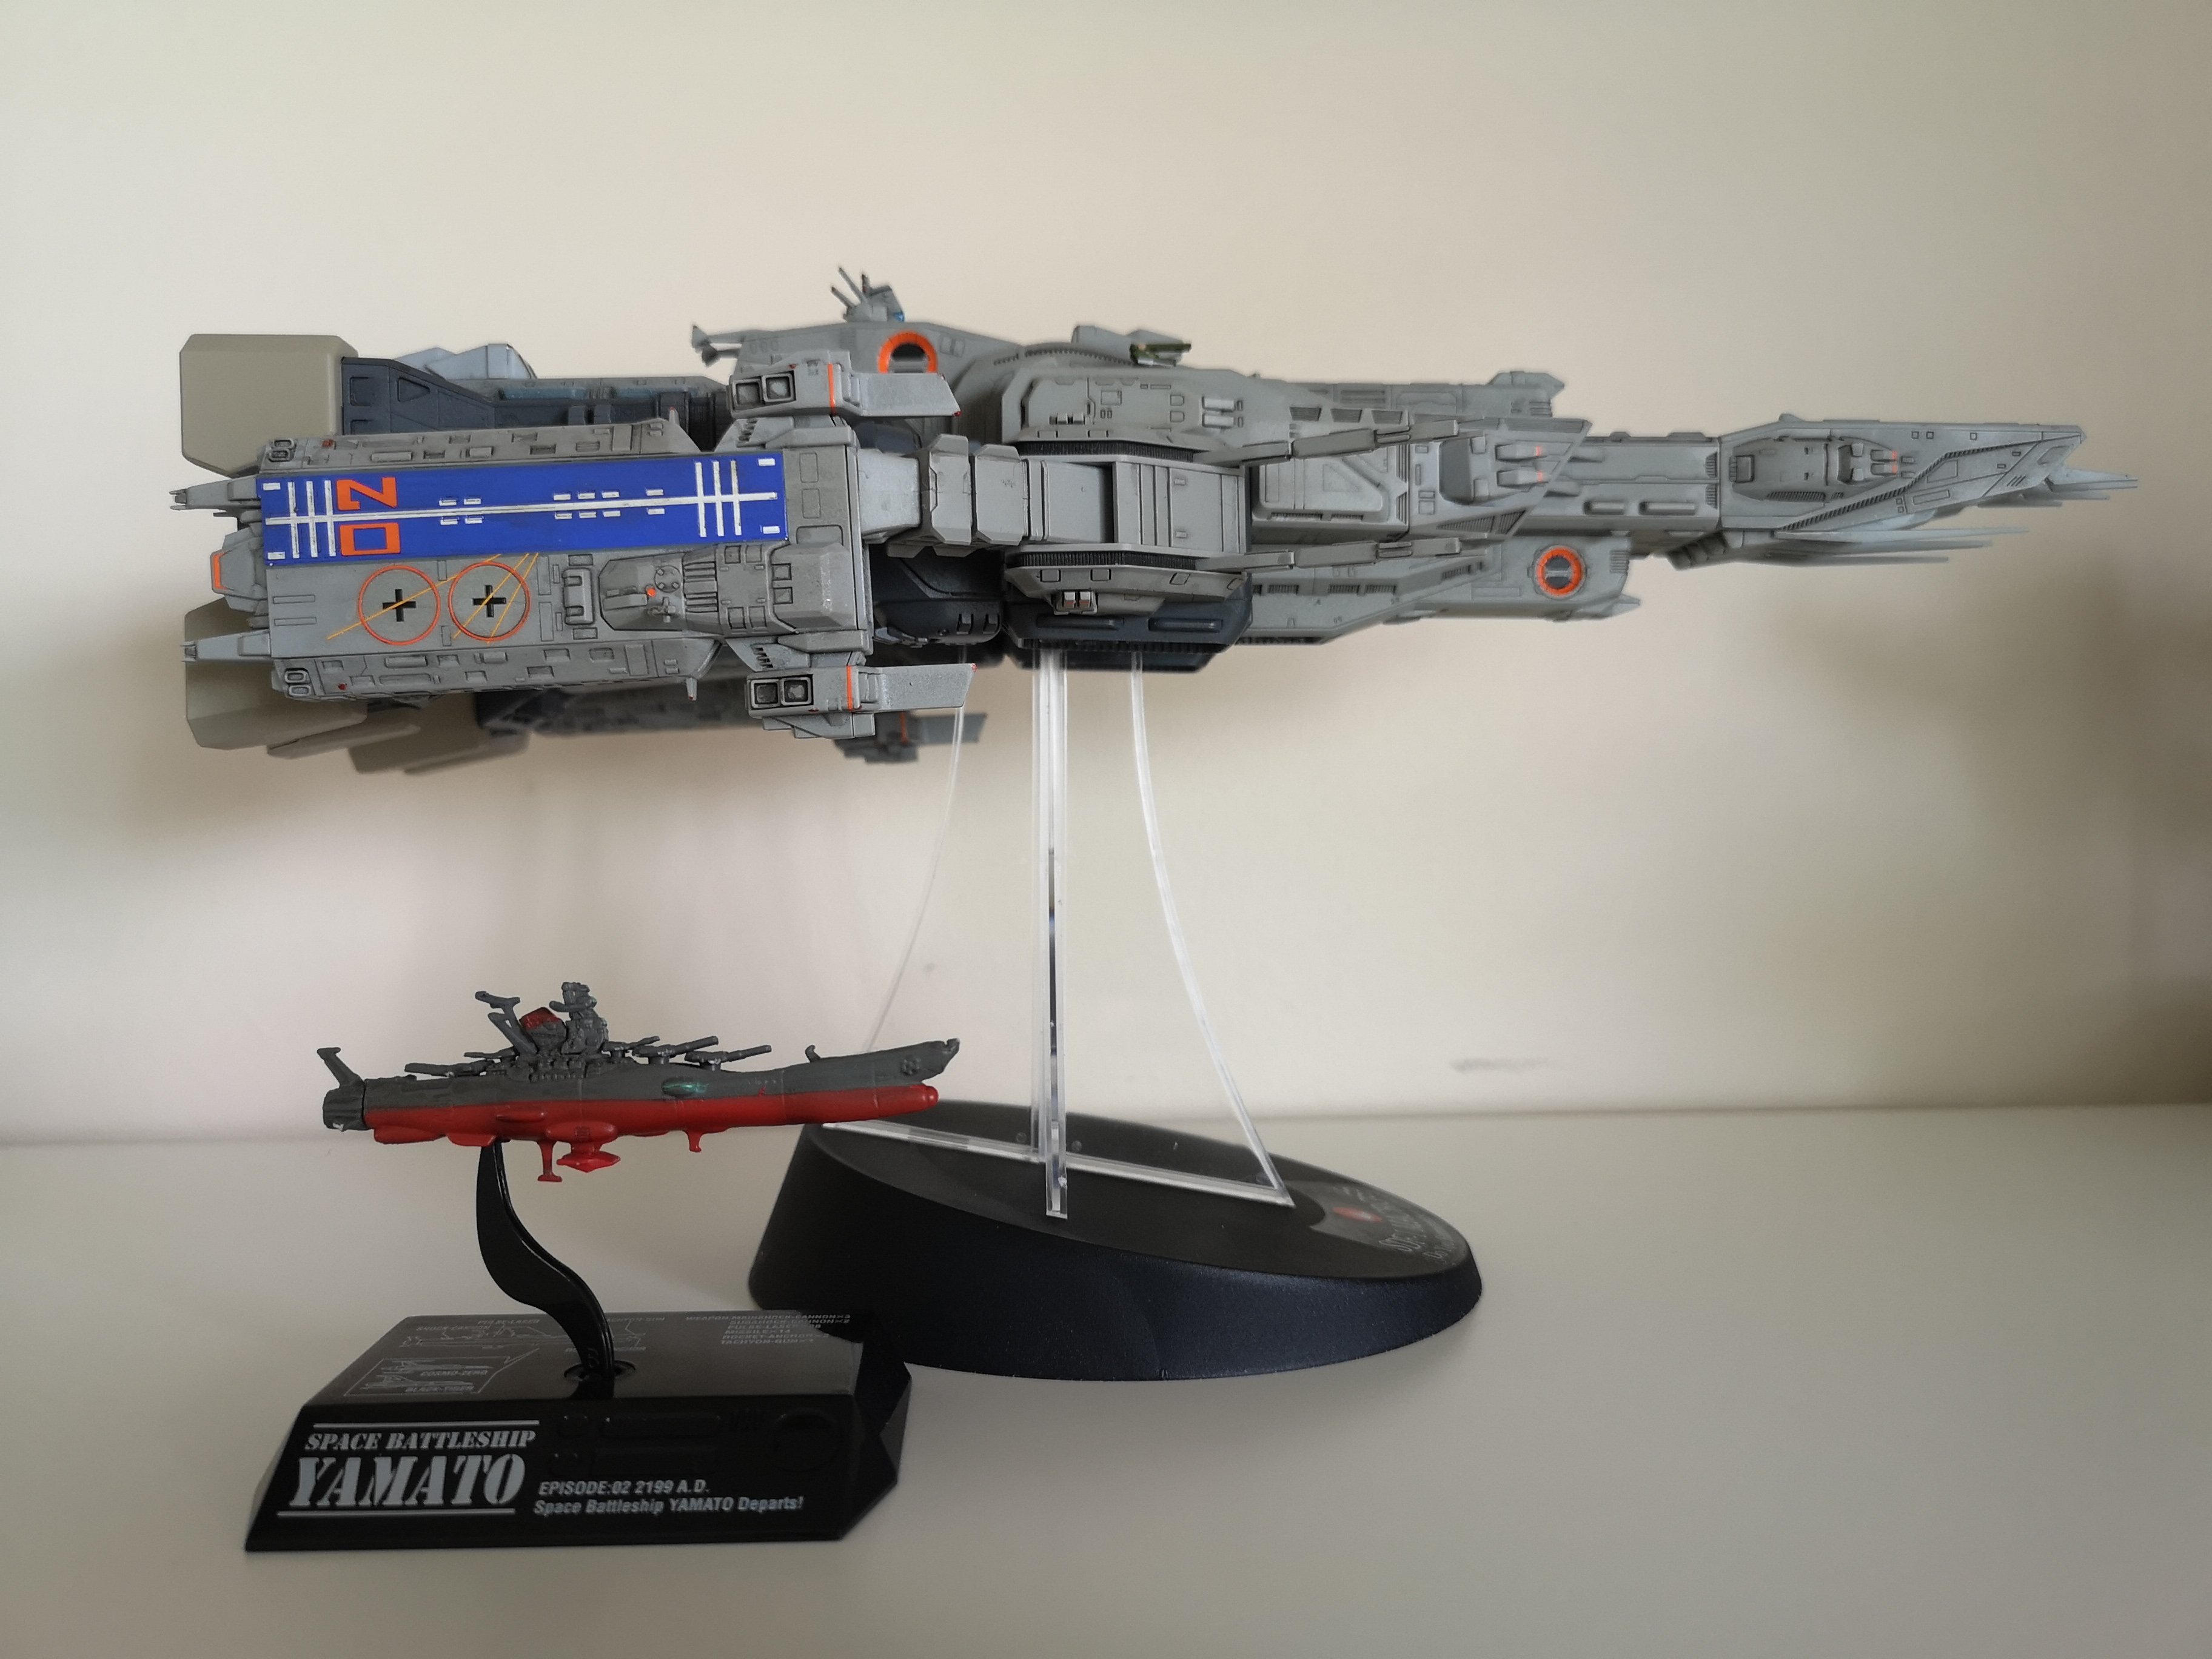
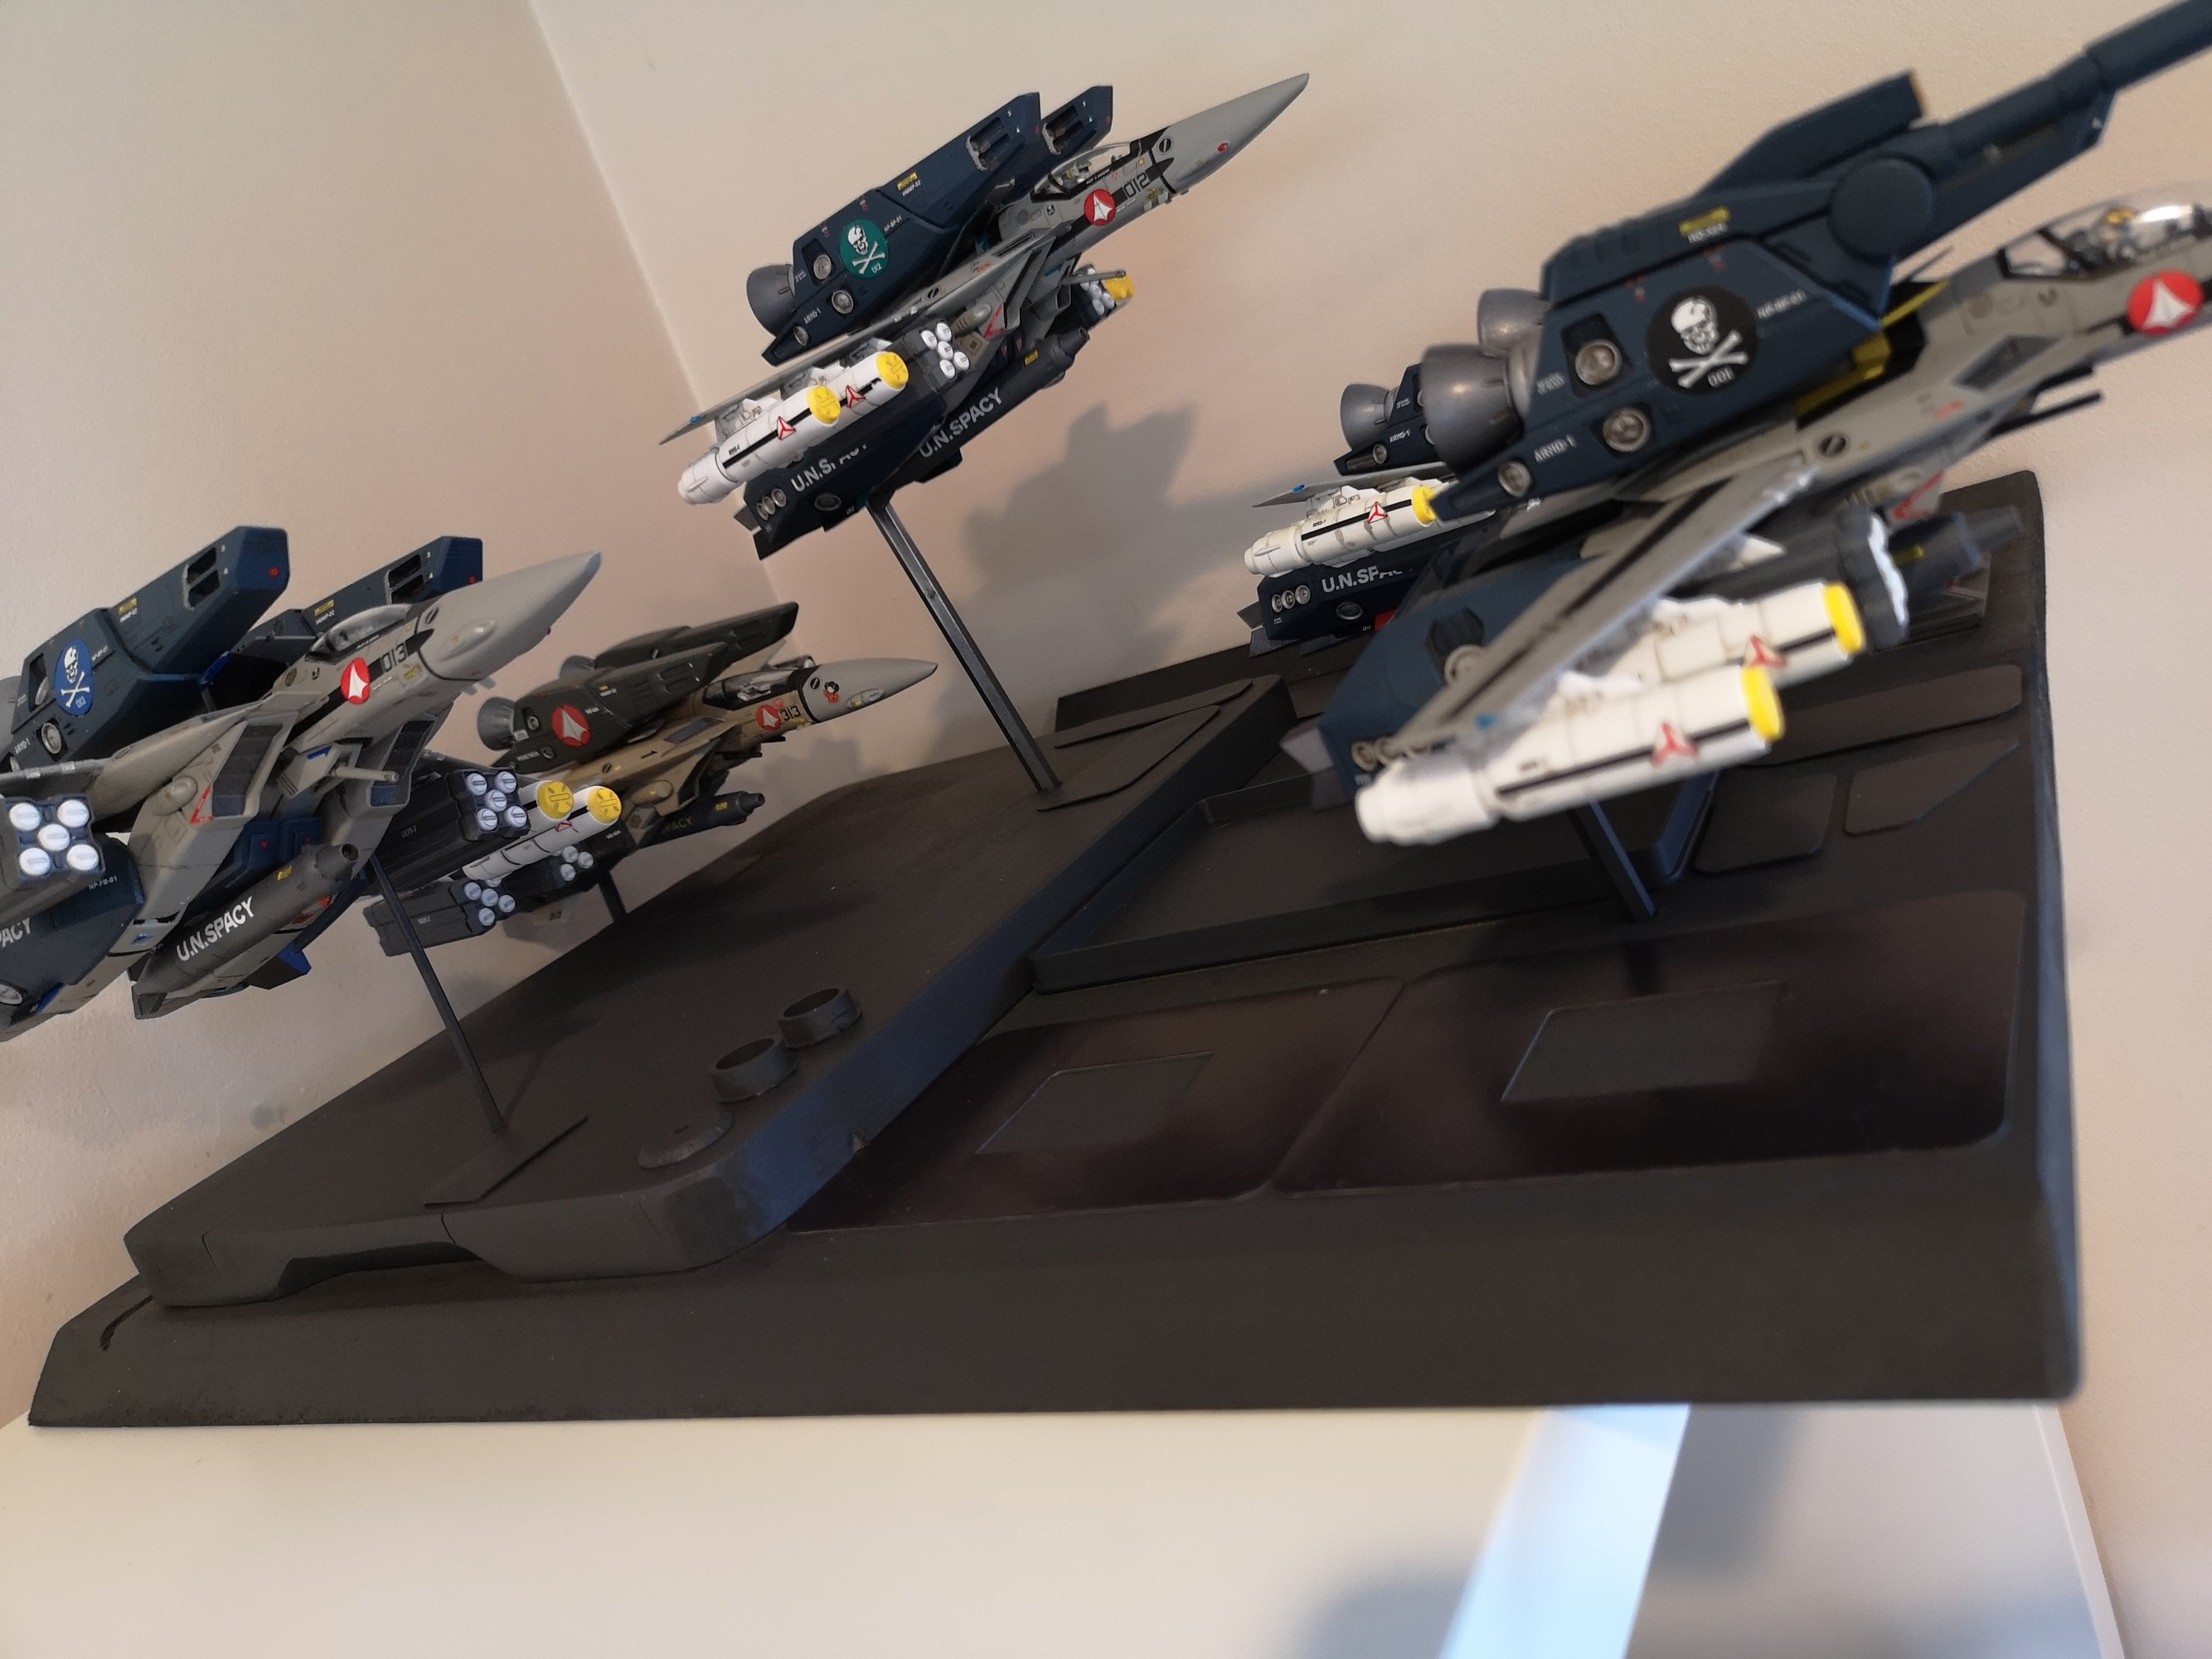
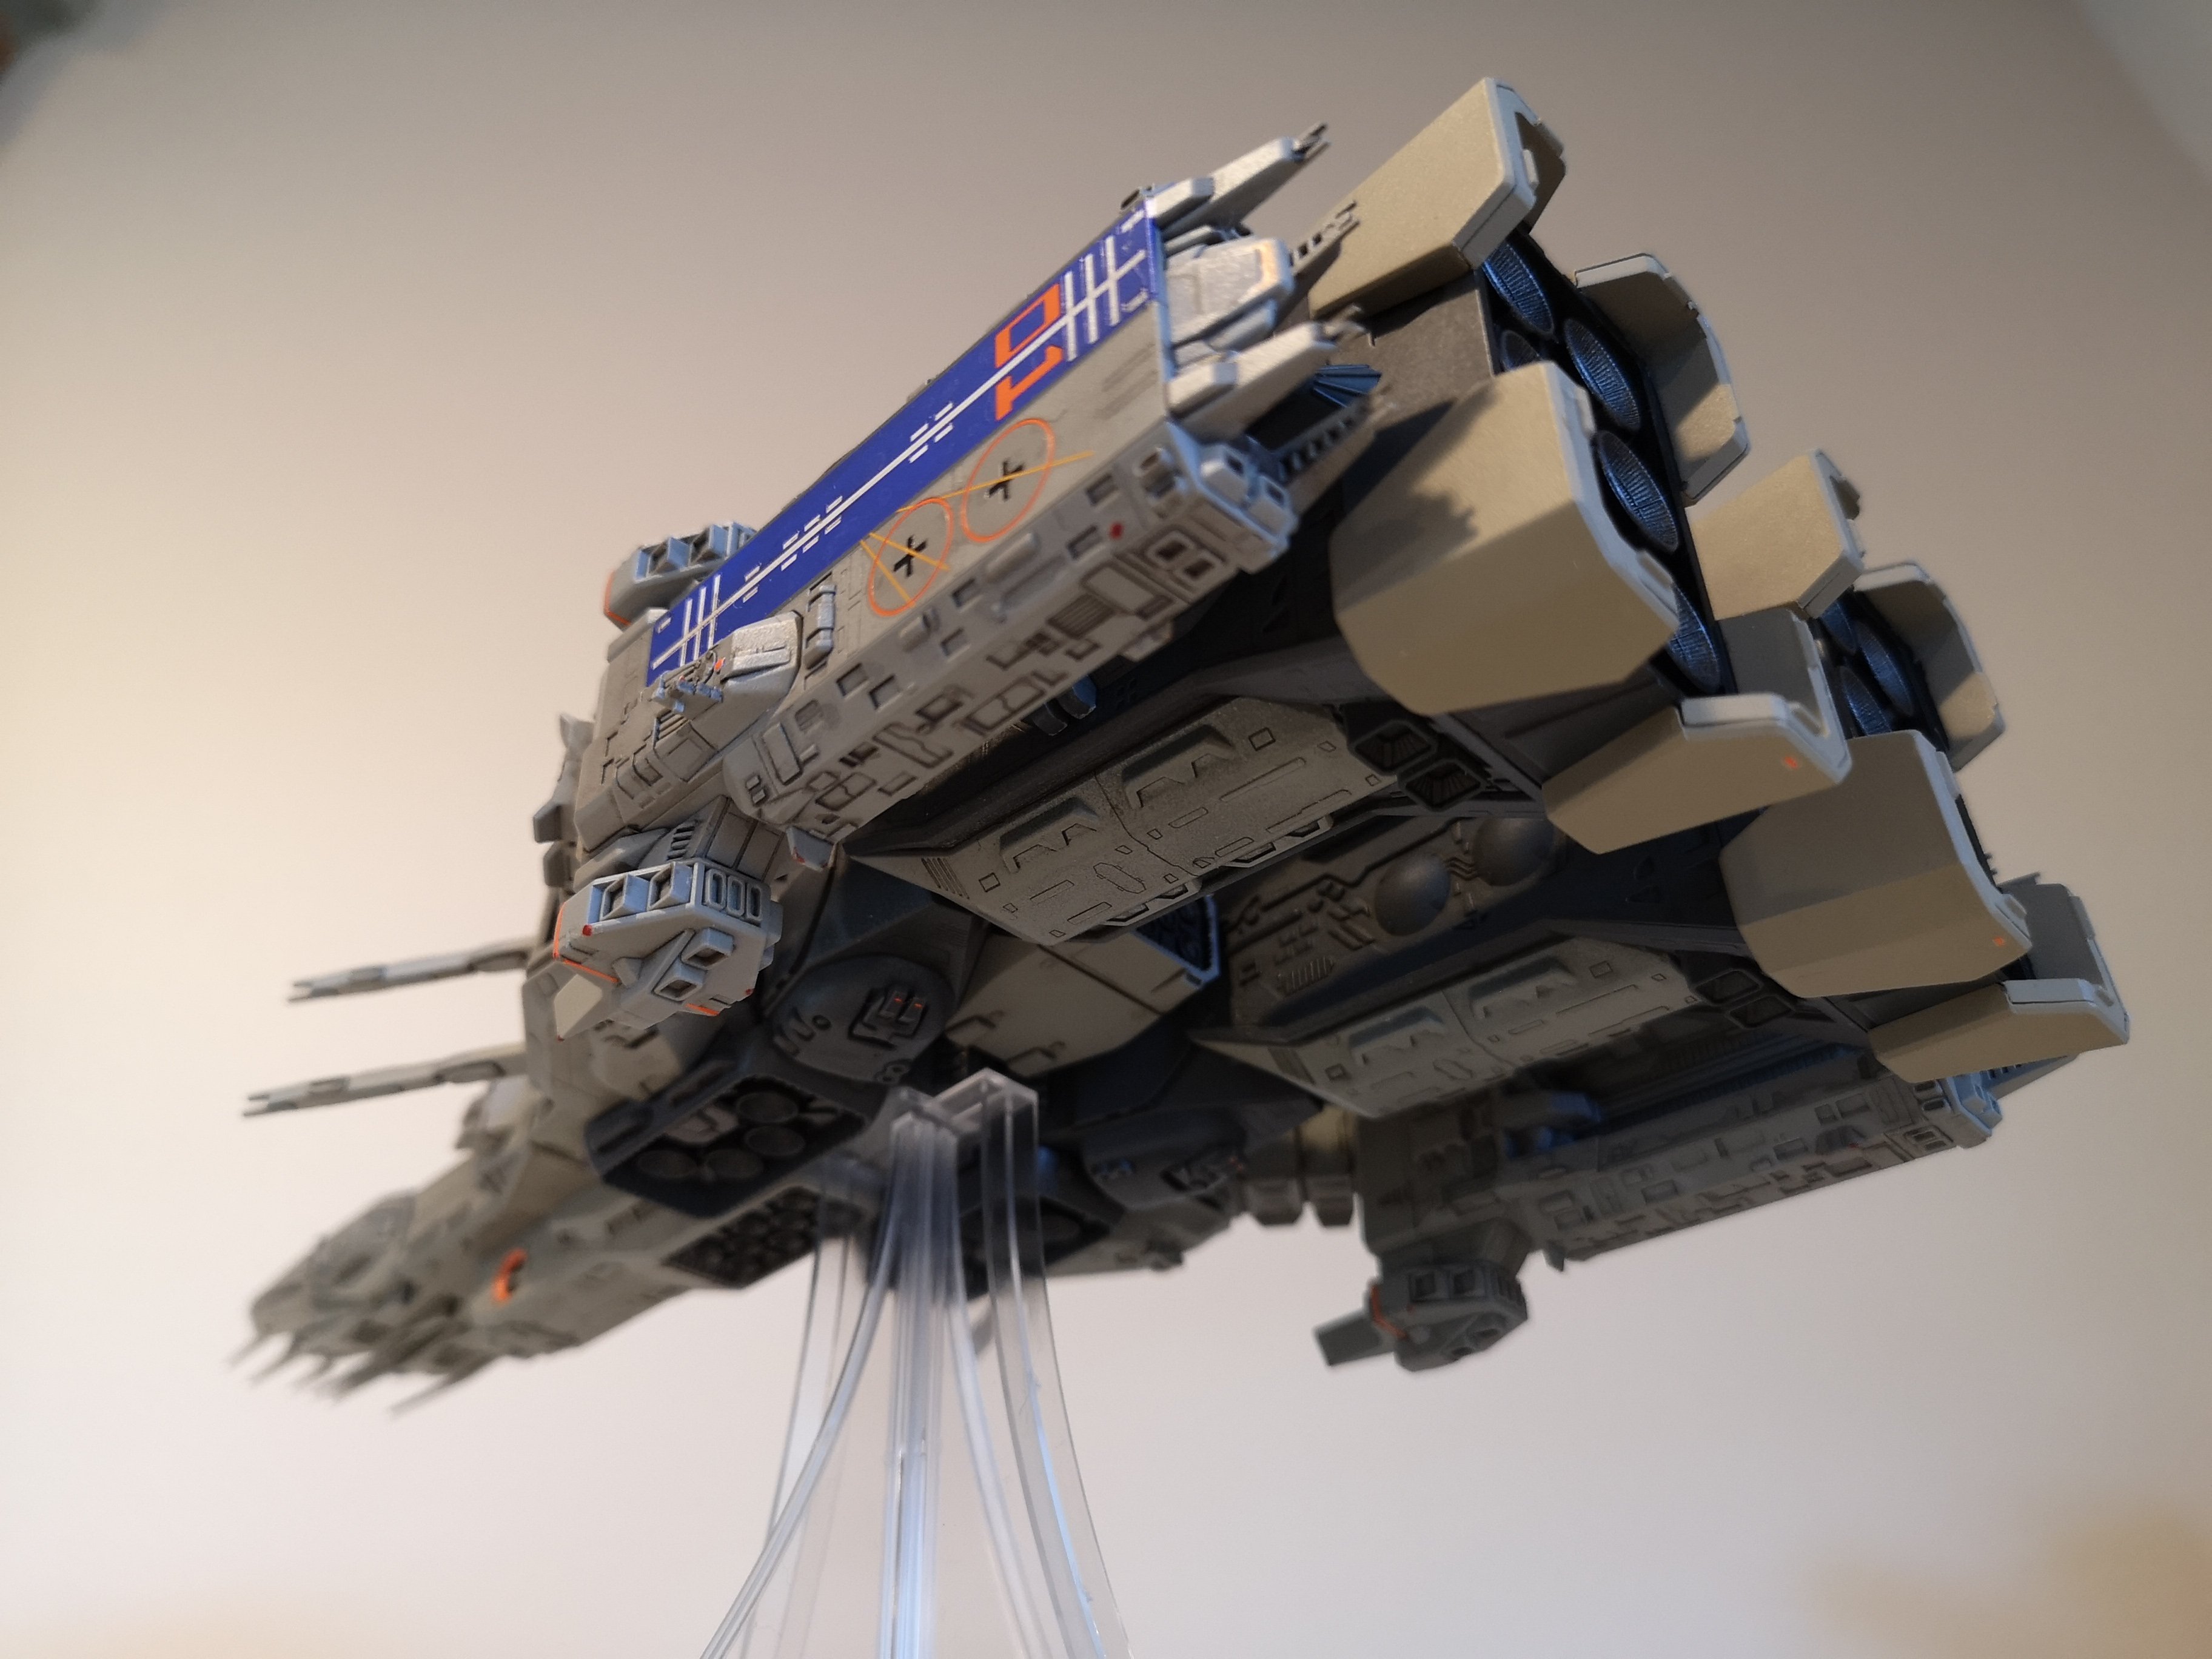
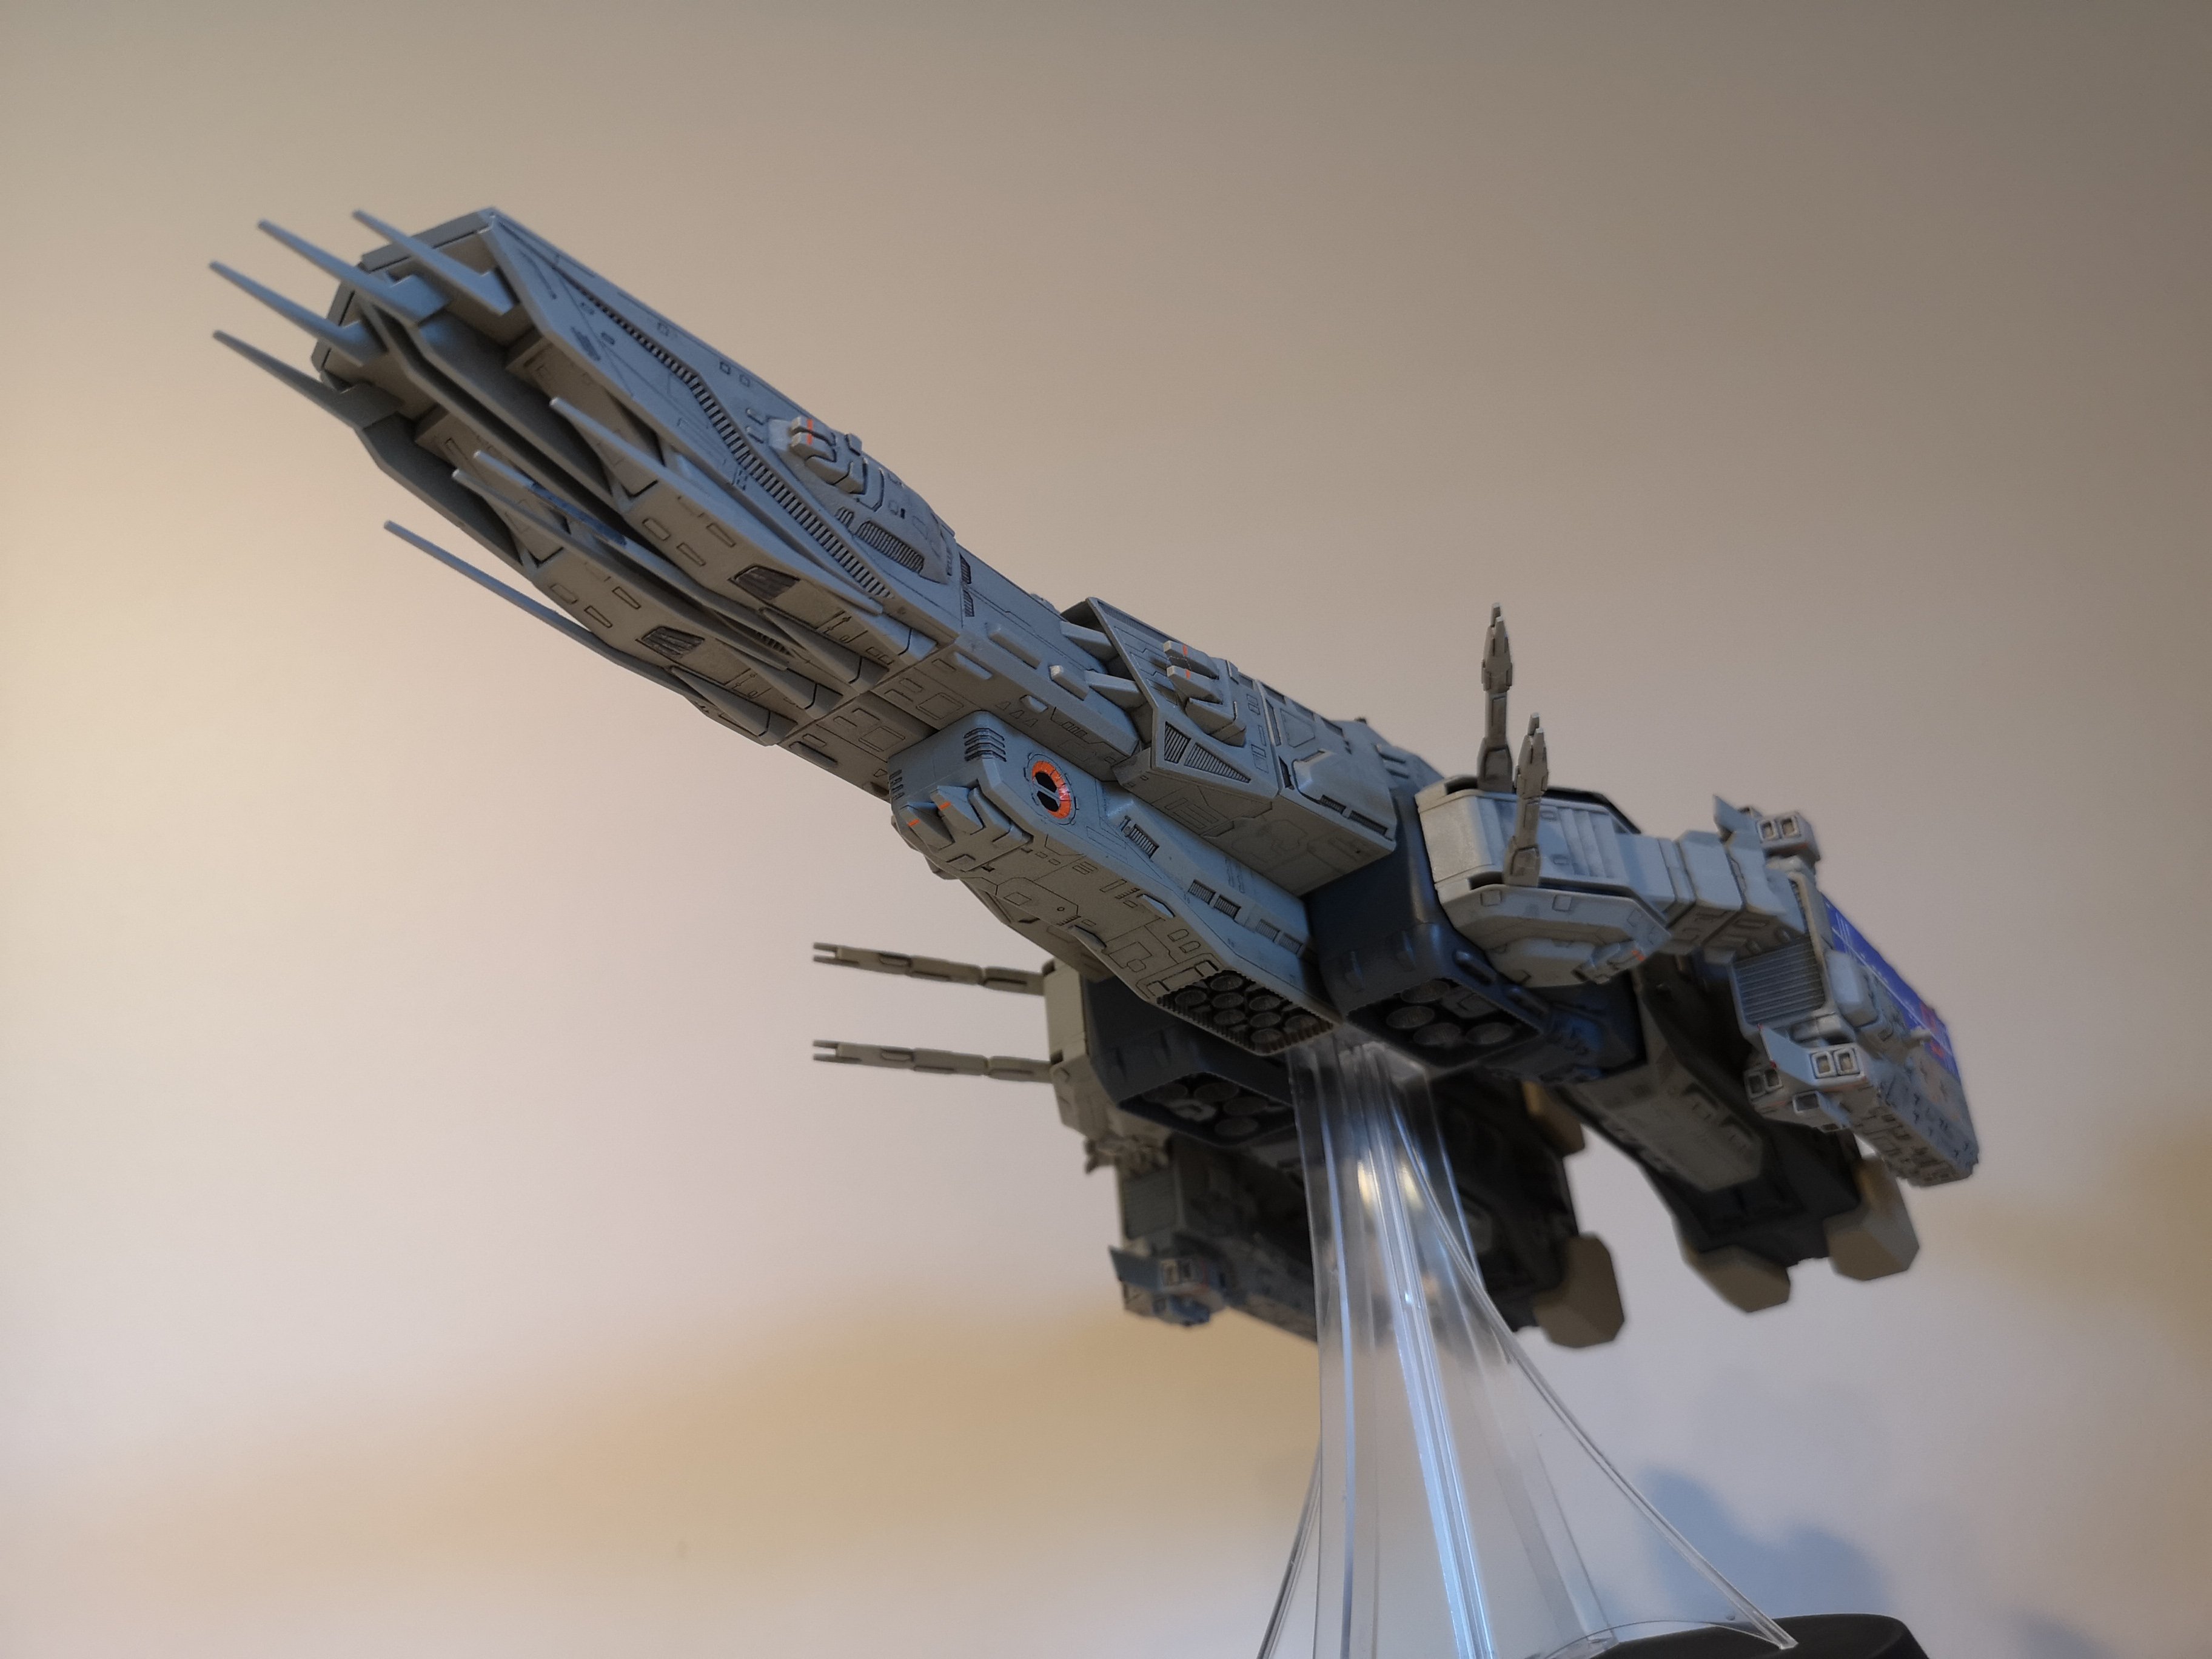
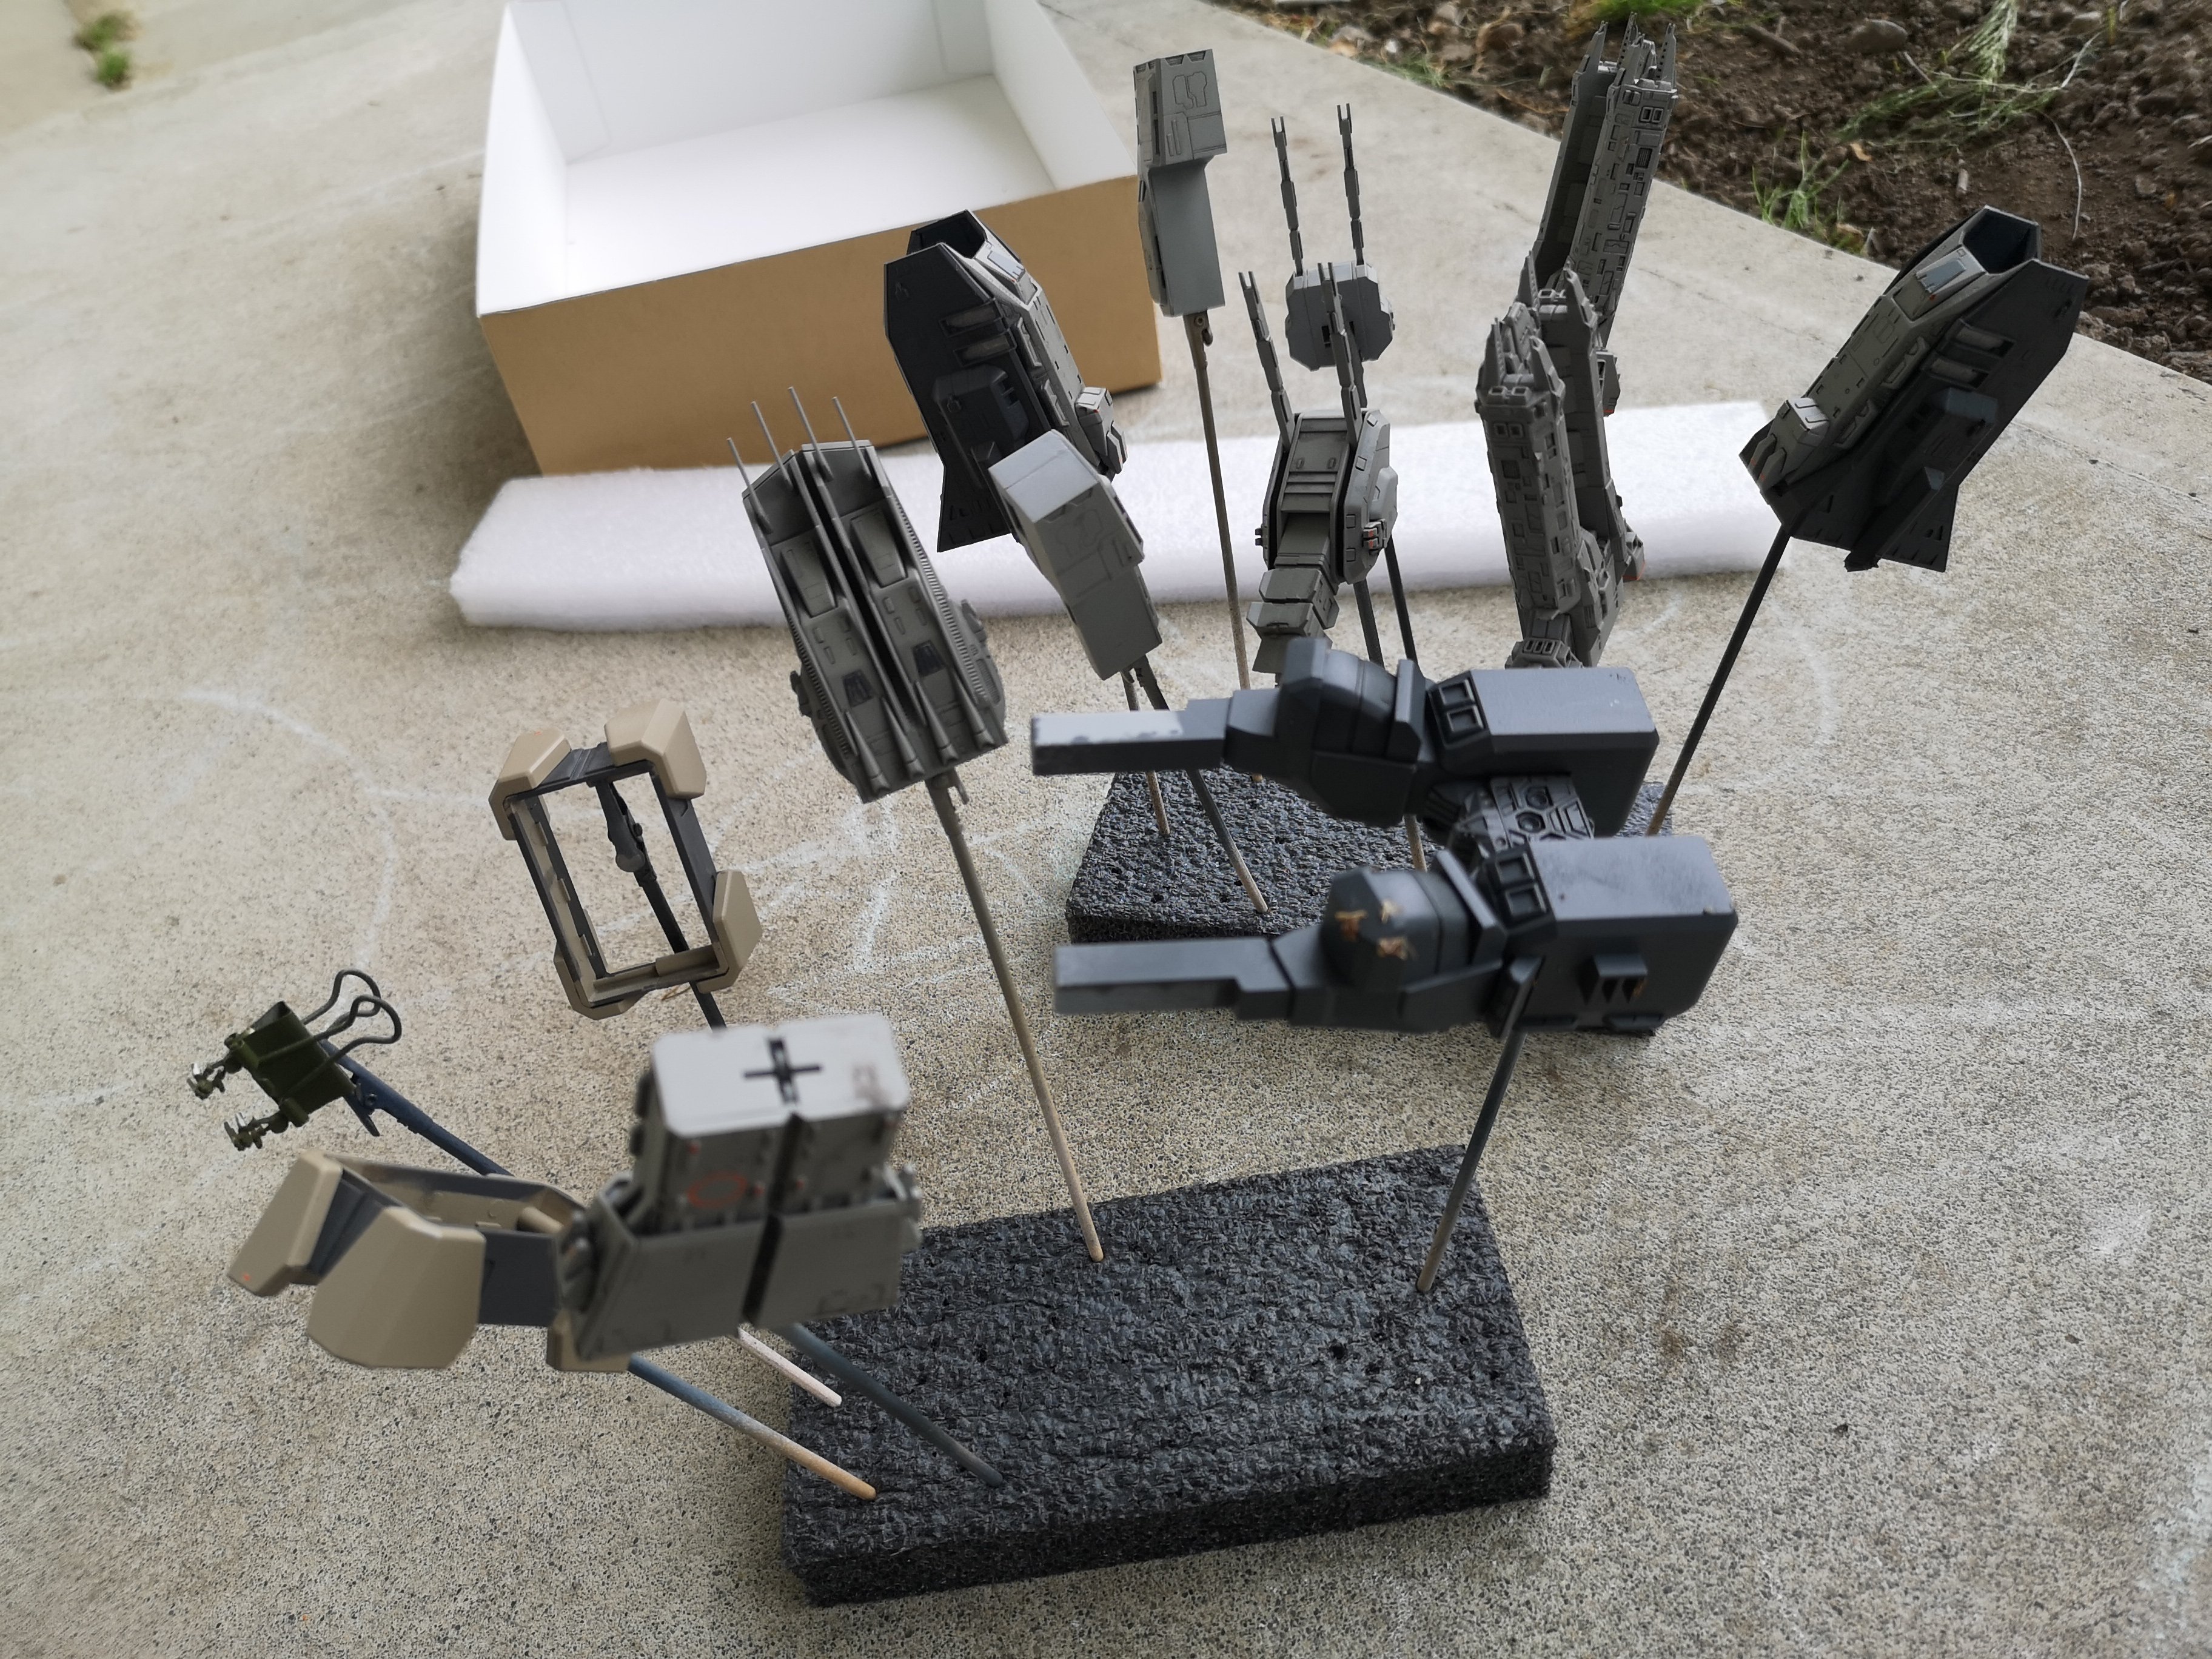
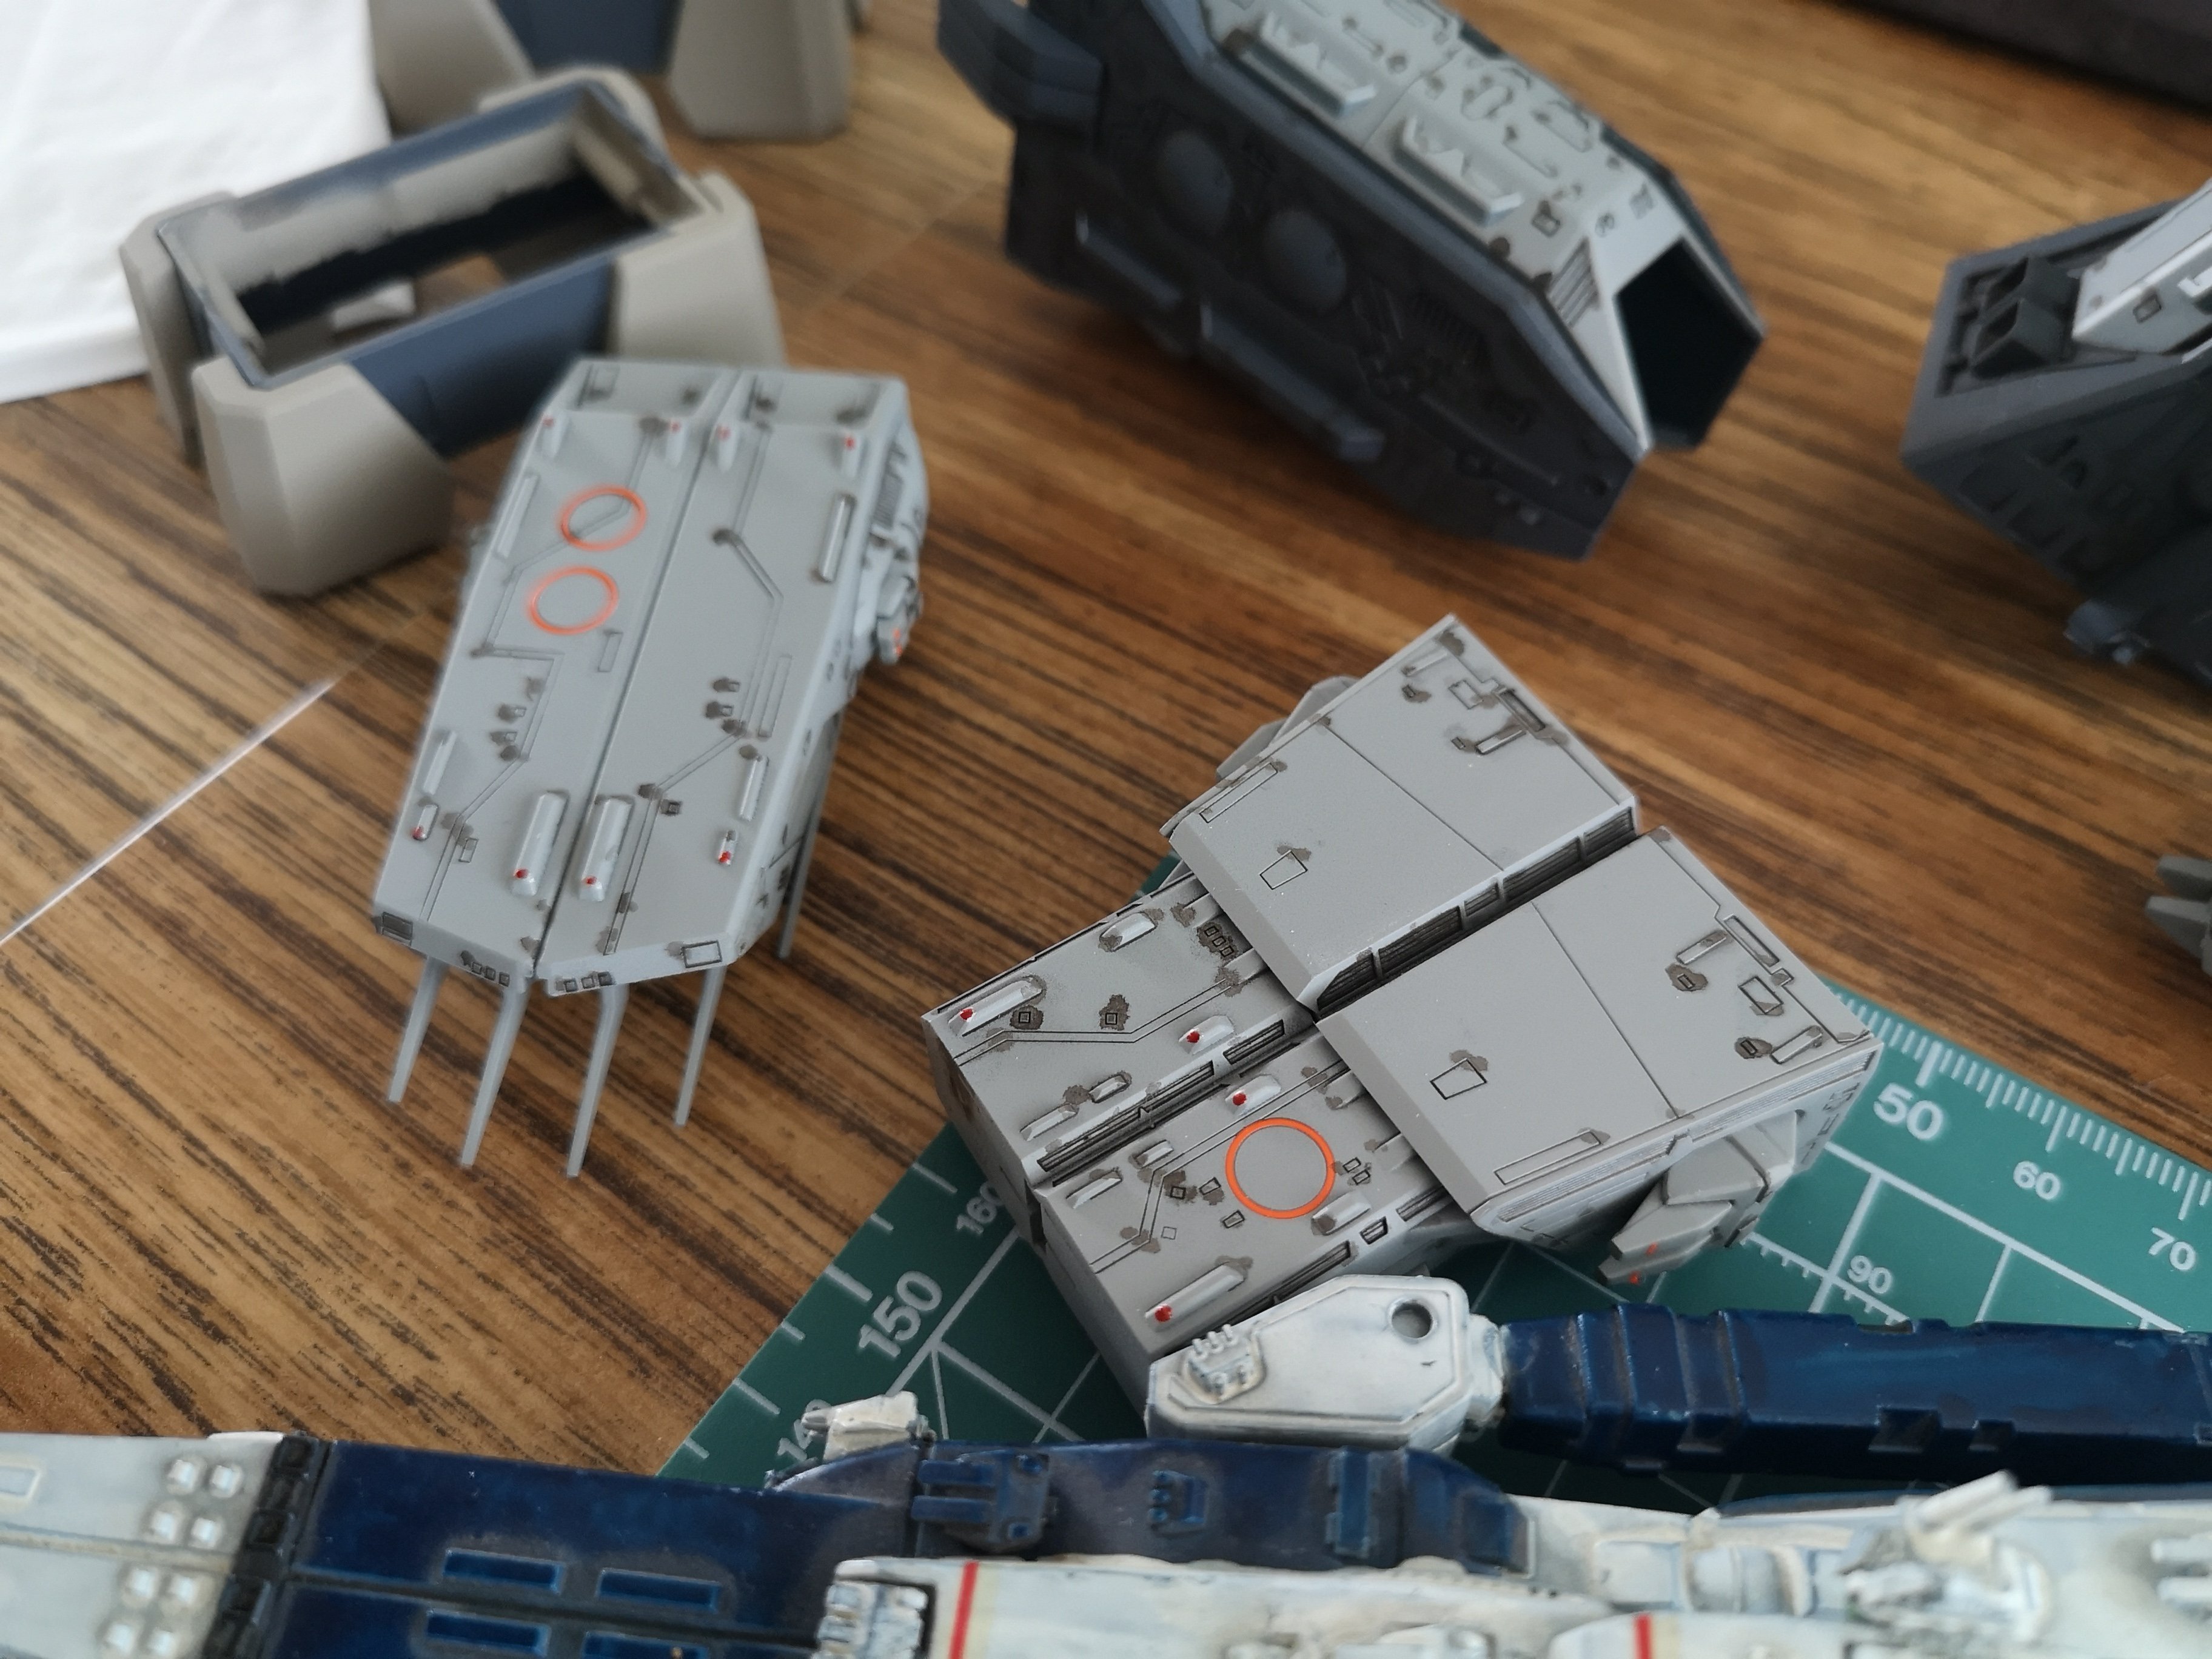
Calling it done. Very amateur, very out of the box, and even with the magnifying glass from the helping hand, I still missed a lot of stuff, but it looks better than the last SDF1 I built, lol! That Monster is just so tiny. Those rings turned out ok after cutting the panel lines. Yamato is tiny but apparently close to scale? The tiny section of the ARMD carrier I tried to replicated in my Valkyrie stand

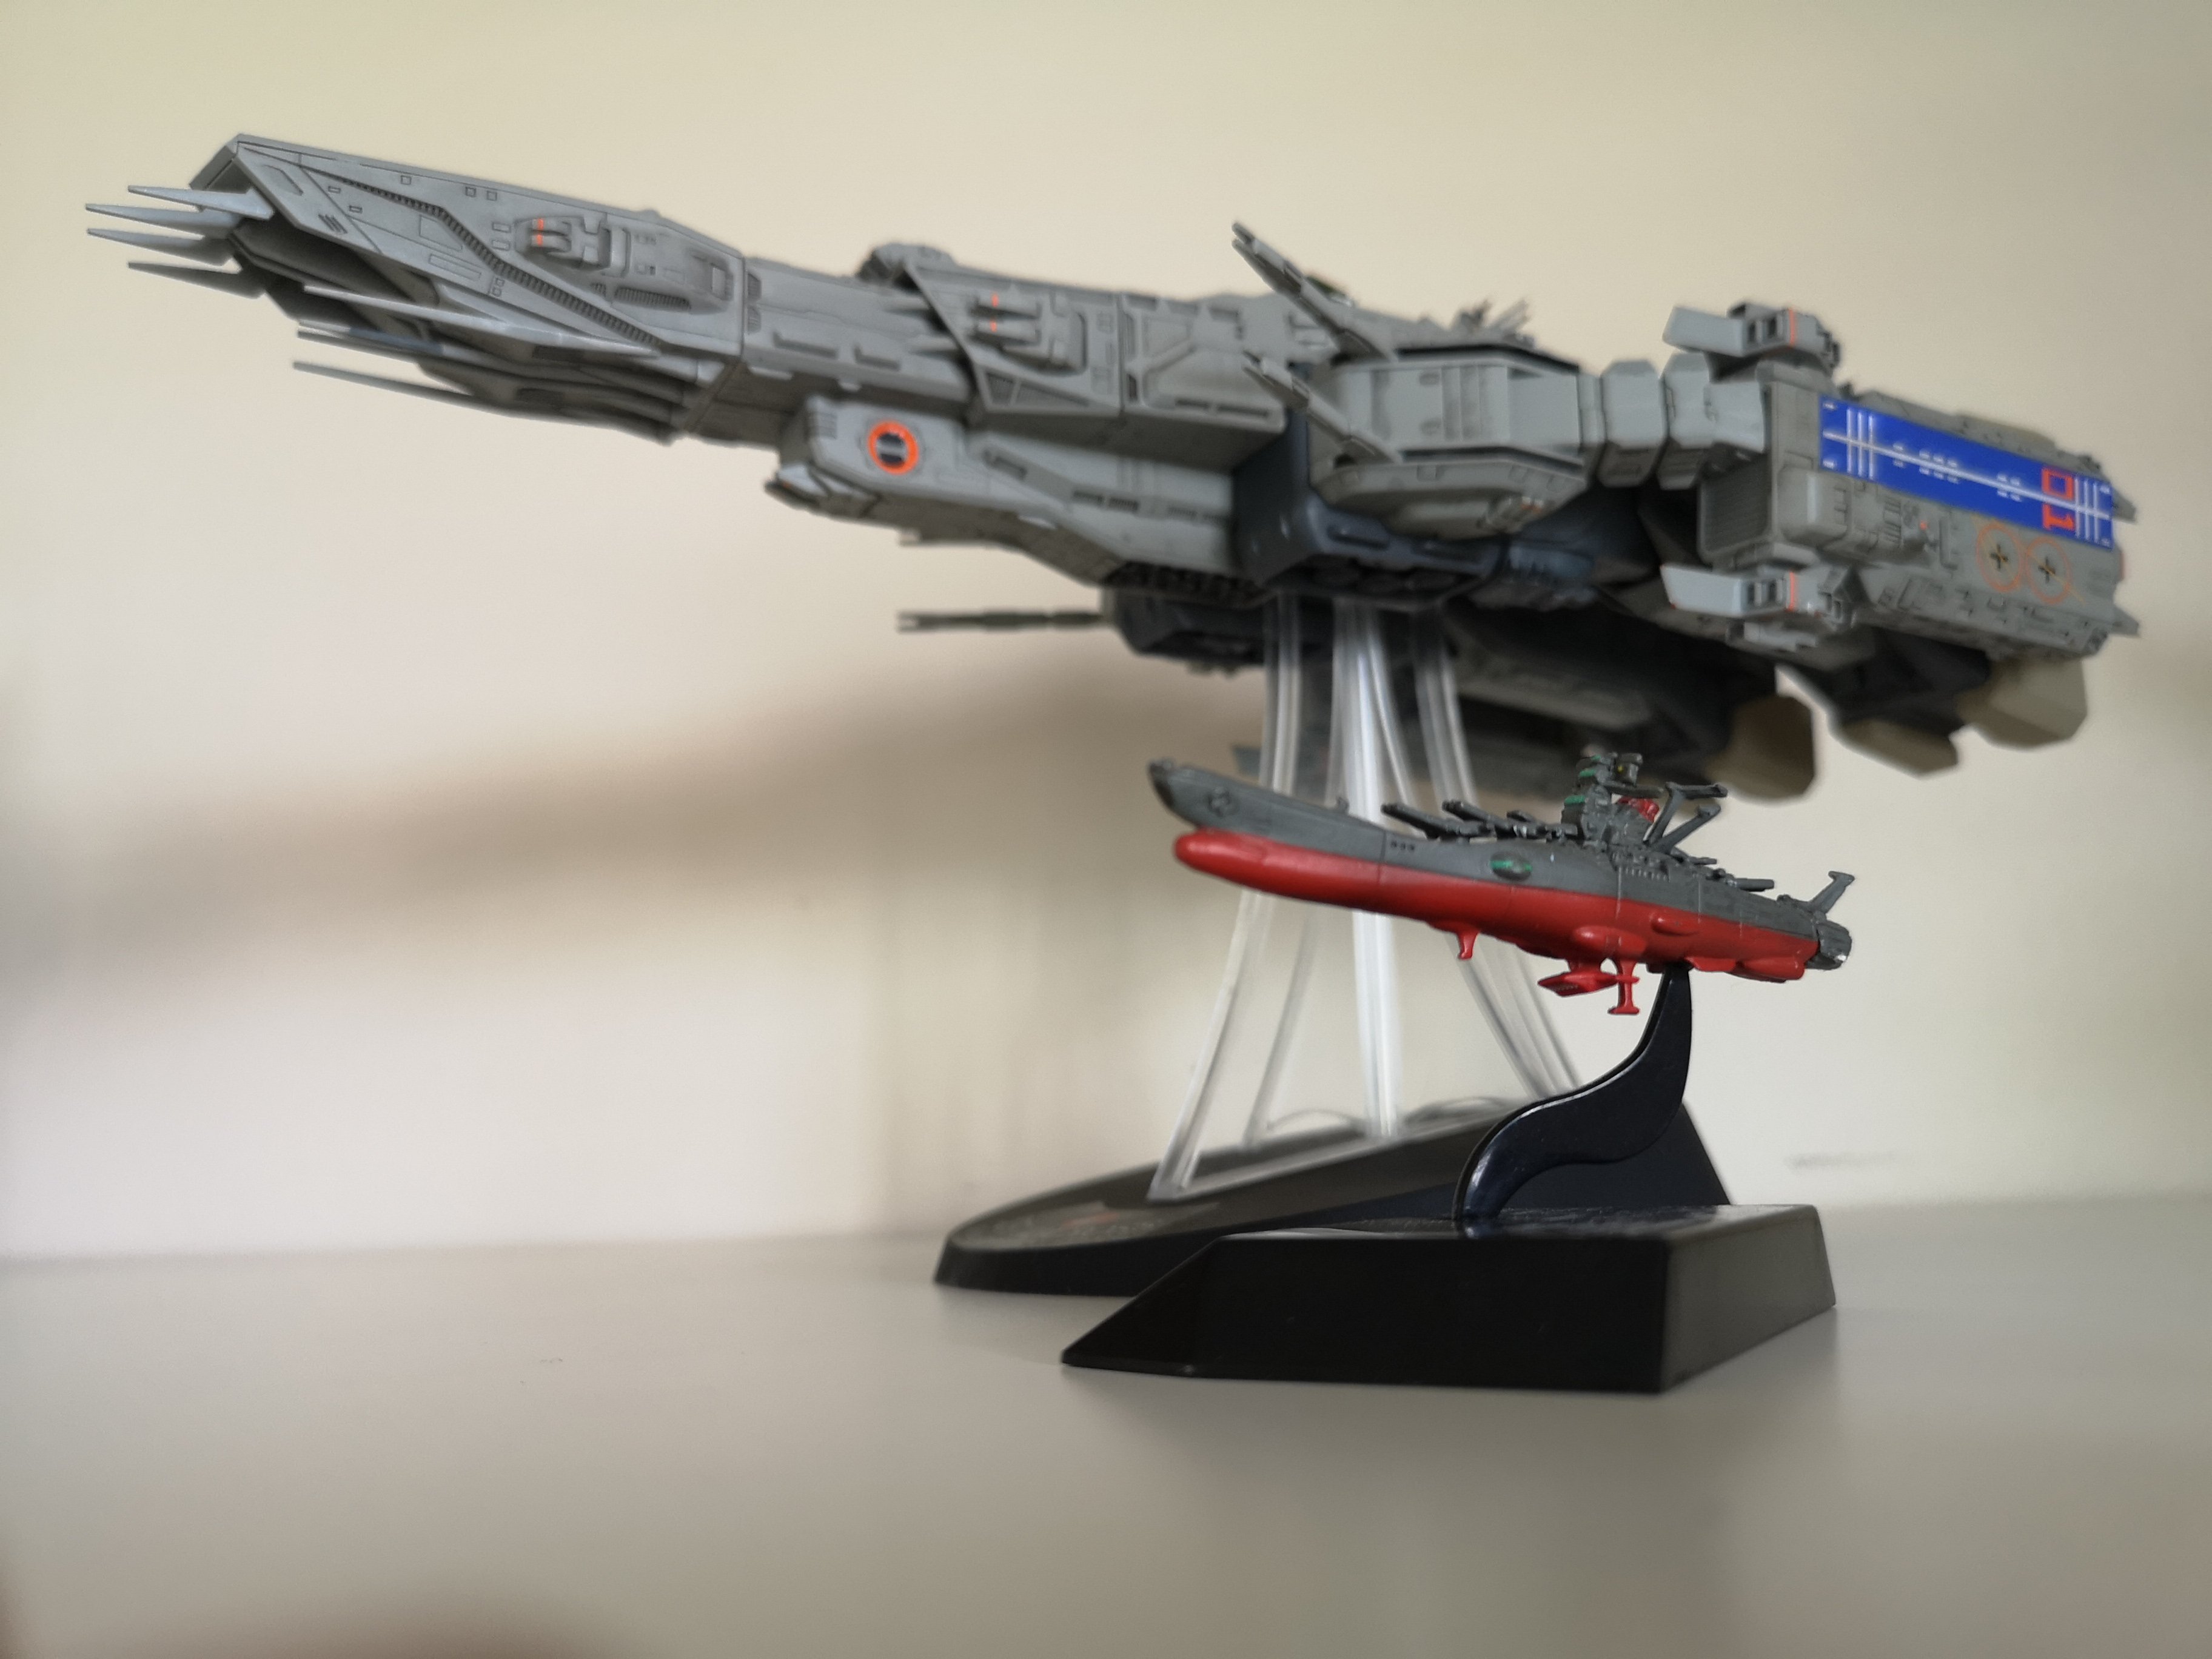


-
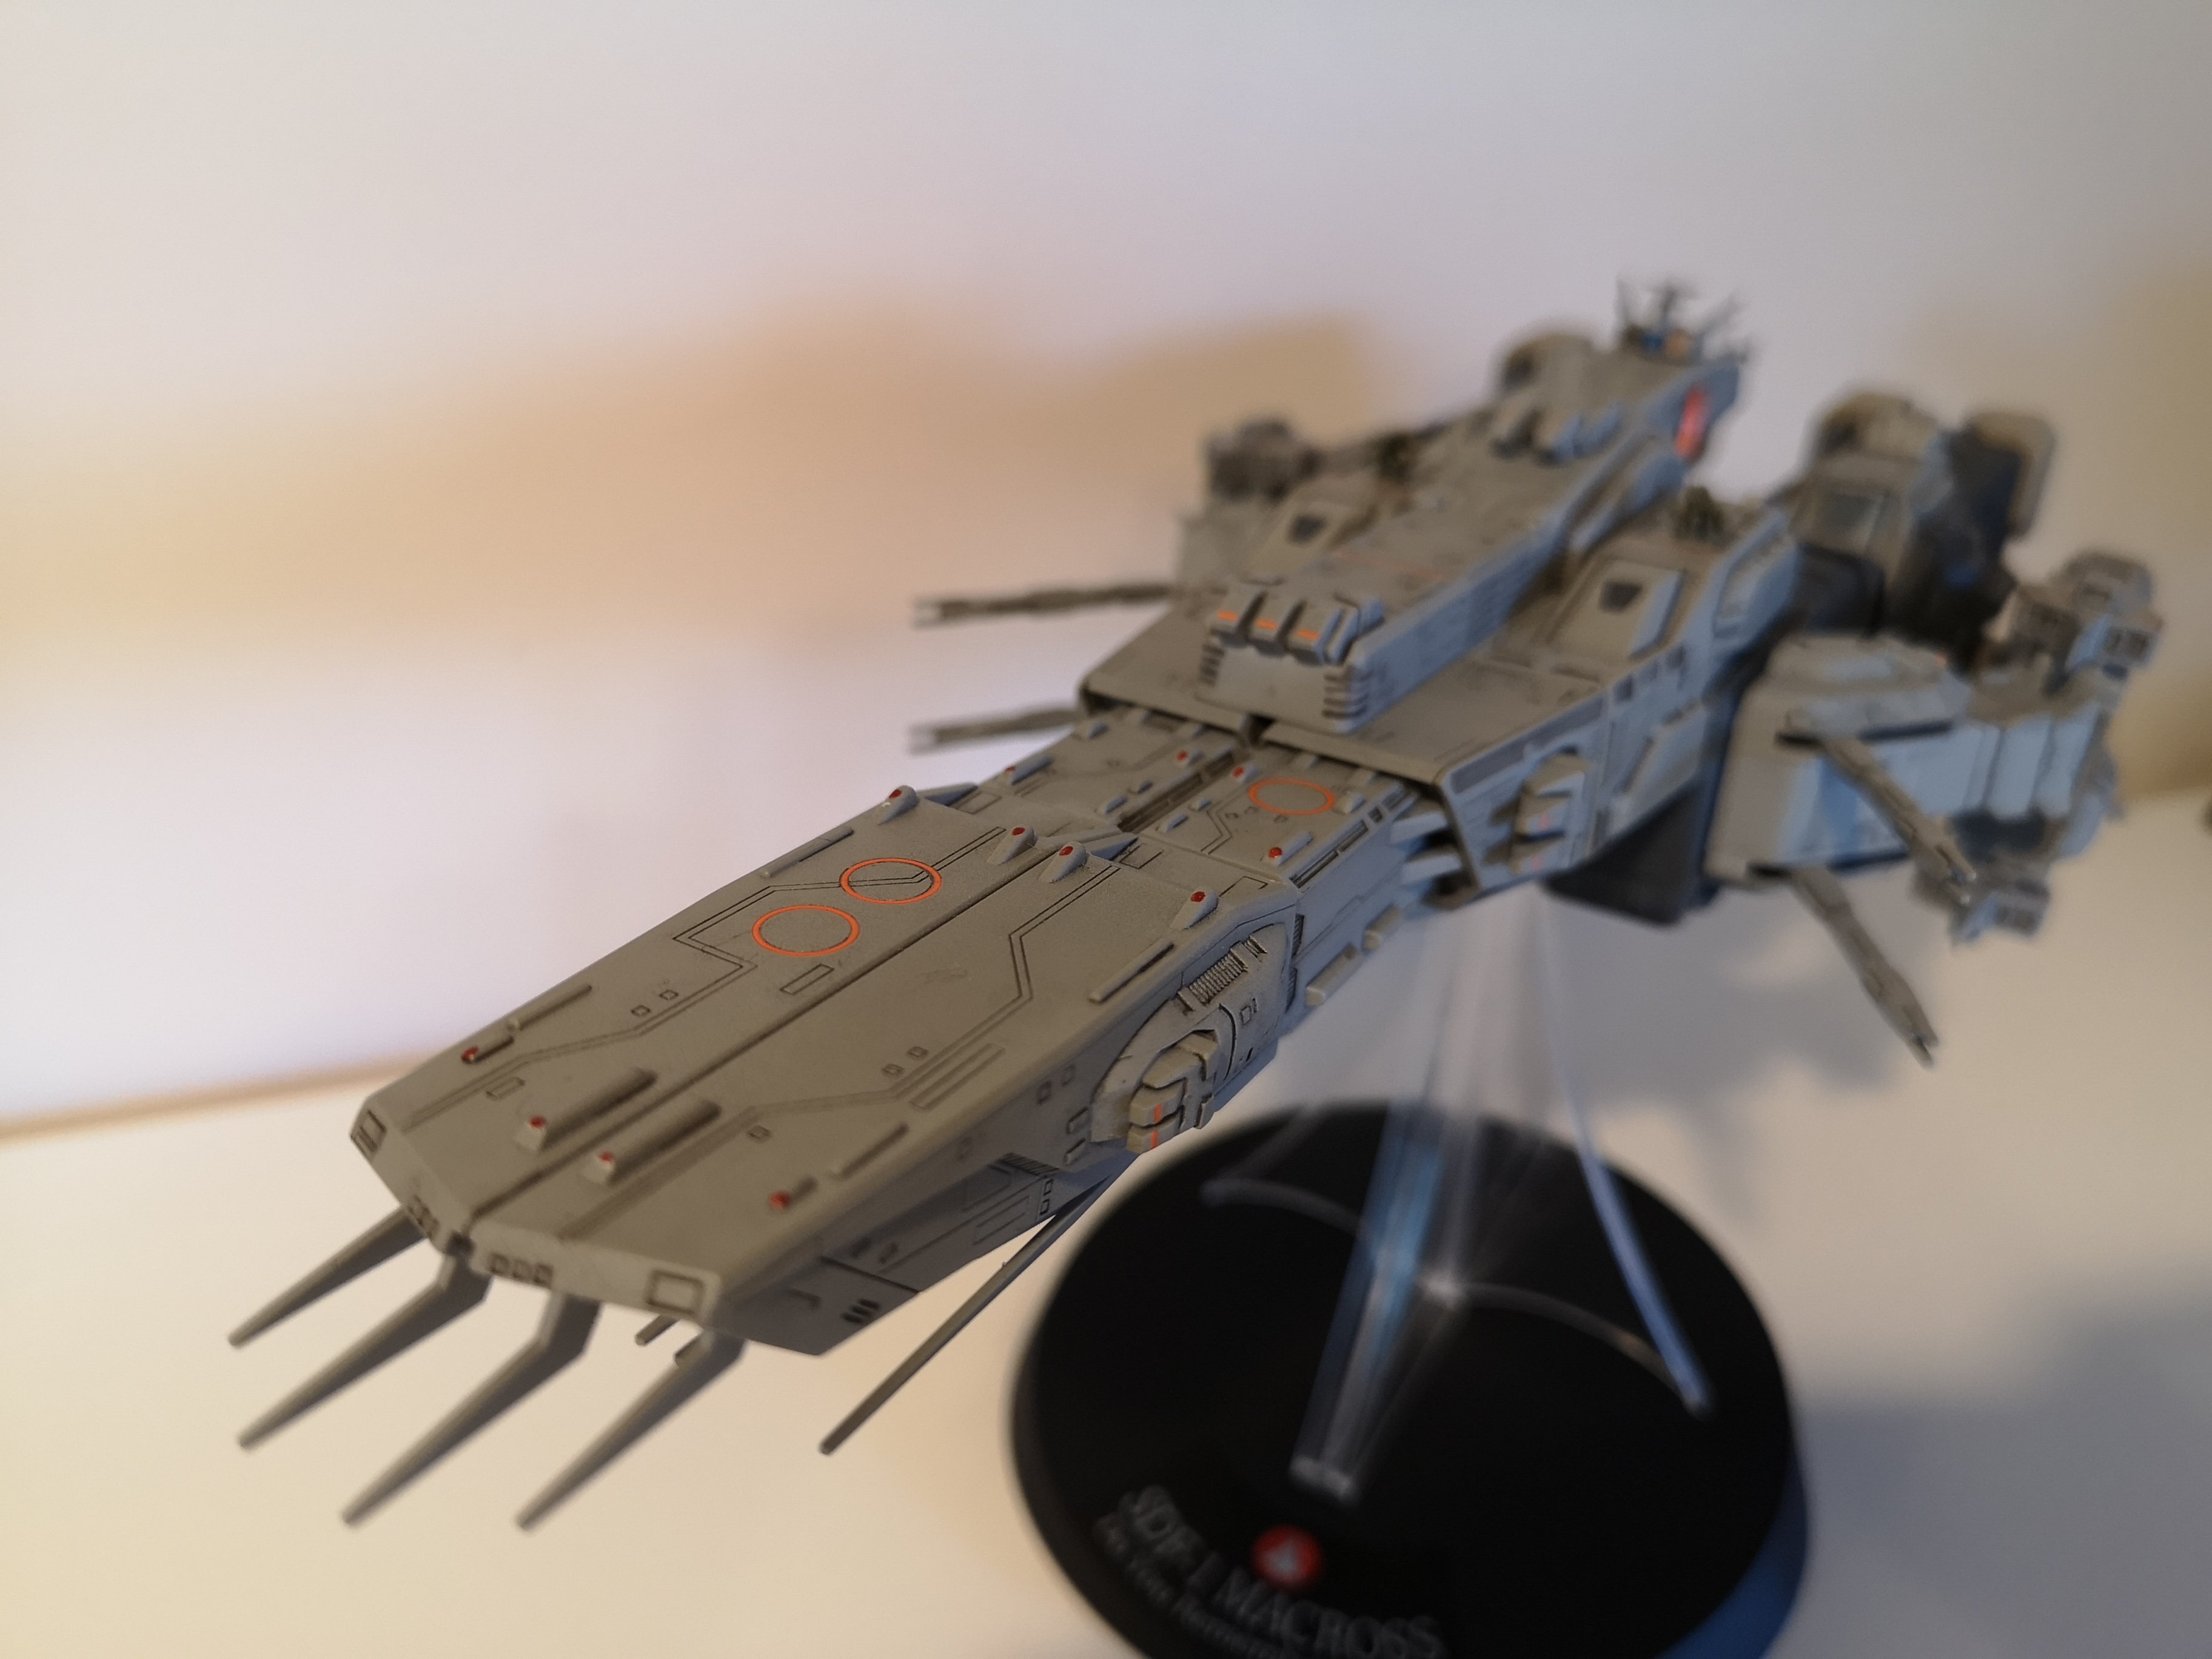
Next to the last SDF-1 kit I built.....probably 35 years ago when I was 10 or so, lol! Anyway, almost done, will take some better photos later. Despite the numerous complaints about this kit and some of the proportions, I am truly impressed with the amount of detail Hasegawa packed into it. In many ways, it was far easier to build that Hasegawa's 1/72 Super/Strike Valkyries, but in other ways, it was significantly more time consuming to make all of the details pop. Less decals, less sanding and filling in seam lines compared to the Valks.


-
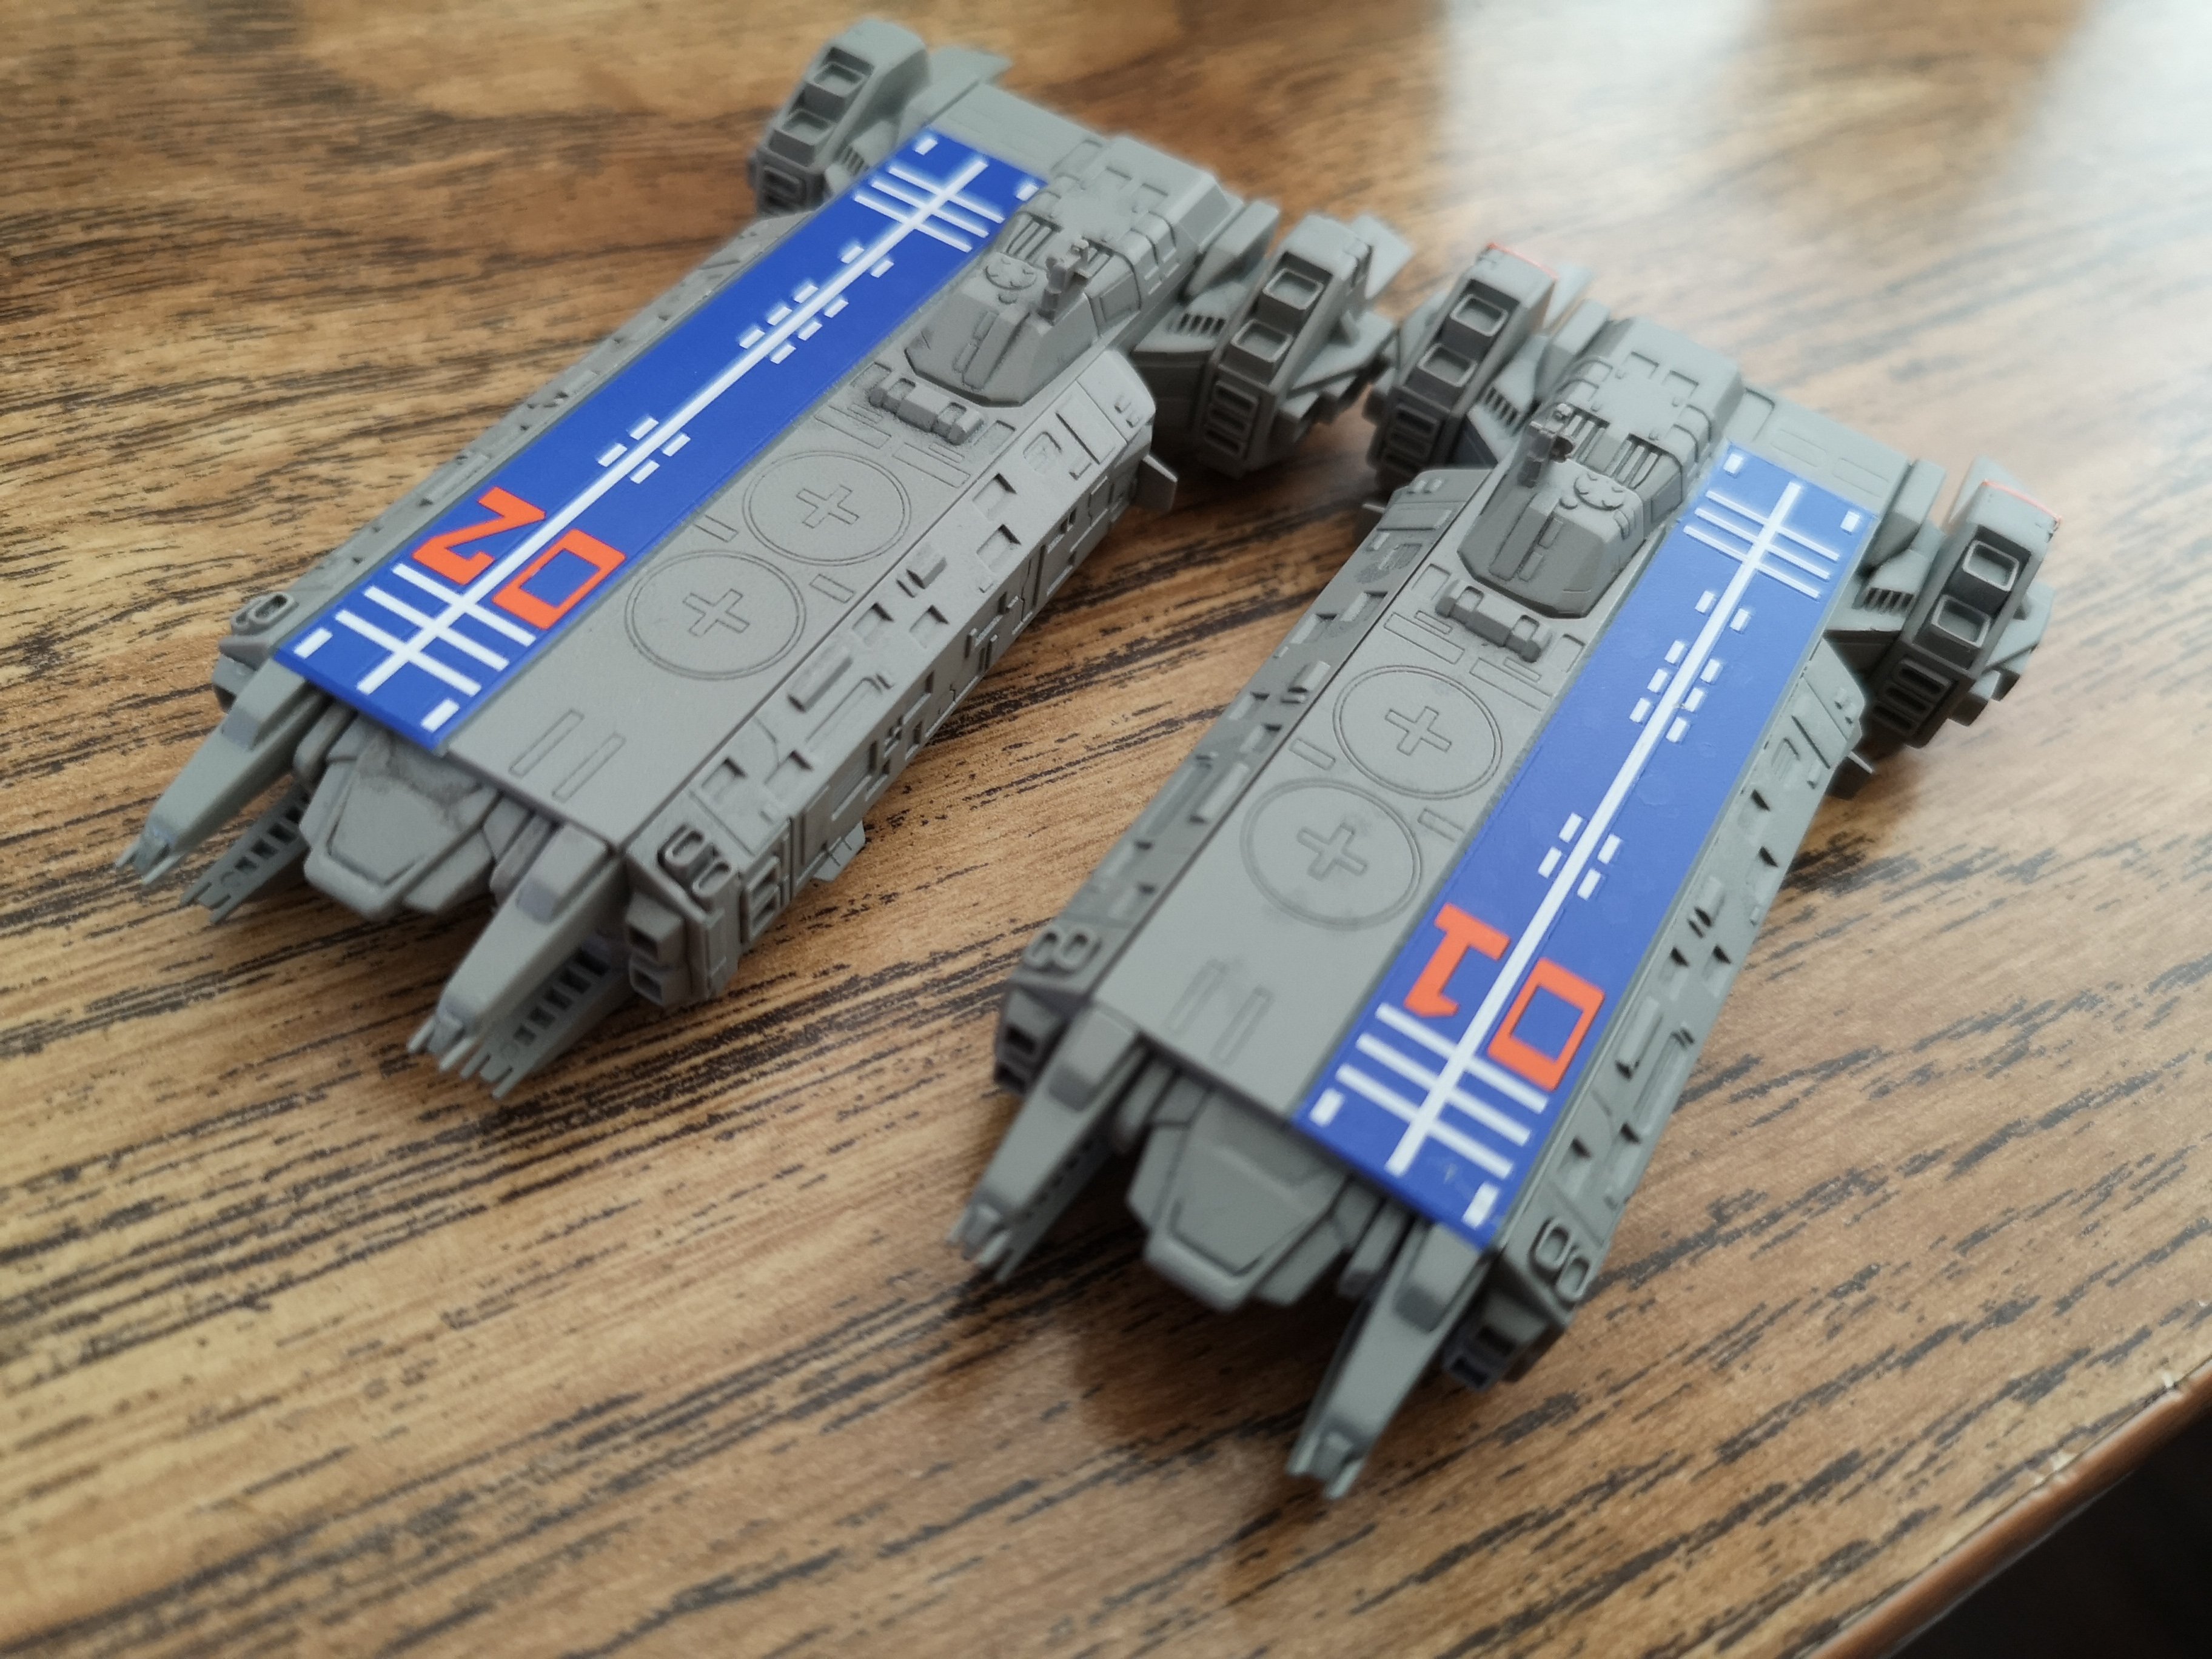
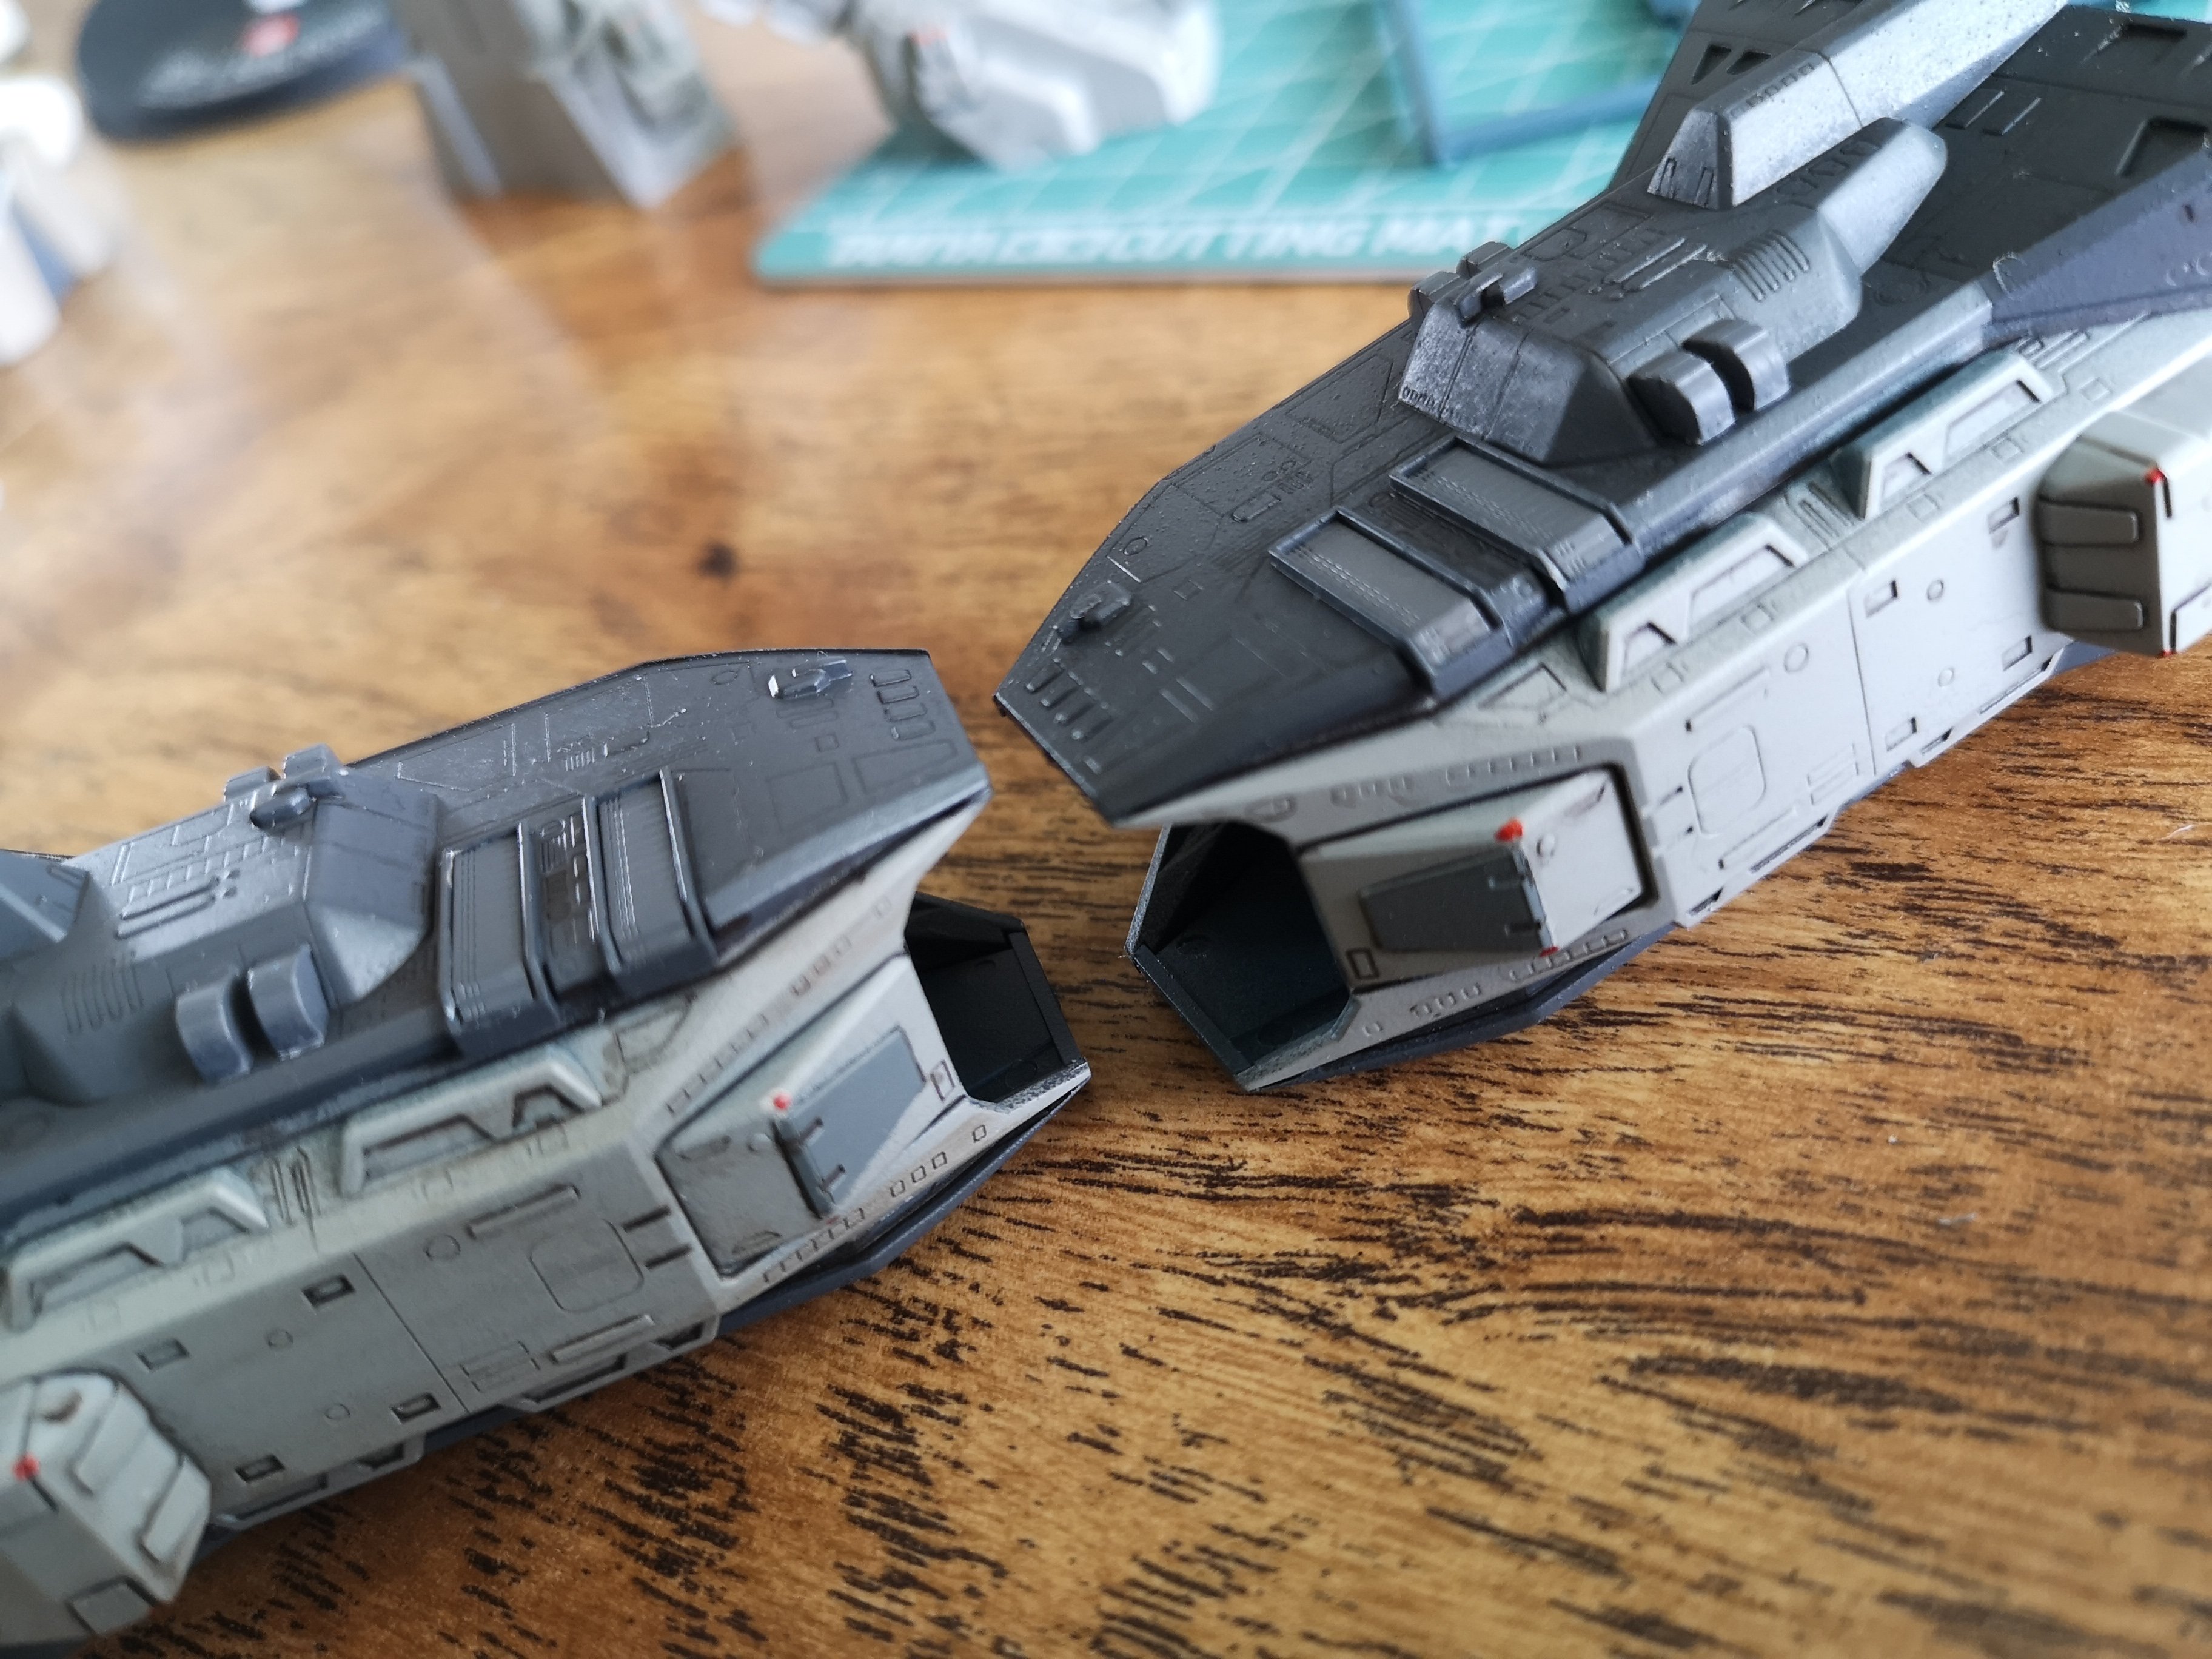
Looks like a cleaner build with the closed blast shields.
-
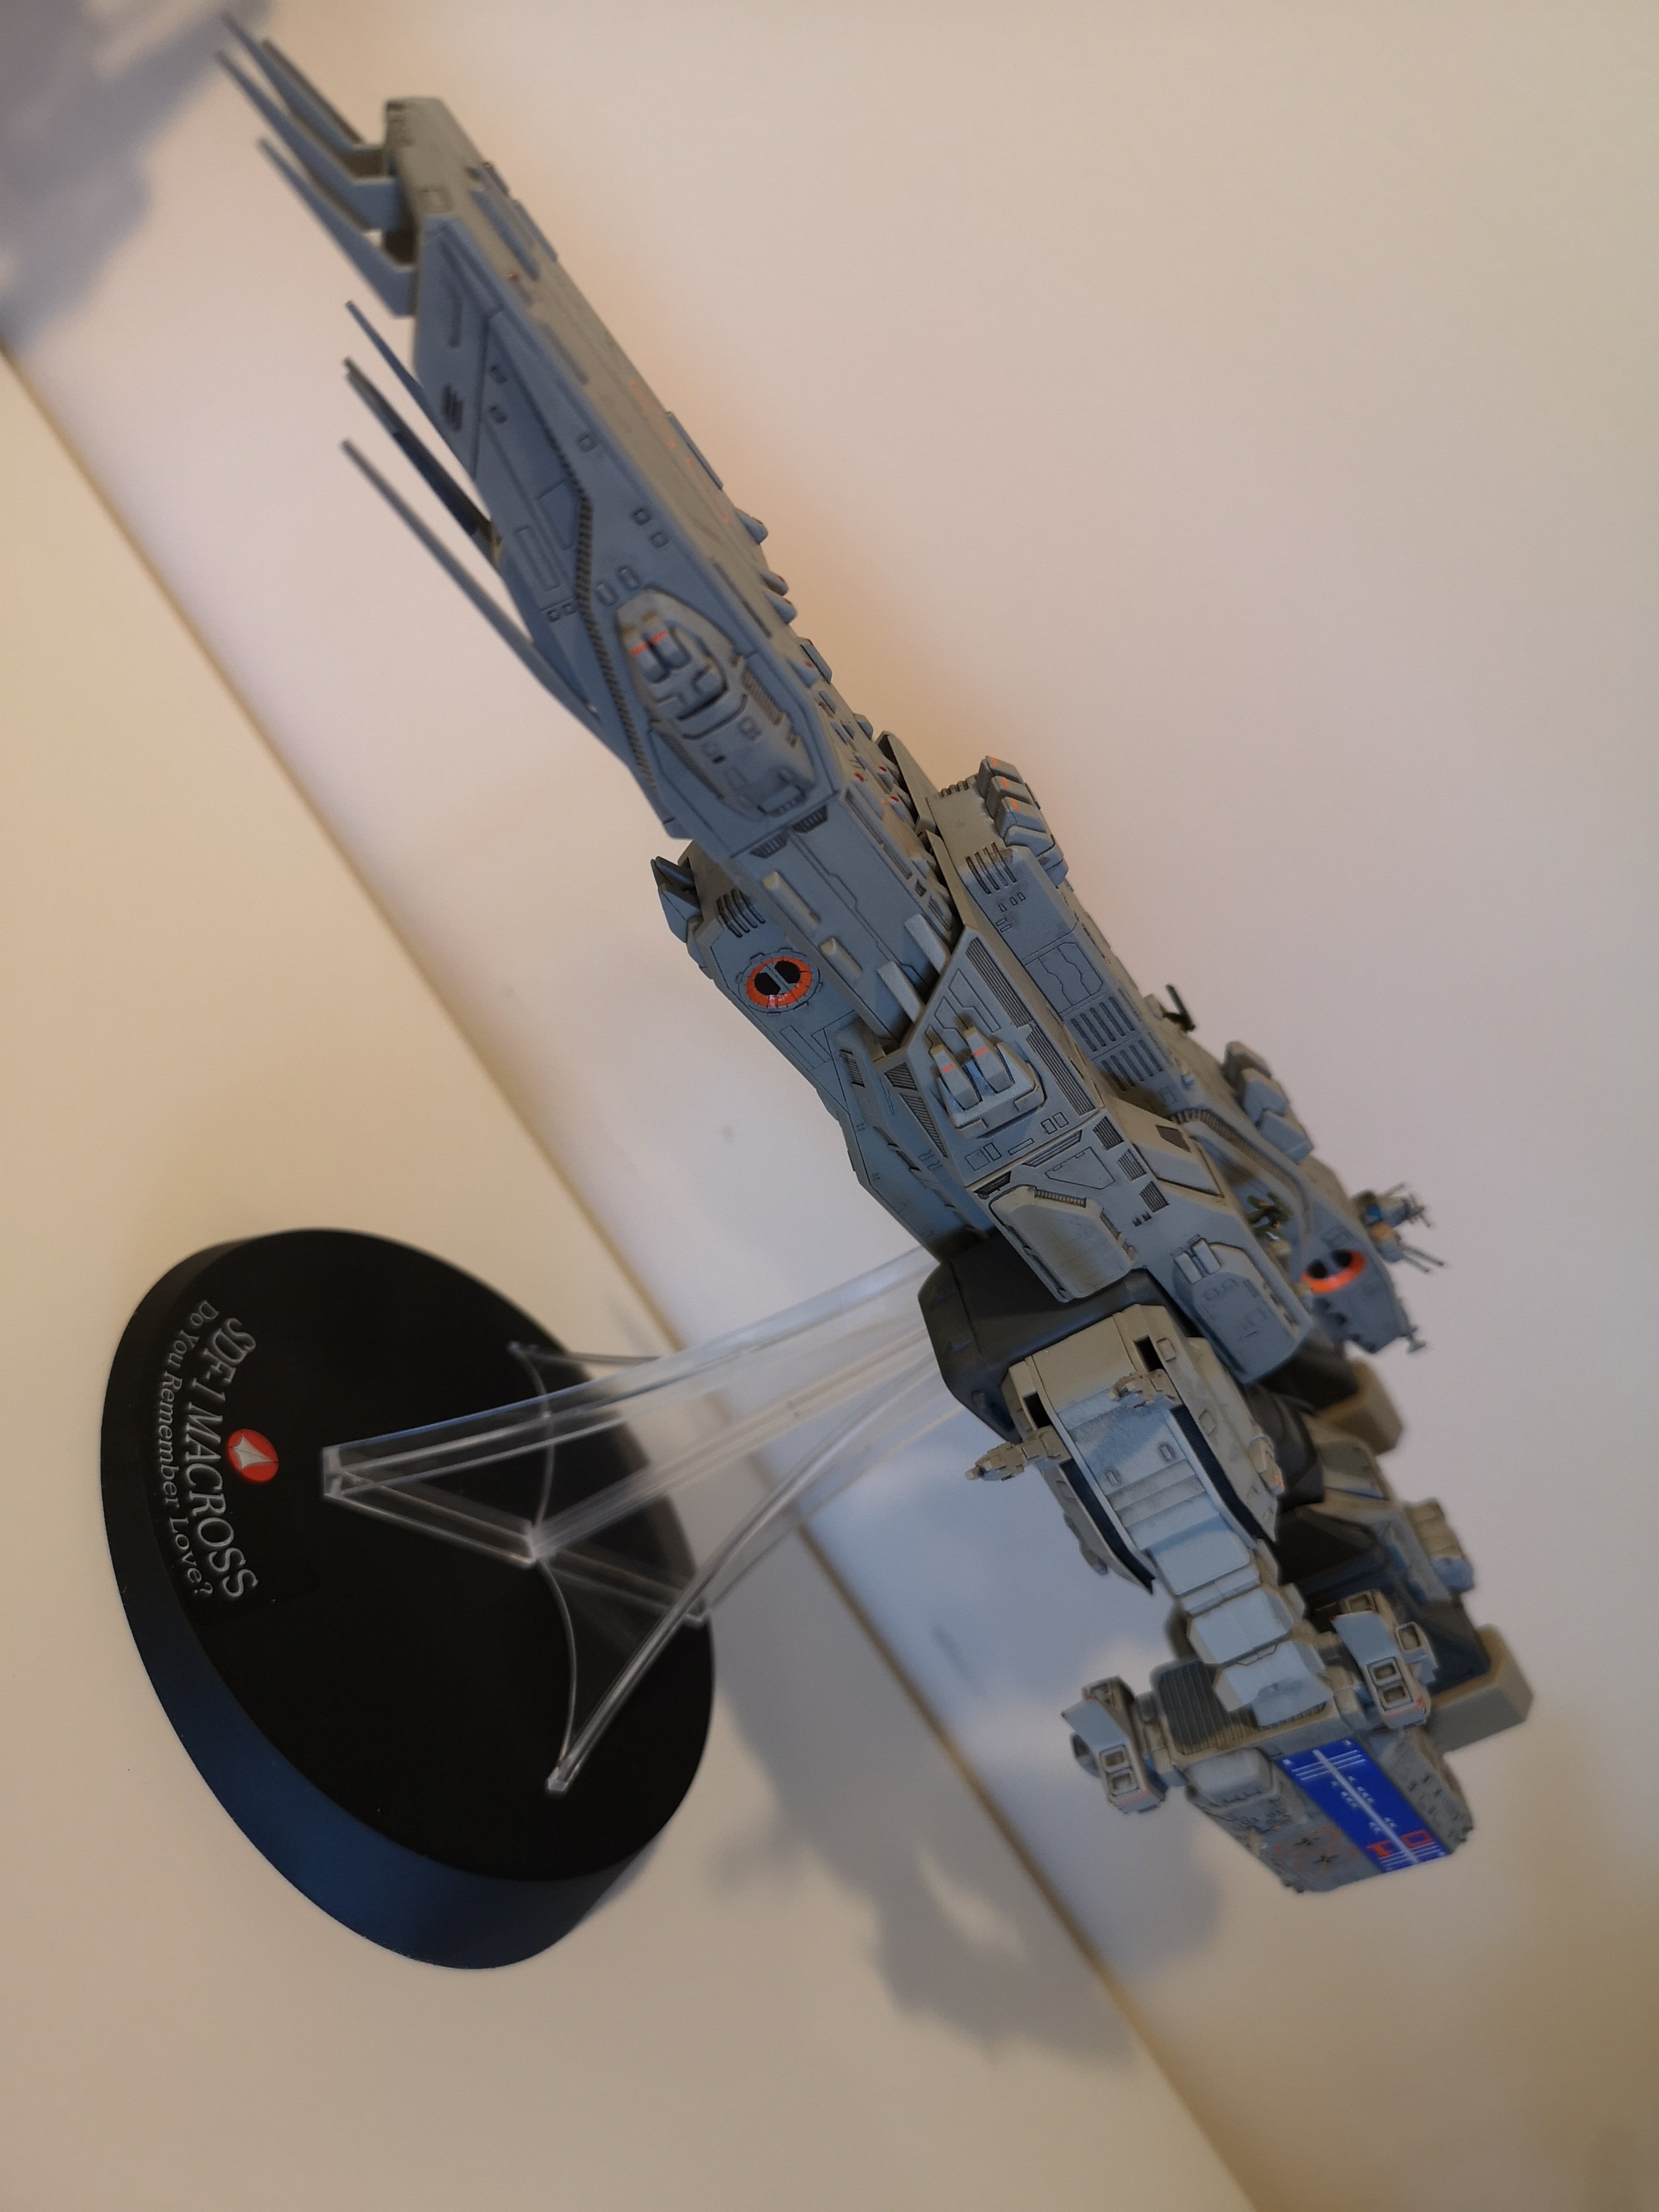
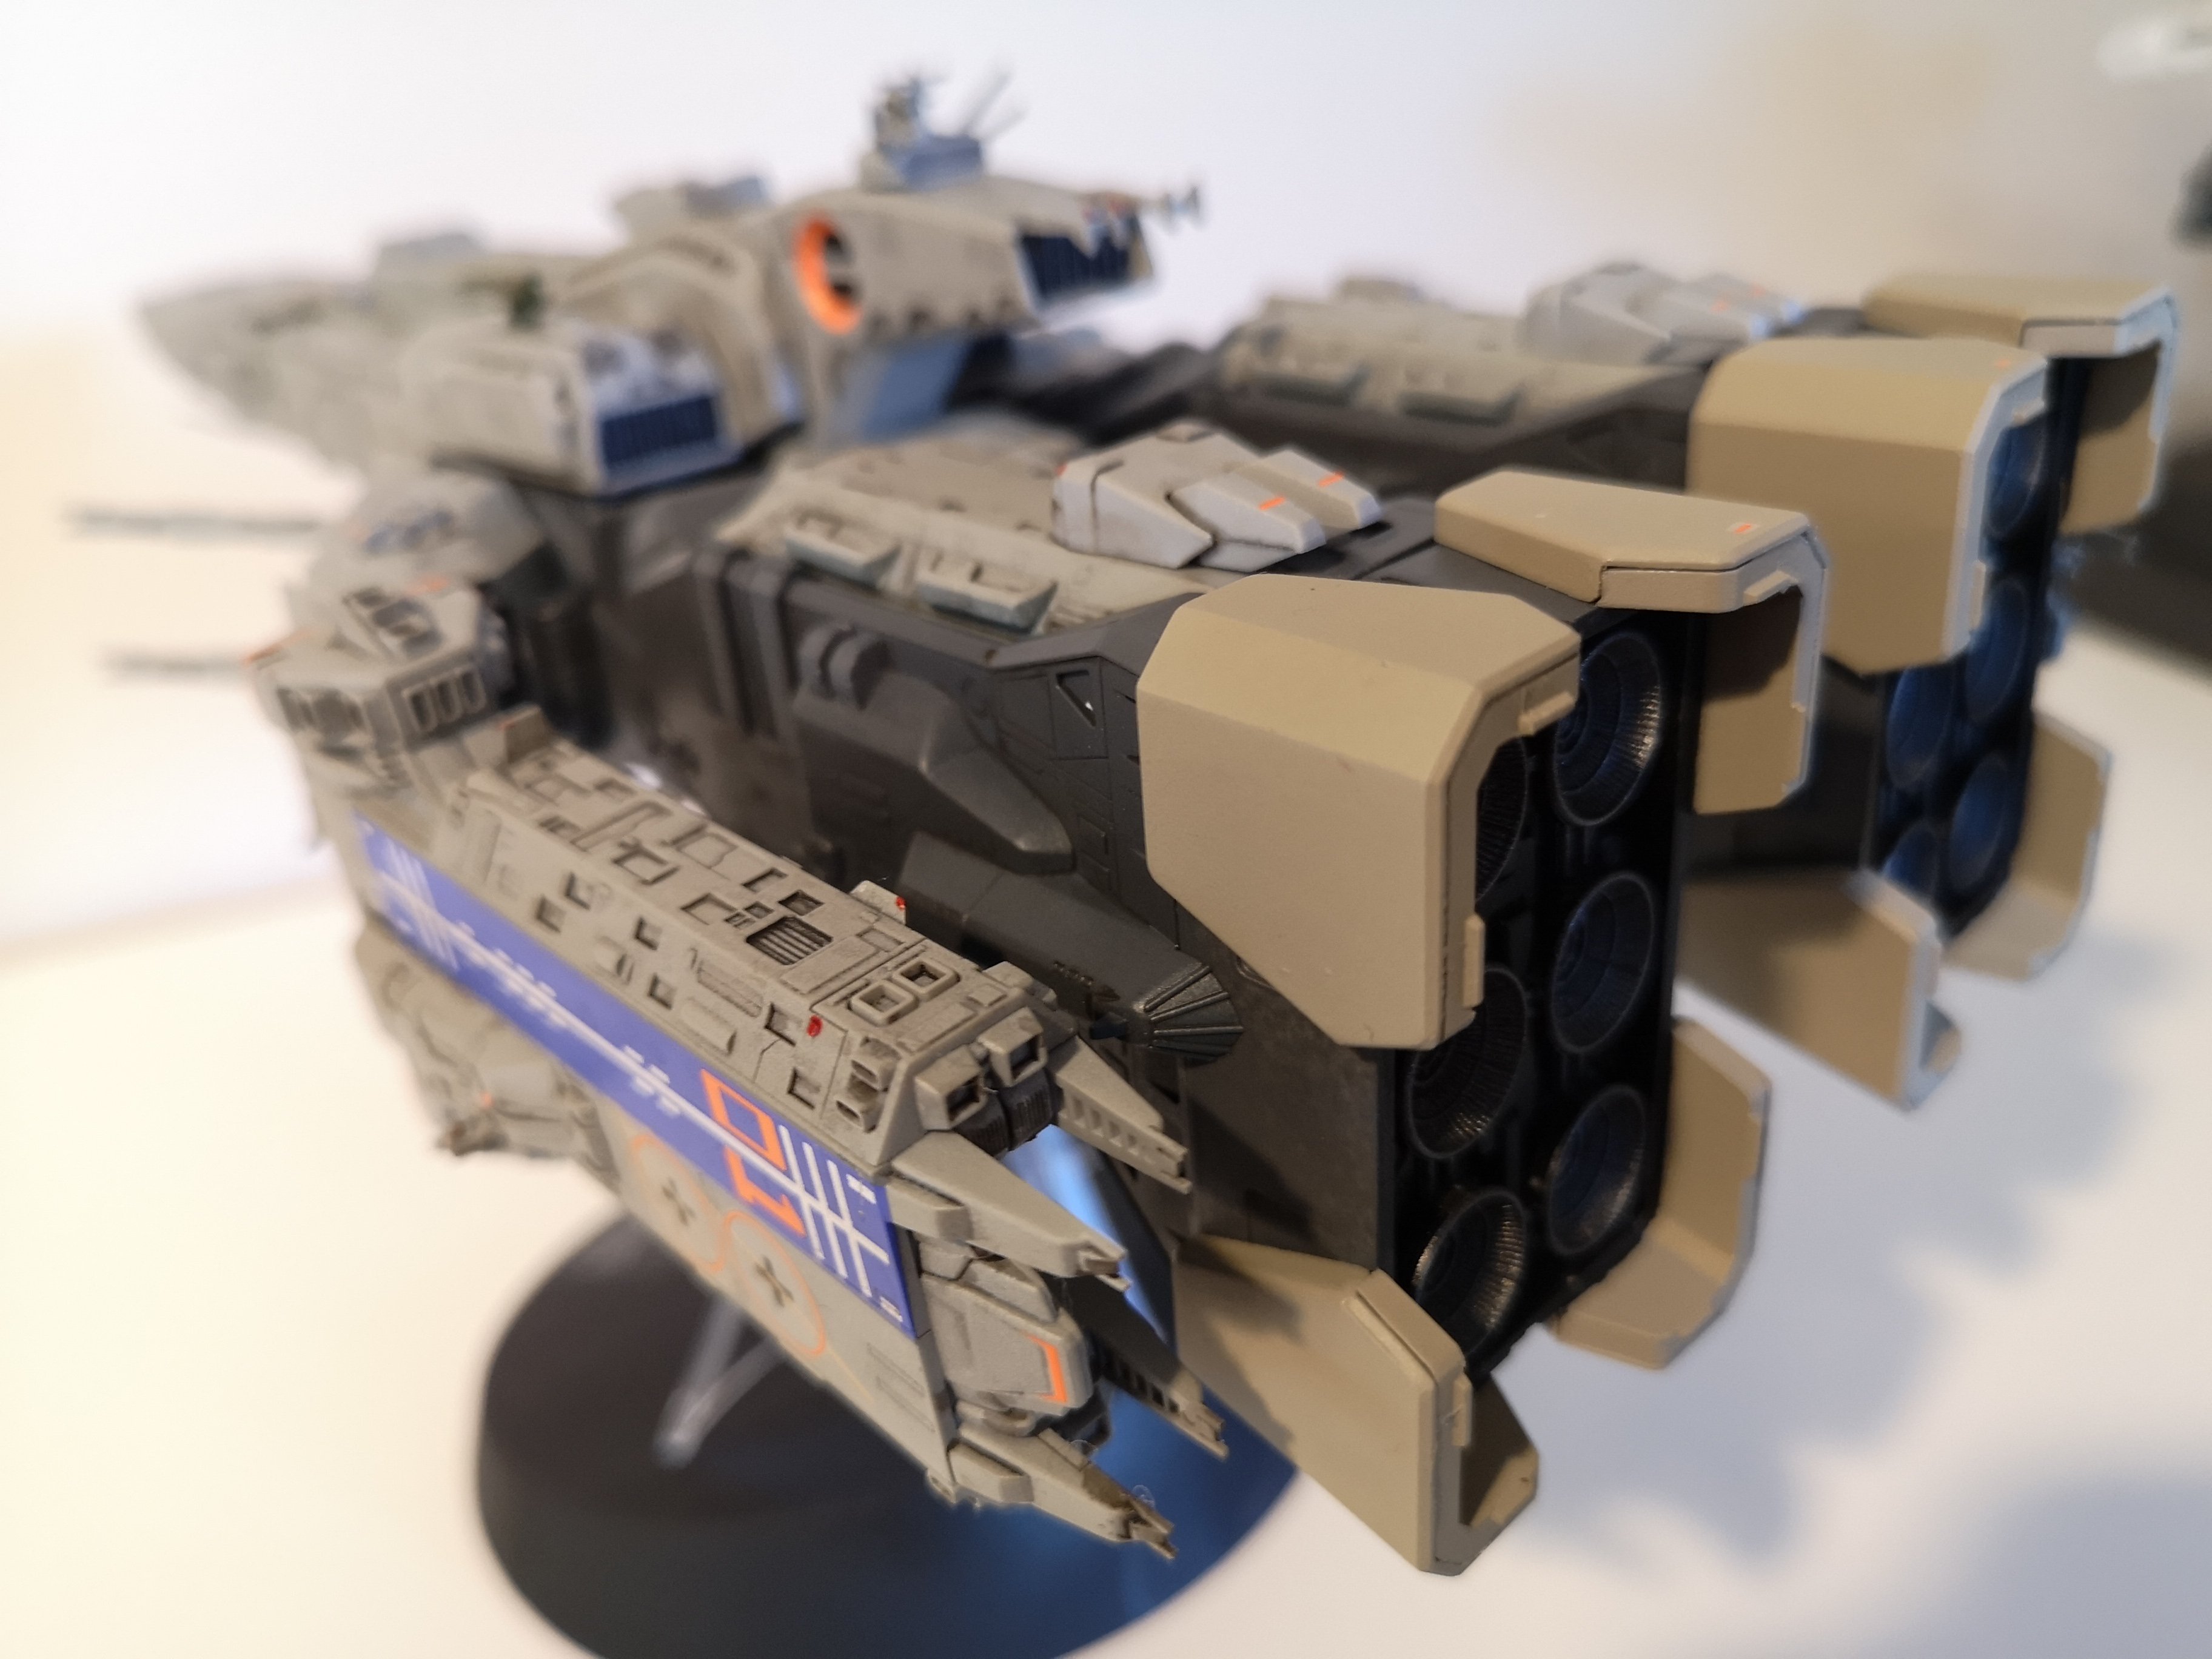
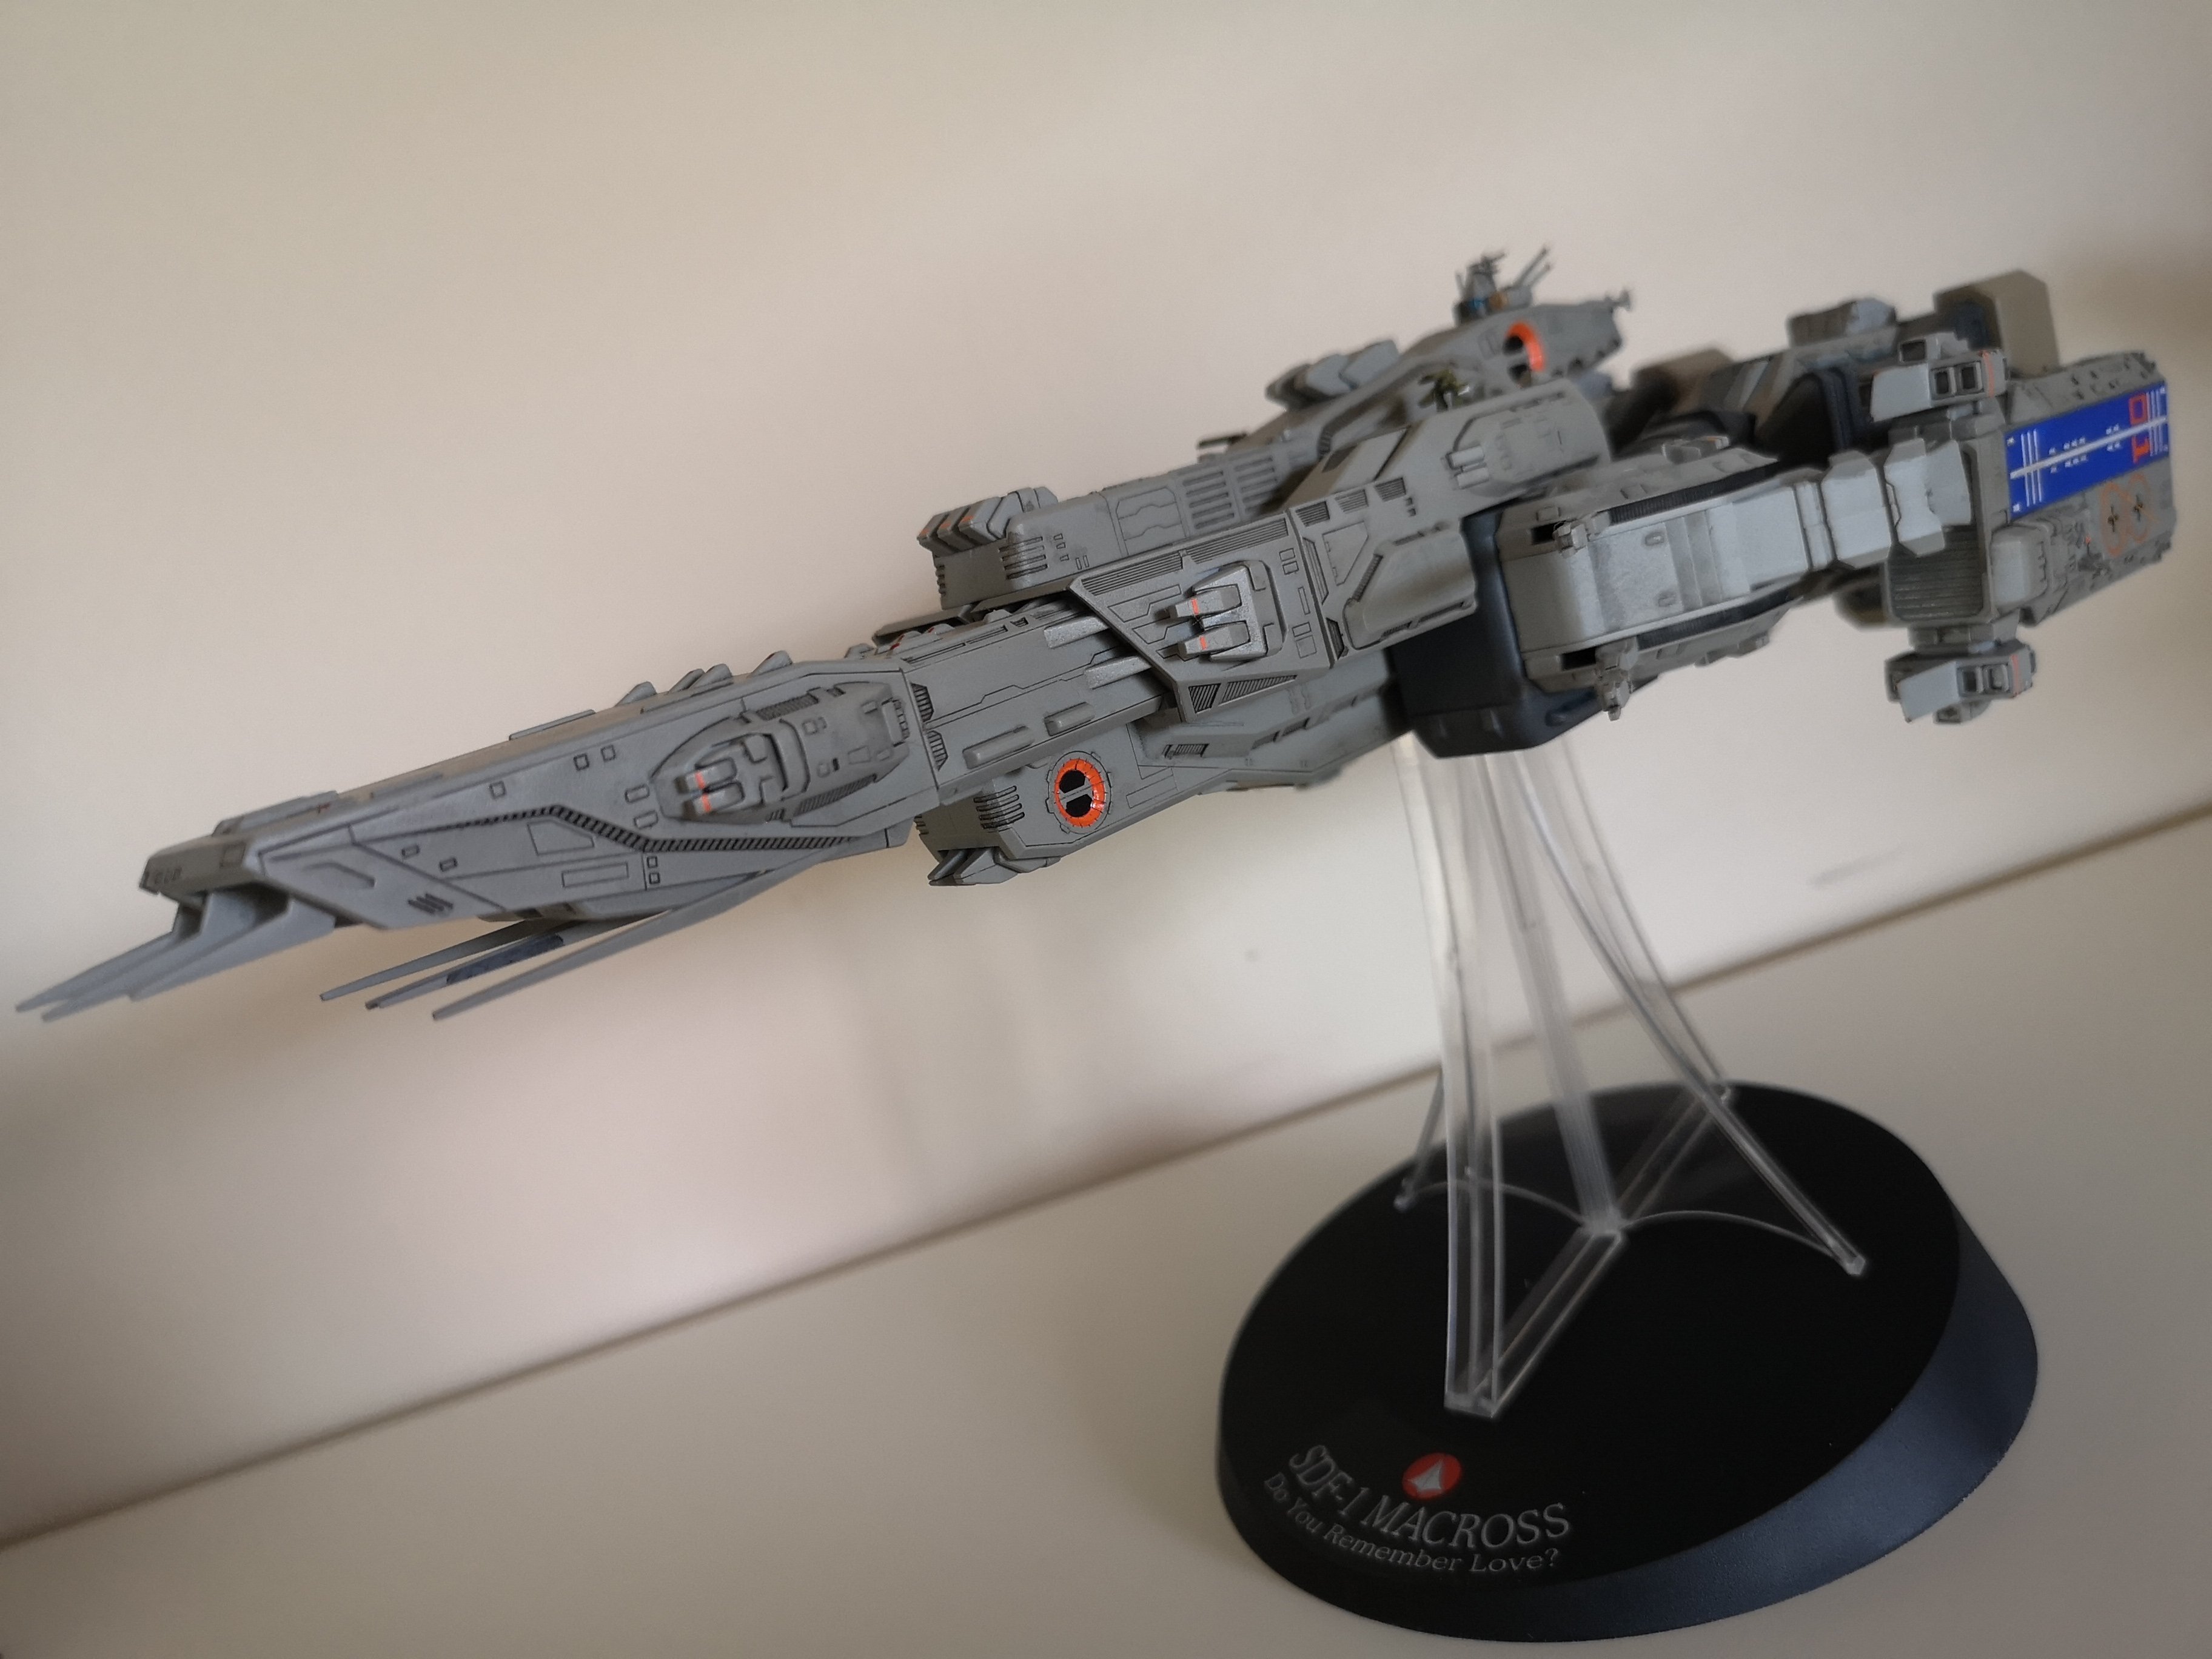
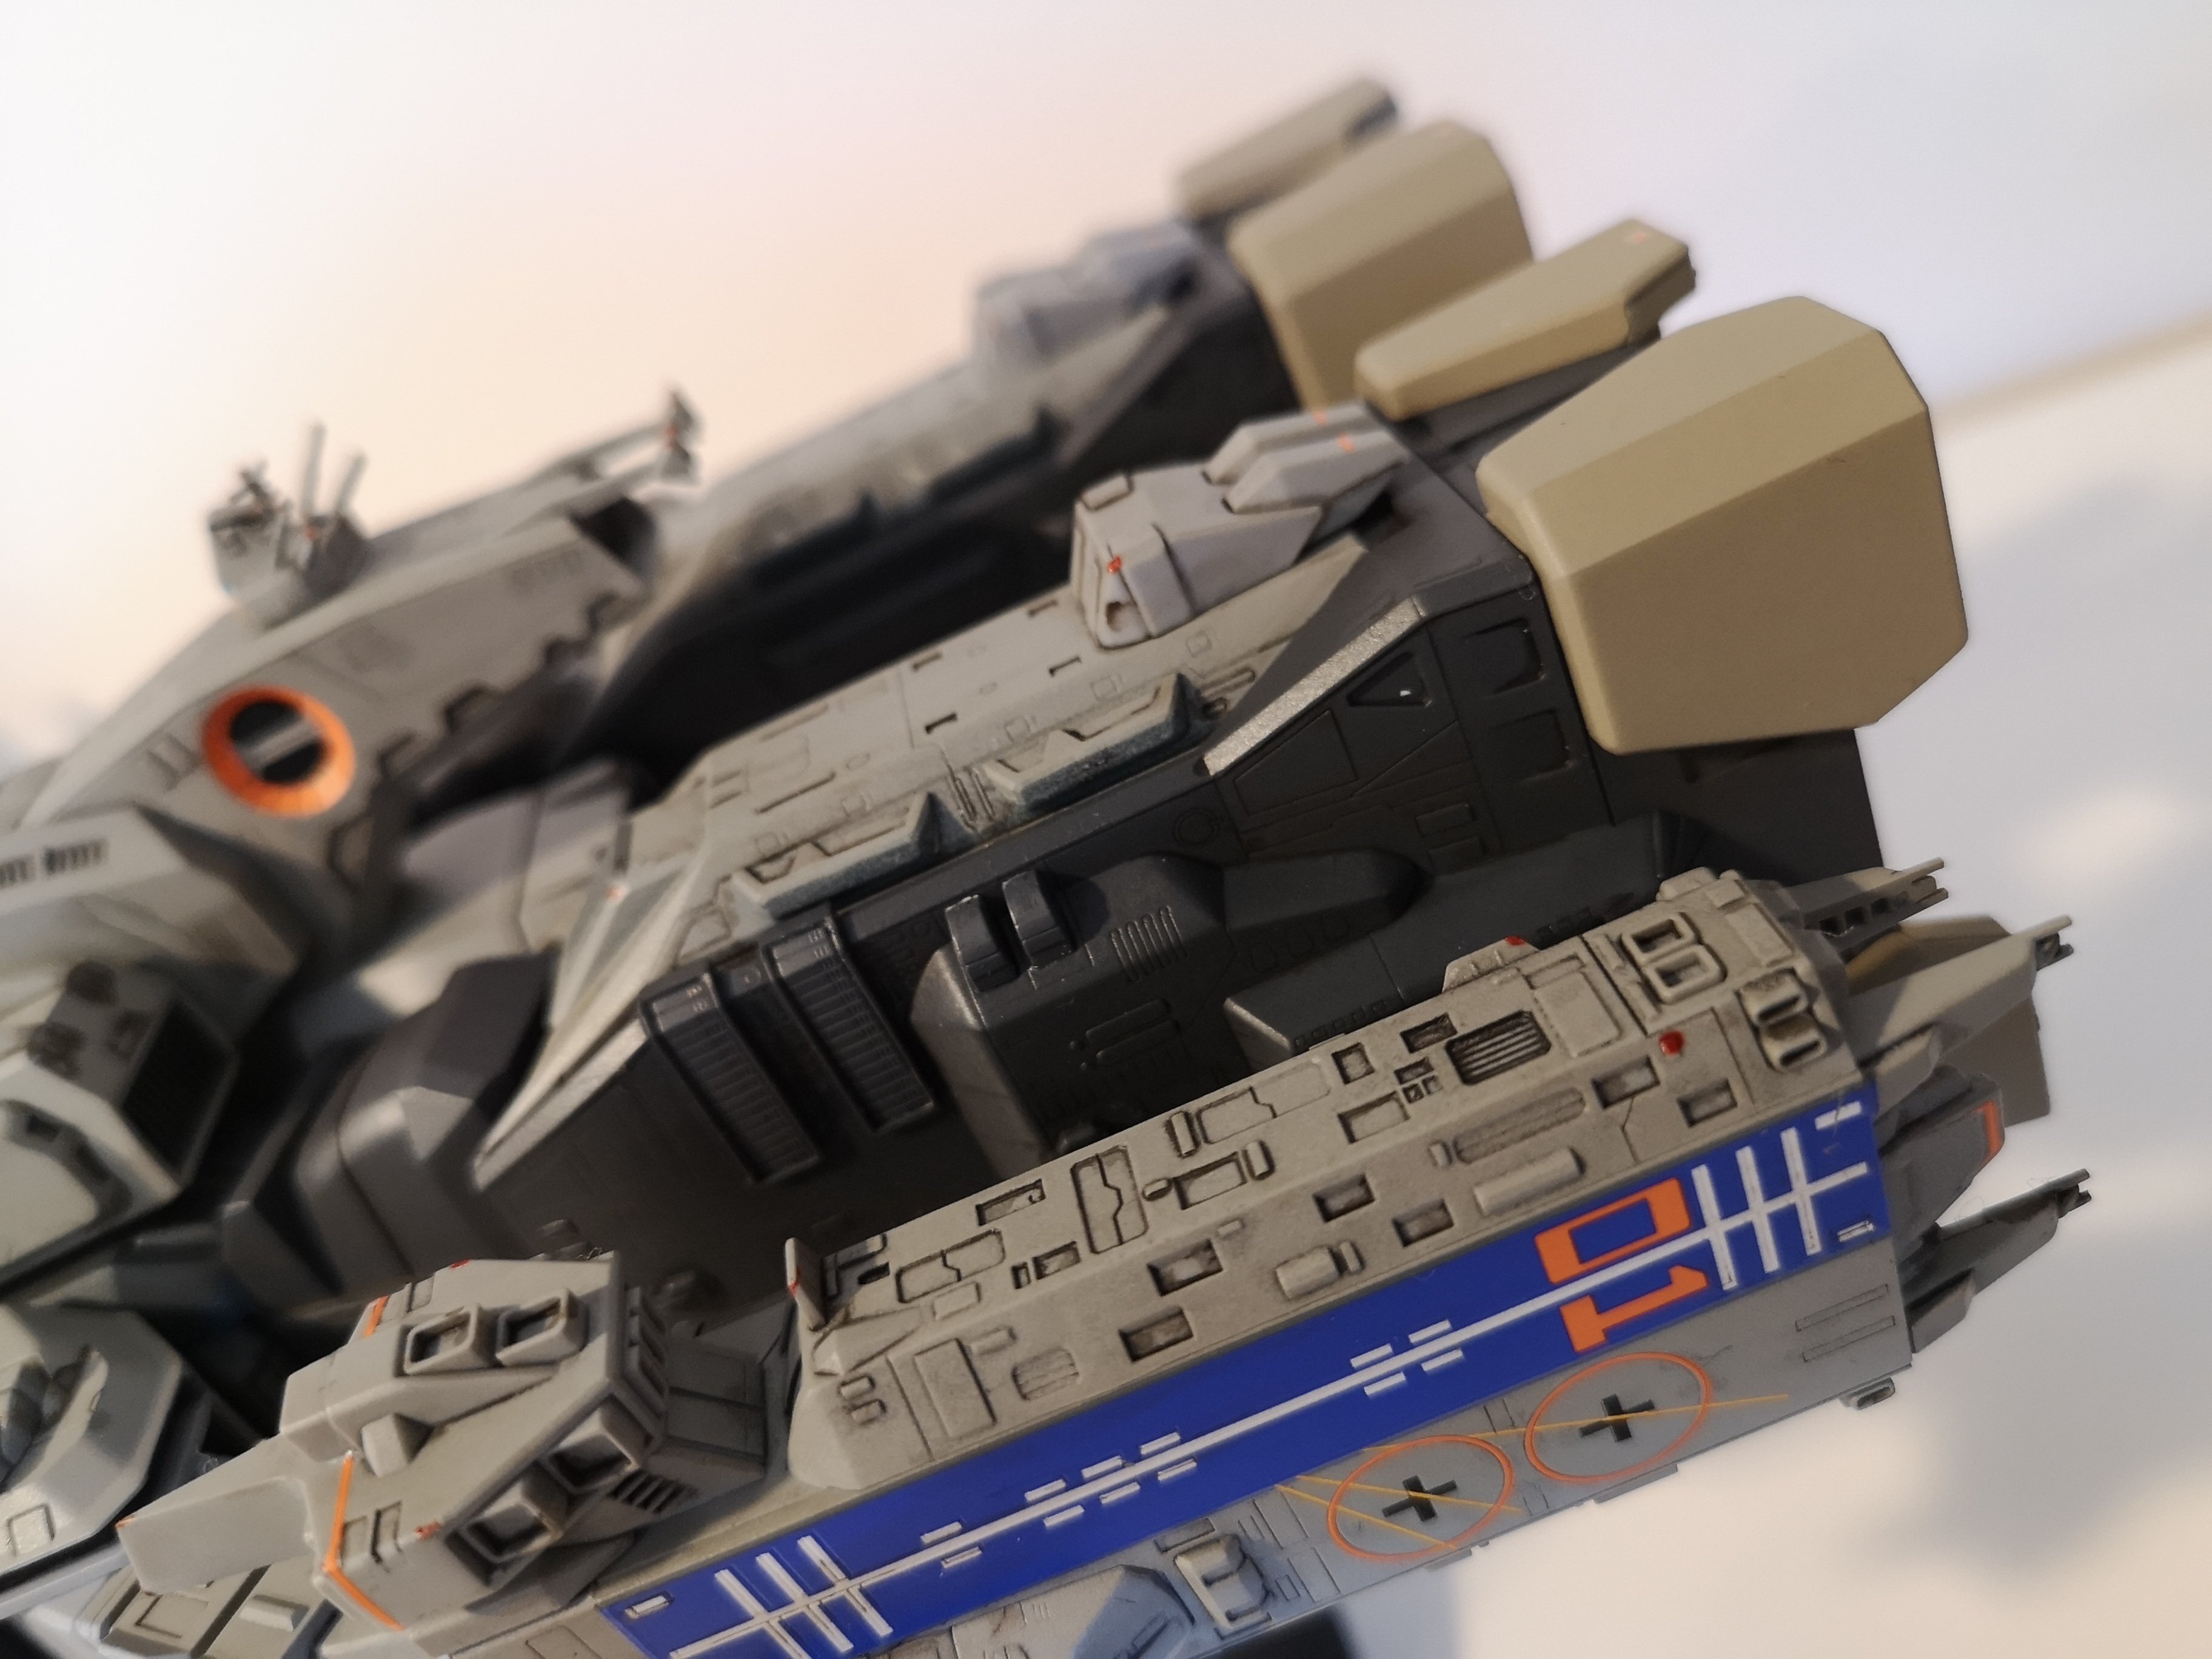
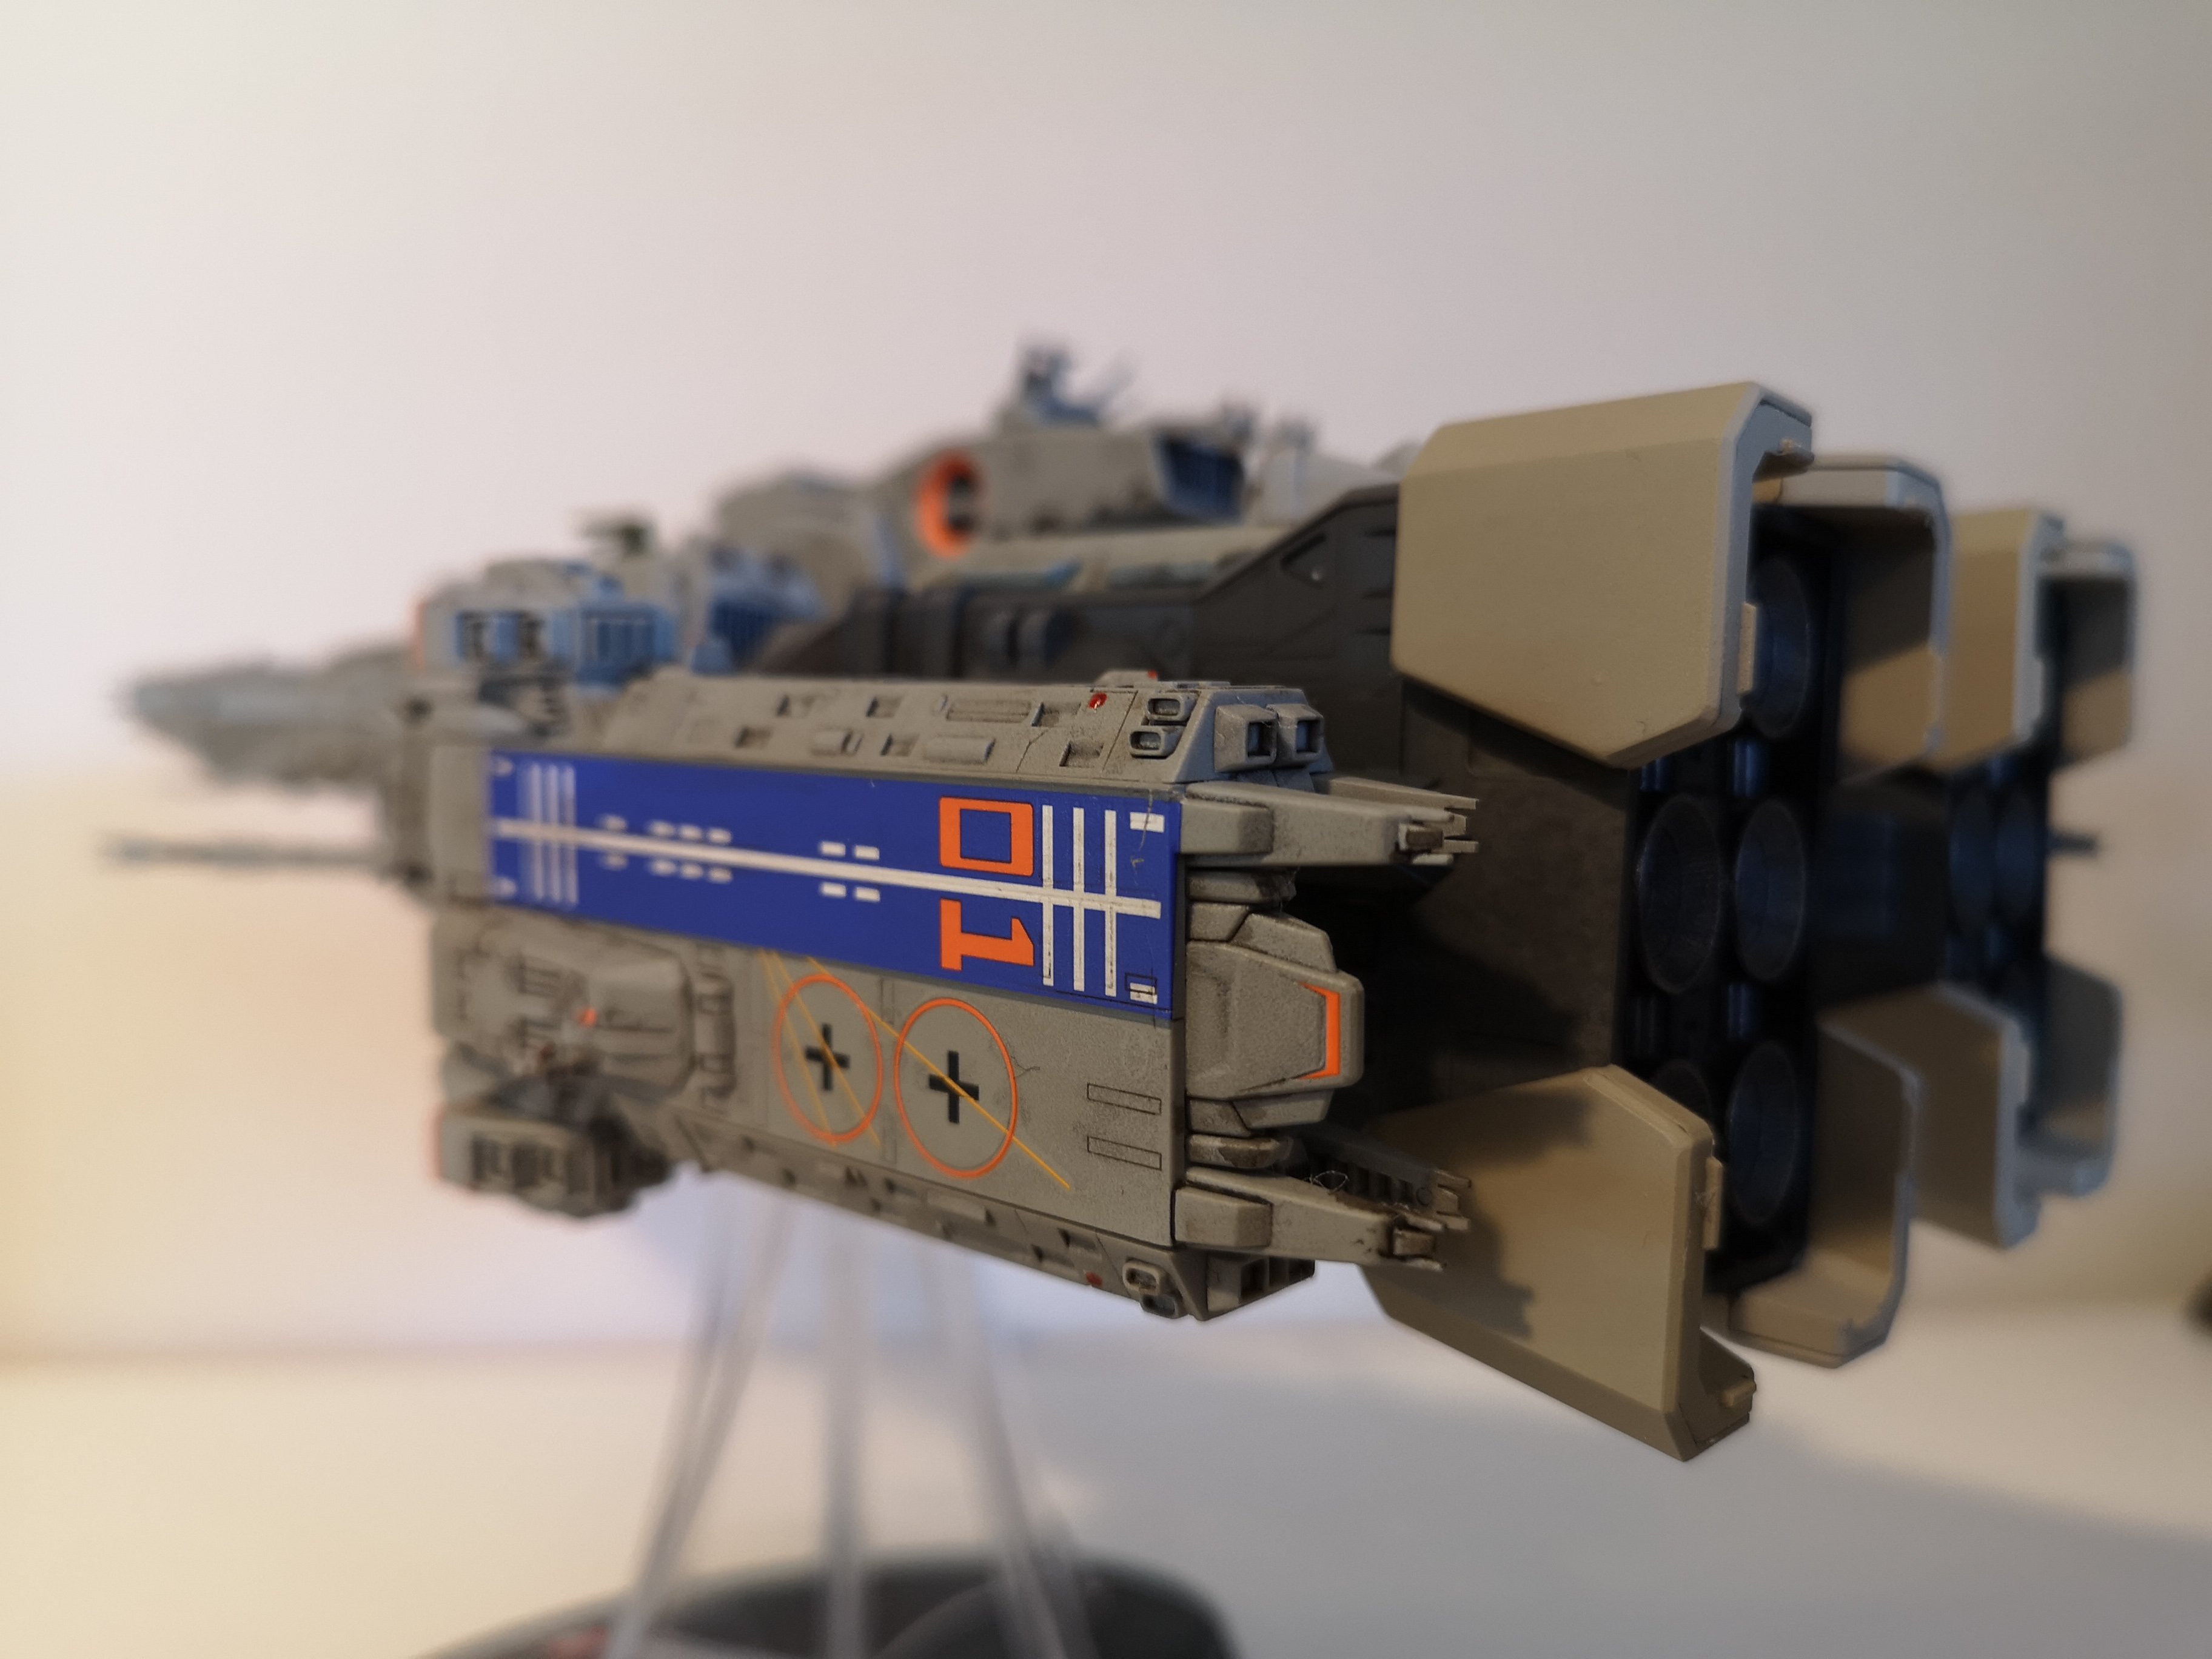
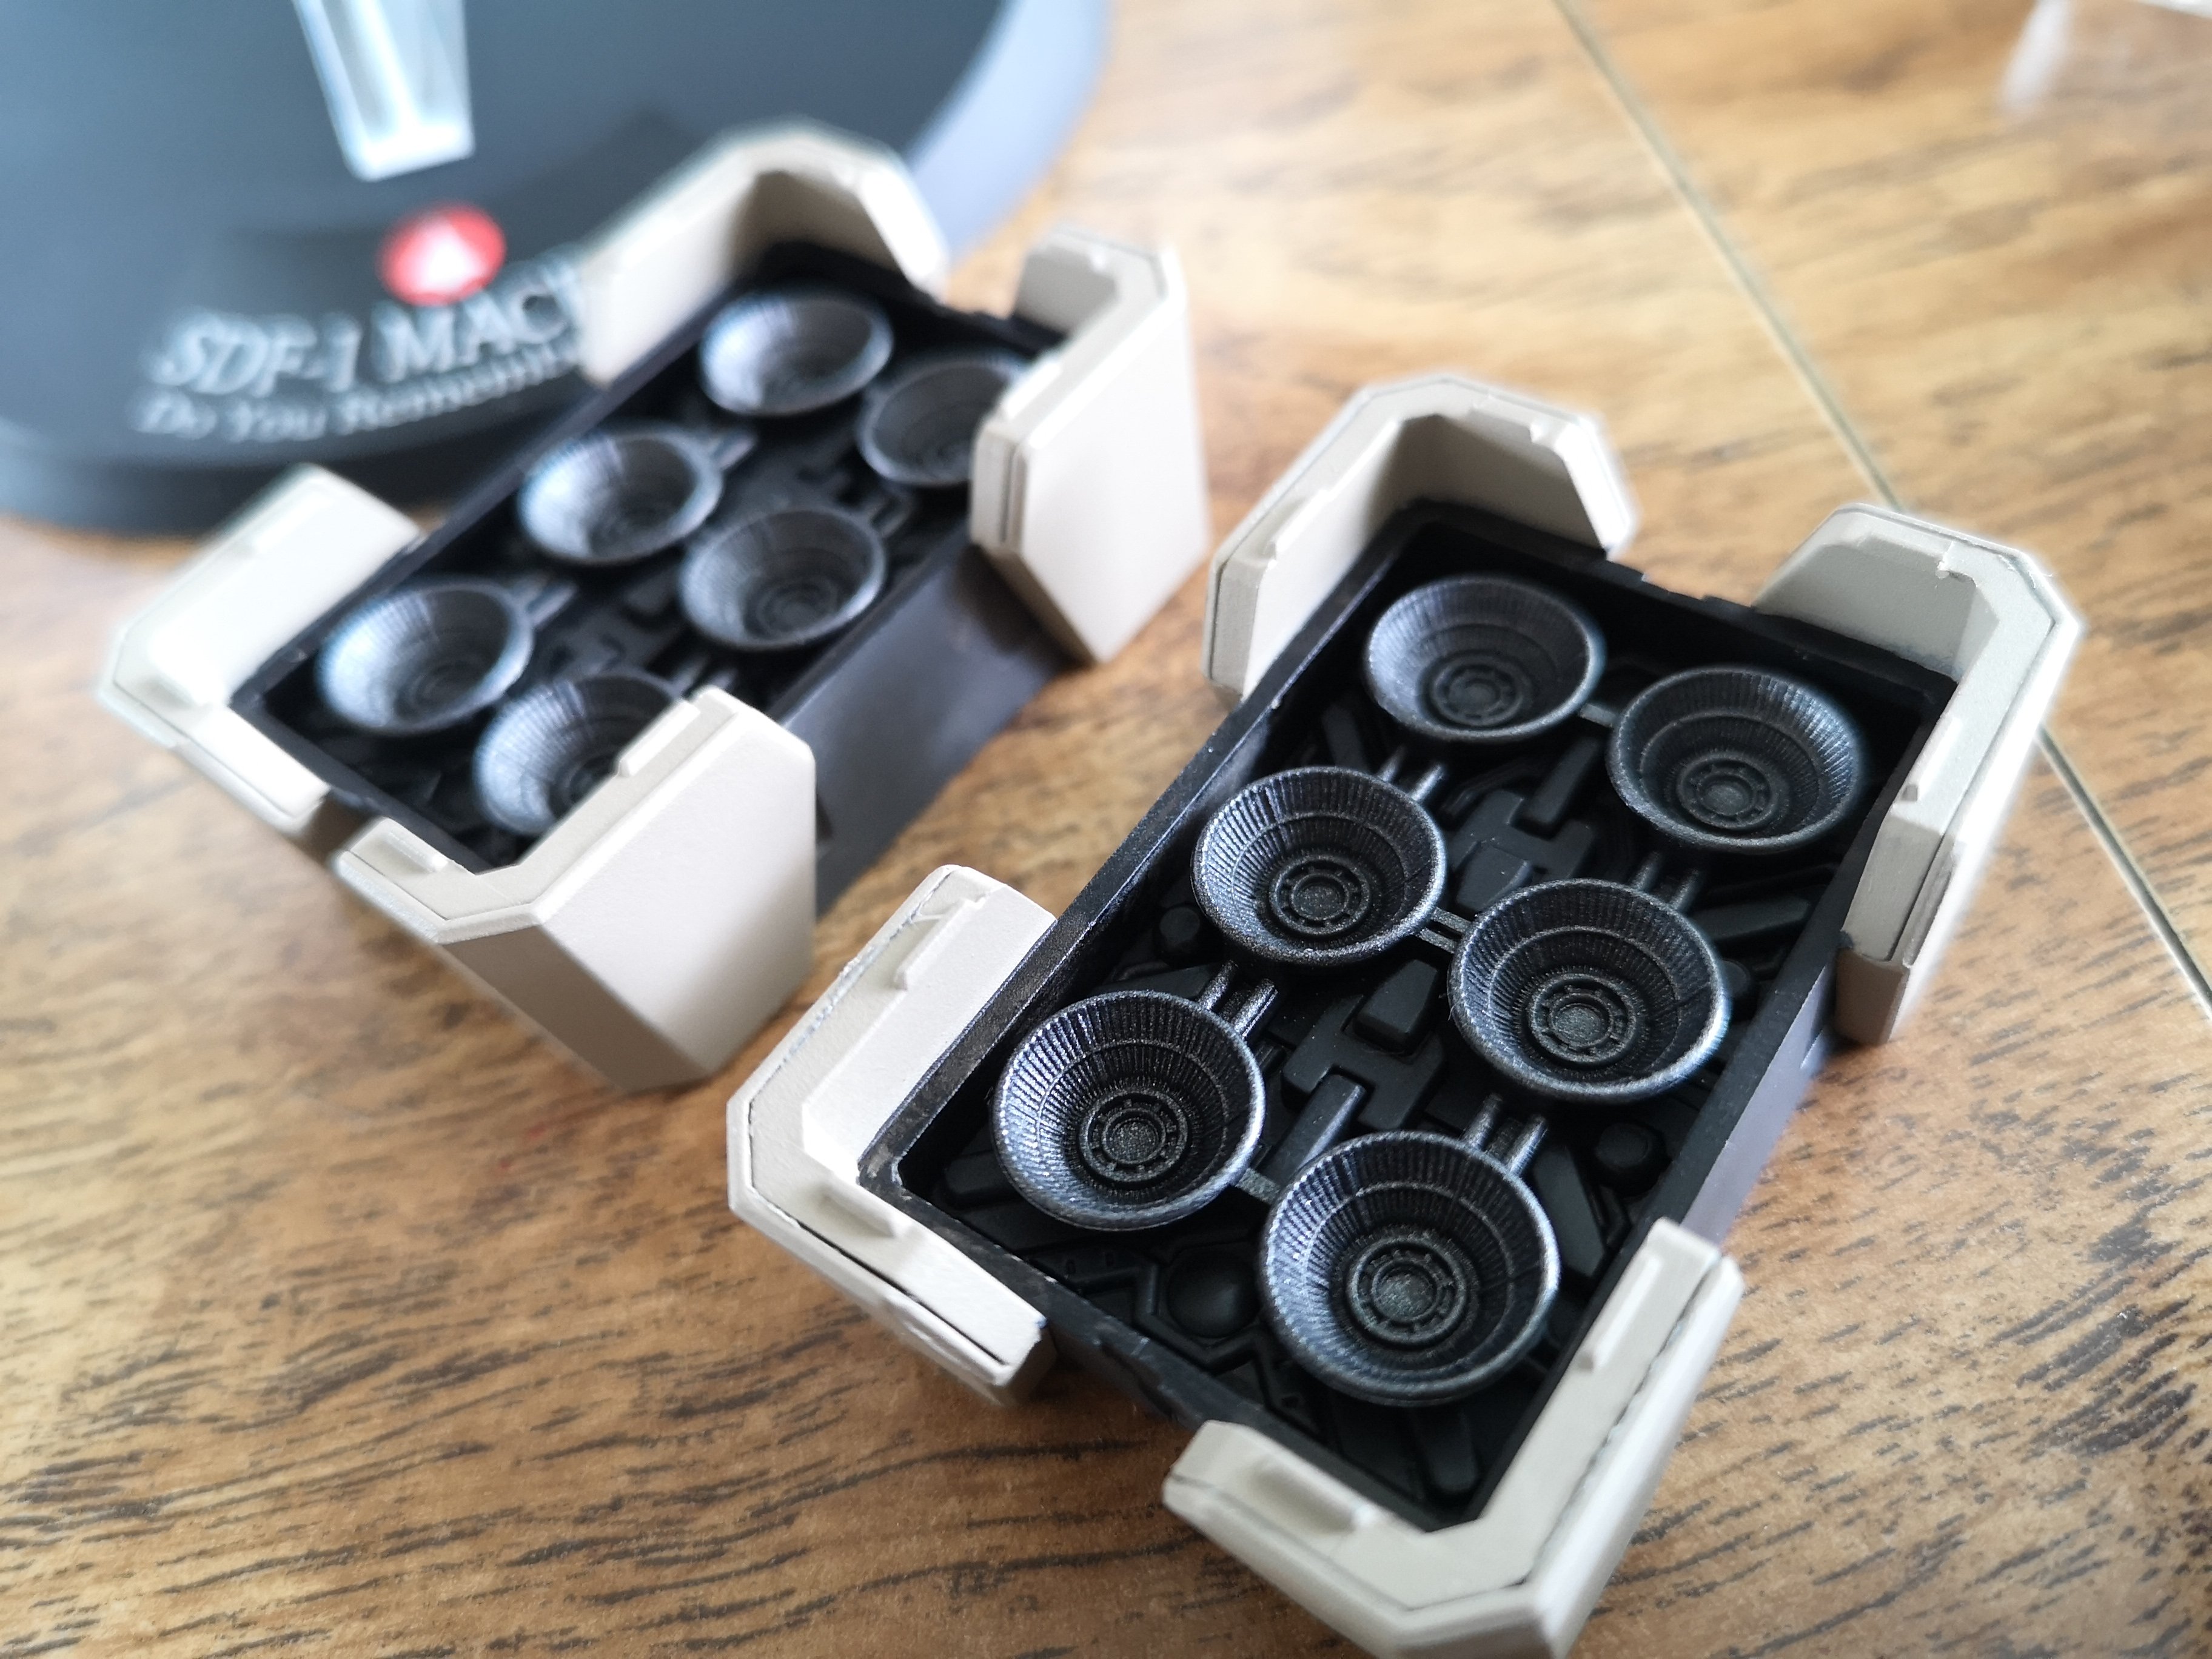
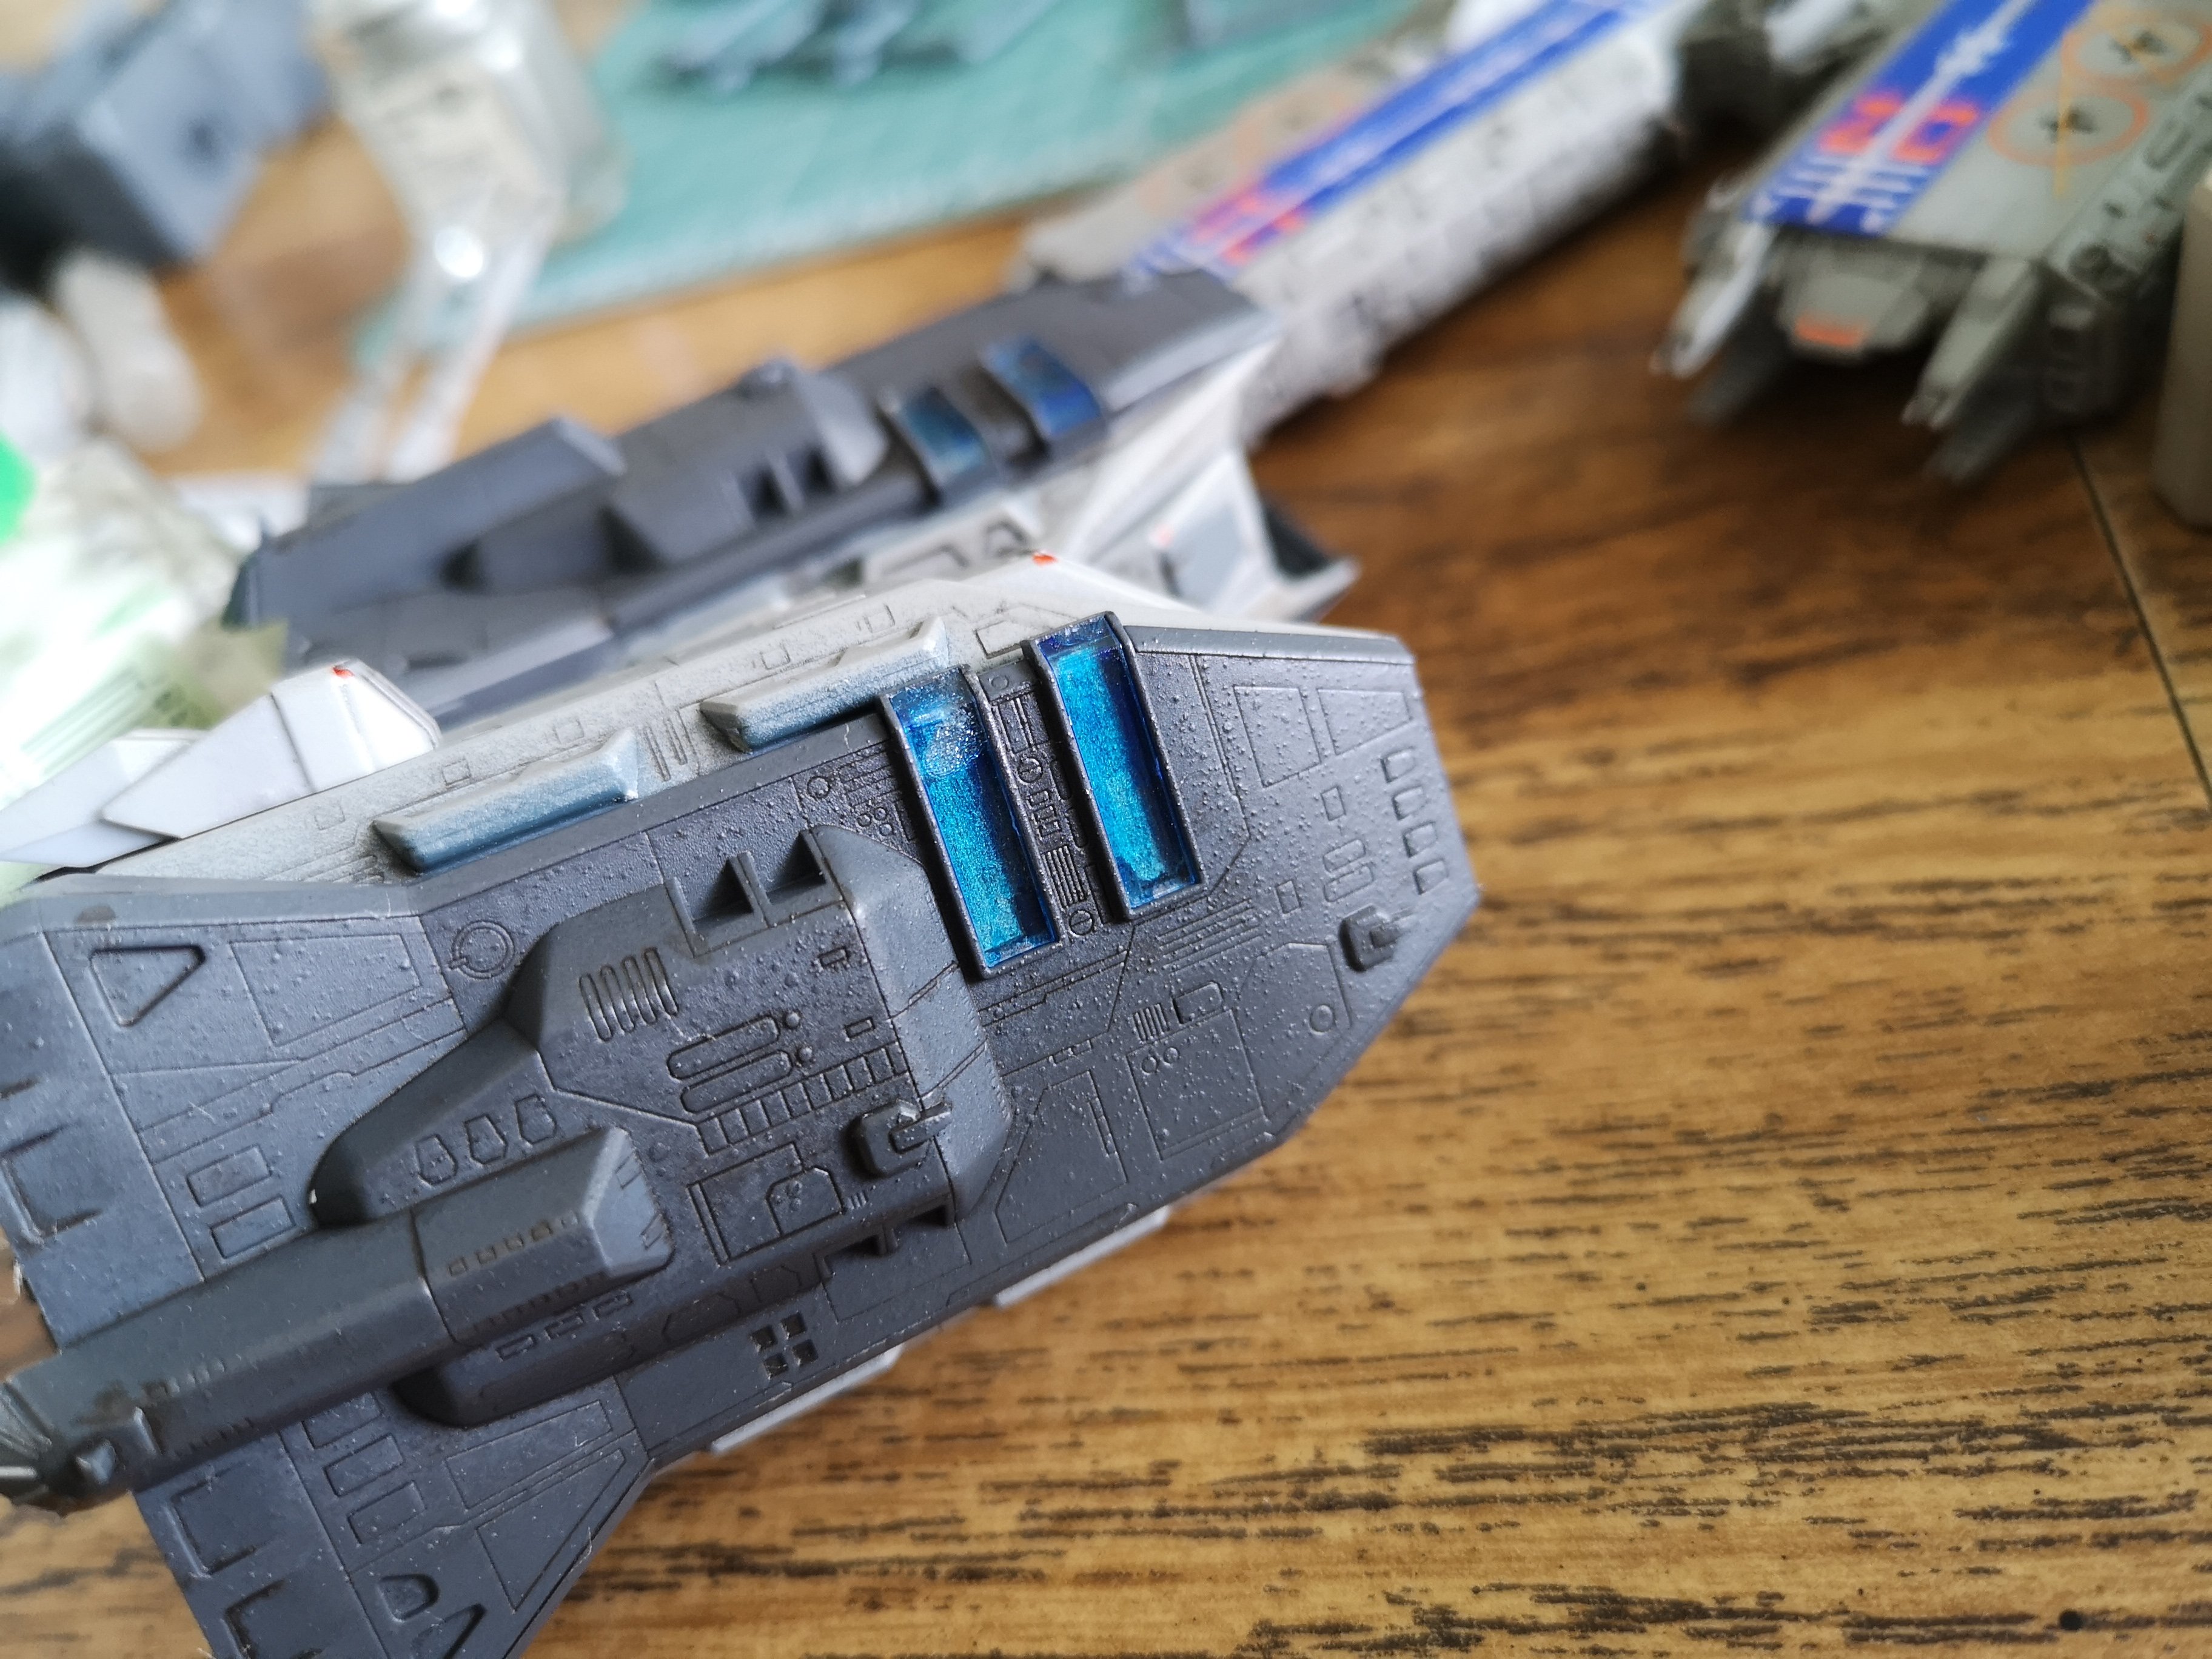
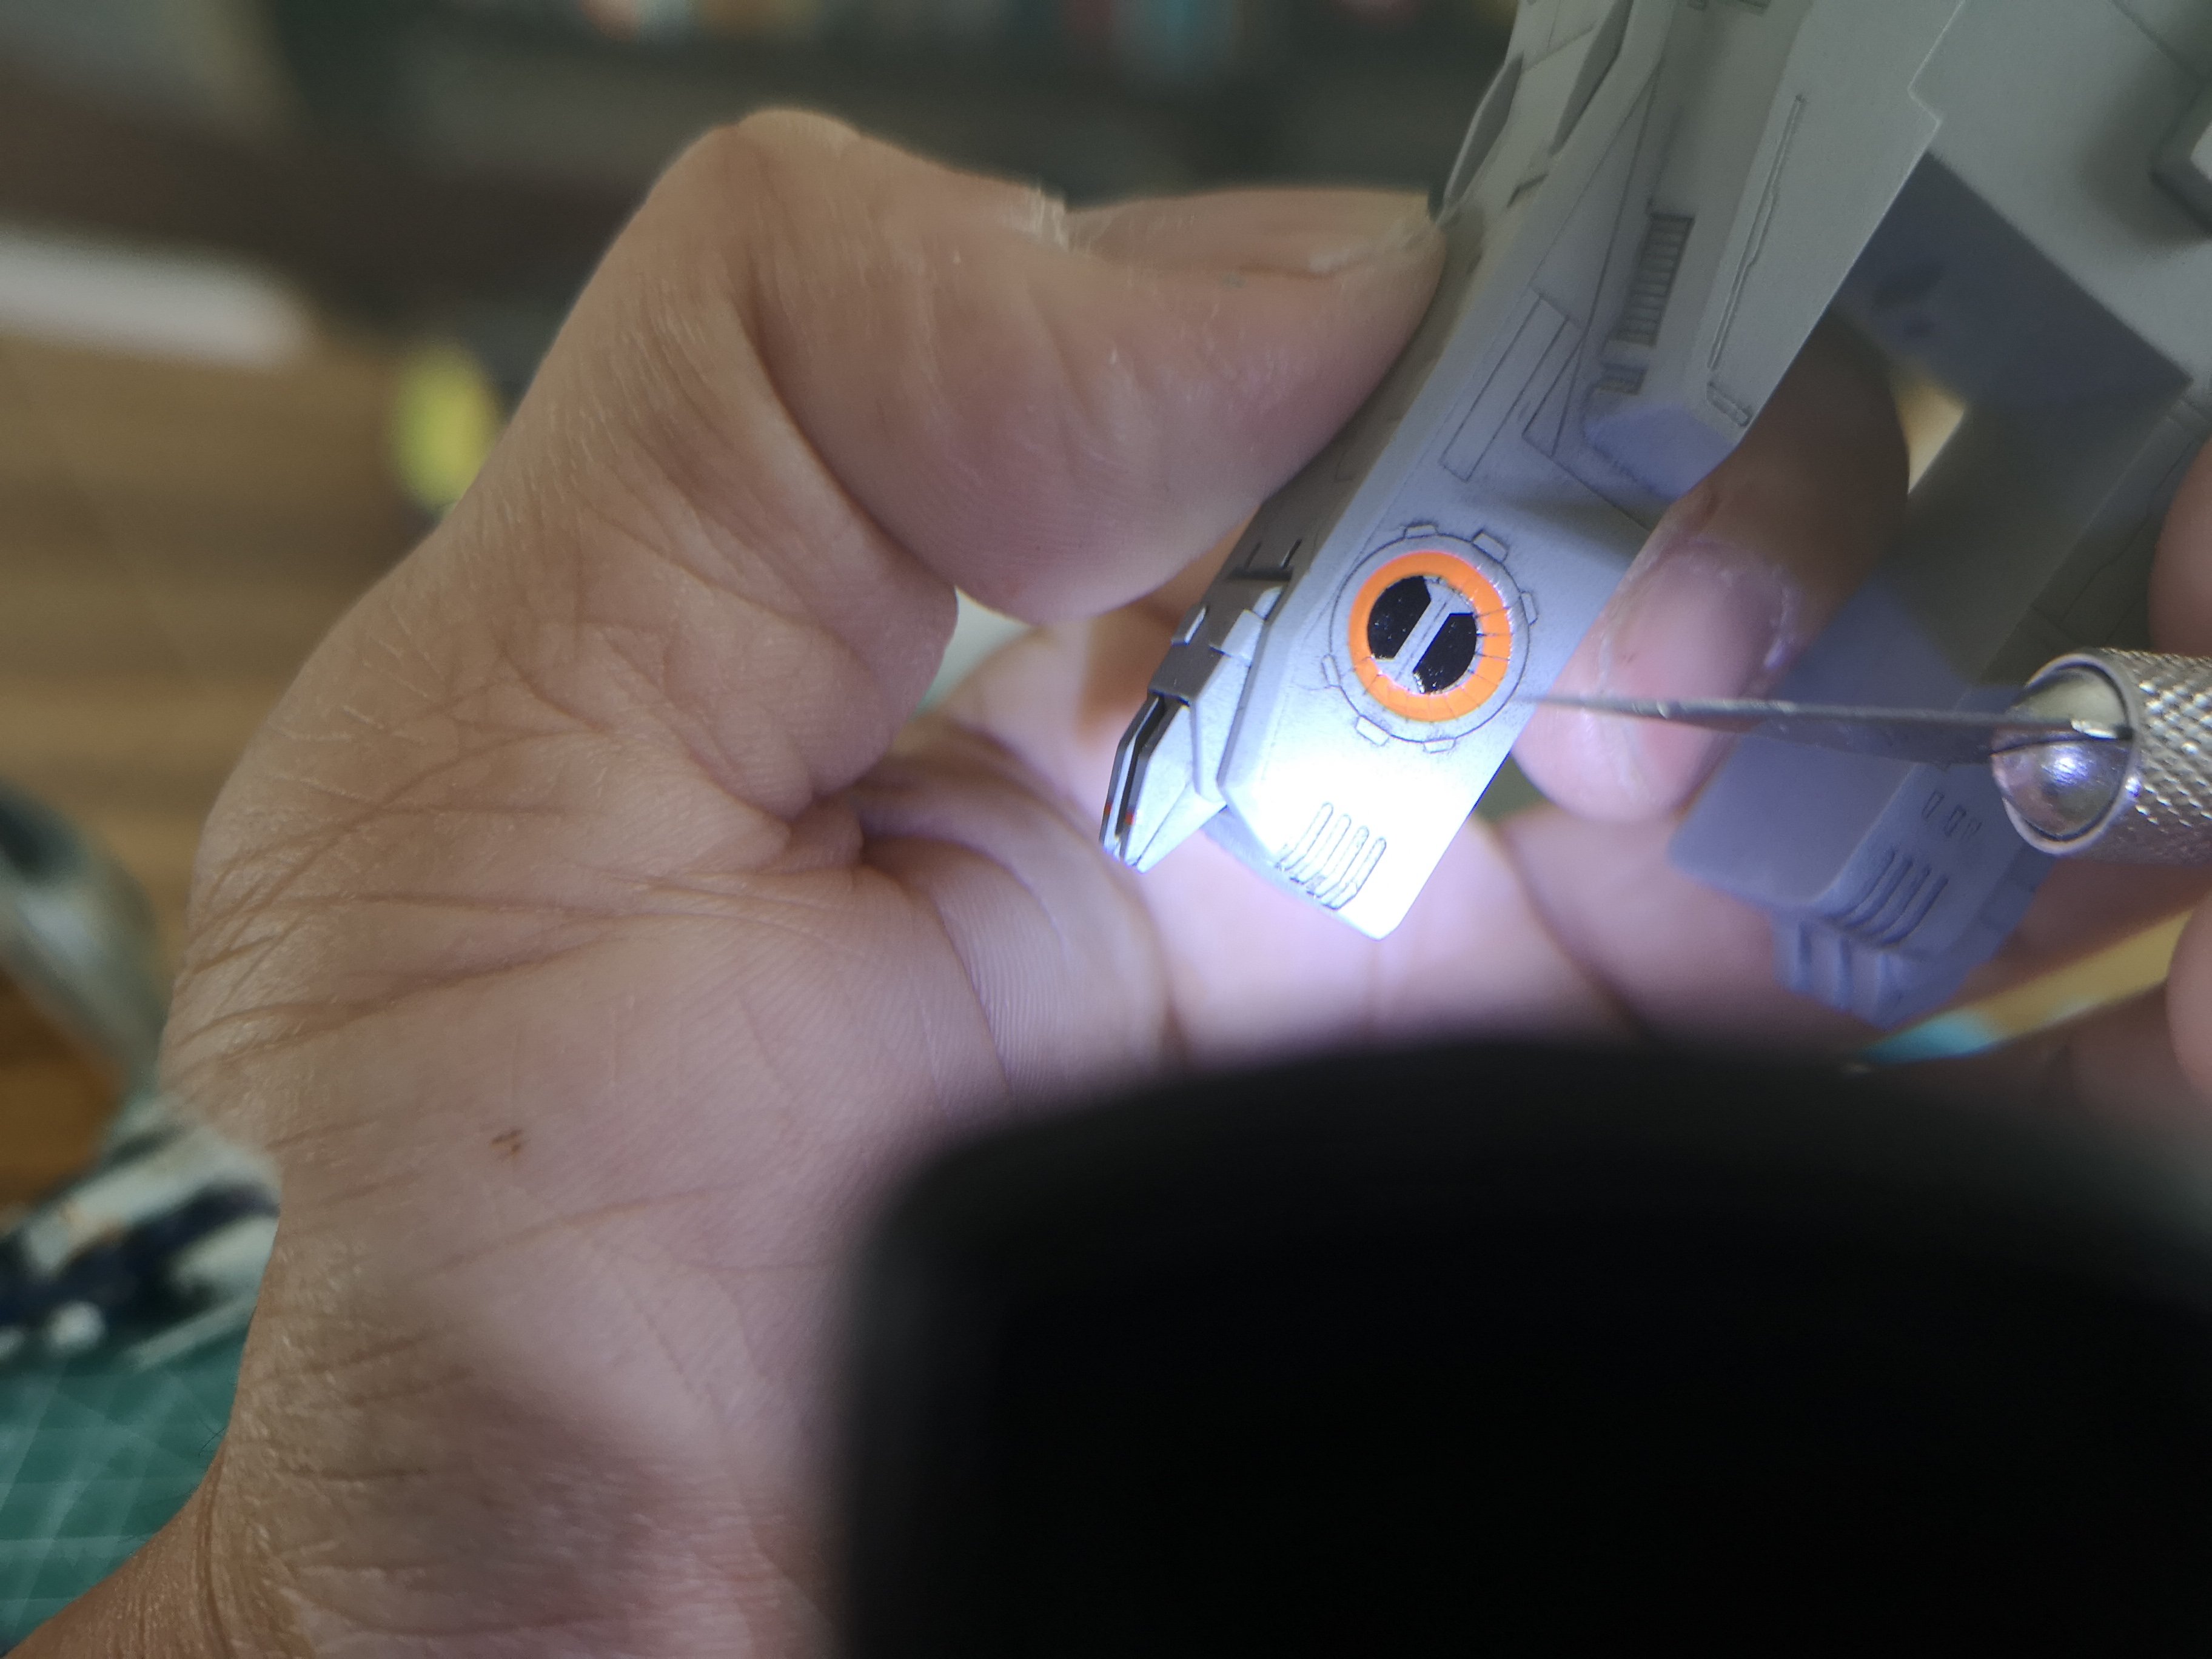
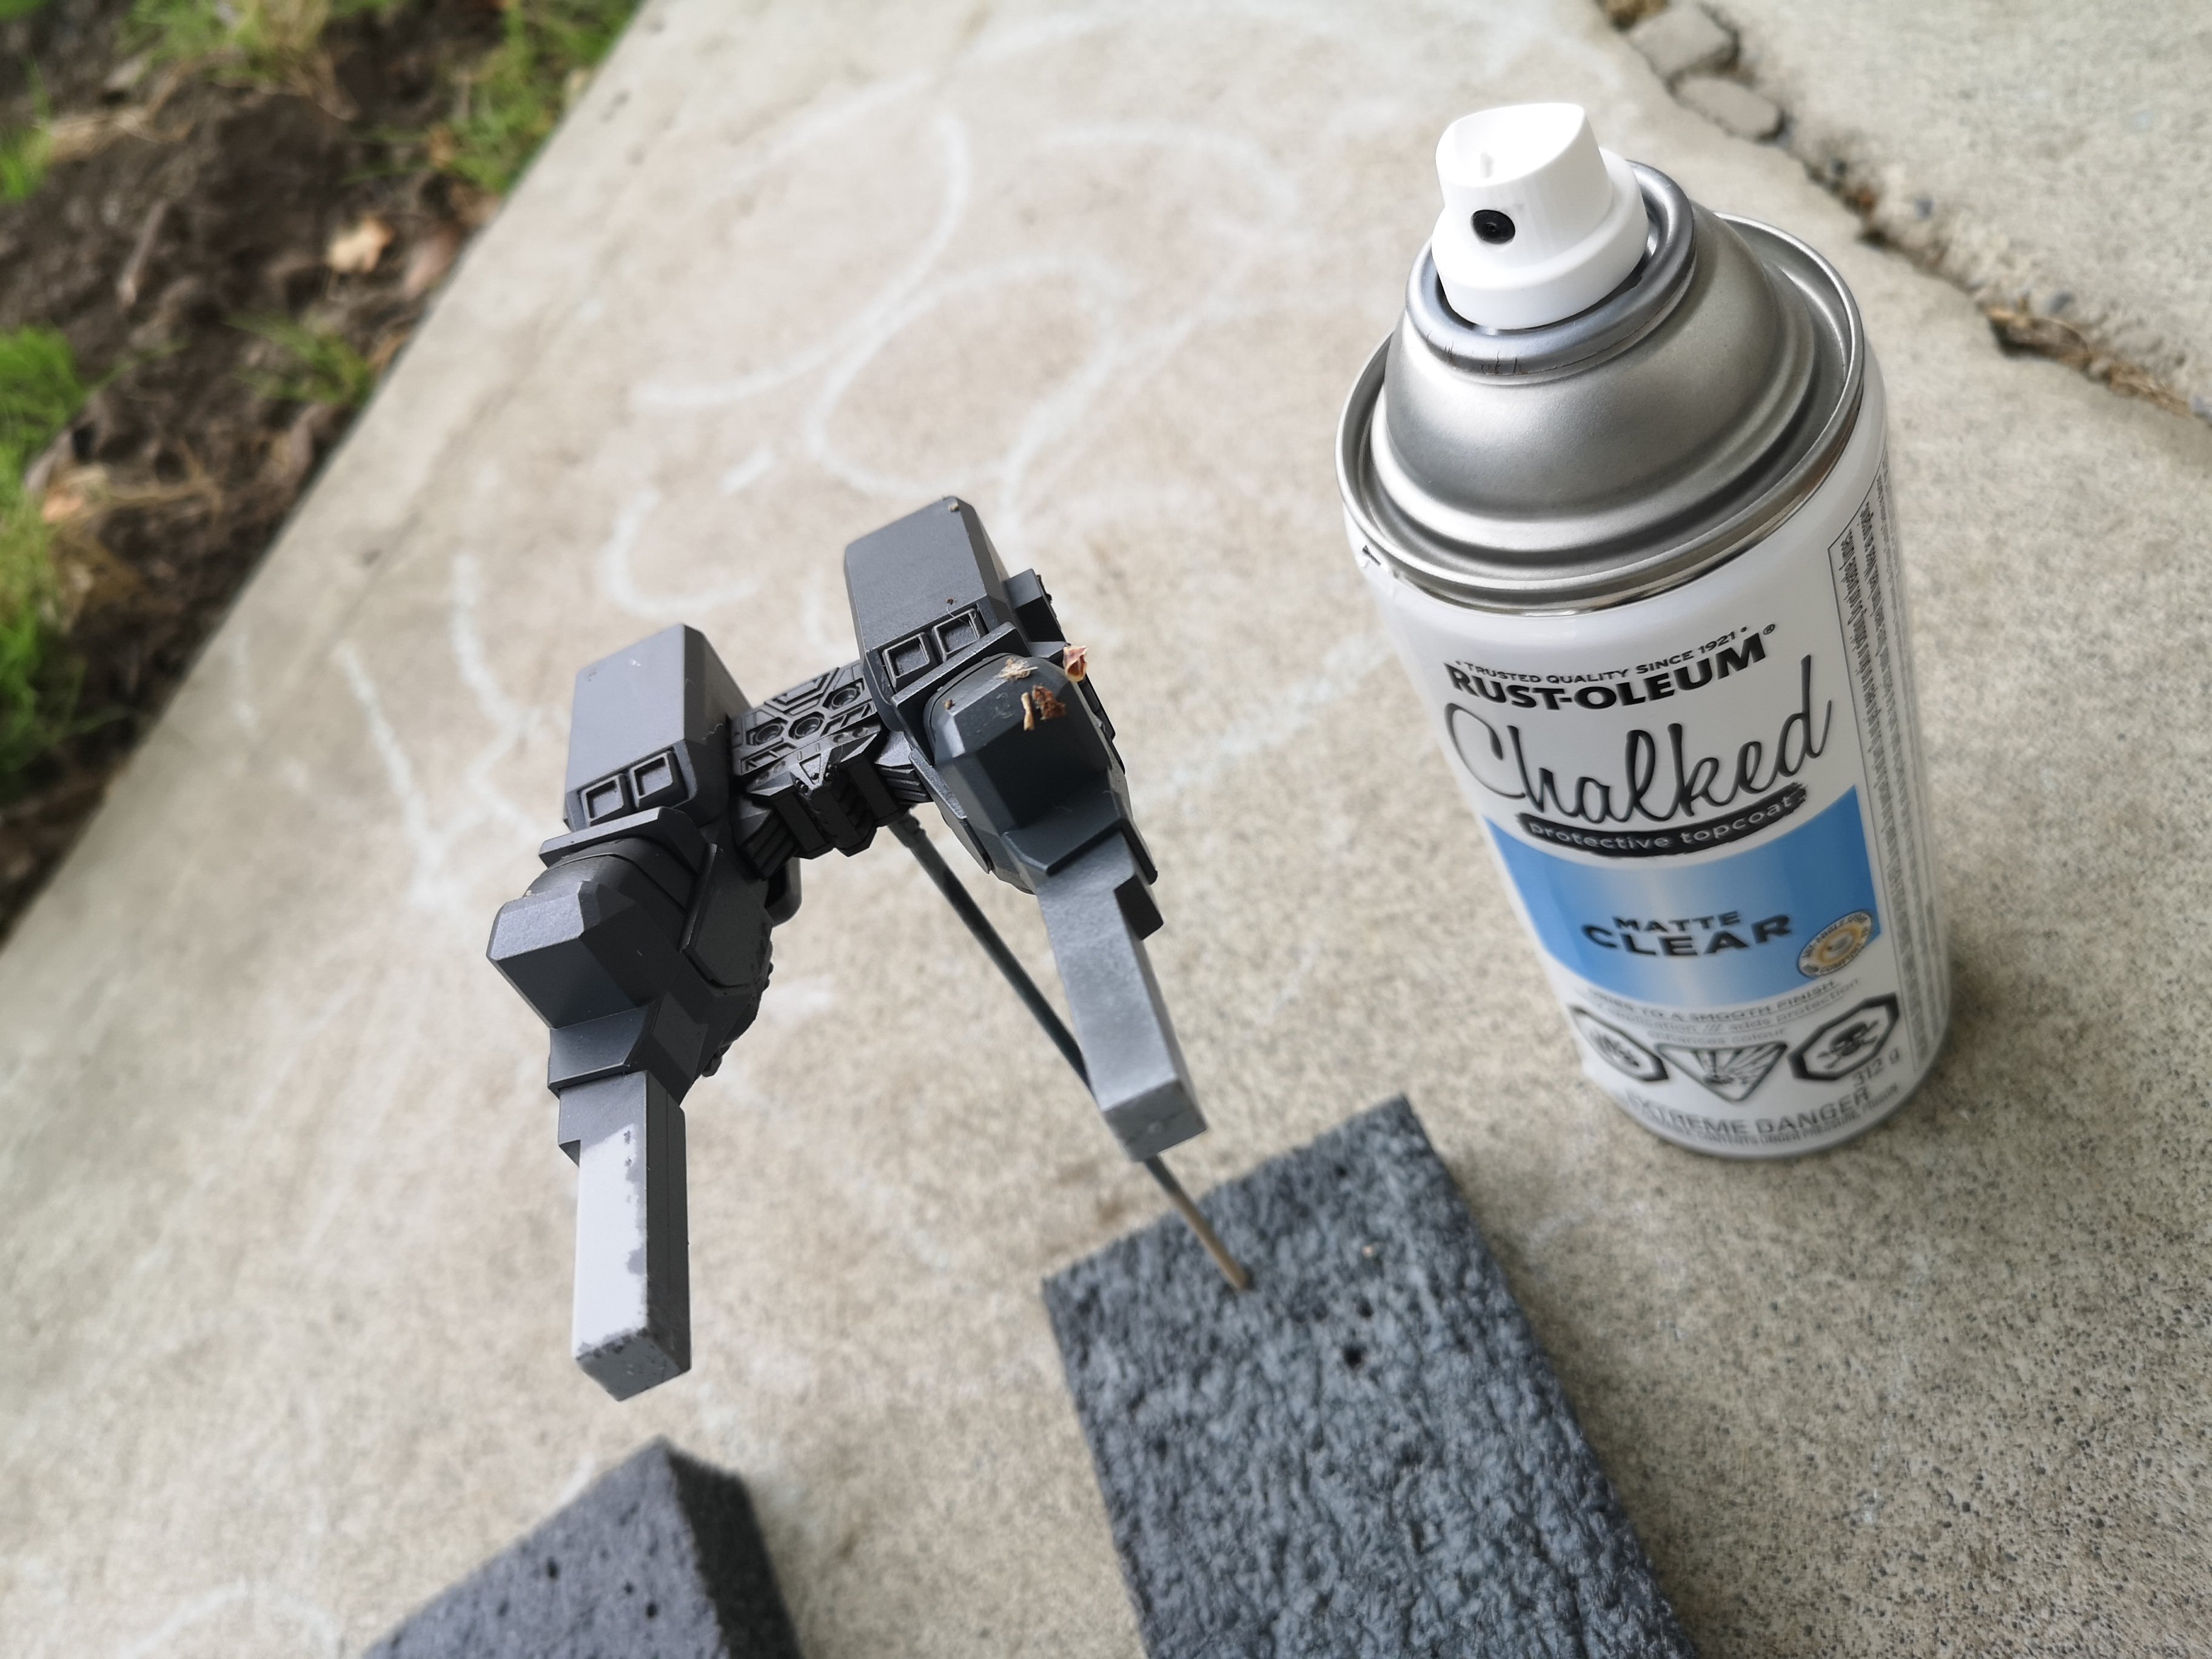
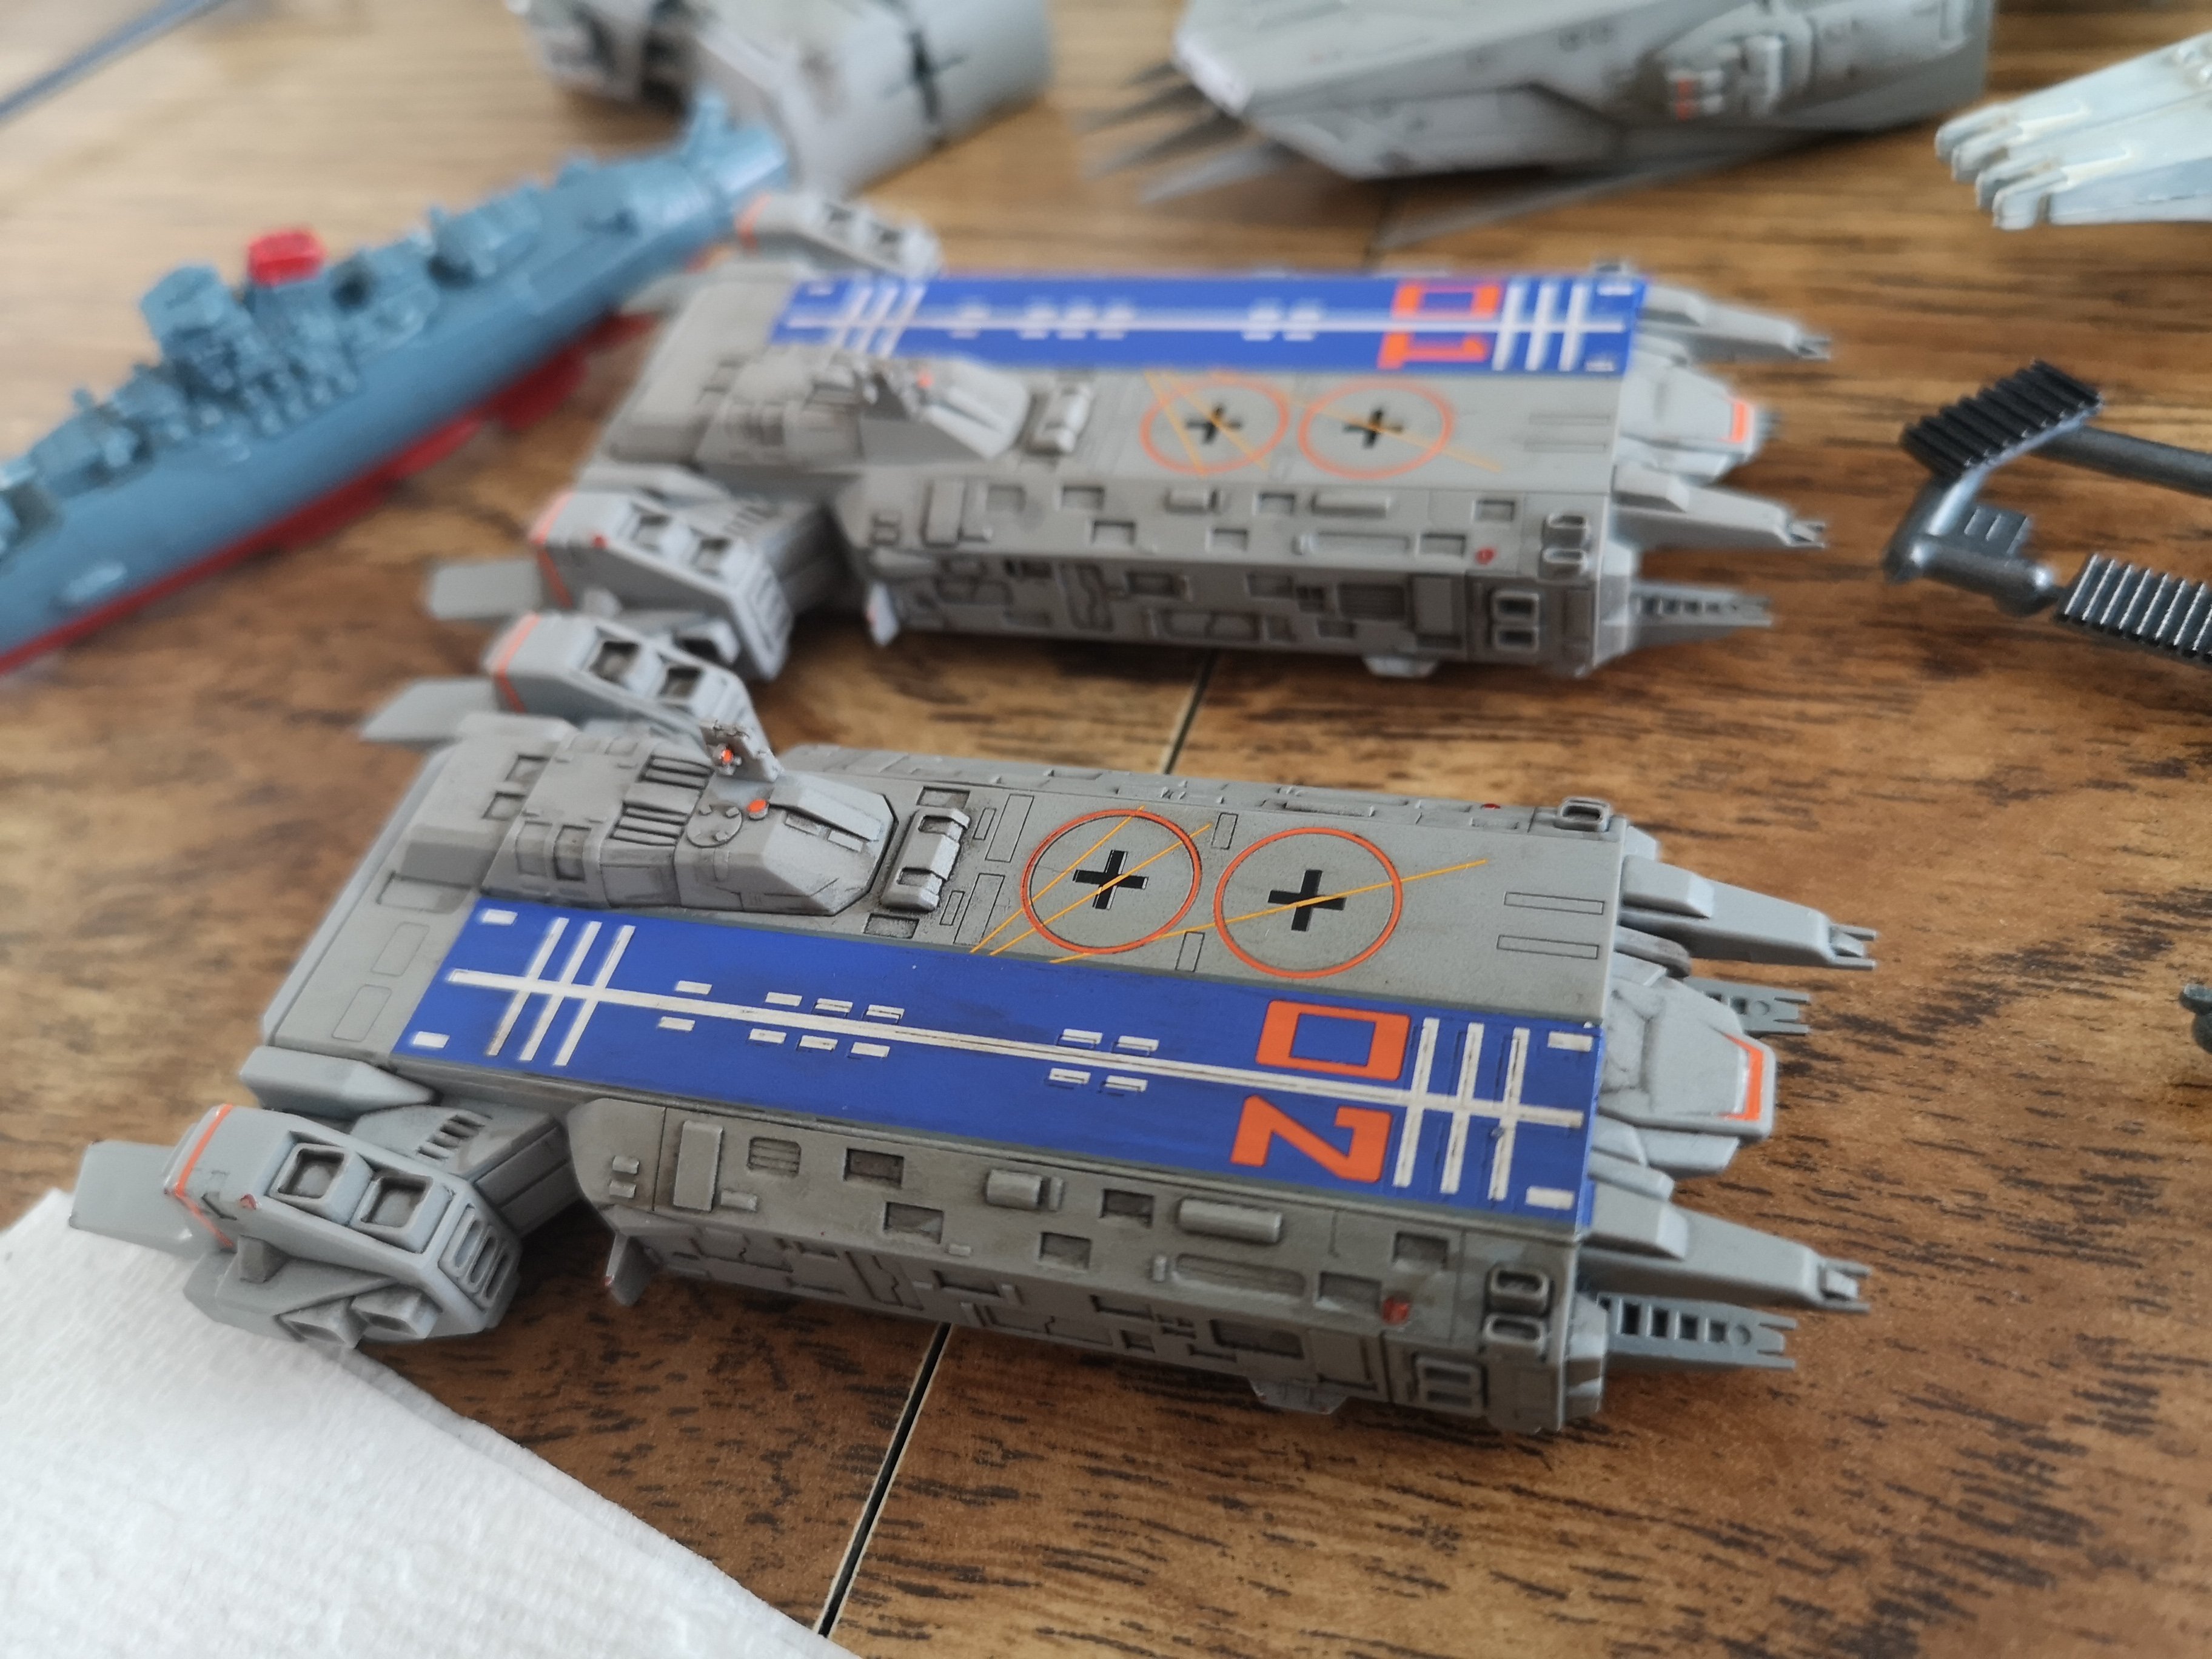
Posted some of these in the 1/4000 SDF1 thread. Woke up this morning expecting these round decals to settle and get sucked into the seams, however all I found were airpockets, lol! Best to not do decal work at 0300. Anyway, I ended up cutting the decal down to each seam line. The decals were so bright, they almost looked florescent. The wash really helped subdue them. I don't have a spray booth, or decent ventilation so my spray booth is outside.... So of course I drop a part right into the dirt after clear coating. Oh well, texture, lol! Engine parts don't look horrendous. I was going to do clear parts but they look off. Besides, there's nothing to see, no city inside, so I'm ripping these off and will put the storm shutters/blast shield on the legs. Also out of clear blue so I can't make the tint darker....and too lazy to go to the local hobby shop to buy more, hahahaha!


-
Camera sees all....lol! Looks good.
-
I saw @wm cheng do this....dab of silver paint then clear red to simulate those little red lights dotted all over the SDF-1. Still working on that wash. Really subdues the bright colors of the decals. First Mecha Colle Yamato in the background that my kid ended up destroying when he was 2. I was really hoping Mr. Mark Softer would settle these decals and I'd wake up this morning with then all sucked right into the seam lines....but instead I woke up to air pockets under each one, lol! I ended up cutting into each seam line to resolve the issue.

-
I'll try that next time, thanks for the tip I ended up doing it the hard way with tissue paper, lol!
-
Of course the decal automatically rotates the wrong way. Frig these things are small....I can barely see them, even with a magnifying glass

-
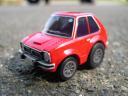
Arii Heavy Weapon Super Valkyrie 1/170 (1984)
peter replied to SUPERULTRAROBORIDER's topic in Model kits
Despite the errors, I loved the box art on those things -
HOLY $HIT
-
Haha, one's overhanging, and slightly off the line. But maybe it's not that noticeable so good enough
-
I made the mistake of throwing on these decals and walking away after cracking open a beer. As a result, they didn't set very straight. Fraaaaaaack. It was hot today, that's my excuse.