
Jasonc
-
Posts
6318 -
Joined
-
Last visited
Content Type
Profiles
Forums
Events
Gallery
Everything posted by Jasonc
-
So, it looks like we'll be having SDC return in 2023 on October 7th. At least that is the plan. Tickets will hopefully go on sale soon. Stay tuned.
-
I think I'm in agreement. I've seen other variant color schemes in the past, but whenever I think of the VF-5000, this is the first color scheme that comes to mind. For that, I have zero complains.
-
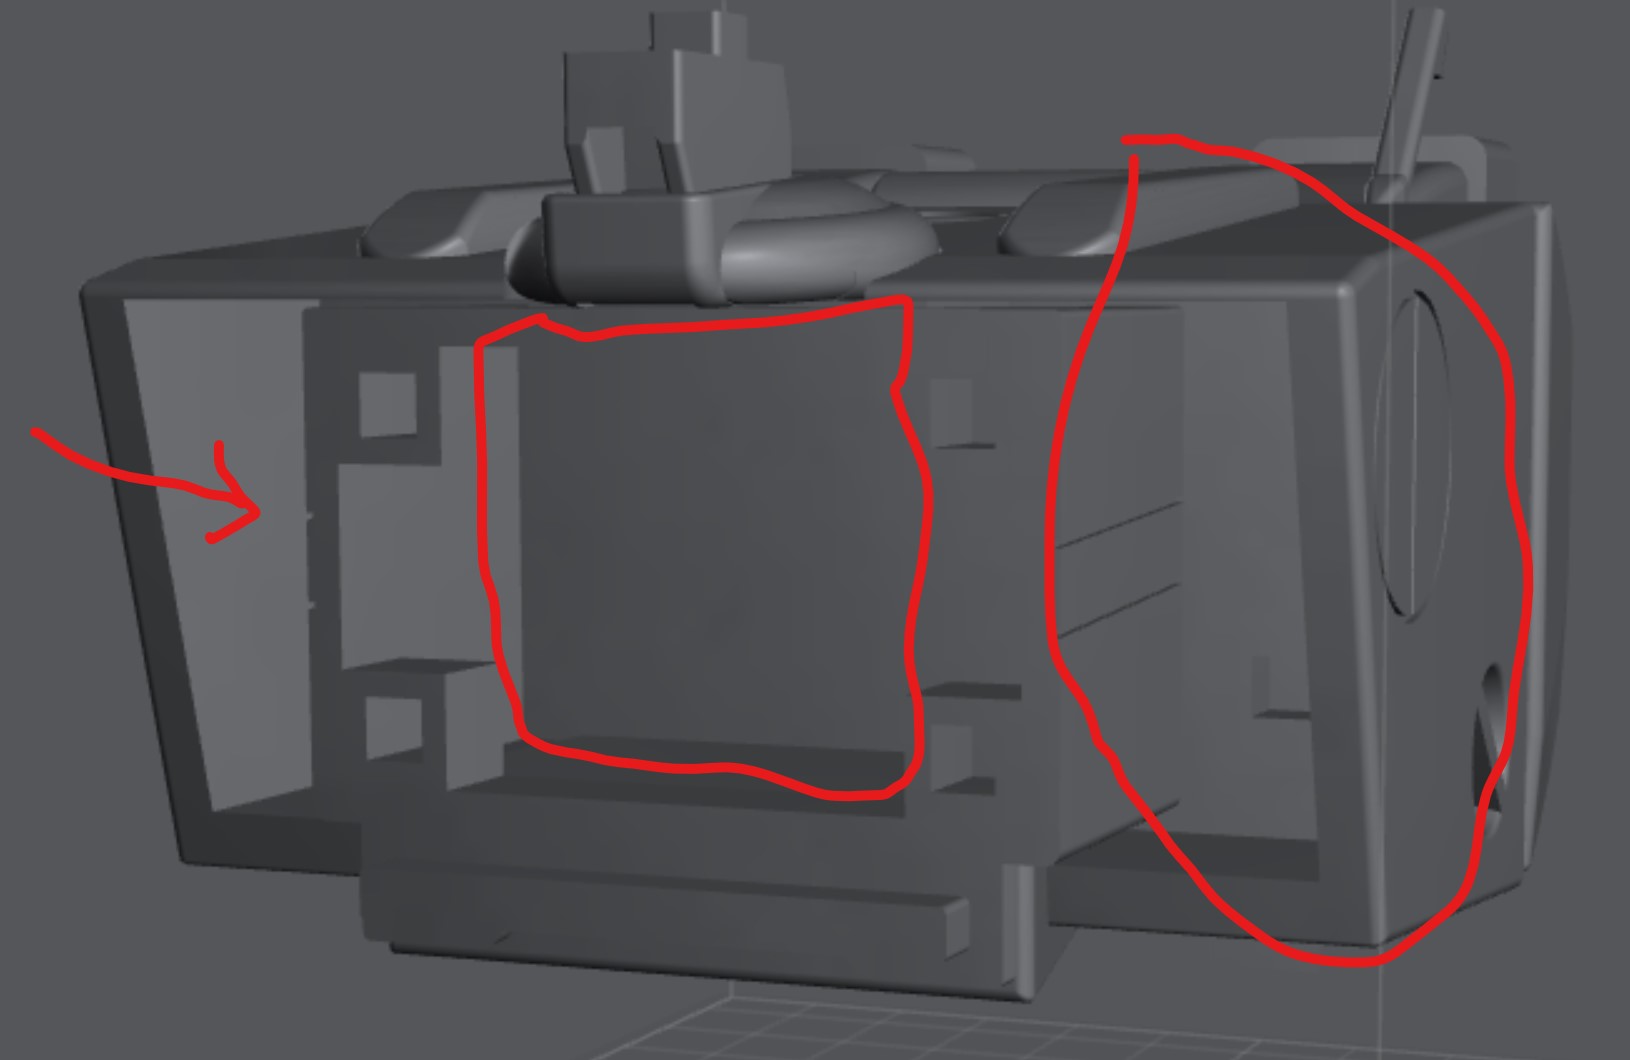
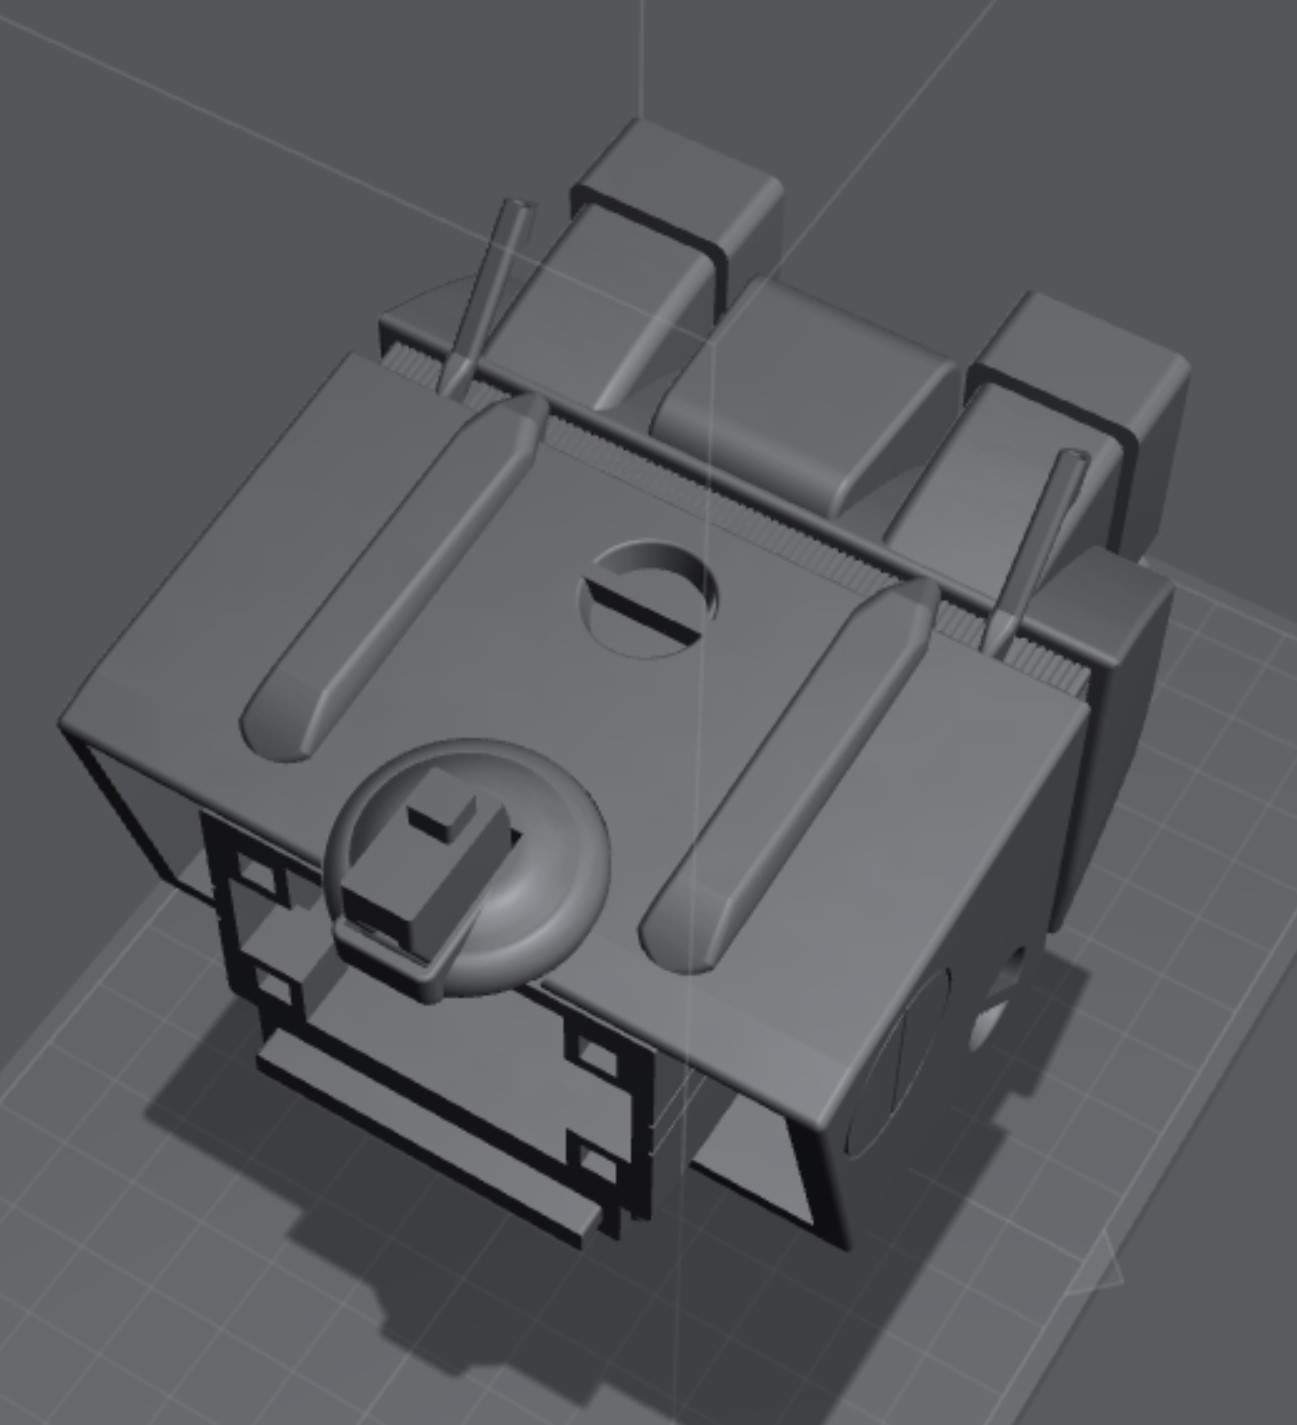
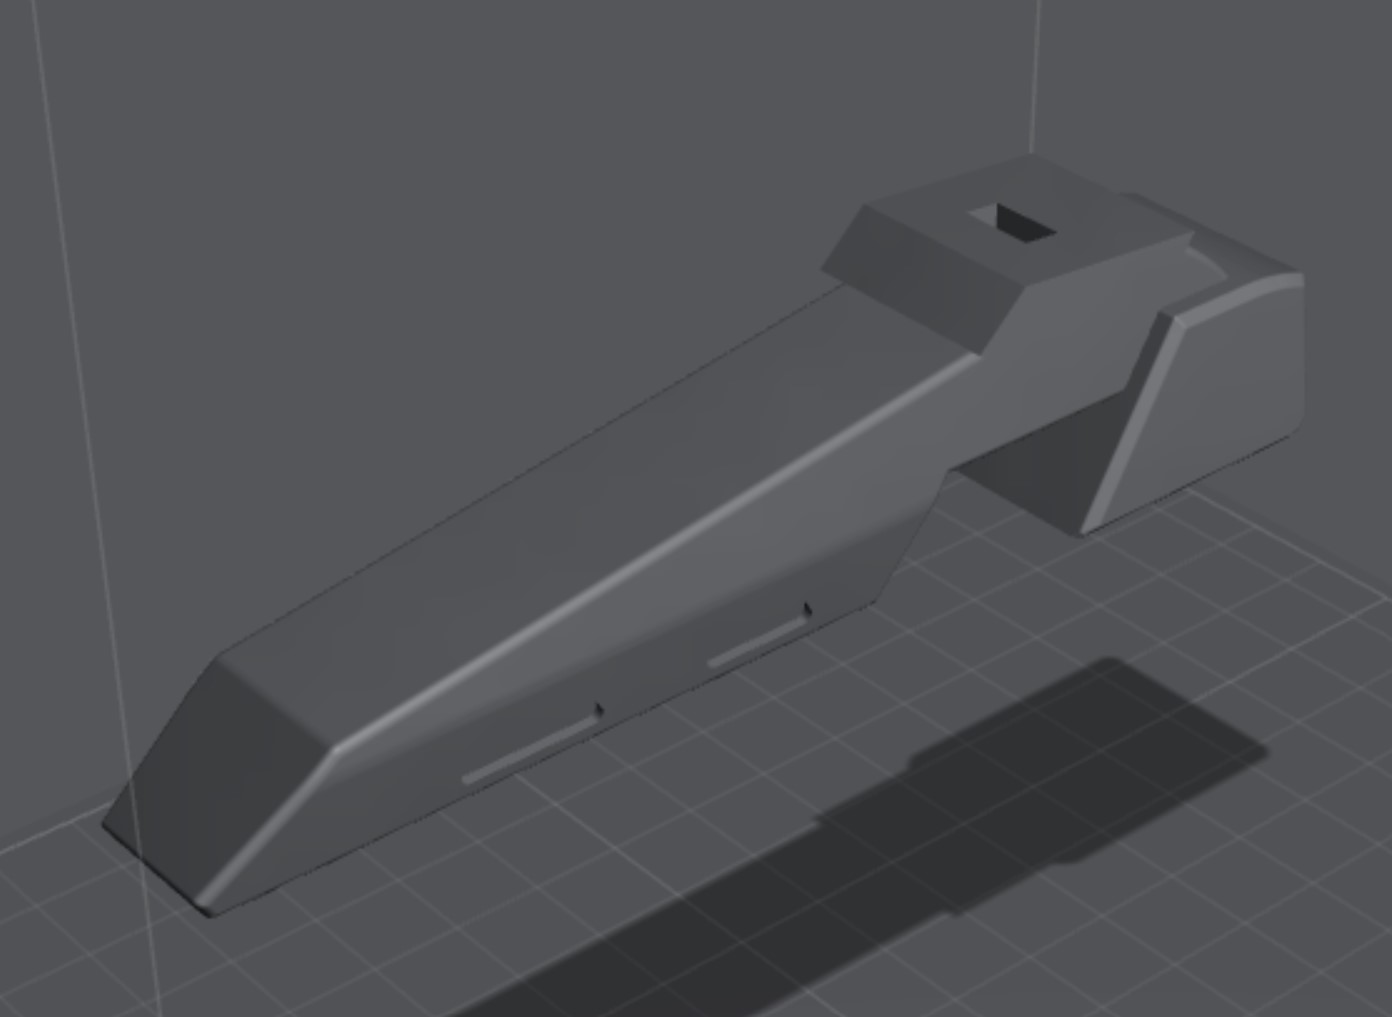
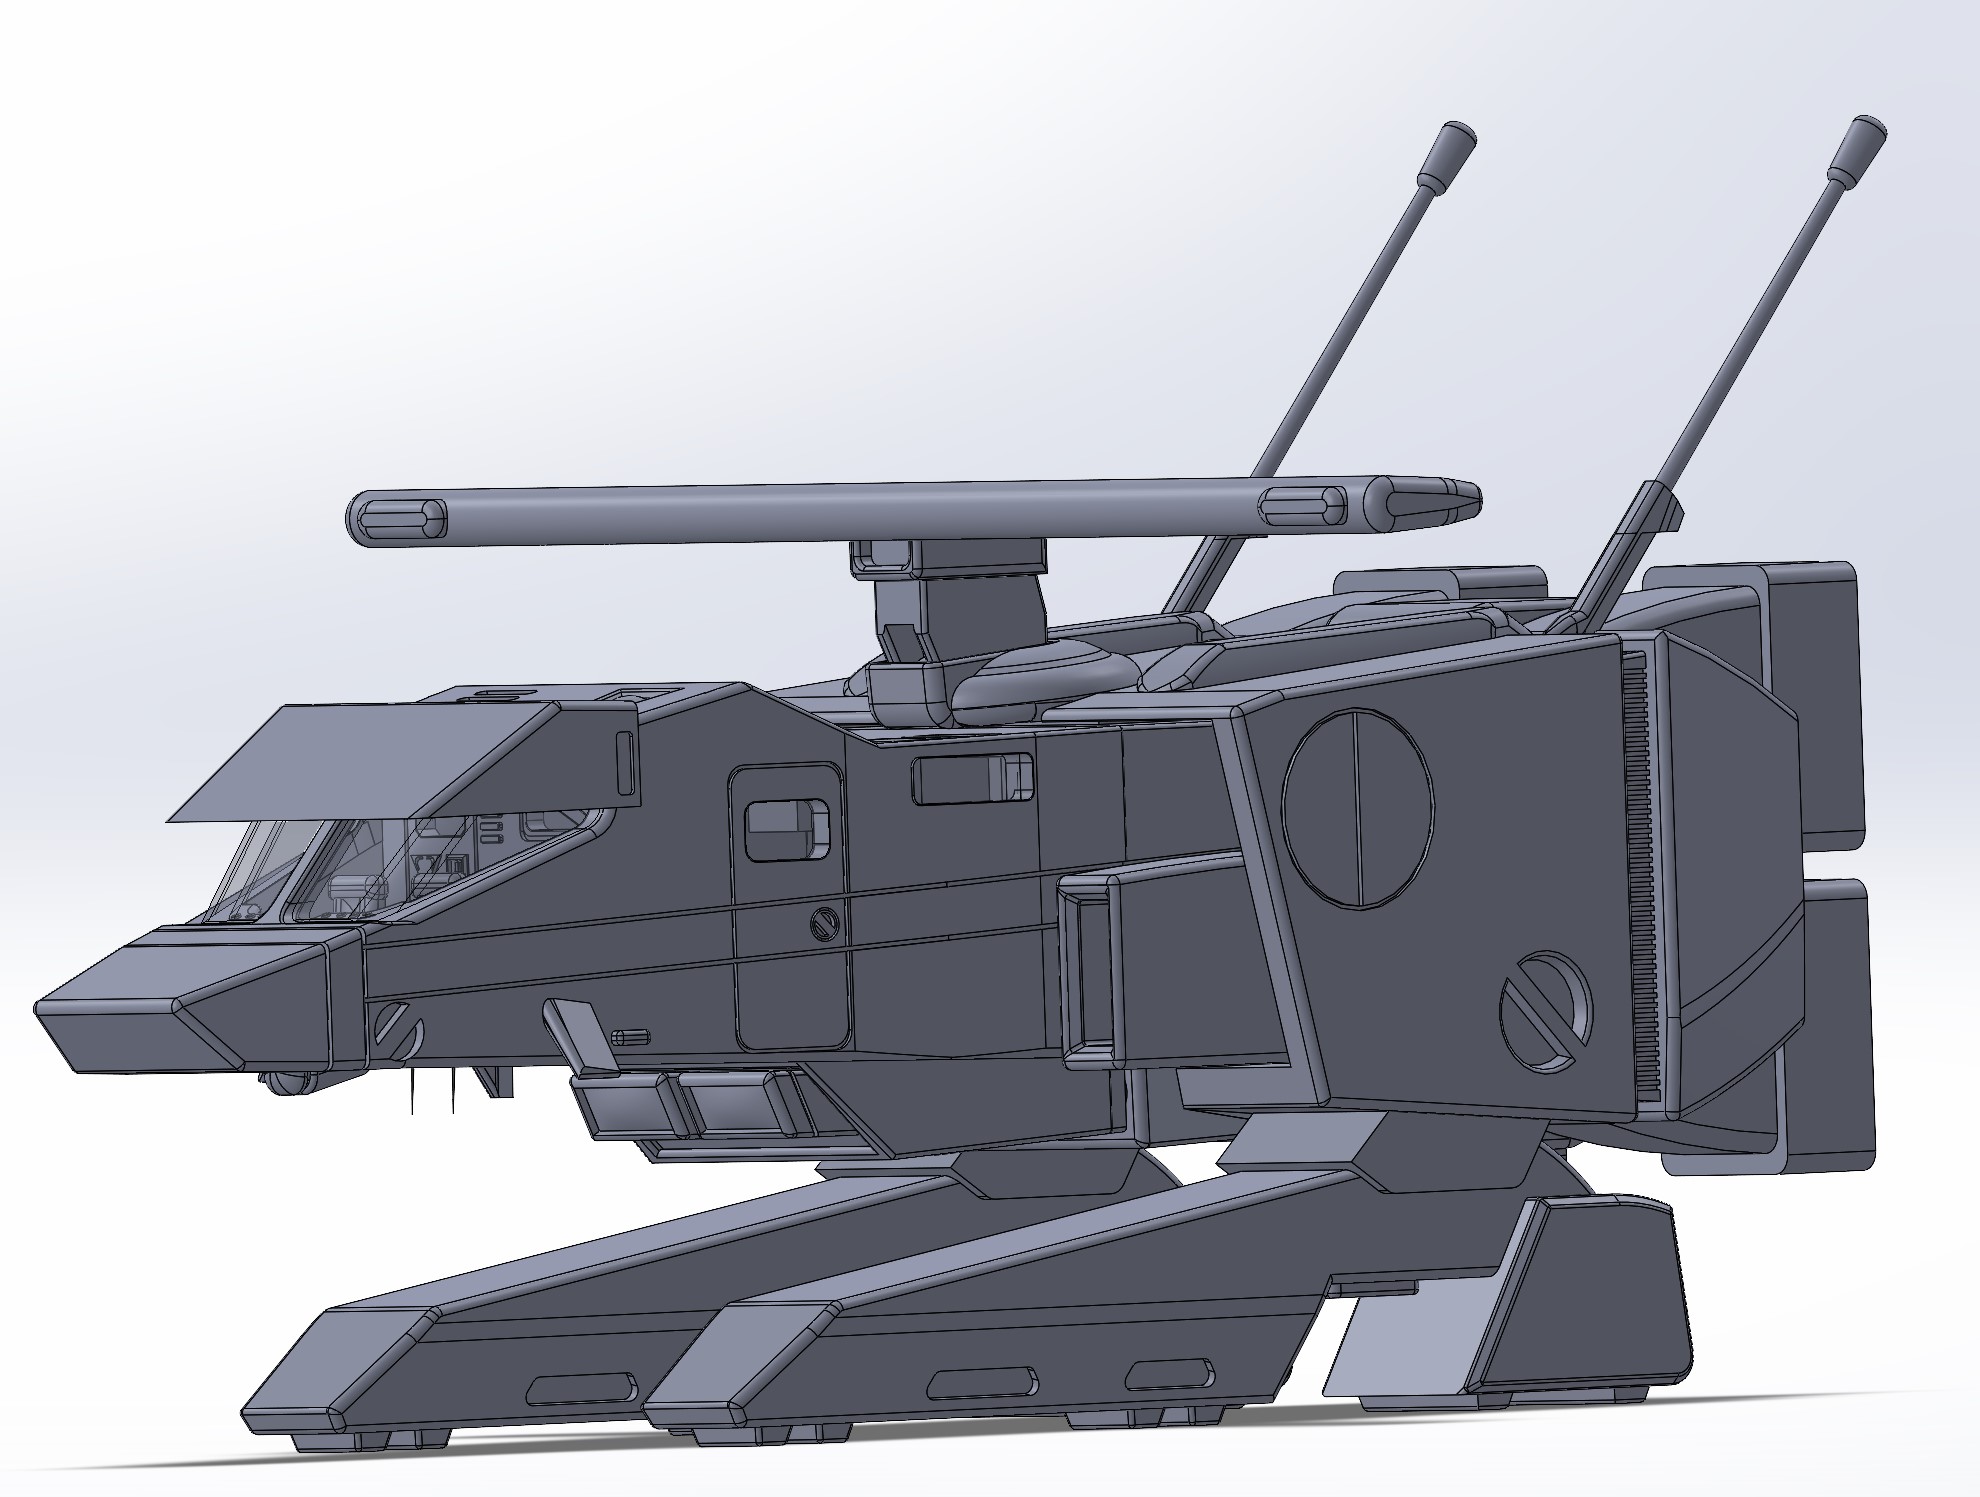
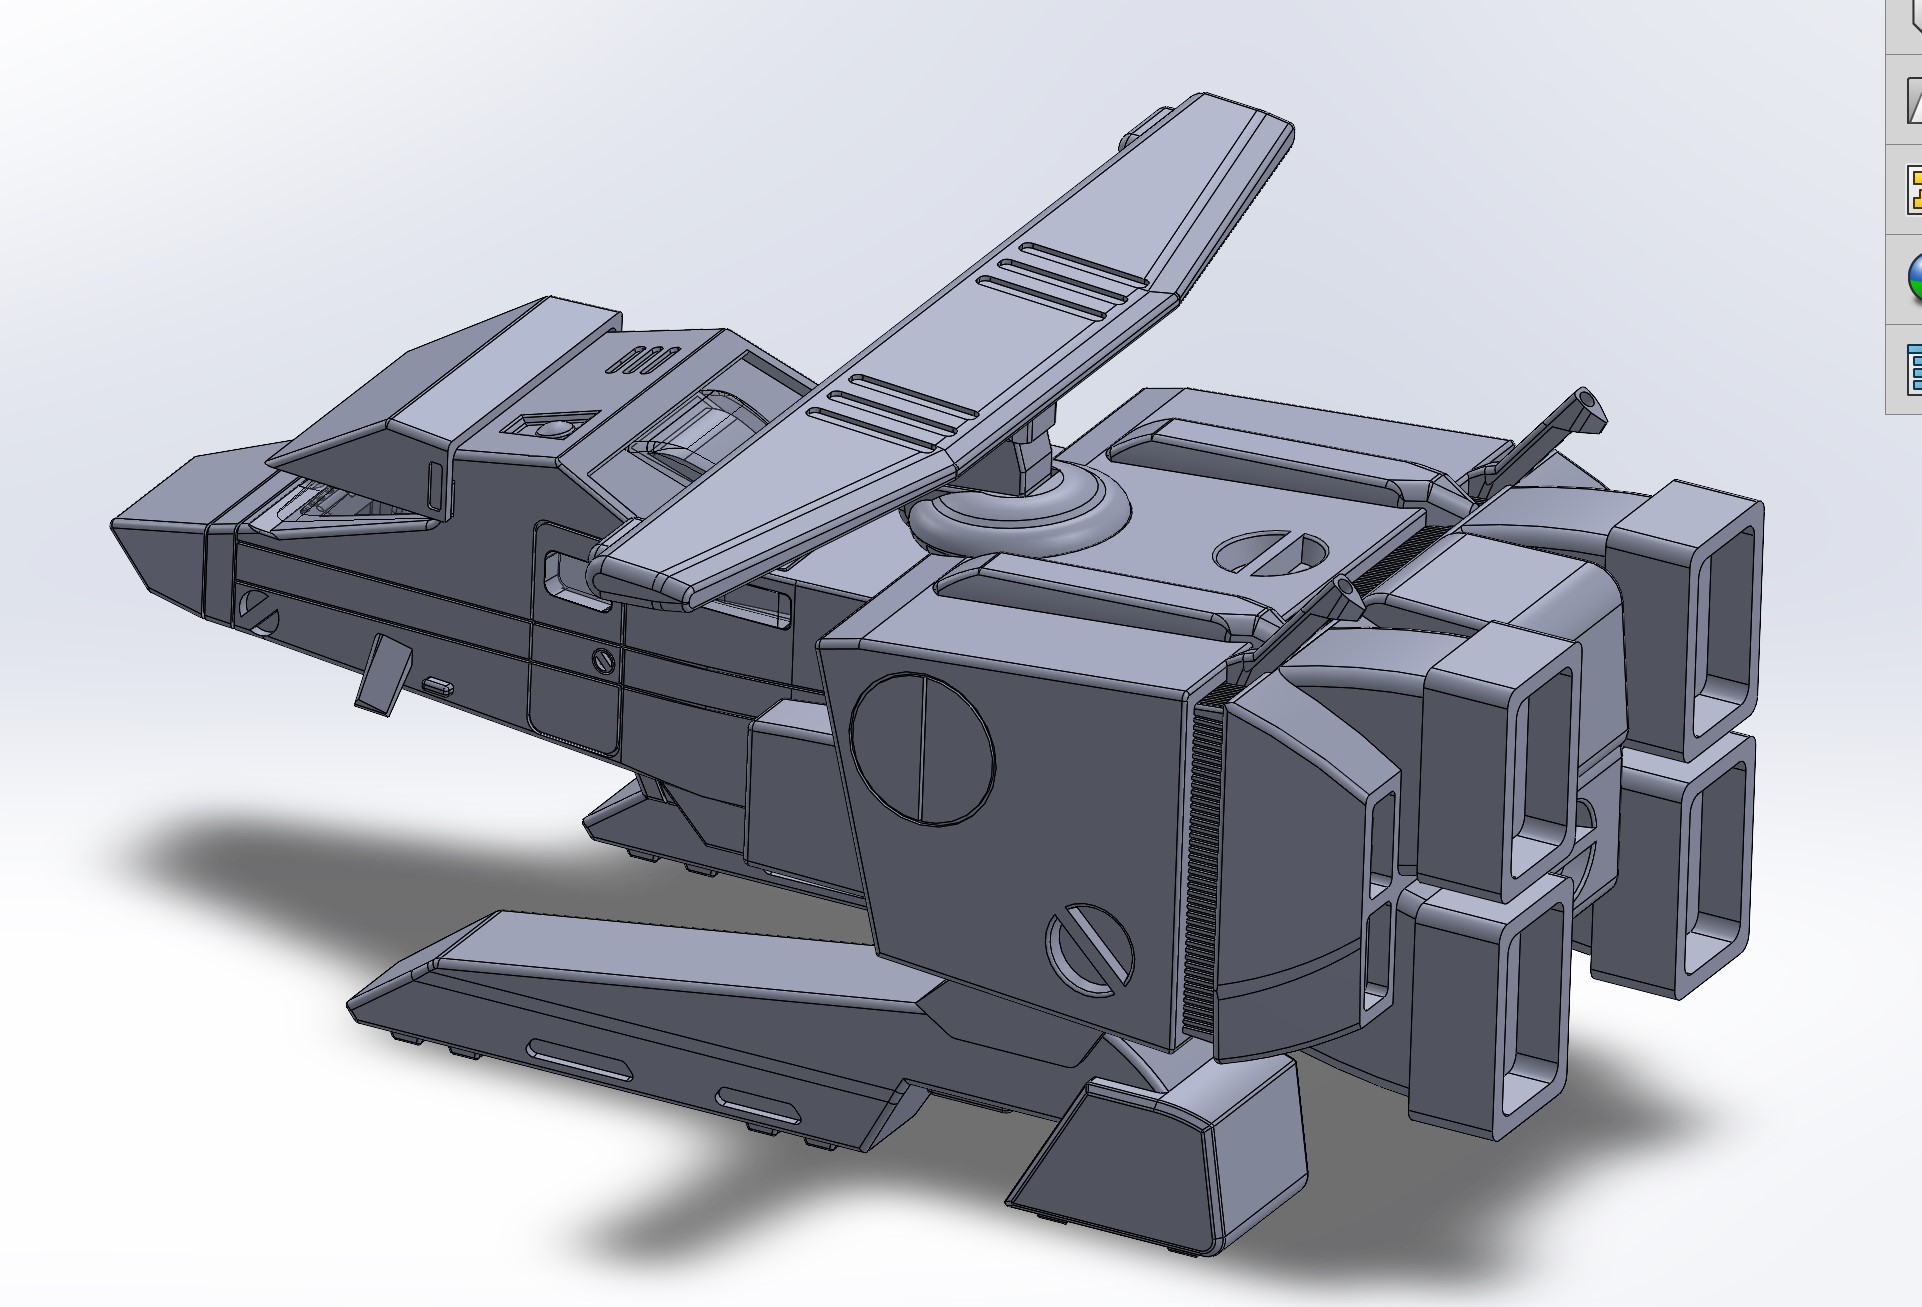
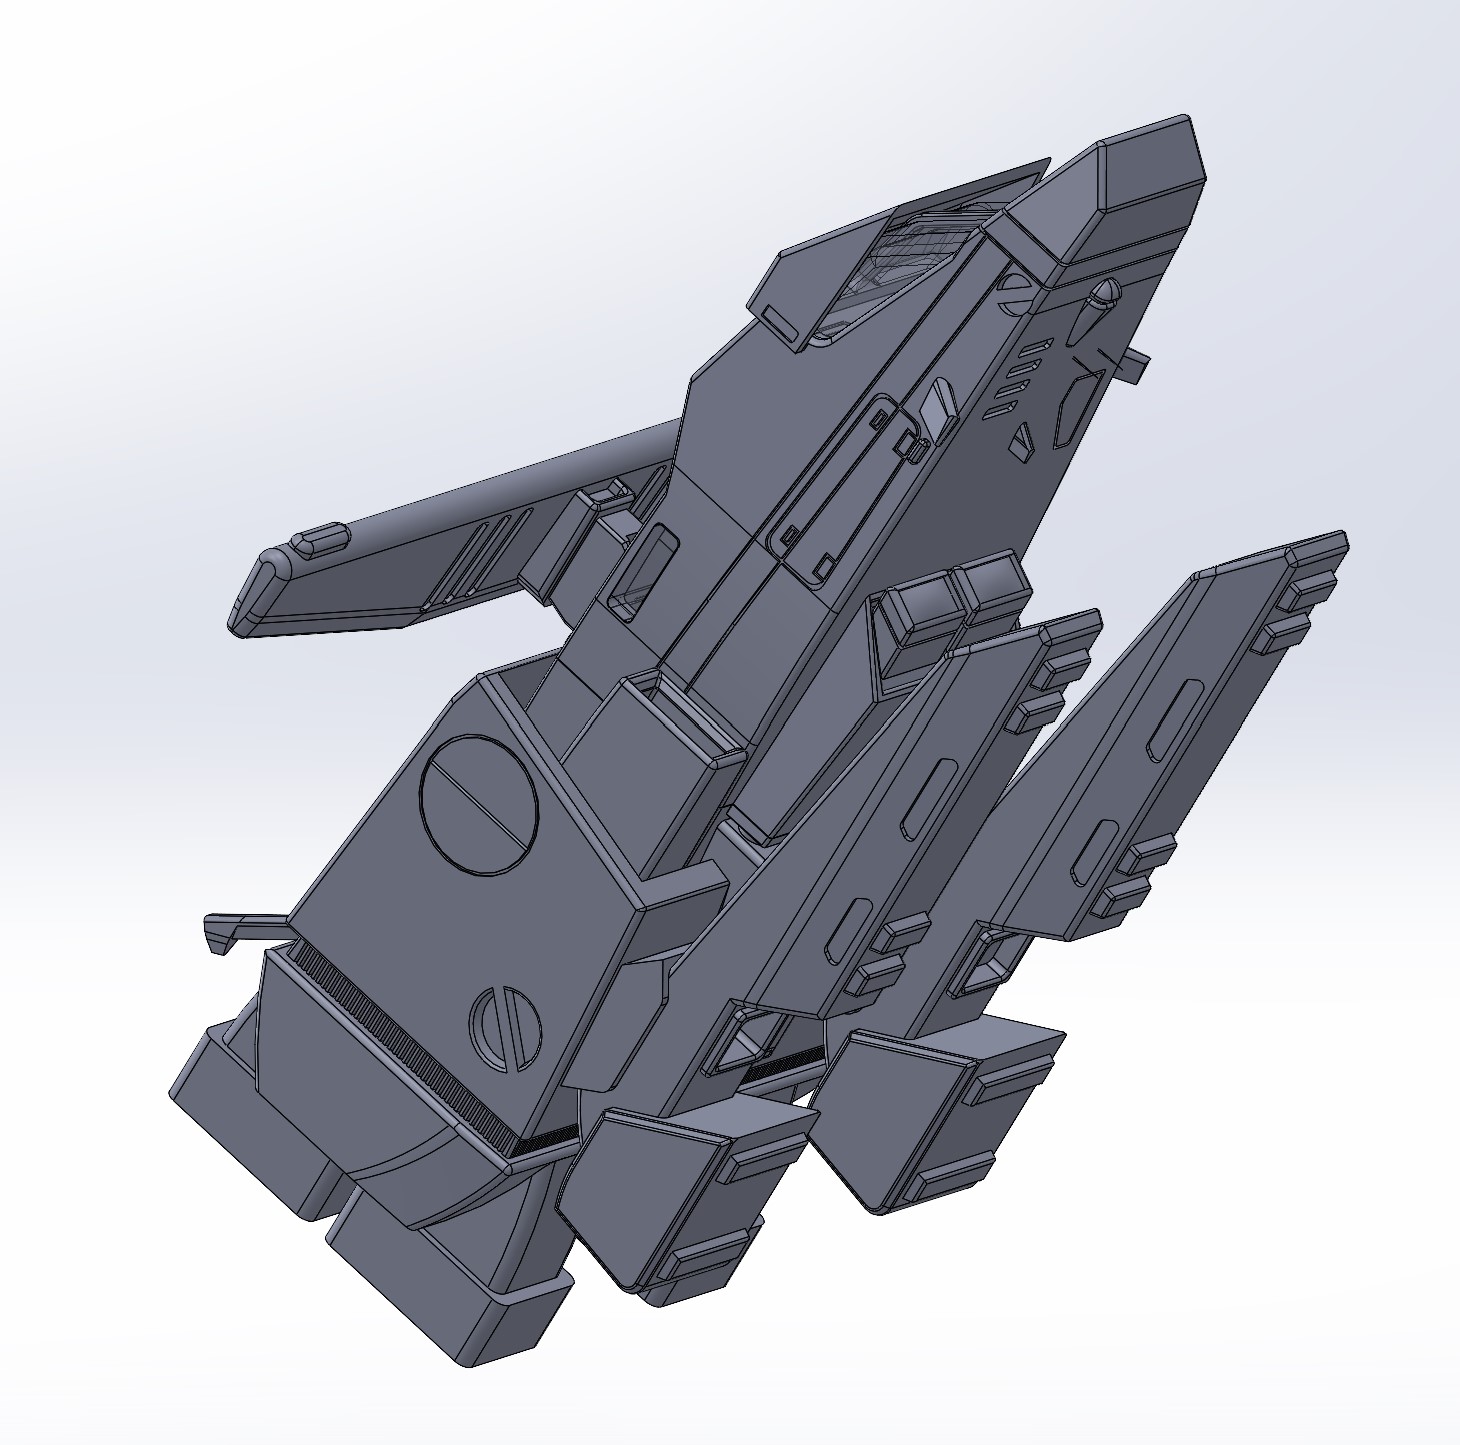
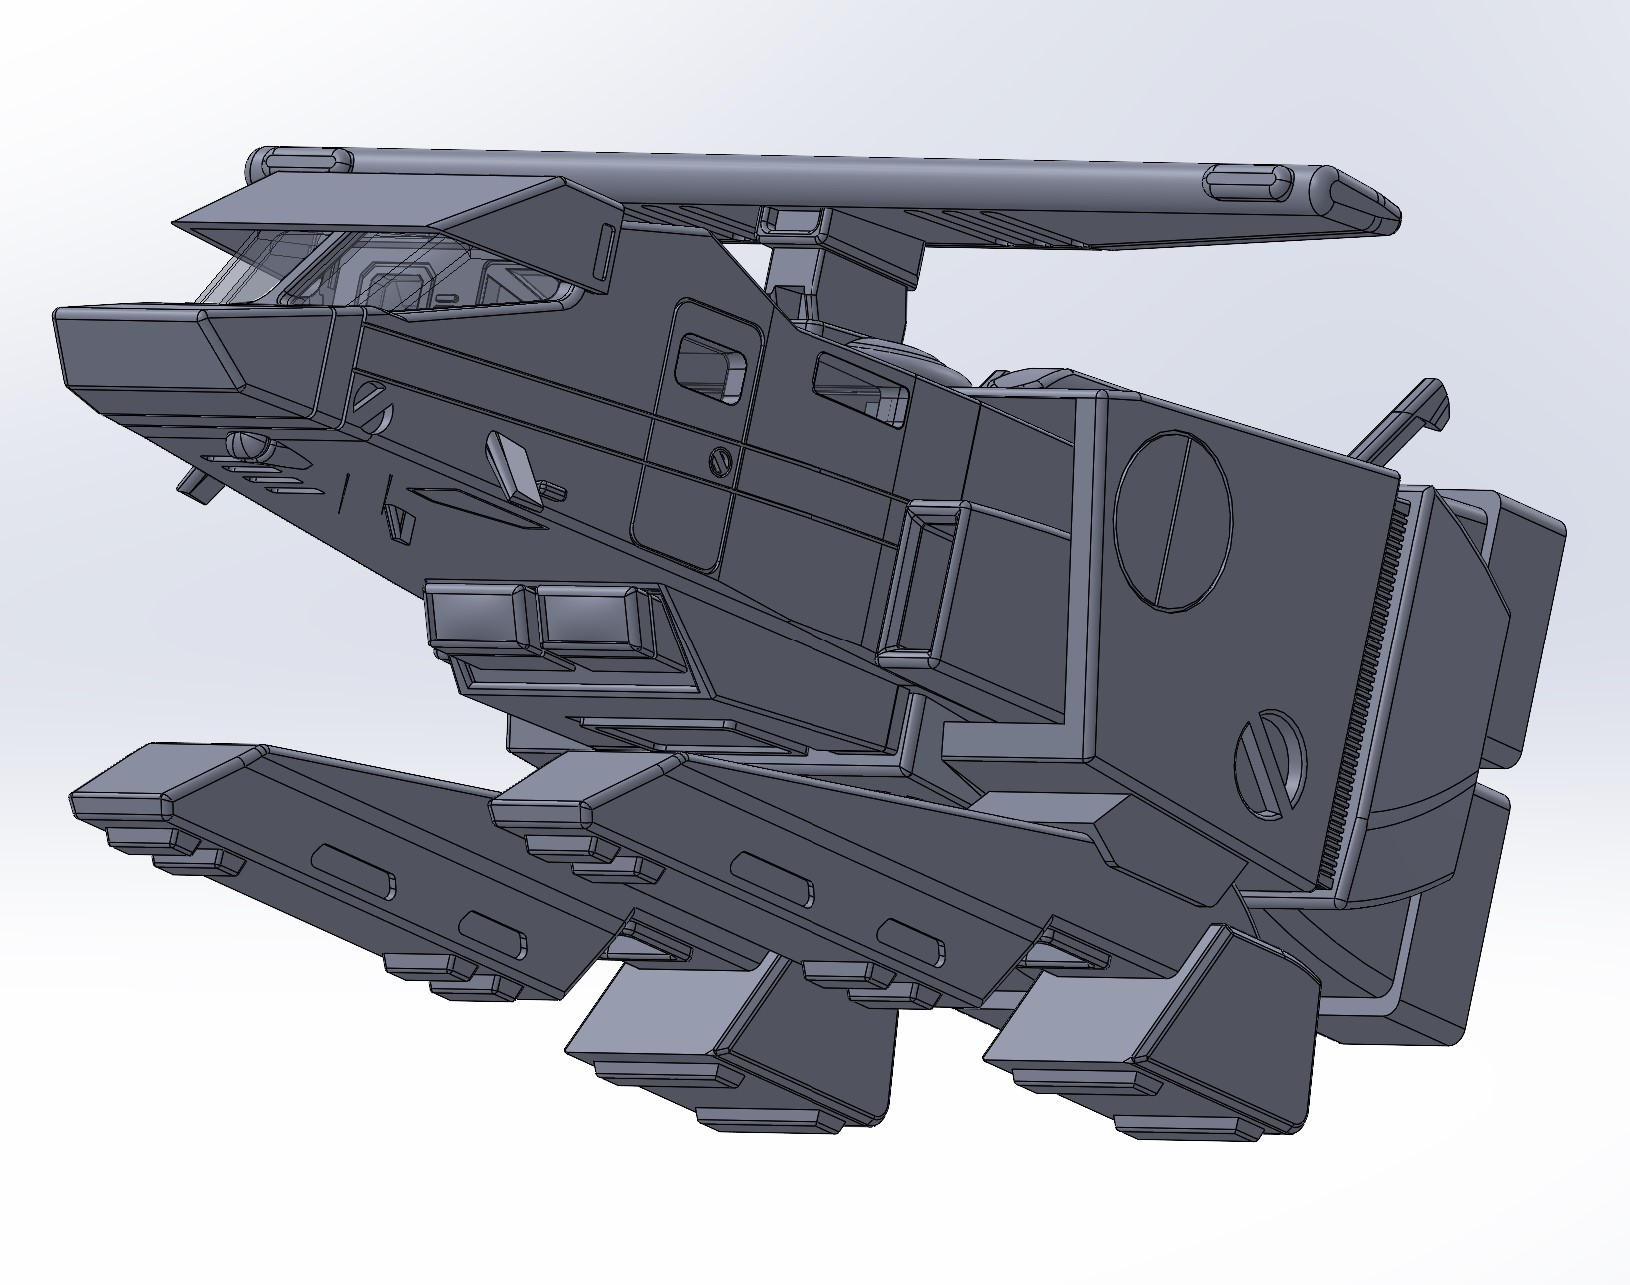
In the pictures below are the connections and the top of the back half where the FPs would go. Here is the leg connection as well. You can see it's quite a simple connection. If I were to make the legs movable, I'd probably have to make the cabin go less into the back half, so that there's enough space if you wanted the fee to convert more to a standard Rabbit form. The 3rd picture shows the inside cavity that'd need to be a bit more shallow.
-
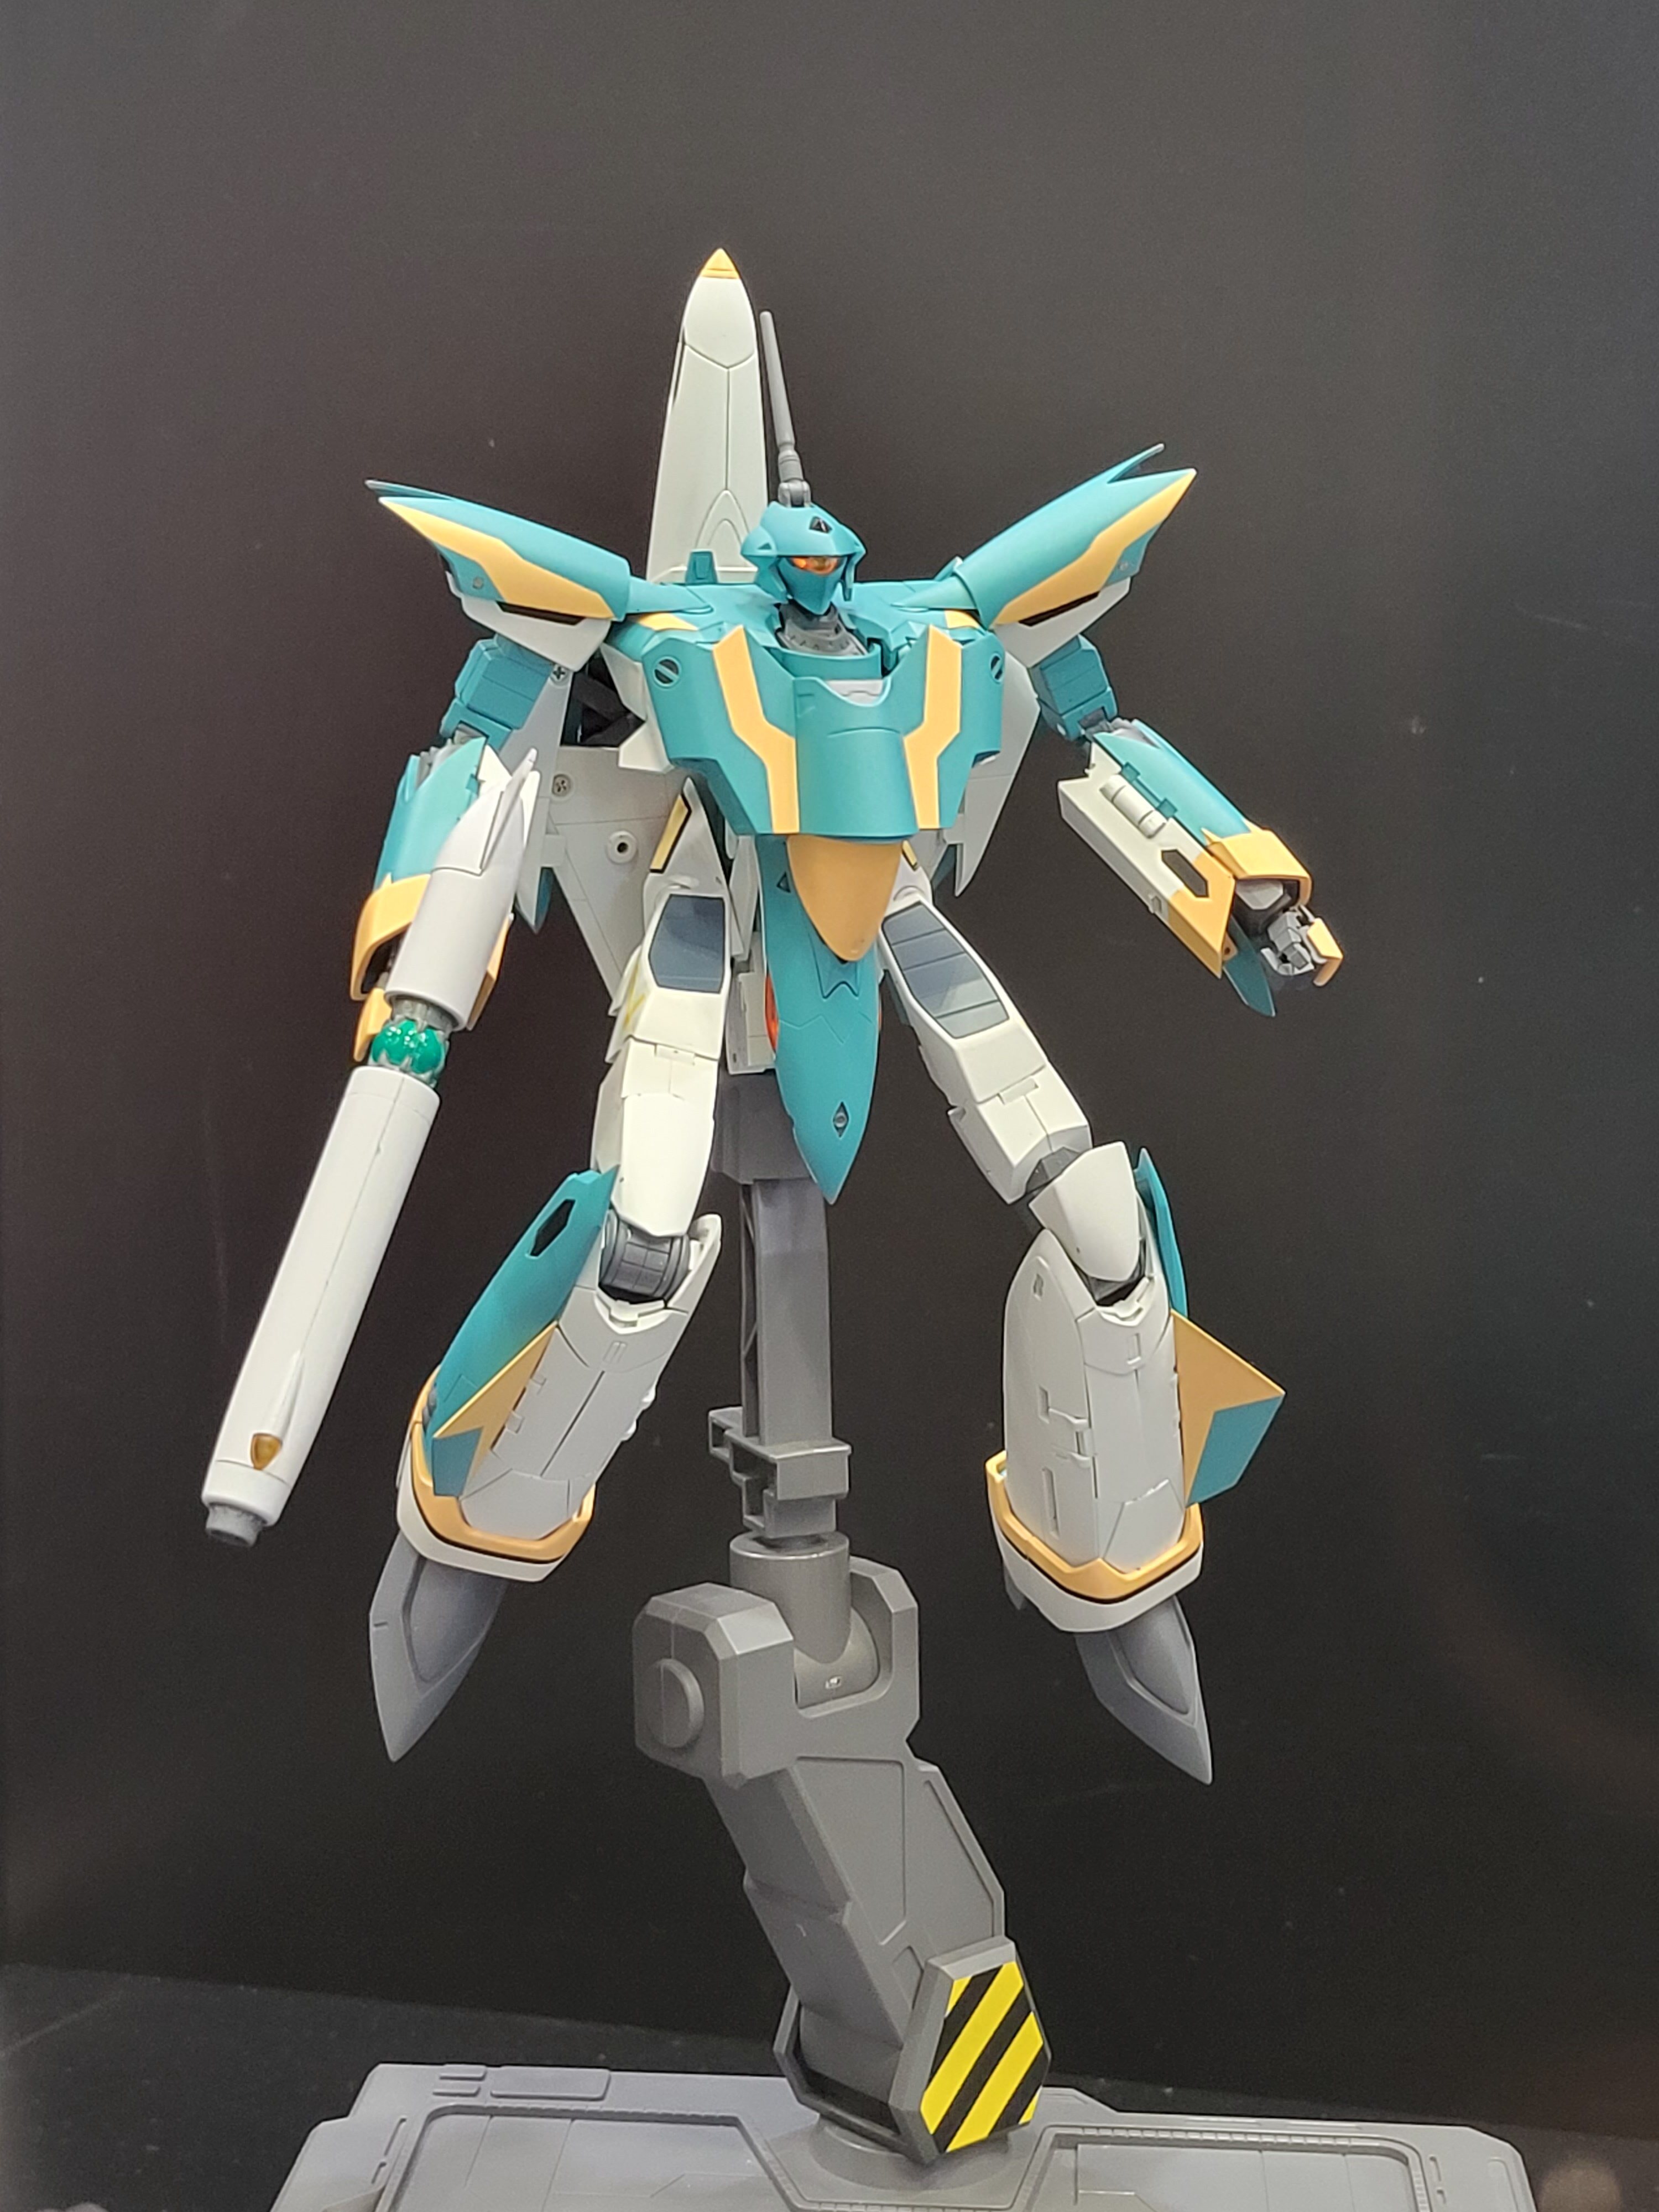
From just the line art here, it does look (and I could be wrong) like the legs extend out a bit when in GERWALK. I'll confirm this for certain, but I do have the old kits as well, so I can also use those as reference to get the best profile. I also have some old design works of Orguss with some designs that were never used, and I think the Bronco II was in there. If it's pretty vague, I'll most likely refer the kits to get the proper aesthetics of it, and just tweak it to make the transformation look proper in both forms.
-
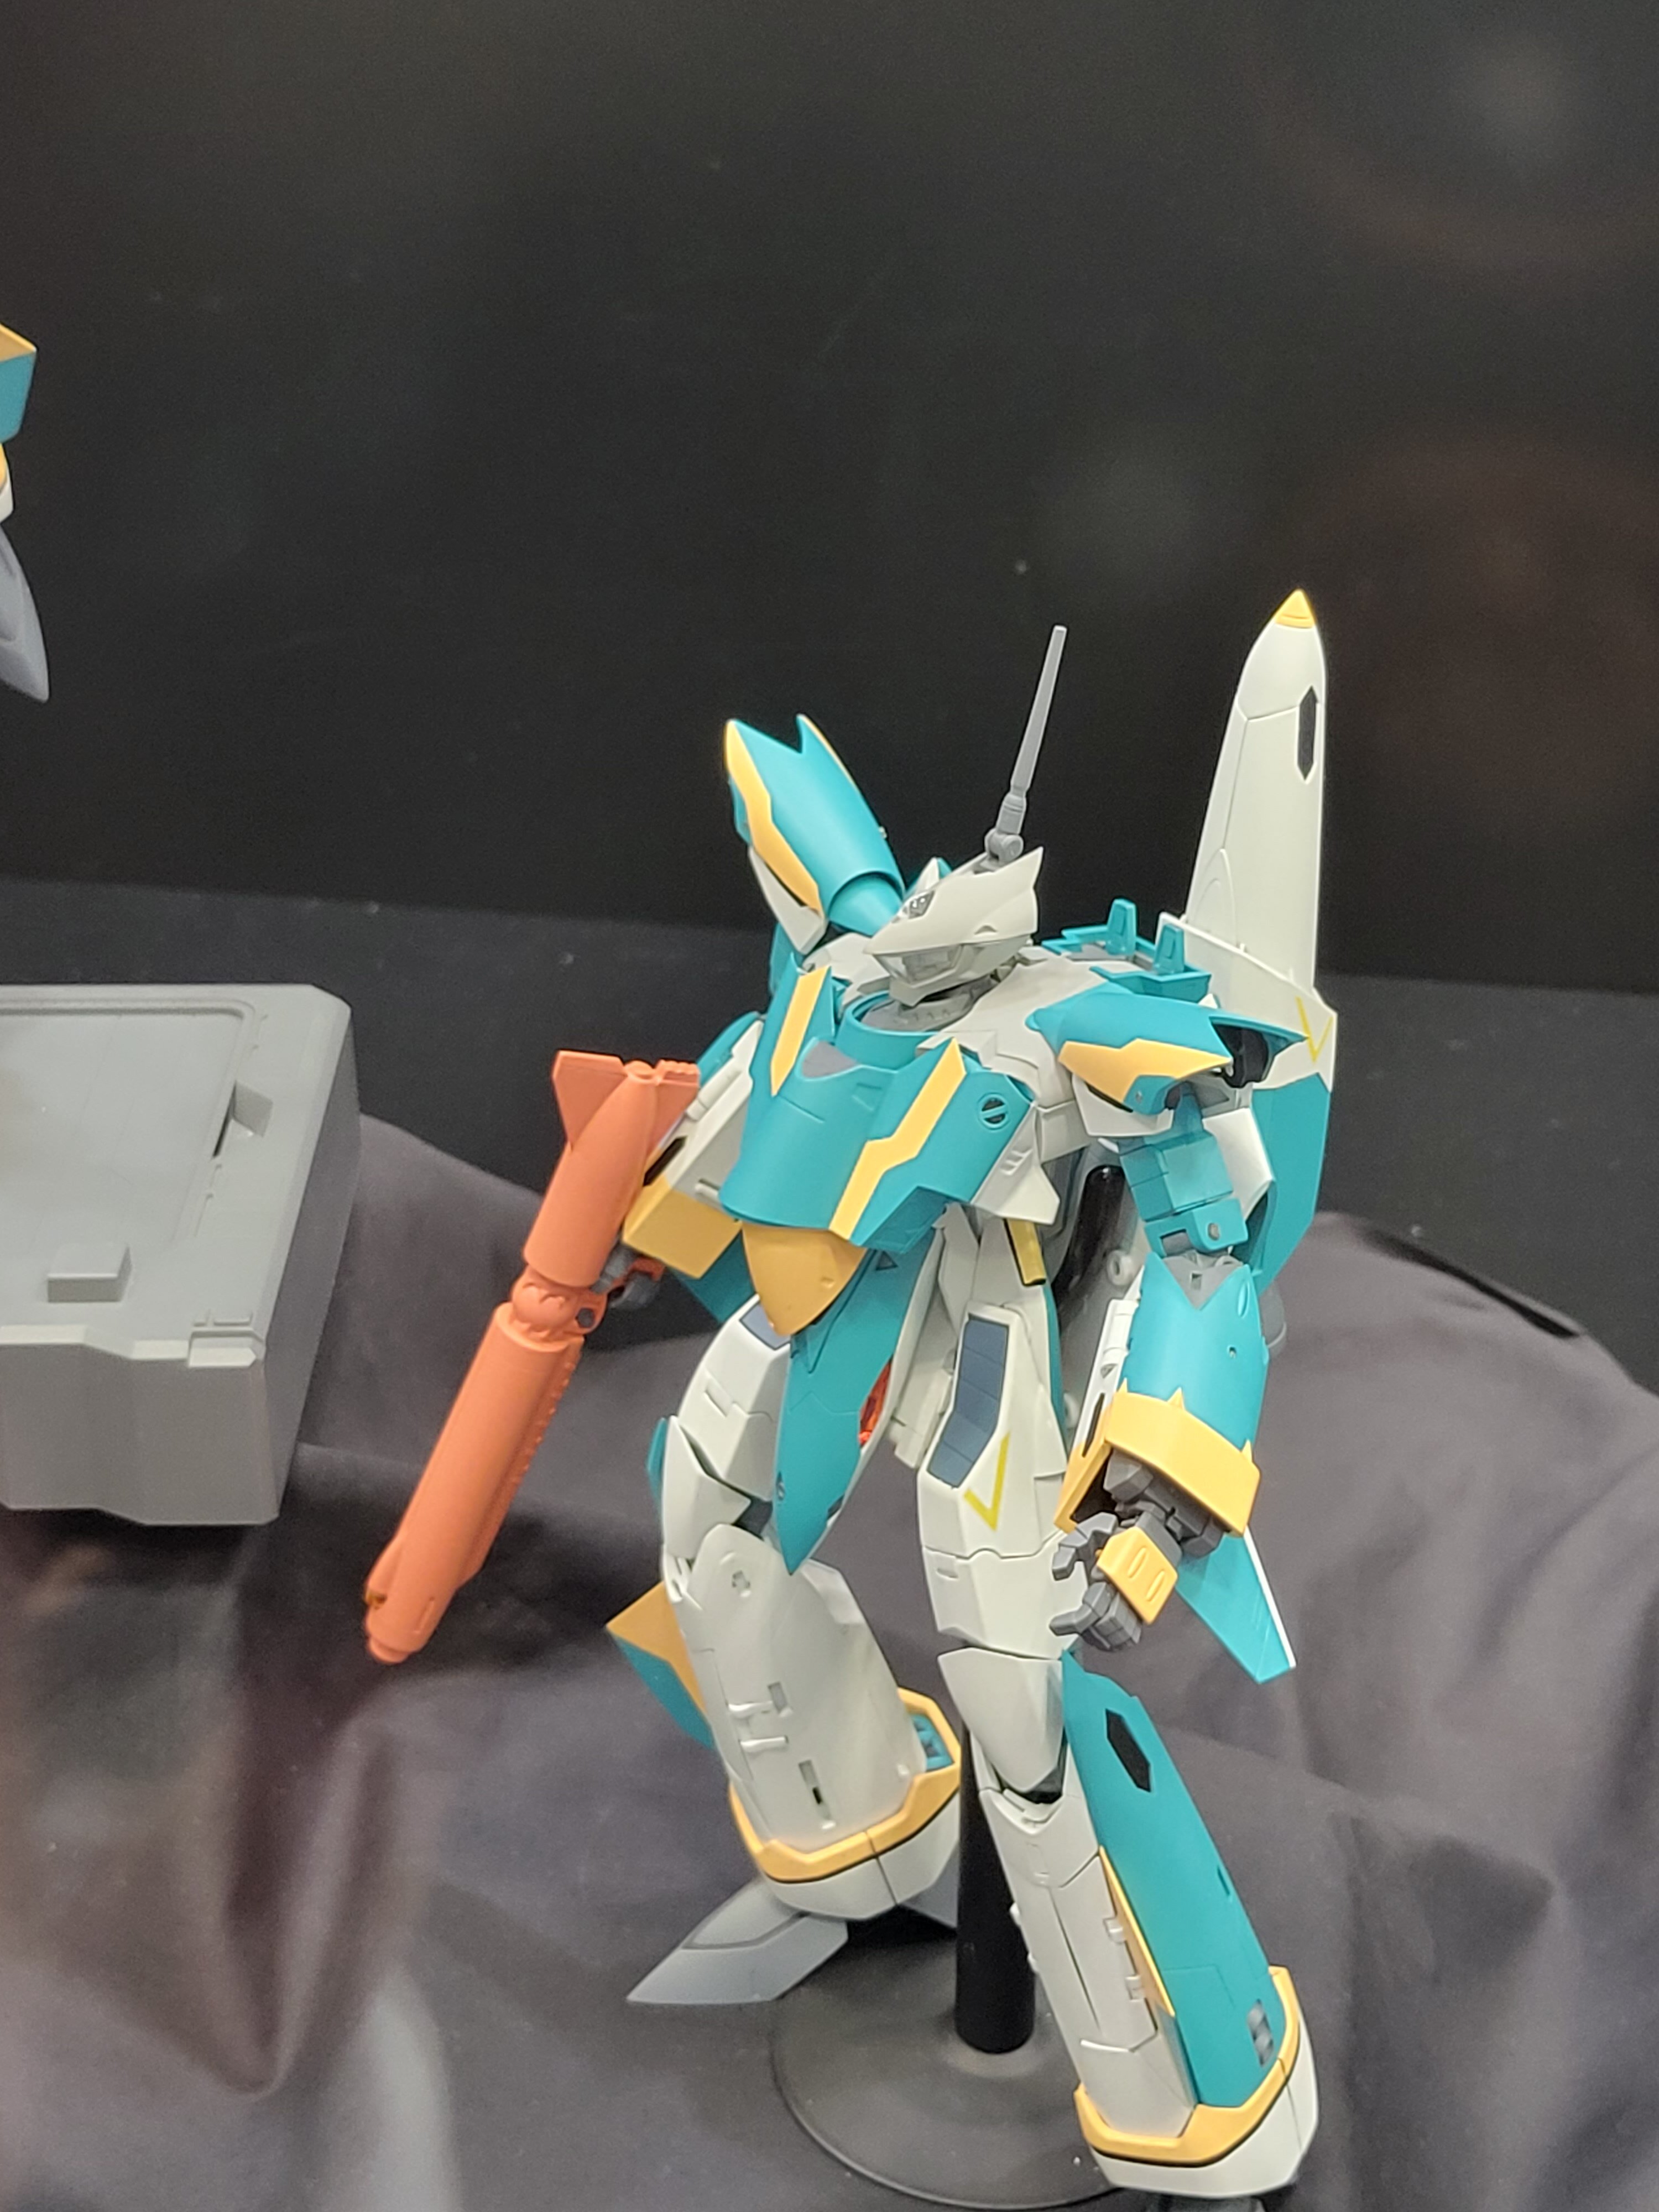
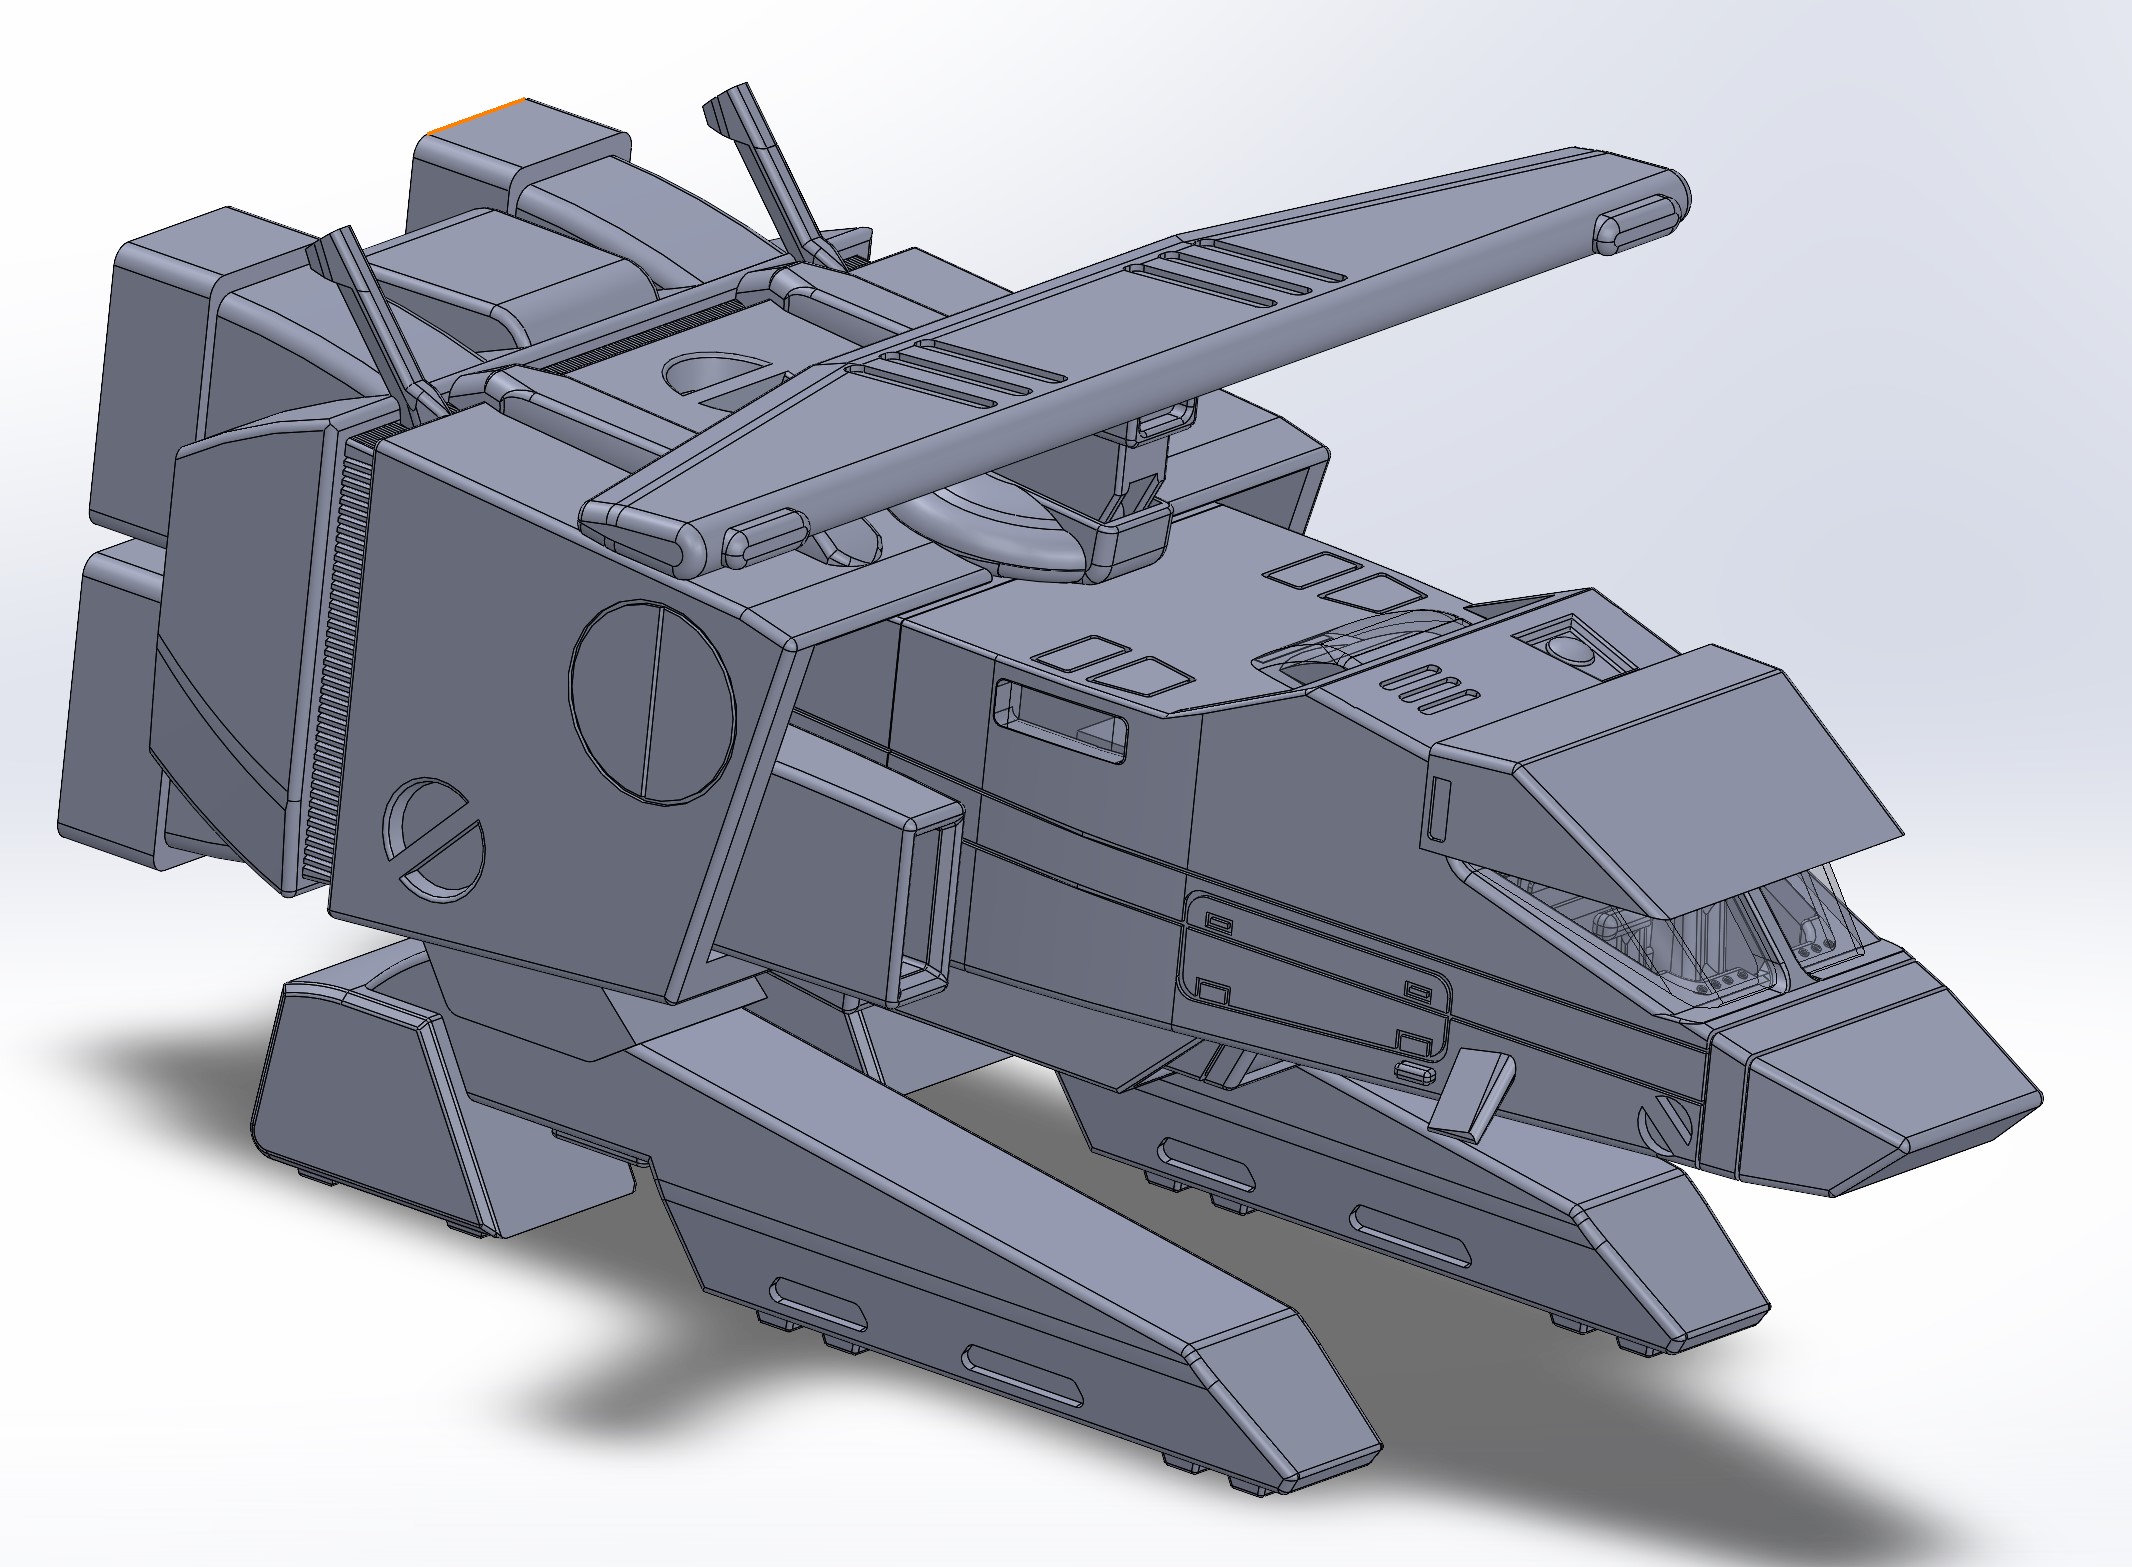
Hey all, So, now that I'm done with the Rabbit, my next project I've been considering is Super Dimension related, but not too Macross related. I've been thinking of doing a scalable Bronco II from Orguss. The difference between this, and the kits that are out there (and quite expensive) is that this will have mechanics and joint pieces to make it be able to switch from it's jet to GERWALK. I'm not sure how many people would be interested in this, but if you are, let me know. I probably wouldn't do any recasting or printing for a project like this, unless that person is willing to pay around $250 at least for it, but I'd make the files available for ones own printing. Another thing I'd probably include that hasn't been done, is make the re-entry armor. This would make this a lot more work, but to me, having a kit/toy that had all the fixings would just feel like it is complete. I'd probably do it in versions that can be scaled from 1/72, 1/60, and 1/48, with a list of parts that make GERWALK transformation and poses possible. In any case, like I said, it is loosely Macross related (especially with staff and the Macross references in the series). LMK
-
I'll get pictures of the parts in question, mostly the back part and the legs? If so, I'll get those up tonight. Based on that odd image of it with the VT-1 fast packs, if you look at the VT-1 next to it, the spacing of the fast packs are equally distance, which to me, would indicate that there is a FP plate mounted on it in the center, and would probably need to be raised up a little.
-
I'm not going to say you need to buy it for this option, but this reasoning is the exact reason why, if this gets made, will be the only one. People relying on others to hopefully make this happen is probably in a number of minds. That said, I do hope they make other variants, but I'm not gonna hold my breath.
-
If this vendor releases it in Summer, I may have to track this down, or take another trip out. Hopefully it is just next year, so I can take another trip. I can't make 3 in 1 year, although that would be awesome if I can go 3 times.
-
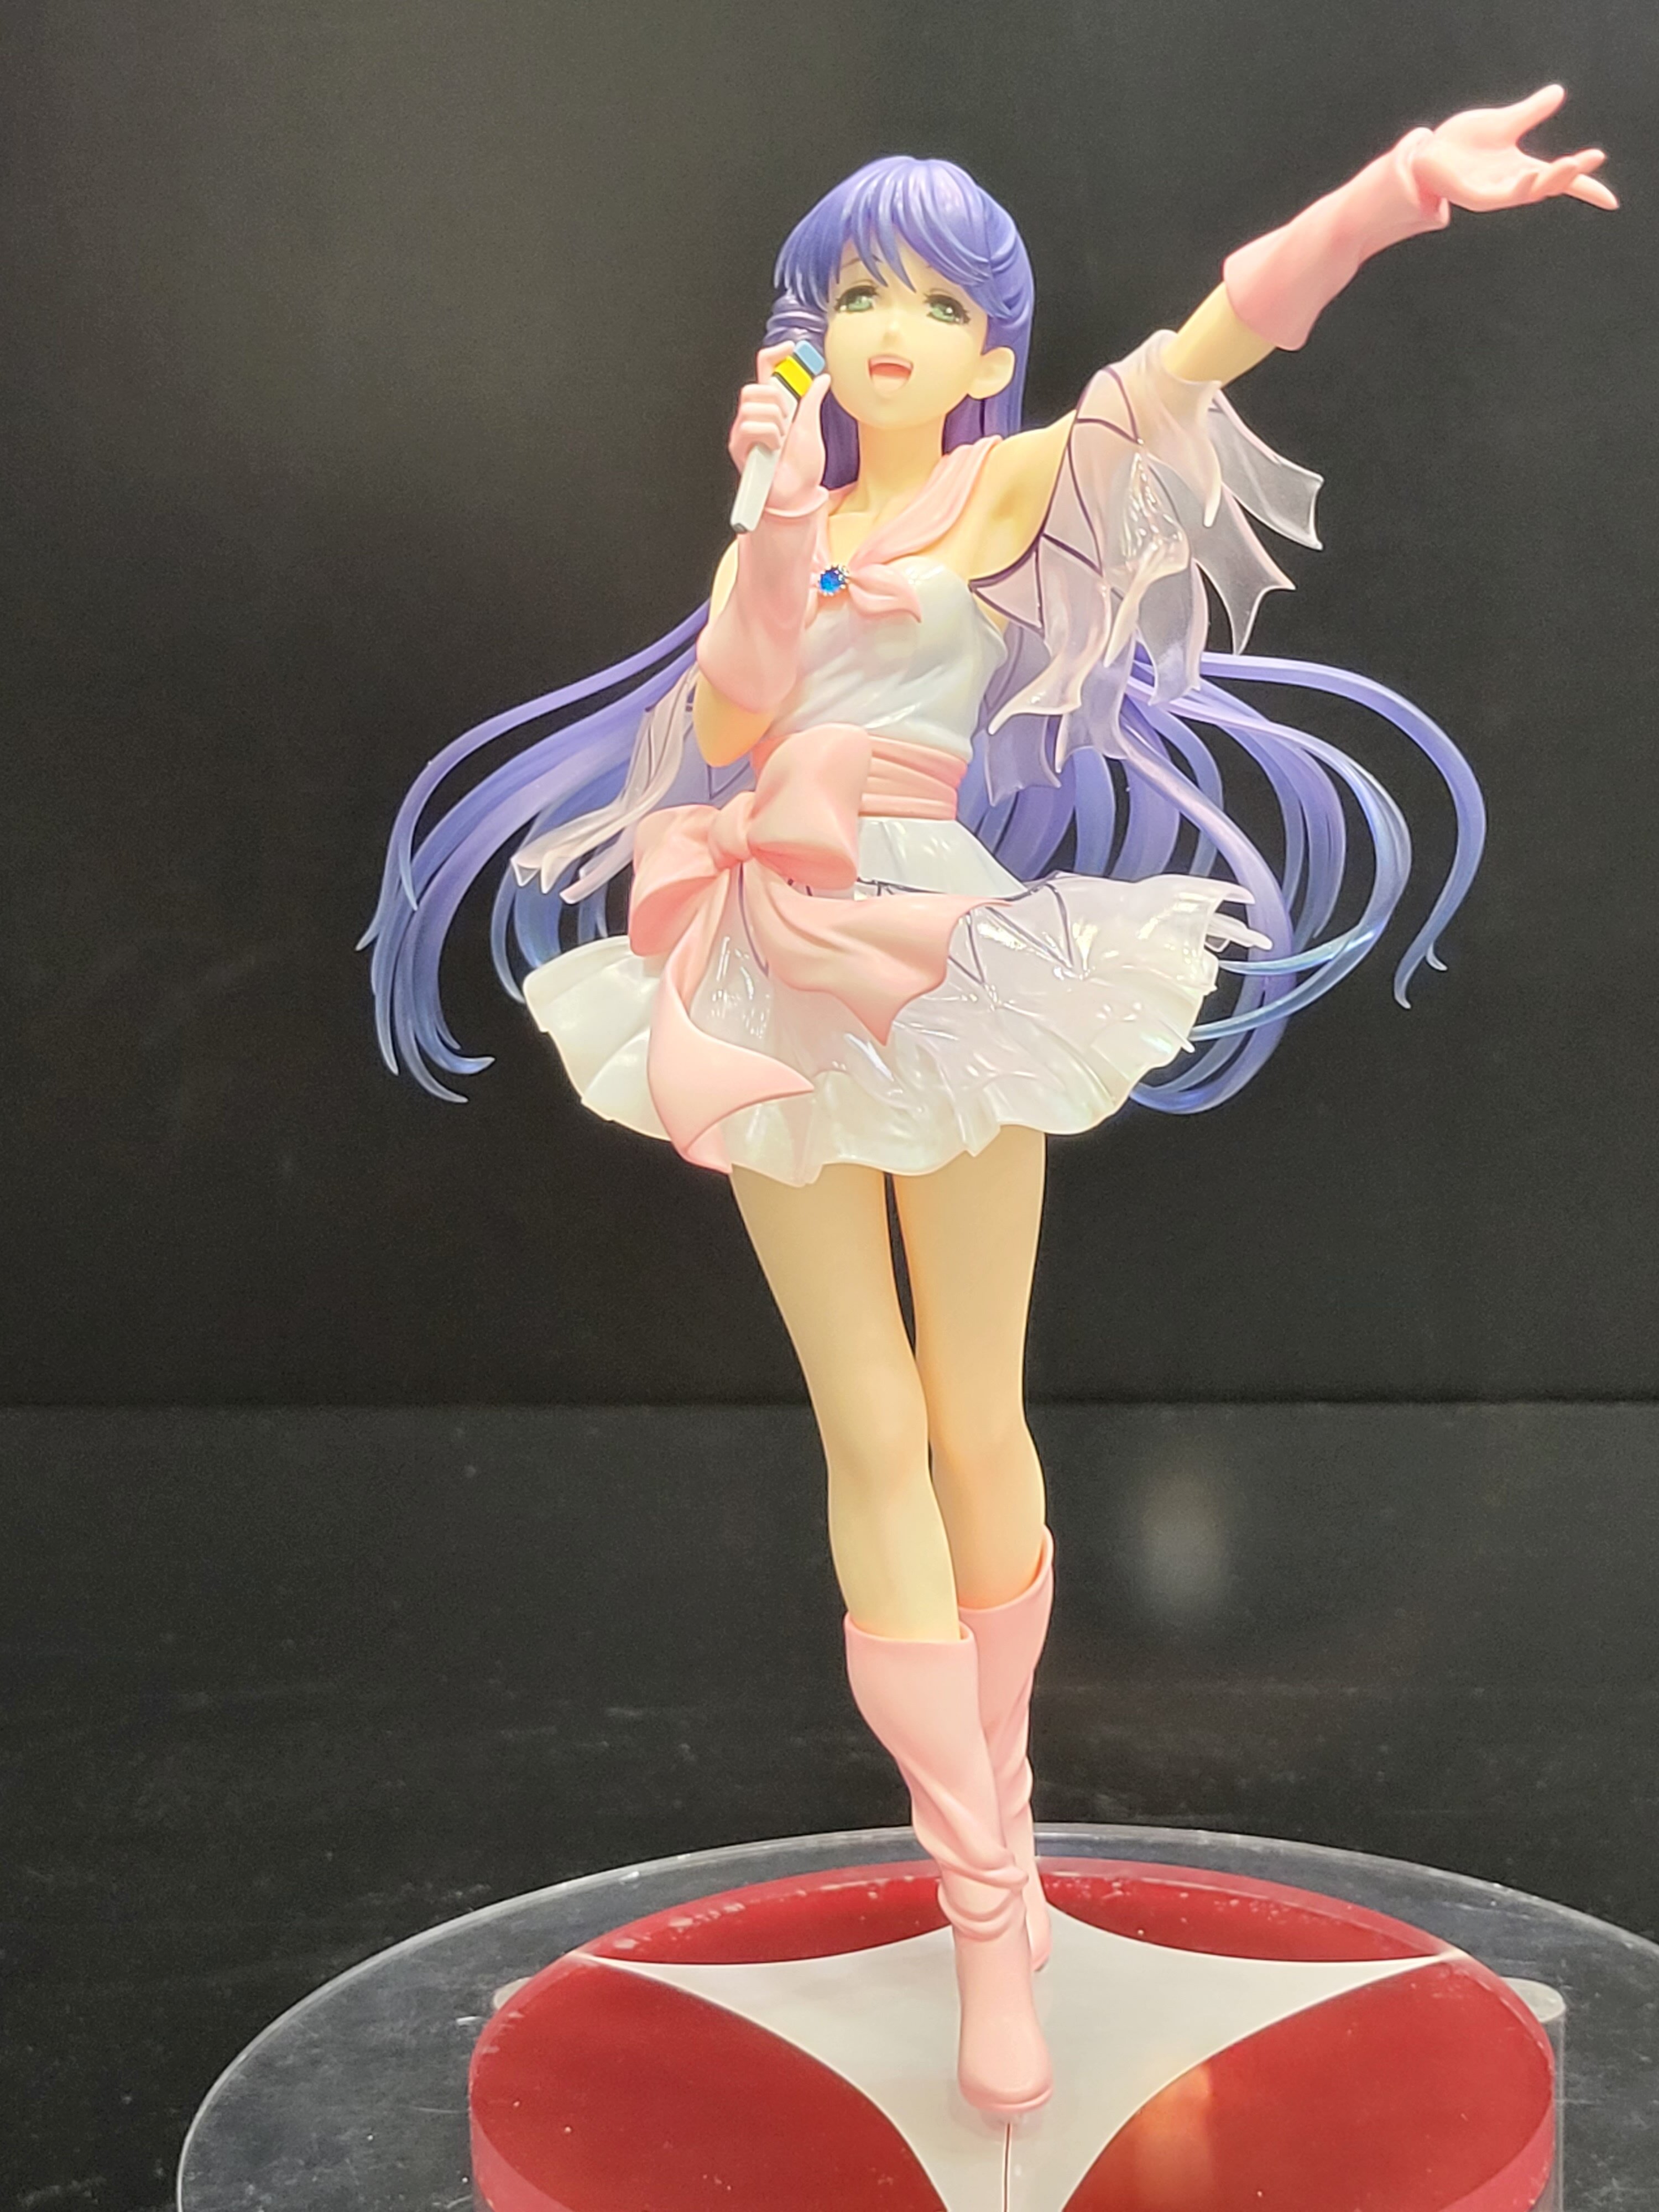
I don't know if they've been scaled, but Minmay looks to be about 1/7
-
I got to see it in person. I'll be honest, it looks smaller than I imagined. I'm not talking g about it in actual scale, I just imagined it being quite large. That said, it does look very nice. It looks like some of the colored parts were casted in that color, not painted. My photos probably suck, but here's a couple...

-
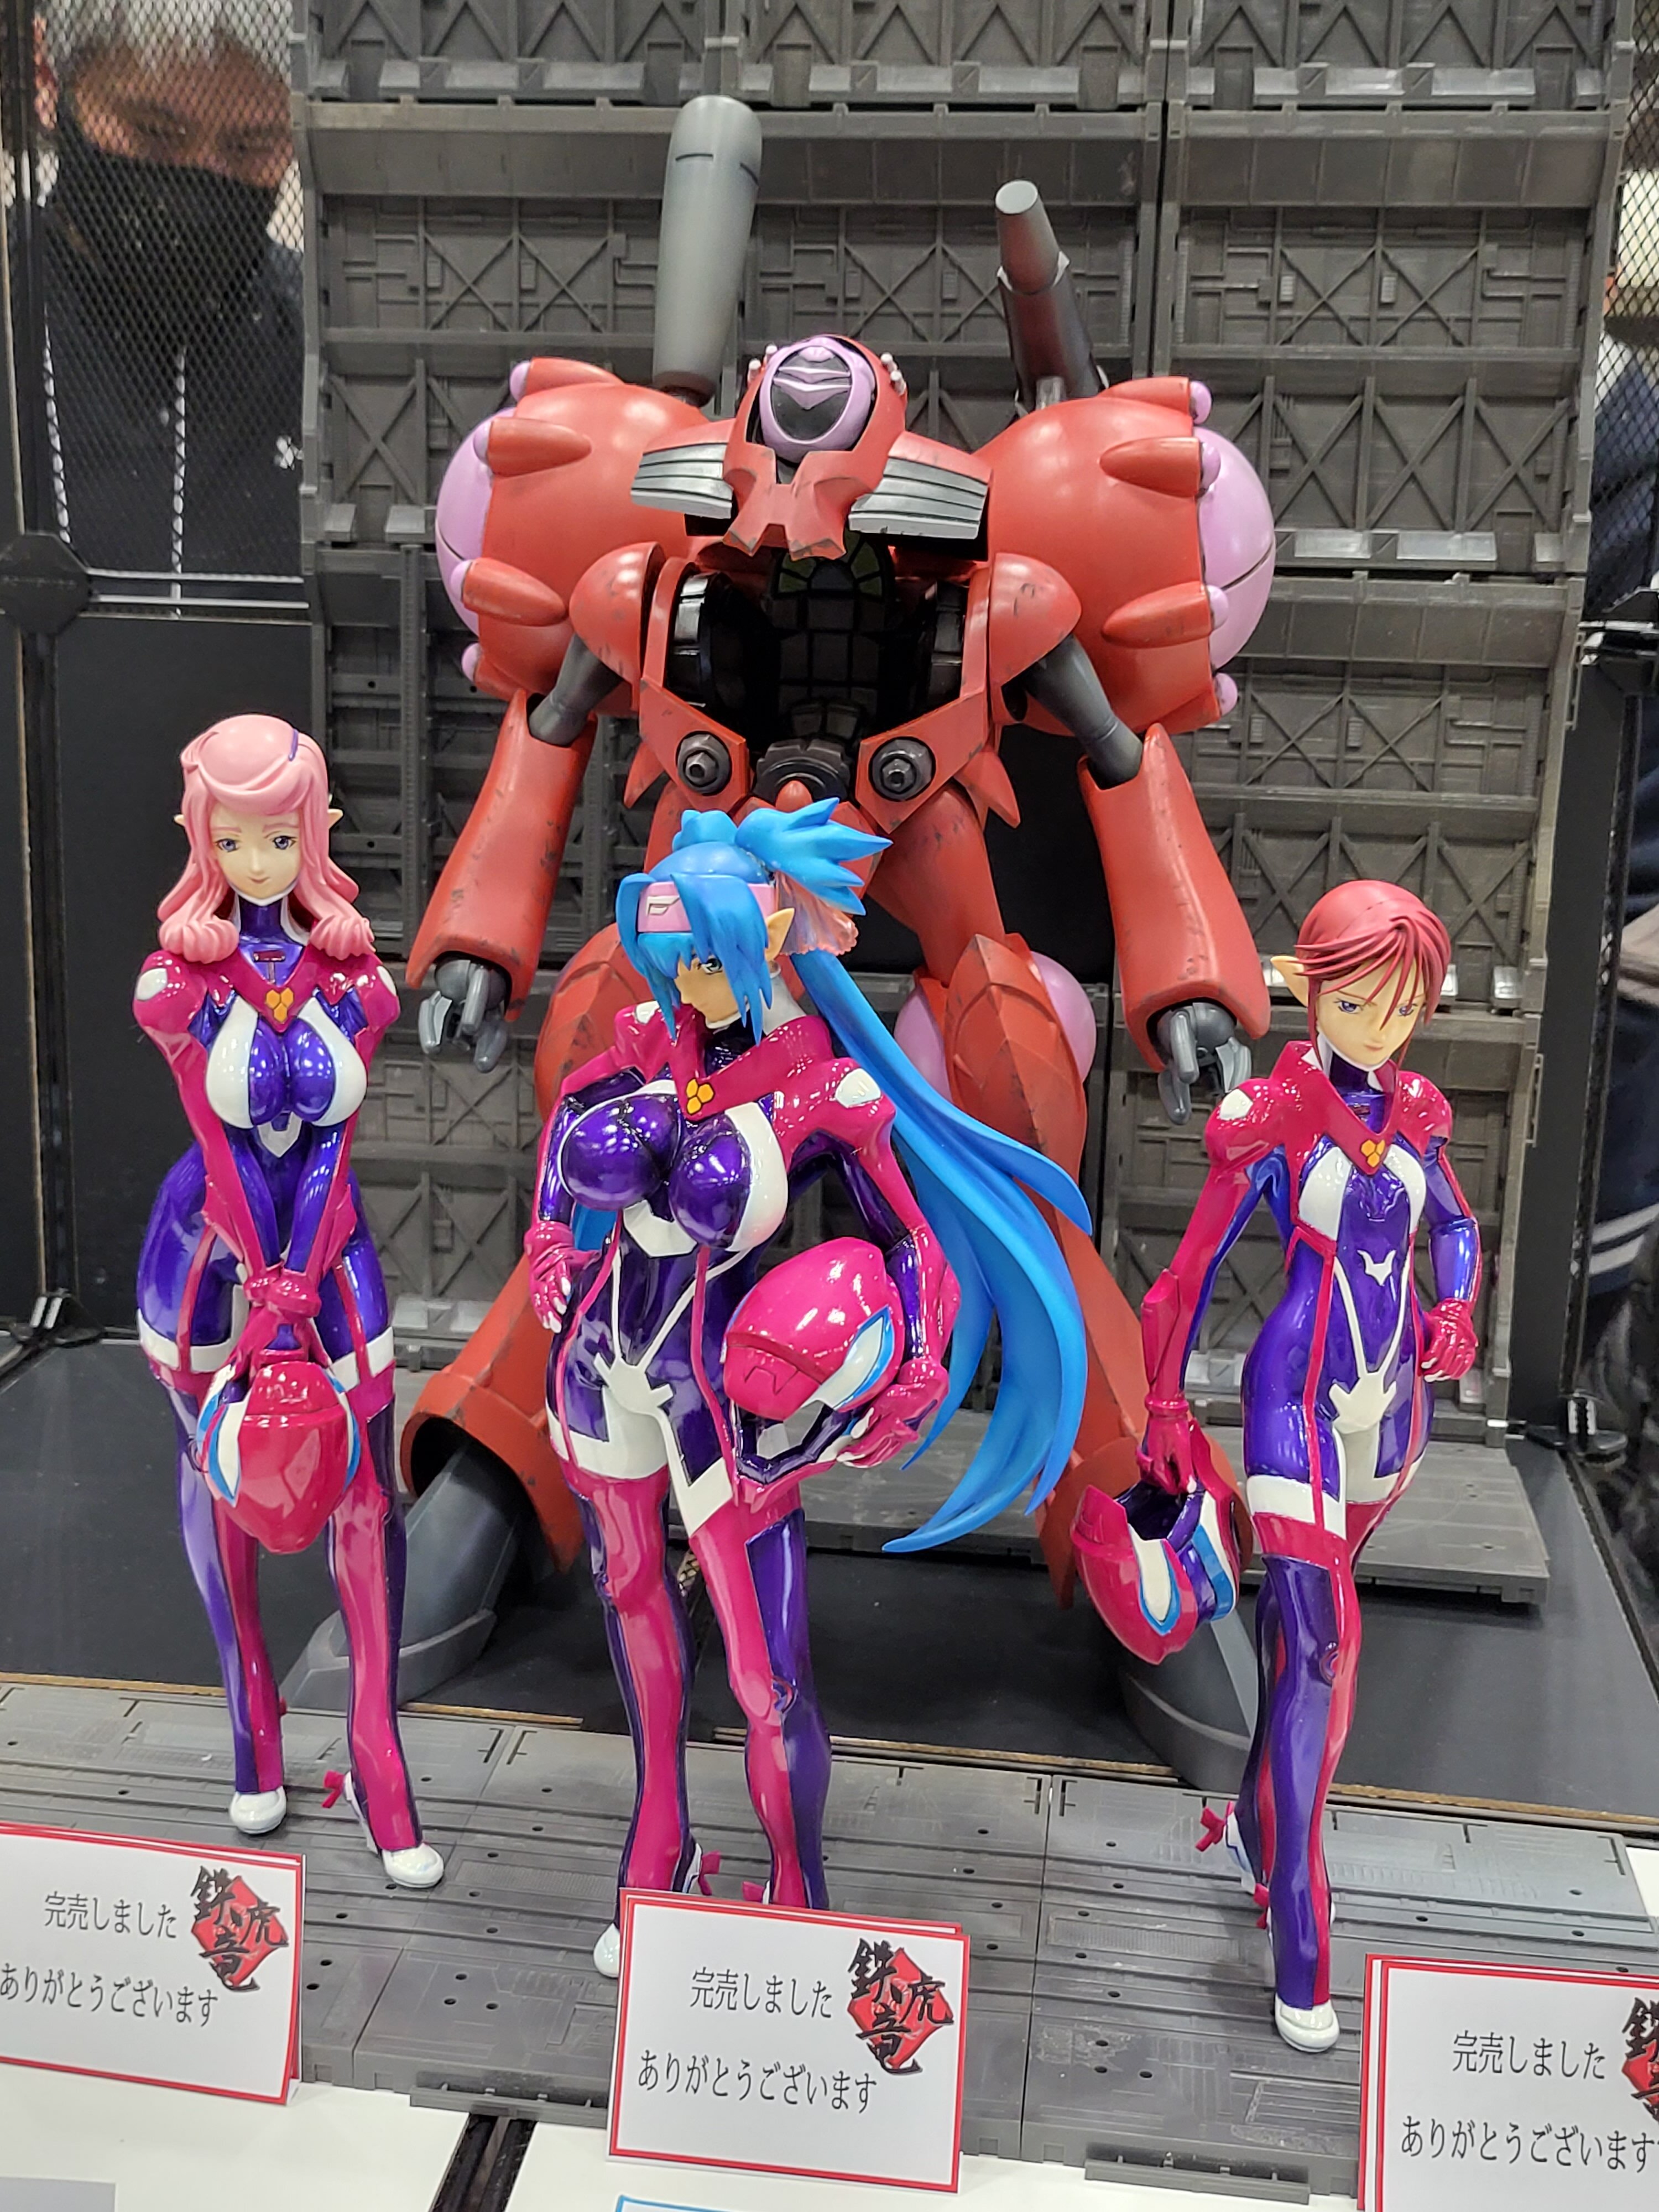
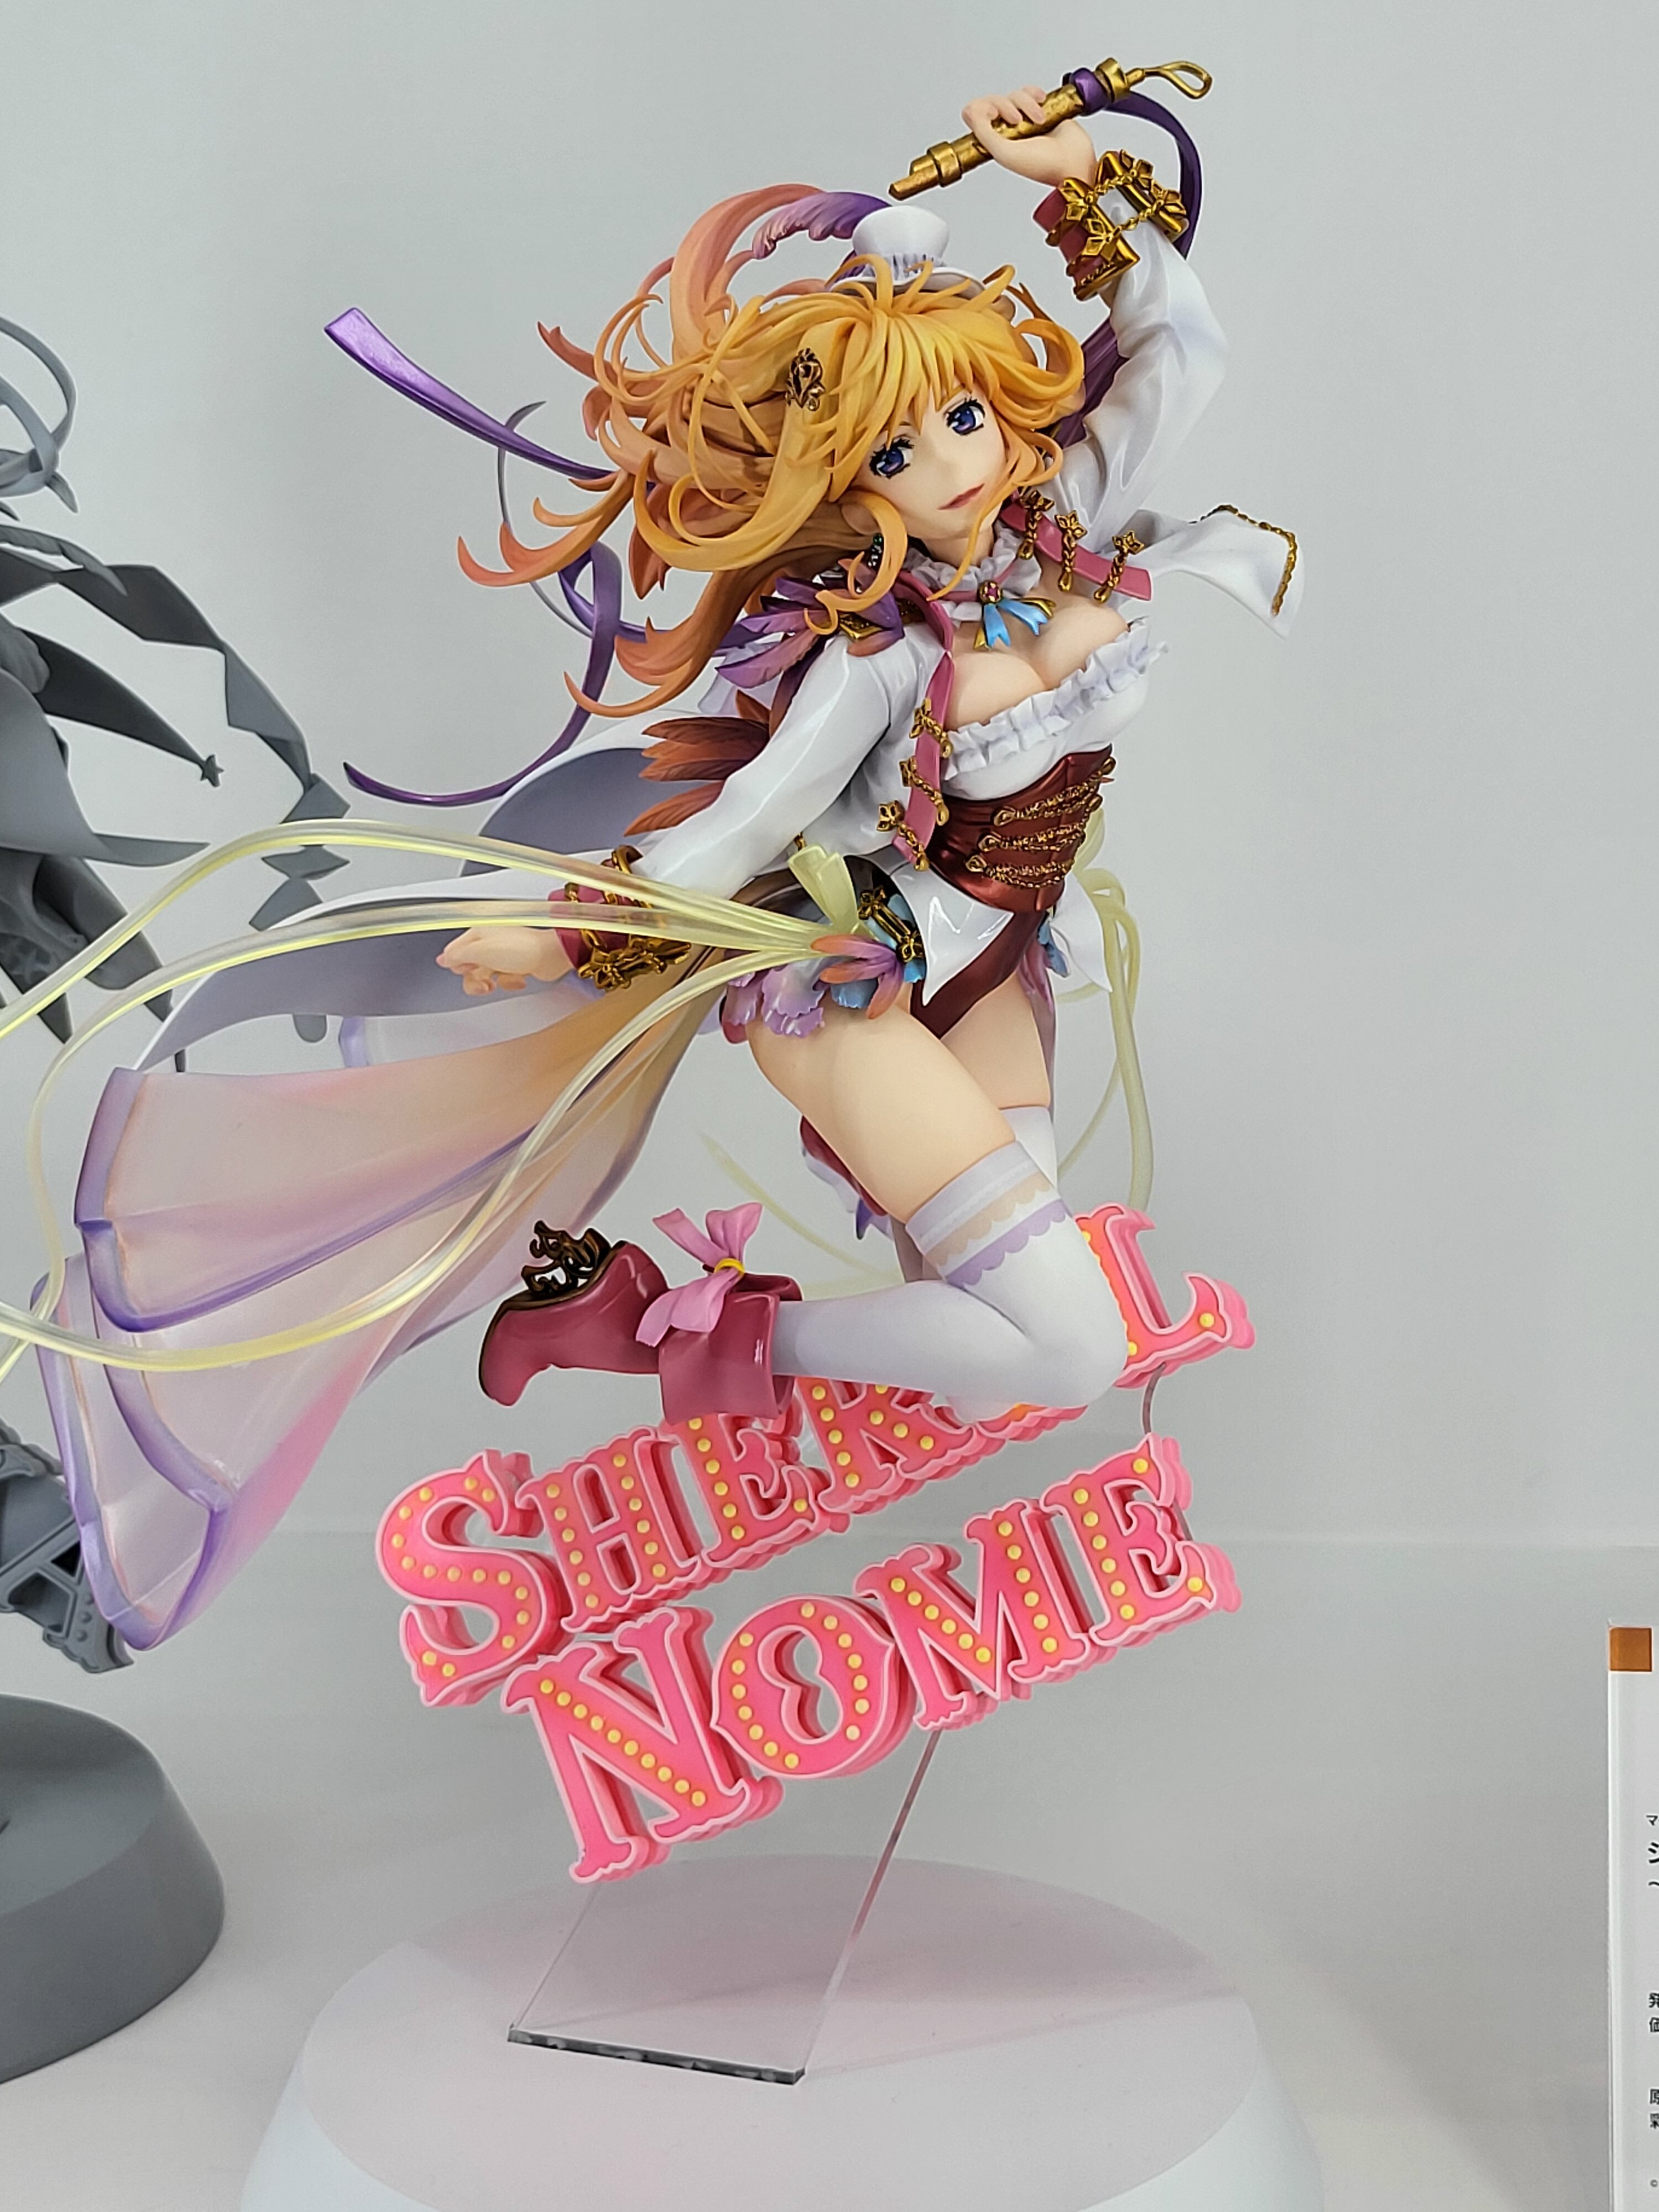
I managed to get the set of ladies at Wonderfest. QR was display only These figures are resin figures. The Sheryl Ranka, and Minmay are going to be production figures
-
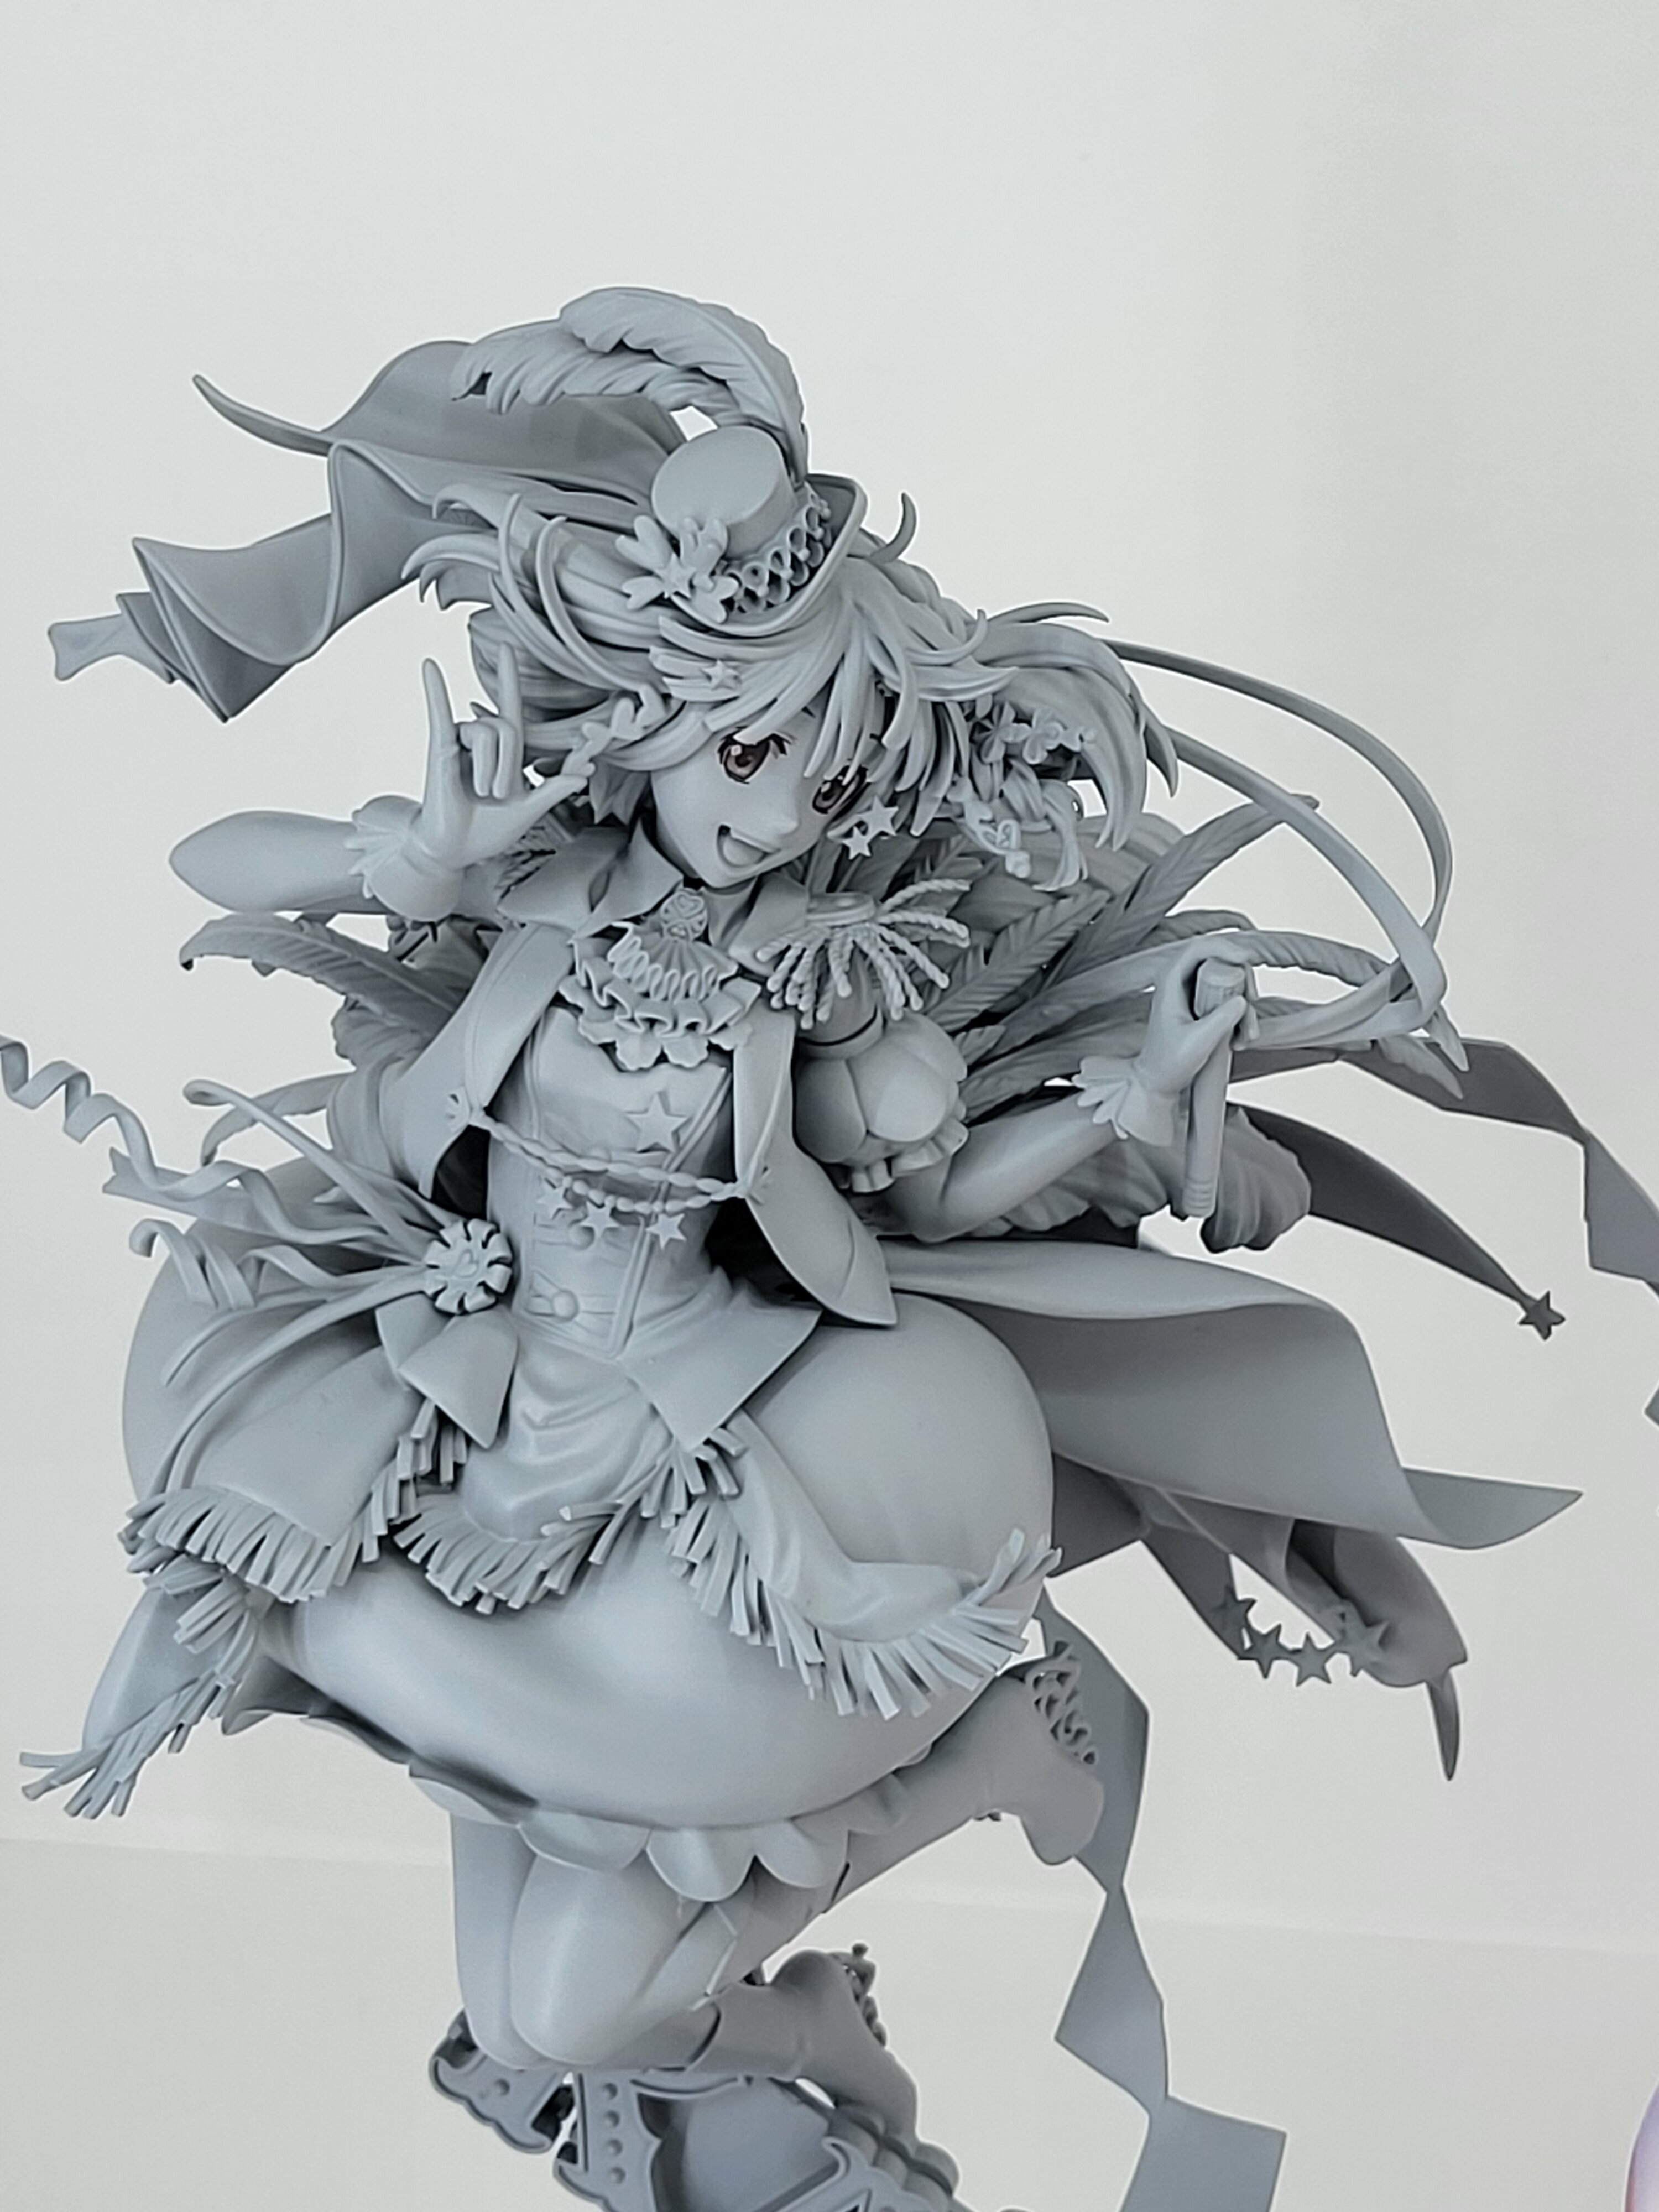
I managed to get the set of ladies at Wonderfest. QR was display only Arcadia Minmay painted I believe. I'm not sure if it's a production version. And here's the upcoming Sheryl and Ranka
-
Cool. These are fairly easy work ups, so it probably won't take you too long. I'll post pics of my build. I hope you do as well. I have that file as well. Nice paint job. Thanks. I'm hoping to put out a few more projects this year, so stay tuned.
-
I've also been debating if I should add attachments for this... If I add an attachment piece for fast packs, I'm obviously not going to make the legs for it, although....
-
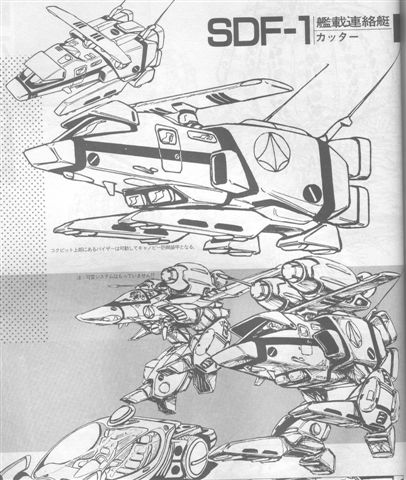
Here it is with the antenna, just for kicks. If these are printed, I'd suggest putting the together in warm water to bend them to one's preference, as that is optional...
-
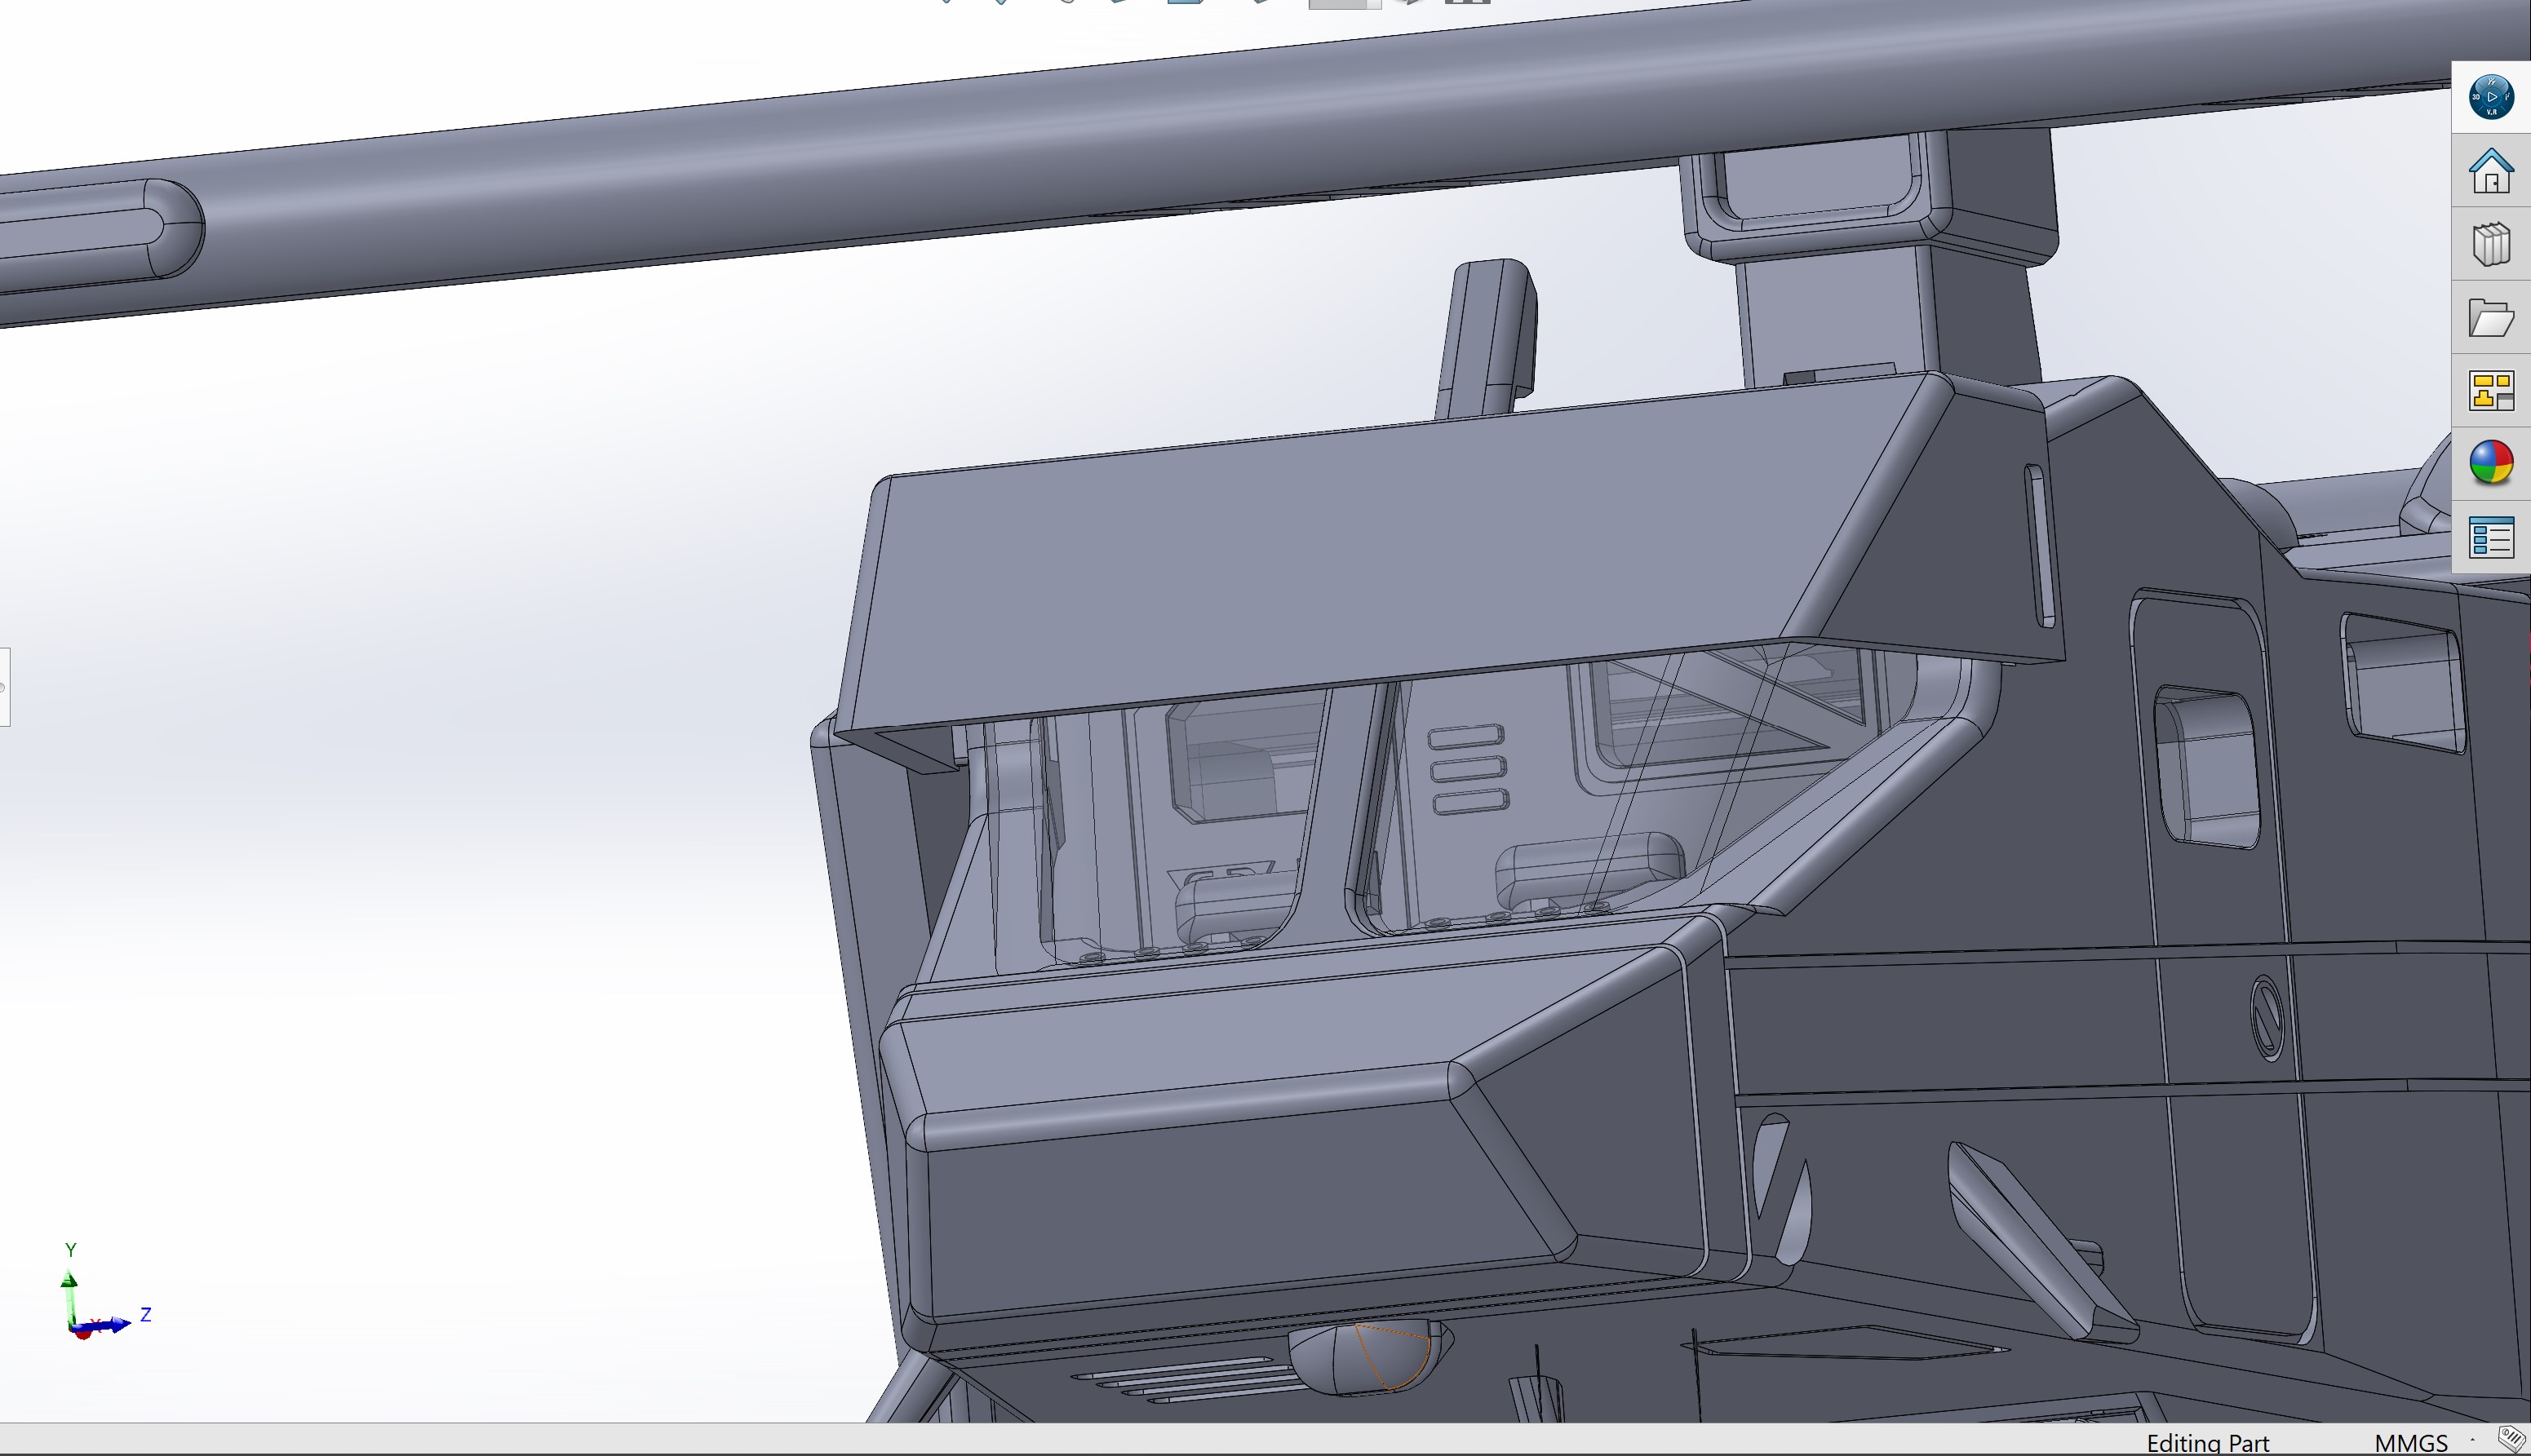
It's been awhile since I did another project, but I decided to work on a Macross RC-4E Rabbit. Since their have been only a couple designs of this, and the only one really available for a file and print on your own is a solid body, I wanted to put one together that wasn't overly complicated with parts (16), has some parts that allow more intricate detail than a solid body but don't have too many gimmicks. The other reason why I wanted to do this, is simply because from the line art design, there always seemed to be a few things that bothered me. The biggest thing was the size of the door on the outside, as well as the design of the inside cabin. They are simply too small, especially when considering the need for space suits. The other issues were just the drawings of the interior. In any case, the visual aspects were areas I wanted to focus on, mainly the exterior and the cockpit area. Normally, I post progress pics, but as I went through this so fast, by the time I would take a screen shot, I was already further along than I had hoped. The design isn't too complicated, and more time was spent on the details more than the general shape. Overall, I'm quite happy with how it turned out. The entrance door is larger, and while it's not a door to easily just walk into, if it were full size, one would just need to dip their head in that helmet, rather than crawl in. I will eventually put the file into cults3D, but I'll be leaving for Japan tomorrow, so it will not go up until I have a chance to print it and test out all the fits for pegs, alignment, etc. There is an antenna that was made as well, but the pegs for them can actually fit 2mm aluminum rods for a sturdier piece if wanted, so I did not include them in. With those, total is 18 pieces. Edit: I also forgot to mention that I did not inscribe the UN Spacy logo on this, and it's simply better to apply a decal. The decal printing should be easy, as the decal area is literally 20mm in diameter. The center line is .5mm, and will work perfectly for aligning the decal to ensure it is placed properly.
-
I'll be going to the event next month, so I hope to be taking lots of pictures (if they're allowed). The newer version of this design looks pretty good. There's some variation in the hair, and the obvious tilt, but other than that, I don't see too much difference. I really want to know about the kits that will be on sale. I hope that info comes out soon.
-
As Wonderfest is quickly coming up again, I am wondering if anyone has any idea what Macross goods are going to be shown or for sale there? Specifically Characters since this is the thread for that.
-
The 3dcults link is where I got and printed mine. It did require some extra work as parts of one of them was a bit hollow in places, and left uncured resin inside of it (unless you put drain holed in it). The sculpt is good though. The only think I could think to improve, would be to give it optional hand poses for more dynamic poses.
-
Oh wow, that's some clever solutions to that. Because I am using a 4K resin, so I was able to get the cable part of the print to be very thin. Depending on how it's prepped and set up before curing, the cables can end up being pretty tight, and look like they're supposed to. I got several good prints with them, so I can't complain. I did send you a message about your print, so I hope you get a chance to take a look at it.
-
It doesn't on the inside. I put one there as an option. On the outside, I don't think it has one either, but it needs one in order to print properly.
-
REVIVAL FROM THE DEAD!!! I've been thinking about bringing my kit out to work on it, since it is a bit of an oddball kit, and aside from professional builds that don't have the customized touch that most of us do, it hasn't really been a popular build. That said, I hope this post brings out a finished image of this fantastic build. I know it's been awhile, but I hope this was completed, or at least has some progress.
-
That is an option. I'm going to try some leftover electrical wire, since that is a lot easier to work with in bending and twisting.
-
I did try this with a version I made for stringing it. Unfortunately, the 1/60 scale is just too small to fit even the thinnest high E string in the top, unless I make the center pole just really thick. In doing that though, it makes the design less aesthetically pleasing. I did order .15mm steel string and I can see if that works, but putting the holes on the top are not easy. I may try making the stringed version have 8 connectors instead of 10. That'll allow wider holes, and better integrity in the top for putting the steel string through. As of now though, it isn't working as well as I had hoped.
-
That is possible, but then I'd have to buy that. I was also thinking some thin steel wire, which is an option. I may make one with places to insert and wrap that sort of line. As a matter of fact, I'll probably upload that option onto the project where I uploaded it.