mickyg
-
Posts
2632 -
Joined
-
Last visited
Content Type
Profiles
Forums
Events
Gallery
Everything posted by mickyg
-

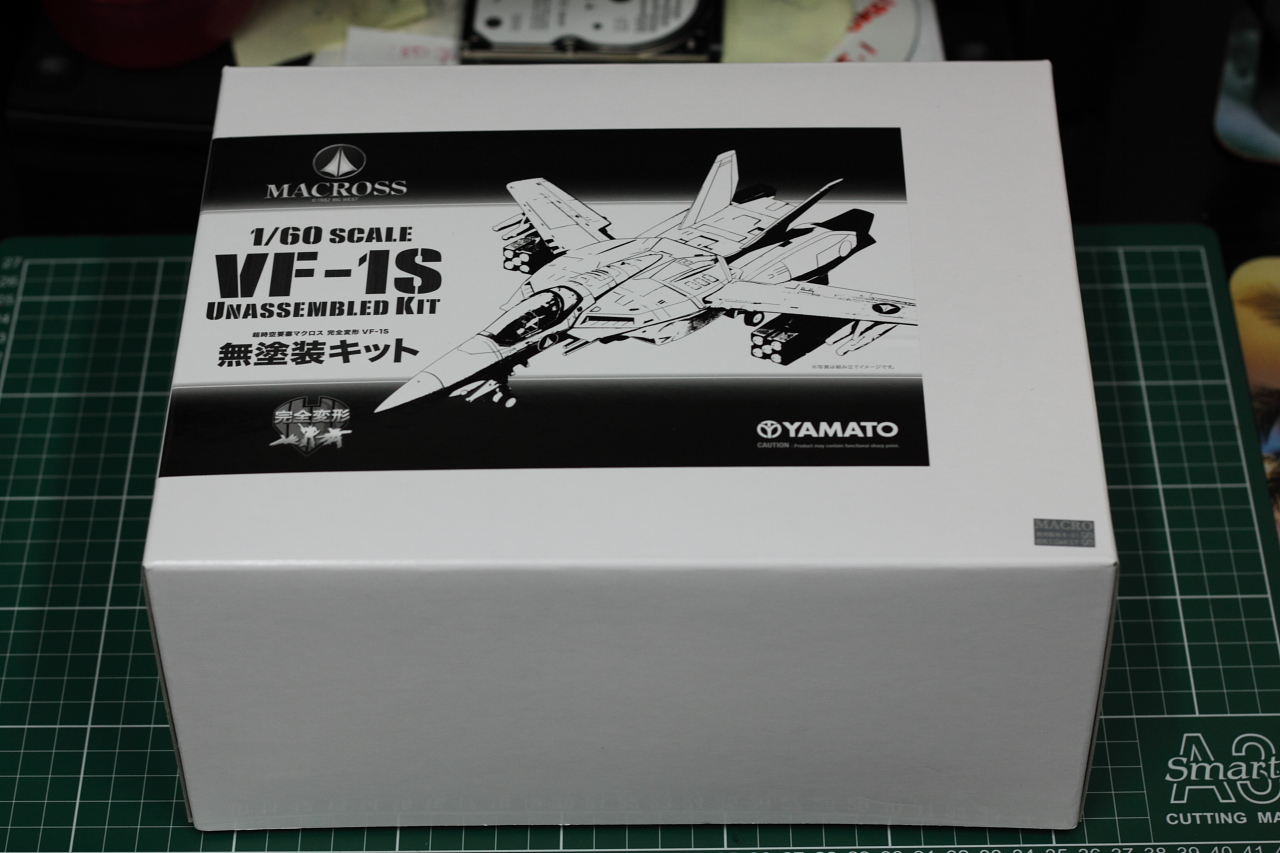
MickyG's Yamato VF-1S Unpainted, Unassembled Kit Build
mickyg replied to mickyg's topic in The Workshop!
Don't worry, I predict lots of pictures! I haven't mentioned what scheme I'm going with yet. I'm going to keep it a secret until it's finalised (finalised in my head, at least - no sense announcing it if it's not possible, right?). -
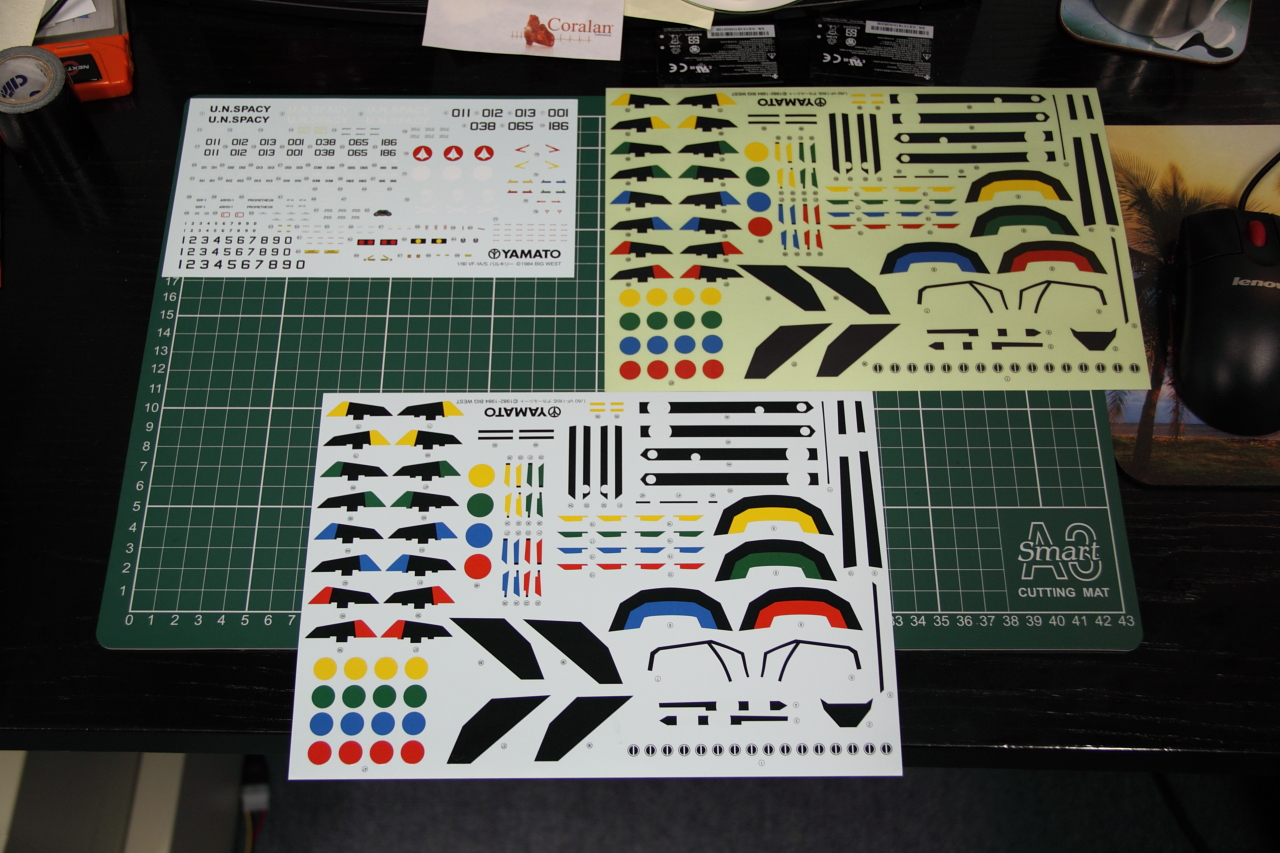
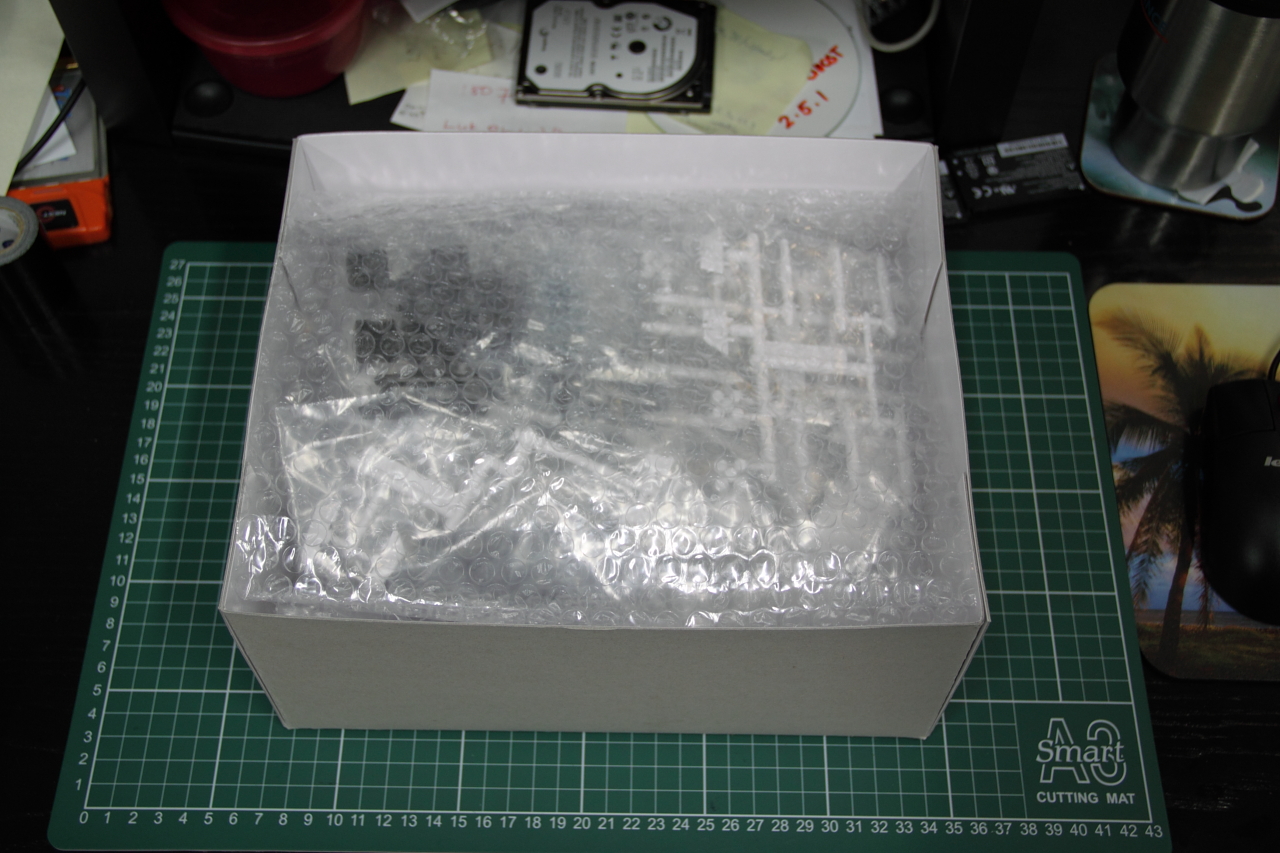
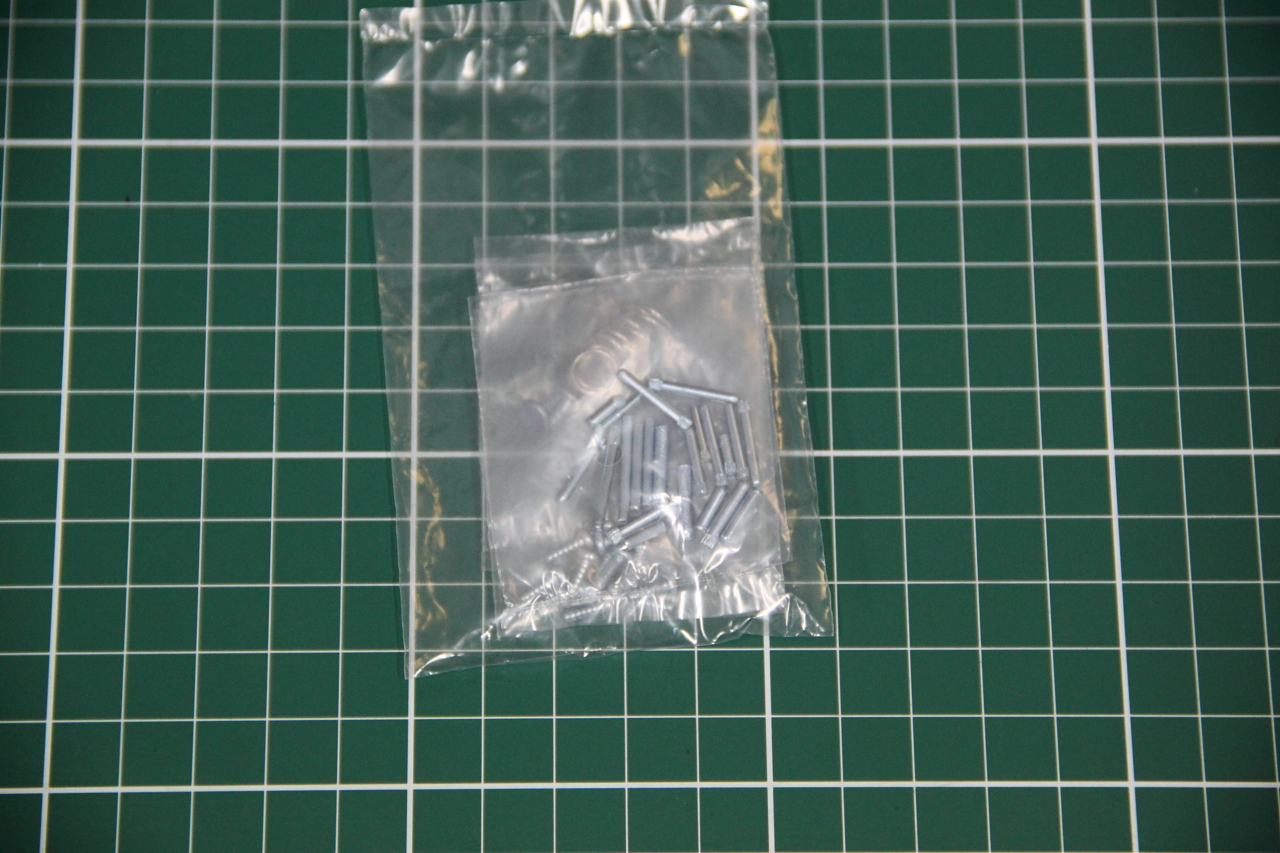
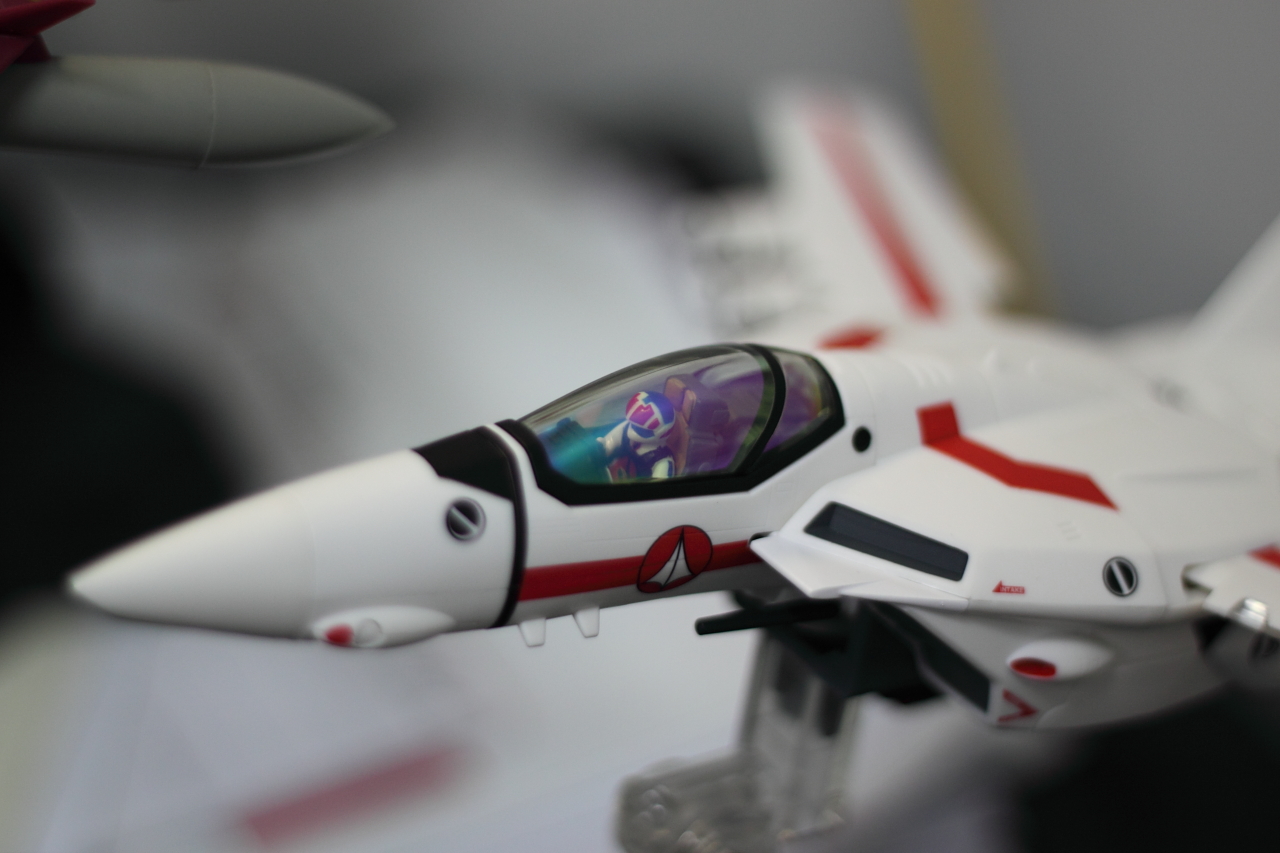
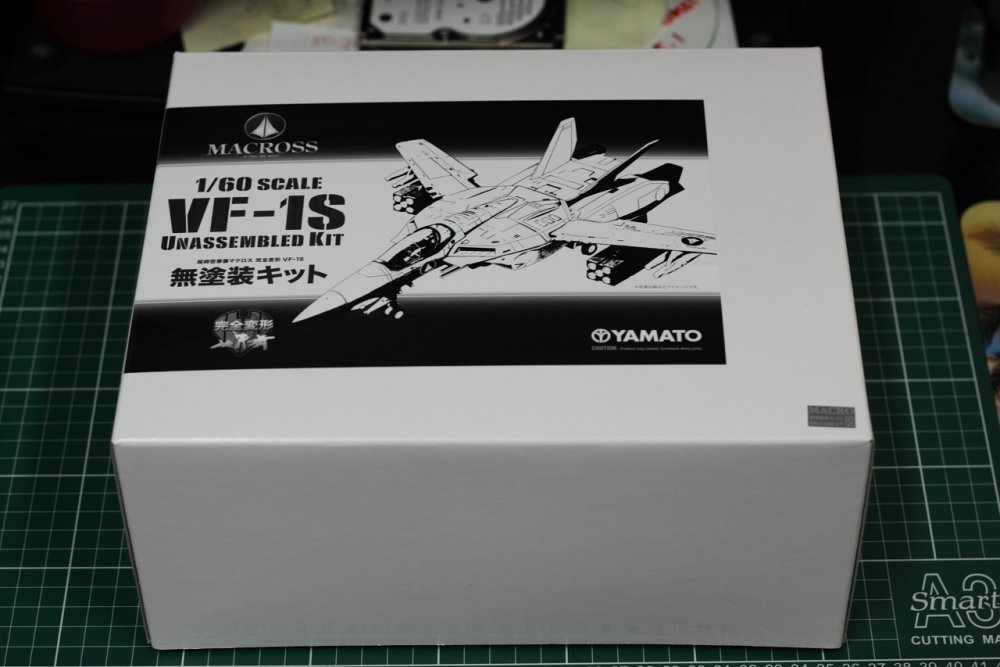
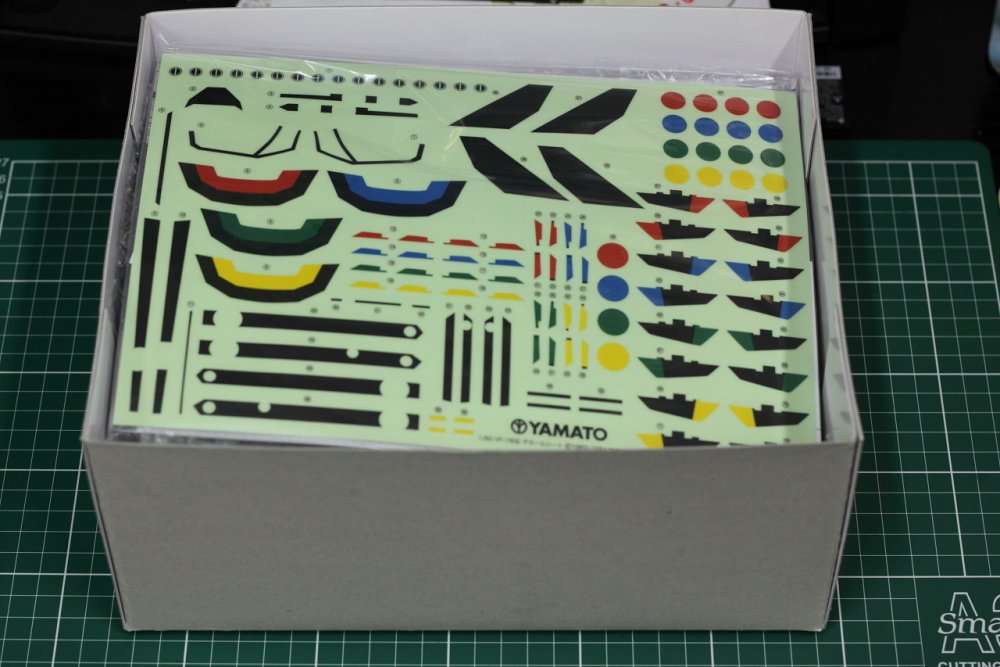
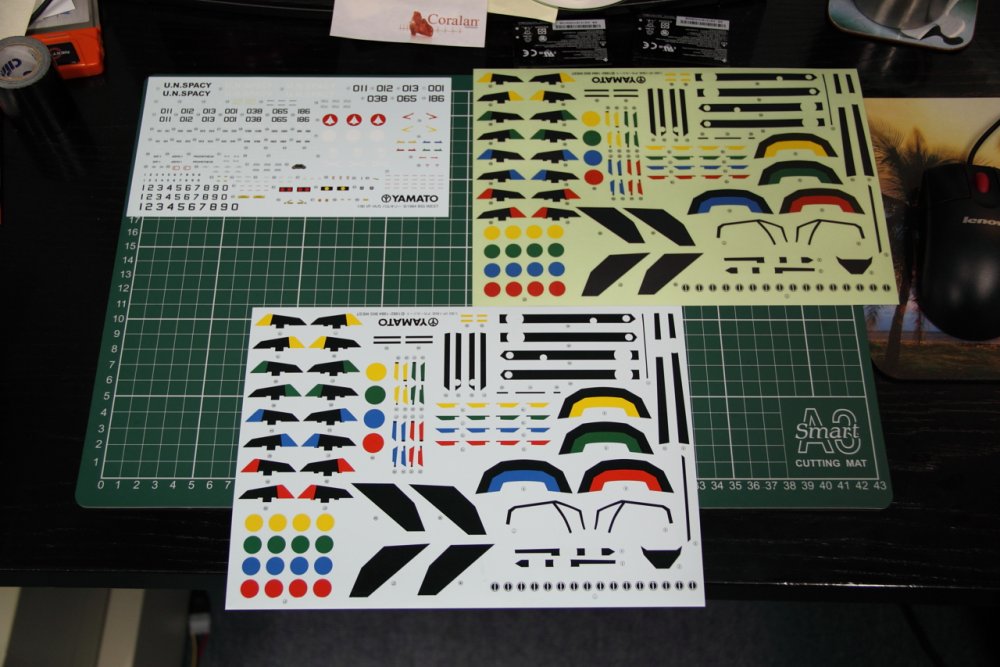
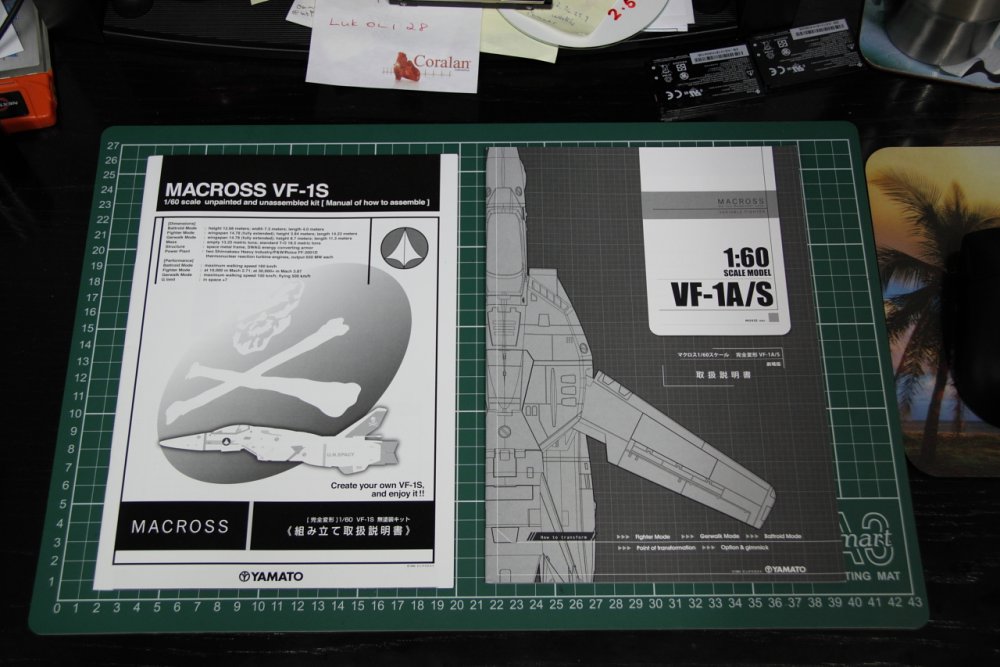
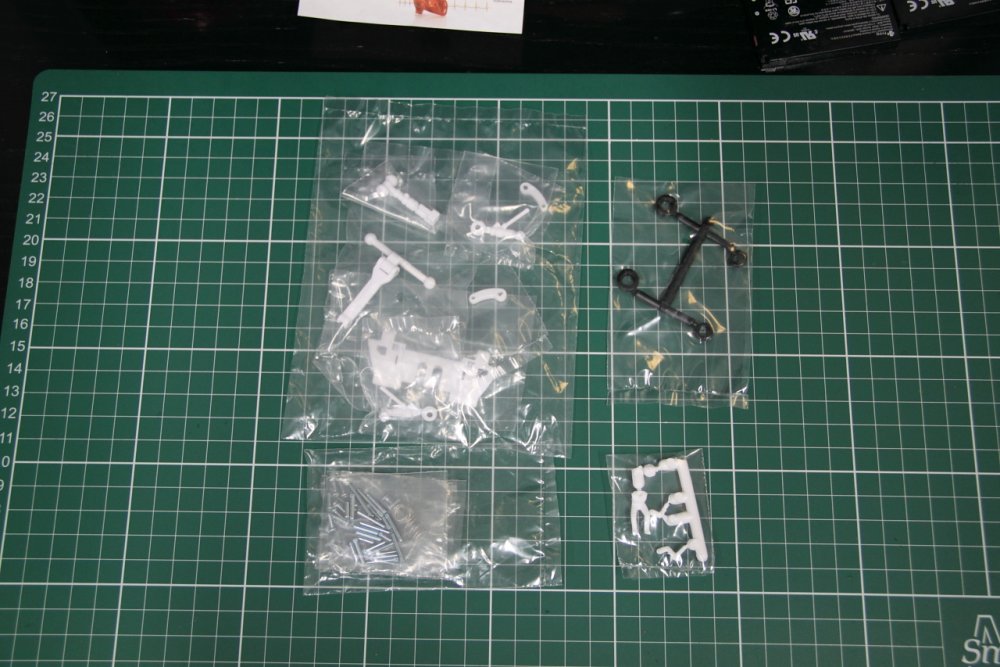
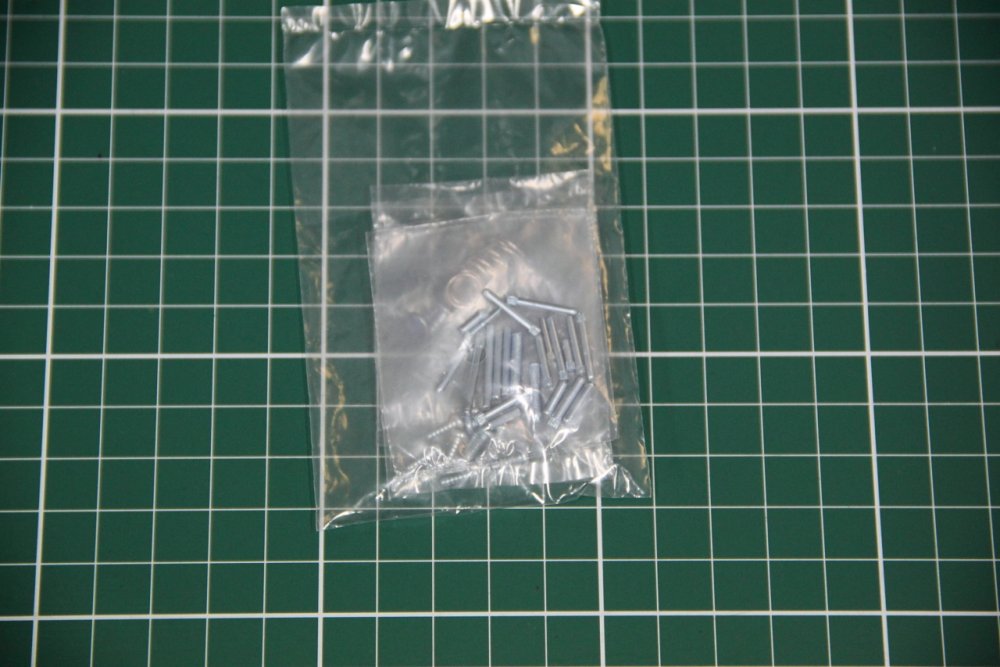
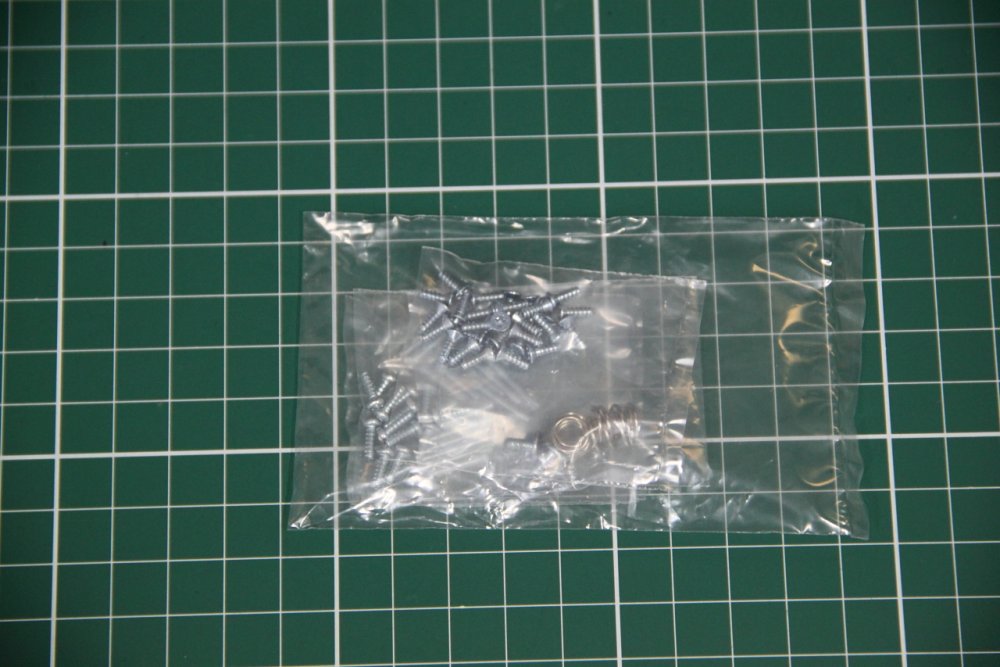
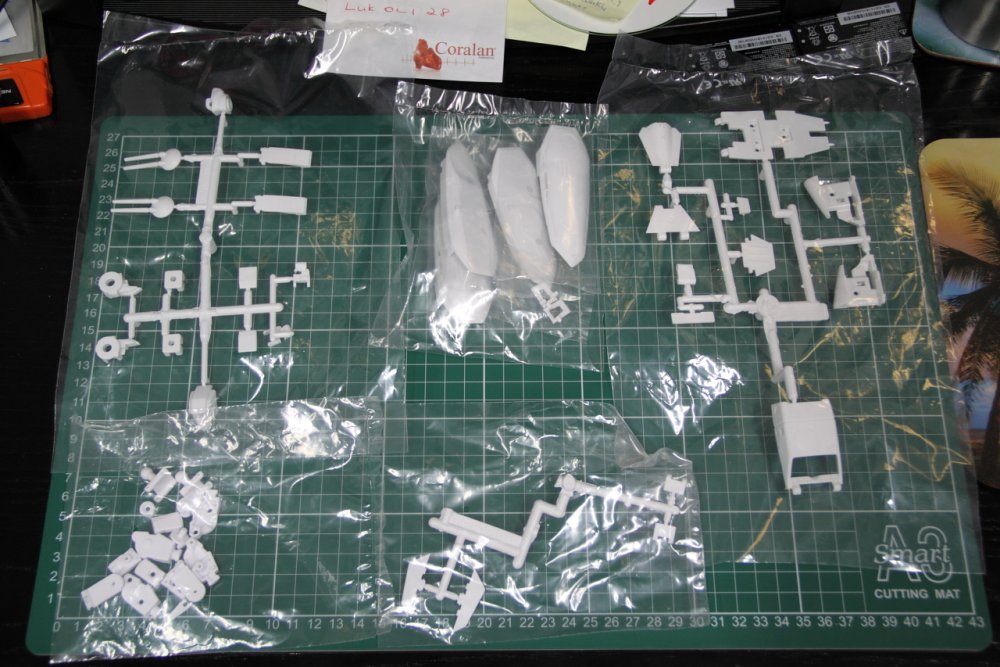
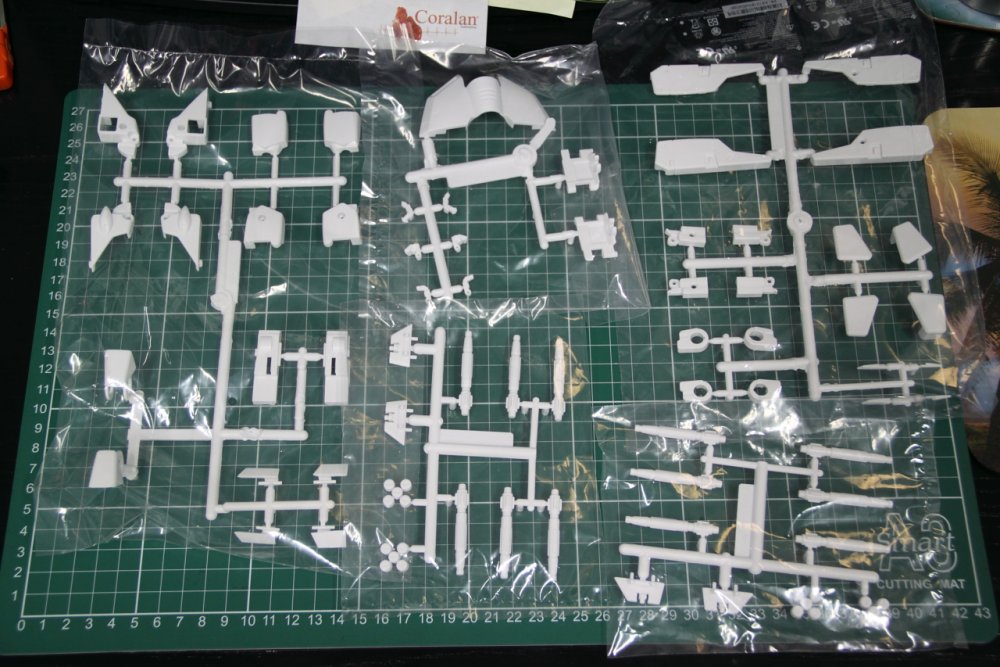
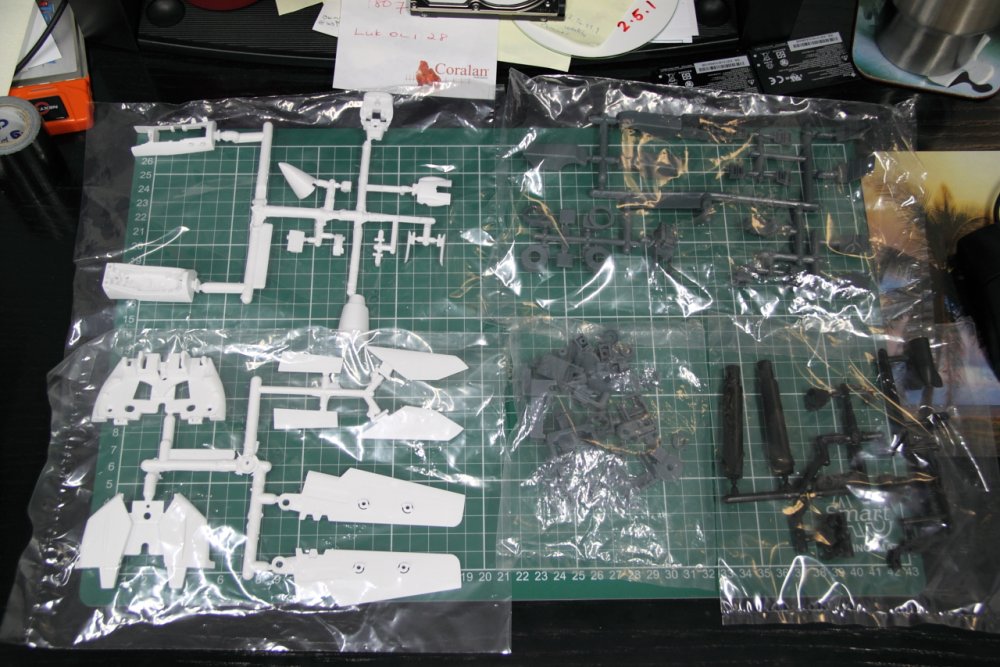
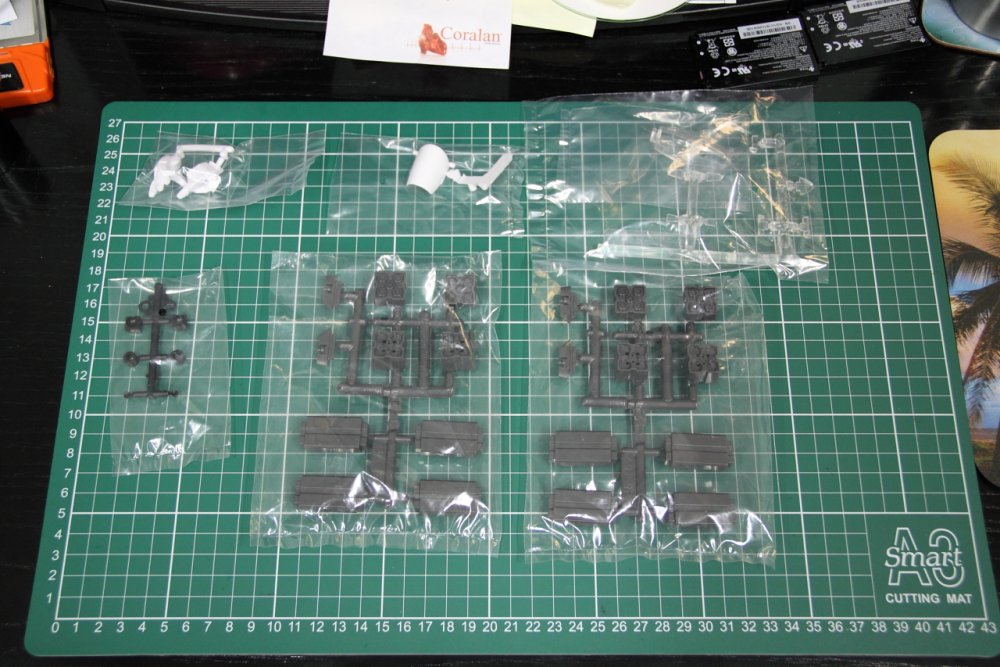
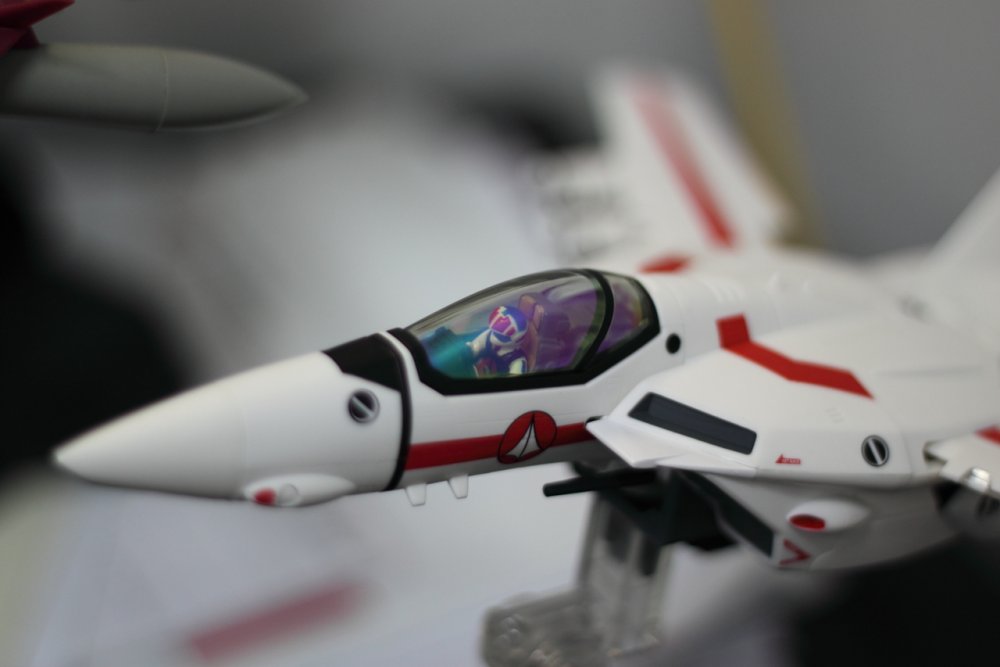
I'm sure there are going to be a lot of these being built in the coming months. Since I've got mine, as of today, I thought I'd start my own build thread. A place to get some input and feedback from the MW community and also journal my build. I'm hoping this will be a quicker buildup than my ongoing VF-25G - mostly because this is a toy, it's designed to transform, and the general build is much more robust than the Bandai model kit. Why that is supposed to be quicker, I'm not entirely sure yet! Perhaps we'll see when I get started. I expect this first page will undergo some changes as the project gets underway. I'll post up some pictures, for instance (they're not taken yet) and add any other relevant details for fellow builders of this kit. Something to make the first page a bit more informative for anyone following along. For now, some initial findings: First the good: It's a v2 VF-1S and we're all familiar with it, so no surprises here. The instruction manual is very detailed and very clearly laid out. There are lots of decals and stickers (more decals than stickers, in fact) Not that it's a massive thing but the box is very minimalist and well packed. Tons of parts! Looks challenging for those that are into that sort of thing (I am!). Since none of it is painted, you get to do whatever you want to it. There's a chance to fill in all seams and make this look a lot more refined than the completed toys. Now the bad: It's a v2 VF-1S - not a v2.1 so the crotch is the same fiddly design as the first gen v2s. I don't have any of the second gen ones so it doesn't bother me so much. The instruction manual, while very detailed is in Japanese. There are bound to be some tips that will be missed for english readers. There are lots of decals and stickers but not, in my opinion, enough. I really wanted some low vis options, for instance (grey kites, gray intake warnings, white "no step" markers, etc...) Since none of it's painted, you have to figure out what sort of paint will be durable, whether any paint build up is going to wreck transformation and fit of parts. Add to that the different mix of plastics and pre-painted metal and it can seem a little daunting to paint this thing up! There are many, many steps that call for glue (that much I've managed to translate). I don't know what type of plastic we're dealing with so have no idea what sort of glue is appropriate. The kit doesn't specify whether it's DYRL or TV. The hands are DYRL but the pilot is TV style. The white plastic is not all the same colour. The shoulder covers for instance, are almost a purple hued white. So unless you want this to look a little off, you'll need to paint everything. Even if you're going for white. There's no description for the screws. Unless they're all the same size (I haven't checked) you'll need to test what goes where and hope you don't crack any screw bosses. I'll end this first post with some general questions: I think there are a few types of plastic in this kit. Anyone know what sort of glue is going to be required, based on the plastic type? Will there likely be more than one type of glue that should be used? I'm planning to use acrylics on this - has anyone got any experience using this type of paint on this kind of plastic and know how it will hold up? Would it be better to use a lacquer? How bout putty - any suggestions for type? UPDATE (29/04/10): Some pictures and a few general comments. Pics 1, 2 - Unboxing (sort of - I'd already taken stuff out prior to the photos so the arrangement of the markings and instructions probably isn't right) Pics 3, 4 - Decals, stickers and two instructions - one for assembly, and a standard valk transformation guide. The blue sheets are the decals. As you can see, I didn't get stickers for the smaller sheet. I'm not sure if this is a mistake in packaging or if that's just the way it is. I'm not too concerned as I'd planned on using the decals anyway. Not really visible in the pics, but the instrument panel is DYRL style. So again, it's not clear if this is meant to be a TV or DYRL style Valk. Pic 5 - everything is packed in layers and then bubble wrap around it all. Not over the top packaging but certainly adequate. I only found a few parts that had come off the sprue but nothing broken. Pics 6-12 - all the individual bags. Not sure if you can make it out but in pic 9, look at the bottom left bag: these are the parts that are a bit purple hued. Like it's a different grade of plastic. I'll be painting the whole thing so I'm not terribly concerned but if you were going for a standard white scheme, this could look a bit off. The screws and pins bag shows all the little parts and my previous comment about screws doesn't seem to be so bad after all - looks like they're all one type of screw except for one exception. Pic 13 - just playing with my new lens!

-
Hah! The brush painting is just on these last two updates! Very, very little has been brush painted. Most is done with my Paasche VL airbrush, using a broad tip. I've got a medium and fine needle but haven't used either on this yet.
-
More distractions just arrived! Finally got my unpainted Yamato VF-1S kit! So many pieces! No explanation about what glue to use that I can find. I suppose I'll have to start a new thread for that. Along with the kit, I also got a new lens for my SLR and a new camera for my wife. Means she won't be too concerned if I take my SLR away when I eventually start working on the model at work again (haven't done that in quite a few months).
-
By my reckoning, we should be up to 19 and watching 20 at the end of this week. Can anyone correct me on that?
-
Need some painting advice for VF-19 & VF-22,please.
mickyg replied to Maxtype's topic in The Workshop!
You know, I read that story some months back and thought it was unbelievable! Awesome that he made it home that way! I had no idea that the intakes were variable geometry and the F-15 has been my favorite fighter since I was a boy! Wow, I have so much to learn! Back on topic, Maxtype, you planning on going for a gloss or more matte paint? -
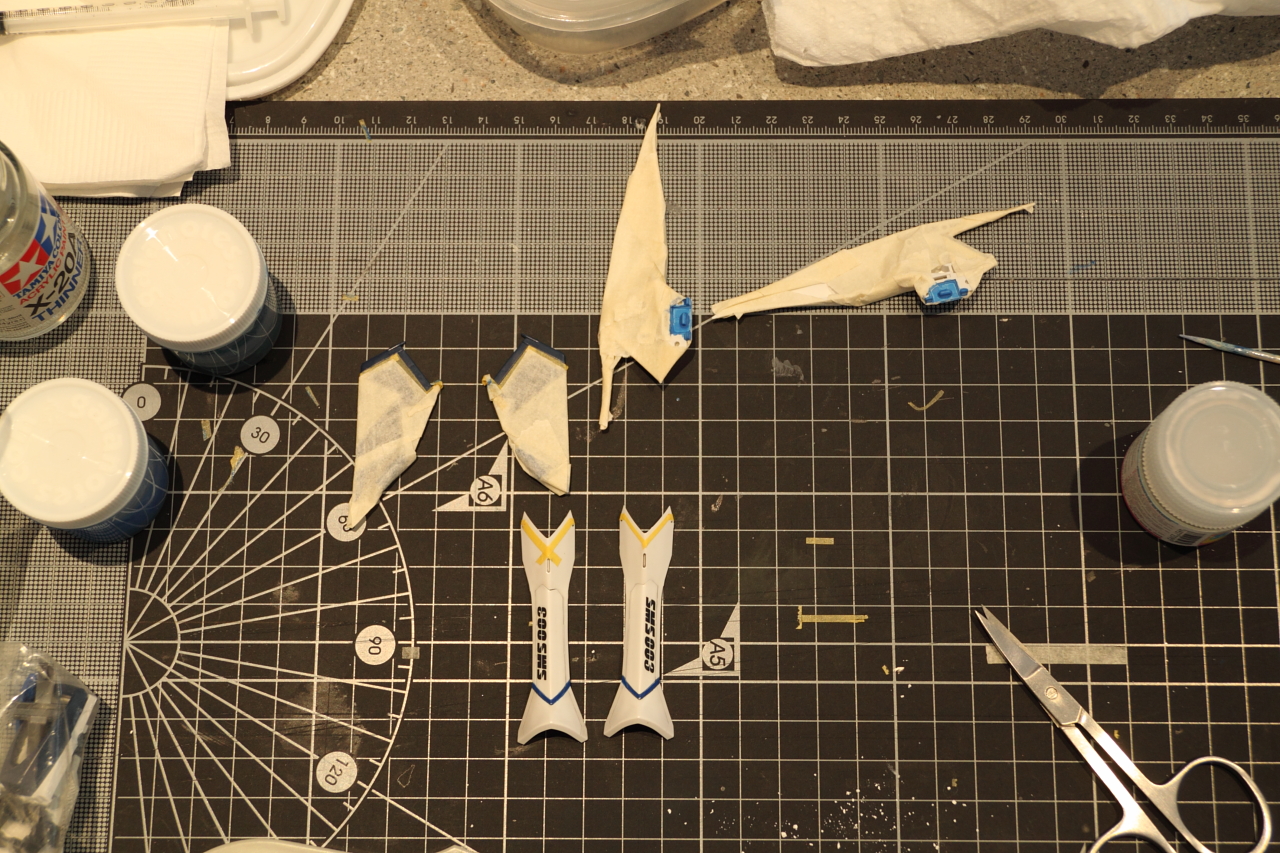
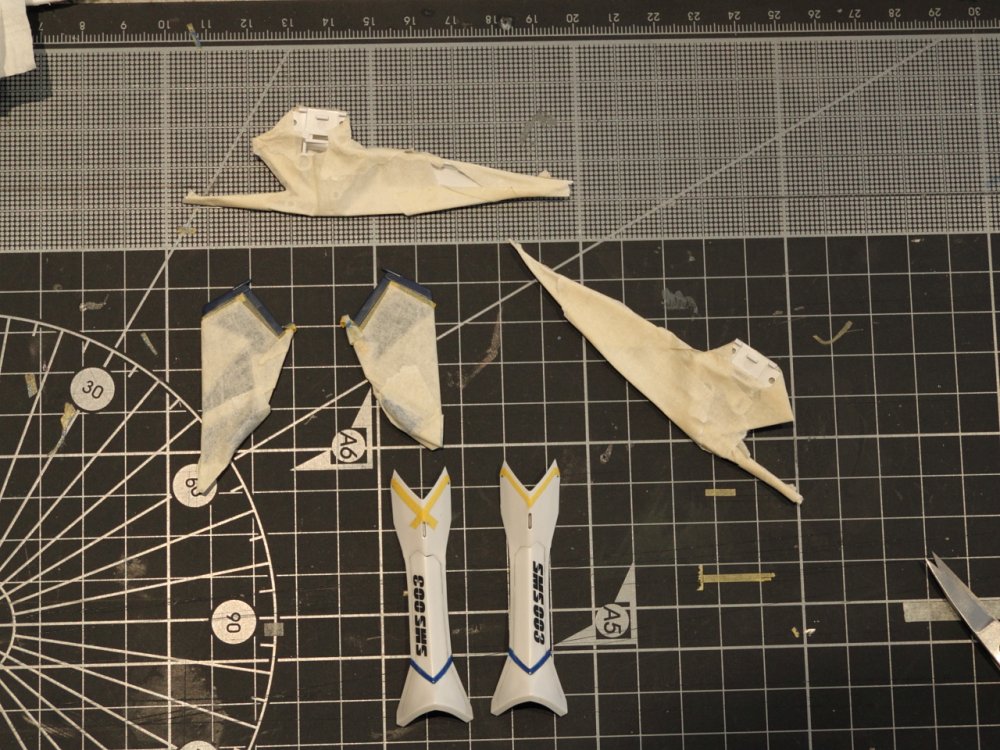
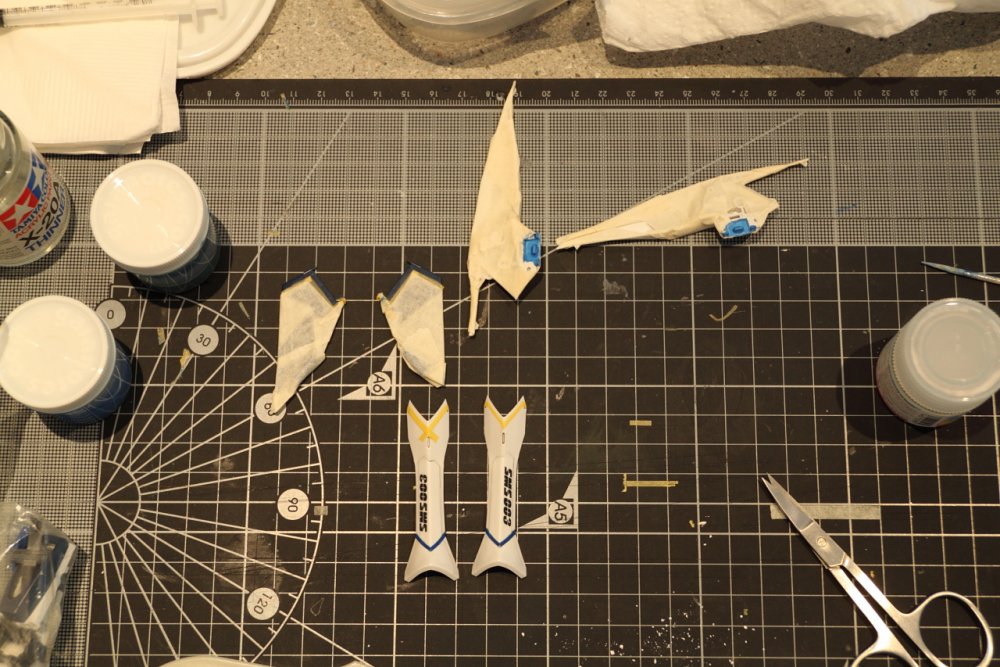
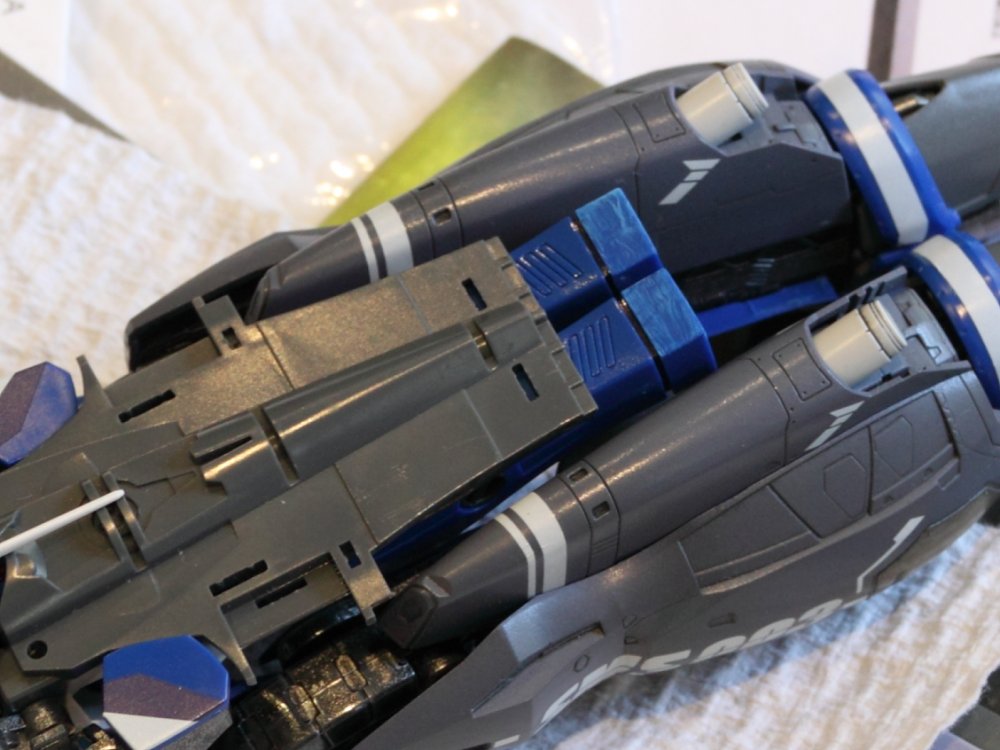
Got some more done - not tons but given the lack of any progress lately, this is at least something! I've been a bit bothered by the wing hinge all along. I don't like that you can see white on the top, when the rest is blue. Given the two coloured molding process, there's nothing that can be done, except to paint it. I'd been putting this off for a while because I thought it'd be really difficult to get the right parts painted. Turns out, it was so easy that I actually didn't even need to mask it - but I did. I also got to experiment a bit with the Gunze flat base on my pre-mixed blue. I got it to mix with the clear gloss coat to make some sort of satin, but I also wanted to try it to flatten out my glossy paints for brush painting. I find the glossy paints go on really baddly when brush painted - too many brush strokes show up. Anyway, the theory only sort of proved itself. Turns out if you add too much, it dries with this really powdery look (but the positive is that coverage is definitely better flattened). And by too much, I mean I mixed about 4 drops of blue, from a toothpick, with one "drop" of flat base. The stuff is very gooey, so very difficult to measure correctly, especially when dealing with such small quantities. Anyway, the bits on the lower wing root are so small, that the white powdery stuff didn't really show up like it does on the last pic - which was a test to see what it was going to look like. It'll get wiped off with a cotton swab and some windex. Anyway, just a bit of FYI.
-
I used the Tamiya chrome marker pen, per WM Cheng's buildup tips: You just get the paint flowing from the marker and use a small brush to dab it on. It's very reflective and dries super quick (lacquer, I think). I'm not looking forward to my VF-27...
-
Need some painting advice for VF-19 & VF-22,please.
mickyg replied to Maxtype's topic in The Workshop!
Maxtype, those are going to be awesome! David, are those all the same aircraft? I'm guessing it was a testbed for something, if that's the case. The variable intake (if that's what they are) looks very interesting. -
Intimidated is right! I was feeling exactly that last night as I was assembling a bit more to see what I still need to do (it's hard to know what's left when it's still in a million pieces!) and noticing how hard it was just to get the arms out of the way and correctly stowed under the backpack, all while trying to make sure the head was sitting correctly along the back, and then noticing how terribly fingerprinted everything was getting! I did manage to get all that done without scratching the shoulder decals though. So there's a huge positive! I'll keep at it - this weekend is a 3 day one for us so maybe I'll get some more time to do a bit more.
-
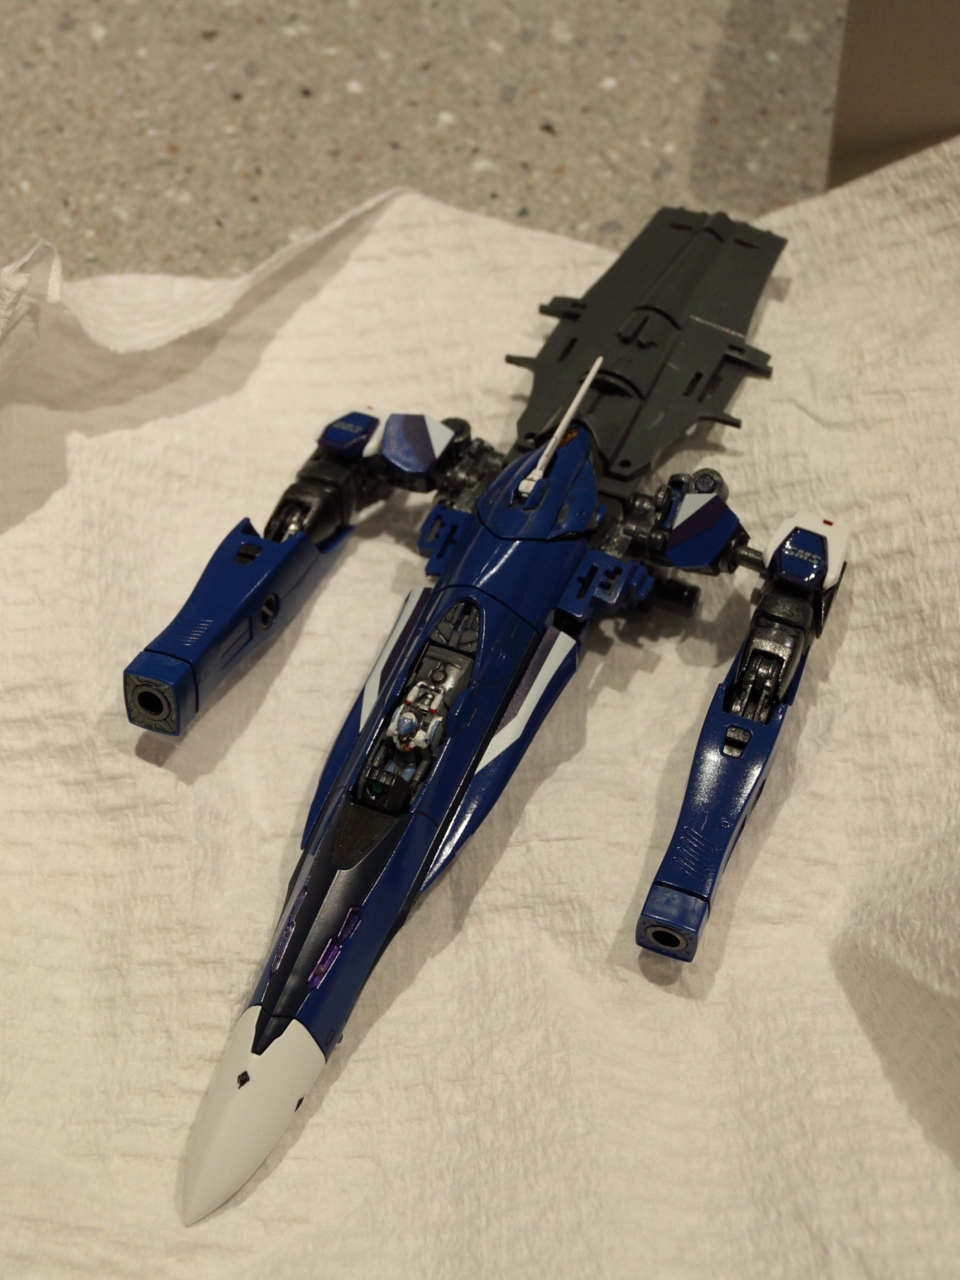
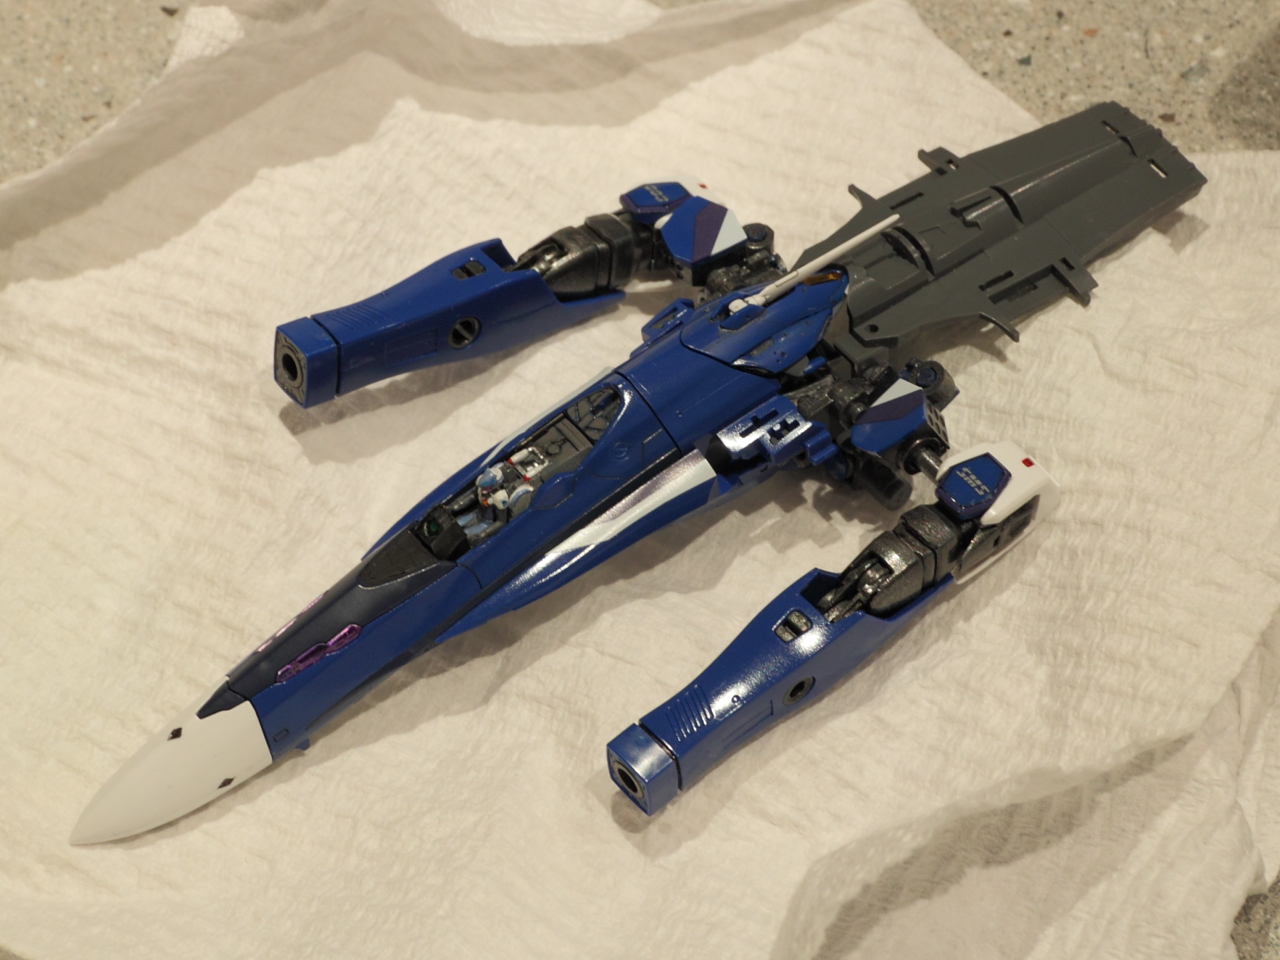
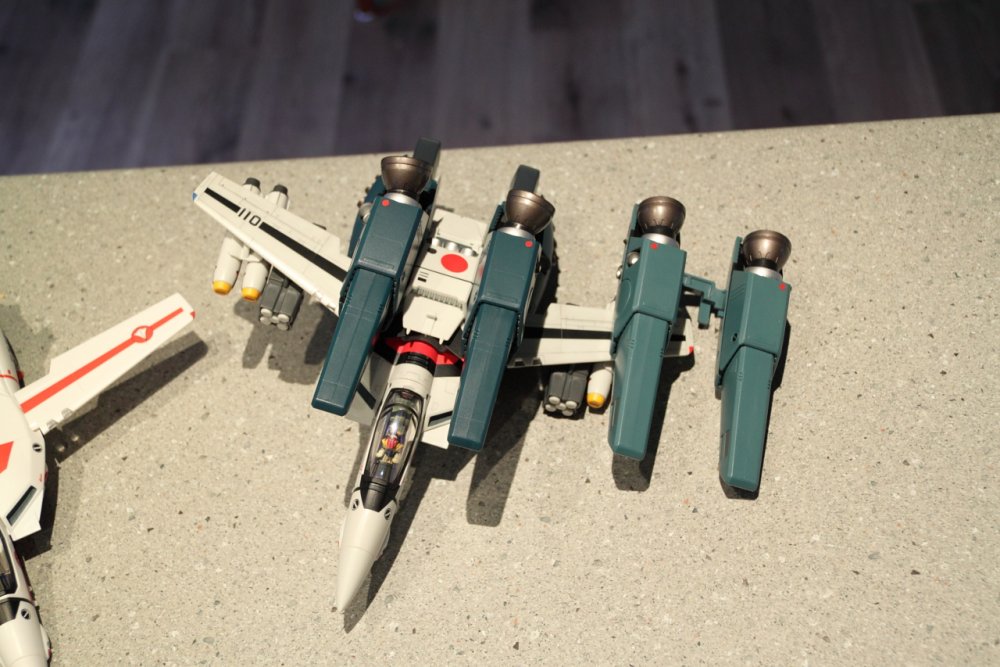
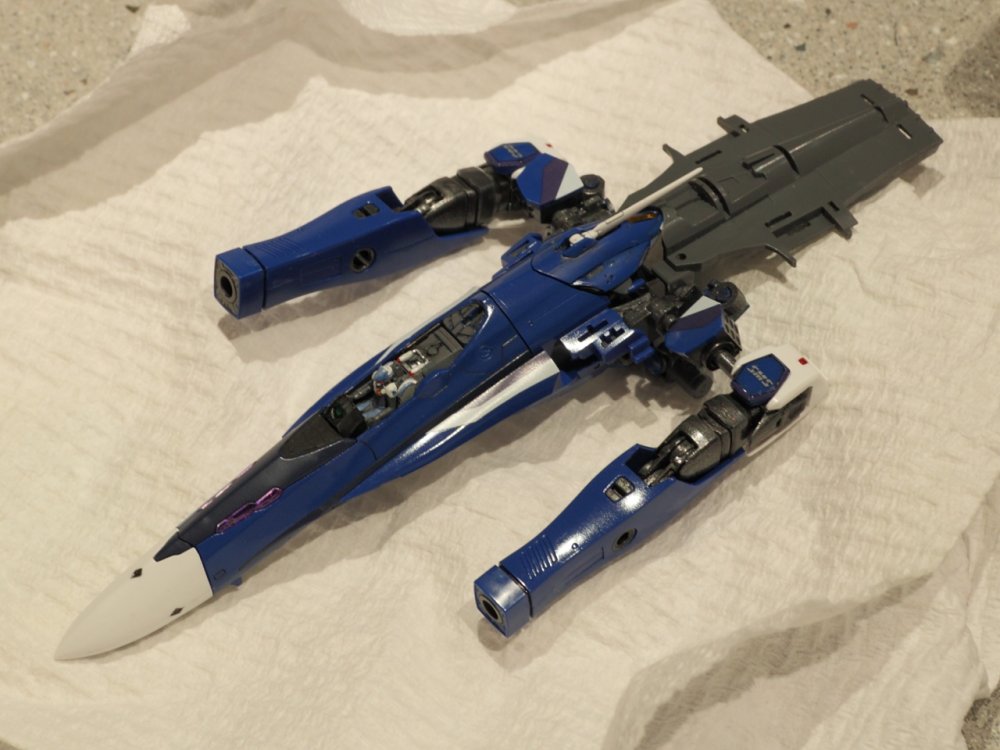
Some pics, as promised. First up, 1 of 2 items I ordered recently showed up today! I'm still waiting on the unassembled VF-1S kit - that'll probably be my next project (or one of the 3 Hasegawa kits I have or the VF-27 sitting under my desk at work...). The VF-1S must be shipping via another warehouse and not directly from HLJ. Very interesting to see these side by side - I knew the 1J was whiter but it was nice to see it up close and in some decent light (not that the pics really show that, mind you). Also was surprised by the very subtle difference in colour between the DYRL and TV super packs. I was expecting a much bigger difference between the series. Kinda why I got the 1J with the packs, to do a proper 1S TV style. Now I think I could have done with the DYRL colours and no one would have been the wiser! Oh well. Now, where were we? Oh yes, the point of this thread! Here's the red I did the other day: And some of the assembly I've undertaken: I really needed a tripod for these but couldn't be bothered getting it out. So they're a little dark. You might be just able to make out some of the parts that aren't panted. Specifically, the arm covers or wrists. I don't know why I missed these but there are plenty of other blue parts that haven't been painted. And I'm not sure I'll paint them, because the paint is so close to the molded plastic. Once I get my final satin coat on them, I doubt it'll be that bad. Plus, I'm getting impatient and doubt I'll transform this thing from fighter anyway!


-
Looking phenomenal! OK, I did take a picture or two the other day (after posting that it wasn't worth doing, no less). And I did manage to put together a few of the pieces of the front section, along with the arms. It was good and bad. Good because it's looking good so far. Bad because there's still so much to do and the glossy paint is pissing me off soooo much with how easy it is to finger print! I'll post pics as soon as I find my memory card.
-
I replied while the two of you were replying. Oops. Don't worry, nothing spoiled yet. Just as confused as ever. Remember RedWolf, I've seen nothing of M7 - no OVAs, no manga, nada. Everything up to Ep 18 is my experience thus far. I like going into this as though it was the 90's and this is the first time I've seen it! I'll just have to be careful what I read and I should be OK.
-
I thought that might have been the case but based on what's happened up to ep 18 (I watched that a few days back, thinking that's what we were up to) it's definitely not obvious yet. Don't worry guys, you haven't spoiled anything yet! Are we on 18 yet?
-
OK, that makes sense. Except that I was thinking Gigil wasn't human. If that's the case (and I don't know because I haven't watched the whole series yet) why isn't Gigil affected? Perhaps I'm jumping ahead too far at this point and maybe that's obvious by the time I finish the series.
-
I'll chime in on ep 17 here. Pretty Devil - yes she is! At least I think she is... She's one wierd character at this point, that's for sure! This is another one of my "I've never seen this series before" comments so the perspective might be a bit different to everyone else's. Firstly, what on earth is going on? Some wierd alien race shows up, with an army of human fighters in craft that no one's ever seen before. OK, we've pretty well gotten used to all that and accepted it for what it is at this point - a mystery. And just when we're getting used to the fact that these are apparently humans (not sure about Gepelnitch and Gigil but they look human enough), Gigil just takes off to some strange ice planet with some random giganto-pack on his back and wakes up some being in a cacoon. What the? I'm super confused as to what's going on. But I'm also interested in what's going to happen and how this will all be fleshed out. One thing is for sure, this series is very methodical about development. Anyway, back to Sivil, here's a list I've got after watching that episode: Why is she different to every other alien we've been introduced to What's with the green boobs? Or is that some sort of suit, since the rest of her is normal skin colour? Not that I'm complaining! Why is it she can fly and no one else can? What Gigil's backpack and why does it require effort to "shoot" it? It appears to be some way of transporting spiritia but it was somewhat vague in conveying that. Or I'm just dense and missed it. She's got some crazy ability and power, that's for sure. Why is she bothered by Basara's singing when no other alien up to this point has been? What about those ears? They've done a great job of making her look like a cat - not that that's got anything to do with anything. And is that pain or pleasure on her face when Basara sings? Just a few observations after watching this ep. I'm still enjoying it and am getting more excited by every new episode.
-
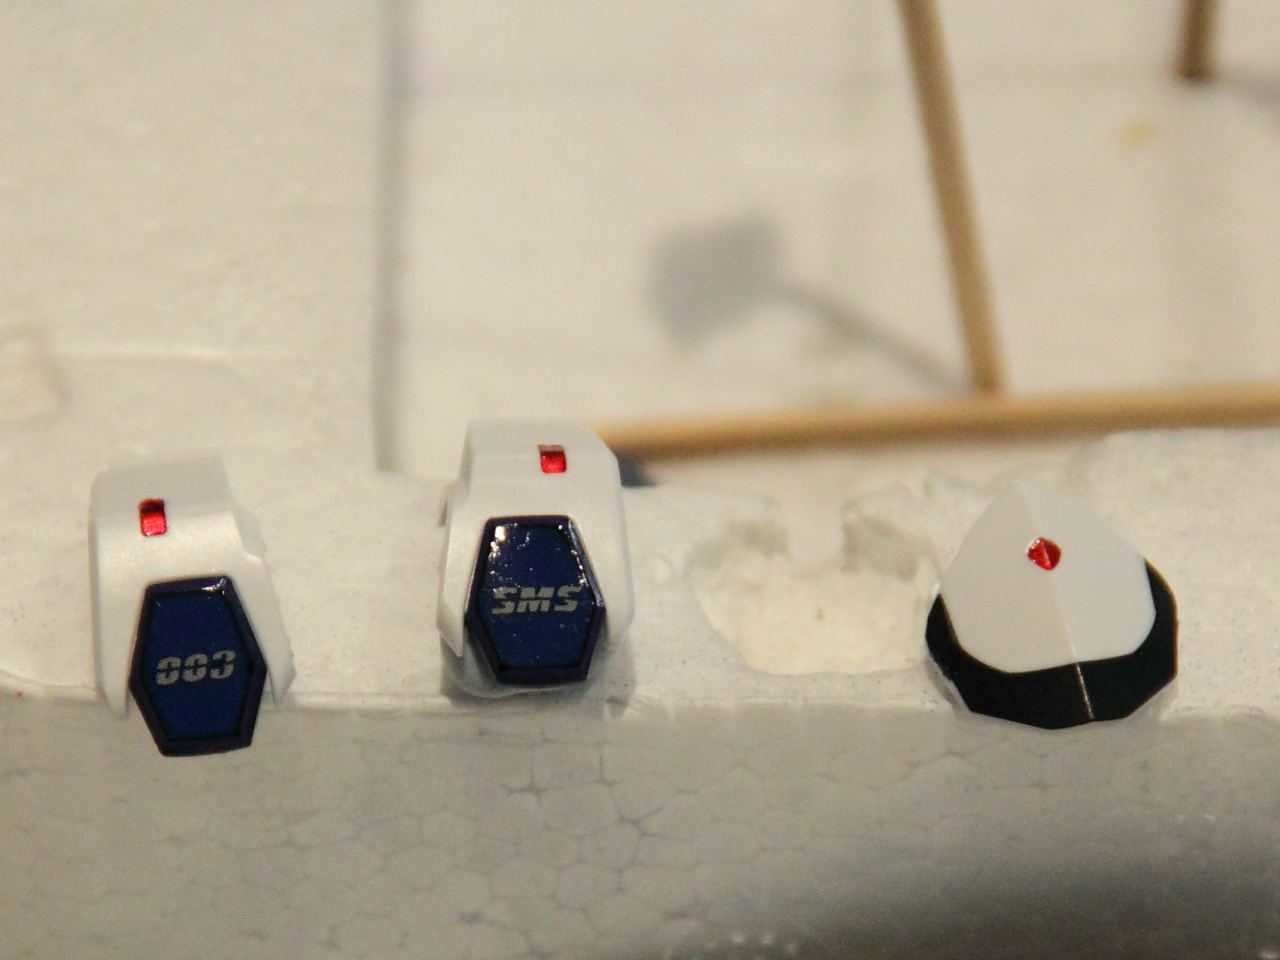
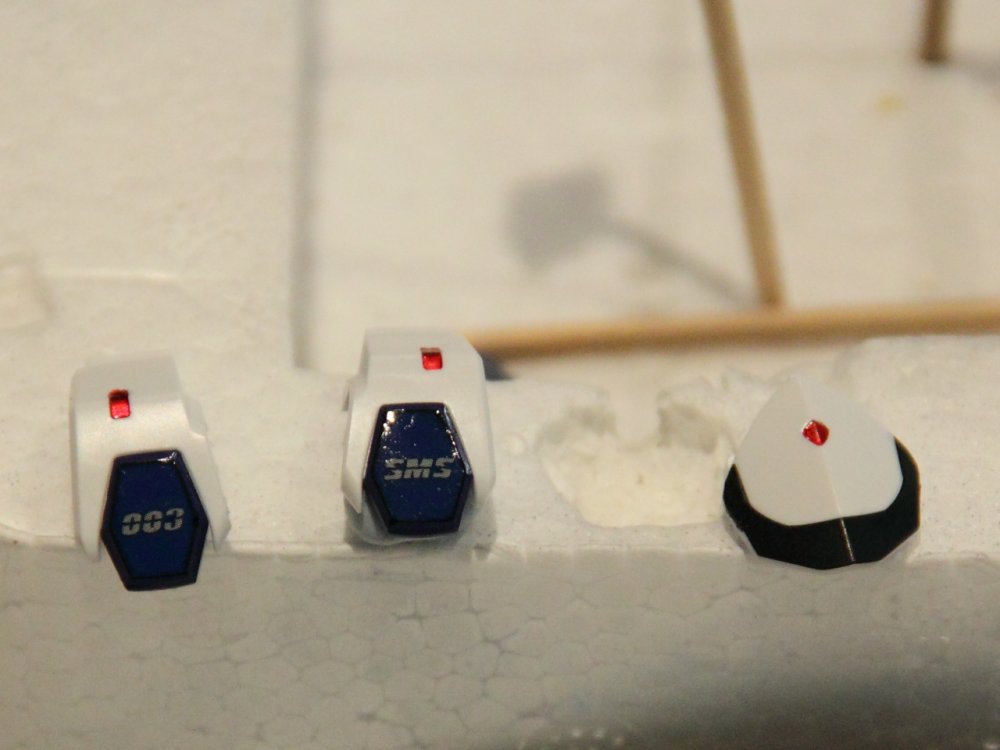
Well, I've gotten back to it but in such a small update that it's almost not worth posting! My family's been sick with a nasty, lingering cold for the last week and my visiting relatives only left a week before that. Anyway, the red "lights" on the shoulders and chest have been painted. I don't like the standard clear red, so always mix a bit of clear orange with it in a 2 parts red, one part orange ratio. I find it makes the red less purple and the colour looks more convincing to me. I considered this such a minor update that I haven't even taken pics.
-
I see English on that manual! Is that just the cover or is there more inside? Thanks for the pic! I'm still waiting for mine and still pondering about what scheme to go with. With the TV release VF-1S coming in June, I'm not sure my original Roy theme idea is going to be the way to go.
-
That was exactly my impression as well. And this is the first time I've seen the episode. I must admit, I didn't look very closely at the man's face. But my thought was that this was all Gamlin thinking about what he was going to say and finding he just couldn't do it.
-
Mine's due in a few weeks via SAL. I'm already wondering about adhesives and paint though. Do we know exactly what the plastics are on this thing? I'm guessing primarily ABS but I remember someone mentioning POM as well. Anyone know for sure, what's what on these?
-
Excellent resource. Thanks for the link! I'm surprised by how flat it looks. I guess I shouldn't be though. The inside of a plain old car's exhaust pipe is flat too.
-
They are! And I just ordered mine, along with a Super 1J so I can steal the fast packs. I haven't decided what to set the kit up as yet but the fast packs should be useful. Never could figure out why they bundle them with the 1J when it never featured them in the TV series...
-
Yes, I did wash the parts. I don't know if it's just me, but I found the acrylic paints I used didn't stick near as well on the unwashed parts. So I always give the whole sprue (when possible) a quick wash/rinse before I paint. Rubbing alcohol would work but I think it'd be a lot quicker to just mix up some lukewarm water and a drop of dish soap into a suitable container (a baking dish or sink works well). Toss in the parts and swish them around a bit, then let it soak for a few minutes. Rinse and dry on a paper towel and you're set. I'm itching to get back to this! Got some family down from the 'states and they're here for 2 weeks (leaving this Sat). Haven't done ANYTHING on the project since they arrived!
-
You're most welcome! Thanks for the kind words. I hope my irritation and many mistakes will help someone in the end so feedback is always very nice to have. I'm starting to think I'll leave mine in fighter mode too. As I've mentioned a few times, any attempt at moving parts around, even during assembly, just reminds me of how fragile this thing is. I think even if it's transformed a few times a year, it would either break or scratch my careful painting and decaling. In the end, it's just too risky, in my opinion. I'll have a final opinion when I'm finished with it, of course. That should be sometime in 2020, at this rate!
-
I almost fell out of my chair! Very good stuff there!