

Lolicon
-
Posts
7188 -
Joined
-
Last visited
Content Type
Profiles
Forums
Events
Gallery
Posts posted by Lolicon
-
-
P A N I C ! ! ! !

Seriously though, I'm going to wait for more than TWO reports before assuming the heat shield is a common problem.
Sounds like some MWers need a copy of The Hitchhiker's Guide to the Galaxy.

I'll take a courageous want-and-see attitude before plunking down $200. Sure, I've fixed problems like the YF-19's crooked gunpod before, but for $200 I shouldn't have to fix anything.
-
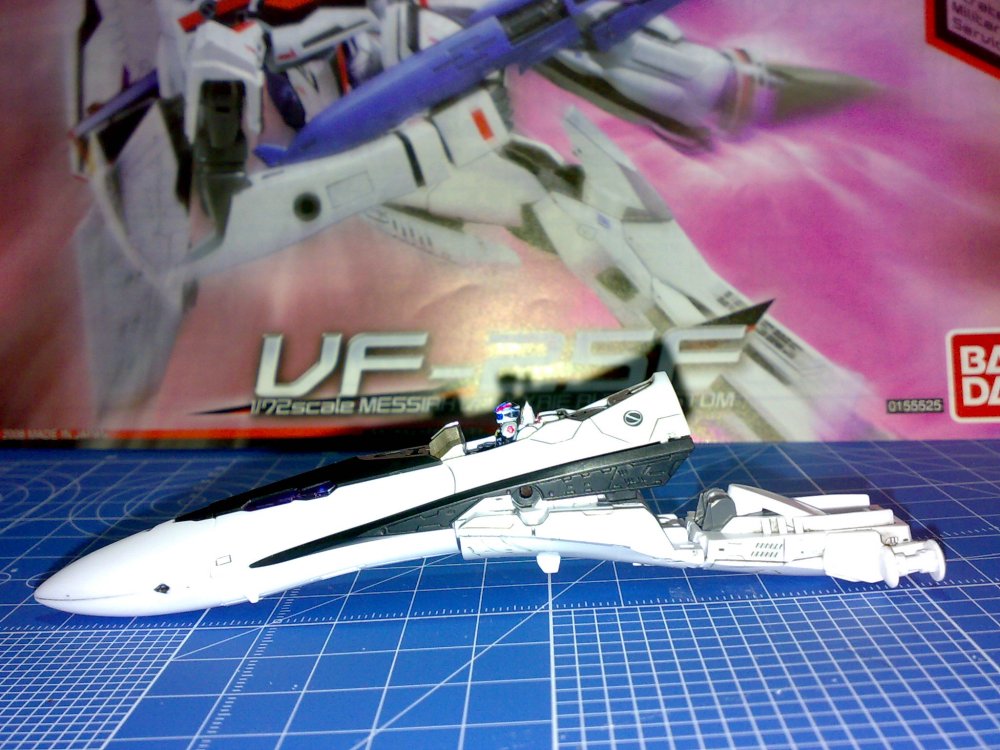
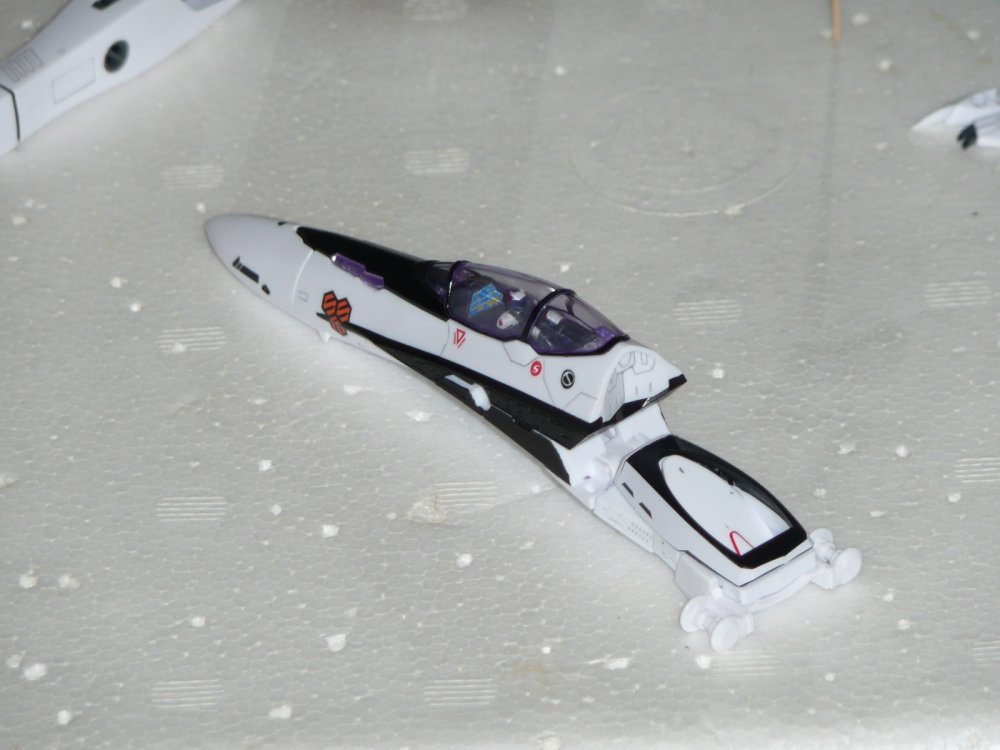
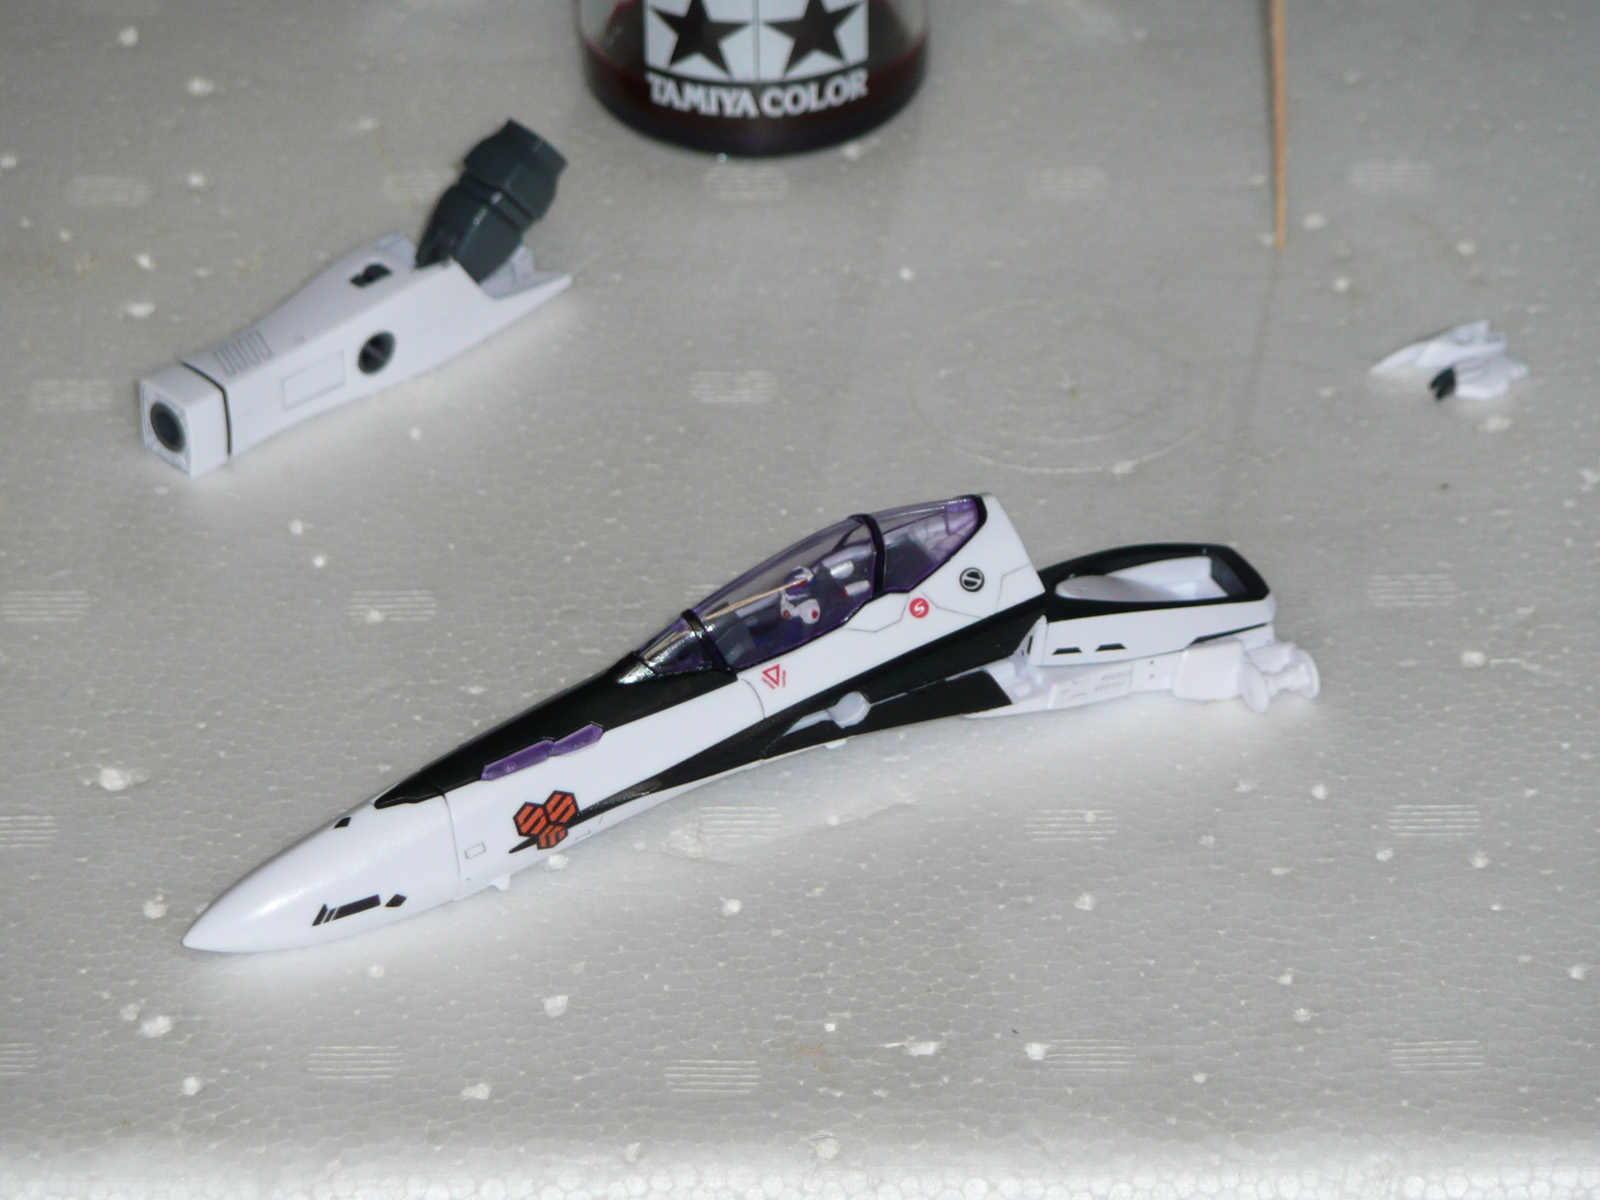
How did you get that purple tint?
Originally, I started off using the diluted paint method posted awhile back. Basically, you take Tamiya clear and mix in a little bit of regular Tamiya purple to make purple water (very heavily diluted purple). Then dip the canopy in and use a paper towel to soak up the excess.
It does give a good result, but being as clumsy as I am, I was kinda slow at soaking up all the excess to ensure an even finish. The mix starts drying and quickly starts becoming sticky, making it hard to soak up any more.
So I made another mixture but this time I used Future instead of Tamiya clear. I'm well aware (obviously) that Tamiya acrylic has a tendency to clump up when mixed with Future. Well, I pressed on anyway and spent a few minutes stirring until it was as dissolved as possible. I just let it sit for a minute and any remaining clumps settled to the bottom. Then I dipped the canopy in (taking care not to scrape the bottom), soaked up the excess, and voila! Purple tinted canopy.
The watery nature of Future made it easy to soak up the excess and get the even finish I wanted. It took me a few attempts to get the right amount of purple, but luckily Future can be washed off easily with water before it dries. Also had the added benefit of simultaneously sealing in the purple tint.

I recommend the first method for a decently skilled modeler, and the second for clumsy fools like me.
-
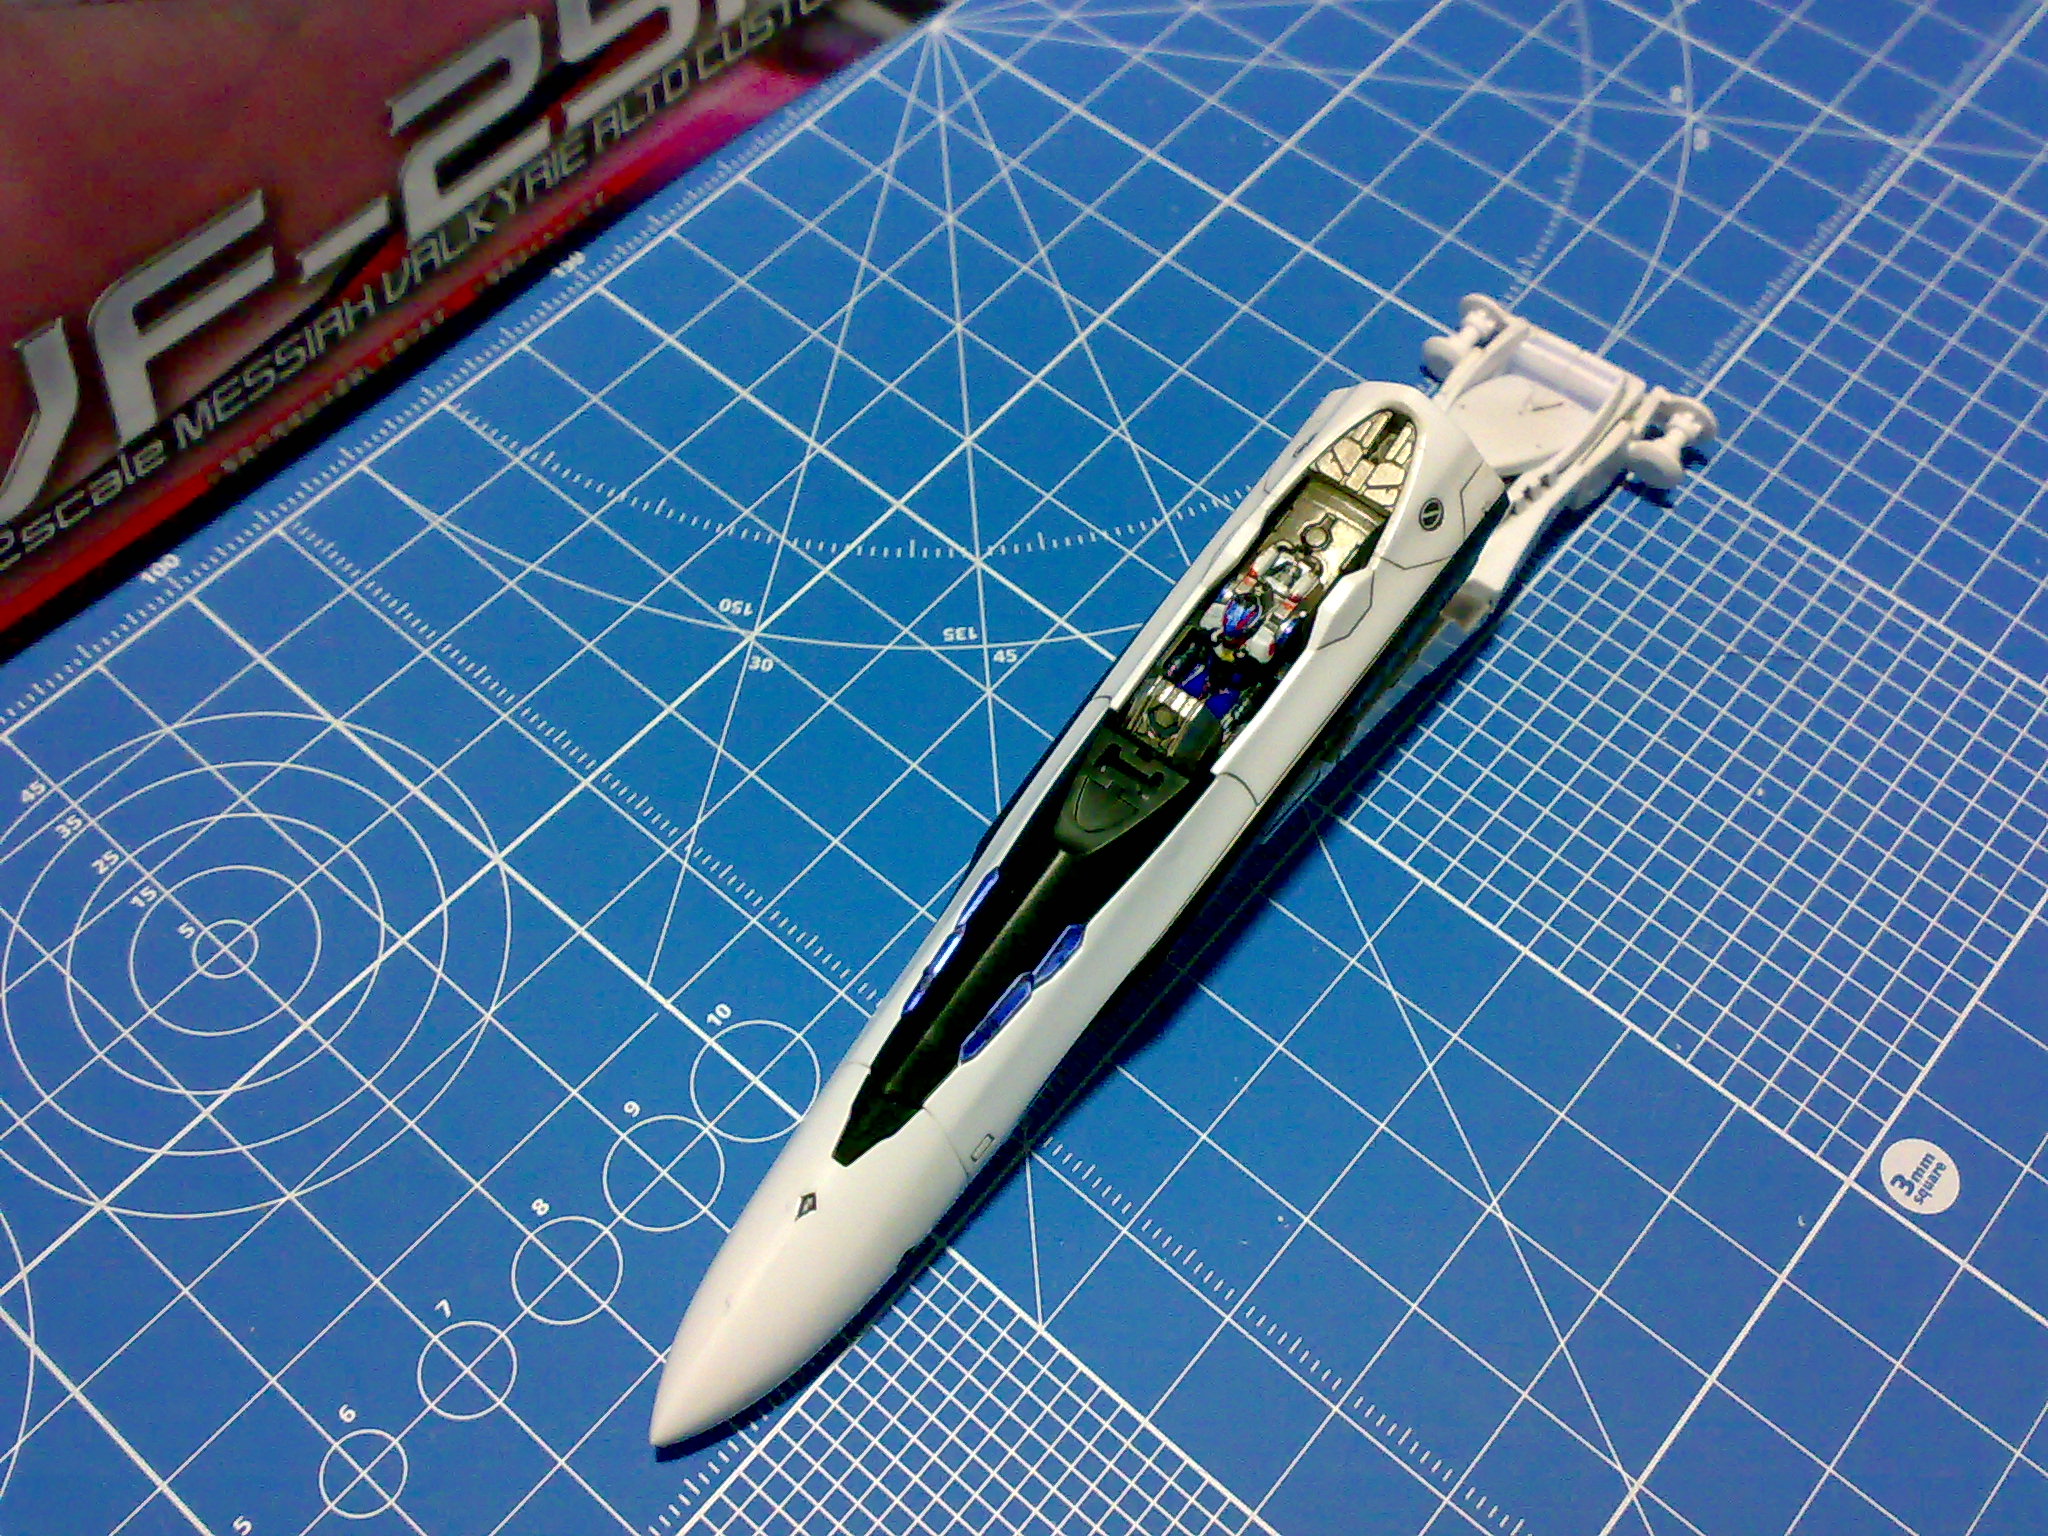
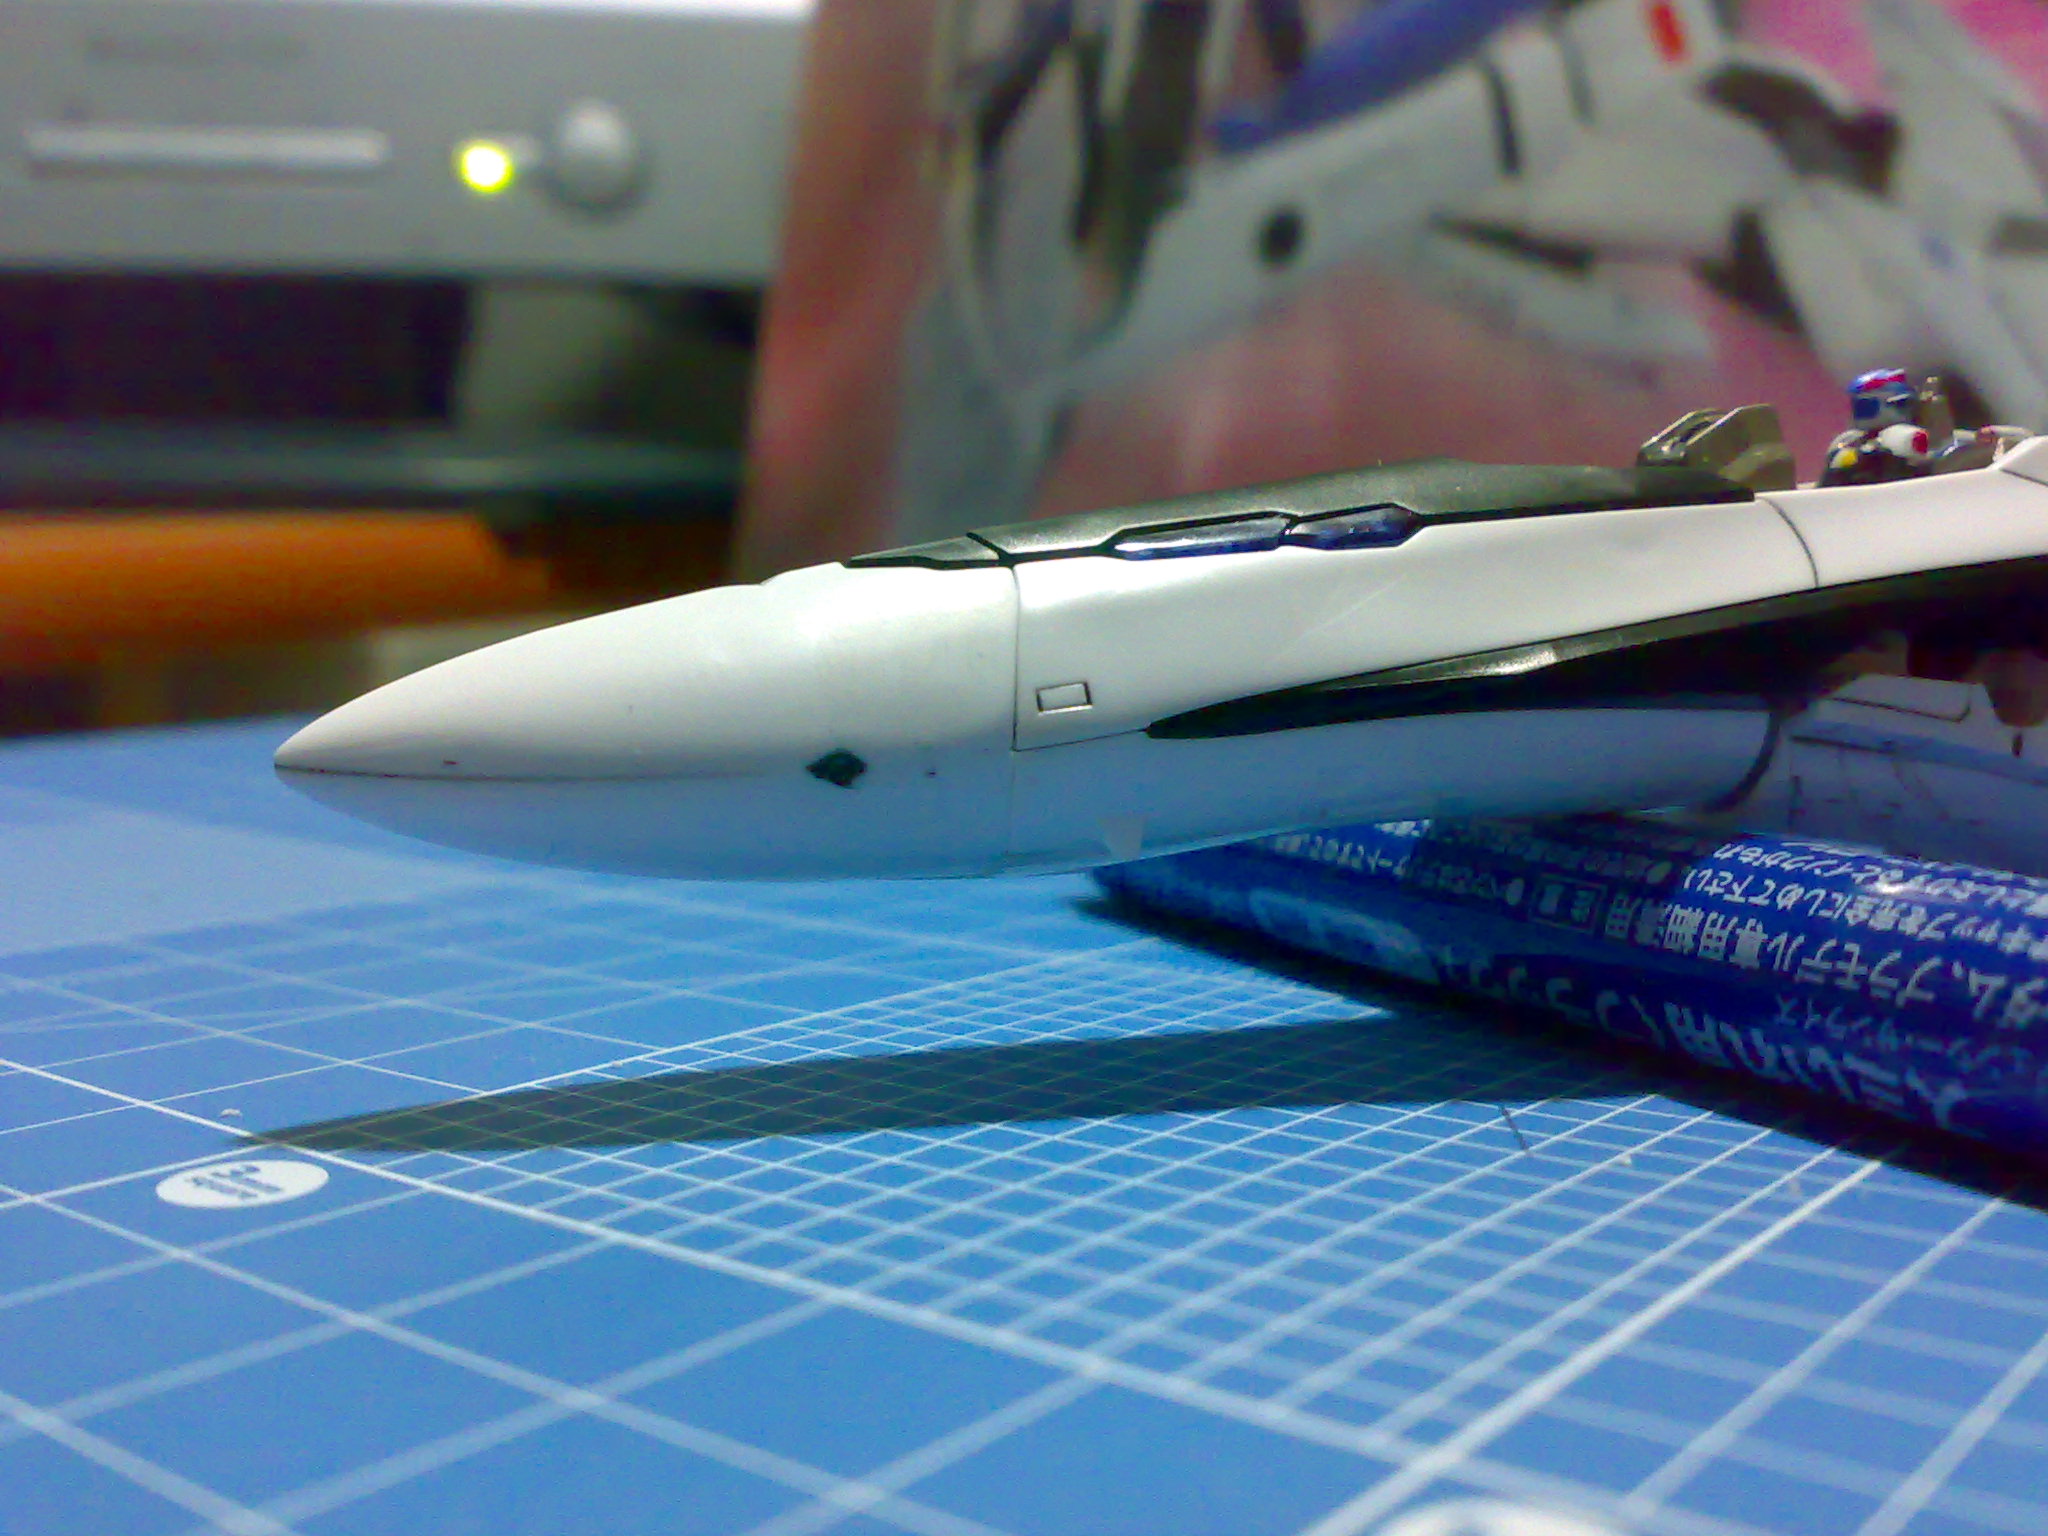
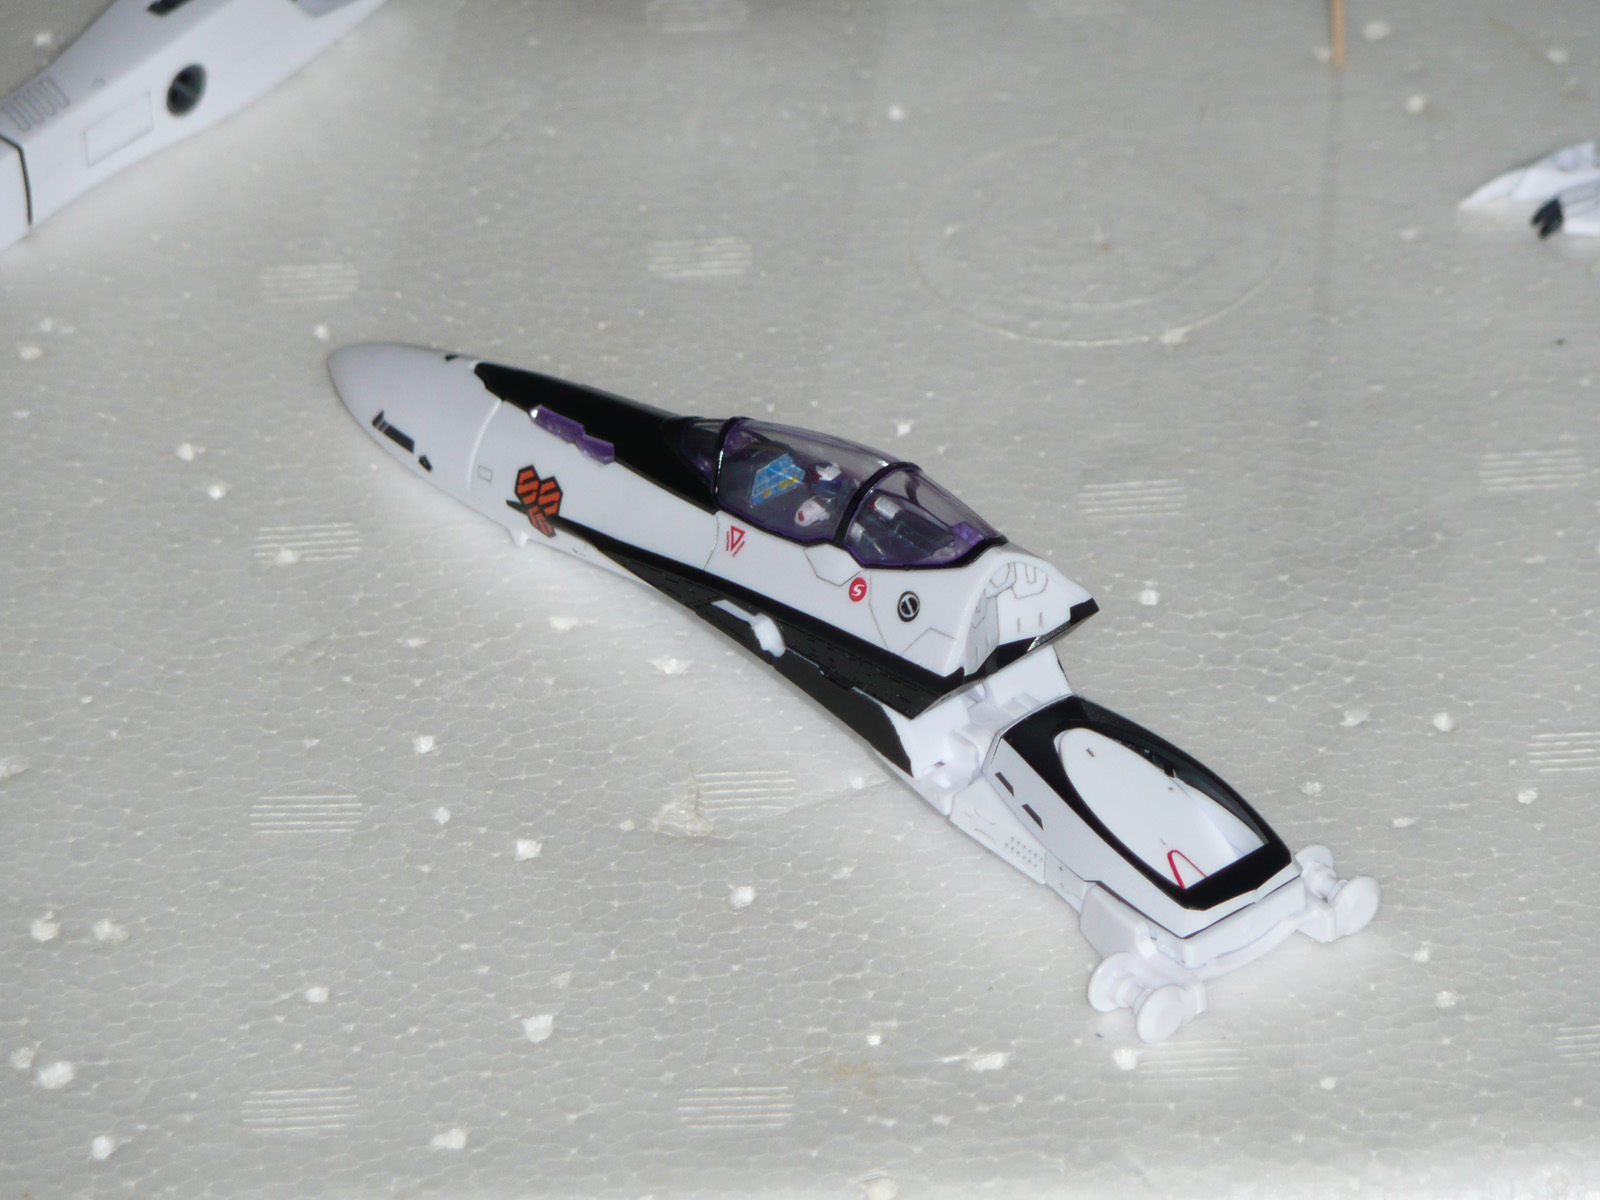
A small update.
I sanded the VF's nose, after gluing the two parts. This causes a partial loss of the panel line that runs all round the nose but it still looks better than before. I connected the nose to the cockpit section. All thats left here is the canopy, wich i will leave to the very end of the build, and applying the stickers and some mild weathering.
The missing panel line:
a closer view:

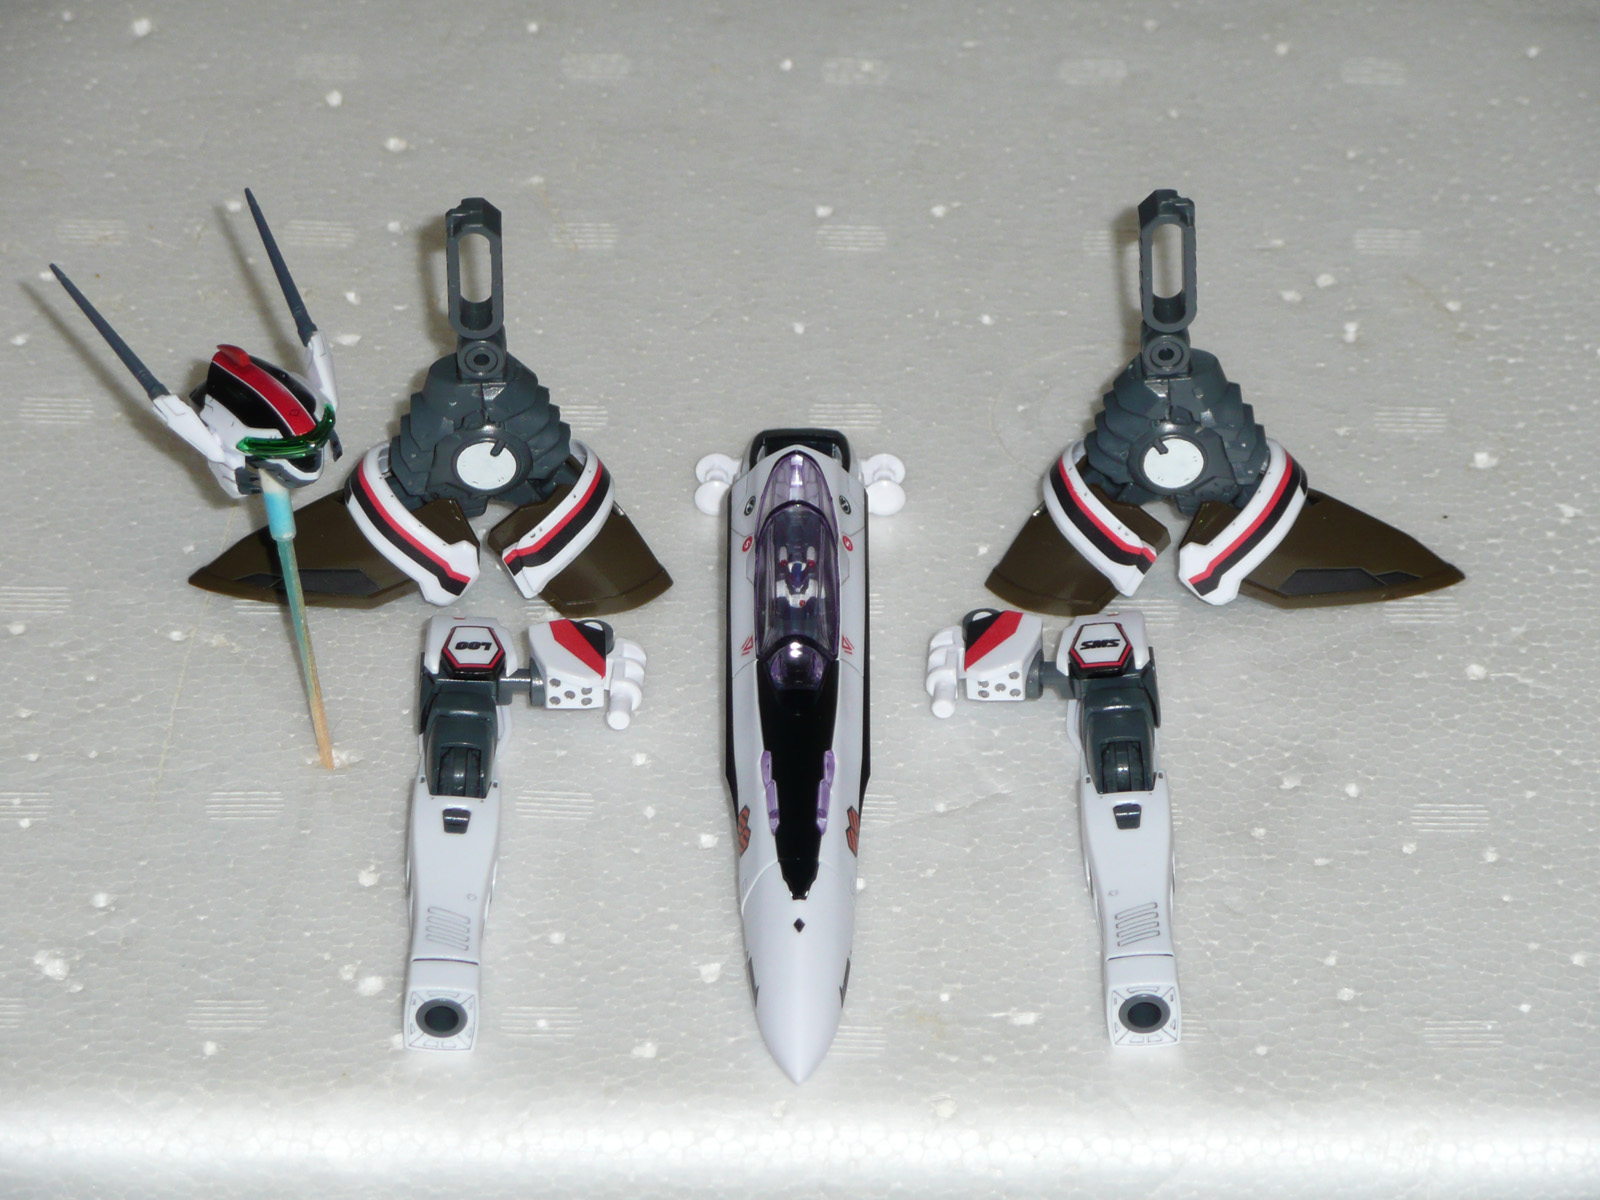
Now i have turned my attention to the arms and legs. I built the inner mechanism without applying the outer parts. I'll apply some dry-brushed gunmetal and some weathering before fitting those, to dirty them. I think it will add a touch of realism. I intend to do this same procedure to the rest of the kit and for the remaining VF-25's. This is still a work in progress, so the pics are only of the still clean sub-assemblies and some outer parts. (I present only pics from the right side parts, since it would be a bit redundant to do it for the left).
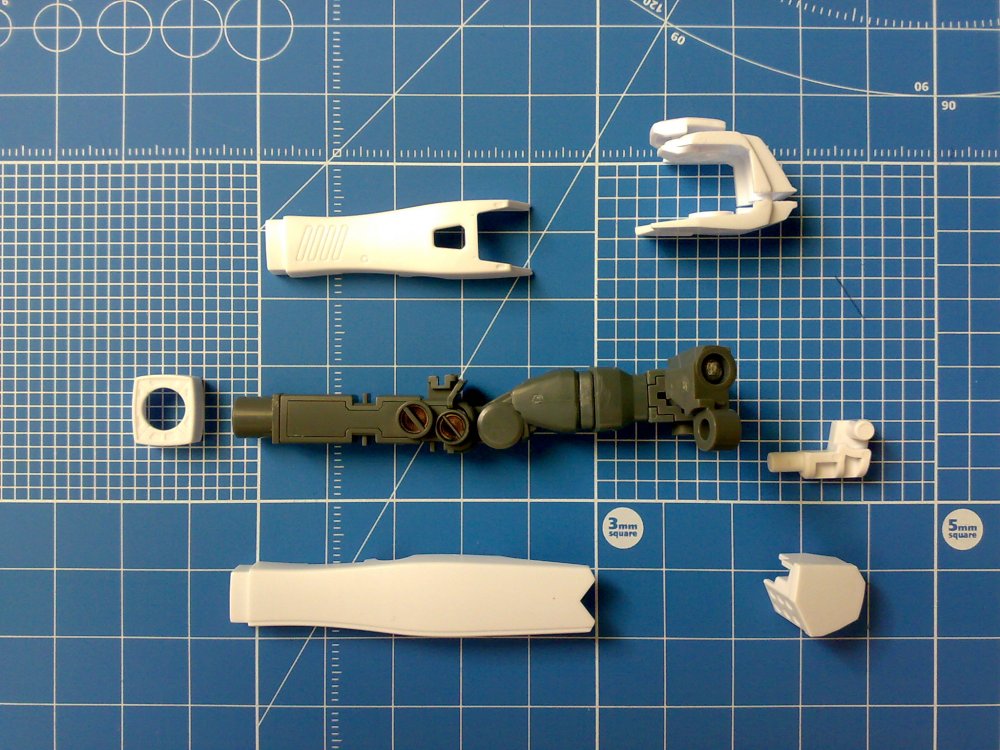
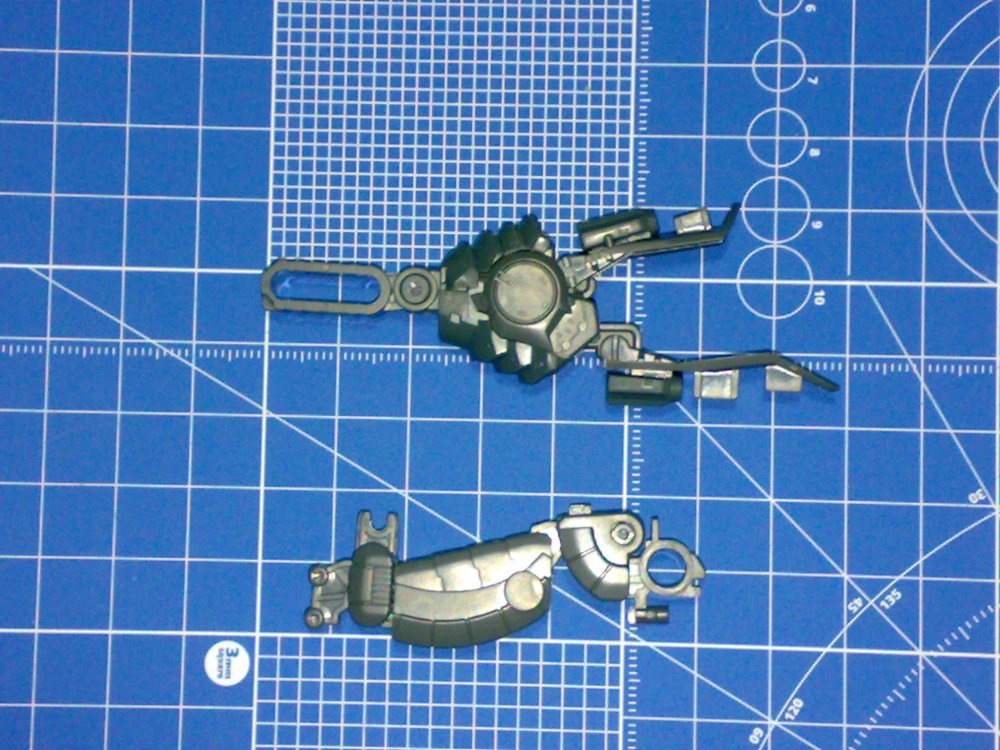
I've said it before and i'll say it again, this thing is one beautiful and intricate masterpiece of enginering. You only truly apreciate how complex these ladies are once you start assembling all these little parts just to make other parts that will connect with... well you see where i'm going. Kudos, once more, to Bandai and especially to Mr. Kawamori and his staff for creating such an amazing design.
You're a better skilled and more patient modeler than I.
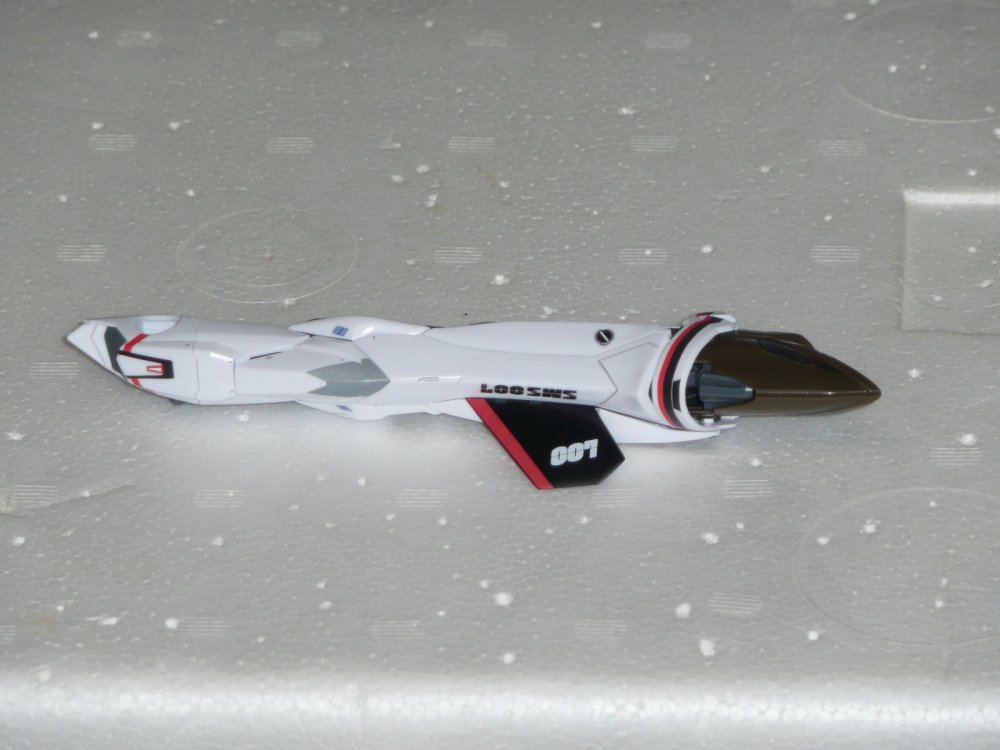
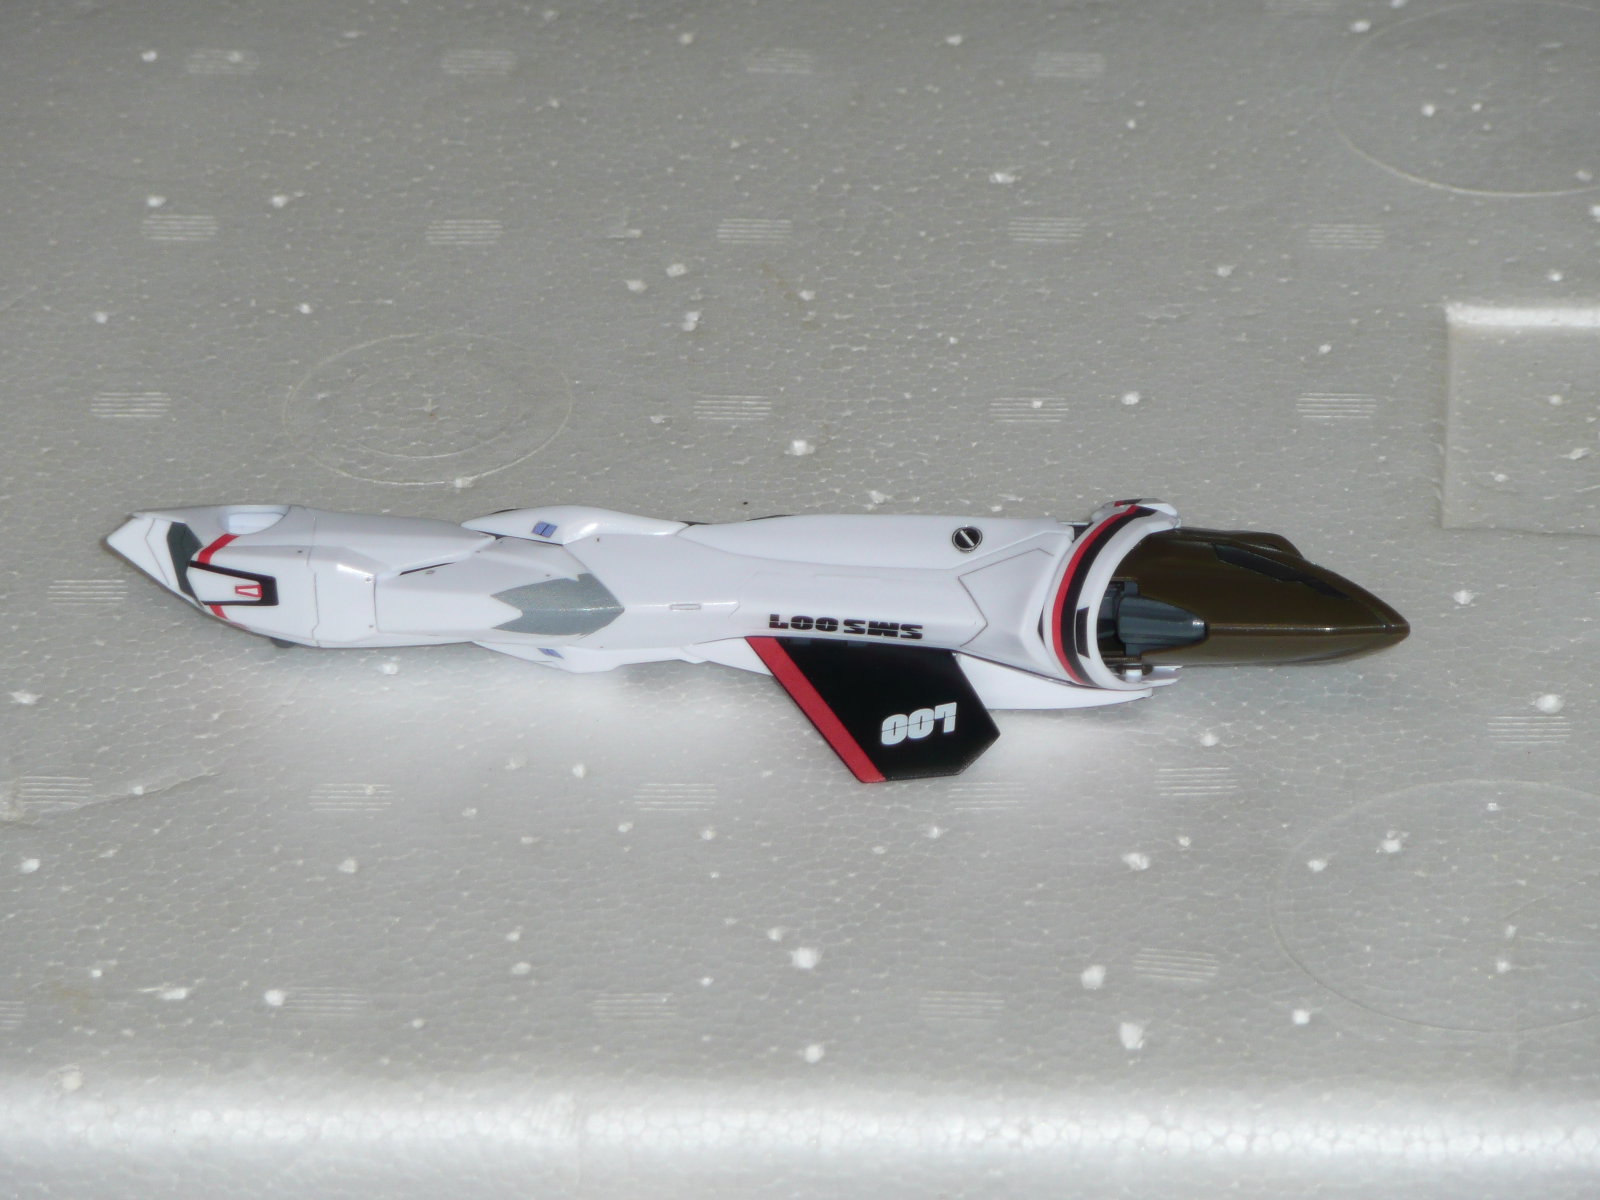
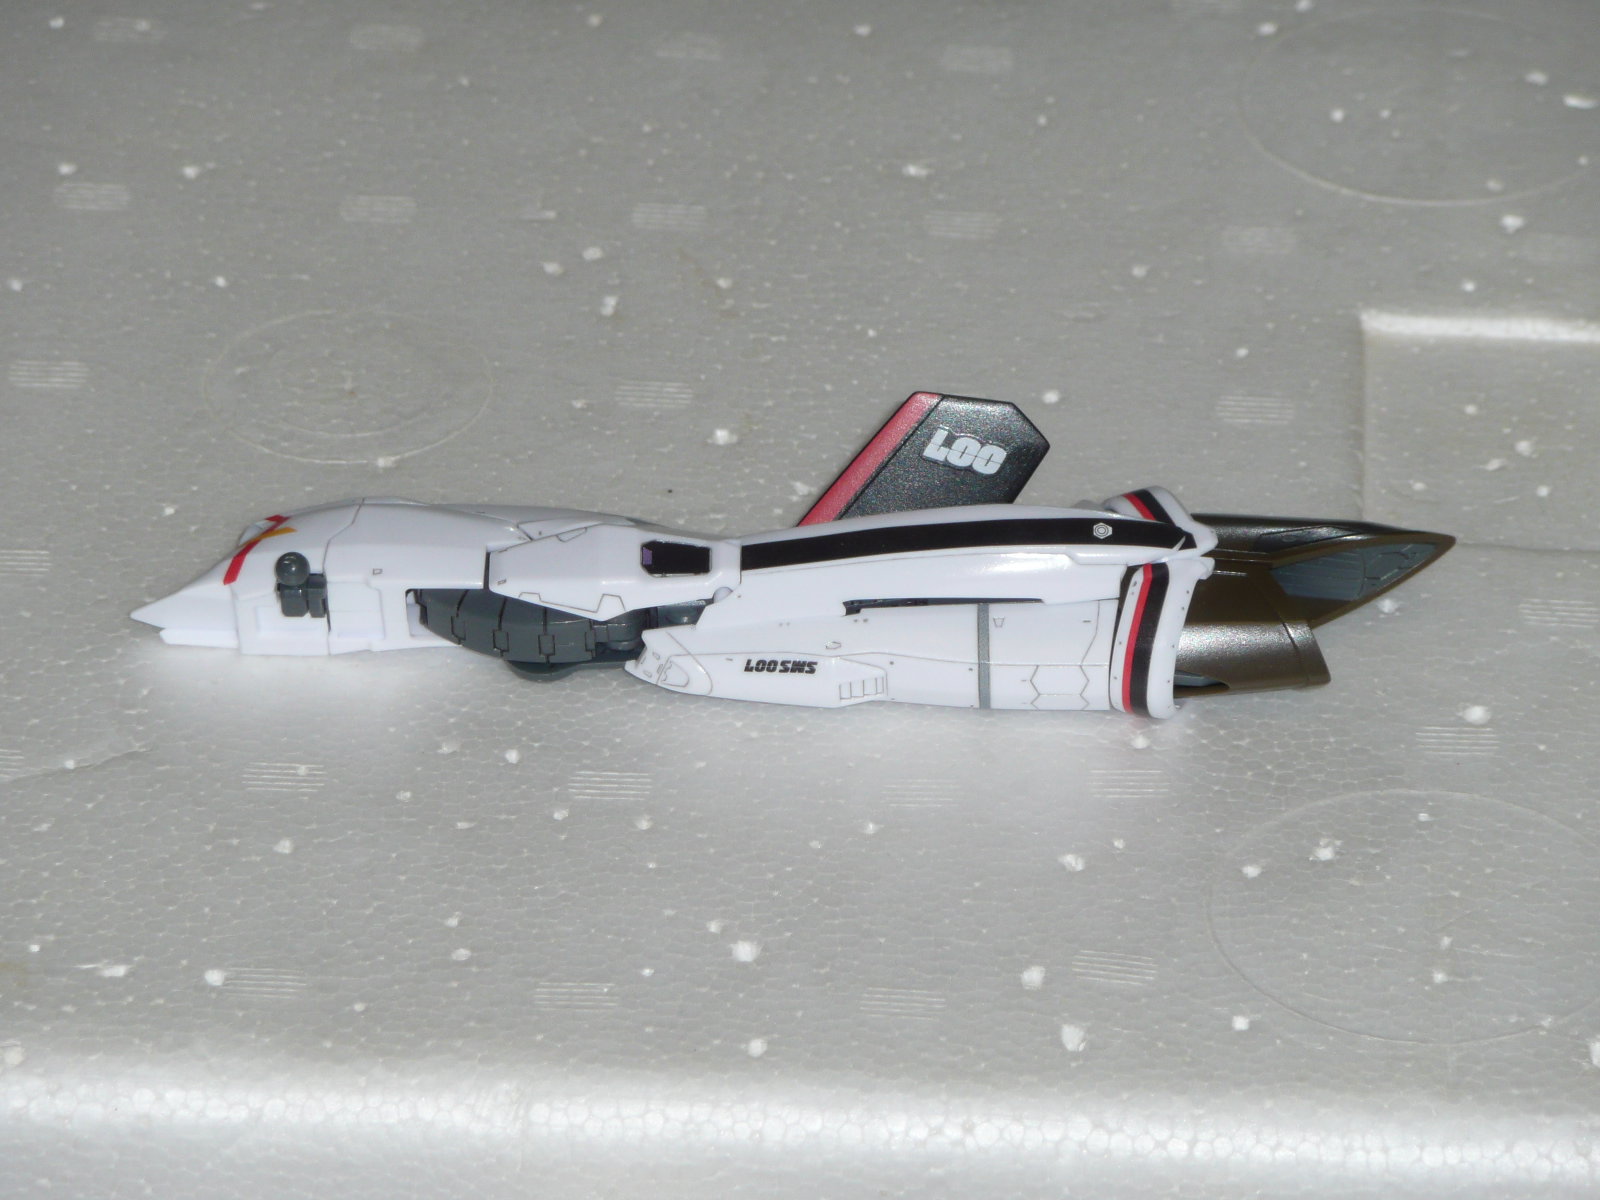
I really like the metallic paint and weathering effects. I think I may do that for the rest of the SMS crew... if I can ever finish Alto's... I've learned a bit from it so far and hopefully I can use this experience to make the later ones look better.Here's my amateurish effort so far. Currently working in the left leg... then after that, just the wings! And backside... and hands... and upper tailfins...
 So many decals are the wrong size/shape. Amazing considering the engineering that went into this model. WTH Bandai??
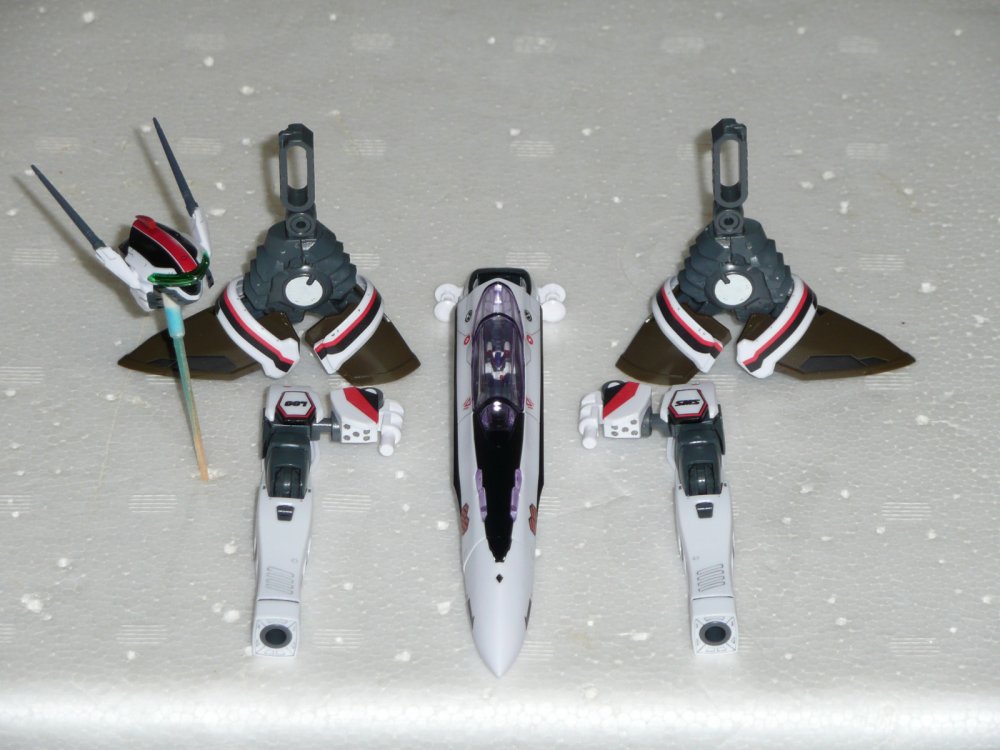
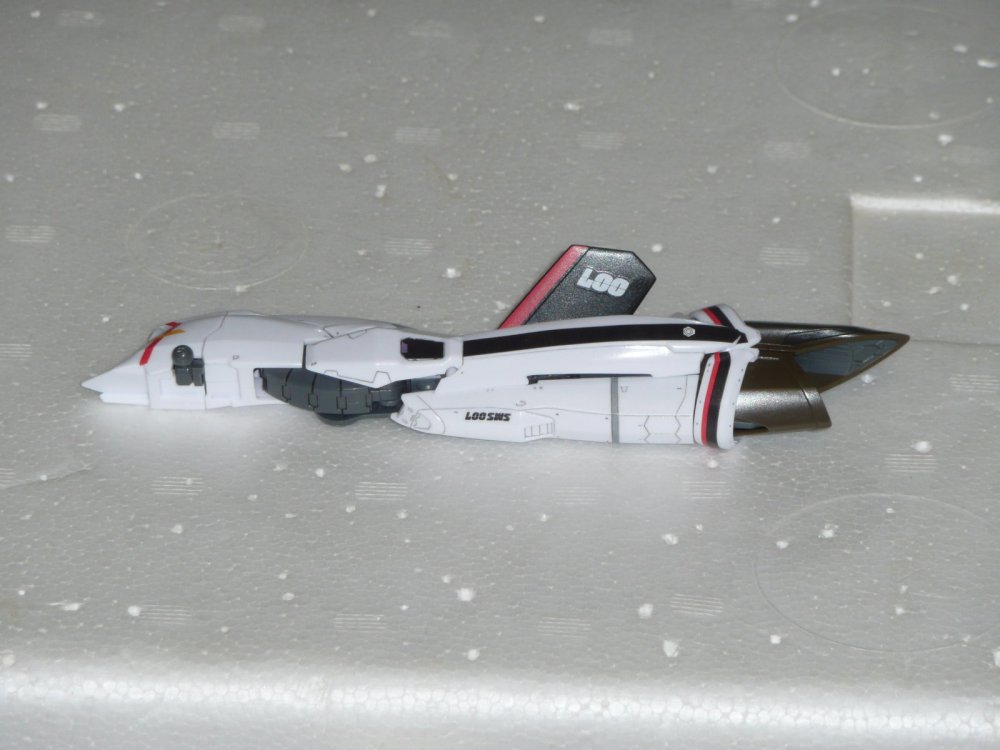
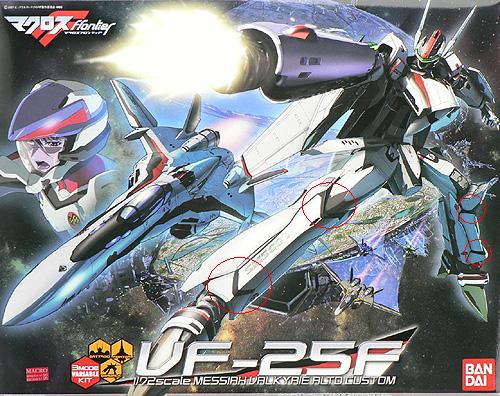
Also wanted to note that the underside of the black stripe alongside the canopy is also black. It's painted wrong on the instruction book model (same with the model on the SMS stand package). I've stopped using that thing for reference.
-
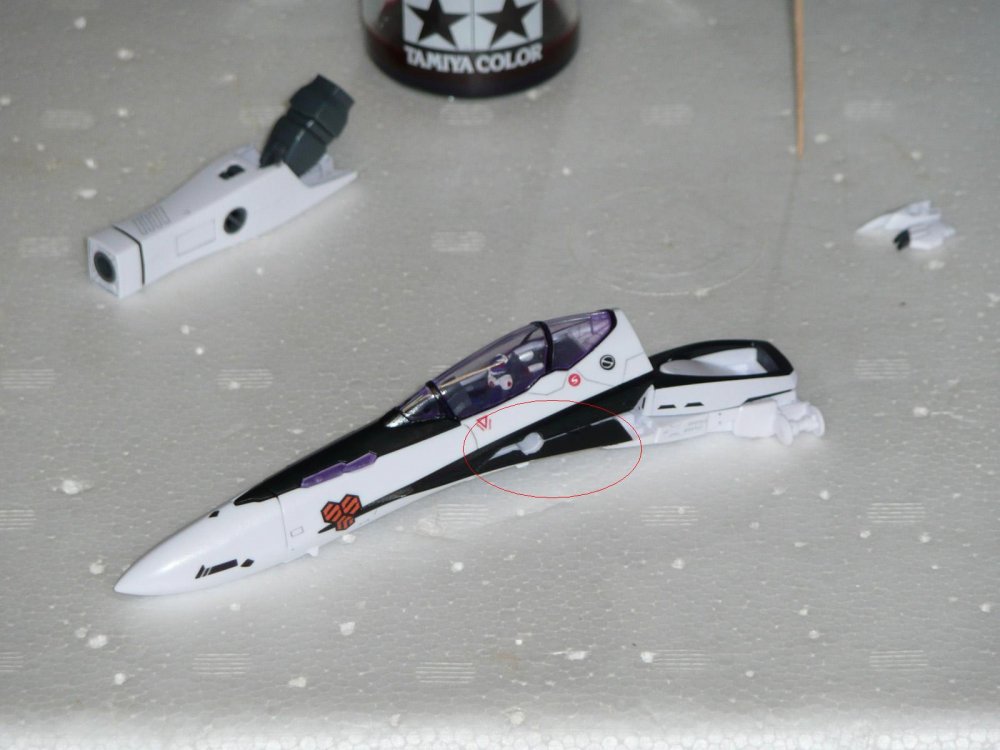
DOH!
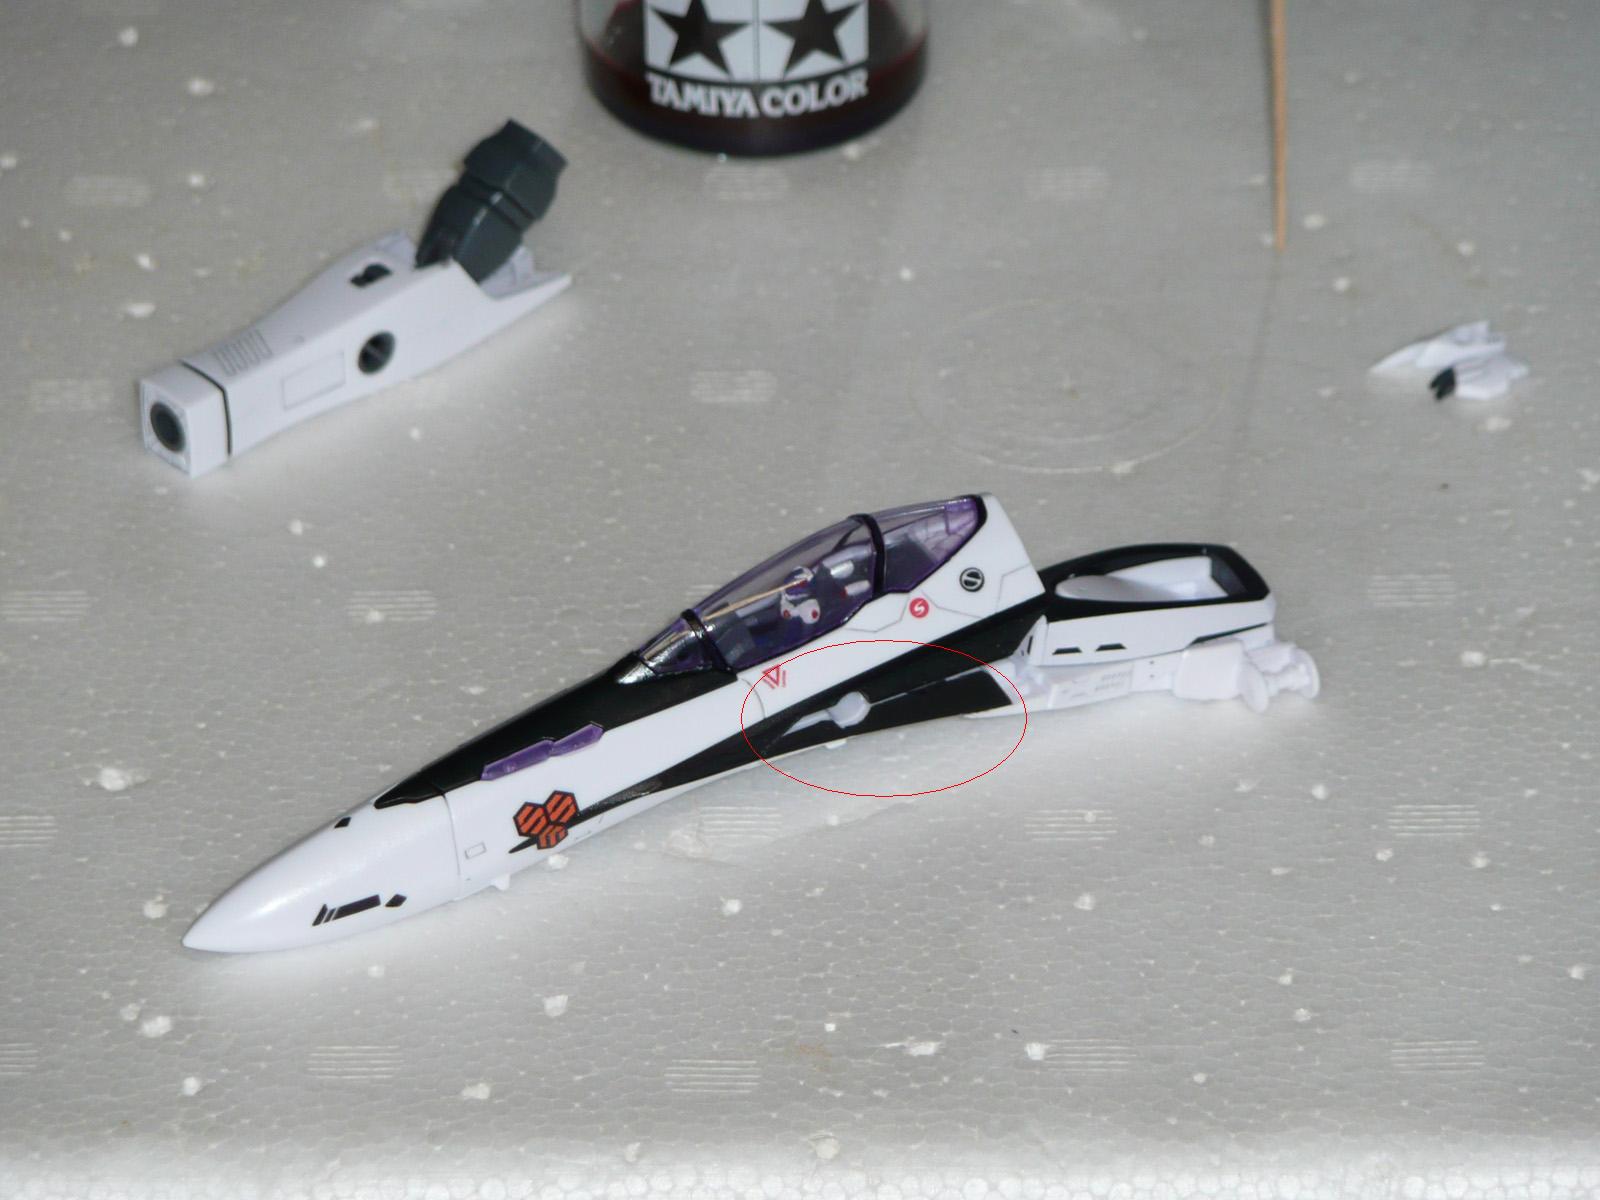
I noticed (right after topcoating the right leg) that the model is missing some details on the shins just above and below the landing gear doors. Those sections are supposed to be dark grey. They are on the box art and the CG model but, like the "mouth" area, it's incorrectly painted on the sample model in the instruction booklet. I've circled the areas on the attached image. There are no decals for it; it'll have to be painted.

Sigh gotta go back and paint it in, then reseal that part again.

EDIT: Also wanted to add that the border of the shoulder hexagons appear solid black on the CG model. So I painted them. I like the way it looks, and it also helps hide the imperfections from what I consider to be one of the most awful decals to apply on this kit.


-
I dunno, I think all in all, Alto did a better job of of not trashing his bird than Hikaru. Let's take a look at the heavily damaged/lost Valkyries (doing this off the top of my head, so correct me if I'm wrong or miss something):
Hikaru
Loses a VF-1D in episode 2. Might have been salvaged after South Ataria was folded, but counts as lost since it was abandoned.
Gets his VF-1J trashed in his one-on-one with Kamjin.
Loses a VF-1J in a brawl with Britai.
Gets shot down during a Daedalus Attack while chasing Miria. (Losing a Valkyrie to friendly fire! Boo!)
Loses another Valkyrie while hallucinating.
Almost gets Roy's VF-1S destroyed in the last battle of the war.
Alto
Loses a VF-25F in episode 7.
Loses another in the final episode.
I think that was it for Alto. Can't remember any other instances where his Messiah was destroyed or crippled.
Kinda veering off topic here...
-
Every purple ink is different. Some form blobs in Future like purple Tamiya does, some look like they dissolve but really just make much smaller blobs that will become evident when it dries.
You have to spend a few minutes mixing it really well, and then let the purple sediment settle to the bottom before dipping the canopy. I don't scrape the bottom of my mixing container when I dunk the canopy. I assure you there are no "purple blobs" on my canopy, even up close.
Tamiya clear mixes better, but it also dries a lot faster and becomes sticky fairly quickly, leaving less room for error. It works though, if you're not as clumsy as I am and can drain off the excess before it starts getting tacky.
-
The ranka deculture decal is out for selected macross purchases from HLJ.
http://www.hlj.com/hljlist2/?SaleGroup=MAC...Decal%20Present
Did anyone who purchased a VF-25 from Rainbow Ten during the previous Deculture Campaign receive Sheryl decals? I prefer not to order from HLJ if I can help it.
-
Thanks for the welome guys.
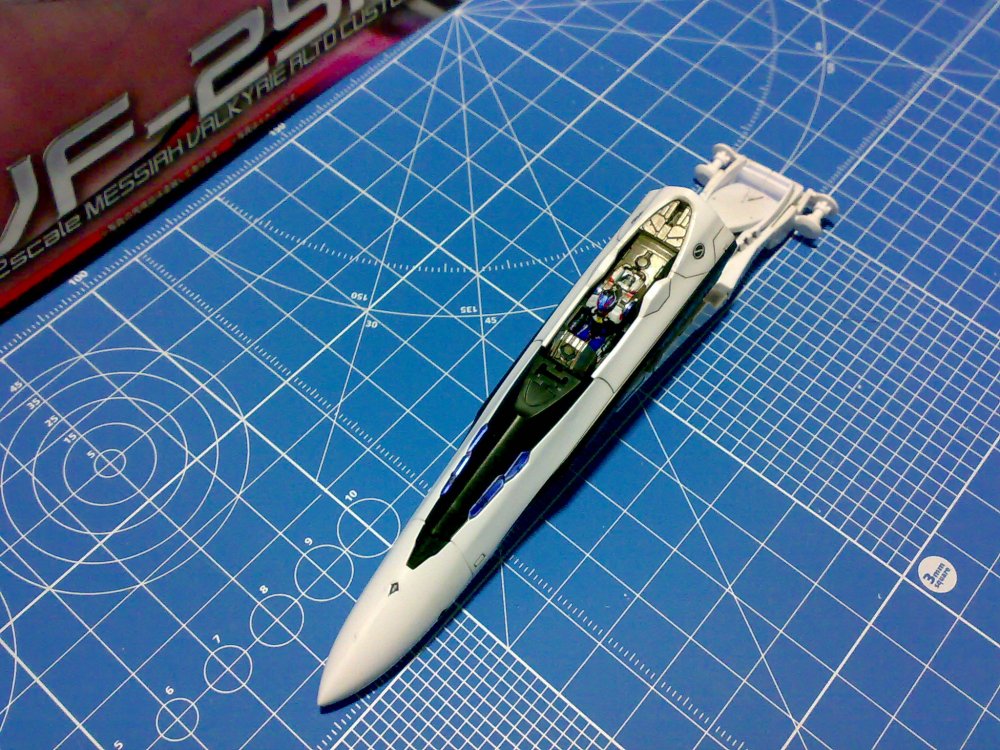
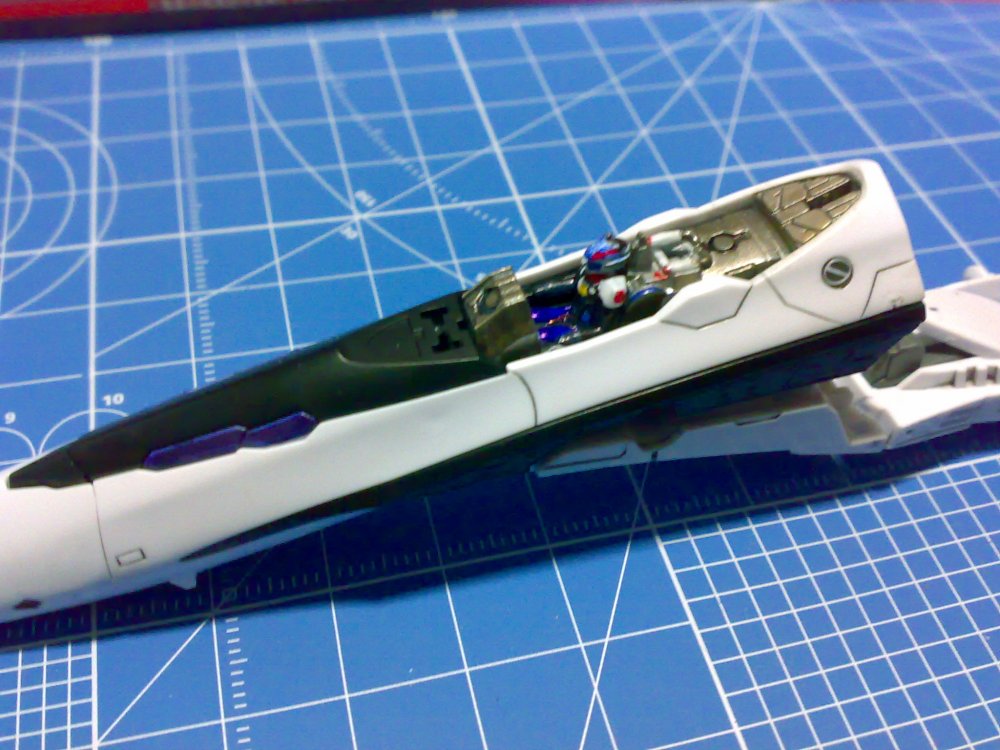
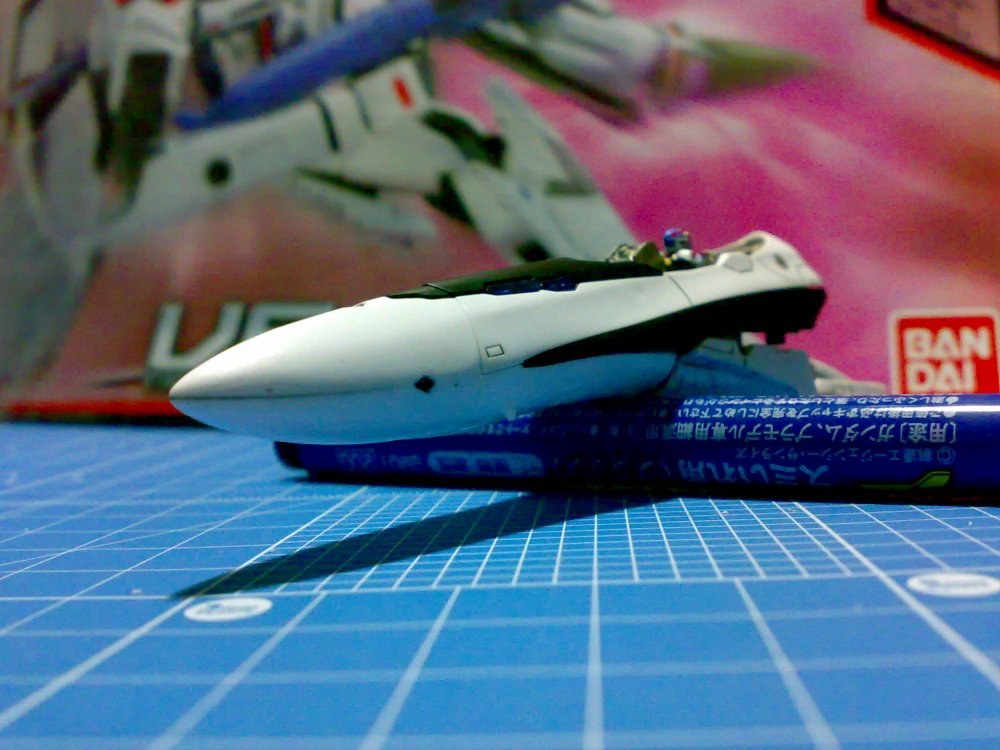
For the canopy I tried various mixes of clear blue and red paint and had terrible results. The best and simplest method was actually listed in the previous thread. I added a small amount of Tamiya purple acrylic and heavily diluted it in Future. I just dipped the entire canopy in and then used a paper towel to soak up the excess. I didn't measure the exact amounts, but the mixture is pretty thin, like 95/5 of Future to purple, or maybe even more diluted than that. Opaque purple water is what it looked like.
If you screw up, or it's not the right tint, you can just rinse it off in water before the Future dries.
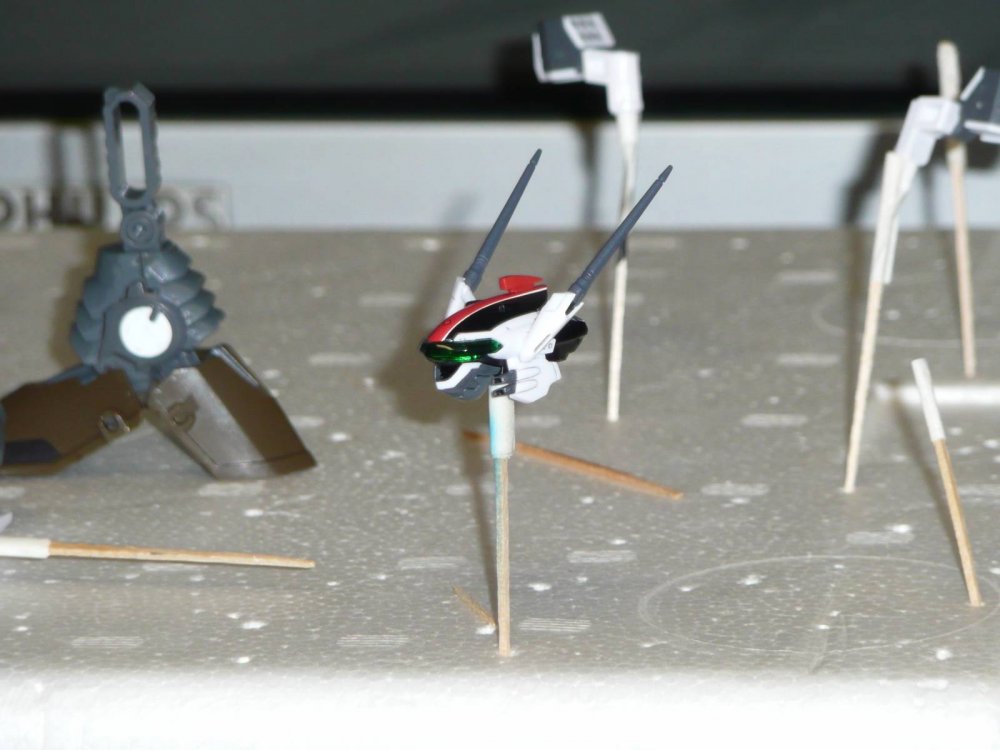
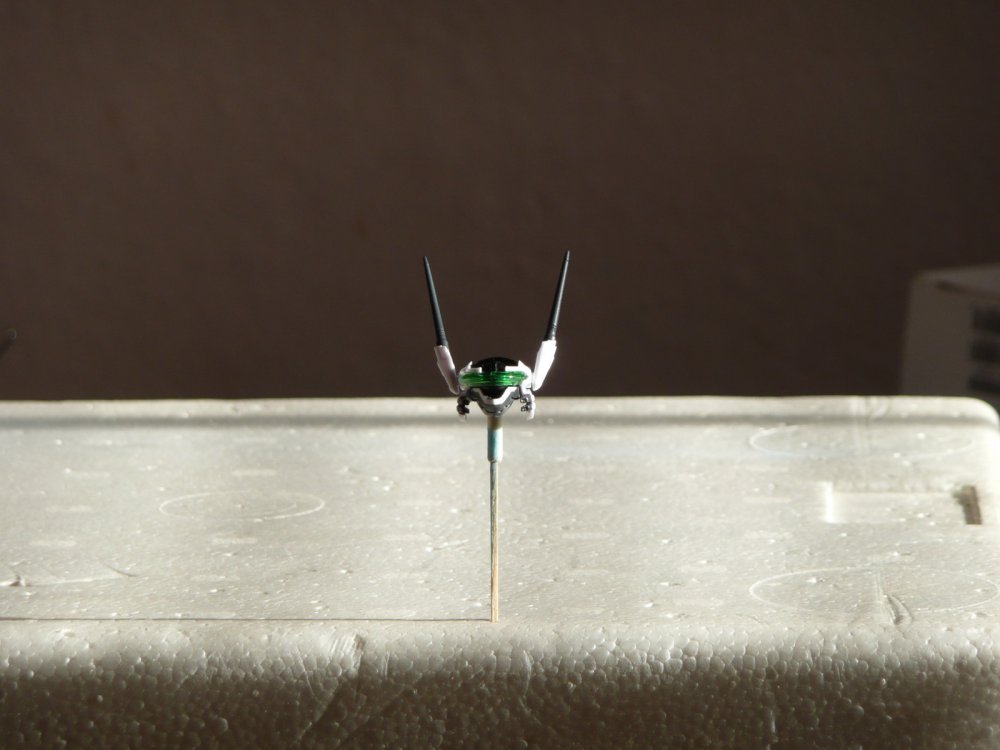
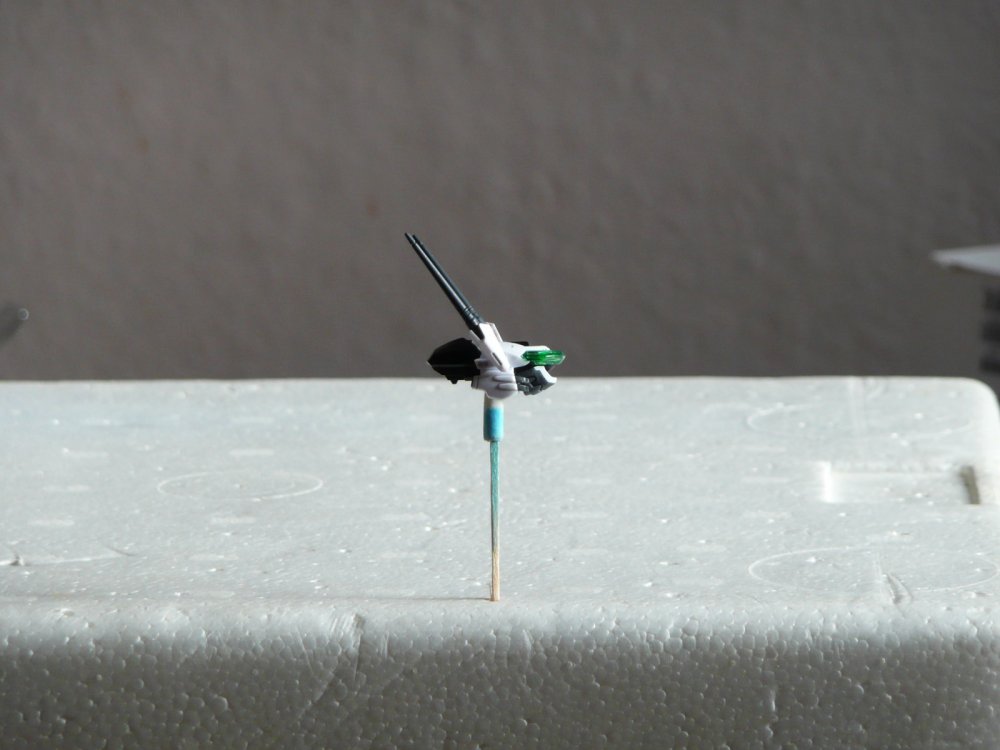
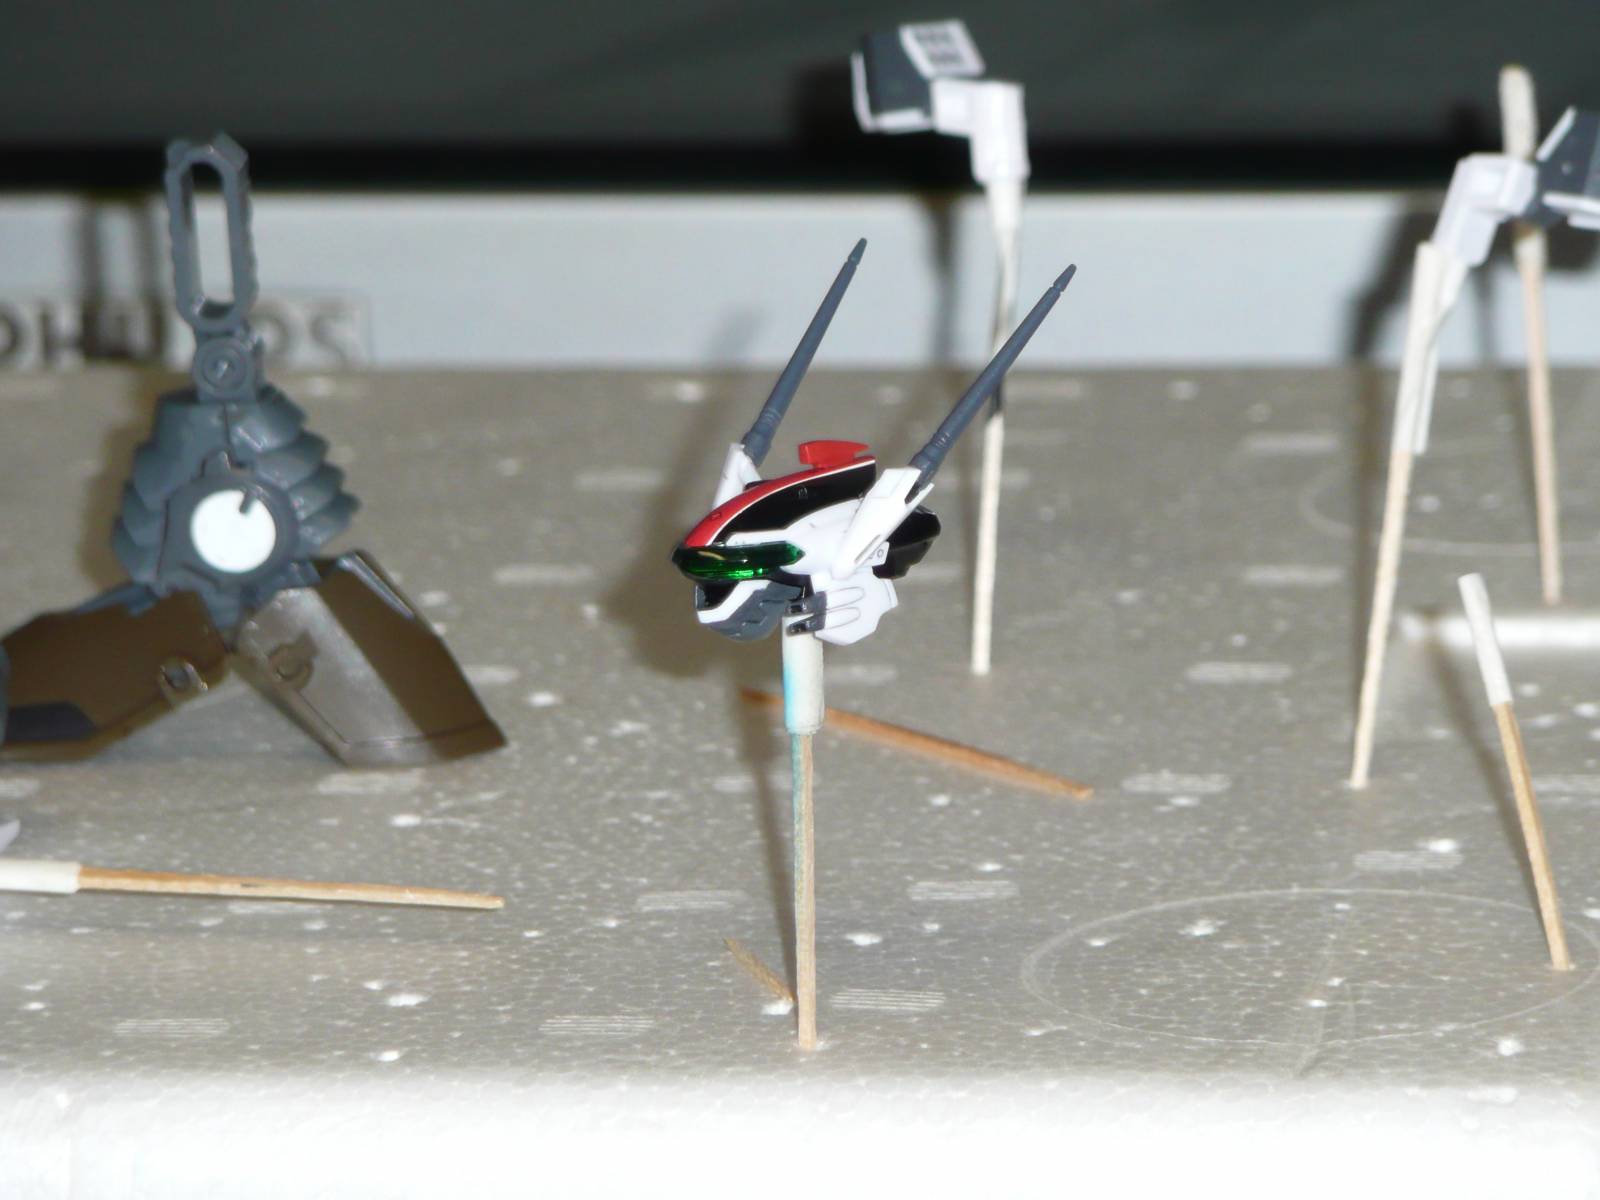
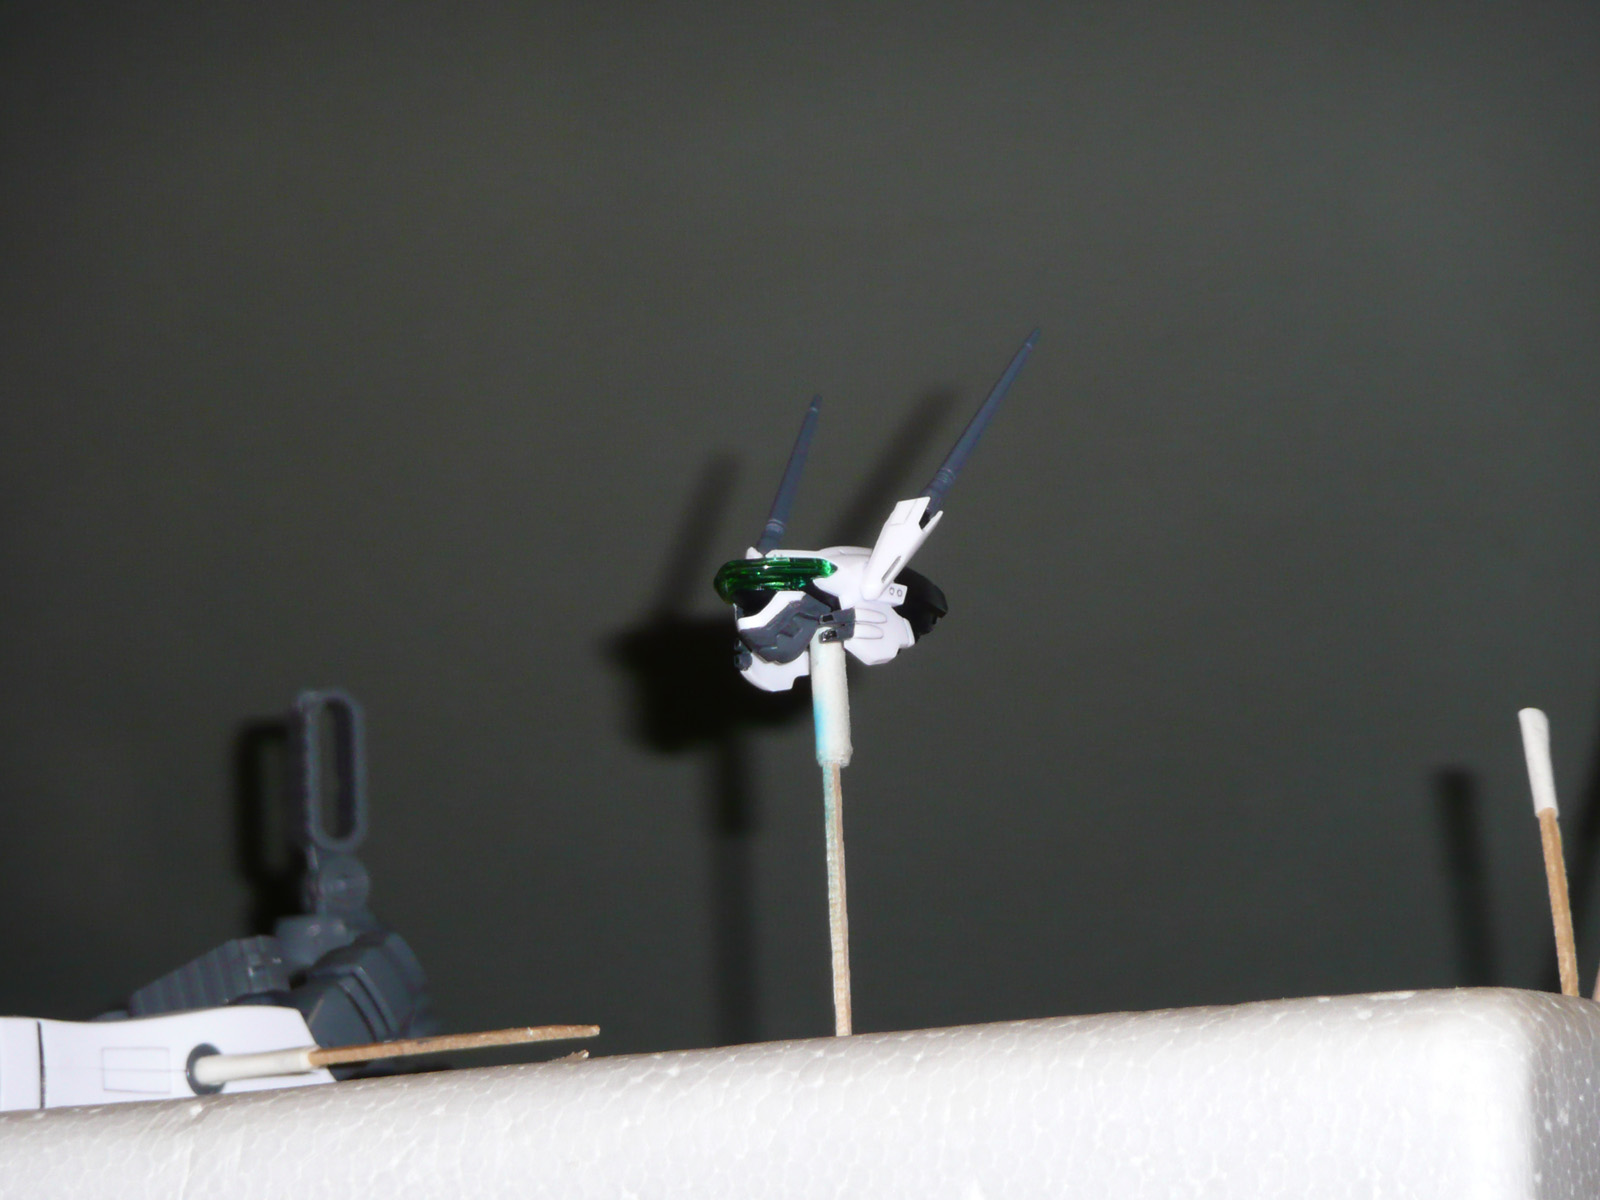
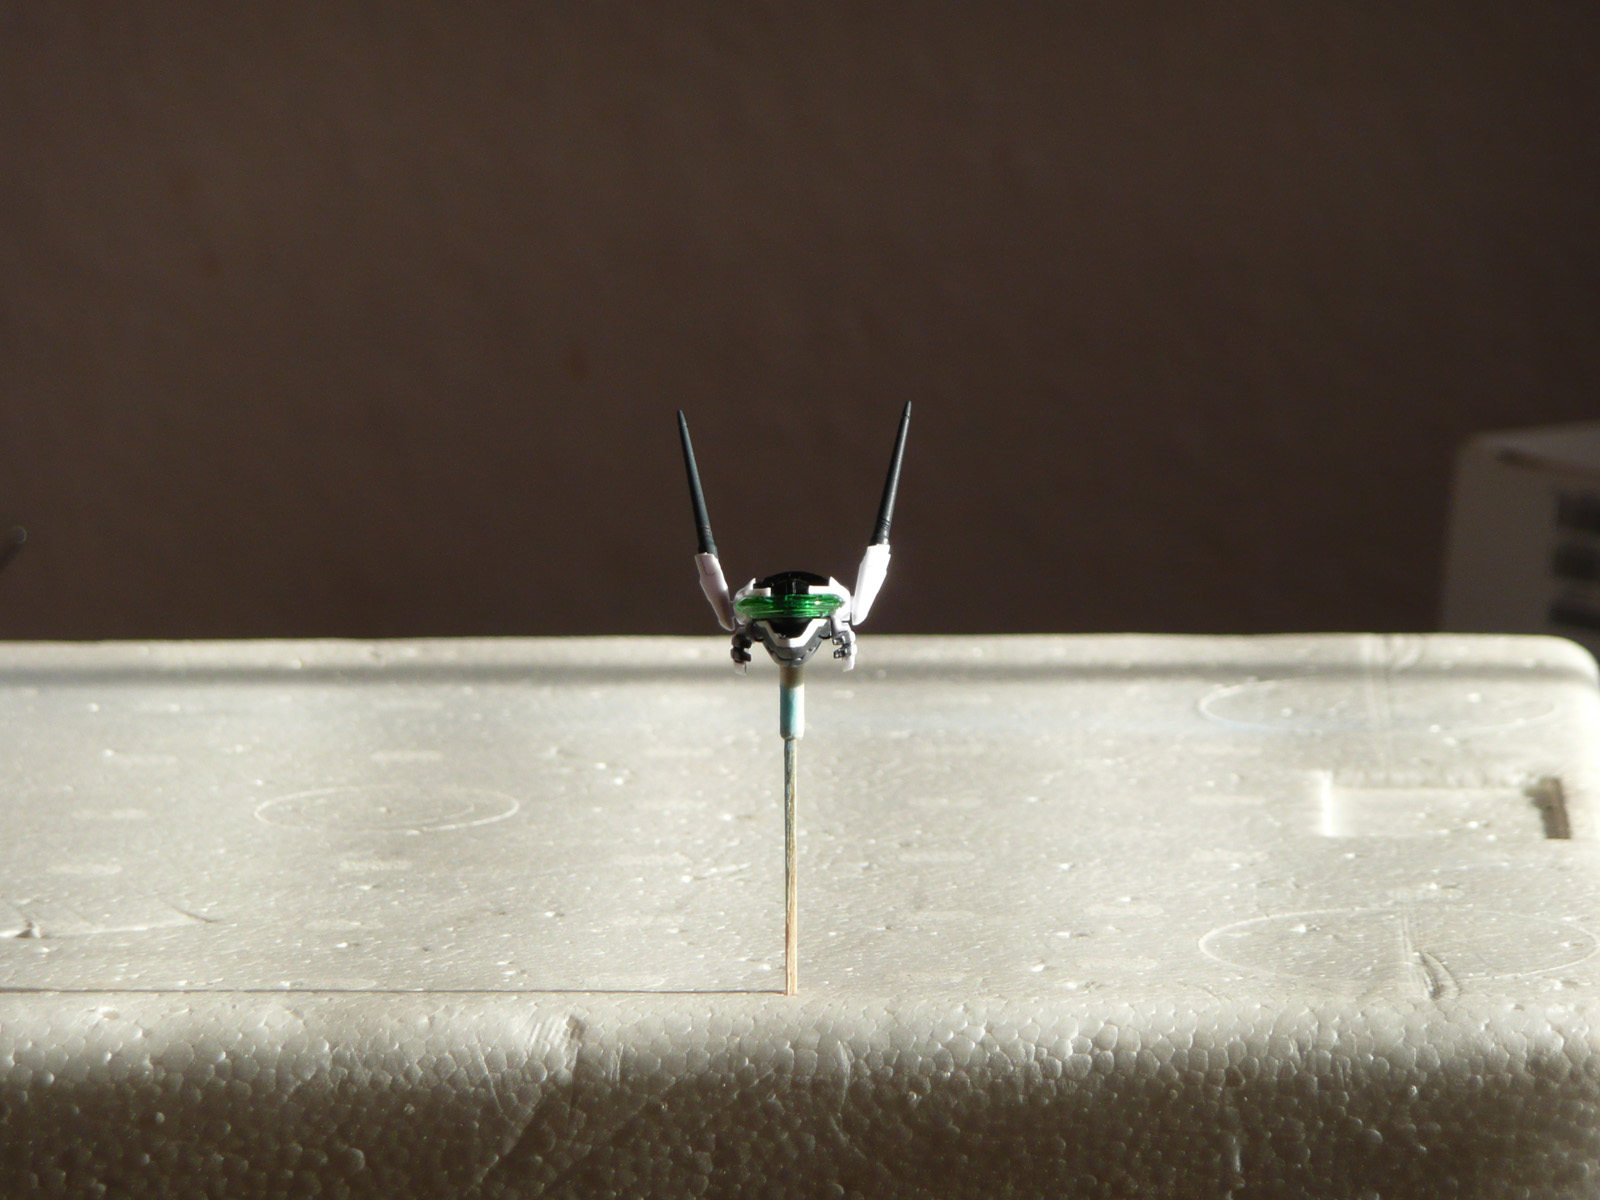
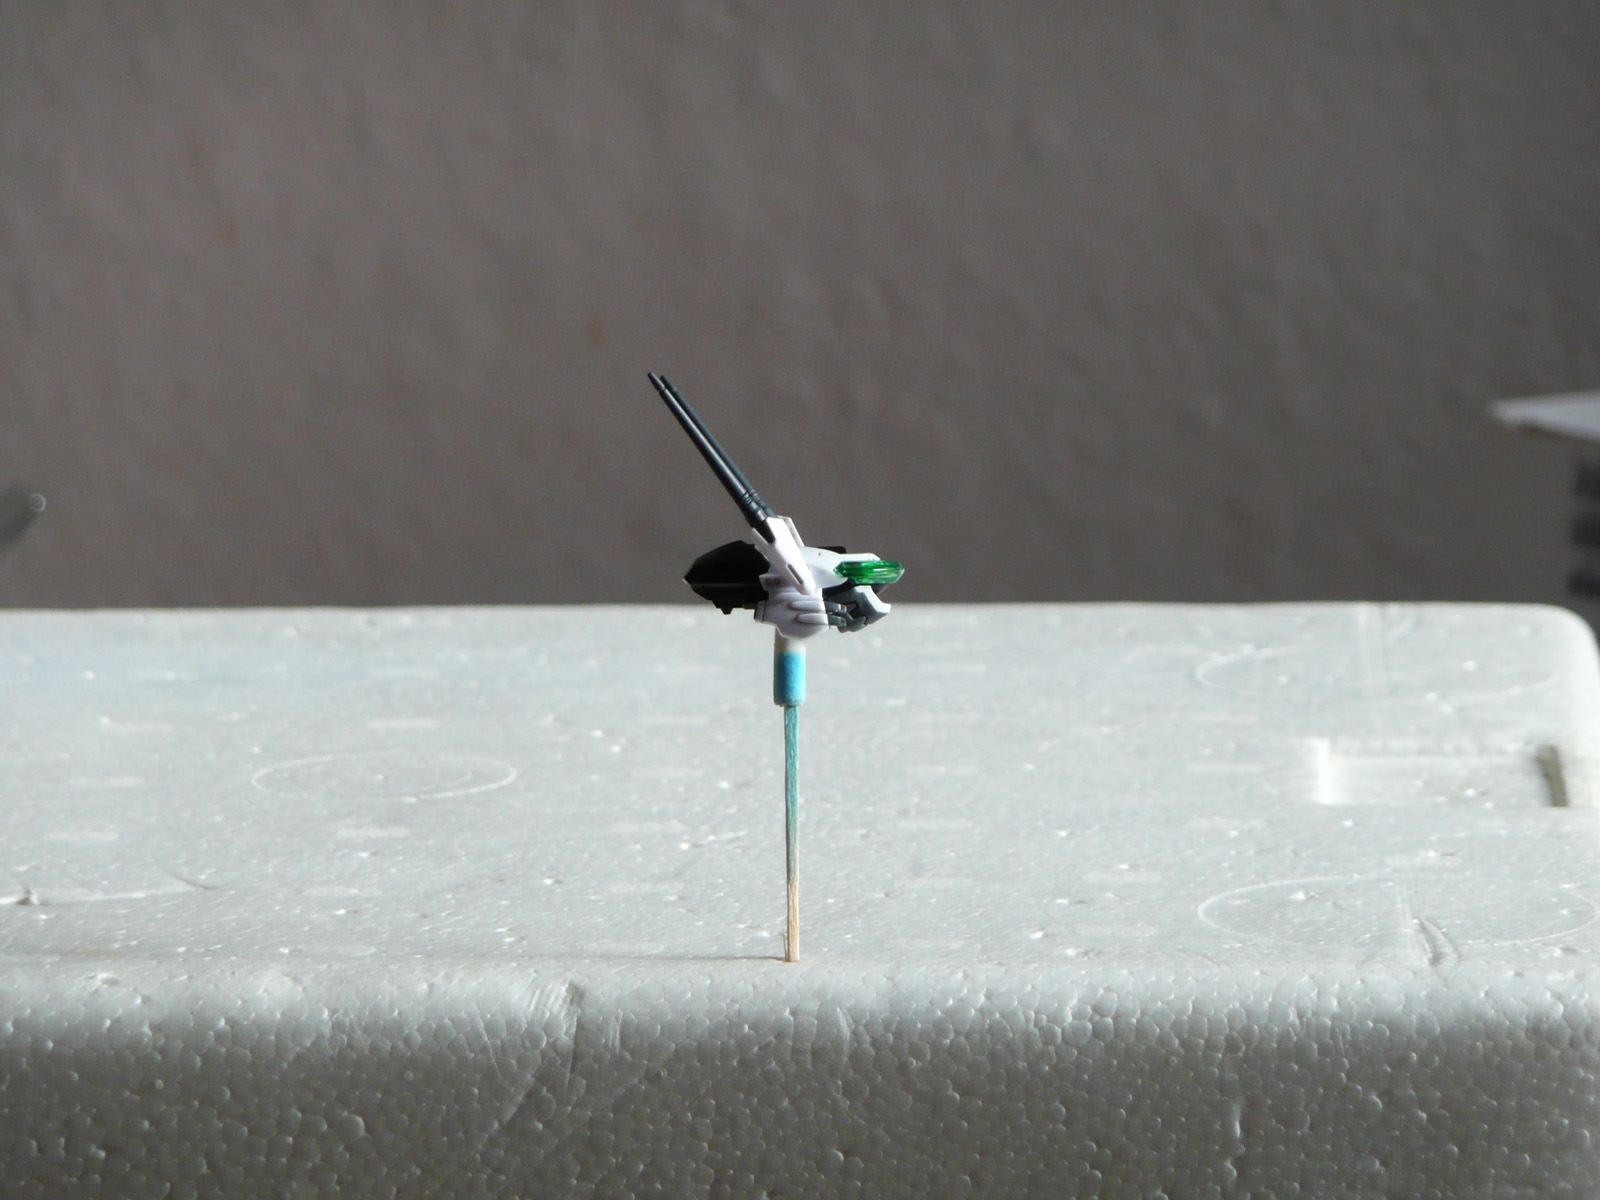
For the visor I just kept adding Tamiya clear to Tamiya clear green until it was light enough. David is right; Tamiya clear green by itself is way too dark. I've attached a pic of an early mix. Straight Tamiya green is even darker; it's practically black when attached to the rest of the head.
I made a scan of my 1/48 Yamato VF-1J sticker sheet and trimmed the display to fit into the VF-25. Stupid Bandai not including an instrument panel decal.
Now I have to finish touching up the white pinstripes on the head.

-
Hi guys,
I've been lurking on the MW forums for a couple of years now, but I never posted anything because I didn't feel I had anything worthwhile to contribute but thanks to you nutcases I'm trying to build a VF-25F myself.

I originally started this kit as a quick project I could finish in a weekend or three (which is why Alto looks kinda jacked; I wasn't too concerned about accuracy). Now it's turned into this obsession where I'm trying to make it as anime accurate as I can with my limited modeling skills. Anyway, thought I'd share what progress I've made so far. Went through like a dozen formulations of transparent green paint before I finally got the shade I wanted.
Don't even get me started on canopy tinting screwups...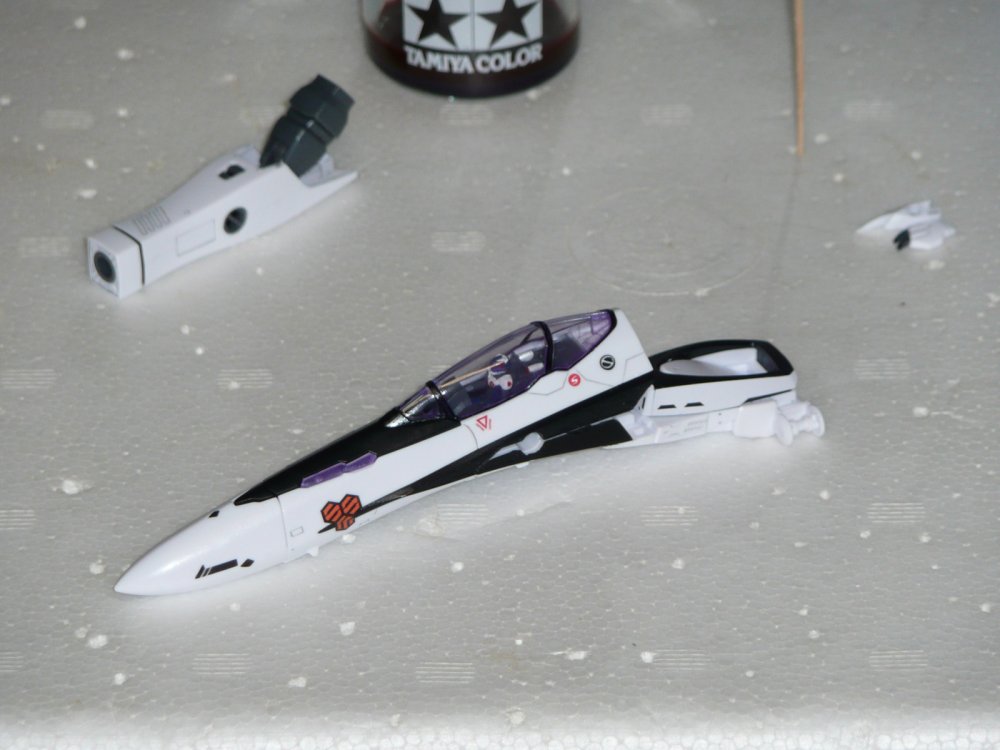


1/72 Bandai VF-25F Messiah build-up step-by-step (sort of)
in The Workshop!
Posted
What a beauty! Please tell us you're not actually going to be transforming it! The thought of such a beautiful finish being scratched up is heartbreaking.