-
Posts
7189 -
Joined
-
Last visited
Content Type
Profiles
Forums
Events
Gallery
Posts posted by Lolicon
-
-
Ouch! Sorry to hear about the problems with the decals and softener. It's those kinds of issues that make me reluctant to use Mr Mark Softer except where absolutely necessary. Although I've never had any decal tears like that, the areas where excess wasn't wicked off right away would have a pock mark where the texture differed, though it was visible only from certain light angles.
Do you use any kind of decal setting solution like Mr Mark Setter? It's made decaling so much easier, it's unbelievable.
-
I think he does wear a helmet. Look at that screen cap to the right where the canopy is open and Brera and Ranka are in space. I think it's visualized that he does not wear a helmet only in his virtual reality mode where he's in free space.
Fair enough. They still look like generic SMS pilots though. Ranka's really been hitting those weights!

-
What's with the generic pilots? Brera doesn't wear a helmet and flight suit, and I was hoping for a Ranka figure for the second seat.

-
Do the armored version kits give you the option to remove the armor to display the Messiah with out it or is the kit complete only if built with all of the armor parts? In short, can you go back and forth to display the VF with and without armor?
It comes with the complete VF-25 plain kit, and then the additional Armor parts. You build the Armor packs into the kit by switching out parts, rather than attaching additional Armor parts to the plain VF-25. Same as with the Super parts.
You could switch between the two by swapping parts back and forth, but that's a massive ordeal and will most likely screw up the model.
-
I "fixed" the decal! Of course, but "fixed" I mean I cut it out and just painted the light grey portion in. Compare this to the earlier photo. So much better now.
 Also finished assembling the legs and putting the final semi-gloss finish on.
So far I'm having a much easier time with the Armored than I did with the plain VF-25F, even though I'm actually painting it this time around. Perverse.
For panel lines, I usually use a 0.3 mm mechanical pencil with the edge sharpened even further by holding it at an angle and rubbing it on a piece of paper. This is an easy way of doing panel lines since it gives a nice grey line and you can erase/rub off any mistakes. And of course once you're applied a clearcoat, you don't have to worry about accidentally rubbing it off later.
For hard to reach places, I switch to a wash and just let the liquid flow into the cracks.
However, on the dark grey armor parts, pencil wasn't really showing up at all, so I switch to a Sakura brand micron pen. In person, the lines aren't all that noticeable, but whoa! In these pics the micron pen lines are very distinct and clear.
For the center of the chestplate, I painted the underside black since the decal only covers the front portion.
-
Yeah using Mr Mark Softer is very unwieldy with these. If you gotta use it, use it, but be prepared to deal with the slow absorption and beading up of the liquid.
I'm probably going to trim the grey parts off and then just paint those sections. The dithering pattern on the decal is pretty clear and distracting in that photo, and it's still not perfectly lined up.
-
Hehehehe I understand completely. I got tired of masking anything right around the second set of tailfins.

When I said 'studio model' I was just referring to the pictures on the box and in the manual. The one allegedly built by a professional modeler that's often inaccurate.

Yeah I meant trying to mask over everything again to apply two different types of clearcoat finishes, after you're done painting and have applied all the decals. The color tone difference is harsh because the darker paint is glossy and the lighter paint has a flat appearance, and it ought to look pretty good once it's all coated in the same finish. Unless you plan on masking it all again to do two different finishes.

On the blue paints, are you just applying a single thick coat or multiple thin coats?
-
Looking great so far. I really like the two tone main fuselage. Ah, if only I wasn't so lazy...

Got a question. For the Super parts, were you trying to color match the anime or studio model, or are you just tinkering around with colors until you find one you're happy with? There's no wrong way to do it, I was just wondering what your intent was.
Terrified of using masking tape over any surface with decals, even with clearcoat over it. I've ripped off decals with tape before.

I don't think a good semi-gloss clearcoat will affect your final colors so much that the differences in the shades of blue will be lost. Right now the difference is pretty harsh due to them being different finishes.
-
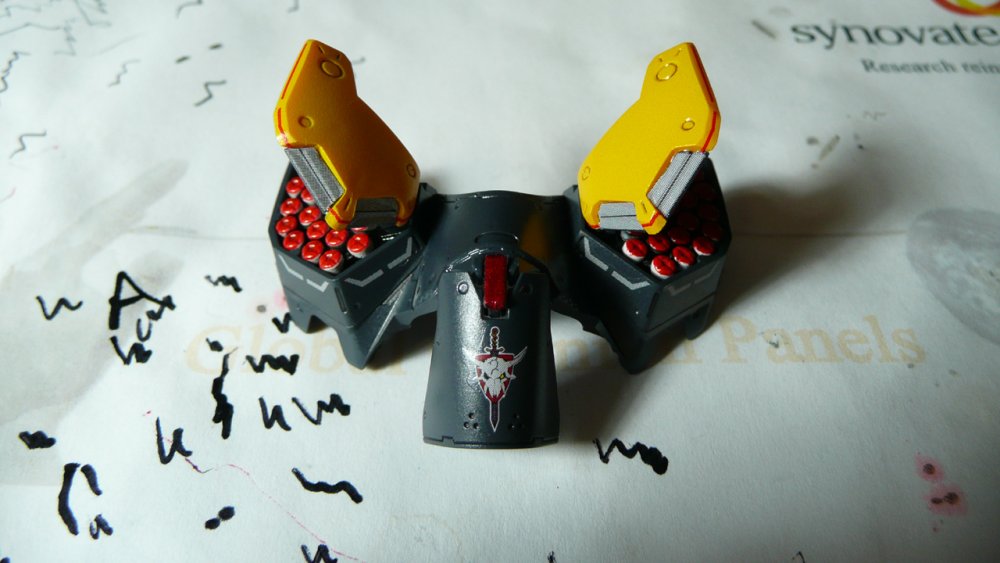
A note on the chest decals: for the love of all that is holy, I highly recommend trimming them into smaller sections!
The grey section of the chest missile covers and surrounding red trim are all one big C-shaped decal. Given my previous VF-25 decal experience, why I didn't think to cut this obviously pain-in-the-ass decal into smaller parts I can only attribute to a momentary lapse of insanity/cockiness. Trying to line everything up perfectly on such a f'd up shape was an exercise in futility.
It's going to take a lot of Mr Mark Softer to flatten this mess out. I avoid using this stuff as much as possible on these models because with Bandai's decals it takes forever for it to soak in; it'll quickly bead up on the surface long before it gets soaked into the decal, leaving an uneven mess. Basically, whenever I'm forced to use Mr Mark Softer, I have to sit there for awhile lightly brushing the decal with a small brush to keep the liquid from beading up until it finally soaks in and melts the decal.
All of this can be avoided by trimming the decal.
Incidentally, right after this, I started on the much-maligned ankle decals, well known for their tendency to wrinkle up and tear and being a royal pain, and was able to apply them flawlessly.

-
This is the 1/72 model kit, not the 1/60 toy
Thanks for stating the obvious. I'm well aware of what I bought and am currently building, thanks. I was talking about the model kit, when someone earlier was blubbering about how expensive it was, and I pointed out that the model shipped was only $85, which is a far cry from $200 for the hideous DX.
-
Sheryl shipped from Hobby Search already. Hope to have it by the weekend.

-
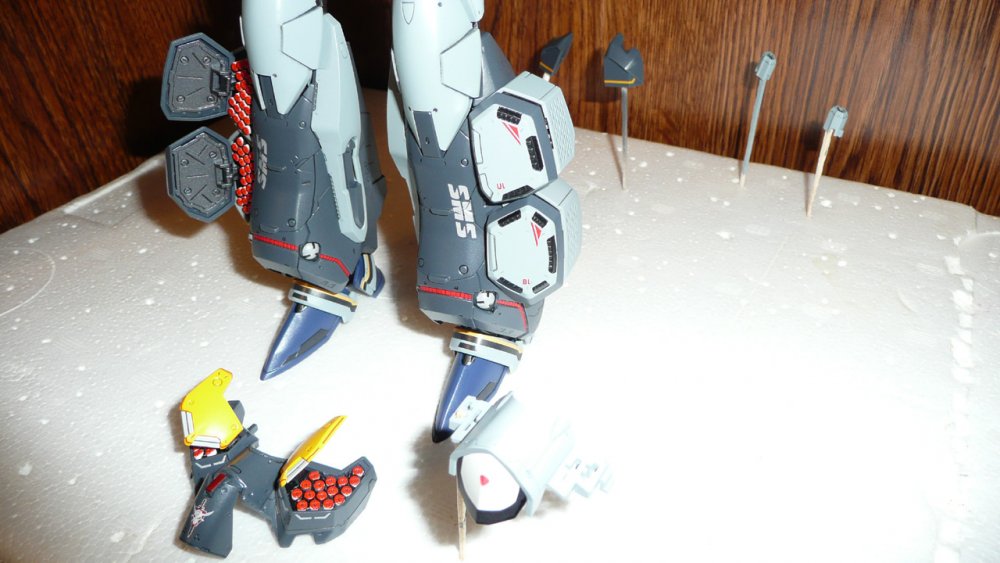
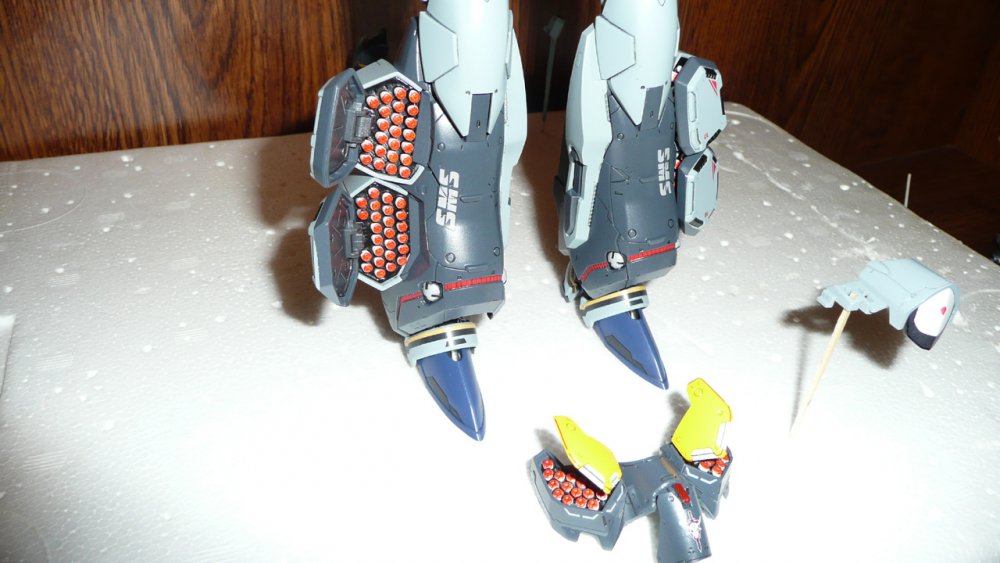
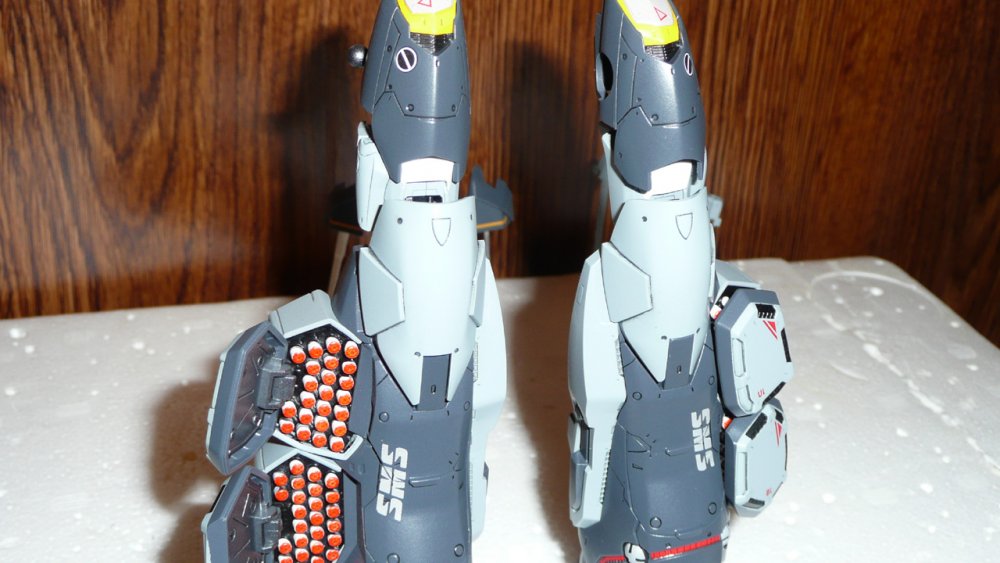
Brief update today. Haven't had time to make much progress, but I did get around to panel lining and getting a few decals applied to the legs. Just like with the plain VF-25, the Armored decals are the same thick, cheap decals with a noticeable dithering pattern from the silk screen or whatever it is Bandai uses to produce them. And of course the decals don't actually fit into the sections they're meant to cover! Familiar territory for anyone who's tried to decal any VF-25.
Armored decal 8: What the hell was I thinking trying to use this decal? Trying to fit a cheap Bandai decal over a semi-spherical surface? Wrinkles ahoy! A generous helping of Mr Mark Softer helped a little. I regret not going ahead and painting this part.
Armored decals 38, 39, 40, 41, 42: These decals are the red striped sections on the ankle sections. They're more or less the right shape, but they're too short to stretch across the length of the recess, and they're not wide enough either. But it's passable since it's not terribly noticeable unless you look really close. It might be harder to mask and paint because it's such a recessed area.
Armored decals 33, 34, 35, 36: These form the SMS lettering on the leg armor. You have to line up the decals over the curved gap in the armor plates. It's actually easier than it sounds. However, I noticed that the instructions have the numbering backwards. Decal 35 should be on top, and decal 36 on the bottom. Good job, Bandai!
Will update with close up pics when I get home.
EDIT: Added close up of the leg to show off the dithering on the decal, the wrinkling and improper size.

-
where? I am willing to spend 85...
http://www.rainbowten.co.jp/english/index.html
6400 yen for Armored Ozma or Alto, then shipping is about 2000 yen for SAL.
-
I meant prices for the Armored Messiah models and toys, taking shipping into account, you are paying about $100 give or take for the model.
Armored VF-25S cost me $85 shipped via SAL. Not cheap, but there's a huge difference between $80 and $200. I'd be more forgiving of the DX's flaws if it was only $80 shipped.
-
I might be interested in a set. Especially interested in the cockpit parts. The default cockpit is the most awful and horribly inaccurate part of the model.
-
Hehe well I call it amateurish because I lack the time, skill, and materials to make it look like this:
The wing lights I was able to spray since I had some leftover clear red and blue from some, er, failed experimentation. But handbrushing works just as well. I'll paint the other navigational lights the same way, though I may have to do those by hand since it seems a pain to mask such tiny sections.
The purple Future mix on the purple-grey parts didn't turn out well. I'll have to paint them another color or just leave them as is.

Hopefully I'll be able to squeeze in a few hours this weekend.
-
Can anyone calrify something for me? The VF's that come with super parts, Alto and Ozma, are their armor pieces casted in color respectively? I saw in my Macross F Archive that the stand alone super parts kit has decals for the shoulder armor pieces. I would prefer to not have to use decals nor paint. but rather have casted plastic. if this is the case I will need to request that sprue from HLJ.
Standalone Super parts have decals for the shoulder parts because each character has a different color, and it was cheaper for Bandai to give you decals than mold 4 different sets of shoulder armor.
Alto and Ozma Super bundles come with proper colors molded. Out of luck with Michael or Luca though.
-
is there a difference between the heads of vf 25s and vf 25s with armor????
Nope.
-
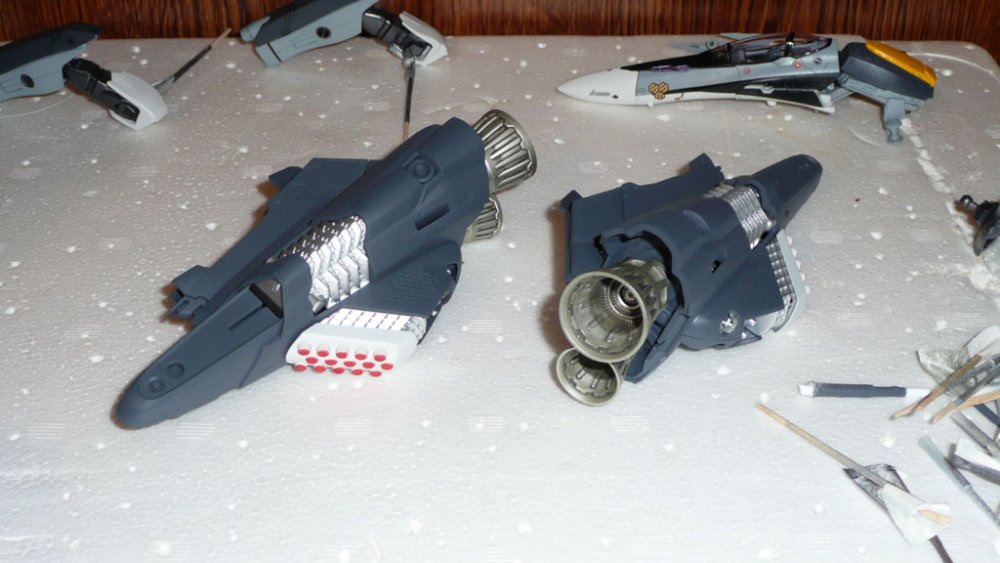
For the boosters I painted them using Tamiya champagne gold (which turned out to be more silver than gold, a good thing). The wash was Tamiya black and german grey diluted in alcohol. I only wanted to get rid of the plastic swirls, but it turned out better than expected.

I'm having a rough time getting the oil wash to work right. I dissolved some oil paint in turpenoid, and then I use a super fine brush to dab it into panel lines and other recesses. I let it sit for about a day before I use a Q-tip to wipe off the excess. It works fine in deep panel lines, but on corners and shallow recessed I end up just wiping most of the oil paint right off (and leaving that nasty turpenoid residue). I also have a hard time getting the liquid to flow sometimes. Is there something I'm doing wrong? Is the mix too thick or too thin?
Some quick pics. Tried to get a picture of the metal finish on the internals. Navigational lights were painted using clear red and clear blue over a silver base.
-
The boosters are painted and washed (one of the few parts I've gotten around to washing). They're molded in the same gold colored plastic as the Super parts. I painted everything with the exception of the black parts of the tailfins and lerx; those parts look good unpainted and are mostly hidden anyway as I'll be building this into battroid mode only.
Your method of painting the missiles sounds intriguing; I'd like to see how it turns out. If it turns out to be easy to do, I may do that for the VF-25G. My missiles currently are super shiny because of the gloss coat. It'll be toned down once the final semi-gloss coats are applied.
 Everything else looks flat because I haven't even applied the first gloss coat to them yet.
I also have not decided what to do with the purple-grey parts (the parts with the same color as the gunpod). Don't really have a good paint color for them, but I don't want to leave them unpainted either. Maybe I can coat them with the purple Future mix I have? Hmmm...
-
Hey all,
Felt like a douche posting in random places, so I figured I ought to just make my own thread. I'm not a pro modeler with the skills of someone like wm cheng nor do I have a lot of time to spend modeling (took me over three months to assemble my VF-25F, and I didn't even paint most of it), but I thought there are probably plenty of amateur (but not necessarily as lazy as me) modelers lurking about who might find these notes useful. My lack of modeling time also means my updates may be few and far between.

(Note: some of these pics have been posted elsewhere, but I'm just including them all in one place.)
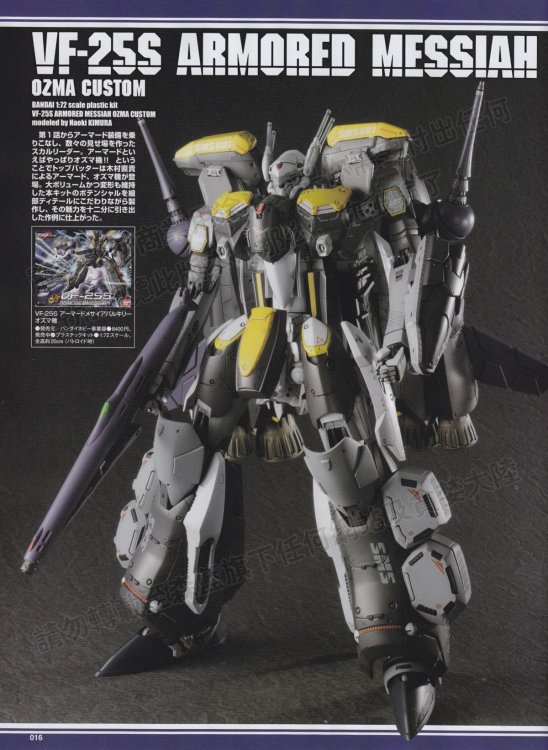
I picked up the Armored 25S in June and after beholding its majesty, I decided I couldn't simply stick it together without painting it. So I picked up some bottles and cans of Tamiya paints and went for it! (I don't even own an airbrush!)
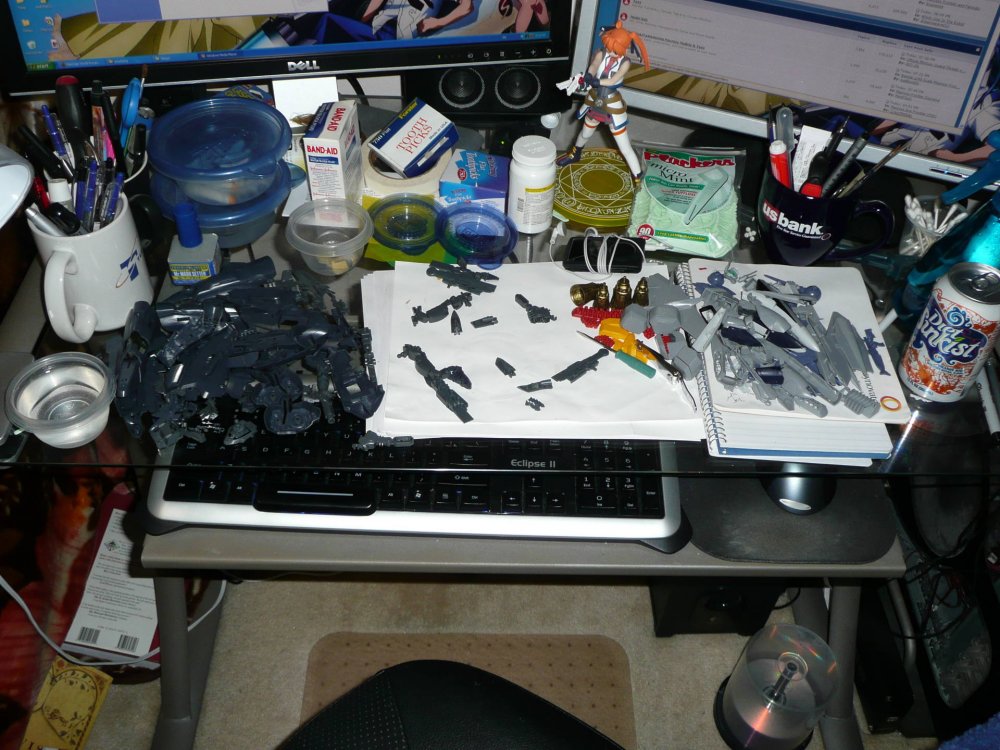
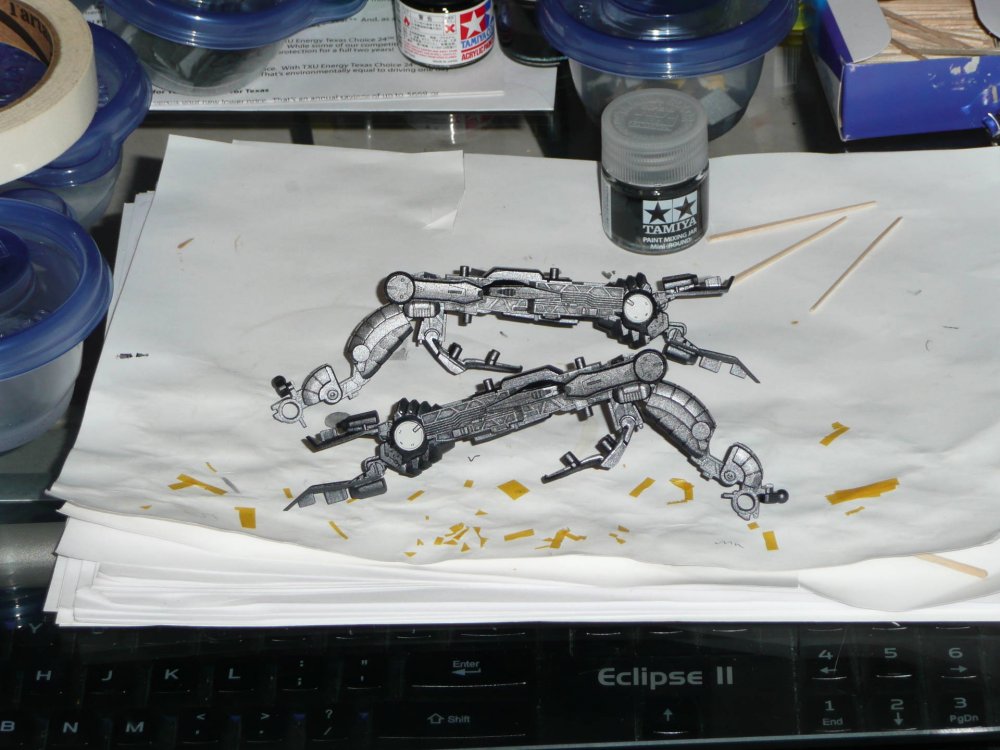
First off, there's a ton of parts, roughly double the number as a plain VF-25 kit. My computer desk with the parts all piled up.
Just cutting everything from the sprues and then sanding and polishing (where needed) took me like two weeks, working here and there. I sanded using 1200 grit to start, and then worked up to 1500 then to 2000 grit to smooth out and remove any traces where the parts connected to the sprues. I then used Tamiya polishing compound where needed to further smooth things out. Occasionally, a part would crack or tear at the connection point (some of the connections are ridiculously thick; thanks Bandai!), leaving an unsightly tiny crack that probably won't be visible to a camera, but it's visible to me. I filled those in using Tamiya surface primer (bottled) and sanded it smooth.
Once I had the parts sanded and prepped, I separated them all into their respective colors and sprayed them all at the same time. There's no white on Ozma's VF-25; the white is actually a super light gray color that's almost white. I used gunship grey on the armored parts, medium grey and US Navy insignia white for Ozma's main fuselage, and some other colors here and there.
Canopy tinting, the bane of all VF-25 builders. The best canopy tinting method I've read about is using a temperature-controlled dye. Uh, yeah, no way I'm going to spend that kind of money for the expensive dyes and equipment needed. I originally used Tamiya purple diluted in Future, but I've since borrowed wm cheng's method. Just a few drops of purple acrylic ink diluted in Future. I used FW "Purple Lake" color which is way too purple; a touch of blue food coloring fixes that. (FW makes another purple ink called "Velvet Violet" which is much closer to the VF-25 tint, but I wasn't able to find it at my local art supply store.) Here are side by side pics for comparison. Tamiya purple method on the left, newer ink method in the middle. Right picture shows how nice and clear it is.
The black canopy frame was done using a fine tip black Gundam marker. It's not the regular one that you can buy individually. It's the very fine tip marker that only comes as part of a set for 1200 yen. The paint mix seems to be different. Aside from a much finer tip, it also goes on with a glossier finish and isn't prone to chipping.
For all the internal skeleton parts (insides of the legs, upper arms, hands, etc) I used gunmetal to give a metallic appearance, and then did a wash to give it a grittier, dirty look and to make the details stand out more. This is actually my first time doing a real wash. For this wash I dissolved some grey and black Tamiya in rubbing alcohol, after applying a gloss coat over the paint job. I've since switch to oil wash, but haven't really tested it out yet. The off-white ankle discs were masked and sprayed as well.
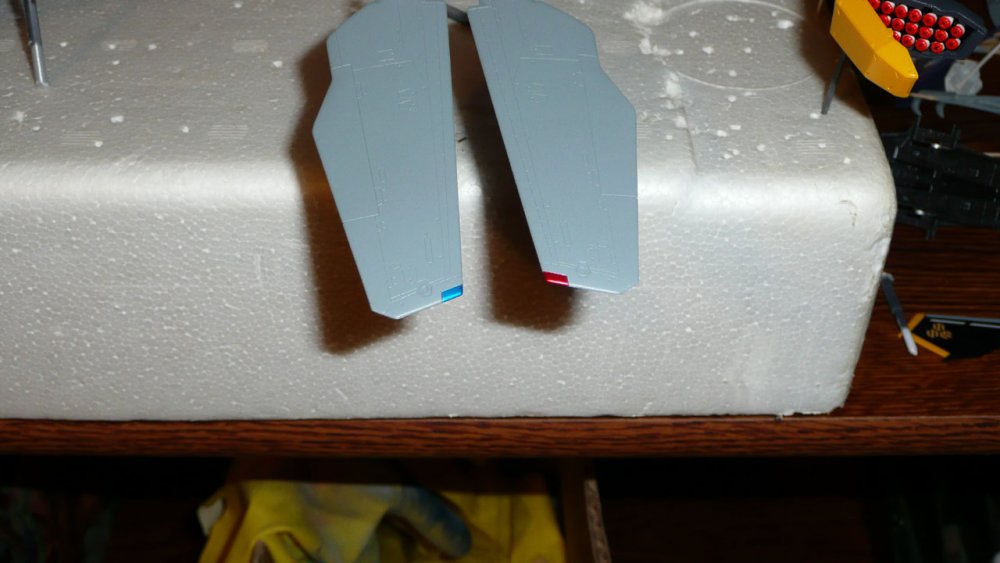
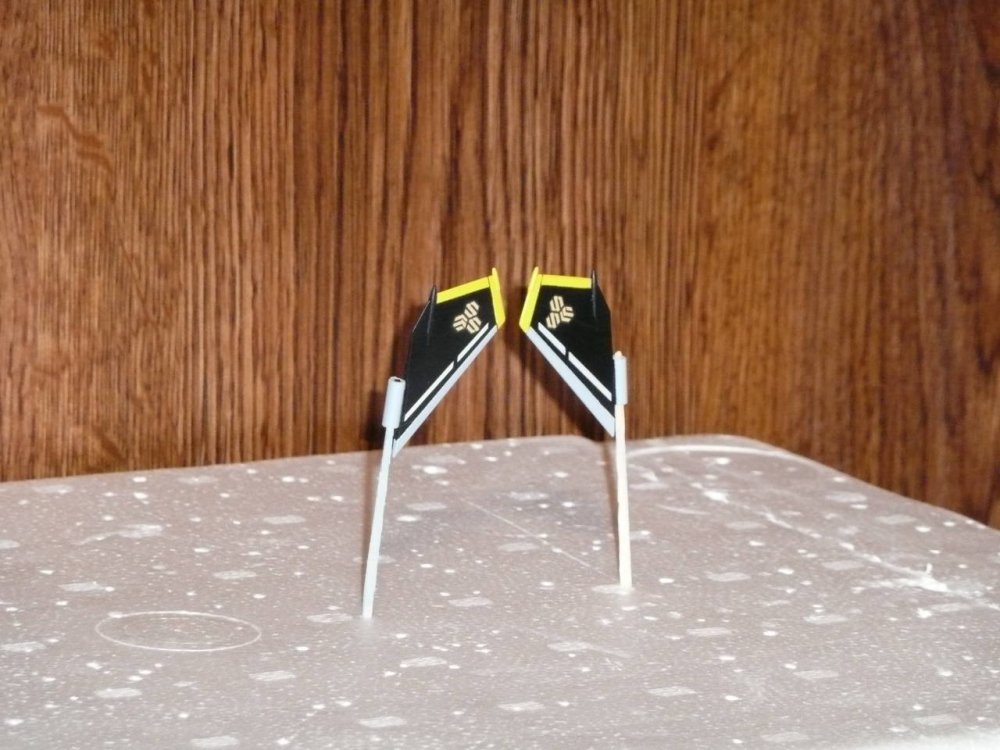
As always, I threw away the crappy tailfin decals and just painted everything in (except the SMS insignia). Nothing special; just a lot of careful masking.
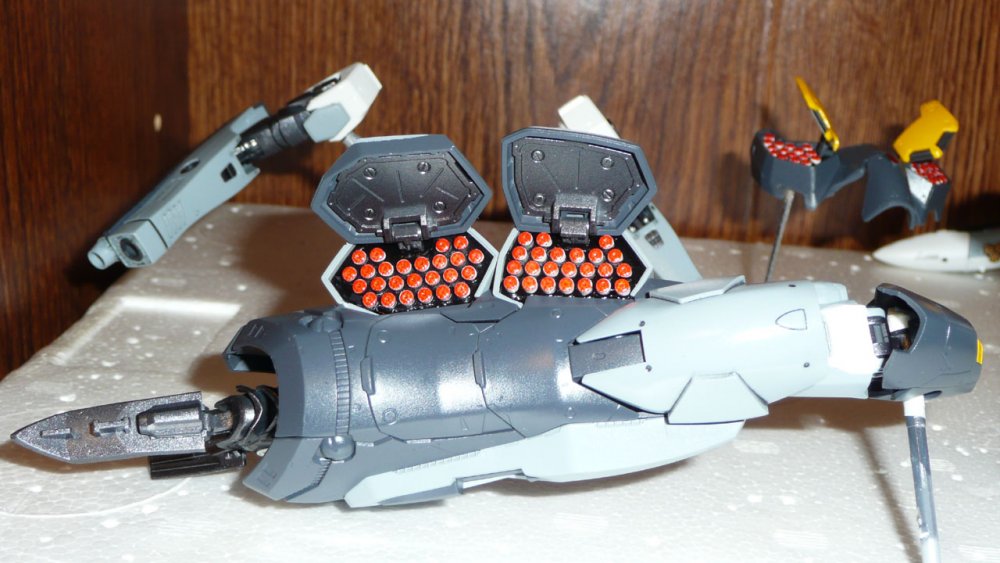
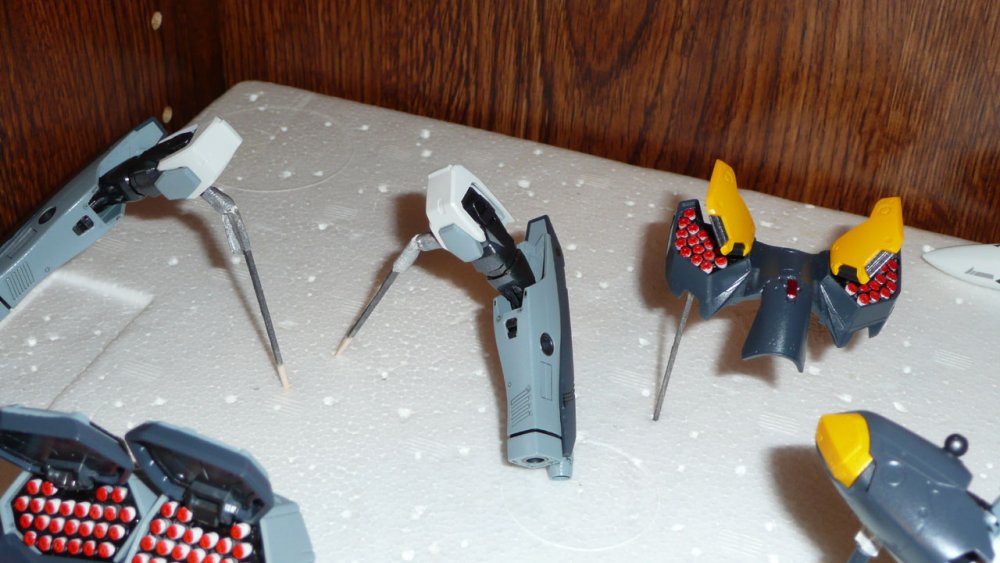
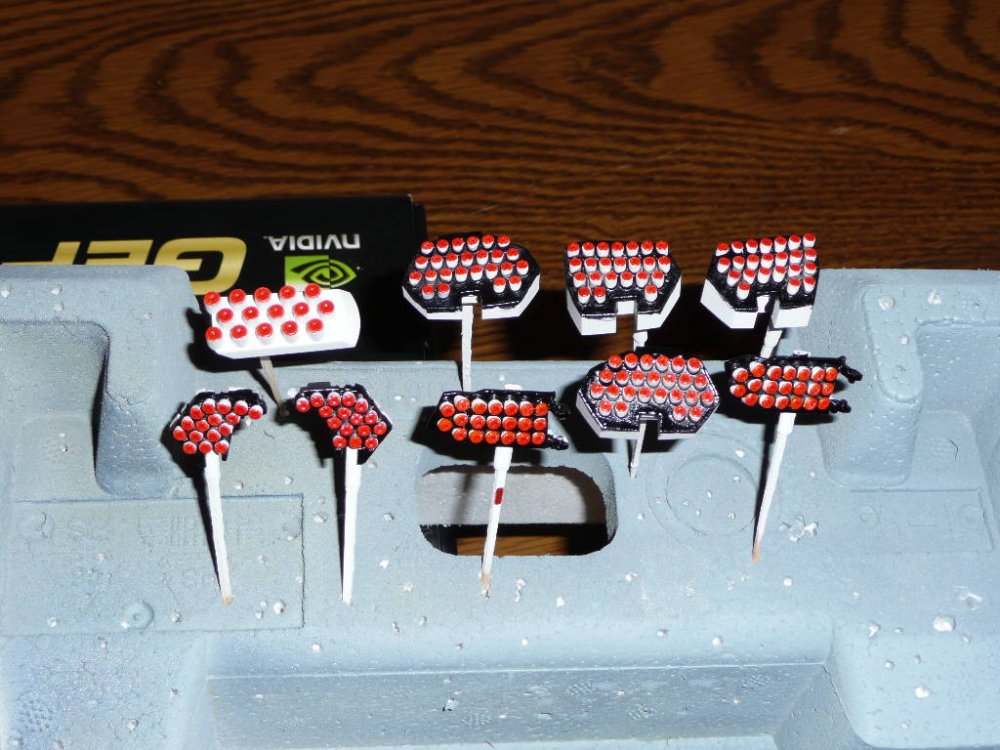
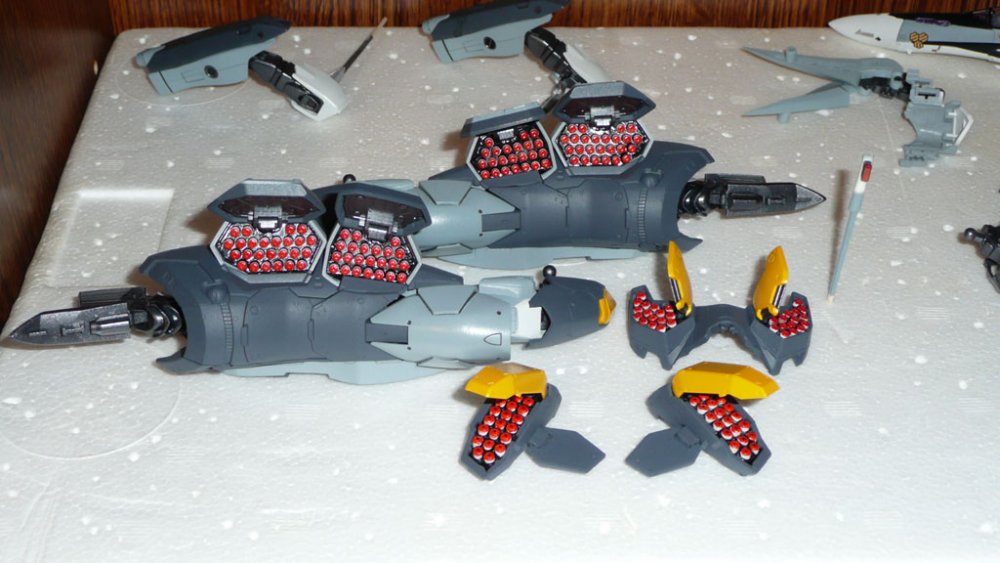
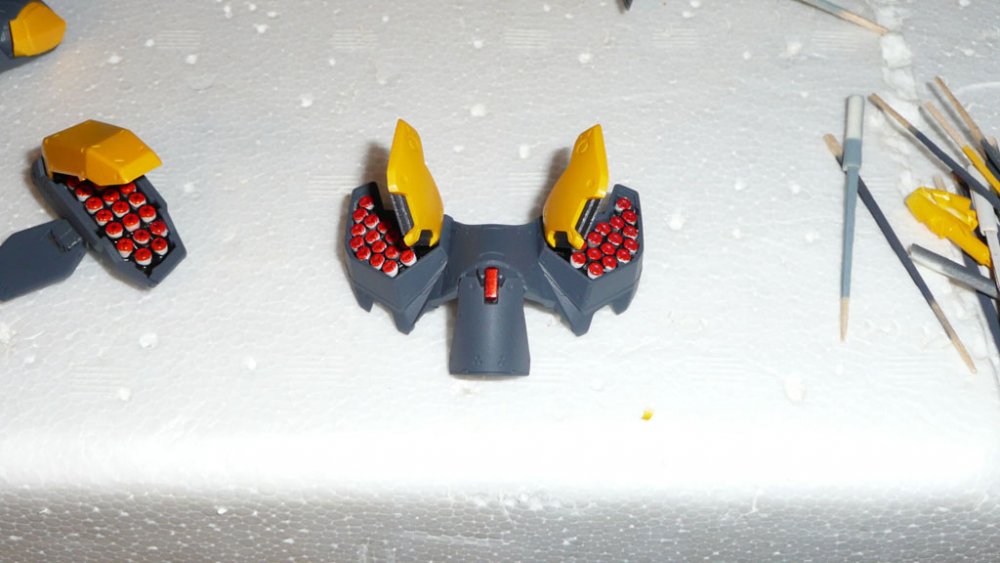
And now, the parts that have terrorized me for weeks: the micro missiles! As is well known, all the missiles are molded as a single solid red block. The thought of having to paint the red tips of each missile often left me curled up in a fetal ball crying myself to sleep at night. Anyway, I painted the missiles the same light grey/off-white as Ozma's fuselage, then used diluted black paint to color the base of the missiles black (kind of like a wash), and then sat there painting each of the tips with a red Gundam marker.
The use of a Gundam marker proved problematic because, for some reason, Gundam marker somehow managed to seep through two layers of gloss clear coat. I don't know how this could happen, but if I pressed my finger to the red tips, my finger would have red smudges on it. This made using an oil wash very difficult as the seeping red paint messed up the wash color, turning it from dark grey to brown most of the time.
The leg missile pod hatches come with a sticker for the grey border, but no decal. WTF Bandai? No way I'm using a sticker, so I had to carefully mask and spray the border. But I made the mistake of looking at the picture in the manuel rather then the CG model, so the dark grey border is incorrect on mine. Looks alright, but not 100% accurate. Oh well, live and learn. At least it's not a sticker.

Once I had the micro missiles and hatches finally painted, I was finally able to start assembling the piles of painted parts (alliteration!) that I had lying around. The joint for the chest flap was filled in using a metallic red Gundam marker.
Anyway, that's it for now. Anyone with questions, comments, suggestions, or any input whatsoever, please chime in!

-
-
Hey guys,
Love checking this thread from time to time and seeing the work you guys do; I wish had that kind of skill and patience.

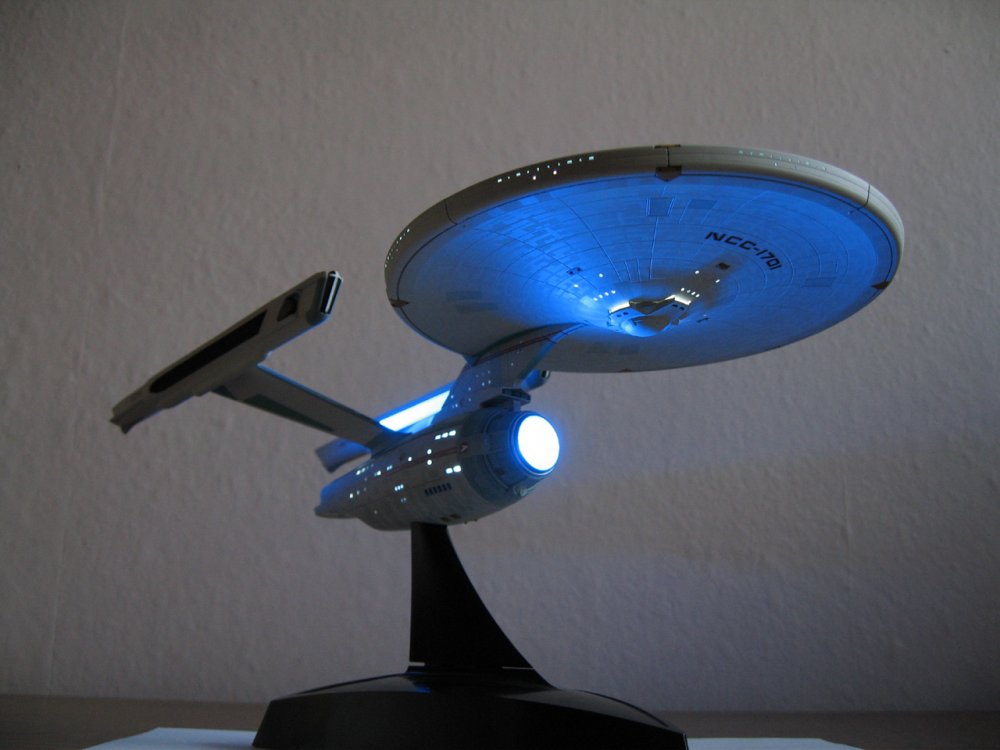
Anyway, was flipping through my work files and found a pic of the Enterprise I built a little while back. It's the Bandai Enterprise kit that came out a few years ago. Pretty much built straight out of the box, but I modified it with blue and white LEDs for the lighting. Hope you guys like it.

EDIT: Well, not completely out of the box. The kit comes with a clear deflector piece, which I used initially. However, the blue LED I used for the main deflector is so bright that if you looked at it head on, you'd be blinded by a shaft of blue light. I eventually replaced the clear piece with a blue tinted after-market deflector, which diffused the light and eliminated the blinding problem.

-
He's just a cross-dresser... and he does it as a clever disguise as to avoid detection. It's a bit far-fetched in reality but they were pretty straight forward with it in the show. He definitely had a human female love interest and then an alien female love interest. Homophobes have no reason to be uneasy with Yellow.
Oh I agree with you on all those counts. Transvestite does not equal homosexual. And homophobes have no real reason to be uneasy with Yellow.
But the sad state of things is that for many the conotation of transvestite is homosexuality (or at least in the same ballpark), and sound reasoning is not something I often see in homophobia. So I would expect someone like the aforementioned poster who hates Bobby and Alto (who isn't gay either) to have an equally dim view of Yellow.
Then again, I think it's been well-established that logic and reasoning don't apply to such posters.


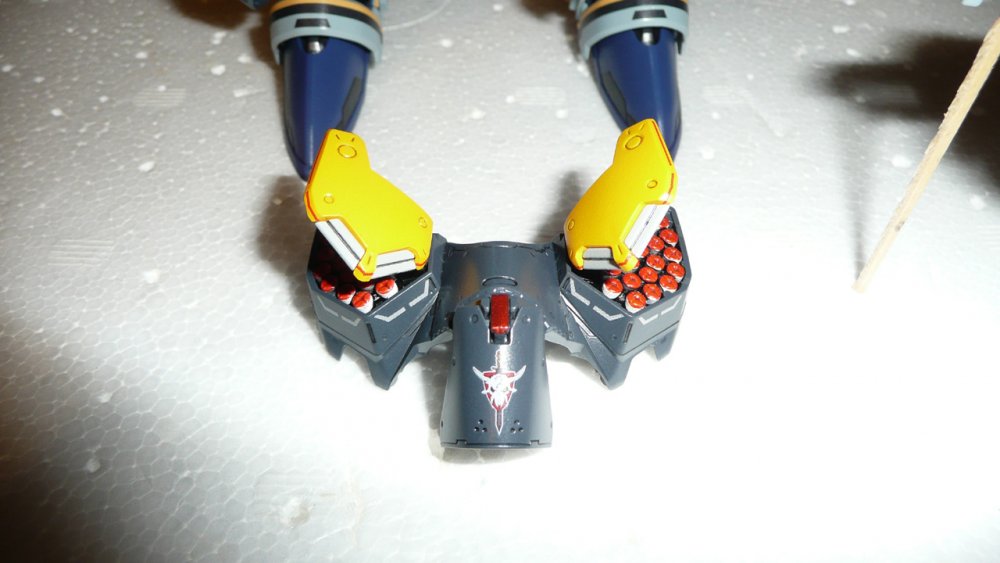
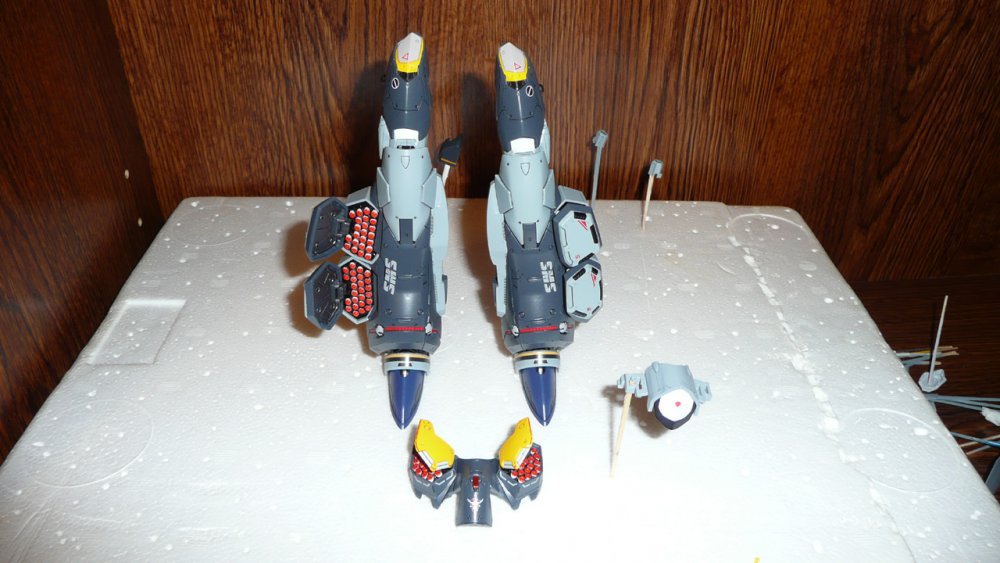
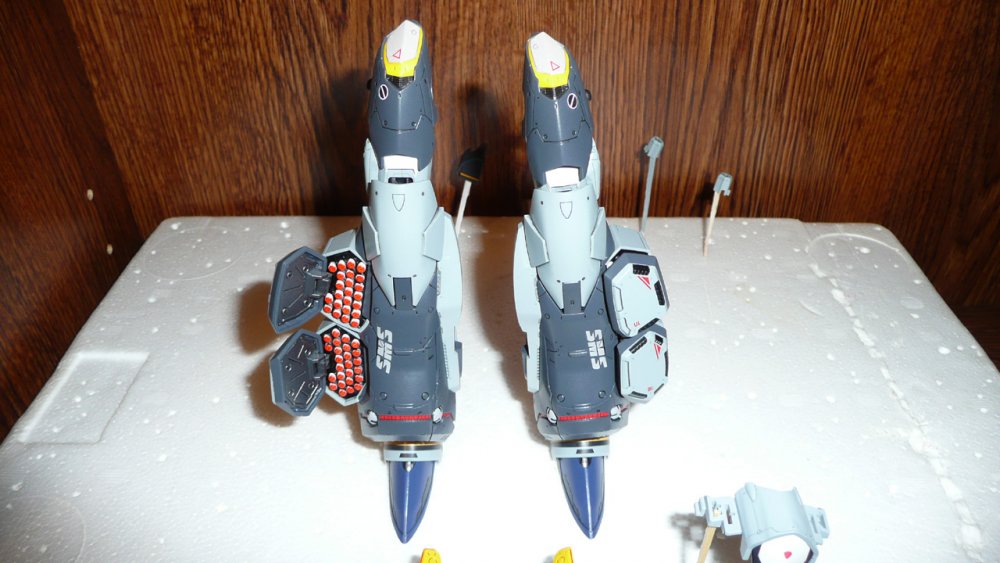
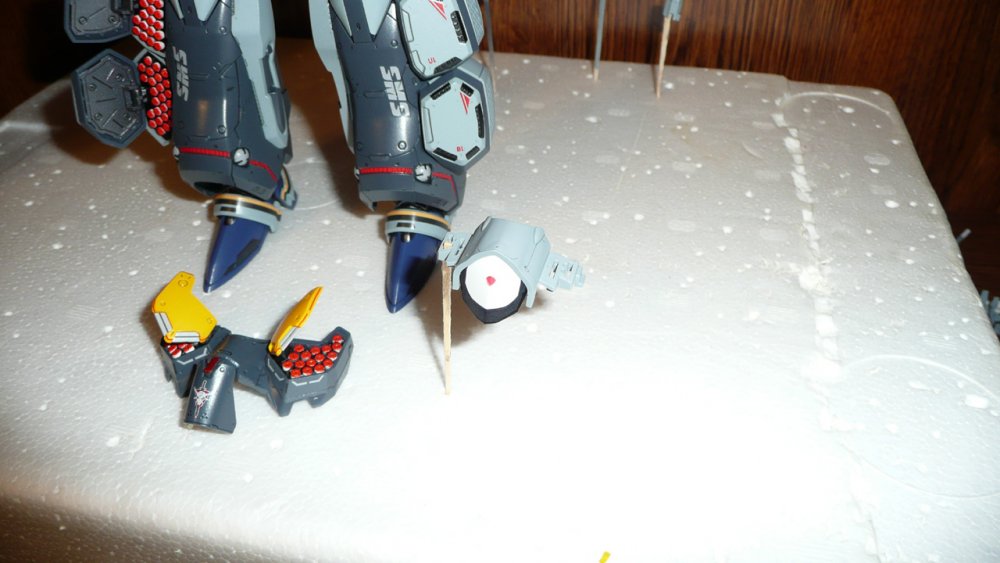
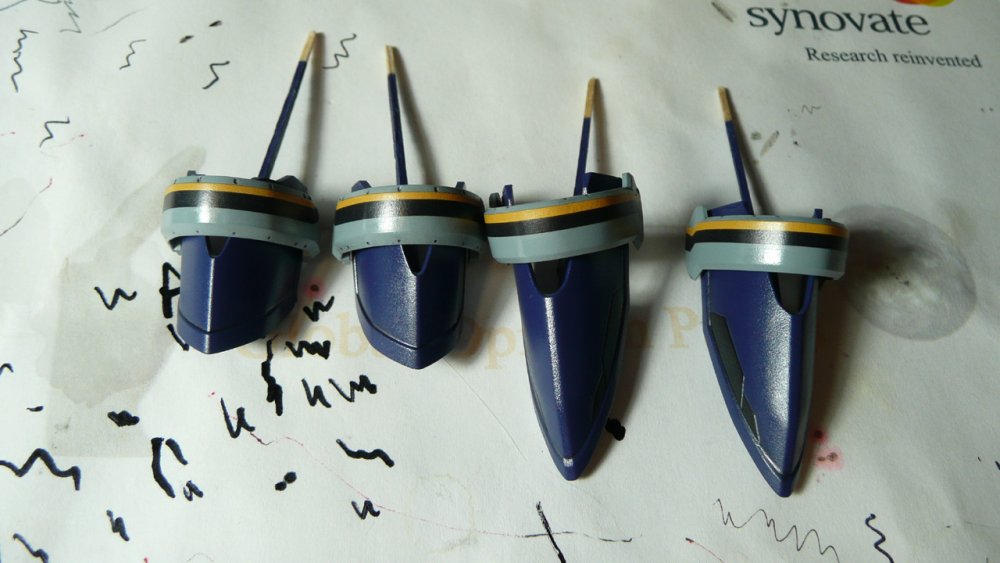
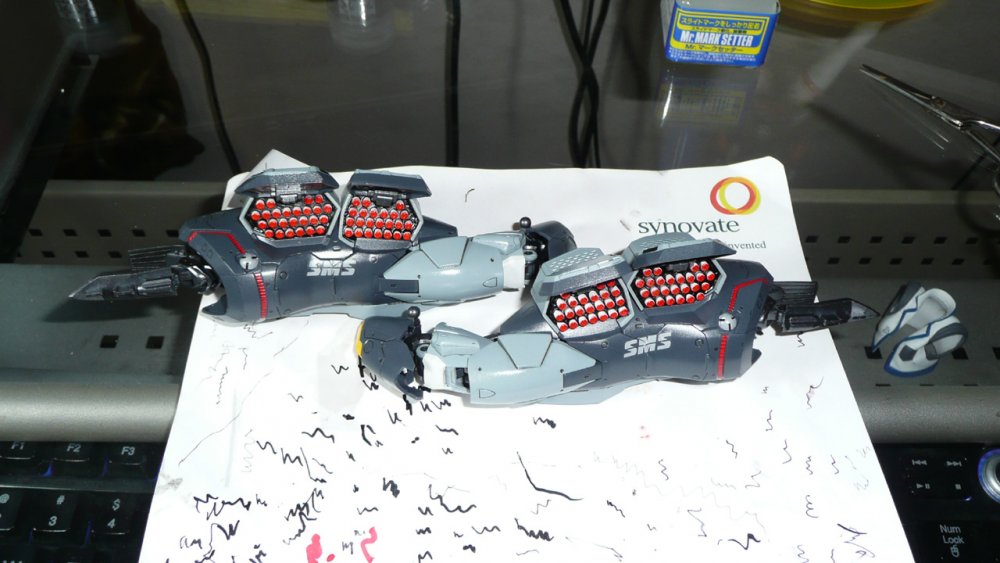
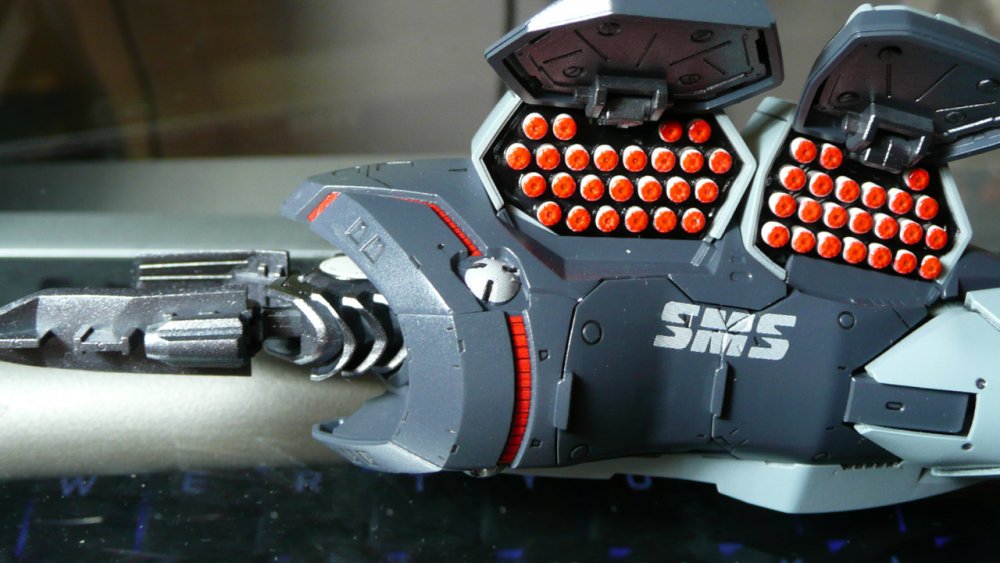
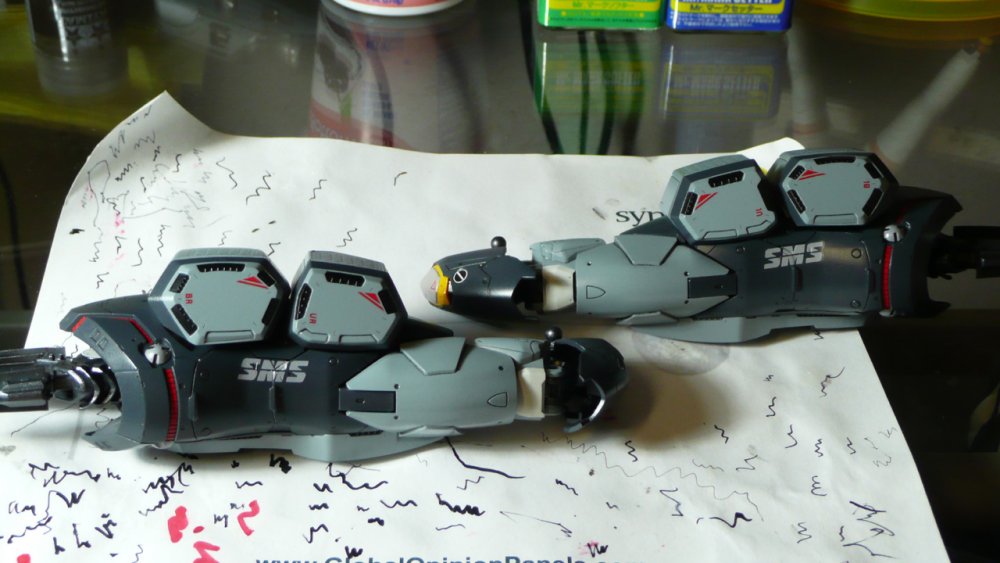
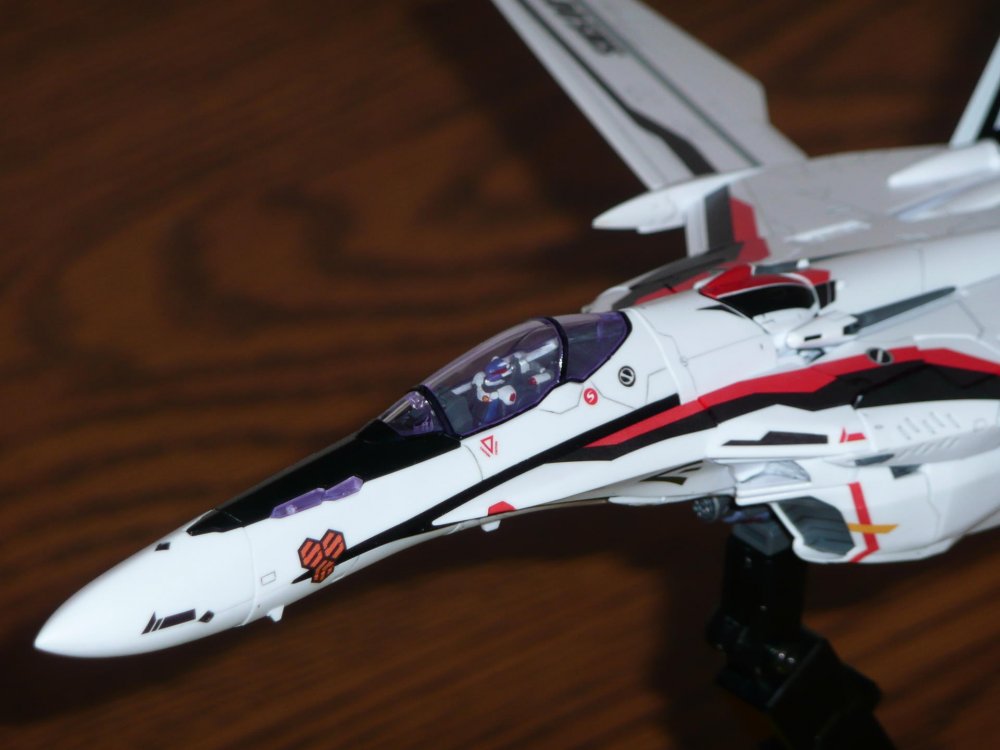
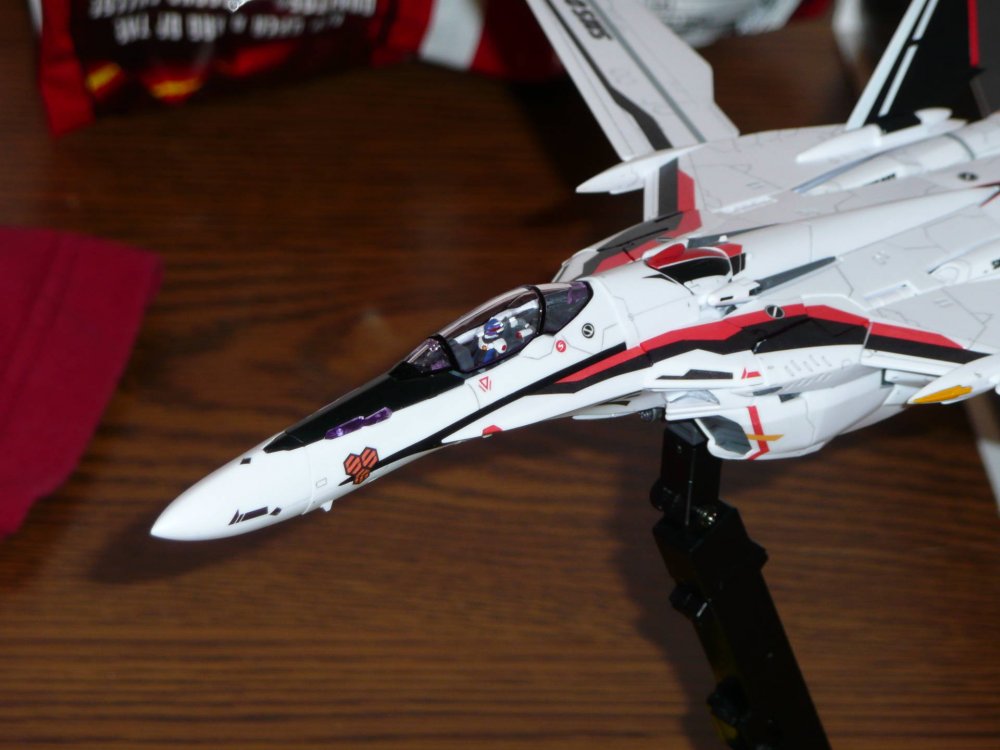
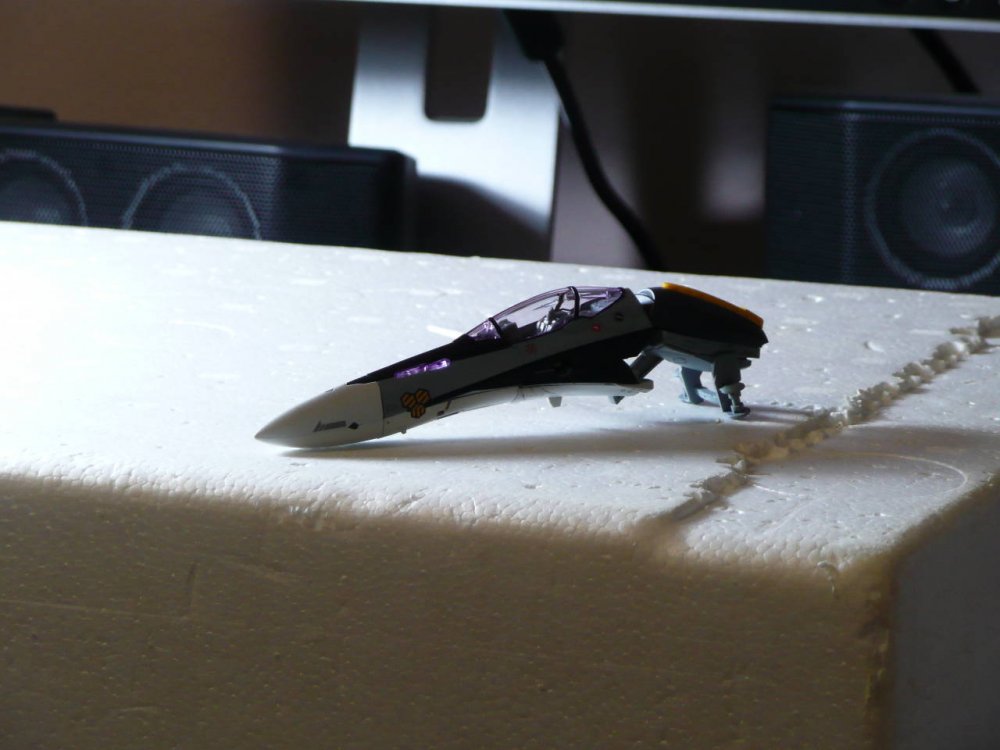
MickyG's (Slow) VF-25G Build
in The Workshop!
Posted
My experience with Mr Mark Setter is that it really makes it easy line decals into place. I don't know how to really describe it, but the buoyancy of the liquid is different from water and it's not as easy to shift a decal out of place on accident. And as it dries o as you wick excess off, it just pulls the decal down into place better and has some kind of sticky element to it that makes decals stick better. This is poor explanation, as I don't know how else to describe it.
It's helped me avoid using Softer on almost every decal.
If you have no problems with just water though, more power to you! With modeling, do whatever works best for ya!
Gloss clearcoating over acrylics (or any paint really) is good since it protects your paintjob and makes decaling easier (smooth surface).
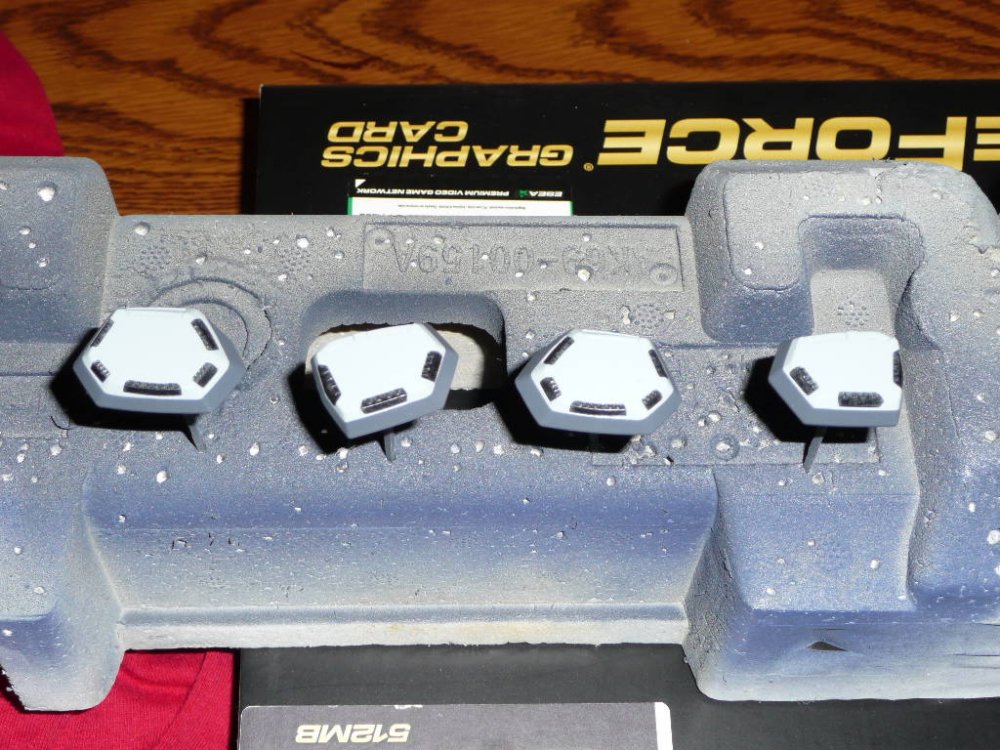
I'm finishing up the arms myself. I am now master of the shoulder hexes!