

Lolicon
-
Posts
7189 -
Joined
-
Last visited
Content Type
Profiles
Forums
Events
Gallery
Posts posted by Lolicon
-
-
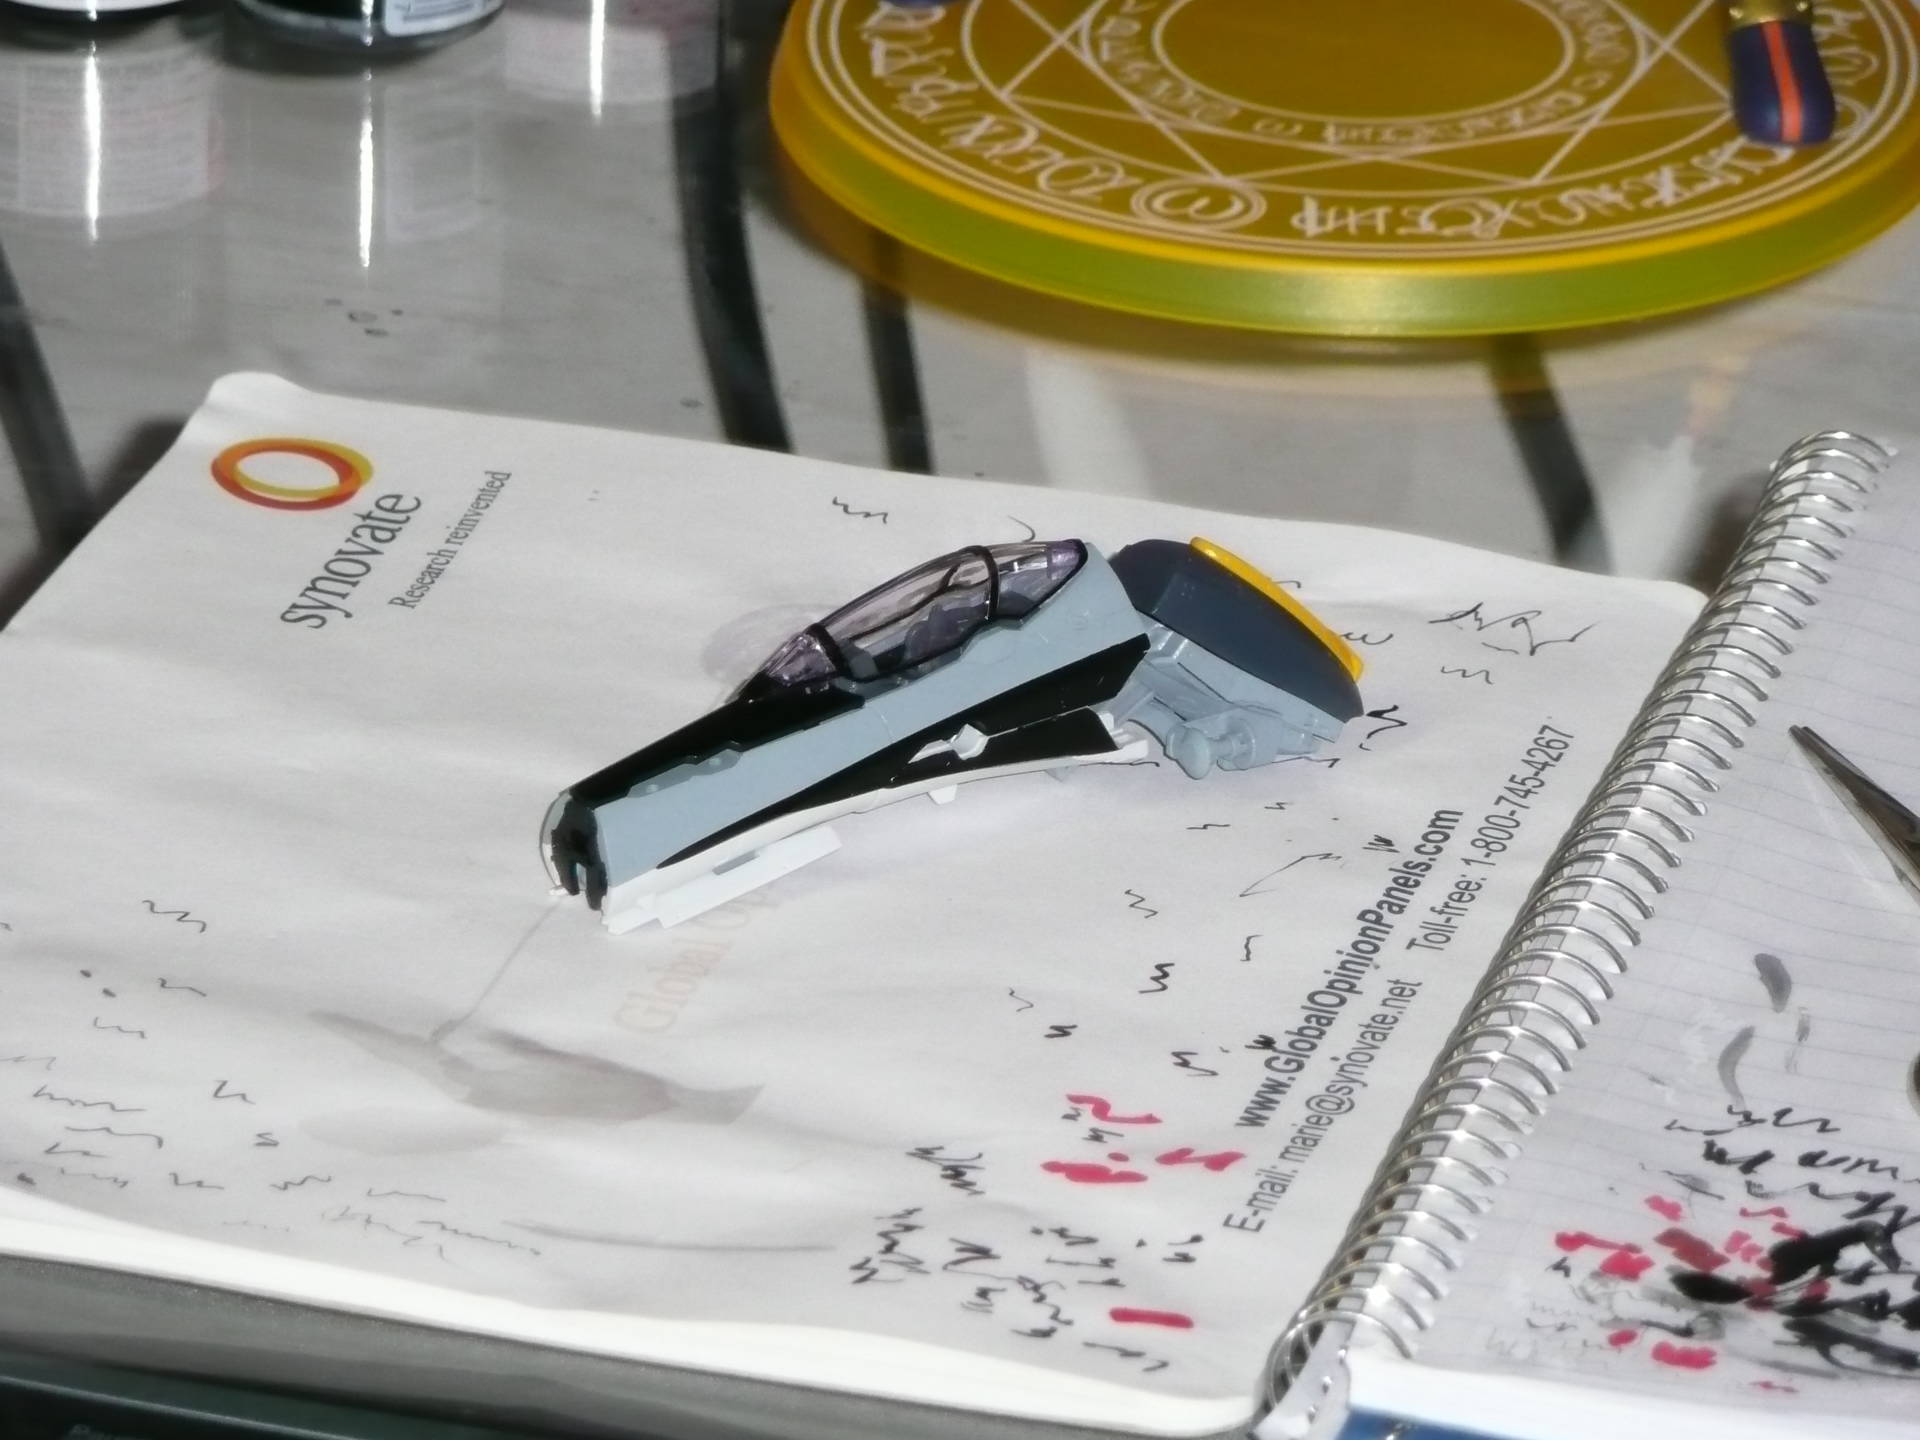
Hey, in the Hobby Japan scans a little while back, they showed the VF-25 ankles being modified with ball joints. It looked like the ball joints themselves were prepackaged custom parts for mecha models. Does anything know who makes these things or where to get them? Would love to install something like that on my current VF-25, before I start assembling the armor.
-
It would be more accurate to say that he hates me in part because I don't find Bobby's homosexuality offensive. As he put it on RobotechX:
"On a sad note,it is a shame that a homosexual was piloting the Macross quarter.I guess that means the homosexual plague will have a place in the future.I mean Alto was also a kabuki female dancer..Jeeze that is sad"
and after we told him to drop the bigotry and explained the cultural context of both characters:
"Sheesh!,I did not know that there was that many gay huggers out there.I can tell by all the gay huggers who supports homosexuality it will be required by law for everyone to be gay by the year 2018."
Is he aware that Yellow Belmont *ahem* I mean Yellow Dancer is a transvestite?
-
That looks beautiful! I must say, you finished quite quickly.

That's such a great looking paint job. Taking the effort to actually paint it makes such a world of difference, as I'm learning with my Armored. Sadly I'm not as efficient and it'll be awhile before I'm done.

Also, now that I've started assembling parts, I definitely like the more varied grey-white and blue-white color structure of the 25S and 25G more than the all-white 25F. (Note: Not bothering to paint another pilot since it's staying in battroid mode, and it looks really dumb seeing a pilot figure facing upwards through the side crack.)
-
So, how many VF-25's can you guys build before you get sick of building the same model over and over?

Eventually I'll get around to finishing the SMS team, but I don't foresee myself touching the original Deculture Campaign decals I have anytime soon, much less all these new decal sets.

EDIT: Oh, and let's not forgot the upcoming VF-27 and Queadluun-Rea! I'll want one of each of those too.

-
Wow your Gs are looking great! Hope you guys don't mind me plundering your methods for mine.

Yeah, lacquers pretty much eat anything except plastic and other lacquers. Though I'm often tempted fate by using Gunze Sangyo clear coat (lacquer-based) on parts that I've painted using Tamiya acrylics and so far haven't had any problems.

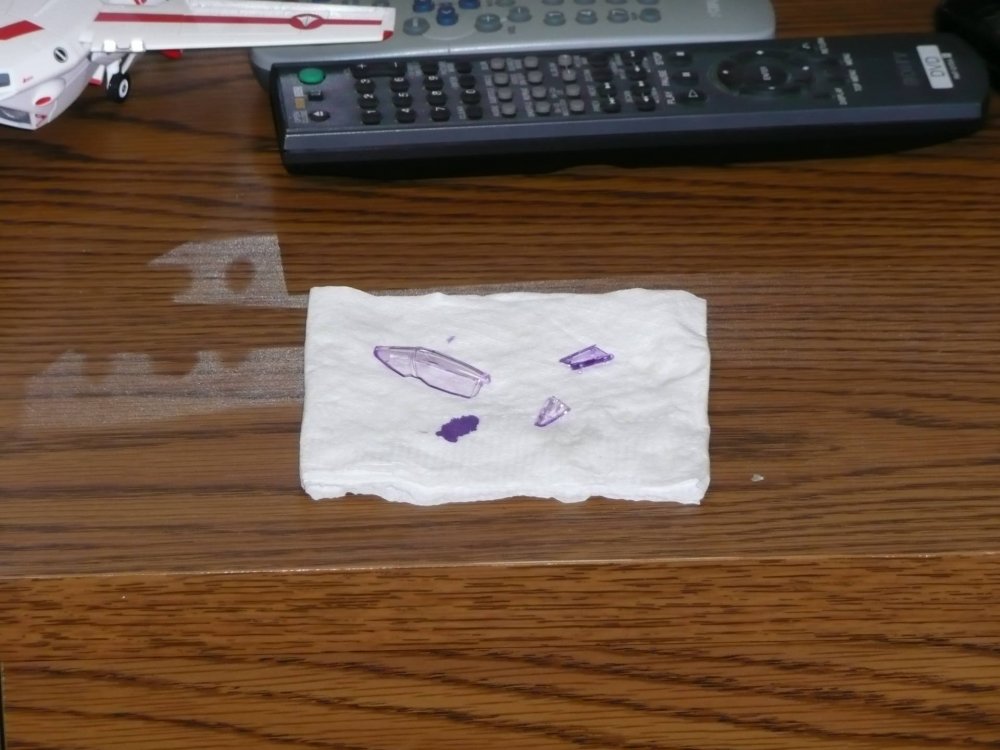
Tamiya acrylics do not mix with Future at all. Most of the time you'll just end up with colored egg drop soup... the best tinting method I've seen (and used myself) has been acrylic ink diluted in Future (with food coloring added to adjust the shade). I'll try to get a better pic later, but it's perfectly even and transparent:

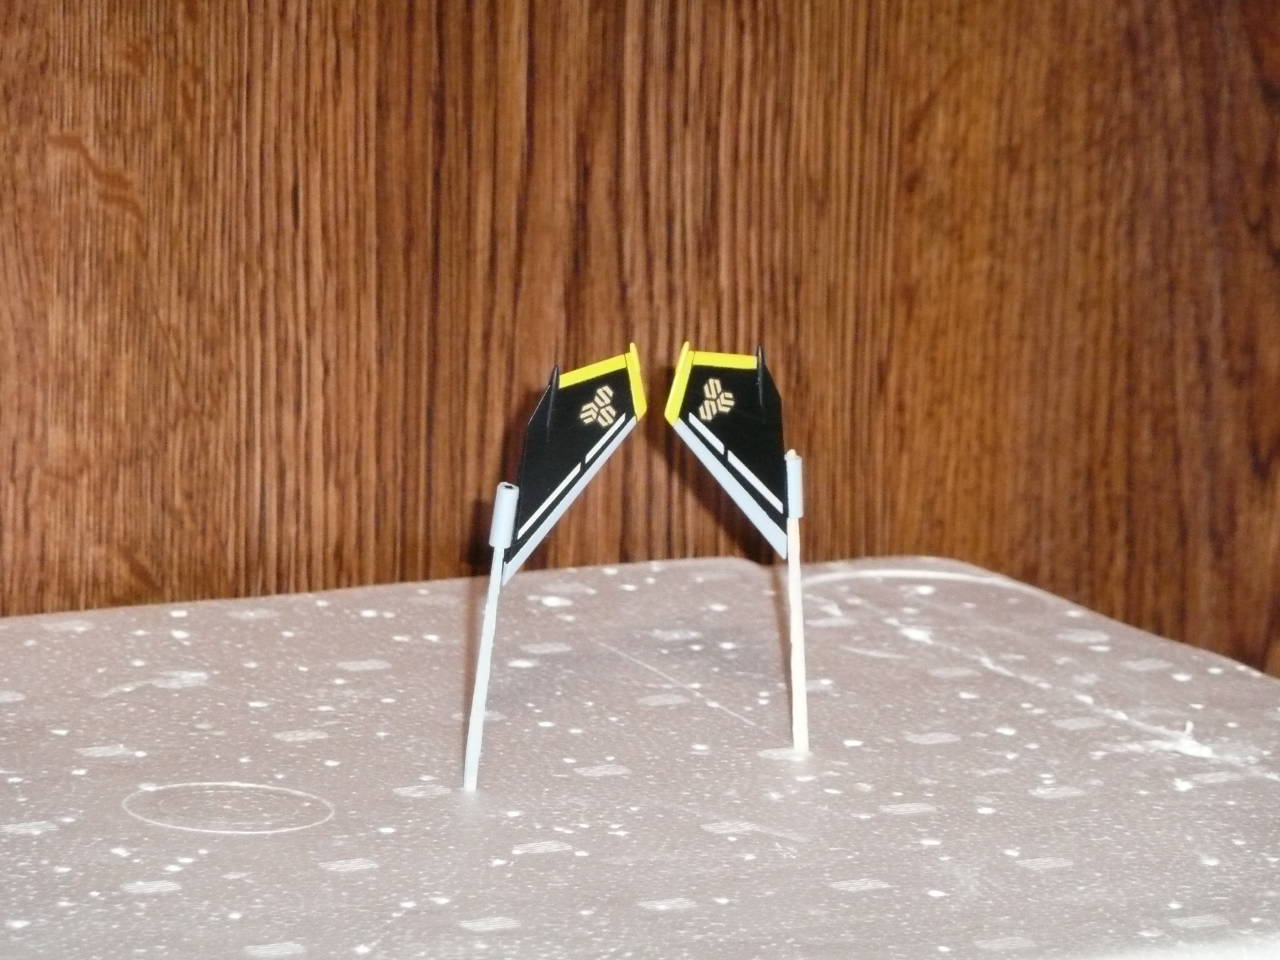
Also, like you guys, I threw out all the decals for the tailfins (except the SMS logo of course) and painted it.

-
Oh yeah, definitely get a bottle of it from the States if you can. Big jug of Pledge with Future Shine! costs about $6 and has its uses, even though I no longer use it as my primary clear coat.
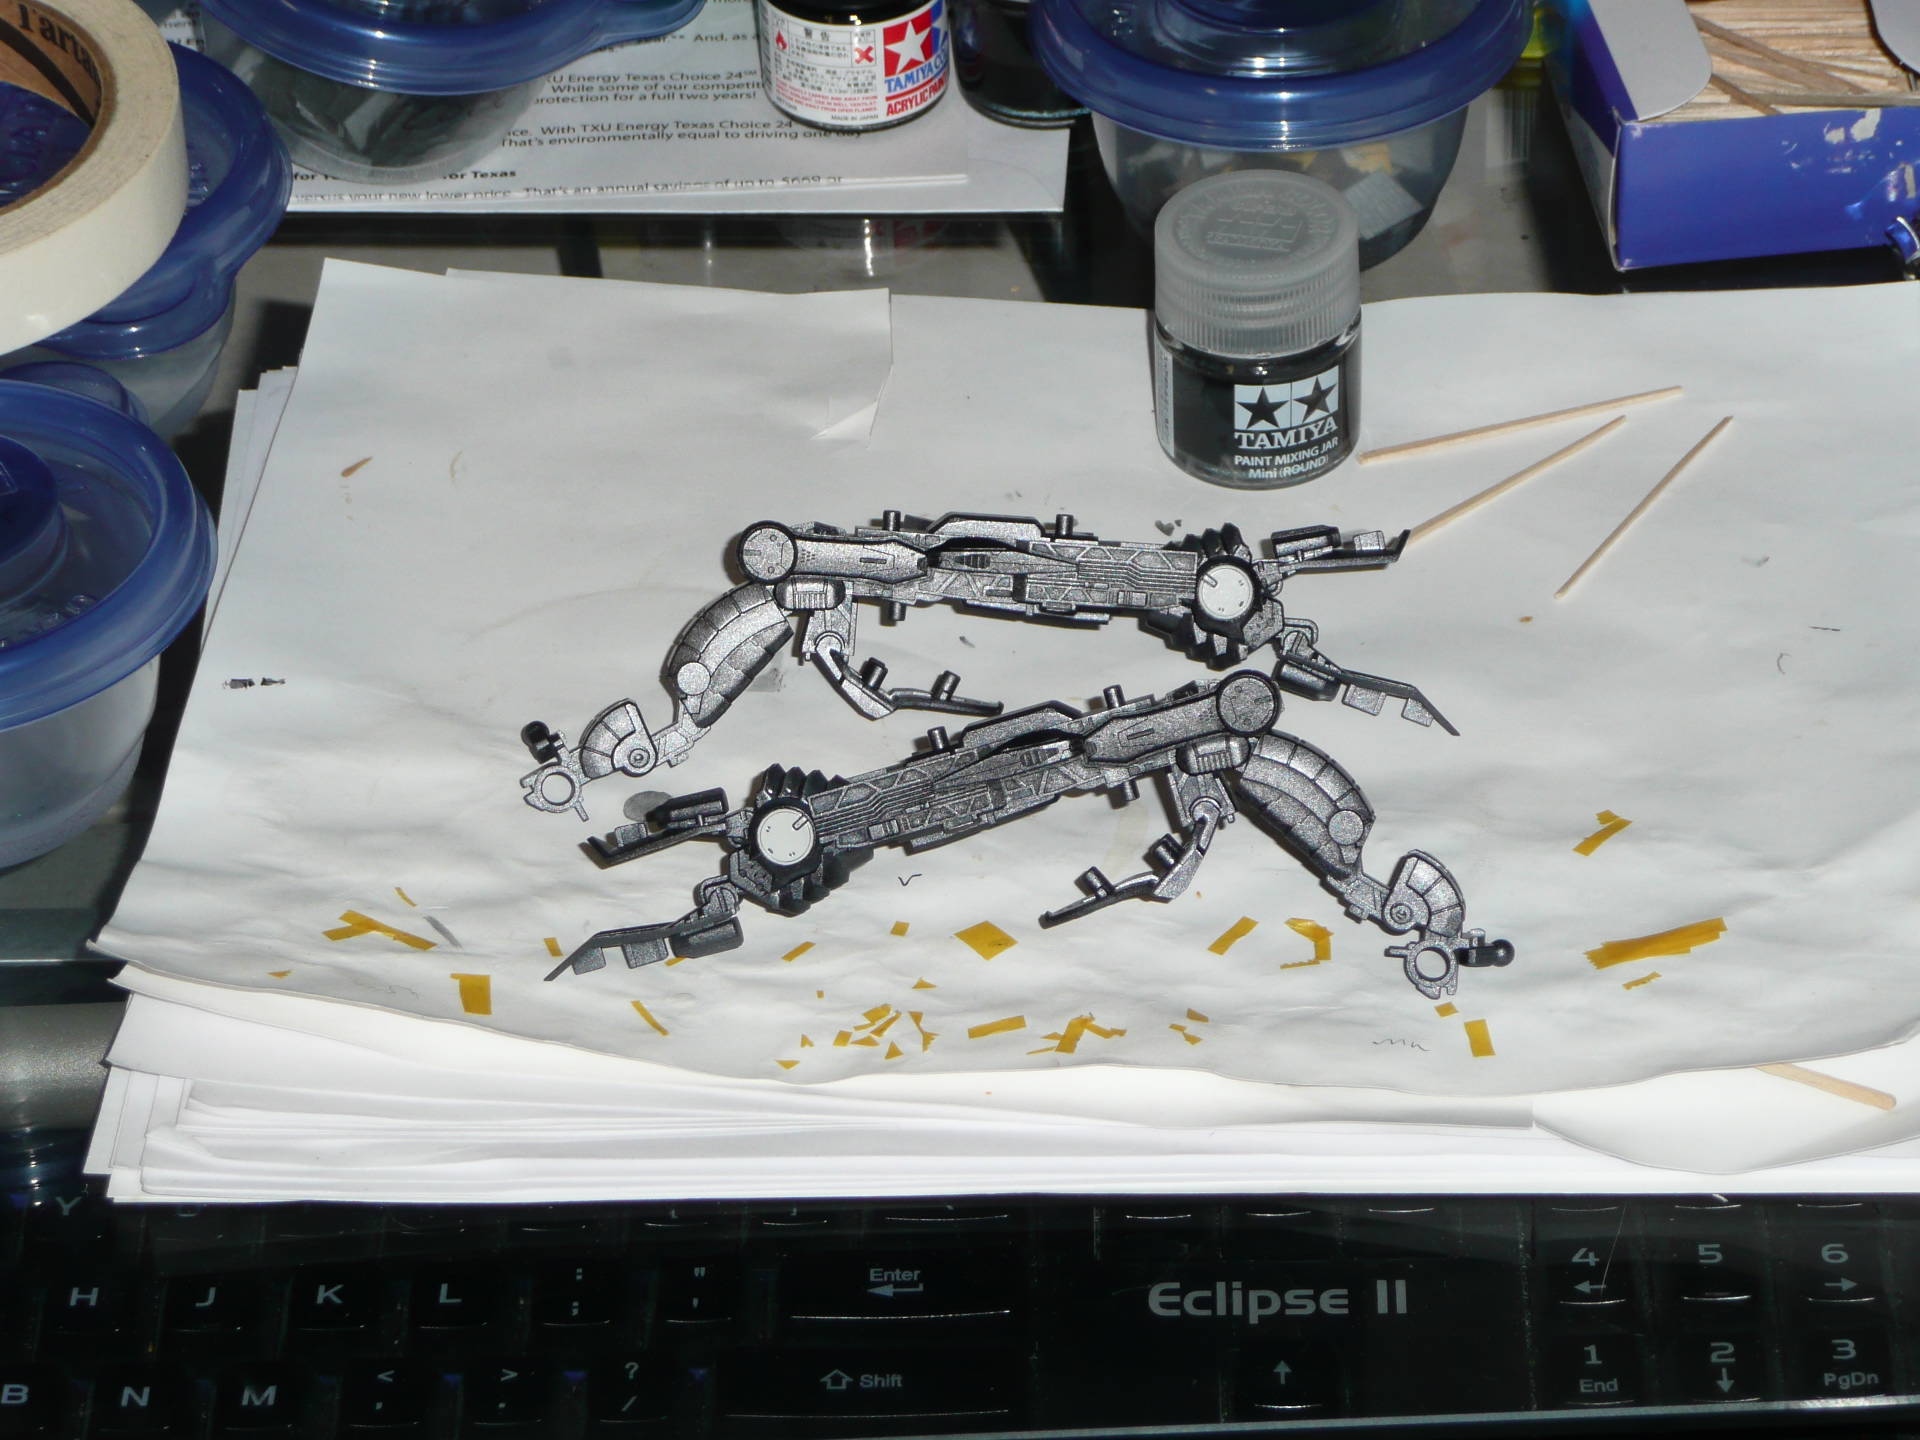
You know what the real kick in the pants is? All these metallic parts are going to be completely covered by the Armor Packs.
-
Hey mickyg,
Not to steal thunder from your 25G but I figured I'd share some of my experiences. I'm working on my Armored 25S currently, though a 25G with Super Packs is next on my list.
After seeing wm cheng and your metal finishes, I decided to try that. I used Tamiya Gunmetal and then did a simply acrylic wash (my first attempt at washing) before covering it in a semi-gloss clear coat. Came out okay, though I definitely need to work on my washing technique. I kind of made a mess of things and ended up spending a good deal of time cleaning it up and the recesses aren't quite as dark as I would've liked. Ignore the electric bill I left lying around.


Switching to an oil wash after this; picked up some oil paint and turpenoid to try it out later. Acrylic paint dries far too thin and "powdery" for my taste and I end up having to lay on more wash to compensate.
I also revised my canopy tint technique... well, more accurately, I threw mine out the window and adoped wm cheng's instead.
I remember you saying the Aussie equivalent of Future sucked and messed up the canopy finish. Have you tried Tamiya clear? From my experience it works just as well as Future, but it does dry quicker, meaning you have to be a bit more on the ball about wicking off the excess (i.e. not slow and clumsy like me) before it starts to dry and become sticky.
-
Does wm cheng or anyone else here know a good method for painting all the red tips for the micromissiles at the same time on the Armored VF-25? It's going to be quite trying sitting there and painting each missile by hand, one by one.
-
The price includes the kit too. At least it damn well better.
-
Quick question: are the white parts on the G the same bright white as the F, or are they a really light grey (nearly white) like they are on the S? Stilling working on my Armored, but I decided to snag a G plus Super Packs from HLJ's sale so I'm thinking about how to paint it.
-
Lolicon, so when did you use the first one? as David H, I realized Tamiya clear coat says "do not spary on decals or stickers" and I refrained from using it, but http://www.hlj.com/product/GNZB-516"]this seems to be oil based too?! I understand the topcoat is water-based and is safe on decals. Is it really safe to use Tamiya clear coat on decals despite the warning? I presume there is an acrylic/water based version I overlooked?
I used Future on the front fuselage/cockpit and legs, but then afterwards switched to http://www.hlj.com/product/GNZB-516 when I got tired of dealing with Future problems. I sprayed it directly onto decals with no problems whatsoever. I believe the Hobby Japan scans show the same thing.
 The entire model is topcoated, including the Future'd parts, so the finish is consistent throughout.
 -
thanks guys, what about panel lines? I have used Gundam Marker GM01 and GM02 both "oil based" for panel lining, and heard some enamel paints would "diffuse" the already dried panel accents. Does that happen with Mr. Hobby or Tamiya rattle cans?
Depending on what I'm doing, I use a very fine tip mechanical pencil, Sakura micron pen, or a simple acrylic wash for panel line work, depending on what's being done. None have had any problems with Mr Hobby. I don't think Gundam Marker should have any problems, as I believe the Mr Hobby clearcoats are water-based.
Future will cause micron ink to run (another reason I abandoned Future).
-
I used Future early on during my VF-25F build and was nothing but trouble. Dust got into it so easily and it often lifted up decals long after they dried (though that may be due to the poor quality of Bandai's decals). I switched to Mr Hobby clearcoat and it's been smooth sailing since. Safe on decals and gives a perfectly smooth, even coat every time with minimal effort.
-
Have a question for those of you who've build this kit.
I'm starting on the RVF-25 and just snap it together without any paint, sticker or decal first. So far, after 4 hours, I only have the front, head, 2 arms and 1 leg.
.....Seems a little too much, the parts are so small.  .... Looks like another couple of hrs just to finish the snap together, then way too much time to paint and decal this thing. Now, I'm not so sure I will actually have the will to get it all painted......
What's been your experience on this?
Took me several months of working on it on and off to finish mine. The pilot figure along took like 9 hours to paint. (But that was because it's microscopic and has like 10 different colors; paint one color then wait 1-2 hours to dry, then paint the next color, and so on.) Anyway, if you're planning on painting it properly and decaling it and making it look good ie not snapping it together out of the box and slapping some stickers on, then it's going to take awhile. I mean, wm cheng's been working on is for awhile and he's still not done!
-
Hmmmn. My experiments with flattened Future haven't gone well. It's either not very flat at all, or starts turning opaque. I've tried MANY different ratios, and as you add flat base it starts turning white long before it starts getting decently flat.
My newly-bought Tamiya spray flat clear---says not to use over decals!
So my VF-25's been stalled for a while---I can't go any further without attaching the wings, but I need them clearcoated first to protect the decals.
I use Gunze Sangyo's Mr Super Clear. Comes in gloss, semi-gloss, and flat. Always gives a perfectly even finish when I use it.
This is what I use on my VF-25.
http://www.hlj.com/product/GNZB-516
And then I use this as the topcoat.
-
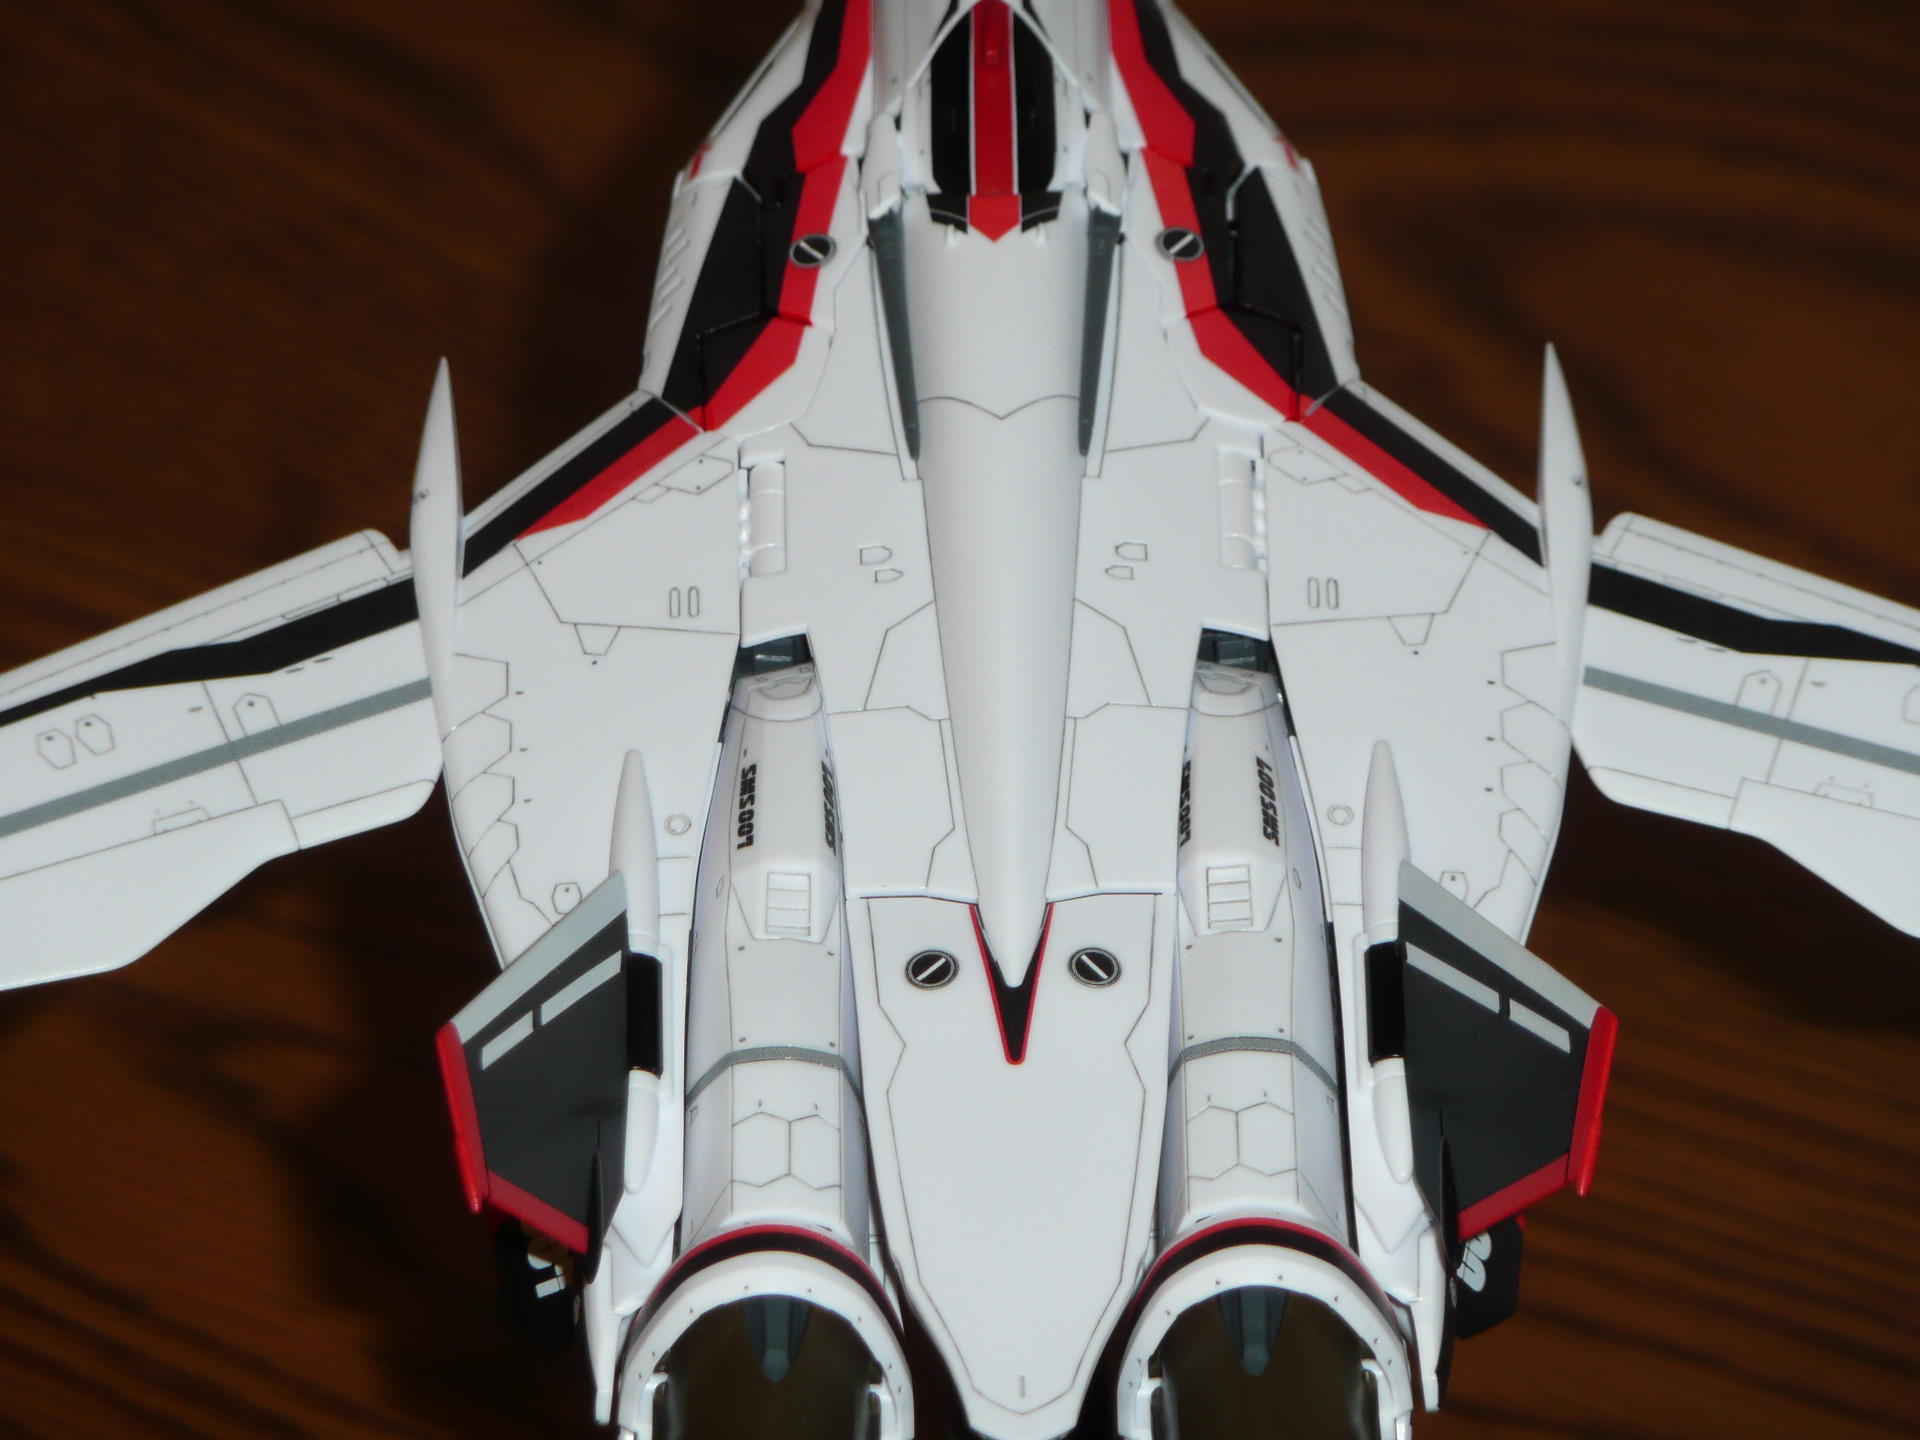
Does anyone know what color the discs on the ankle section is supposed to be on Ozma's? I can't tell from any pics if it's supposed to be the same as the grey on the main fuselage, or the lighter grey (almost white) seen on other parts. I'm guessing it's the lighter grey, but wanted to be sure.
-
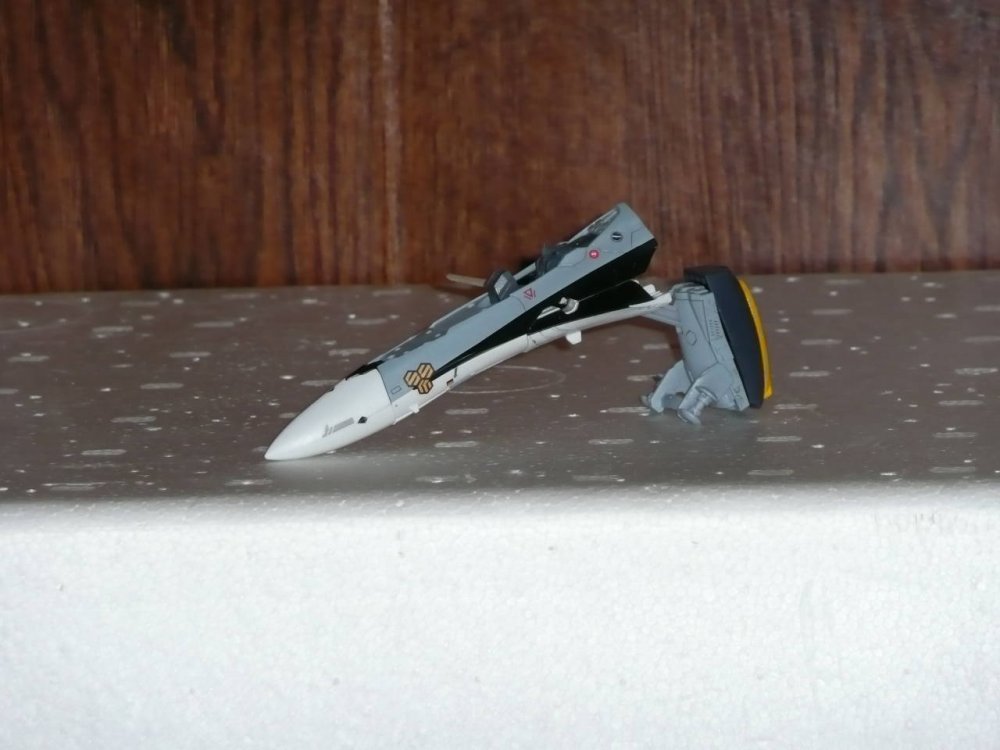
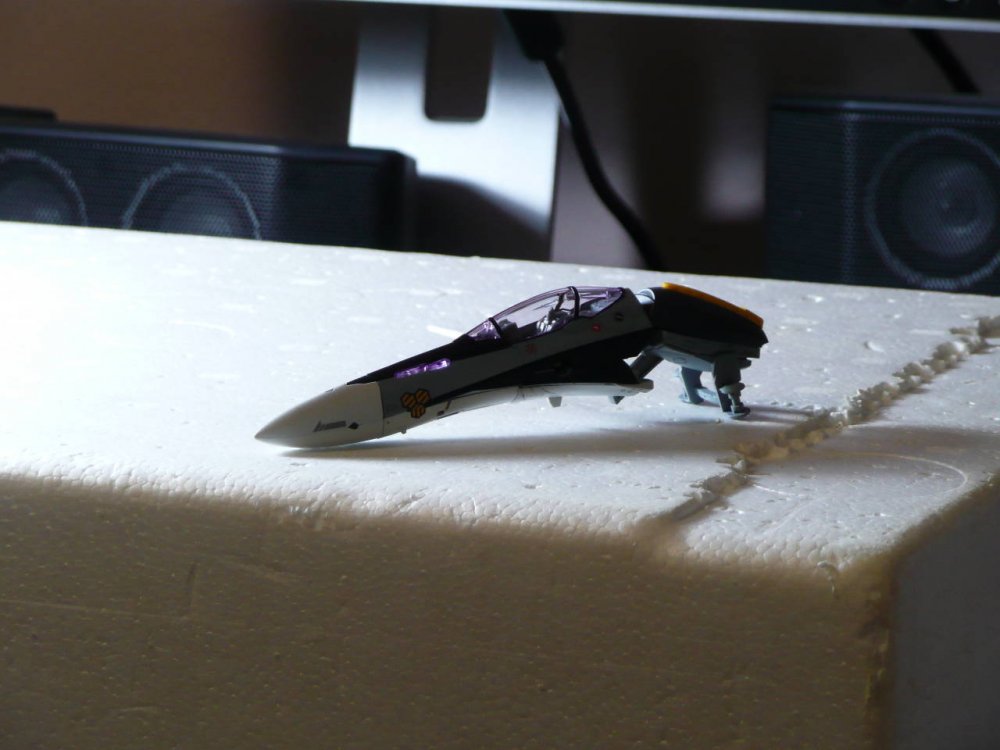
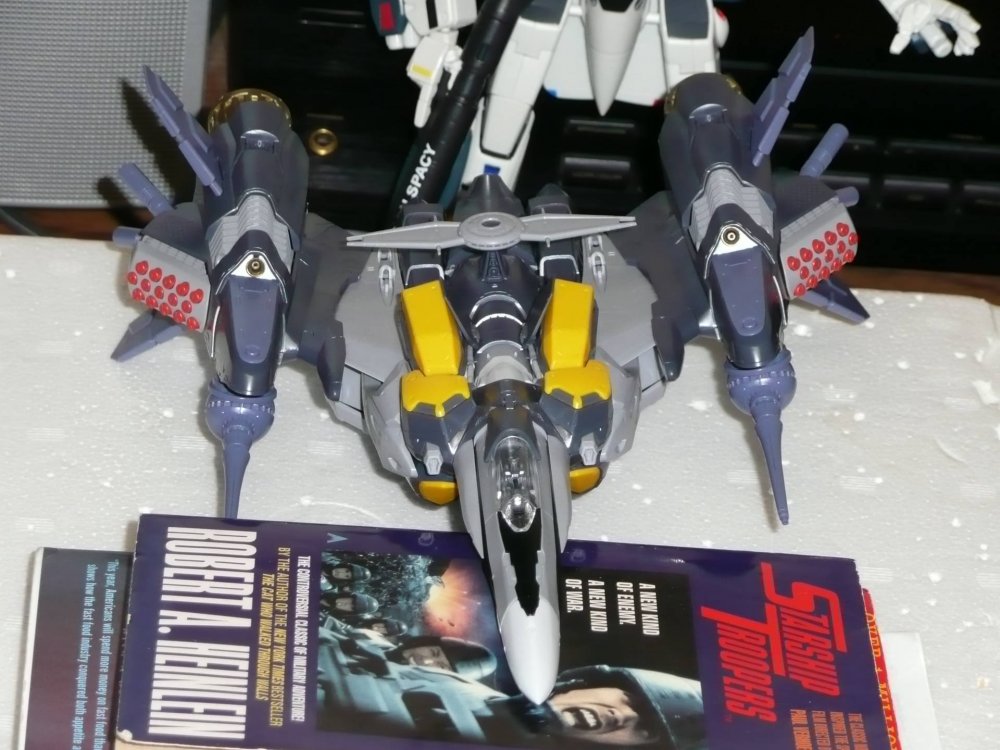
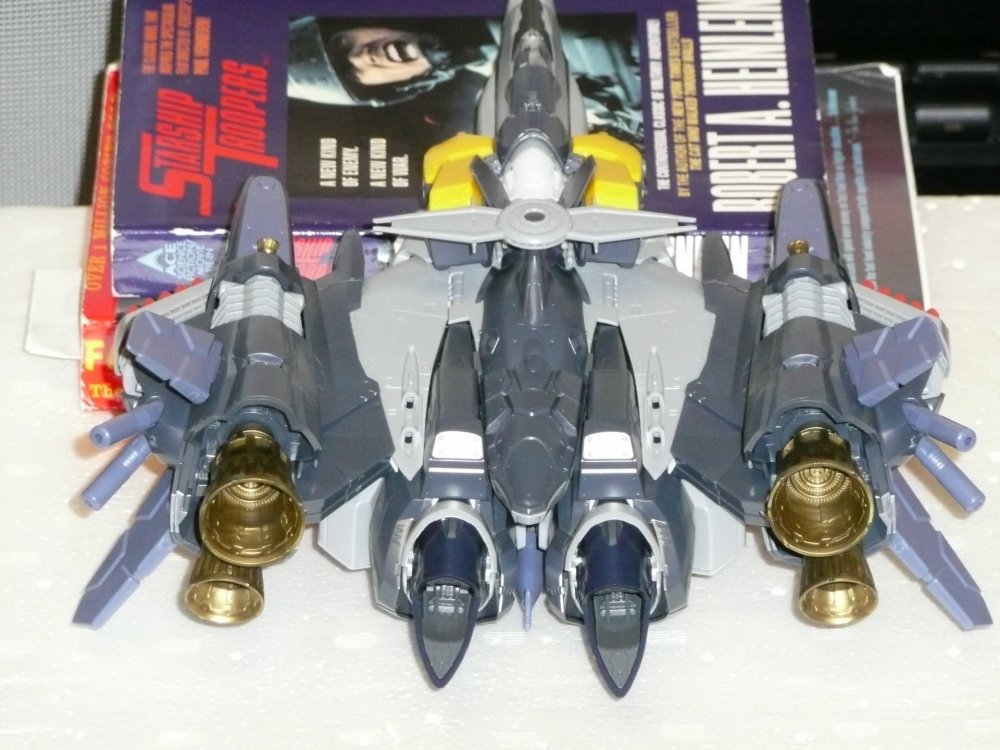
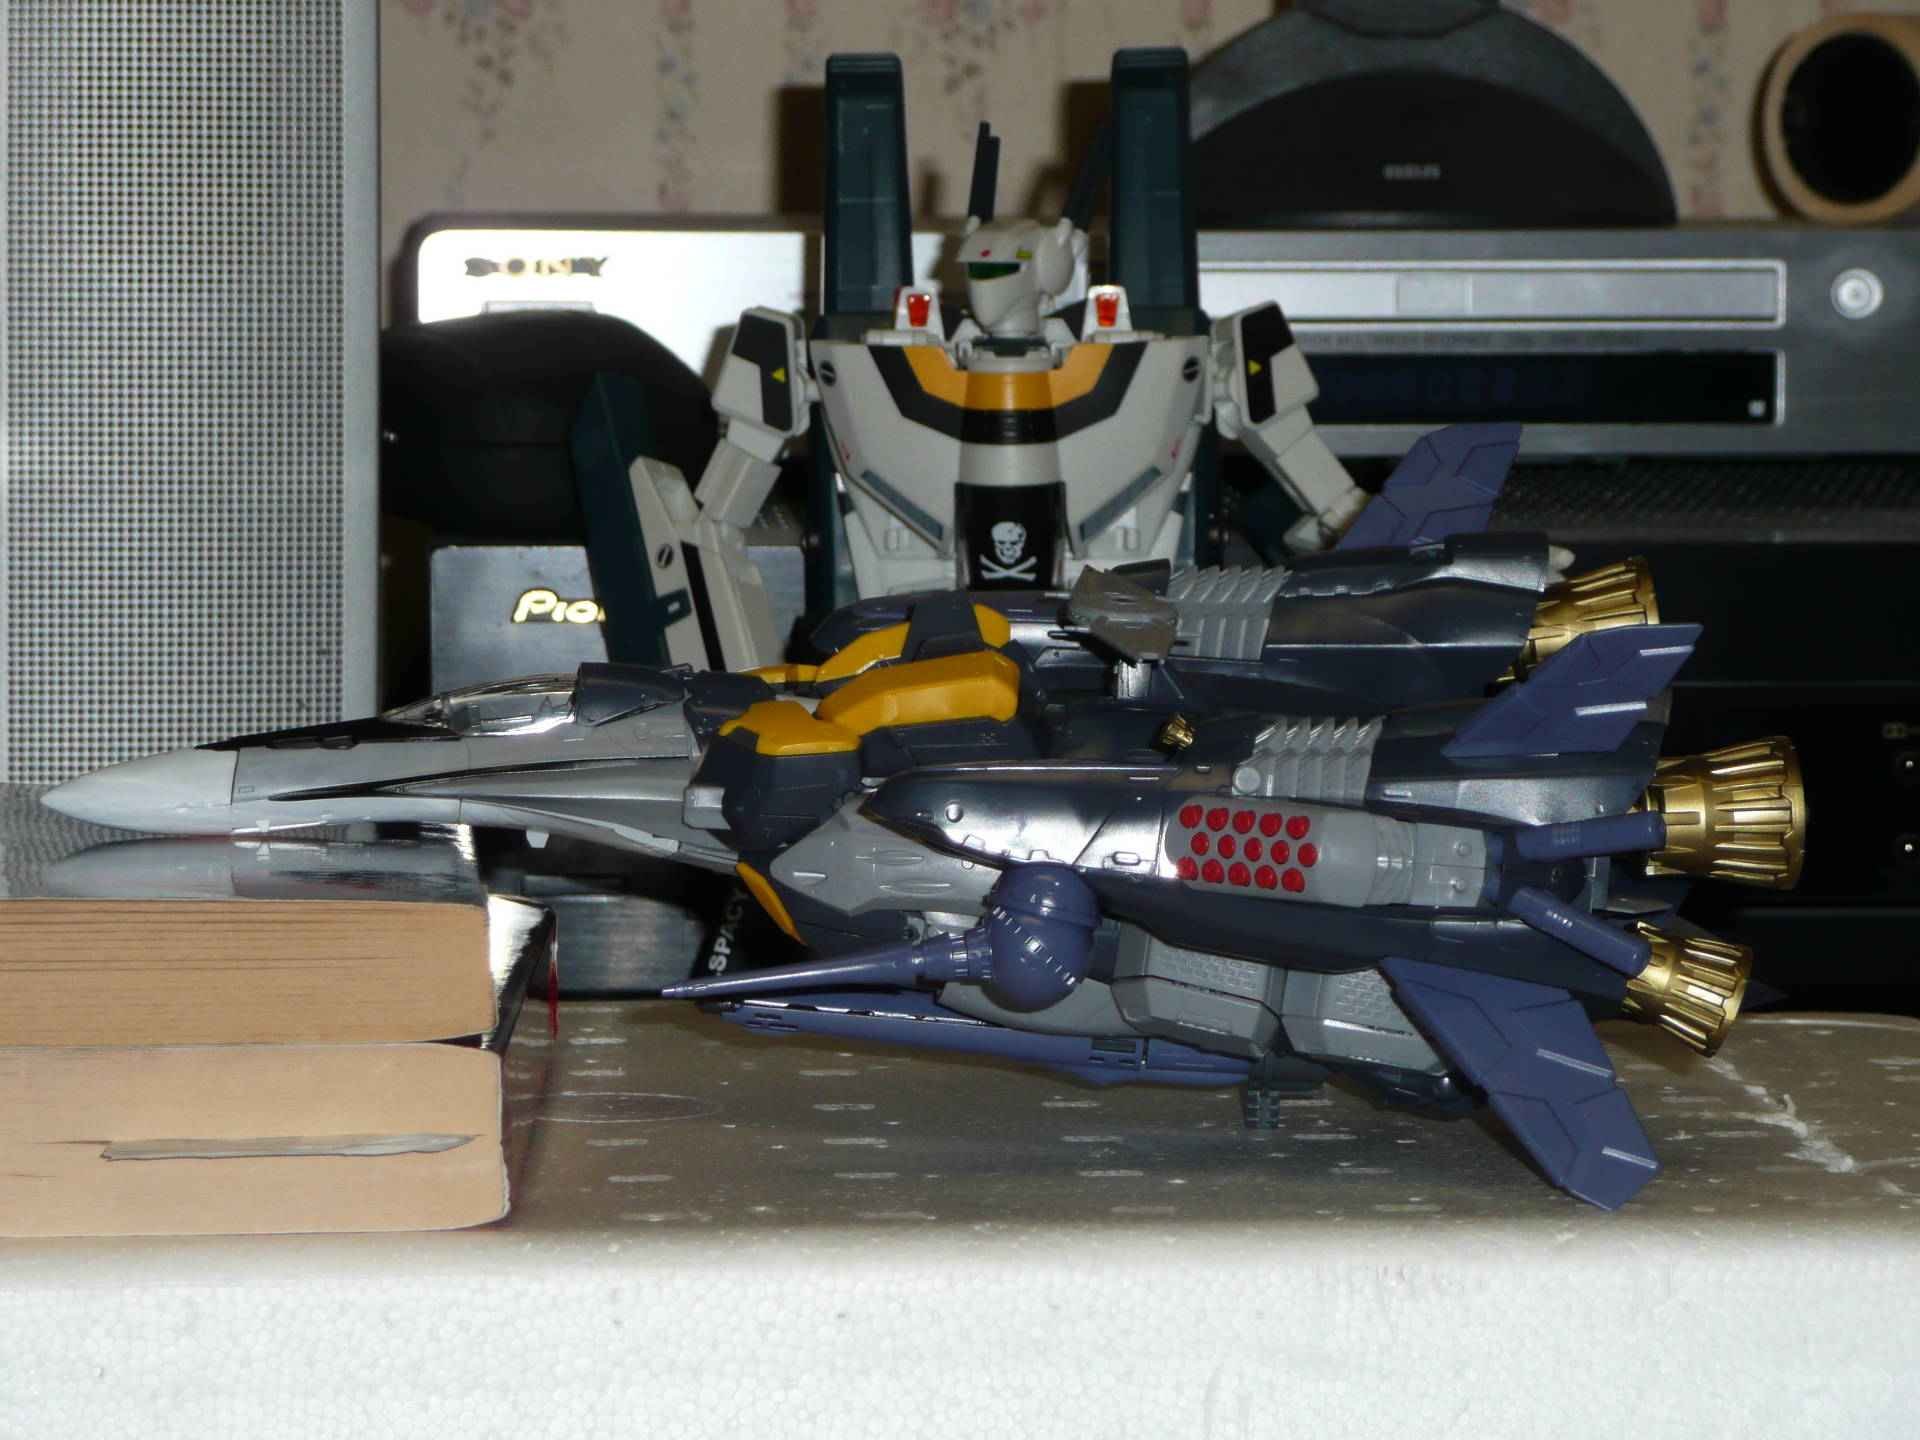
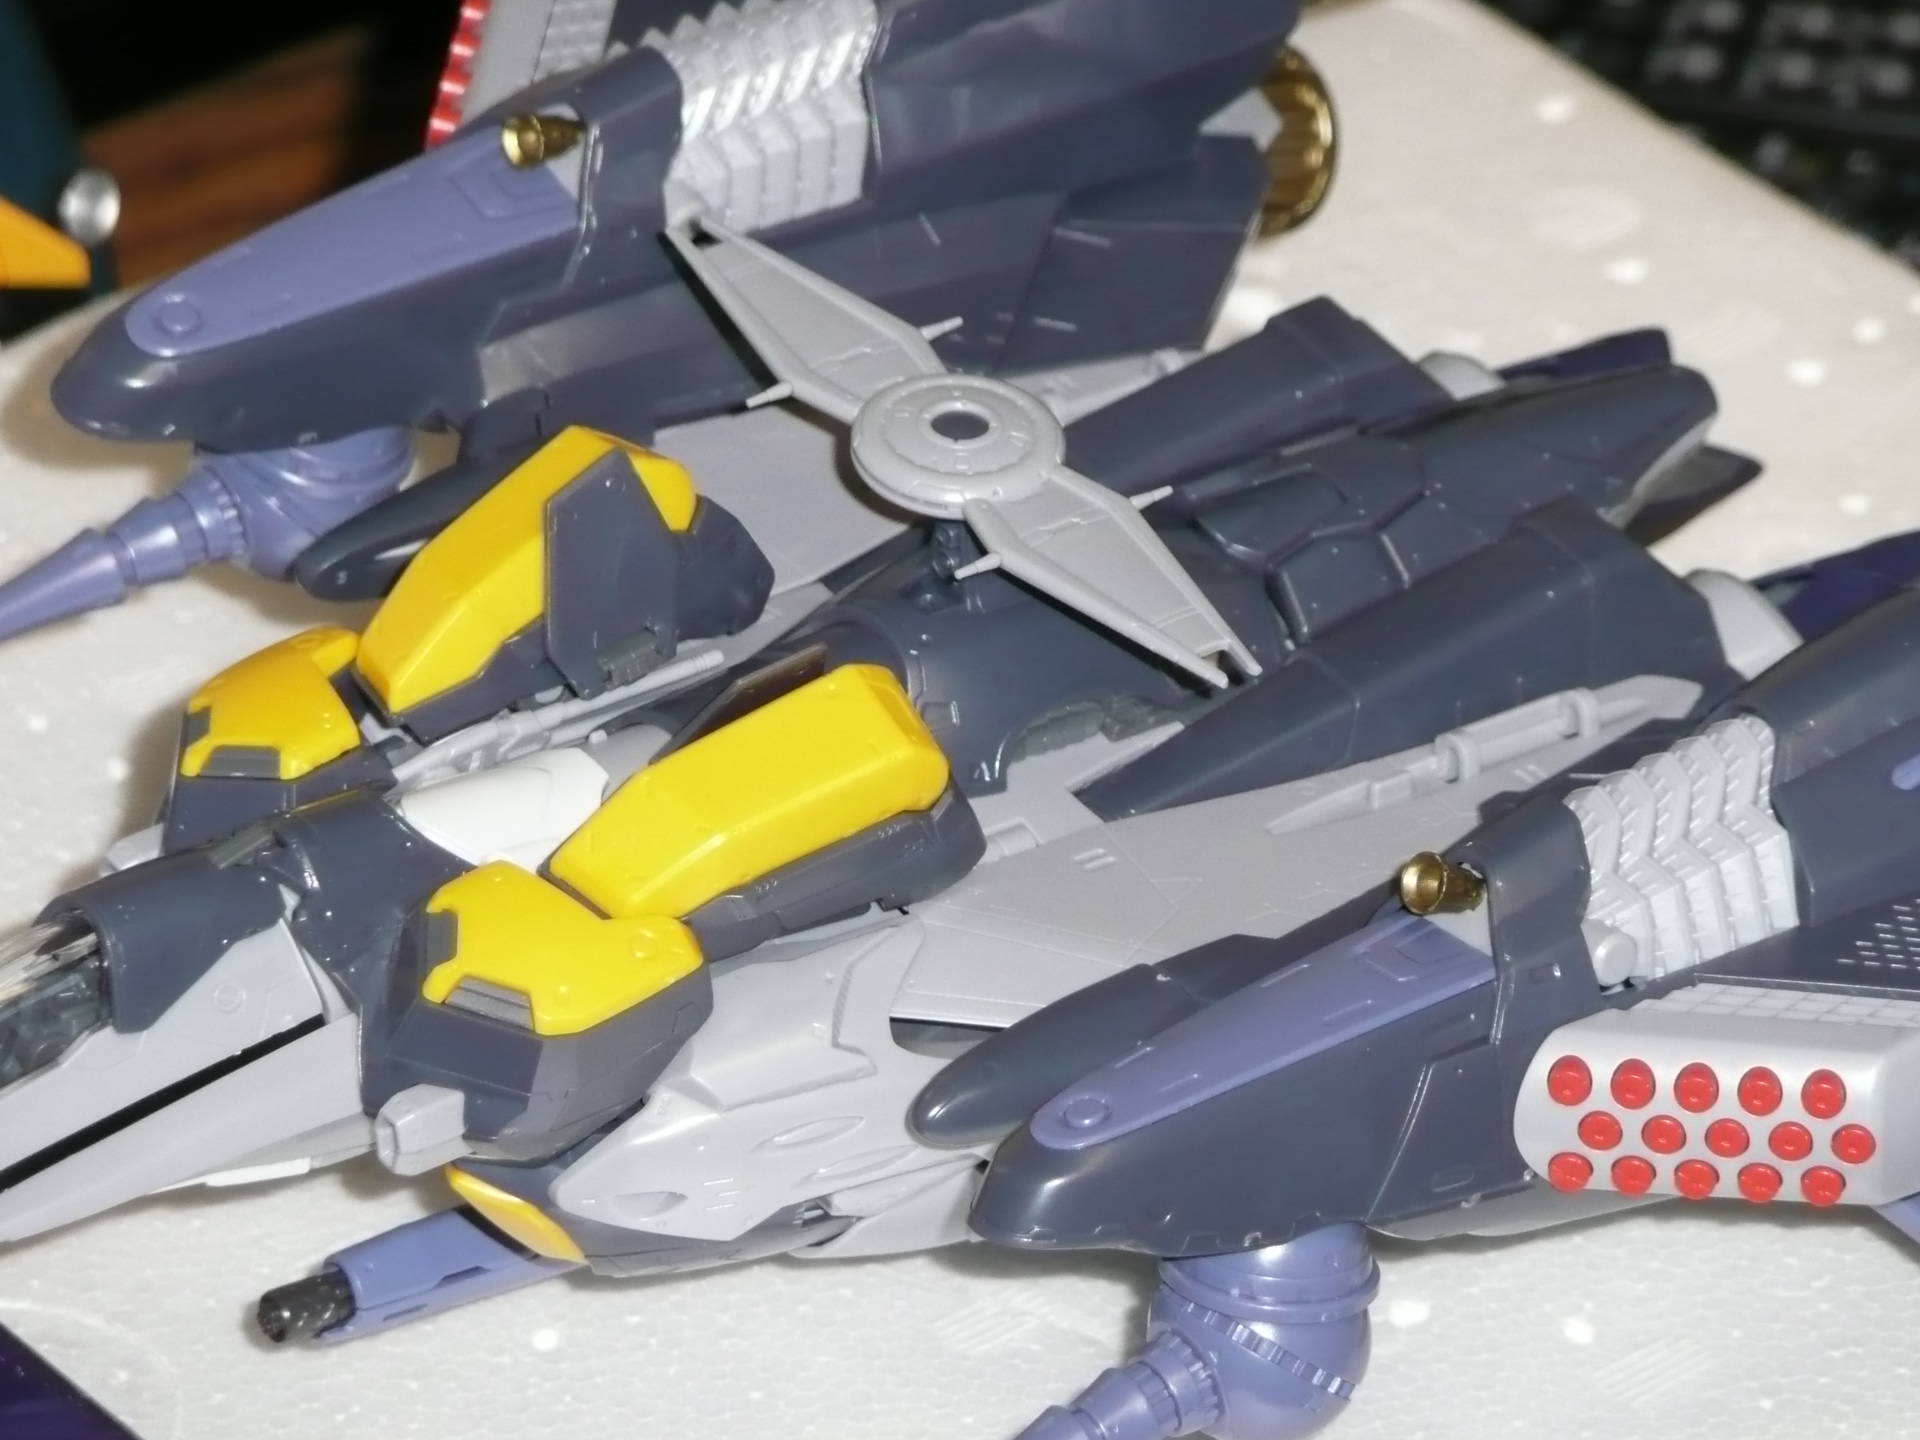
The armored is so heavy that the SMS stand can barely hold it up and feels like it could tip over at any time (in fighter mode). I think they're adding weights to the SMS base in those Hobby Japan scans!

-
Okay, so I'm about done with the test assembly of my Armored VF-25S. I don't know what the Super parts were like, but there's quite a bit of parts scrapage involved, which does not bode well for decals. The worst is sliding the armored plate onto the back. That part fits pretty tight and scrapes pretty hard; it'll probably take the skull emblem decal clean off, I'm afraid.

Deciding what colors to paint this baby now.


-
A translation of the modeling tips would be most appreciated.
Those models look incredible and clearly a lot of effort went into them from some skilled modelers... yet they always neglect to paint the underside of the lerx. And Alto's "mouth" is always wrong too.
Not a big deal, I just always see these things.
-
Argh looks like the forums screwed up and deleted my post.
Those scans rock! Love the Quarter. I hope Bandai releases a kit of it.
Some useful modeling tips too. I like how they cut up the shoulder decals to apply them. What is the guy doing for the canopy frame? Using some kind of white tool to remove the excess paint?
-
Hmmm wish I could help you aith airbrush specifics, but I don't even own an airbrush as of yet. Still contemplating if I spend enough time on this hobby to justify the cost.
However, when I spray or hand paint something, I usually don't worry too much about the finish being glossy or flat, since I end up putting several layers of semi-gloss clearcoat anyway.
I don't have the VF-25G kit yet, but maybe Gundam Blue will be a good match?
-
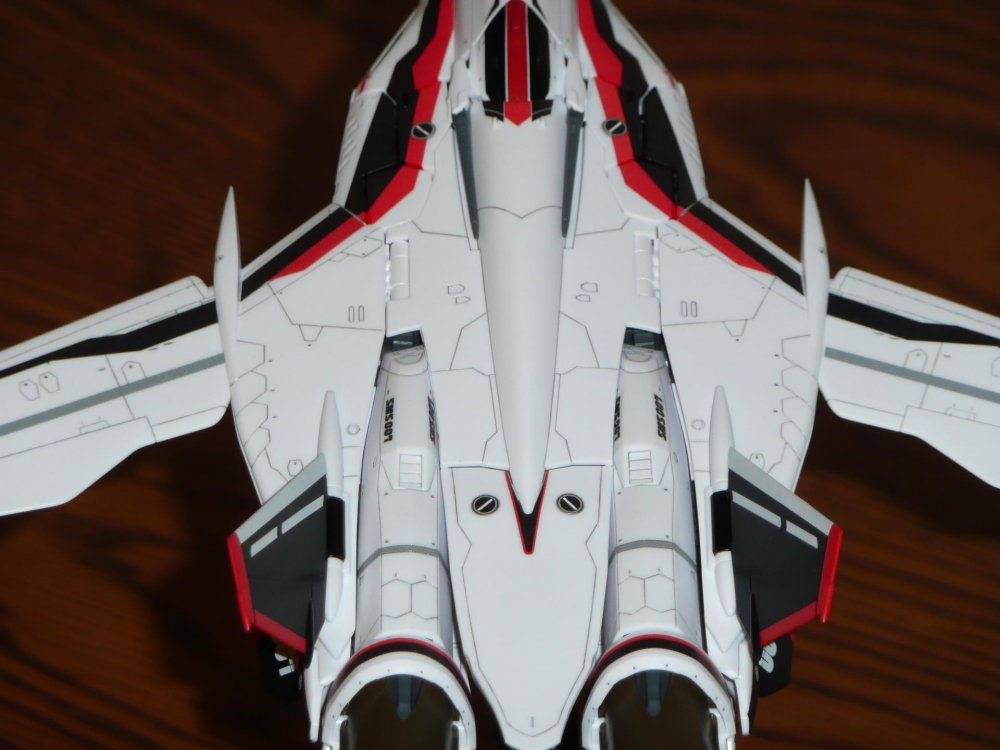
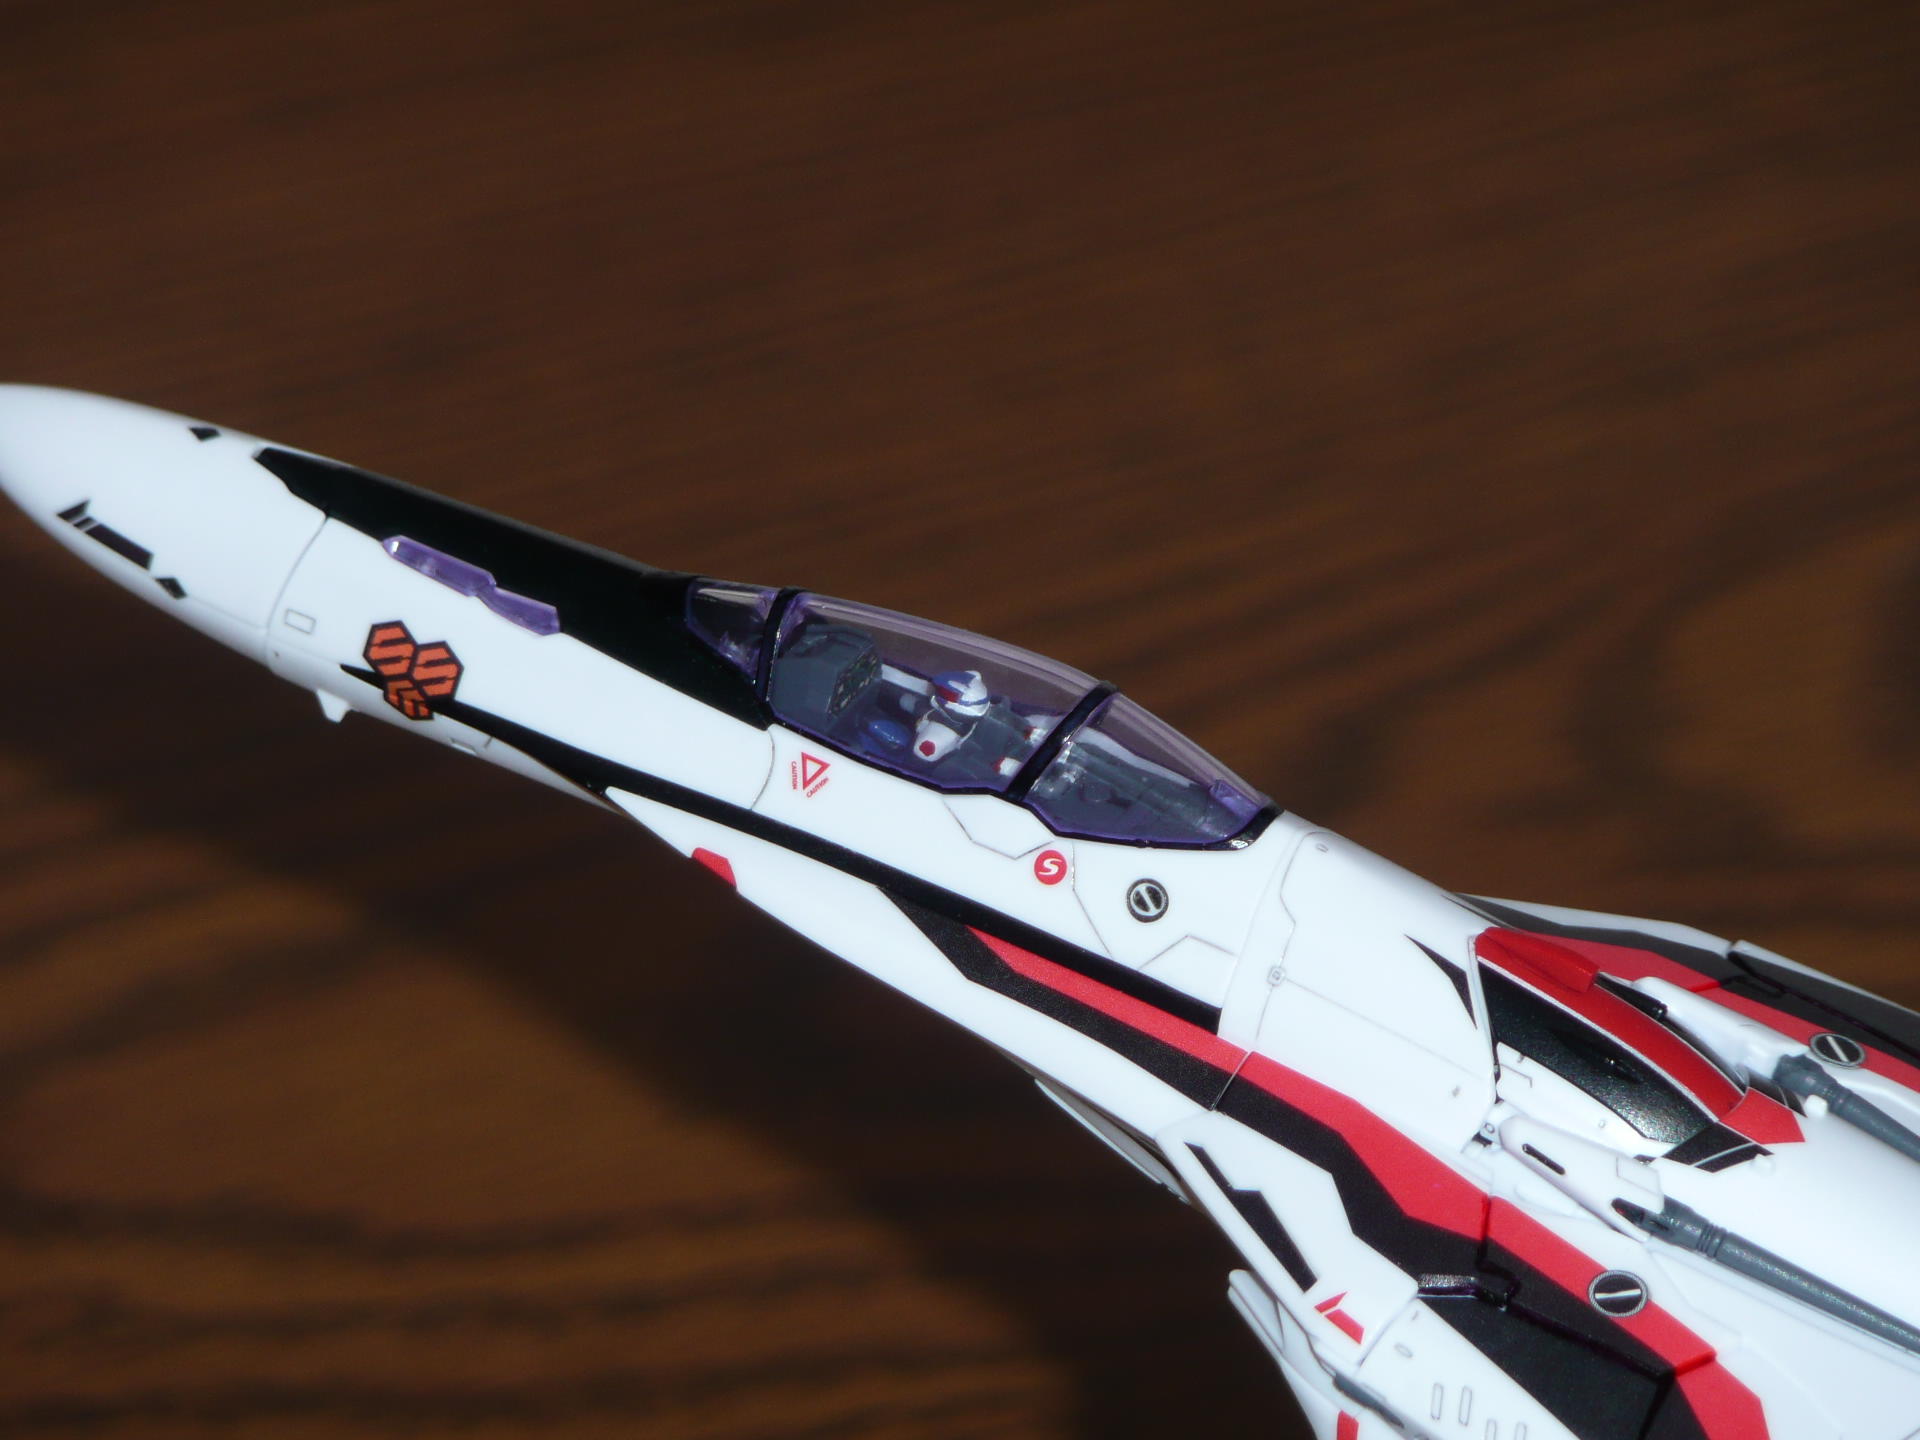
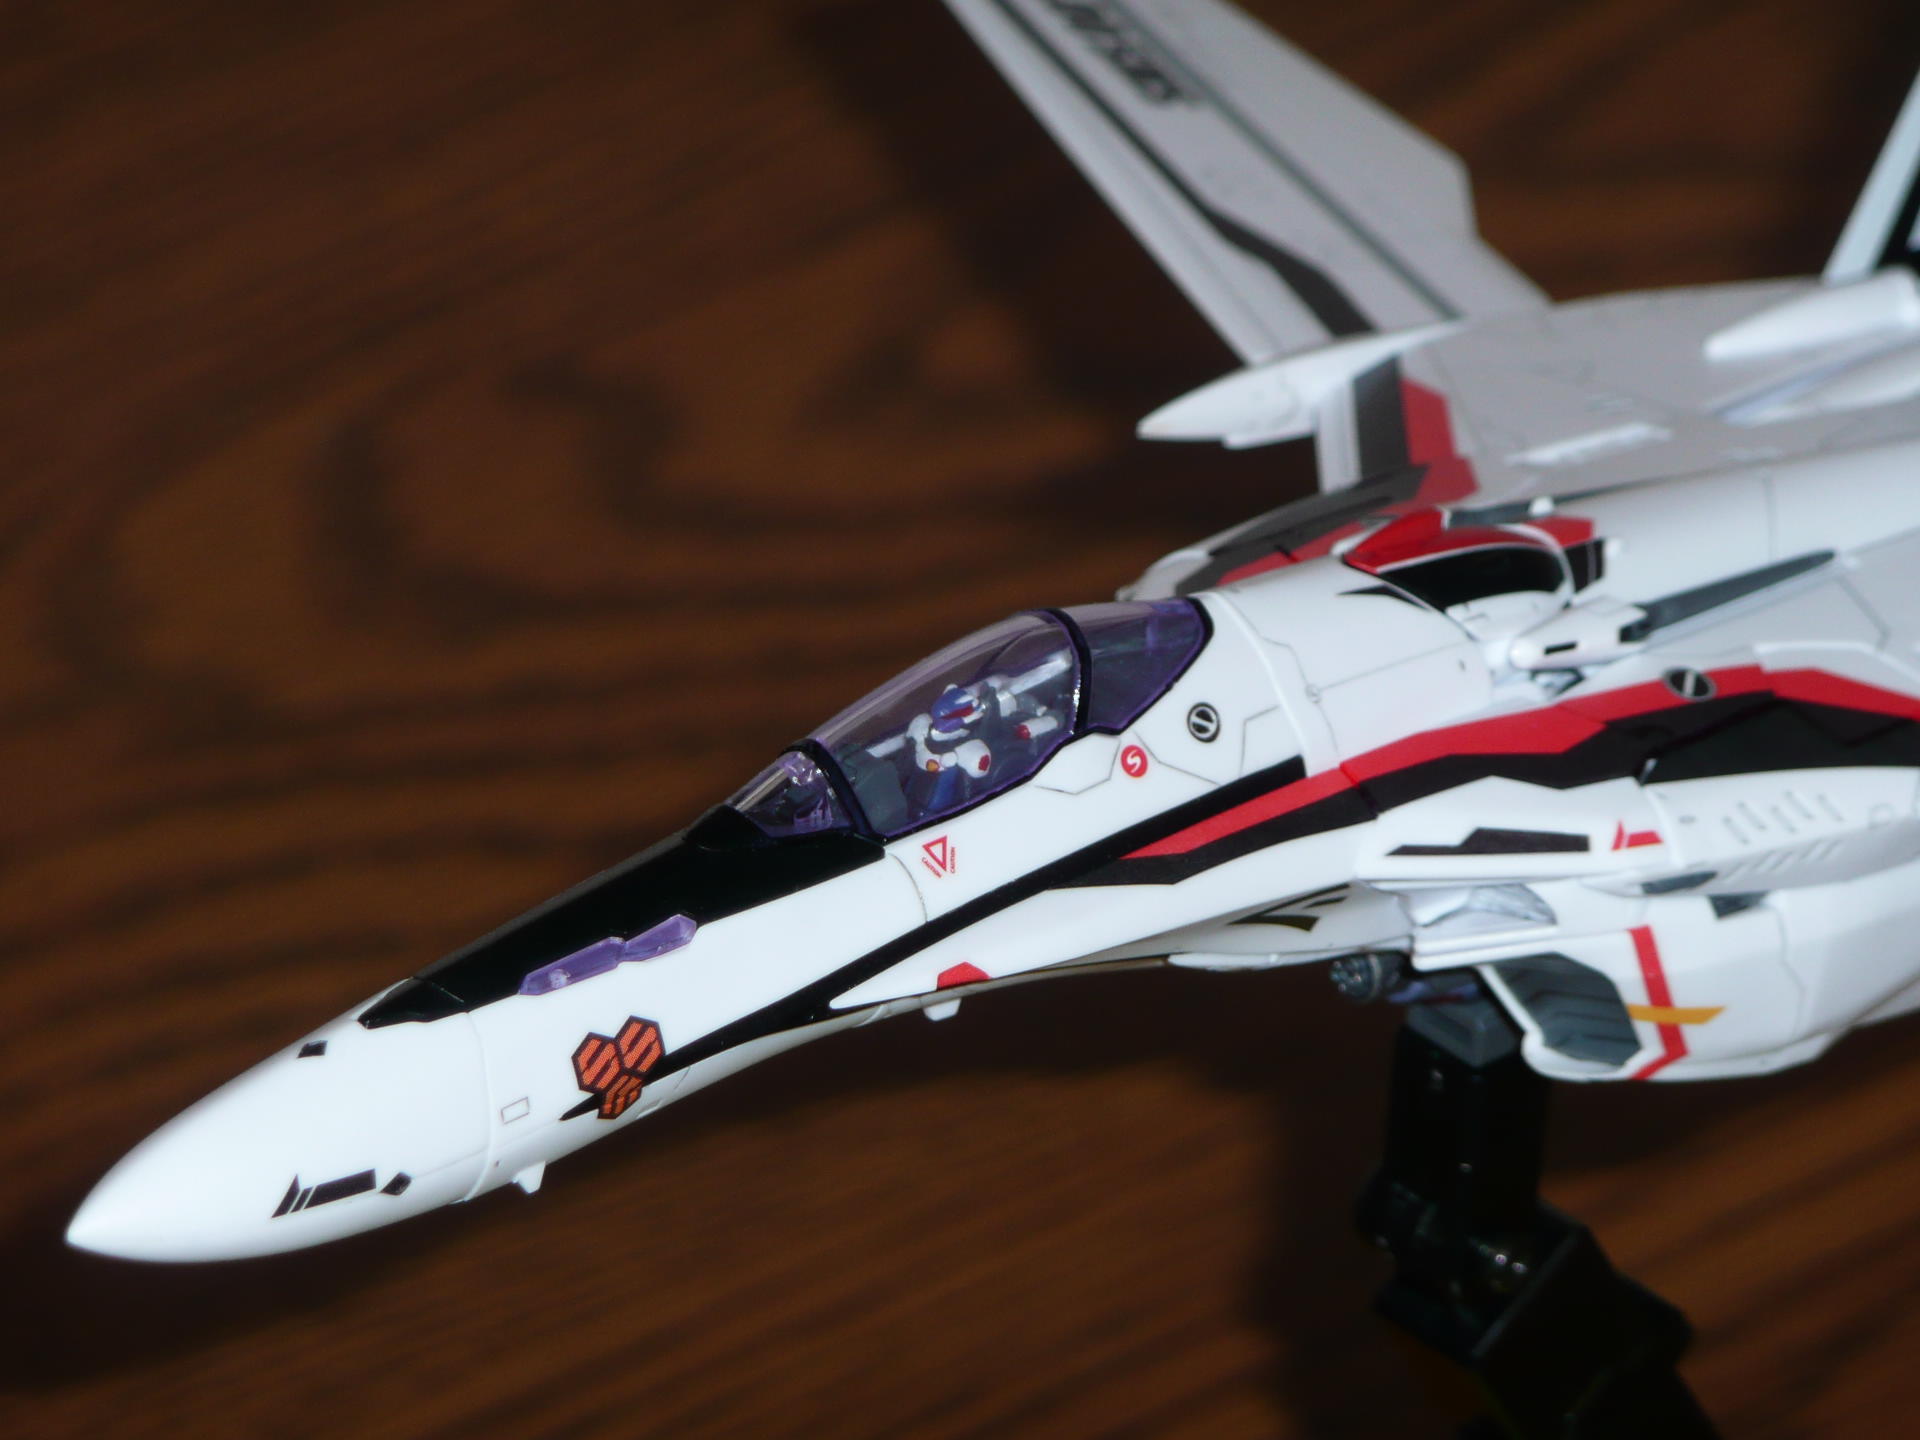
On the head unit I put red paint directly onto the red plastic, resulting in that deeper shade of red. On the tailfins I used white primer first then applied red paint, which lightened the red and matched the decals.
I used Gunze Sangyo Gundam Red 1 spray. As I guessed, Bandai would naturally use their Gundam colors.

I put down several layers of Gunze Sangyo semi-gloss clearcoat and then a layer of their semi-gloss topcoat to get that finish.
Yours is already looking good. Many of the decals are pretty bad and it's often better to paint some parts. I ended up throwing out a number of Alto's decals.
-
Another brief update and a question.
I masked off the underside of the Lerx for the bottom fusalage section. This is a part that is molded in white on all the kits but needs to follow the same colour for the rest of the Lerx. In the case of the VF-25G, it's a very dark blue. The S and F versions are black. I also decided to do the part that fits around the front landing gear doors, as it's molded in white and is meant to be blue, like the rest of the plane.
I thought having the colours spelled out for me on the box/instructions would be a huge help and some quick testing showed the mix to be pretty accurate, so I went forward with the intention of just painting the white parts with the appropriate blues. When I was almost ready to start painting, I decided to do the right thing and prime first. My reasoning was that acrylics tend to scratch easily on bare styrene. If I primed, perhaps the primer would "bite" into the plastic a bit better and the acrylic paint would stick to the flat base better. So I put down a coat of Mr Base white and let that dry for 24 hours.
From there, I started wondering if white was the best base coat for a bright blue (which the G version most definitely is). So I ended up putting down a coat of neutral grey. I'm not sure if this was the right move. For the dark blue I think it'll be OK. But the bright blue is just too translucent and I fear I'll need to strip the blue and grey and just put blue down.
After that had dried (about 10 minutes - yeah not totally dried by any stretch) I put down a couple coats of bright blue. To my annoyance, the blue was not even close to the molded blue of the plastic on the rest of the parts. Perhaps I'm dreaming trying to match colours this way and all the blue will need to be repainted?
So two questions:
- What's the best base colour for bright blue or dark blue (OK, that's 2 question in one!)?
- When I started putting down coats, I noticed the spray pattern on my airbrush was a bit granulated. The "wetness" of the paint meant the "dots" settled down smoothly but is this a sign of too little air pressure on the airbrush, too thin, thick, etc? Any tips would be greatly appreciated for this novice airbrusher.
I took some pics but left them at home. Will edit this tonight to show progress.
I'm an amateur modeler myself, but I've learned that the color of the primer used matters a great as it will affect how your paints will appear on the surface. If you use white primer, your paint will appear noticeably brighter. Likewise, if you use grey primer, your paint will appear darker.
Check out the attached pictures. Notice that the red stripe on the head doesn't match the decal red? It's because I got lazy and didn't use primer. However when I painted the tailfins, I took the time to use white primer on them, and the red was a perfect match for the decals.
I don't know much about airbrushes, so I can't help you there, though with an Armored VF-25S in my mitts, I'm seriously considering investing in one now and giving it the treatment it deserves.


-
I've never seen a work area that neat before.
I'll try to get started on my pre-assembly tonight.
My cat chewed the decal off one of my Alto shoulders.


Bandai 1/72 Scale Macross Frontier Model Kit Thread Ver.3
in Hall Of The Super Topics
Posted
Nevermind I found them. For anyone else who's interested:
http://www.hlj.com/product/YLSPPC-T01