MechTech
-
Posts
4701 -
Joined
-
Last visited
Content Type
Profiles
Forums
Events
Gallery
Everything posted by MechTech
-
OOoooh noo! Keep it canon I'd say. I'm just a perfectionist, so ignore me . - MT
-
Looks beautiful Cap'n! Don't make me convert back to 1/72nd scale! I don't have a mansion to put a 1/72nd scale Daedlus in ! Keep up the awesome work! - MT
-
Heh heh. Yep it rains here as much or more than OR. We almost moved there when I was a kid! It's condusive to building models though! - MT
-
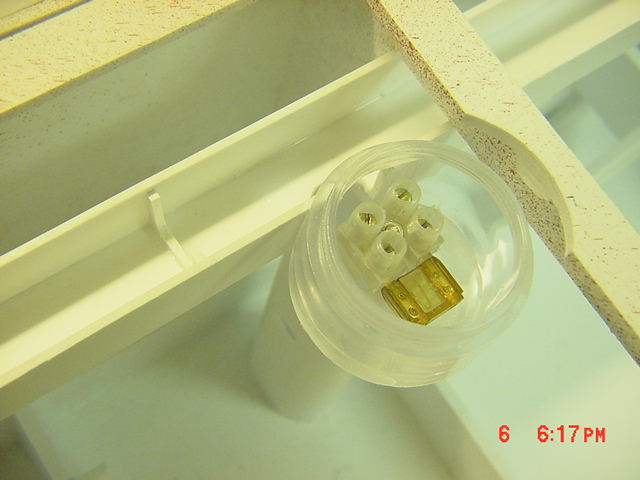
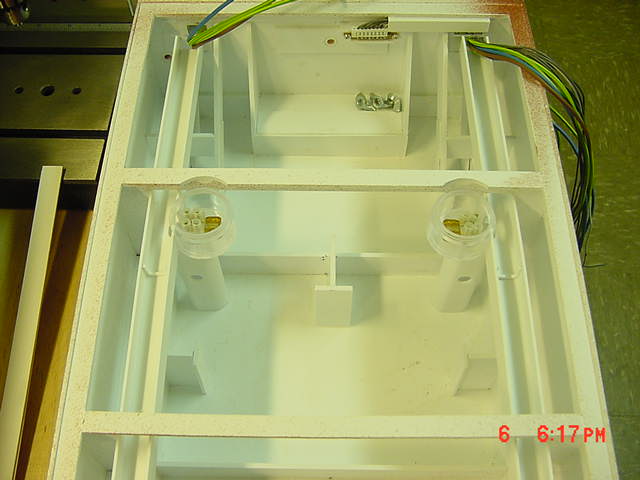
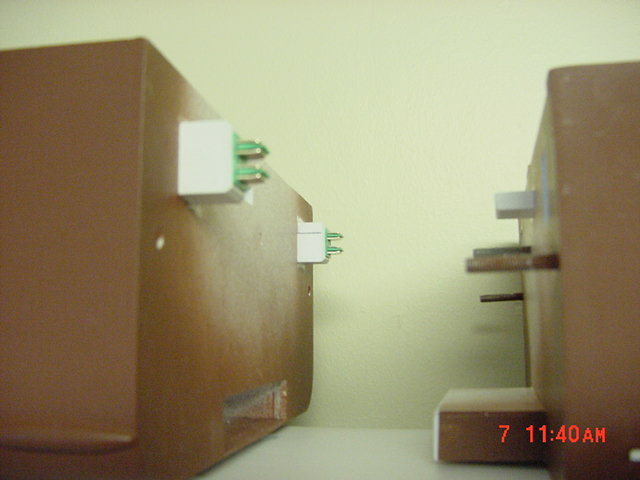
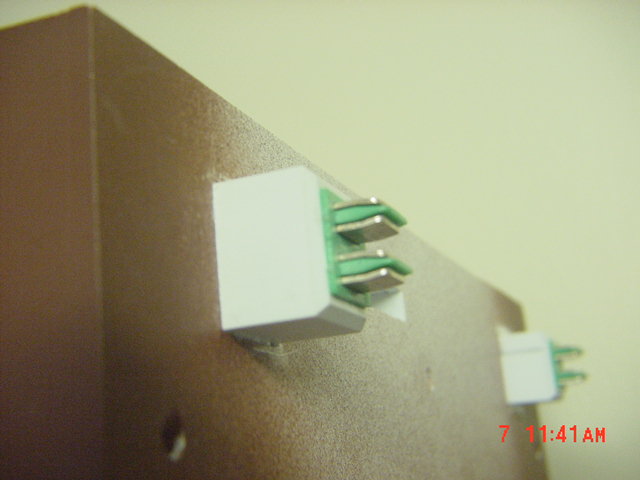
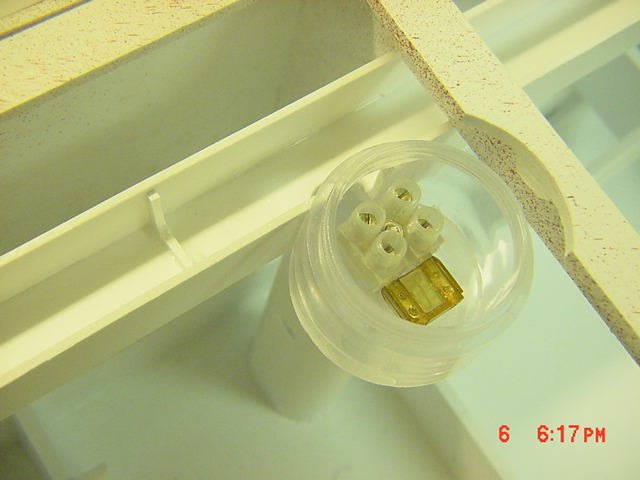
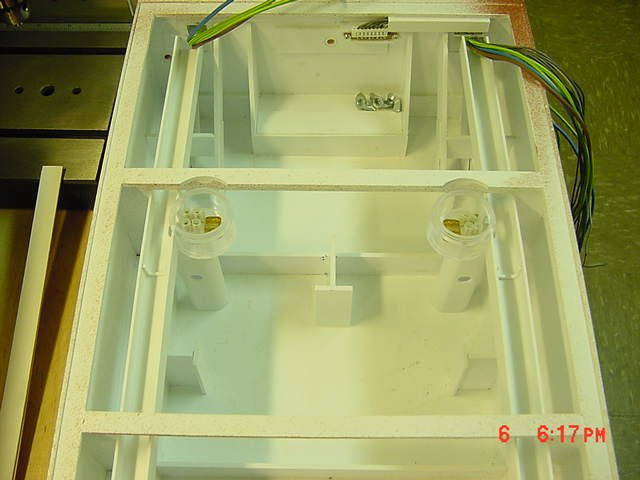
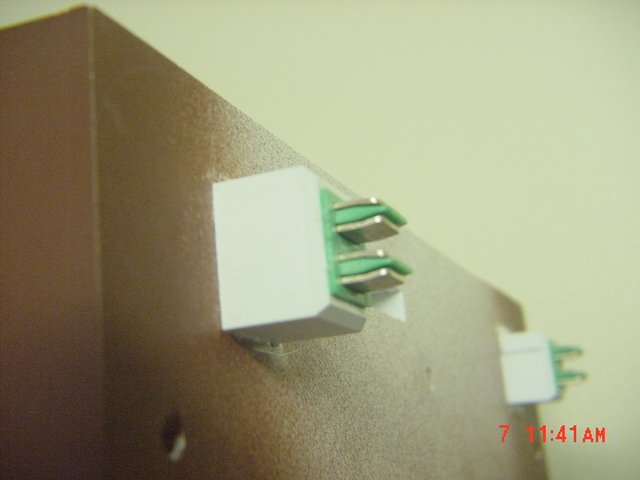
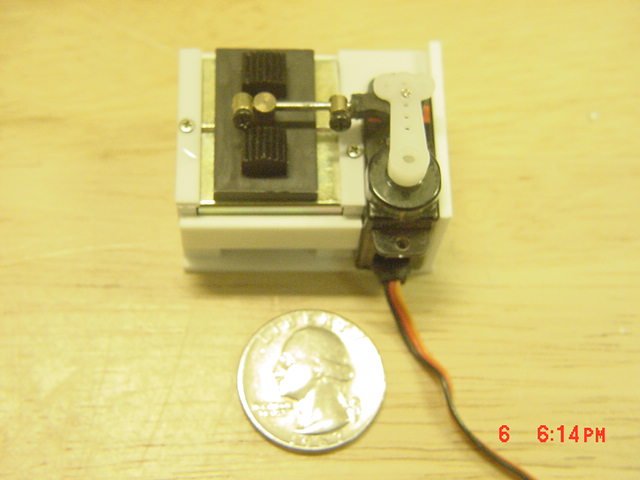
Update: 7 JANUARY 2007 (first time writing 2007) I thought I'd throw everything together and give it a test run. The weather has been windy/rainy (circle one) and we've all had the stupid cold thing going around, so I built components for the electrical system instead. She's going to have first class wiring and components. Here's where I've gotten so far: [attachmentid=39422] Wires everywhere! [attachmentid=39423] Wiring box where all main power wires will go (the Fererro Roche' choclates that came in it were good!). [attachmentid=39424] Fuse box (plastic lid screws on to cover). The tower connecting it has two holes on either side (you can see one) where the battery leads will come through. [attachmentid=39427] Fuse boxes, conduits and you can see the back side of the connectors. The small one in the middle is for accessories and the two ends are heavy duty for power, bow thruster etc. [attachmentid=39428] Hull connectors (green ones on left are heavy duty, white one on right is accessories). [attachmentid=39429] Hull connectors closeup (3mm heavy duty plastic). [attachmentid=39430] [attachmentid=39431] This homemade module is freeing up one more channel now. It switches the output of one speed control between the bow thruster and stern drives. Now I'll have full bow thruster control instead of all or nothing as in my original design and save a channel for fun things. That's it for now. Everybody wants sushi bowls for dinner so I'm off to the kitchen. I hope everyone has a great new year! - MT


-
Nice Falke. I never saw/read the series but accidentally came across the build up, borrowed P-38 booms and all! Nice detailing too Kylwell! - MT
-
Thanks Neptunesurvey. I would not have been able to make the Daedalus this fast (relatively speaking) and as accurately without them. Conventional sized tools are too big and melt the styrene. All of these tools are variable speed too. I turned on the drill and heard it humm, but no movement. Then I turned the speed knob up. They really mean 0 to whatever top speed! - MT
-
Thanks Greyryder. Hey Bigf, I've been wanting one of these for about two years. I had a standard press about two years ago, but it had way too much play to do detail work like this. I love the whole Microlux line of tools I've purchased so far. - MT
-
Great Galactica! Great workmanship. Defiitely go with cruiser mode. - MT
-
Does this help? I believe most people mixed theirs. Orange with a bit of red was what I used long ago (sorry don't have it for photos). - MT [attachmentid=39263] [attachmentid=39264]

-
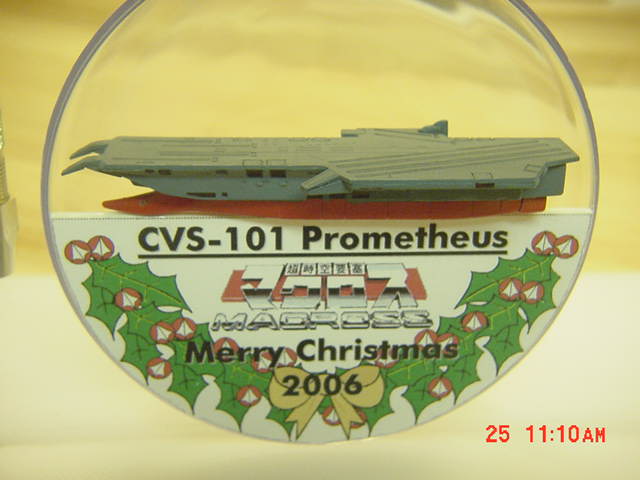
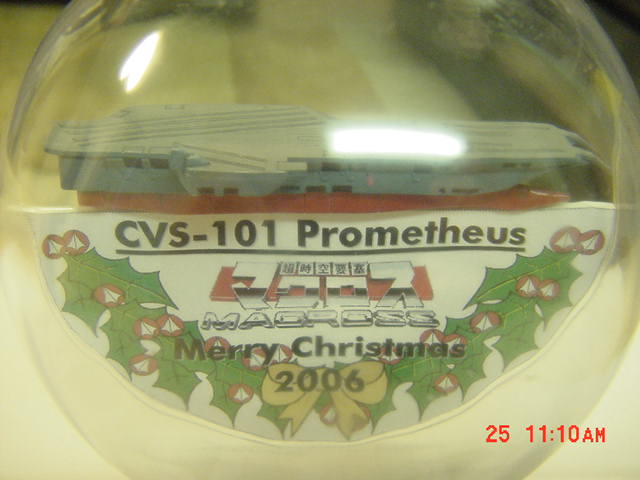
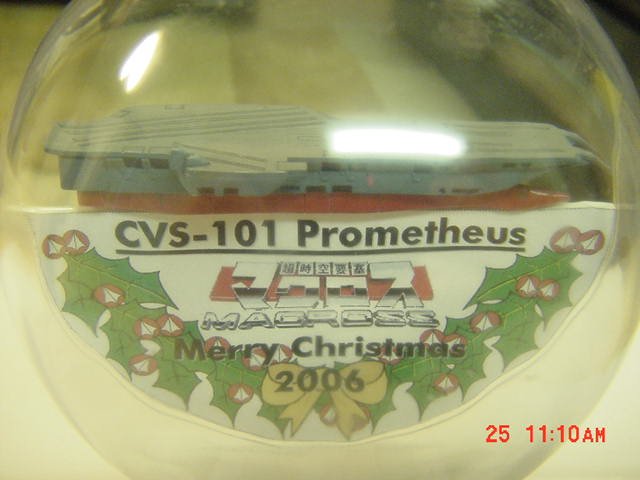
Thanks guys! Maybe next year I'll HAVE to do the SDF-1! (I have one good clear ball left). We actaully did manage to celebrate the REAL reason for the season, but I must admit I spent a lot of time playing, errr I mean building my children's toys. Yes I am a true Macross fan (if the Daedalus build doesn't say that clear enough, I don't know what will ). I thought the original ornament was naked, so I updated it a bit. Thanks again for your kind and entertaining words! - MT [attachmentid=39255] [attachmentid=39256]

-
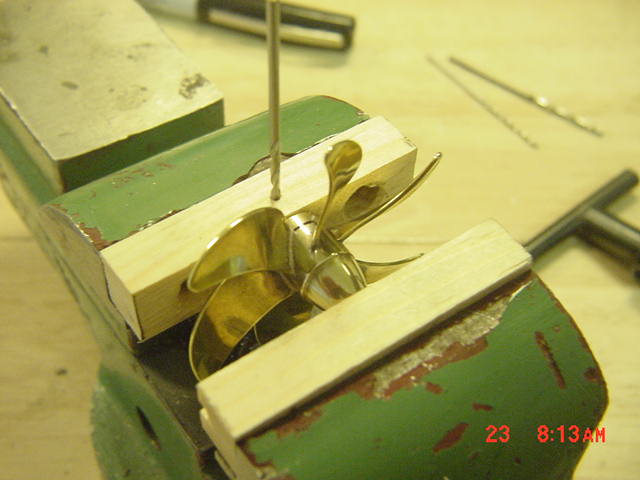
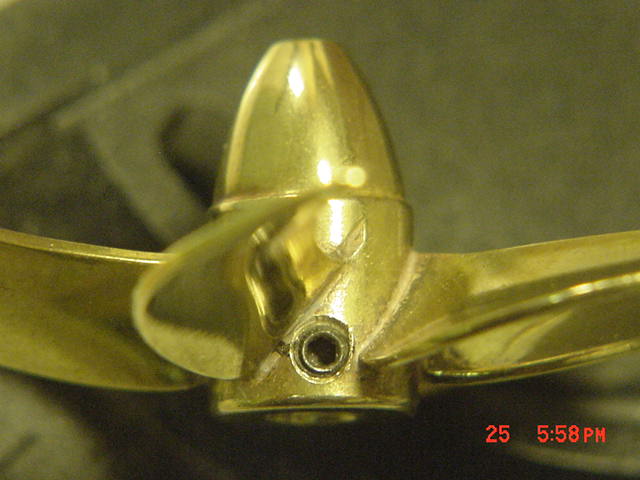
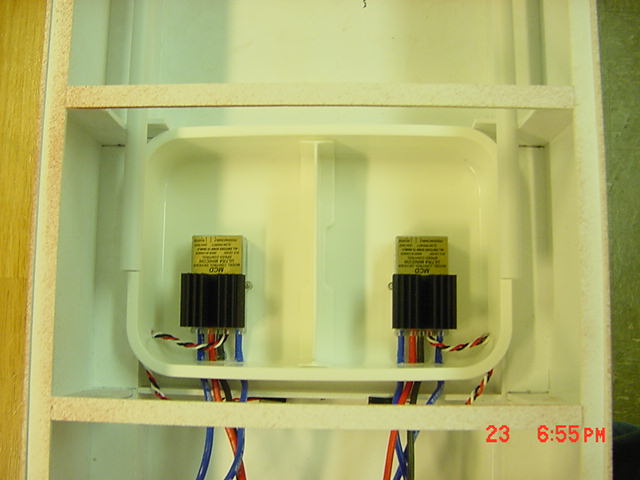
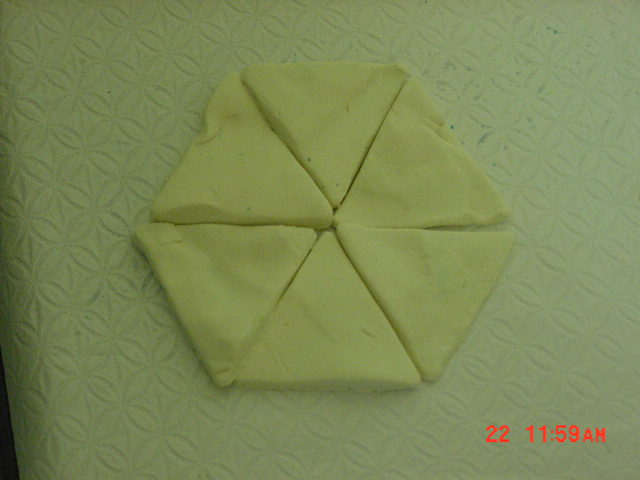
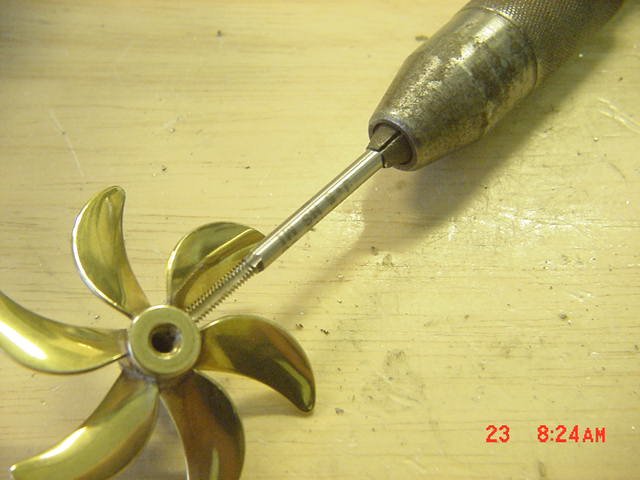
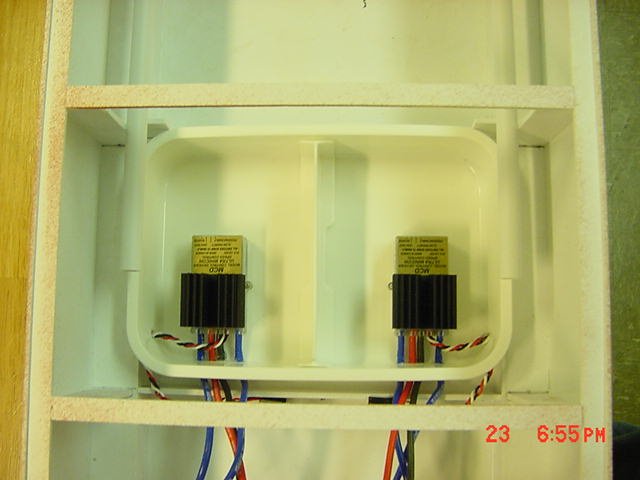
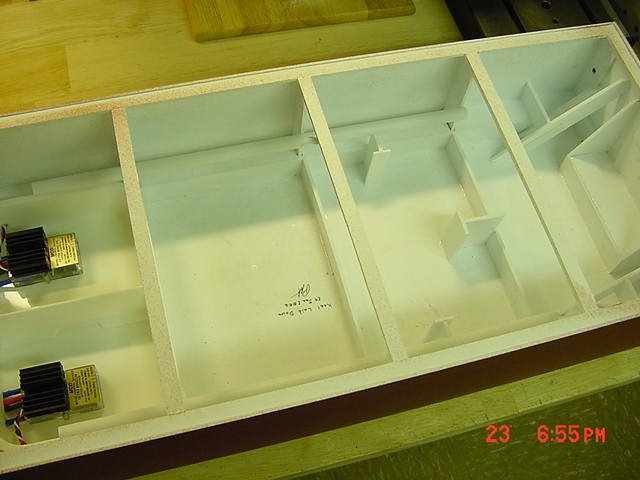
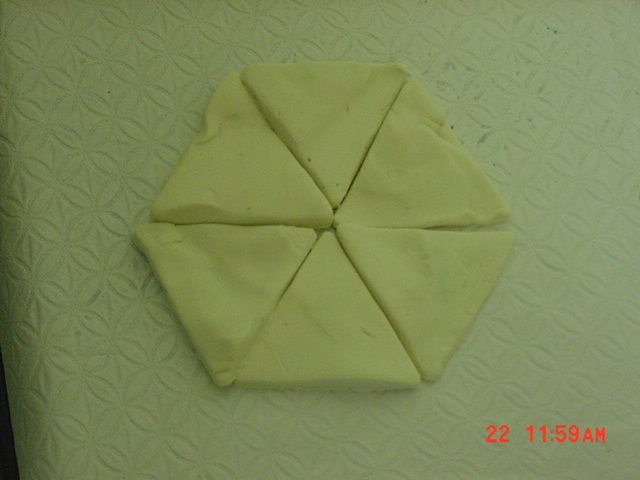
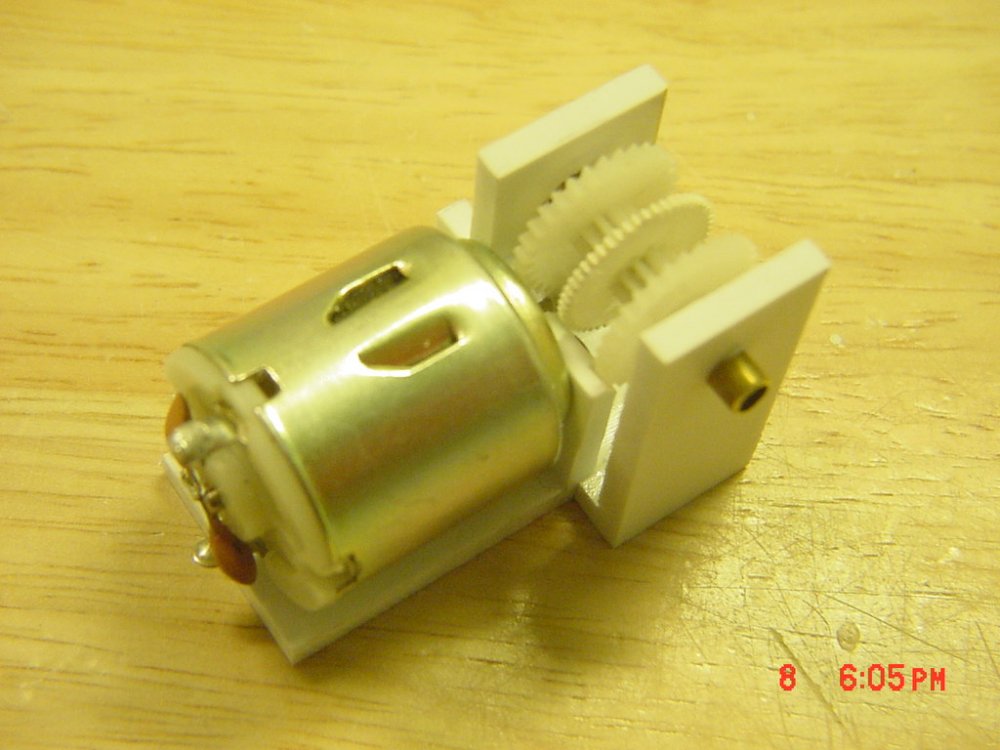
Update 25 December 06 Merry Christmas! Here's the latest work so far. My family chipped in and got me this awesome drill press:Drill Press Link Thursday I got my fourth propeller in off back order (thanks Pandan! - Pandan Models) . Since the props thread on to the motor shafts directly and I have no way of securing them, I put dual grub screws on them to secure them. [attachmentid=39242] Drilling and allignment jig. [attachmentid=39243] Tapping the threads. [attachmentid=39244] Grub screw closeup - look at all that room! Six blades doesn't give you much work space! [attachmentid=39245] The controller water tight copartment. Individual holes were drilled for each wire and the small amount of space in between was filled with silicone. It came out better than expected. [attachmentid=39246] Battery holder posts and begining of conduit to run power wires. [attachmentid=39247] My young daughter wanted me to photograph her Play Doh pizza while shooting these, so enjoy ! I was hoping to have her test run for Christmas morning, but it looks like I'm shooting for New Years day now. Enjoy your holiday time off everyone! For those that may not get holiday time off, thank you for "holding down the fort" for the rest of us. - MT


-
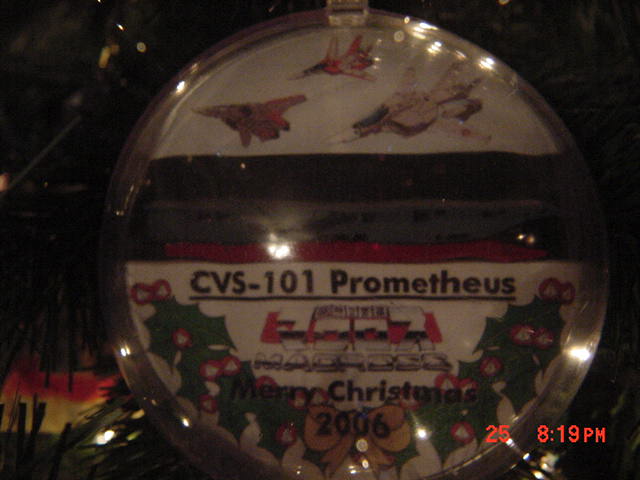
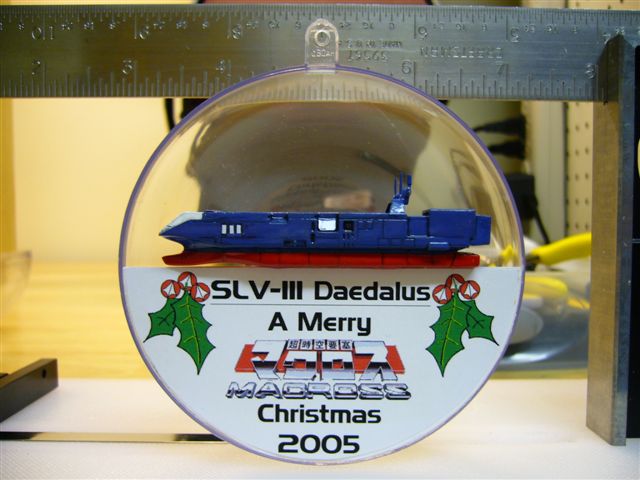
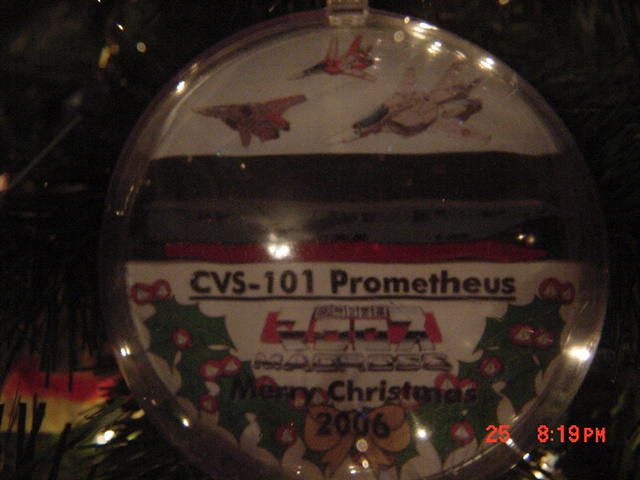
Here's this year's Macross ornamnet. I didn't think I would keep to the ship's theme this year too, but it was easy and took less time from the Daedalus build (updating that today too). [attachmentid=39237] [attachmentid=39238] [attachmentid=39239] Last year's Daedalus ornament on the tree [attachmentid=39241] Open Merry Christmas! - MT


-
Thanks bigF. You must be spending too much time here. No wait, there's no such thing. I haven't seen the new transformers movie yet, hopefully it's good. How about the weather here lately!? You'd think we're in the Atlanatic or something . - MT
-
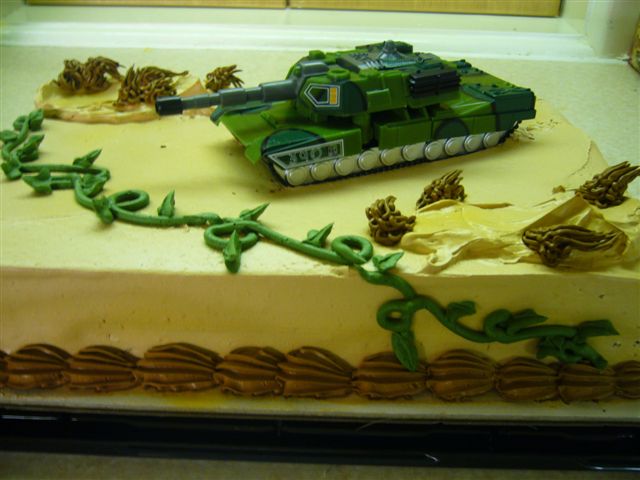
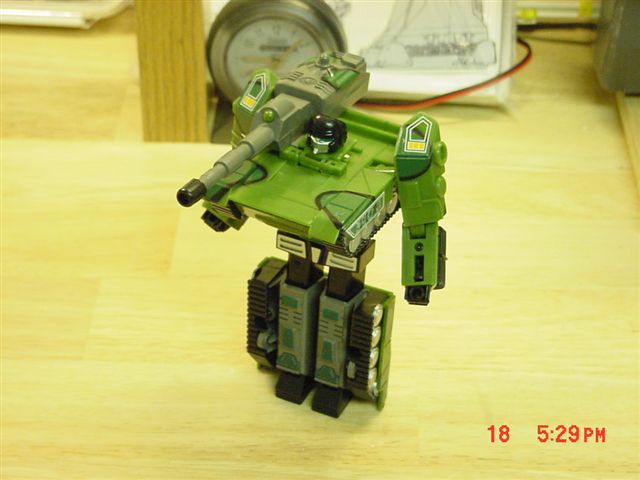
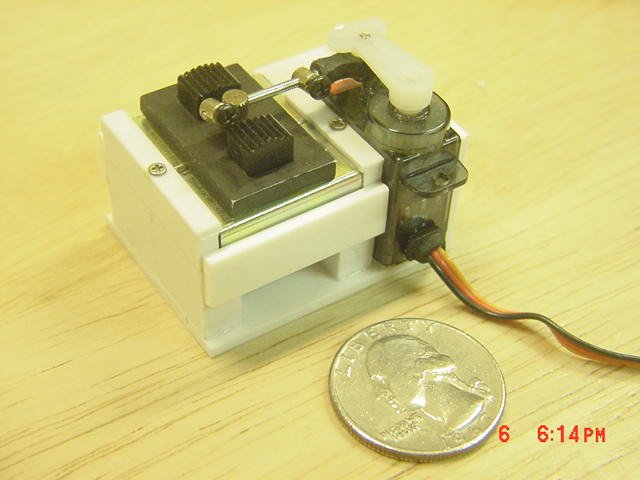
UPDATE 18 Dec 06 Here's the MPEG's of the stabilizers. The solenoids were too weak (worked on the workbench great ). The winch motors were overkill (but will still power other things), so I got a couple of micro servos and they were just right (starting to sound like a story about a blonde chick and 3 bears). [attachmentid=39068] Stabilizer out. [attachmentid=39069] Stabilizer in. I still used pulleys and string because springs tension the stabilizers out automatically. If they strike something or some dummy forgets to retract them before moving the hull around, they just roll back into their socket. I don't have them wired in (or anything else yet) so that's why the two movies, I had to switch the wires. On a side note, the great birthday cake my wife got for me: [attachmentid=39070] Desert Sand chocolate (tasted good too) [attachmentid=39073] This was the tank on the cake - cool in a Transformers kinda way. I'm off to bed. I'm hoping to finish some details on the motor pod and wire everything in for a test drive! - MT Stabilizer_Out.MPG Stabilizer_In.MPG

-
The Hygog looks like a lobster after throwing him into a pot of boiling water . Nice experiment with colors though. - MT
-
Oh great, you're already making more work for me ! I was supposd to have the stabilizers done and MPEG'd, but one of the arms sripped out so I had to fix it. I'll hopefully get it done this week. - MT
-
Looks great! Semper Fi! (Wait, did I just say that out loud?)
-
Hey HWR, looks great. I'm waiting for the figure to start shouting out commands in German! Too bad I didn't get to meet up with you. I know you're leaving soon. - MT
-
Hey neptunesurvey, yes, that is a drydock (although it was all wet after moving the ship from the water ). I'm going to make a fancy stand for it later on out of plxiglass sheet and tube. Some engraving with LED's to pickup the highlights would look cool too, hmmm. I haven't touched the superstructure yet, but I think on it often. I'm working out the elevator/door design and the ramp, main hatch designs. I'm going to have to build lighter than what I originally thought on. I've got lots of 1mm styrene, but I'm going to have to go with .020" to keep weight down. The ramp will have to be lighter too I think. I'm going to have to do some "supermodel"engineering to keep the weight down to a minimum up top. If she's not top heavy when all's said and done, it still is windy here a lot. Turning into the wind helps, but a good broadside gust could capsize her . I'm going for serious stability! - MT
-
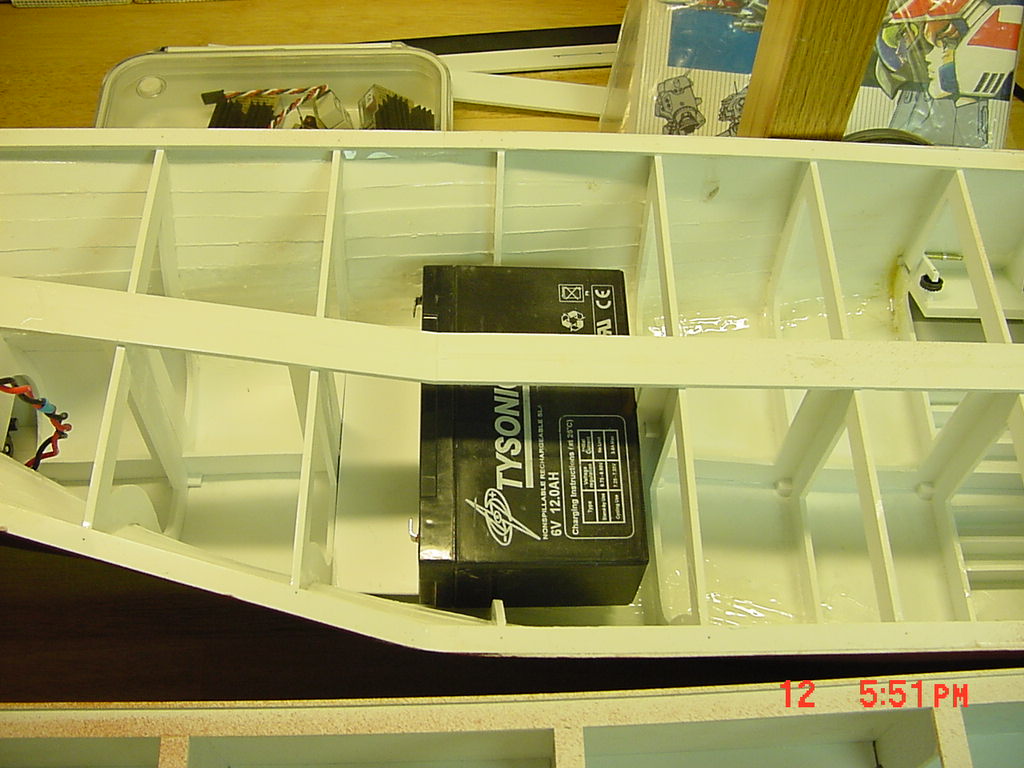
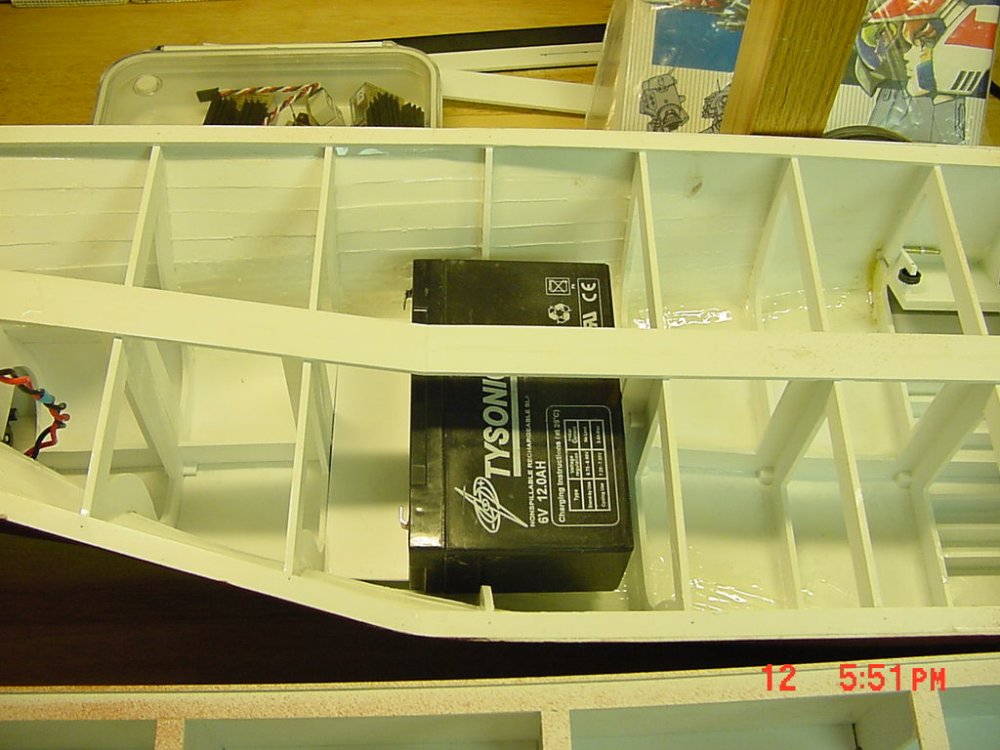
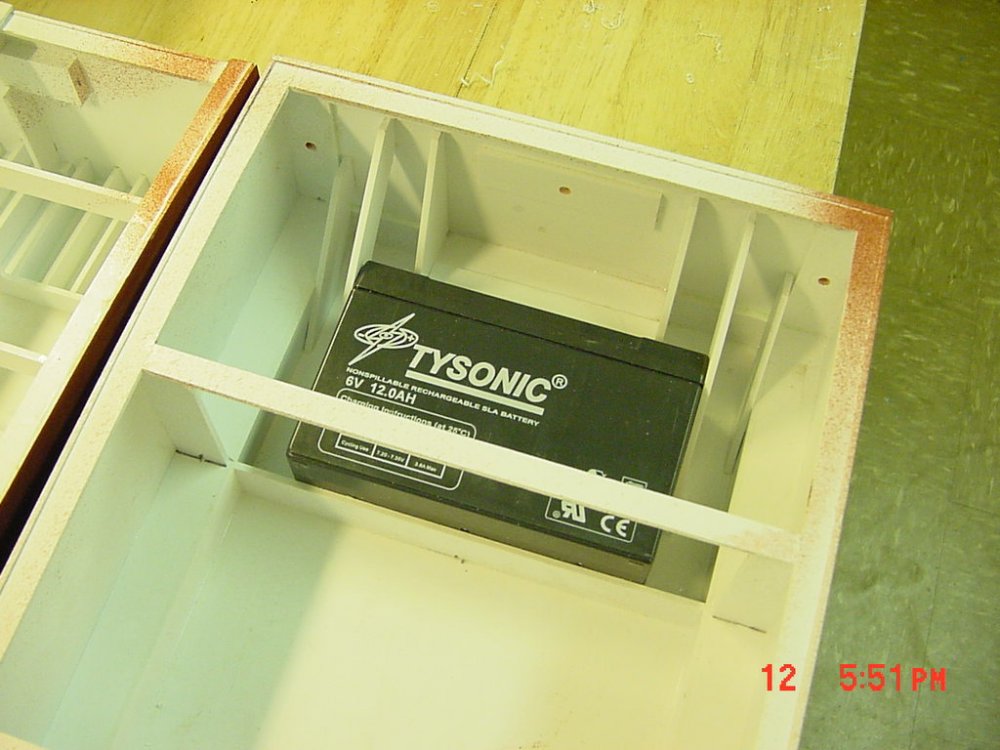
UPDATE 12 Dec 06 Thank you guys again for the encouragement and compliments! Sorry about the whole water thing do not disturb. At least no one saw ME do it . After I finish the bottom, the top will have two elevators, opening main hatch, folding ramp, water guns and some other goodies I'm working on. Chas you're too funny man, "Daedalus Day, December 9th." You get the first "card." I was wanting to do the stabilizer actuators this week, but I figured I better fix the battery compartments first since some of the linkages will run through that area. Remember the battery on top of the front (and it was still VERY stable!) and the battery propped up towards the front, they're all fixed now! [attachmentid=38915] The front battery compartment. [attachmentid=38916] Another view. [attachmentid=38917] The midship battery area rebuilt and the tab box shortened with new strengthening. This will lower the center of gravity and increase the stability even more - yeah! Maybe I'll get to the actuators this week after all Take care guys - MT
-
All right dude, you're making me jealous, you're gonna be done before me ! It looks great! I'm gonna have the same problem with what to put in for details in those "holes." I've got some ideas though. Keep up the great work! When's the Daedalus coming? - MT
-
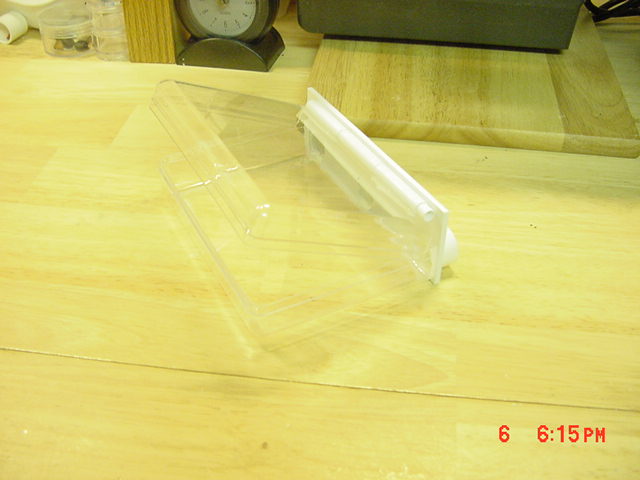
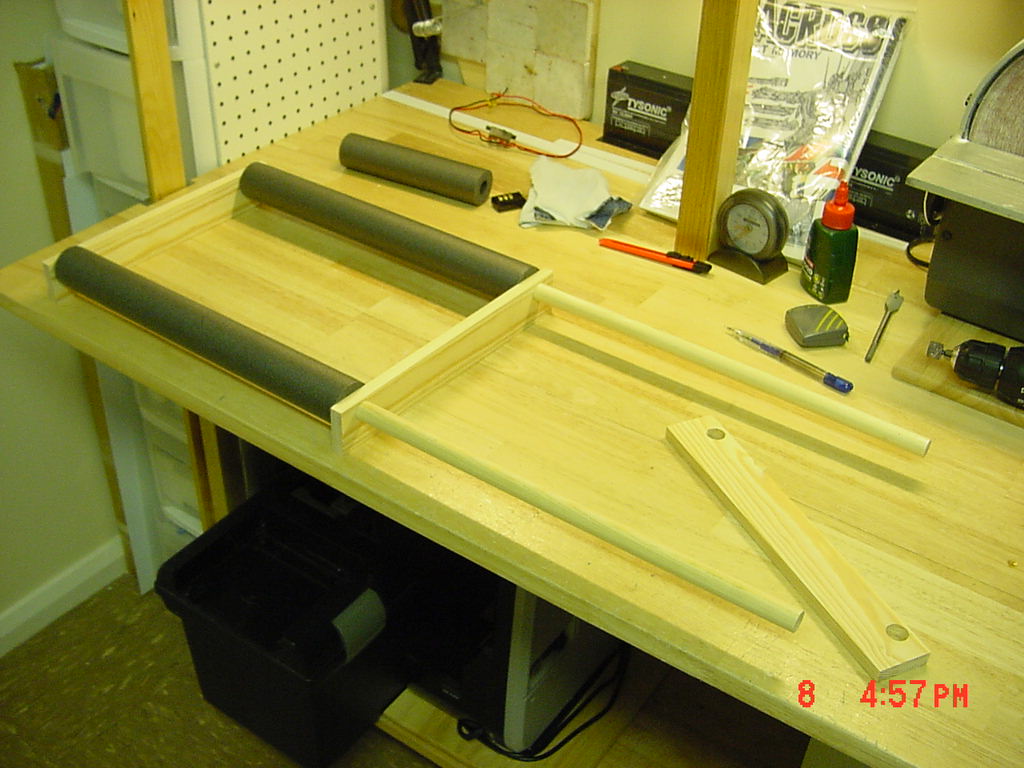
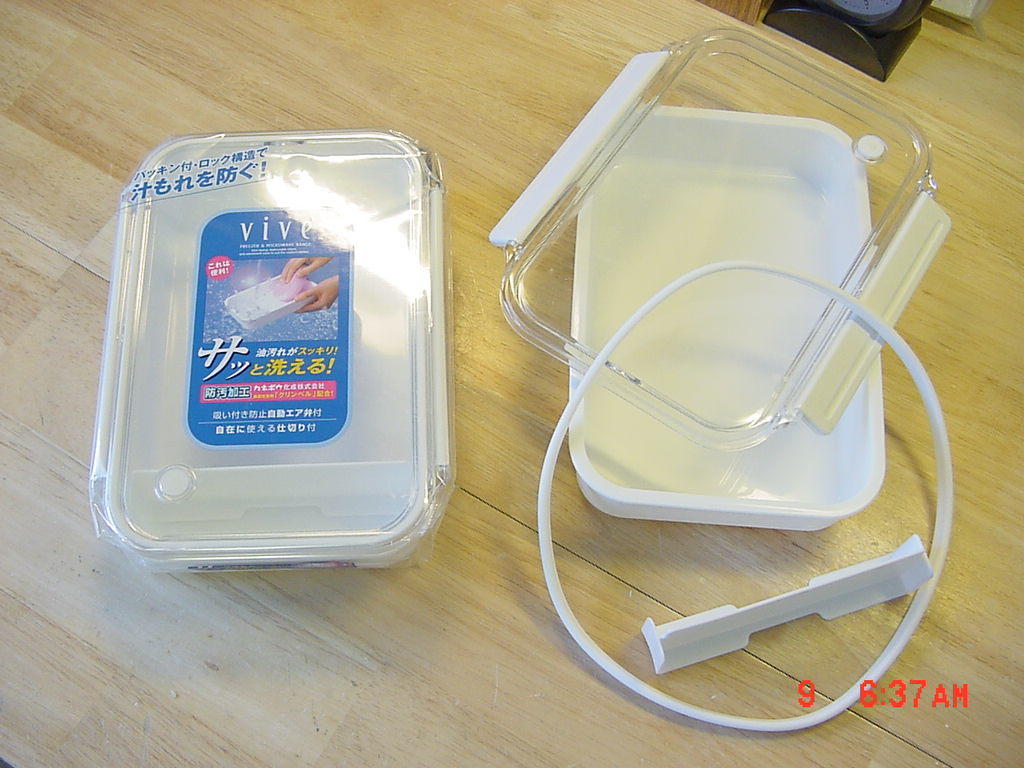
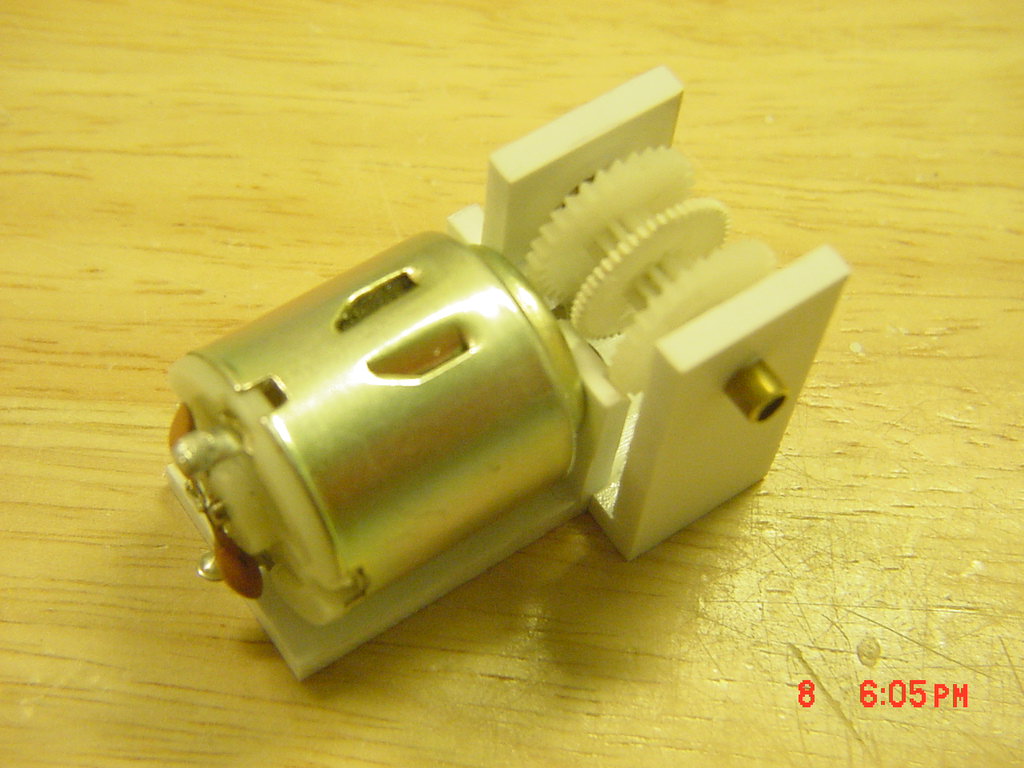
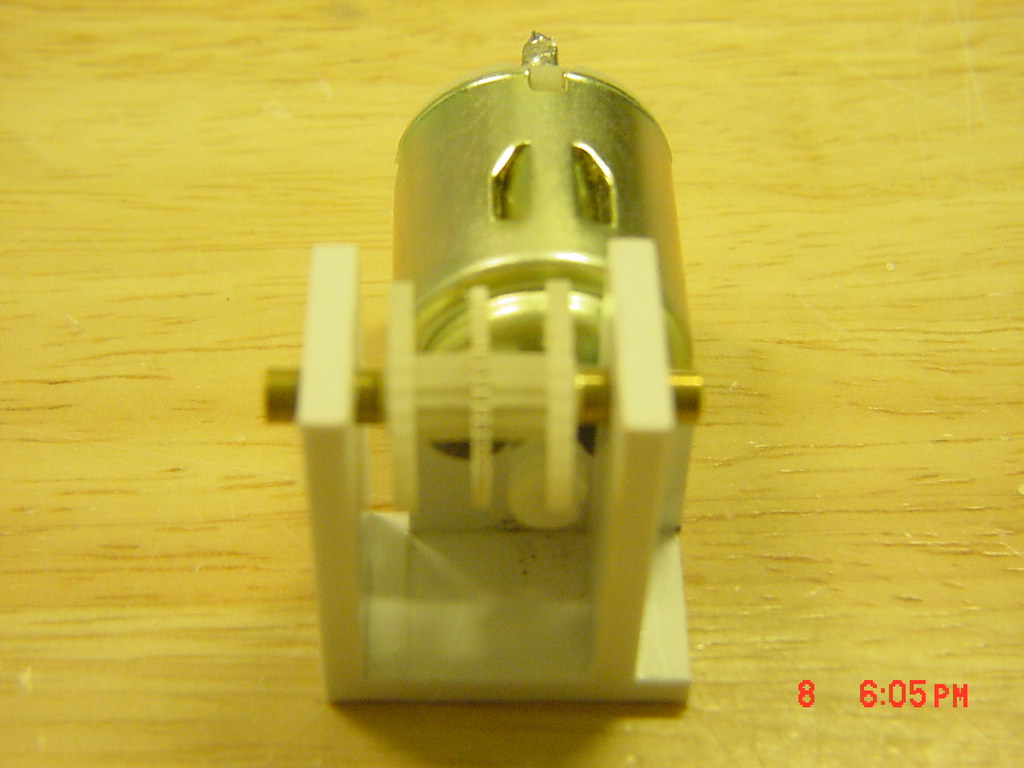
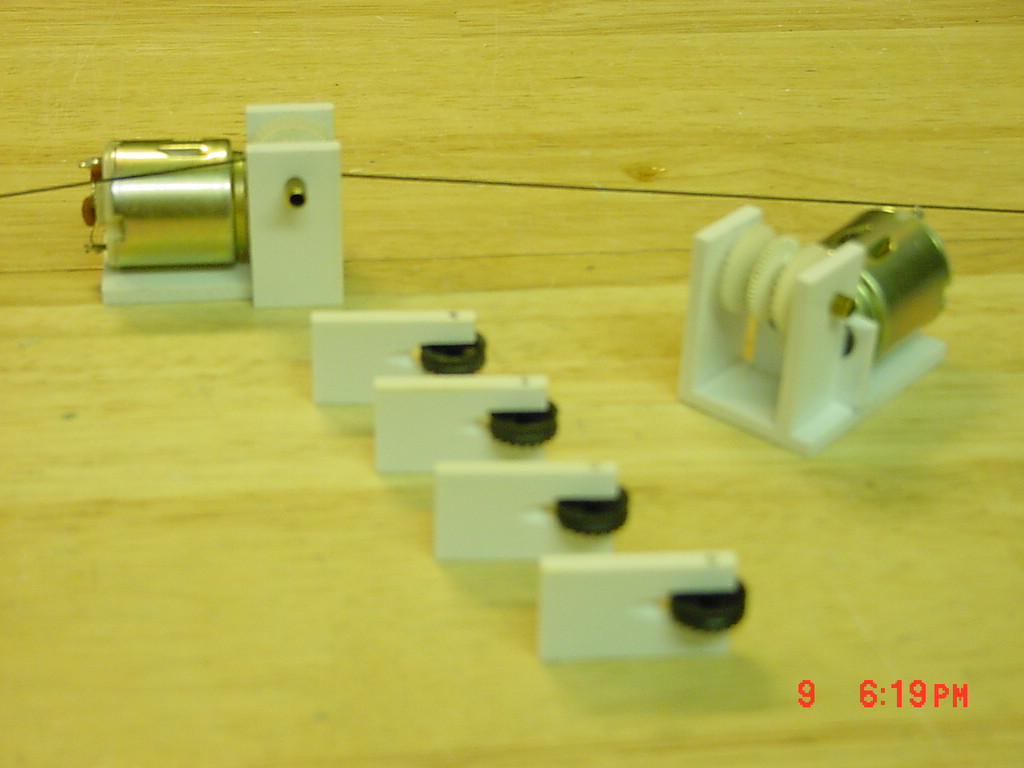
UPDATE 10 DEC 06 Make a stand! It's an expression. I needed a maintenance stand for working on it and for the water side. Thanks again everyone for the encouraging words. I always knew it would float (I've built a bunch of other ships before-but not scratch built to this degree). I just didn't know how well. [attachmentid=38837] Building the maintenance stand. [attachmentid=38838] Completed stand covered with pipe insullation and yellow foam board. [attachmentid=38839] My favorite lunch box and spare (still unwrapped) are going to become my electronics and radio boxes. The gasket seal on them and quick release handles make these perfect. I picked them up on sale at an asian market back home. [attachmentid=38840] One of the winches to control the stabilizers. [attachmentid=38841] Another view. [attachmentid=38842] The winches (one shown with lines on either end) and pulleys. These are what will actuate the stabilizers. I'll make an MPEG when it's all hooked up. That's as far as I got last night. - MT


-
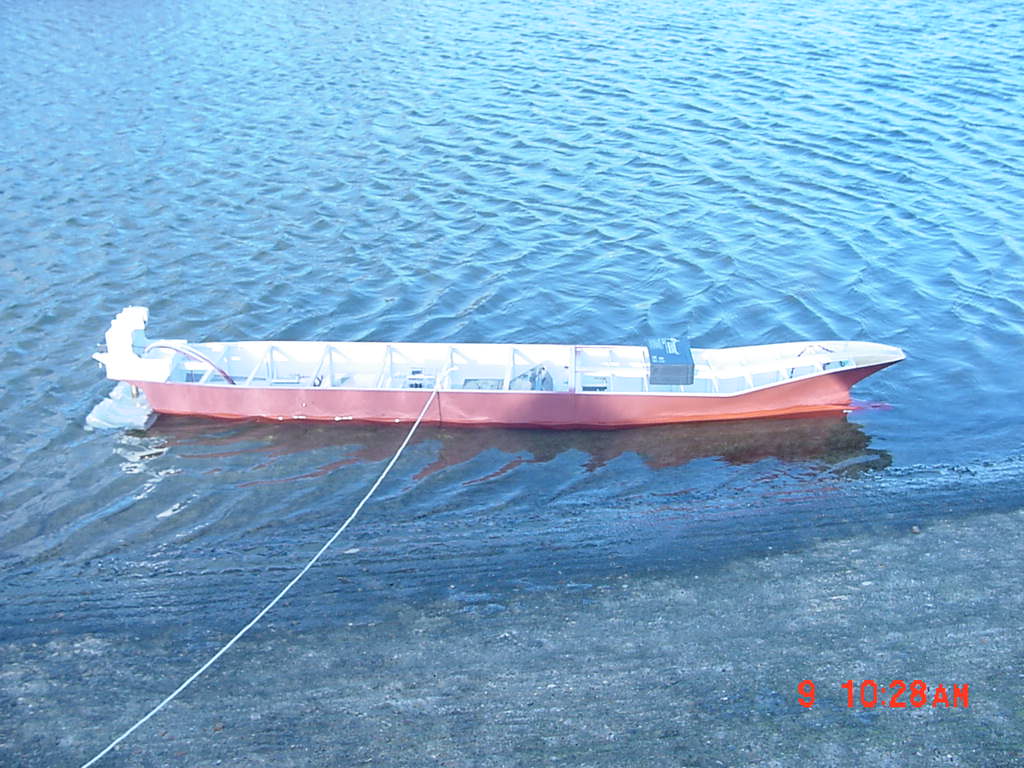
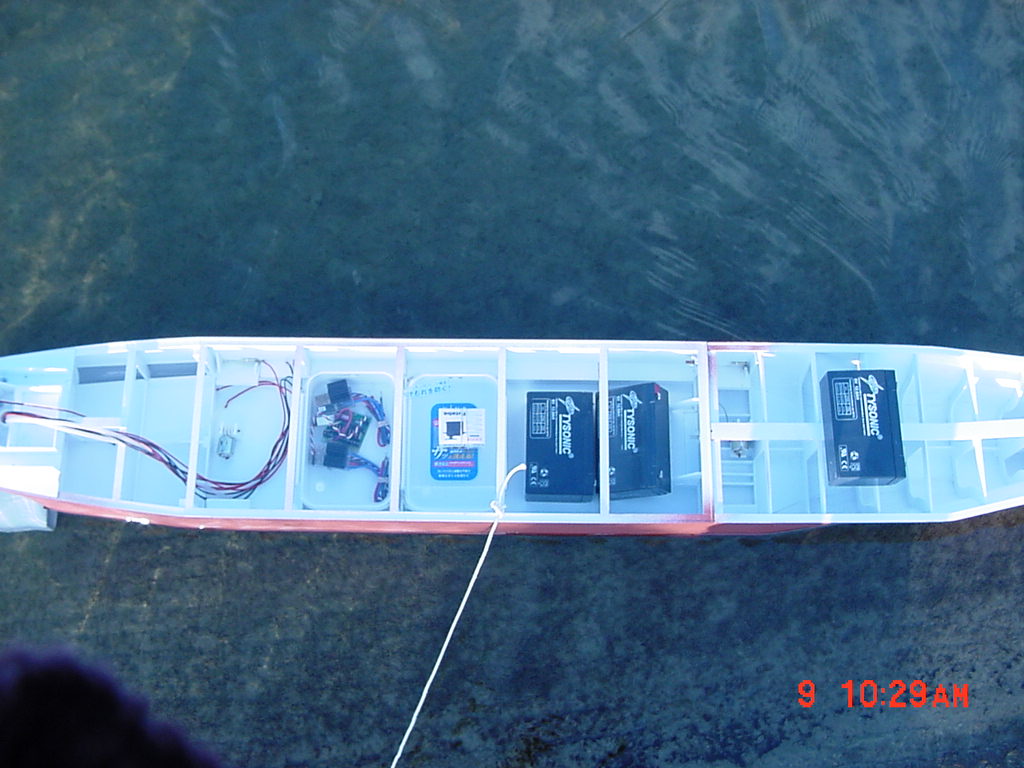
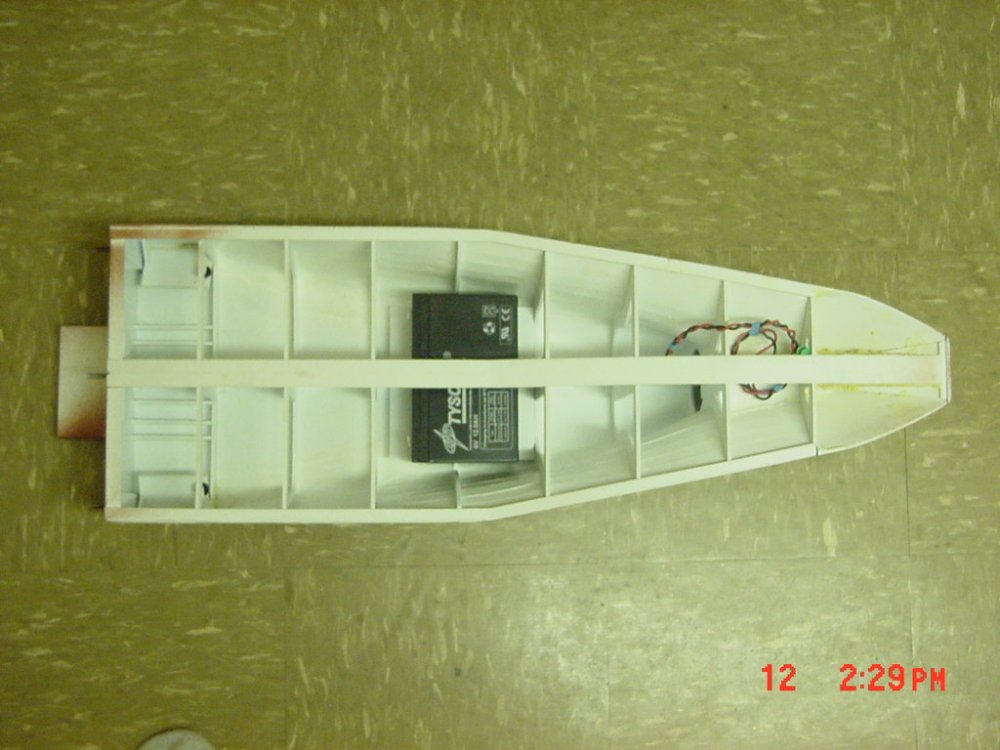
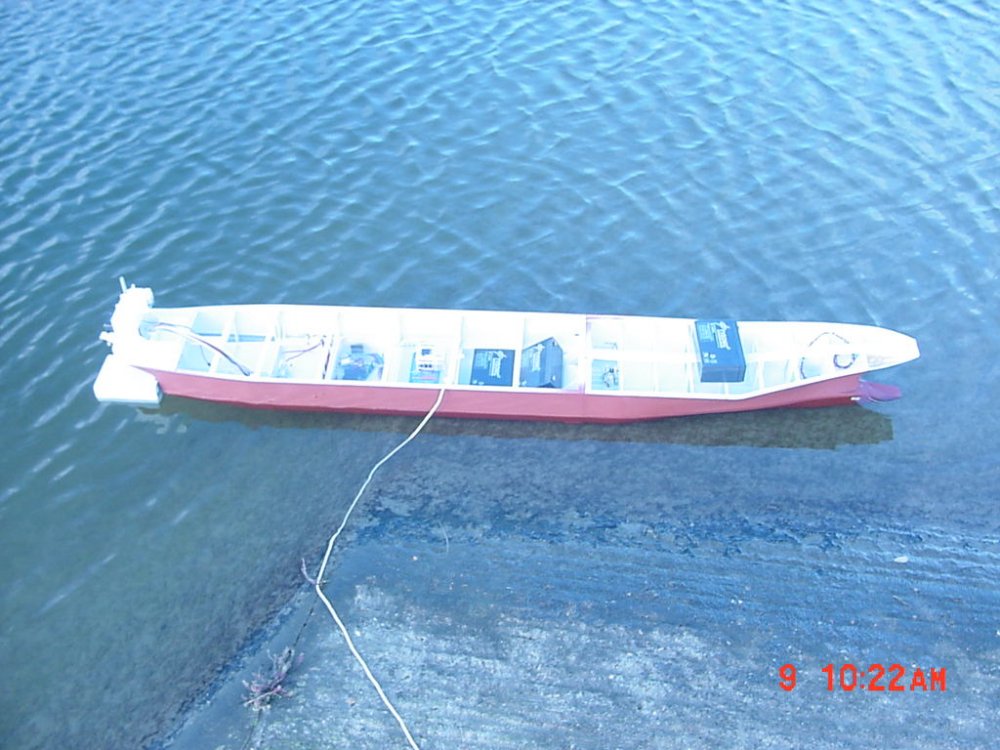
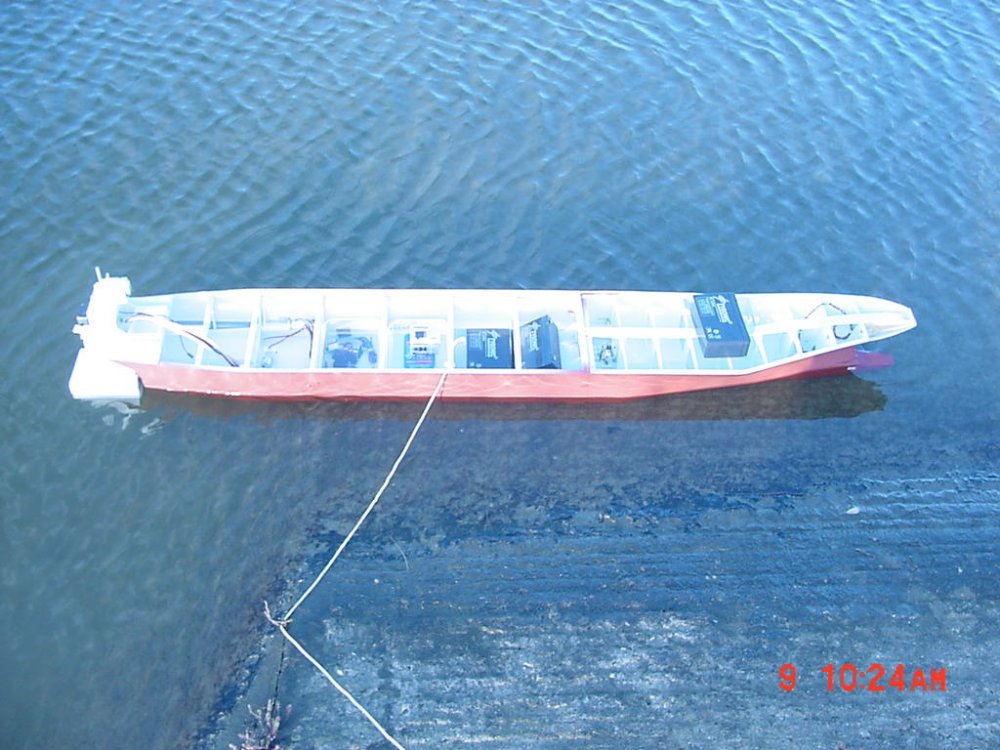
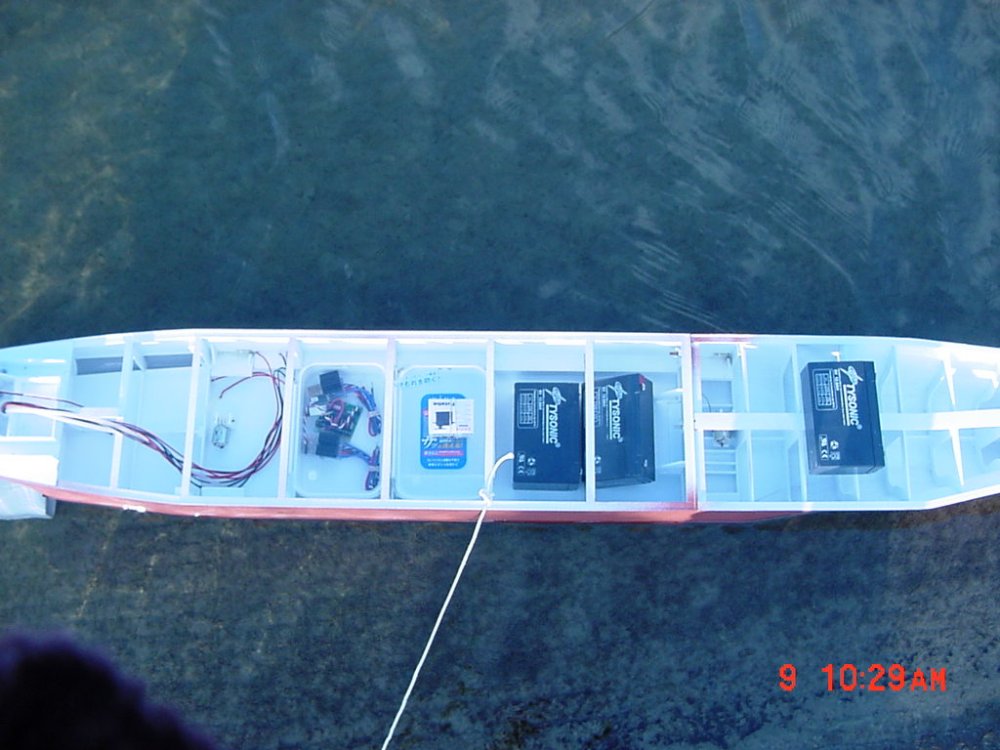
UPDATE 9 Dec 06 Her first taste of the reservoir ! [attachmentid=38806] With the pod up. [attachmentid=38807] With the pod down. [attachmentid=38808] Regular side shot. [attachmentid=38809] Top layout. (Note the batteries towards the front) I was afraid I was going to have to make room in the front half for a battery and I was right as you can see. I always balance everything out before mounting it in place. The least amount of weight I have to add later on to balance her out, the better. Keep in mind the top half isn't on there yet either. The hull is VERY STABLE. It pops right back into place after rocking it in the water. Good news ! Everything went well except for my leg slipping into the freezing water and cutting my hand aftr falling - BUT THE SHIP IS OK! Tonight I'm hooking up the actuators for the side stabilizers. - MT

-
Another reason I cut back on sodas. Coke is great for cleaning REAL chrome bumpers too by the way. - MT
-
Great work Chas! Well worth the effort. Models rock! (Not that I'm biased or anything )