Nyankodevice
-
Posts
525 -
Joined
-
Last visited
Content Type
Profiles
Forums
Events
Gallery
Everything posted by Nyankodevice
-
more details added....


-
another little update! more details added.....
-
some more work done!


-
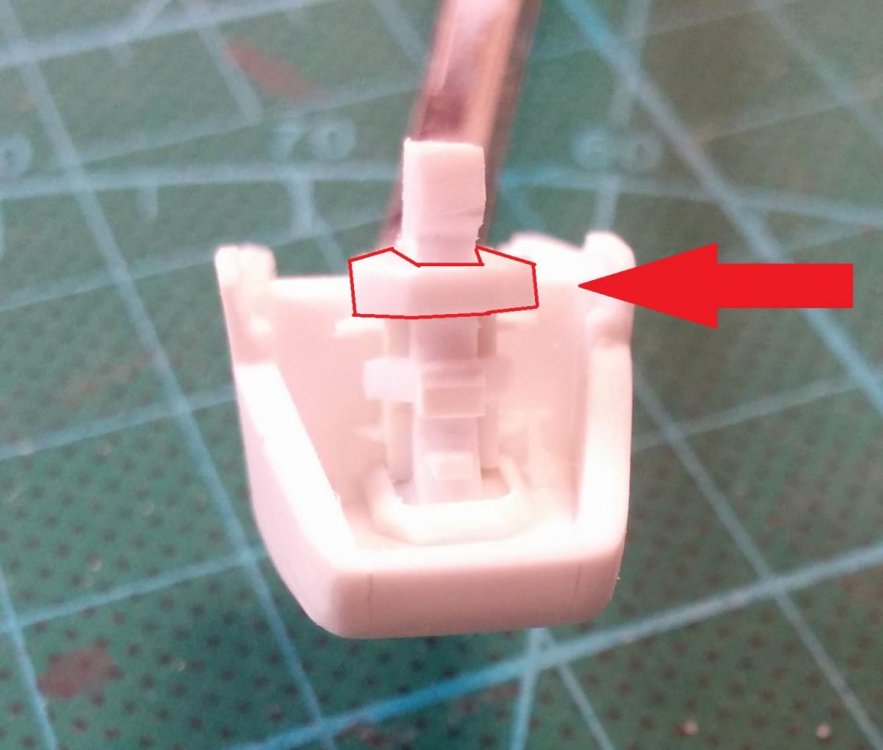
it isn't vacu-formed.... don't have the tools for that... yet its put together in sections then sanded round to fit the curve i need.. further more there's two layers of Styrene on that bridge, the inner layer at 1mm thickness and the outer layer at 0,5mm
-
Evolution Toy - VF-2SS Valkyrie I 《MACROSS II ~LOVERS AGAIN~
Nyankodevice replied to joppewo's topic in Toys
that is a real possibility right... mustn't forget the drones -
Evolution Toy - VF-2SS Valkyrie I 《MACROSS II ~LOVERS AGAIN~
Nyankodevice replied to joppewo's topic in Toys
i will buy this... then ill make the necessary changes, for it to look even better... then ill make a SAP pack for it... -
Macross World Convention 2015 (October 17, 2015)
Nyankodevice replied to KiriK's topic in Conventions and Local Gatherings
dang cant come this year either ill have to wait for '16 -
That looks awesome.... any chance you'll make a 1/48 Bike for my VF-19?
-
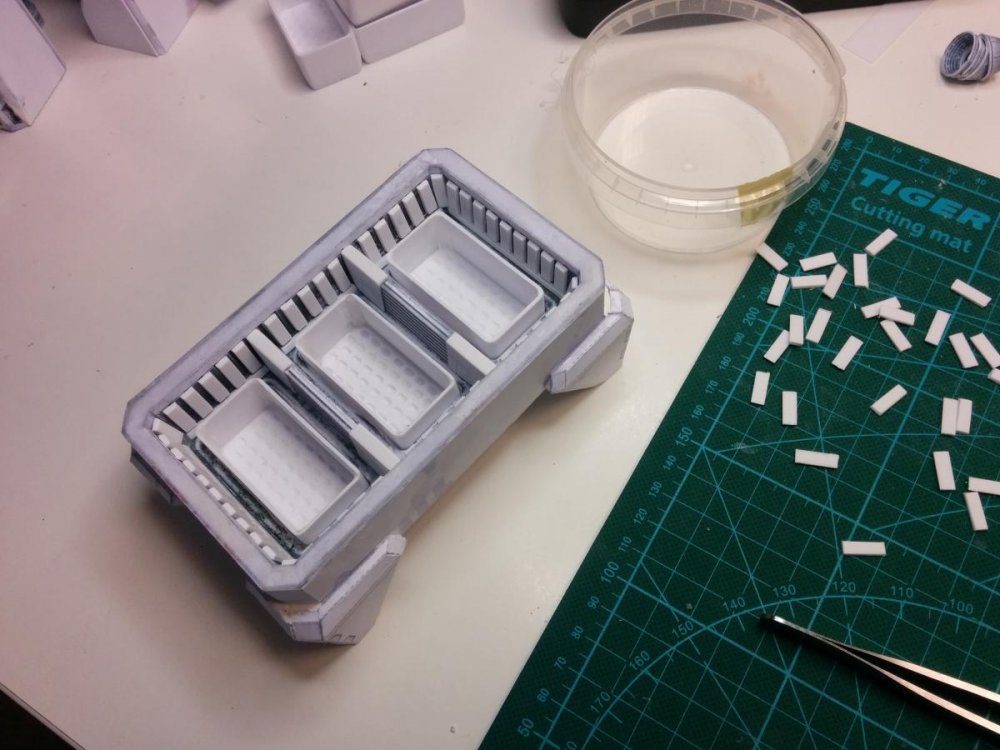
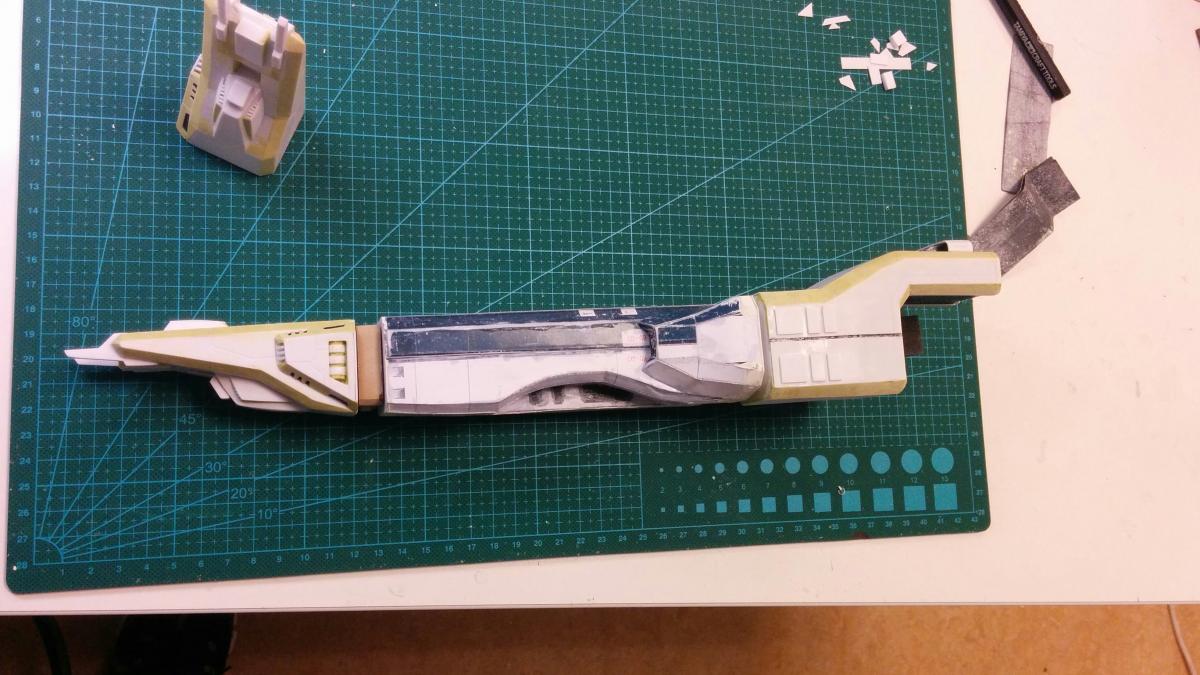
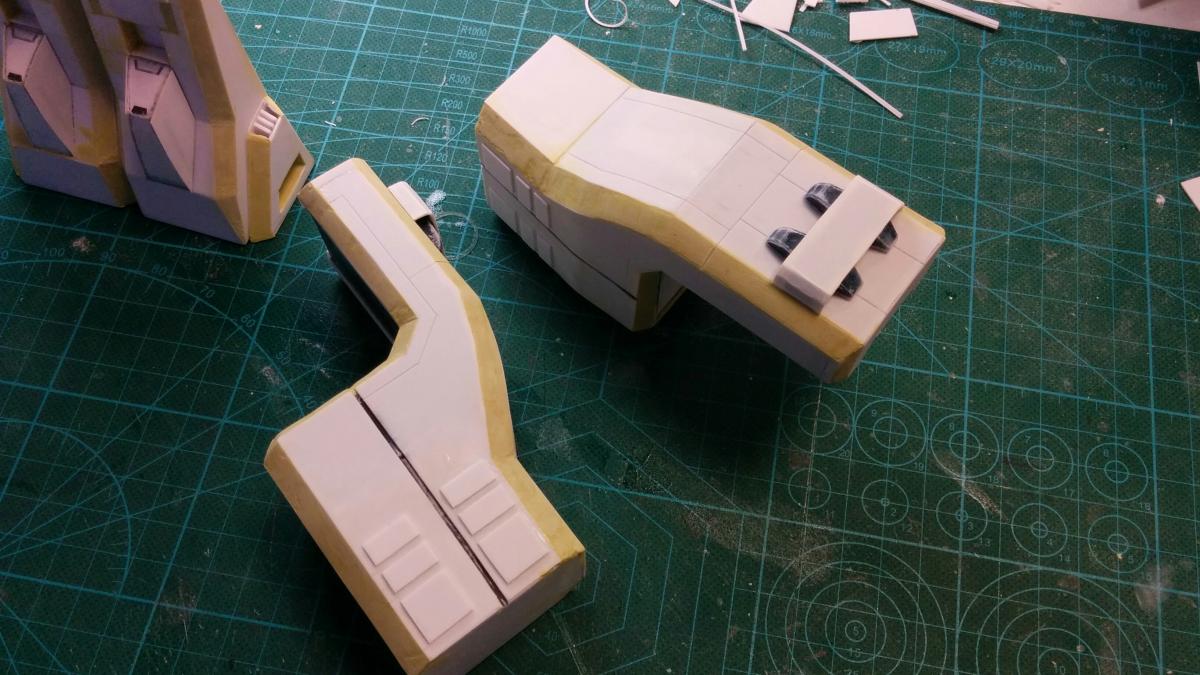
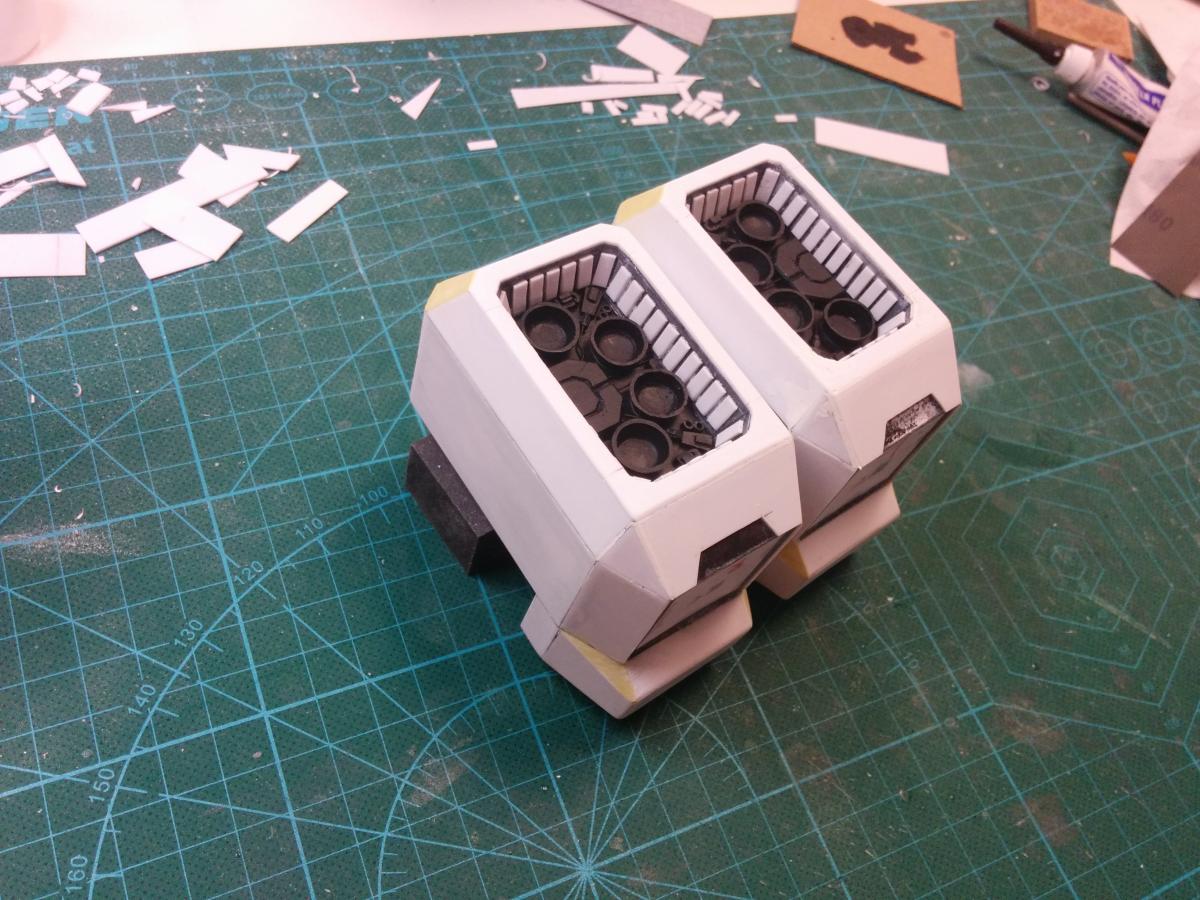
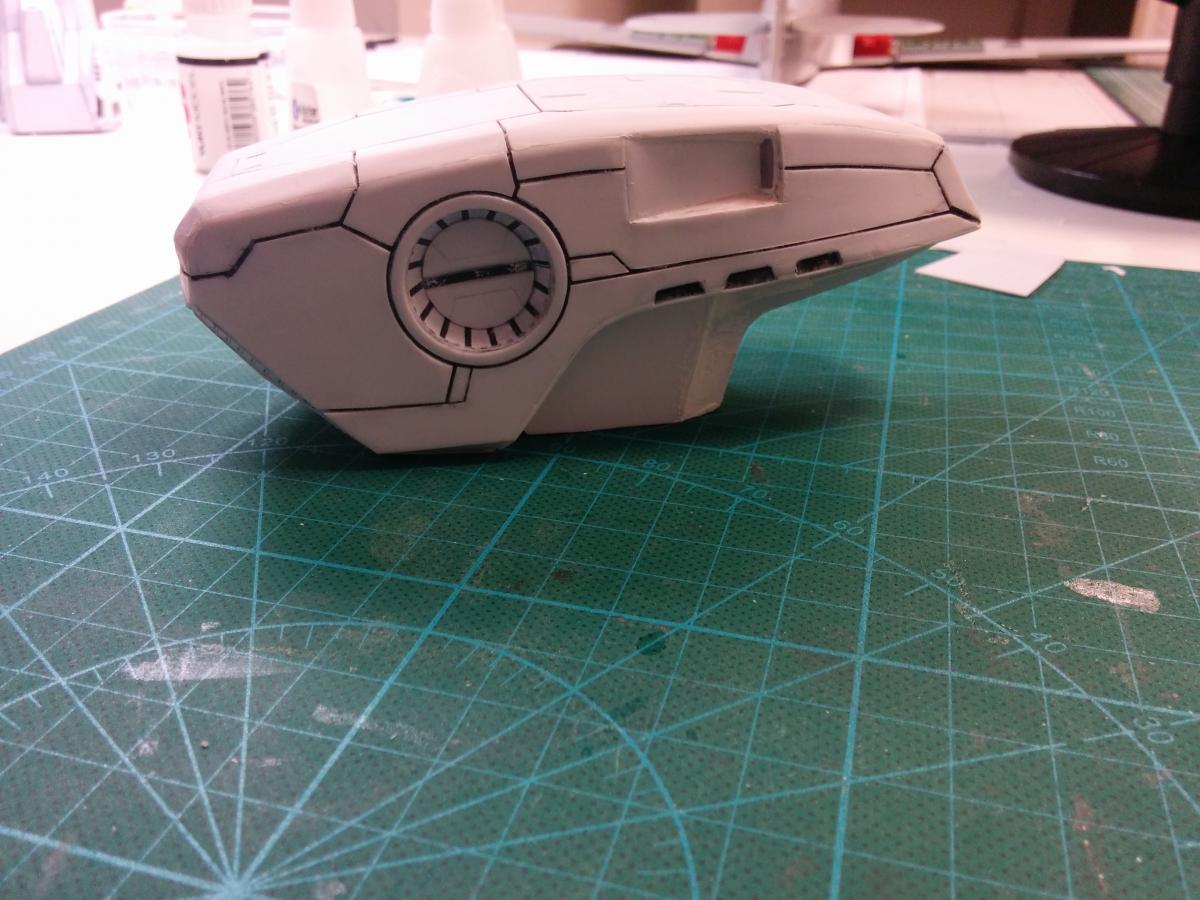
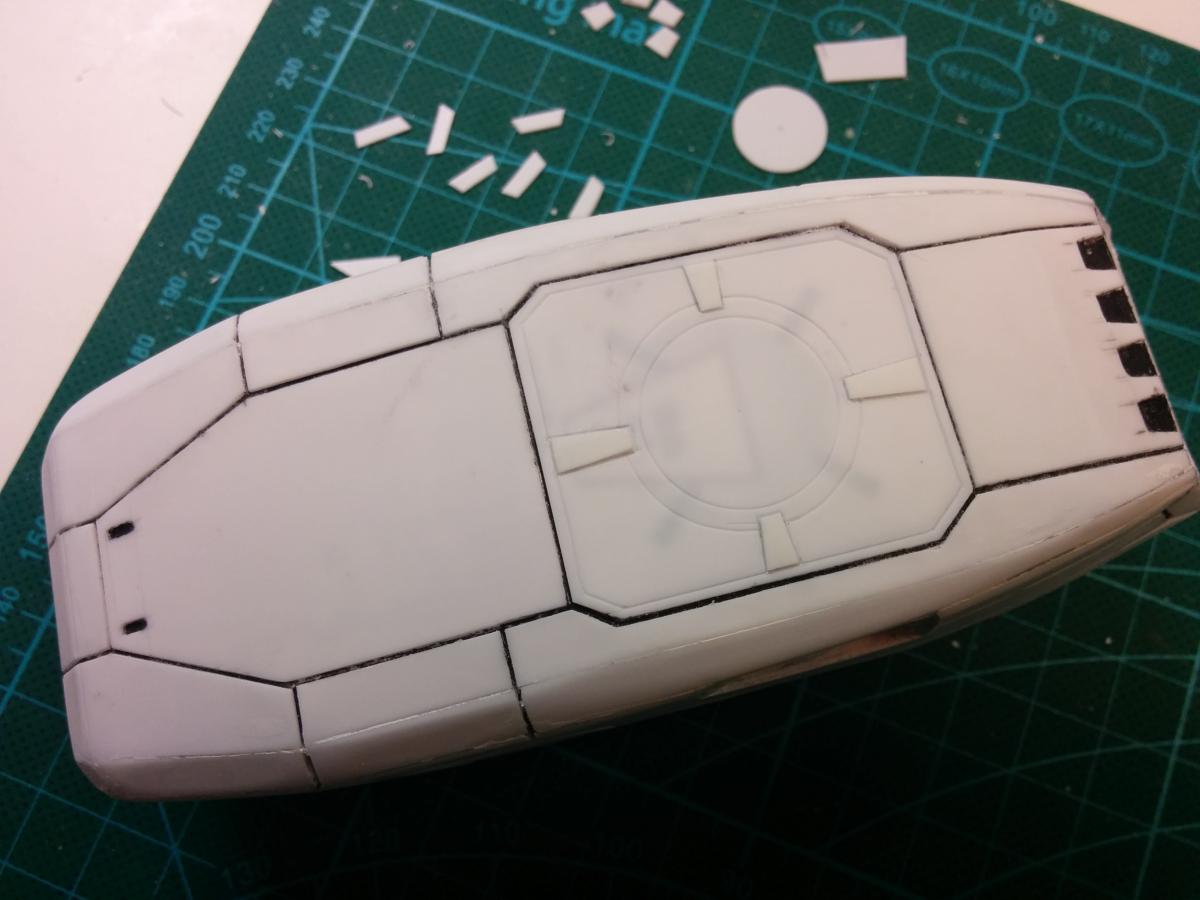
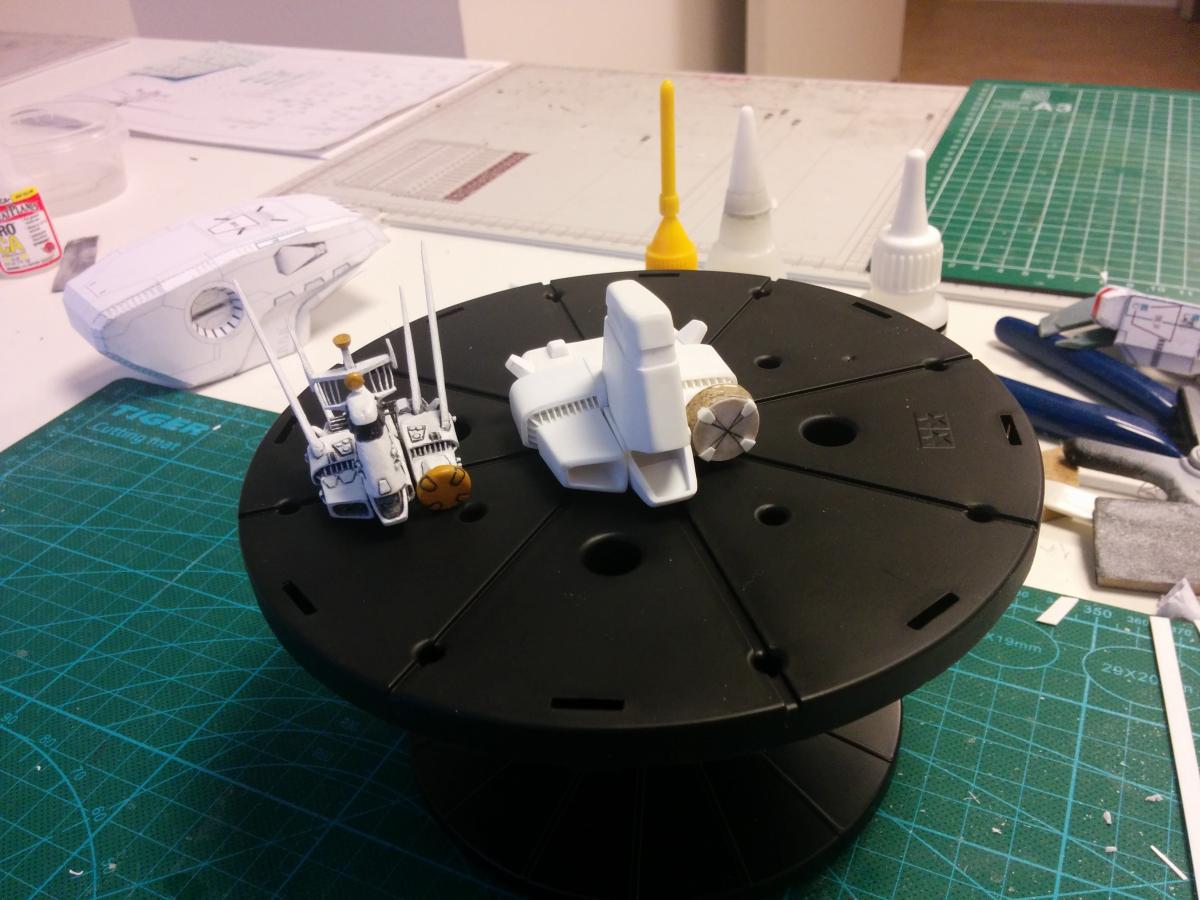
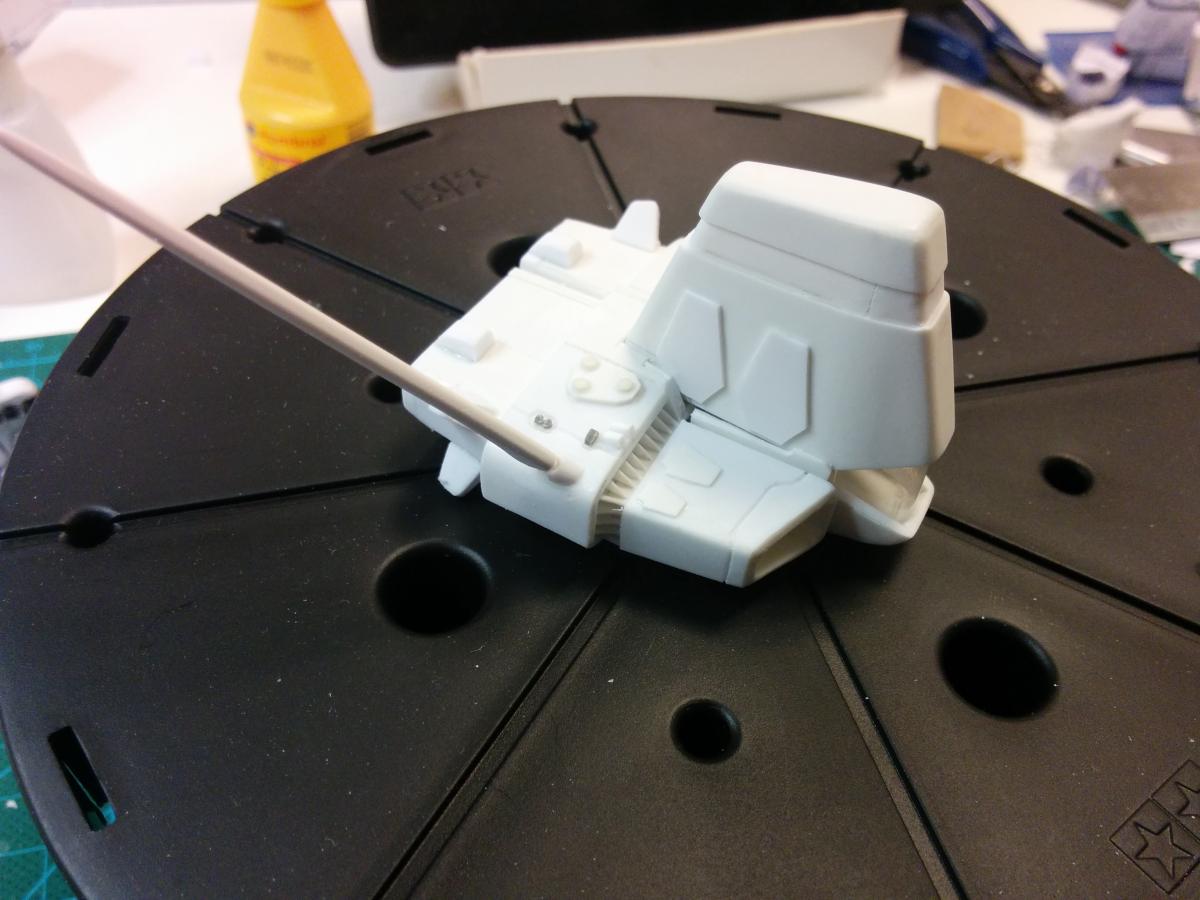
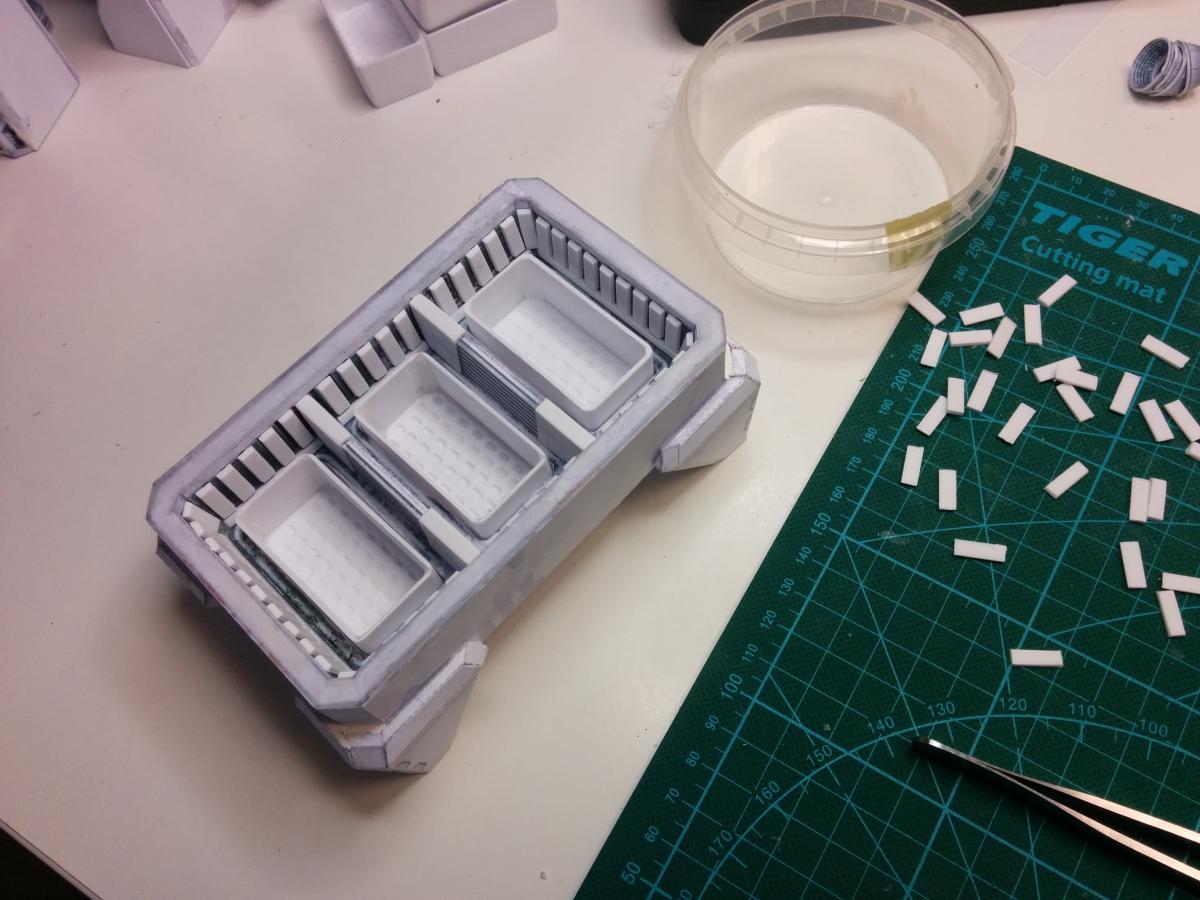
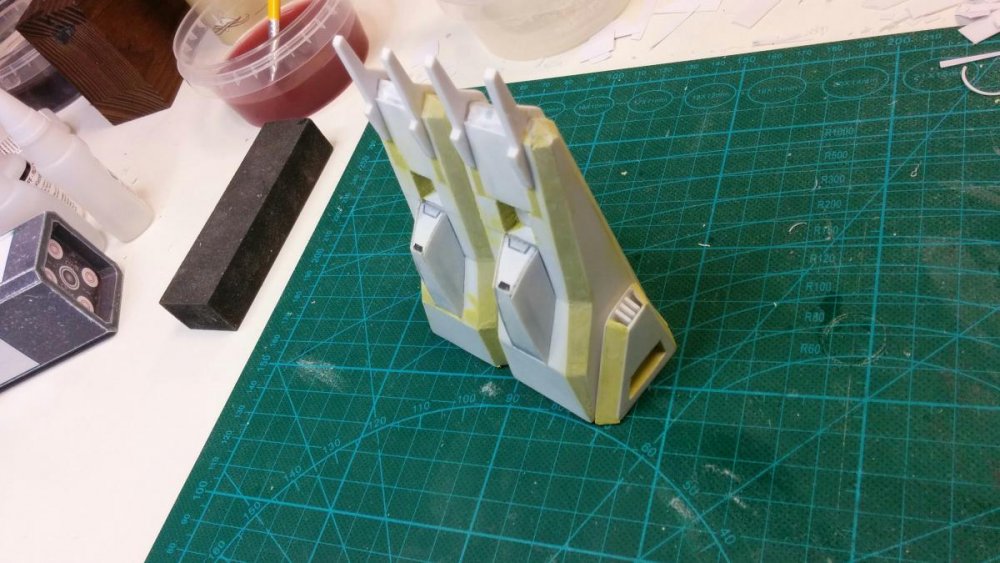
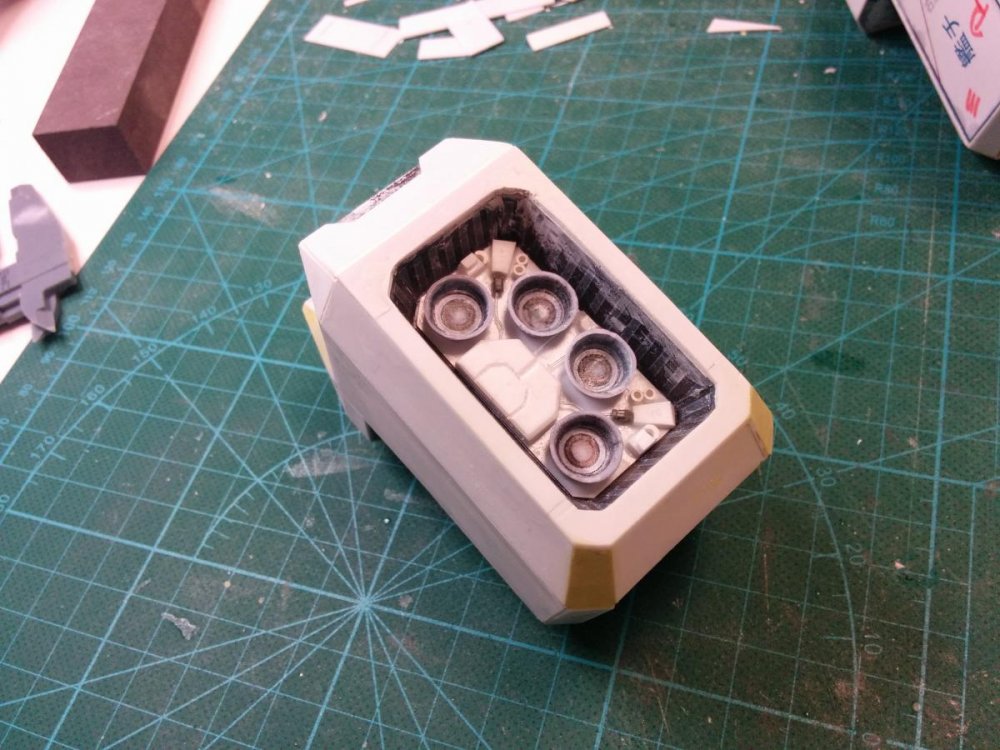
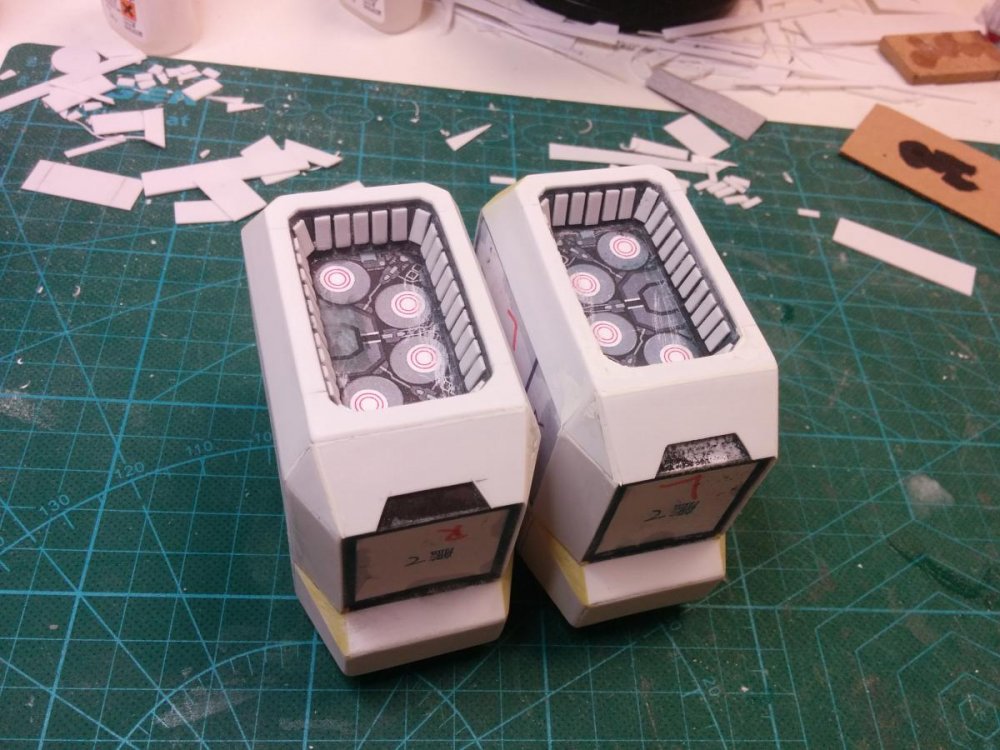
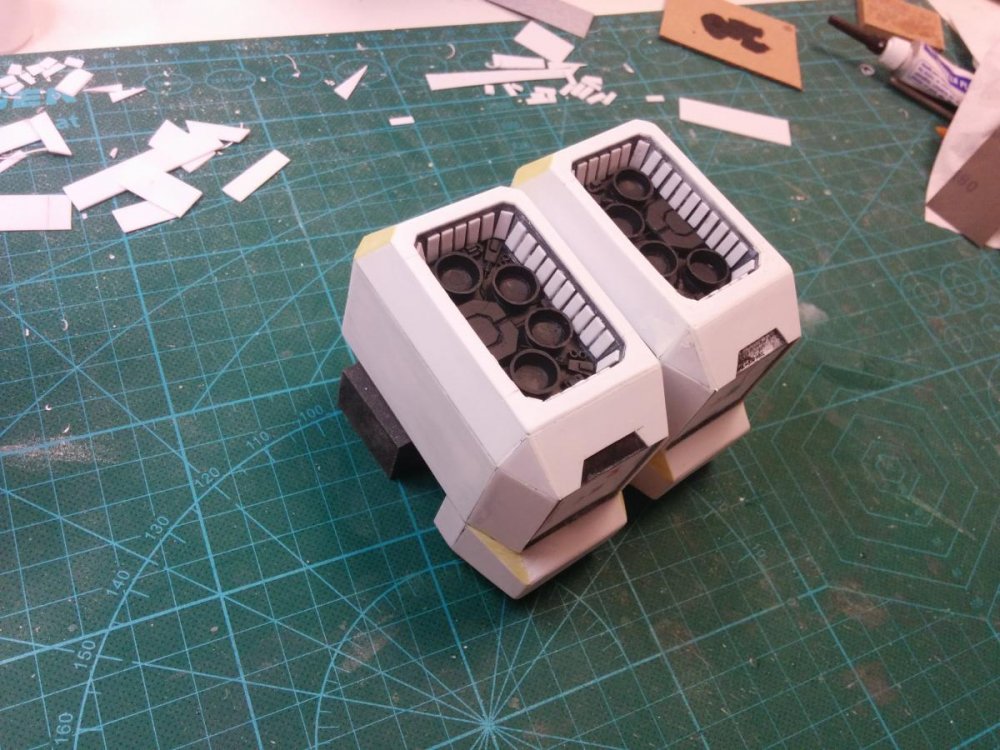
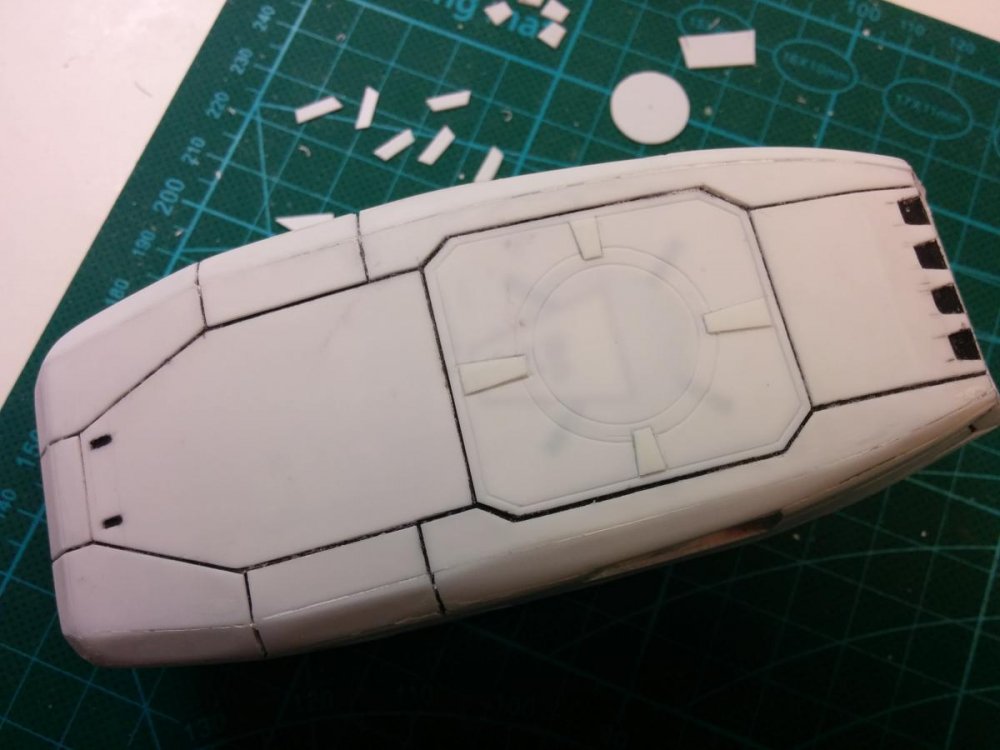
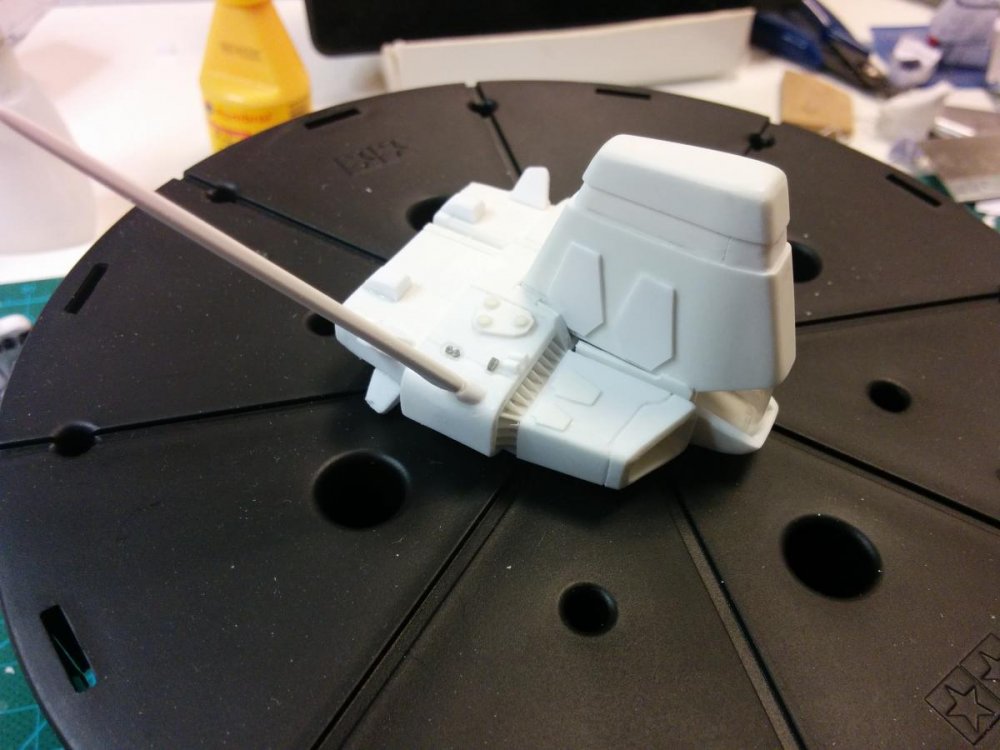
pheew! amidst all the heat, i have progress.... got some work done on the midship lift thrusters, with most of the details done Also did most of the midship top, with panelines....


-
well i buy mine through a danish shop, which is reselling from this company: http://www.raboesch.com standard sizes: 194 x 320 mm / 7,6 x 12,6 inch ranging from 0.3 - 3.0 thickness (1,59 USD - 5,97USD) plus many other options and larger sheets...... dunno if theres cheeper alternates out there.... my preferred sheet thicknesses for scratch building are 0.5mm 0.75mm 1mm 1.5mm hope this helps!
-
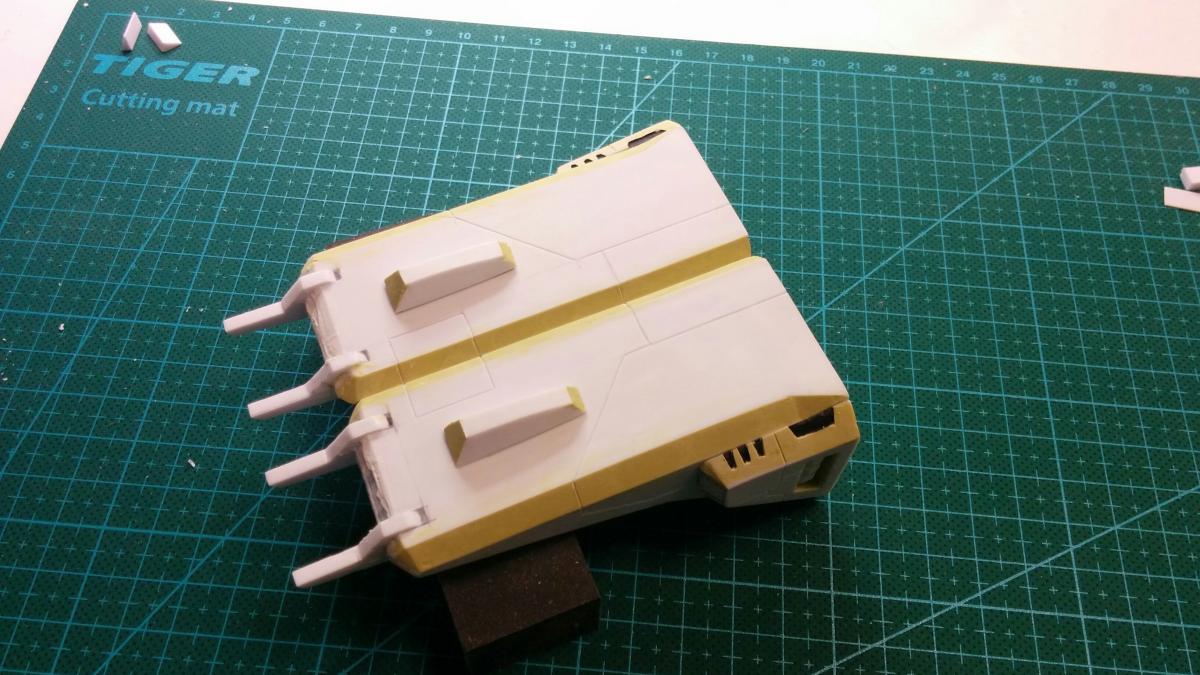
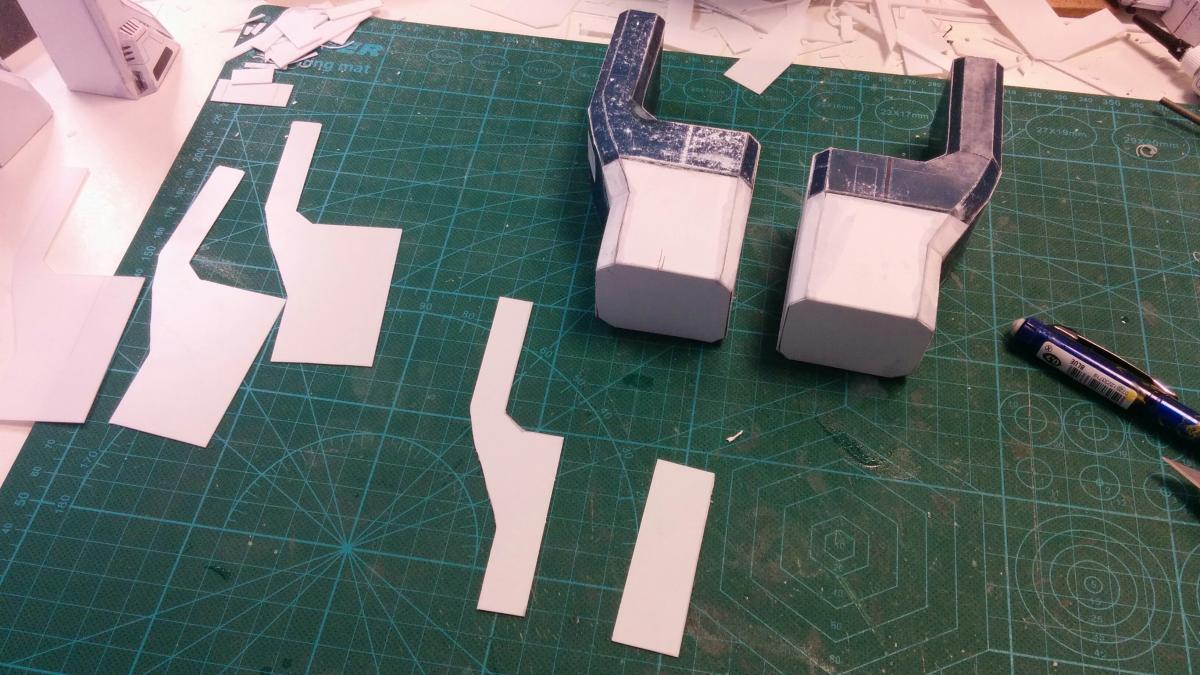
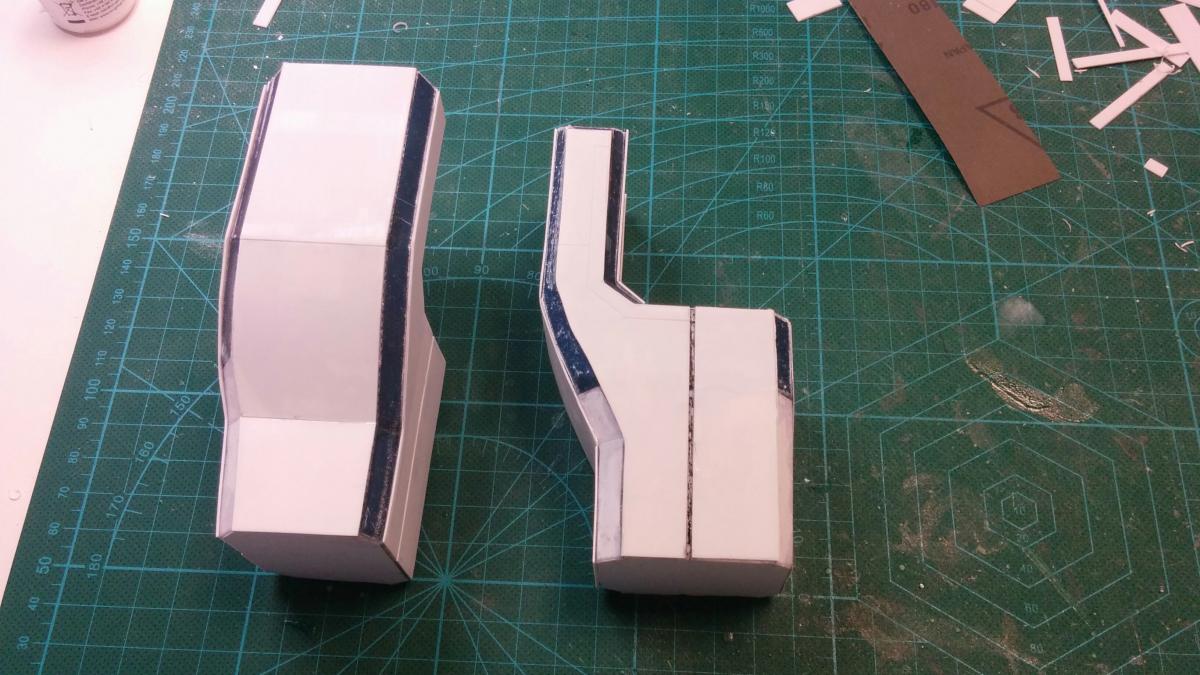
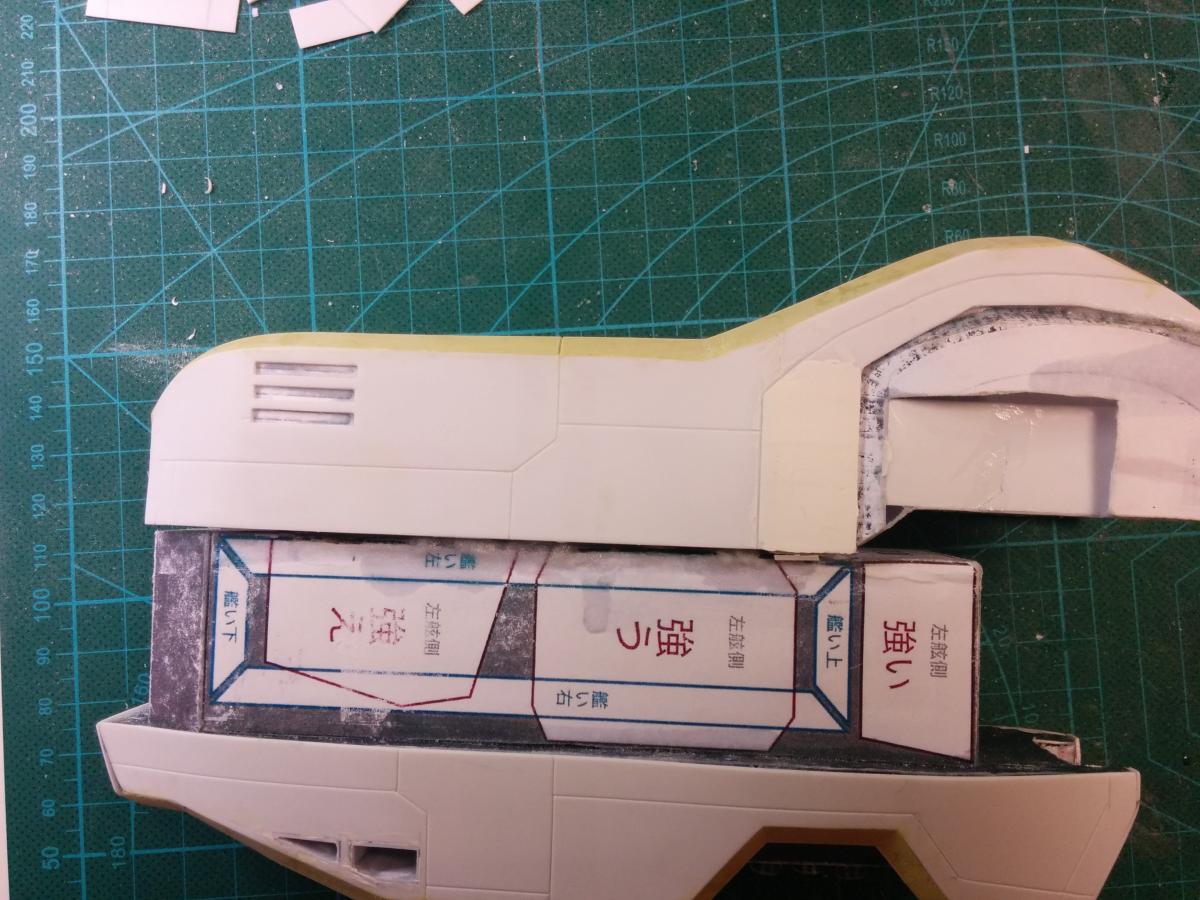
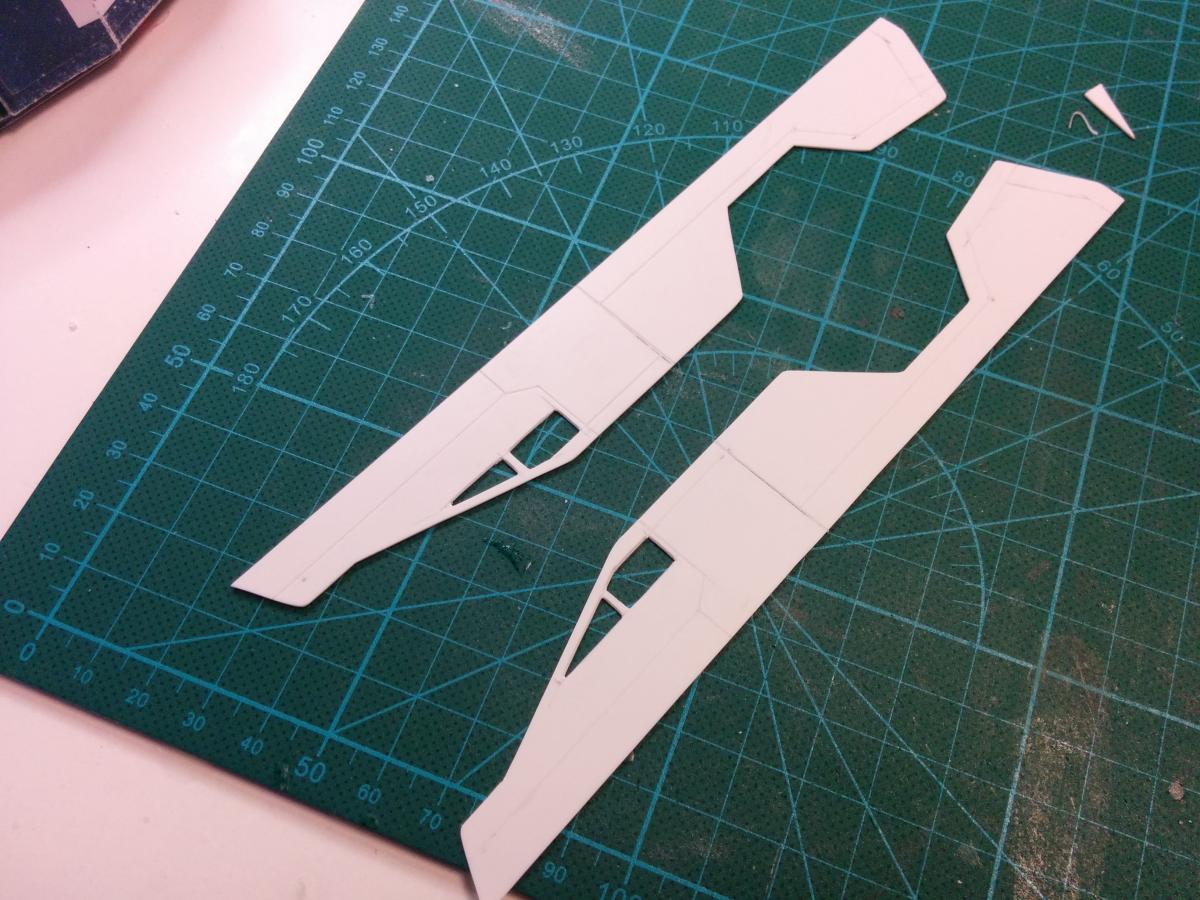
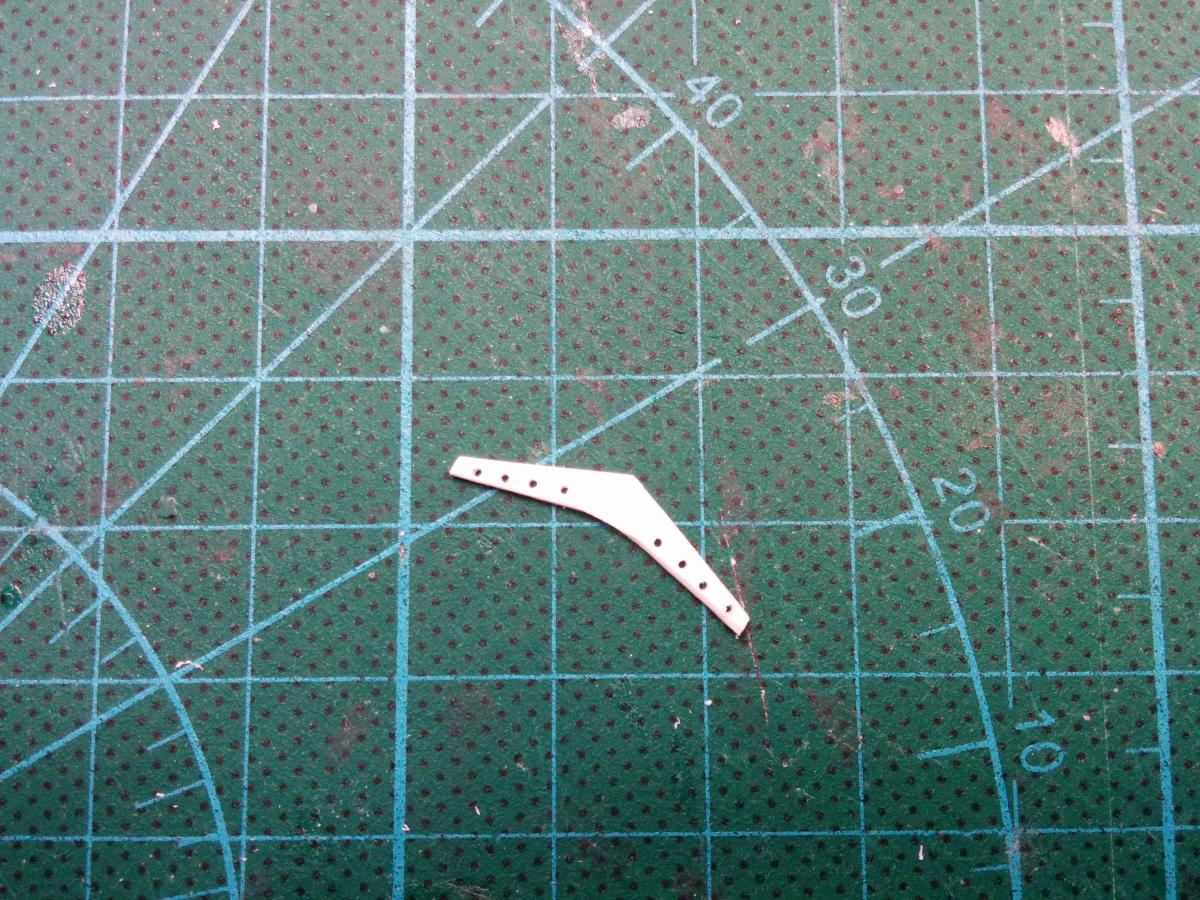
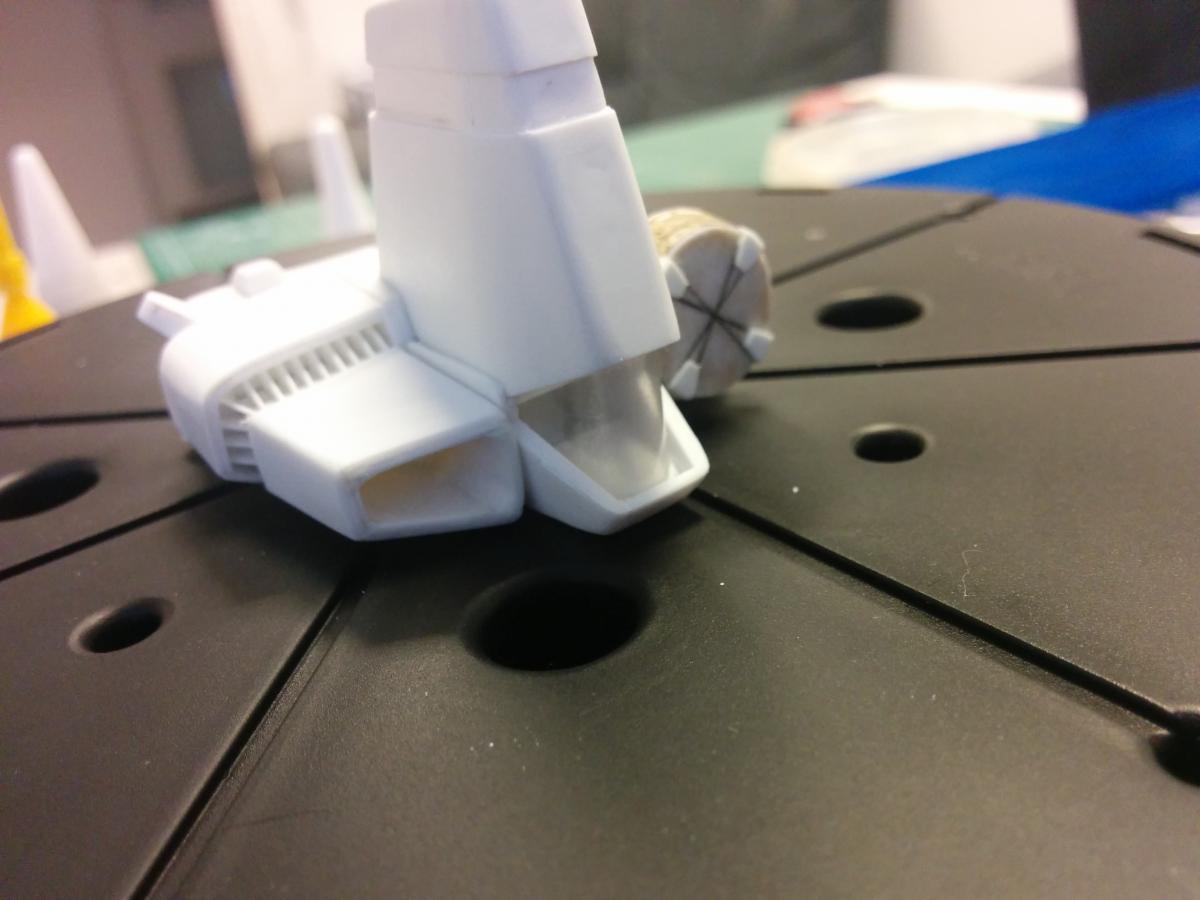
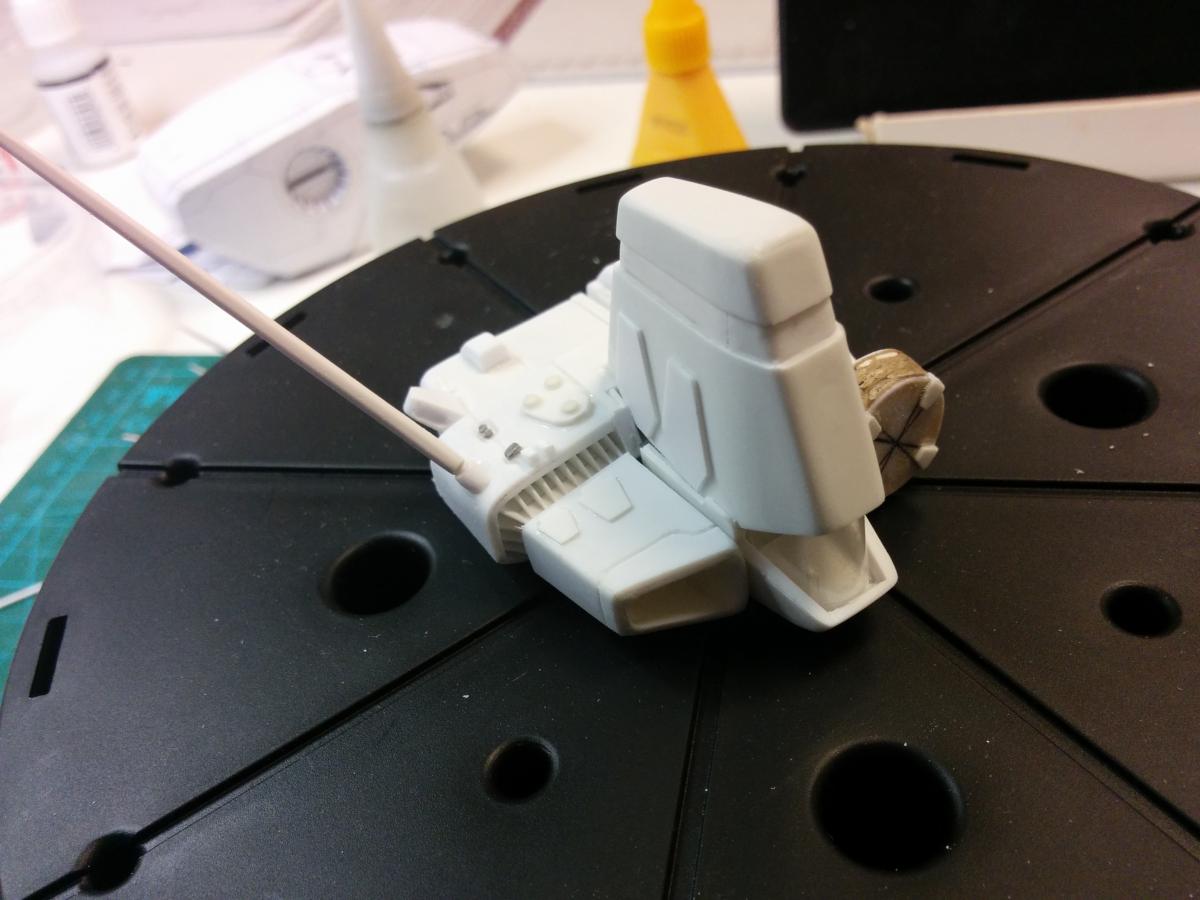
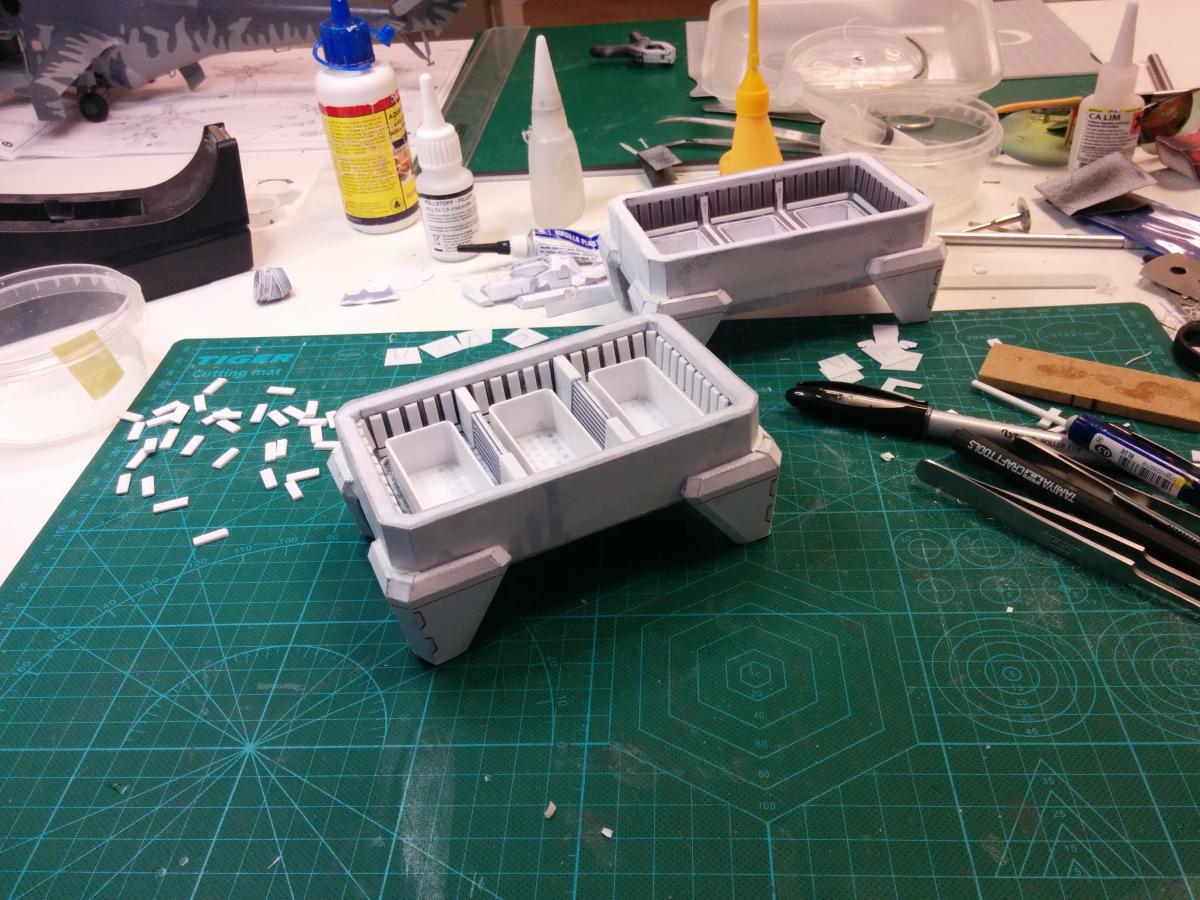
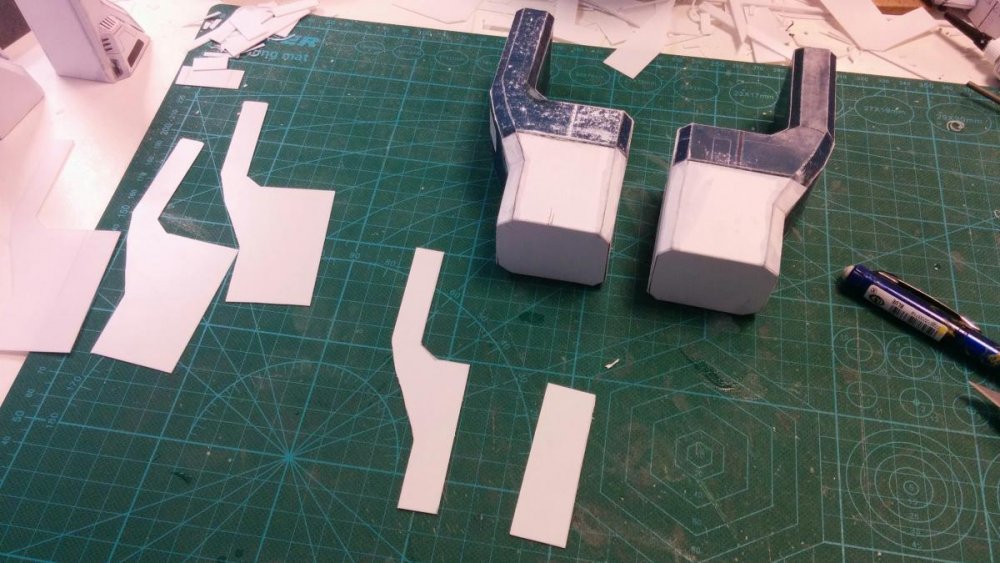
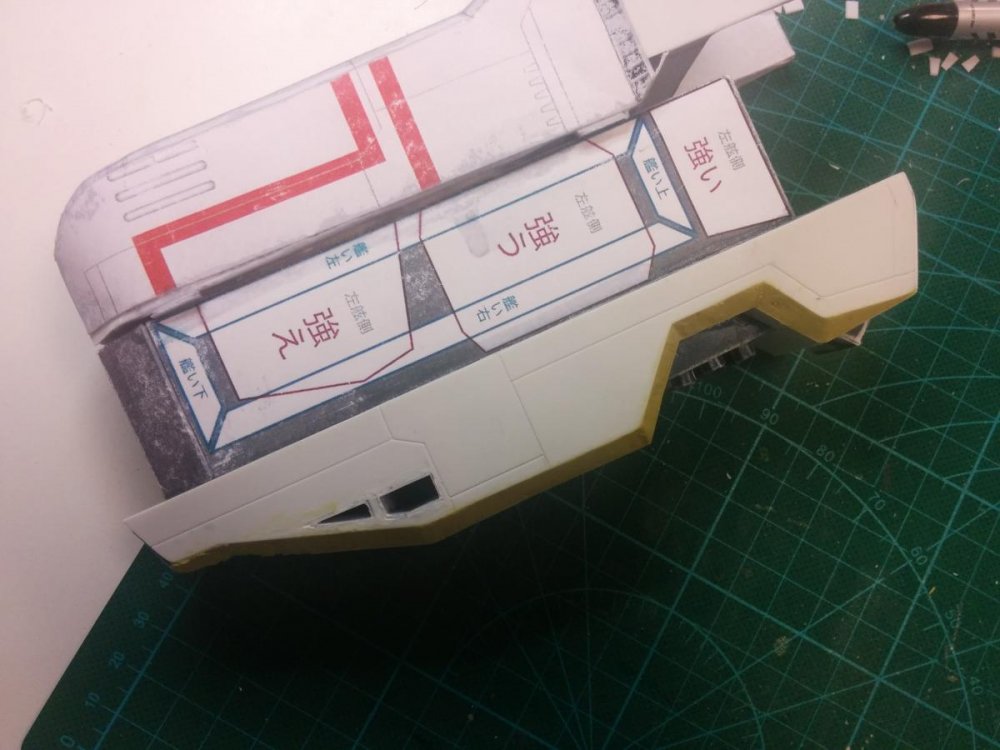
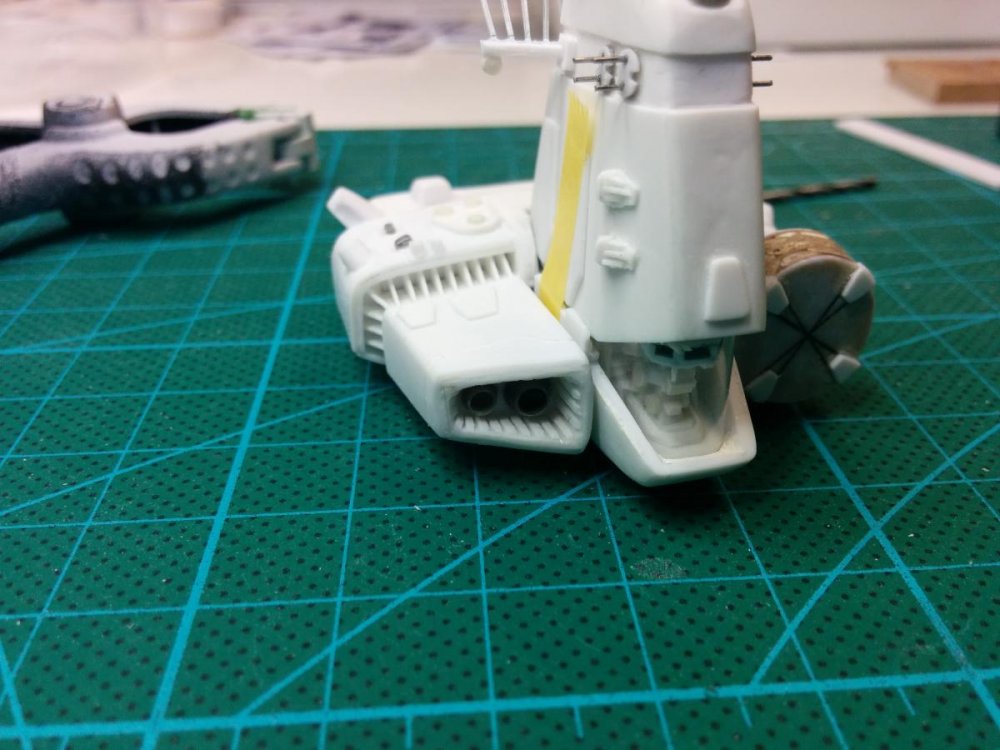
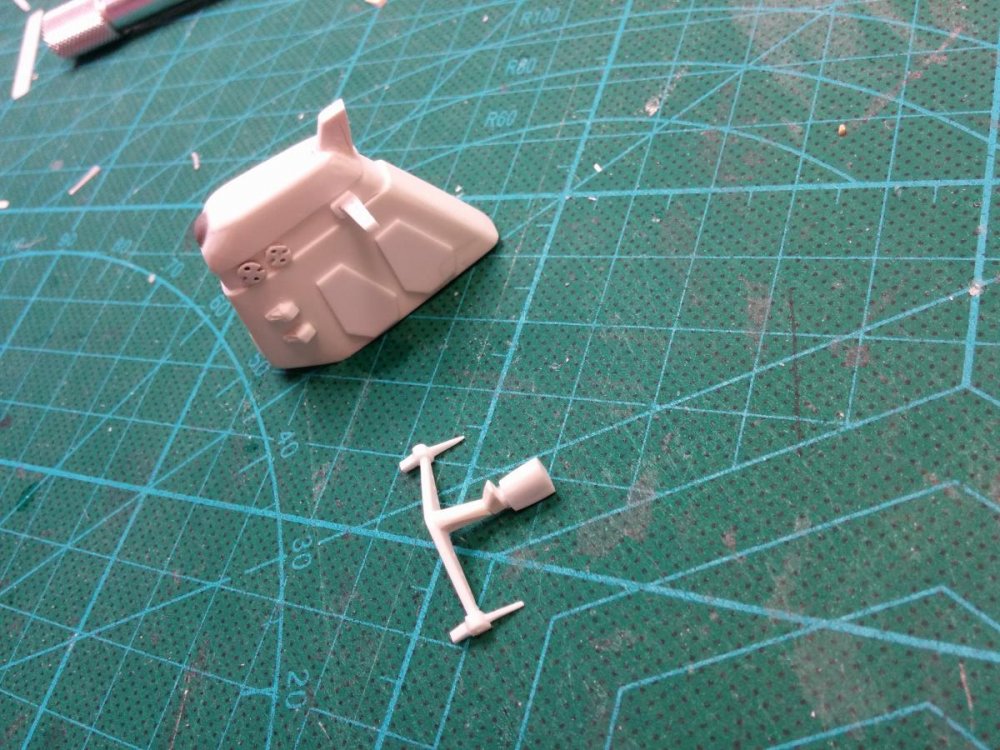
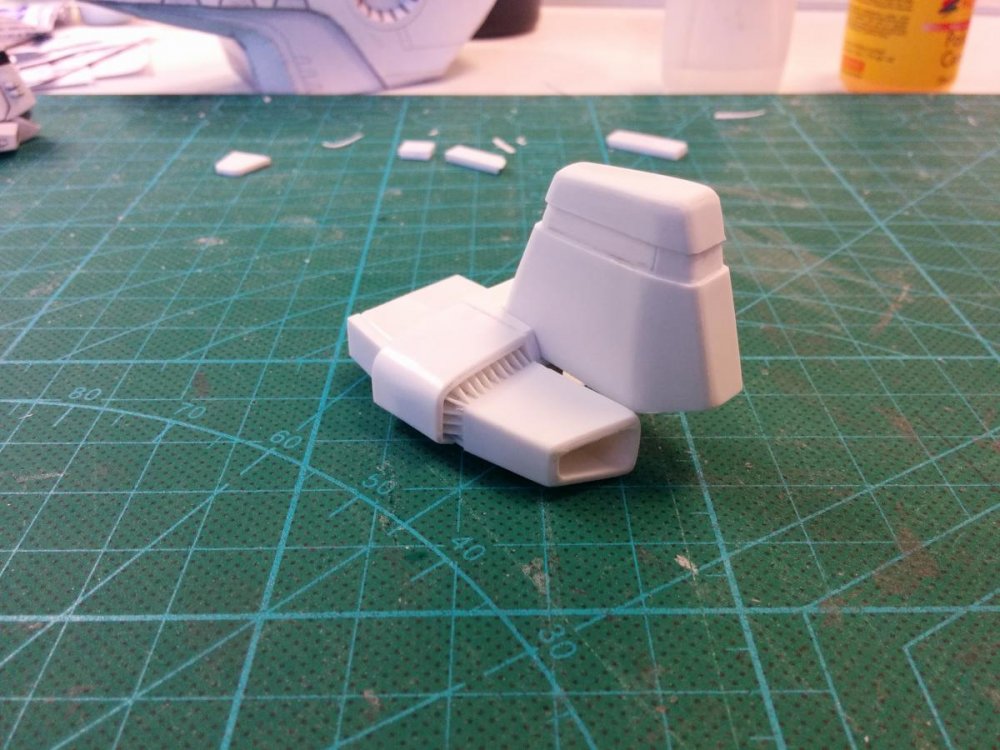
continuing with the reinforcement of this build.... cut out the side in 0,75mm styrene sheet and did the panel lining on them attached them to the bottom midship, also added detail to the thruster, and made the edges out of milliput.


-
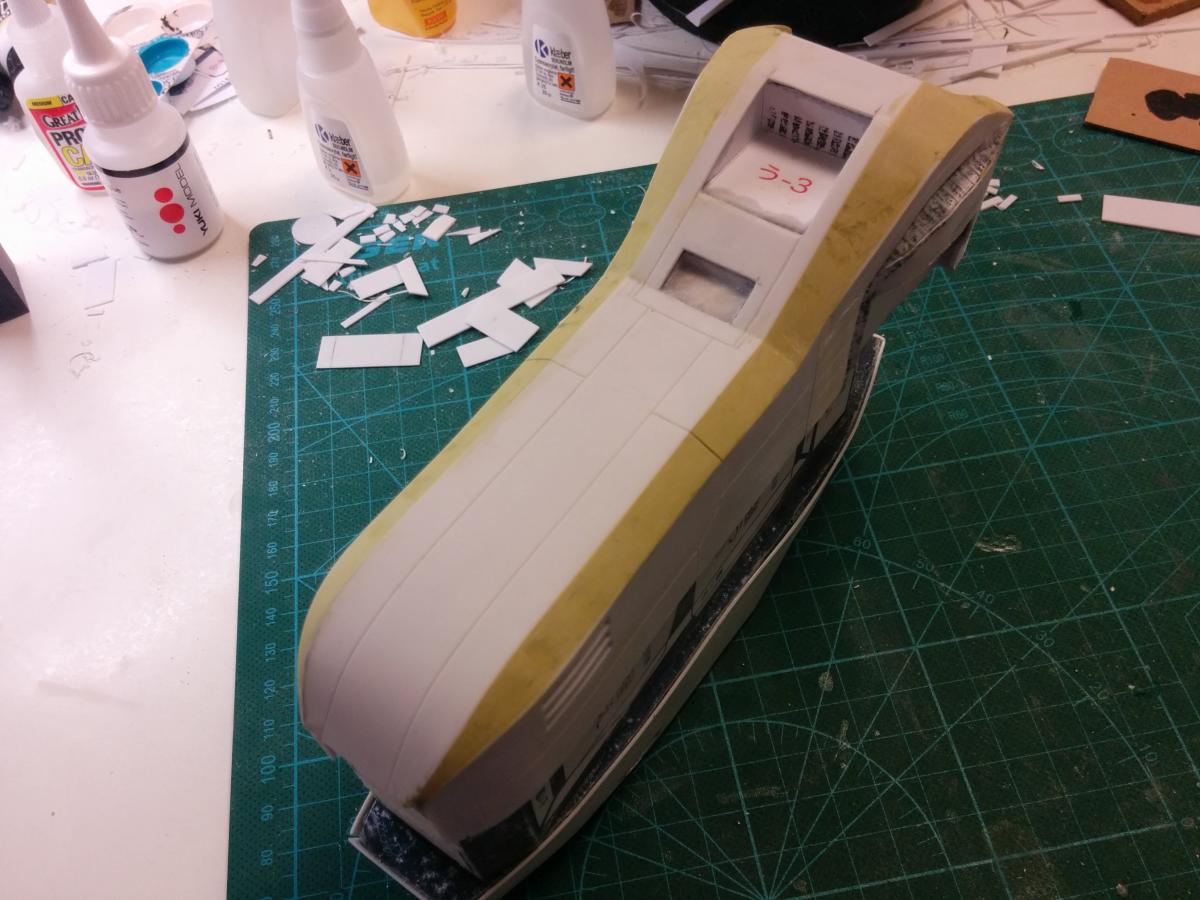
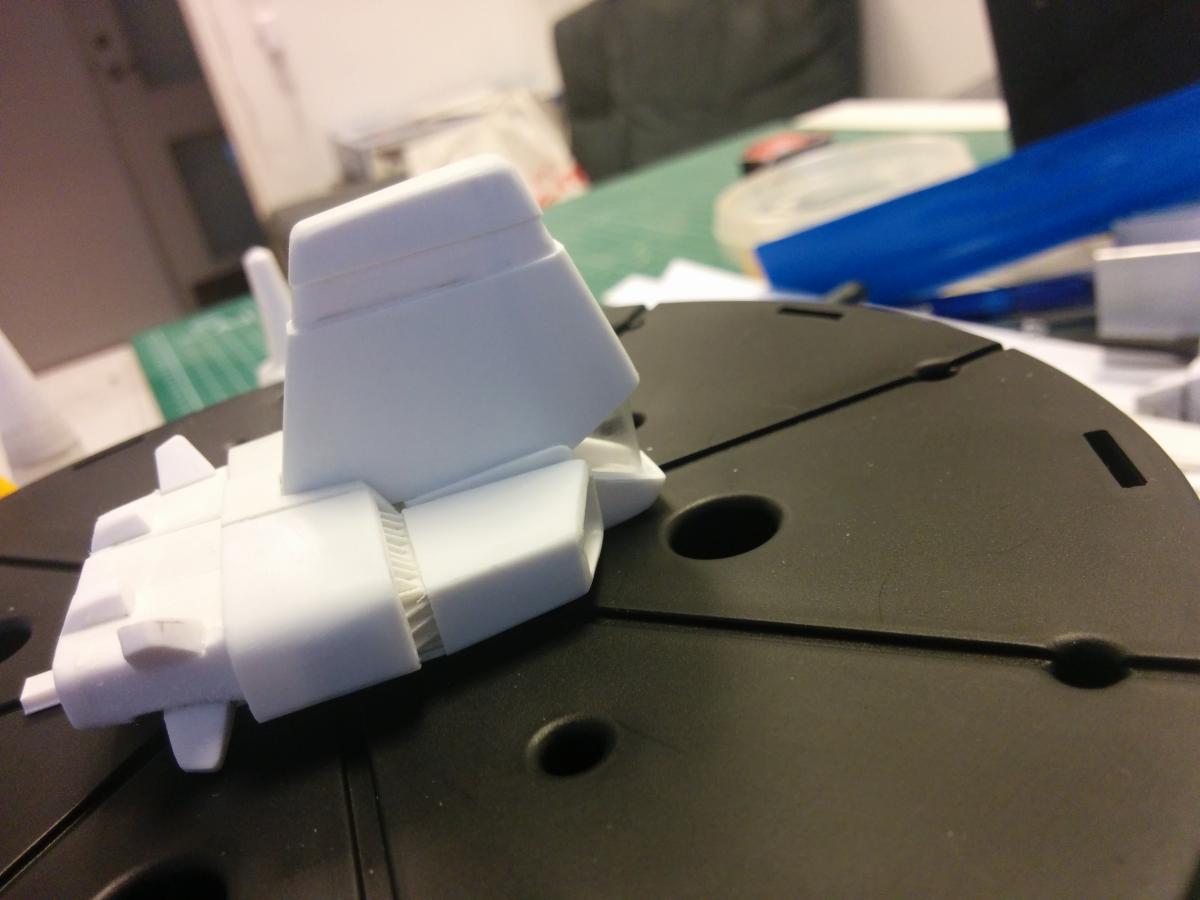
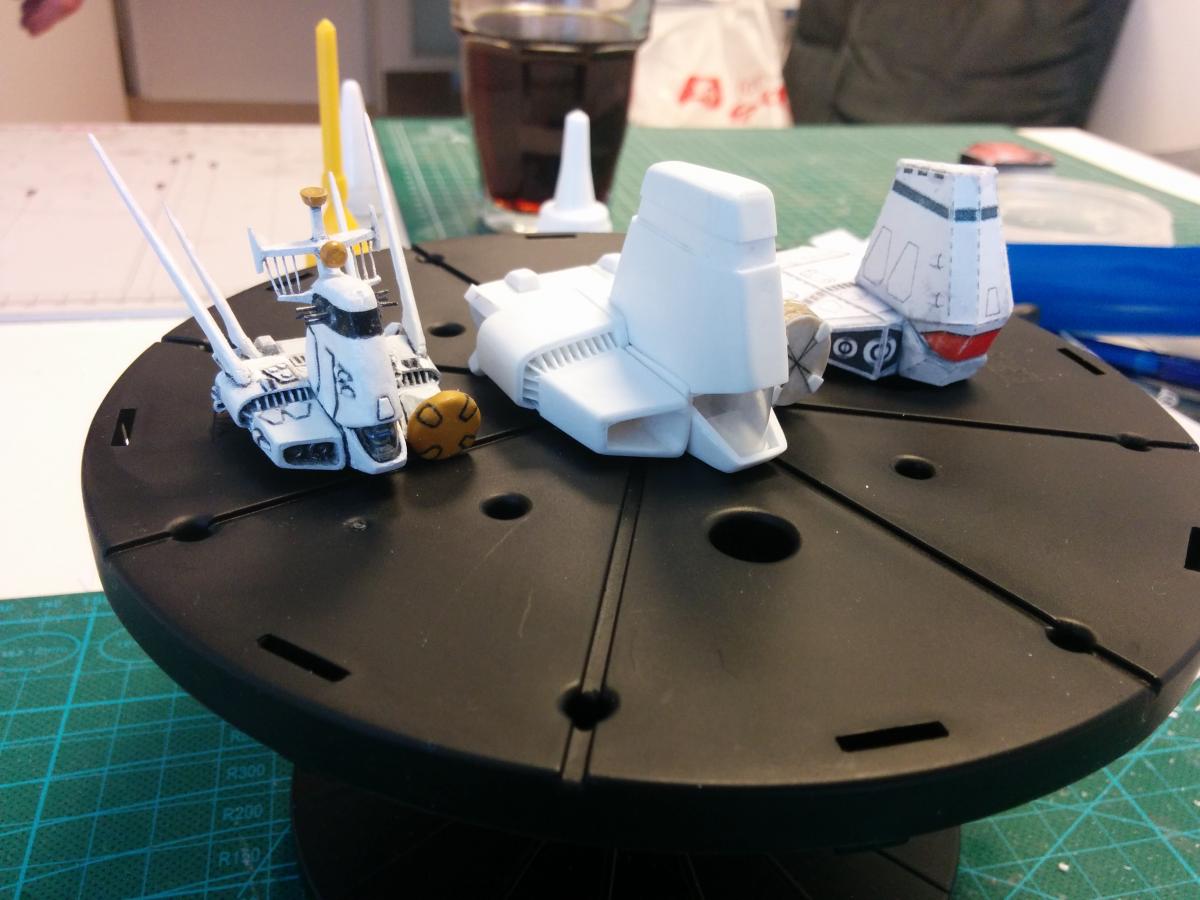
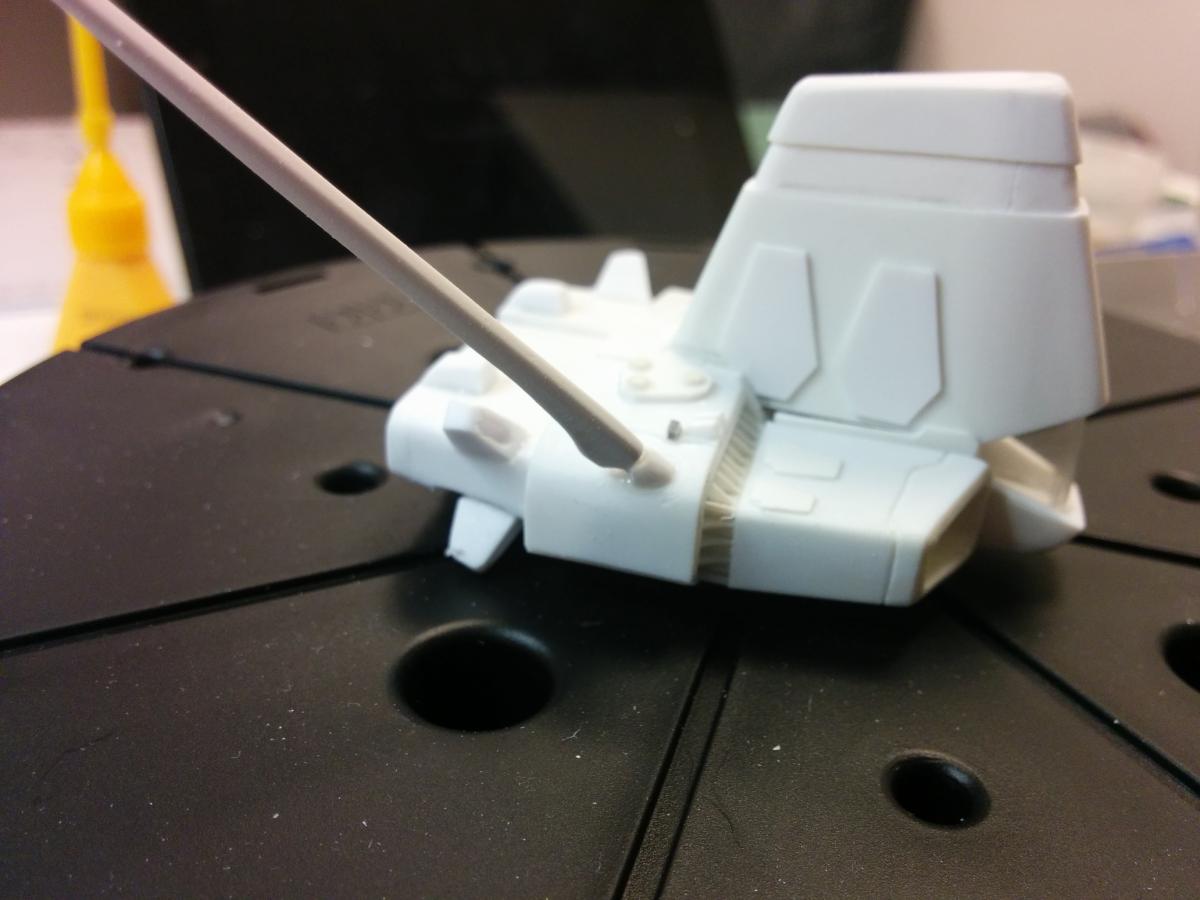
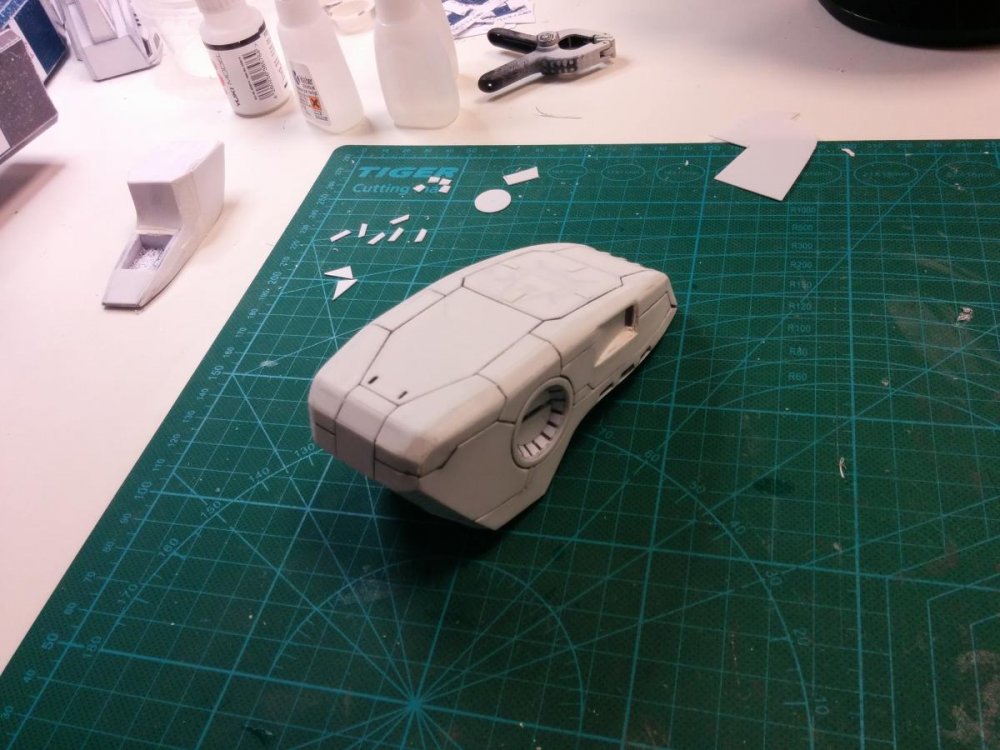
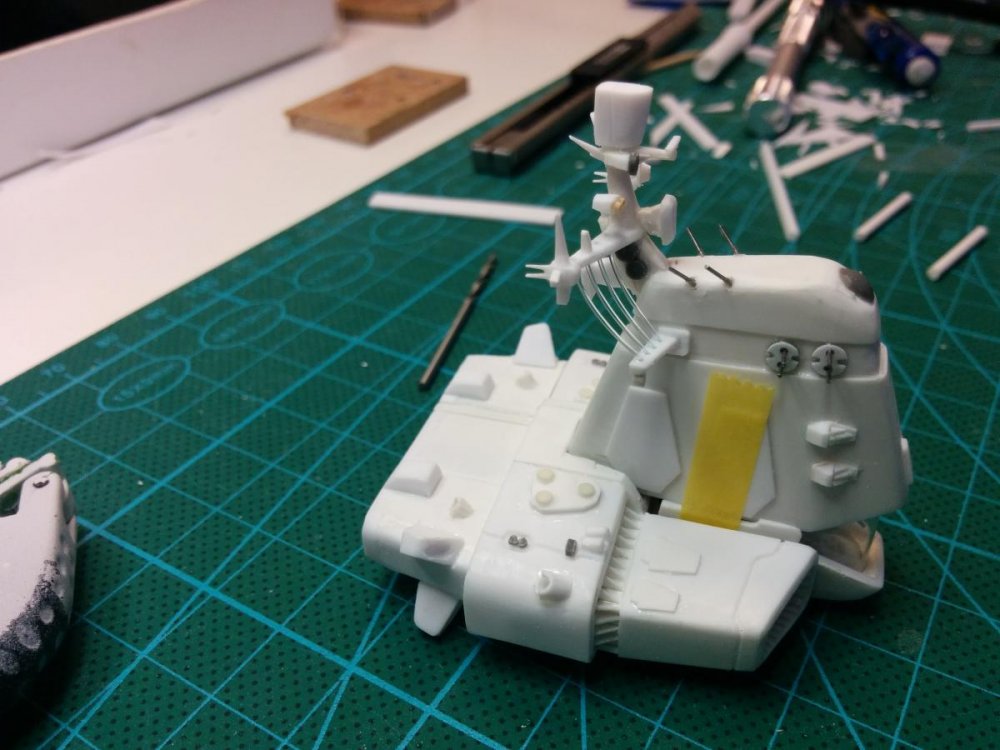
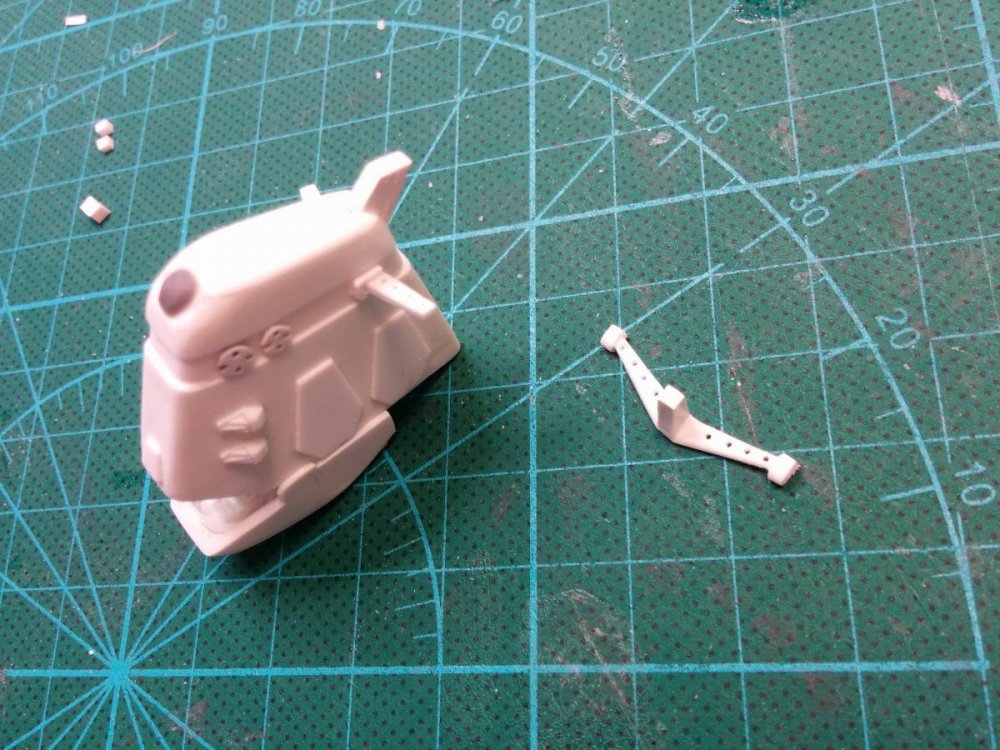
life has been interfering the last couple of weeks, but finally i got something done... i have added section plates on this piece... not quite done with this yet, but its getting there...

-
that is actually something i have thought about my self.... maybe i should add that on my to do list
-
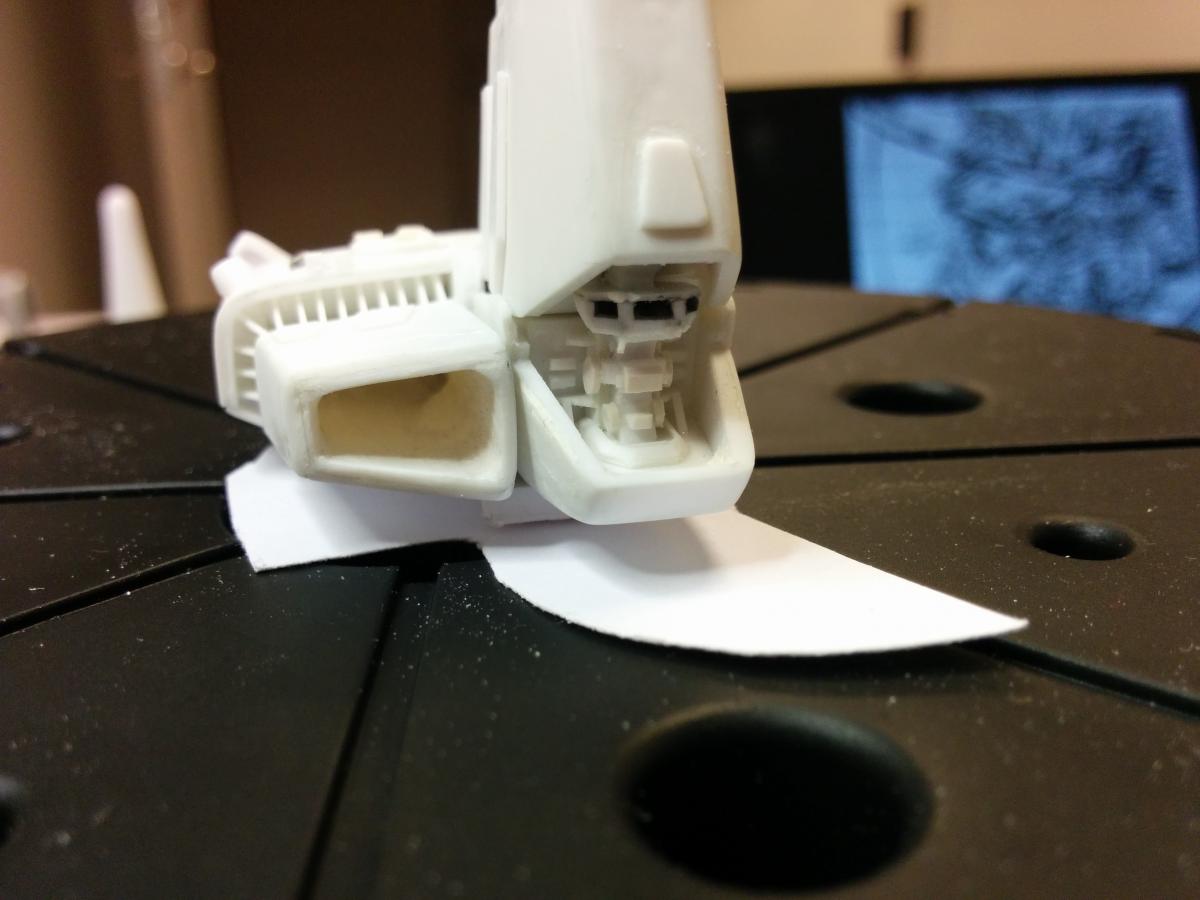
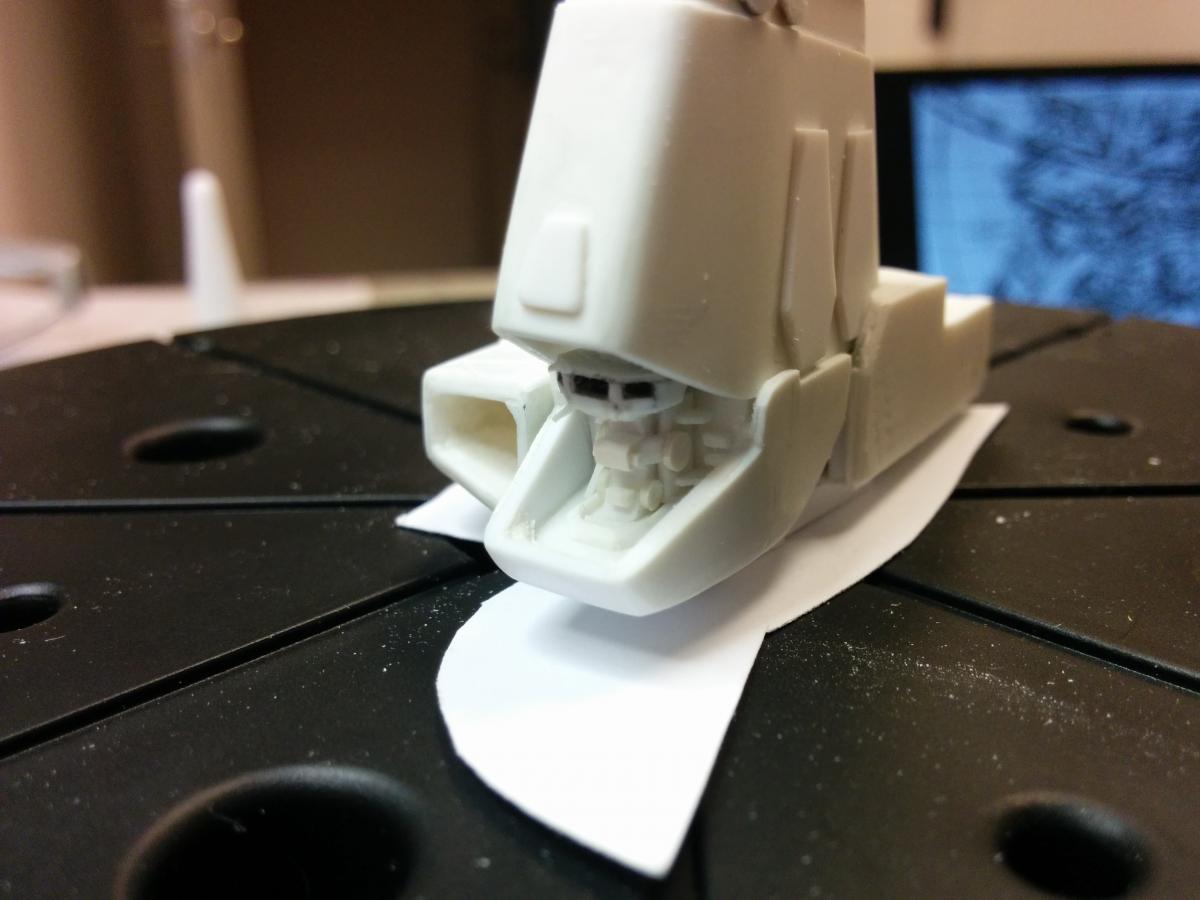
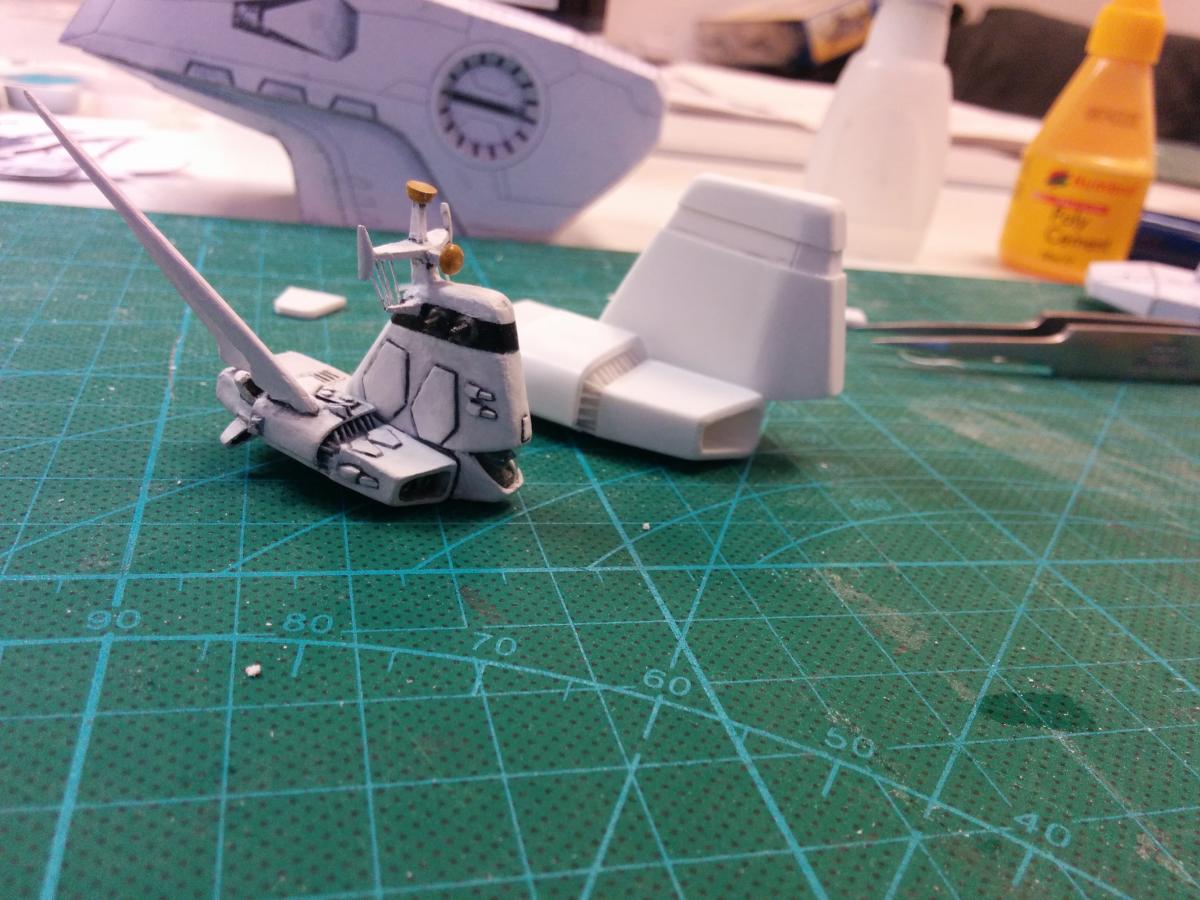
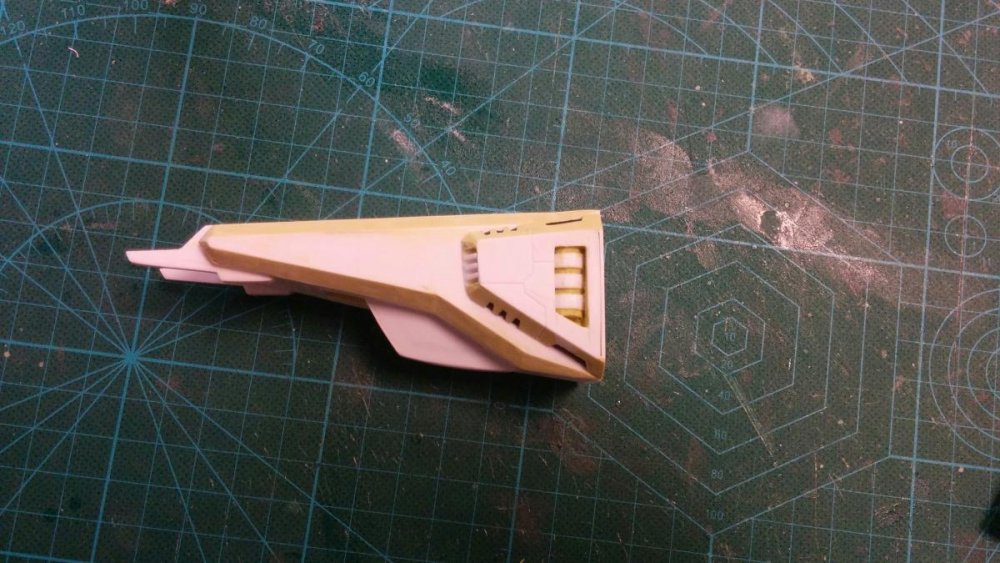
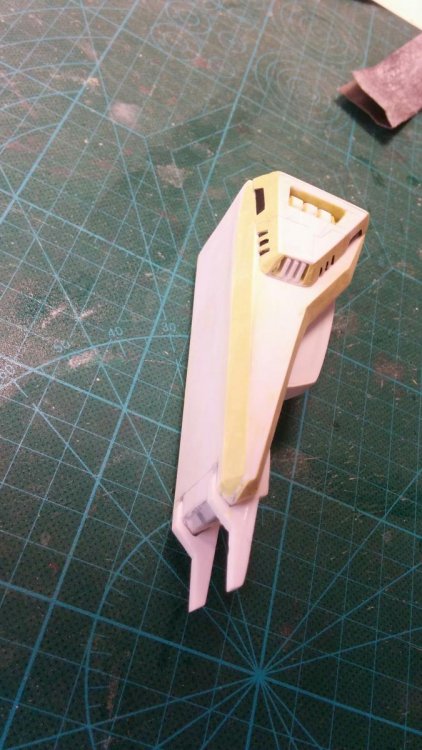
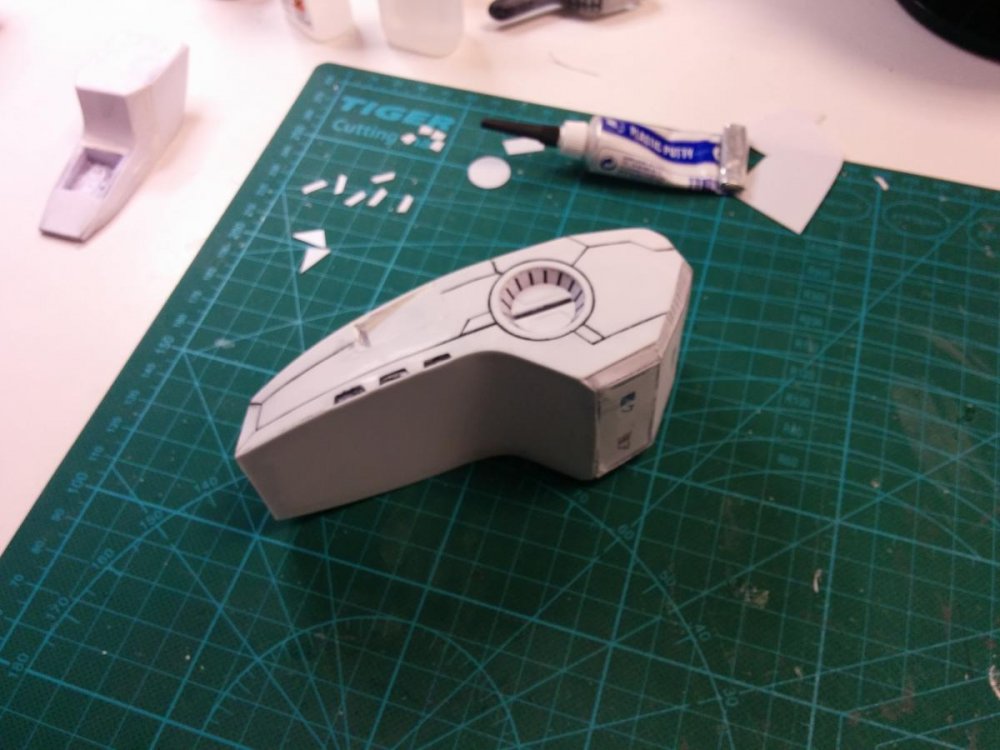
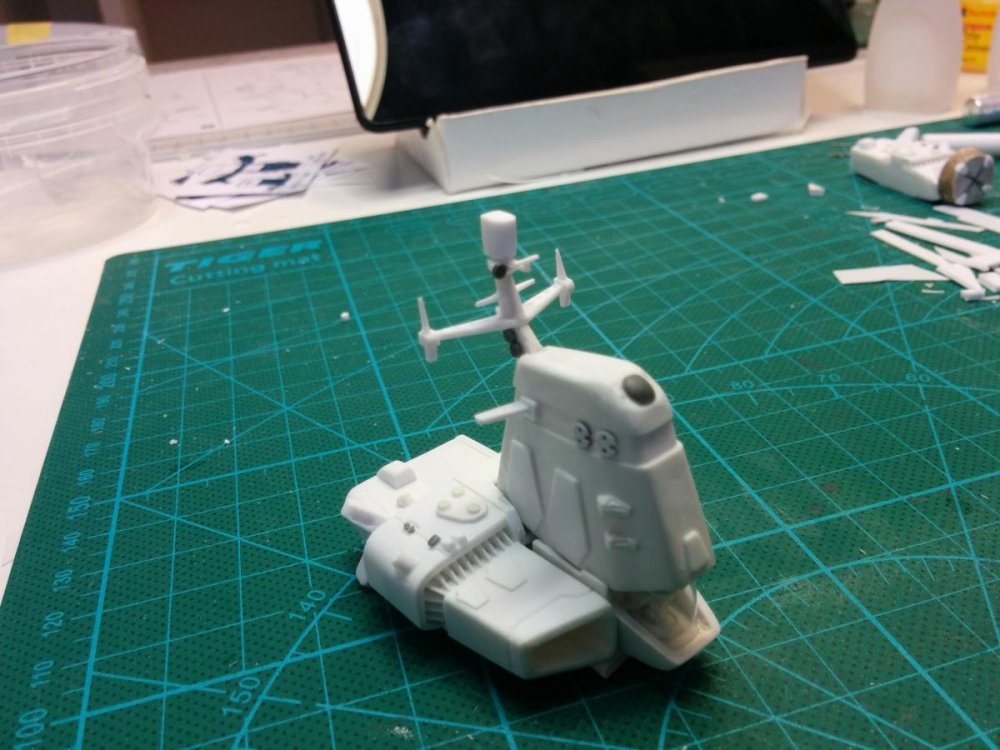
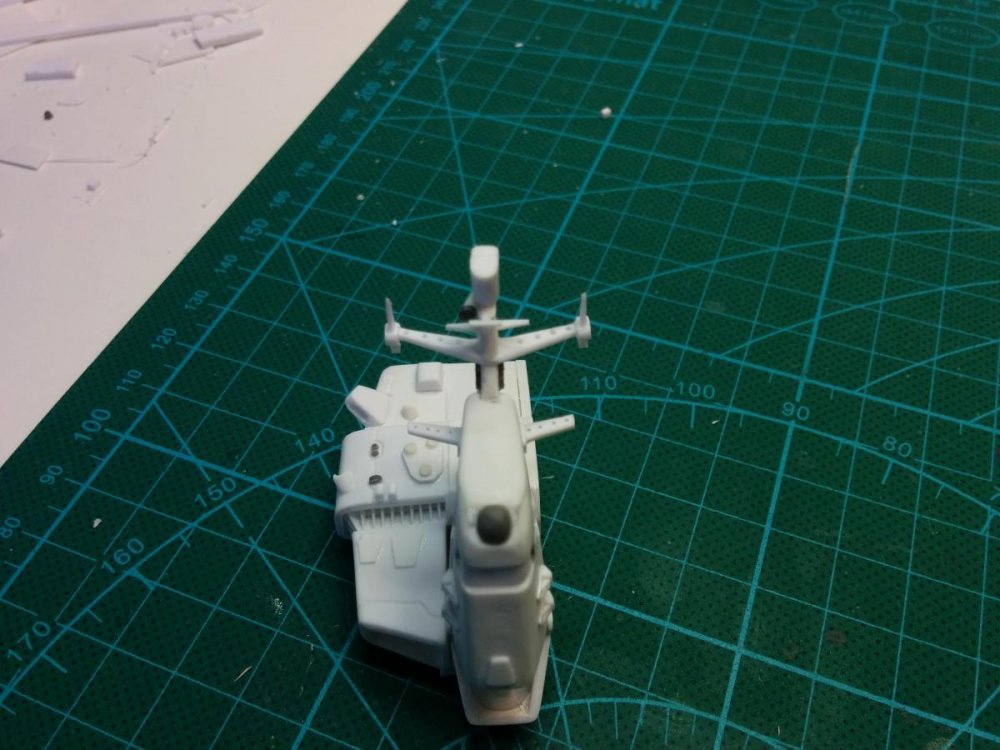
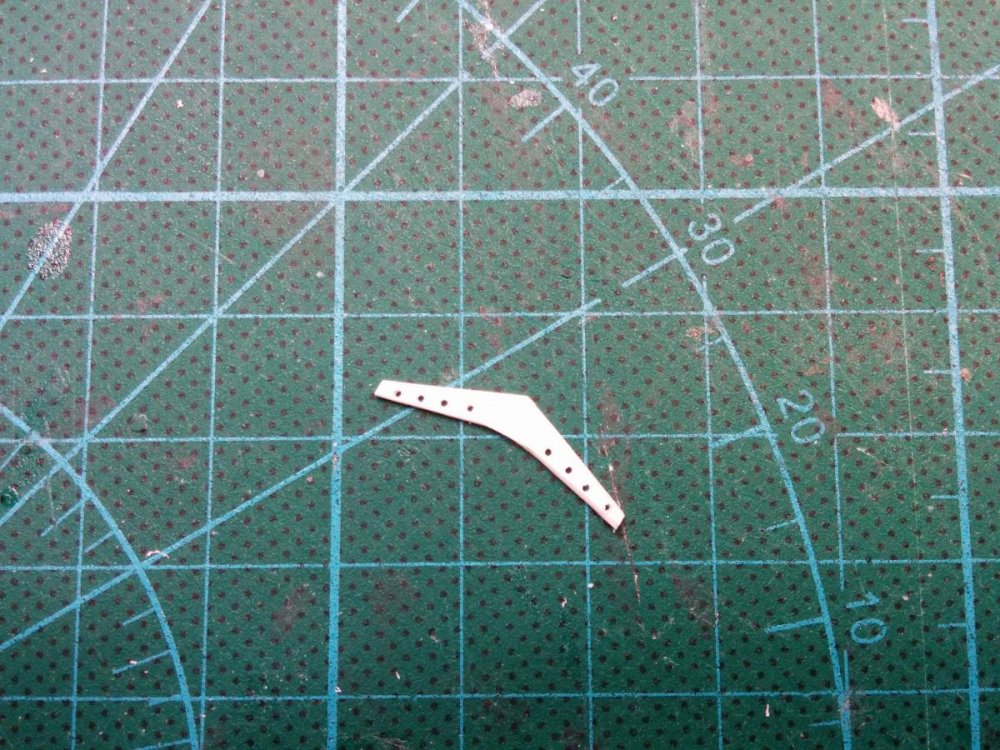
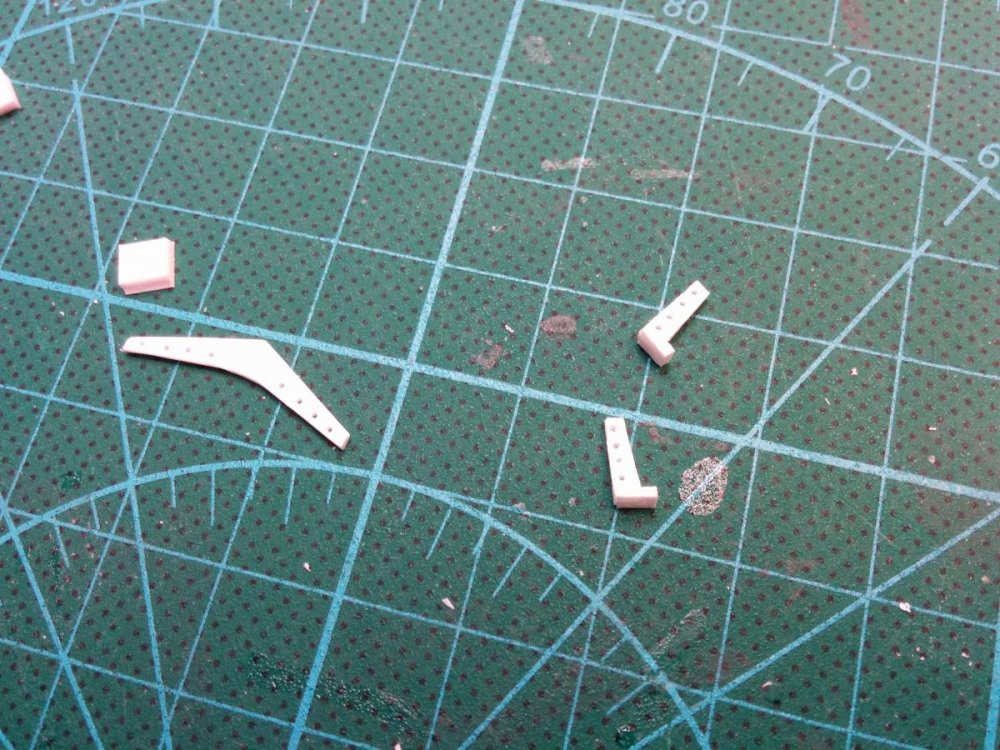
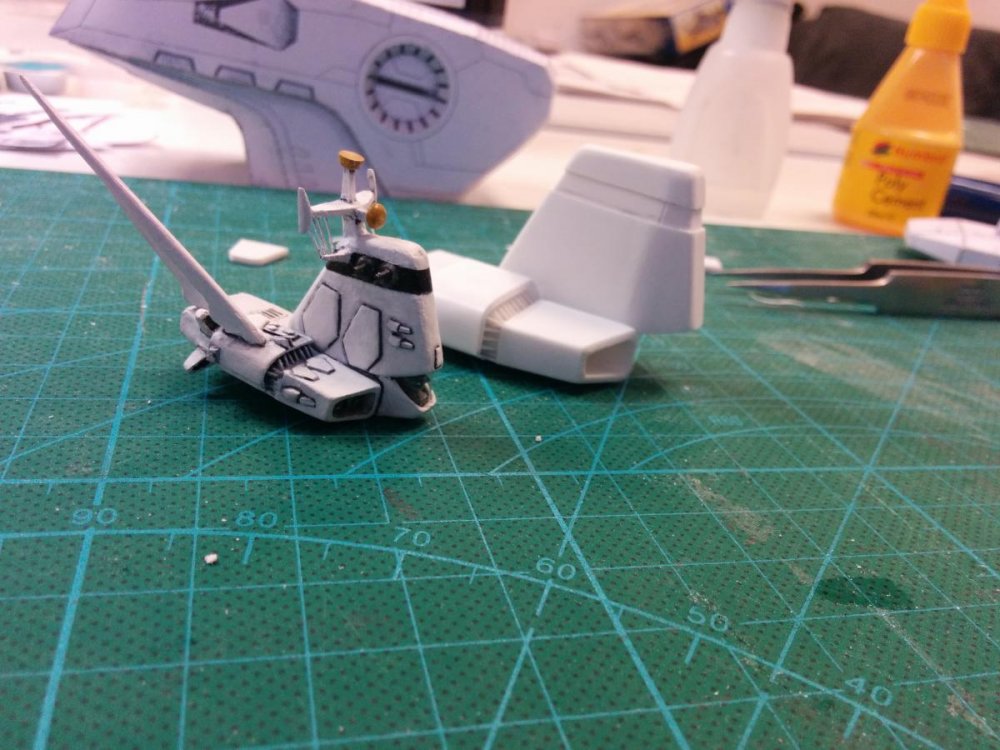
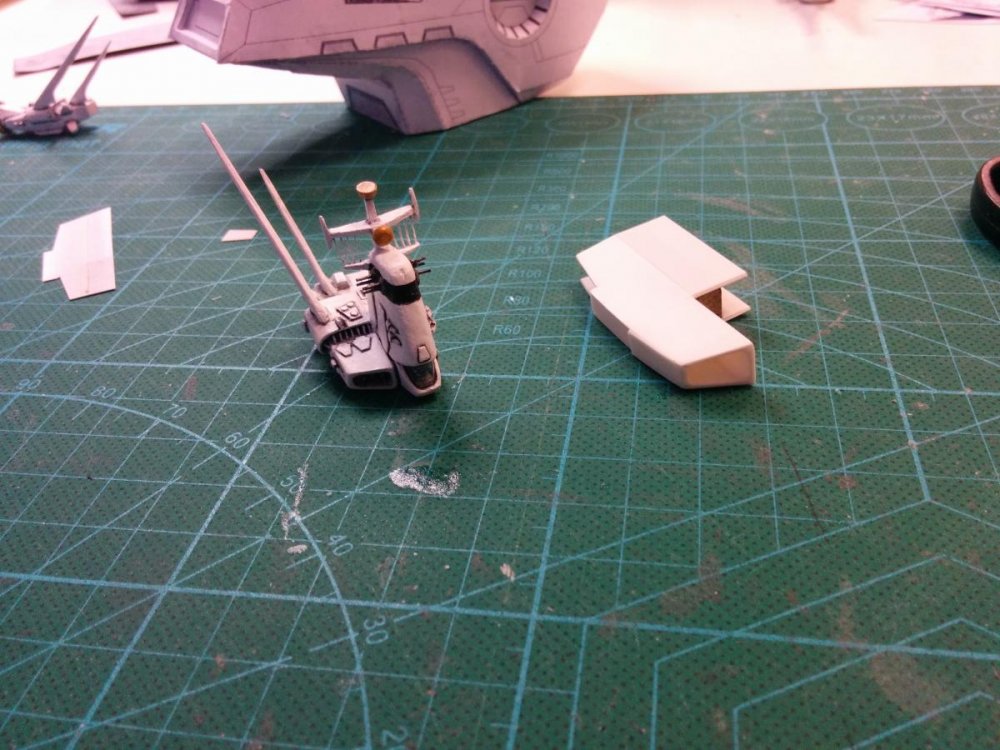
pretty much done with the radar array, and the side "intake"

-
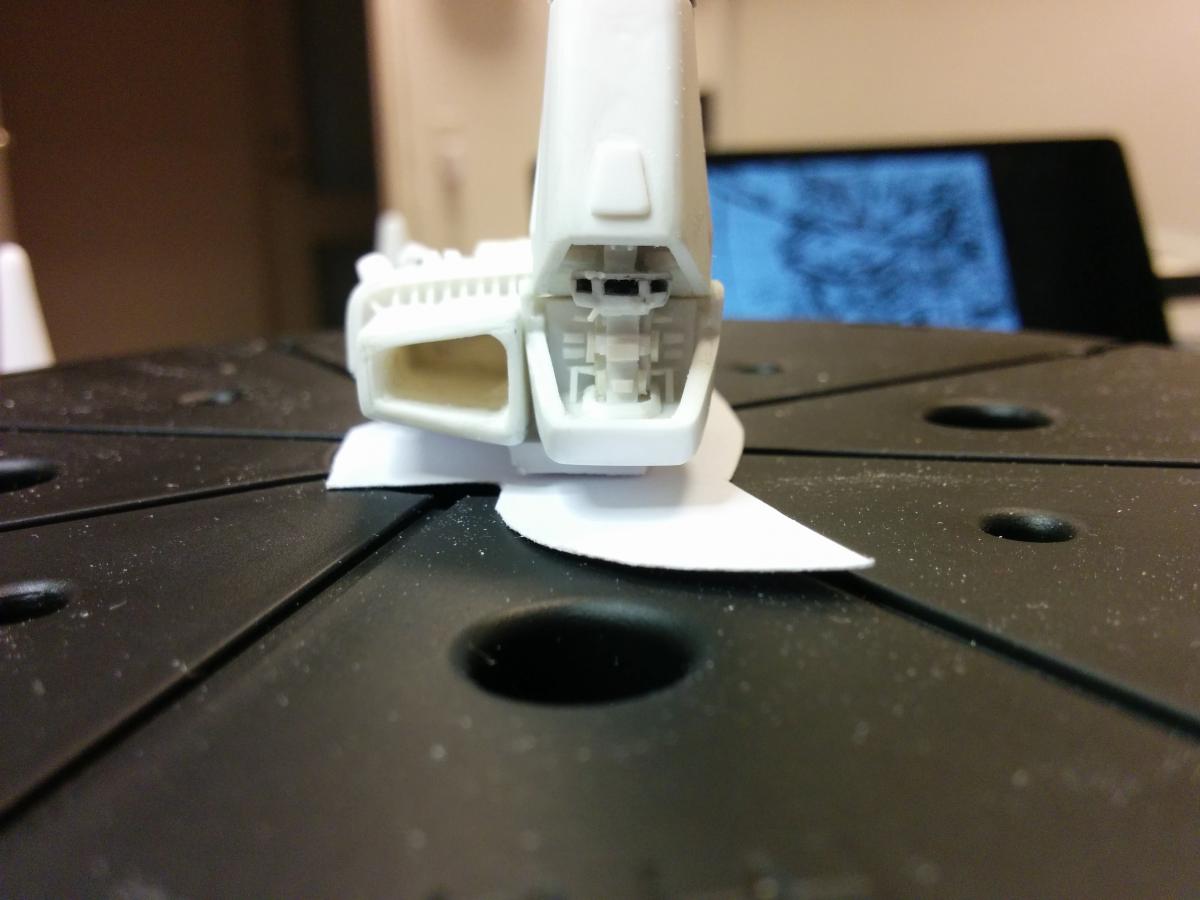
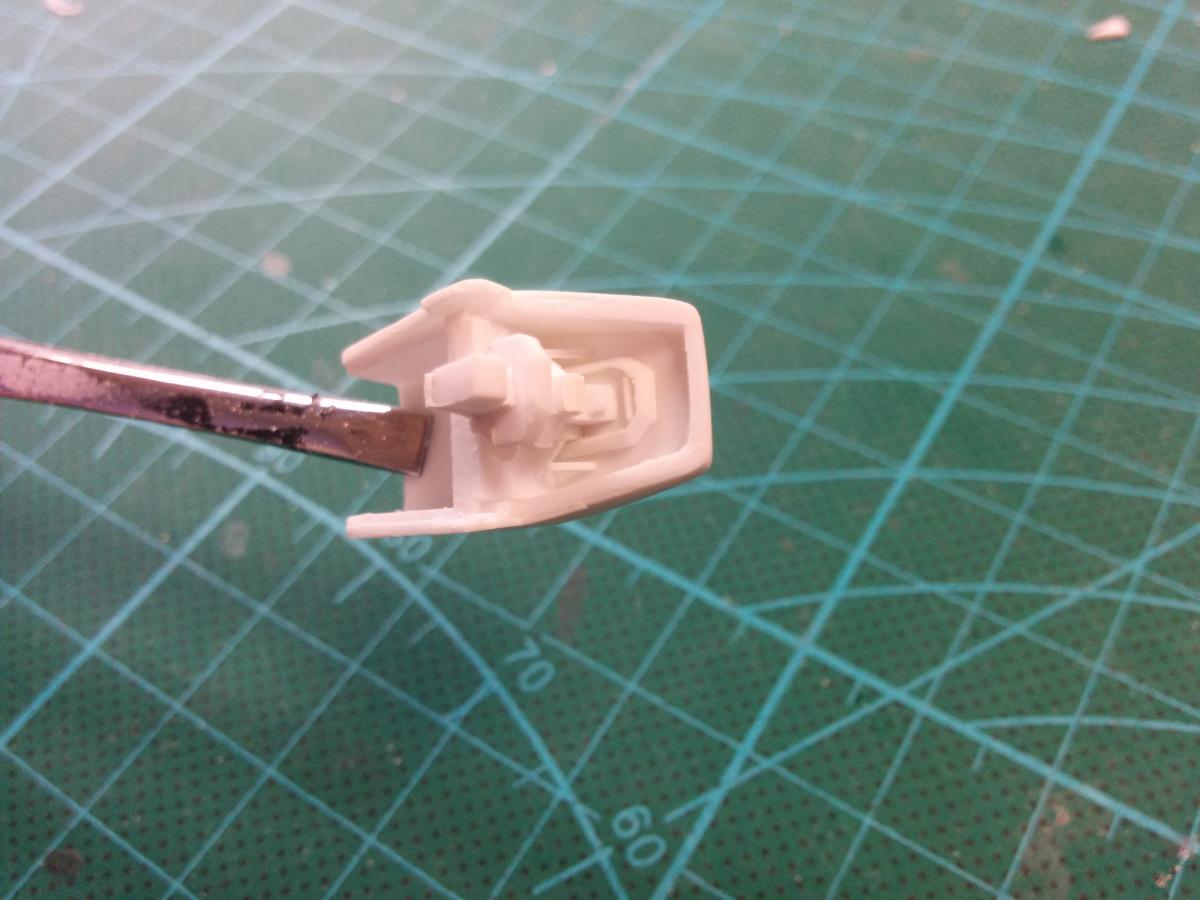
got some work done on the radar array...

-
thx patience yea, but more so, stubborn! thx, ill keep conjuring up more details
-
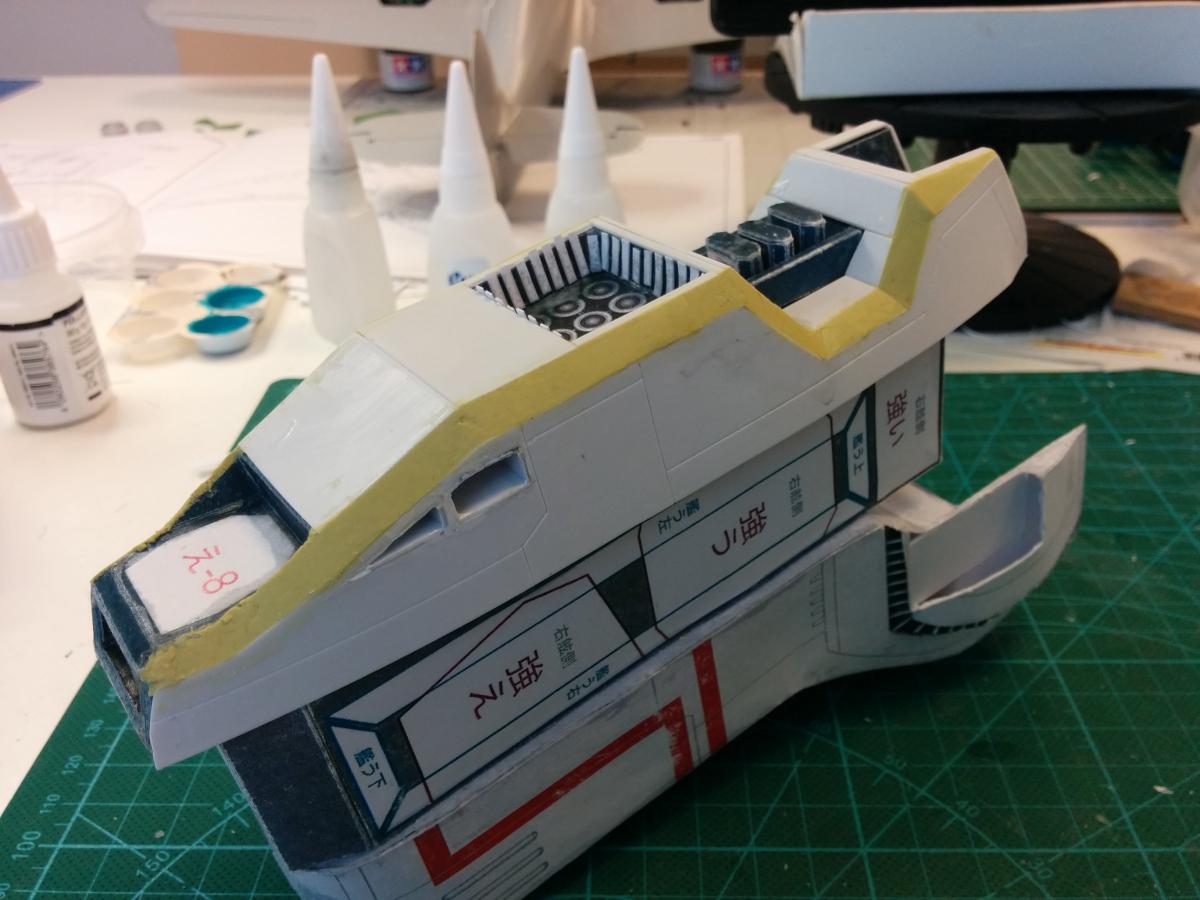
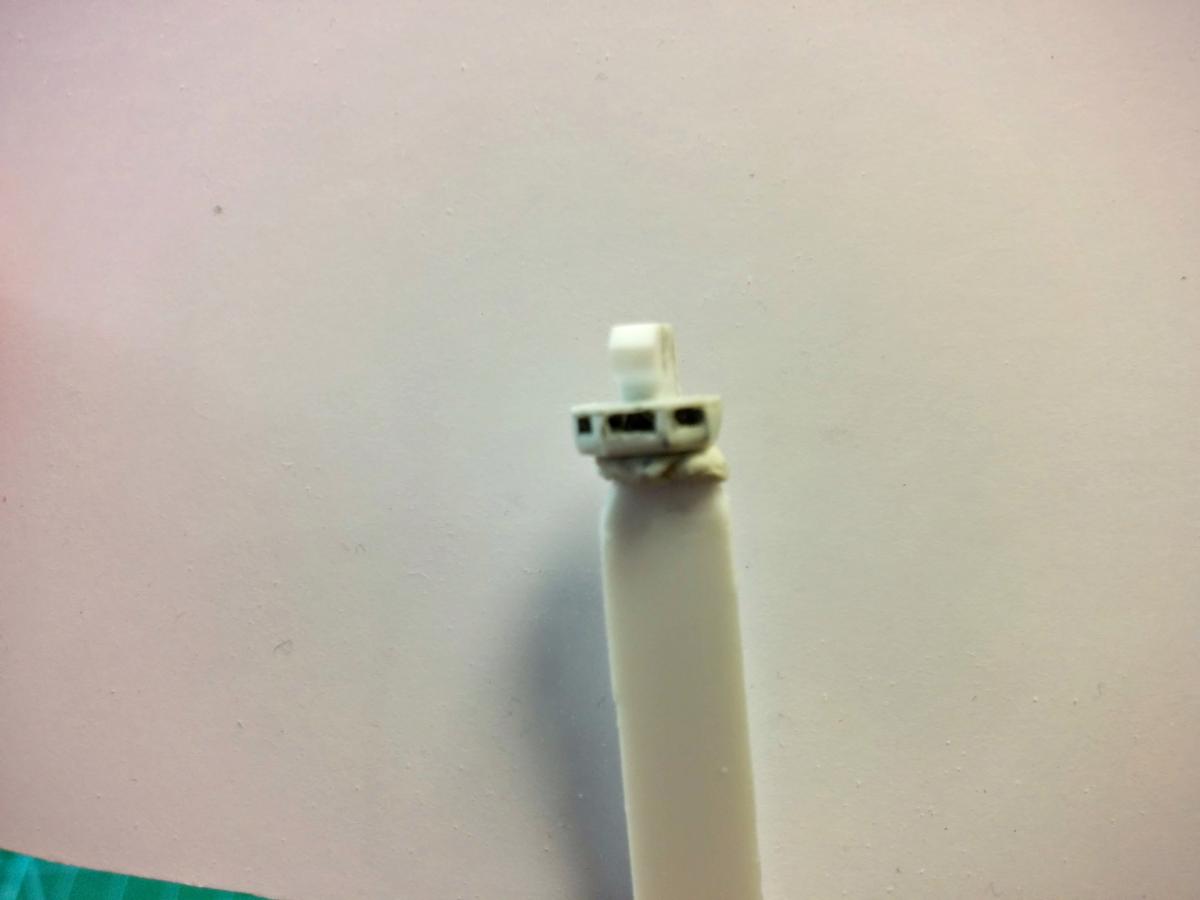
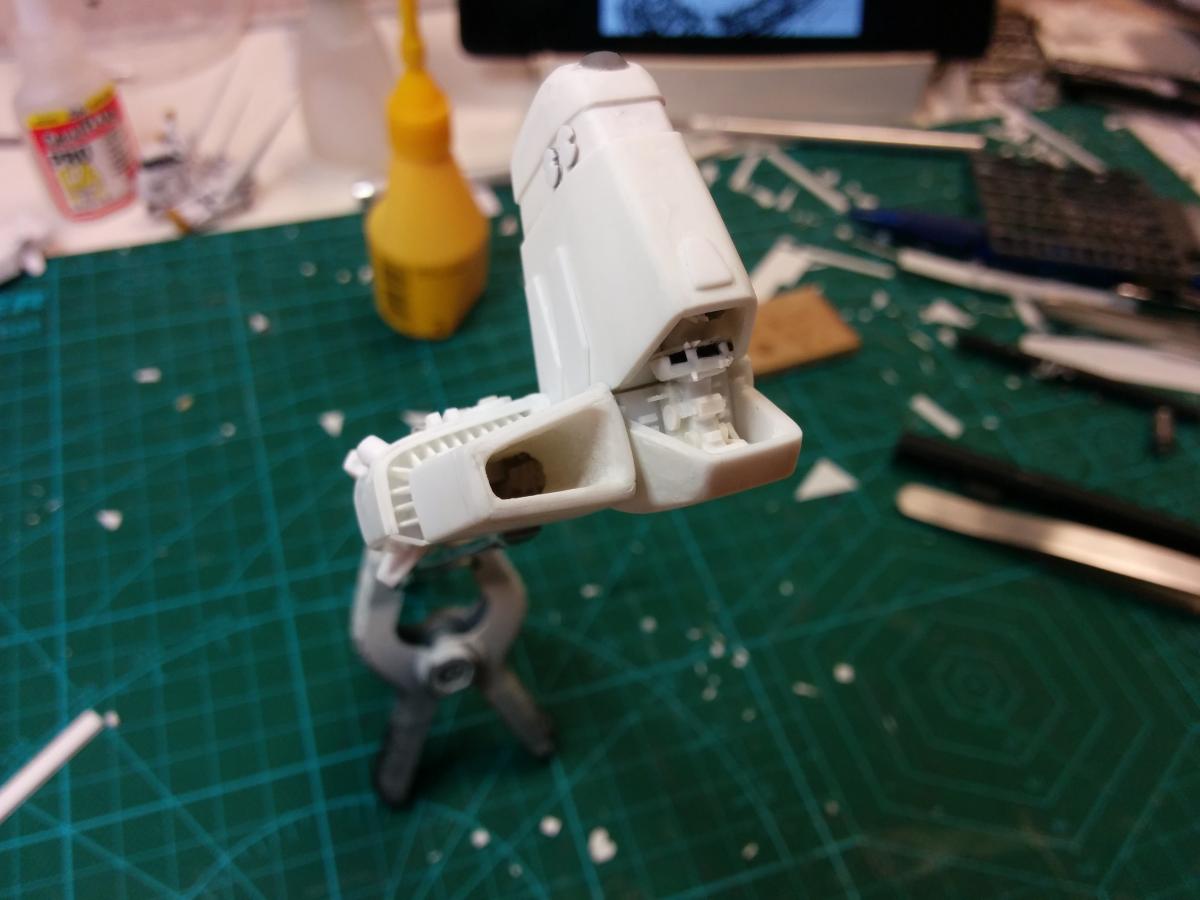
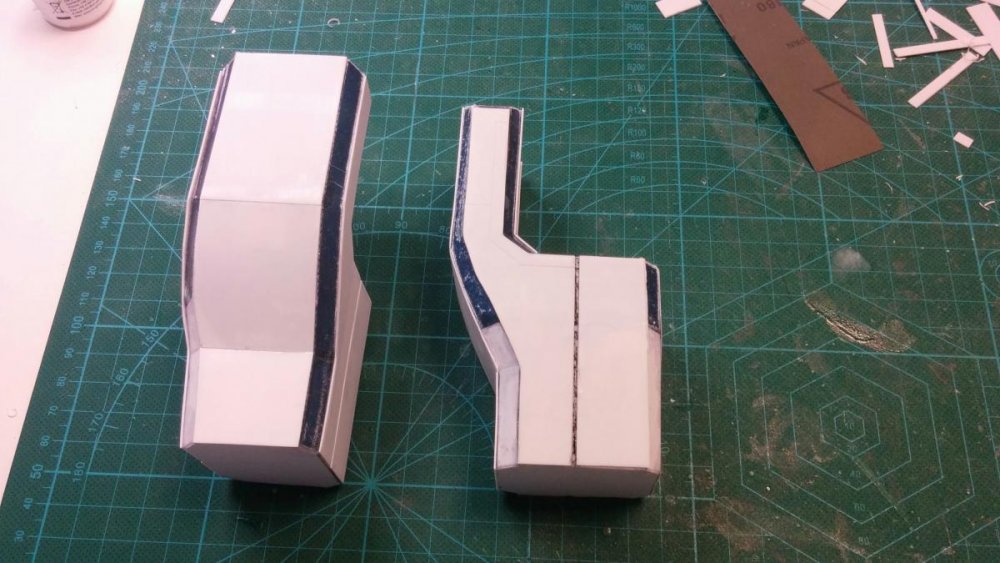
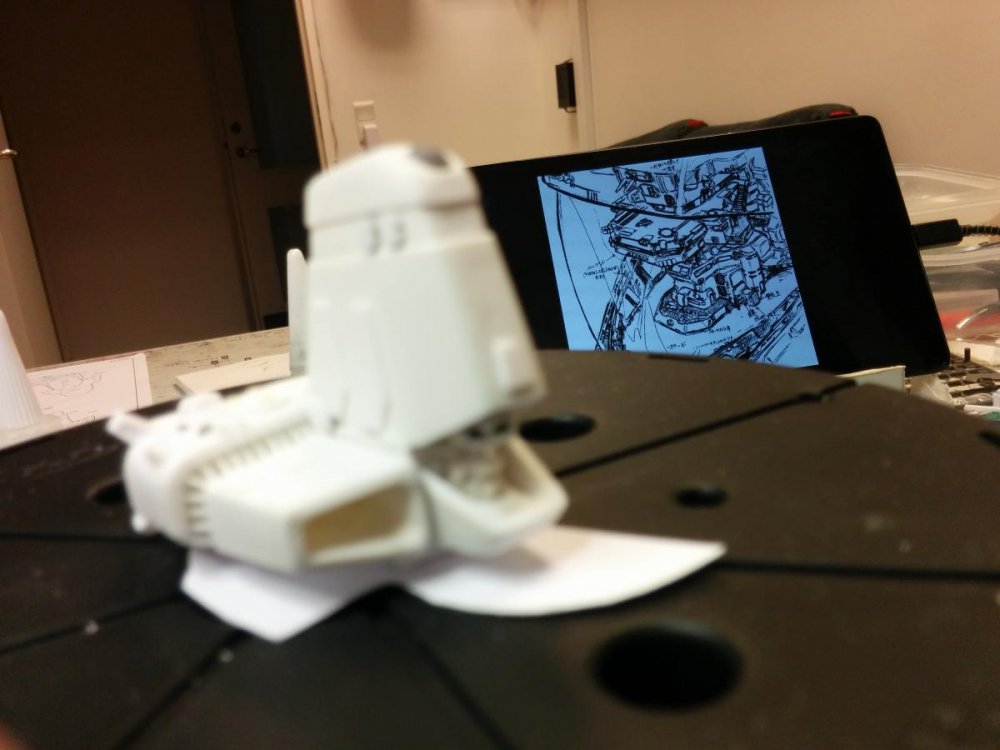
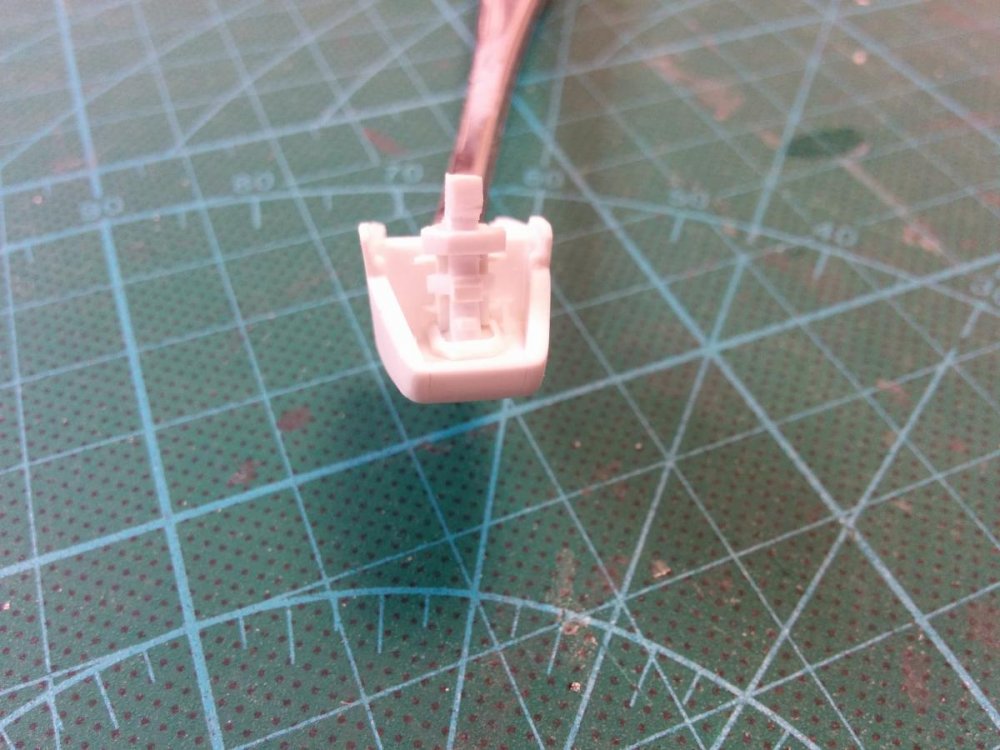
ok i made a change to the bridge, i weren't to fond of how it looked. so i cut it away and made a new one... its hollow so the i can add lighting later on..


-
well i decided early on that i wouldn't limit my self to paper.... paper is great for alot, so is styrene... so whichever works best for any given task, i use!
-
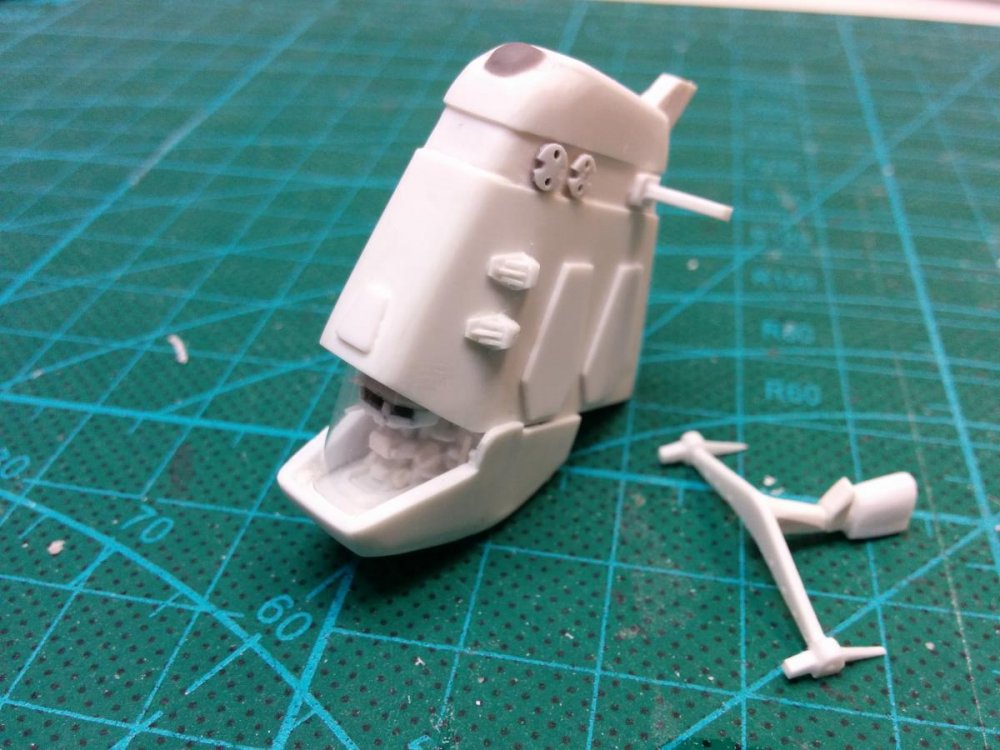
have begun work on the bridge itself not finished though, still need the even smaller details

-
built more details on the bridge...


-
some more work done on the bridge...


-
begun work on the bridge... wanna get it as close to my other SDF-1 bridge...
-
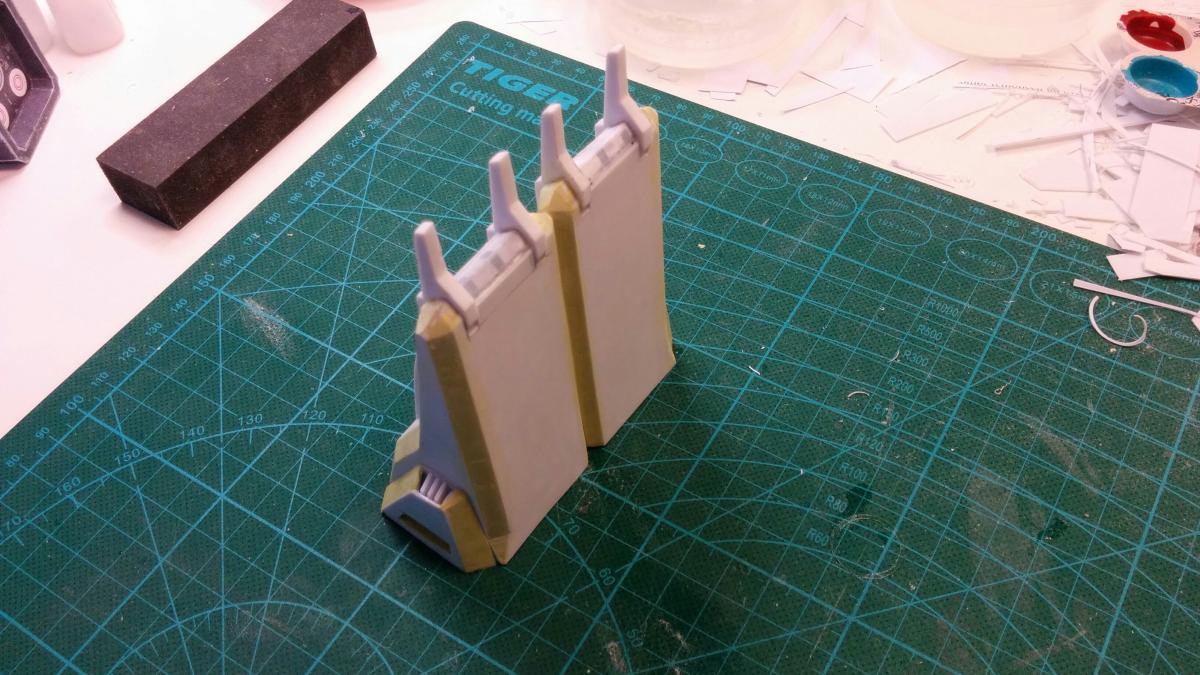
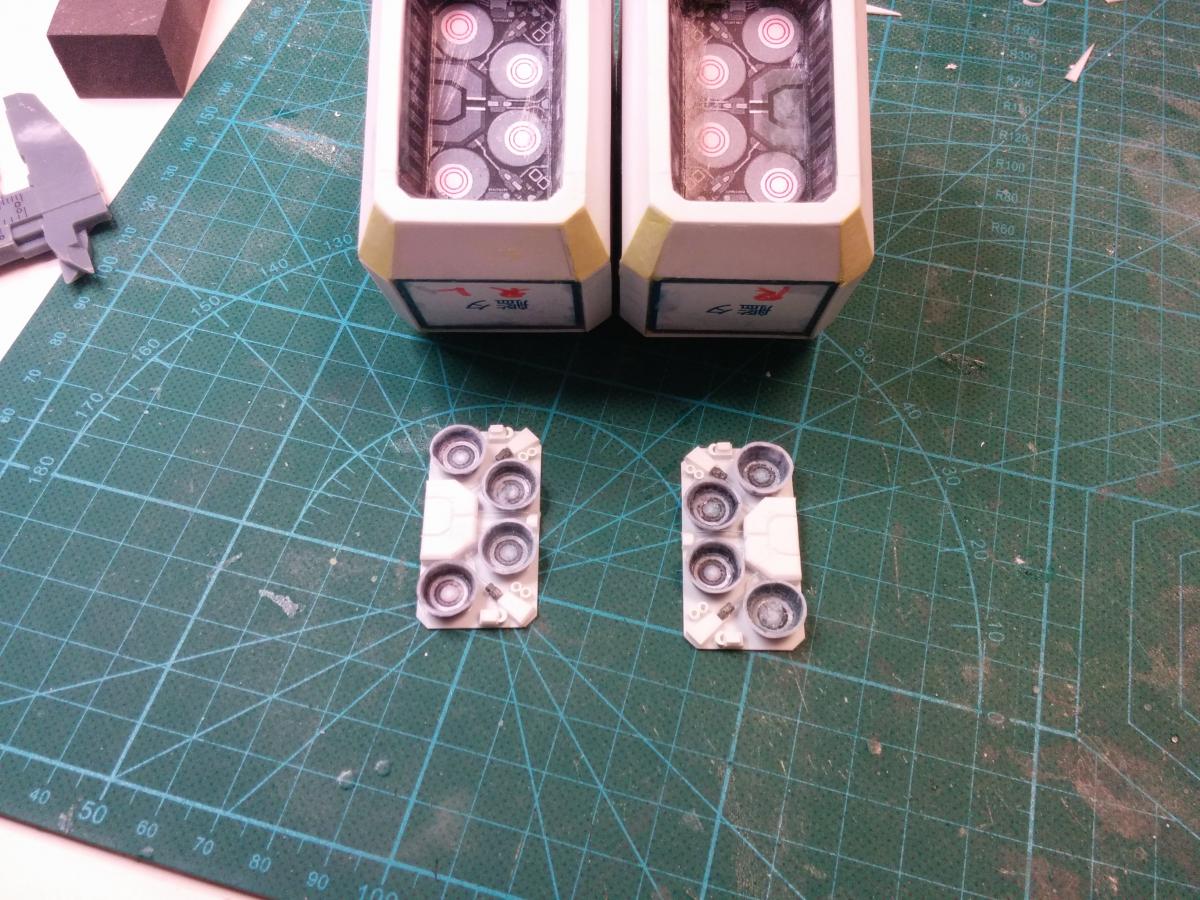
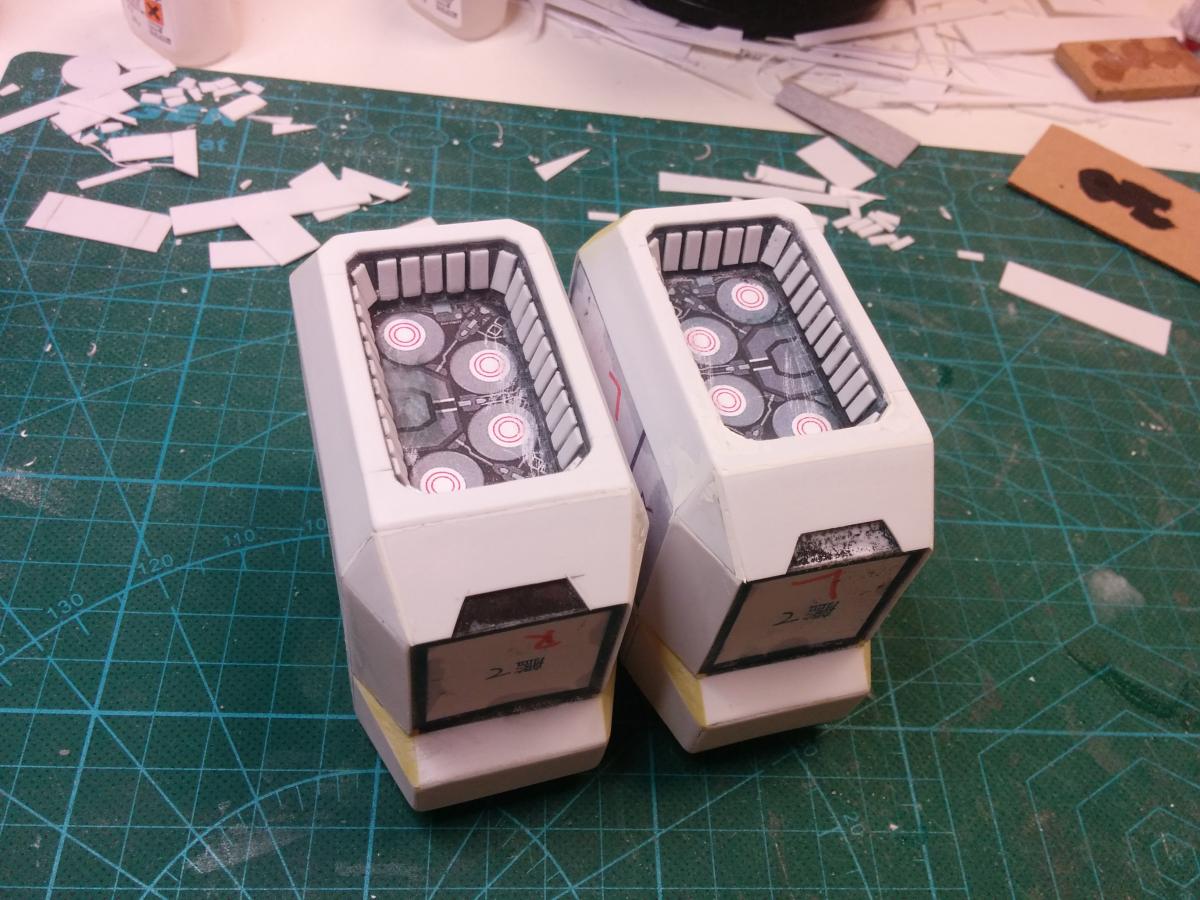
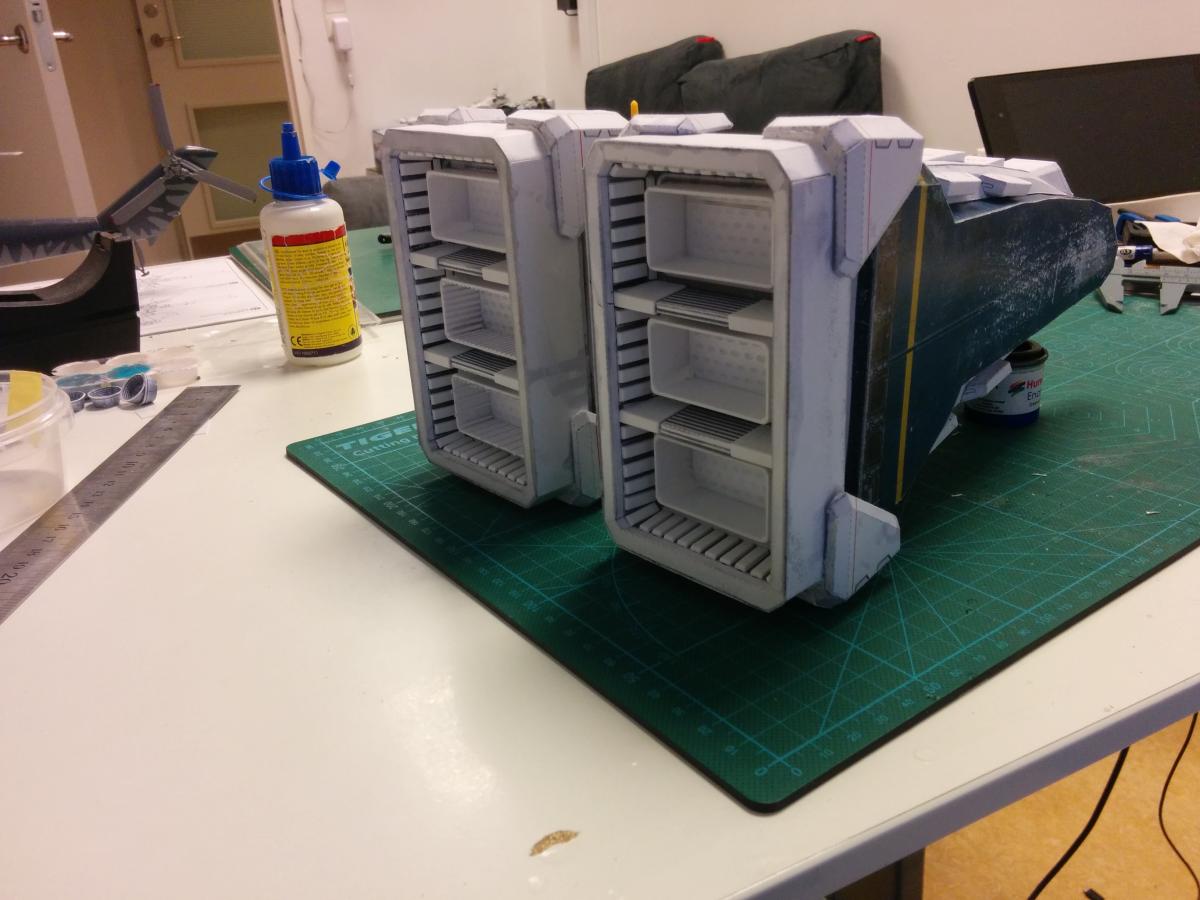
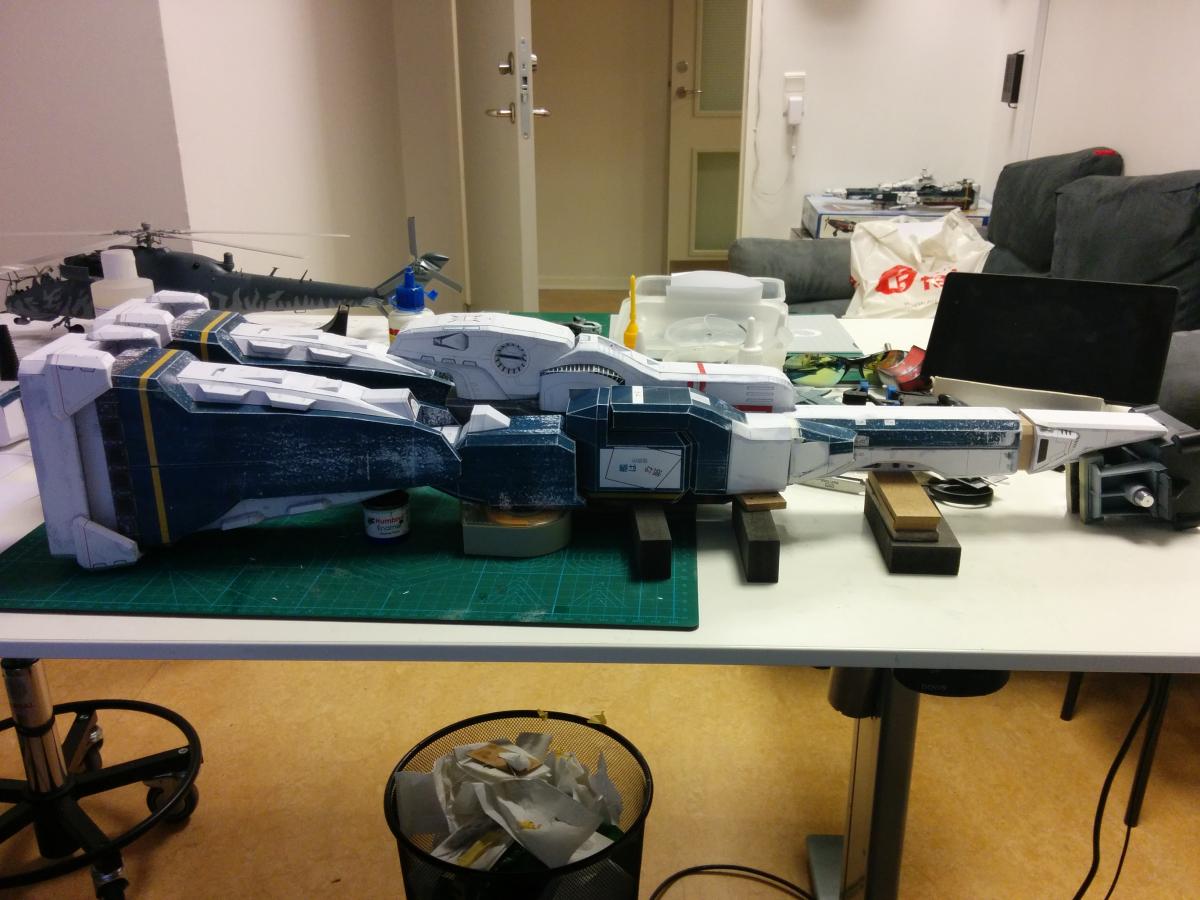
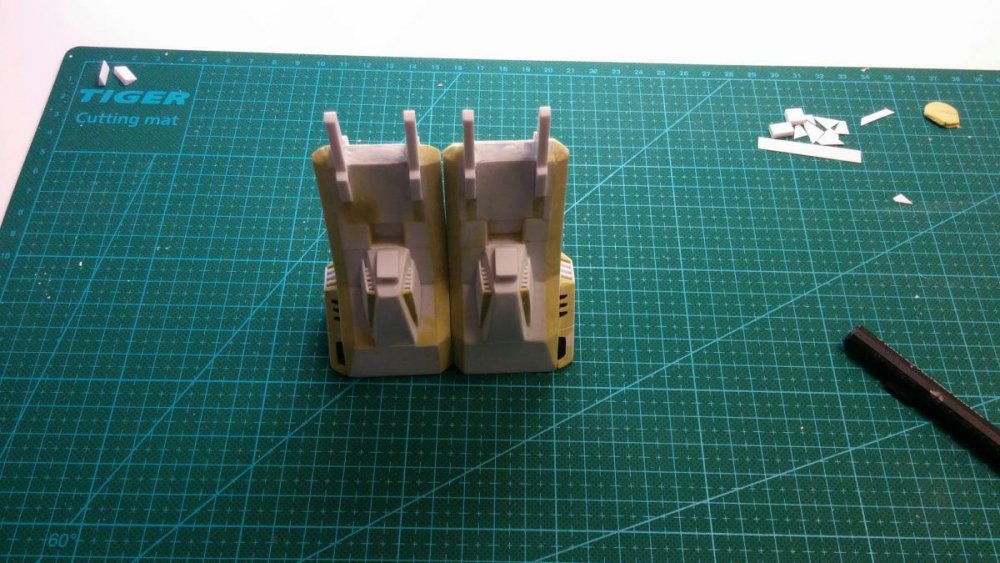
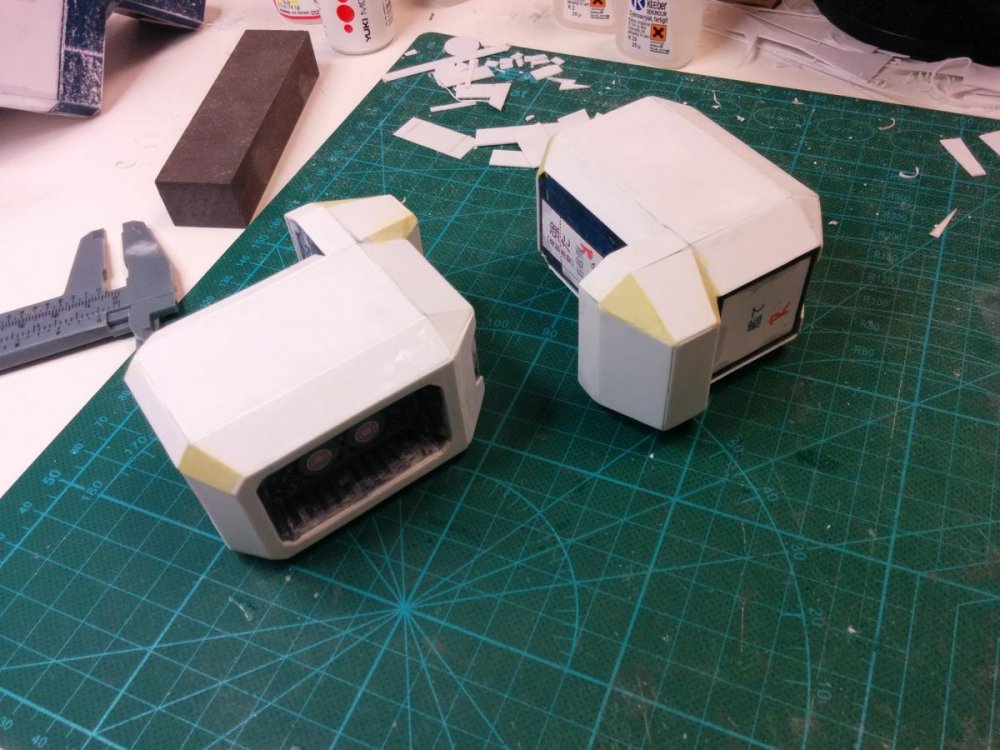
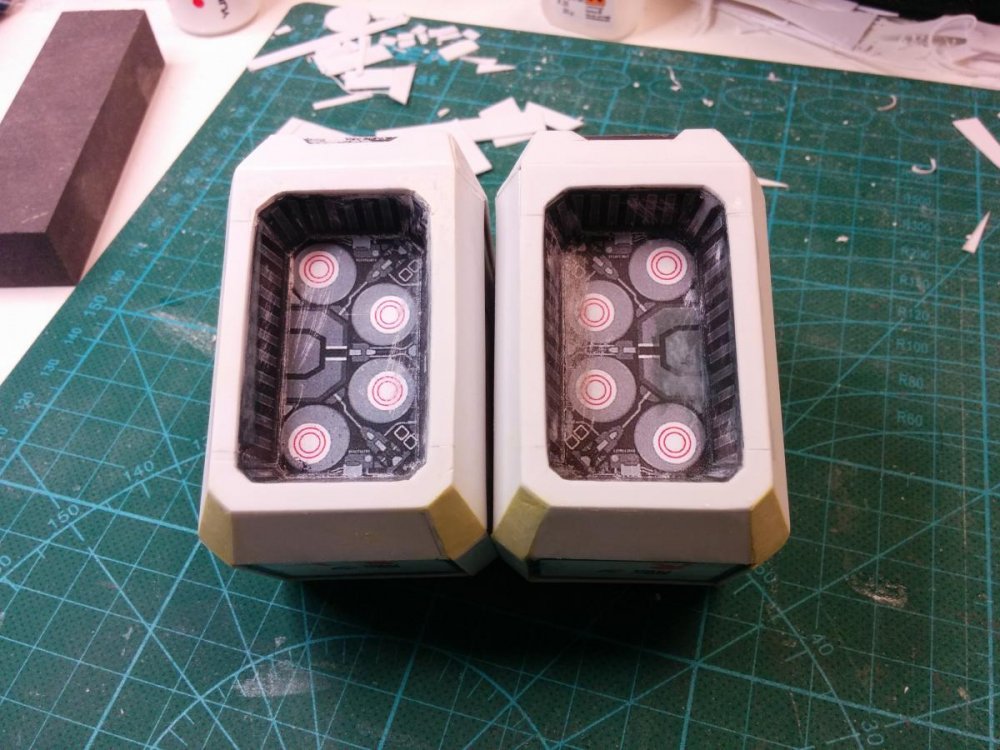
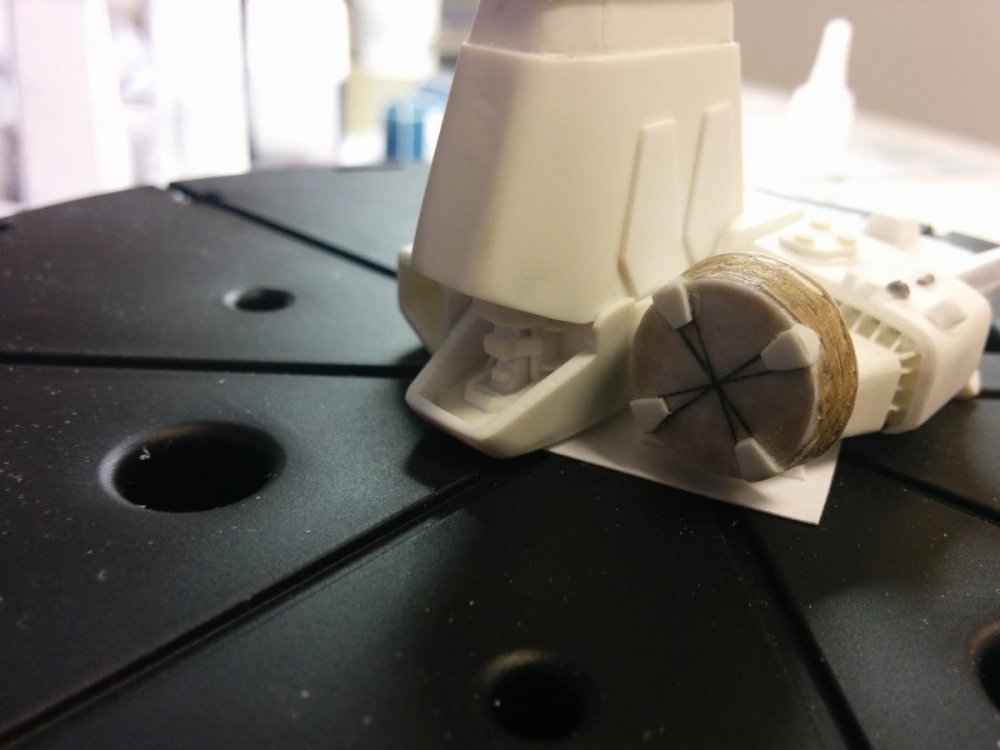
finished adding tiles to the other main thruster! a rather imposing sight and a quick view of the approximate length


-
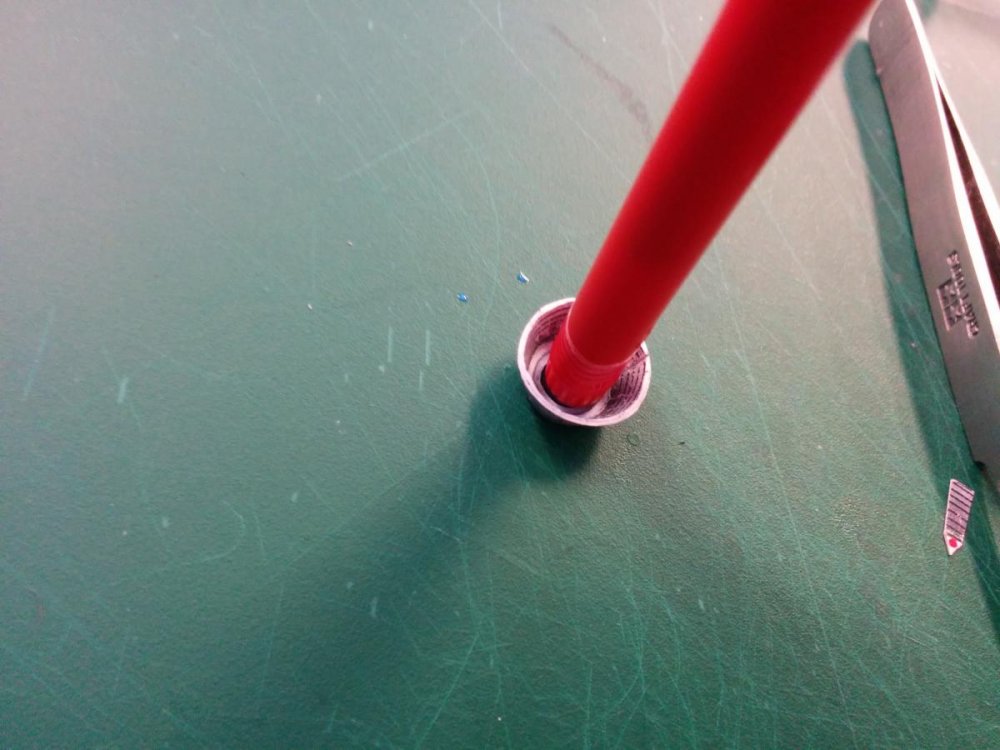
i would suggest you search on Amazon for Industrial Syringes with Blunt Tip Needle
-
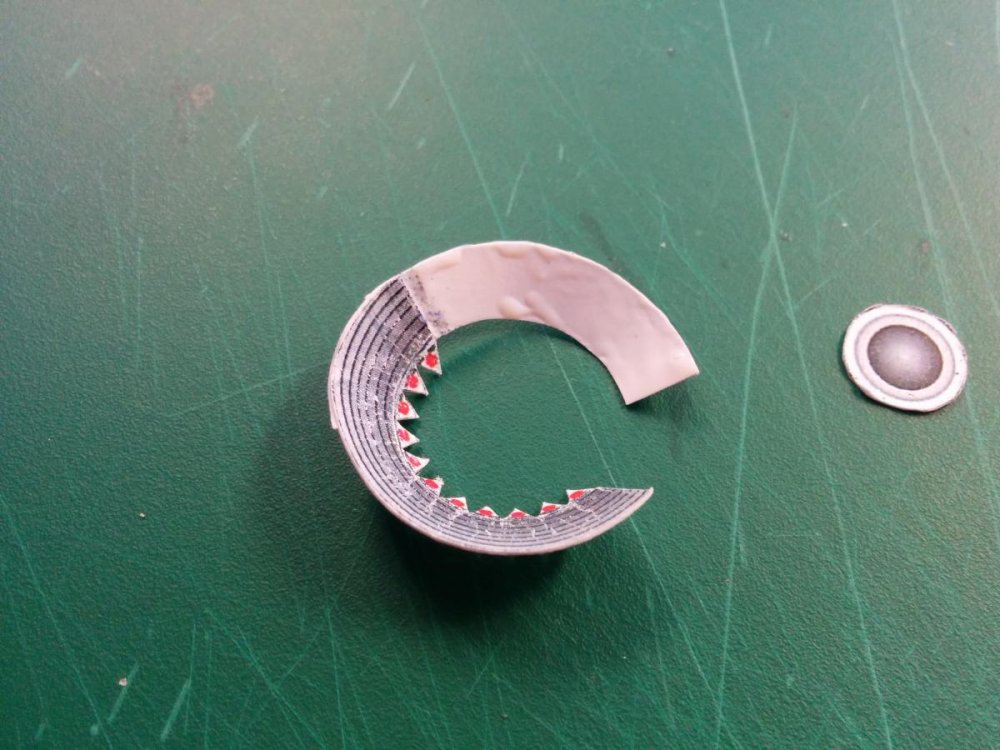
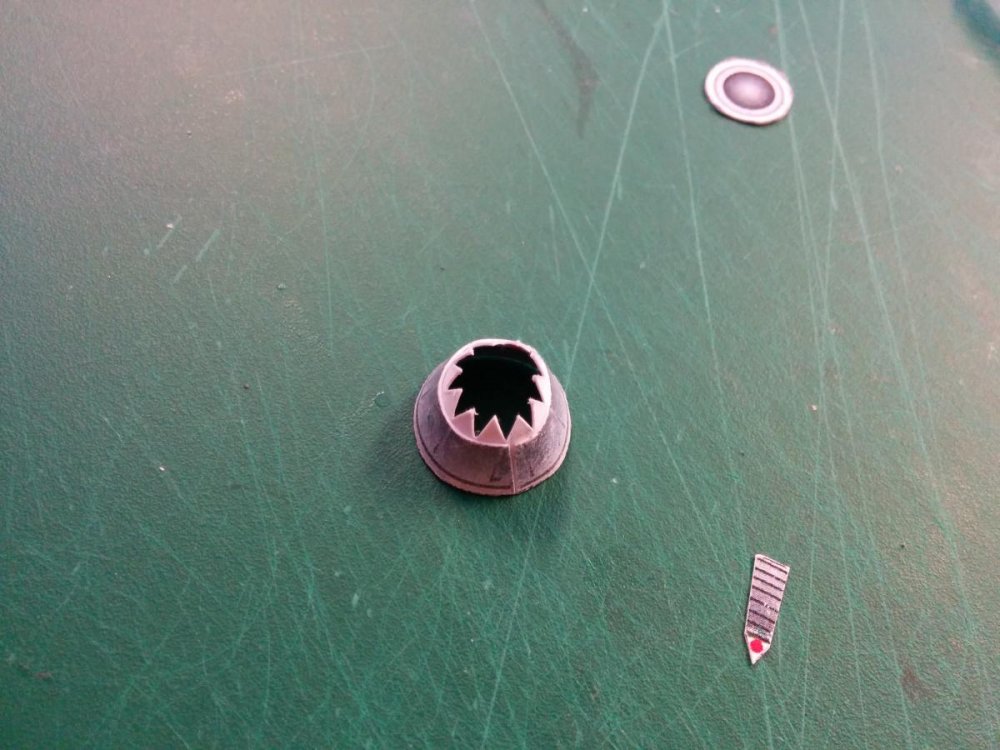
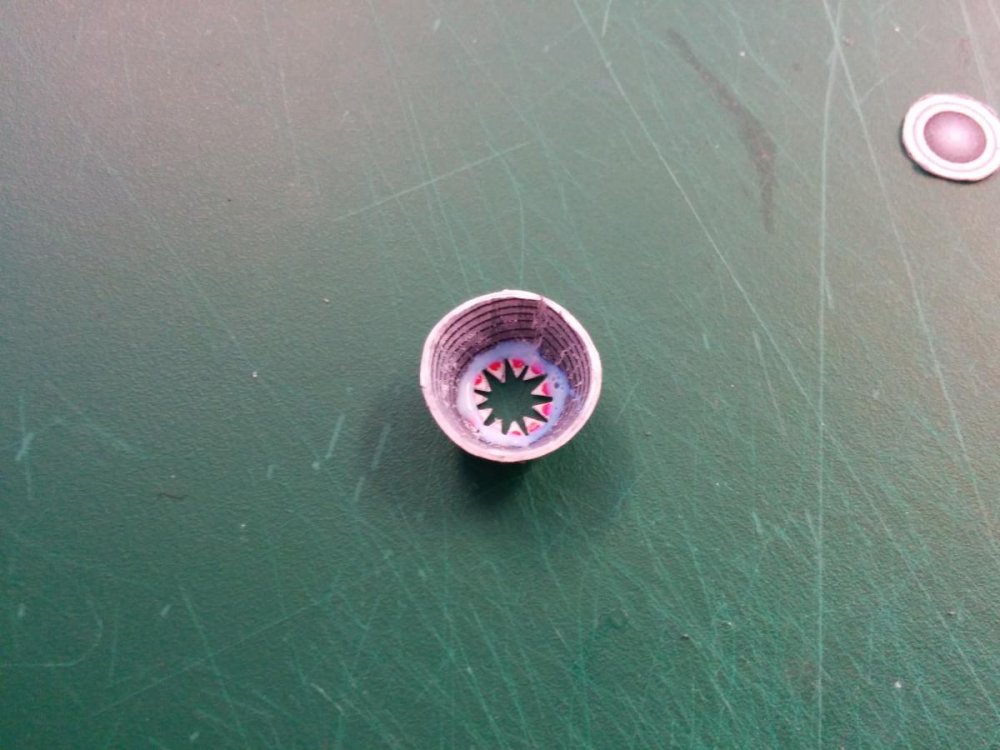
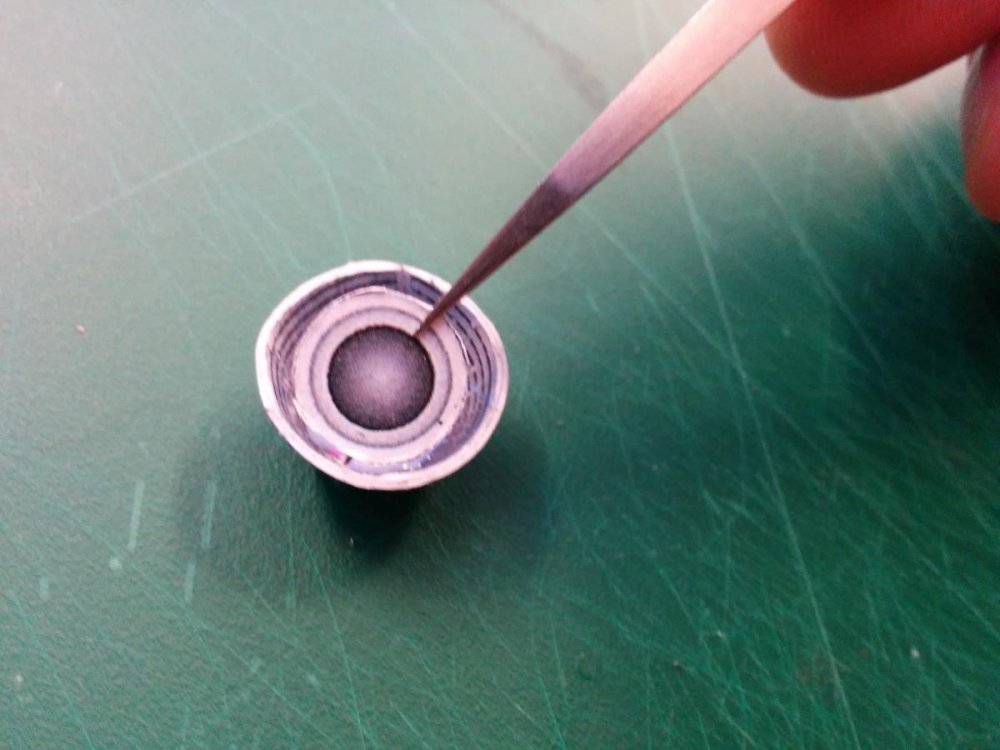
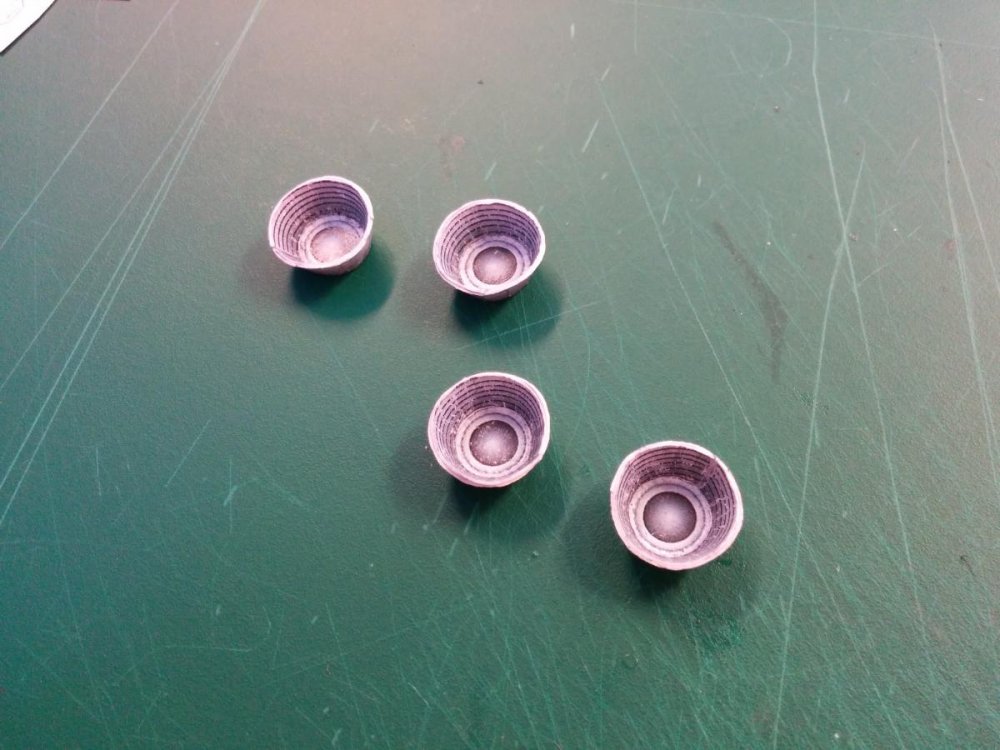
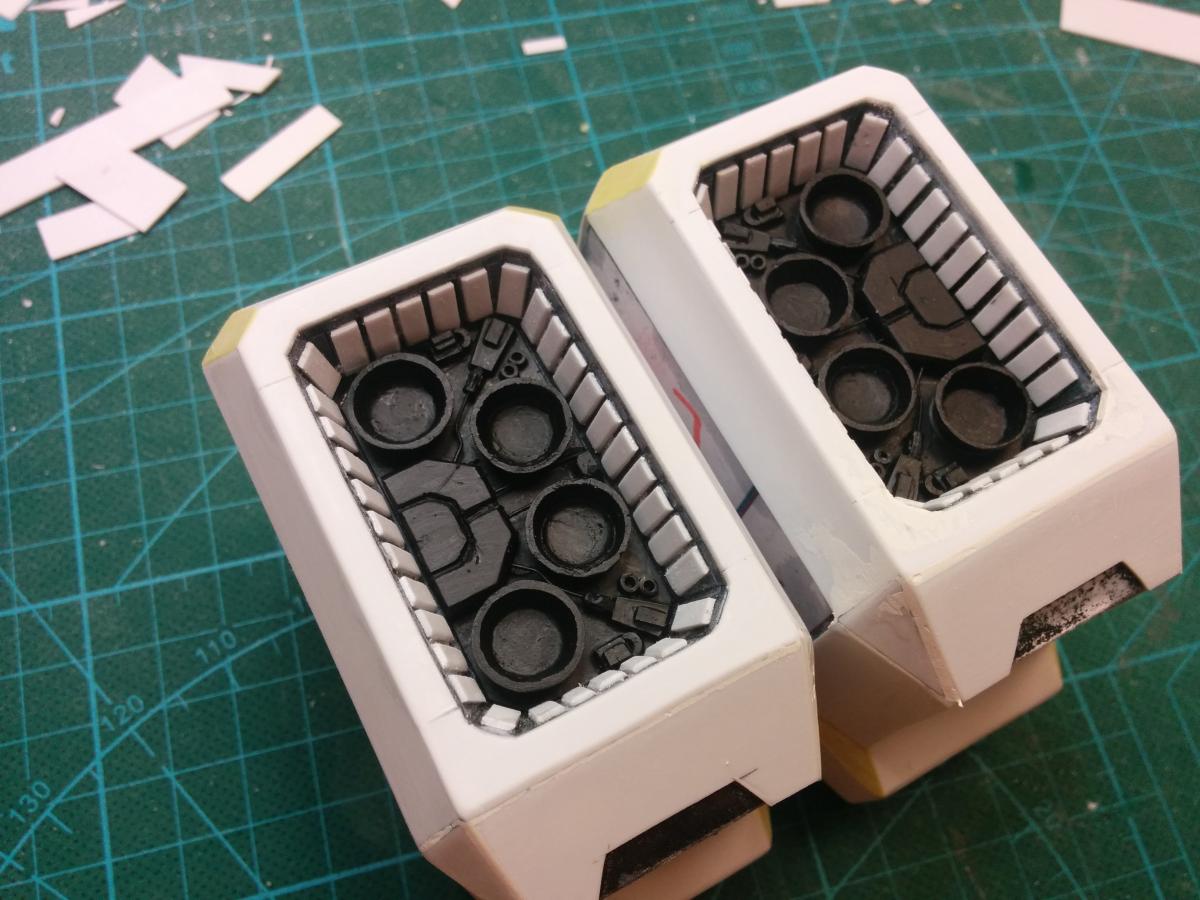
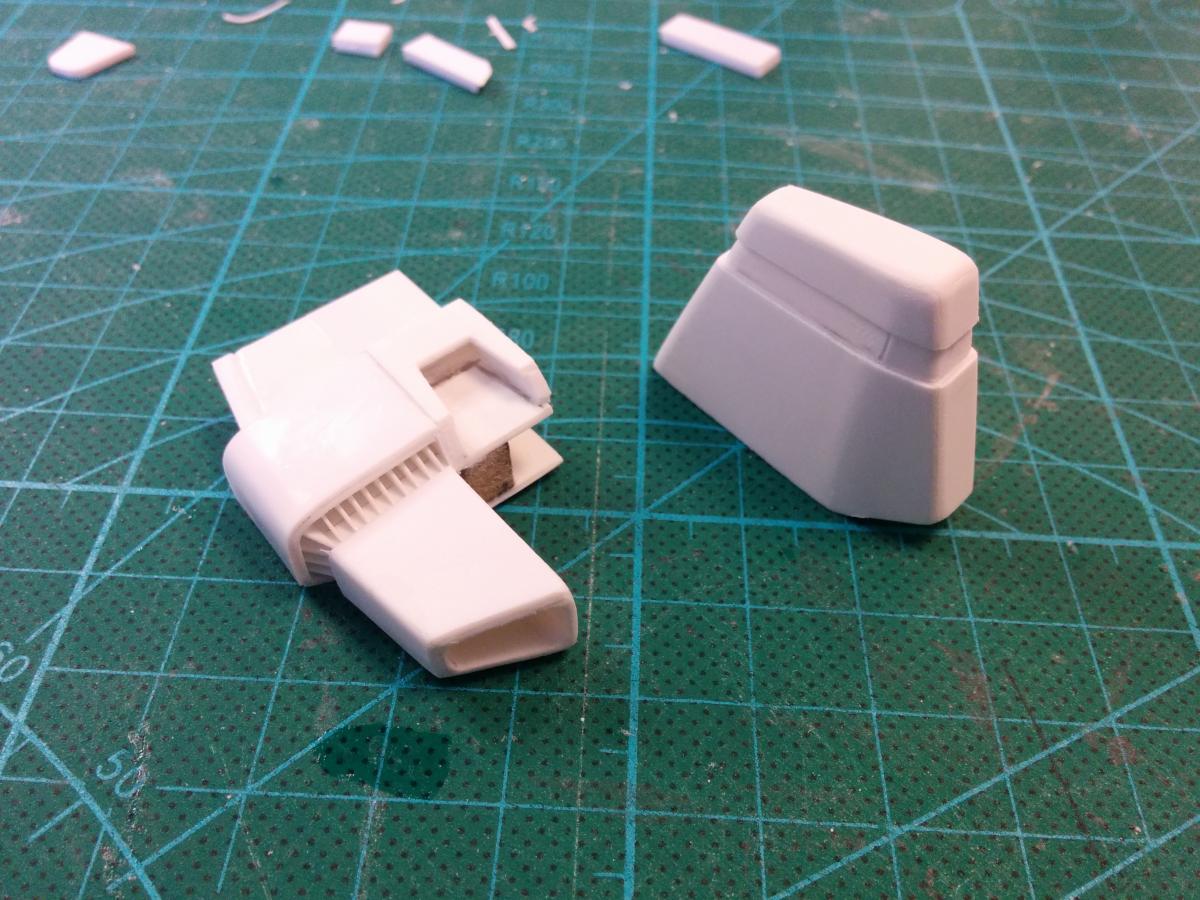
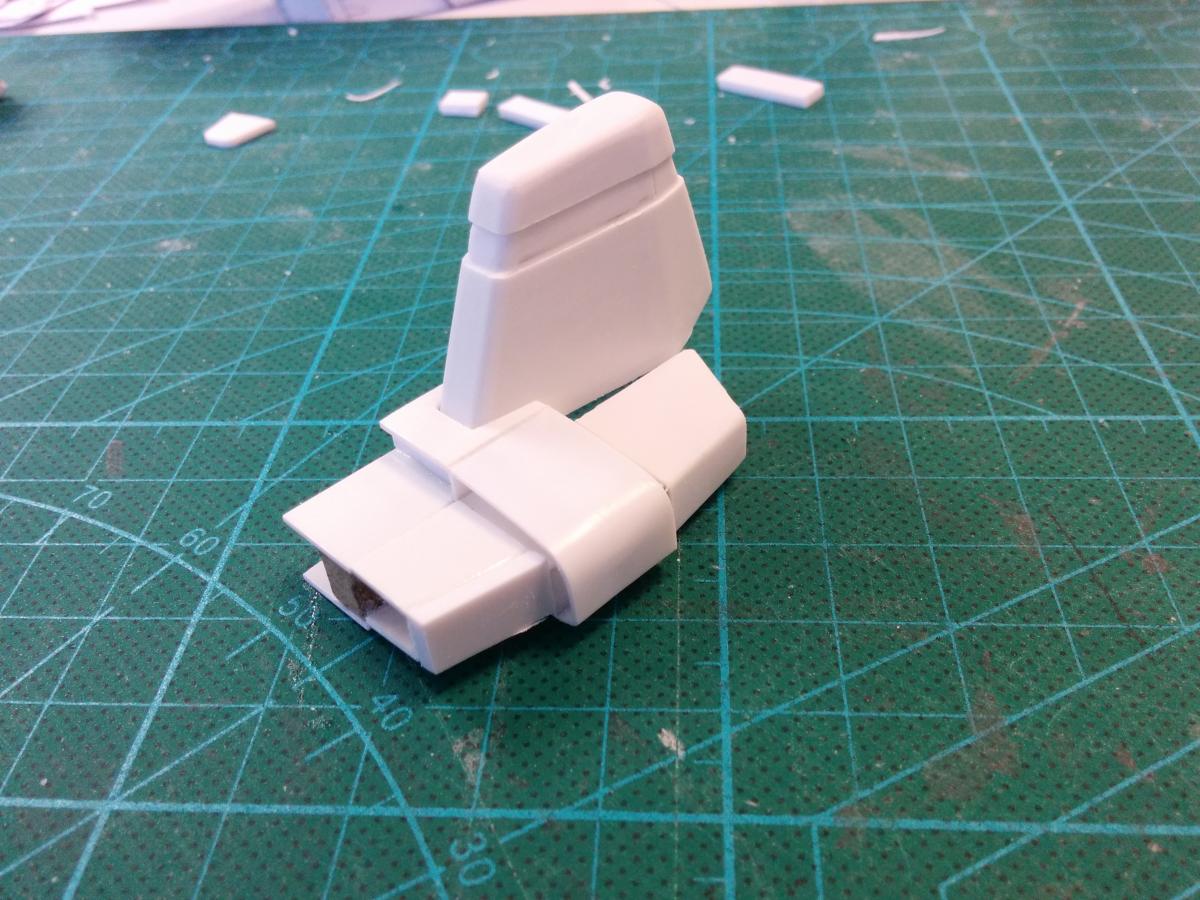
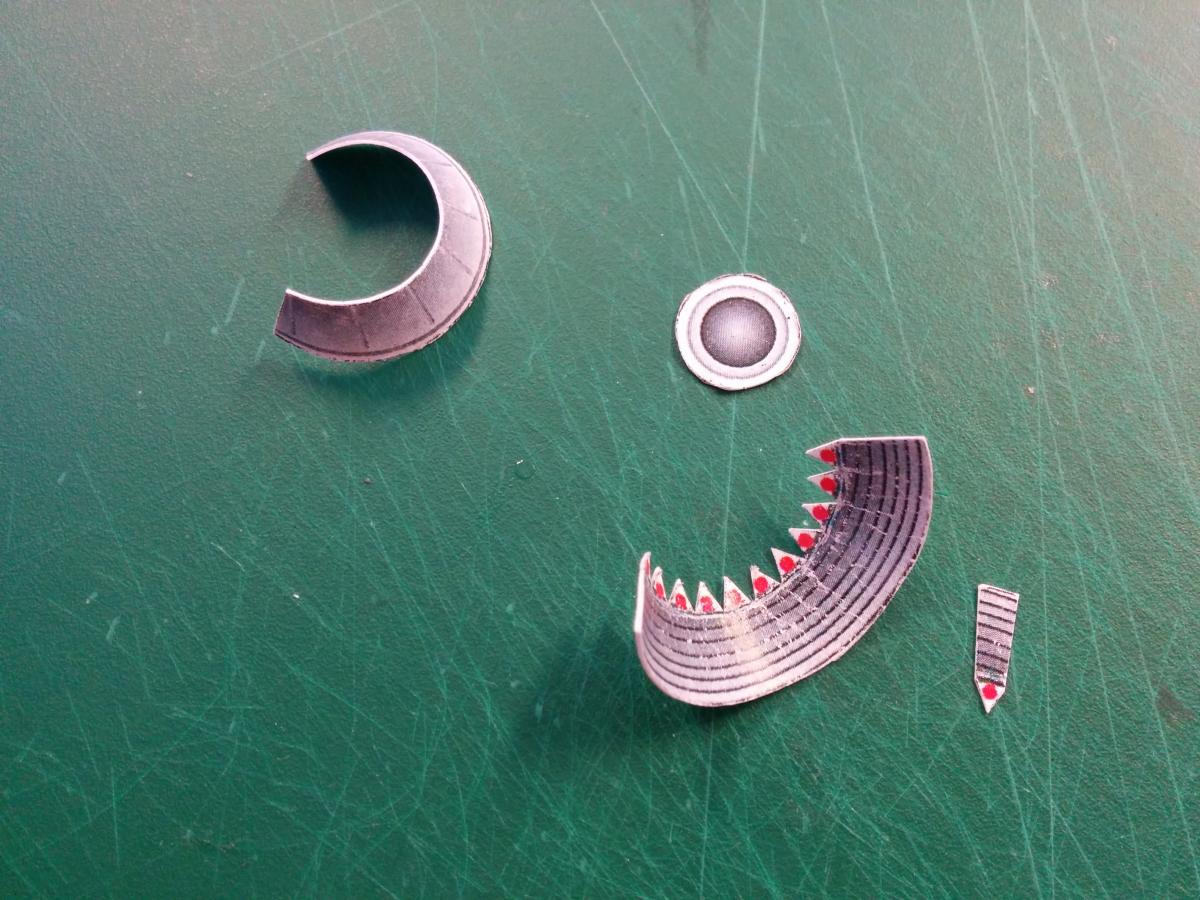
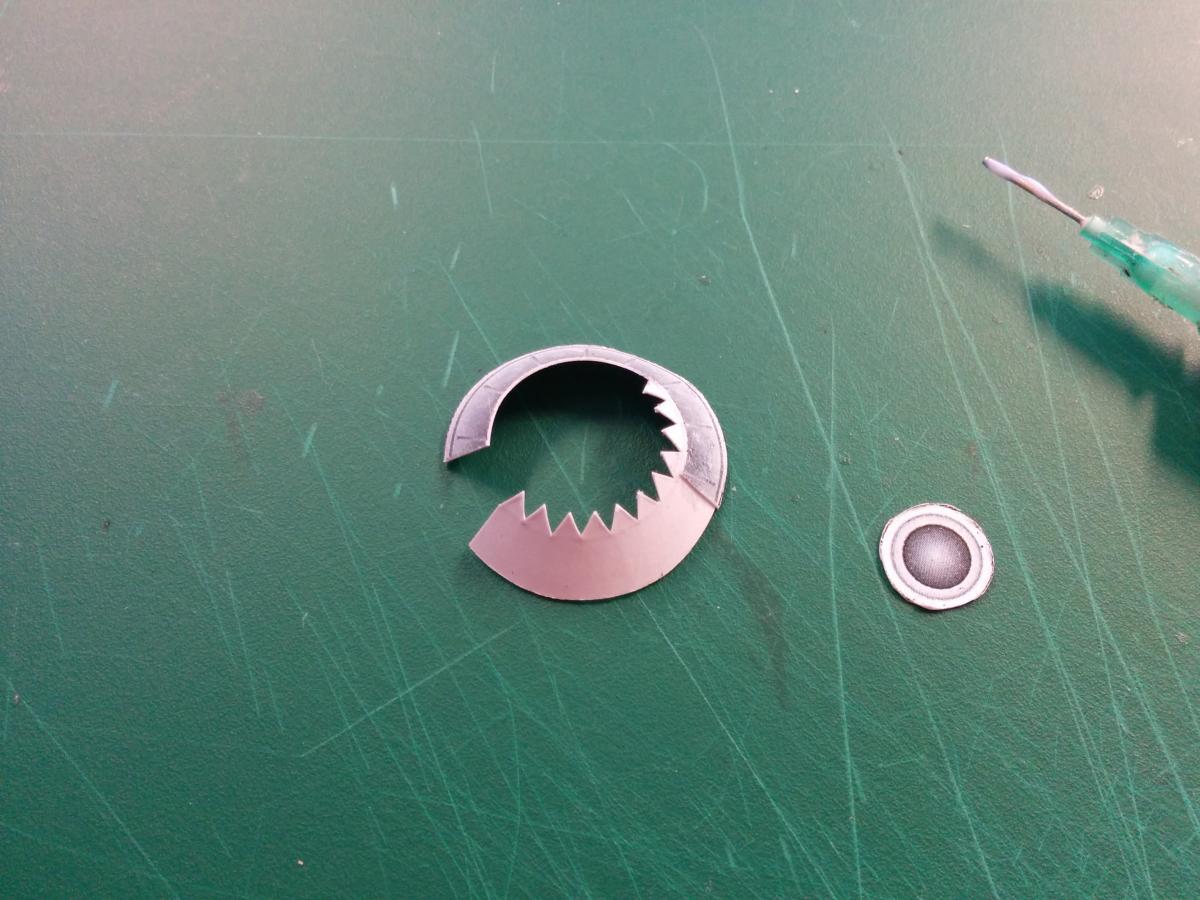
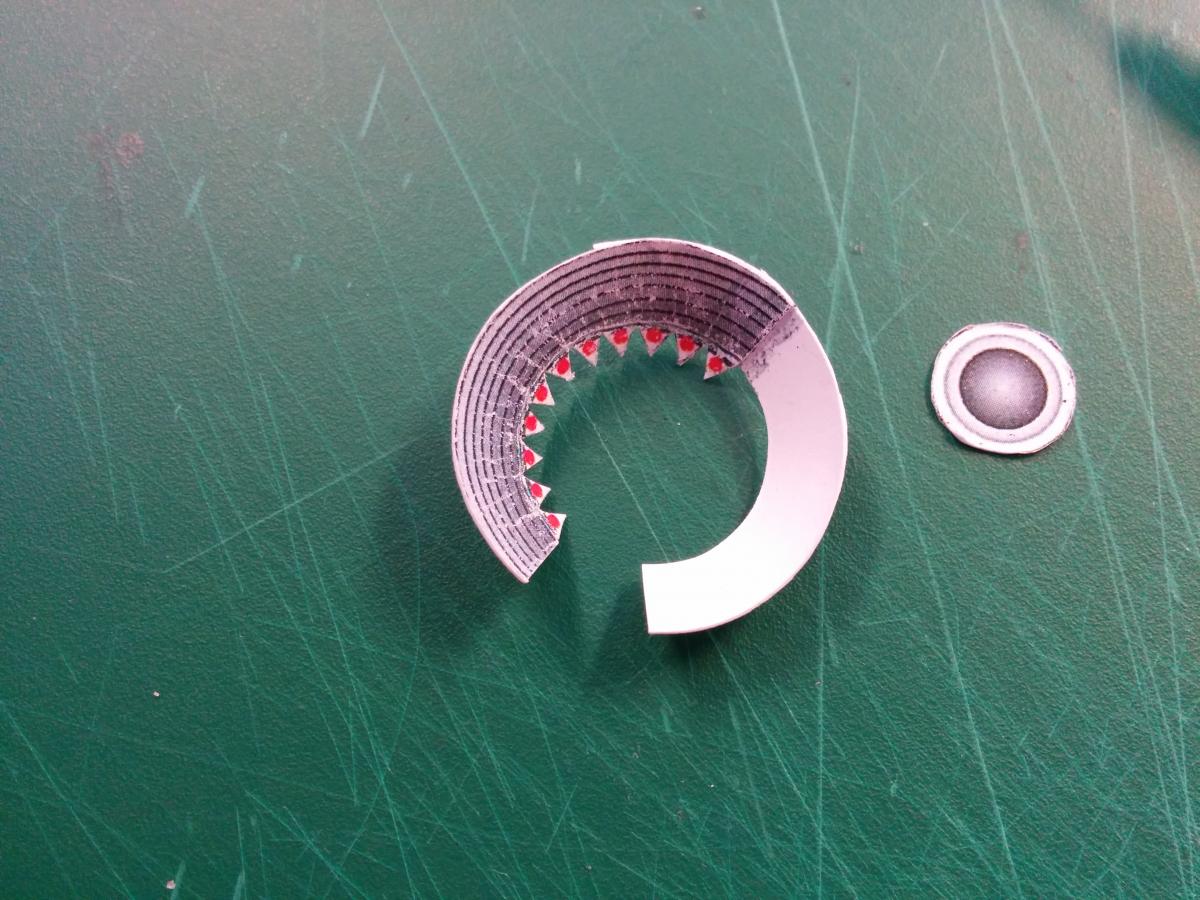
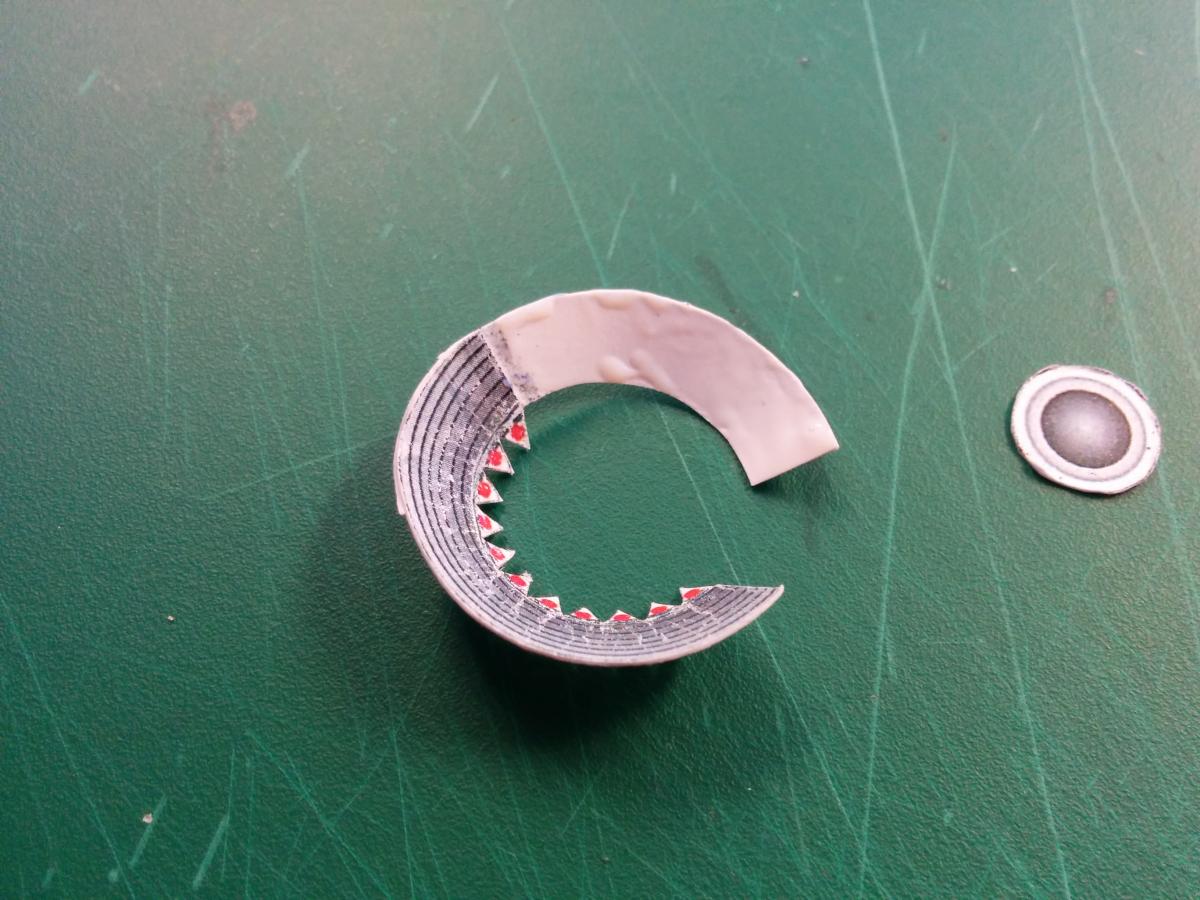
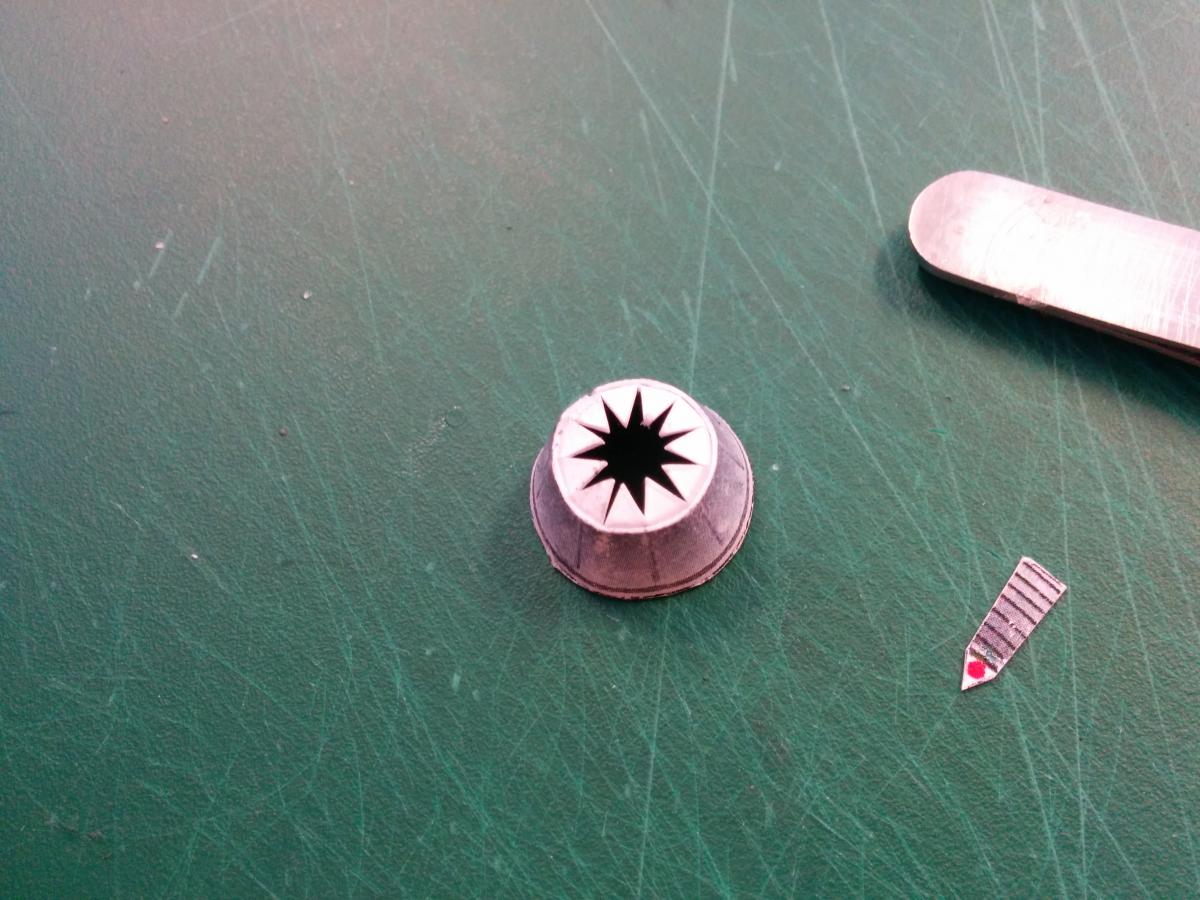
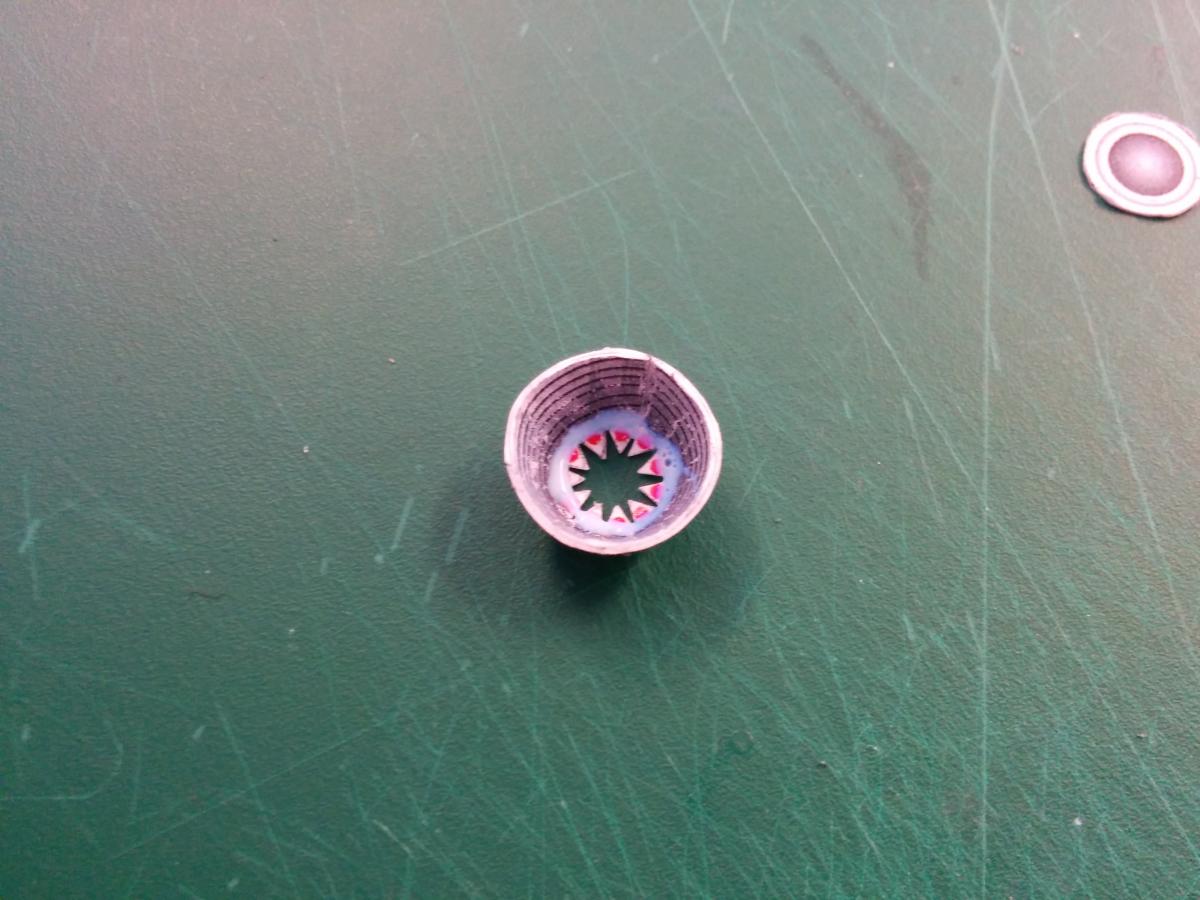
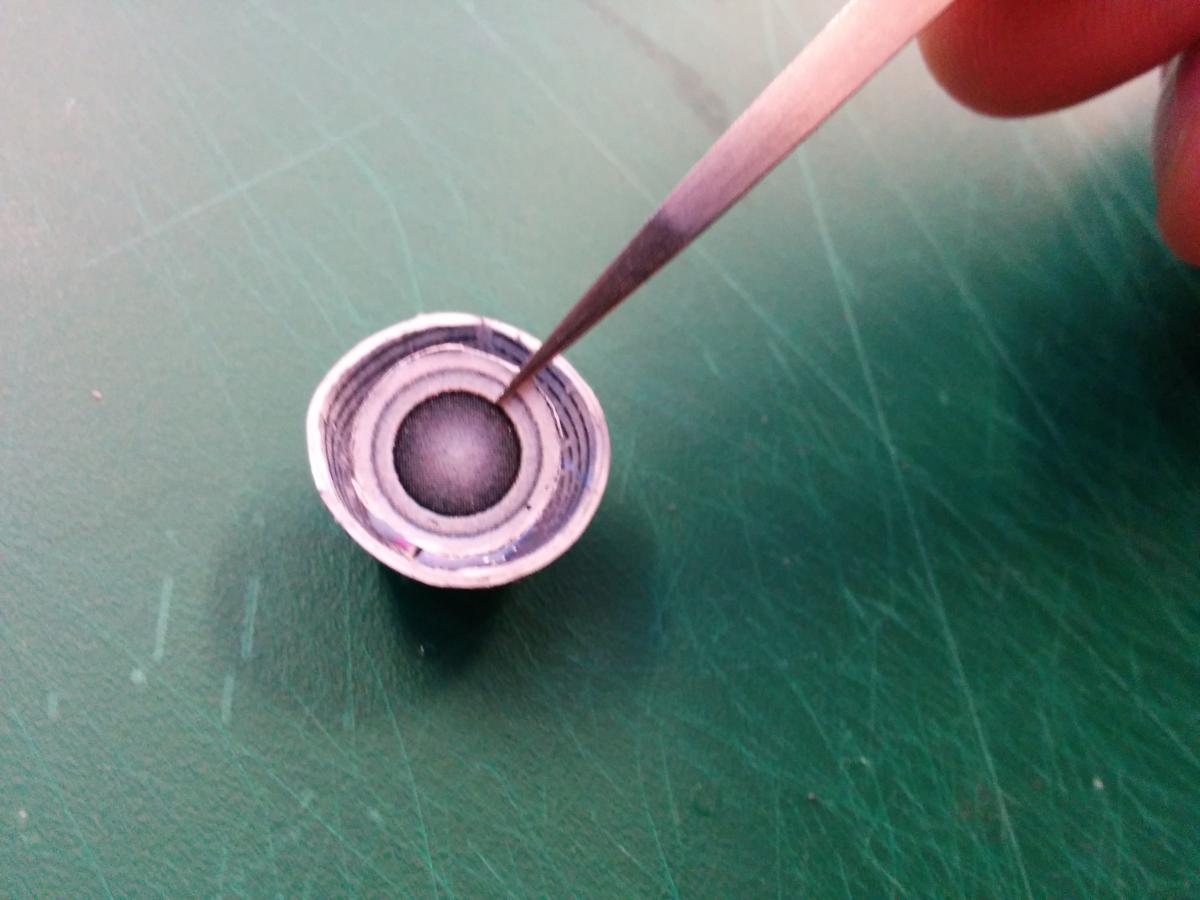
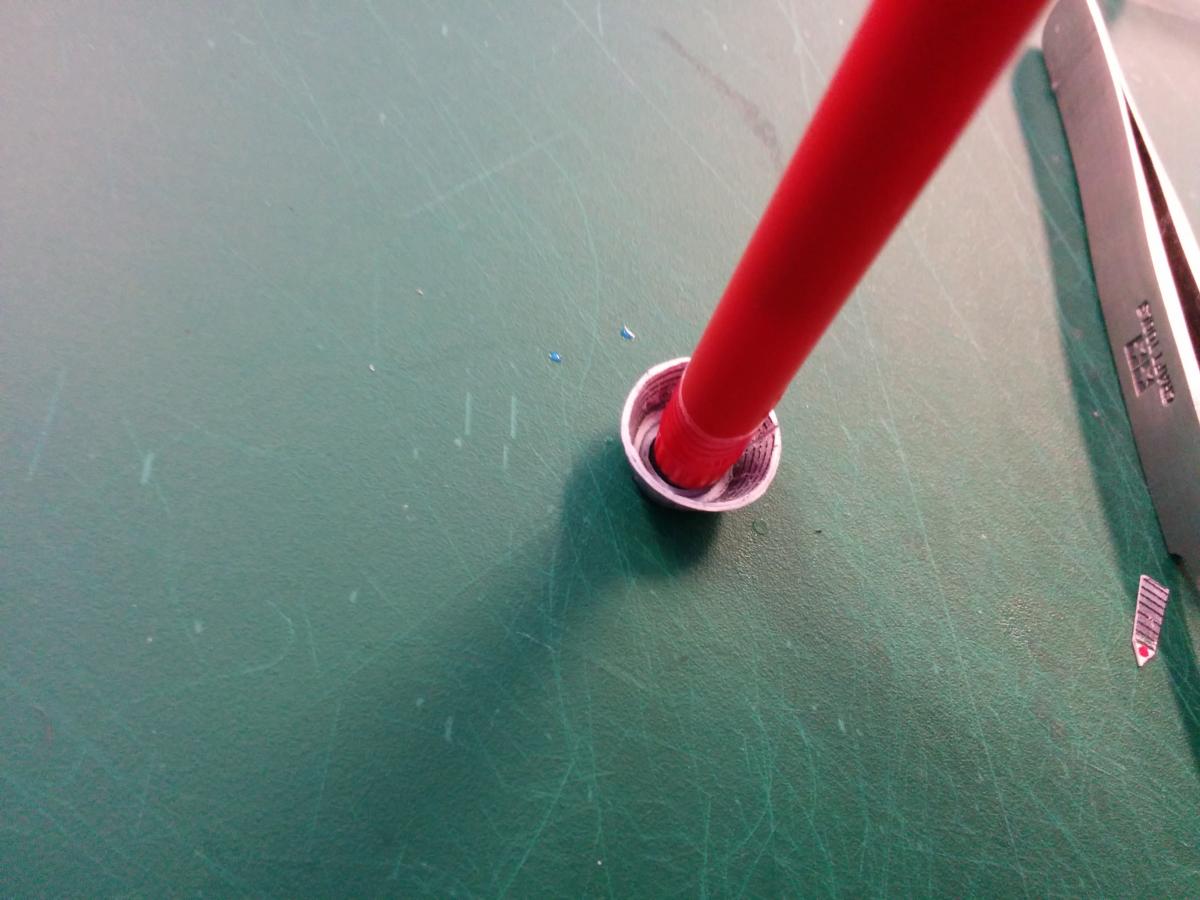
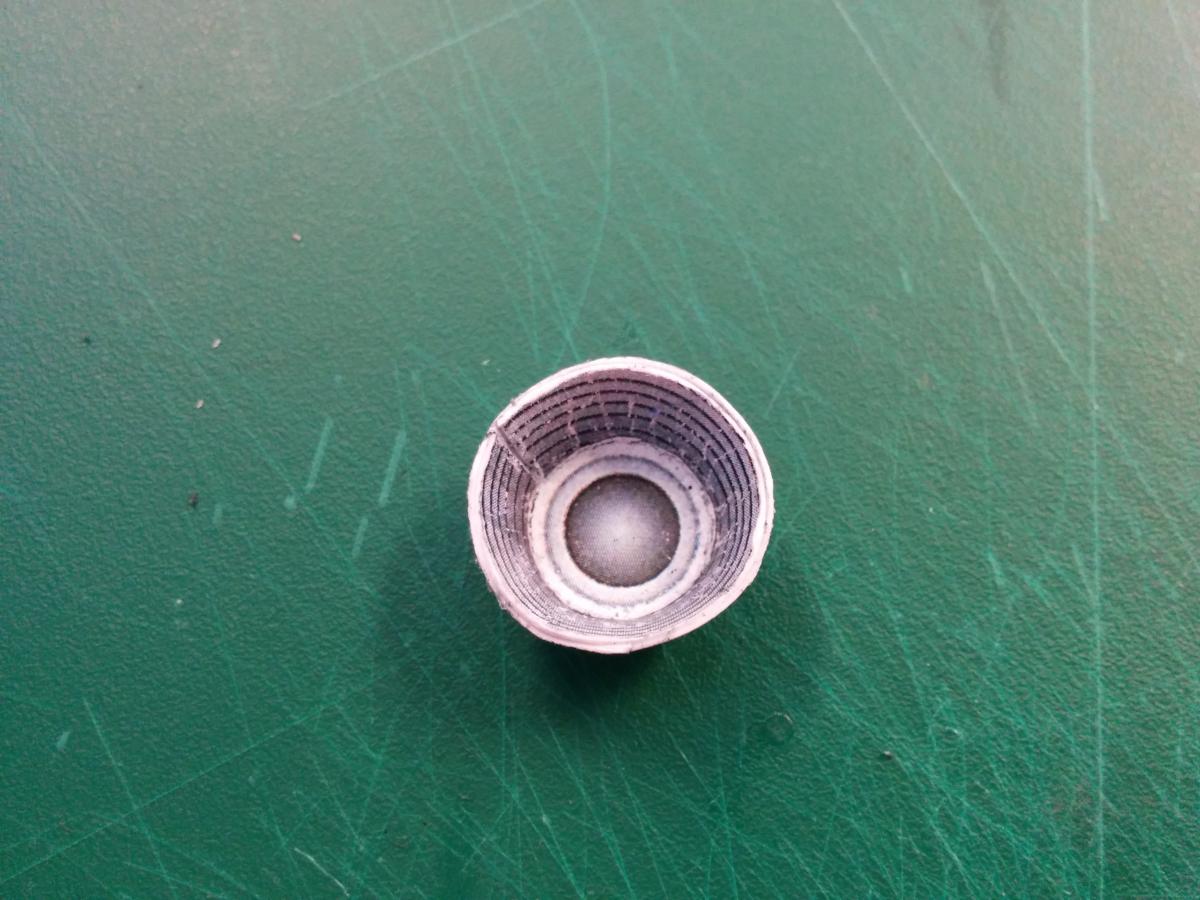
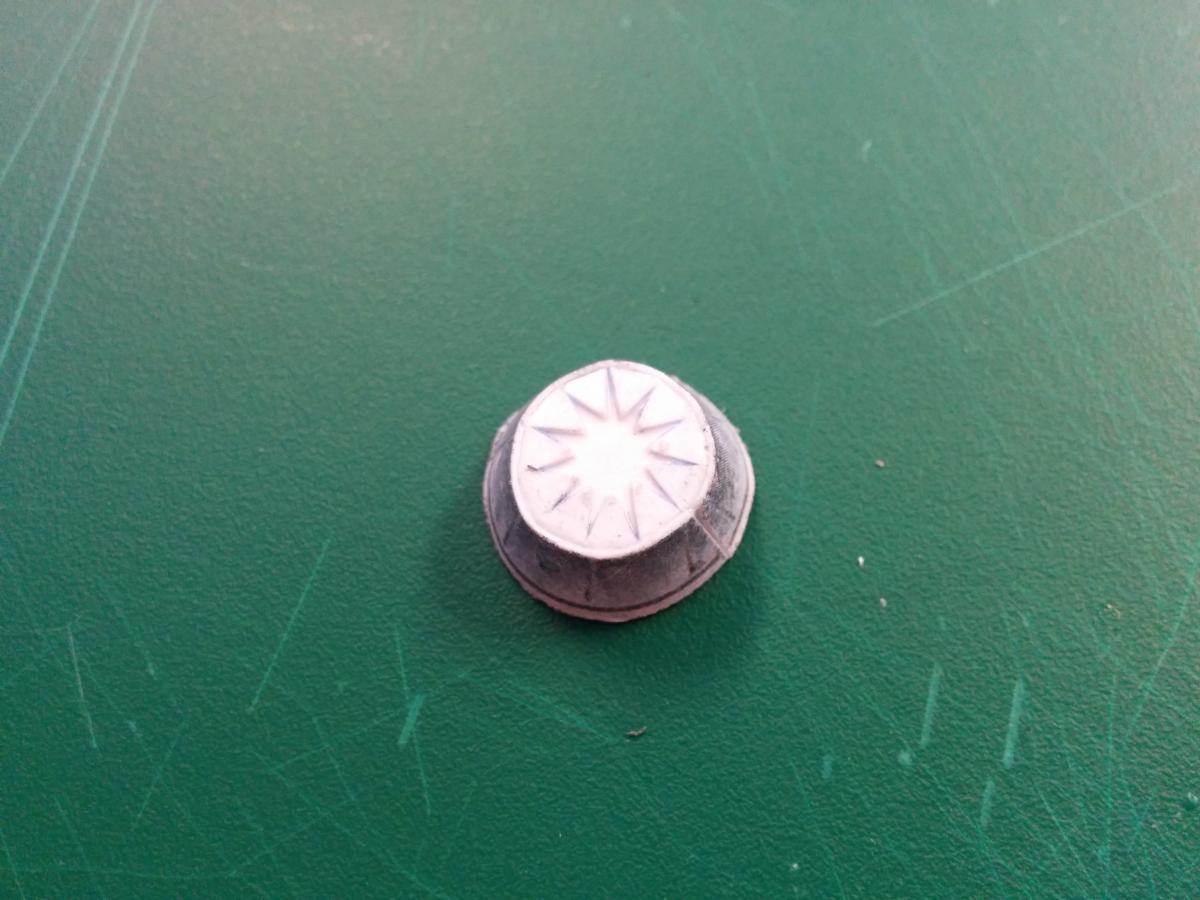
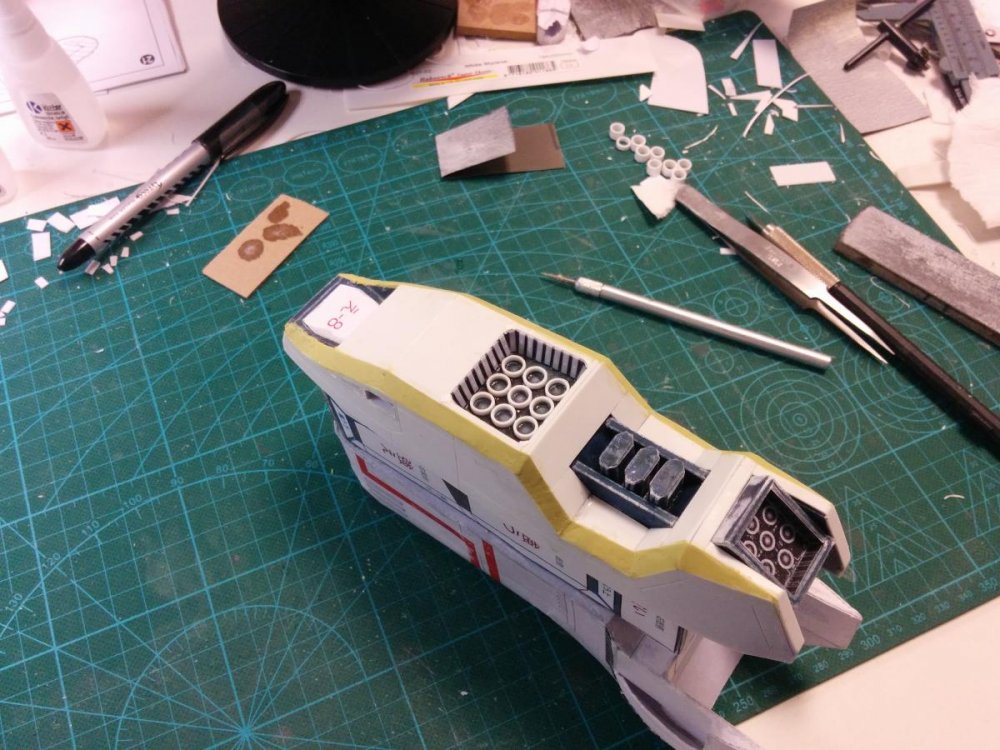
A tutorial to make thrusters! first dryfit the parts and cut away what is in excess (there will be some excess depending on paper thickness) Glue the two parts together like this: add glue to the rest of it, and fit them together: bend down glue flaps, and add glue to the inside: and add the bottom, pressing it down with a pensil or the like. also made some more details to one of the main thrusters