
NZEOD
-
Posts
1955 -
Joined
-
Last visited
Content Type
Profiles
Forums
Events
Gallery
Everything posted by NZEOD
-
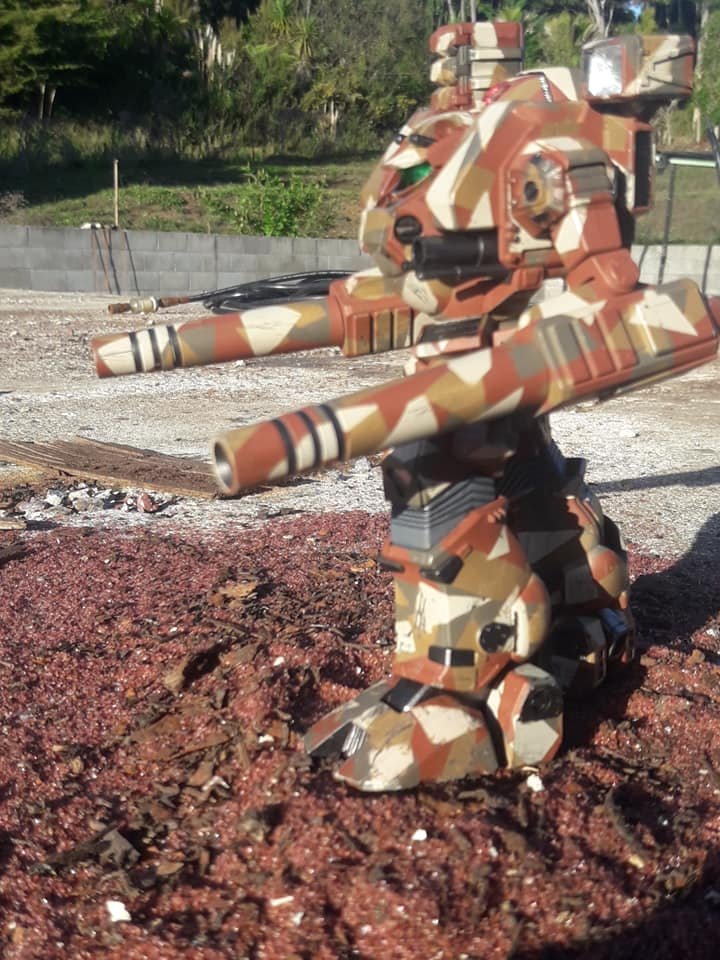
Just finished a ton of 40K Tau in a green version of this scheme and some Kill team Tau in an urban camo version so I grabbed one of my ebay rescue Destroids and tried it out. BTW... that hangar you made... brilliant!
-
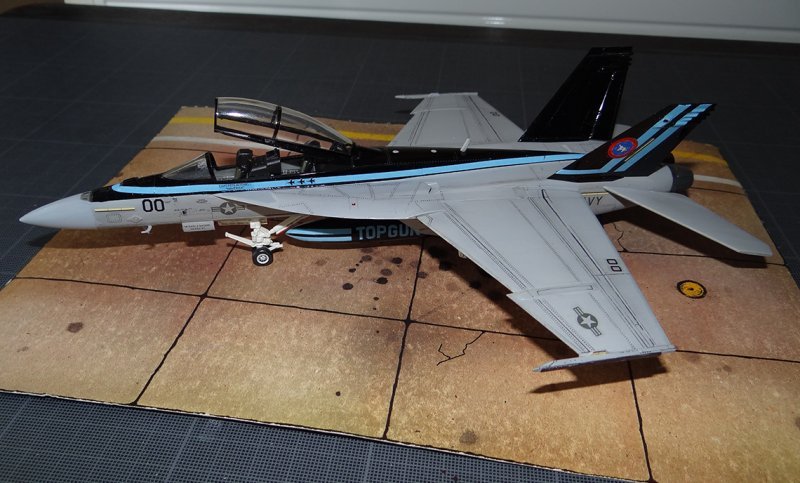
Hasegawa may already have a Topgun 2 kit... thinking I need to get this graphic set to do a VF-1
-
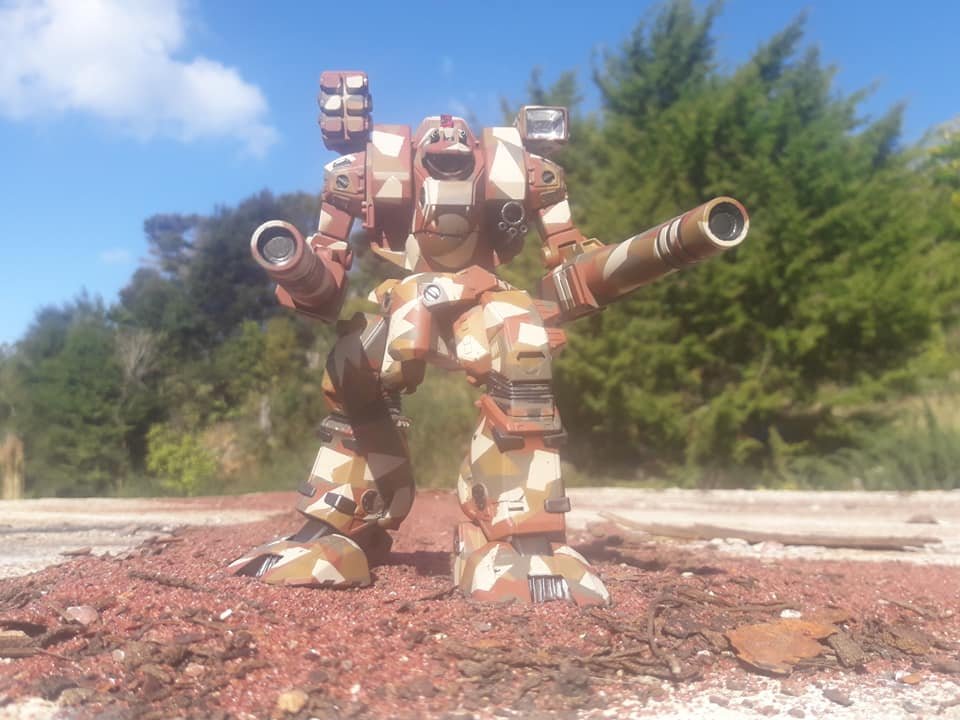
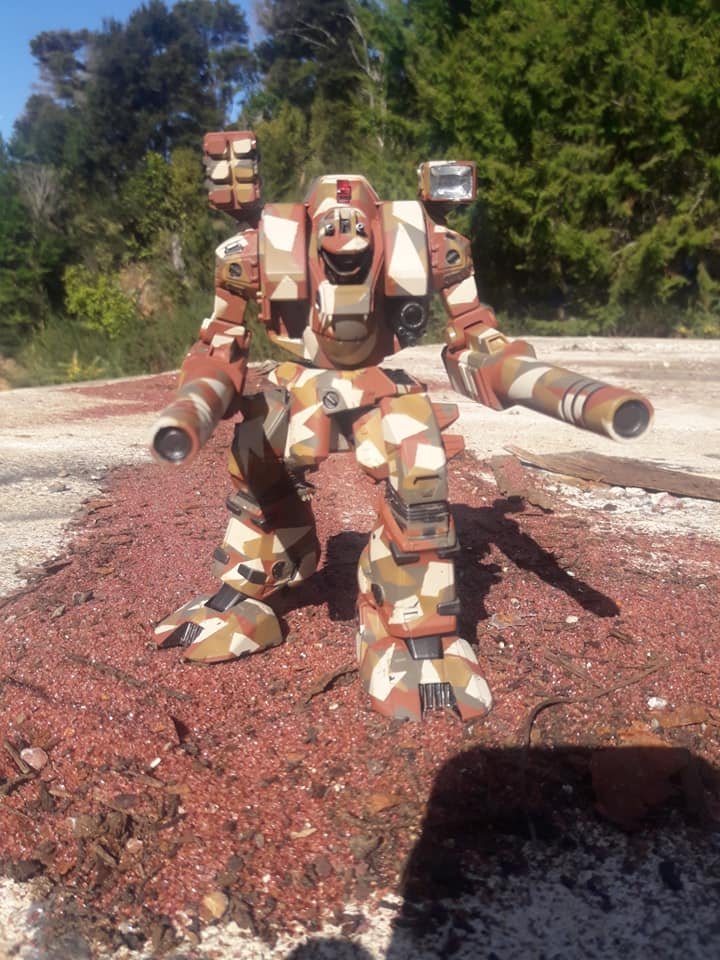
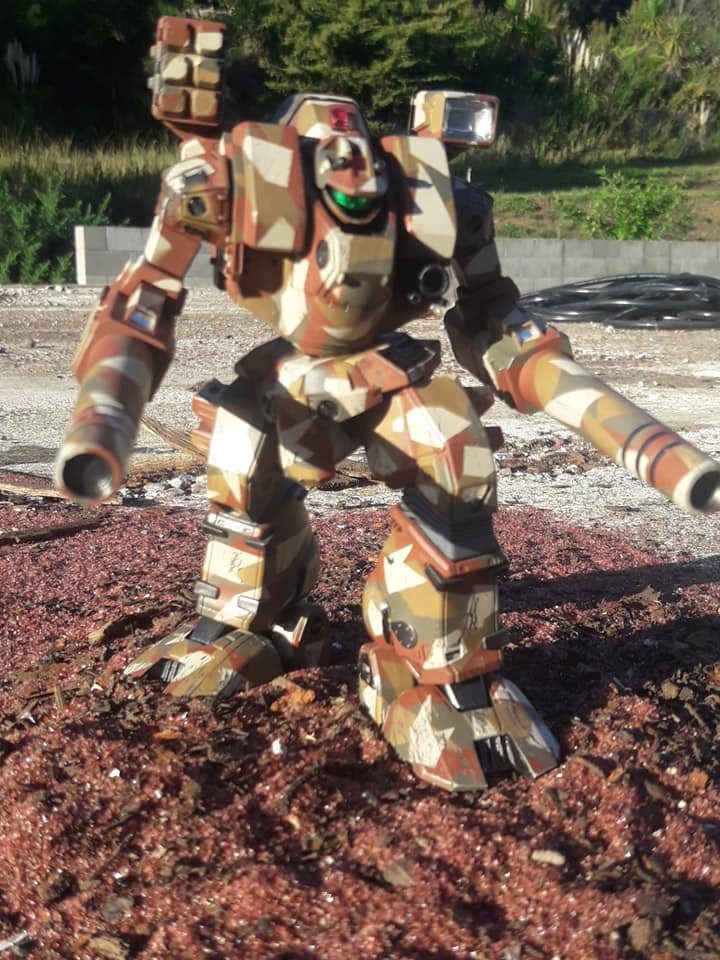
Lockdown has dragged me back to Macross work. WIP on a Tomahawk - lost the gun cluster while painting outside so need to 3D print a new one in resin this weekend!
-
what deck kit is that?
-
first we need the correct paint codes for the 35th anniversary valks so someone can finally complete one!!
-
looks to be the same mold, just the decals around the canopy are making is look different. Its an illusion. Will be nabbing a few for the gun pods!
-
Just remember the paint codes are way wrong for the VF31J Anniversary model and no one seems to know the correct ones so its currently impossible to paint that scheme correctly and colour match the decals.
-
those guns look so much like Tau weapons. I'm building a District 9 themed Tau army
-
Any Primaris marines you find... smash them! Those 2W Hellblaster swinging jerks have been a pain in the ass to drop. Especially with Girlyman back on the field!
-
thanks for that!
-
If you ever complete it for 1/72 scale I'd buy one for the Museum display
-
that's just the base coats and a wash in the that shot. Hes fully painted now and the Checklist folder even has writing on the pages
-
Tamiya spray primer for metal is a good choice if you need the detail to stay visible
-
non standard wheels too...
-
Shout out to anyone with information leading to the acquisition of a 1/72 decal set or model WITH useable decals of either an F-14 or F/A-18 of VF-143/VFA-143 Pukin Dogs. Reward... I'll buy it off you or fire off to you a Bandai 1/72 Macross model if I'm buying it off someone else you put me on too. Needed for another vf4 build
-
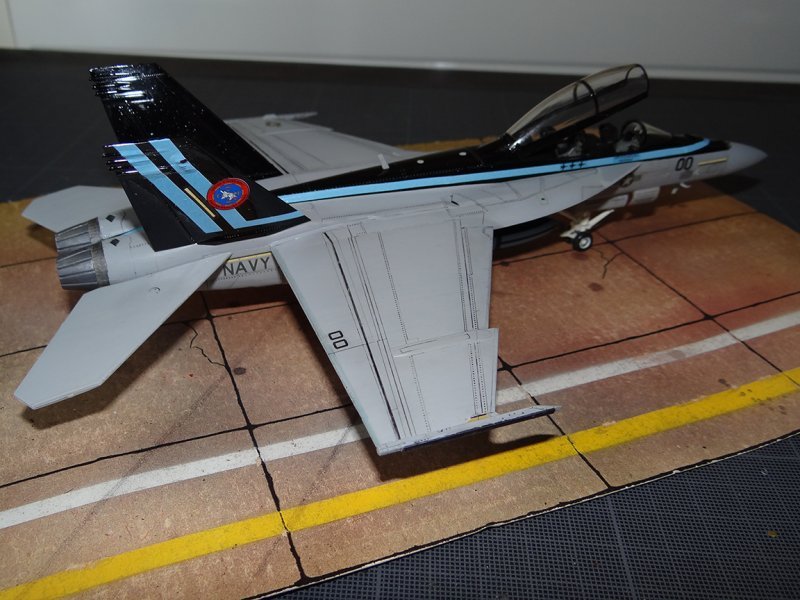
Meanwhile work begins on the next two... mods so far as shown. First up are the 2mm holes drilled in the wing inserts and underbody for 2mm rare earth magnets to fit up external stores. Next is the large snap it peg box removal from the turbine engine intakes. This allows this part to be painted white inside and have the turbine blades painted in alclad stainless then fitted and removed easily while the nacelle are assembled and masked. They can slid in and removed in seconds while still clicking into place seamlessly No masking needed this way... bonus!!! Next mods tonight include removing and reinstalling all control surfaces and folding up the lower fins on one model as well as extending the Arrest or hook and compressing one side of the rear landing gear to show it at the moment of trapping
-
Wait until you see it chained down on the deck...
-
More pics up in the work bench thread
-
The Rattlers and Swordsmen vf4s have arrived!
-
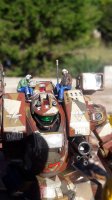
The seats the right scale, I've just leaned the tech forward so it's like he was punching in commands in the MFD. CAGs been bitching about someone wiping his BBC Concert program from the sound system, locking in Radio Hauraki instead, and replacing Bitching Bettys voice with his mothers. This tech drew the short straw in fixing their April Fools.... upgrades.
-
I hate working with glass fibre. Did an x-wing game cruiser and after getting about 30 strands into place each side managed to drop a tool on it and break off half of them!
-
A little madness in detailing on the WAVE VF4... air wing maintanence petty officer flicking through the Preflight Checks after a hard night in the hangar. Managed to get some convincing writing into the pages of the SOP folder.
-
photos are up in the original VF-4 thread
-
 It's pronounced cal e ber not cal e bra.
 -
I'e built one and working on 2 more, that section goes together fine with a small line of tamiya limonene extra thin and some clamping while it sets. ONLY PUT THE GLUE ON THAT FRONT SECTION OF THE NACELLE THOUGH AND NOT INTO THE SNAP FIT HOLLOW RODS... I've discovered the plastic deforms in the snap fit rod from the cement and can show a dimple on the nacelle surface. That join then needs I tiny bit of putty on the tip under the gun only. As it's a flat bit it's super easy to do and sand smooth. To get the decals in the correct place just follow the page from the Master File - which I will scan and post into the other vf4 thread already going here - as Wave doesn't show much at all for placement. Some decals are also optional like the two versions of the beam gun warning arrows
