Search the Community
Showing results for tags 'wip'.
Found 9 results
-
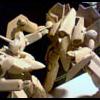
Well, with the last thread now sent to the abyss....er, the Hall, I figure it's time to start off a new one. In the spirit of that I'm starting off the new one with some blank line art for people to color like the first thread was. In this case, it's my newly-finished VF-1 family featuring all four basic models, as well as a few tweaked details. Cockpit interiors, crew, and weapons will come in later upgrades.
-
Meant to start this last year, but started last month, been working on this and going through the process... just a little teaser.
- 27 replies
-
- 3
-

-
- wip
- conversion
- (and 7 more)
-
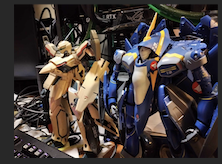
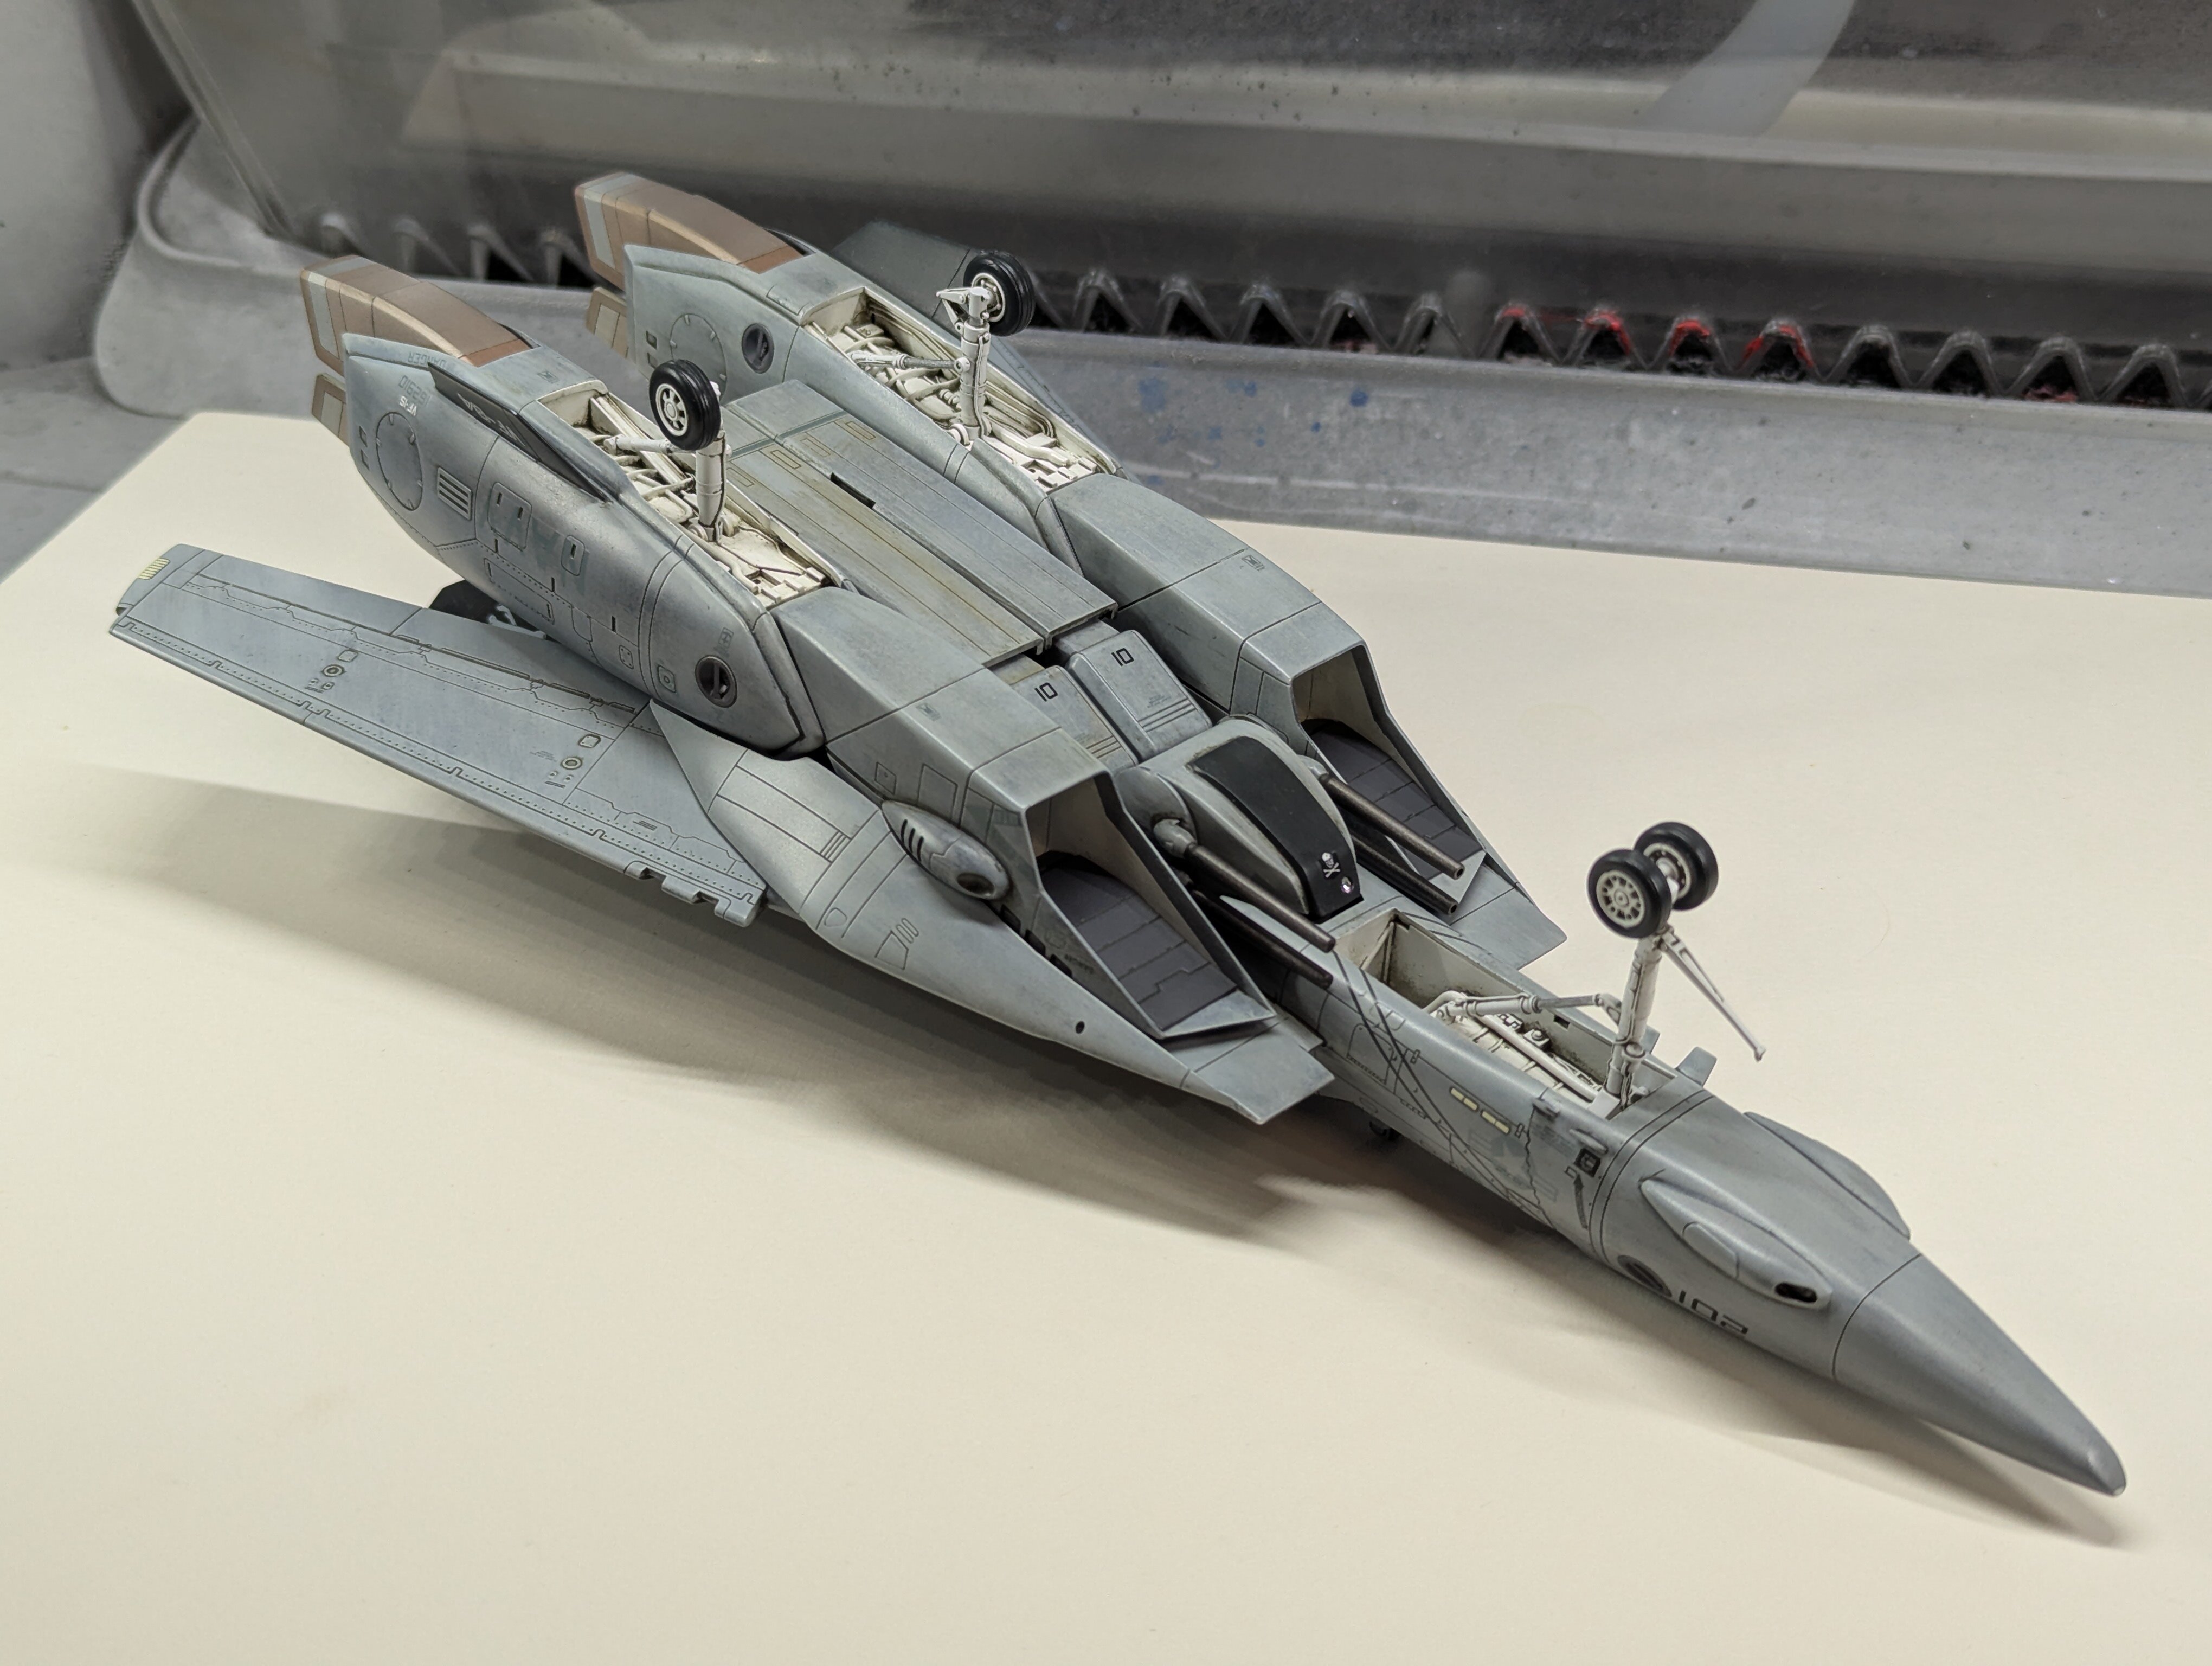
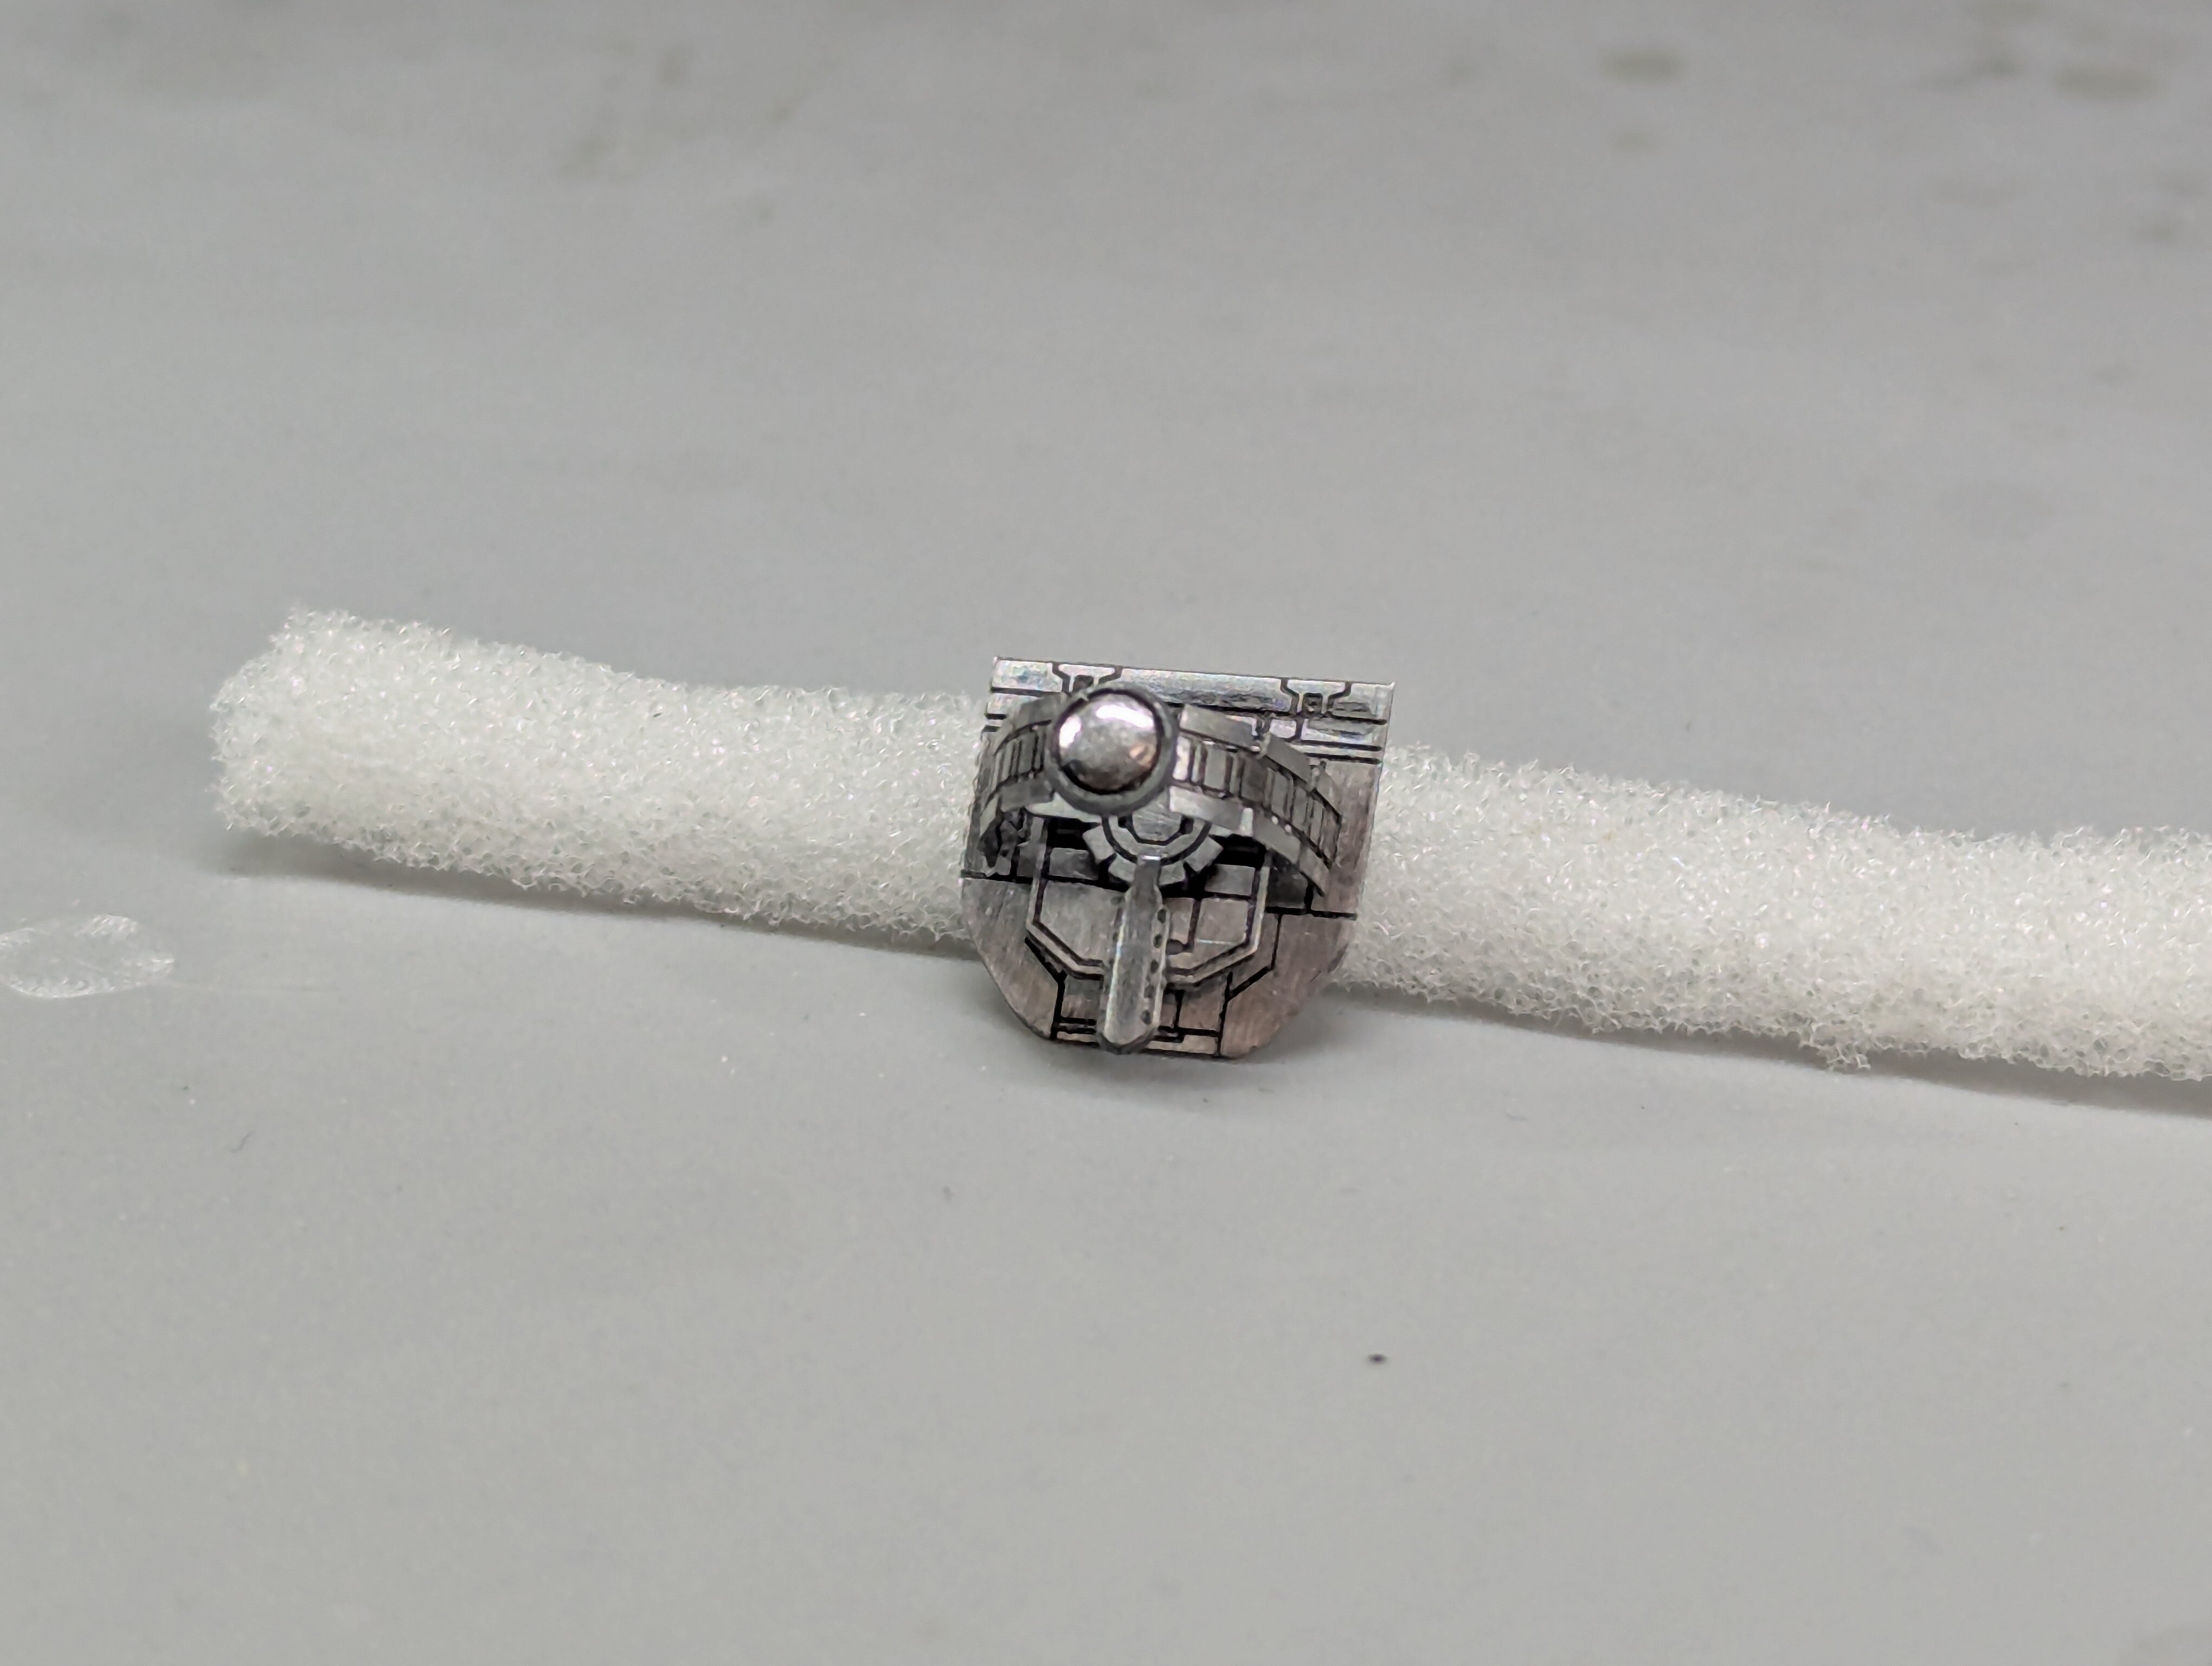
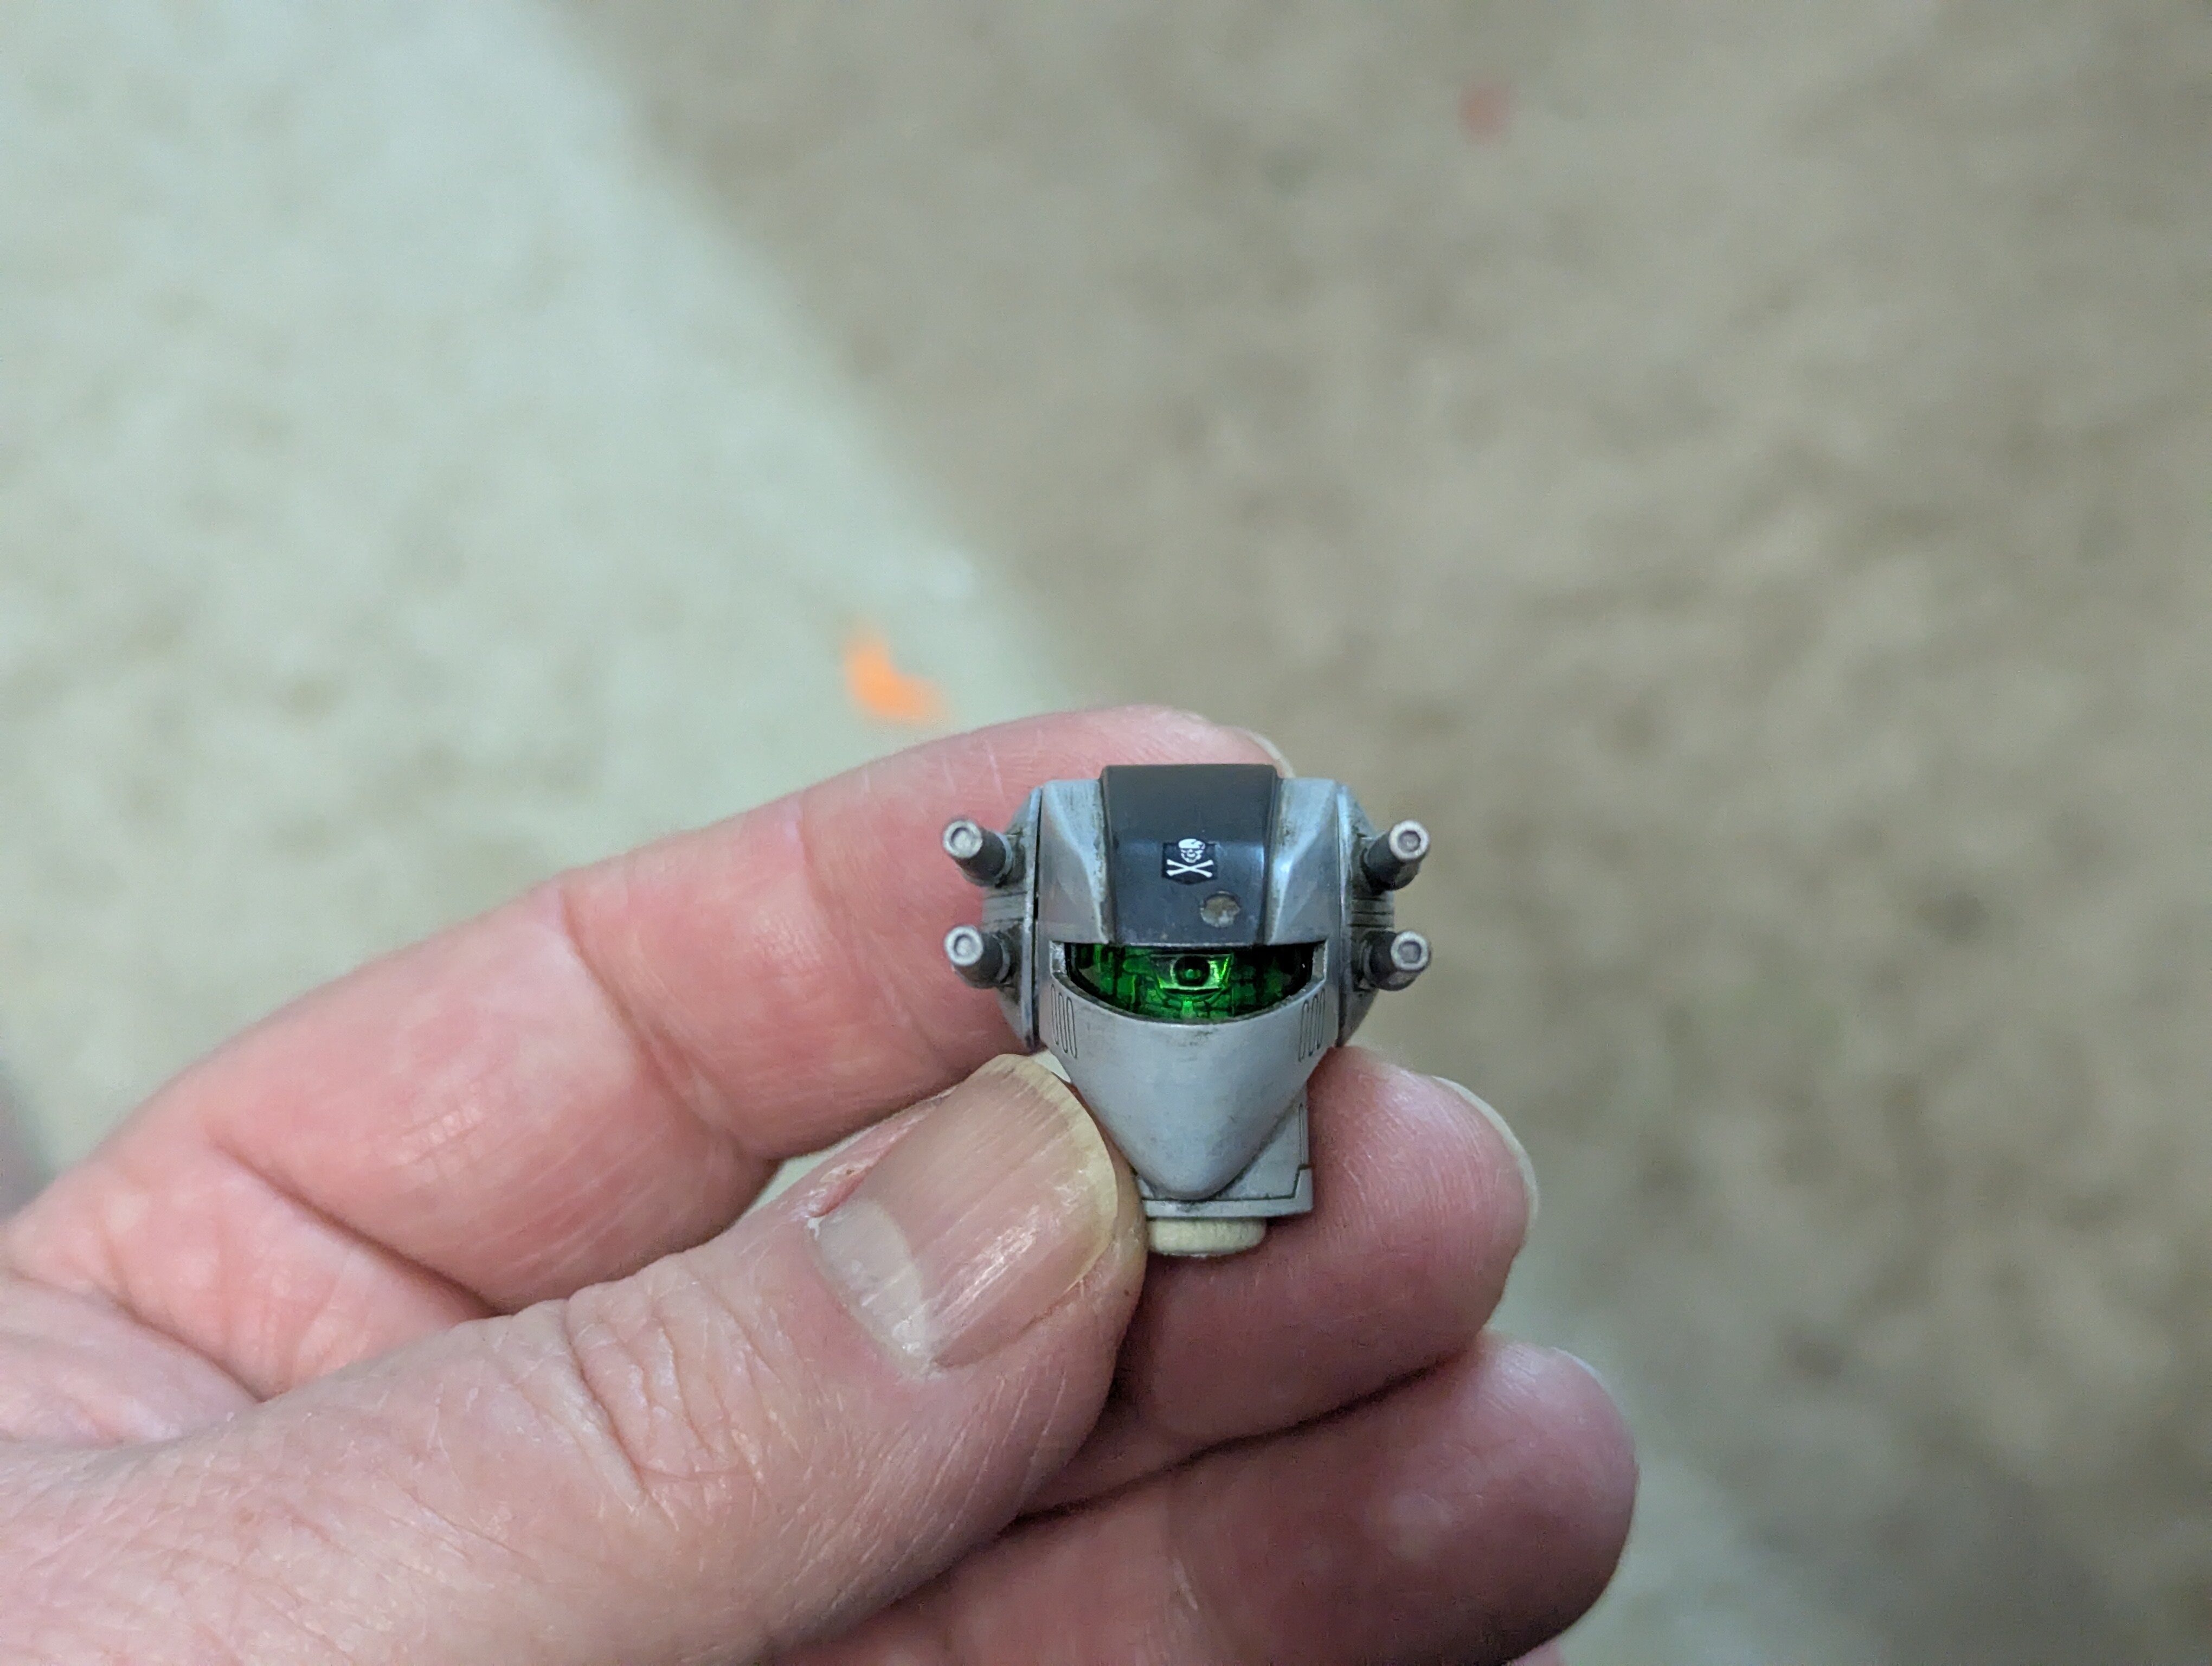
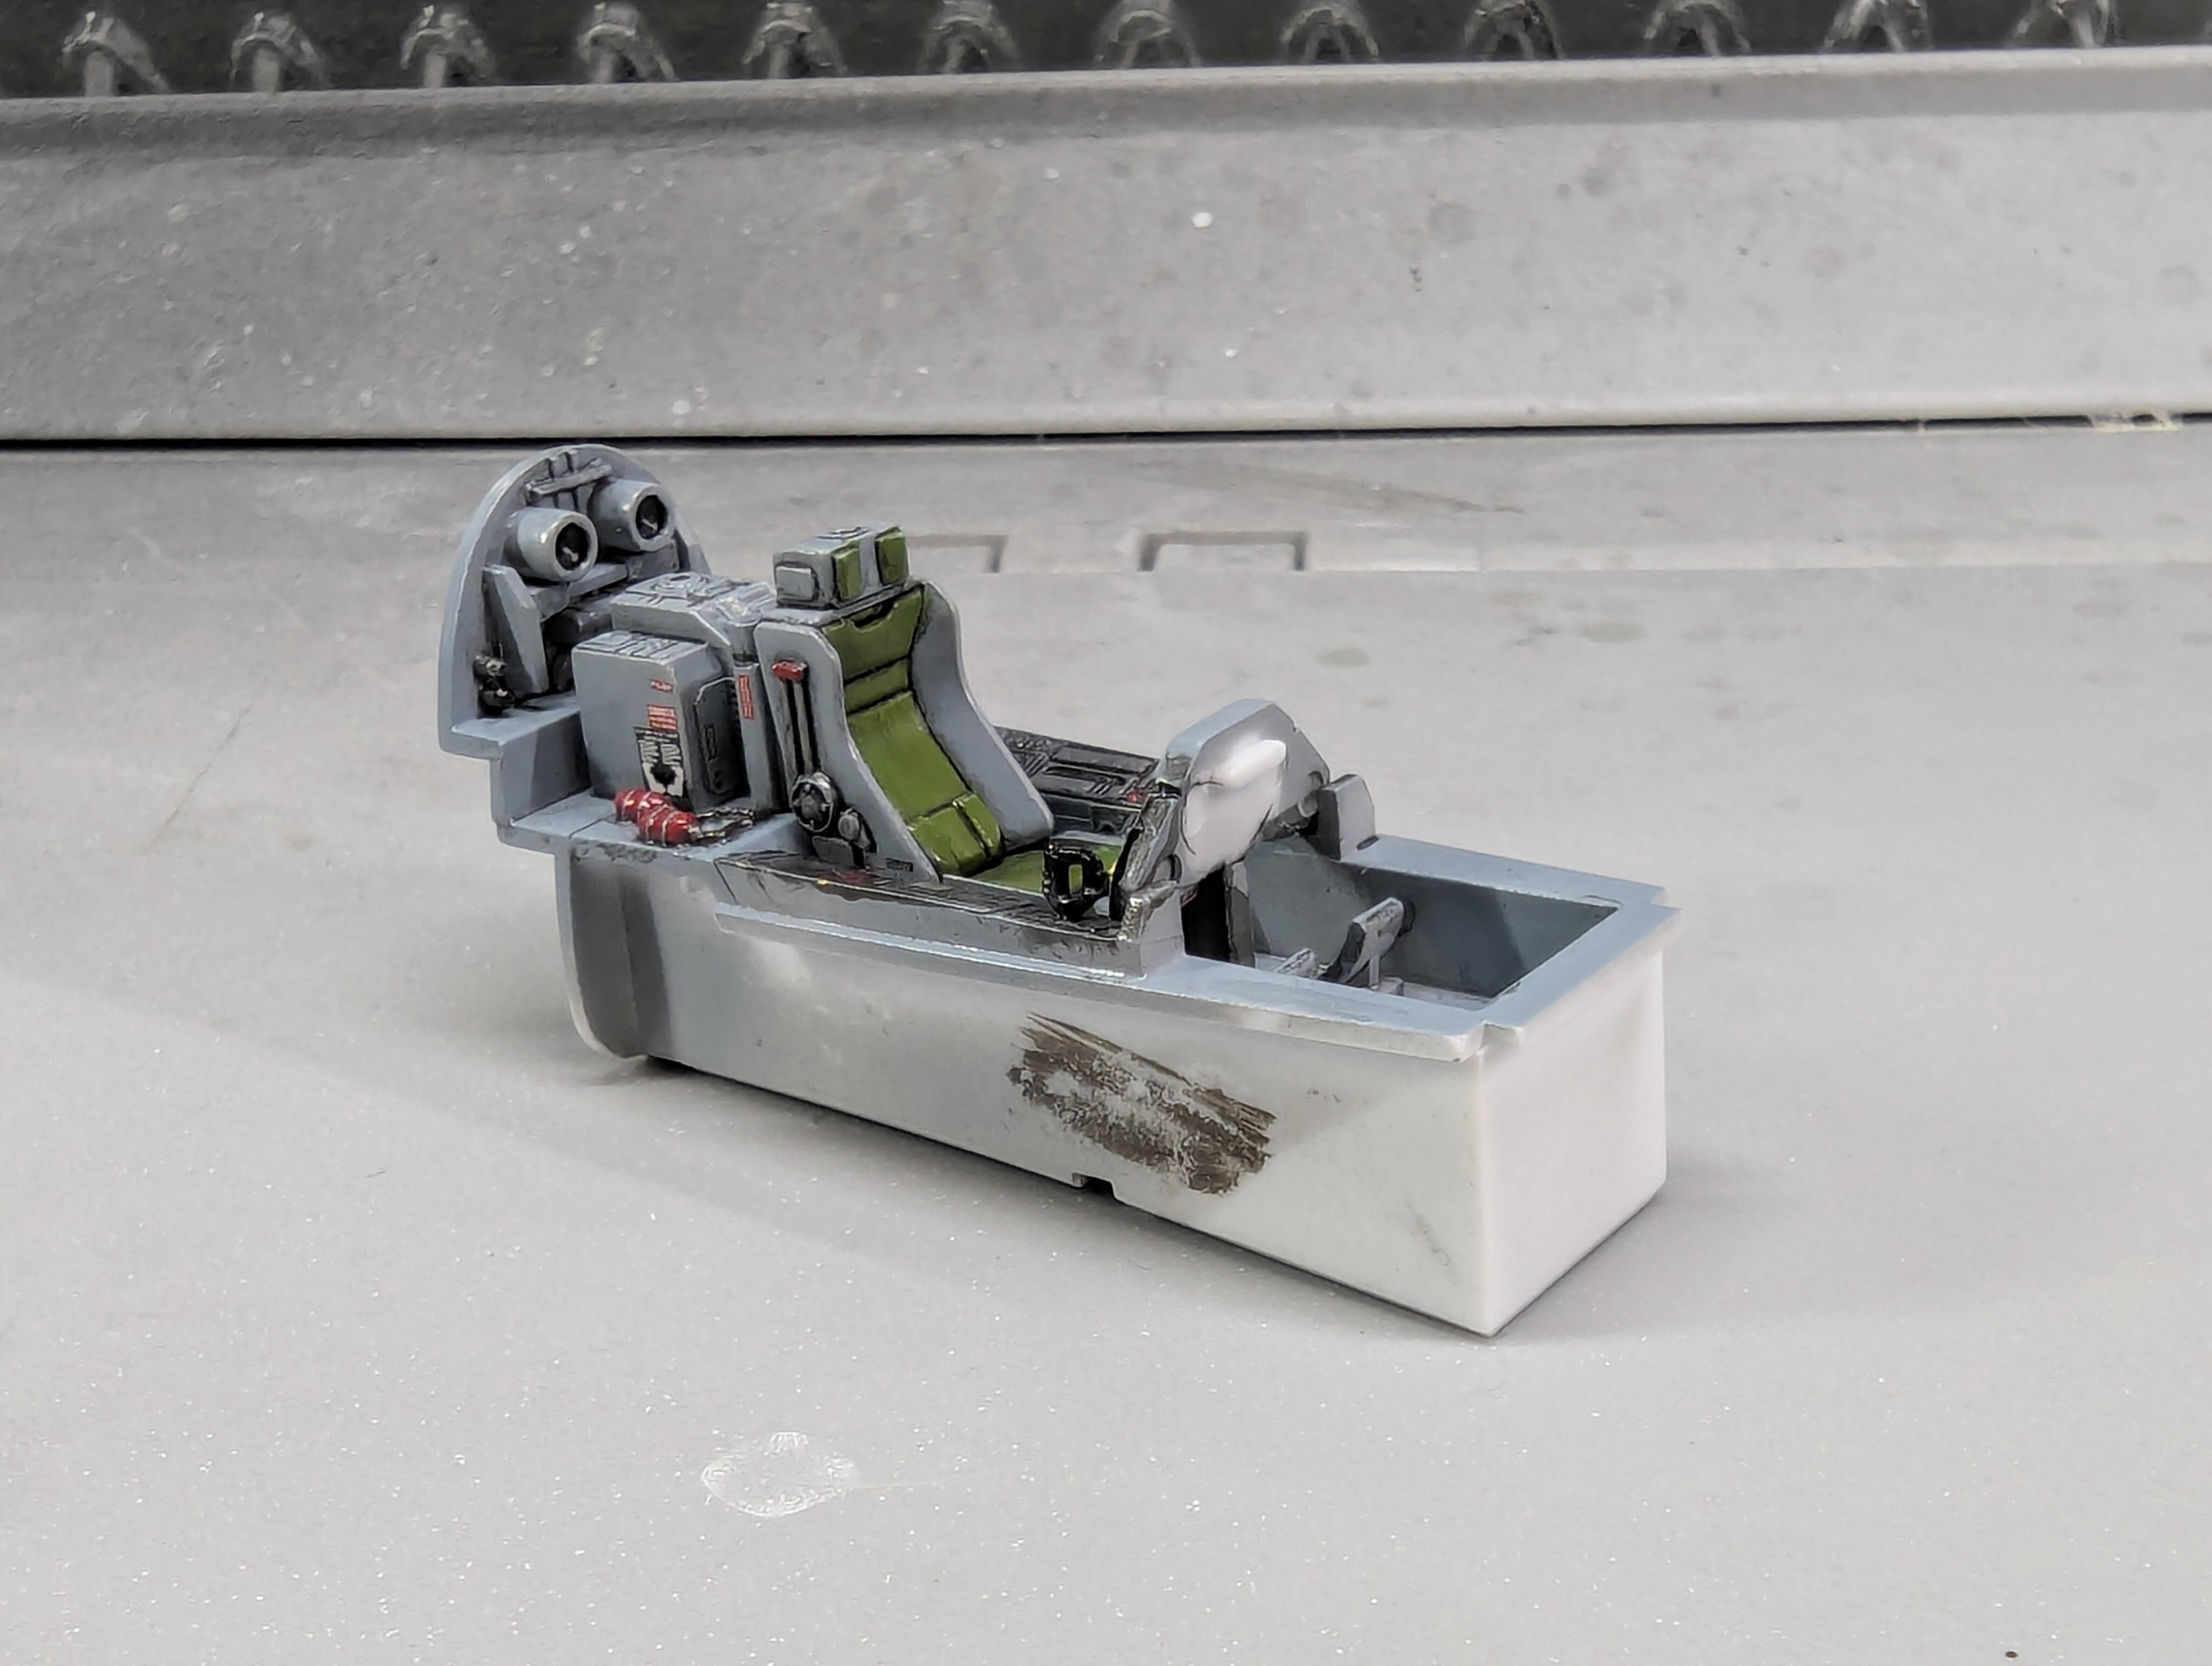
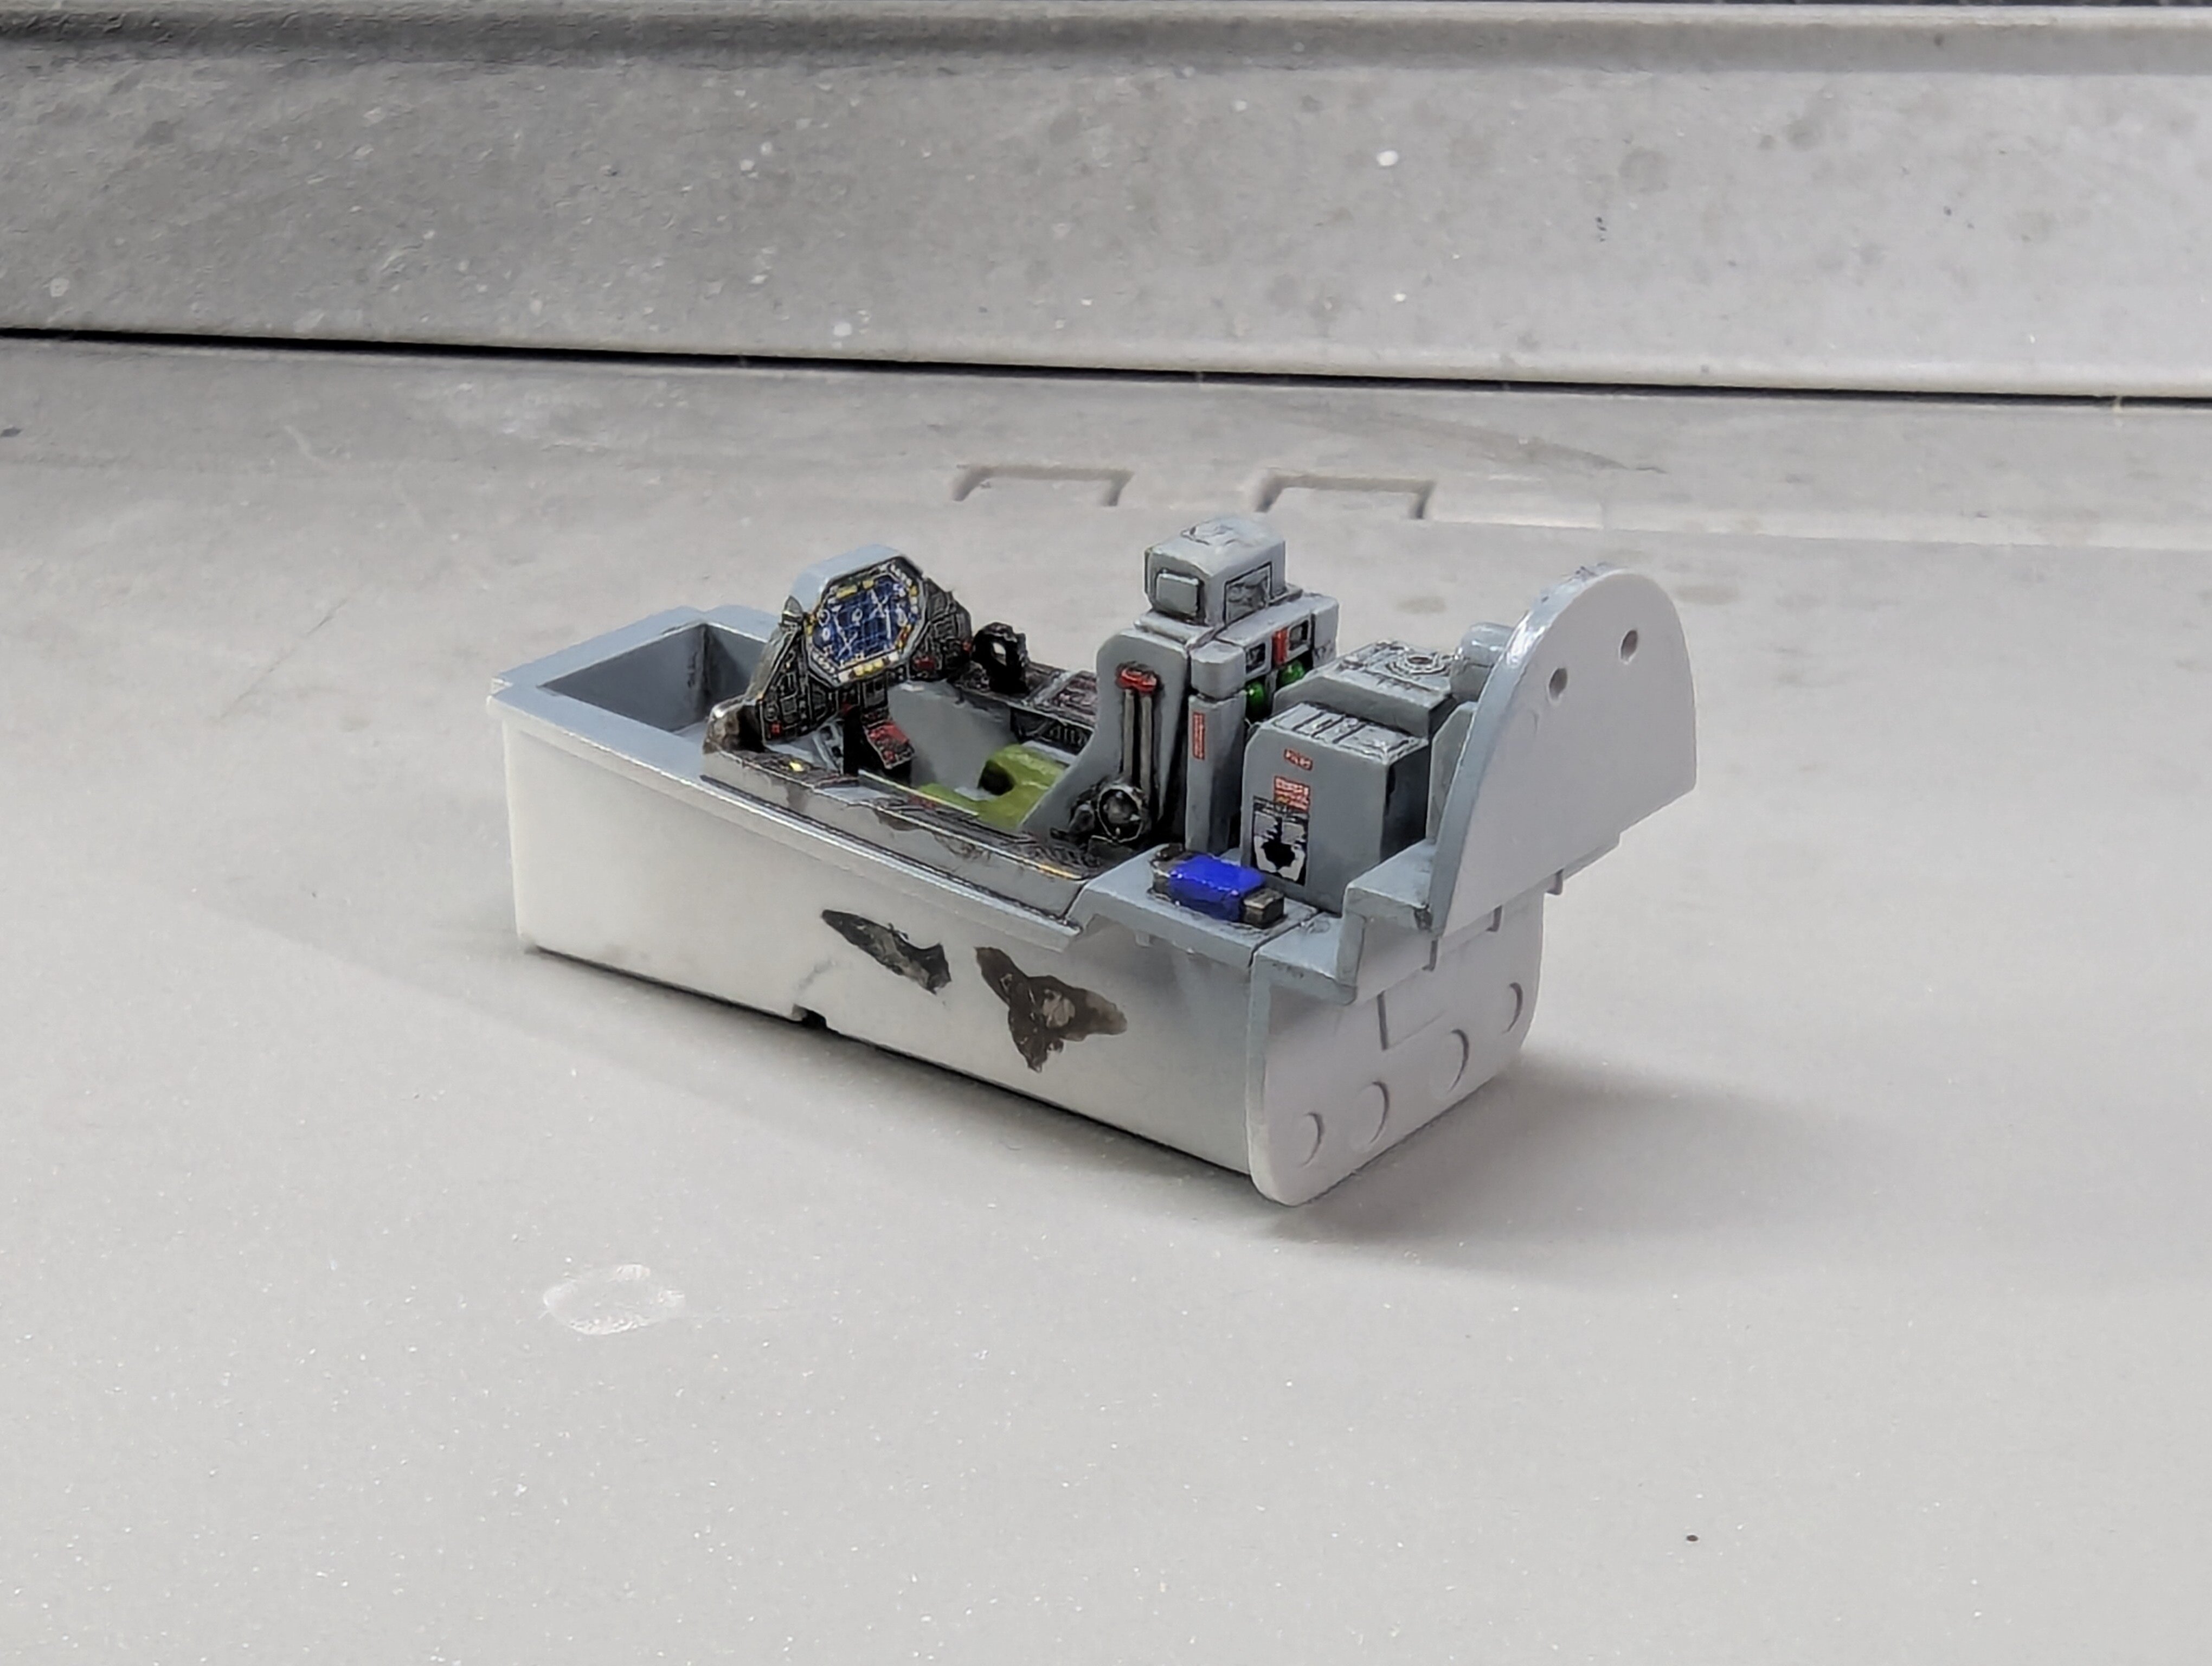
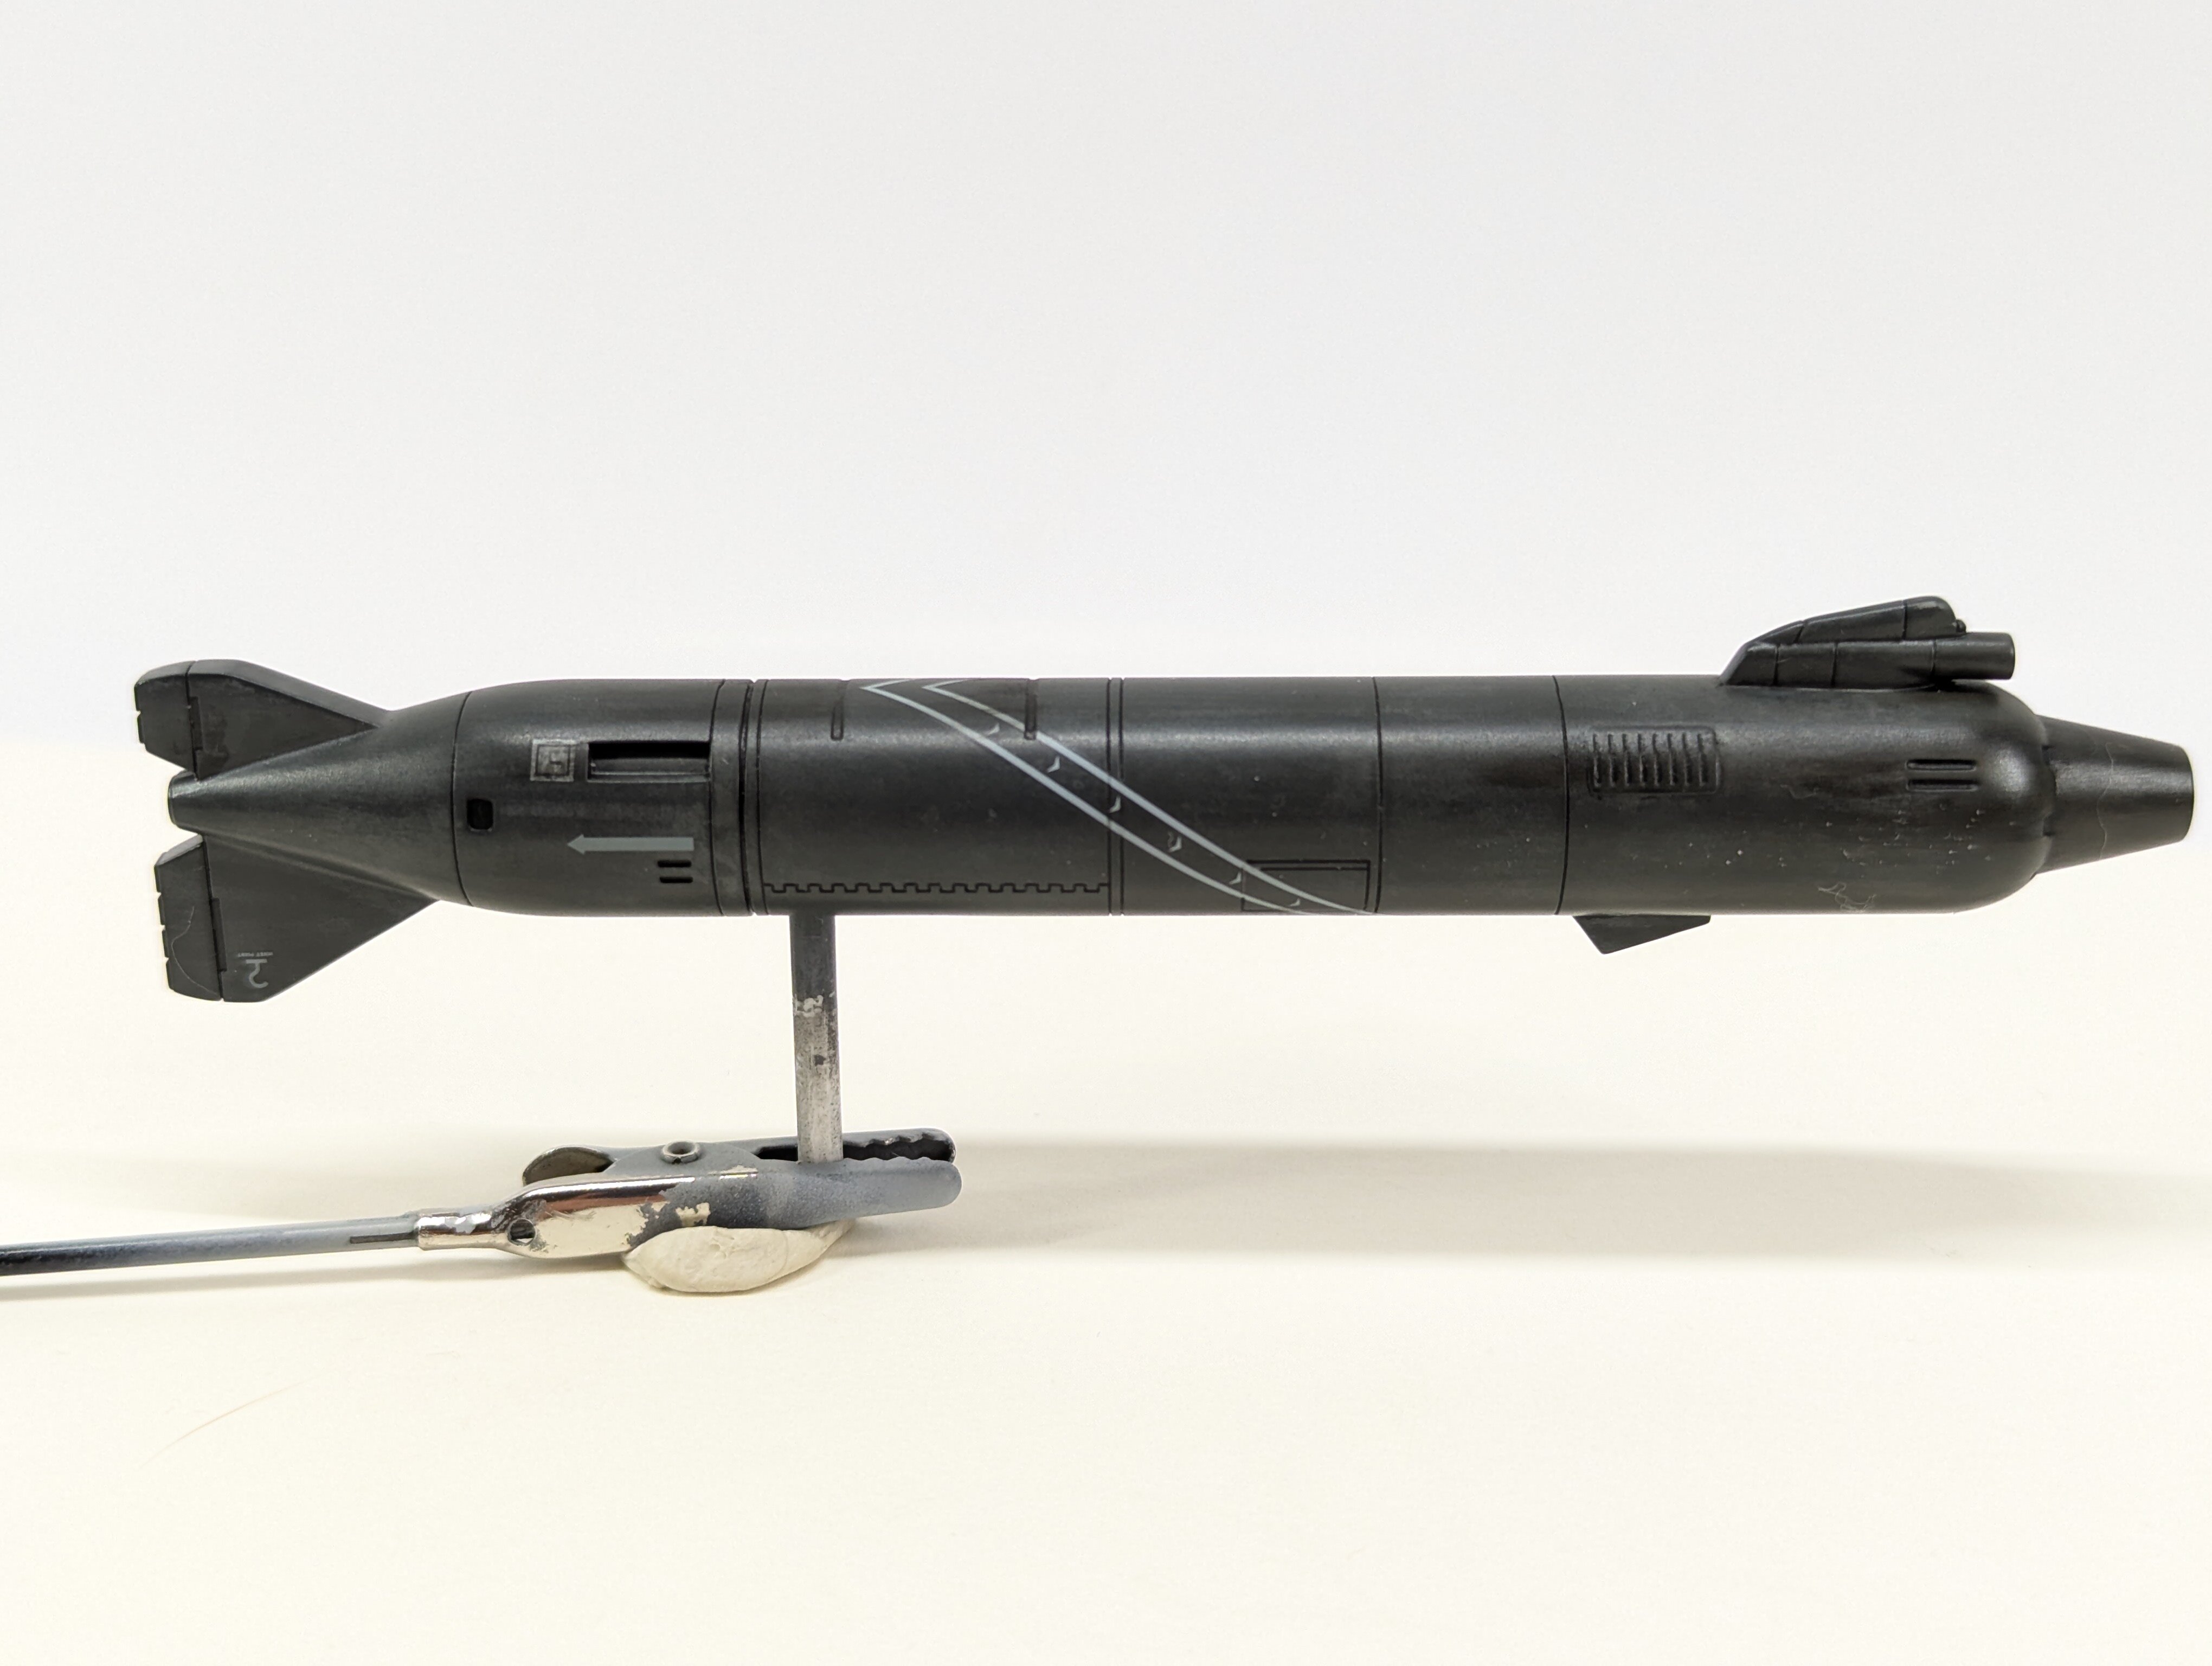
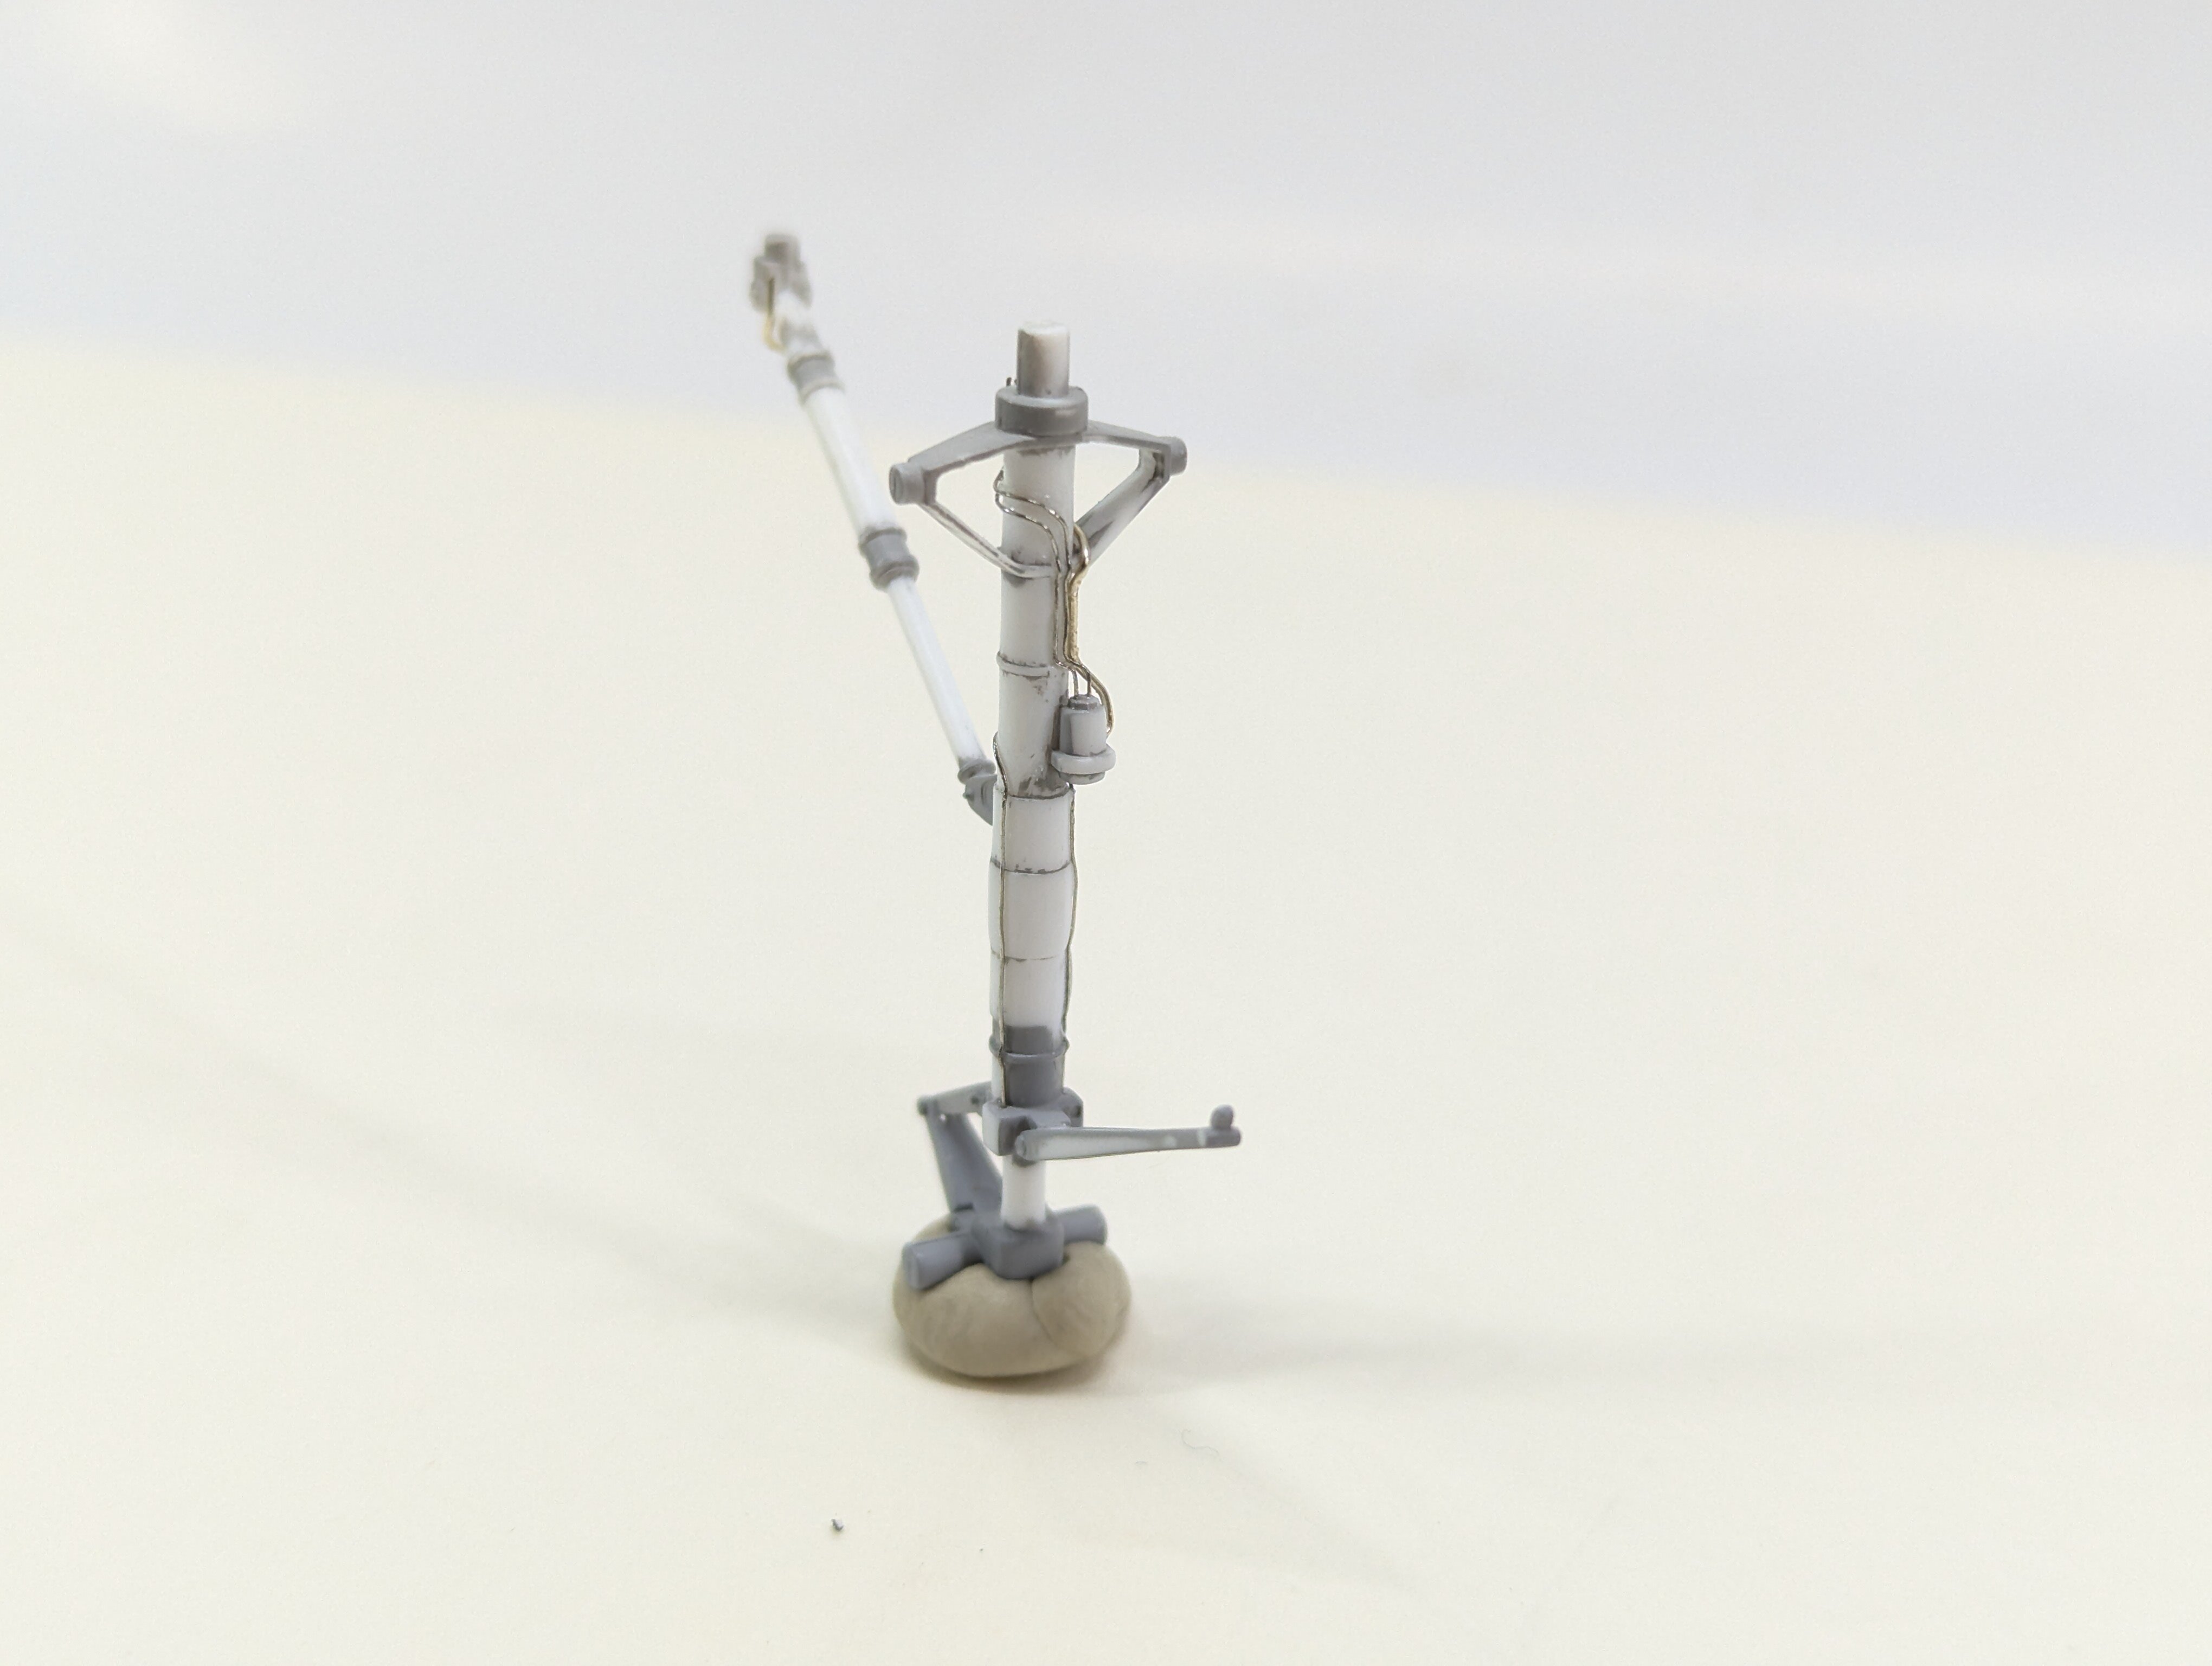
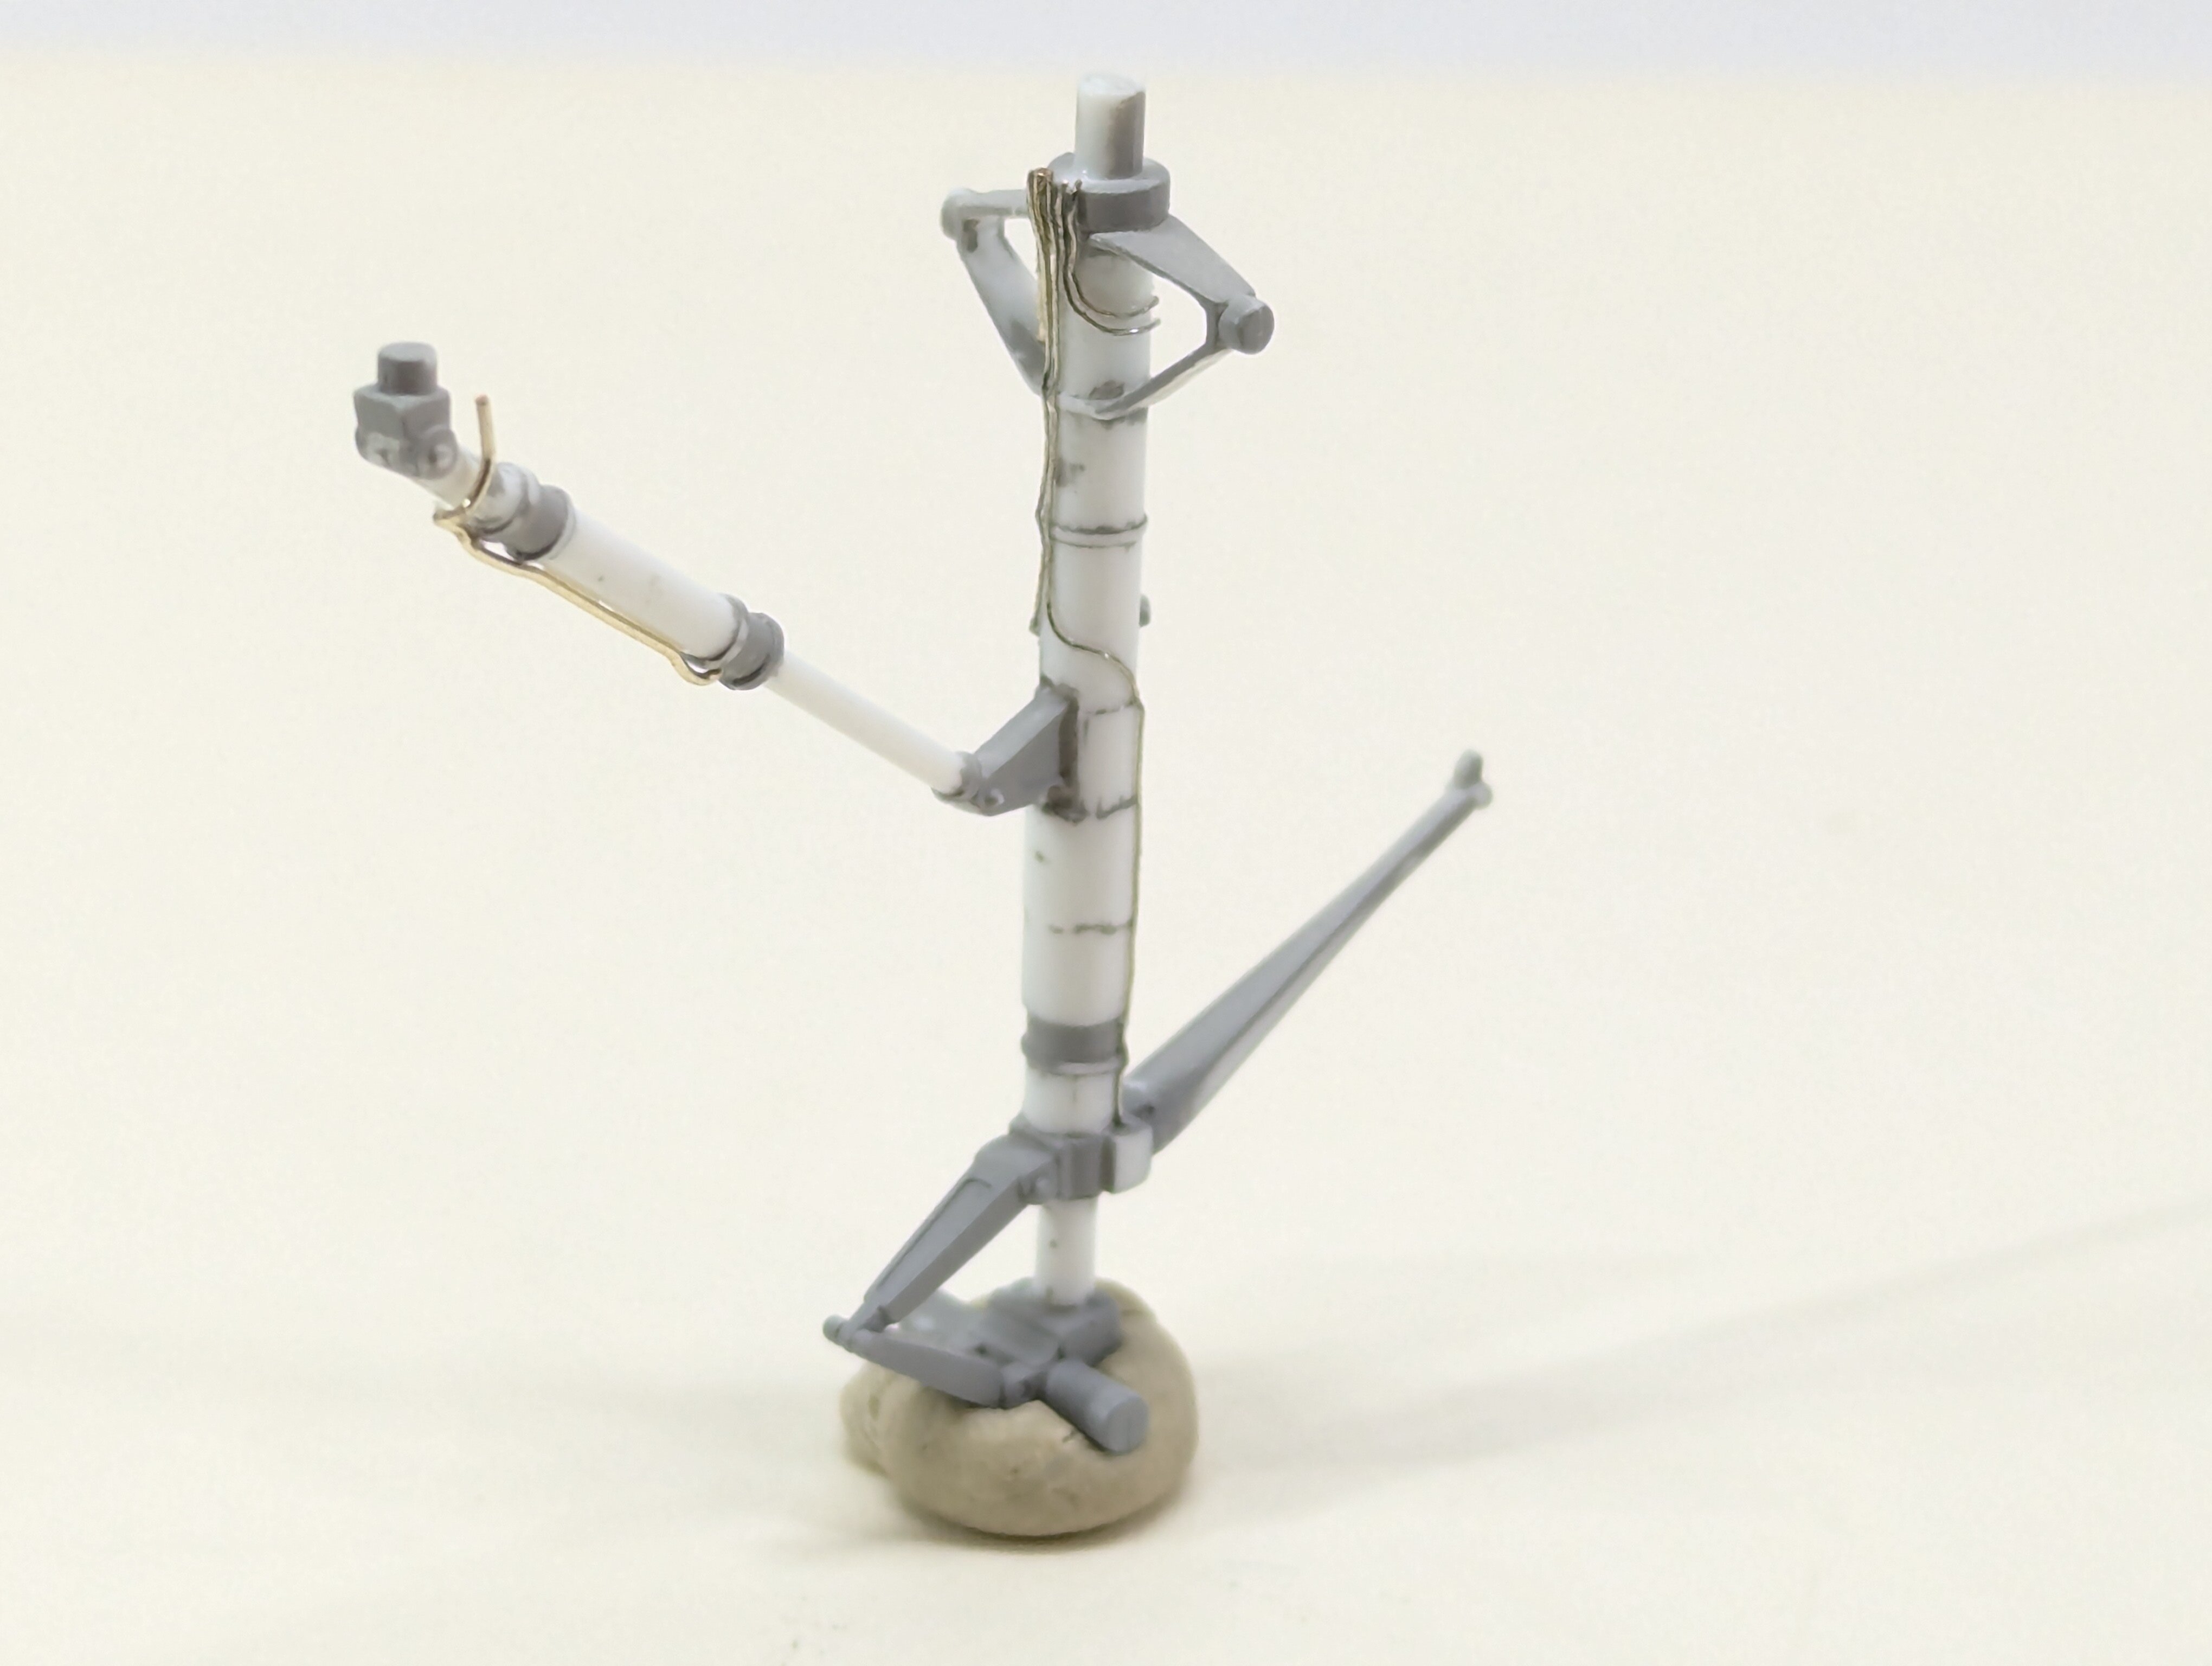
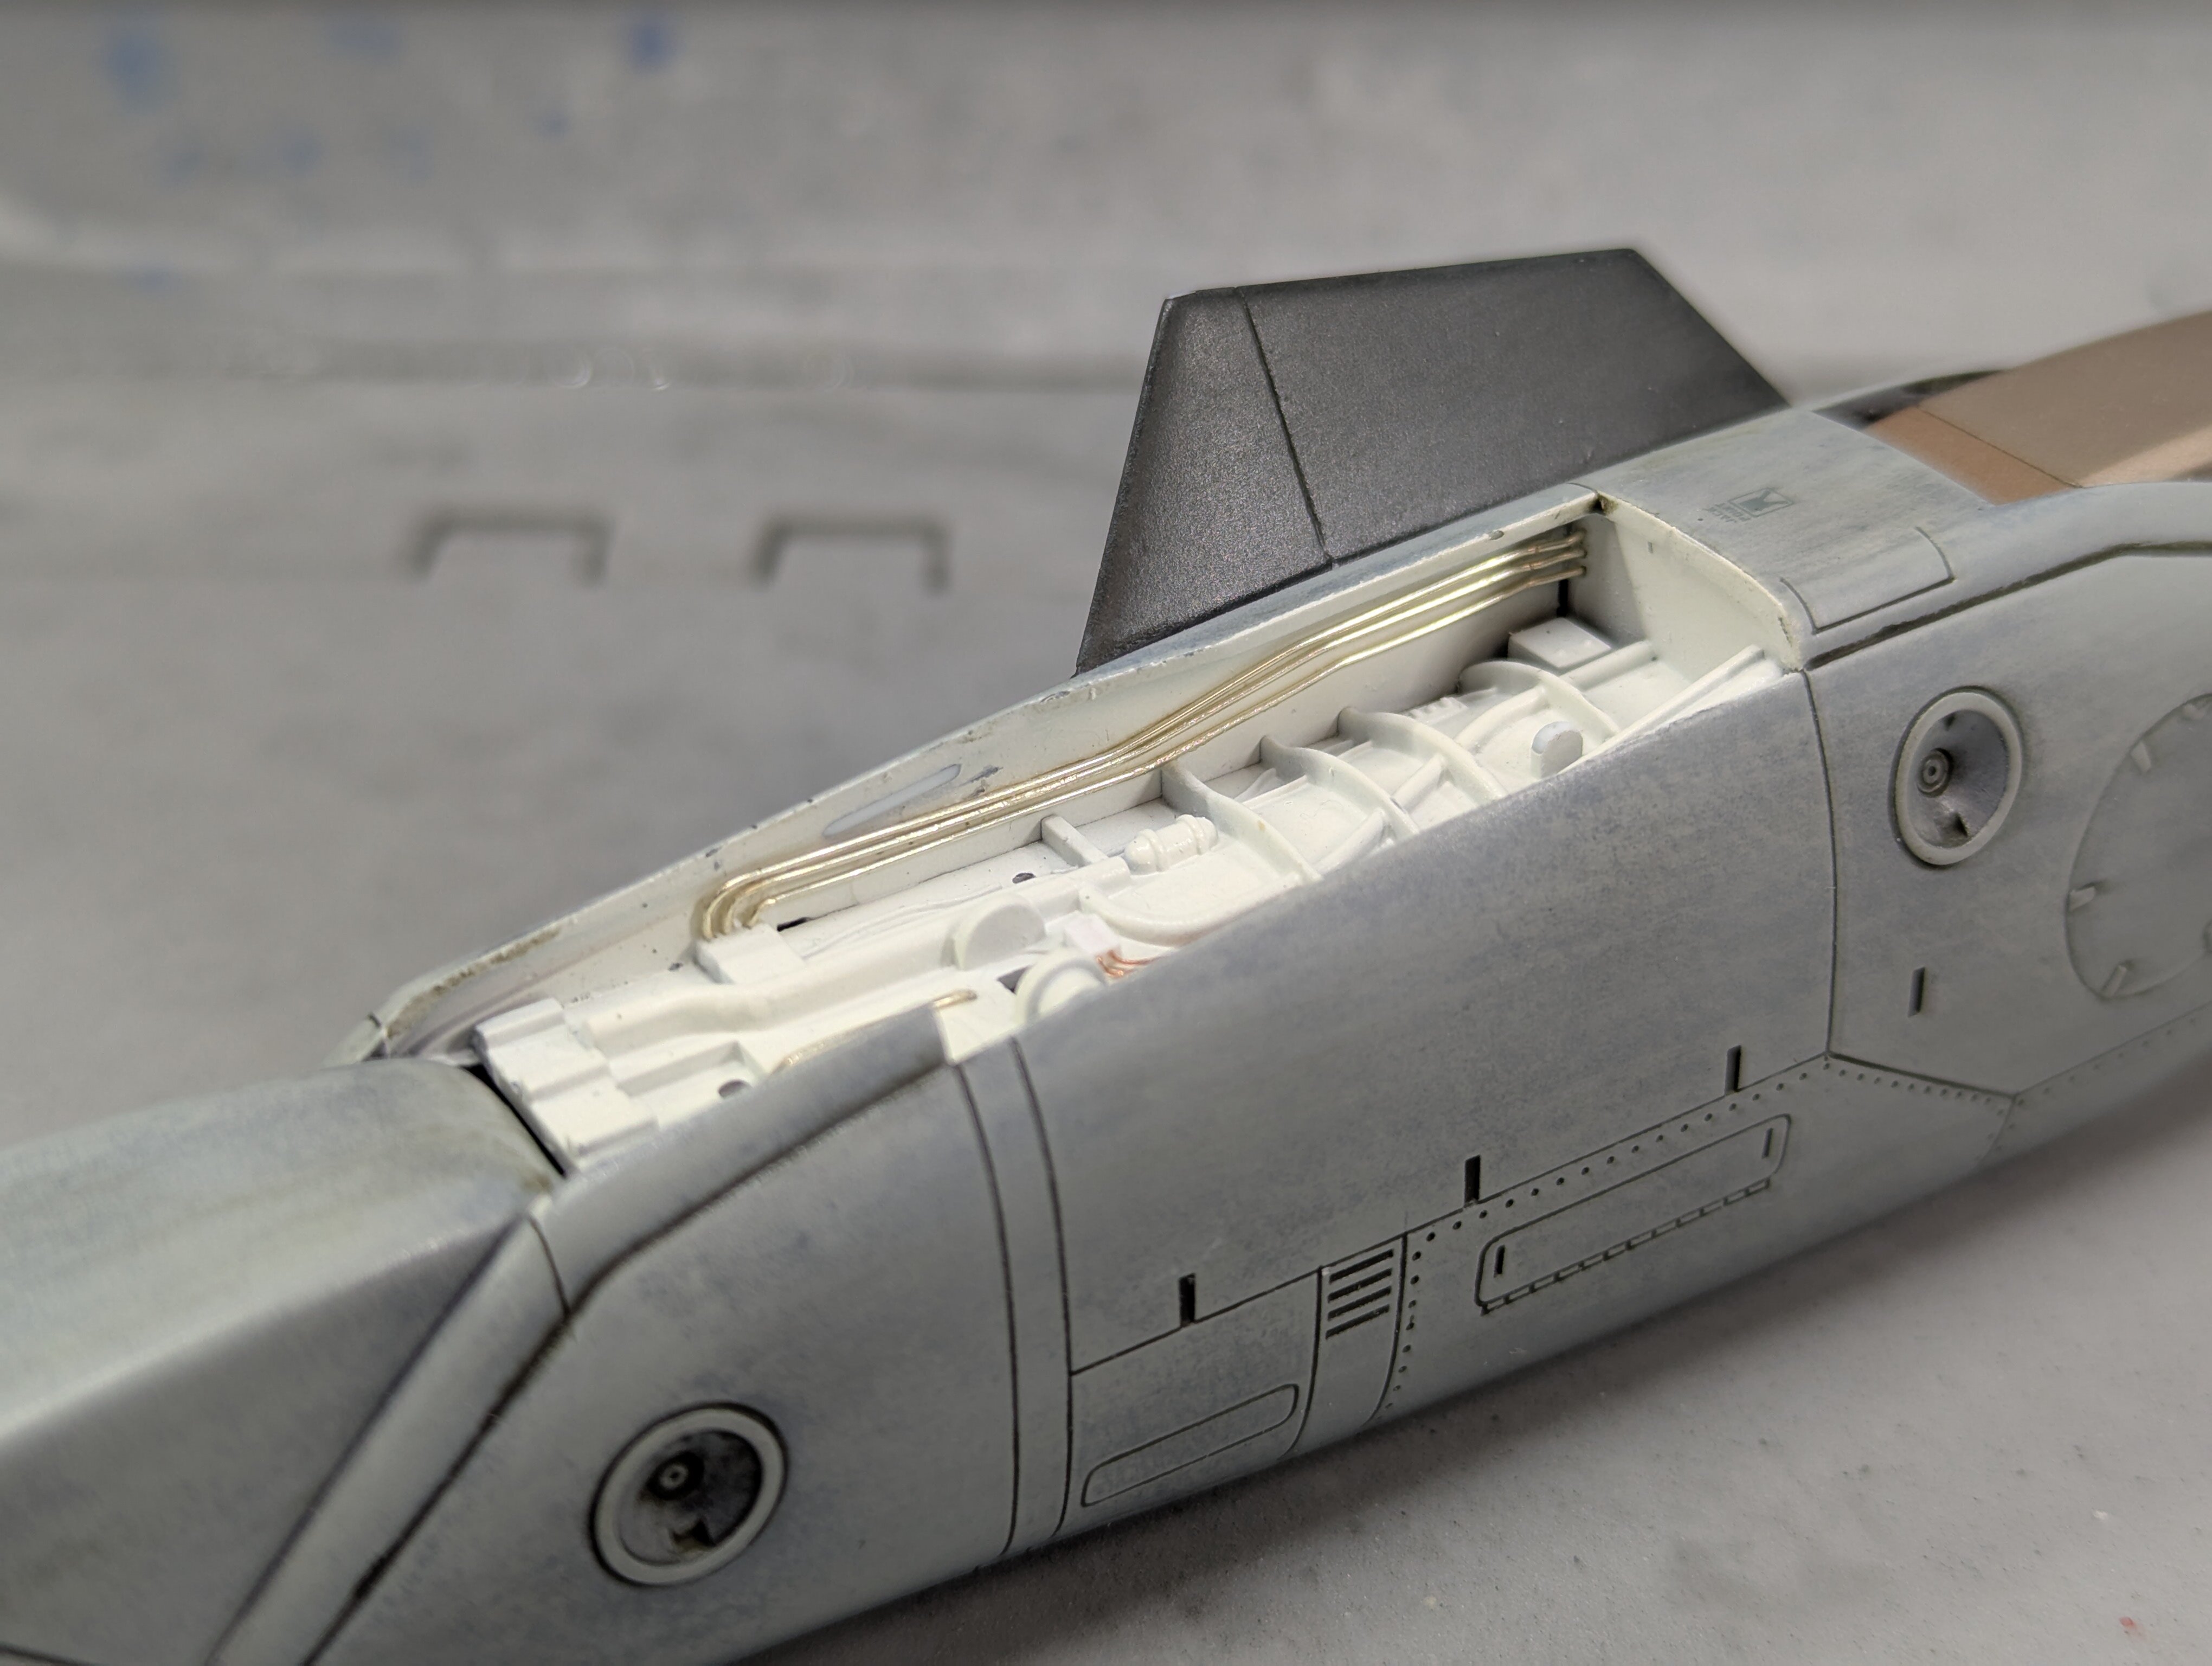
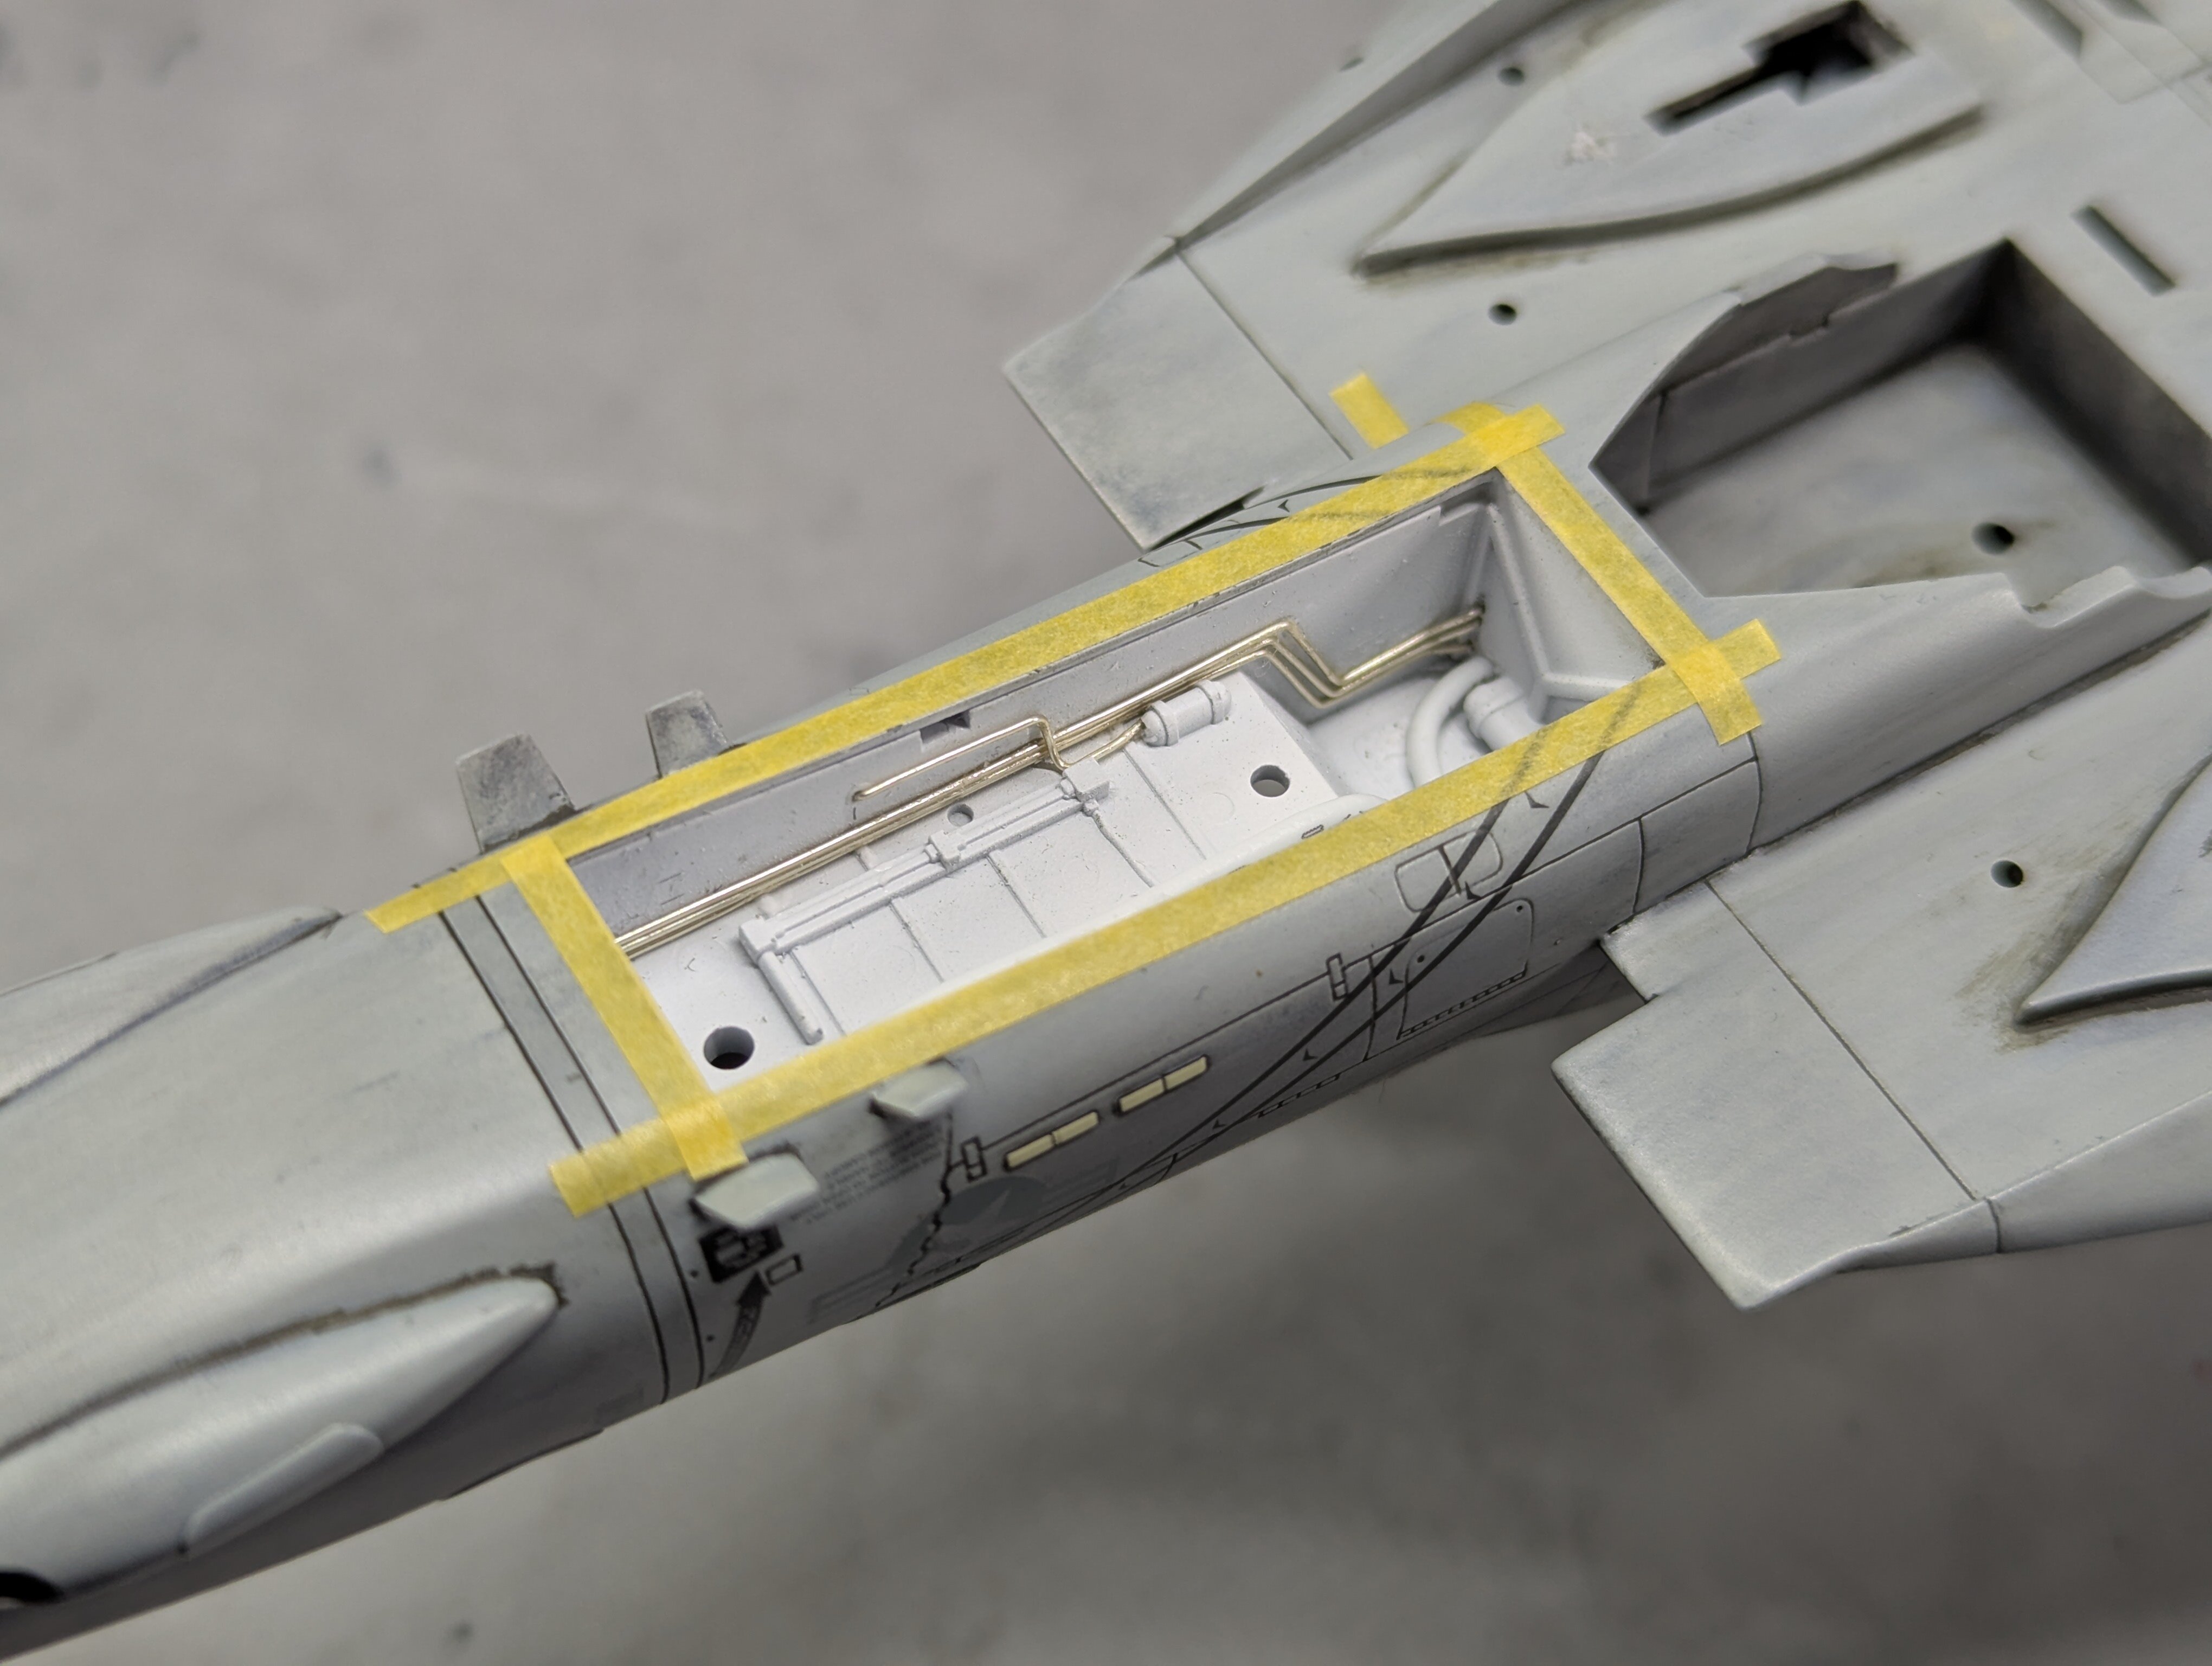
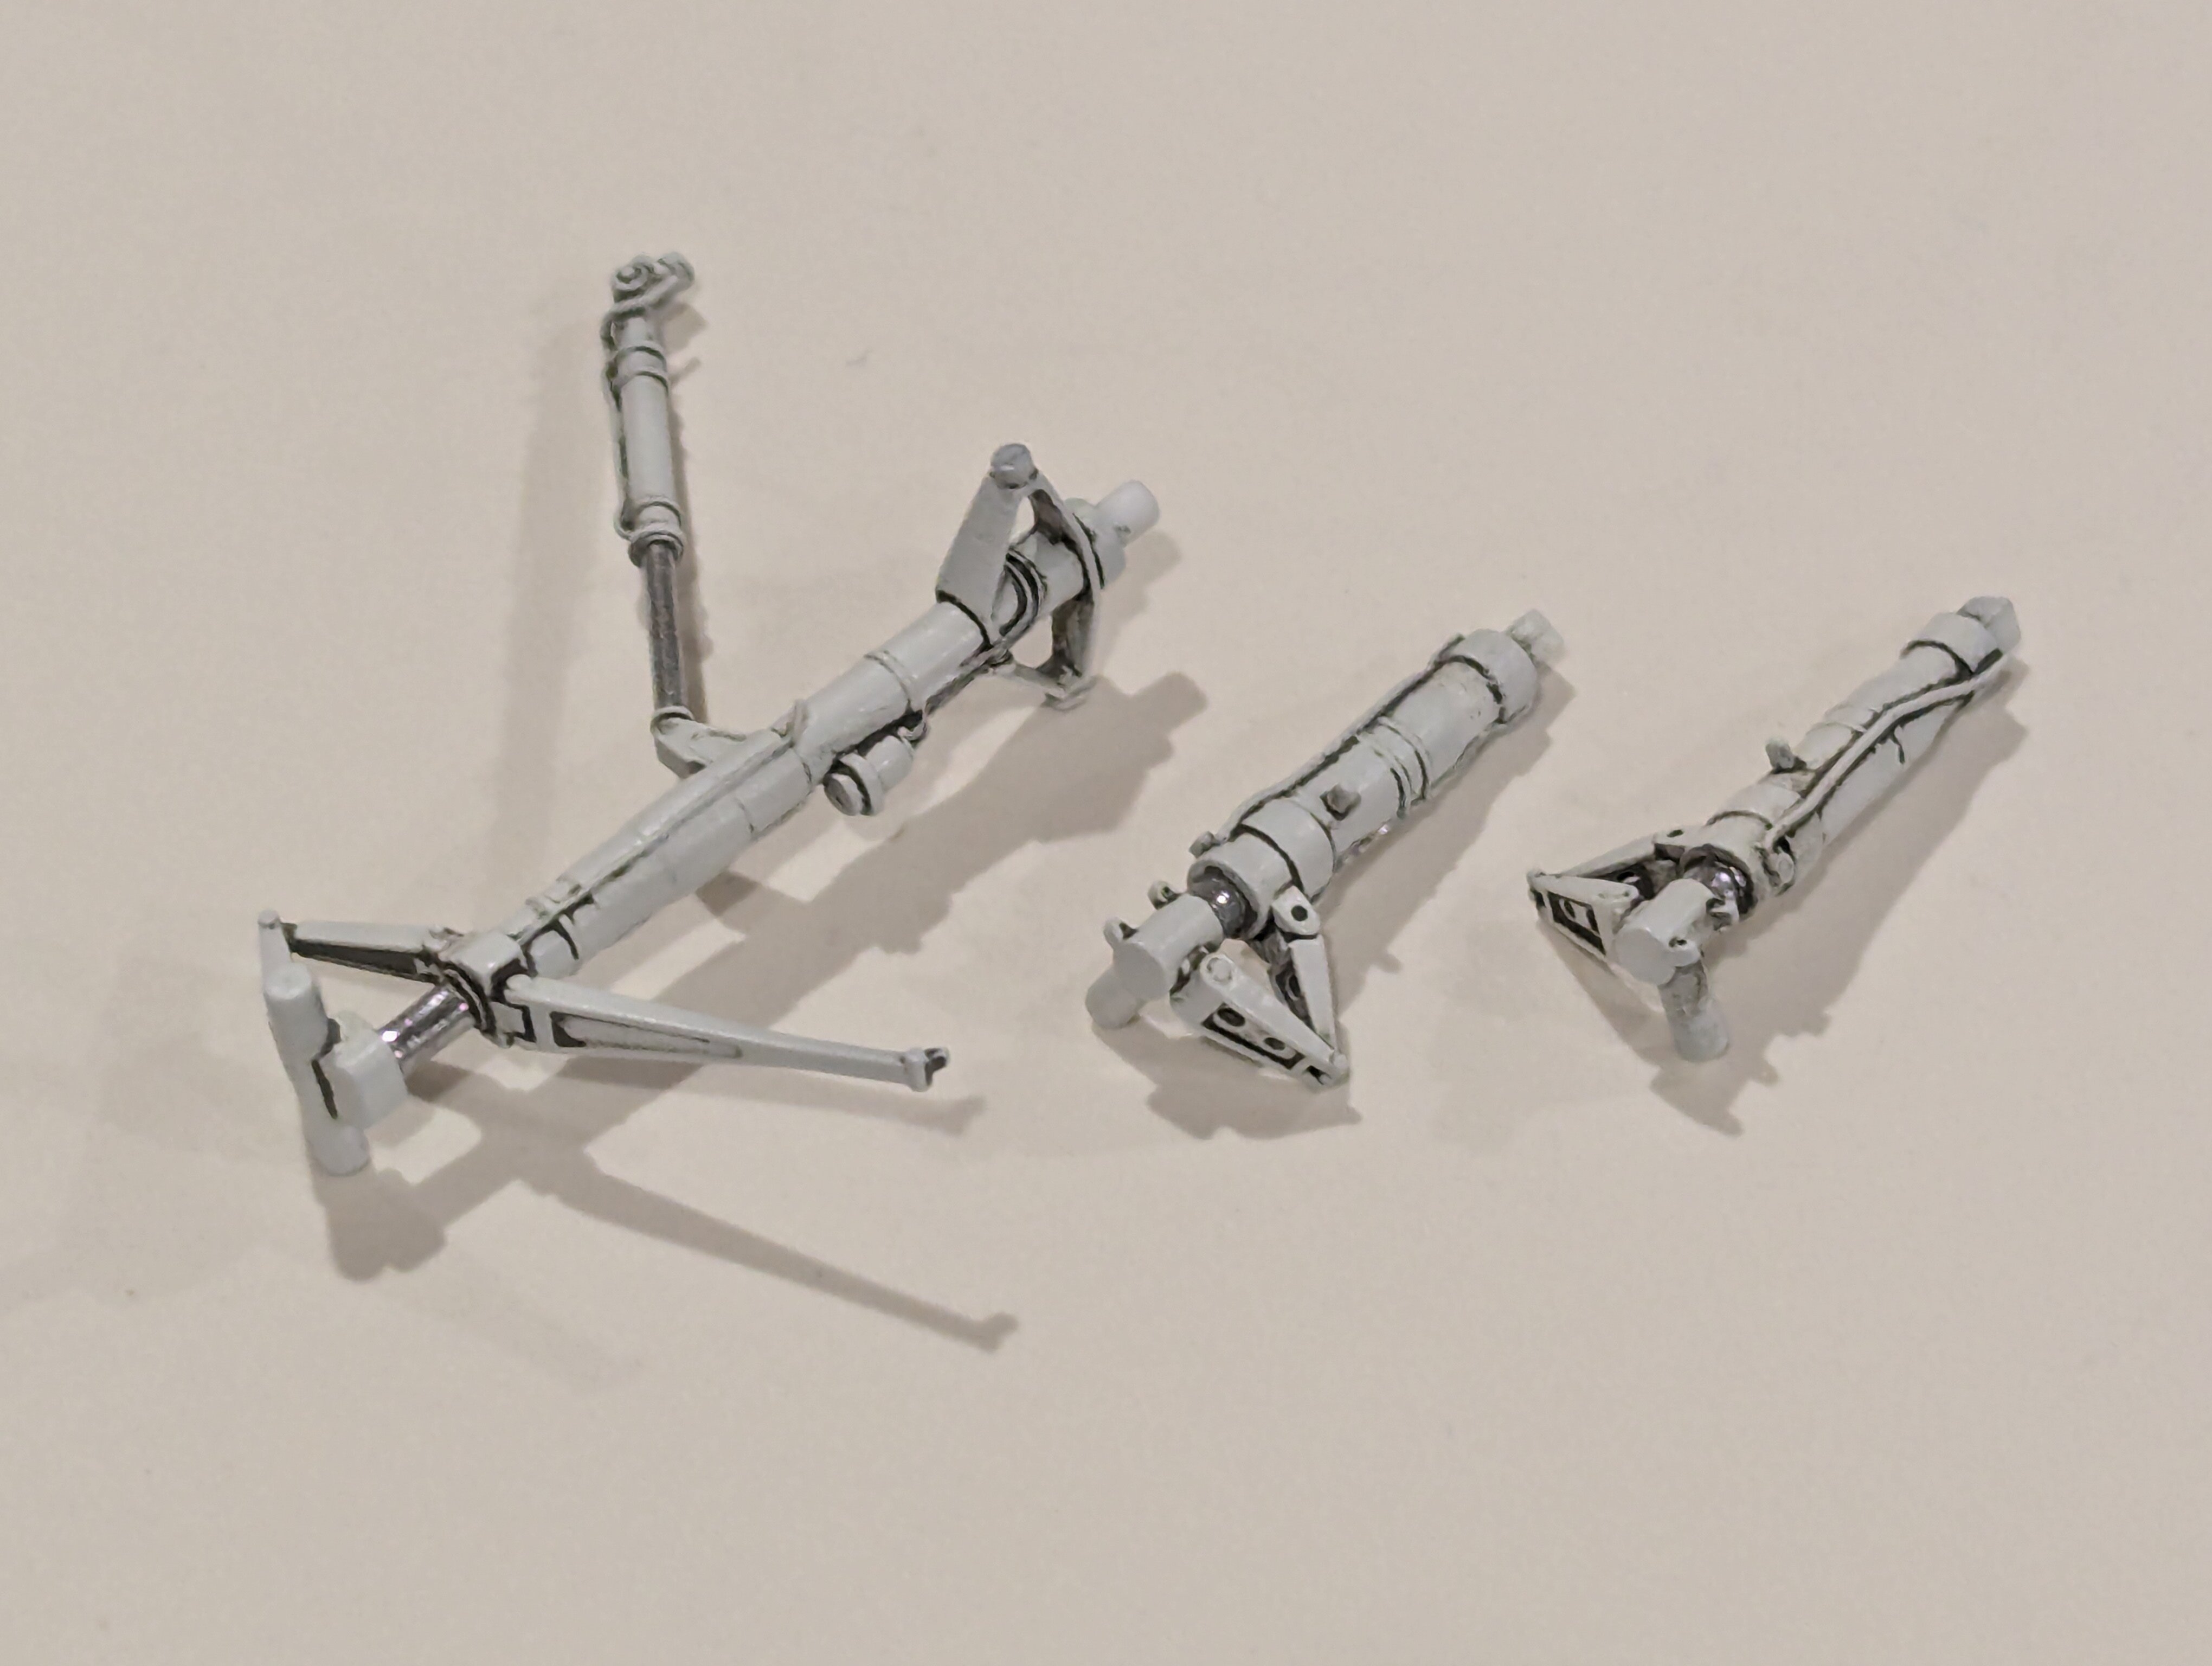
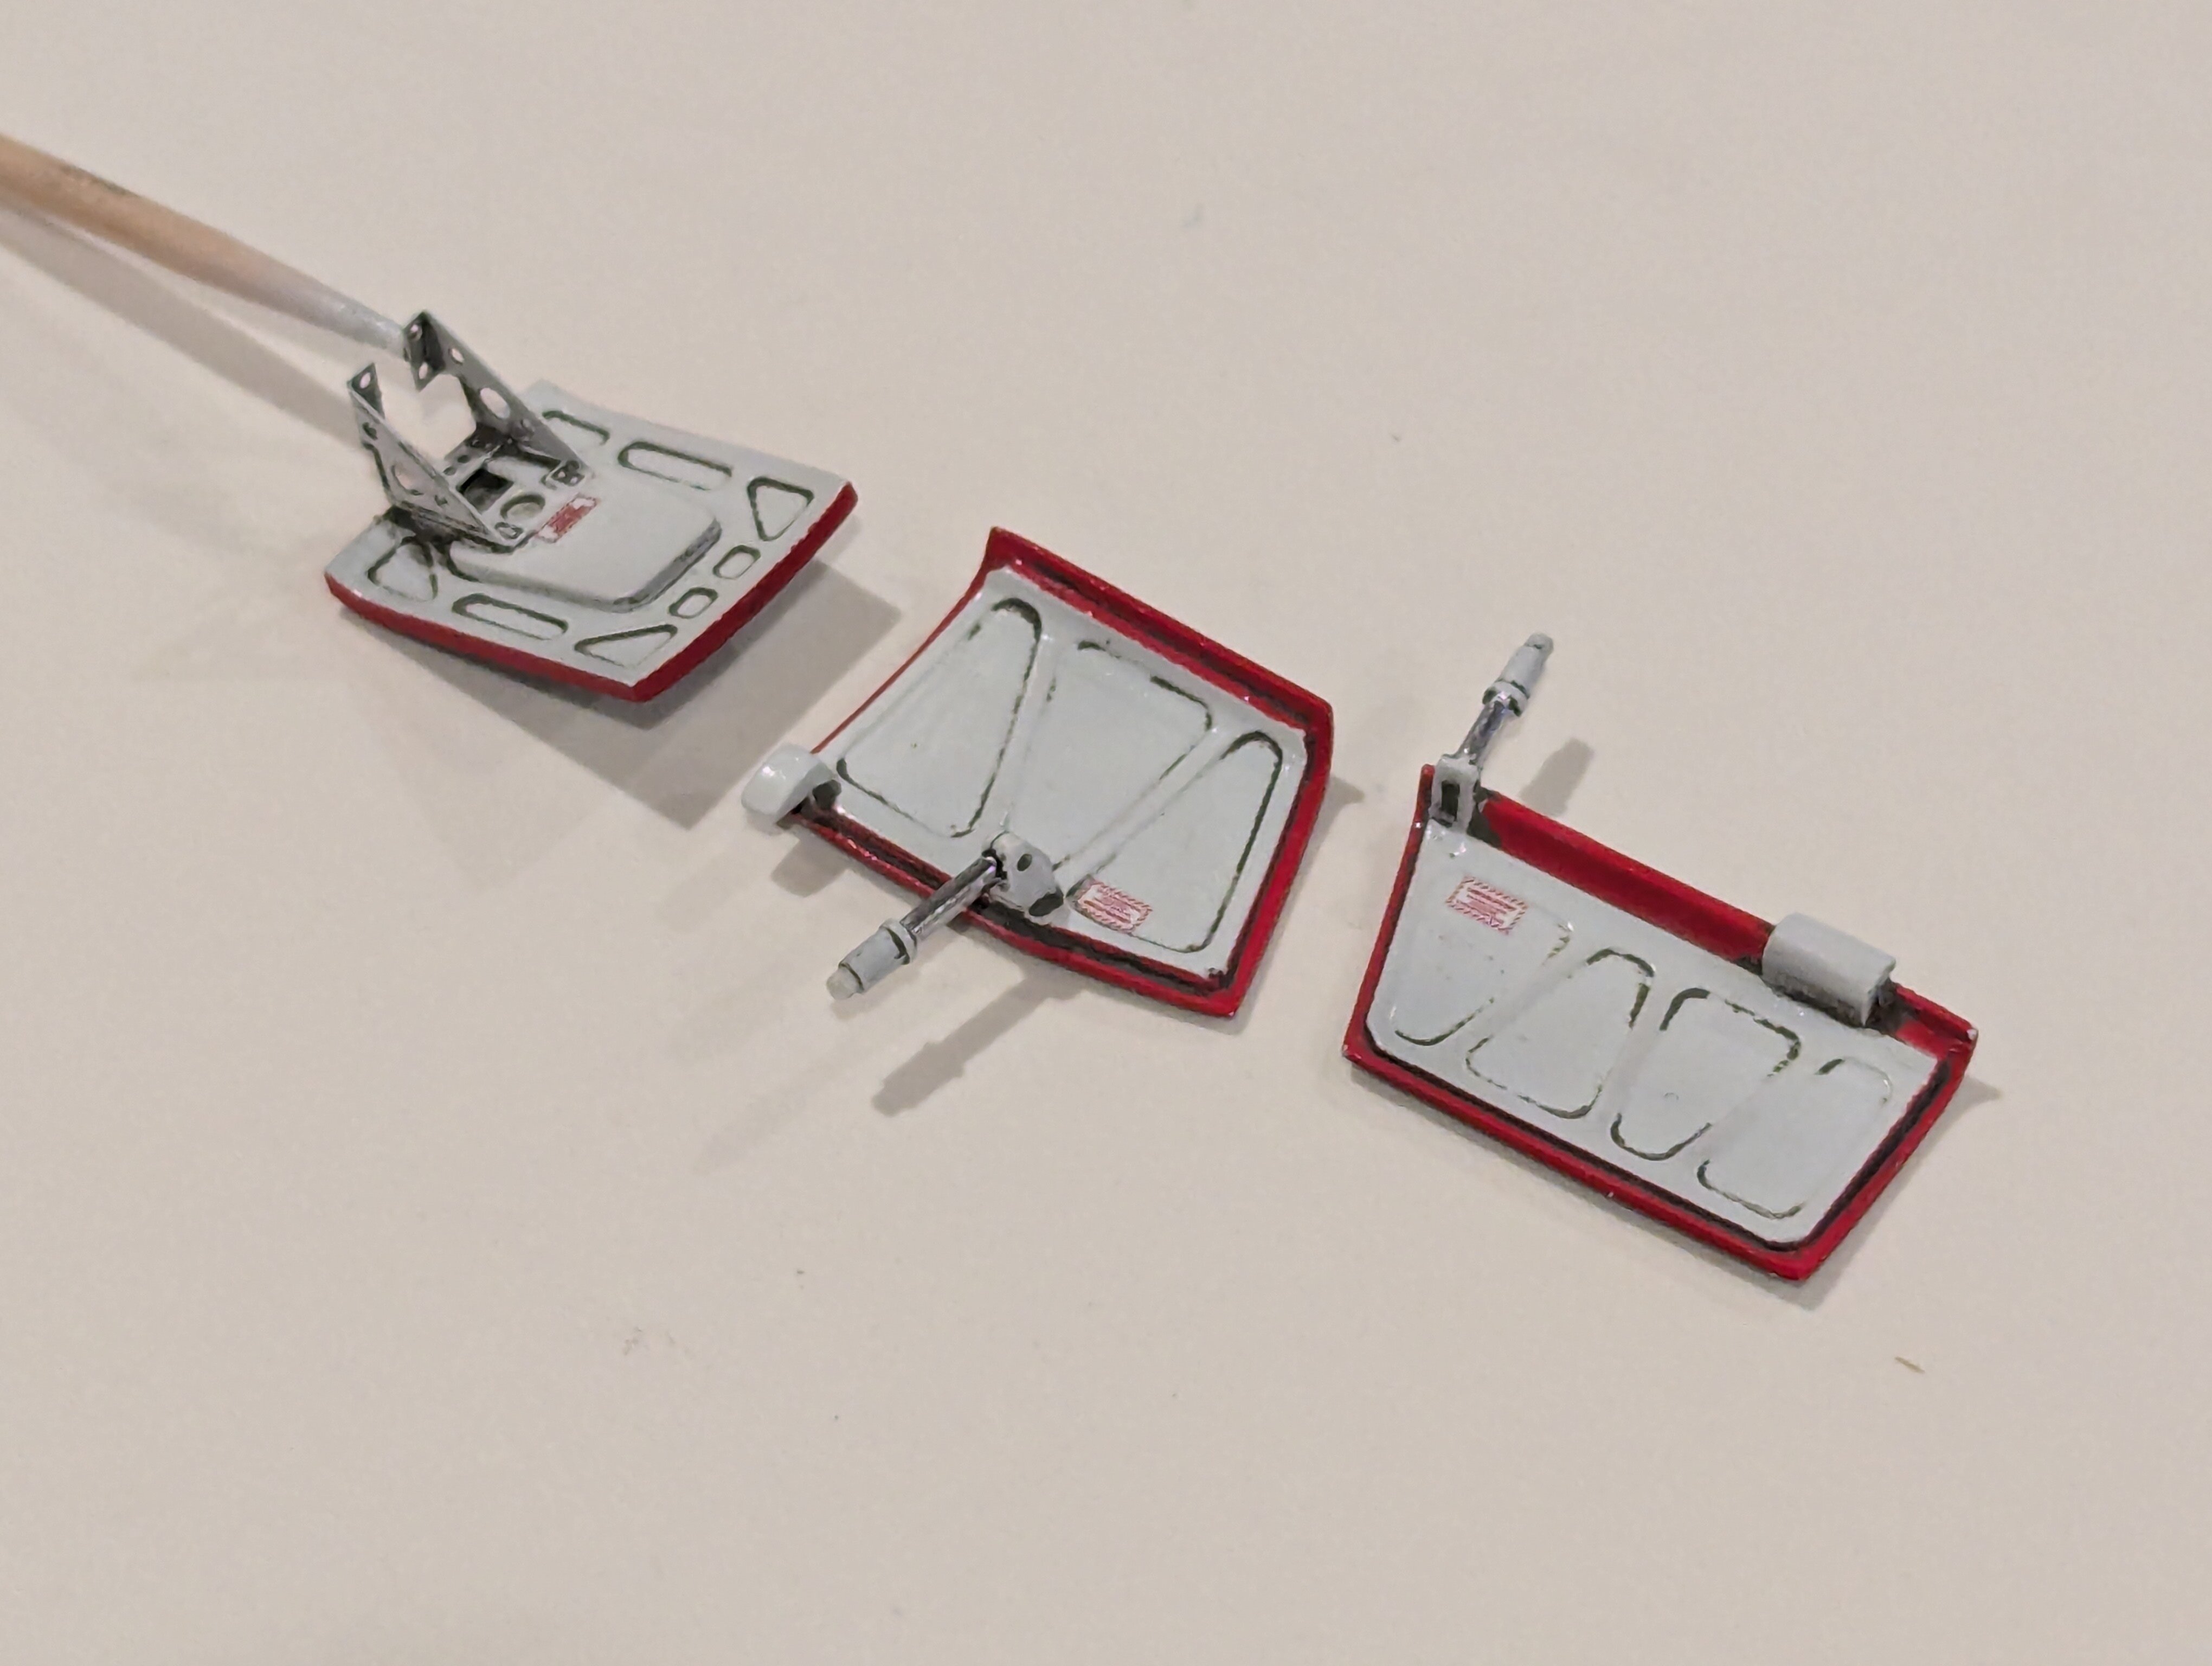
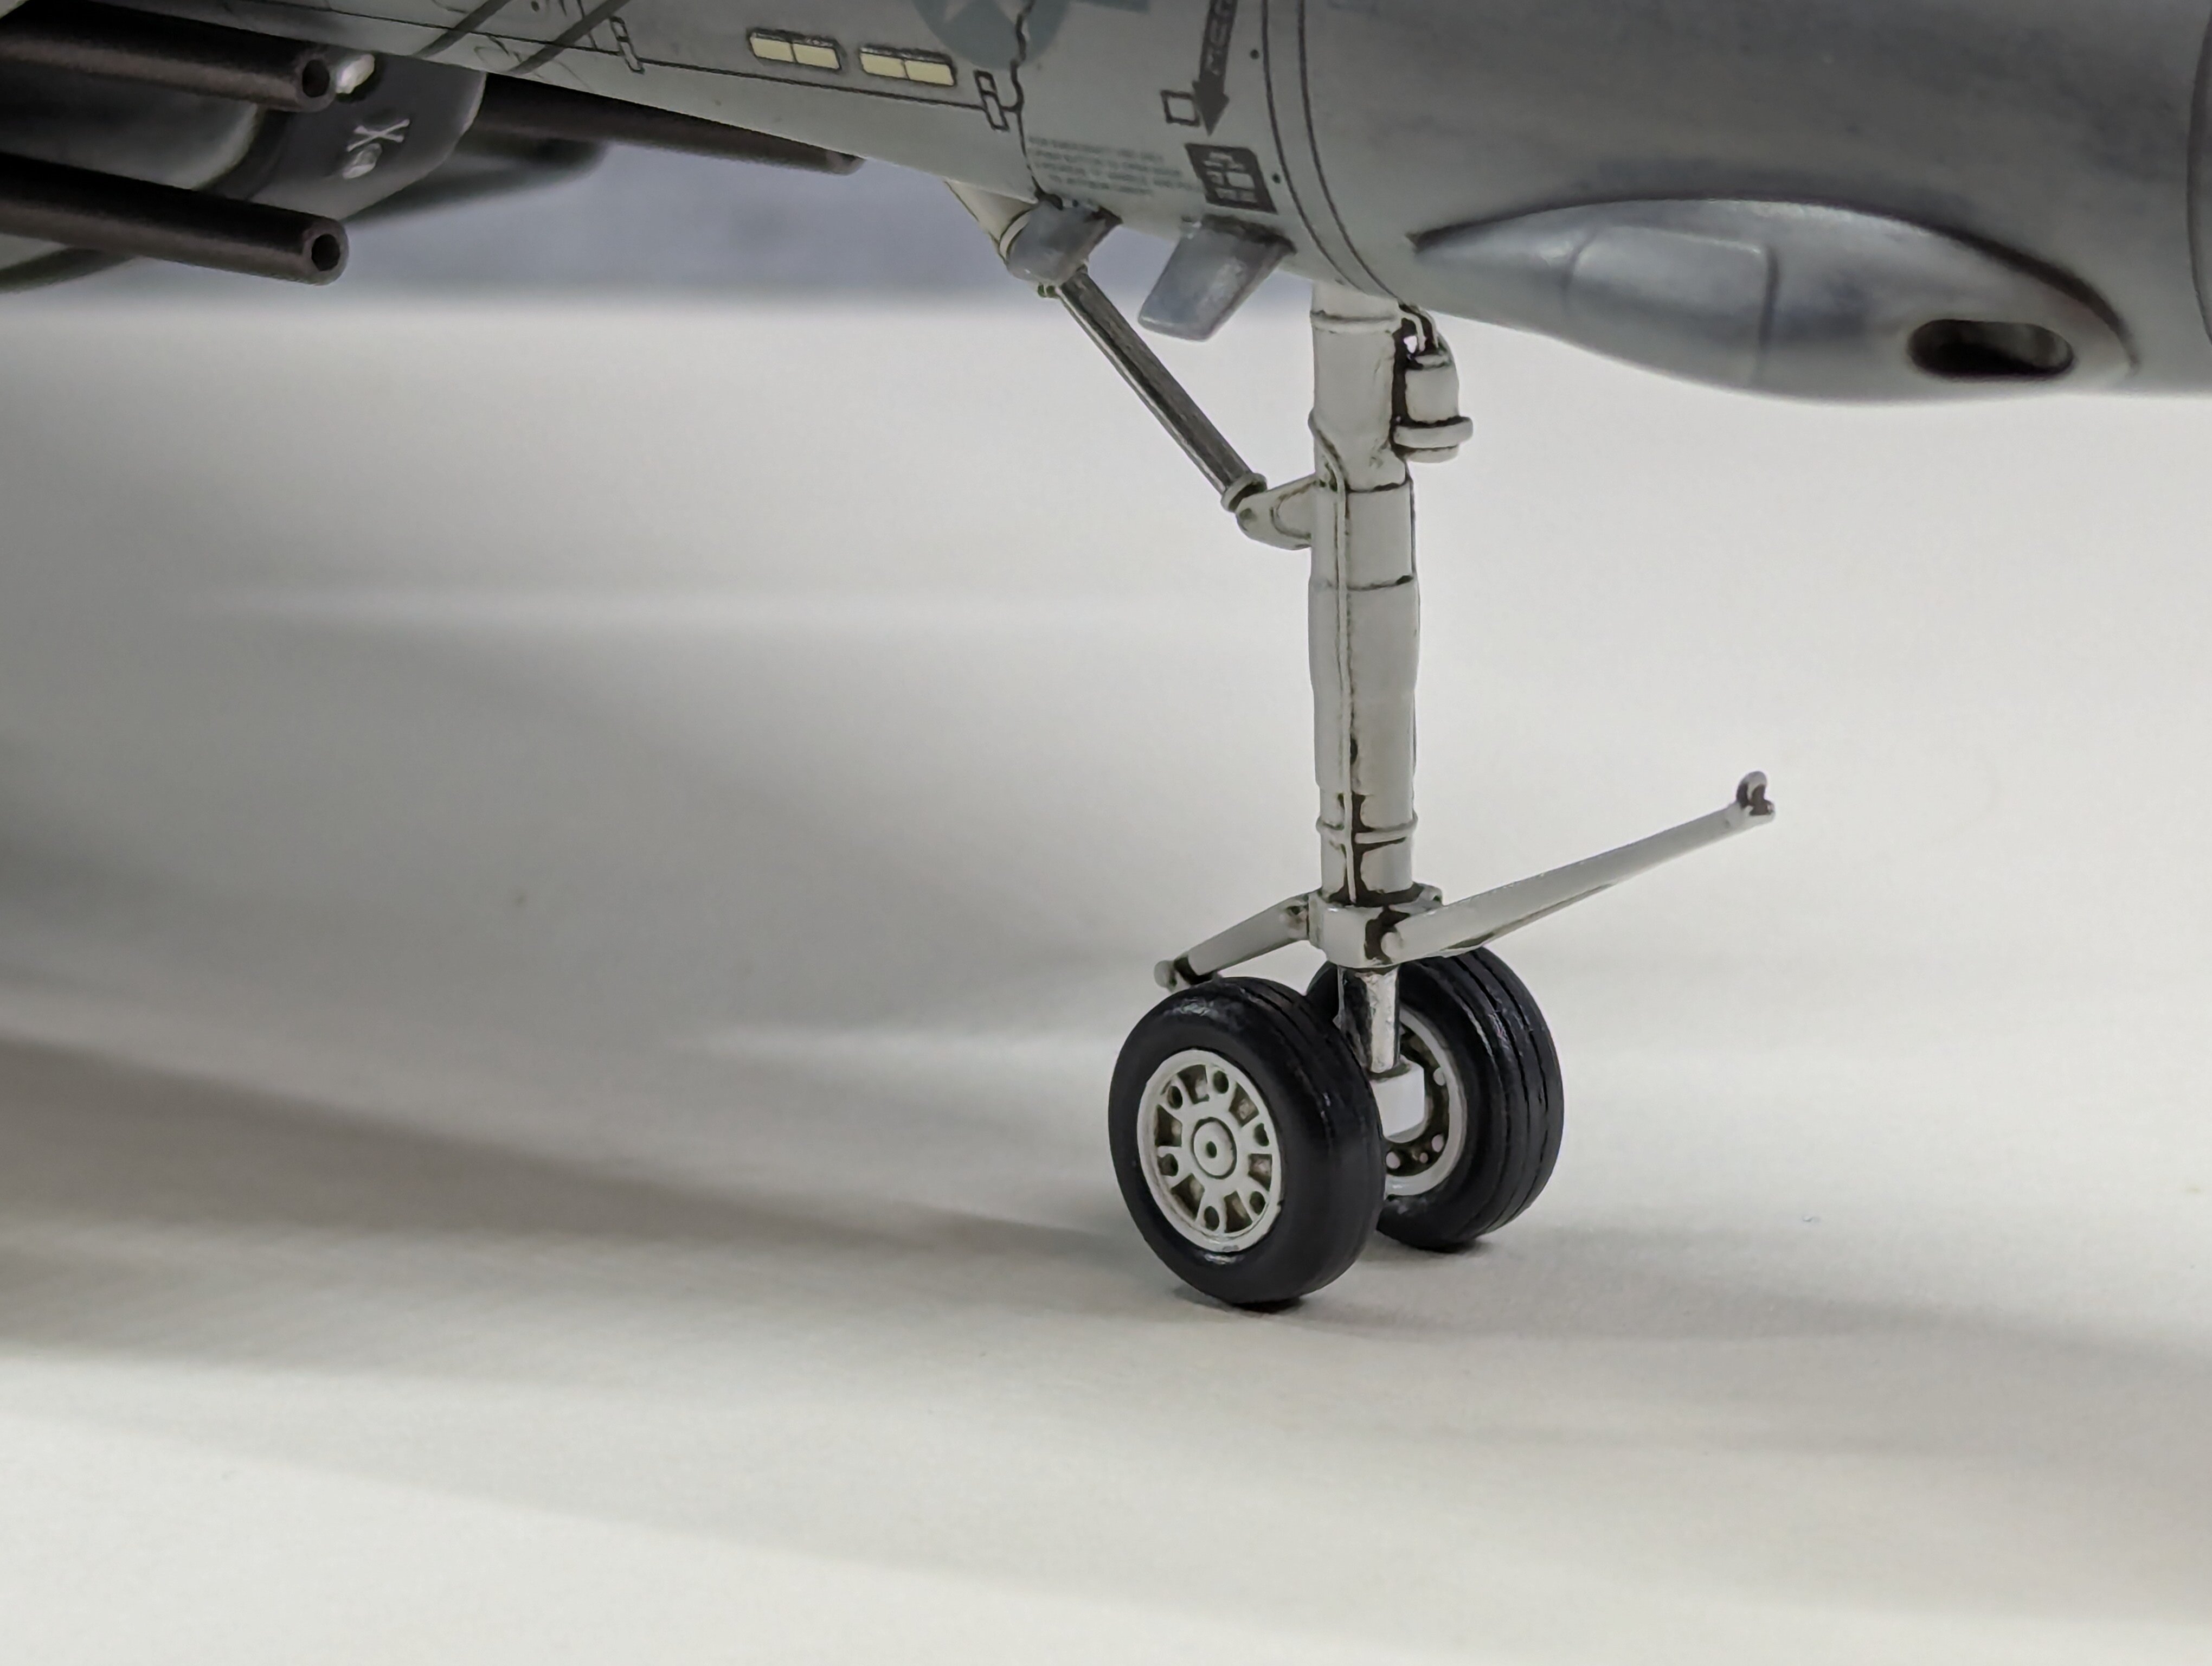
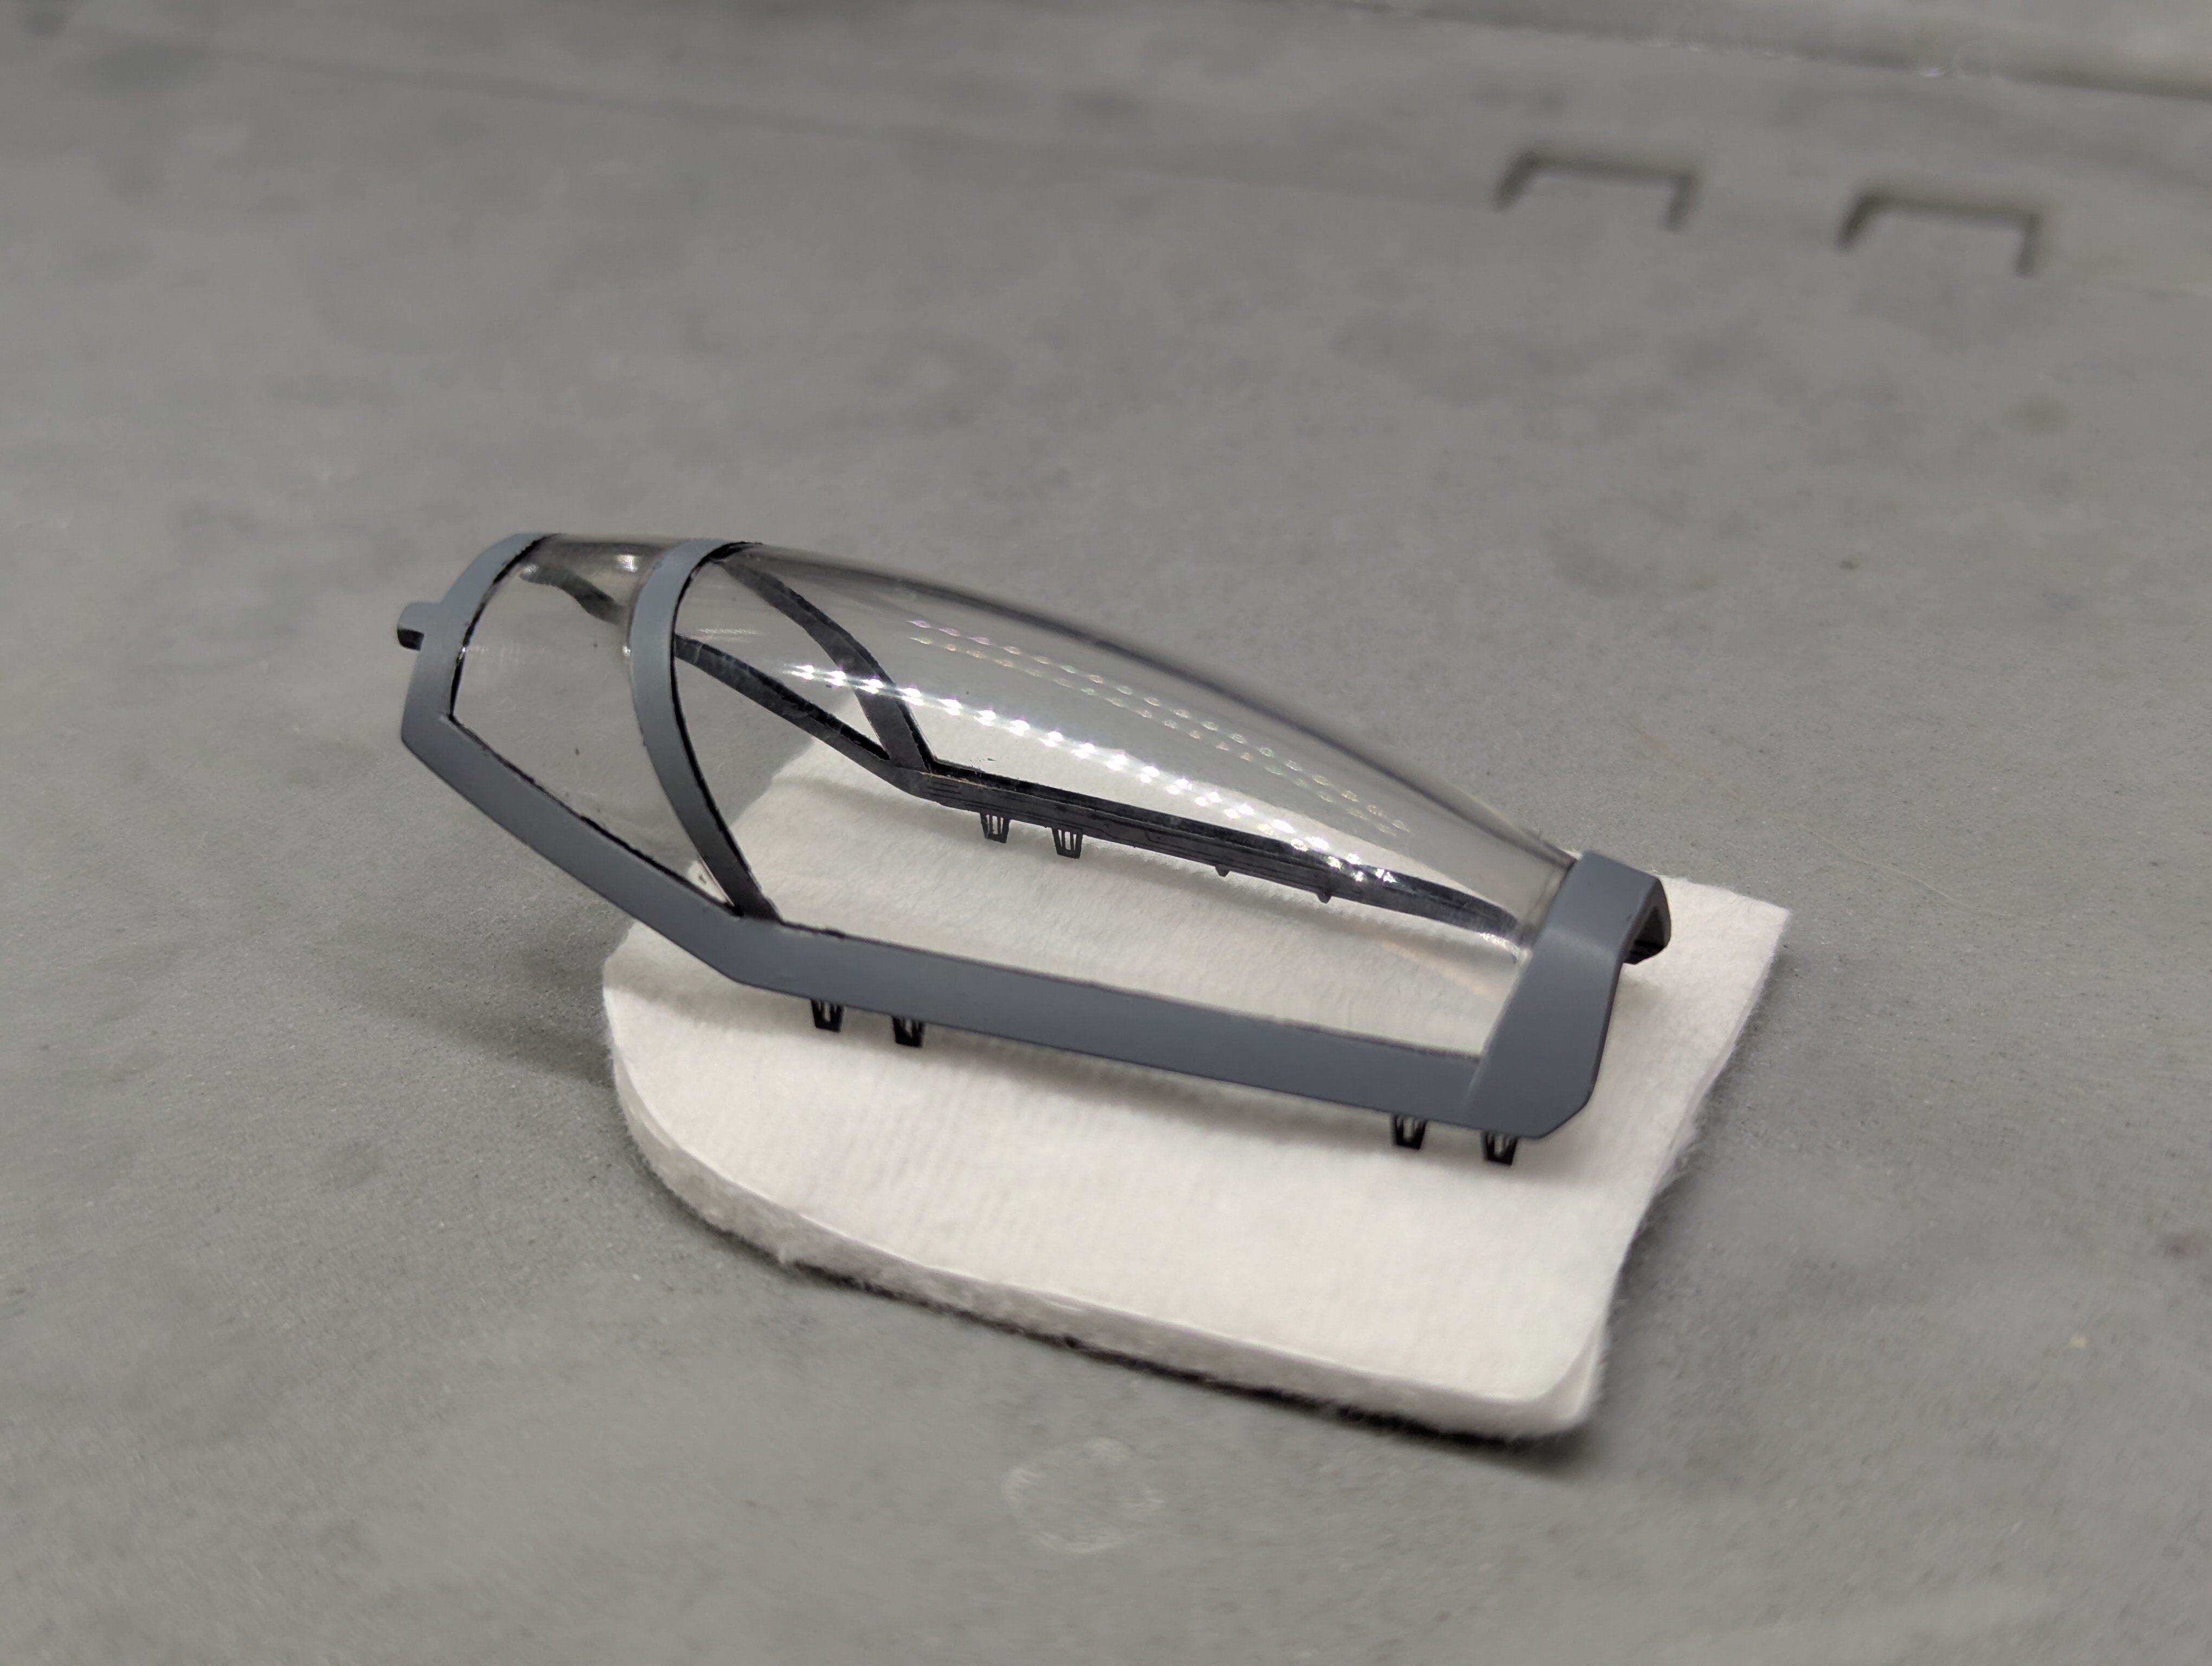
 Hi All! I'm new to the forum, I've been into Macross and Robotech since I was a kid in the 80's. I started building models again during the pandemic and I started my first Macross project at the beginning of the year. I'm building a custom 1/48 Hasegawa VF-1S in a "What If?" US Navy Jolly Rogers low viz paint scheme. I added elements from both the Hasegawa and Jasmodel PE sets, as well as some custom details from my parts box, most notably the chin sensor from a 1/72 Academy F-14A to replace the stock gun pod sensor. I also added custom hydraulic line details to the landing gear and gear bays with wire strands, as well as sanding down the edges of the landing gear doors to get a better scale appearance. I used a combination of 1/72 F-14 decals for the squadron markings since they fit the small size of the Valkyrie better, 1/48 F-14 data stencils for most of the other markings, and a few select stock kit decals. I tried a multi-layer acrylic ink patina technique for the primary painting and weathering, which is supplemented by a grimy enamel wash, and oil paint weathering. I'm almost to the finish line, I just have a bunch of small details, and the oil weathering to complete before final assembly. Current state of the build. Legs, wings, head, and landing gear are not glued in yet. Custom sensor mechanics for the head built out of spare PE parts. It will be complete impossible to see once assembled. 😅 Cockpit. I haven't decided if I will use the kit pilot, an aftermarket pilot (I'm leaning towards using a resin F-35 pilot since the helmet looks pretty futuristic but still grounded in reality), or leaving it empty. I'll add PE belts if I leave it empty. I went my own way with the exhaust nozzles, I used the F-22 nozzles as inspiration and added both Hasegawa and Jasmodel PE to the interior along with some custom scribing on the exterior for more detail and to break up the shapes. The wheels got some sanding and scribing to add tread ridges. Sanding and cleanup on the landing gear door edges to make them look more in scale. The left one has been done and the right one is still stock. More cleanup on the main gear doors. Left one is stock and the right one has been modified. The curves were a pain to do, but worth it. Finished gun pod. This was my first go at oil weathering and I think it came out great. I also had an extra set of the Jolly Rogers Vagabond stripes on the decal sheet so I added them to the gun for some interest. I've seen one Tomcat where they did the stripes on the fuel tanks and like the look. You can also see the sensor from the F-14 instead of the stock sensor bump. I sanded off the hydraulic lines on the landing gear struts and added them back in with wire. I also hollowed out the pivot braces for a more realistic look. I added some hydraulic lines to the wheel wells. I didn't go too crazy since it's extremely fiddly and time consuming, but another little detail that's worth it IMO. Painted nose and main gear struts: Painted main gear doors with red caution edging: Close up of the nose gear with the wheels on. It's really starting to look great at this point. Leg light/sensor packs filled with clear UV resin. I still need to paint them with transparent red and blue. Aux head sensor filled with resin and tinted red. Resin lens for the gun pod. I'm using the DYRL canopy so I had to scrape, sand, and polish the seam down. I also used the Jasmodel interior PE canopy frames.

-
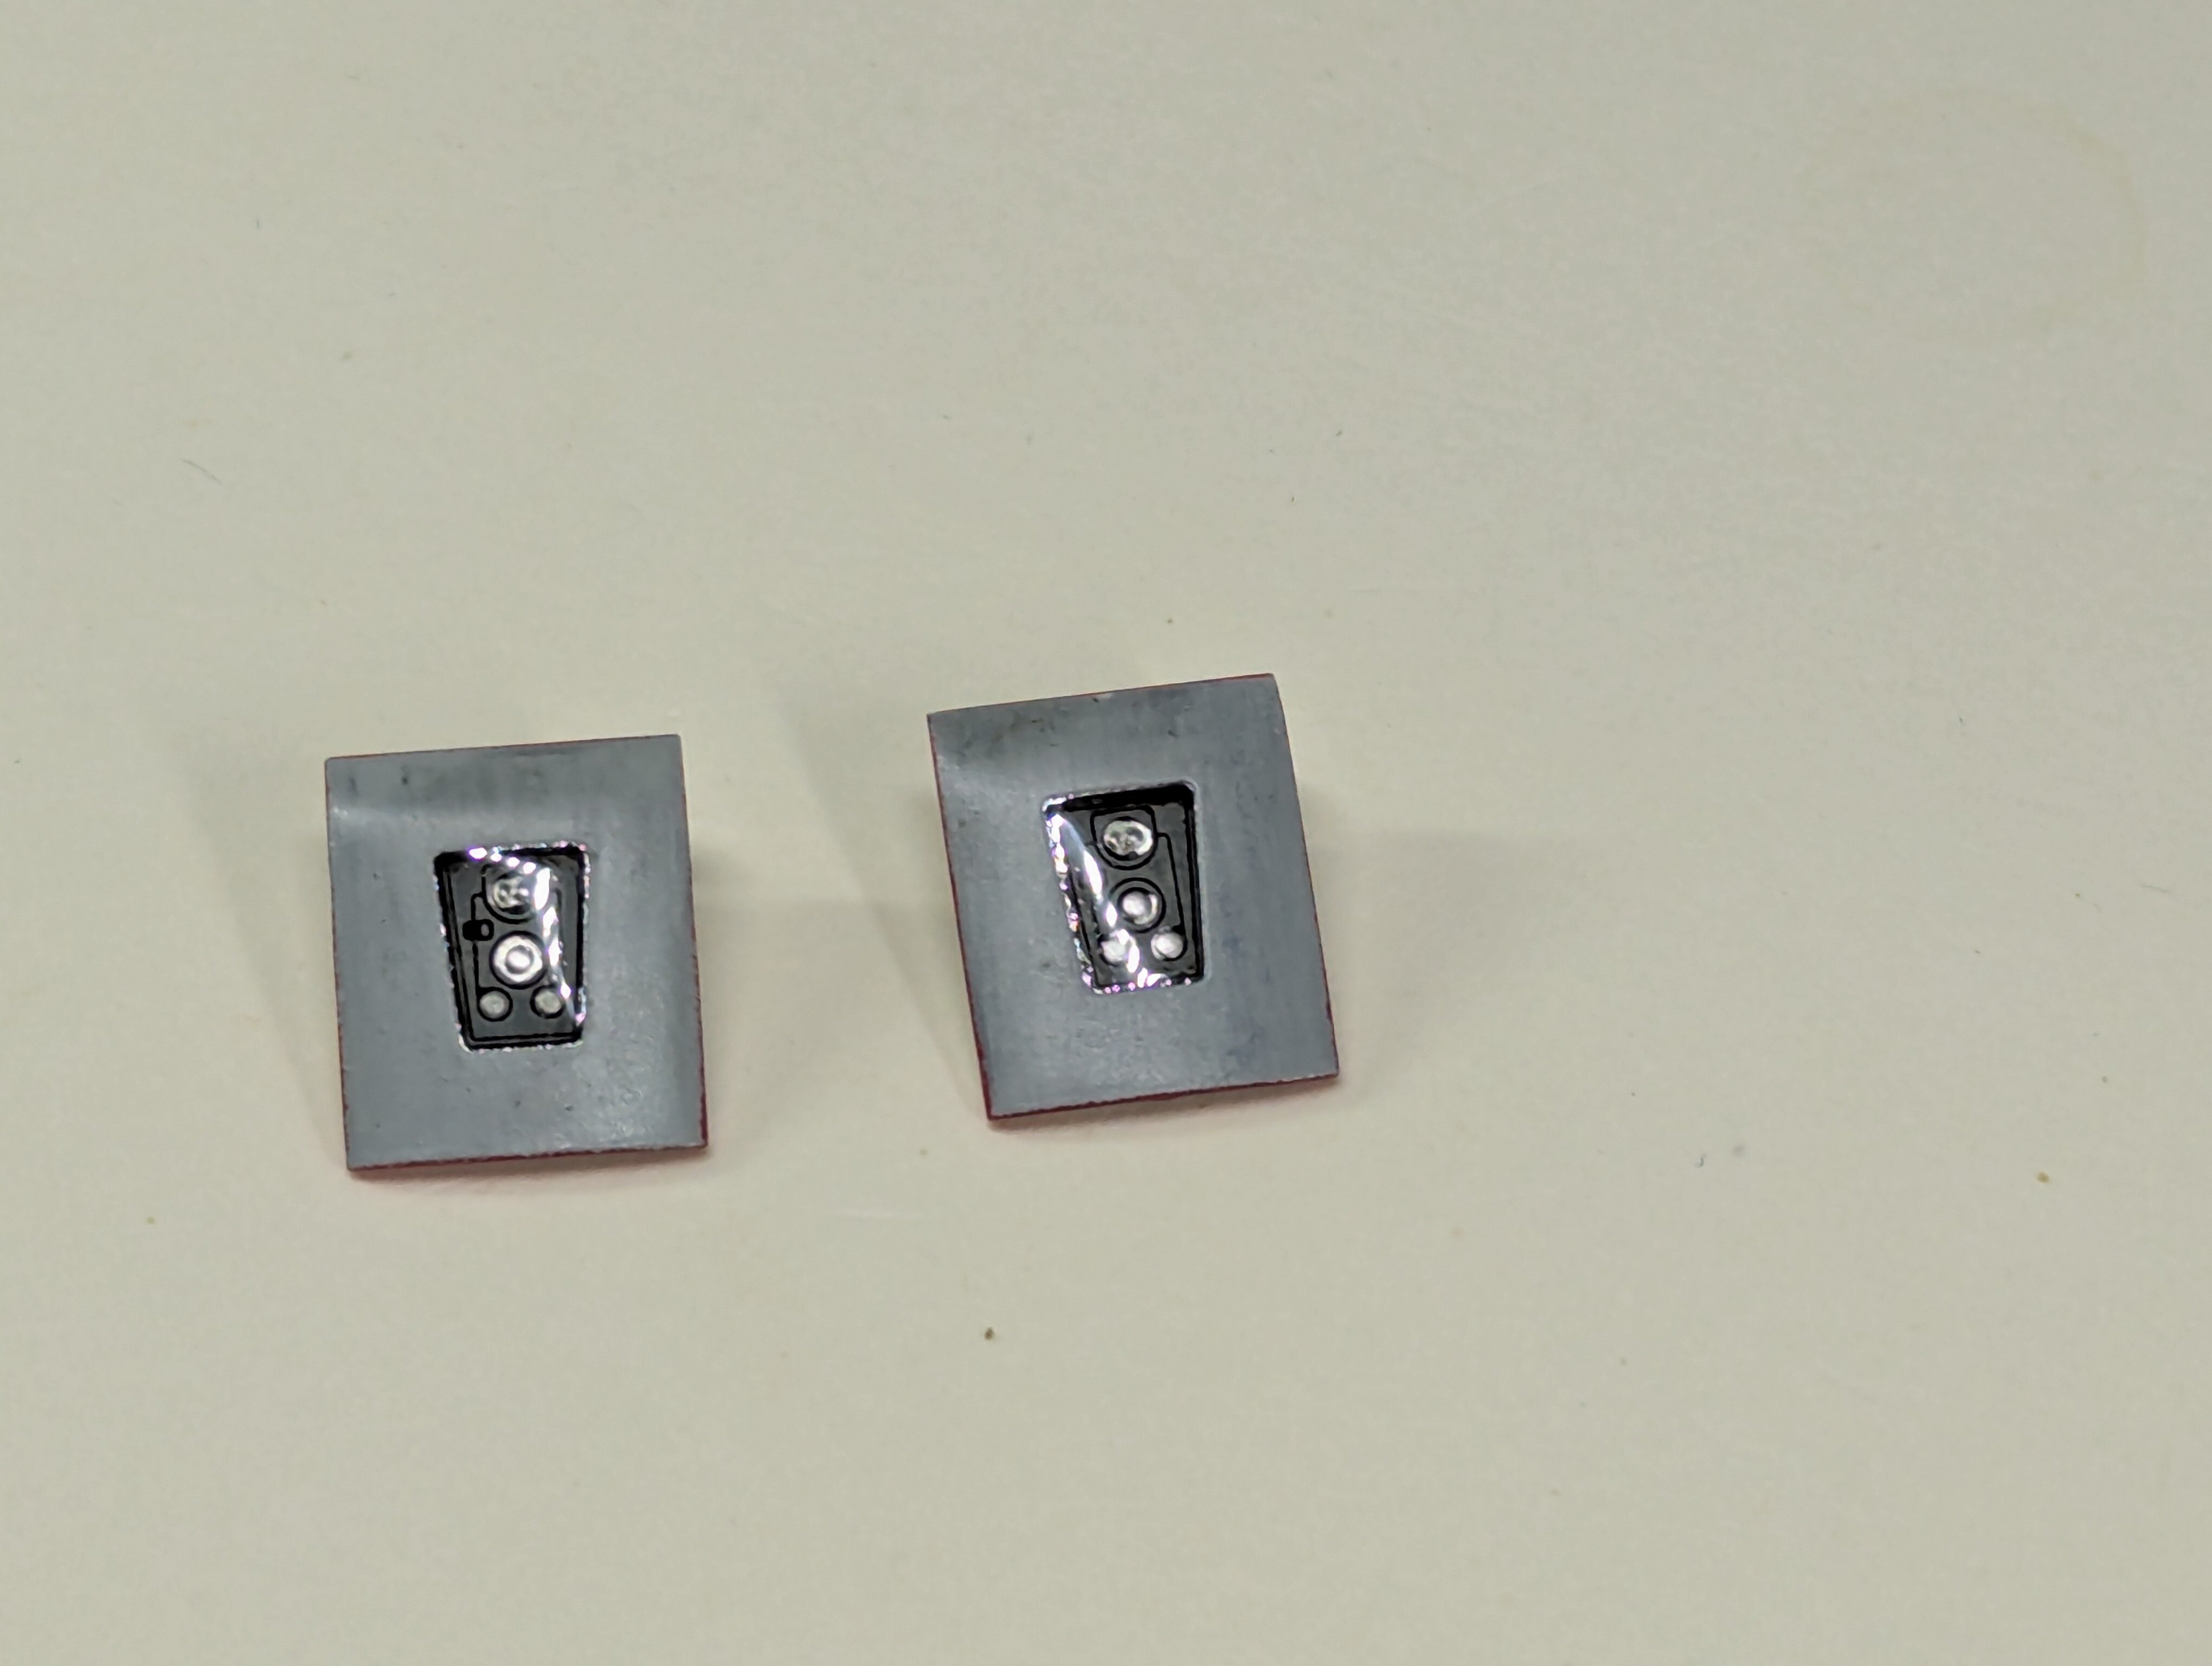
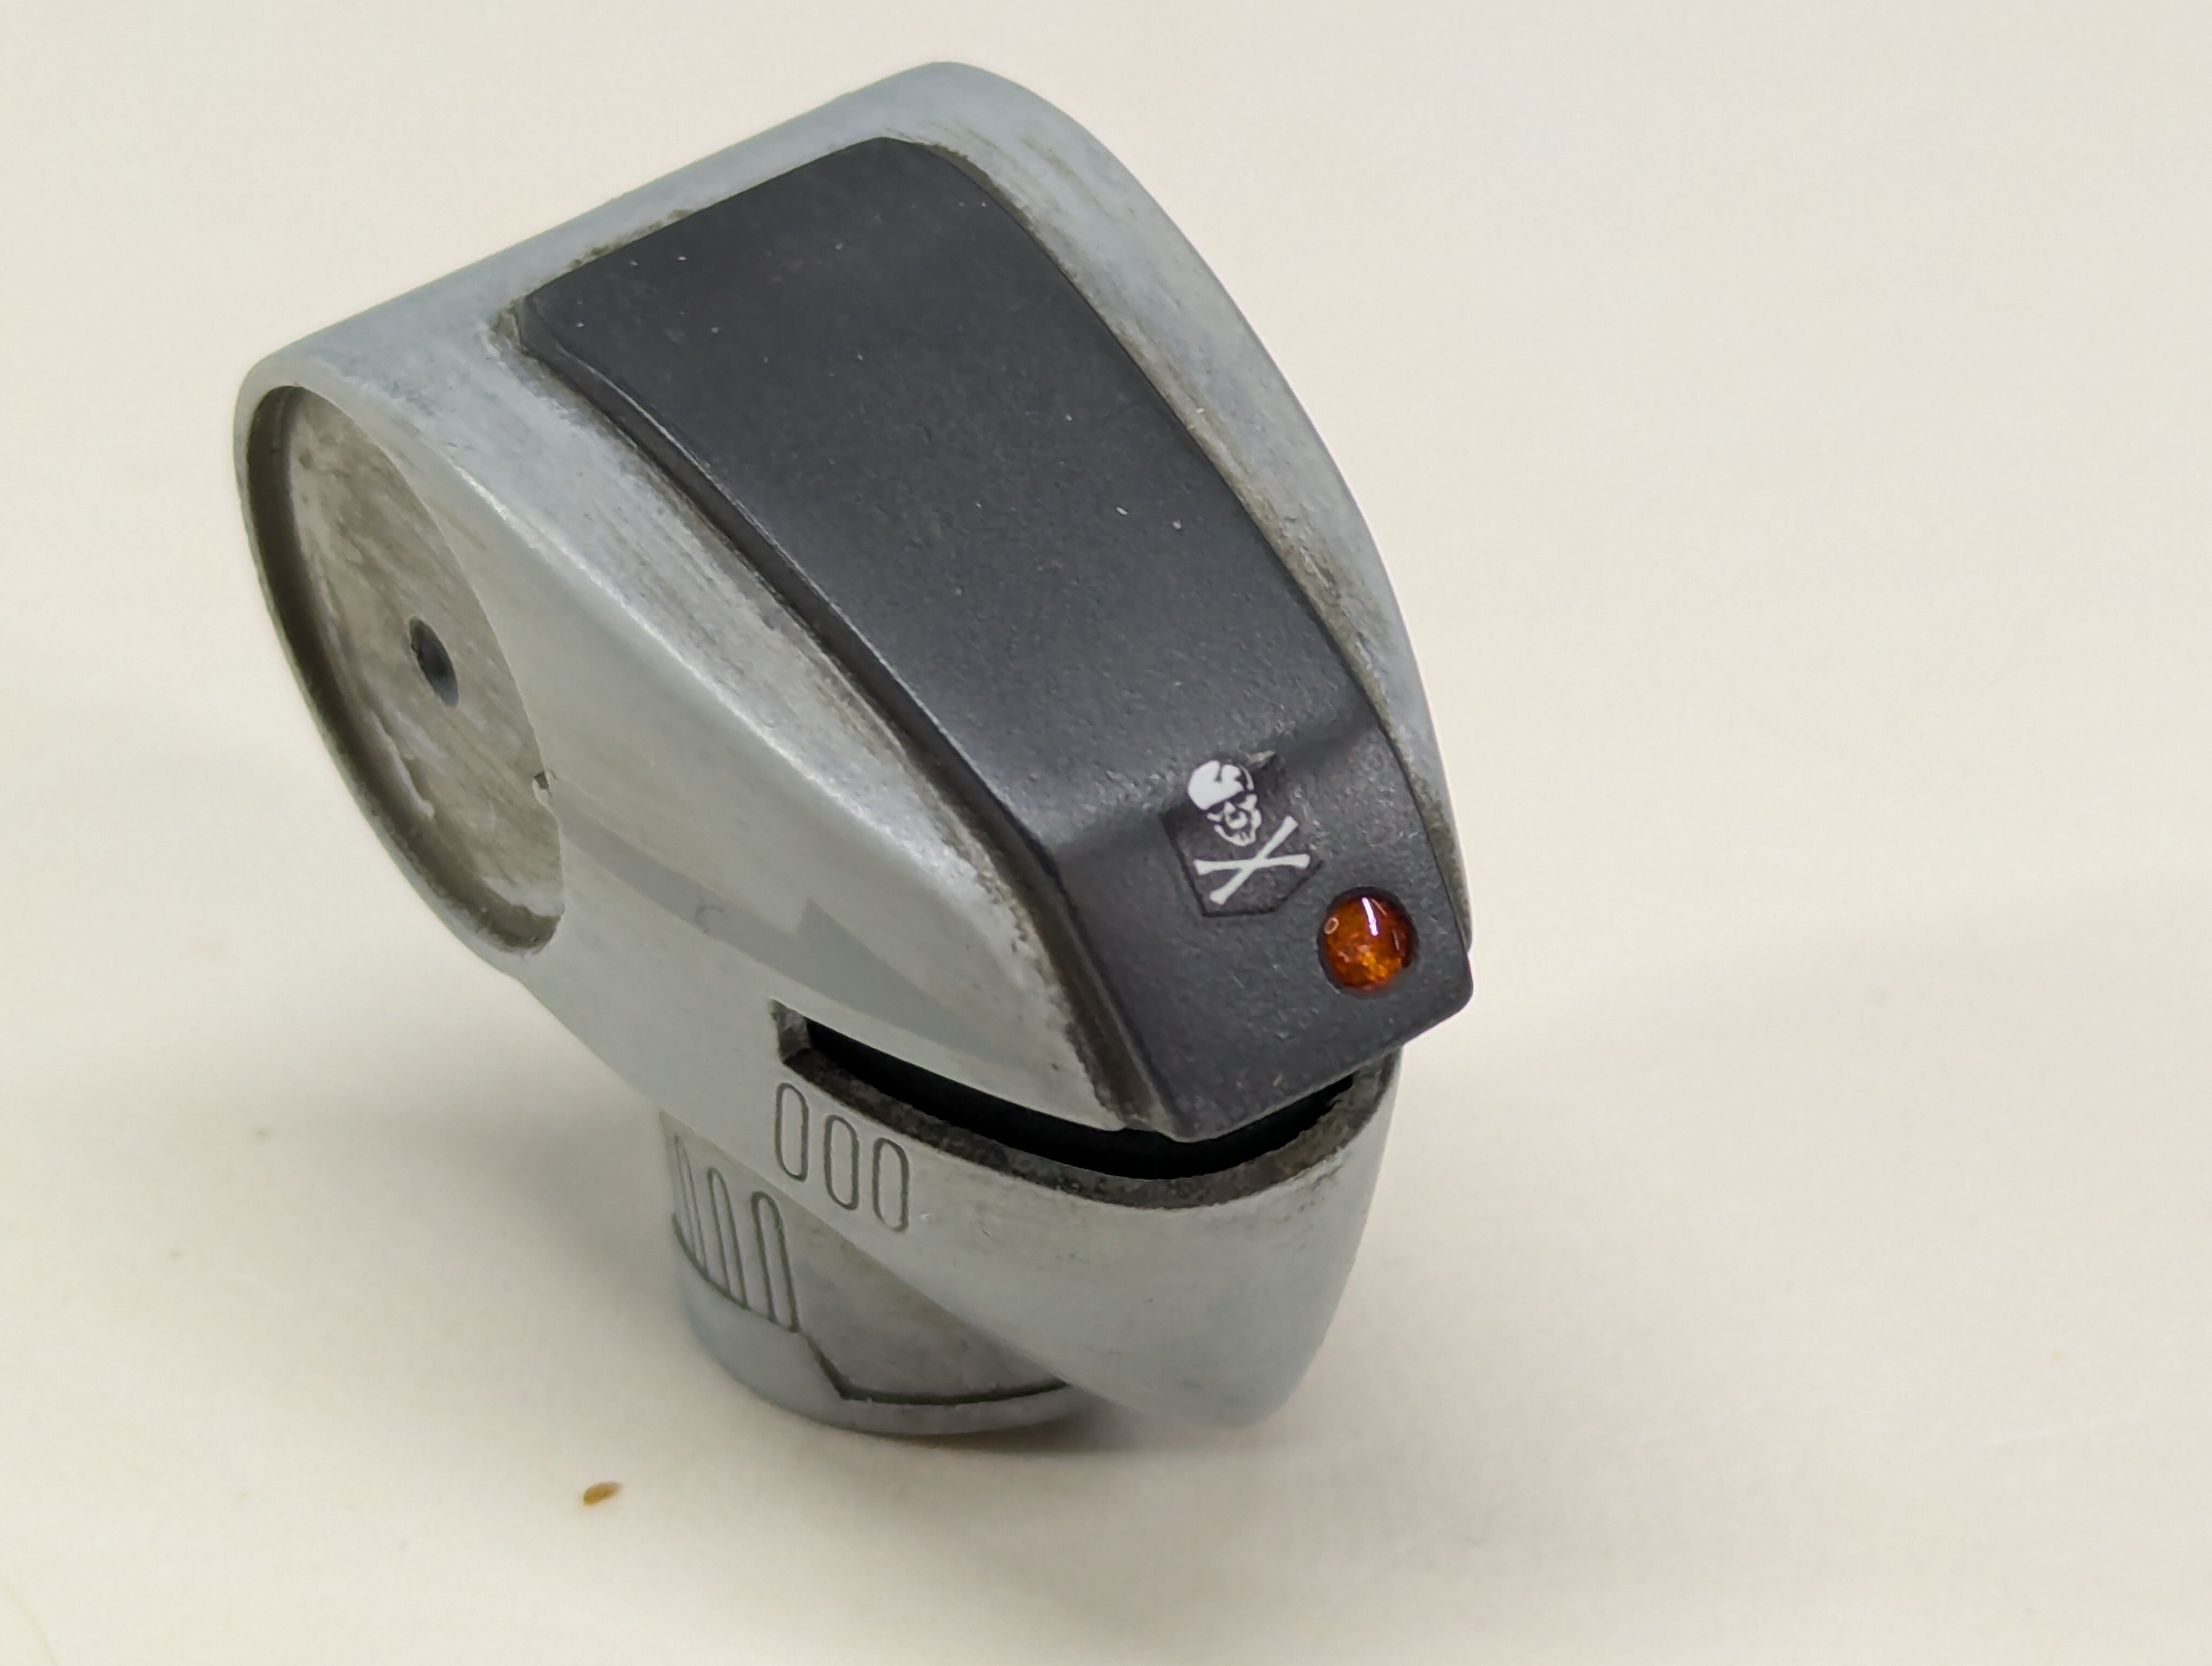
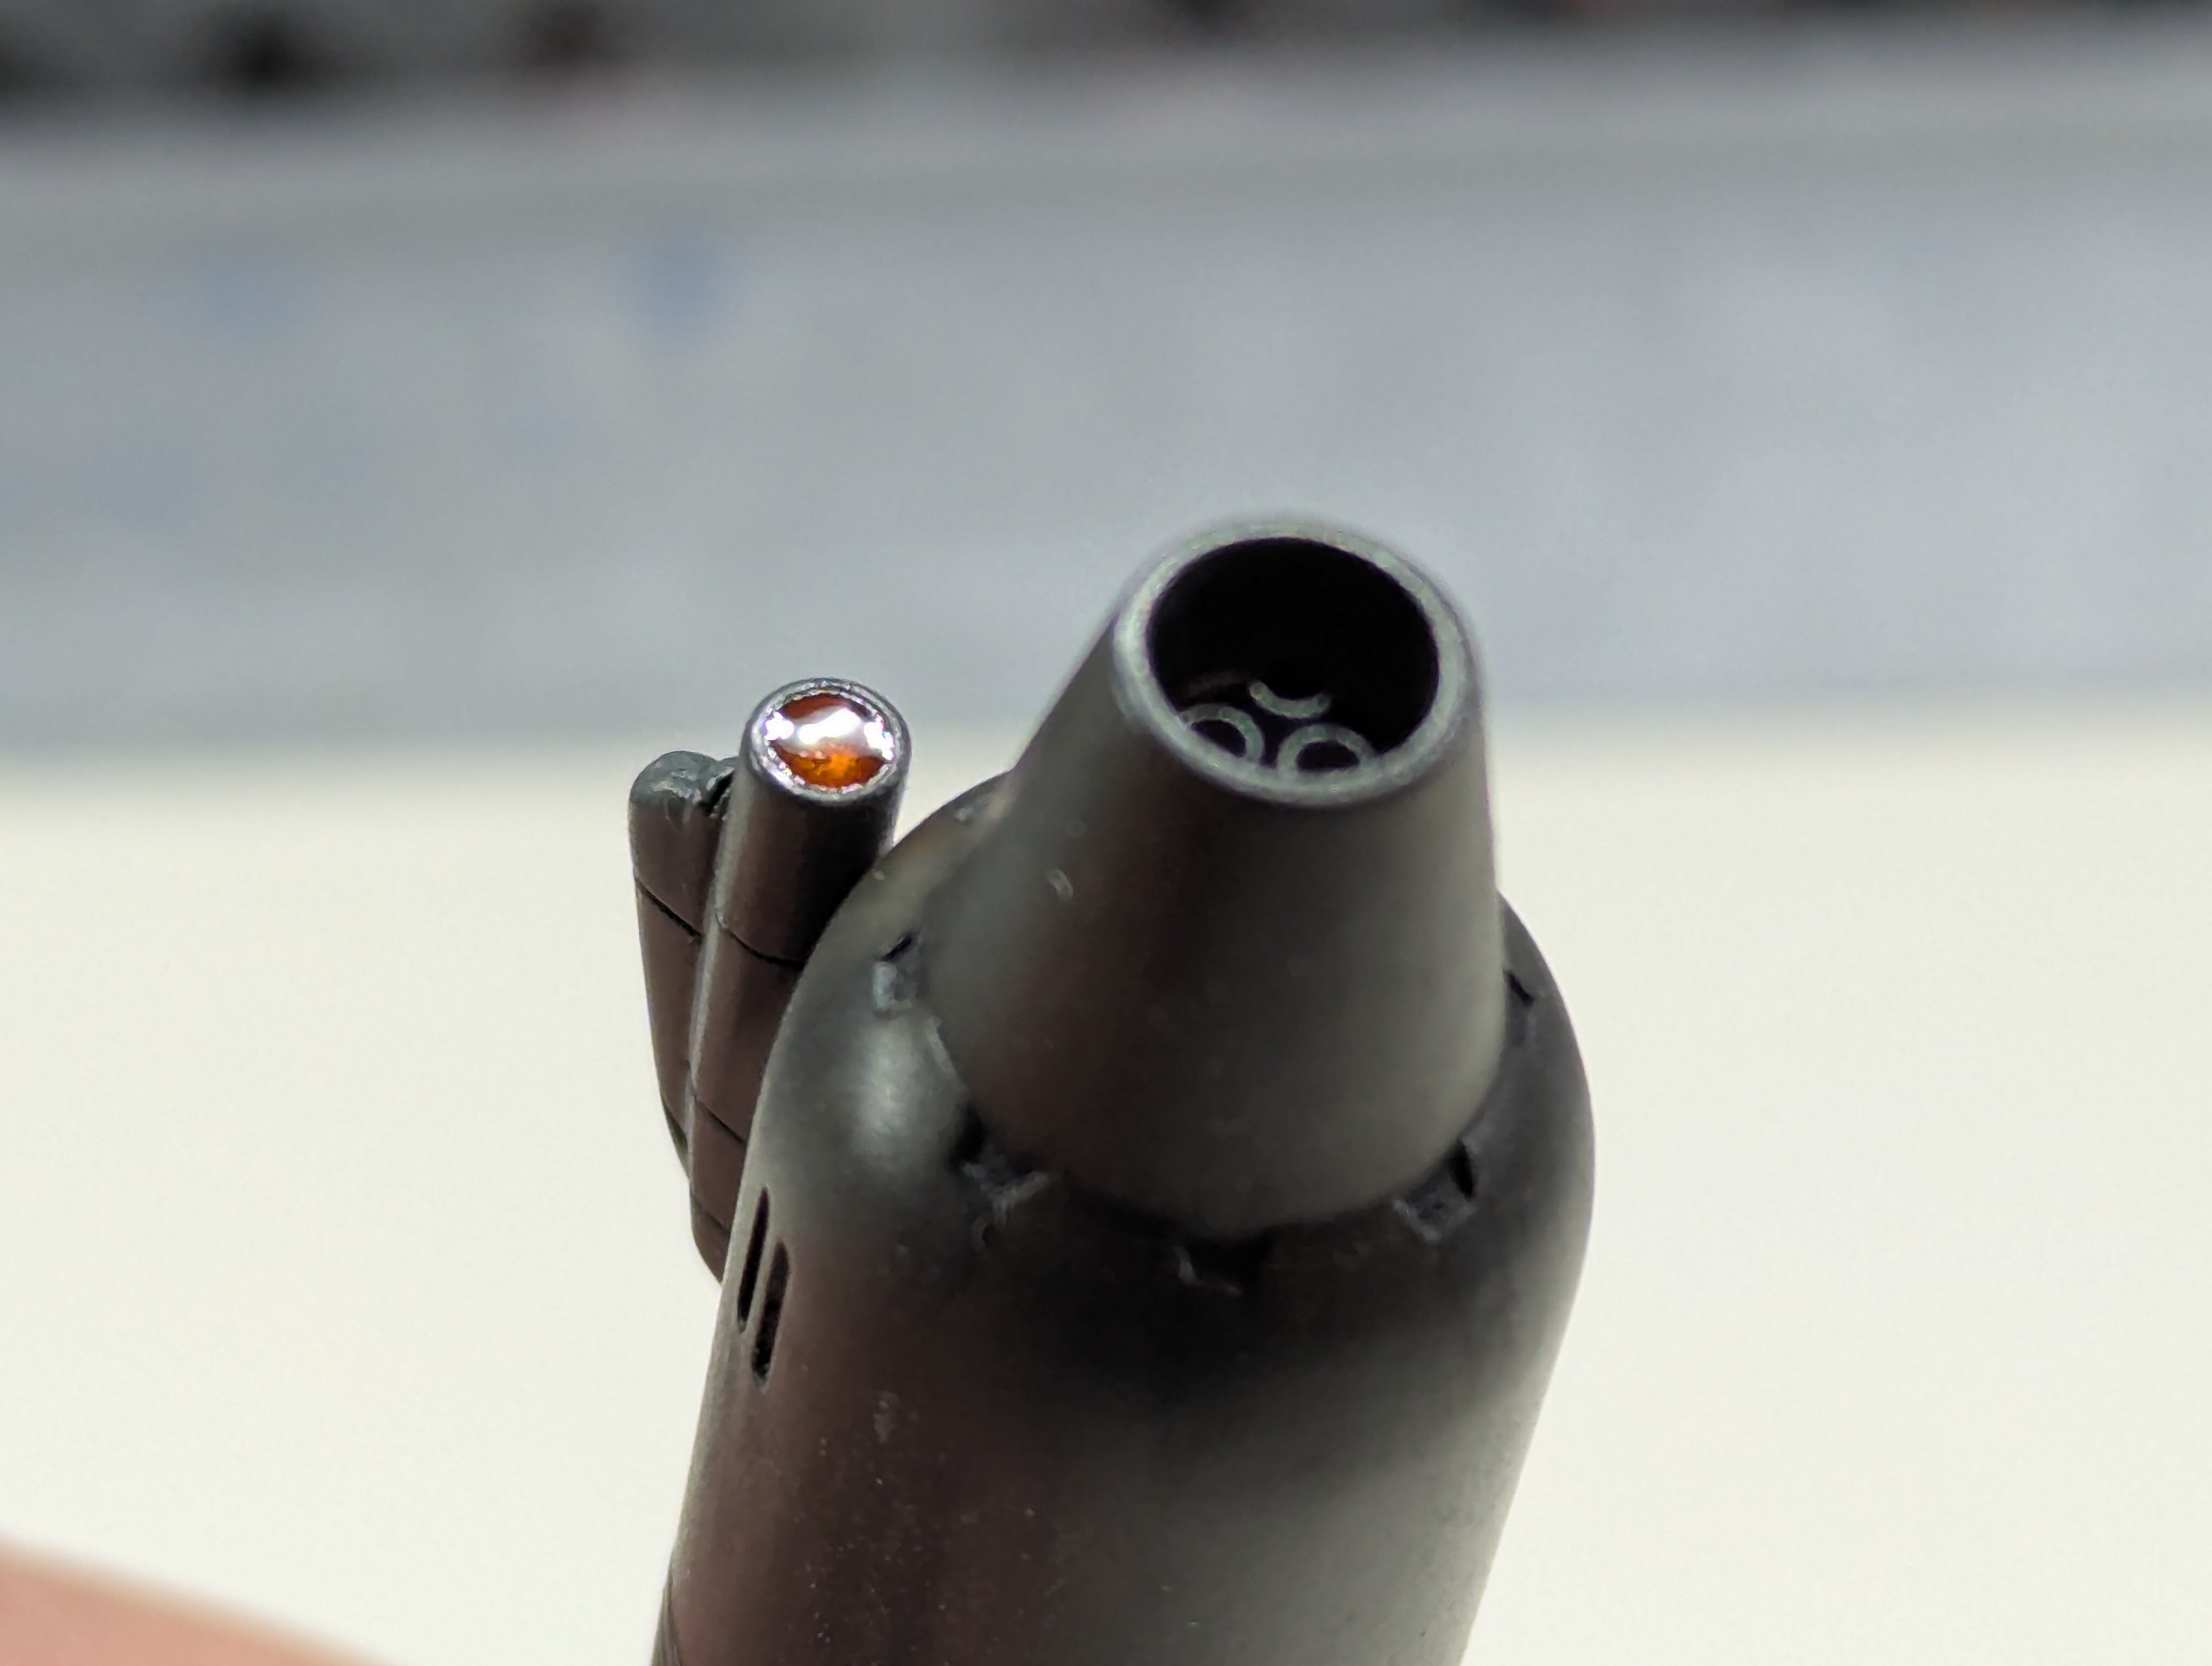
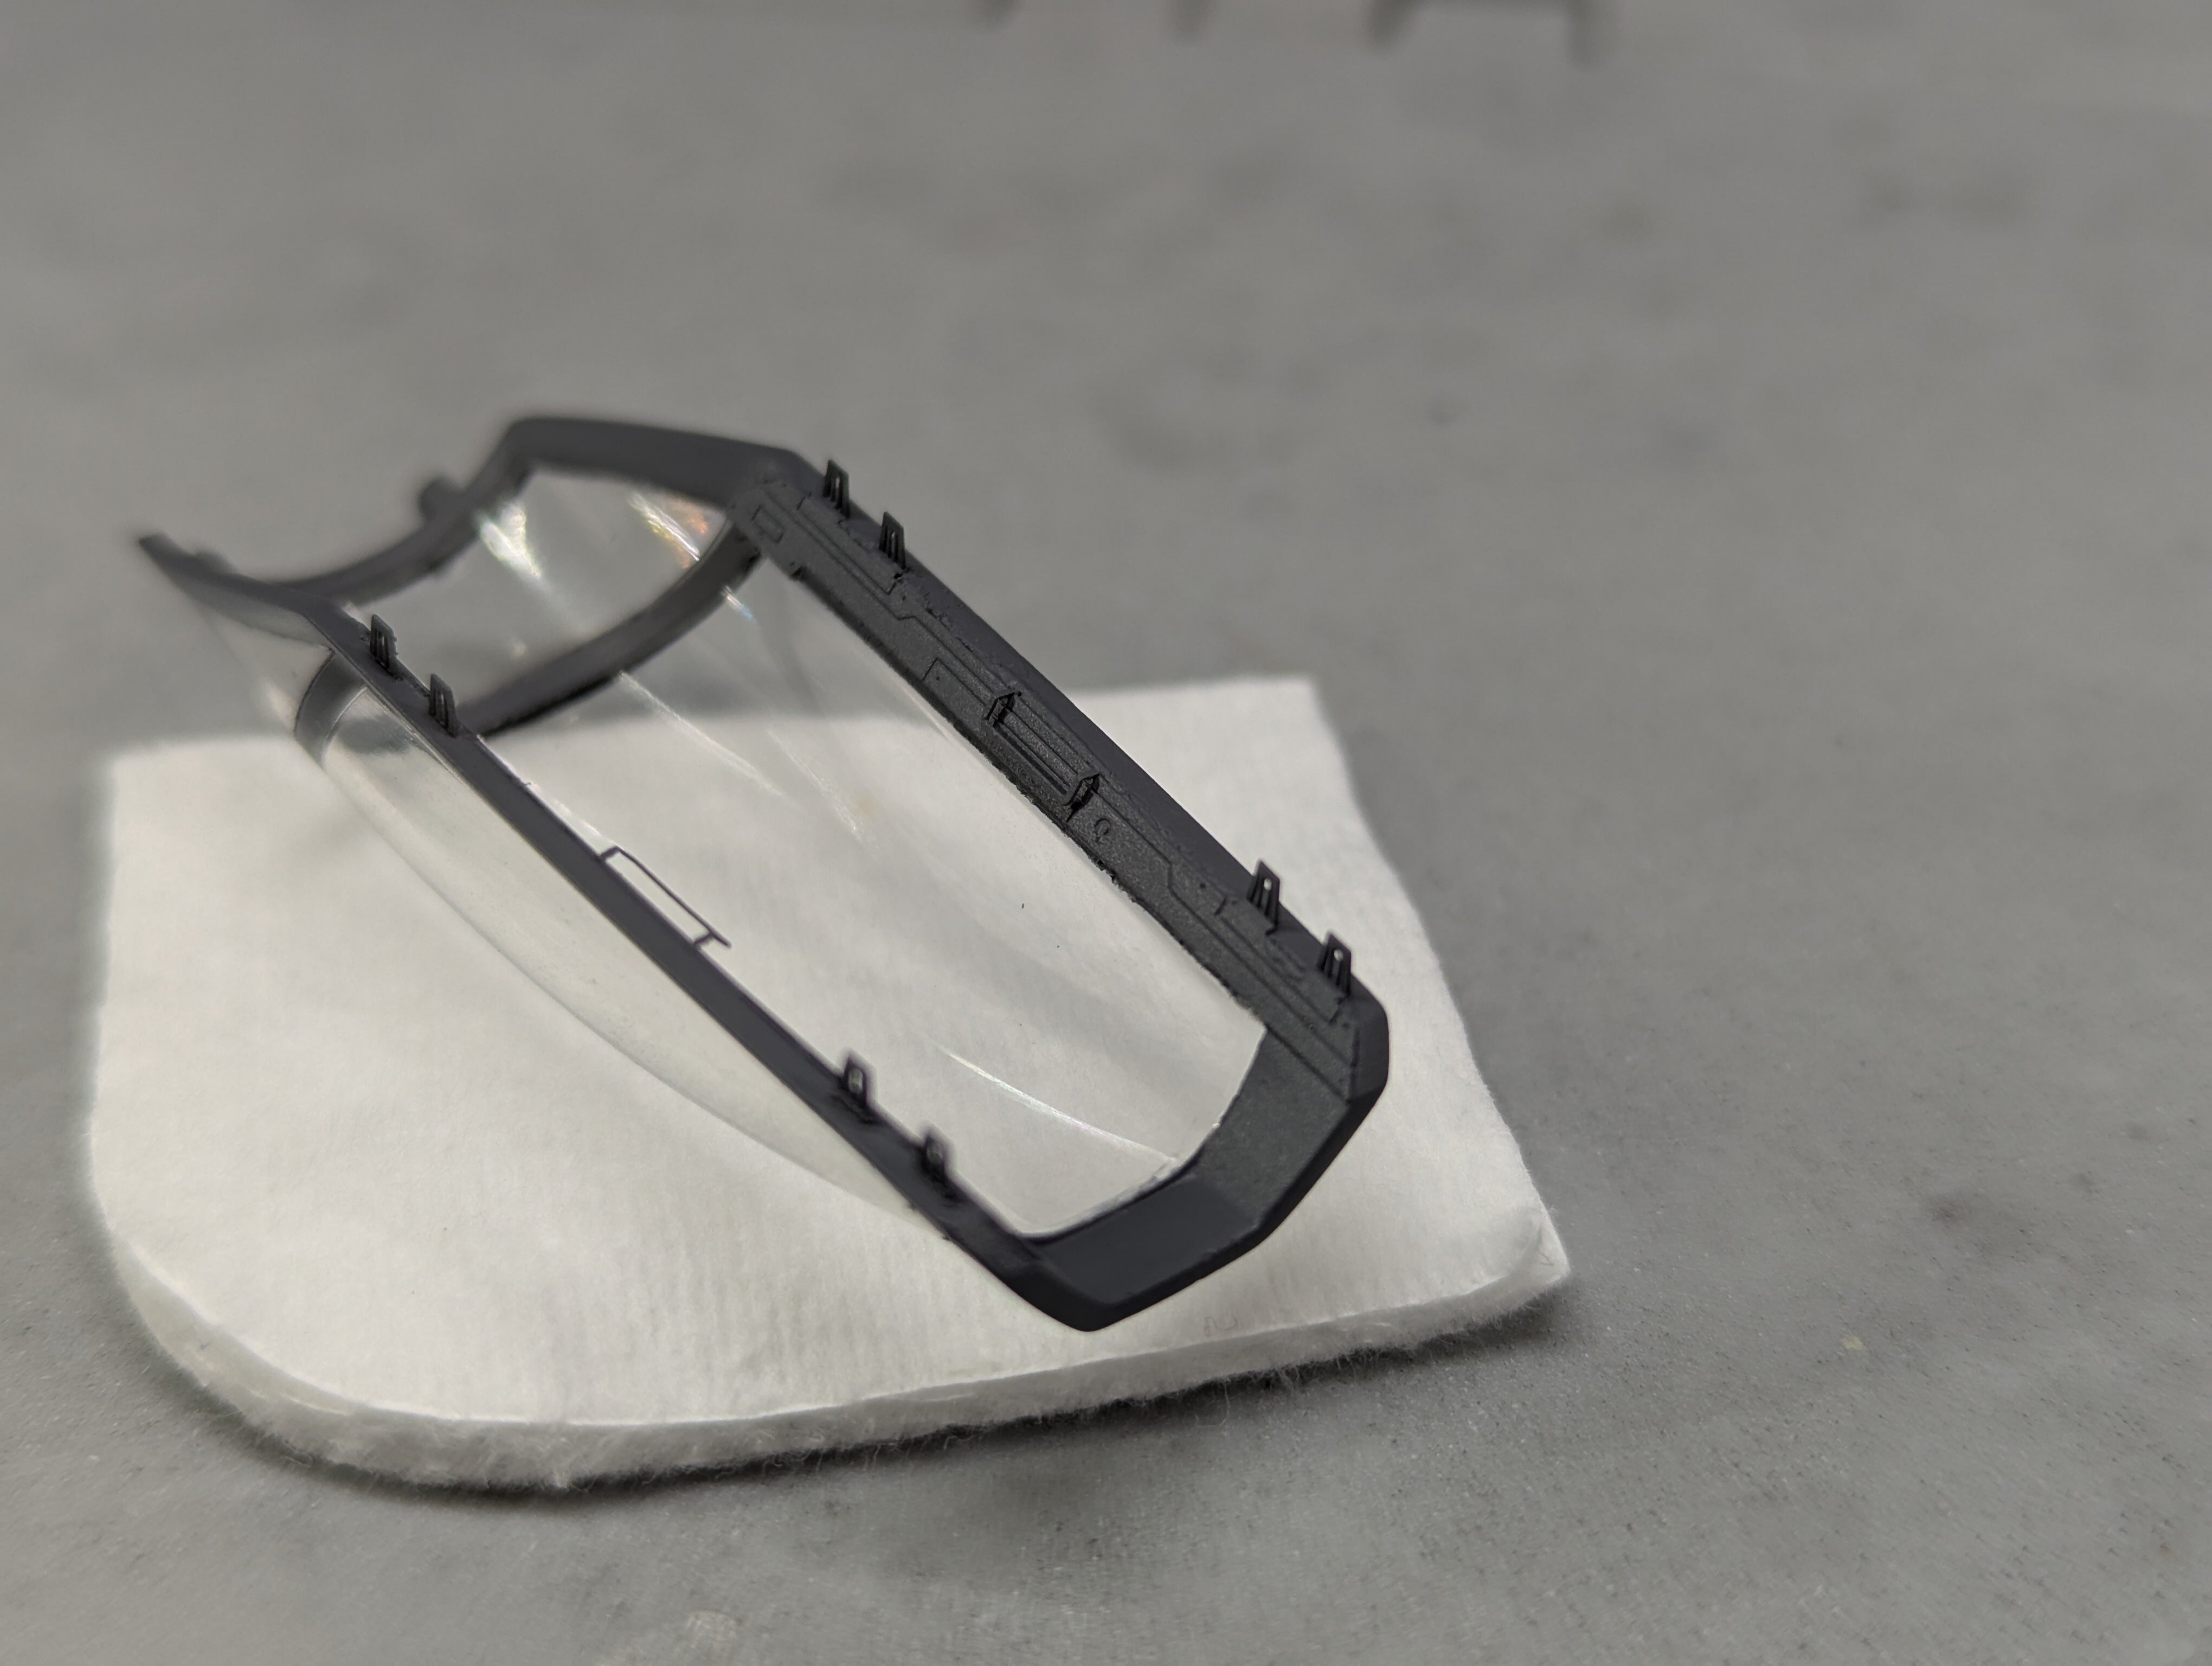
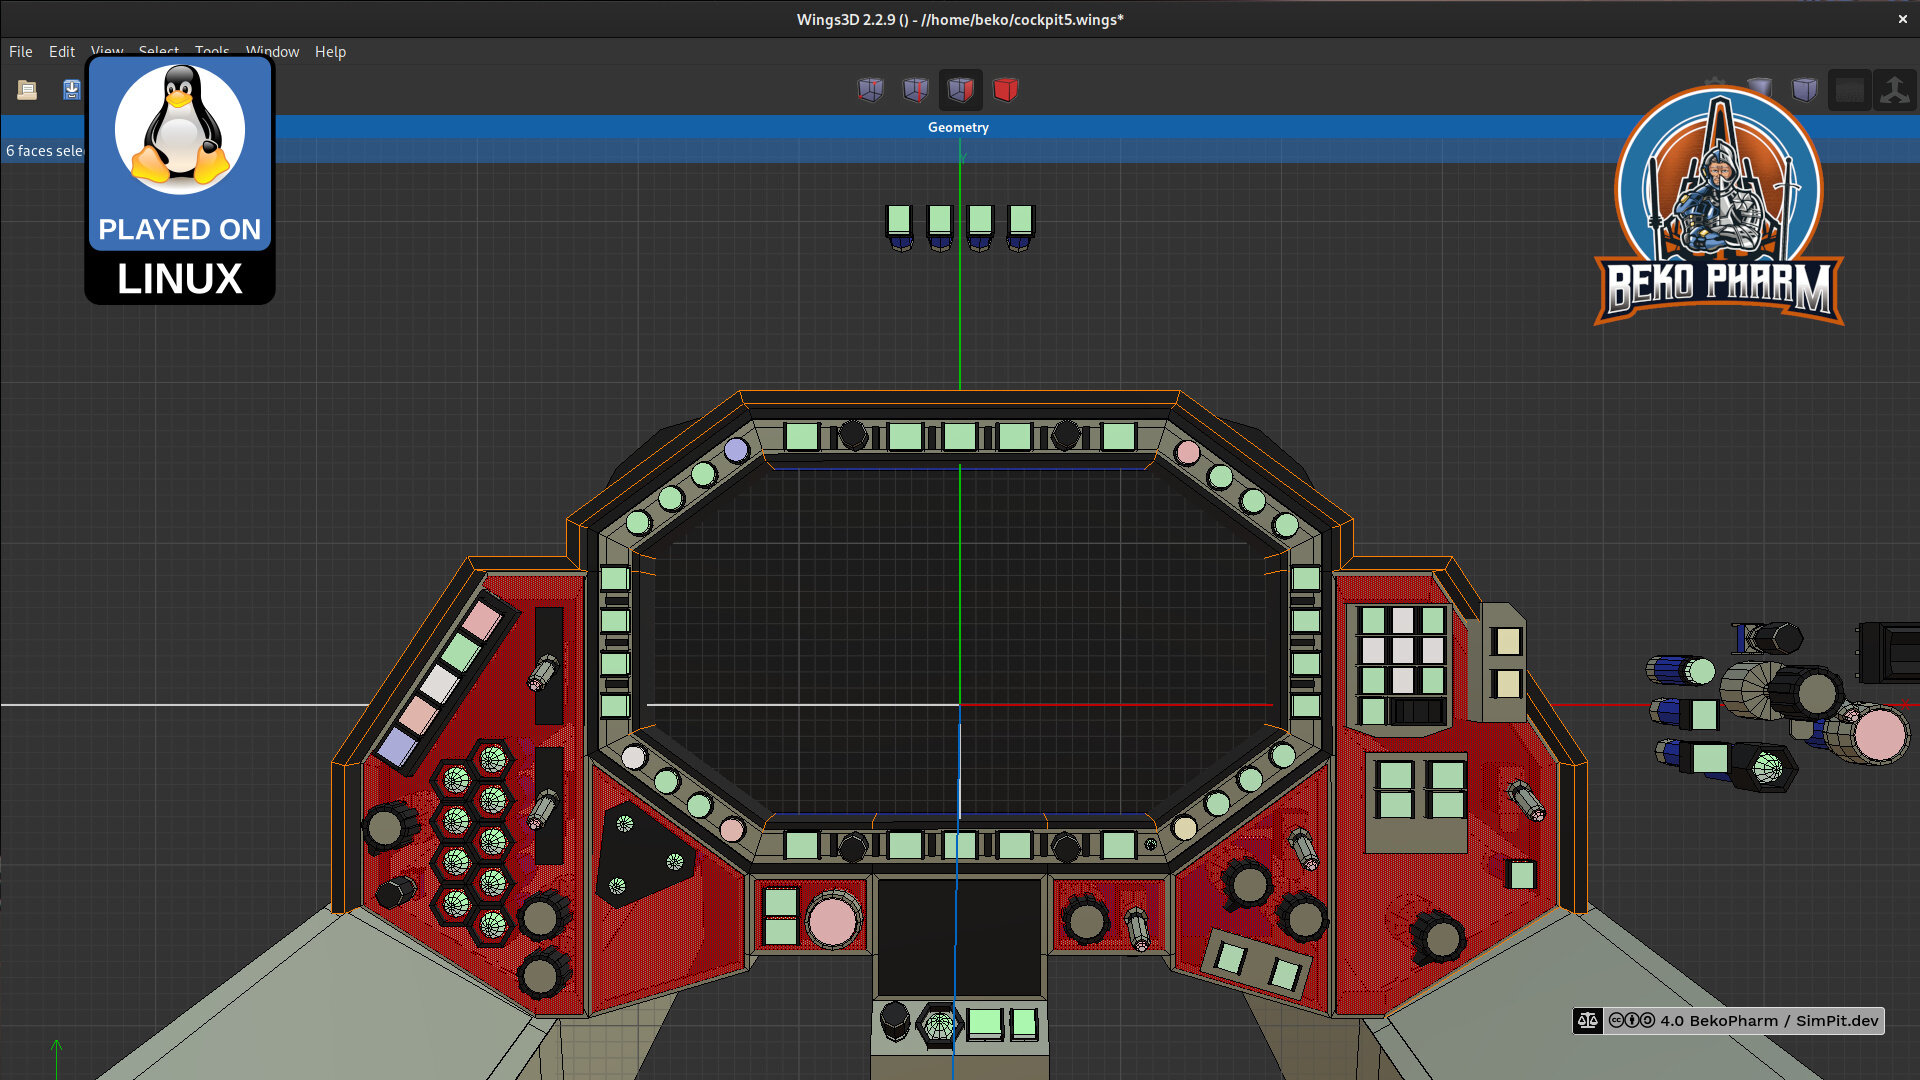
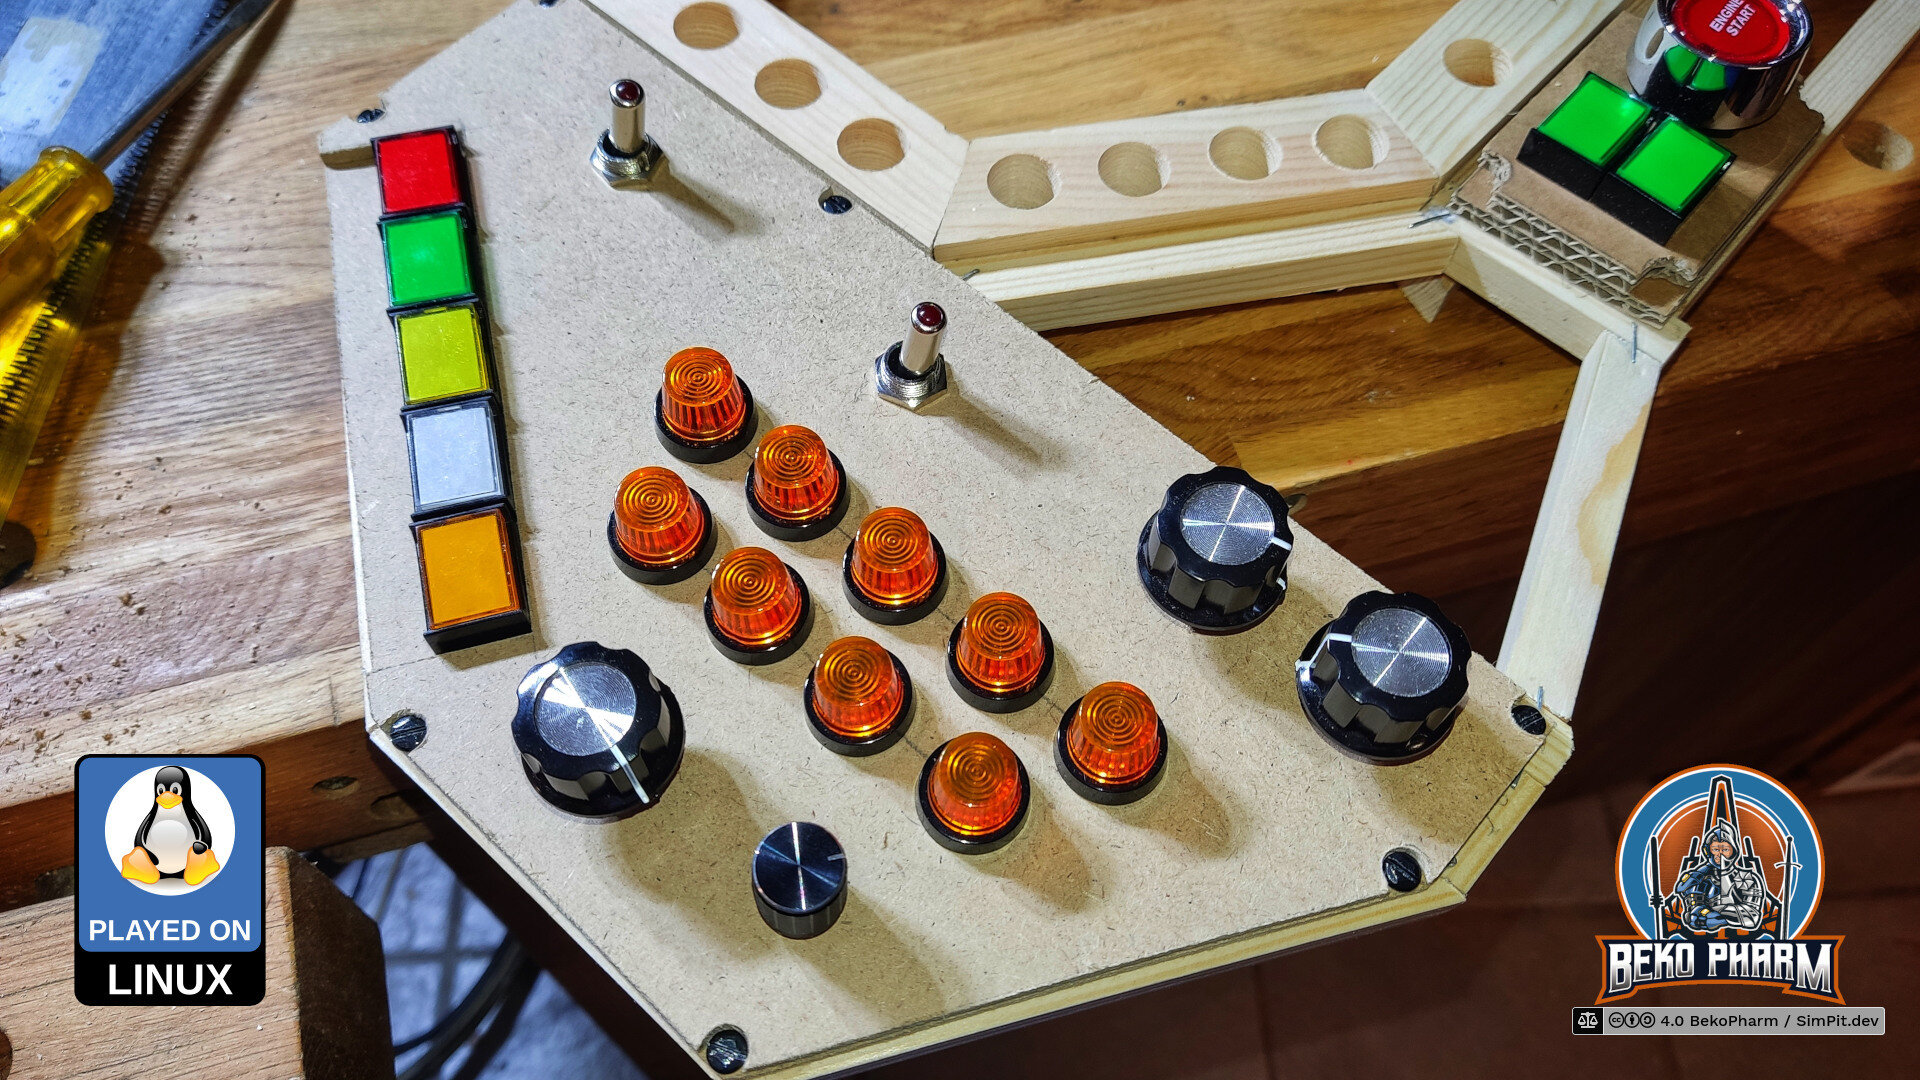
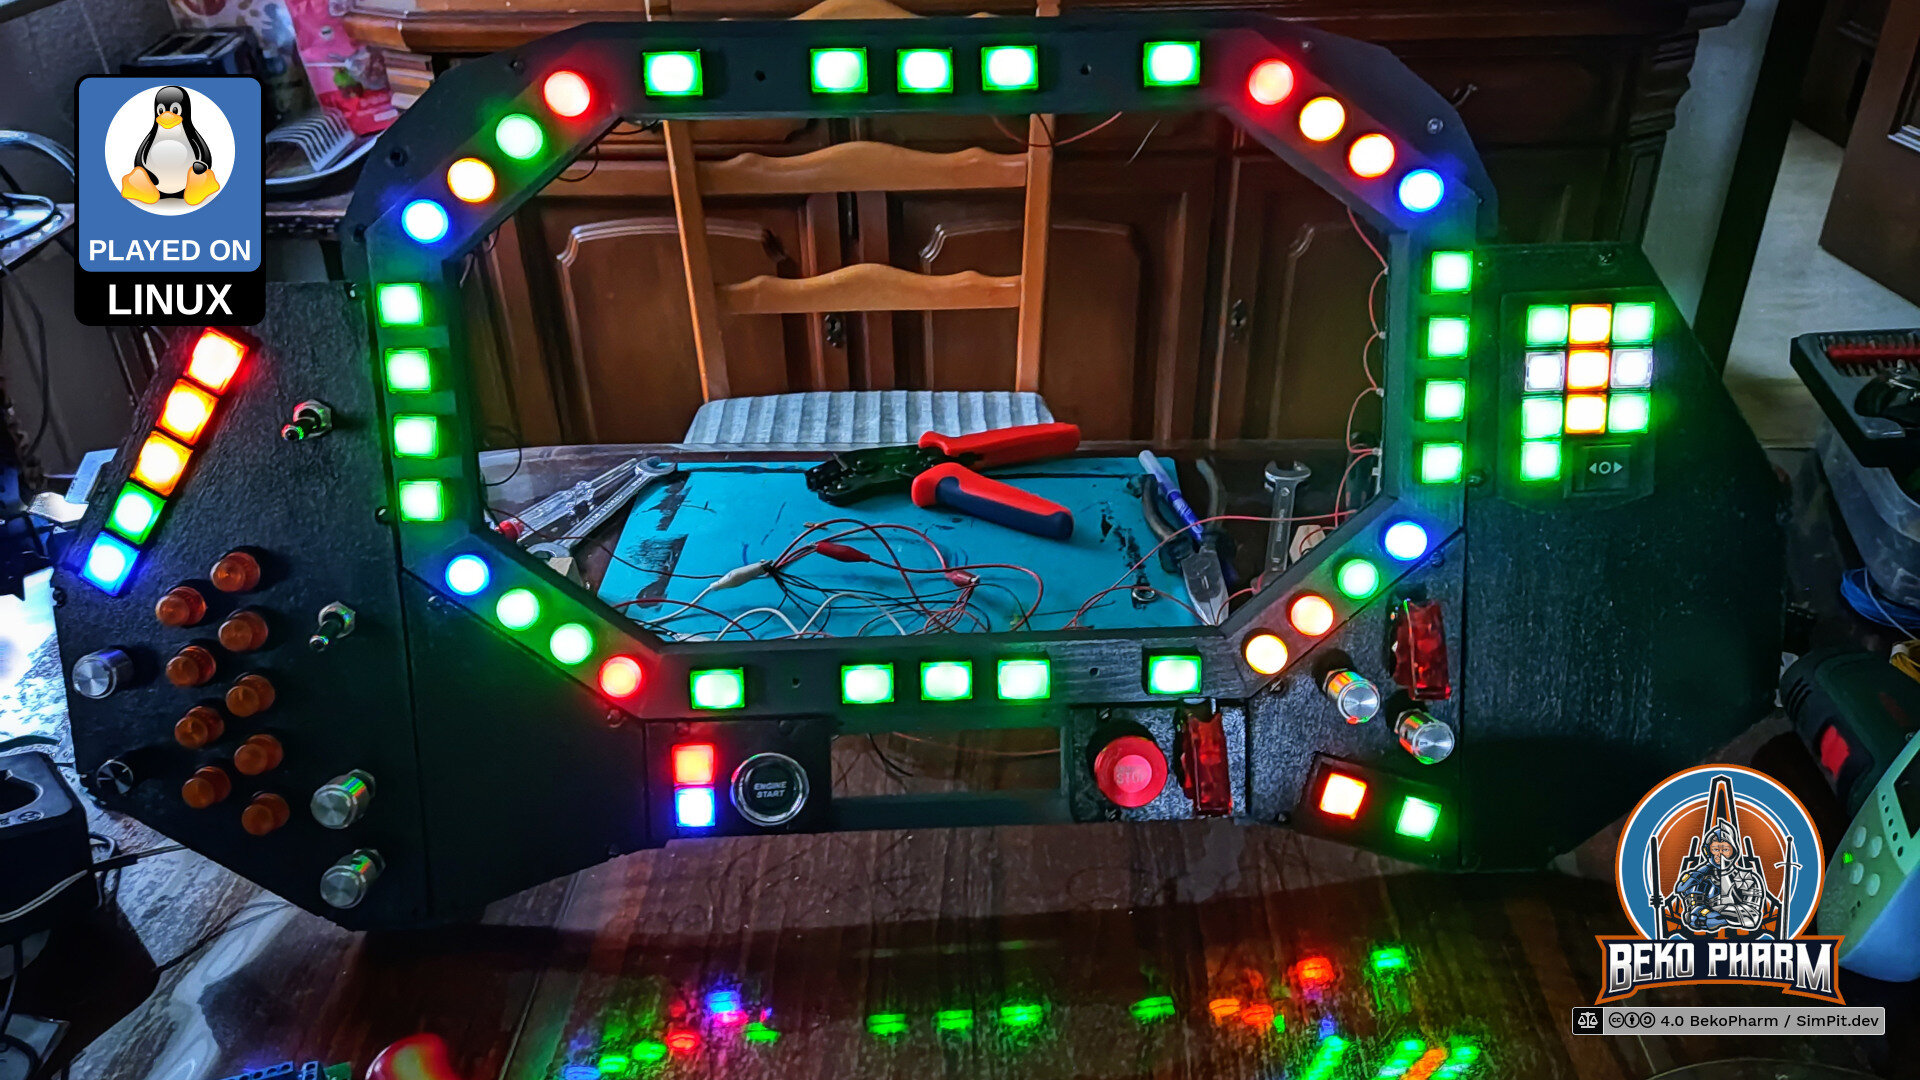
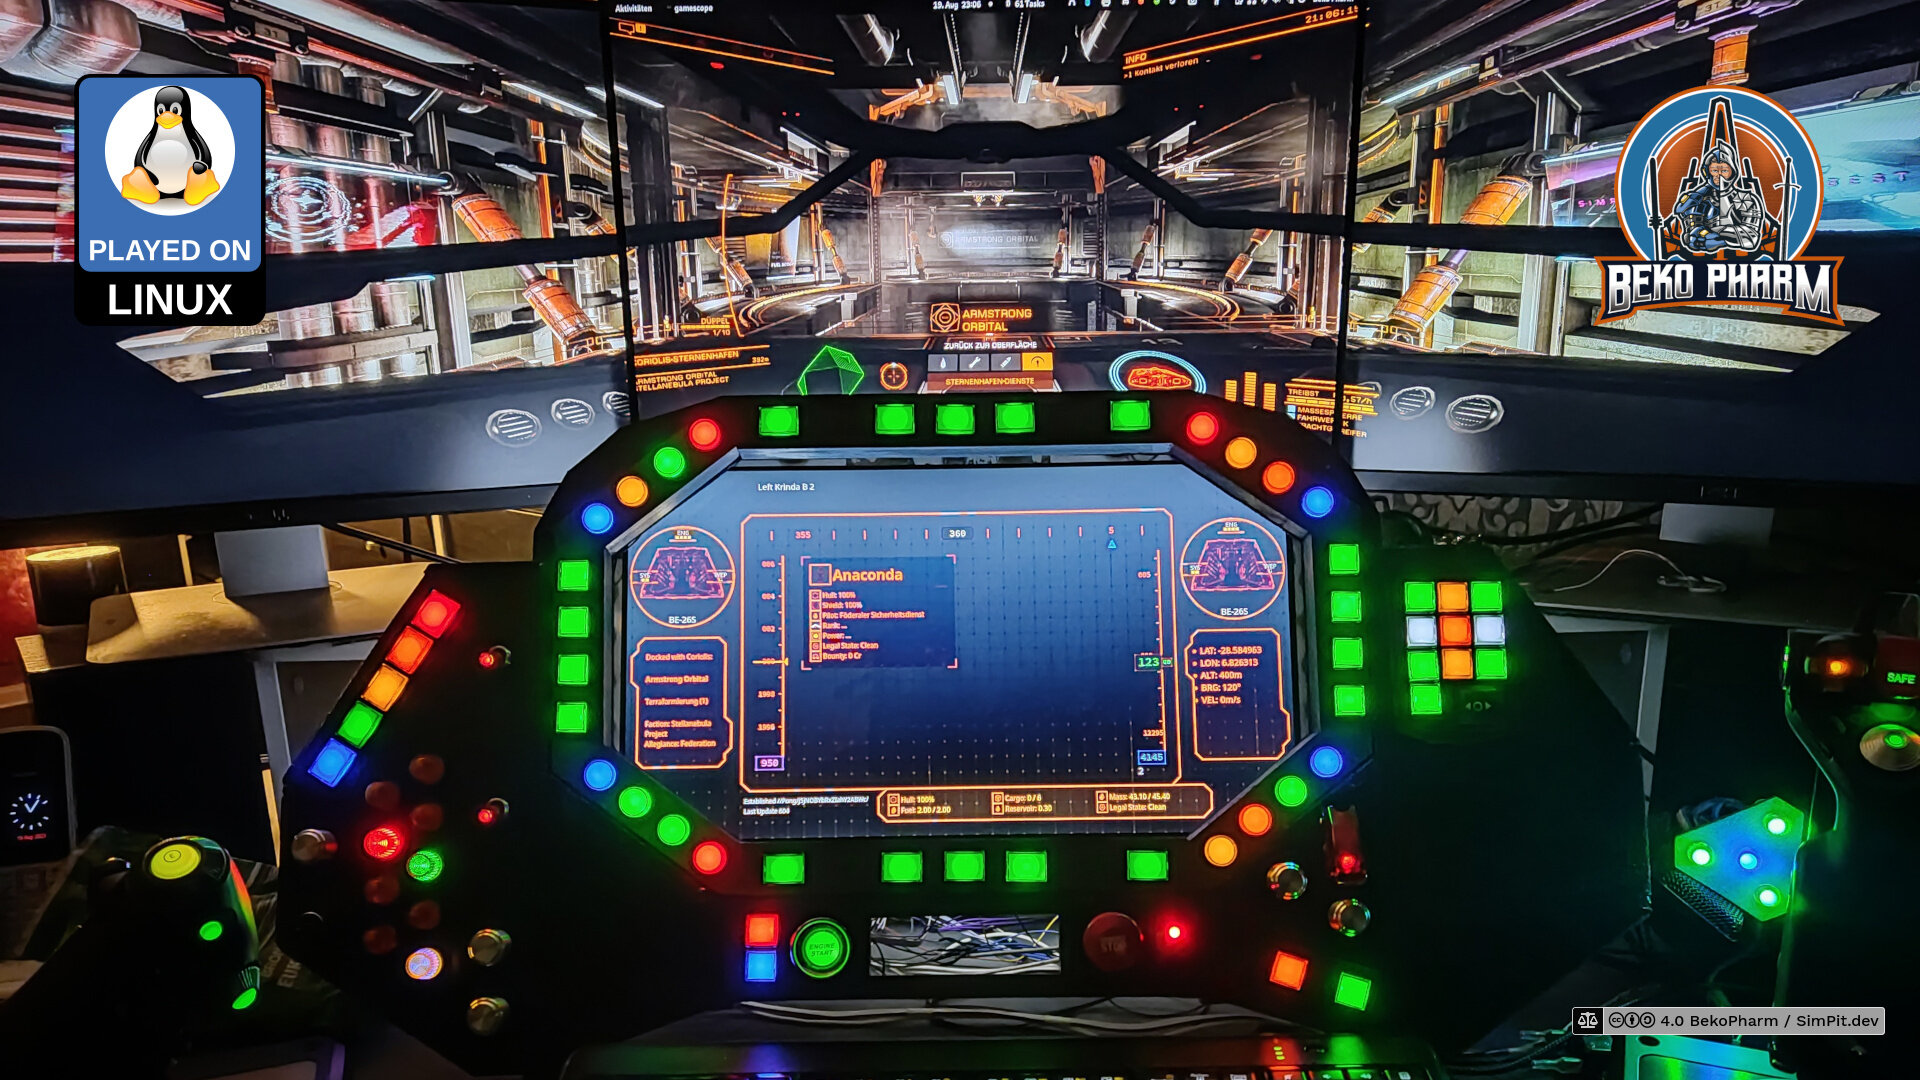
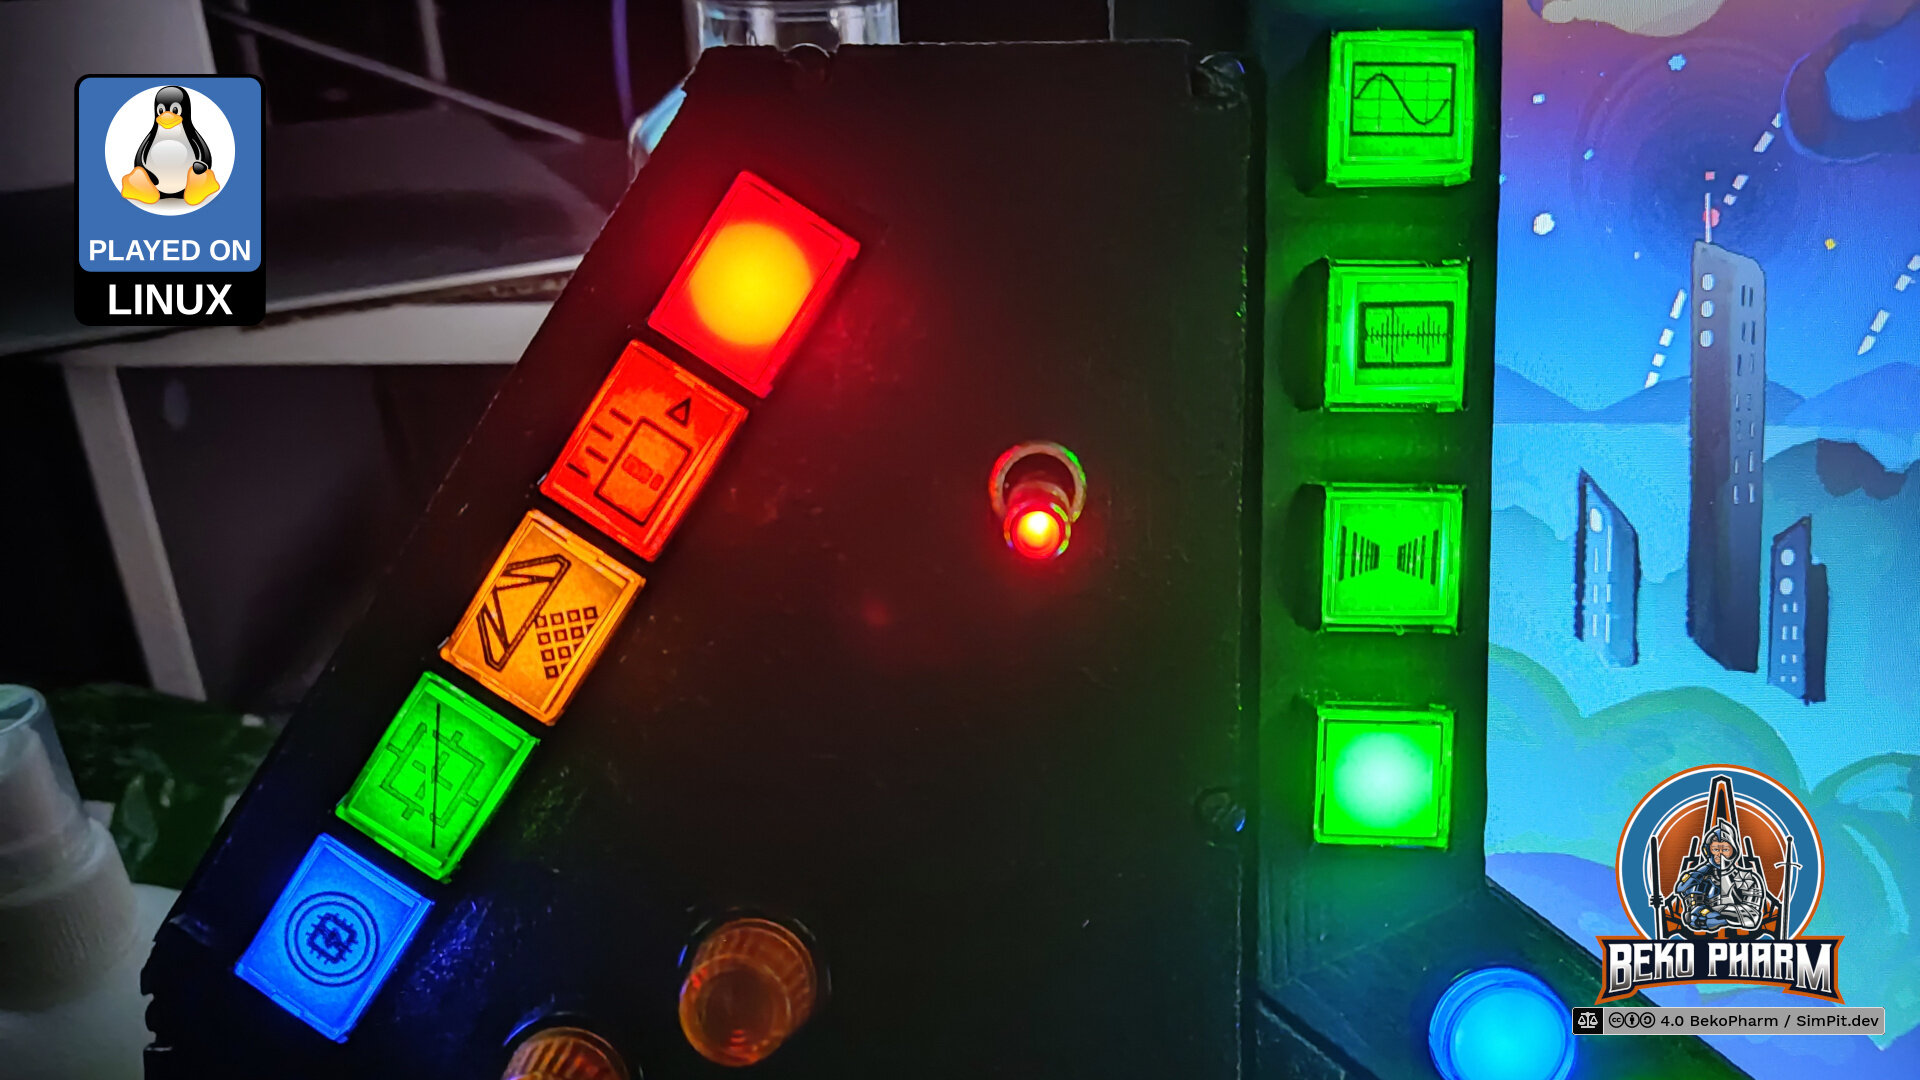
 First off: I usually don't engage in fandoms of any kind due to reason. Second: I usually do _not_ get my hands on official source material, as this stuff is hard to come by in my area for reasons we all know. So I may have some details wrong. Feel free to point them out in a constructive manner! What you see is a glorified DIY joystick controller with a LCD ('MFD') and plenty of RGB. It's design is based on a VF-1 (DYRL) and was modelled by me in Wings3D using source material from the Macross Mecha Manual (Kudos to whoever made this instrument drawing - had a good chuckle reading the inscriptions): http://www.macross2.net/m3/macrossdyrl/vf-1s-strike.htm http://www.macross2.net/m3/macrossdyrl/vf-1a-fastpack/vf1-dyrl-cockpit-instrumentpanel.png I say based because this is not an exact replica. The goal is to use it for playing PC games. Really any game so I'm keeping that part as stupid as possible. This is "just" another joystick for the PC - and am additional display connected via HDMI cable. Using all of it's features requires additional software, of course, but this is the basic design so any game could be played on the built in display OR next to it. I use it mainly to play Elite Dangerous, Star Citizen, X4: Foundations and plenty of other Space Pew Pew. I'm not aware of any Macross specific game for PC and never owned a PS 🤷 Anyway, after designing that I didn't do much with it for months. My previous version (own design) made of cardboard did the trick for quite a while. One of the final bumps to make me go was the 3D models of @Olitech Industries in the end, that I found during researching for that design. The rest is history ☺️ Important: This is still Work In Progress. I'm _still_ moving buttons around because I'm still not yet sure what I'll need but I do have a very good idea by now. This is to explain why some areas are still empty. I eventually started the build by exporting my model to STL. Inkscape made the scaling a breeze and after printing out 8 A4 papers I got the first impression how huge this would going to be in the end - and I almost stopped right there again. Next was preparing a lot of mock-up panels made from cardboard - something I have good experience with from my first version, that used my own design. When I was happy with the mock-ups I switched to wood. For this I sourced mostly from the local hardware store. Stuff they had available so I wouldn't have to pay for cutting services. The rest was done with the help of a jig saw, wood glue and staples. Wiring everything was quite a task. I did spend many evenings and sunk over 250 connectors into this - can totally recommend crimping pliers for this. I won't bore you with the details here. Next was the software part. The core of the contraption is an Arduino Mega that runs some custom code I wrote. It also controls the status indicators so whenever I get ship telemetry from games I can control individual RGB LEDs on a Neopixel string. The LEDs are not yet built on this picture but are sitting on the top as I used to have them on my first version. They eventually moved to the very retro styled orange housings. Kinda liked my own hexagonal housings too but what can I say… I'm a child of the 80s 🤷 The next step is a never-ending one as I'm tweaking and adjusting the HUD application as I go. Most of this I had figured out for version 1 already but decided to rewrite everything for the VF-1 variant mostly due to more "screen estate". The idea is to interface with games that allow that by parsing their ship telemetry data and logs and cram everything into a plumbing pipeline unifying the data format in a way that the HUD can understand without having to roll different versions of the HUD based on the games I play. This is the most custom part as interfacing with games is _hard_ - and most don't let the player do that and have to be… persuaded. Spent e.g. _weeks_ on hacking my way into X4 but I got it working in the end. So what's left to do? Well obviously building a complete cockpit around this 🤓 I may eventually go there but for now I just enjoy my Pew Pew gaming with what I have. I'm also still working on the finishing touches like deciding on the icons for the buttons: I'm still working on a walk-through demo video explaining what which part of the panel does. So… QnA time maybe? 😅 Is this a finished product? NO. Will it ever be? As well: NO. Can I build you one? NO. It's a project of passion. I'm not interested or qualified in making this my job. If you are inspired though (and I hope you are) and want to roll your own: Be my guest. I started a project page where I'm explaining all this in more detail: https://SimPit.dev - it's slow af, because it's hosted in my backyard, but ads and tracking free. I'm also steadily expanding this. Various demo videos exist also on YouTube or my PeerTube account and I foster a project page on Hackaday so pick your poison. My material is usually CC BY-SA 4.0 - I believe in fair sharing and adapting! I'm also available for questions or advice, of course, but implementing something like this to fit _your_ needs _will_ be up to you.
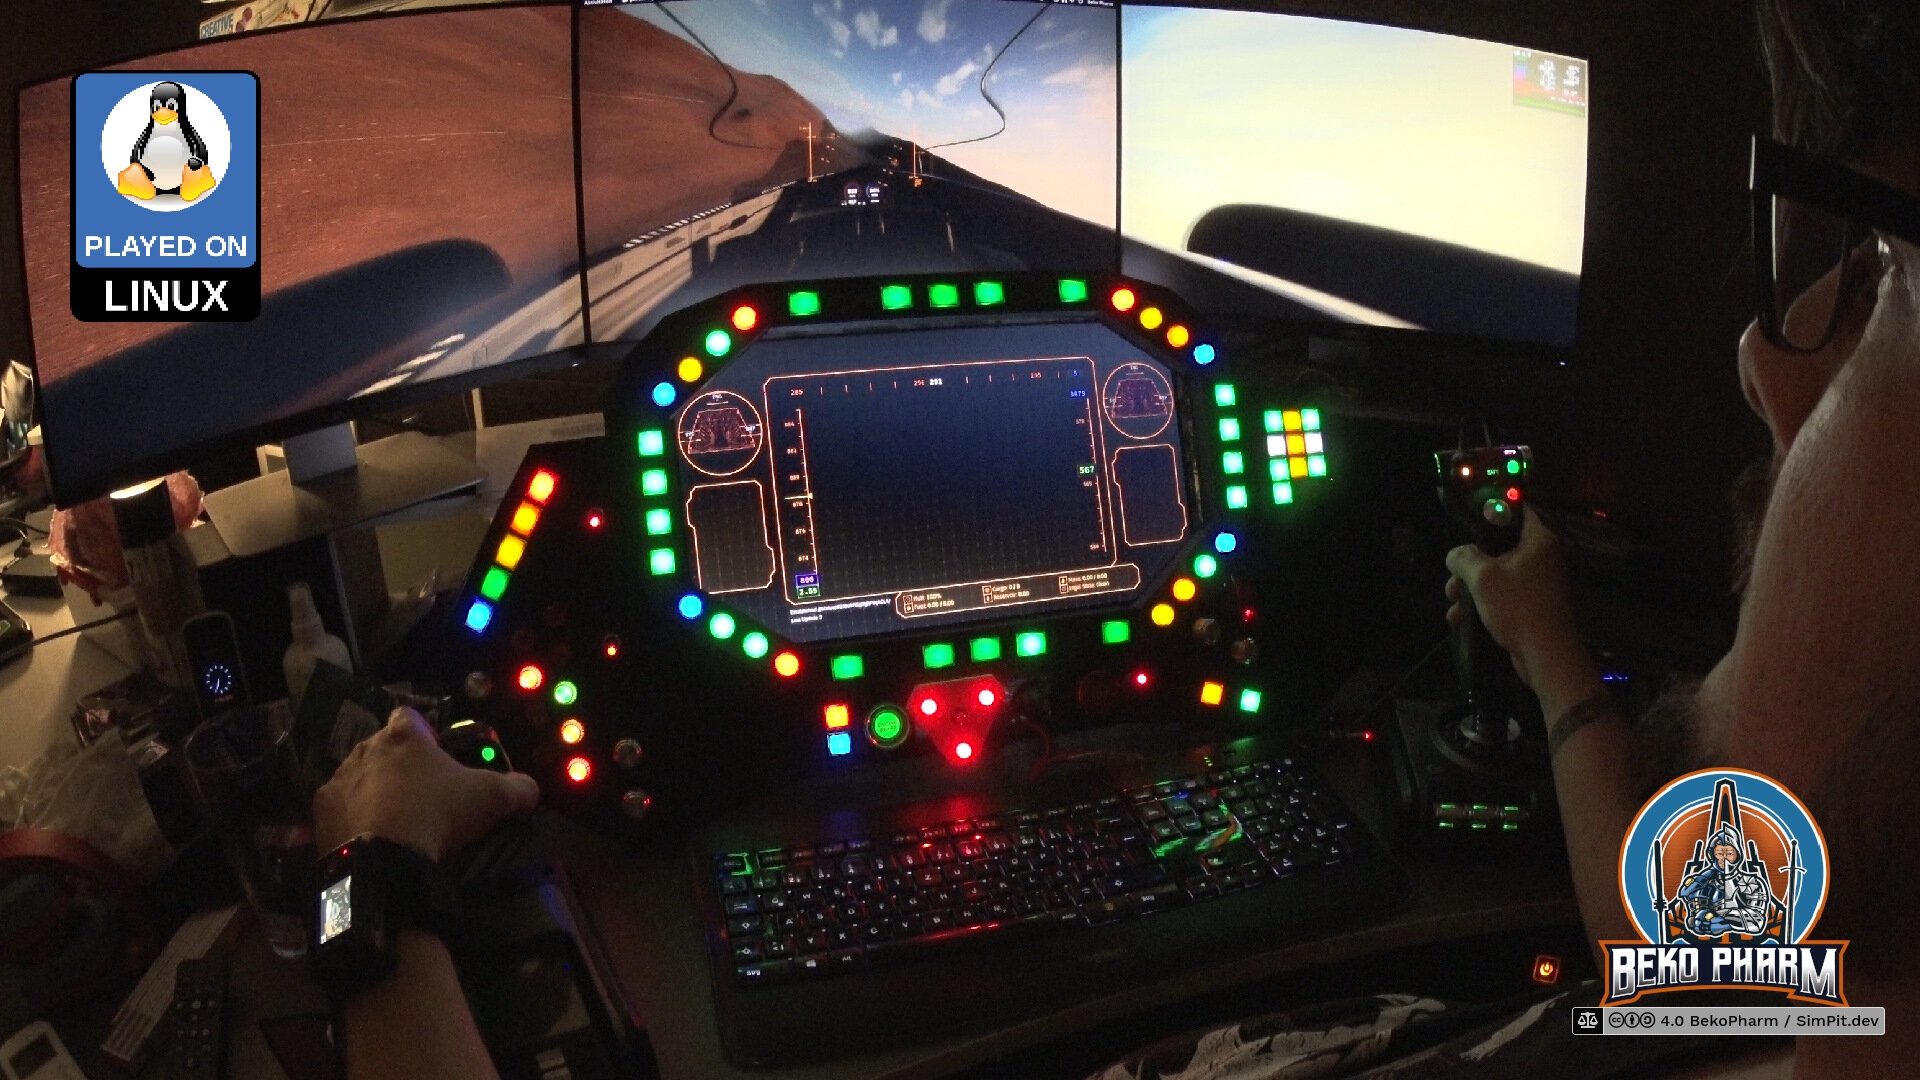

- 14 replies
-
- 5
-
-
- vf-1 valkyrie
- wip
- (and 1 more)
-
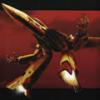
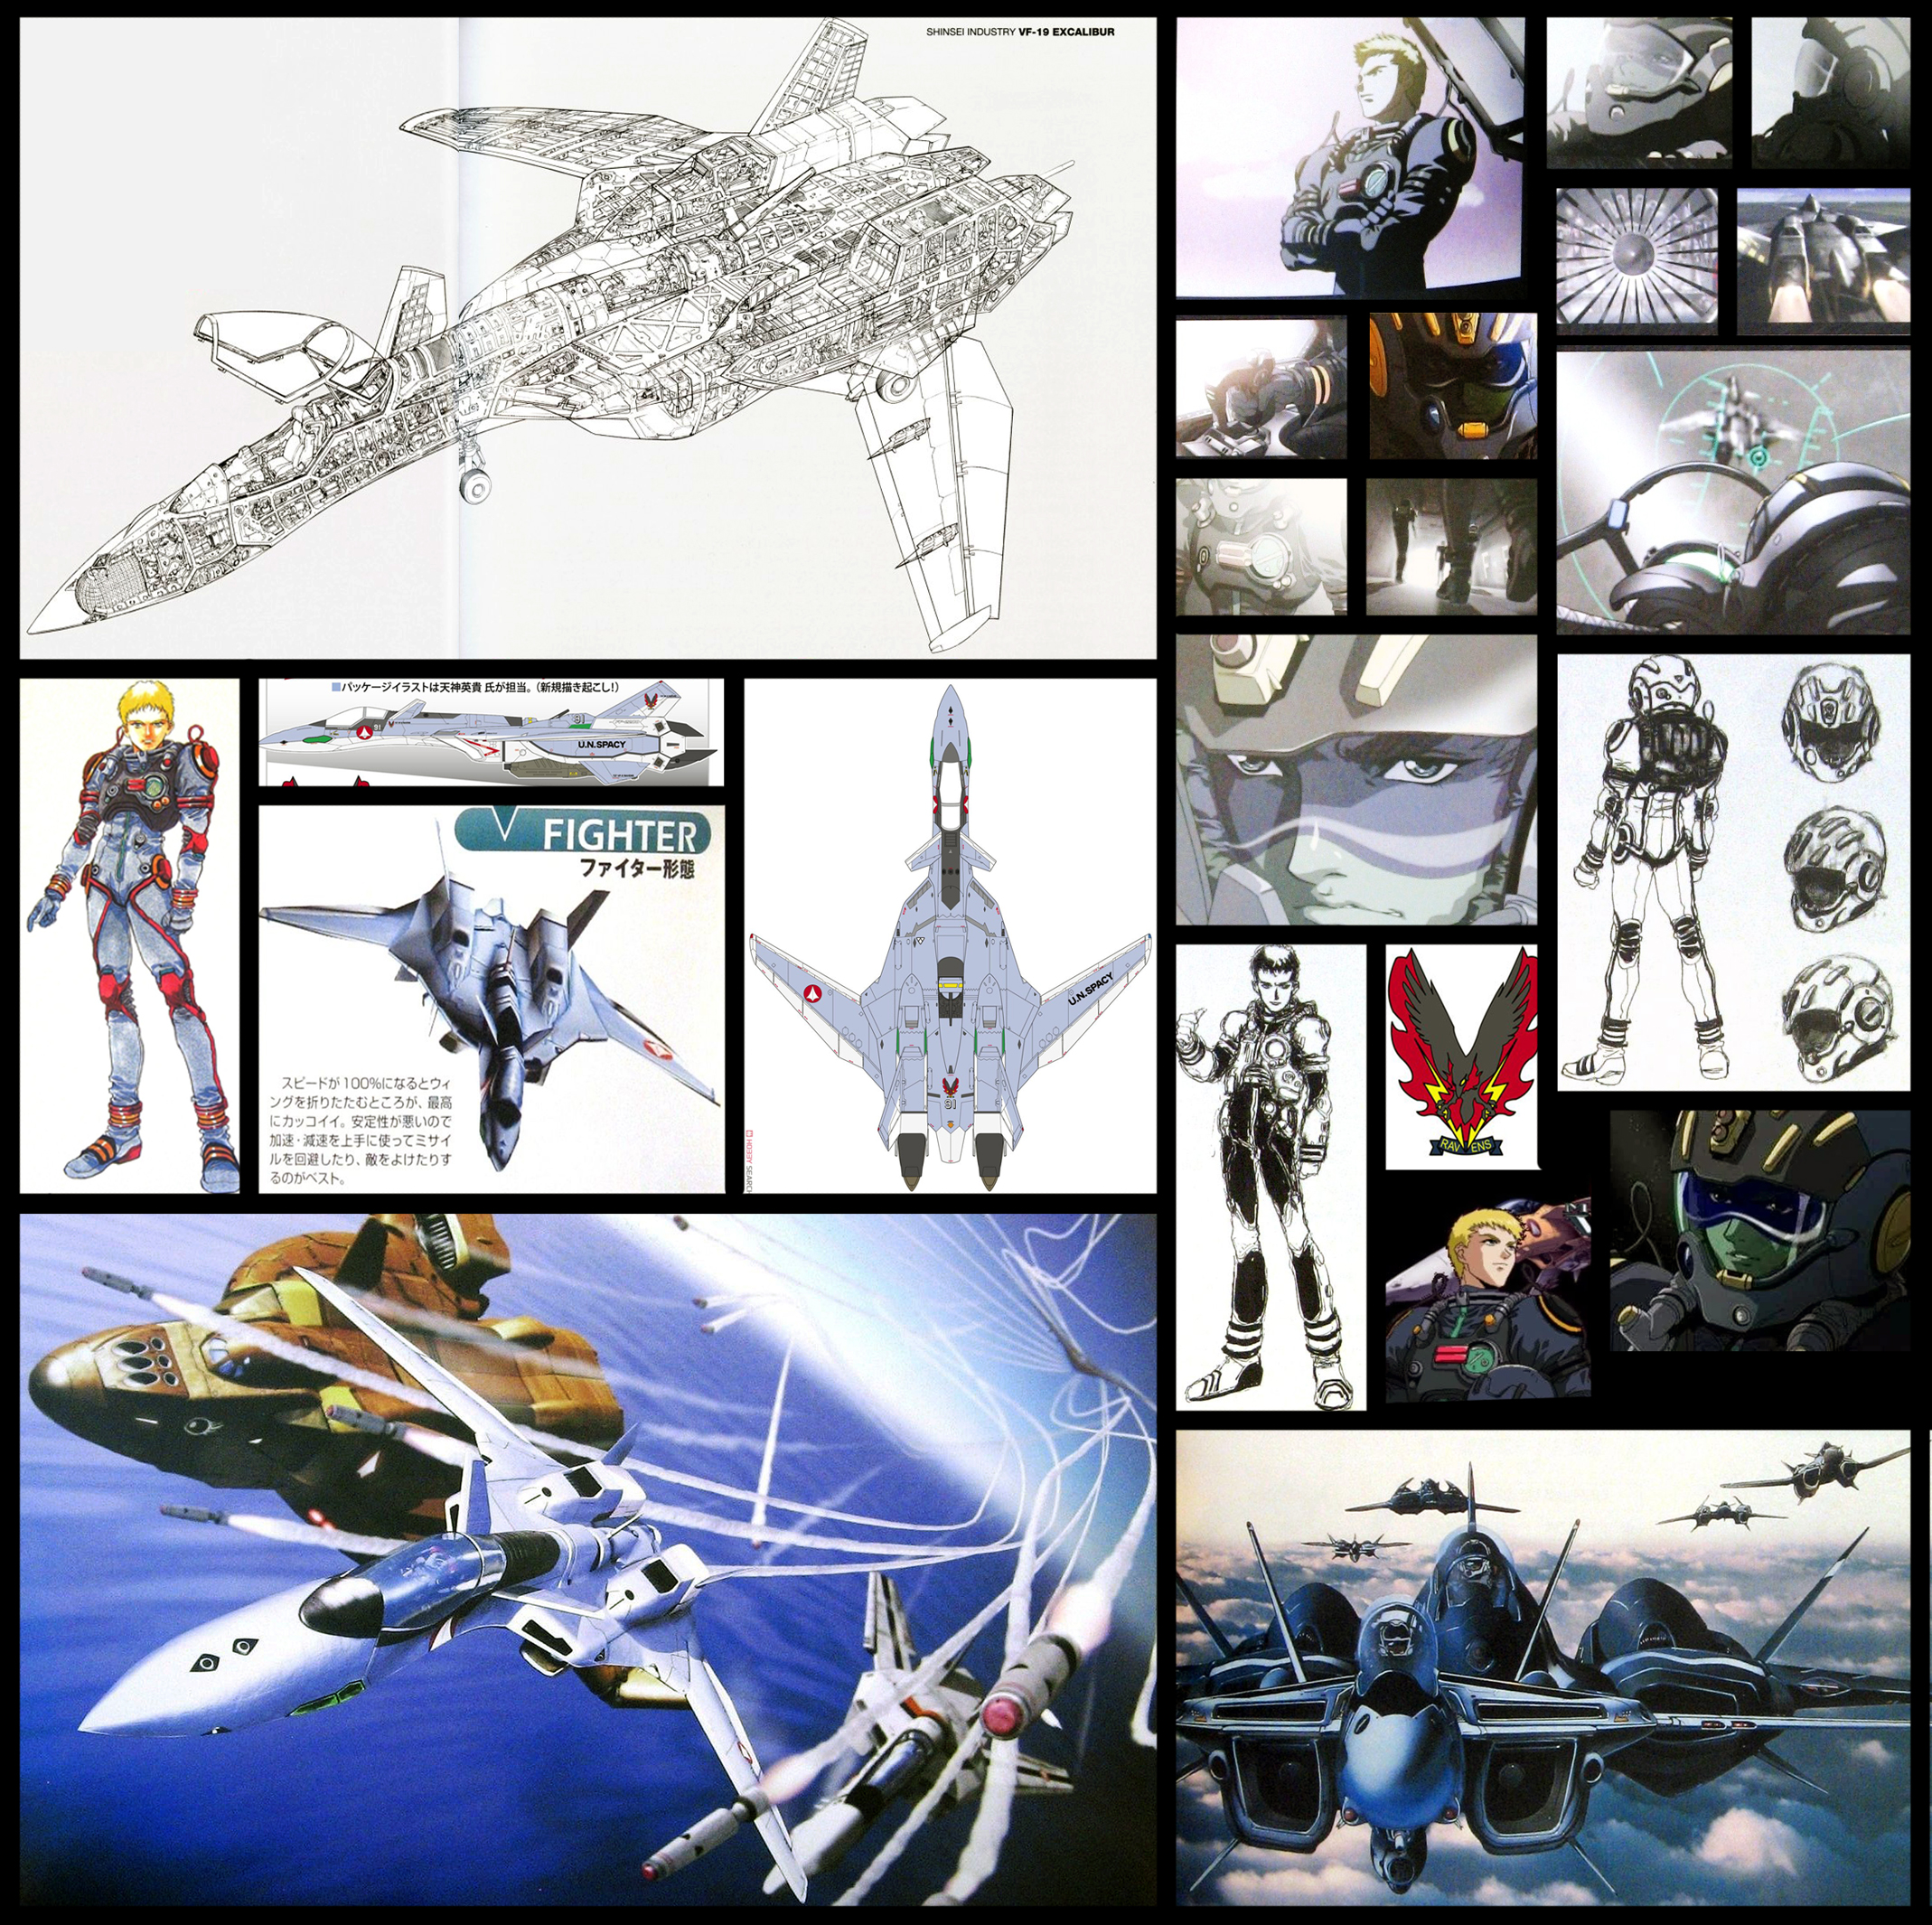
First up Macross build for 2023. The VF-19A Excalibur! This kit is the 2020 re-re-release by Hasegawa. The kit itself is identical to the other VF-19/YF-19 releases with a unique decal set. I originally planned to build this as SV-440 from the VF-19 Master Files but over the few years I've now had the kit, the Macross VF-X2 scheme grew on me. The build itself will be fairly straight forward with only some minor changes and detailing to make it less of a lazy recolor and more fitting to my tastes. For those not initiated... This VF-19A debuted in the Playstation game Macross VF-X2 Digital Missions. The new story follows the 727th Independent Squadron, the VF-X Ravens' missions a year after Macross 7. This unit was piloted by the Alpha Squadron's newly appointed leader, Aegis Focker. VF-X mission standby... VF-X mission standby... Good luck! Reference images:
- 90 replies
-
- 2
-
-
- macross vf-x2
- vf-19 excalibur
- (and 2 more)
-
Hello all! As I promised, I hereby start my wip thread for the YF-21. There is not much done yet, but the general shape is finished (no arms and legs), I0ll start with some details by sections and I'll then focus on legs and arms. Hope this doesn't take as long to finish as my vf-1 Cheers!
-

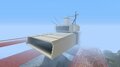
Minecraft PlayStation®4 Edition 20150429224650
Vermillion3 posted a gallery image in Macross Collections

From the album: Minecraft Macross
SDF-1 bridge -
Minecraft PlayStation®4 Edition 20150429224243
Vermillion3 posted a gallery image in Macross Collections
From the album: Minecraft Macross
Rear view of the SDF-1 bridge -
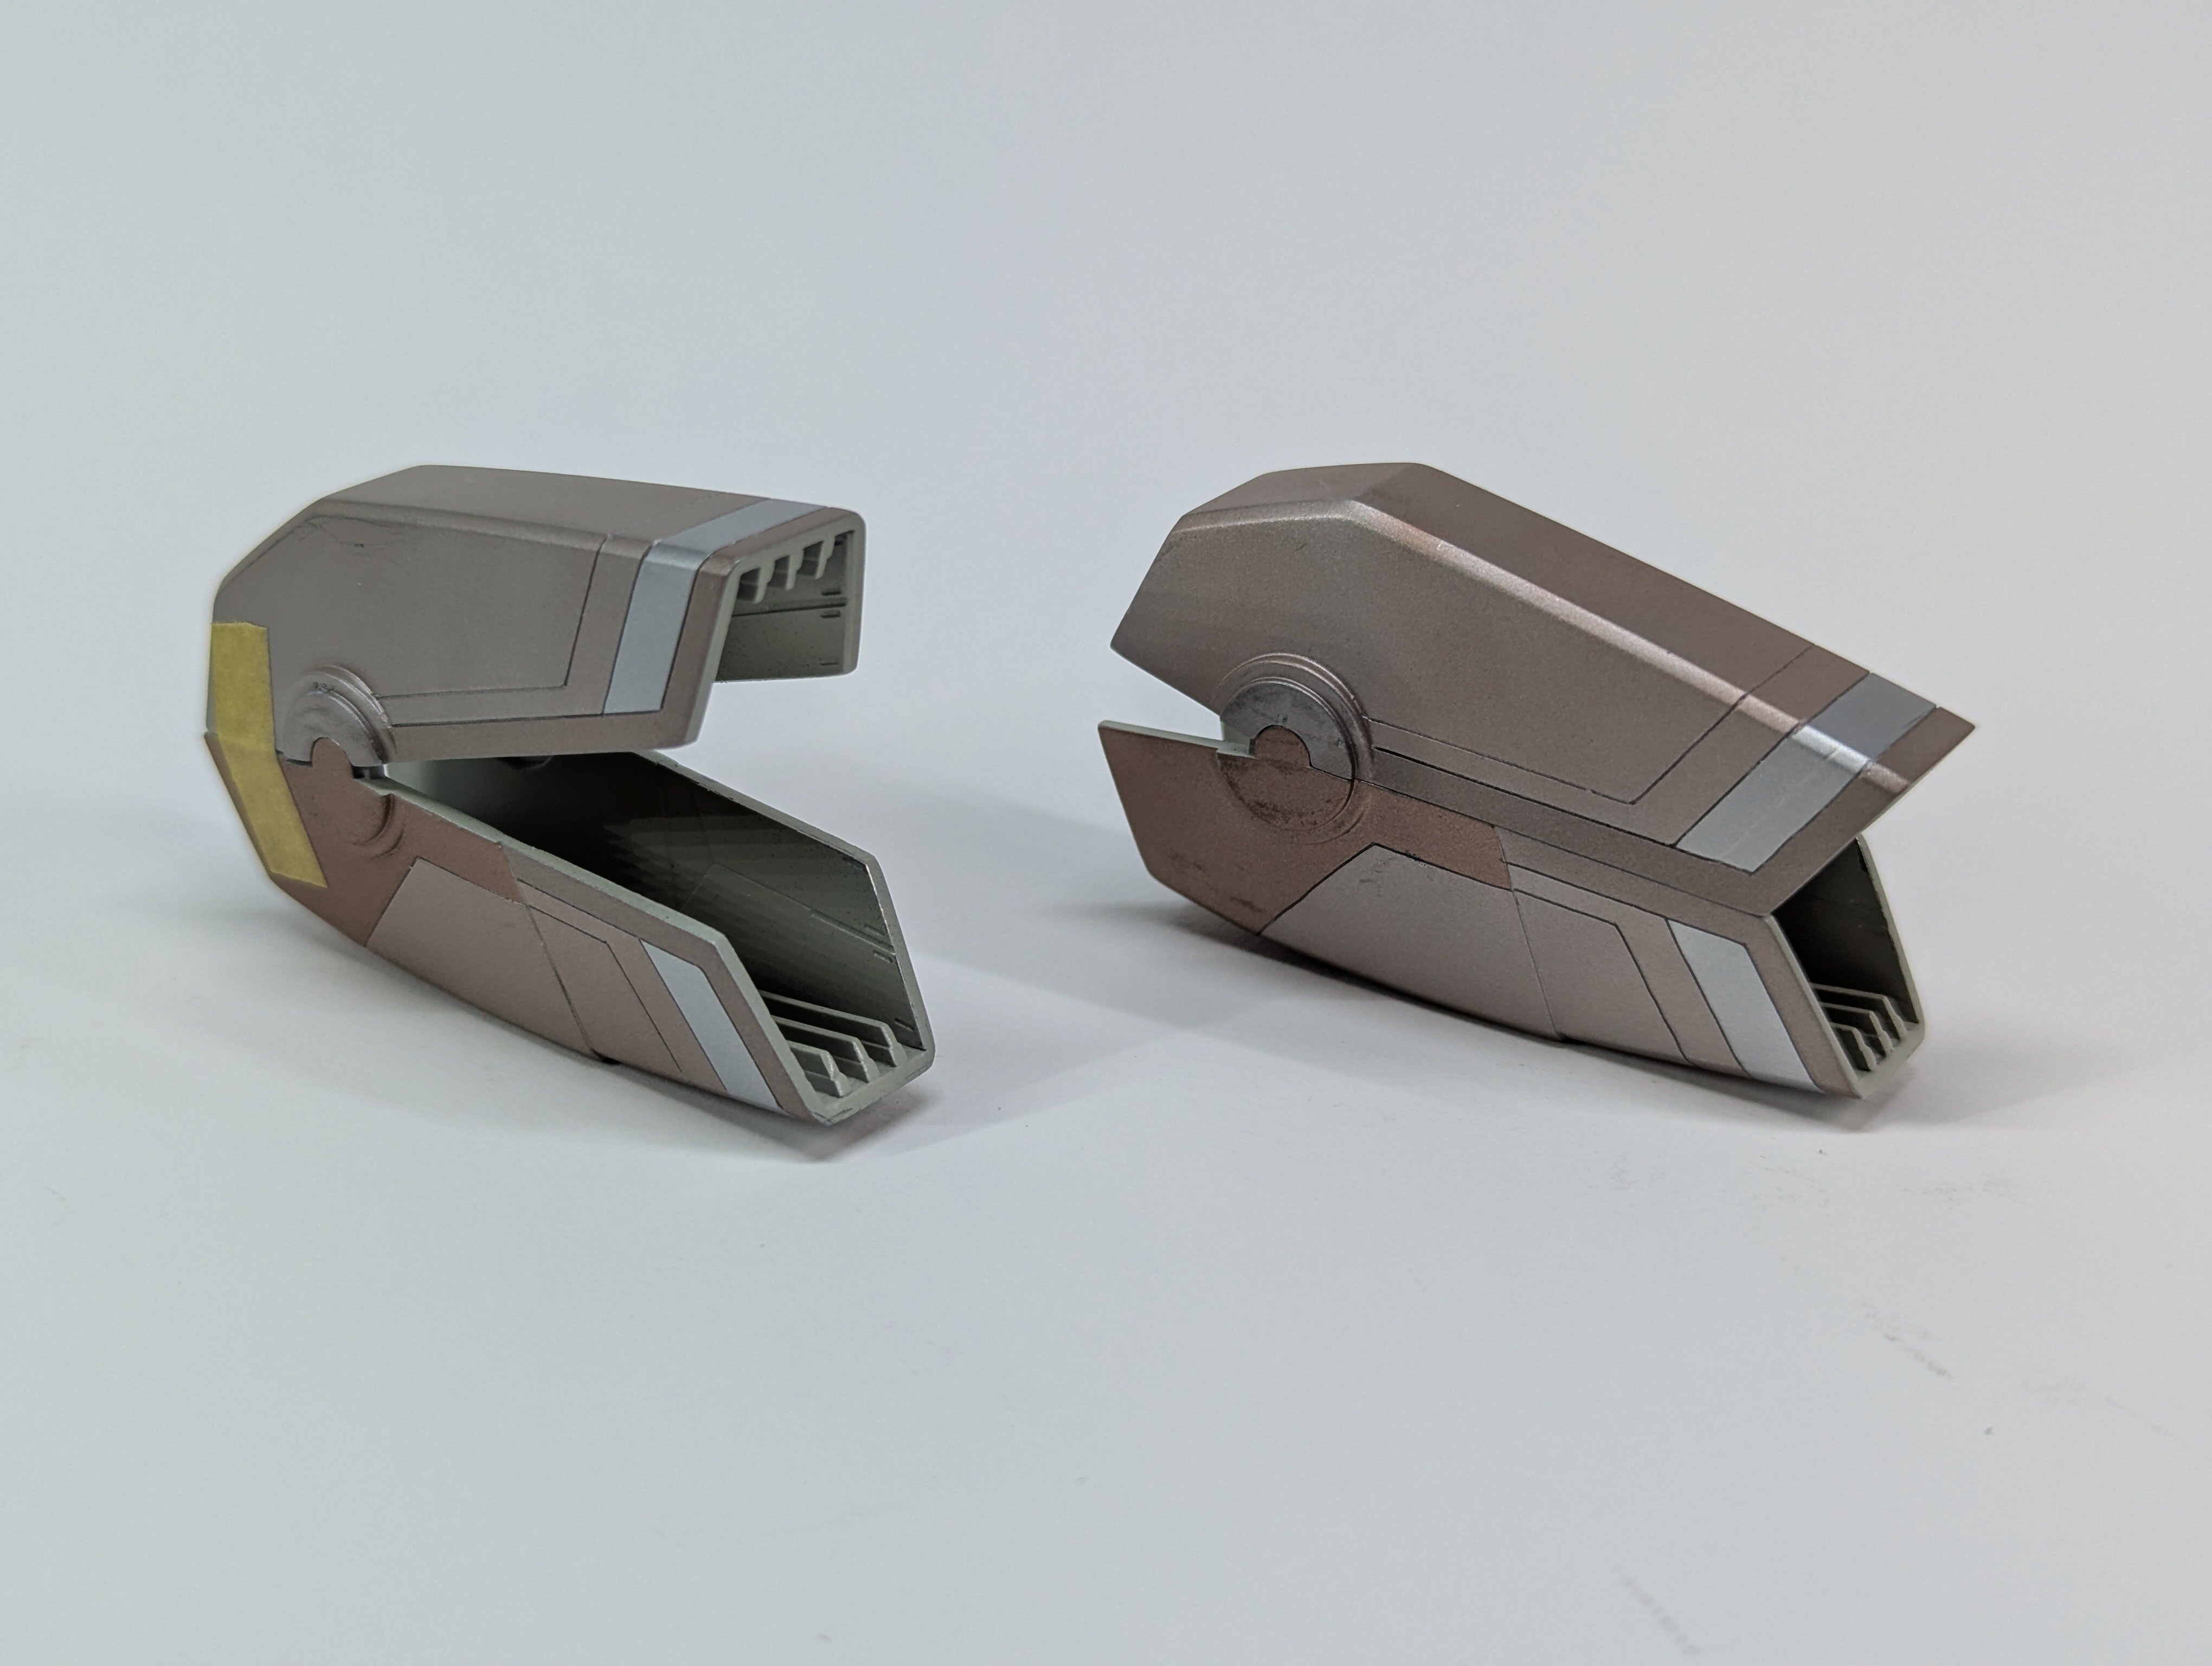
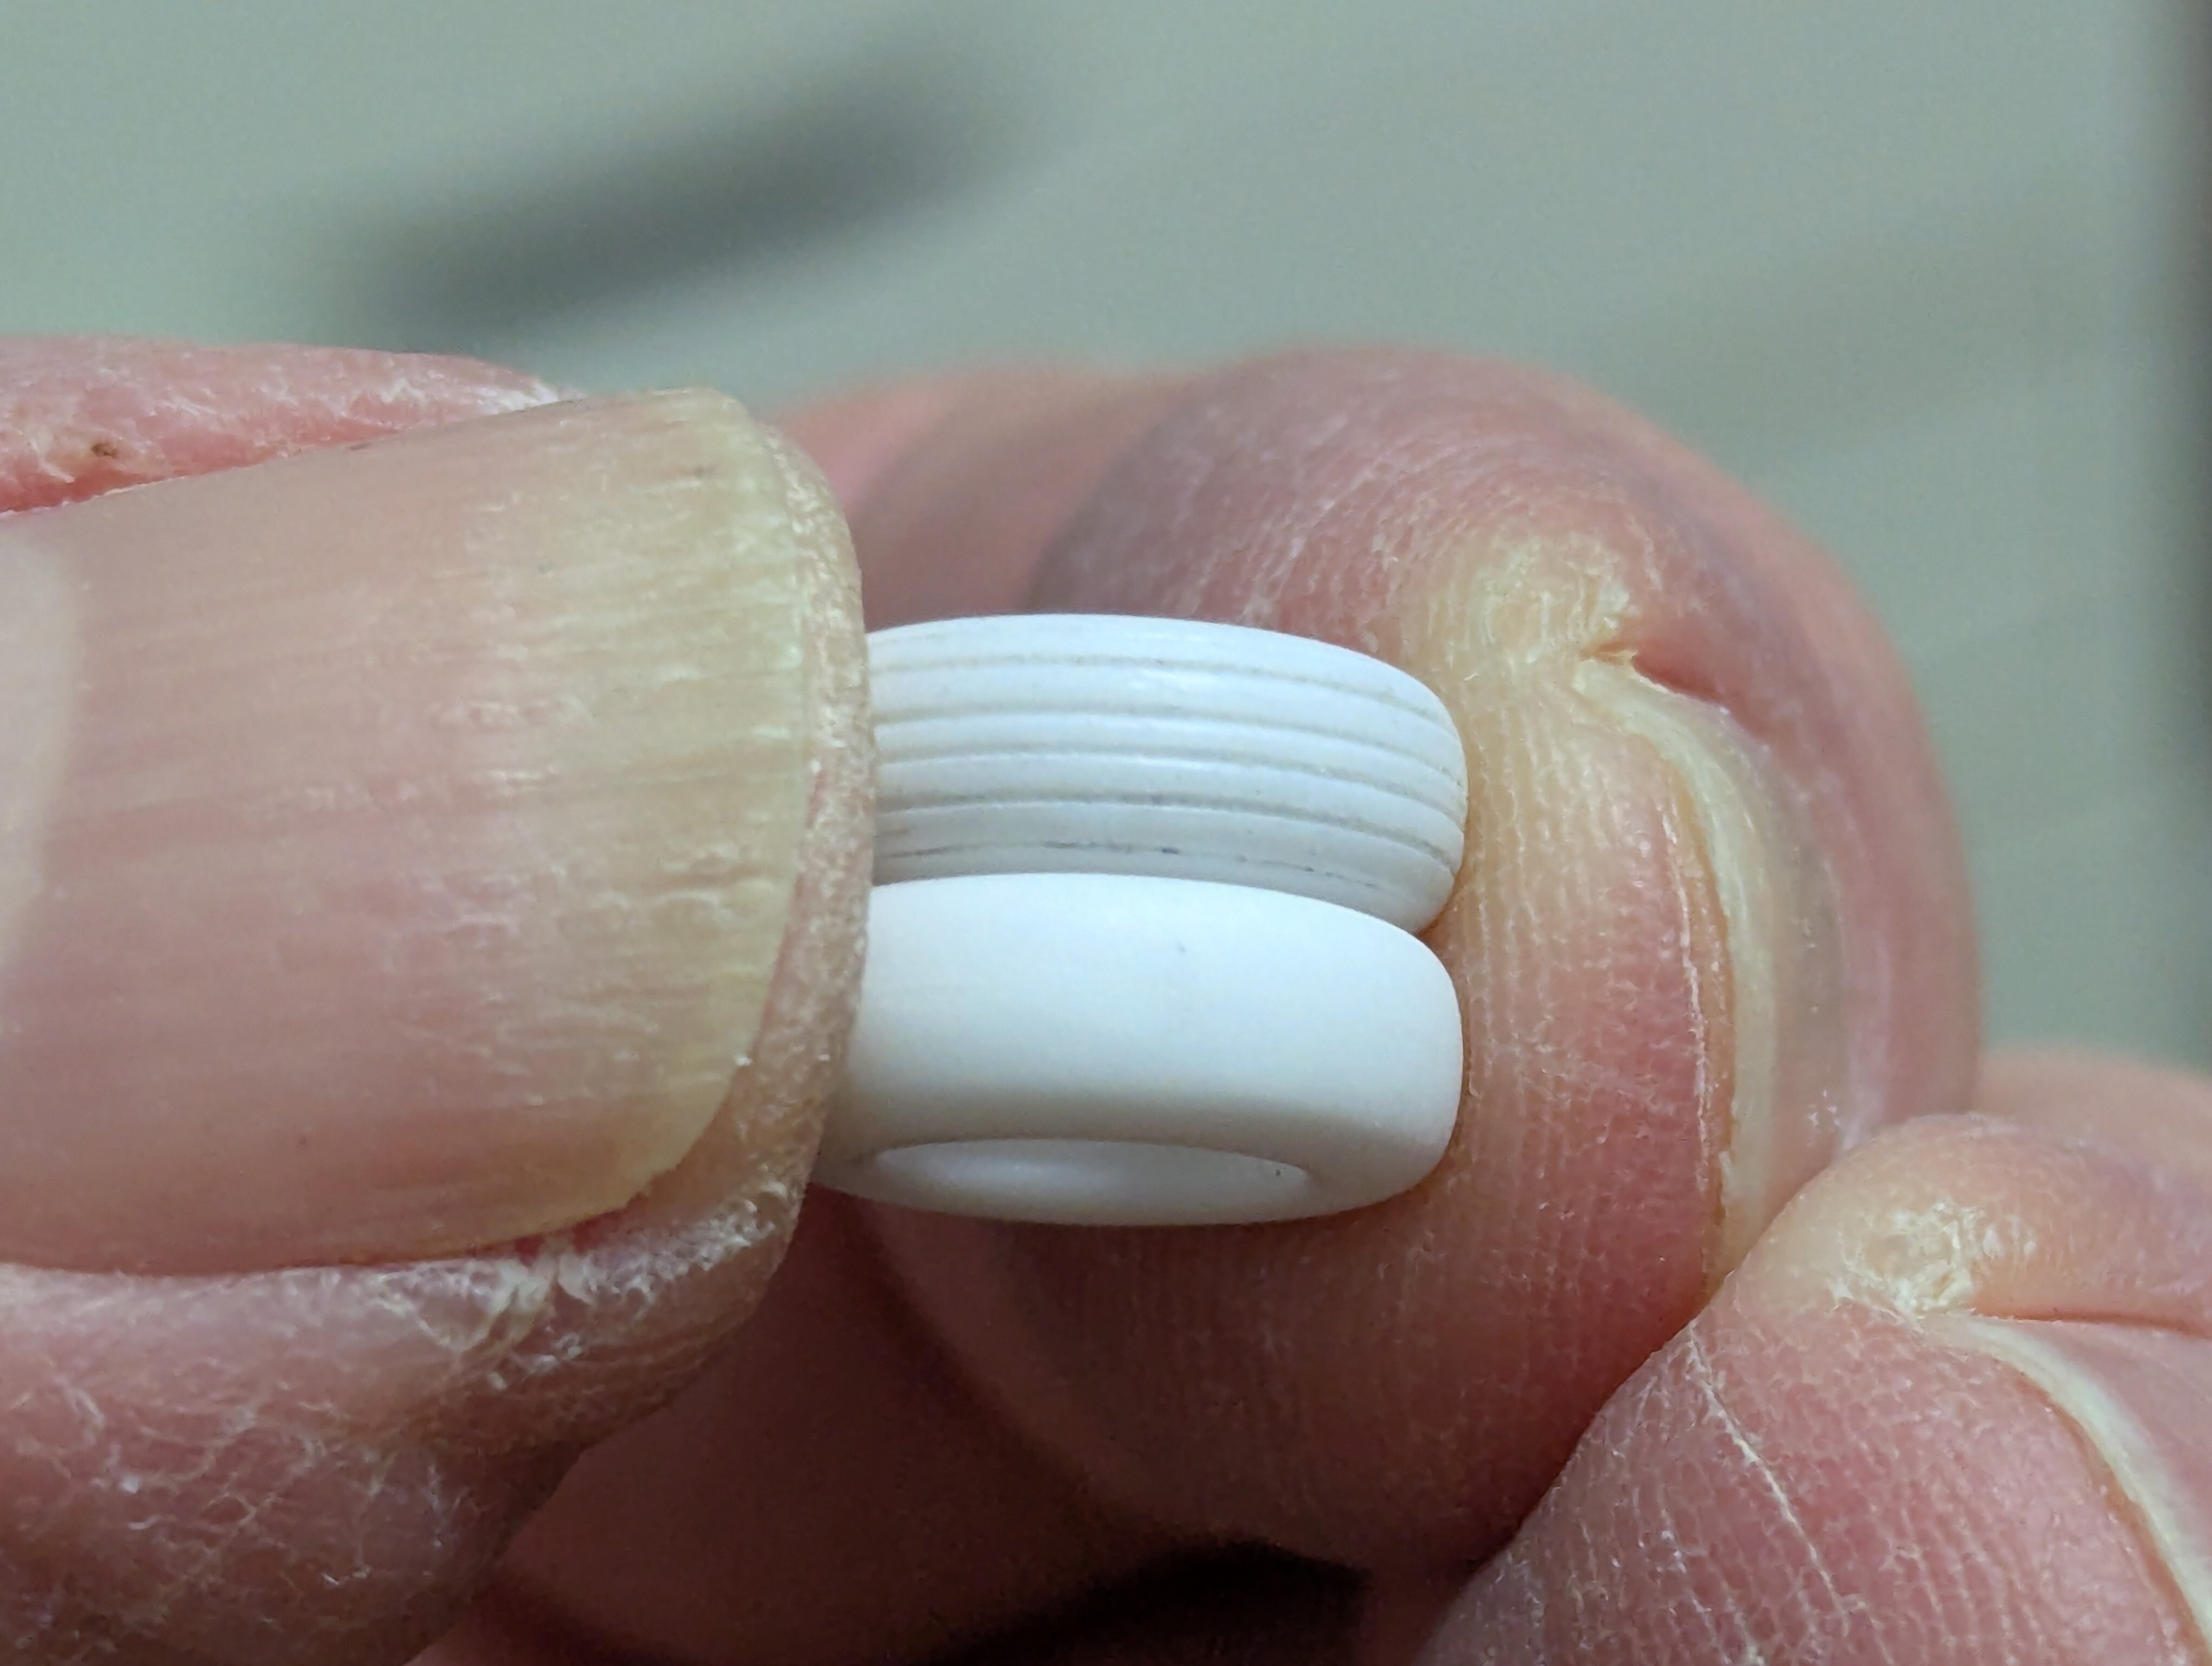
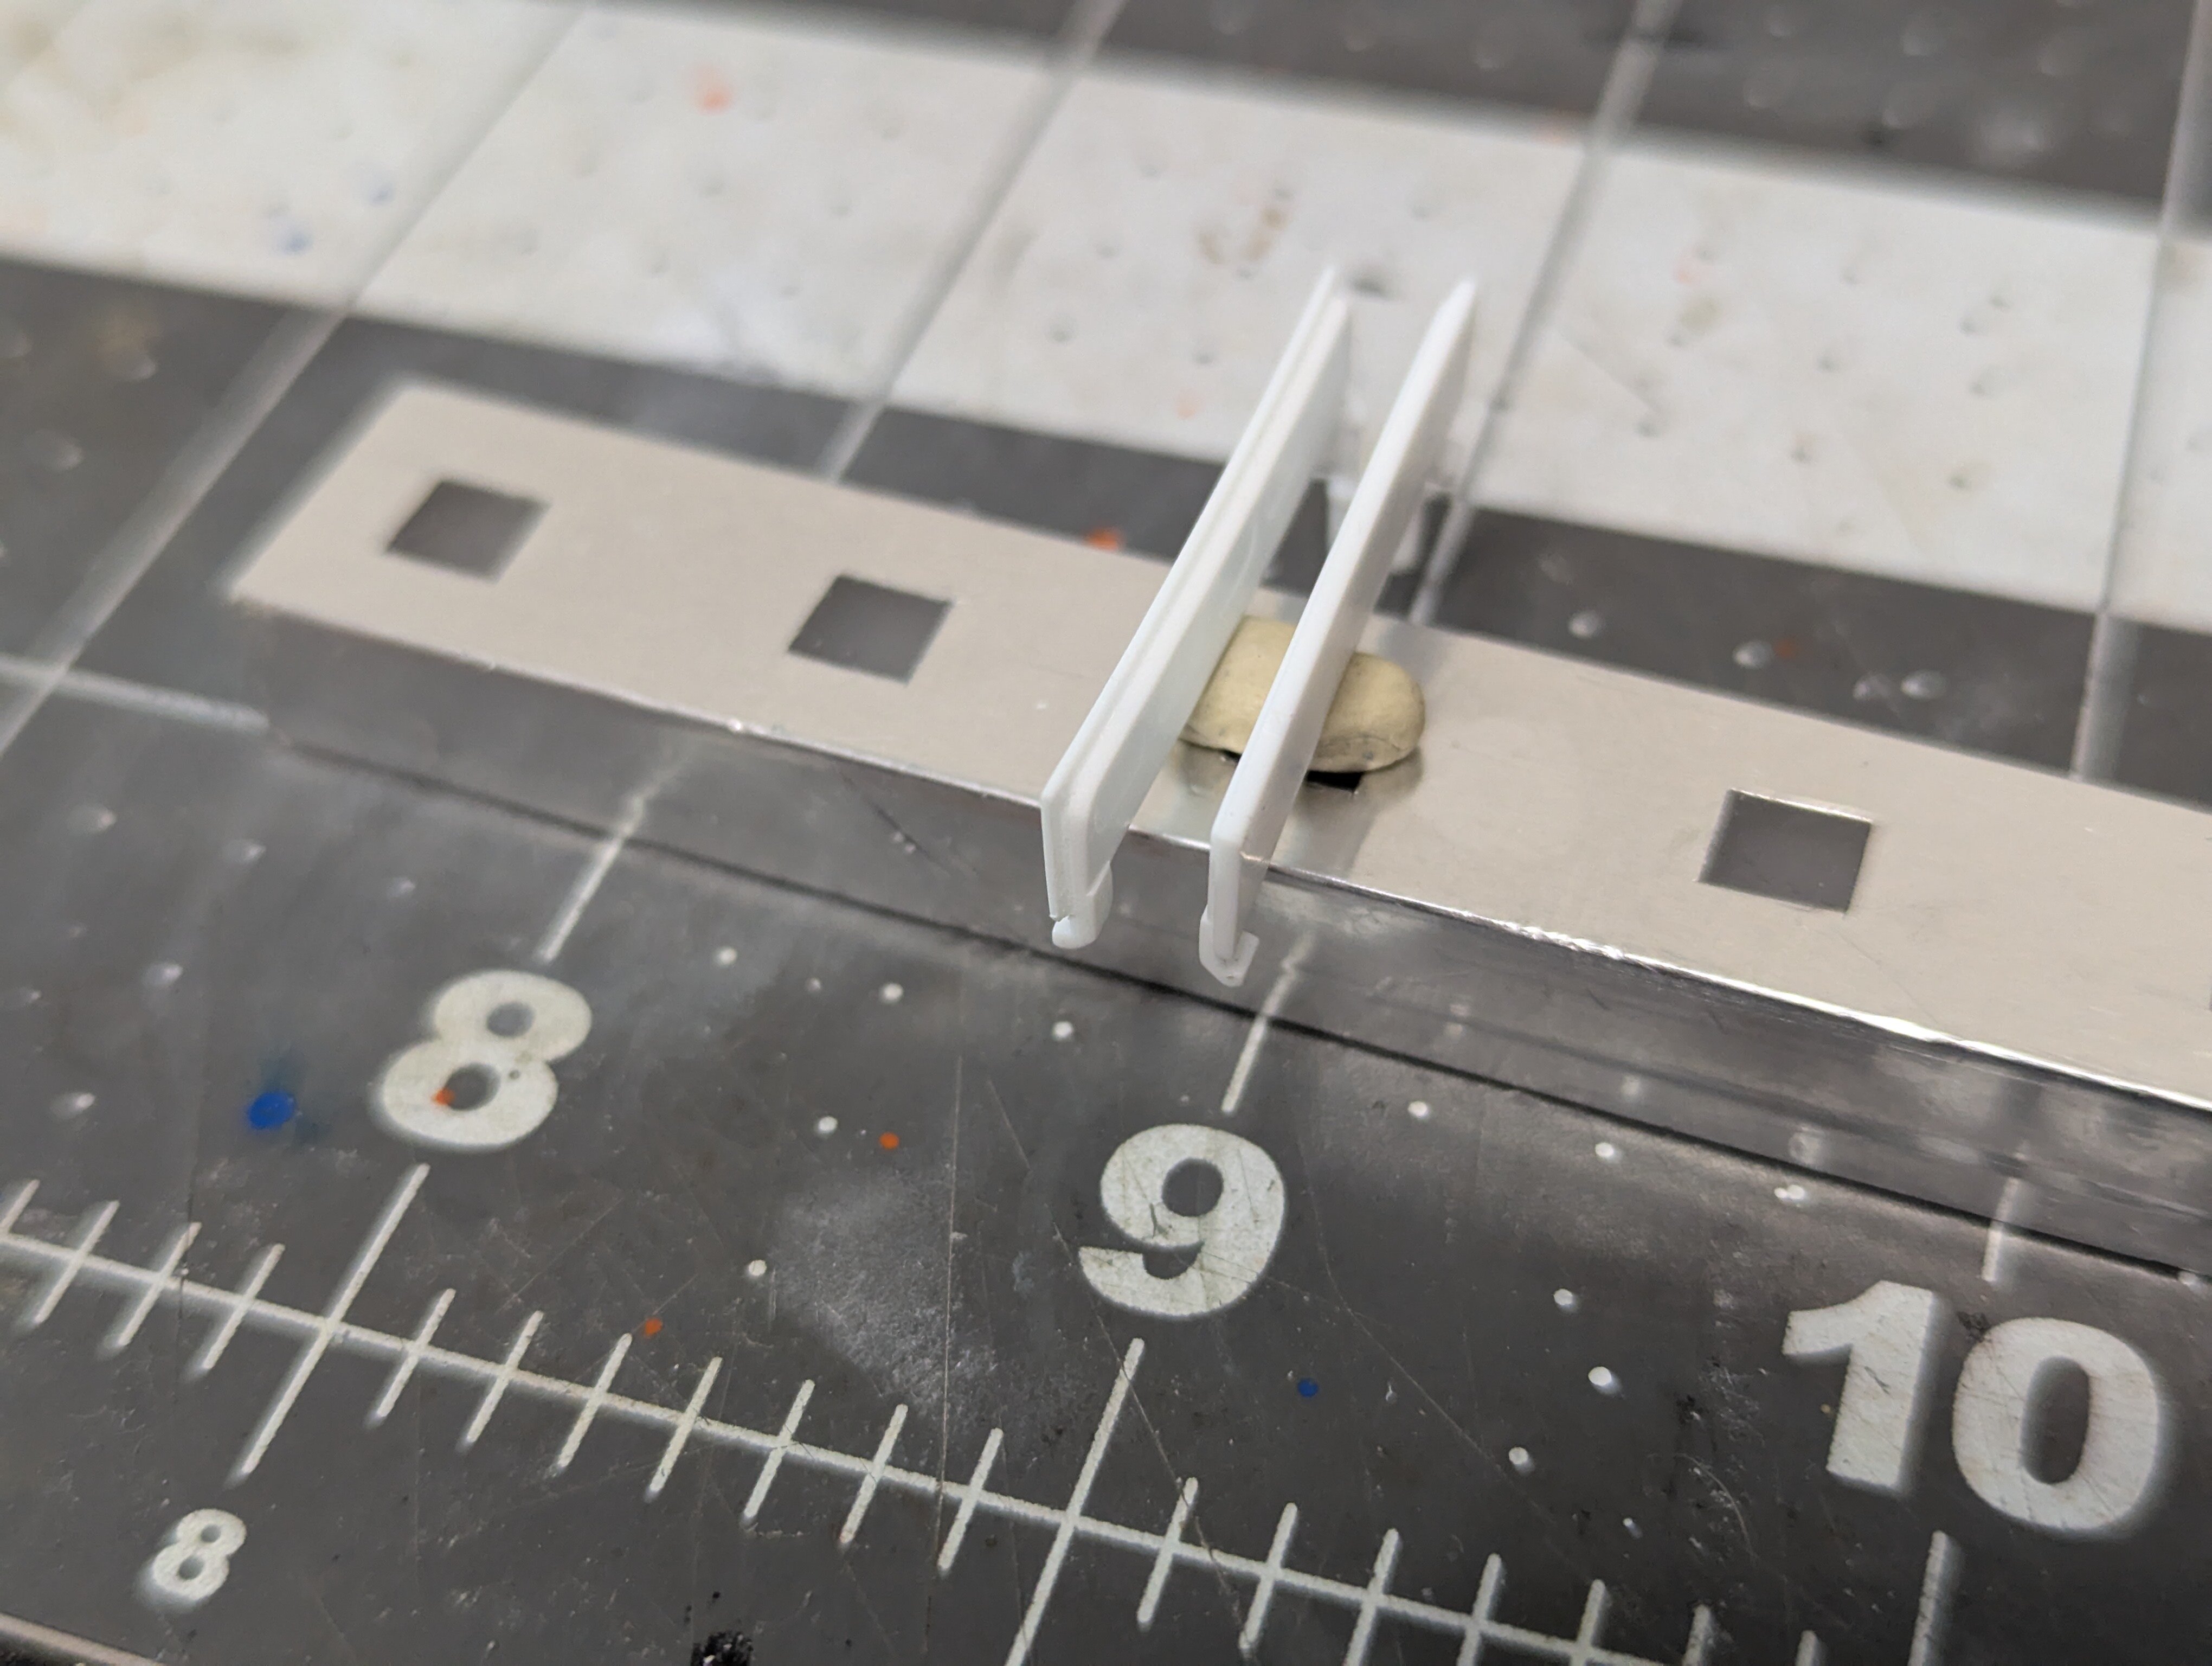
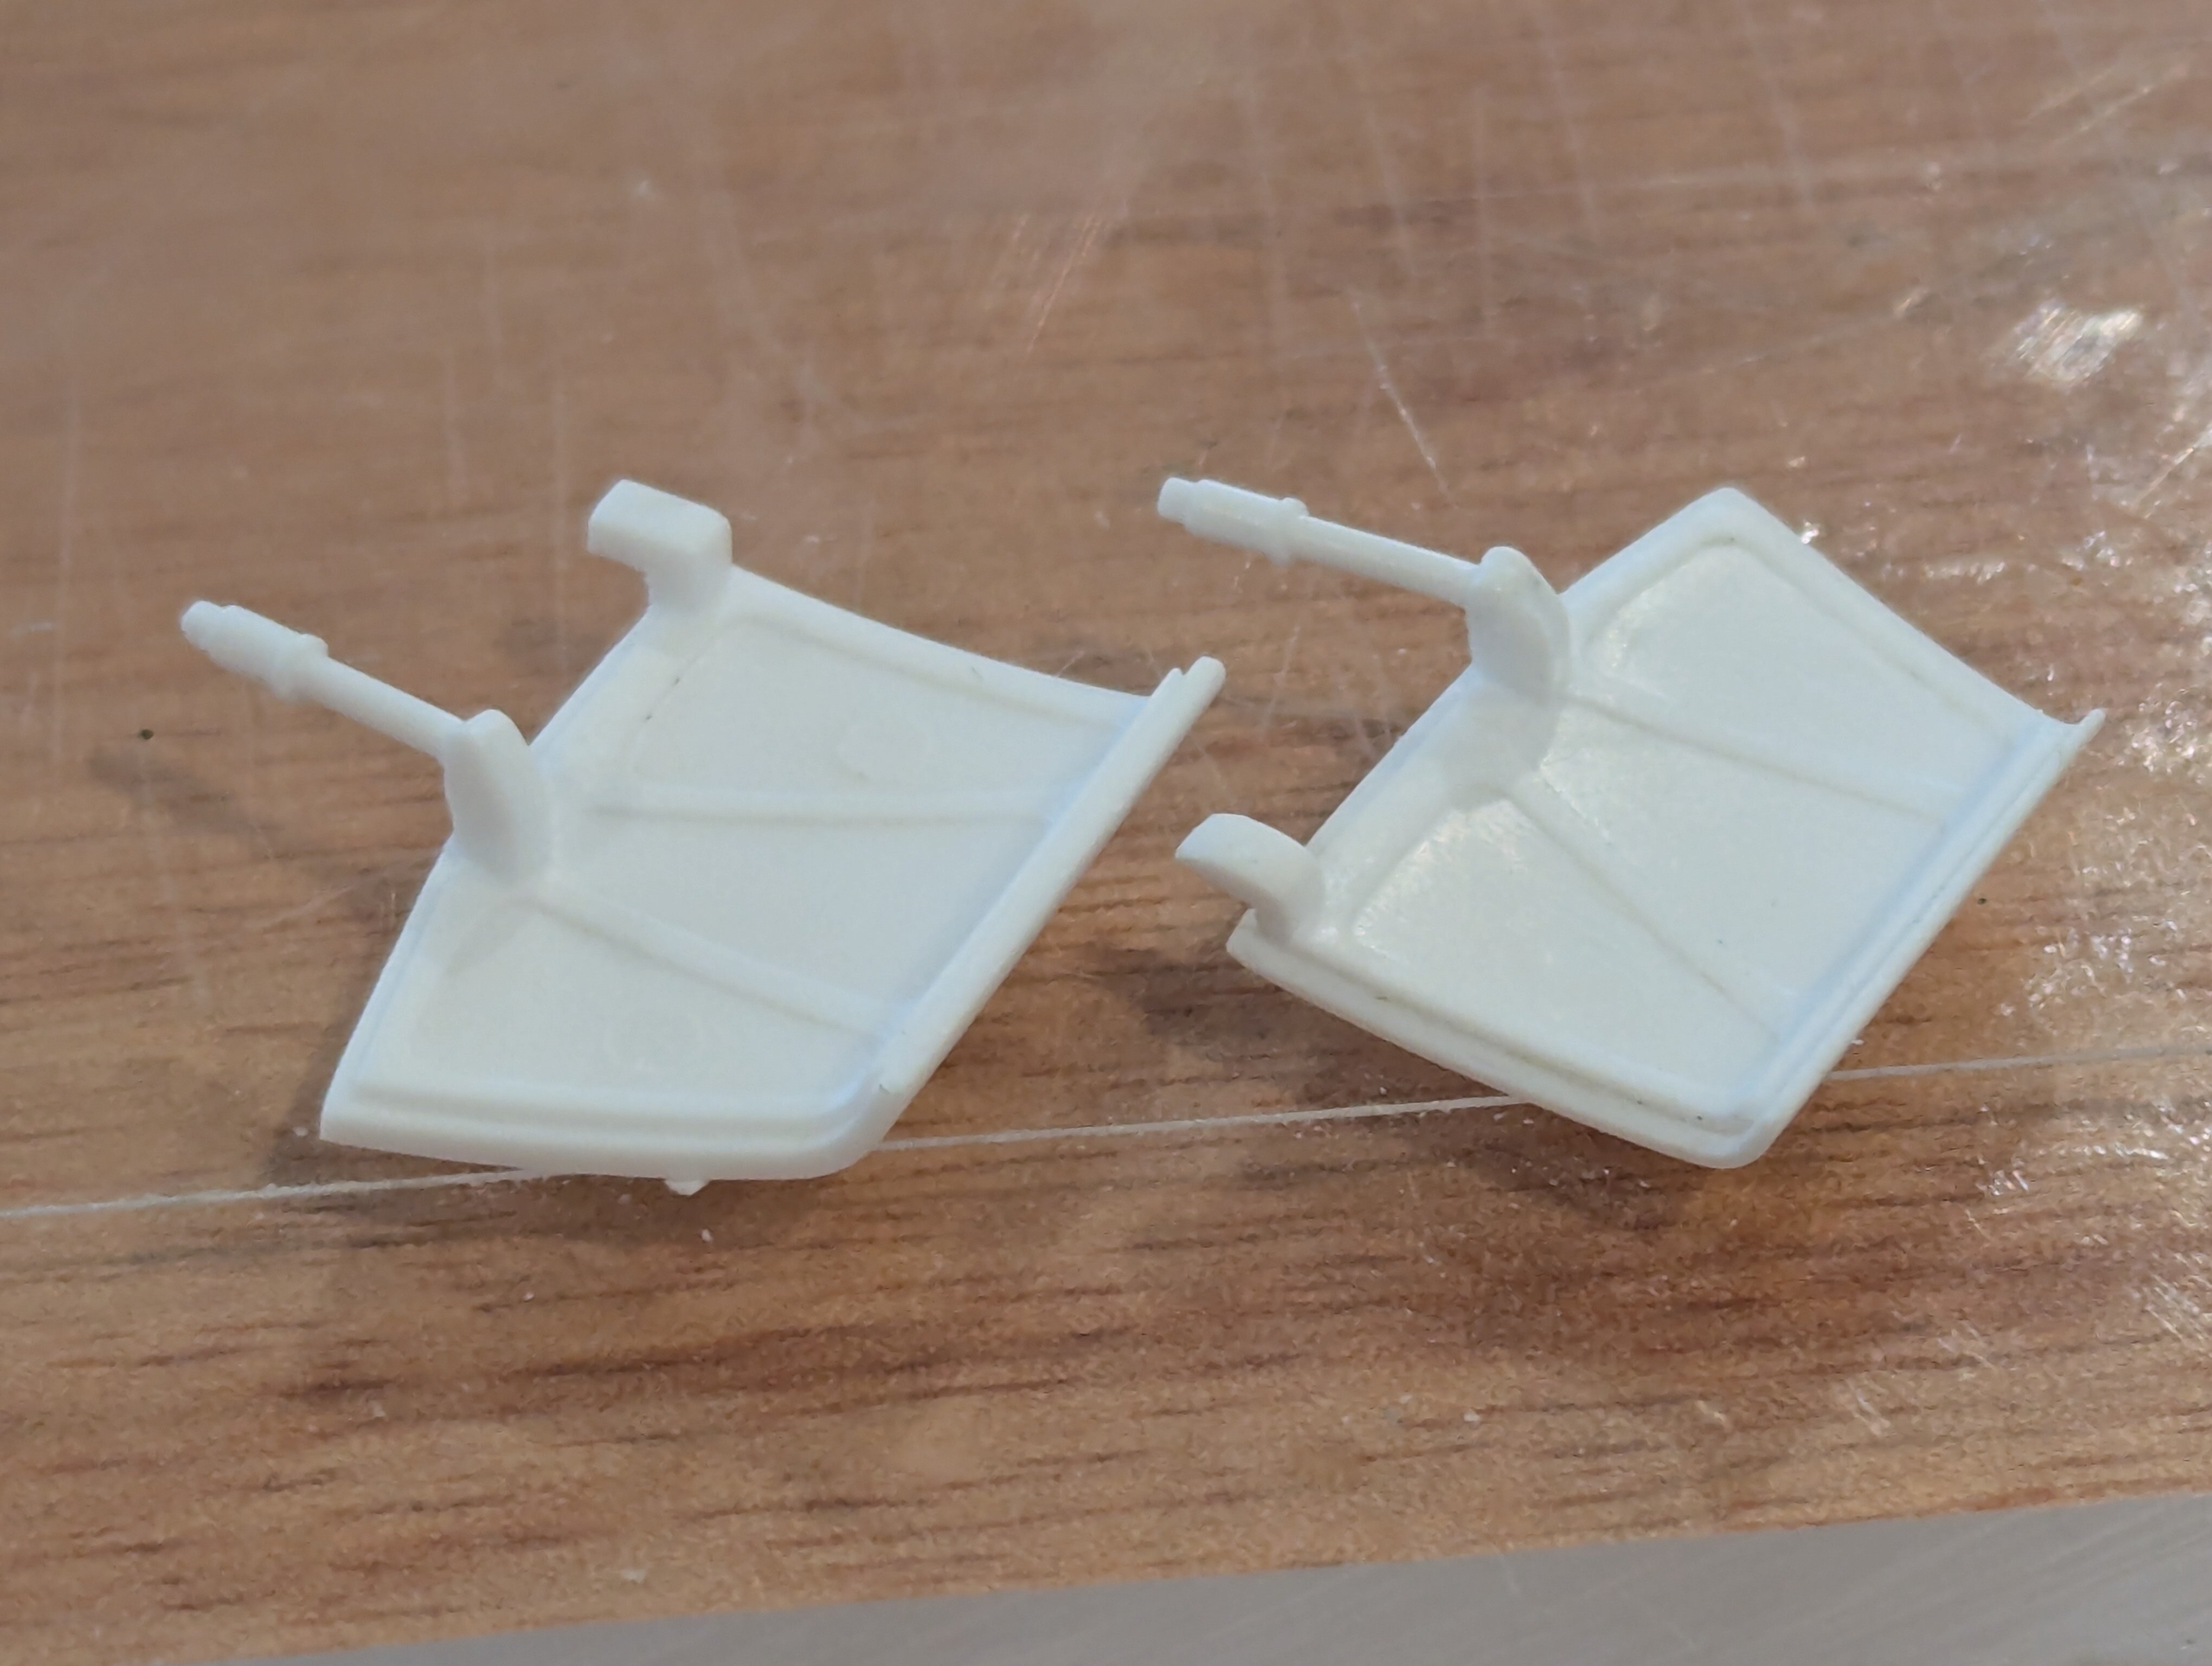
Not a total success just yet. It still needs a lot of work but I just got my prototype for my stow-able 1/48 DYRL articulated hands. I have to work on some tolerance issues and missing parts from the printer. But it seems like it's getting there. Hopefully it'll be done soon, but it looks like I got another round of prototyping...