
cowie165
-
Posts
587 -
Joined
-
Last visited
Content Type
Profiles
Forums
Events
Gallery
Posts posted by cowie165
-
-
Wow guys. At first, I was lukewarm on the diorama idea, but now, after seeing those pics, I MUST make one. It looks awesome!
Thanks for sharing the pics miriya! Just like everyone else, I'm very envious!

-
Sweet!
Subscribed!
-
Great looking stuff guys!
Cowie- I love the battle damage on your Tomohawk! The damage on the right hip is fantastic. I think the weathering is right on for an "experienced" destroid. Some added paint chipping might liven things up a bit, but that's only if you like the look. It is really great as it is. Are you going to put it into a diorama? I'd love to see what it had gone through to get into that shape!
P5- All I can say is that is some Kylwell or HWRMKII caliber work there! The engine looks like a photo of the real thing! I hope you will be able to see plenty of it once the hull is on.
Thanks jardann! I like the paint chipping idea - what would you suggest for paint chipping in 1/100 scale? I tossed up doing the salt weathering, but decided against (thought it'd look overscale). I used grey and silver artists pencils on the edges - maybe next time try a few flicks with the pencil?
-
And thanks for the positive comments guys. Man I loved building that destroid. No cockpit to detail, no canopy to polish, no complex masking, stuff all rescribing. Just seam lines and paint. Happy days! You armour fans are onto a good wicket!
-
Damn Ben, that rust effect is awesome! How did you do it? I'm talking about the exhaust manifold and pipes
-
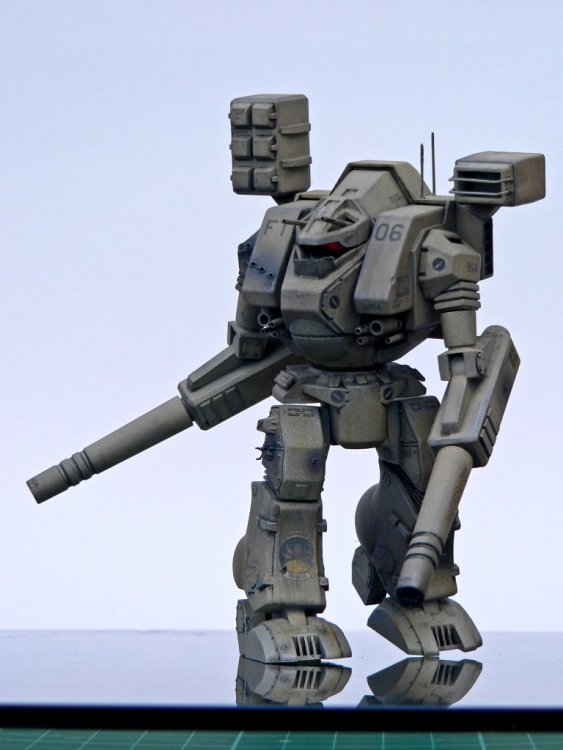
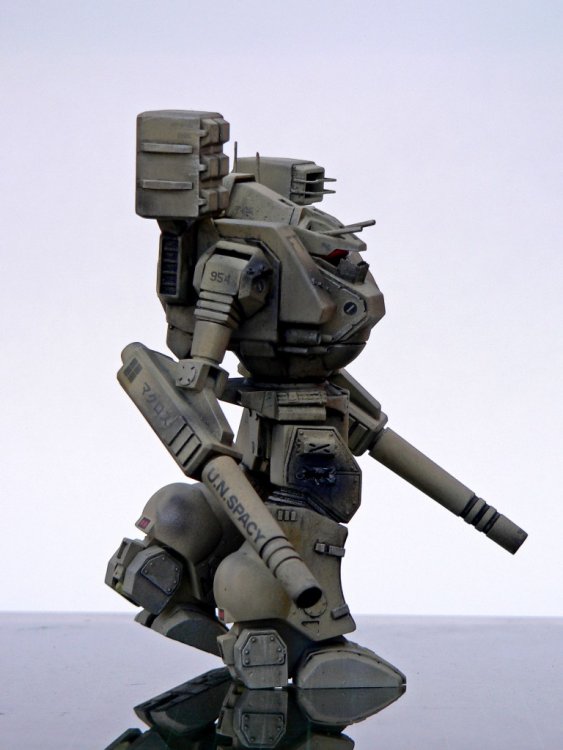
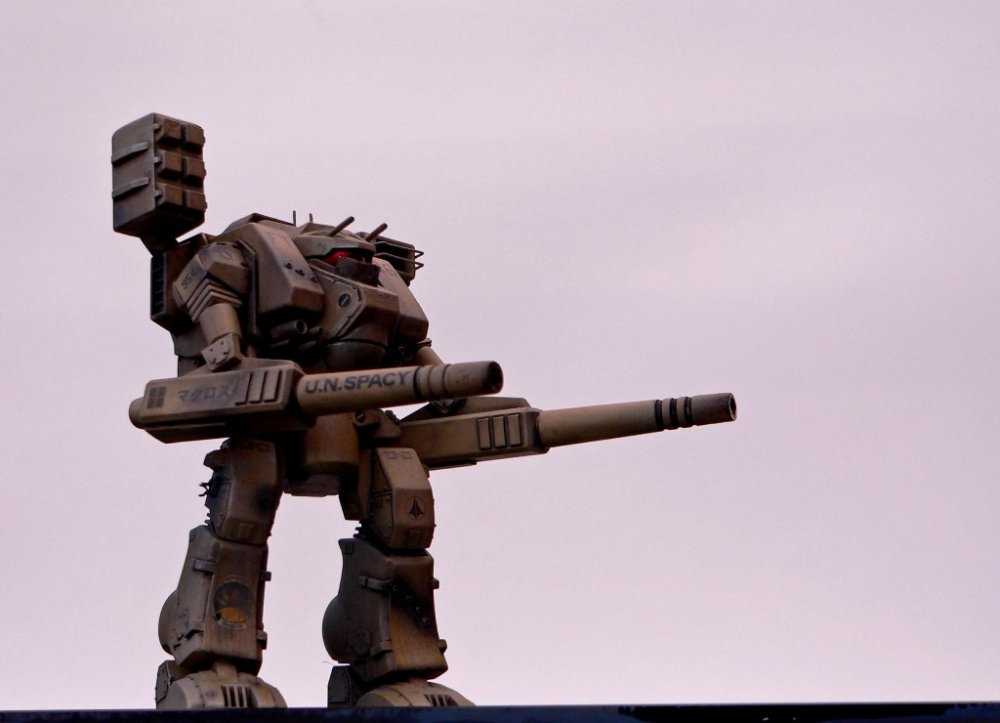
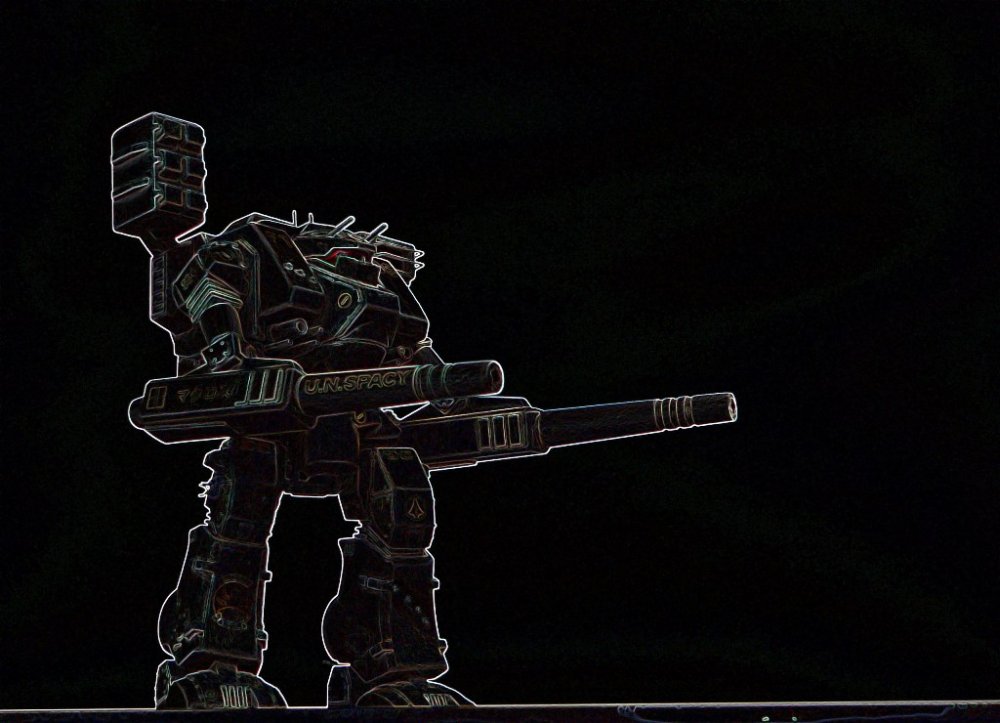
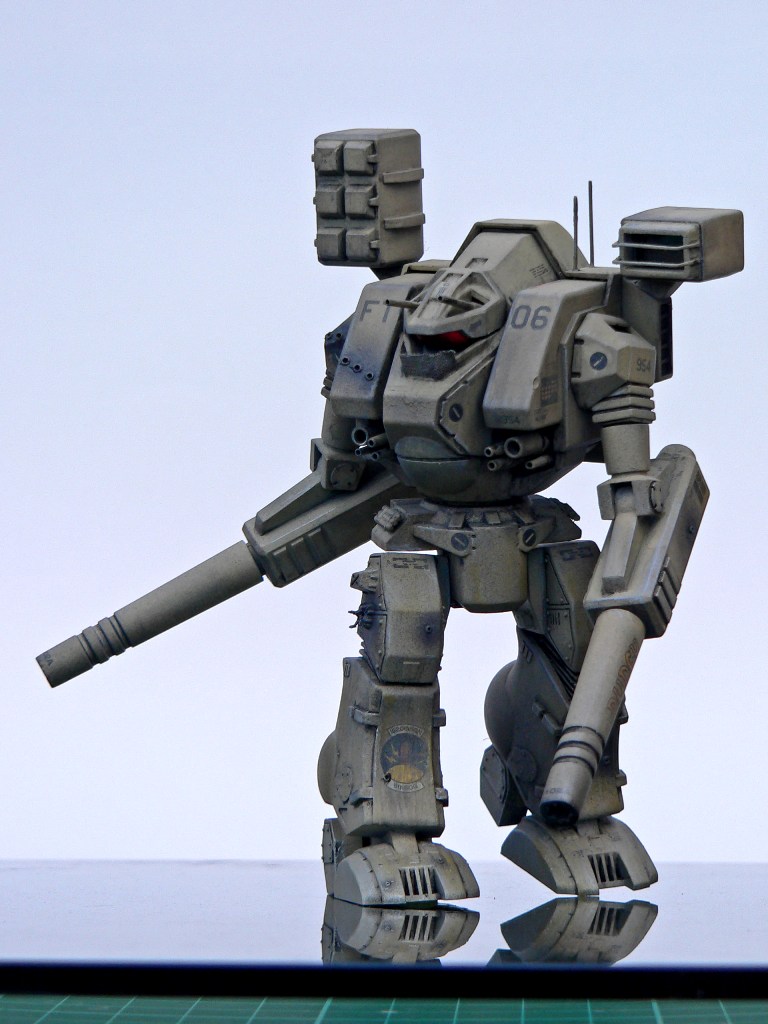
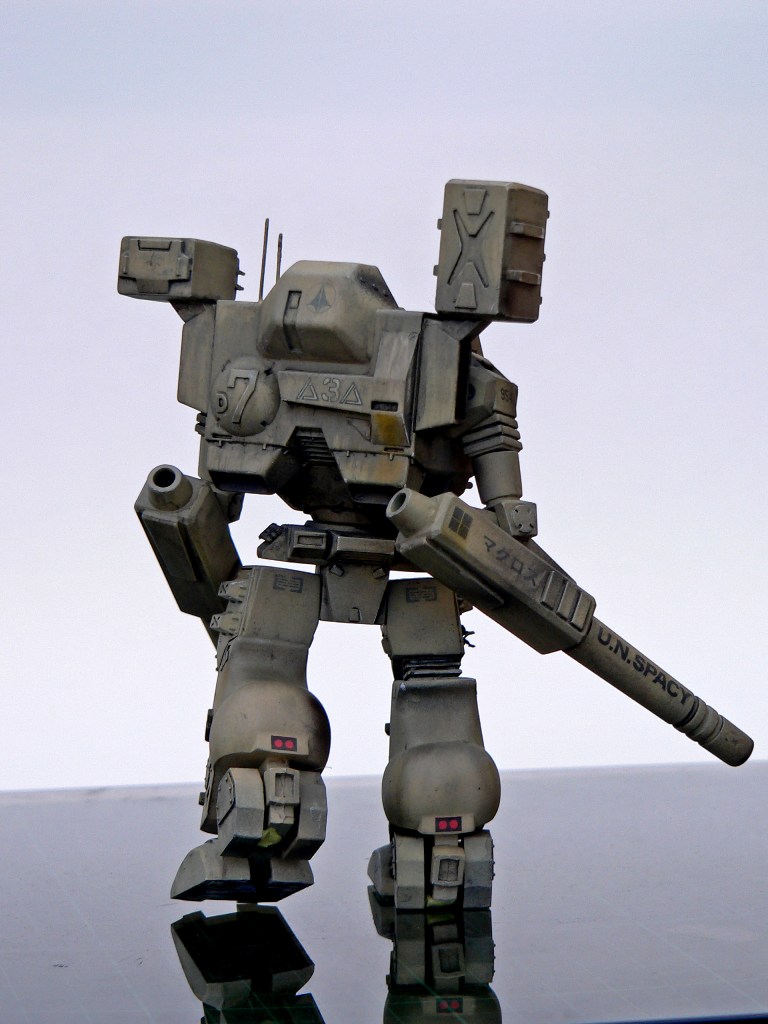
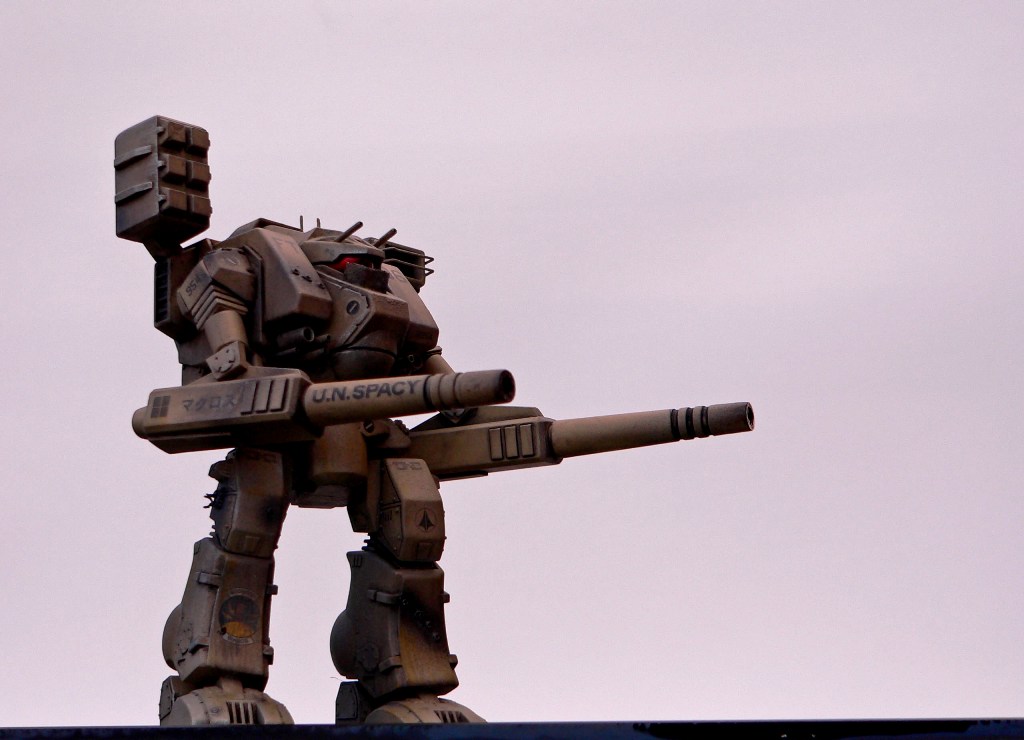
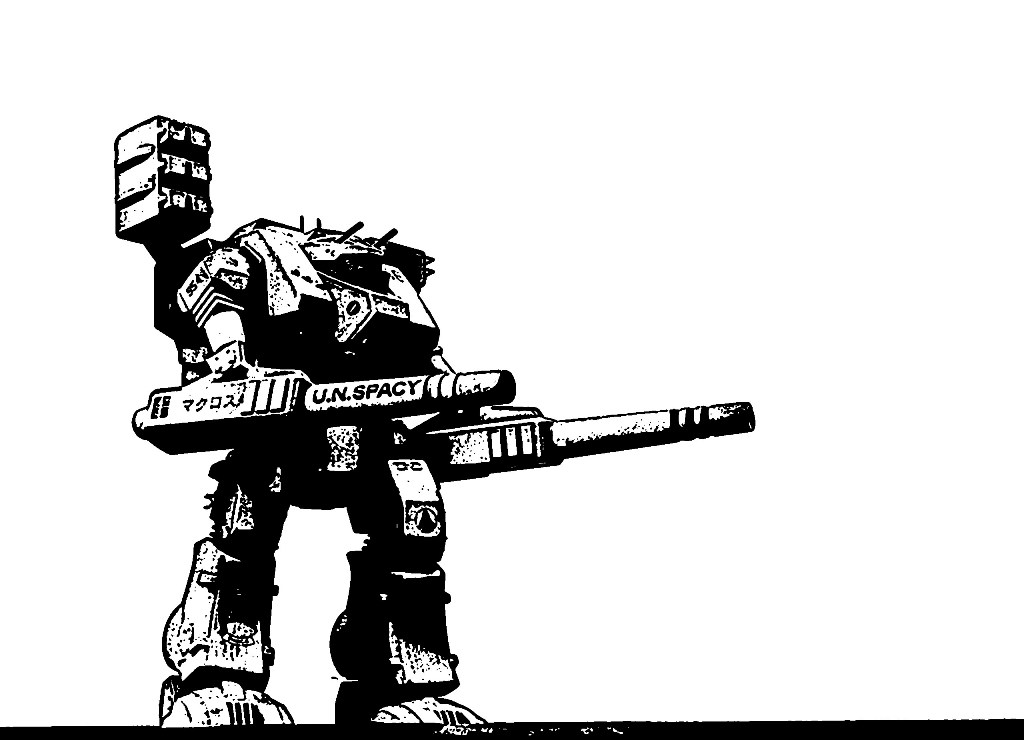
Yeehah, the 1/100 Tomahawk is finished.
This is the first time I've built anything like this - I usually do 1/24 shiny cars and lightly weathered modern jets. I would dearly love some feedback on how to improve the finish to make it look more realistic. To me, the back of the destroid looks a little over done but the rest seems to come off ok.
I mucked around and added a few extra parts. Two antenna, rifling on the arm cannon things, and extra armour in the flavour of 'anti-RPG' around the cockpit and floodlight. The original floodlight was just flat plastic, so I cut it out, made something like the inside of a headlight, glued in a pair of LEDs and fitted a clear screen. Hurrah for the spares bin. The head guns were replaced with the main guns from a 1/570 Bismarck.
And here's teh pics!


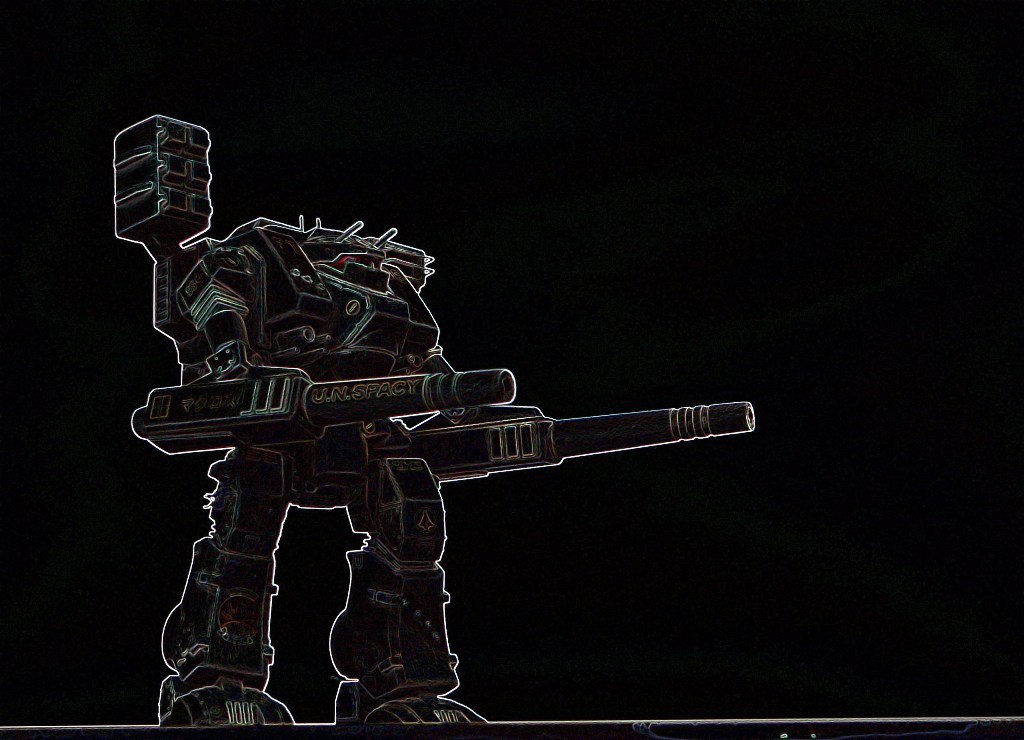
And some fun stuff

New avatar time

-
NS you sure turned out a great kit there. At first glance, I would have thought the weathering was a little heavy but boy once you look for another moment it blends right in and creates a tired, beat up old Tomahawk. It looks very nice mate, well done.
Maybe I'd better wait a week or two before I post my 1/100 Tomahawk pics... or until people forget how good yours looks
-
Gee that MG43 really provides some scale reference to that bigass tank.
-
Ben, love the King Tiger. What a great display piece. The weathering and filters are just perfect in my books. Really nice work.
-
I'd definitely be in for one to go with the 1/72 Regult that has been made. Definitely add me to the list.
+1
-
Parts cleanup requires "Preparation H" to reduce the swelling
 . - You gotta love knock-off's! - MT
lmao
-
Man, if Robotech ever had an uglier cousin...
Educated Macross fans, could you please fill me in on what the story is here?
http://cgi.ebay.com/Macross-1-100-VF-1J-Ba...1QQcmdZViewItem
-
I love the way you painted the thruster: how did you managed this beautyfull metalic aspect?
You'll need to go to this post and then download the booster step-by-step. It's nearly 30mb. Inside, wm cheng explains how he created the effect.
There other great information in this page at ARC.
-
boinger,
Firstly, hats off to you for putting the time into something so many people will use.
Secondly, I think I have most of wm cheng's SuperSylph pics from when the thread was recovered a few years ago. If you would like a copy, please PM me an email address and I'll send them over.
-
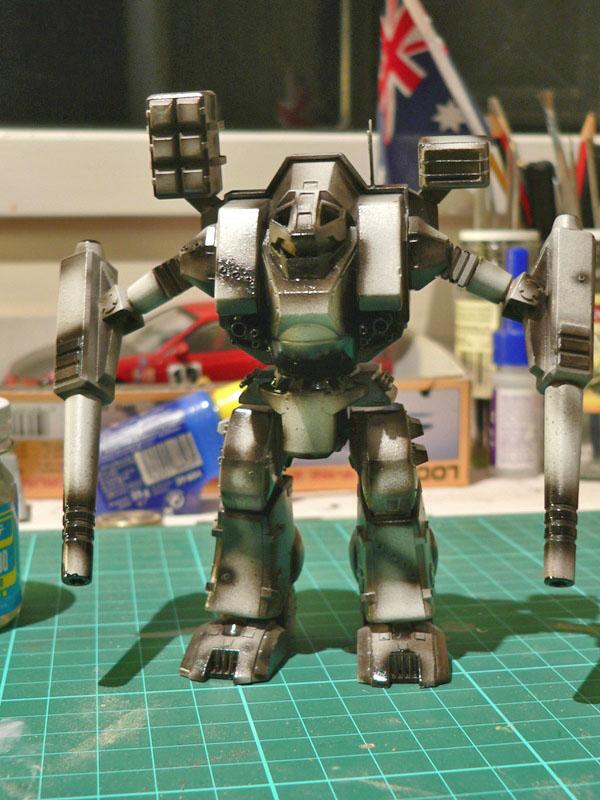
1/100 Tomahawk update:
Pre-shade

Base colour (MM USMC Sand)
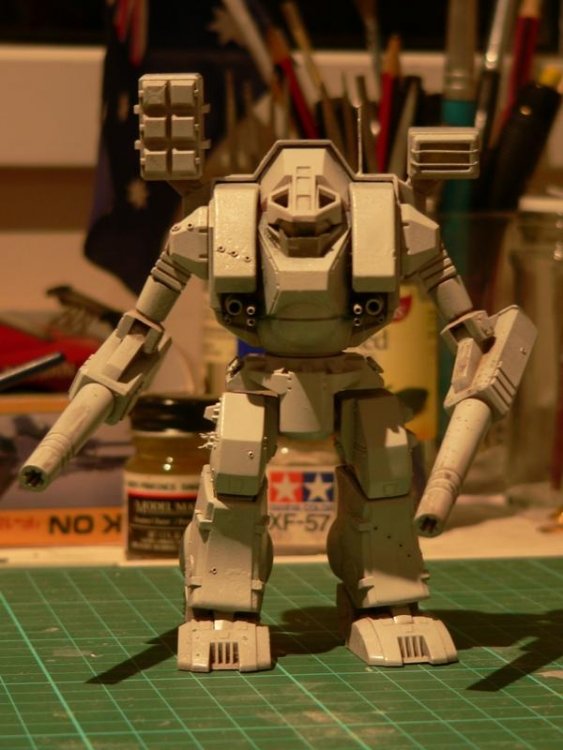
Added highlight colour (Tamiya buff), and a mix of decals from the spares box
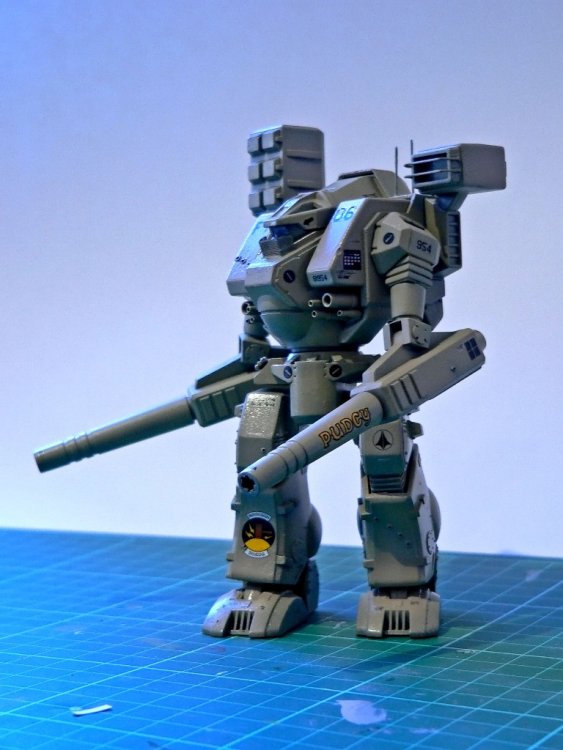
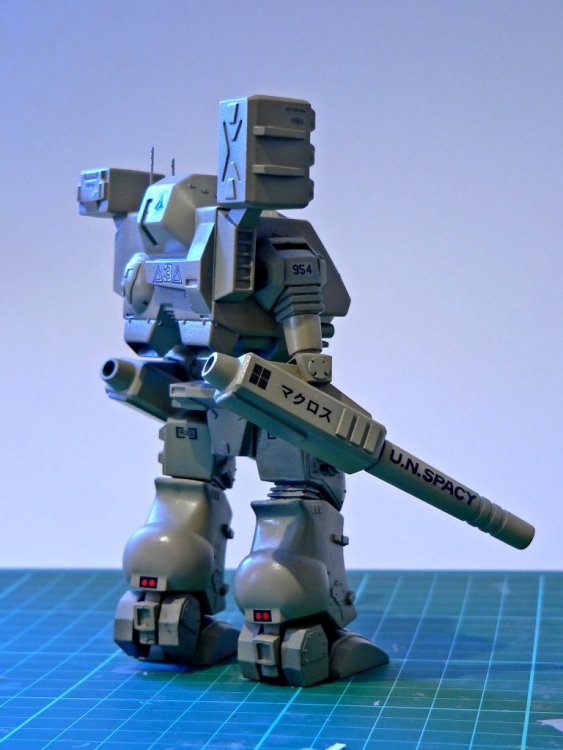
Next is some more Future, panel lines, matt coat, weathering, then final matt coat. Or something like that order.
-
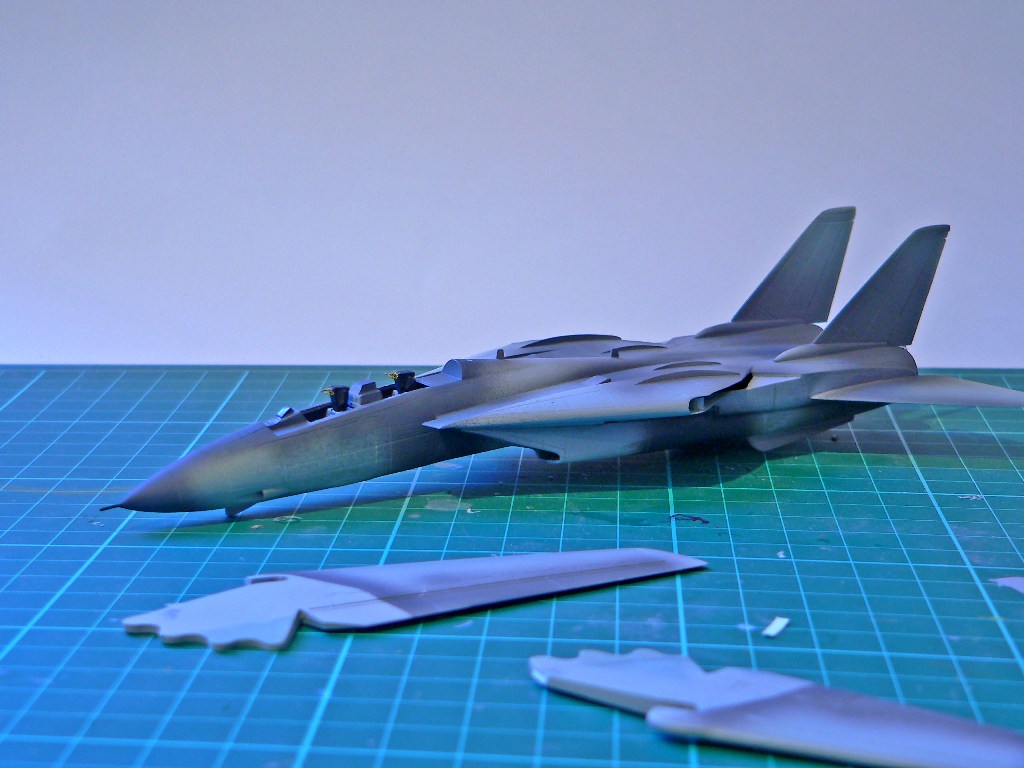
An update on the 1/100 Mac Zero Tomcat:
The nose-fuselage join is a real dog. It took three repairs with Mr 500 and a lot of sanding. The intake-engines join is also very poor. Once again it took a lot to tidy up. The seam lines are now gone, and I have to rescribe a few panels.

And here's a cockpit photo for jardann
Belts are Tamiya tape. The black and yellow handles are a single strand of speaker wire, painted yellow, with gundam marker for black stripes. It was tedious but helps dress up the awful cockpit. There is a really unattractive gap/hole behind the RIO's seat. I missed it until now.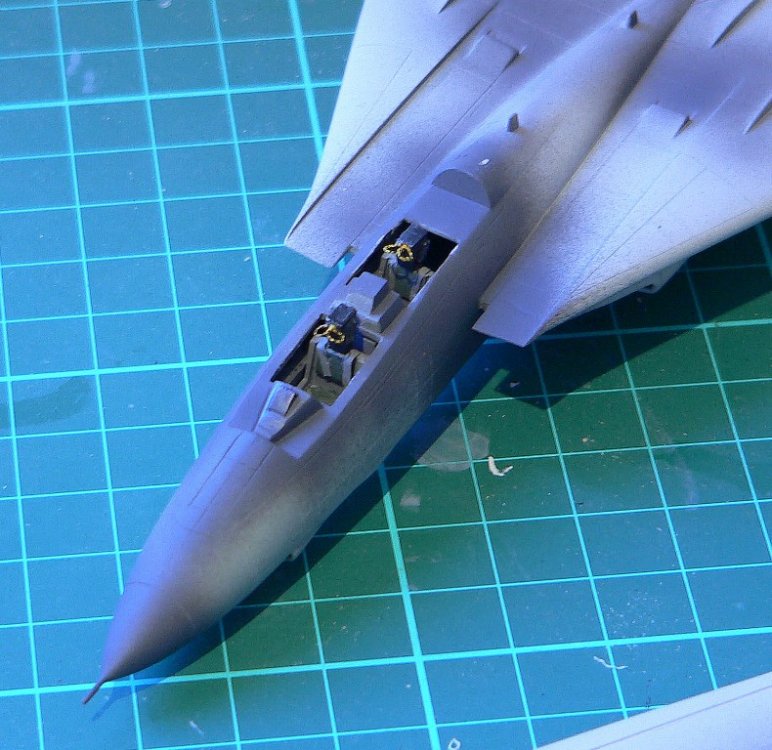
The nose is probably a liiiittle short. I heavily rescribed the horizontal lines and added a nose pitot. This seemed to change the feel and to me it actually looks proportional now. My wife always reminds me - vertical lines on your shirt make you look tall, horizontal lines make you look wide!
Mark
-
Ah! I should have known you'd be all over it. I also didn't realise your battroid would dwarf the diorama!...

-
There's a guy in the model kits folder that is selling this kind of gear. To save everyone PMing Ron requesting dioramas, it might be worth checking out the resin sets. I'm pretty sure they're still available.
-
lol, I did the same thing with a scriber a few nights ago! Dangerous stuff, this making plastic aeroplanes
-
Ron that city scape is amazing. I really like the detail put into recreating the restaurant!
-
Double post, sorry!
lol, quadruple post!
Rockhound I like what you're thinking about primer clogging panel lines, but it also helps highlight your work on seam lines. It gives you a chance to tidy things up before the first colour coat (that might hide the flaw). The dark dark grey (
) came up well! I don't claim to be an expert but it's looking great from here! -
Sea Dragon, nice.
What makes it a sea dragon? Is that the USN name? Until I saw this post I thought it was just the Marines that operated them. Go Navy.
-
Thanks for sharing the news. I'd already bought the Destroid Spartan and the Regult Scout from them.
There are two different guys in the for sale section selling a Moscato Defender. I think it was Viceland and valk009
-
Lookin' good Rockhound. Nice work drilling out those holes.
When you pre-shade, go easy with the black. Maybe used battleship grey instead. Using dark grey means less top coats which means you preserve more surface detail.
And props to The Last Starfighter! Man I wish there was a resin 1/72 Gunstar around... I'd be on that in a heartbeat!


SV-51 models kits in 1:72?
in Model kits
Posted
I don't remember seeing any SV-51 battroids, but that doesn't mean they don't exist
And for your 1/72 aircraft carrier, it took this guy 19 years to scratchbuild the USS Enterprise. Maybe start with a hangar?