
cowie165
-
Posts
587 -
Joined
-
Last visited
Content Type
Profiles
Forums
Events
Gallery
Posts posted by cowie165
-
-
Sean would you happen to have any smaller pics for the bandwidth-impaired?
-
Item #: 300256422859
No bids so far. Fair starting price. Thought I'd post in this forum because this is where the builders hang out.
If the Australian Dollar wasn't so weak at the moment, I'd have kept quiet and bid myself!
 The seller is on SSM.
Mark
edit: Auction ends in just under two days, around 0530Z (GMT)
-
1/100 VF-4! Once you work out a price, please put me on the list of people to PM!
-
すみません、私には分からない!!!!
...the only Spanish I ever hear is when my kids are watching Dora
lol No duff china, those shots are the duck's nuts. My beer and kisses is dark cause I shell out the odd Rhodes scholar for more resin, but she'll be apples in the end cause it beats too much of the kitchen sink and pokies at the boozer full of filthy moles! Anyway, a big Wally Grout to Ruben, and cheers big ears for the Captain Cook.
-
I just found a cache of Original Future at my local neighborhood mom and pop market, they have old bottles but none of it is yellowed, the isle they are in never get sun......
Is it OK/legal to ship this stuff though.?? I can help anyone out who needs it if they cannot find it.. or maybe i should keep my find a secret...ahh MY PRECIOUSSSSsssssss....
Orguss if you can ship it overseas, I'm in. You can't buy the real deal here "down under" - I've seen genuine Future at model expos for $5.95/oz!!
 And everyone thought eBay was the home of price gouging!
If you can ship it, we'll become joint Future-barons of Australia...

-
I'm watching Macross again at the moment and tonight saw ep18 again (Pineapple Salad - when Roy is KIA). I love the scene where Hikaru is standing in the hospital at the window, and Milia's Q-Rau falls from the sky right in front of him. Such a cool shot. It reminded me of your diorama with M & M duking it out inside the Macross. Very cool!
As for me, I'm finishing up a 1/100 Academy F-14A. It's just for some practice doing USN lo-vis schemes but I'm going to decal it as a Macross Zero jet and display it on my 1/100 shelf.
Looking forward to your diorama pics Ron!
-
What's next for you? Another Macross or something else?
-
Very nice work Ron! 1/100 FTW
Those leg seams are a pain, aren't they. Hey did you use MV lenses again? I left my phalanx on the bench because I can't find MV lenses here in Australia
-
Thanks for the photography links guys. *groan* I haven't been using the macro function on the camera. Lower the f-stop. 2-second timer. Morning sun before 9am. I'll give that a try this weekend.
Nice!

-
Thanks very much gents!
Big shout outs to jardann for providing the kit, cool8or for the help with the paint codes, and samueldecal.com for the rescaled decals.
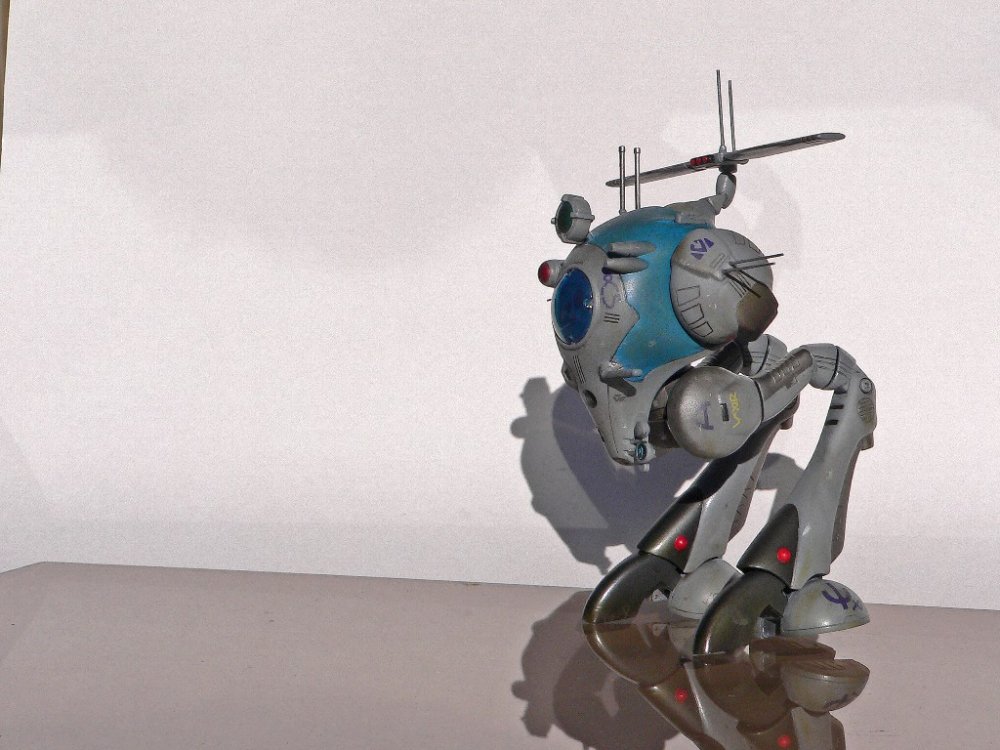
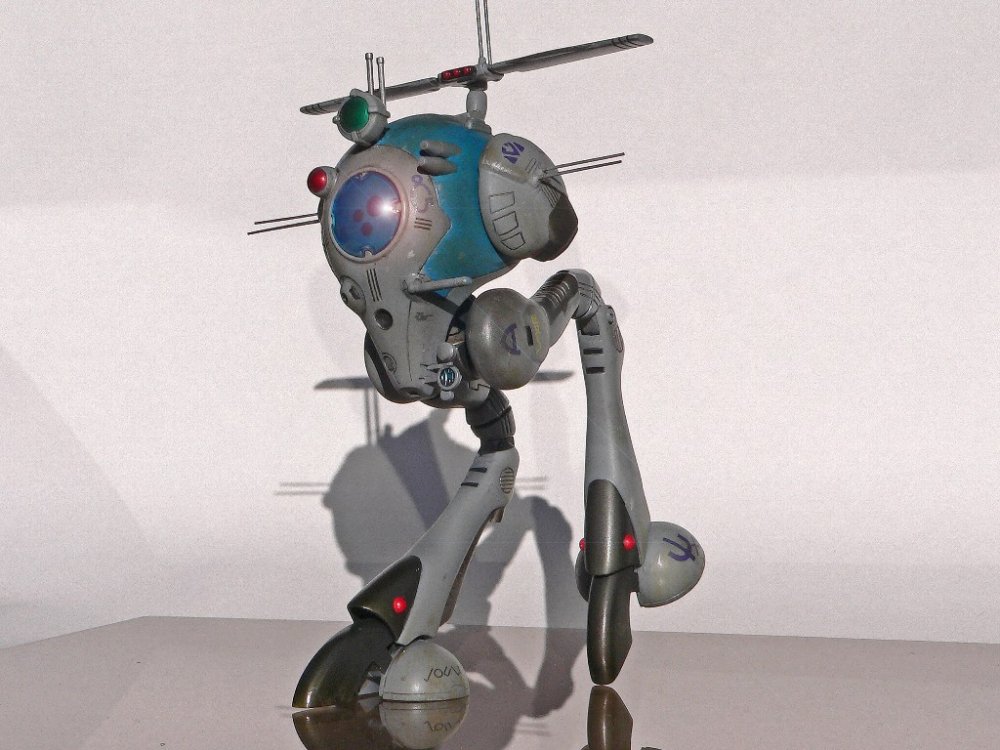
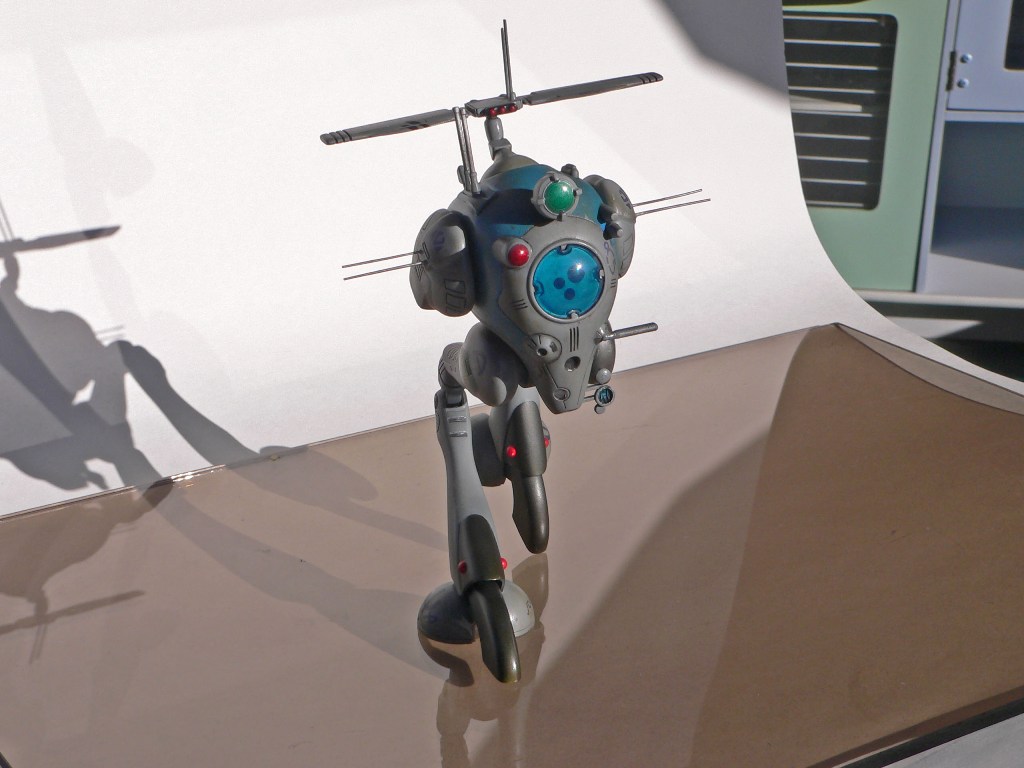
If anyone has photography tips, please post! I took the shots in the afternoon sun - morning sun would have been better. There was a little post production too increase the shadows and highlights, then a little sharpening. Good indoor white light would have been best, maybe next time. The red and green sensors are actually quite shiny (polished + future) but the pics kinda let the team down there. D'oh!
Cheers again
Mark
-
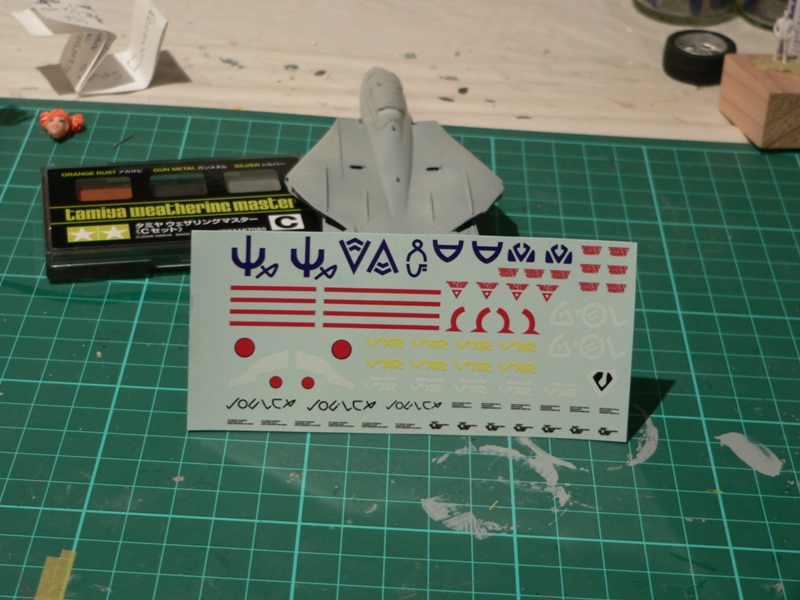
Just a pic to show the decals from www.samueldecal.com
Nice guy, fast service. He normally does 1/72 but happily obliged with a few sheets of 1/100. They're for a soldier Regult but there were enough generic Zentraedi decals to knock up a scout pod.


-

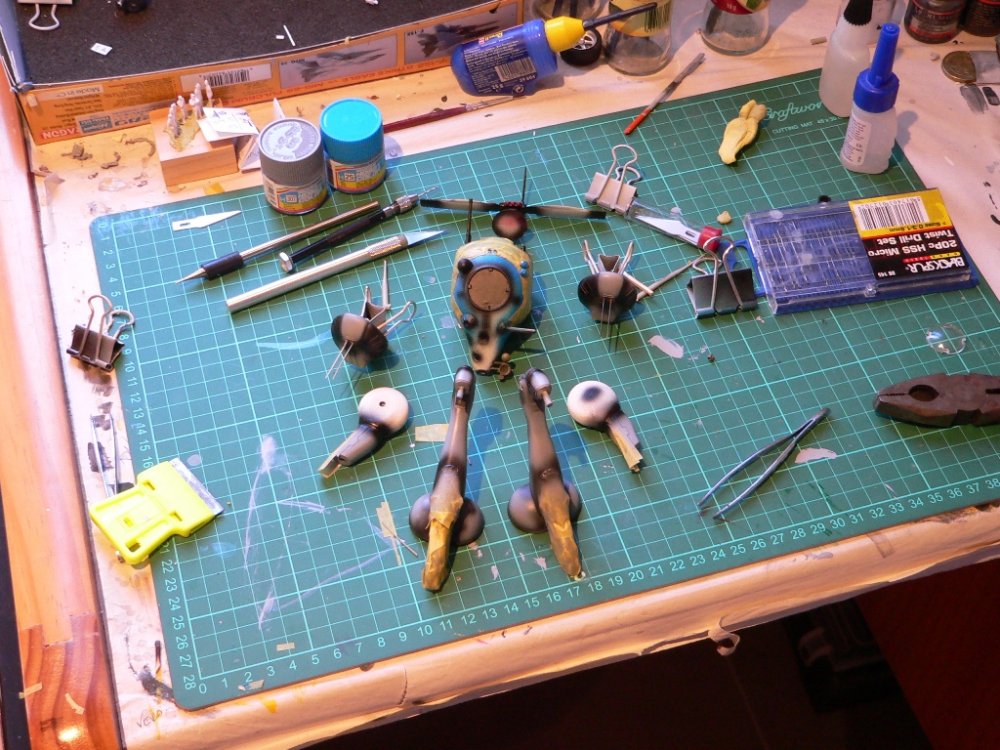
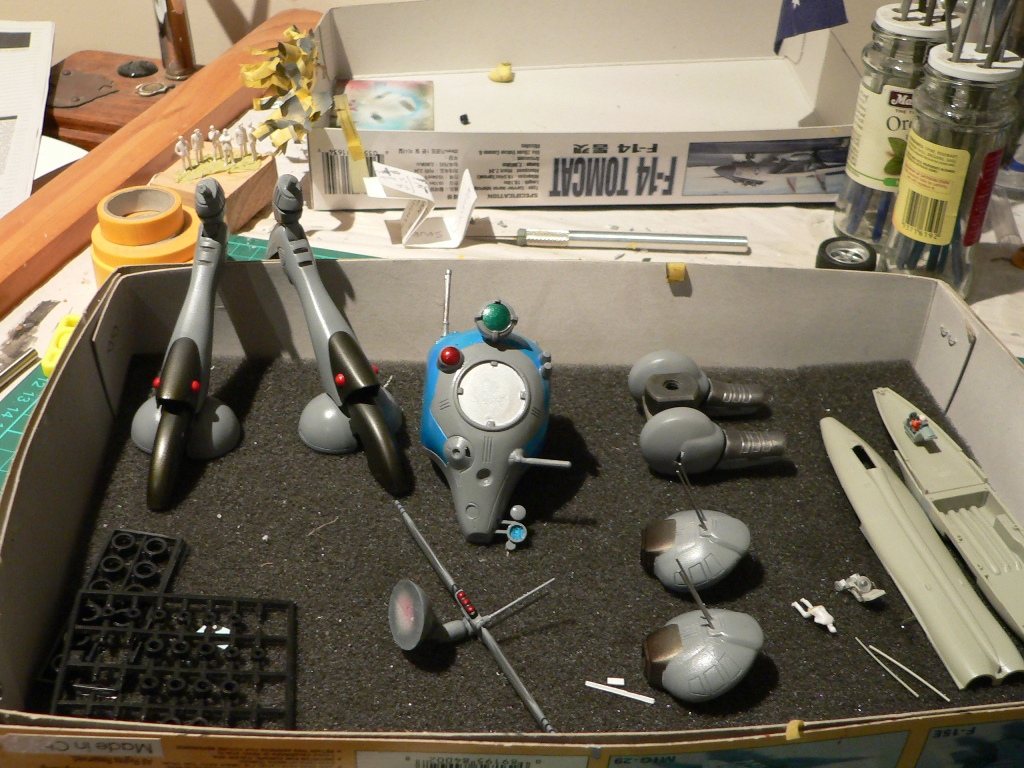
The part we all love, taking off the masking tape
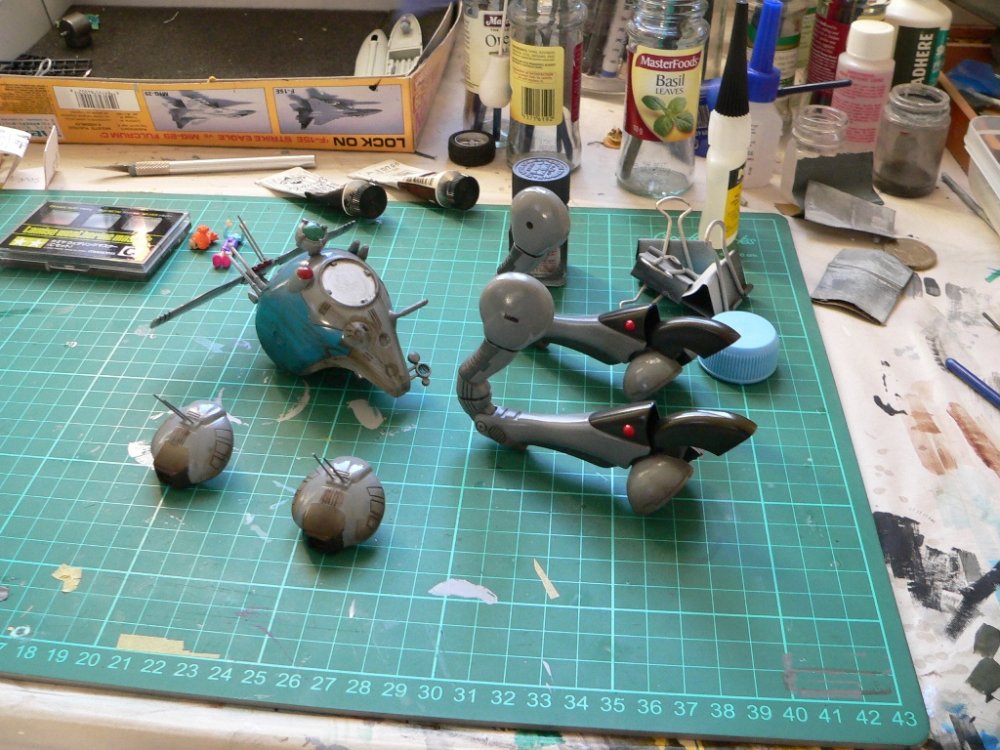
Weathering with water-based burnt umber and lamp black mix. Water based is great for me. You can make a big ol' mess and if you don't like the result, a quick wash down and you can start over without harming the paint job. Thumbs up for idiot-proof modelling
-
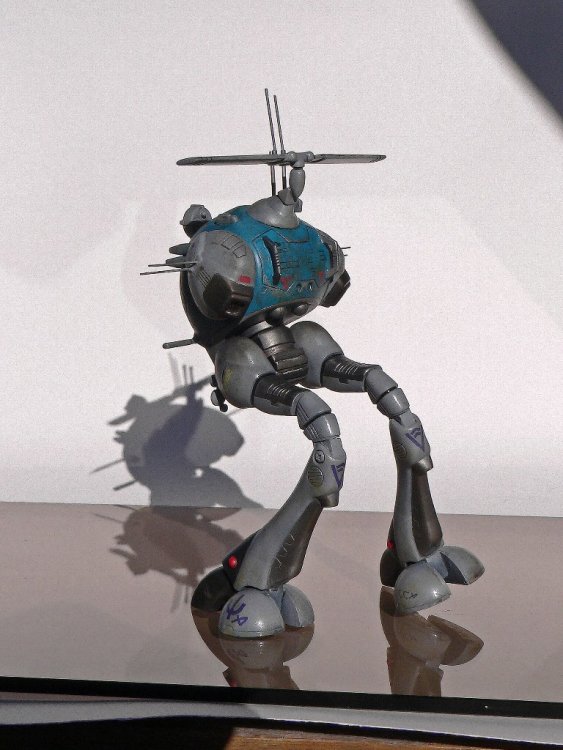
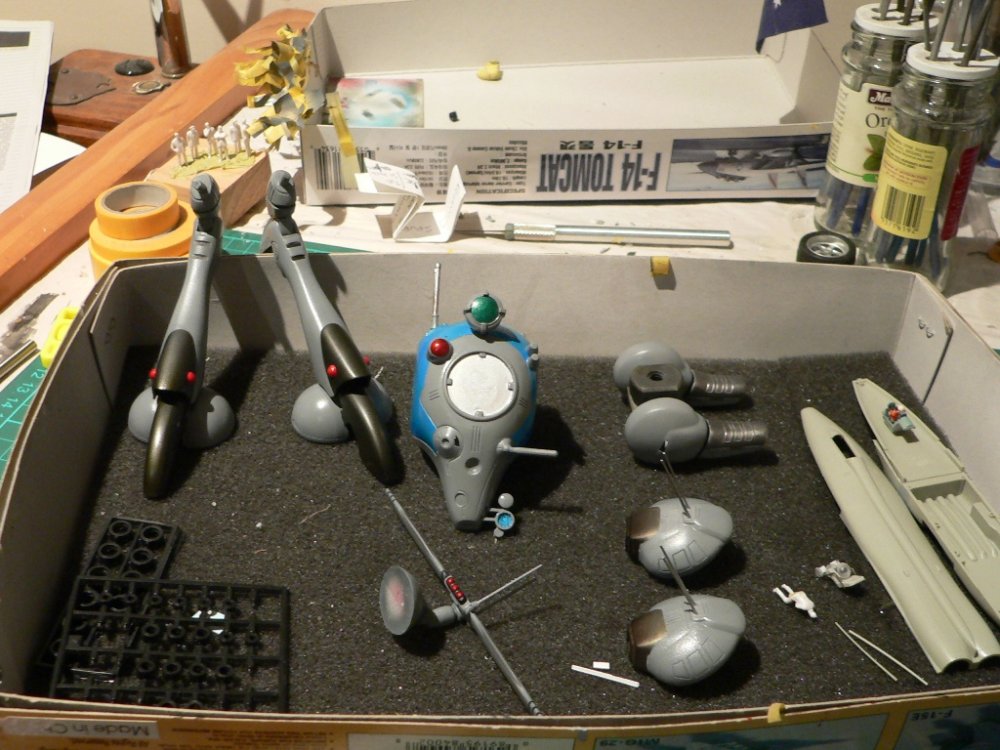
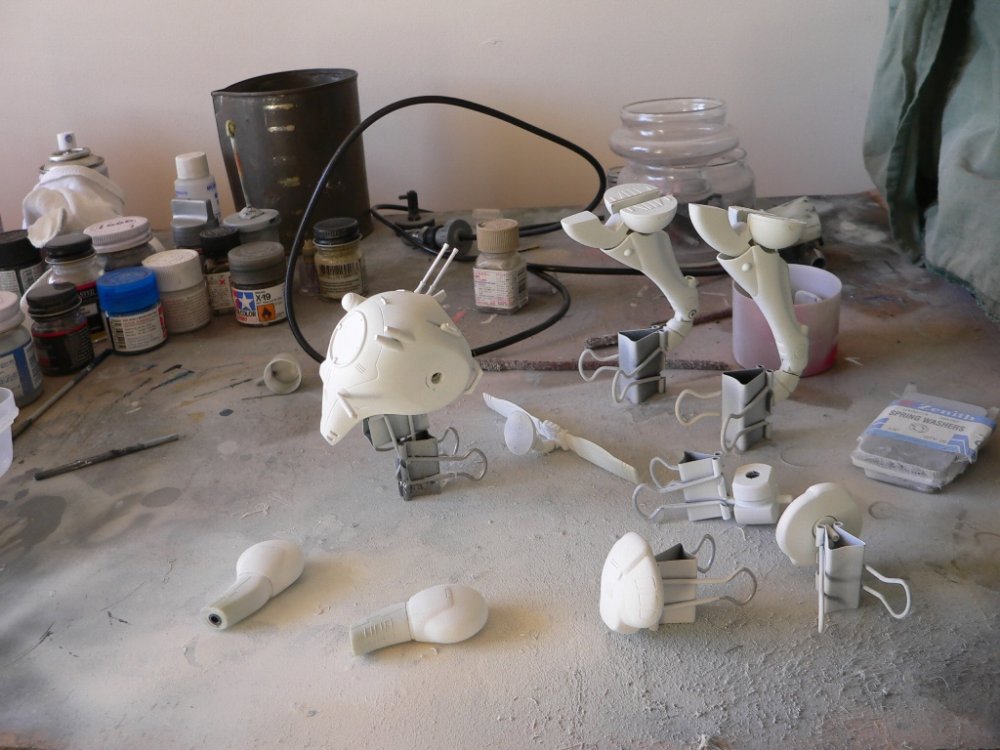
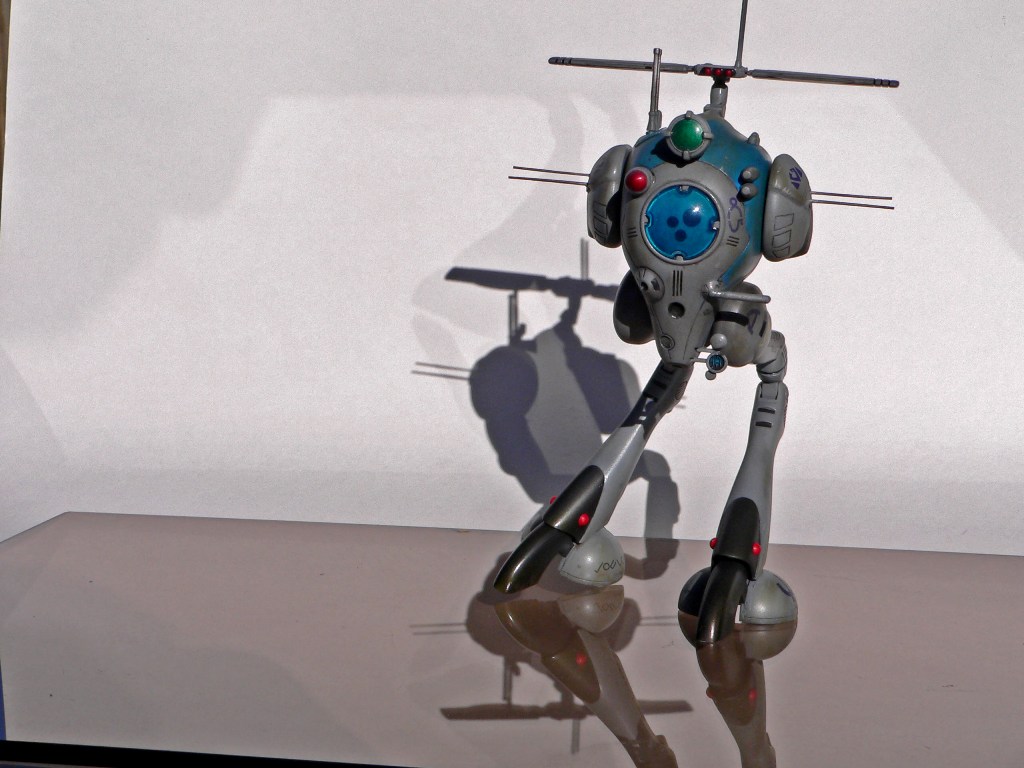
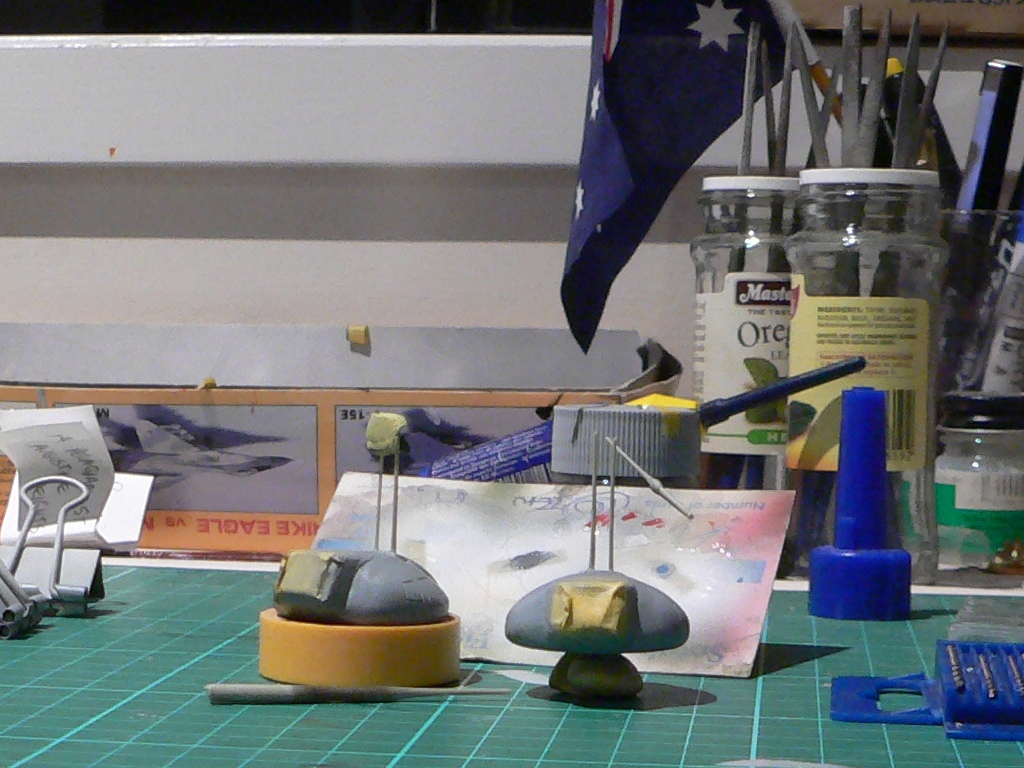
The kit was sold to me by a fellow MWer who kindly offered this tough to find kit. It had been stored for a while and a few antennas were damaged. I created the side antennas from sprue and the radar/top array antennas from a paperclip. They turned out ok - I was a bit impatient and wanted to keep the ball rolling...


Pre-shading. I went a little heavy on the final coat and lost most of this...

-
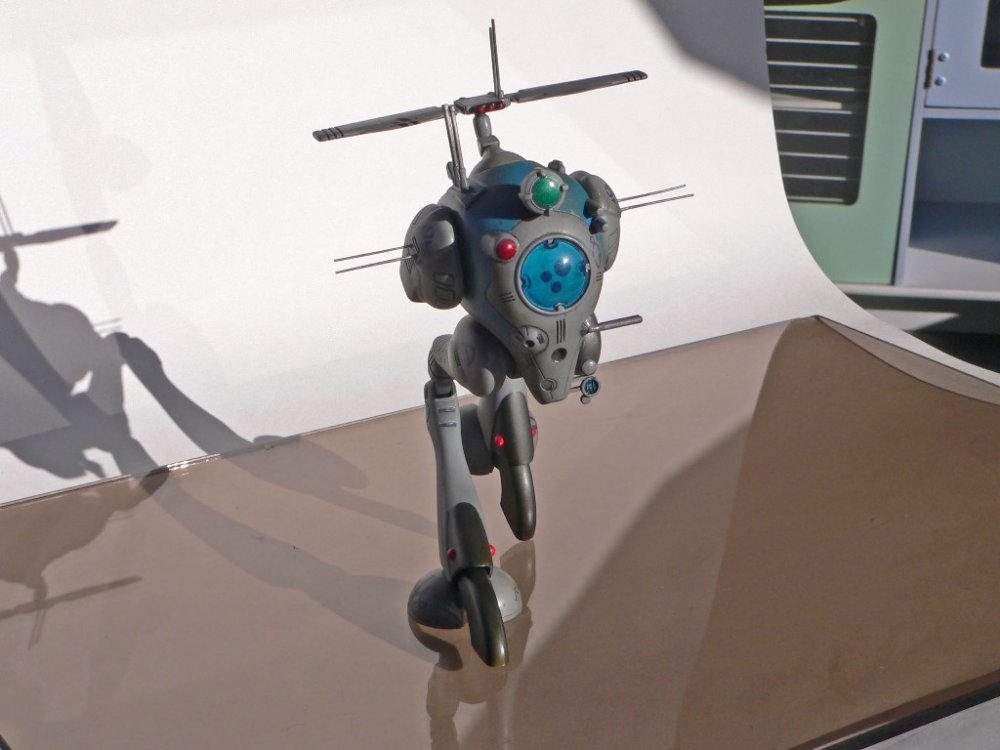
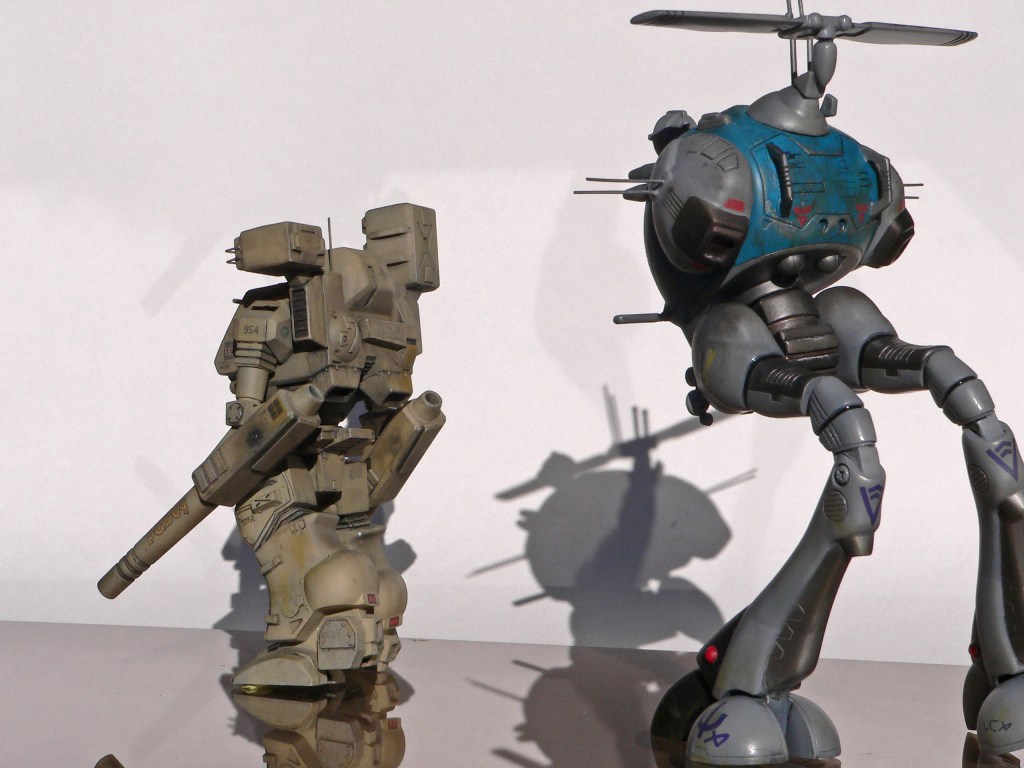
Just wanted to share a few build up pics (paint up pics really) of a Regult Scout I finished last week. It was a lot of fun. I love the SF3D stuff you guys do and tried to create a similar feel - a worn piece of working kit that has seen plenty of contact with the bad guys.
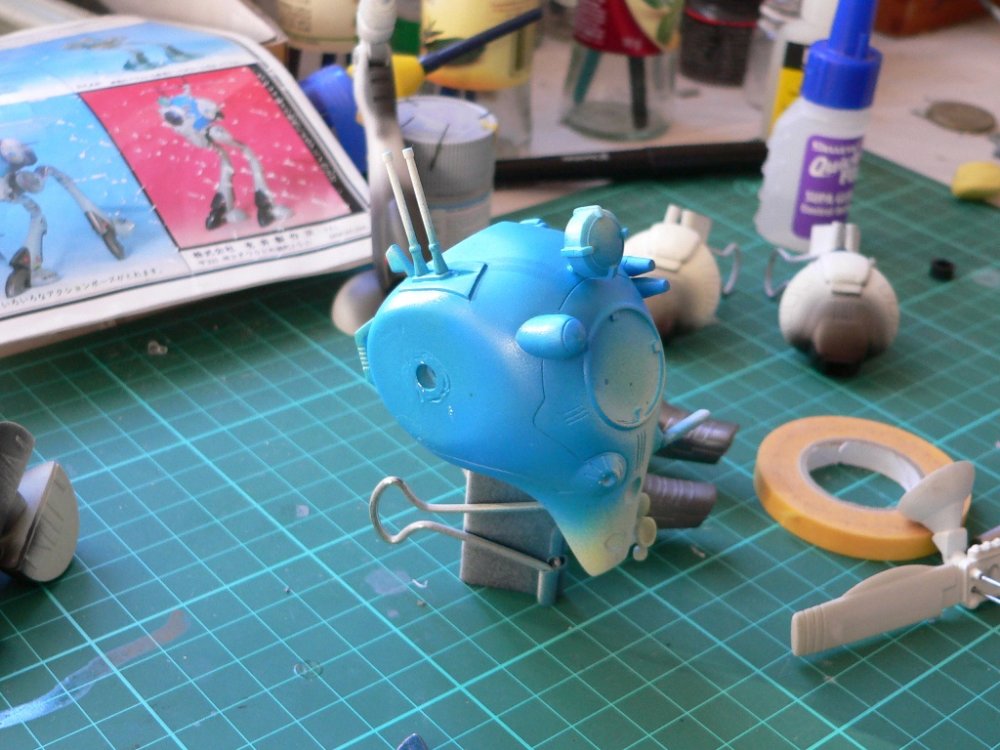
I'm pretty happy with how it turned out. There was lots of putty and masking practice. I like the grey suggested by cool8or, and wish I hadn't already painted the pod H25 blue before he recommended dunkelblau. Eh, always next time!
I tried an el cheapo undercoat from the hardware store because I was out of Tamiya primer and couldn't get the Mr Surfacer to play the game
In this one I tried an airbrushed blend of MM Burnt Iron and Exhaust. I remember seeing one of wm cheng's kits with a similar effect and decided to have a go.
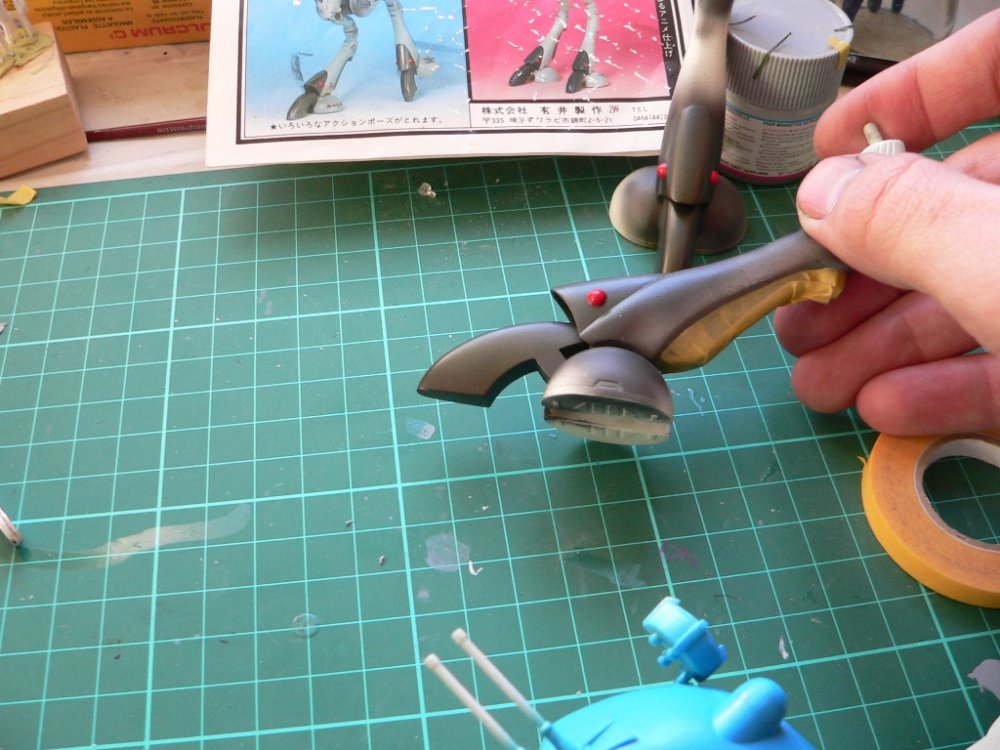
Blue is a bit too bright. I had to weather it a lot to tone it down, plus light oversprays of grey.
-
And thanks for the info gents
-
Yeah, that's just a reboxing of the Imai injection plastic kit.
I have a VF-1S in similar boxart.
You have MORE armoured battroid kits?
Far out! I can do you a good deal on two more if you're interested 
-
Having made two 1/100 Bandai VF-1s this year, they seem pretty similar! The Wave kit has an almost identical chest piece, back and wings. The Wave seems to have better panel lines/detail on the backpack, legs and vertical stabs.
But as electric indigo said, more kits from different companies is a good thing!
:thumbsup: to Wave
-
-
Thanks for the heads up big F.
-
Looks like they're now on eBay US, for those still in the 1/100 game
-
Thanks flyboy
-
Played with the URL and found it. Discontinued. Bummer. http://www.hlj.com/product/HSGTT-30
-
Thanks guys,
I won't go into a step by step on this one... Its not really Macross related, plus I just want to get it done in what little time I can carve out for it! Thanks for the kudos and interest though. I'll periodically post any snaps I get as I get a chance.
You can find info about Rosie the Riveter here;
http://www.largescaleplanes.com/reviews/No...er/riveter.html
Additionally I've found a cheaper alternative here (although I don't know how good it is);
http://www.ares-server.com/Ares/Ares.asp?M...ct&ID=15200
Actually now doing a little research on it, I've also found a Hasegawa alternative;
http://misc.kitreview.com/tools/rivetmakerreviewjh_1.htm
They do get some getting used to - I practiced on a spare piece of styrene until I got the hang of it, but I still made a few mistakes which I had to sand over and fill with Mr. Surfacer to redo.
The Hasegawa one (TT-30) is no longer listed with HLJ?
http://www.hlj.com/hljlist2/?Scale=0&M...p;GenreCode=SupAnd boy o boy that is one great looking cockpit there!
-
Nice Berttt! I love the Gustav. MaK is such a cool genre and you really did well with that kit. You were modifying it to be a night fighting version, right?


How do you use Future Floor Wax???
in The Workshop!
Posted
There isn't a flammable warning on the bottle I have in front of me and I've never heard of floor polish being dangerous goods
That's cool, I'll ask a mate to bring some back through work