MinoRem
-
Posts
53 -
Joined
-
Last visited
Content Type
Profiles
Forums
Events
Gallery
Everything posted by MinoRem
-
oh I just applied the Mr color without adding anything to it. I dont have much model that requires paint so I didn't invest much on it. I'll see if they have Vallejo or just walk around to find it, they have gunze.
-
I'm using a brush, the main thing I'm concern about is applying too much of the paint making it too thick and the line panel might not be visible. I tried one Mr. Hobby paint that was great cos I could paint over and it wouldn't show that layering but I wasn't sure whether it was the paint color that did it or how it generally is.
-
What type of paint is good to use? I used tamiya paint but they dried so fast that if you tried to redo a patch it really stuffs it up.
-
I've started painting using tamiya acrylic paint and I don't think I've done such a good job and wish to remove it from my model, any suggestion on how to remove it?
-
So I need to find an alternative to line paneling. I'm usually lazy when it comes to some of the details on modeling mainly painting. I see everyone using a spray gun thing is there an alternative for that?
-
Hello, I've been searching about the VF0A/S by Hasegawa but couldn't find much on what I've been searching for. I'm still a newbie modeller and don't have all the necessary tools to make the perfect model anyways, I want to know 1. Since it comes as cream color it means I require to paint it. Do I have to do a initial wash to remove the glossy surface so the paint will be stay on better? 2. I do enamal + thinner for line panel. Will it still work on a painted surface? 3. Are there any tricky parts I should be aware before I dive into it? Thanks for any comments Also it is this model http://www.hlj.com/product/hsg20/Sci
-
Nice, how did you get the line panels? Pencil or wash? (I see some gold saints and andromeda in the background)
-
Thanks for the replies, will cement work? The stuff used to glue some model pieces together.
-
Bandai 1/72 fully transform able VF-1 plastic kit for Macross 30th Ann
MinoRem replied to Vi-RS's topic in Model kits
The hands are absolutely horror to put together, took forever and it kept coming off so I decided to glue the back hand. I like this way better than the vf-25s in terms of look and building. I'm very tempted to get the other vf-1s Roy version coming out in September. -
Bandai 1/72 fully transform able VF-1 plastic kit for Macross 30th Ann
MinoRem replied to Vi-RS's topic in Model kits
HOLY HELL it does lock! wow I never noticed that, makes it so awesome! Thanks a bunch. Still think this model is worth the money it looks pretty awesome (in case people still don't think it's not worth it) -
Bandai 1/72 fully transform able VF-1 plastic kit for Macross 30th Ann
MinoRem replied to Vi-RS's topic in Model kits
The part that is loose is where the rod is placed. Other parts where the rod are placed seem tighter soooo ya.... -
Is there any way to tighten the ball joints? Some part on my messiah is very loose so the hand is kind of flappy.
-
Bandai 1/72 fully transform able VF-1 plastic kit for Macross 30th Ann
MinoRem replied to Vi-RS's topic in Model kits
No it just stays there, nothing to clip it on to keep in position the manual also has it hanging without any clip on or anything to hold it in position -
Bandai 1/72 fully transform able VF-1 plastic kit for Macross 30th Ann
MinoRem replied to Vi-RS's topic in Model kits
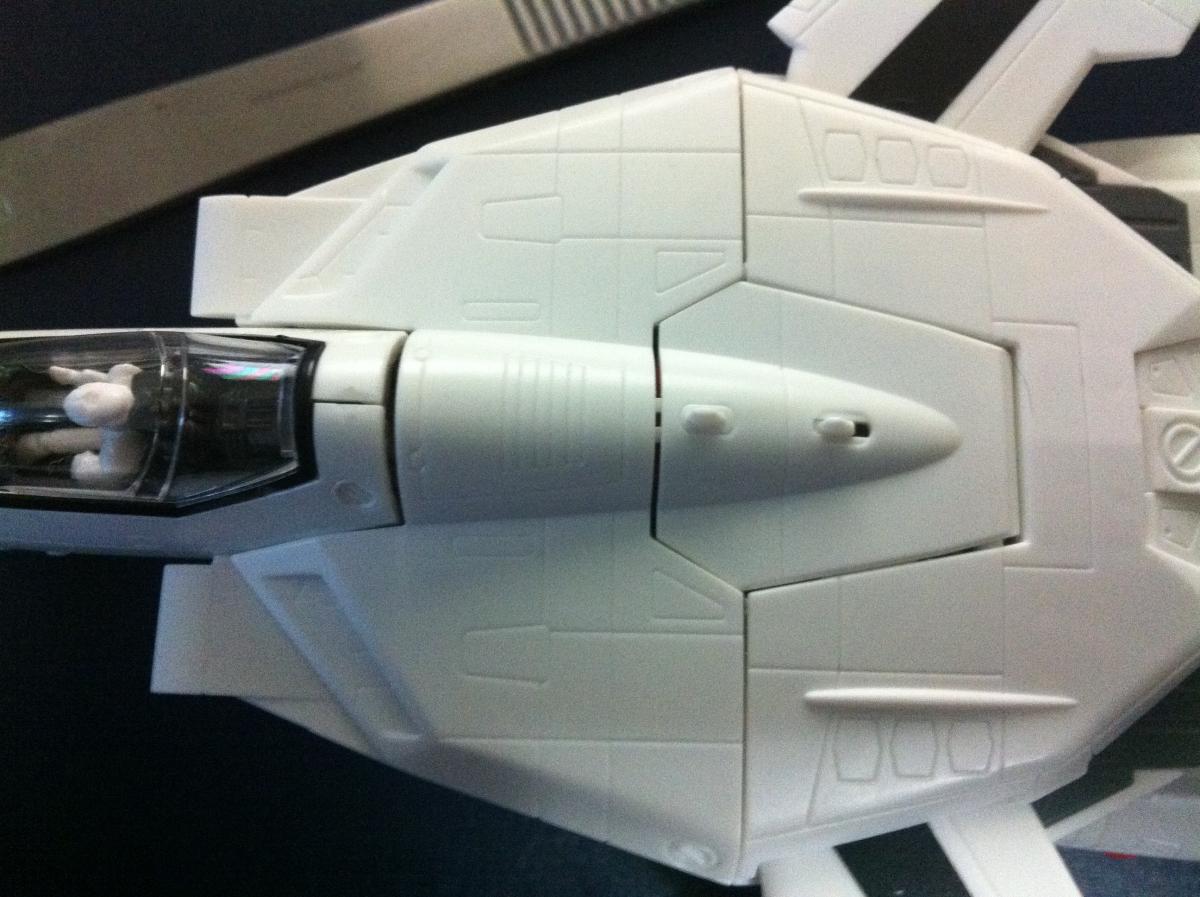
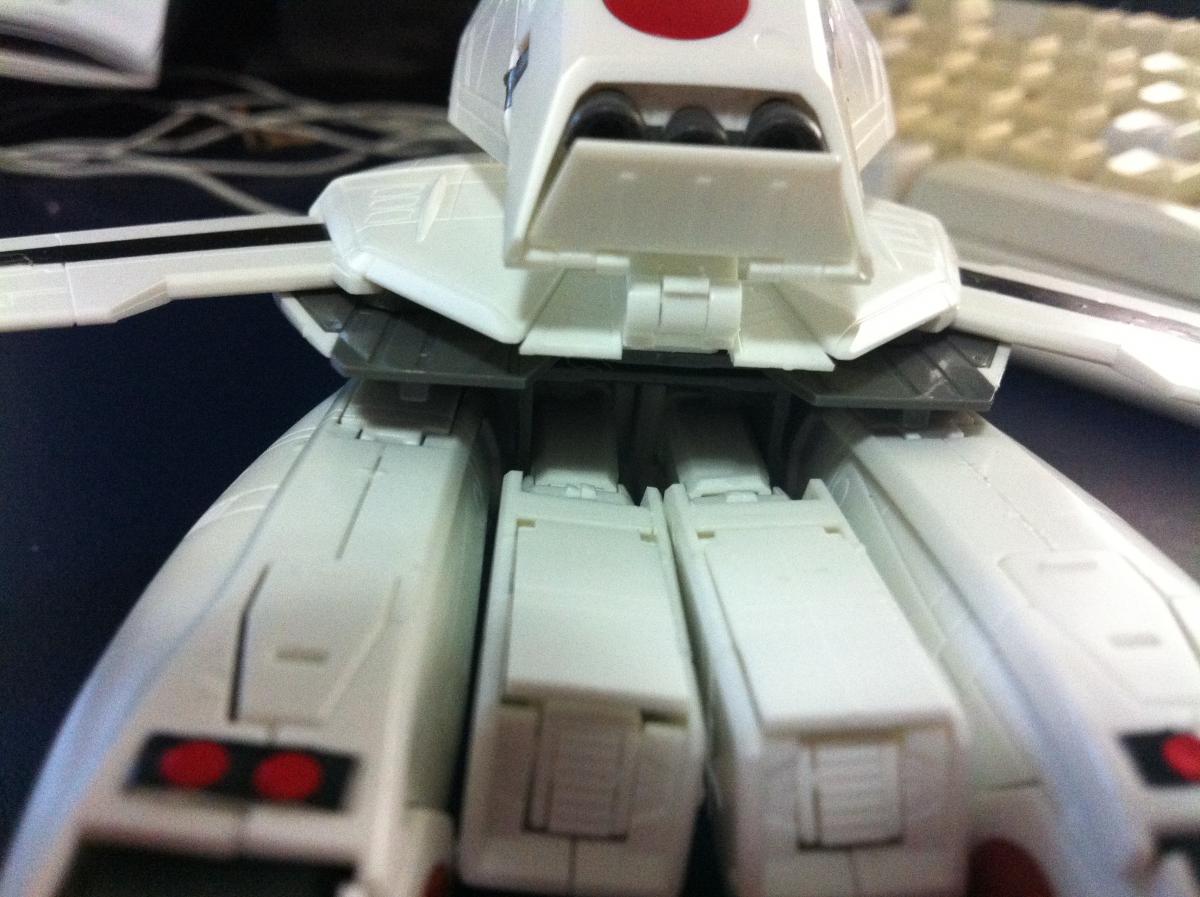
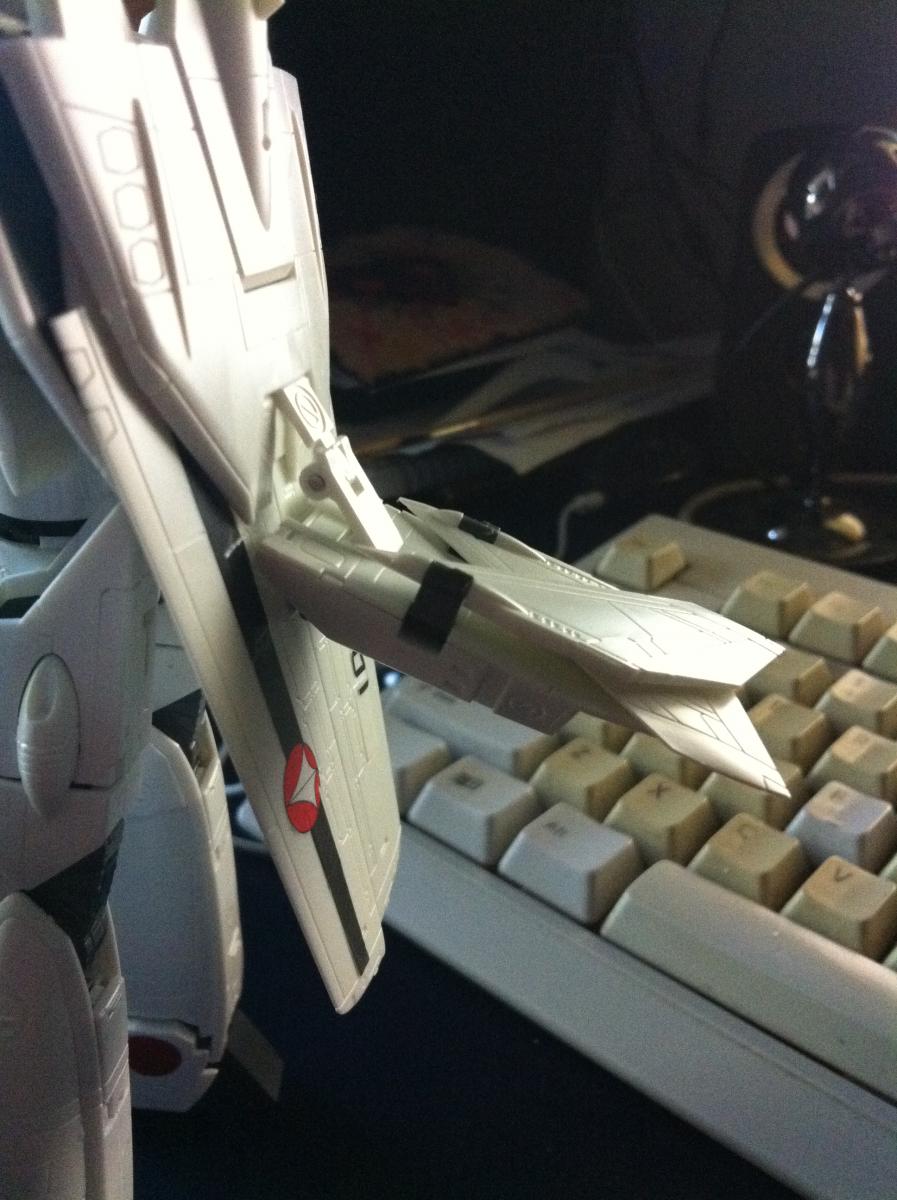
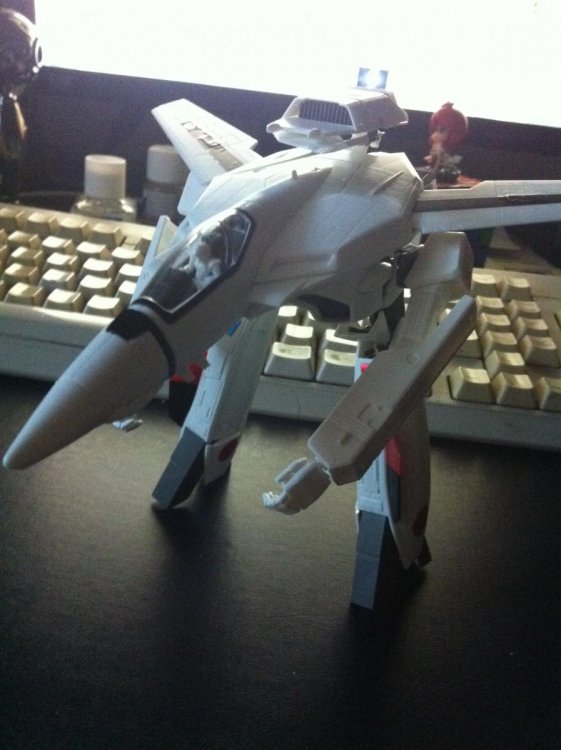
Here's the pics where I think they could of done better (or maybe I could of constructed better). Some pieces don't fit as neatly or doesn't fit where it's required to when it's in the plane, gerwalker is fine I don't see much problems with that. Main problem on the battleroid mode is the tail fin that doesn't seem to stay in position but rather flops down. I do like it in battleroid mode too. Oh yeah and the place where you put the legs underneath the nose, it doesn't click in (I think they should) so it opens and closes pretty easily so your battleroid doesn't do the qwop walks.


-
Bandai 1/72 fully transform able VF-1 plastic kit for Macross 30th Ann
MinoRem replied to Vi-RS's topic in Model kits
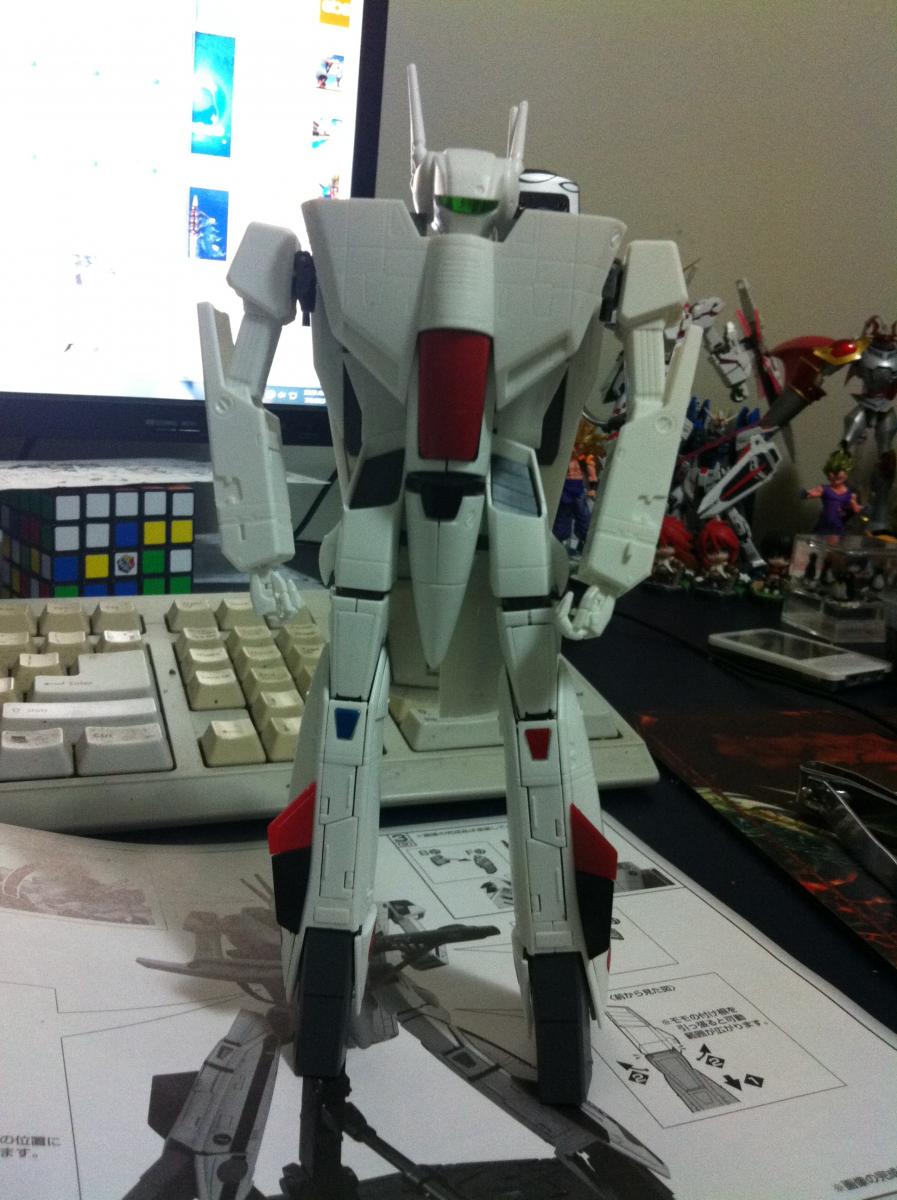
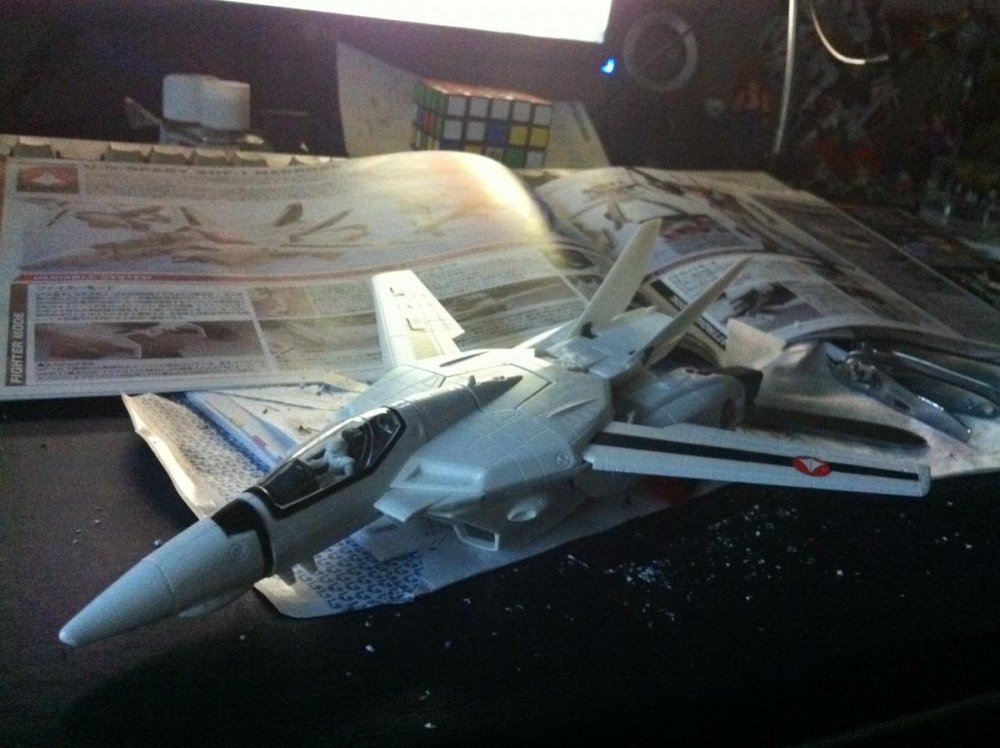
I just finished mine today, it was very fun to put together. I'm don't bother with much of the wash etc before building so I just cut and go and hope for the best. I found a few problems like in valkyrie mode I could not have the legs stick to the body of the plane without the body bending and exposing the red plating, gerwalker is fine looks kinda cool and battleroid was hard to put together. First off the back plating where the legs goes isn't very strong so the legs can come fallling off when moving around, the back tail fin doesn't hold it's up-right position so it flops down. That is just problem with mine but as someone said earlier it's not meant to be a toy so moving around too much isn't the point of it. I personally think it's a great model (not an expert with macross models) but it was money well spent whether in valkyrie, gerwalker and battleroid mode. -
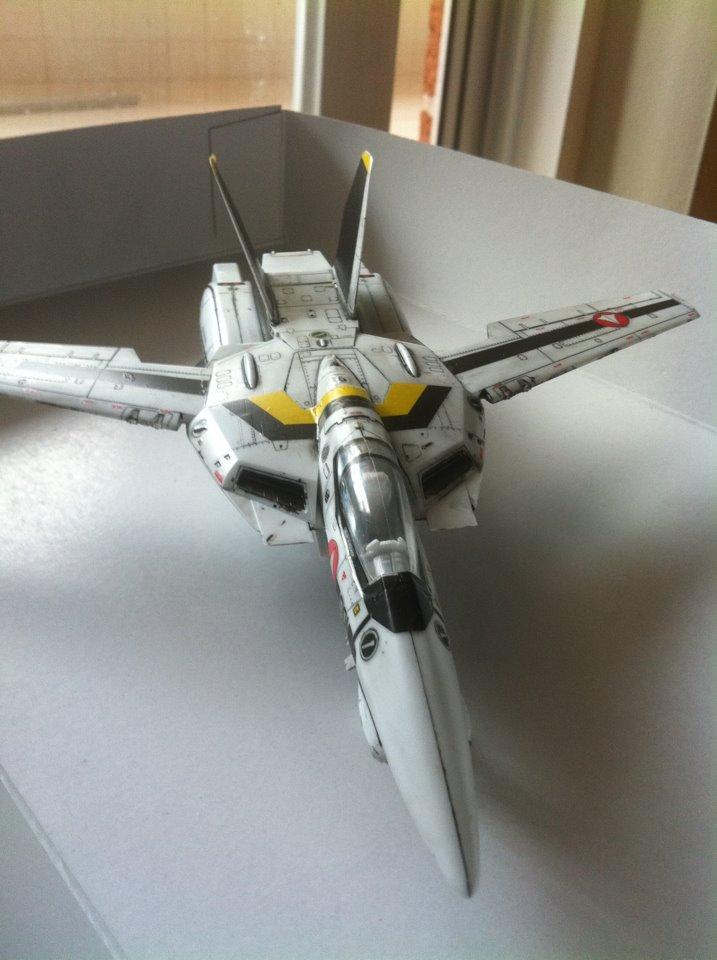
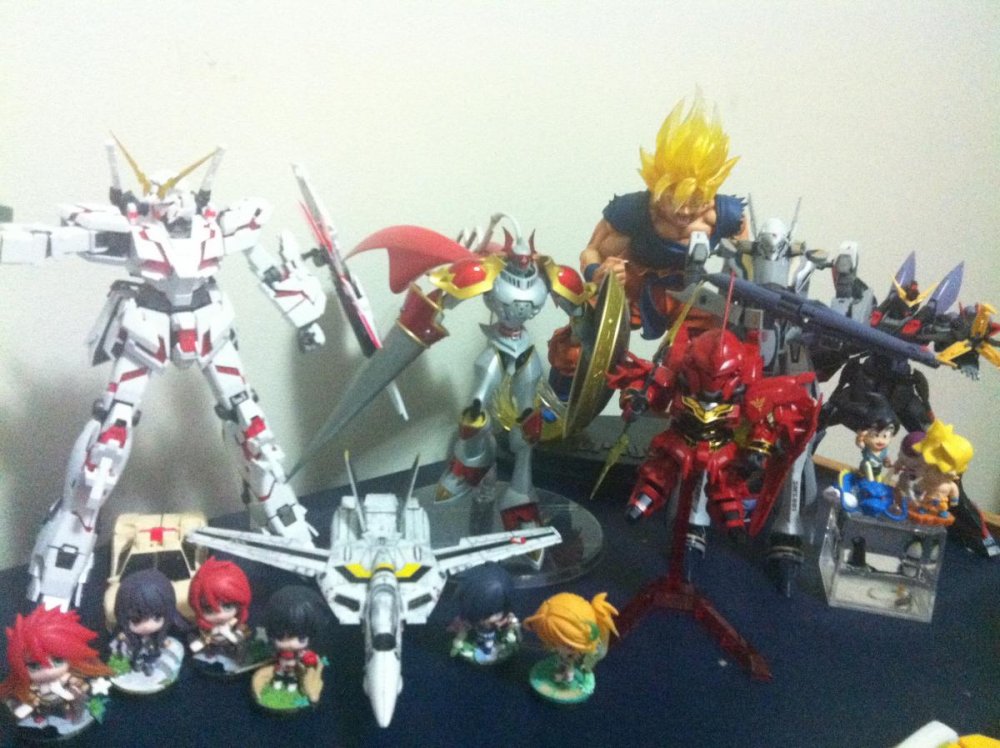
Here is my sweet corner of admiration since I'm the only one in my family who really appreciates and admires them. Slightly regret not being able to buy the Durandal and 171 EX Alto colour scheme but I will make it up with the normal type.
-
AH thanks for the tips, maybe for the new model coming this month I'll try making it even better.
-
That's to remove the line that joins the pieces together? I kinda got lazy with doing it on the canopy (is that what they're called? The clear screen where the pilot sits)
-
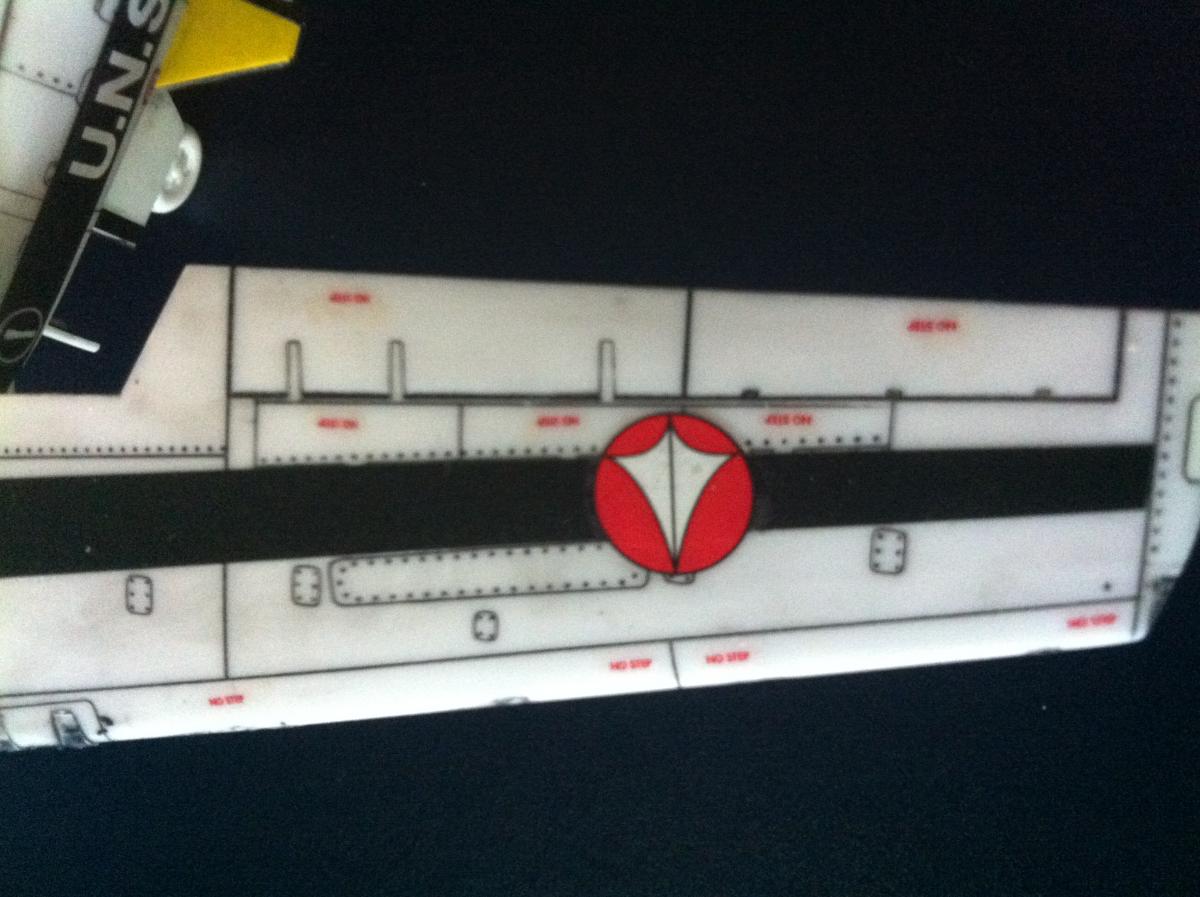
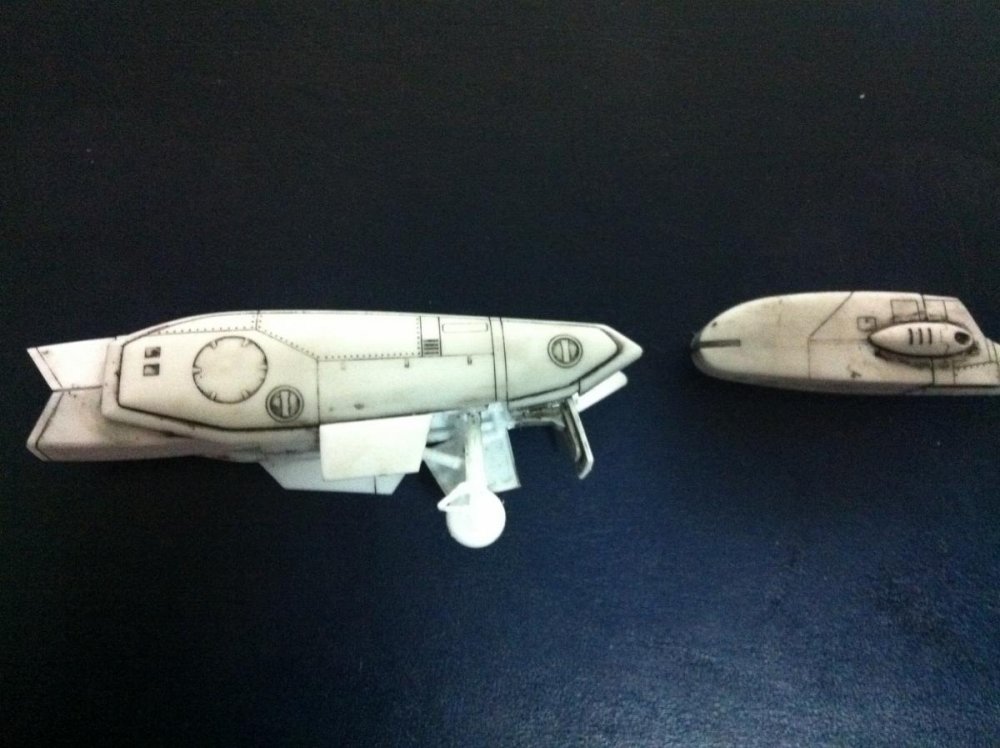
Here is the end result, some part looks smudgey and I think the wing is best done. Some body lining are a bit faded but over all I'm okay with the result as a first run with enamel + thinner. Found it easy to just brush everything with the enamel, bit of thinner to wash over initially (since you can't clean it all at once with the one tissue) then clean again. Hope that makes sense. Just added two pic to show the details of my work, the body isn't as well done as the wings.


-
Ah okay, that picture is slightly more brighter than the actual colour . I think I'm just going to continue it. It would end up being smudgy like. Needed that reassurance before continuing, thanks!
-
Ok here is the test runs with enemal and thinner mixed then cleaned with the thinner. As you can see, there is some residue glue left surrounding one area and it also doesn't look very clean and some area is fainter because the thinner removes the enemal no matter how softly I sweep it. It's a little frustrating that it's not really turning out the way I would of liked but I guess it's the best I can do for the time being
-
Thanks I just did a test run on a small piece of the model, I tried washing with water but it didn't come off so I tried with the thinner and it started to rub off! The result looks amazing but I still have a long way to go. Sometimes I think I rub too often and the lining disappears and it's kinda sad but the glue residue is visible. Ah it looks so good, need to find a tissue that doesn't break now lol.
-
Ah that was a nice tutorial, that wash is still the same as enamel paint + thinner and it will produce the same result? I've already bought the thinner and Tamiya black colour so I rather not waste it. Would it be better to do the outlining first then put on decal or vice versa? I had a bad experience with wet decal (only used water to set it but now I got a setter solution so it will stay and hopefully not break)
-
Is there a tutorial on line art with hasegawa? I tried with black enemal + thinner mixture, let it dry then use thinner to clean up but its rubbing off and pretty much it doesn't stay on the line where I want them to be. Any tips? The guide I use is http://www.gundammodelkits.com/gundam-modeling-tutorial-how-to-panel-line-your-gundam-model-kit.html I know it's gundam but it's pretty similar technique.
-
Oh, well there's a potential fatal mistake I could of made. Thanks for the heads up on that. Should get a compilation of dos and dont's for Hasewaga models for newbies.