jardann
-
Posts
1050 -
Joined
-
Last visited
Content Type
Profiles
Forums
Events
Gallery
Everything posted by jardann
-
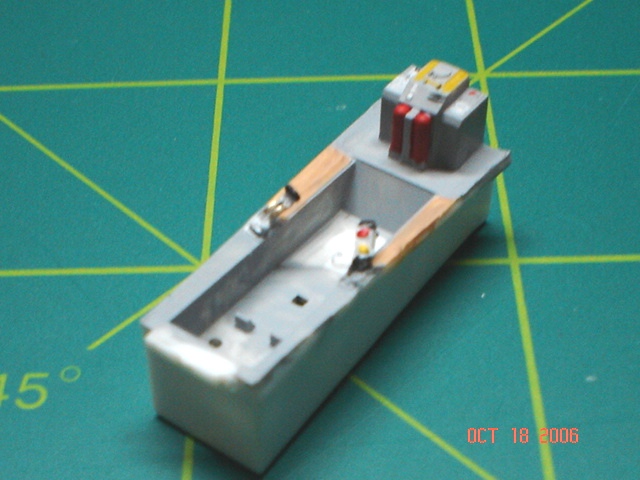
That's about it for tonight. I put an oil wash on the cockpit parts and set them aside to dry. I probably won't get back to this until some time Saturday or Sunday. Gotta work tomorrow so I'm off to get some sleep.
-
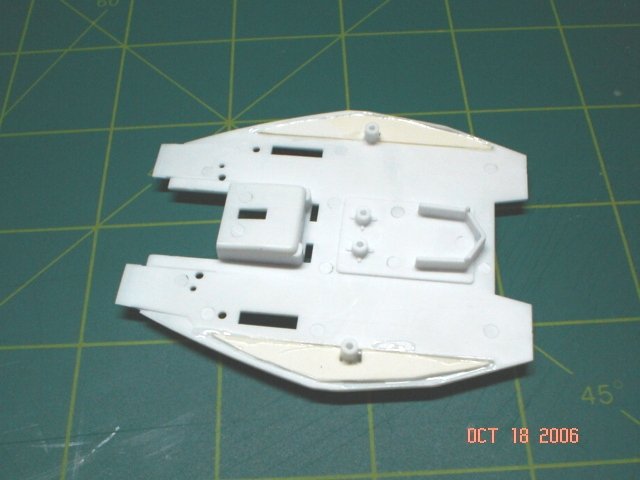
Does anyone know if you can put the pilot in after the cockpit has been set between the fuselage parts? I want to put a pilot in here, but was hoping I could go ahead and continue the valk construction while I take my time with the pilot. I assembled the top of the fuselage with the speed brake closed, and left off the little antennaes for now. Next I began the loser fuselage, the part where the swing wing mechanism is housed. I cut some pieces from sheet styrene to fill in the area that will be under the wings that has the open depressions. I used the best fitting piece as a template and drew out the shape several more times so that I would be ready to cut them for future Hasegawa kit builds. (I've got a buch in the 'ol model stash) Here's a pic with the parts glued in. I went ahead and spread some Tamiya putty over the rogh areas and left it to cure overnight.
-
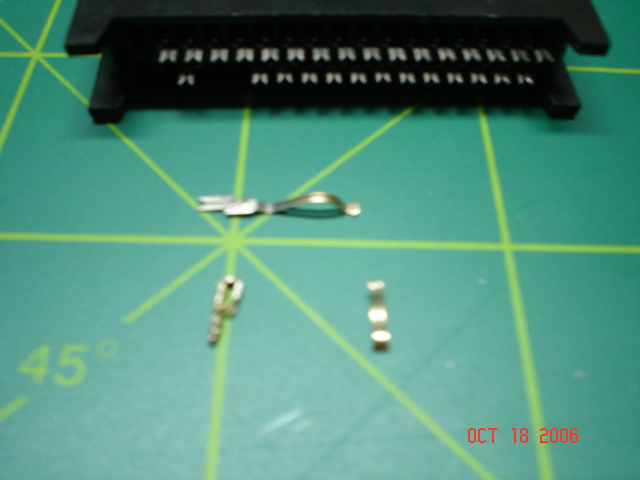
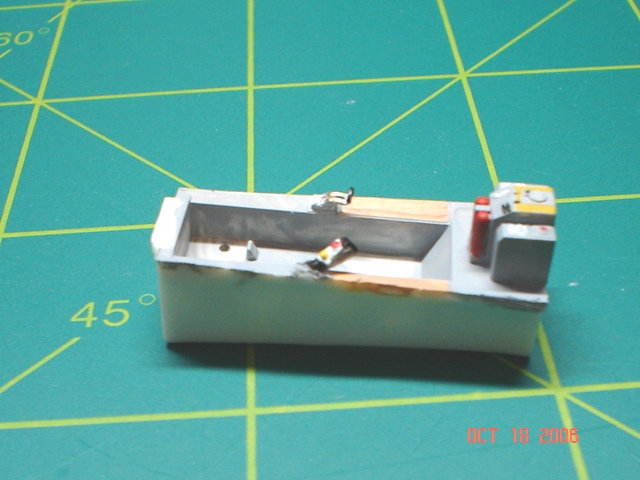
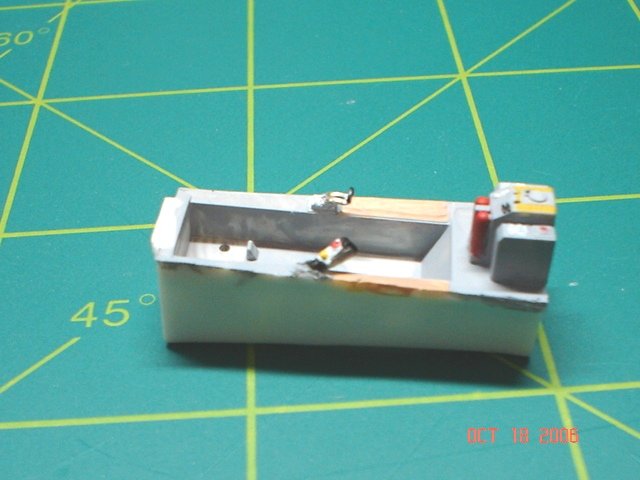
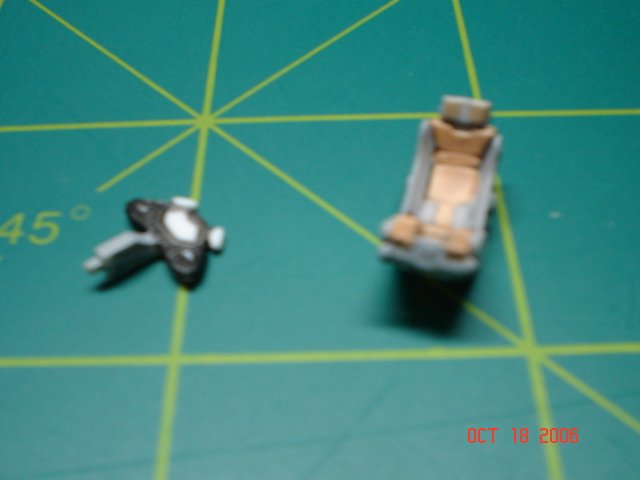
Sorry, the cockpit seat pic is kind of blurry, but not much to see there anyway. To make the throttle control and flight stick, I used the contact points from an electronics part. This came off of an old PC mother board or something. The metal pieces came out of the plastic housing very easily with some needle nose pliers and then I used some small craft pliers to bend the pieces to the shapes I wanted. Poor man's photoetch! Hopefully the pic is clear enough for everyone to see what I'm talking about.

-
I know some others have posted some excellent step by step threads for the Hasegawa standard VF-1 kit, but I decided to start mine tonight and thought I'd post my progress for all to see. Hopefully this will help keep me focused on finishing the kit in a timely manner. Started on the cockpit of course. Here are some pics of the cockpit tub and the ejection seat assembled and painted, but before the panel line/oil wash.

-
That's what I'm talkin' about! MechTech, your scratchbuilds are awesome! Way better than my work on high quality kits. I usually can't even cut two pieces of sheet plastic to the same size when I try to scratchbuild something! Also, I think now the next real step in my building needs to be improving my paint jobs. I'm working with improving my airbrush skills, but for lots of things, small areas mostly, I don't ever feel like going through the hassle of setting up and then cleaning the airbrush when I can brush paint a lot of things in just a few minutes. HWR, that's a bummer about your old kits. I still have bunches of kits that are older than the ones I posted in this thread. Of course, they're not much to look at, but I can't bring myself to throw them out for no good reason. I always think I might either rework them sometime, or maybe use them for parts for other projects. Thanks for sharing guys. Anyone else out there have some comparisons of your earlier work vs your more current models? Take some pics and show your progress!
-
Yeah, that was my idea. Anybody have some pics to compare some of your old work with some of your more recent? Jump on in so we can see your progress!
-
I really don't think the VFs from Macross Zero look more advanced than the VF-1s from the original. Yeah, the animation is more detailed, but if you ask me the shapes of the planes are even closer to modern day jet fighters than the Vf-1s were. The fact that the Vf-0s are much bigger actually kind of supports this feeling for me. Newer better technology resulted in smaller, faster and stronger VF-1s. The VF-1s would also be much more compatible with their role as atmospheric and space capable ships. Smaller means less fuel to reach orbit, less fuel needed all around and more space in a mothership's hangar. And to me, I see no VF-0 resemblance to the F-22 or the JSF designs. In fact, I think the VF-1 actually has a lot of similarities with the JSF except for the swing wings and pointy nose. I chalk up the idea that people think the VF-0s look more advanced, only to the fact that the animation is flashier and more detailed. I like the VF-0 series, but don't love them, they look a little clunky to me in battloid mode. And the SV-51, while cool, looks like it will break if it was hit a glancing blow, or even just tried to stand up in battloid mode. Anyway, just my opinion, and I'm sure this argument will go on and on. Have fun!
-
I hope everyone feels free to post any of their work here. I'm always impressed by the work of the talented modelers here on MW. Hopefully someone will like the look of some of my kits and maybe be a little inspired too. I definitely have a lot of room for improvement, but I'm moslty glad that I have the time to do some modeling again. Any tips or criticisms are welcome. I would be very interested if anyone else has some examples to share from the different stages of your modeling career! So chime on in if you like!
-
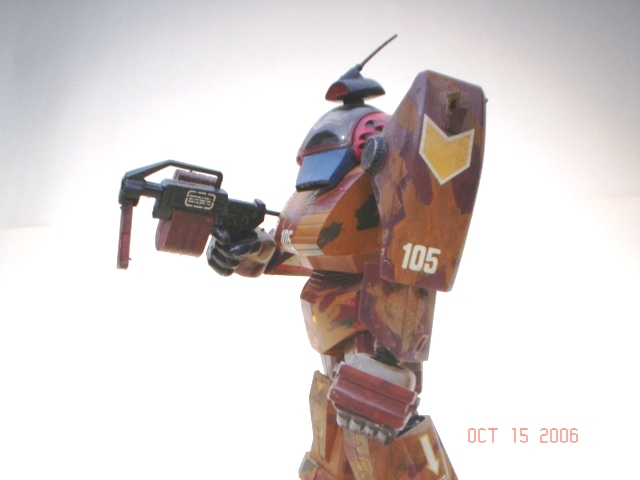
I've had a pretty long spell where I didn't finish a model. I really hardly had time to work on any because I was working or going to school or taking care of the kids. I also knew that for my modeling to progress, I would have to learn to use an airbrush. So over the last year I have slowly been able to put more time into modeling and the results seem pretty good so far. I've built some 1/2500 scale Star Trek ships which I like because I can easily finish one quickly if I want or take extra time and make them look really good. My latest Macross kit is a kitbash of a subject I made up myself. It is a precursor to the ghost drone and I figure it could fit inot the Macross Zero time period, although it probably wouldn't have been top of the line even by then. I posted some in progress pics before, but here are a couple with the decals on. I did this as kind of a warm up to the stack of Hasegawa valks and resin kits I have collected from the great kit creators we have here.


-
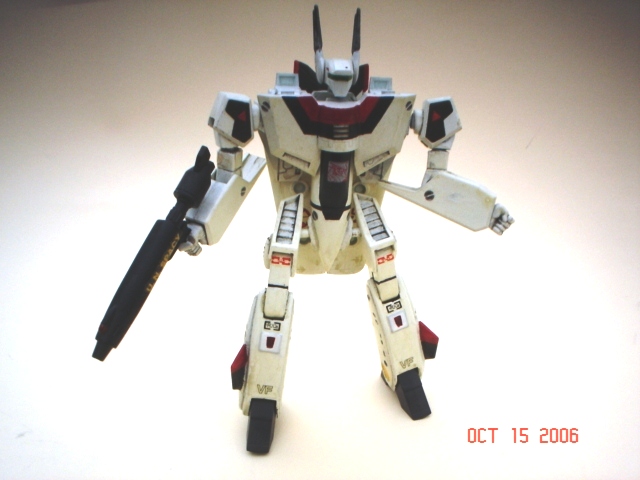
The decals taht came with the first of these kits I had were awesome, but the decals that come with these reissued kits are terrible. I used the Dragon logo from the decal sheets of some Dragon brand model kits that I had sonow this valk is from "Dragon Squadron". This kit has a lot of shortcomings, but IMHO it is way better than the 1/100 Arii single mode Battloid or Gerwalk kits. Since most of these 1/100 variables come as super or strike variants with some of the fast pack parts molded on I used parts from the Max 1J I had built earlier that fell apart. That was the only one I had without the fast pack parts and with the proper normal version parts. I also modified the barms by cutting the bicep area on a molded line and used a polycap in the upper portion and a sprue rod in the lower part so that now the arms don't always stick out like a goon! Unfortunately, one bicep is starting to crack a little.


-
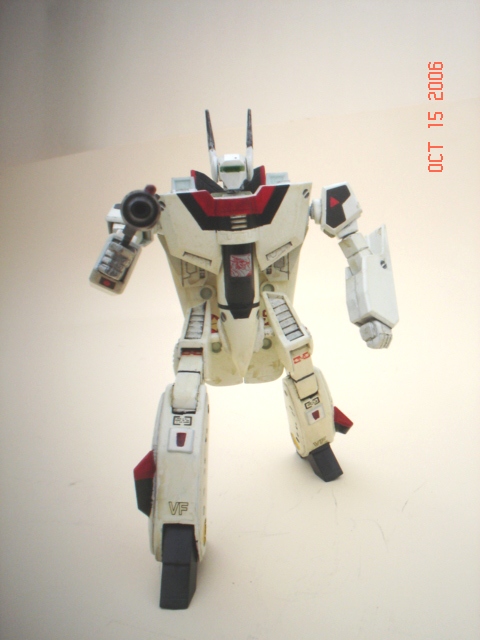
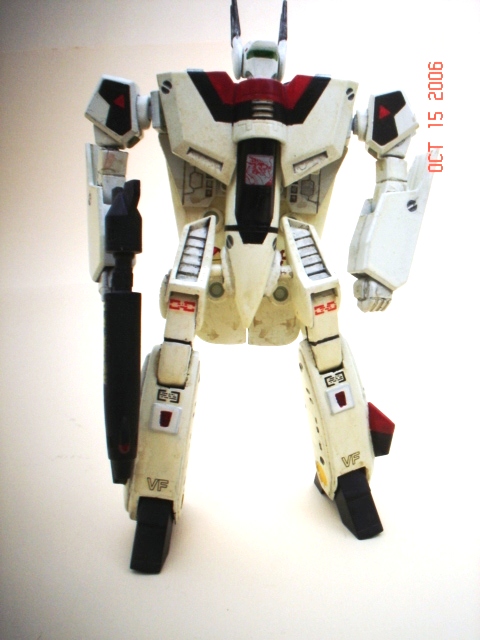
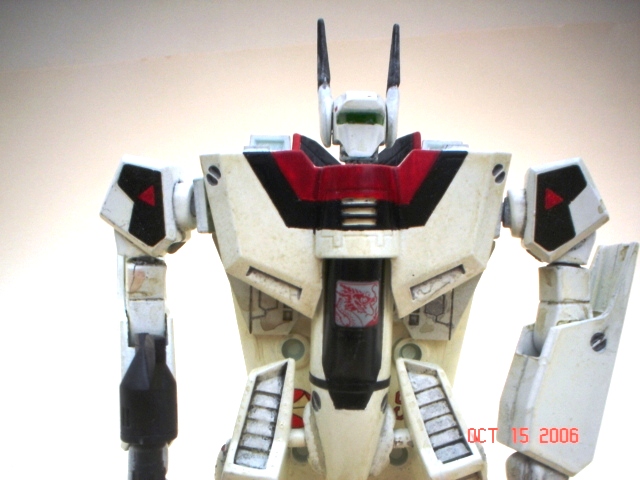
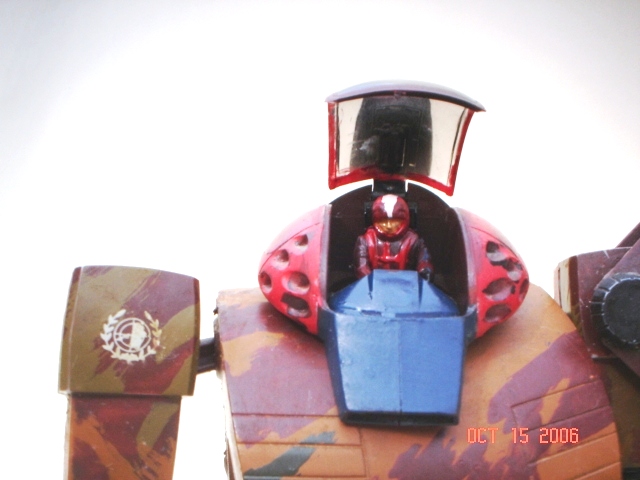
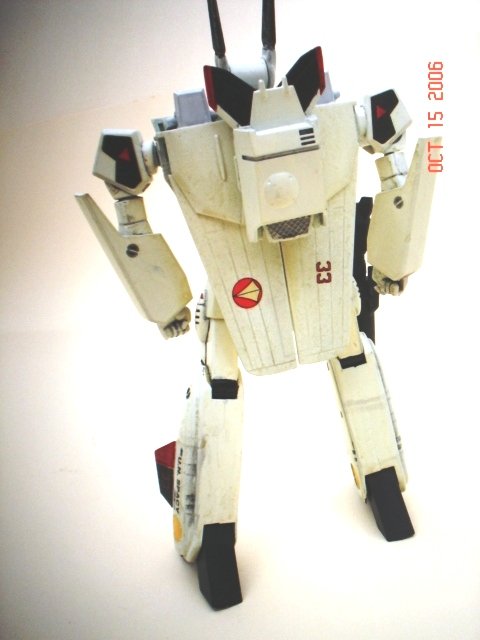
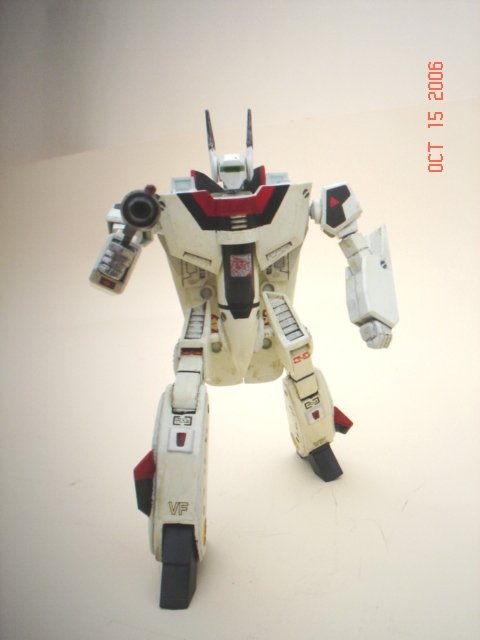
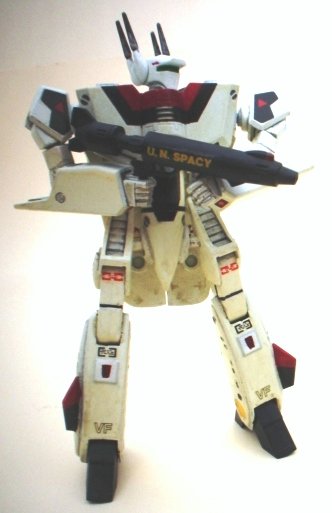
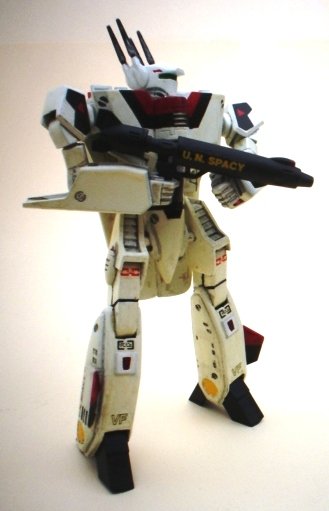
Next up is one of the 1/100 Bandai variable Valkyries. This is probably the third of these kits that I have built. The first one I built was my first Macross kit ever and I was amazed by the engineering. It was a VF-1S strike and that was the first I had seen of the fast packs. It turned out ok, but I didn't paint it. I built a Max 1J next, but I painted it with very heavy coats of paint and it fell apart from trying to transform it. This one I built with the battloid mode in mind probably about five years ago. It can still transform, but I never put the canopy on the cockpit because they are so awful on these kits.


-
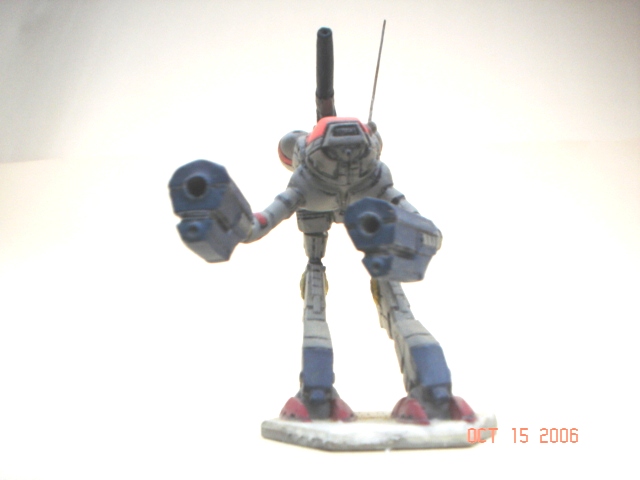
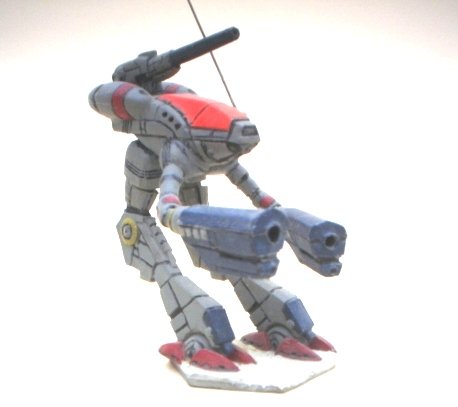
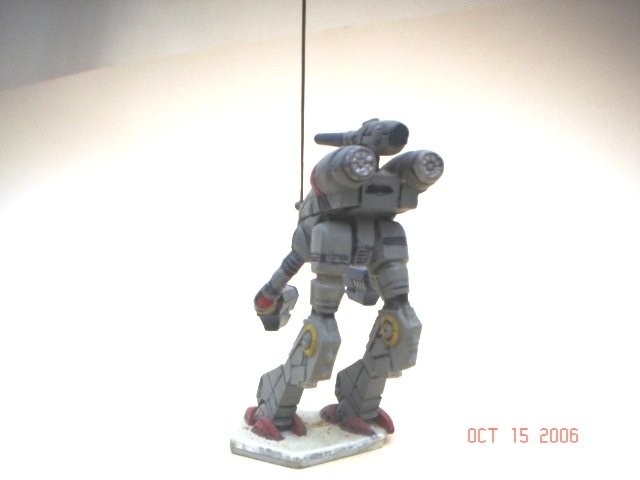
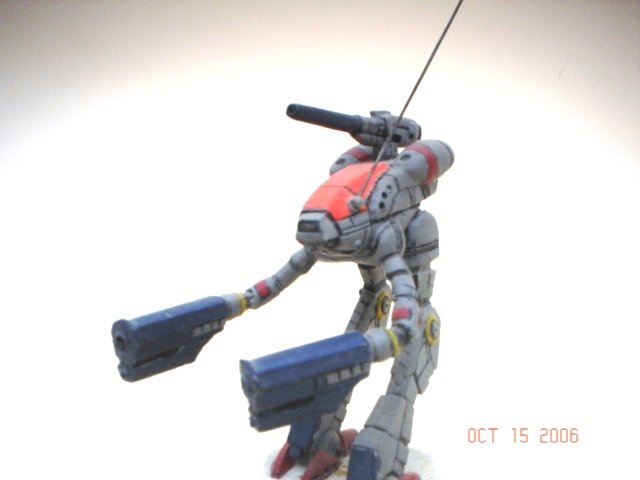
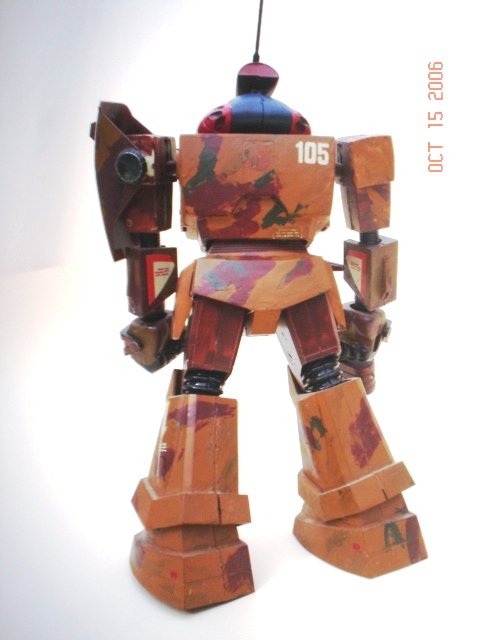
Next up is a metal mini Officer's Battle Pod that was one of the old "unseen" Battletech mechs. I of course painted it as it was meant to be. lol!

-
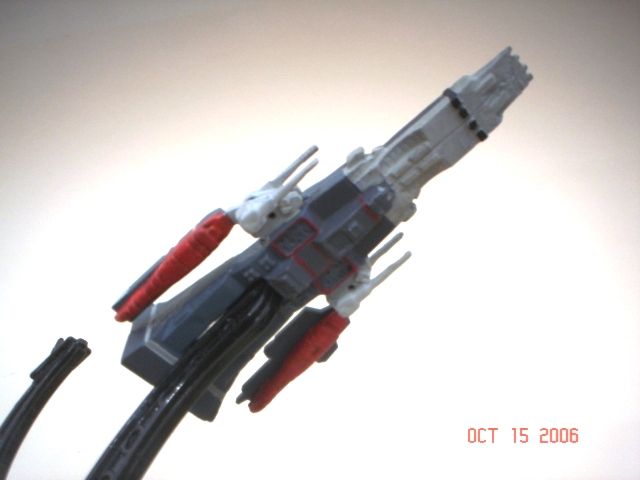
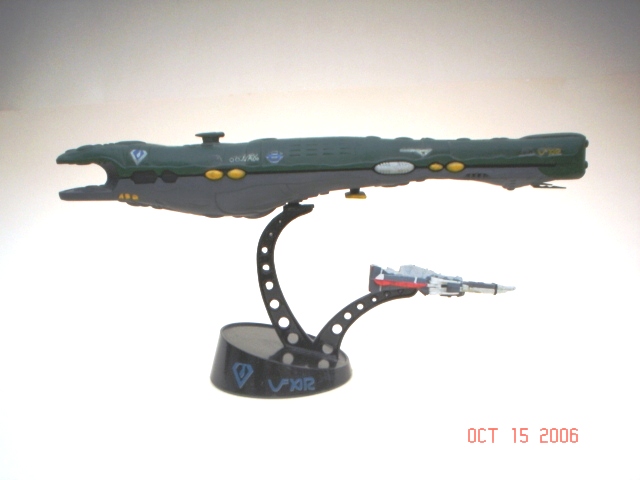
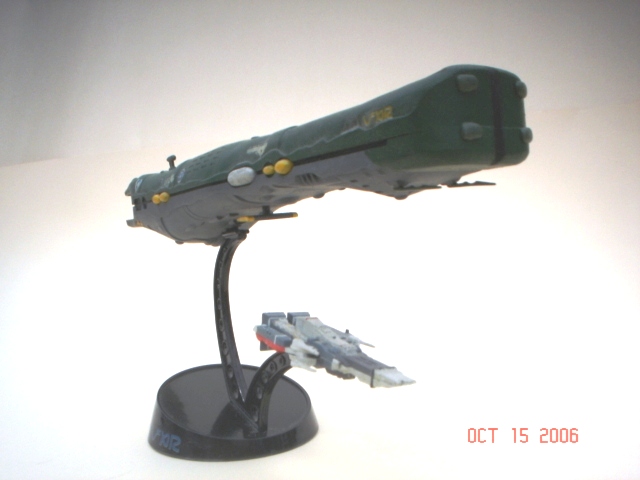
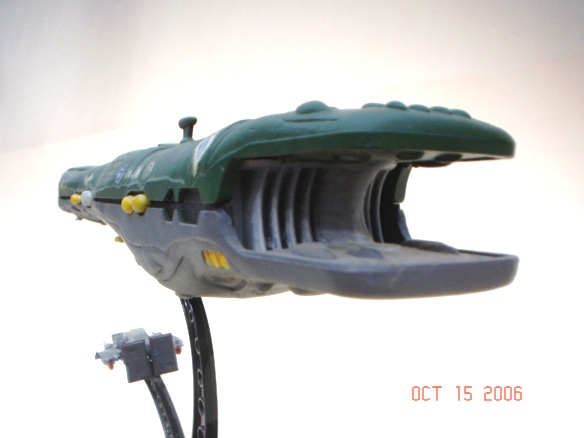
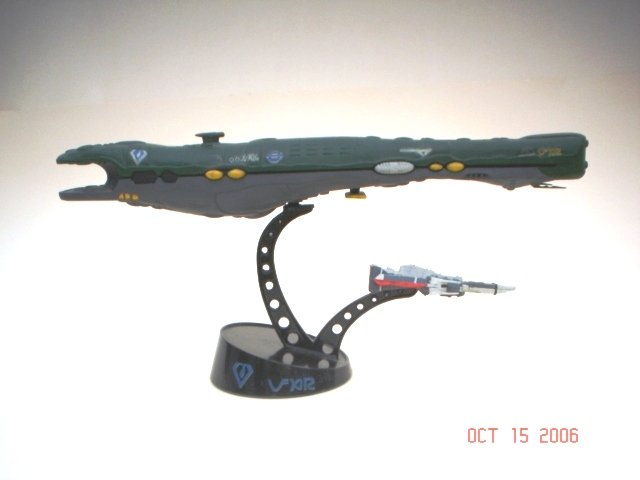
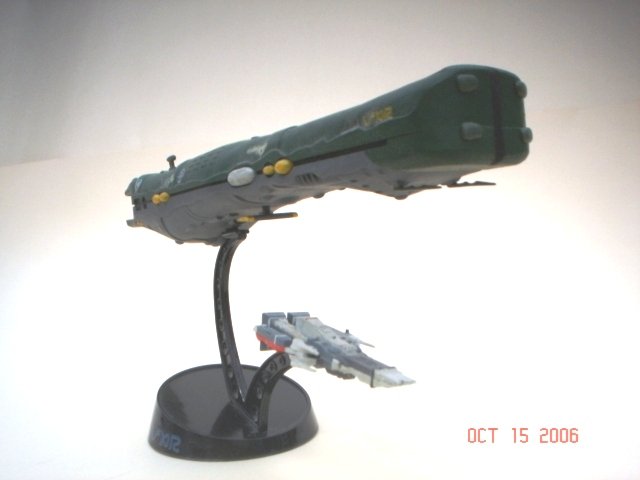
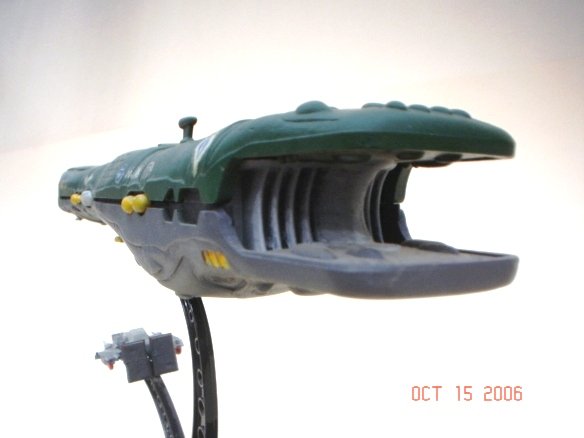
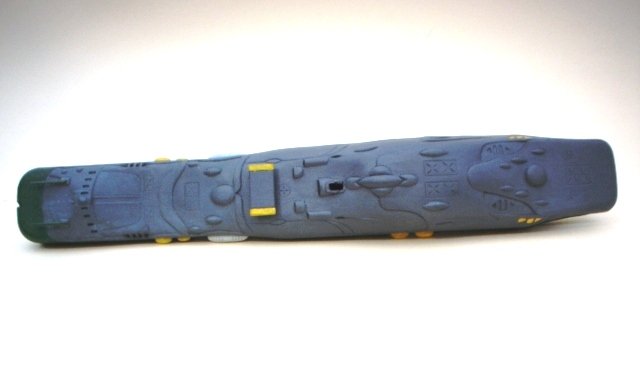
Here's the wee little SDF-1 that comes with the Zent ship kits.


-
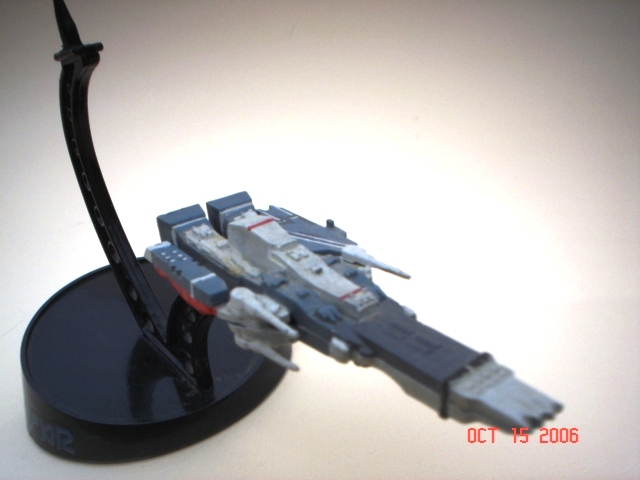
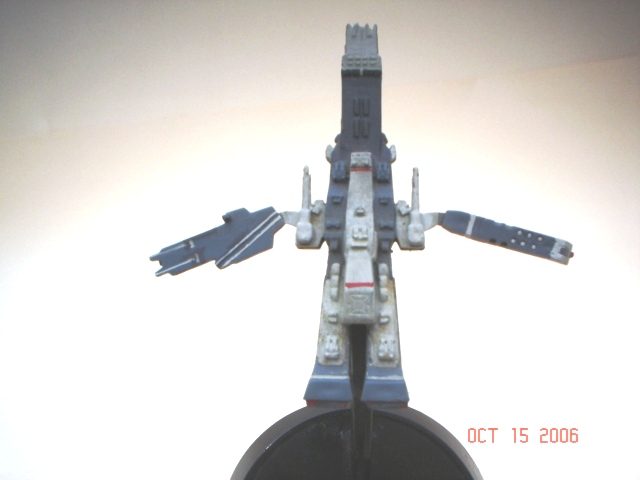
OK, now, so this thread doesn't get moved, I'll stick with Macross kits that I've built. First is the Zentraedi Flagship (with tiny SDF-1). I built this kit in 1989. I know because I signed and dated the underside of the base! I don't know if you can tell in the pics, but I achieved a very smooth finish on this by painting with a brush and the seams are better. I'm just now getting used to an airbrush and have a lot to learn on that.
-
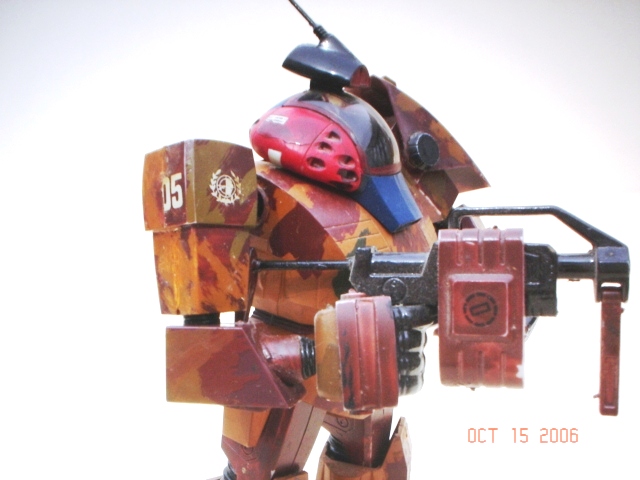
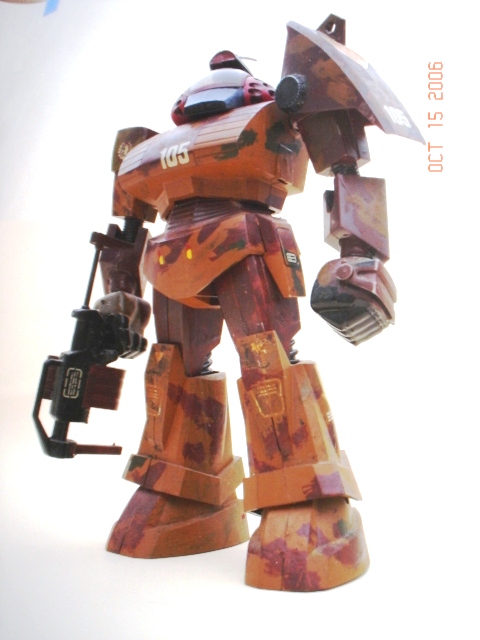
A few more of Condar. This was a pretty good kit, especially for a 12 year old boy. I can't believe how expensive they are now. You can see that I didn't worry too much about seams, but this was one of my first attempts at camoflauge and I still like the effect even though you can see some pretty bad brushstrokes!


-
Here are some pics of some old models I built. These represent several time periods of model building for me. The first one is from the old Robotech Defenders line. It's a 1/48 Condar from the Dougram series. I got this kit as a present for my birthday in seventh grade. It was the first robot model I built. That was 20 years ago!


-
Oh yeah!! Just got mine and they are beautiful!
-
That looks pretty sweet! I like the way it is different, but not off the wall goofy or ridiculous. I think it's a classy tweaked version of the original.
-
Yeah, adding some black detailing to the fast packs will really give them a more finished appearance. Please post some more pics when they're done!
-
Cool CF love! The Chunky Monkeys look sooo much better with the fast packs. I like the way the flat finish turned out. Sounds like a nice quick dry time too.
-
I loved the old Space Ghost cartoon! His "talk show" was pretty good too. ...........................
-
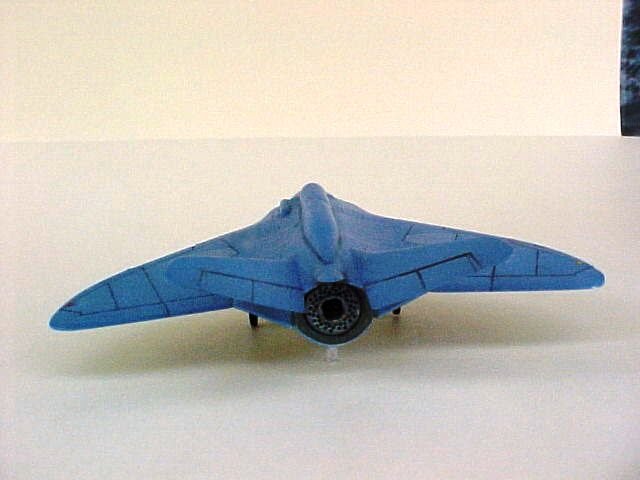
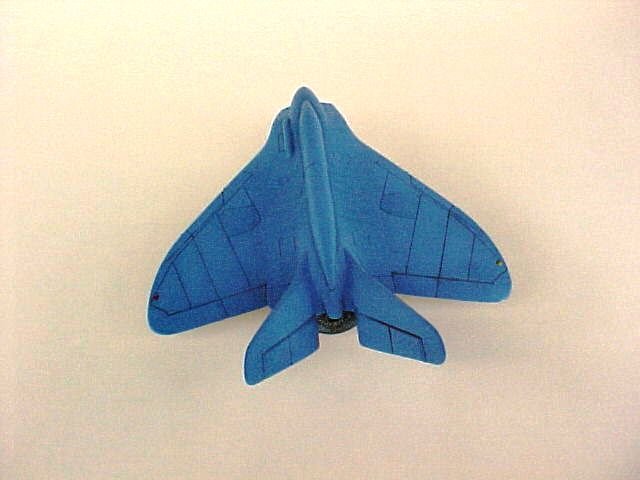
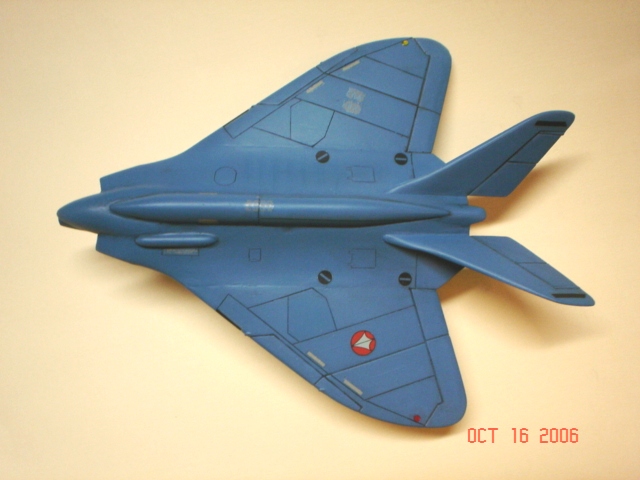
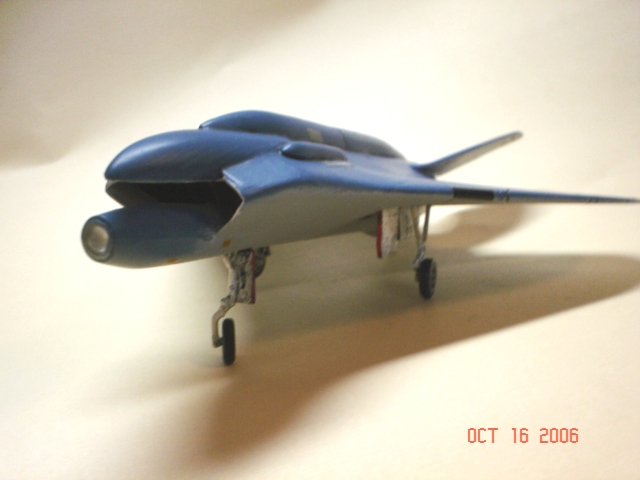
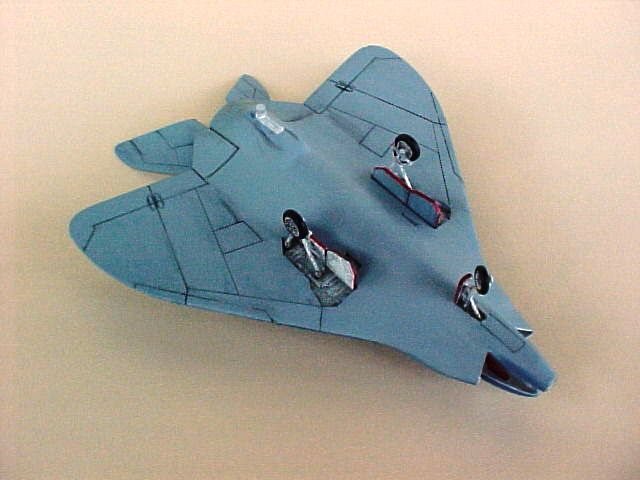
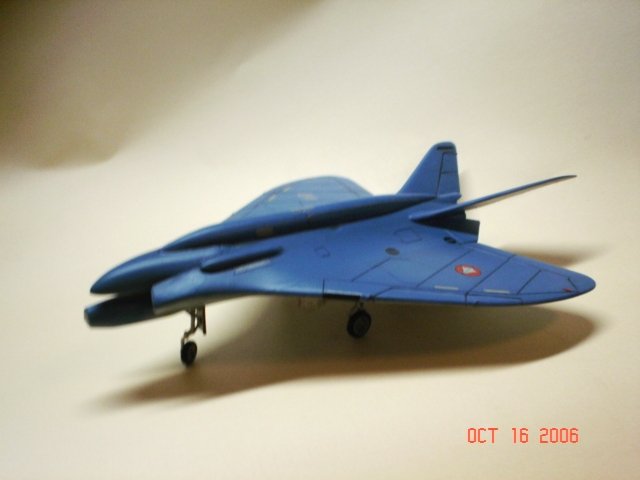
You're right MT! It was an old Airfix Skyray kit that I chopped up and modified. Was it the shape of the wings that gave it away for you? The hardest part was cutting off the raised spine and rudder and then reapplying the rudder as the twin tail surfaces and getting them to blend in. I'm glad you like it! I think it will look pretty good on a flight deck next to some Valkyries. Hopefully when I get some more valks built it will provide some variety. HWR, I take your statement as a big compliment! I'm always impressed with your models. I'm really happy with the way the Ambassador turned out. I have to say that the PNT decals really help. The secondary hull sides are almost completely covered with decals to represent the panels and windows. The saucer is what took some patience, lots of careful masking and some luck! The only decals there are the stripes around the edge, the lifeboats (little yellow squares) and the registry. I got pretty tense painting all those little windows on the saucer! It's right about 8" long. I sent in some pics to SSM for the gallery over there, so hopefully next Friday you should be able to see some more pics of it. If it gets accepted. Thanks again guys. I think the drone will have a more Macrossy feel after I get some decals in place. But I think it should fit in nicely.
-
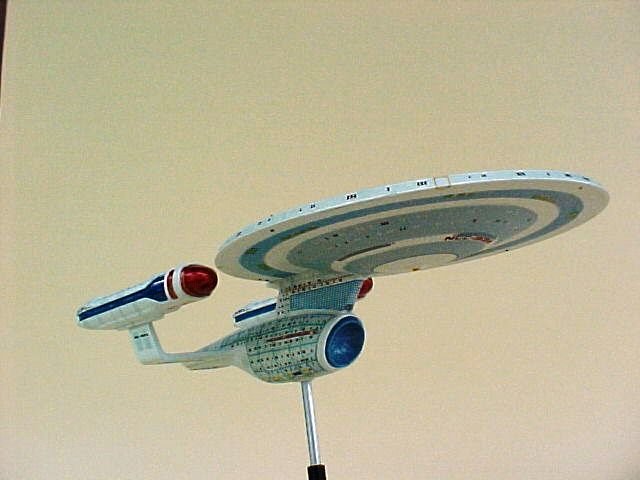
Thanks! The Ambassador is the Ent-C from the 1/2500 scale three ship set. I used custom decals from PNT models. Once they finally arrived they were great. The biggest pain for me on the kit was trying to get all of the windows to be evenly filled with white or black paint. Didn't wholly succeed, but it's almost impossible to freehand them! I'll give a few others a chance to figure out what I used for the drone before I tell.
-
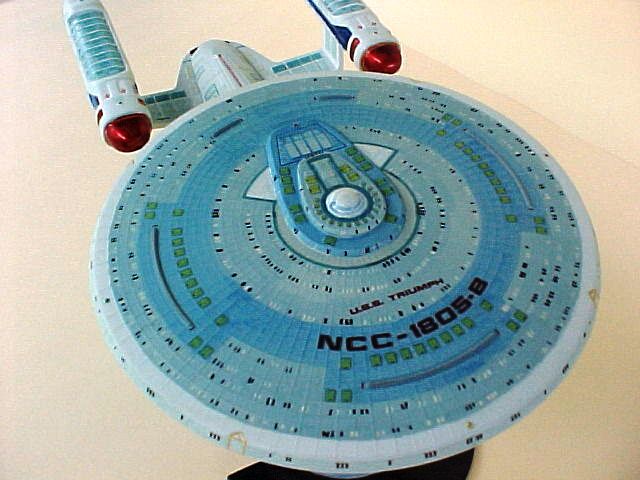
Not Macross, but this is what was finished just ahead of the Phantom. It's an Ambassador class ship from Star Trek. My brother and cousin play a Star Trek RPG and this is their ship; The U.S.S. Triumph. I'm going to submit this to the SSM gallery so hopefully you can see more pictures there if you're interested.

-
The finish isn't as good as I was hoping, but I tried a lot of new things on this and gained some good experience. This is the second kit I used an airbrush on. First time I scribed new panel lines, some of which are a little too deep. I also used an oil paint wash for the panel lines and that turned out to be my favorite new technique. It worked really well and was super easy! This was also my first kitbash project. I really only used one kit, but made several modifications. A NO PRIZE goes to the first person who can tell what plane this was originally. (you airplane buffs shouldn't have too much trouble figuring it out) I look forward to any and all comments or tips!