Xigfrid
-
Posts
2608 -
Joined
-
Last visited
Content Type
Profiles
Forums
Events
Gallery
Everything posted by Xigfrid
-
The VF-4 re-release is supposed to have a new version of the missiles that would clip tighter, and some pointed out that the plastic could have a different shade of grey.
-
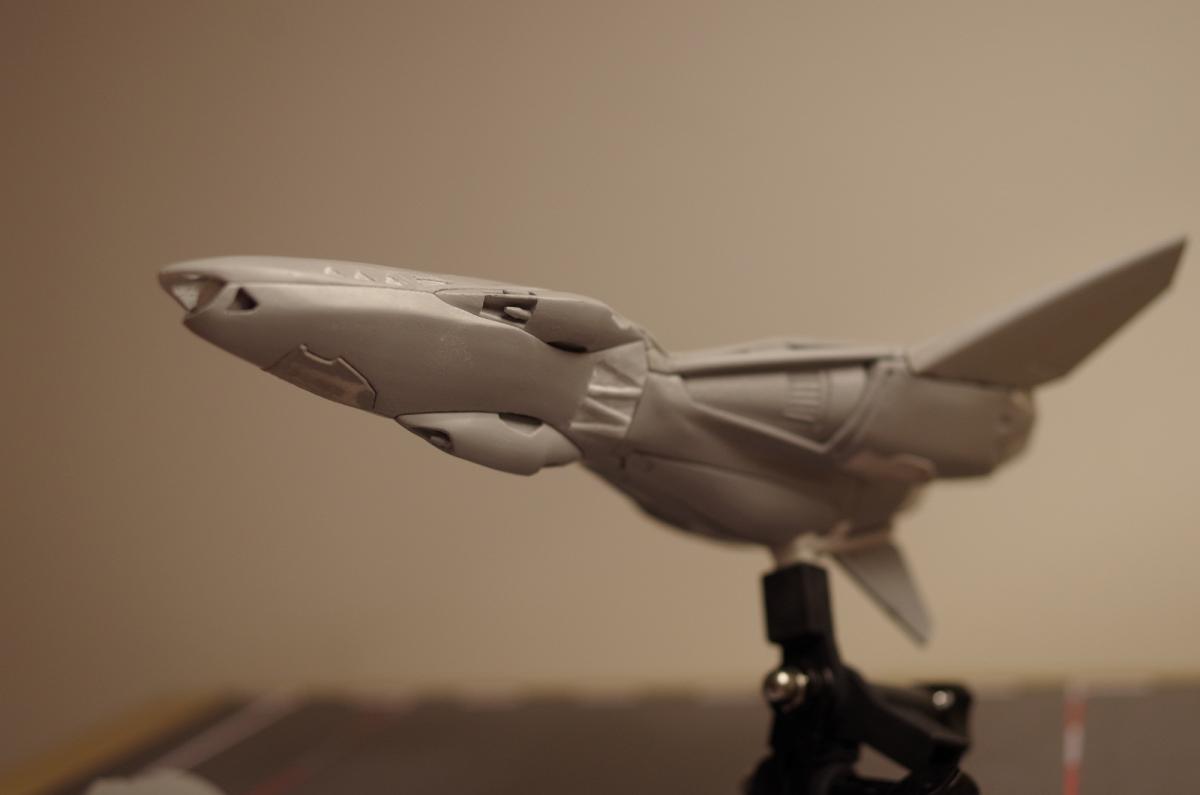
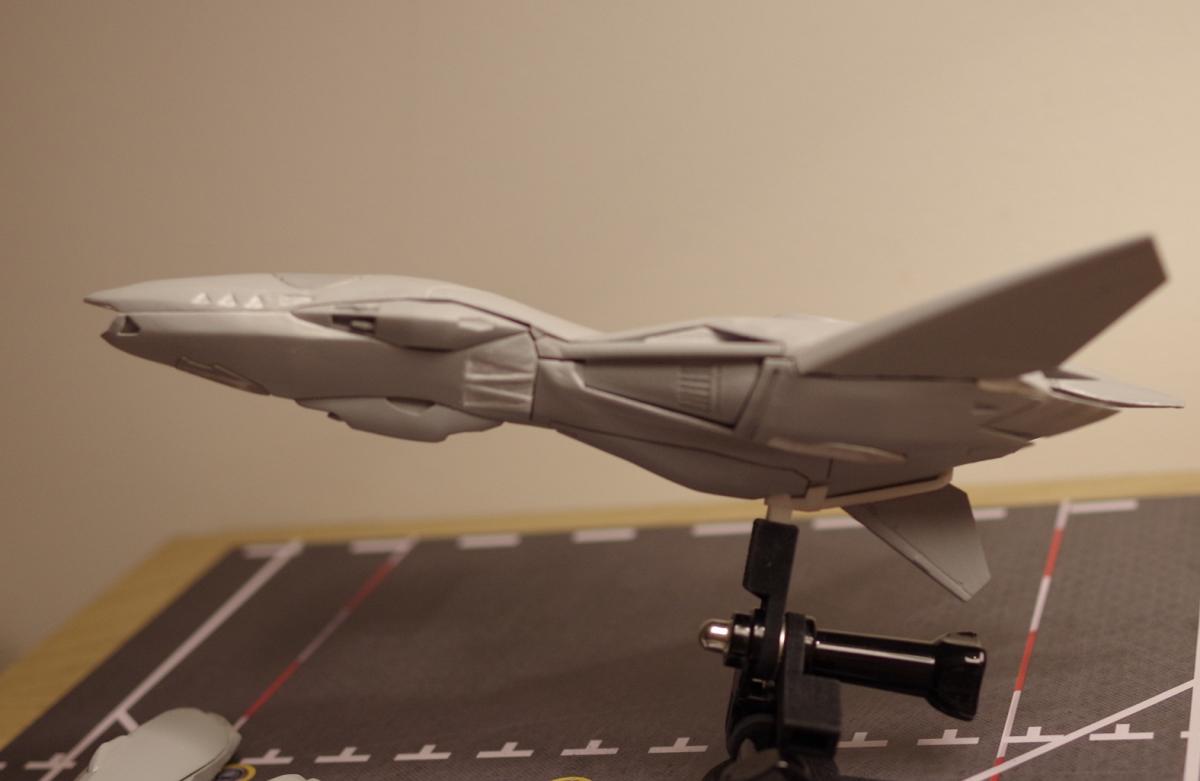
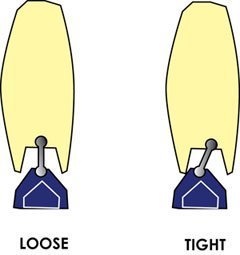
I love so much my Arcadia and I am tempted to say everything can be fixed with Arcardia's model. On the opposite, the details that I dislike with Bandai doesn't seem to be fixable: the landing gears are blocky, a few proportions have been biased and are too thick: at first glance this can be because Bandai have larger tolerance on their plastic -lower quality?- I am totally biased against Bandai I recon, I haven't the VF-19 Advance because I didn't want to play the pre-order madness game when it came out, and since then its price has been stratospheric on the ebay/scalper sale markets... Much more higher than Arcadia price. Here are my fixs! Tampo: you can use the ones that came inside the box. Either Arcadia could sell the decals as an accessory and lower their prices or just apply them, but then you are screwed if you want to do a repaint. I would prefer Arcadia to apply them though Detail and panel lines: they are there, just a little to thin. But once you got them high lighten with a wash / airbrush, the YF-19 is gorgeous I have mixed feeling about the nose drop, the YF-19 is supposed to have it when looking at some scenes of the anime, and the VF-19 is definitely straighter. Perhaps Arcadia has overdone it and I would prefer something more toward the Hasegawa nose drop. Loose High speed mode, I posted a fix earlier, very easy to do. Doesn't the Bandai have the same issue ? Loose ankles, here is my fix: you can use a more angled ankle to have them tighter. It works even with straight battroid position and better with dynamic poses. see picture
-
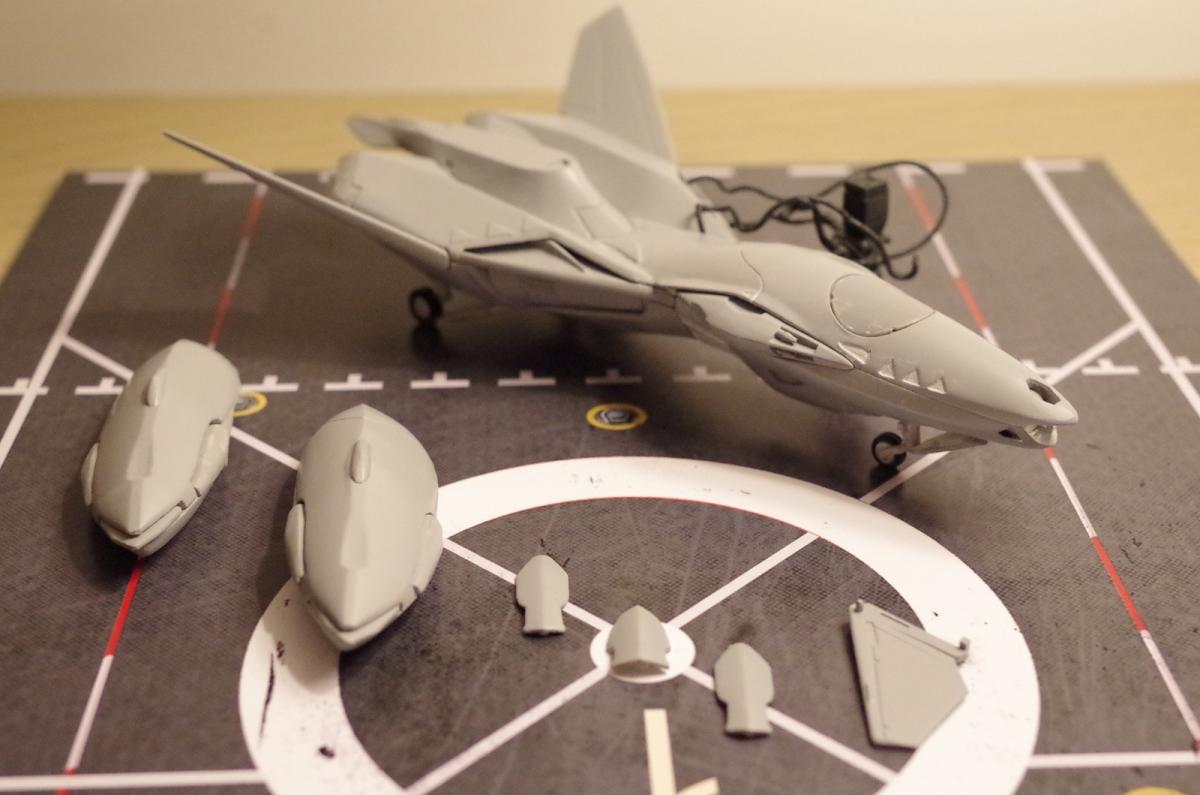
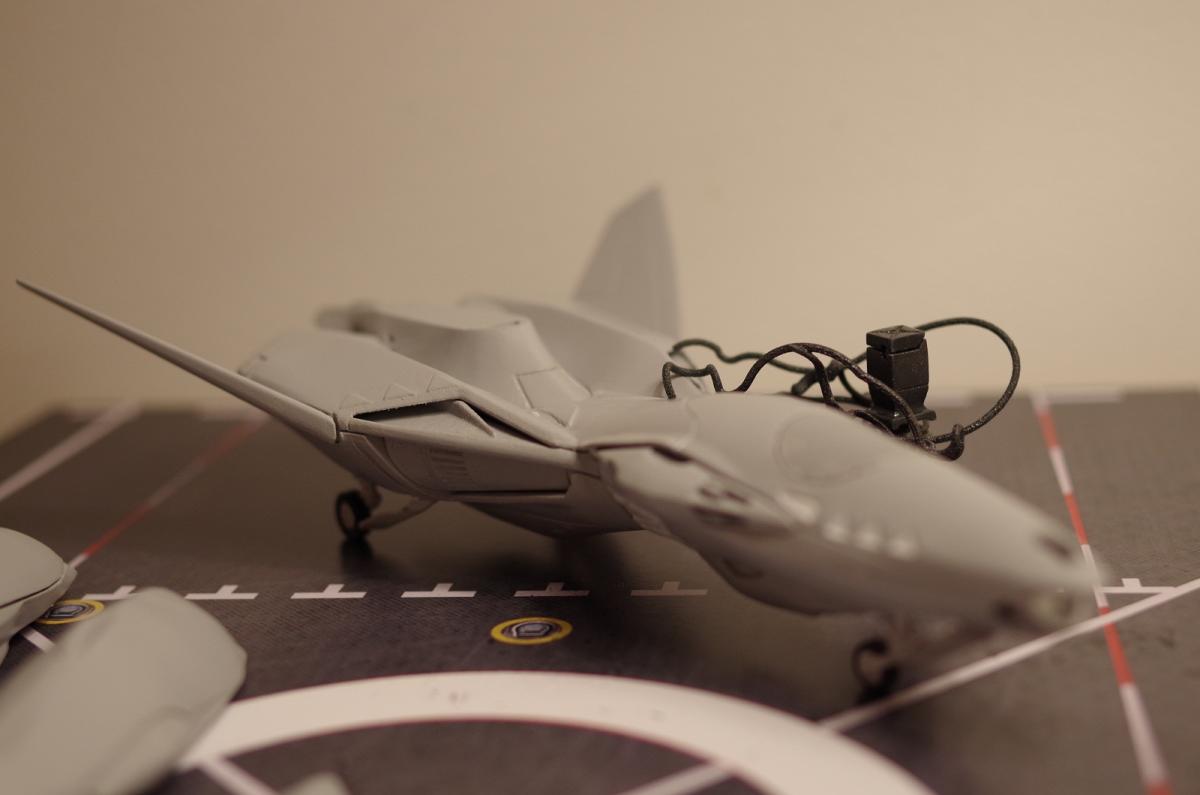
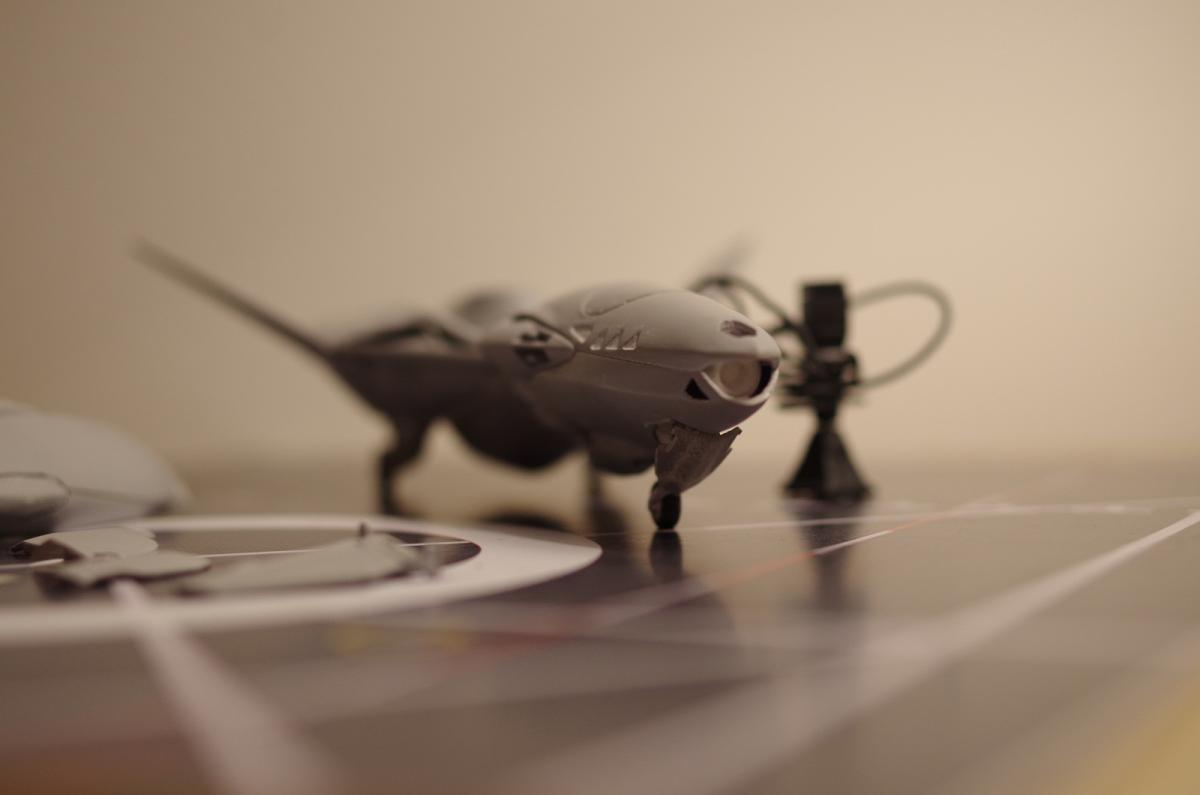
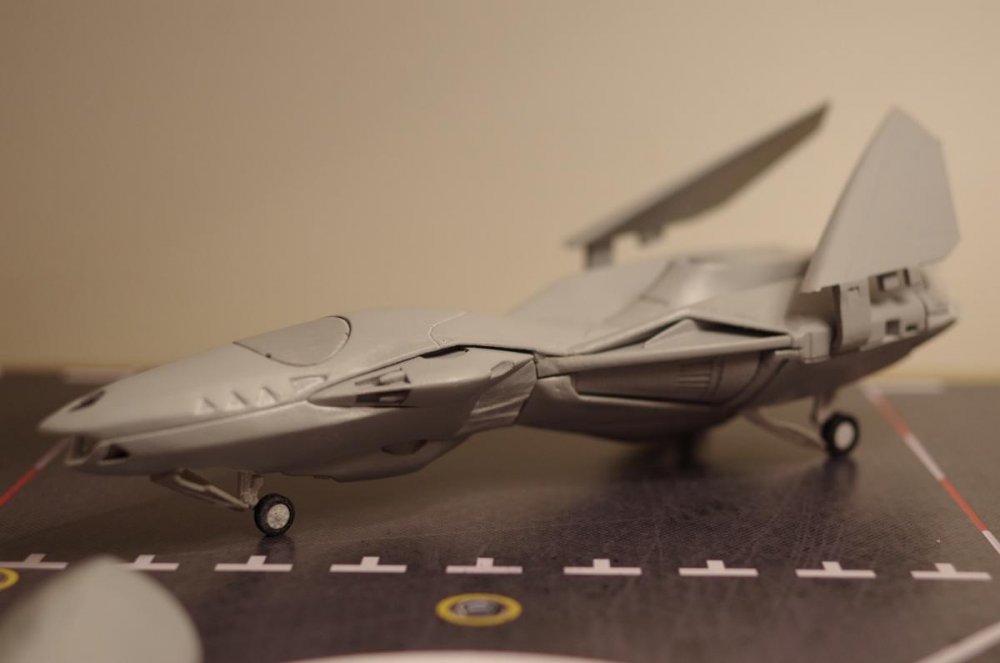
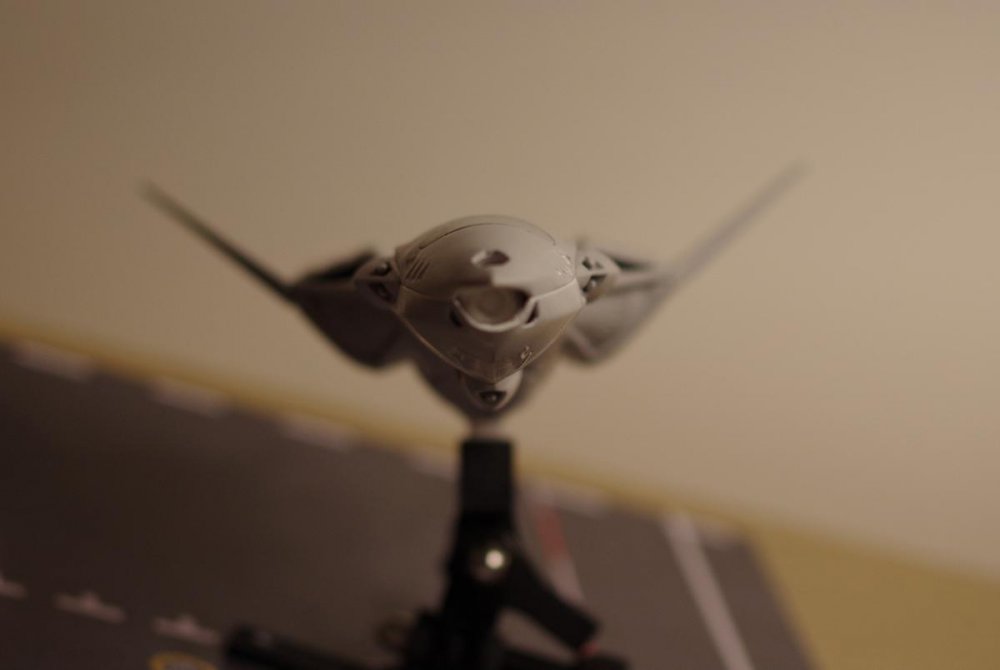
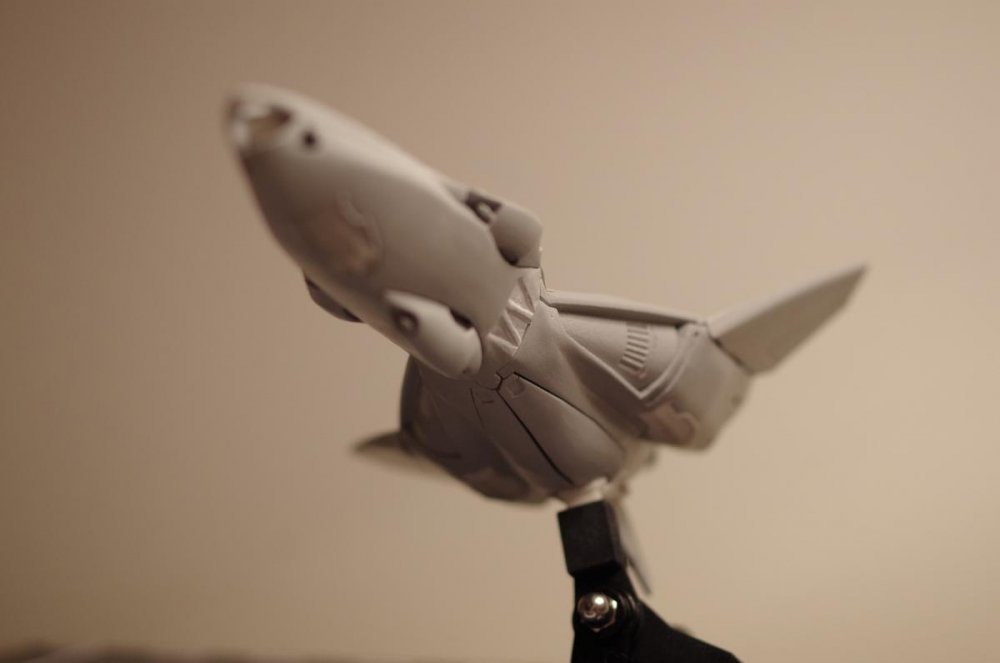
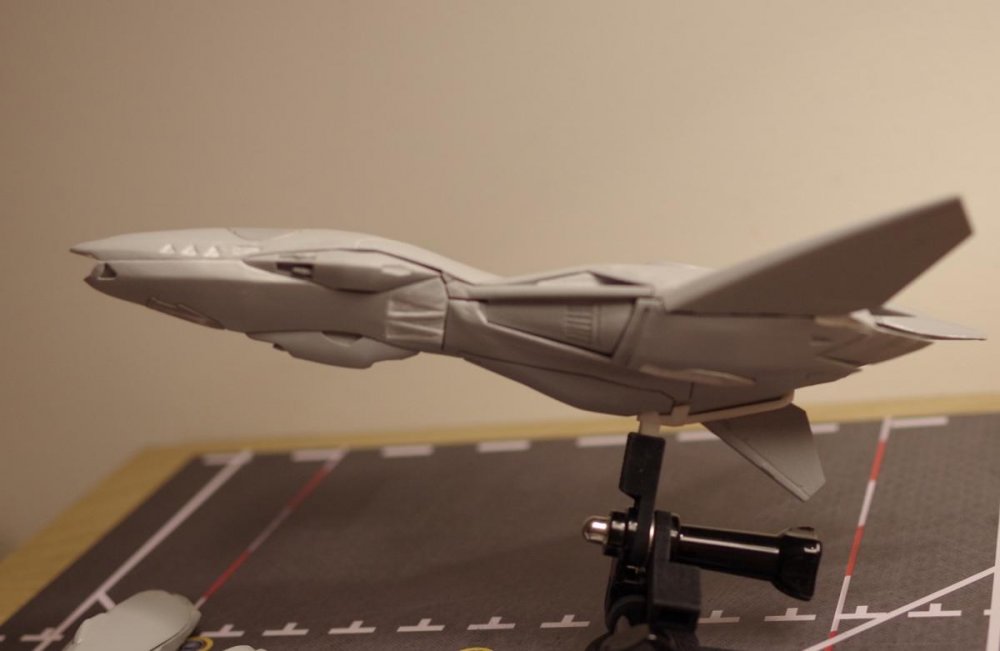
From the album: 3D parts fits and tests
-
Your most recent Macross or toy purchase! General thread.
Xigfrid replied to Gakken85's topic in Hall Of The Super Topics
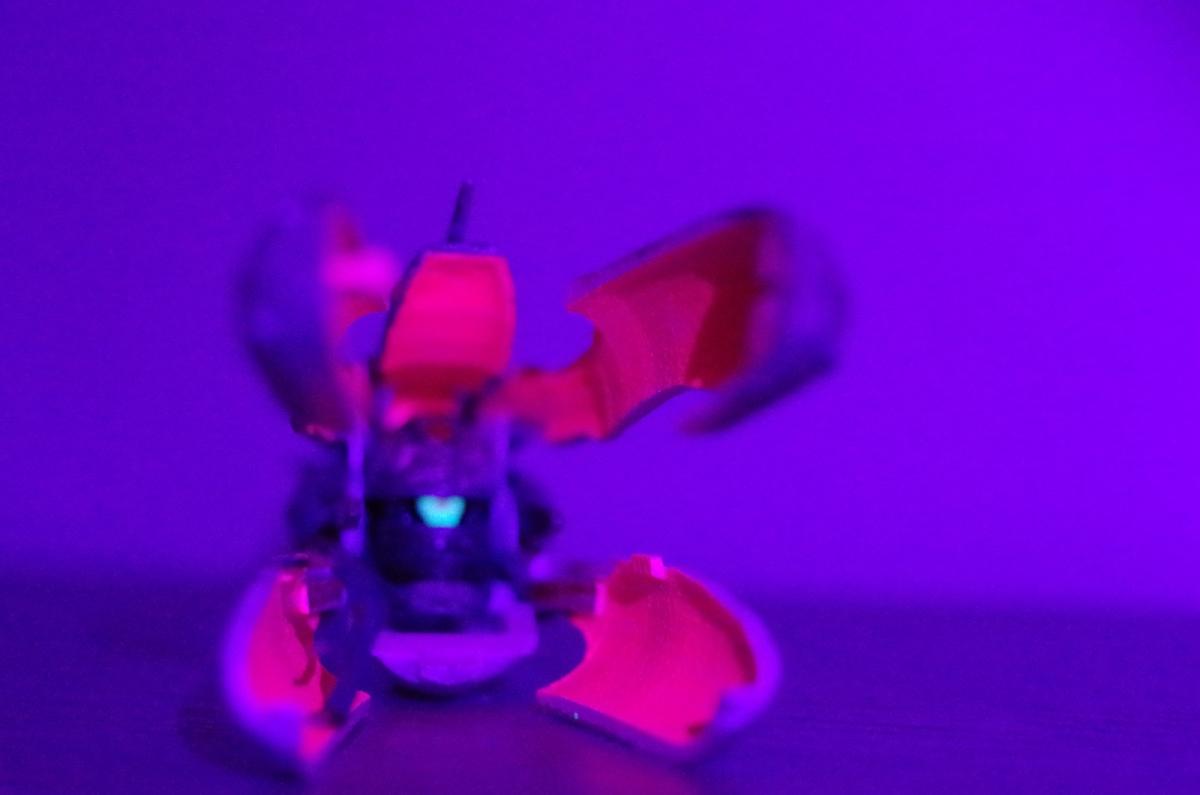
And dioramas on the bottom! Elsewhere, the light would not go down through the stages -
I didn't see it at first when looking at it from the phone... Is this R2D2 that detailed and small ??!
-
Orders are now closed, especially on 1/60 ones. Sorry
-
They don't only look, they are nice!
-
Yep, I remember them, I was curious to see which paper (white/transparent) and brand you used. I searched for the predator's and also for the reaper's ones. I saw reviews of the 1/72 models and they had very few to none distinctive decals as drones such as electronics trap markings, batteries etc.
-
We would love few pictures of these! Additionally do you have some pictures of the stickers? This is something I am trying to figure out how to source locally, and I am wondering if I can print it myself on some quality sheets or this is something that must be professionally made?
-
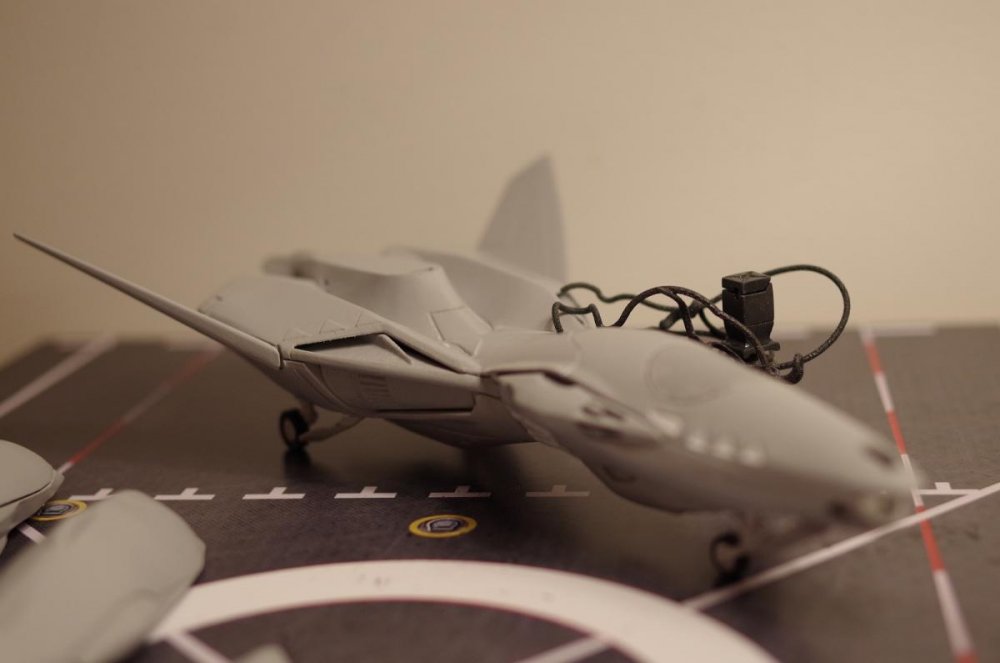
Another display alternative: the GoPro compatible stand (Shapeways)
Xigfrid replied to Xigfrid's topic in The Workshop!
Use flat washers to fill the gap, then tighten the gopro bolt and it shouldn't move. -
Another display alternative: the GoPro compatible stand (Shapeways)
Xigfrid replied to Xigfrid's topic in The Workshop!
The attachment on the 0A is the same as the VF-0D, so you need this one: http://www.shapeways.com/product/C53U29SK7/yamato-sv51-and-arcadia-vf-0d-attach Note that this adapter comes in WSF plastic and the hexagon faces need to be slightly pinched with a pair of pliers in order to fit tightly into the hexagon that comes with your 0A. -
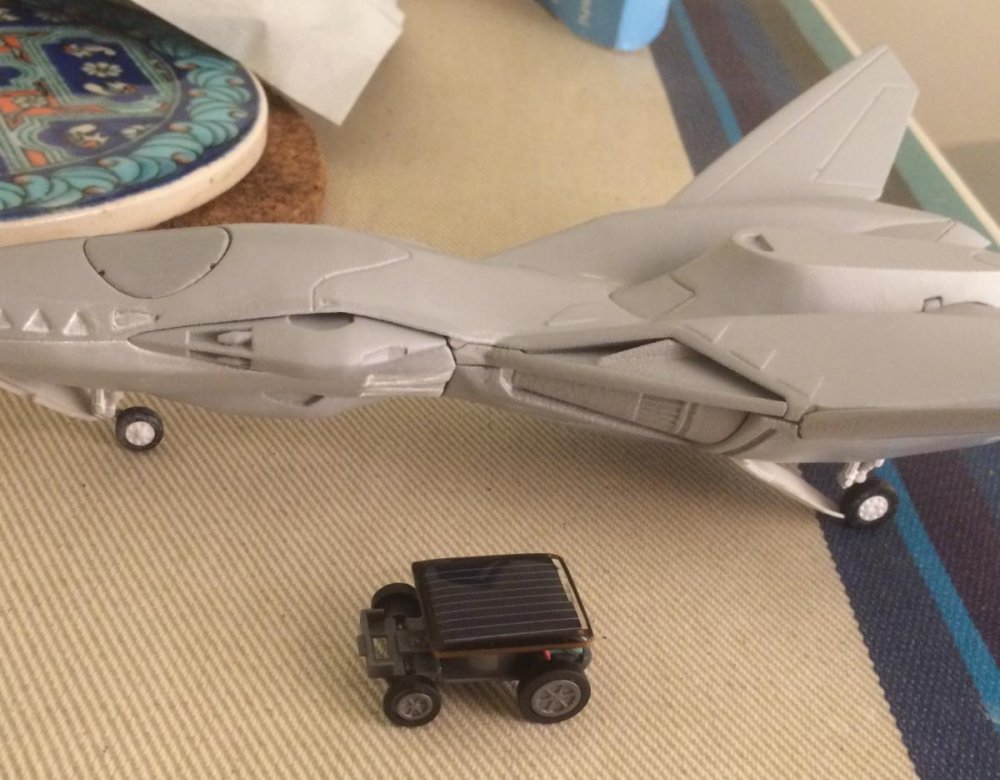
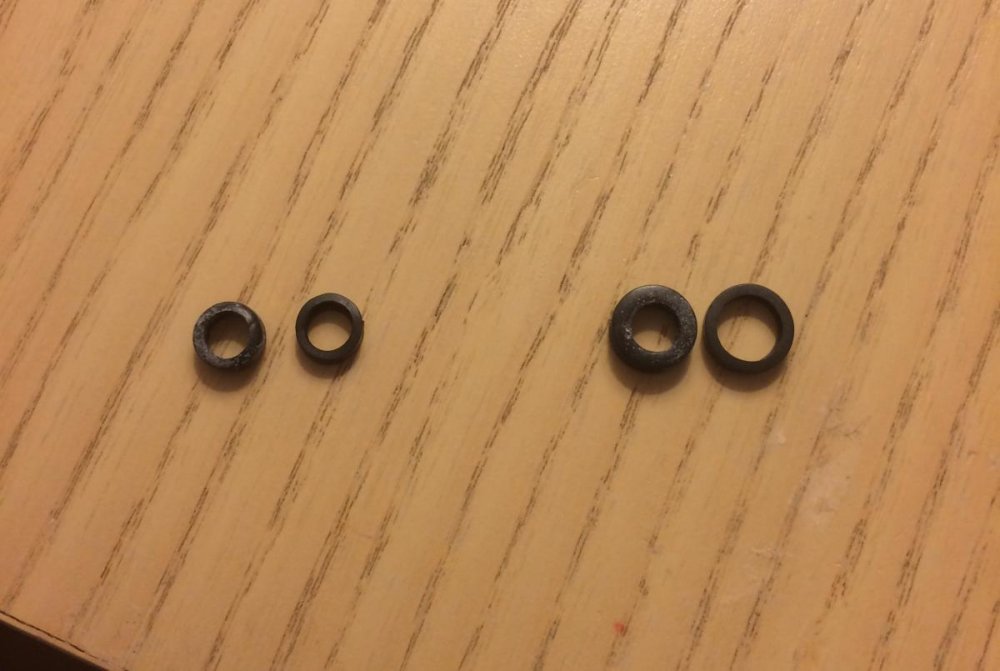
I have bought a set of European O-rings, the standard sizes give a shape that is just not doing it: too thin in general. In addition, the wheels would have to be concave to secure the 0-ring in position, which is not a 3D-printer "friendly". I have been speaking with a Russian manufacturer, Chinese ones and I have even been looking into the 1:64 slotcar tires. At this point, it seems complicated to completely revamp the tire design because of the dimensions that would have to be double checked again, but I know what can be done, and I have a set of different size rubbers that can be easily sourced if I ever need to design a wheel again. Thanks Golden Arms
-
Well the wheel support had to be in metal, then making a great looking tire out of 3D print metal seems challenging. So in my opinion, the smartest way is to go with rubber tires. I have got a great deal with the guy selling me the cars, so in final, compared to the printed parts, the rubber is cheap. I am provisioning enough rubber for 10 ghosts, and I think I could still source a few additional cars if needed.
-
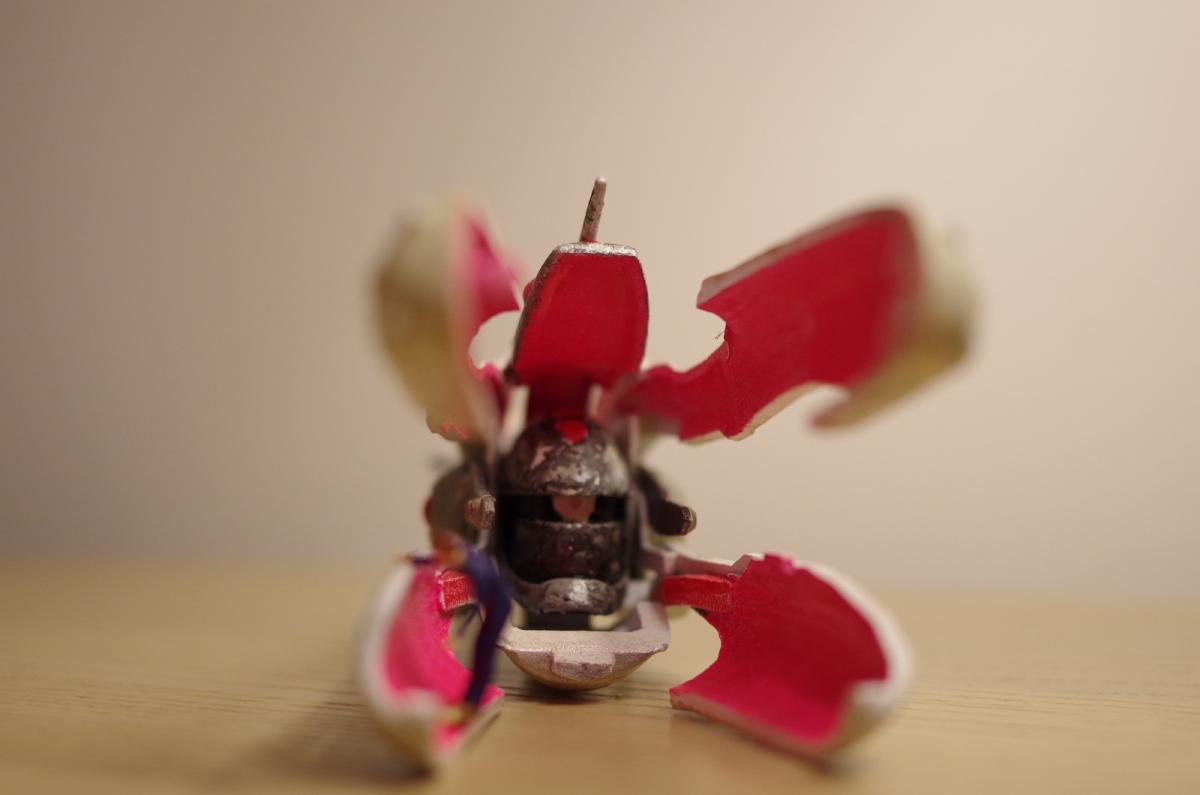
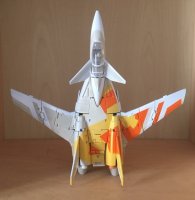
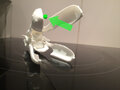
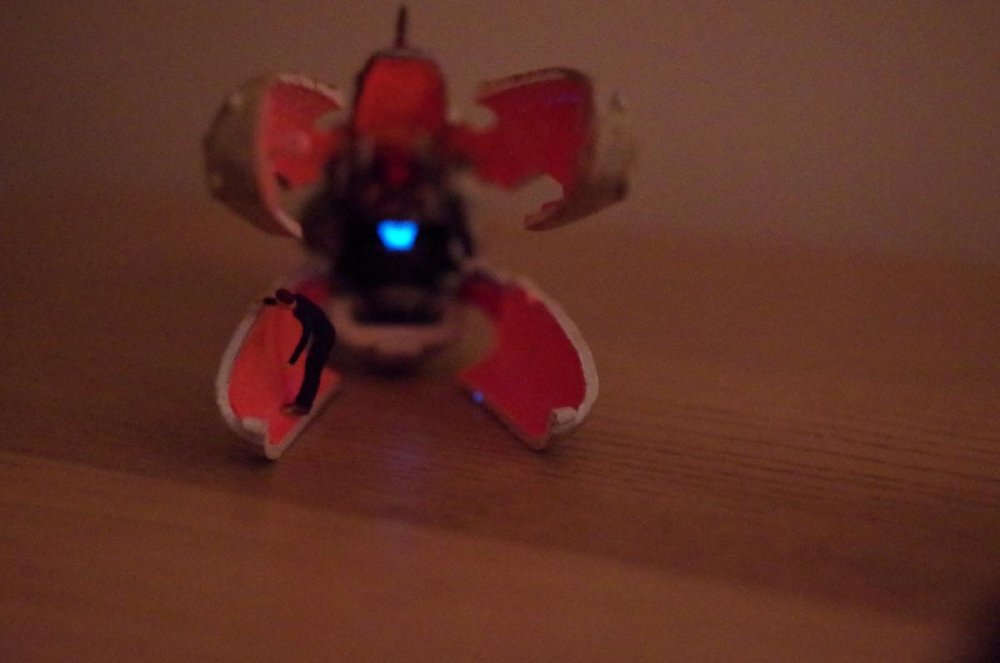
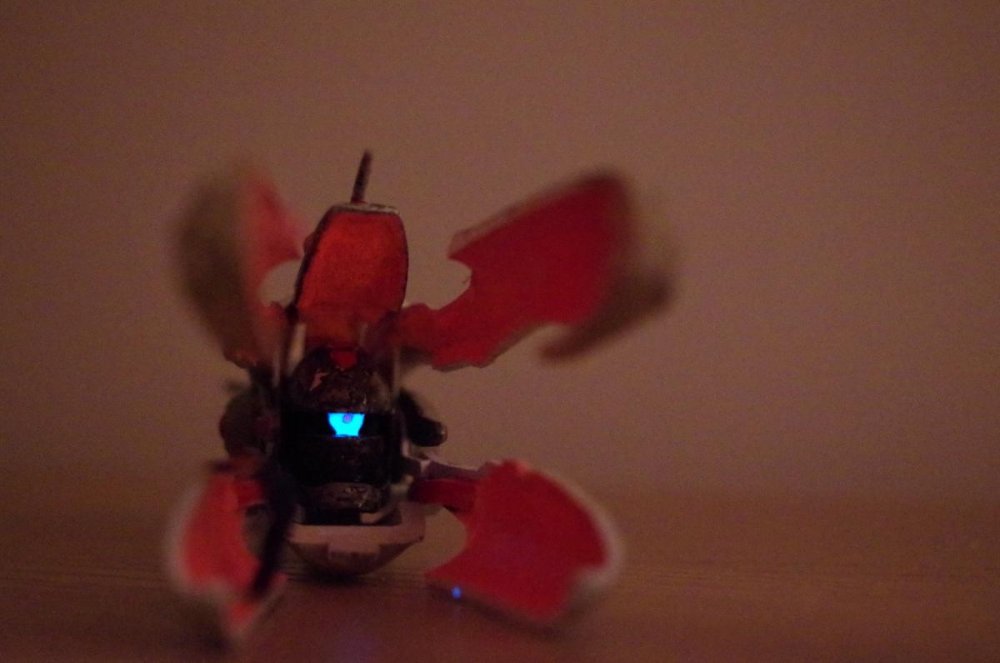
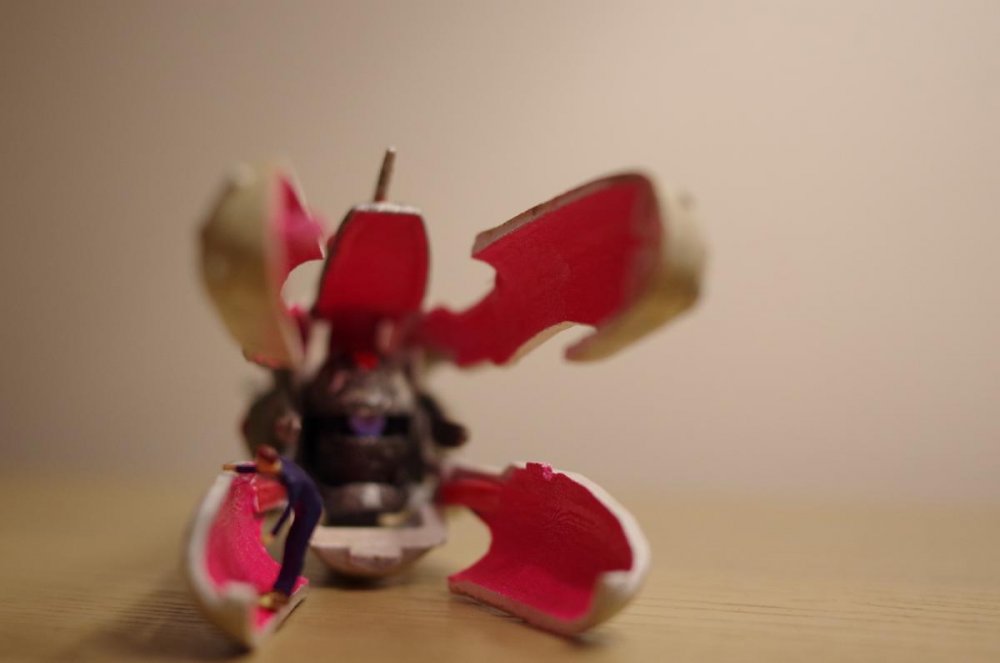
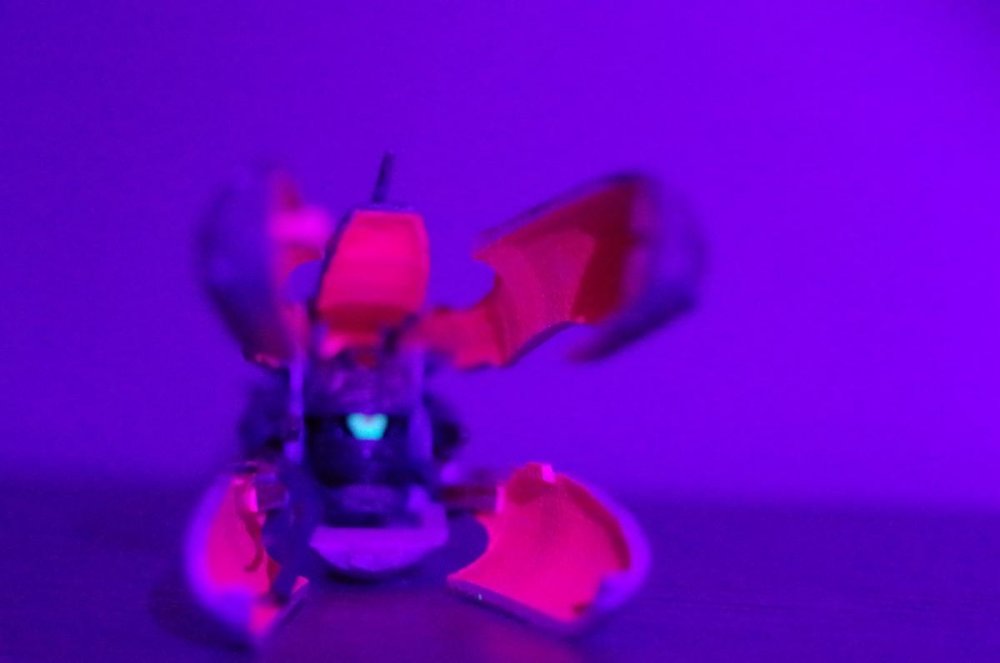
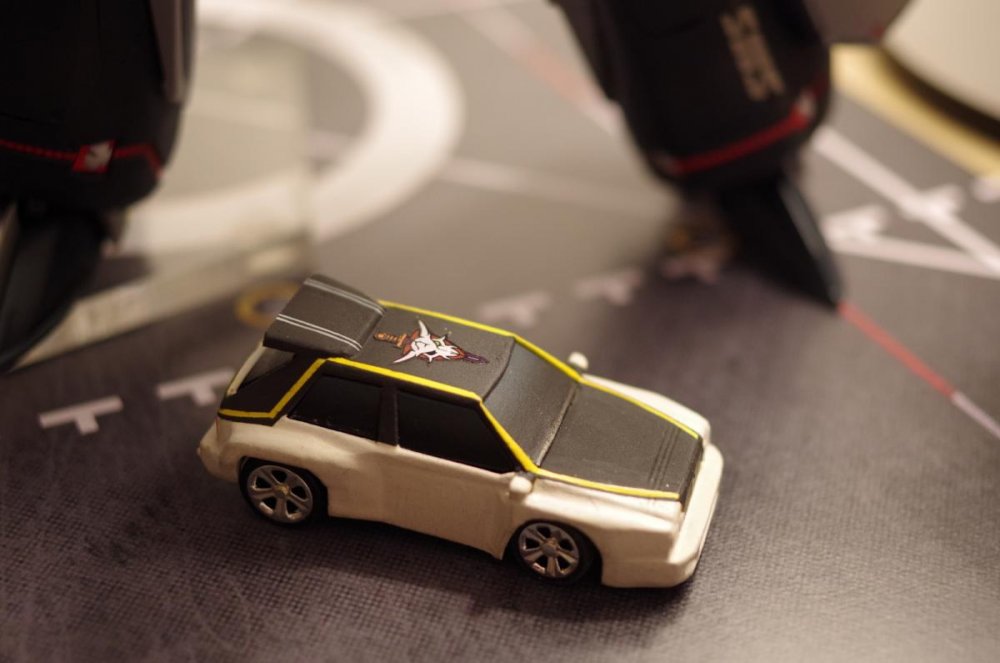
Here it is completely painted: I took only pictures of it openned since the closed version hasn't changed.

-
If confirmed I would let you know! I have been ordering random small toy cars from eBay/Amazon and it seems I got a great size match from this one... Still an expensive option but at least one solution.
-
Currently, we are speaking of 150 usd unpainted, 50$ for painting and 40$ for metal&plastic&rubber wheels. If I am sure of getting 20+ orders, price will drop for sure. I don't know yet price for the clear canopy and the rubber tires. So this is subject to changes.
-
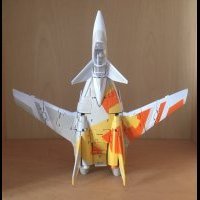
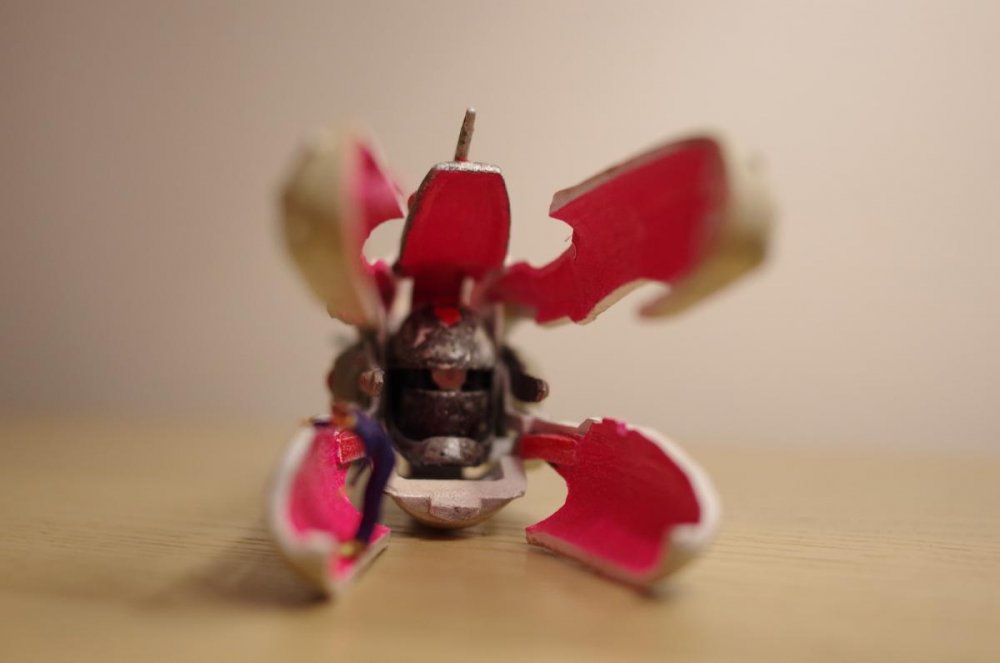
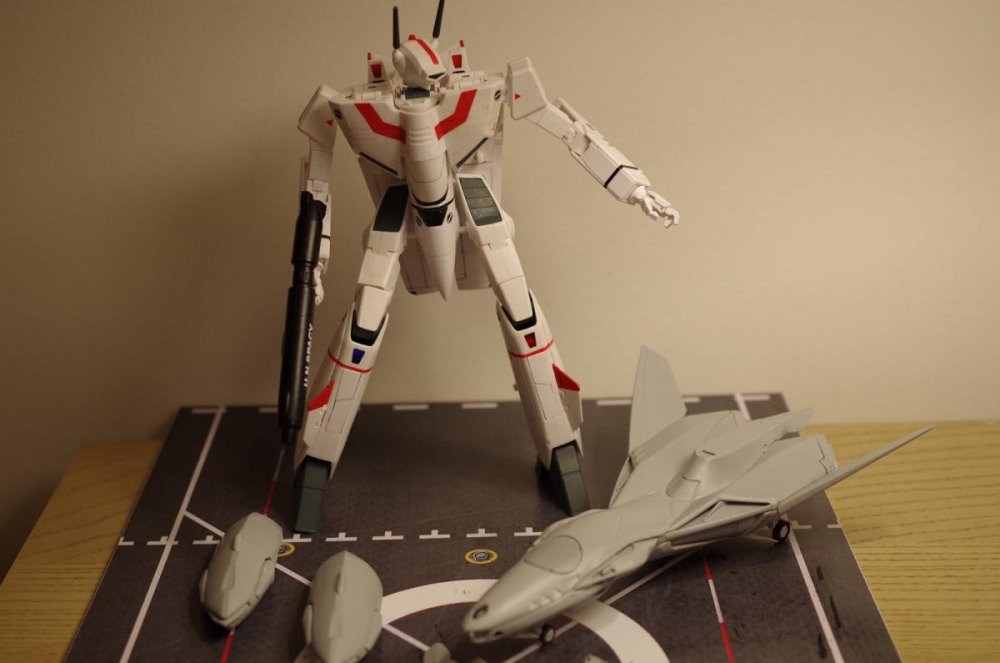
Sharon is also sexy and deculture! NZEOD, I am making a list of confirmed interested people to see if I can get near the 20 mark. Here mainly, I got also a few in PM. With the ones I got now, it convinced me to work on the current parts and make new parts. For example the 3 wings, the smaller one has even been 3D printed in ultra detail. I still need to work on the inside of these parts if they need to be recast. And I also need to source the rubber tires and the clear part. That's some money that I would throw if I am sure to have some backup. That wasn't a GoPro but a Pentax with a 35mm I offered to my wife for Christmas
-
Or else
-
A quick reminder that this project is still looking for investors!


-
My Ozma's finally arrived this afternoon, from a friend who could paint it decently.

-
You can make the bits from an old credit card, or any plastic sheets that would be 1mm thick. Shapeways wouldn't allow to print such a small piece of 2mm x 1mm x 1mm
-
Really nice, I prefer the "cartoon" style over the "realistic" one, but both are great Macross illustrations !
-
Since I needed high-res UN SPACY kite logos in vector format for the X-9, I made one from scratch in illustrator. As there are so many different versions of the kite logo, I kept the design lines & circles that were used so modifying the logo shape is easier. The colors are based on the X-9 color scheme, so the red is more browny than expected. Available as long as Google drive stays up: ai format: https://drive.google.com/file/d/0B5ZYBiTIPlbOUFlUaE5pcWhrd3c/view?usp=drivesdk&resourcekey=0-hcHCuIIxYJWytEK4G0LZeQ pdf format: https://drive.google.com/file/d/0B5ZYBiTIPlbObUEzazZiZjg1MlE/view?usp=drivesdk&resourcekey=0-GL4YuPc2yoF9LDmUAnvHfA Fan Work section seemed much more an appropriate section, but also posted here: http://www.macrossworld.com/mwf/index.php?showtopic=21256#entry1247055

-
Since I needed high-res UN SPACY kite logos in vector format for the X-9, I made one from scratch in illustrator. As there are so many different versions of the kite logo, I kept the design lines & circles that were used so modifying the logo shape is easier. The colors are based on the X-9 color scheme, so the red is more browny than expected. Available as long as Google drive stays up: ai format: https://drive.google.com/file/d/0B73TTzAOfAaaaG90TVB2MTk2aUU jpg format: https://drive.google.com/file/d/0B73TTzAOfAaaUXQzMVNWNGdoMjg pdf format: https://drive.google.com/file/d/0B73TTzAOfAaaYmJaNVZIdGc0aDg
-
-