

Nyankodevice
-
Posts
517 -
Joined
-
Last visited
Content Type
Profiles
Forums
Events
Gallery
Posts posted by Nyankodevice
-
-
made some more progress..


-
more parts are done...


i can hardly contain myself with all the detail im gonna add to this one....


-
ok yet another update

now again these next parts shouldnt pose ant problems...


_______________________________________________________________________________________

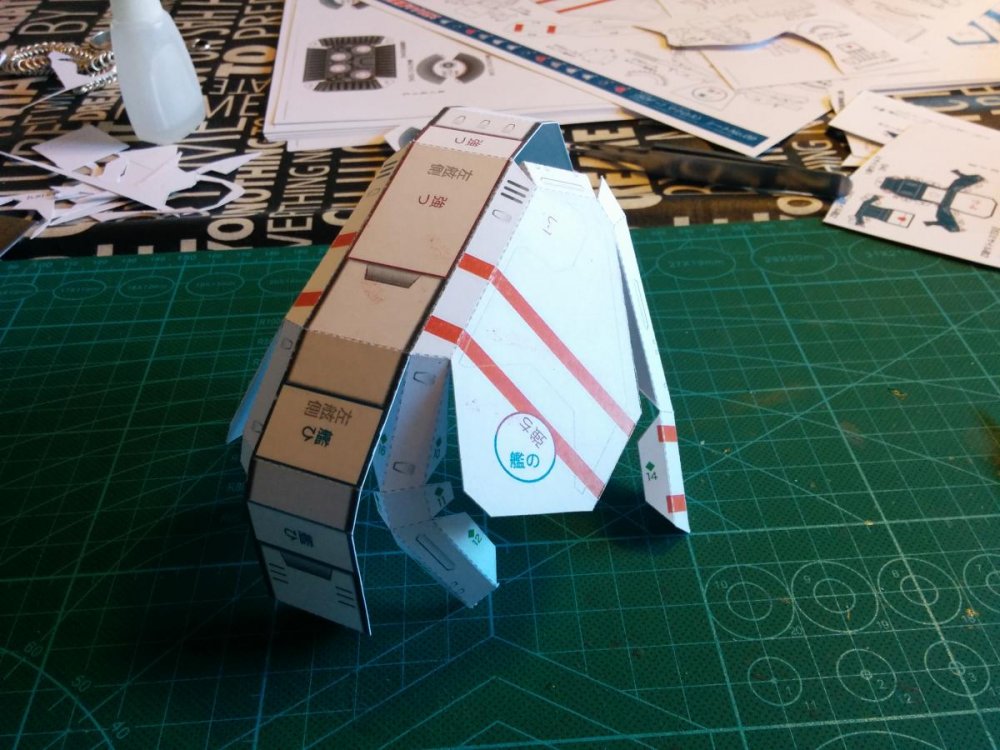
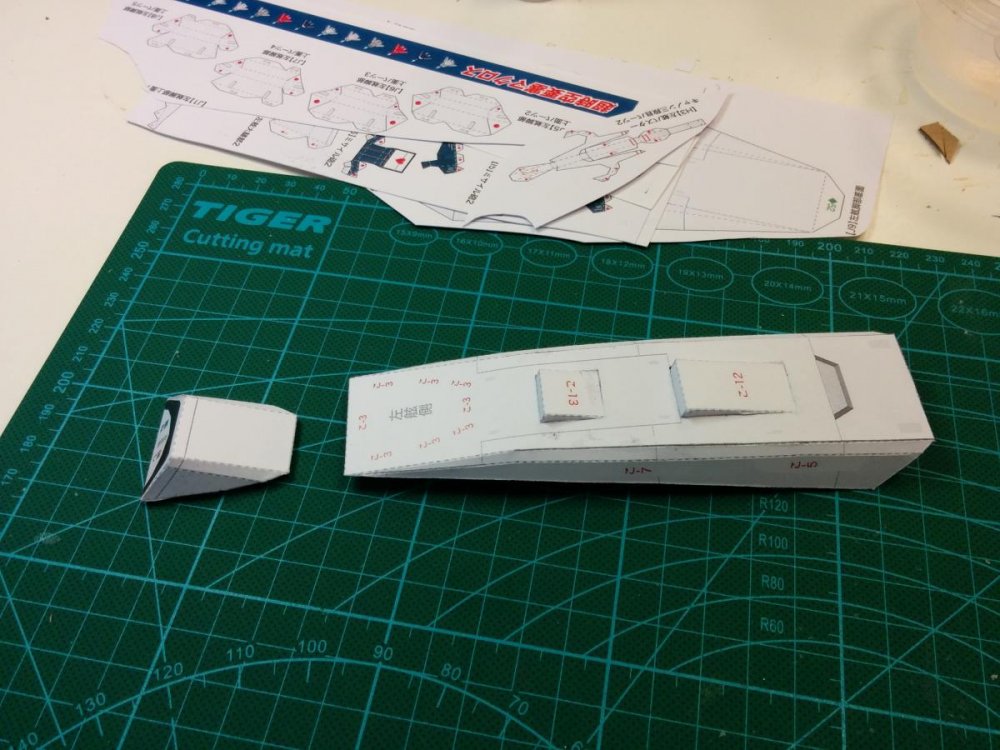
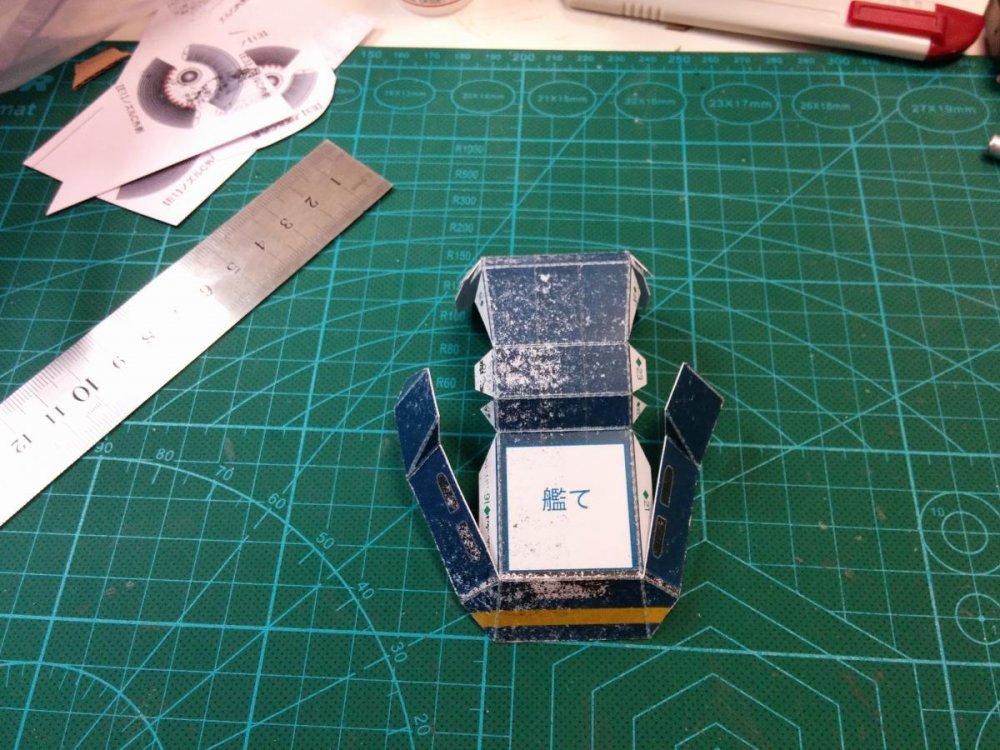
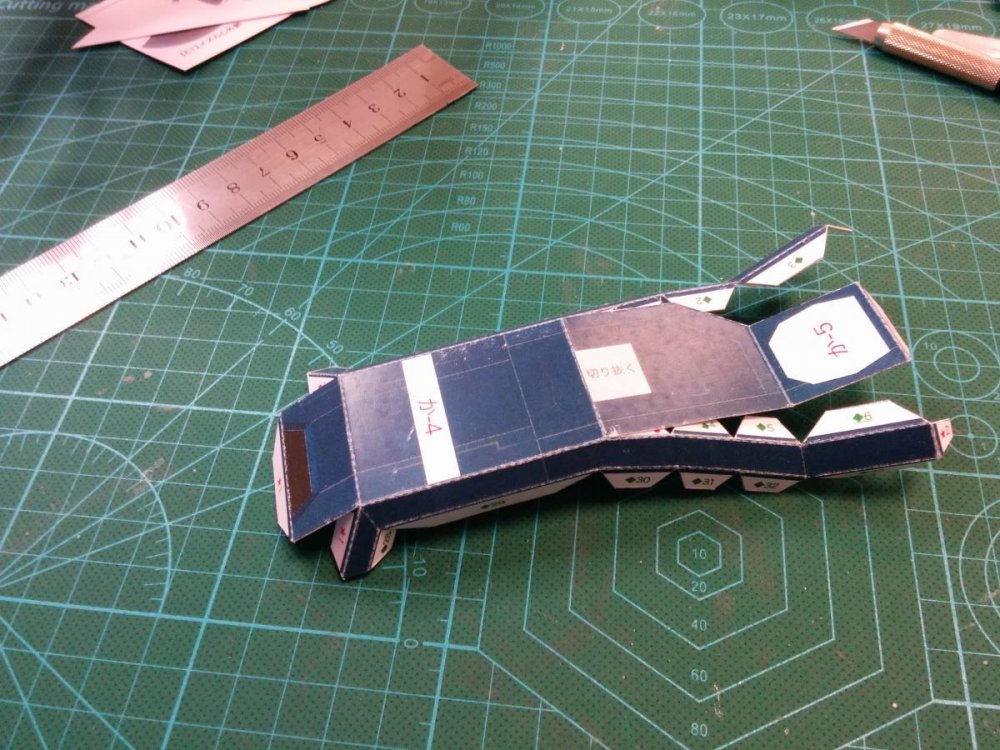
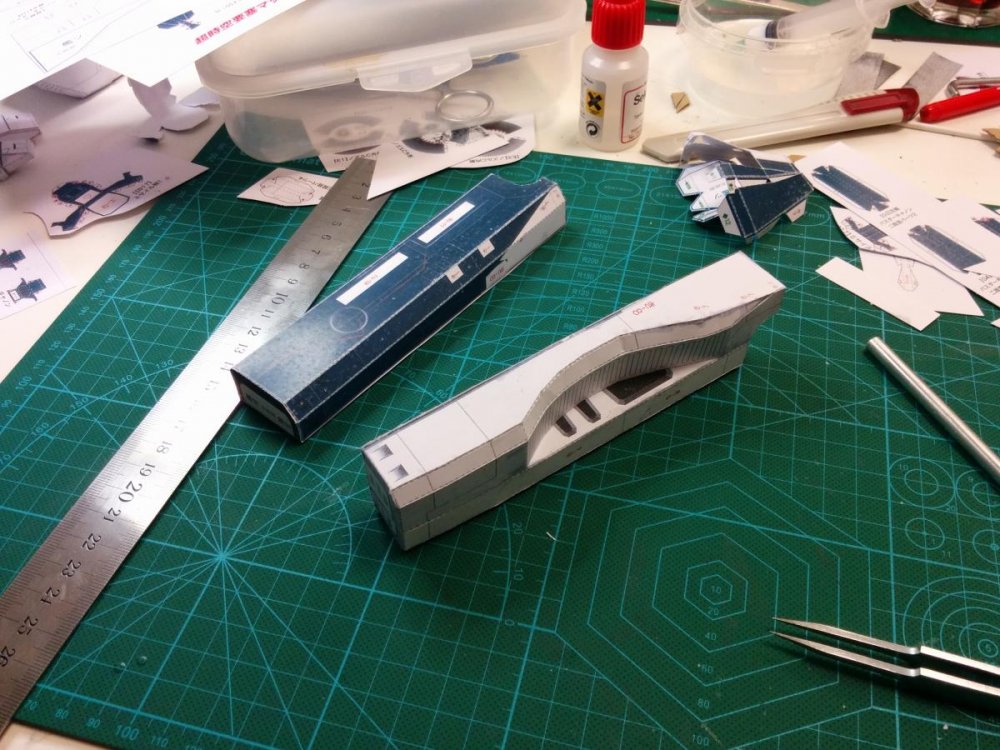
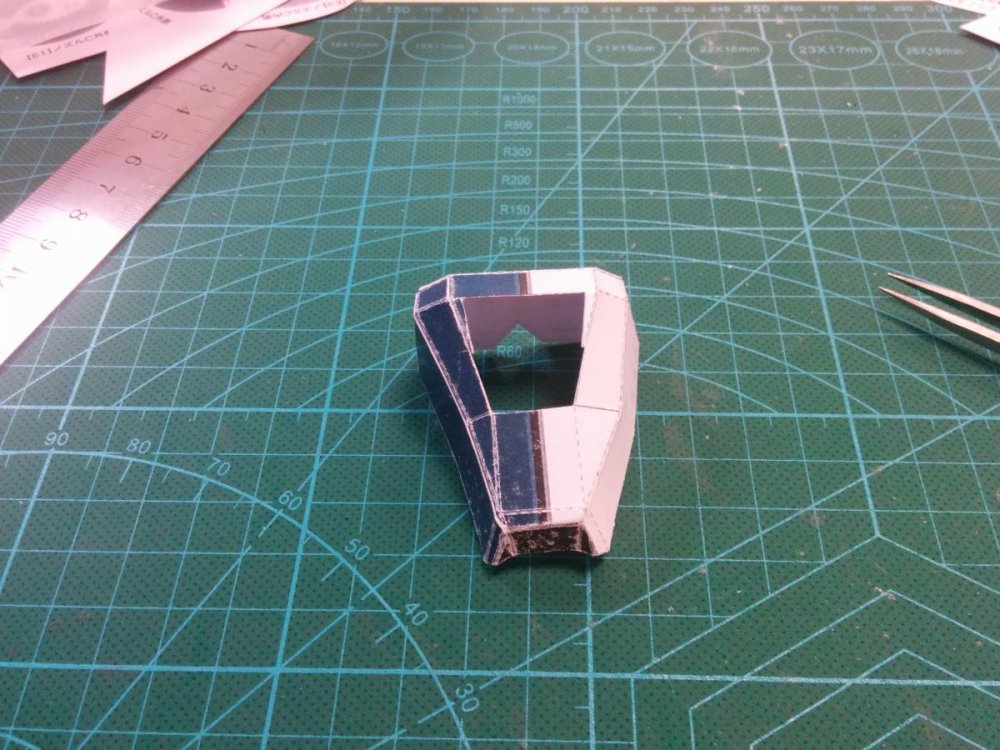
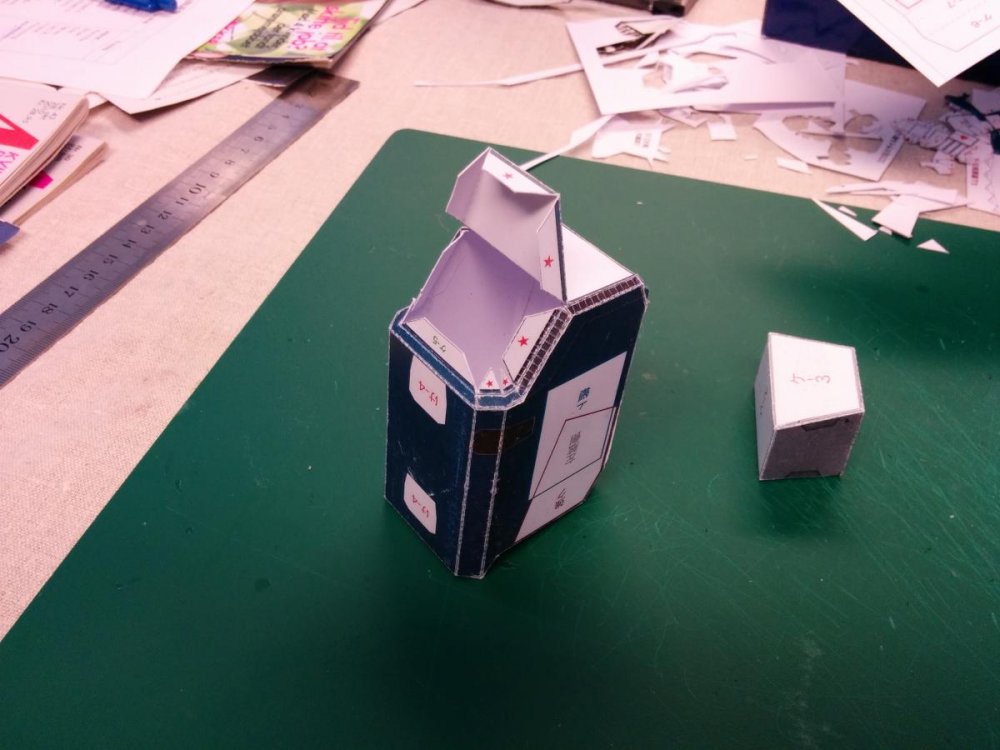
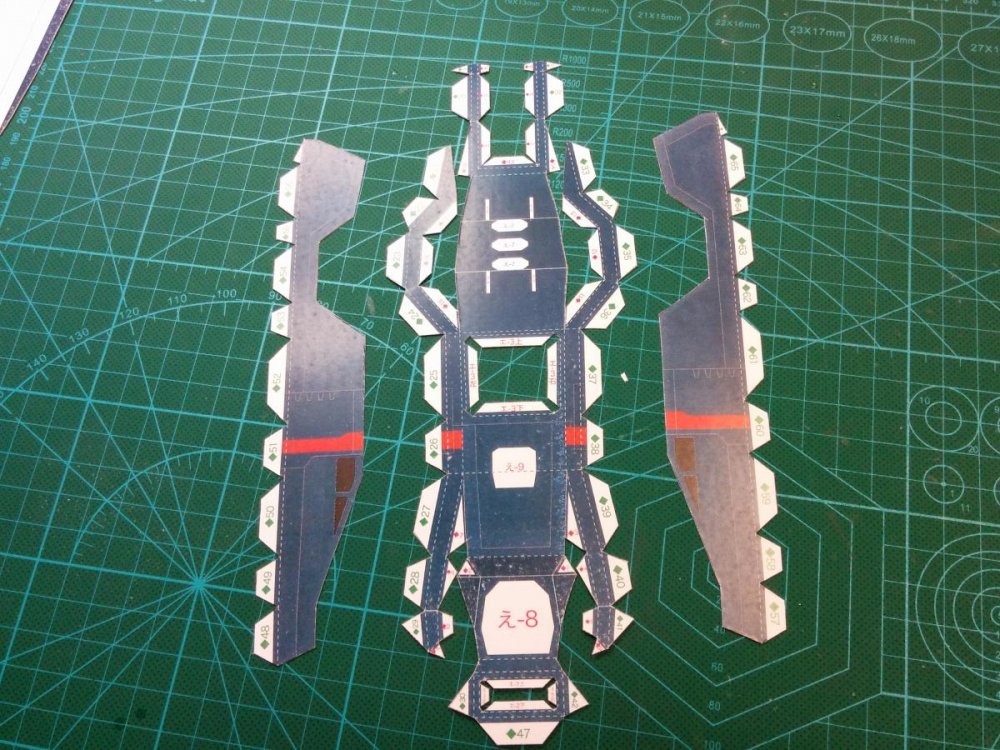
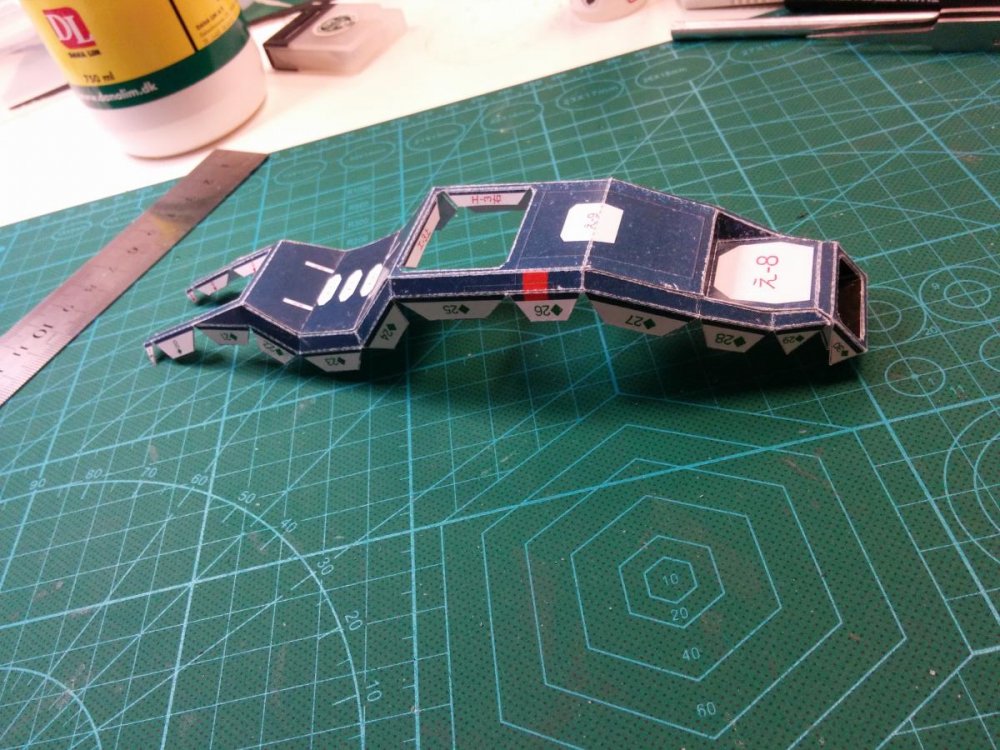
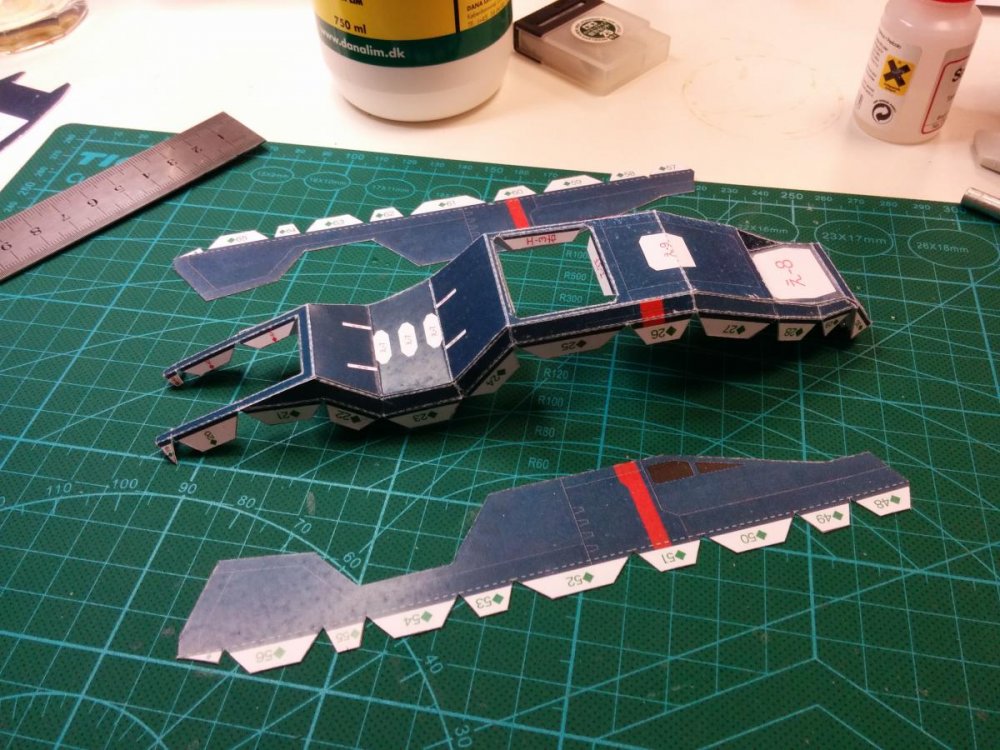
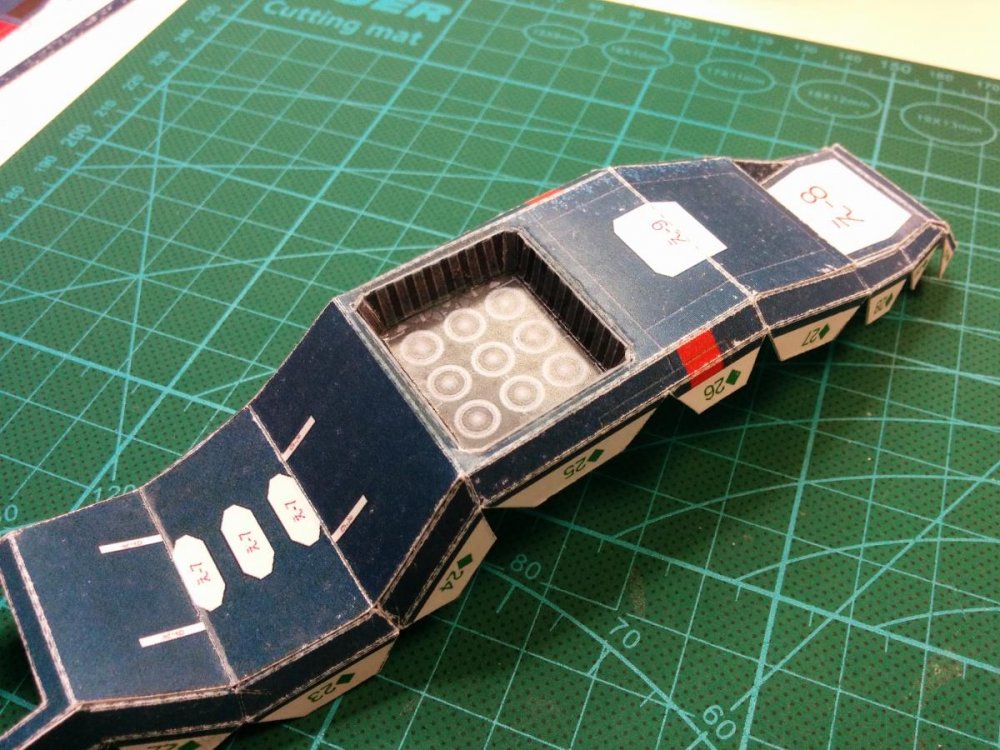
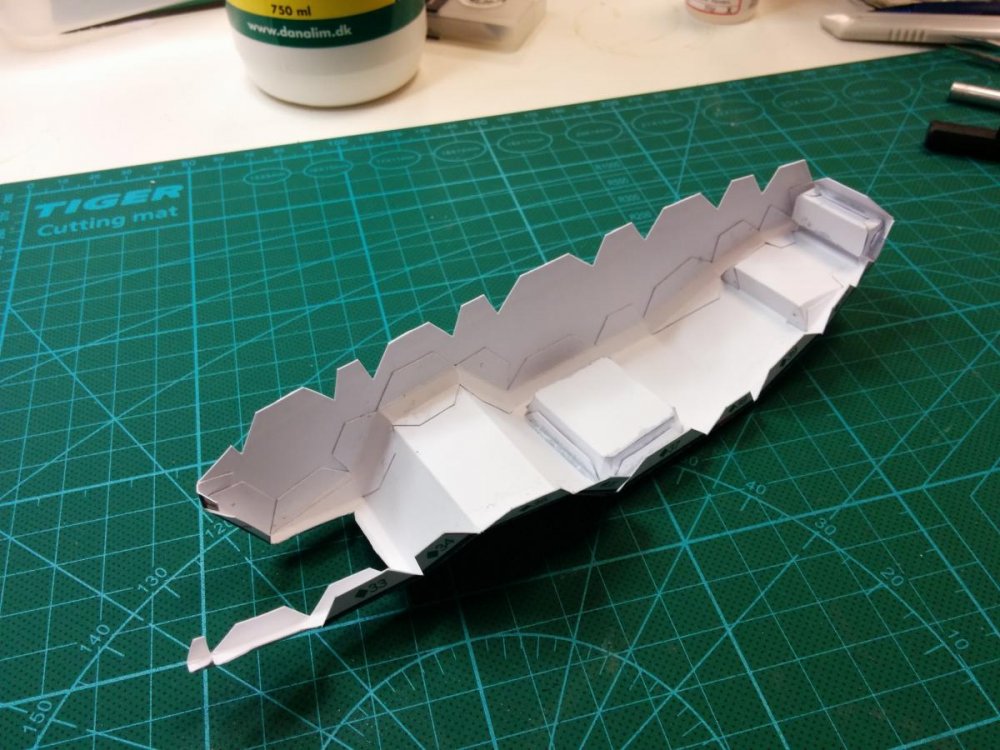
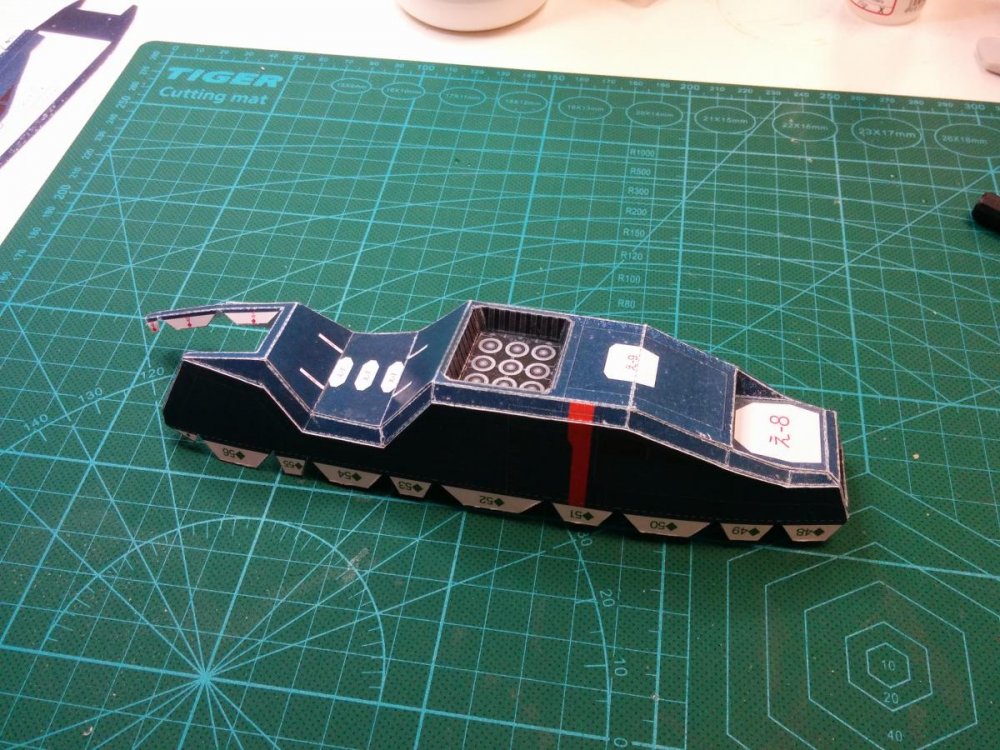
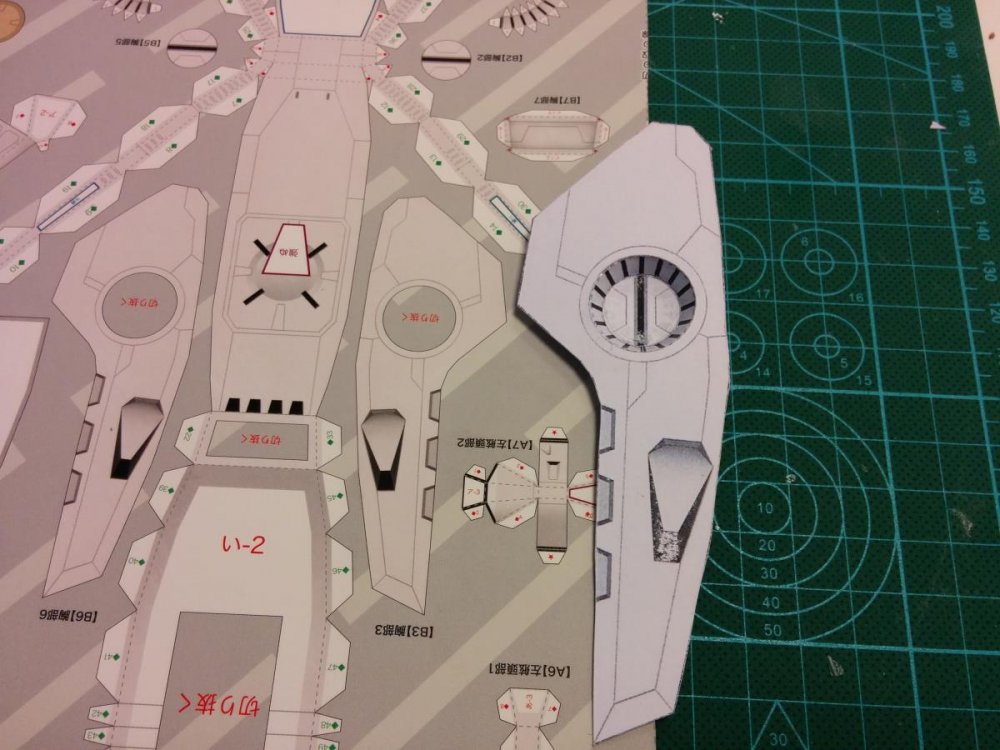
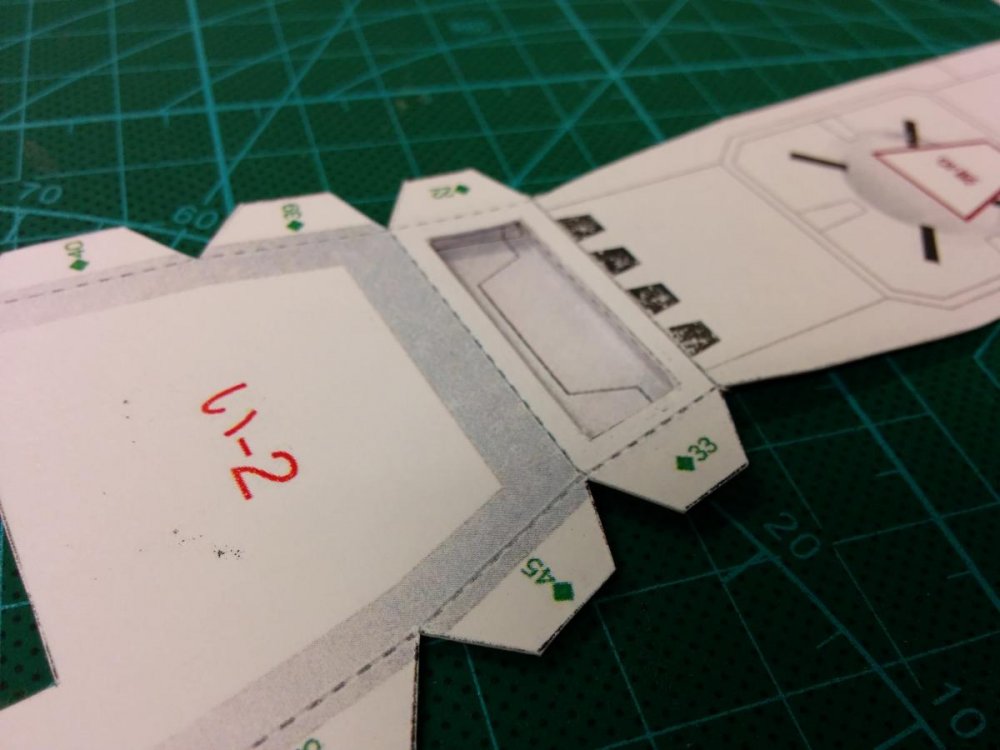
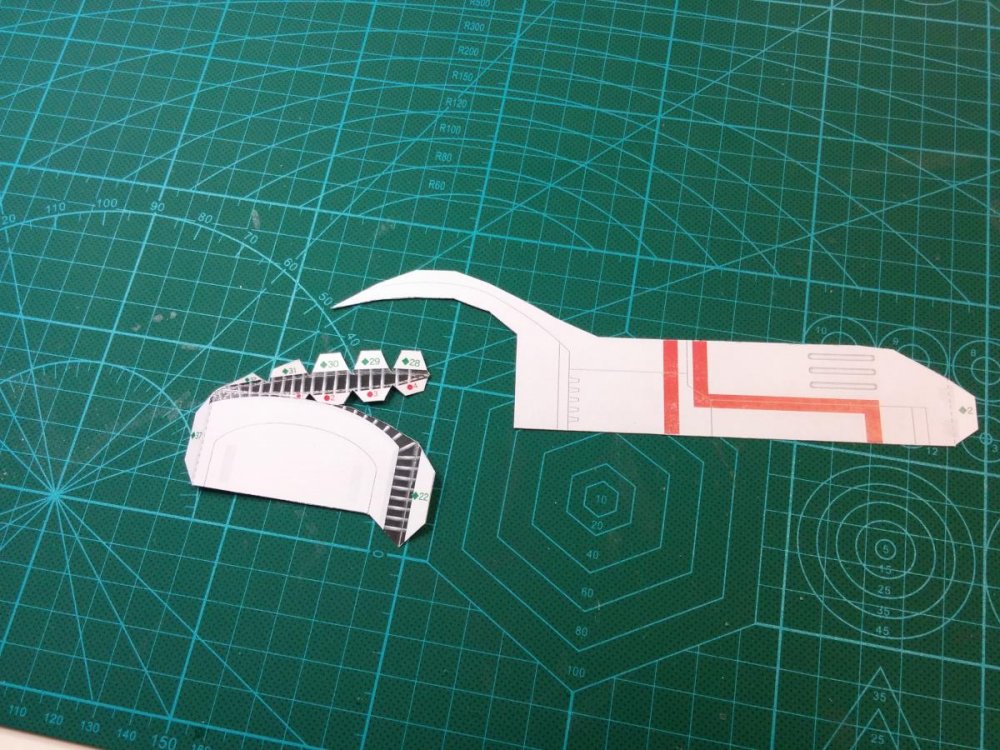
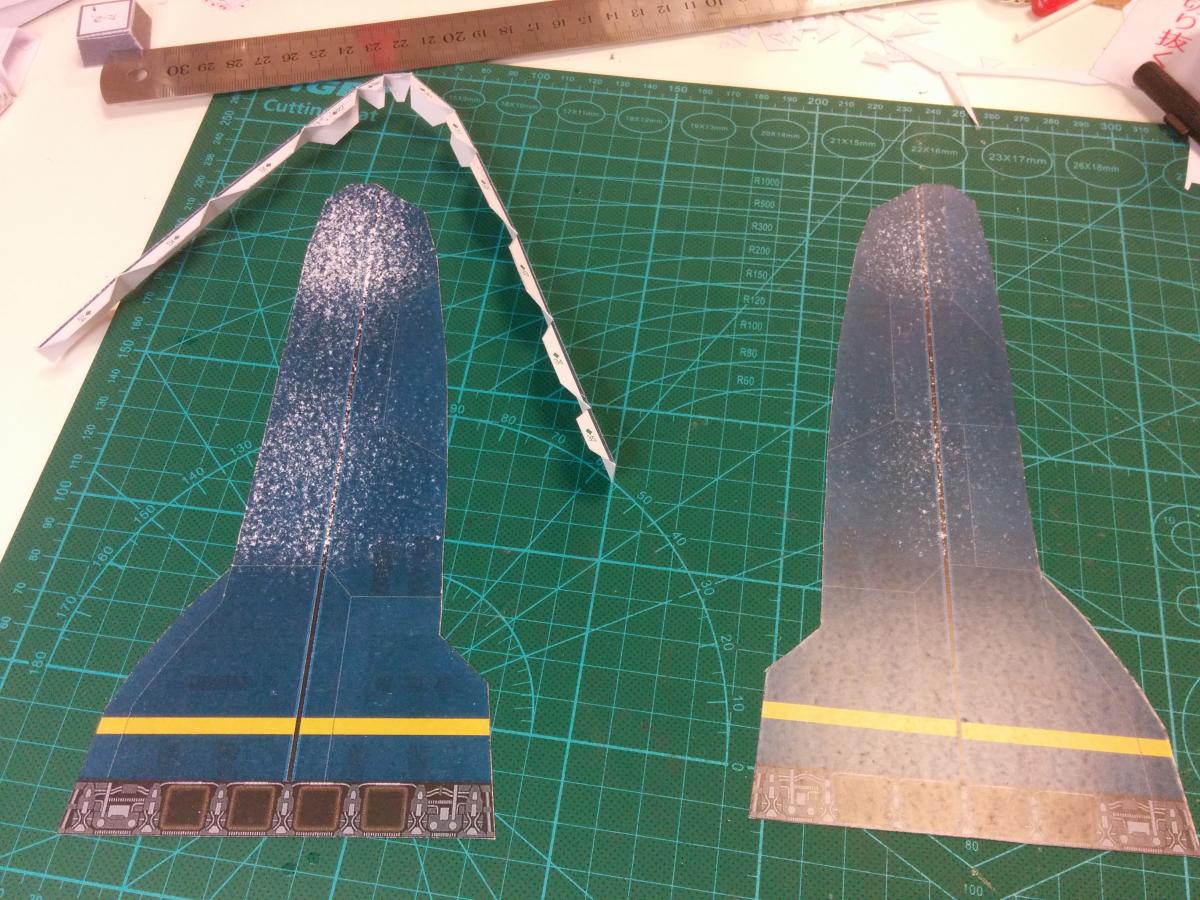
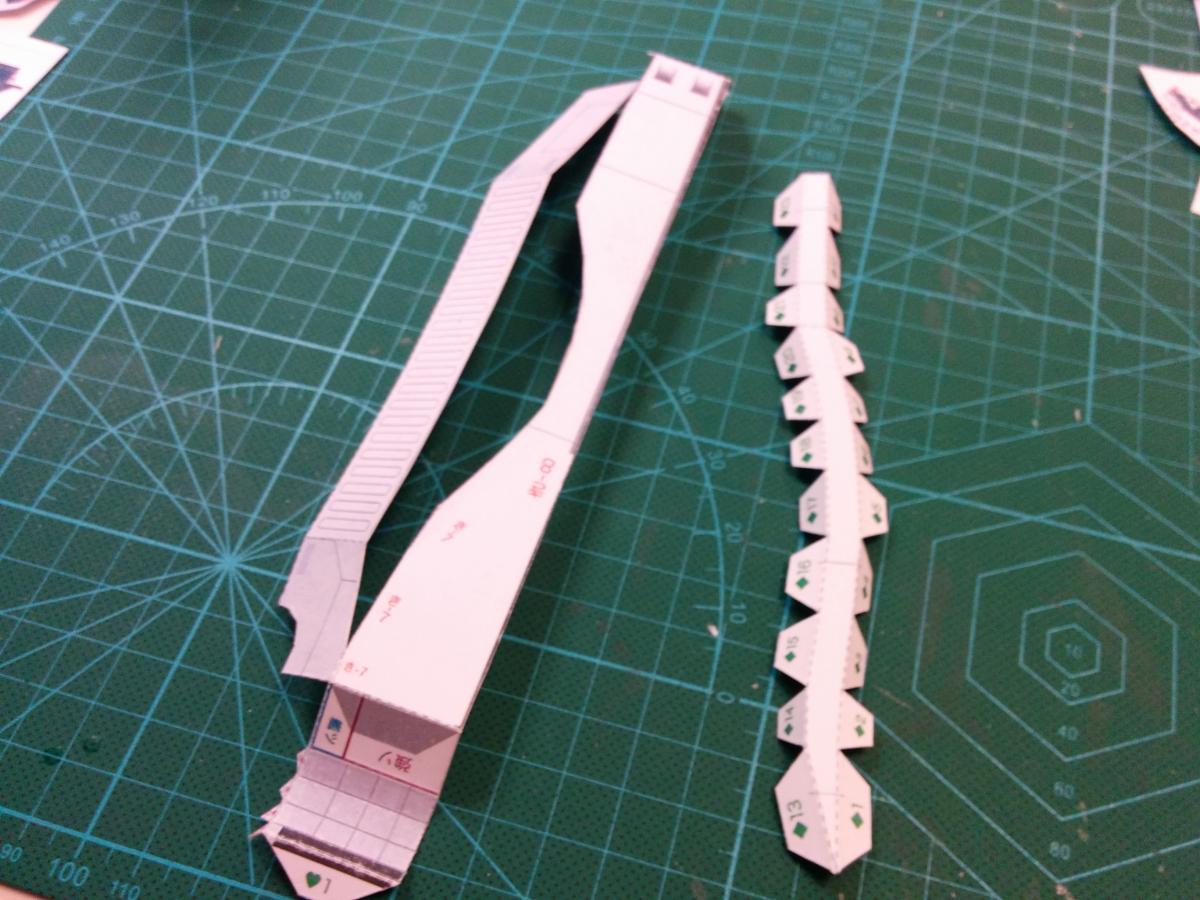
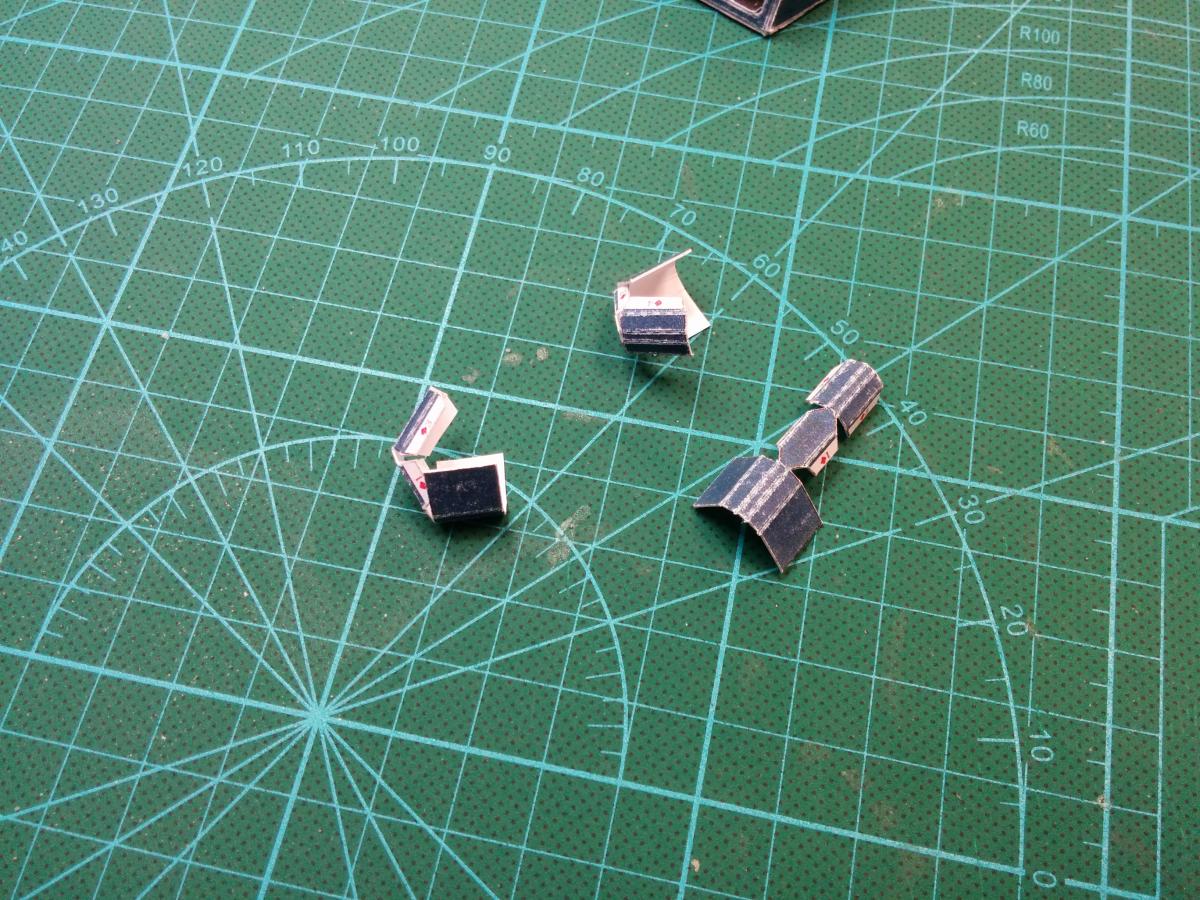
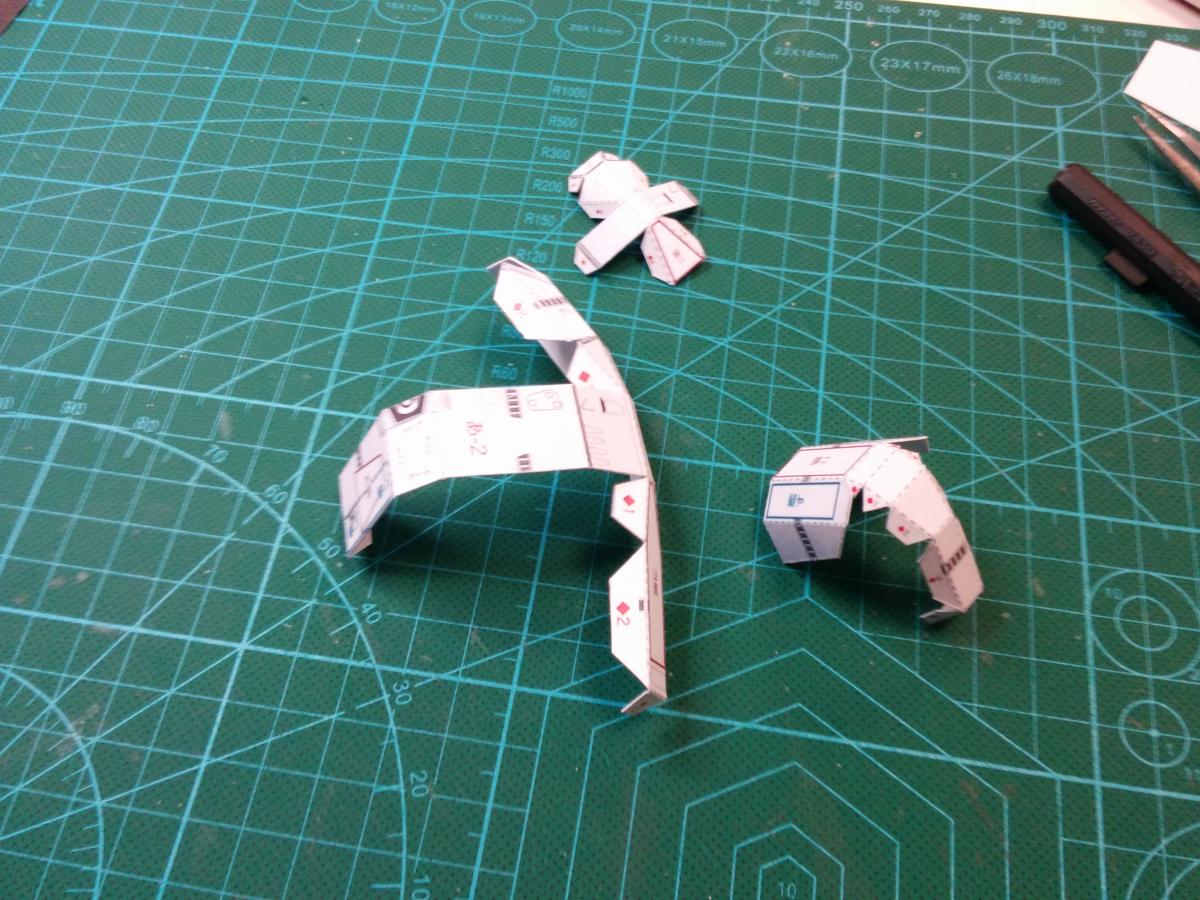
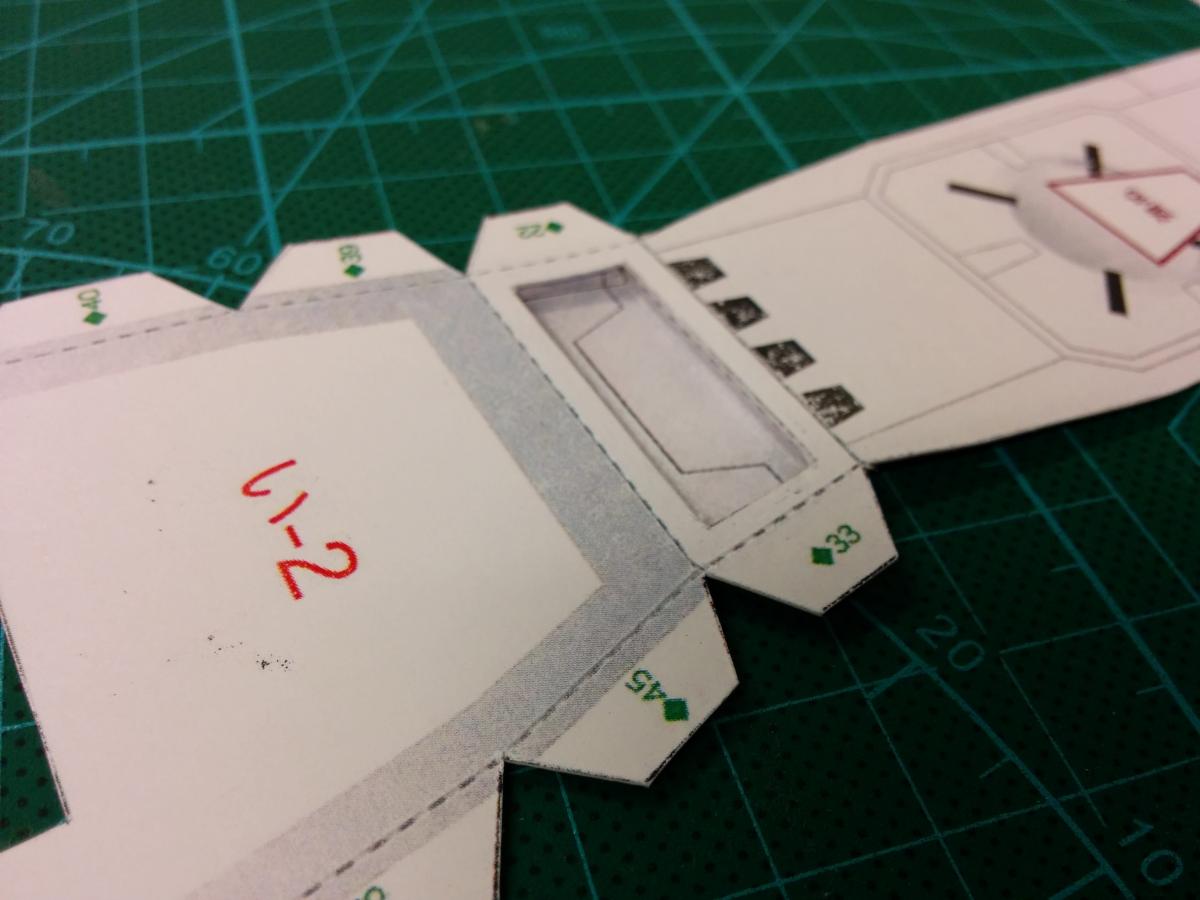
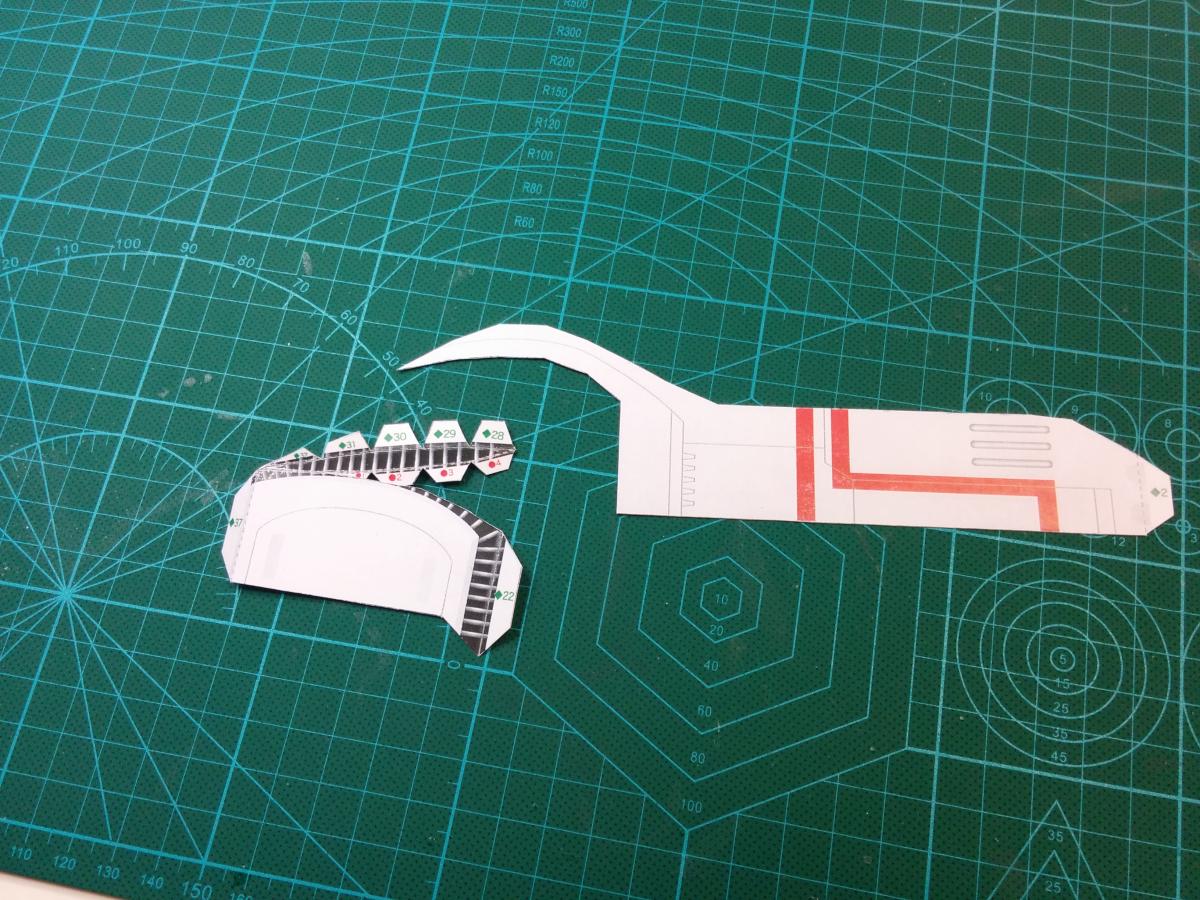
these next parts could be trouble for you guys....

the problem is in the paper.... especially thick paper!
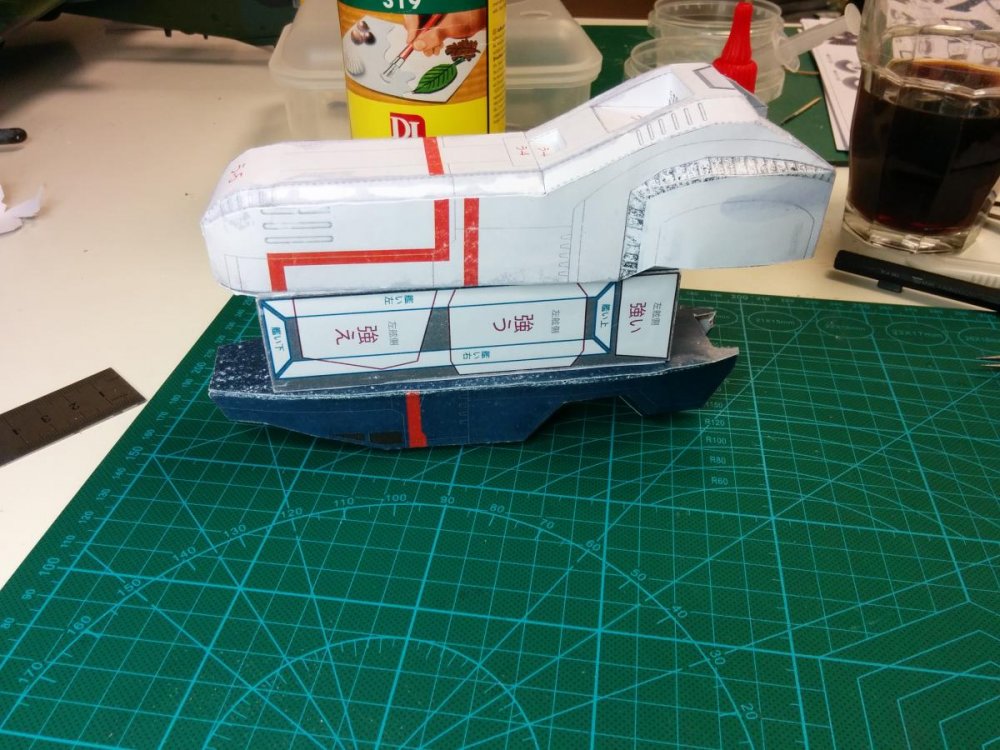
when you bevel the paper before a fold you actually add a little width to the piece you are folding,
and the bottom piece (white part) has more folds and several parts in the width than the top part (blue)
it boils down to the two parts dont fit together in the width!!!
Remember to compensate for that!!!
______________________________________________________________________________________________________
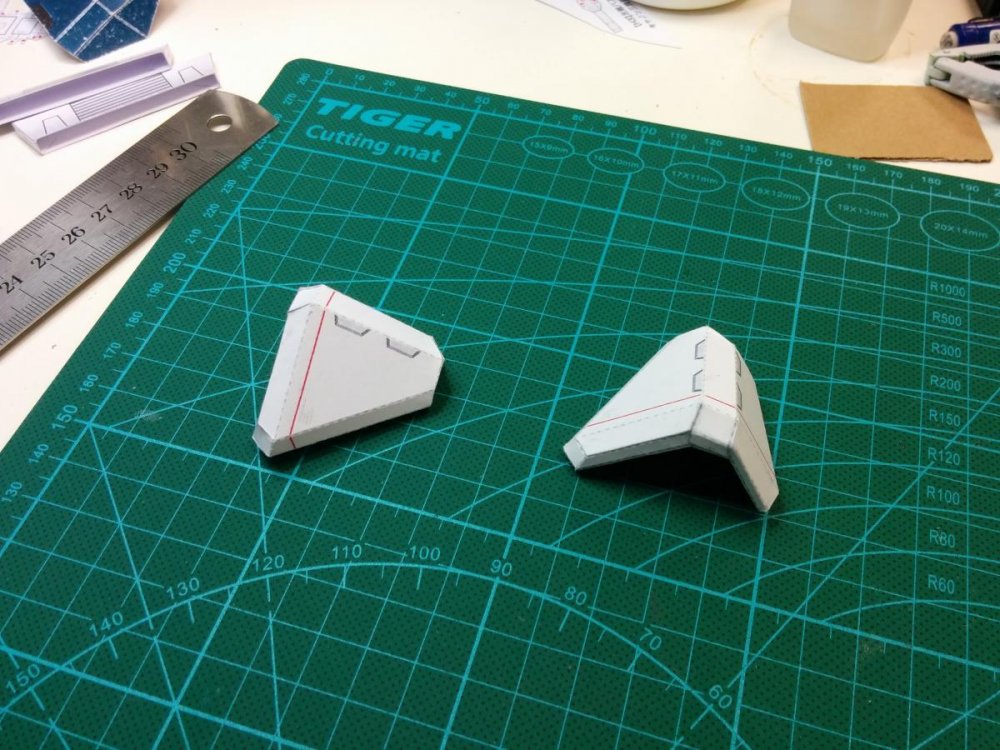
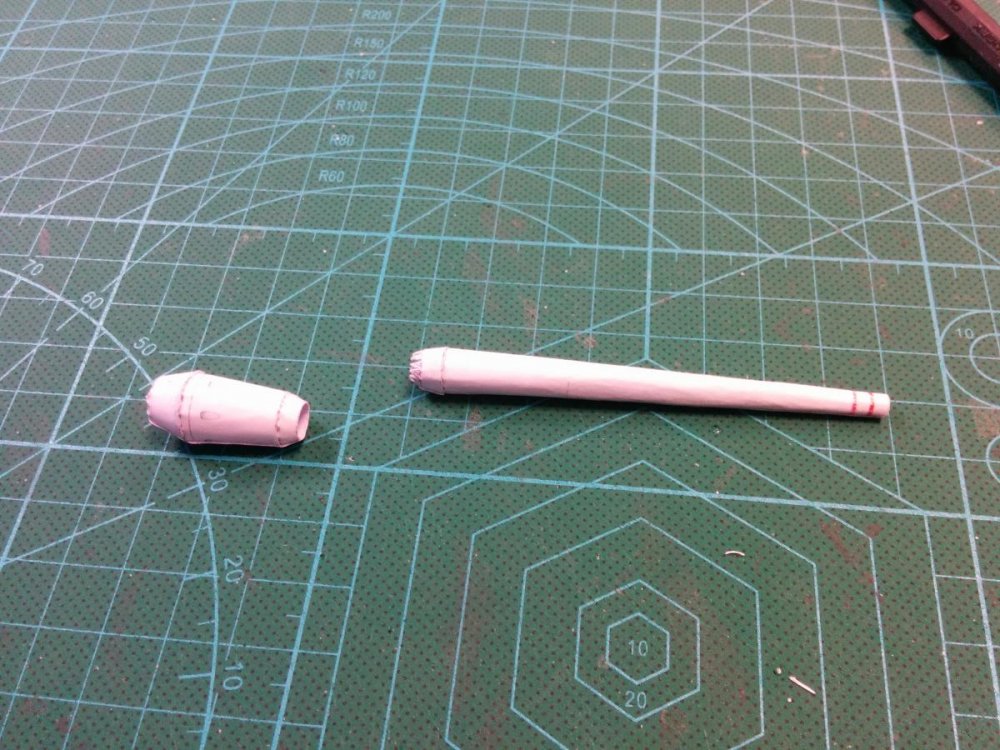
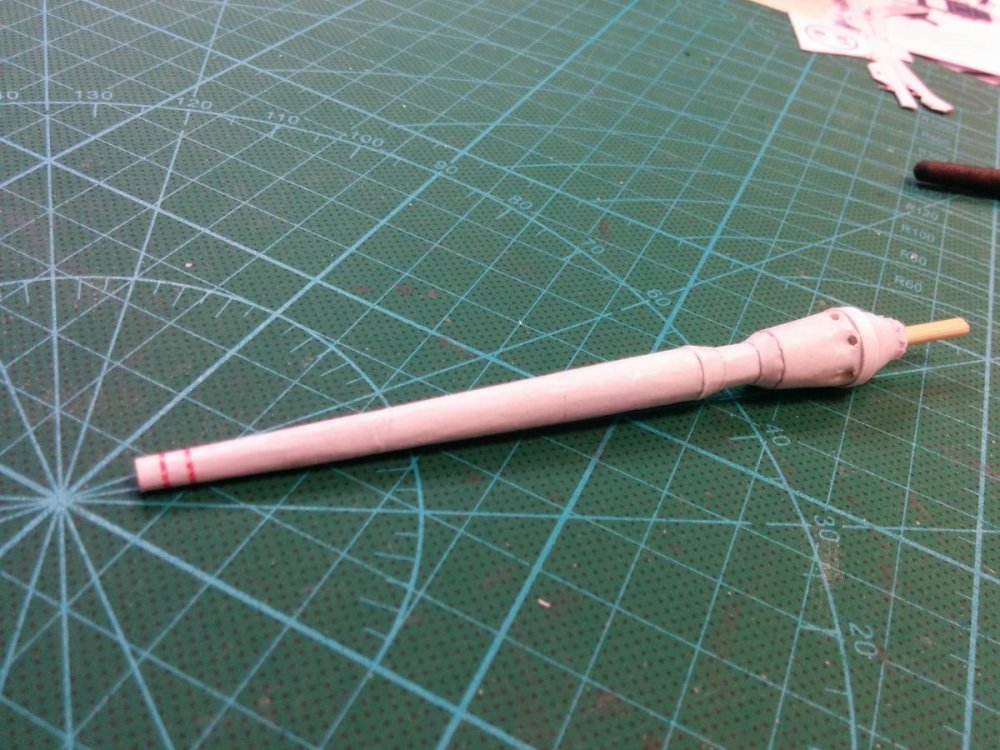
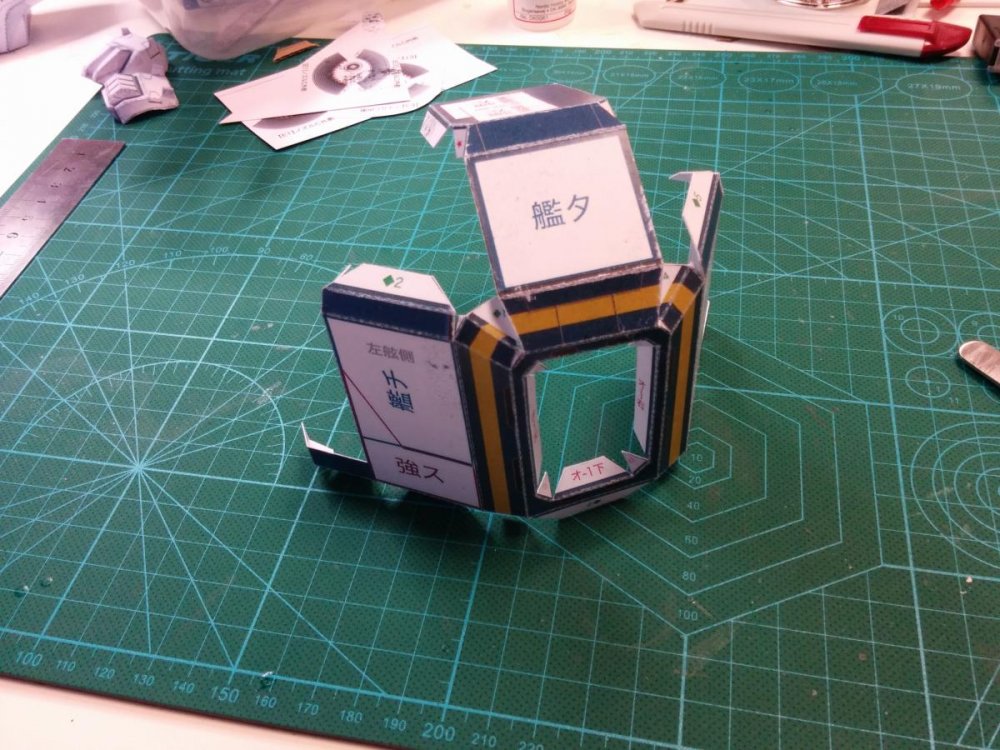
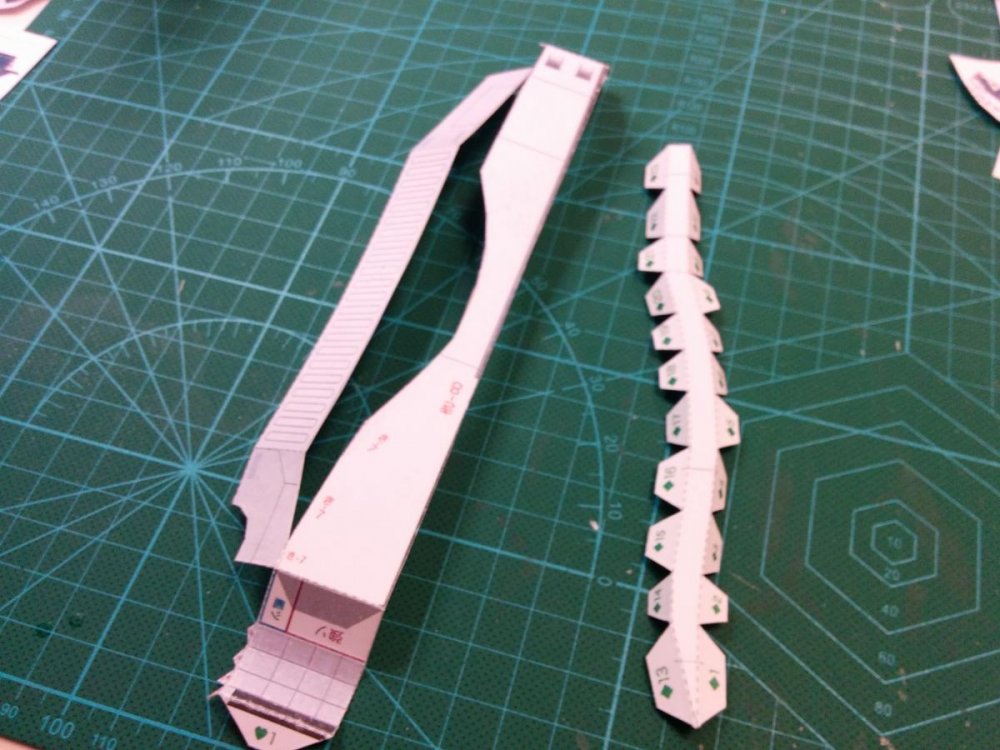
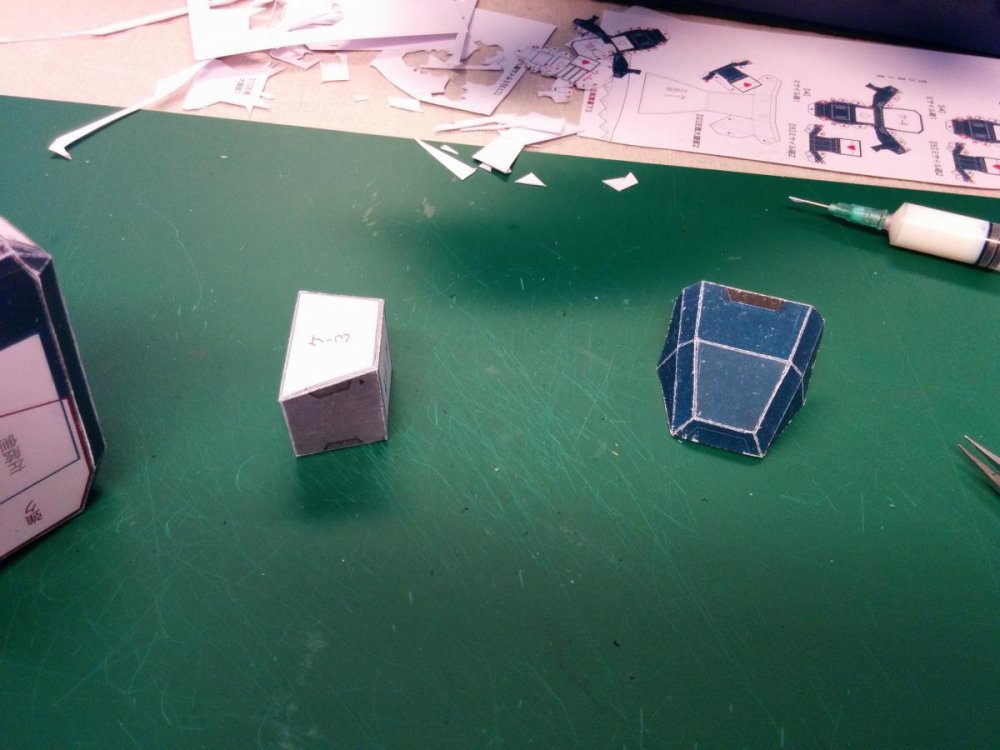
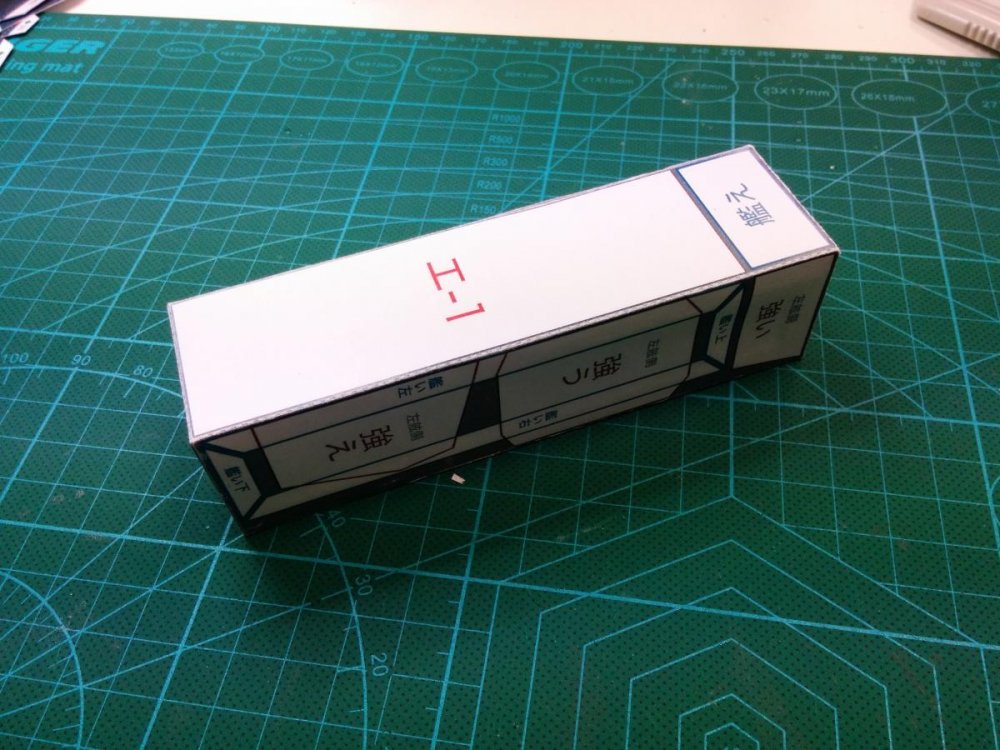
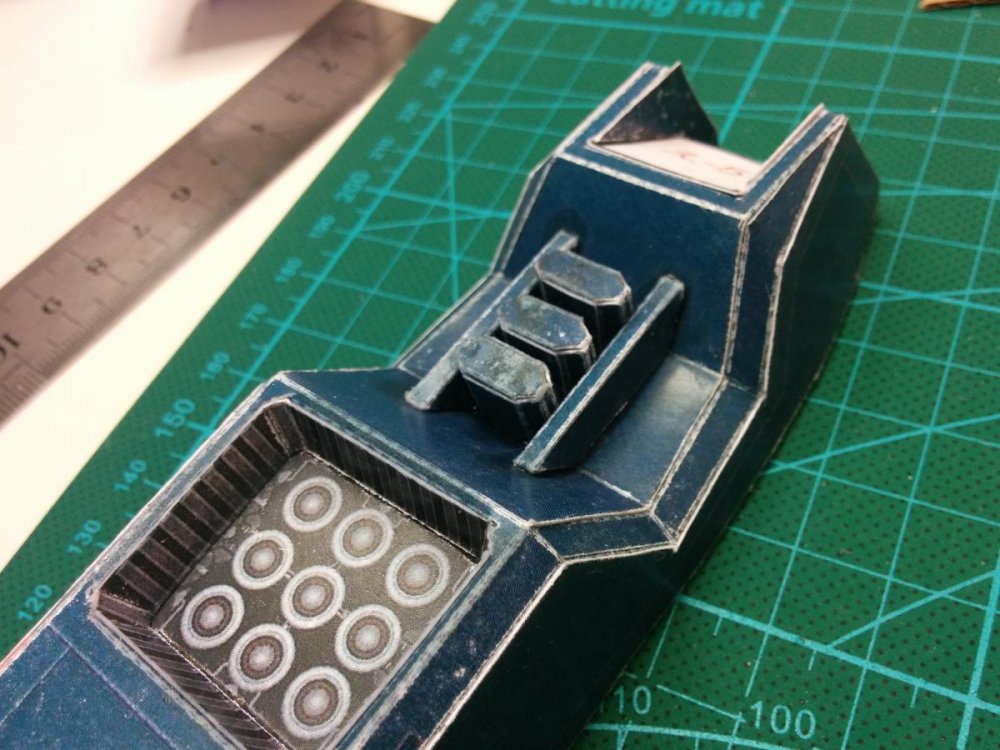
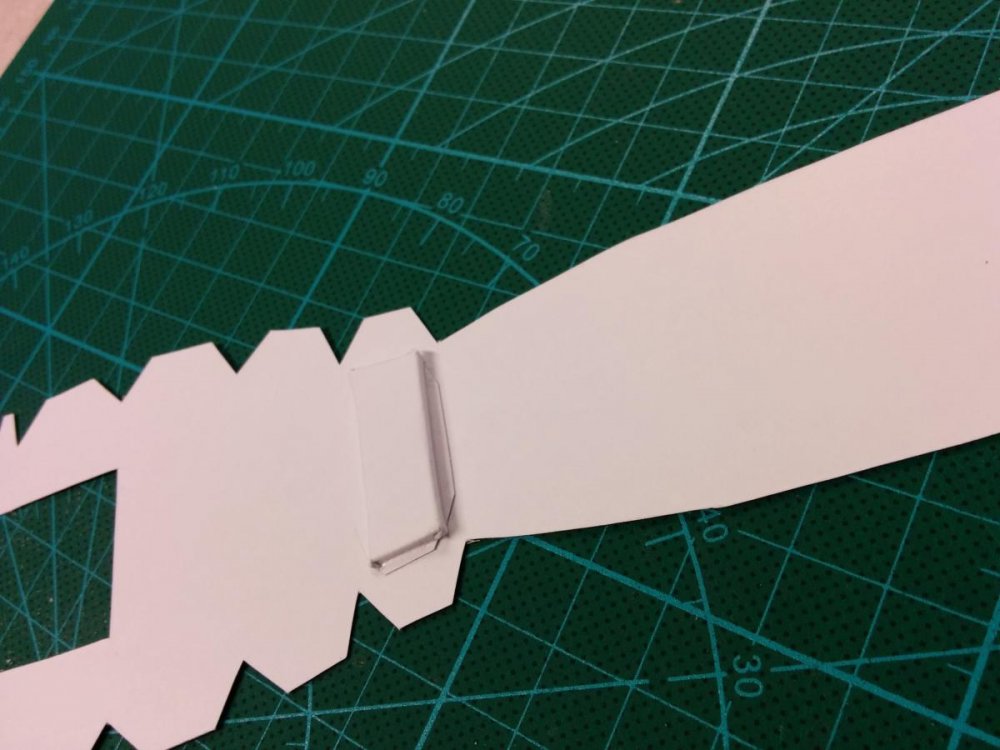
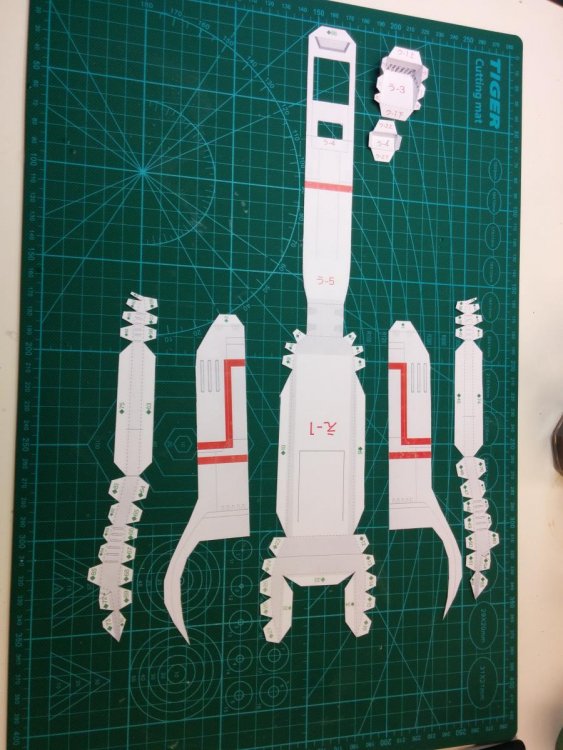
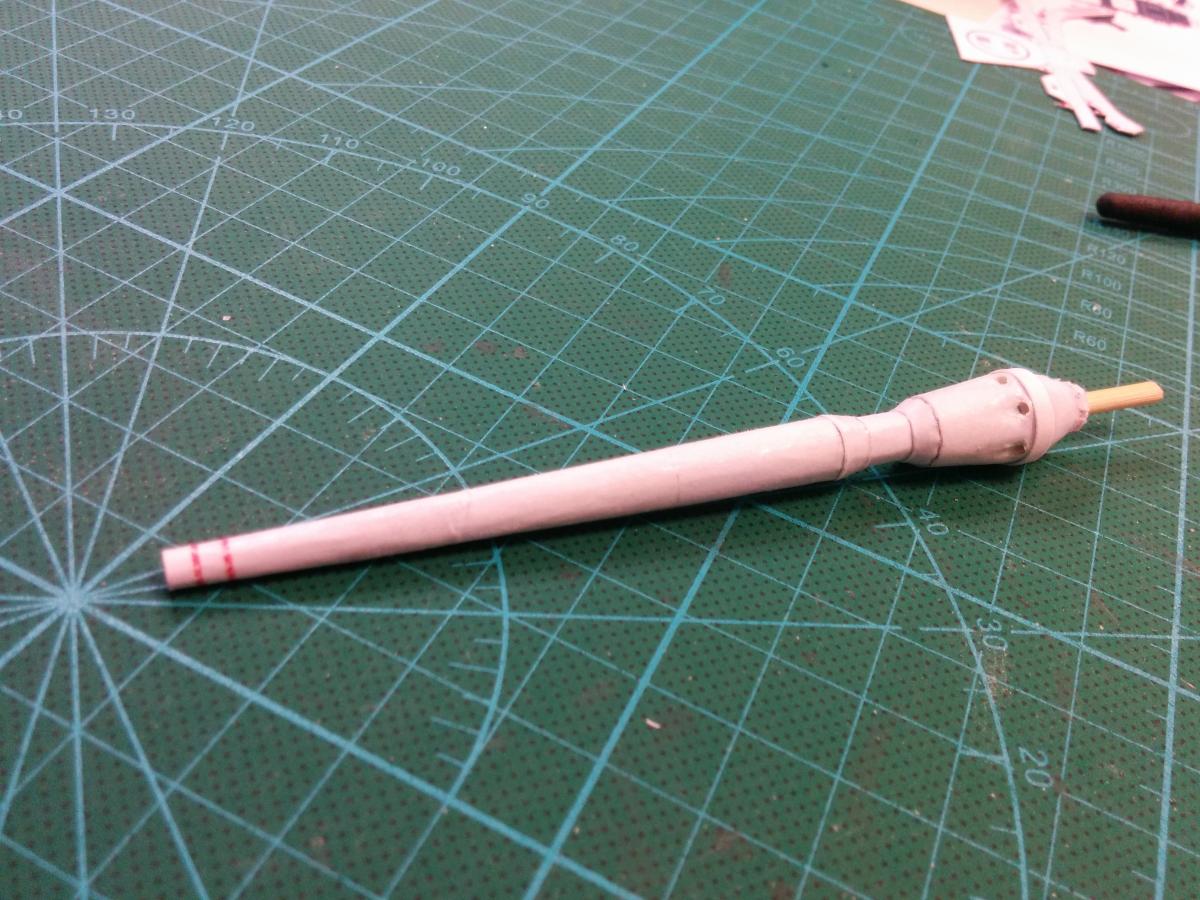
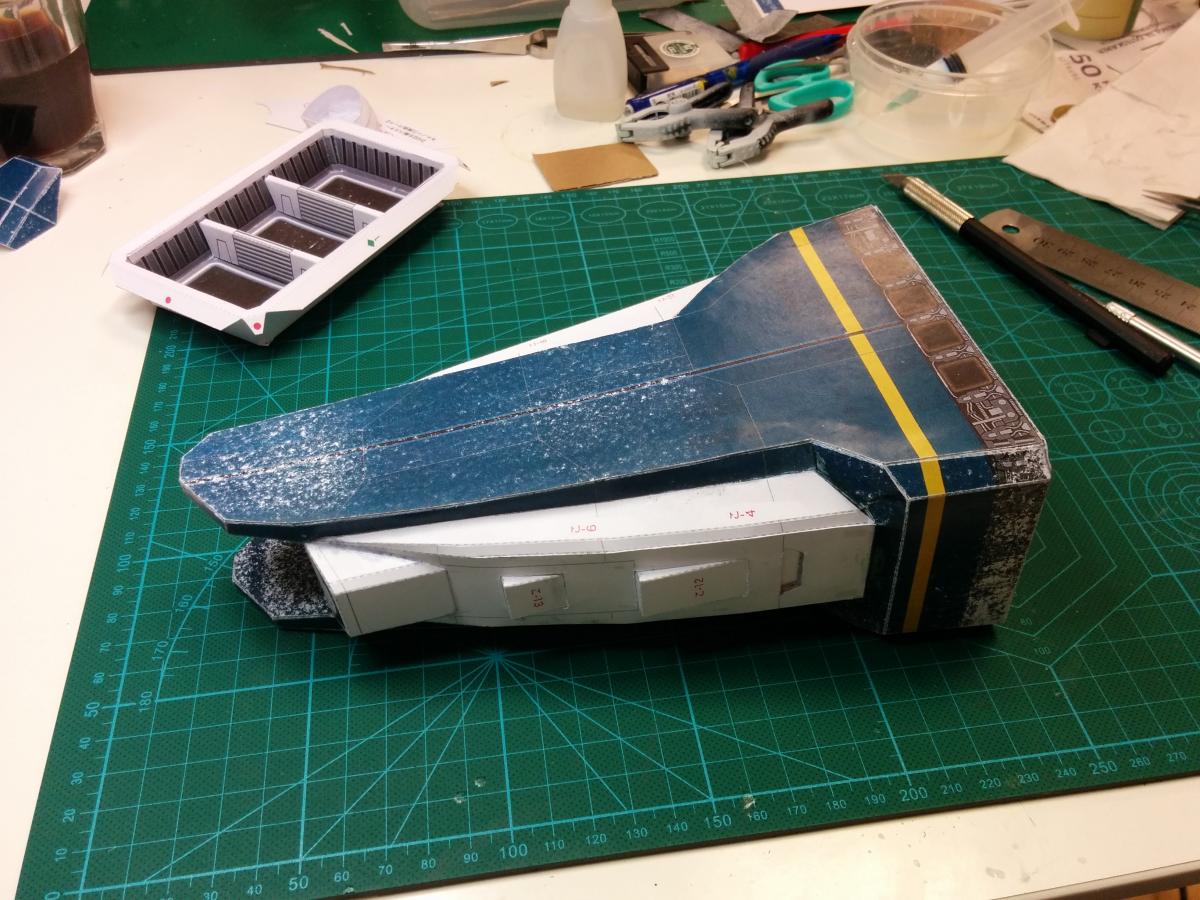
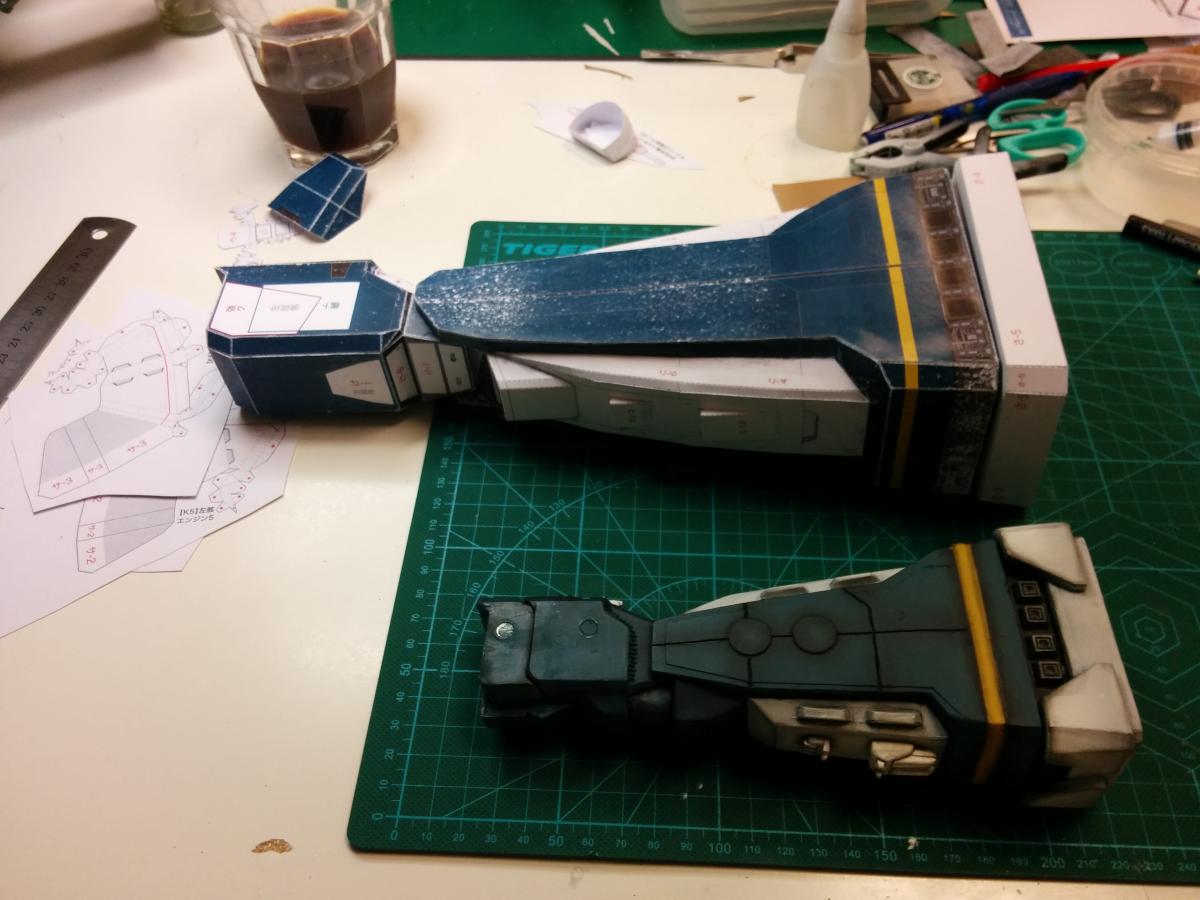
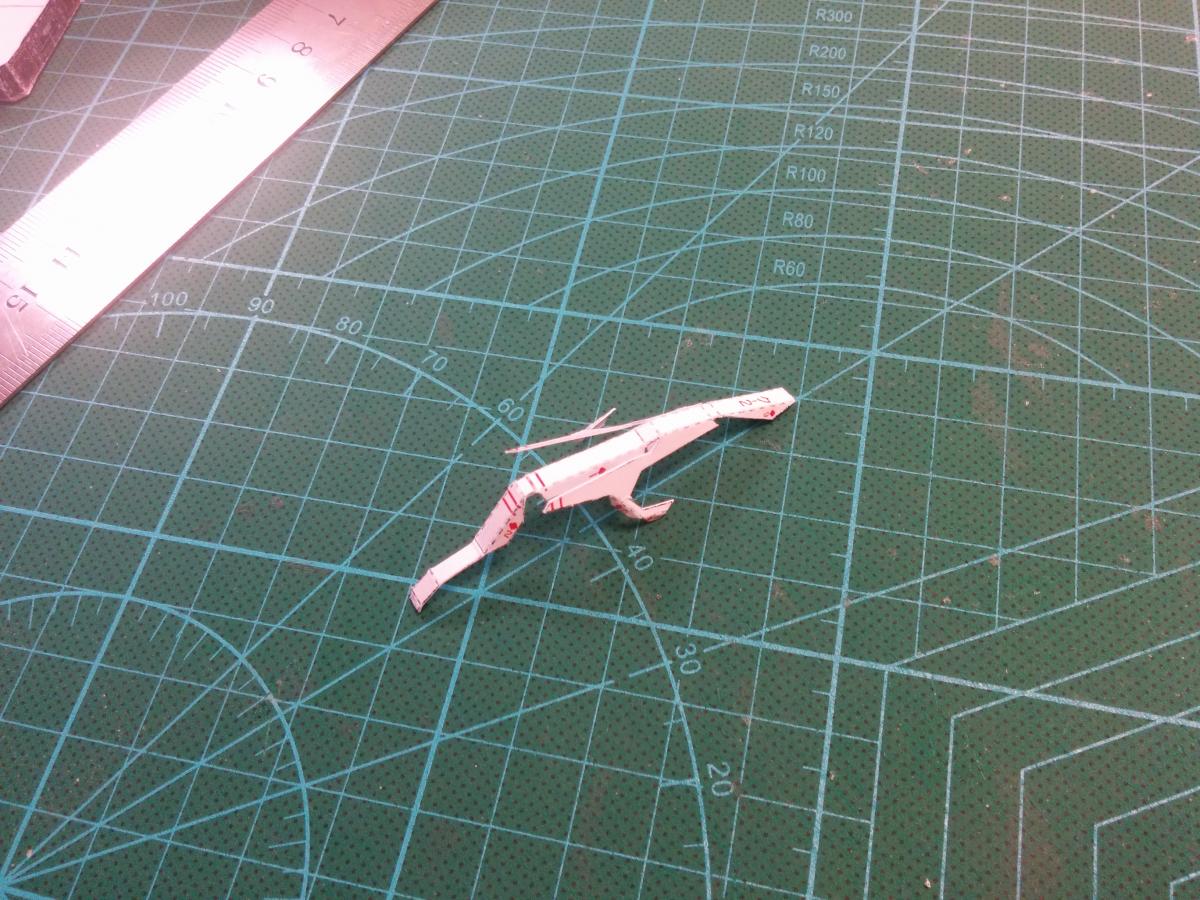
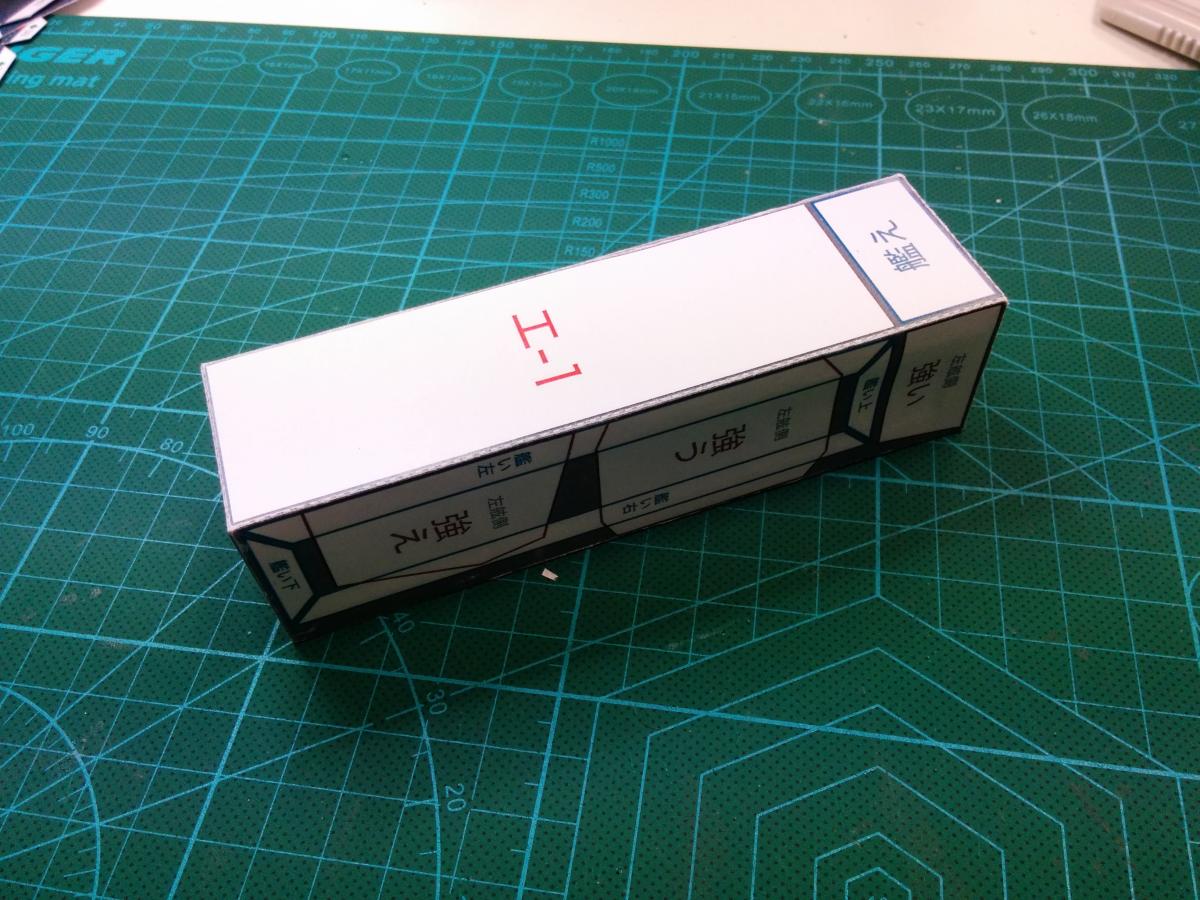
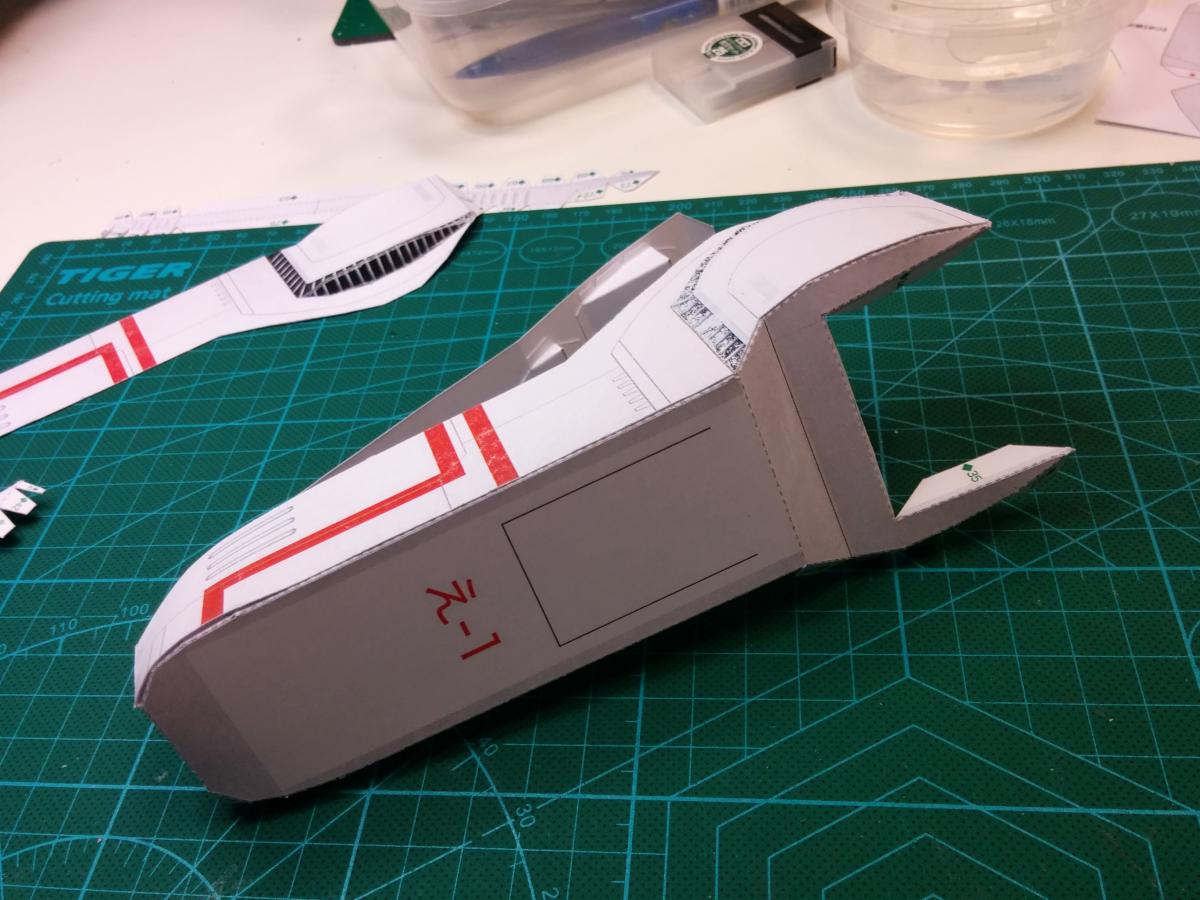
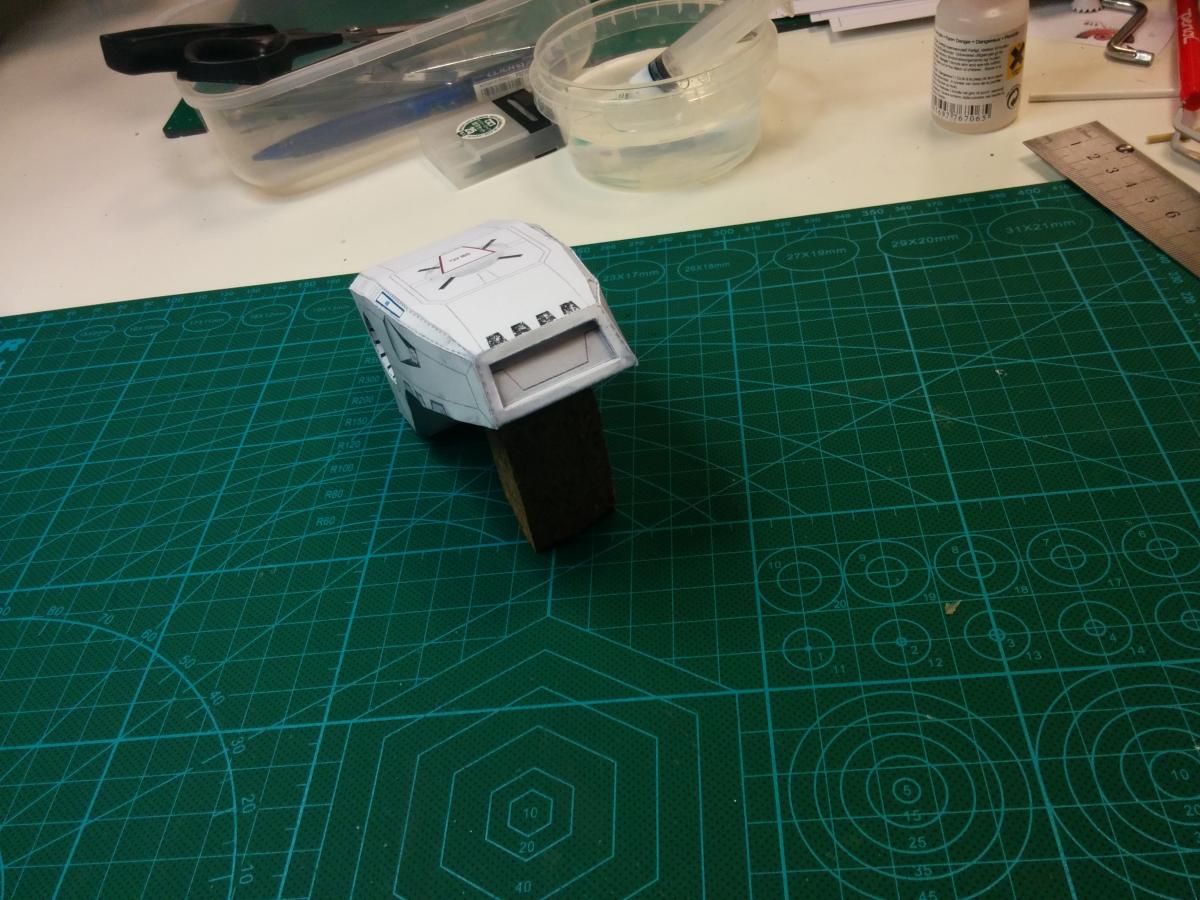
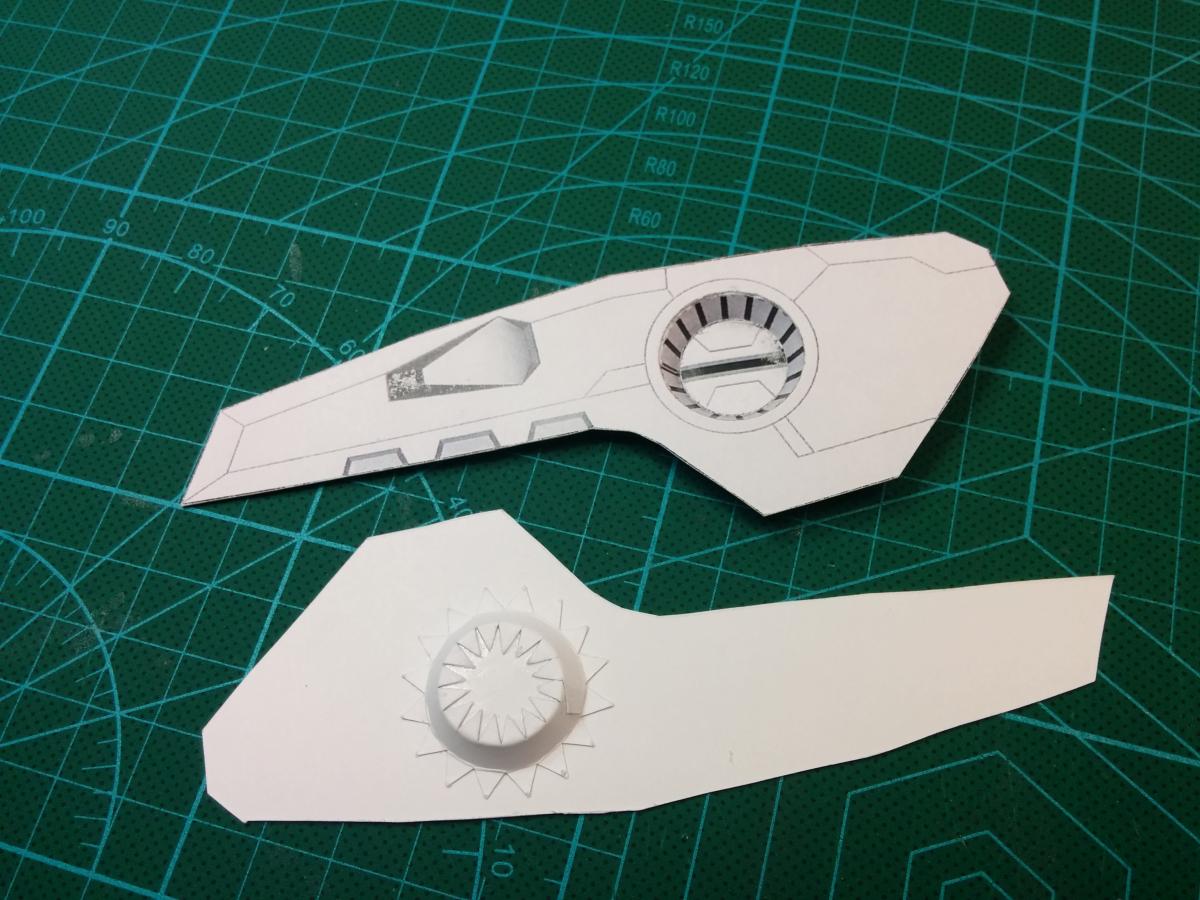
now the front of the macross cannon is pretty straight forward....
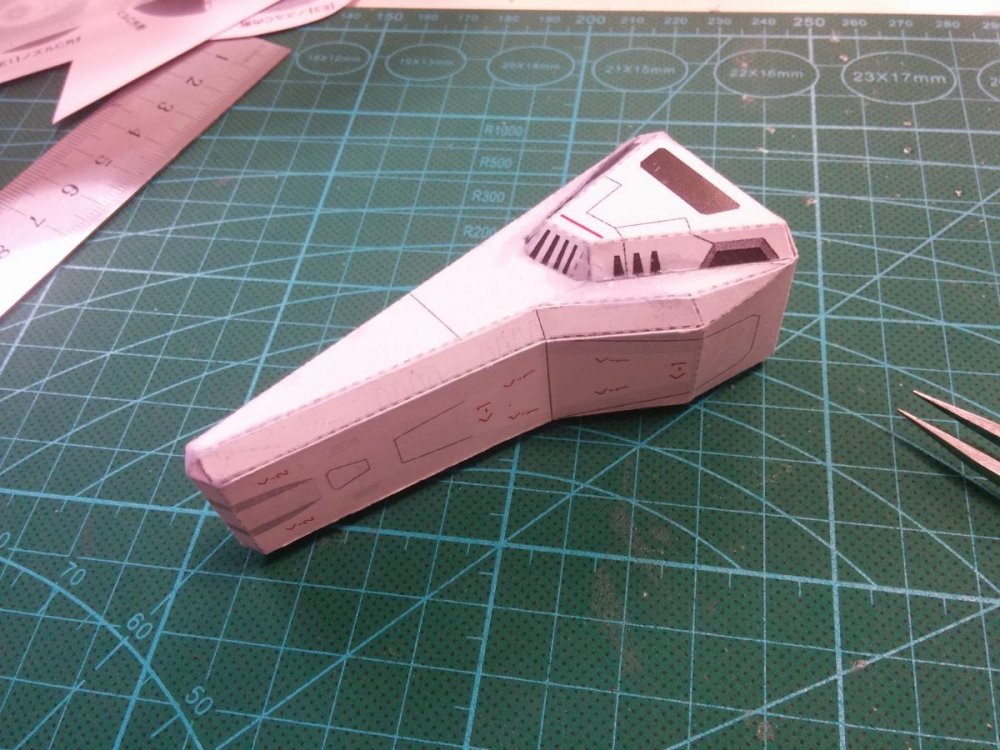
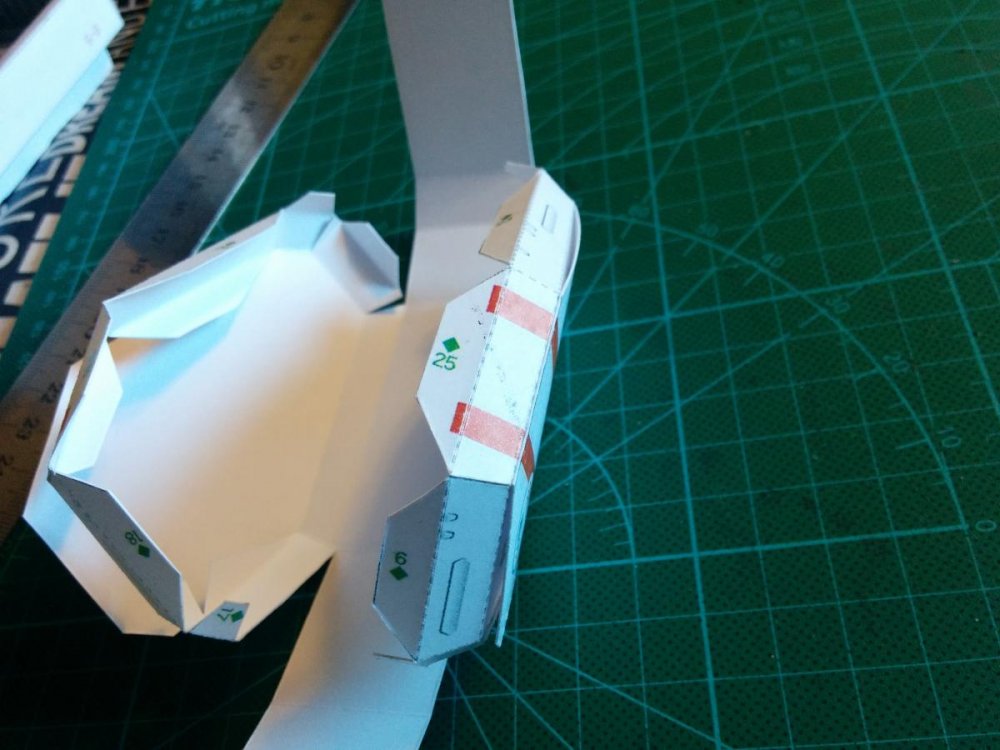
next ones also shouldnt pose any problems...


more to come soon!
-
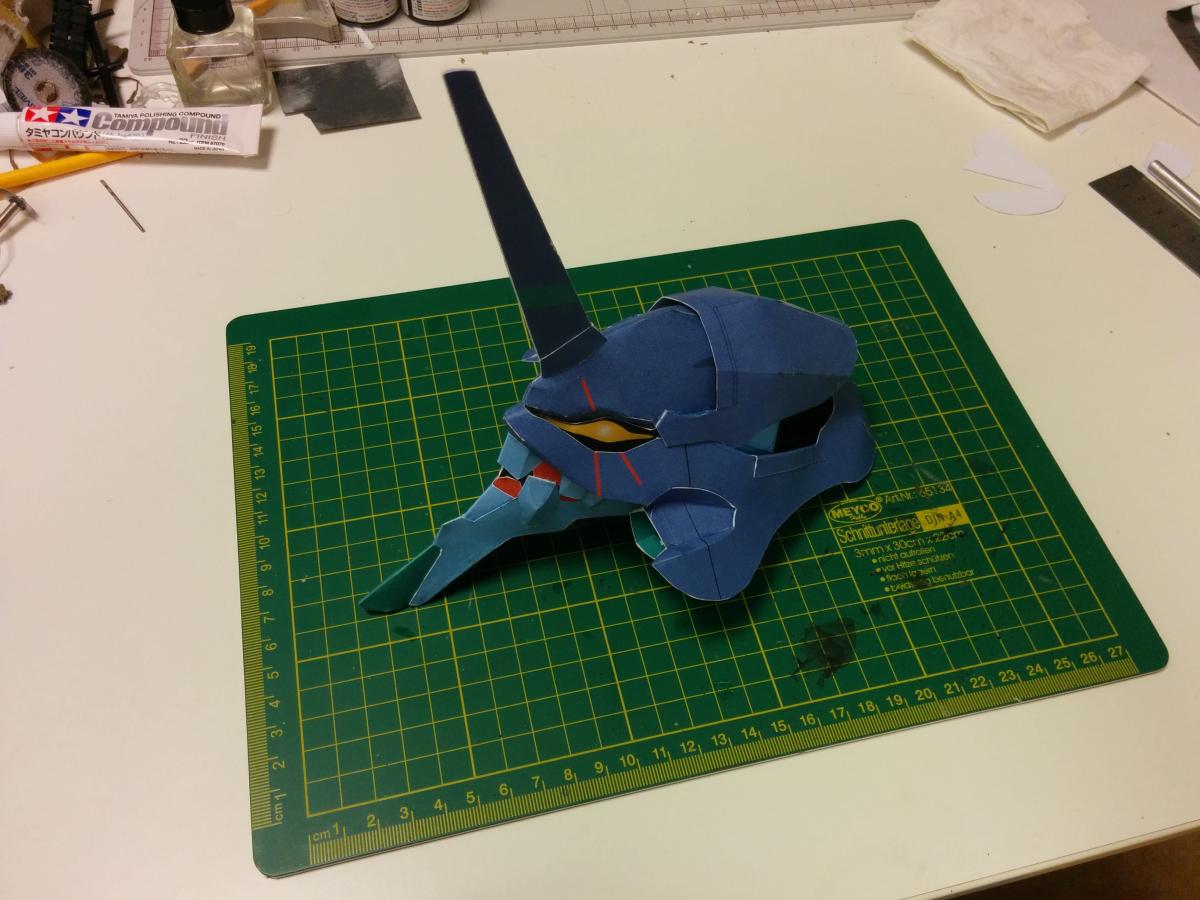
dang i really hate that i used a Laser printer for this....
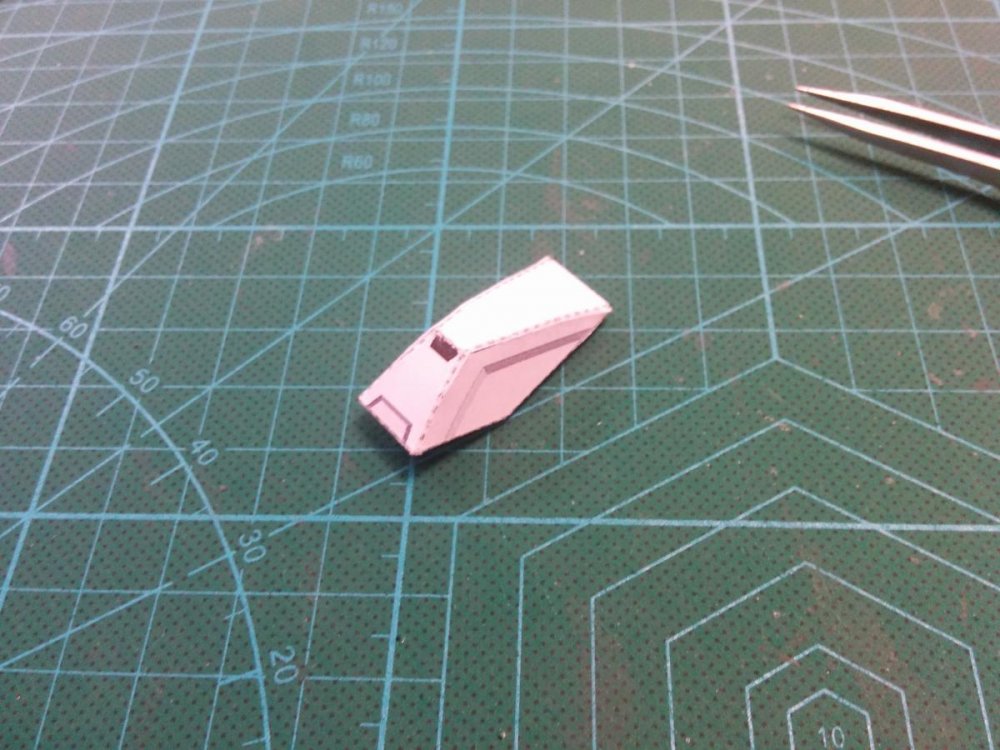
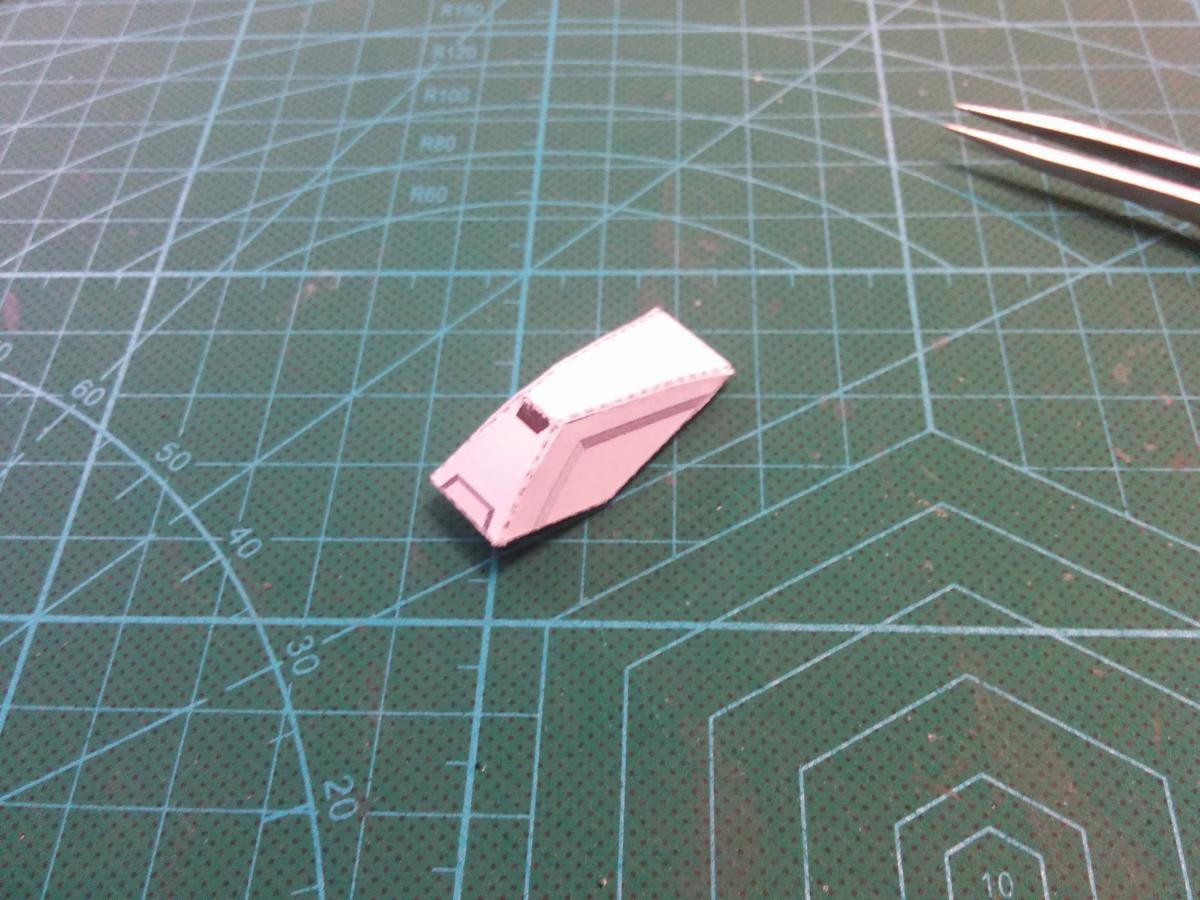
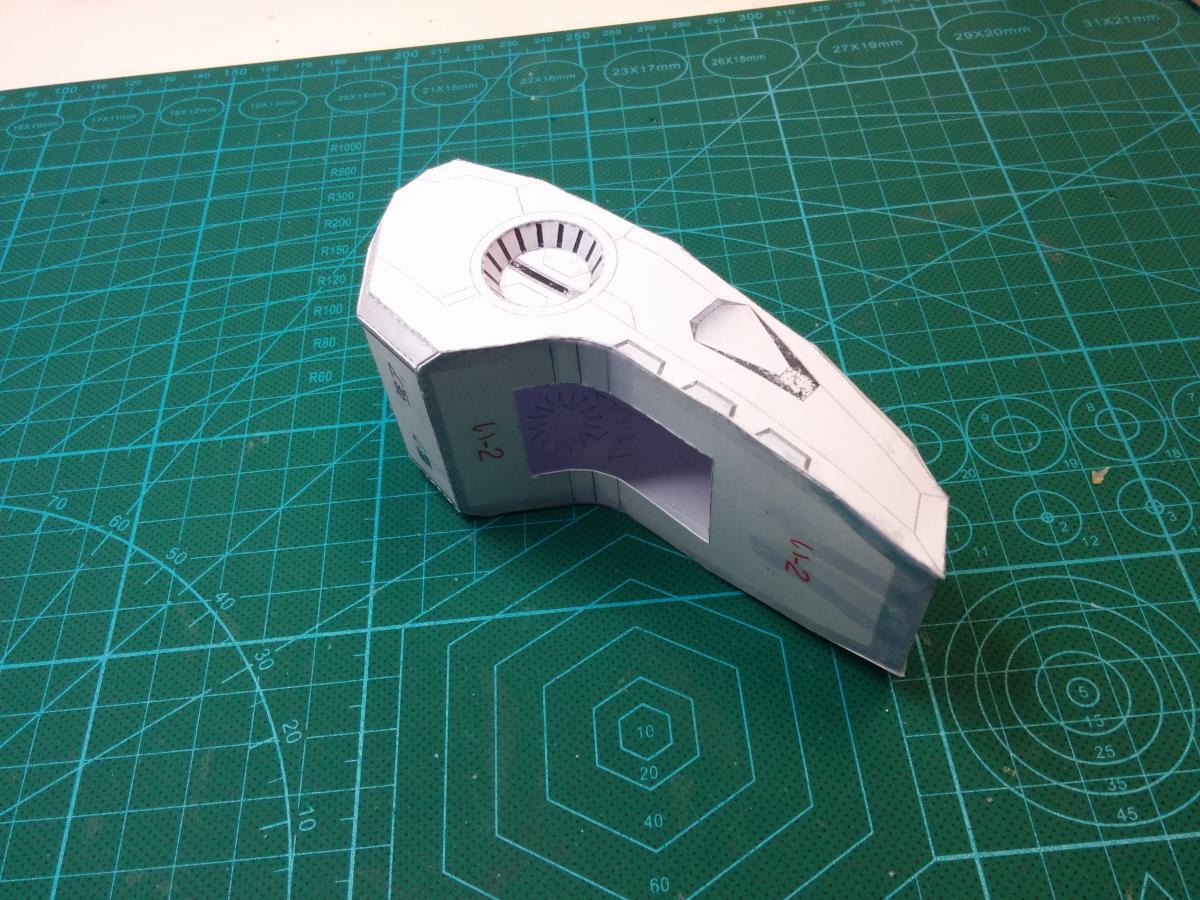
now these are pretty strait forward too...
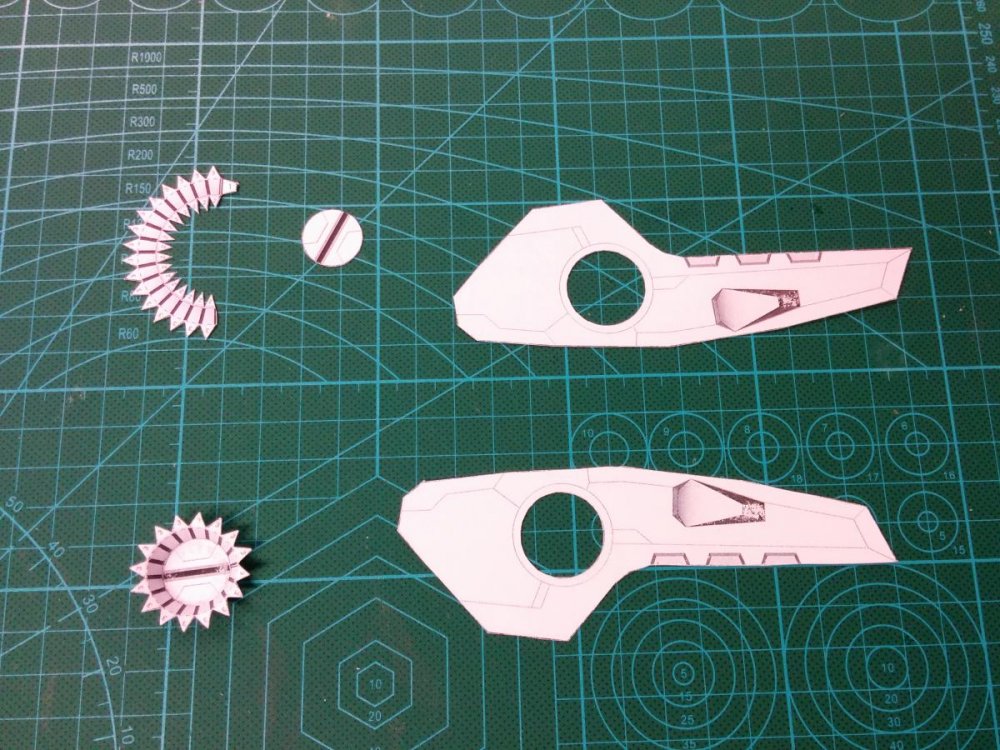
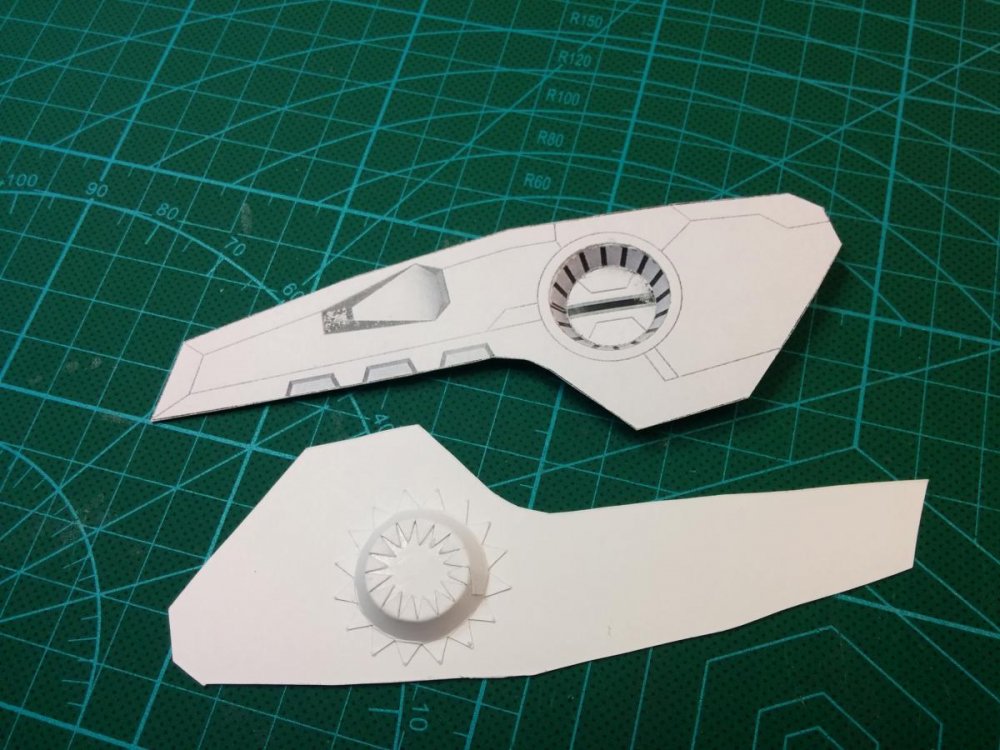
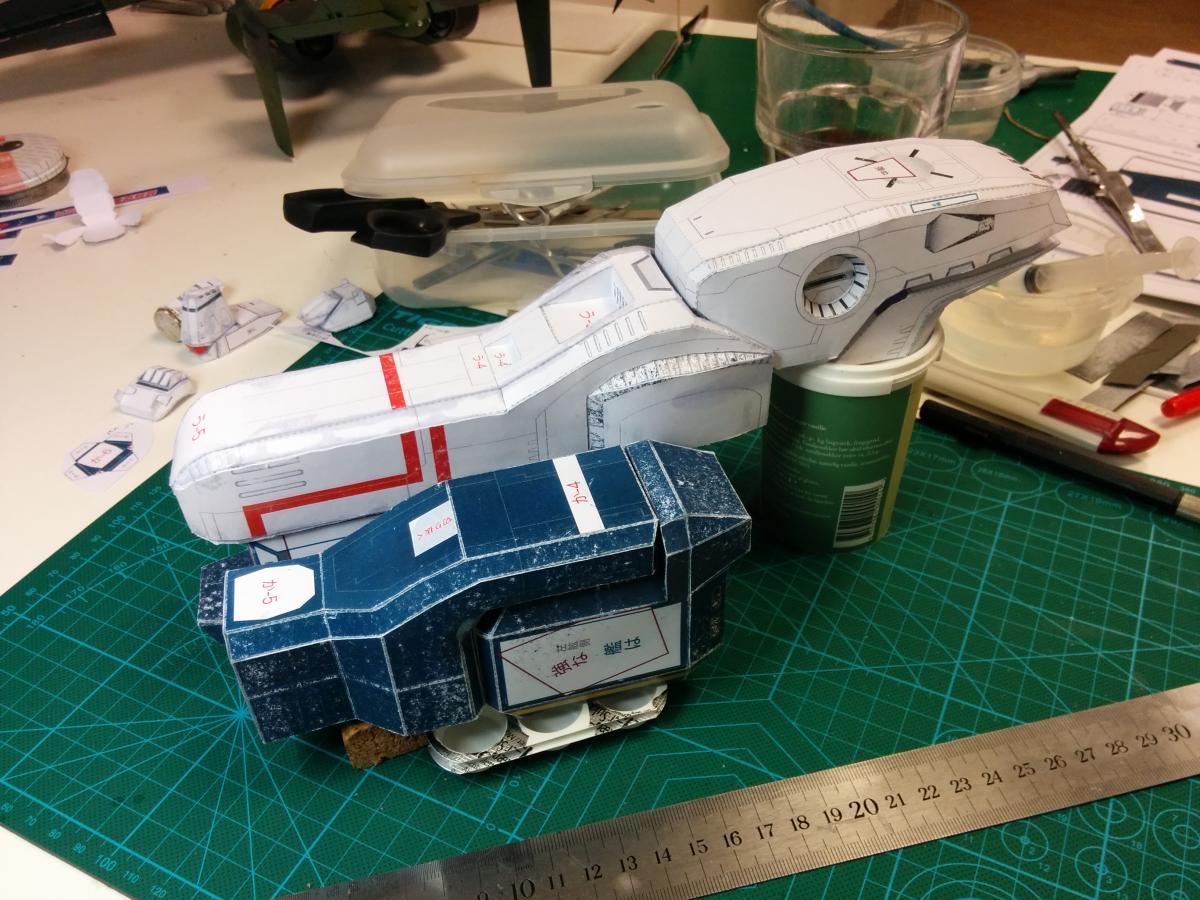
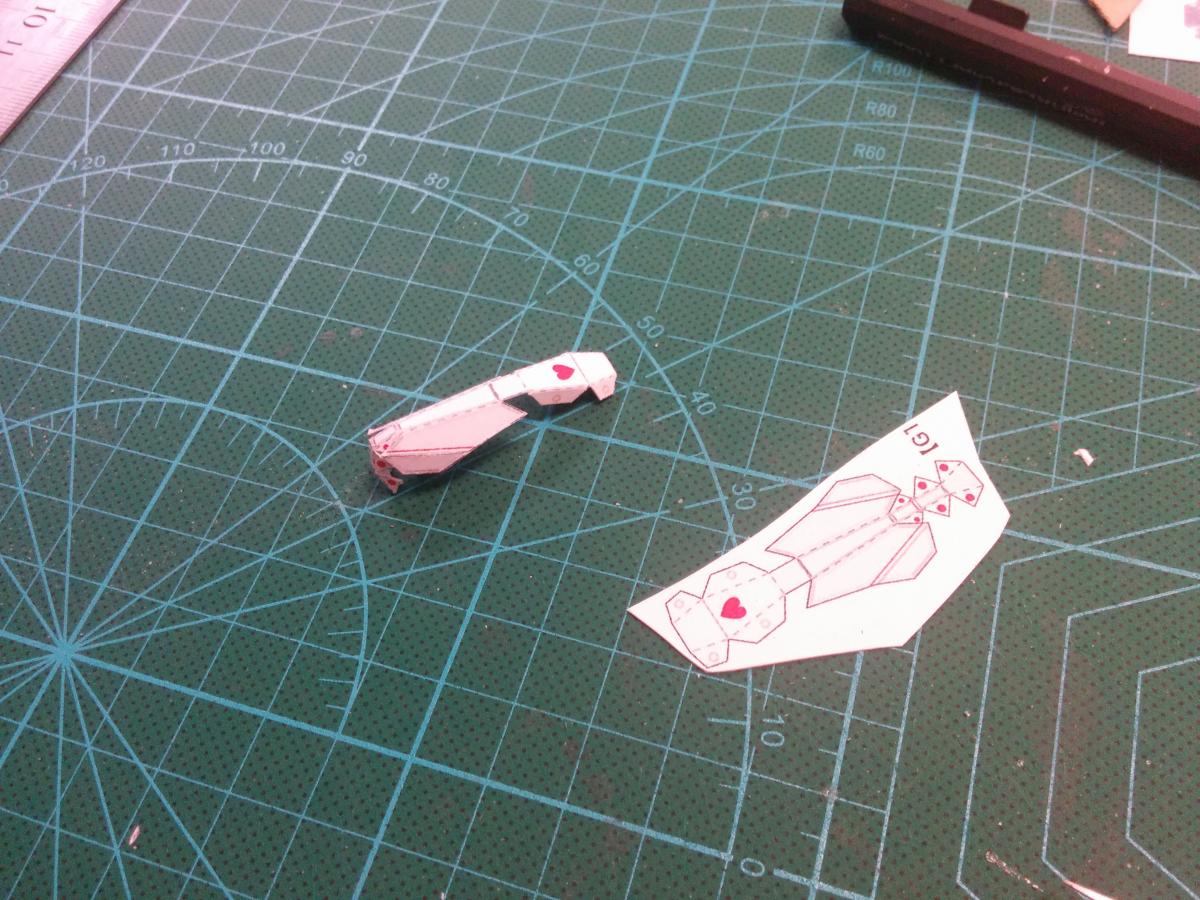
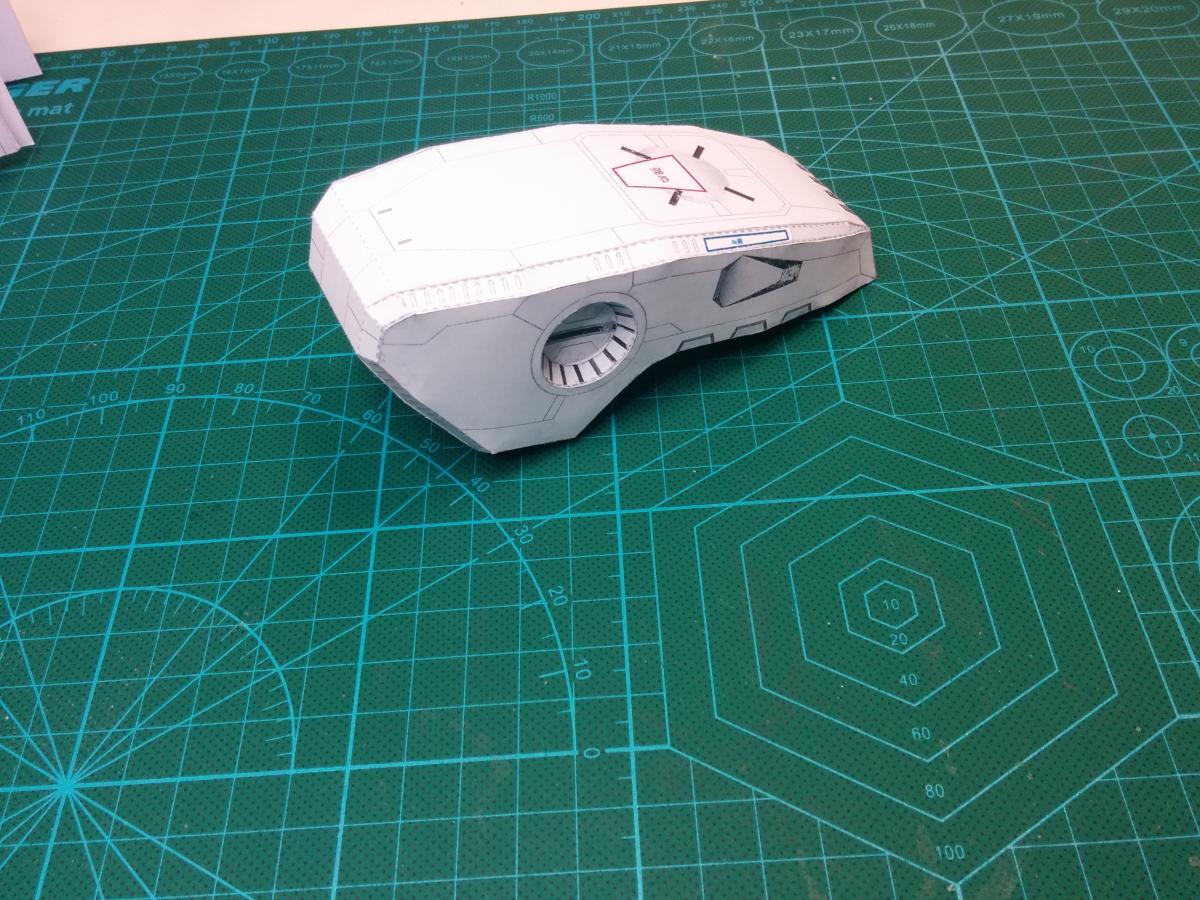
now the Gunsight 1 or Bridge im not to fond of, my preference would be a bit slimmer bridge...
the parts though are pretty easy to assemble...

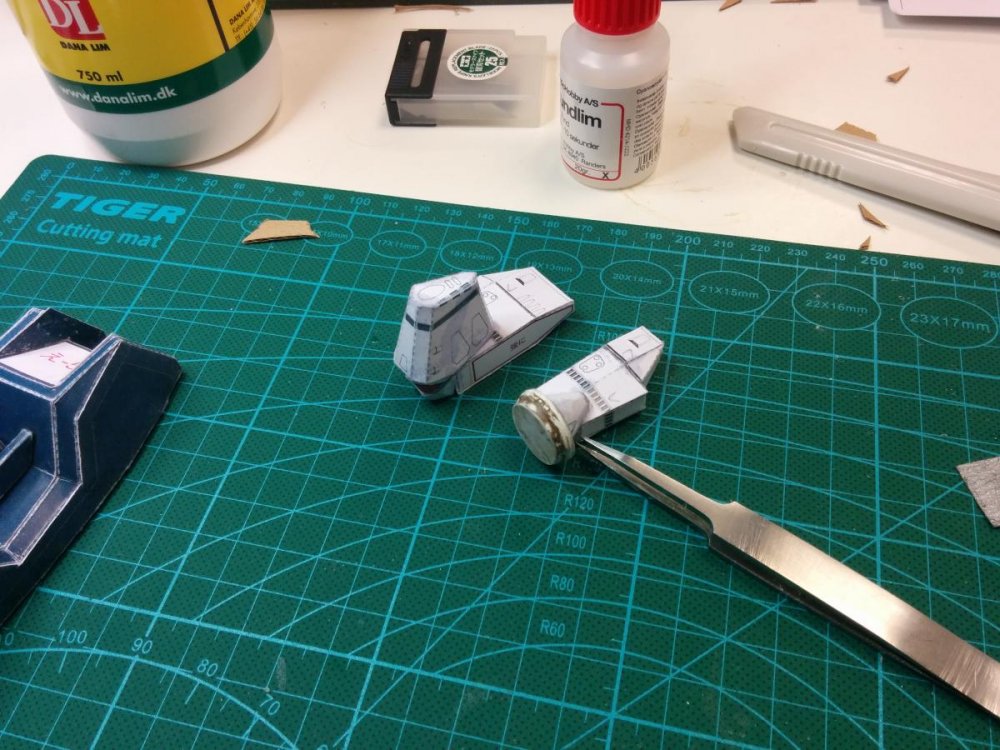
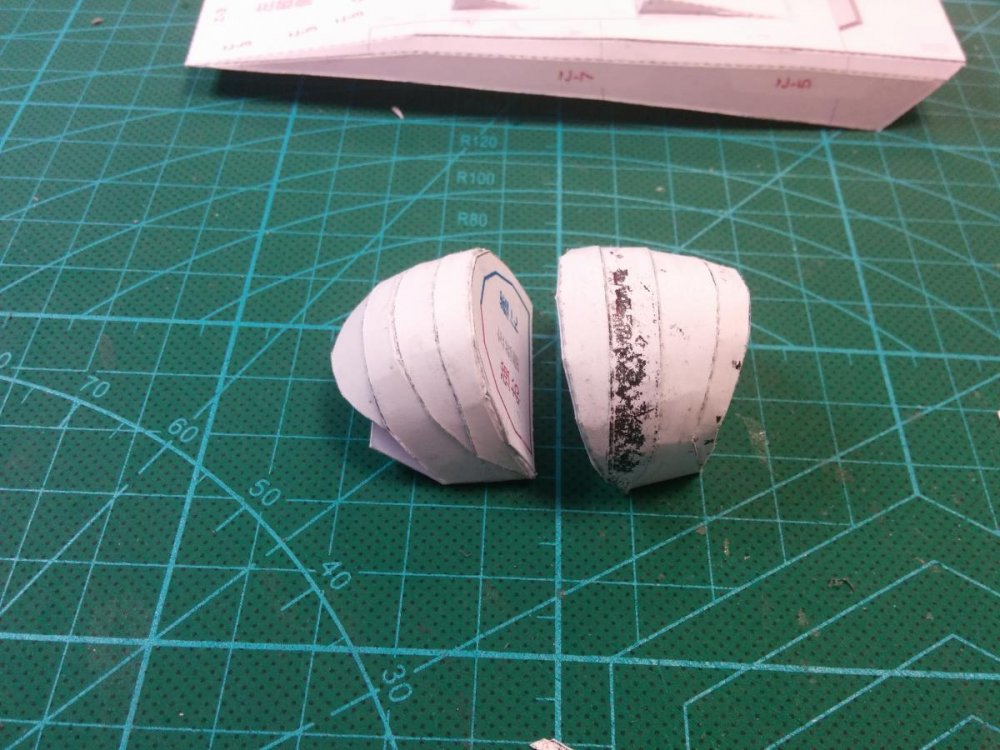
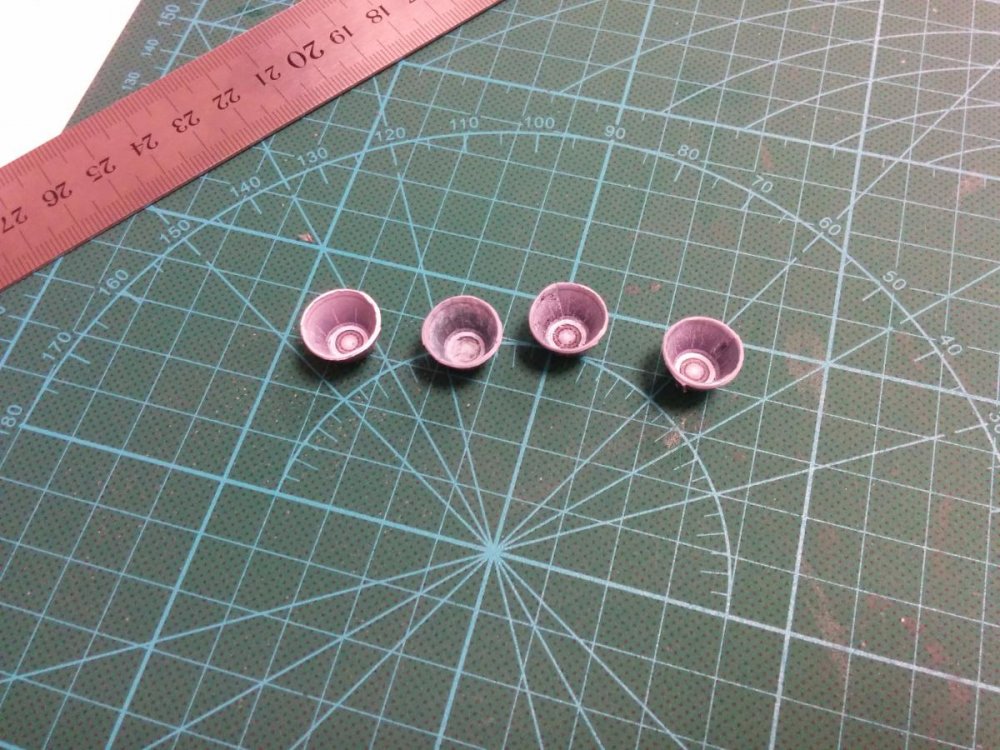
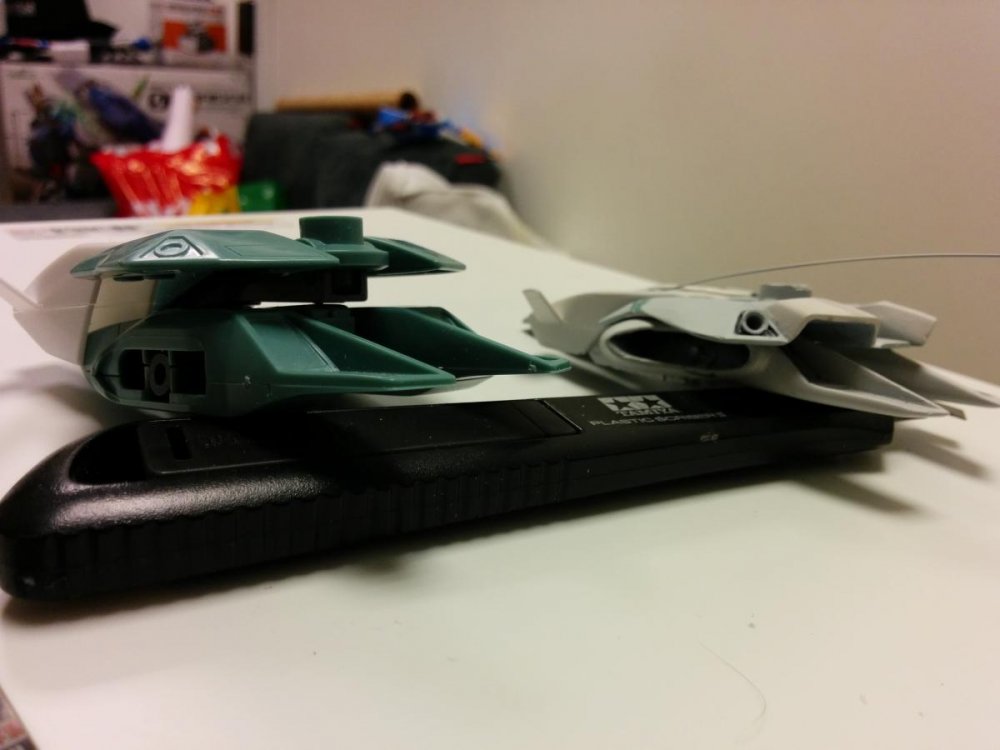
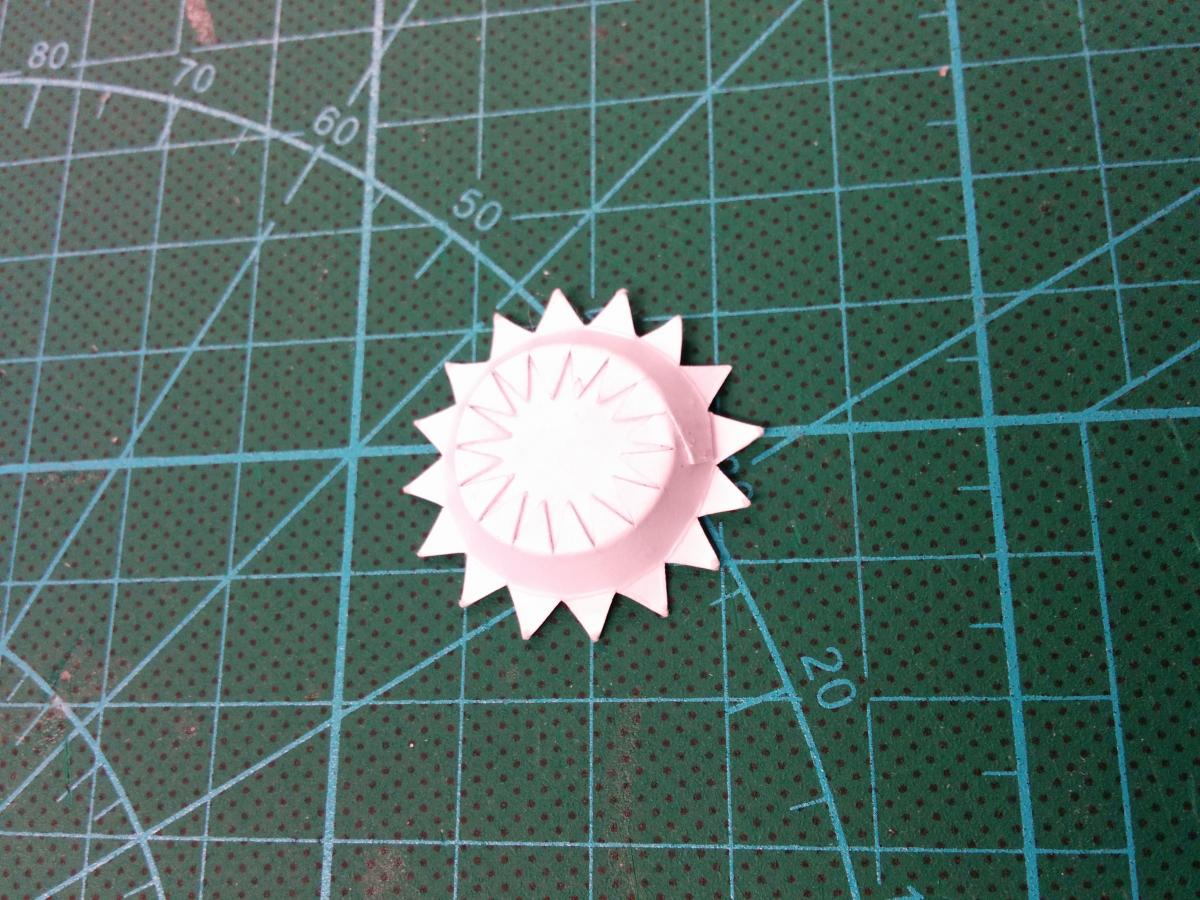
now the Battlefield scanner disc is just easy to add some more "flesh" too just add some cardboard in between the 2 disc pieces...
-
Thanks for going through this build-it's looking great.
I've used styrofoam block for support with projects like this. Expanding foam will litterally blow out your work as it expands-found that out the hard way!
A good cheap razor knife will make quick work of the foam.
Uhu "Creativ" will glue the foam to the paper.-MT
Get expanding foam on your hand once. You will never go near it again. ever.

*This comment is useless, i apologize.. i just hate that stuff.
i will take these into account!
-
I bought two copies of the book.
Still.. considered making a photocopy onto some decent paper and going along with your tutorial with a 'mockup' build. The mockup will be black and white, but as i have never done a papercraft.. I'd feel less bad when i make all the little first-timer mistakes.
Is there a weight of paper you'd recommend that will behave nicely? Looking for more specific than just 'cardstock' as those can vary a LOT
Thanks..
its looking great already.
the attention you put into each step is both impressive and a little daunting.

Well for The "cardstock" hmmm The paper i buy is
Called 250 gram paper... Now this is European measurement... Hope that helps
Later when I get home from work, I could go into more detail about strength and weaknesses of different paper thickness
-
It's great that you are doing this! I only wish I had the time to build mine along with you! But it's good that your guide will be available for anyone attempting this build in the future.
BTW, will you be modifying this to transform? I guess now that you have made copies of all the pieces you can probably do so. Otherwise, it seems that you can only build it in either cruiser or attacker modes...but not both....
i need to see the finished parts before i decide on anything like that.... now i did learn alot from my previous build...
and can be even smarter about it with a possible transformation, however this is a big fella, so ill need to have the insides filled with something which is easy to
work with... so ill be trying some different solutions.... perhaps expanding foam... but only if i can figure out how to control it somewhat!
ill definitely us magnets again for various parts.... however they are gonna be alot bigger!!!

-
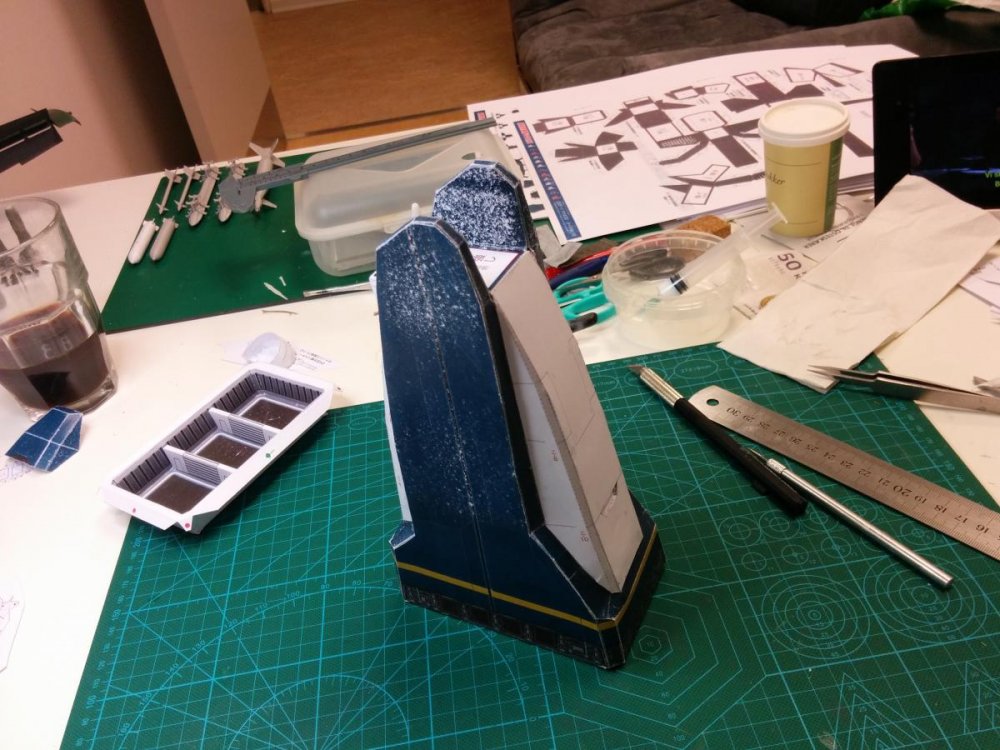
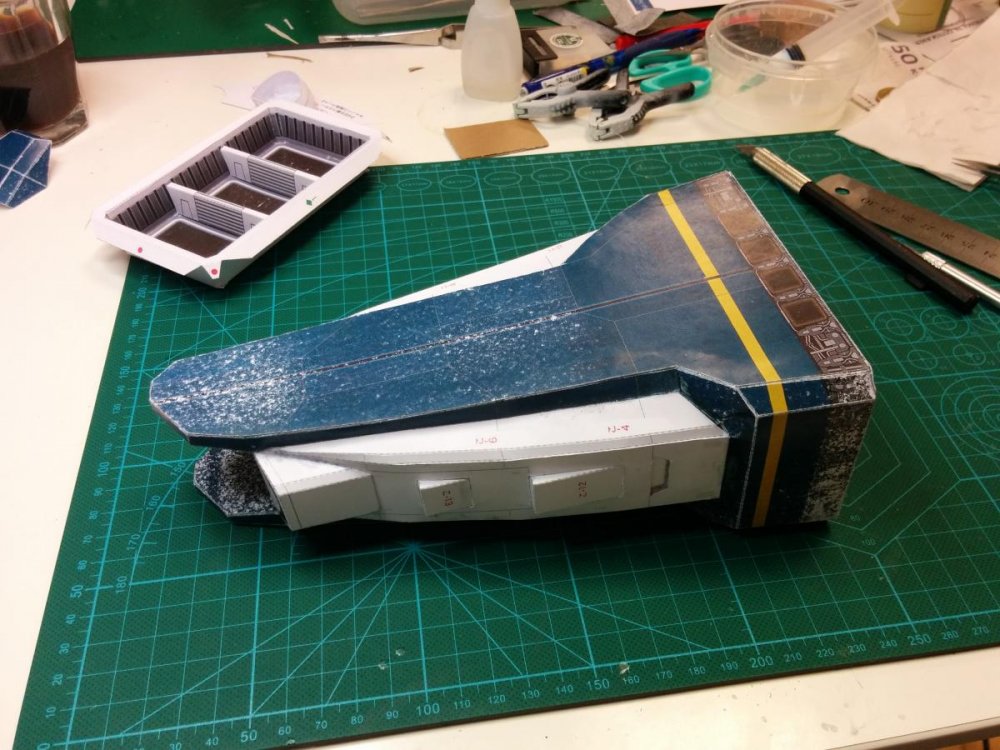
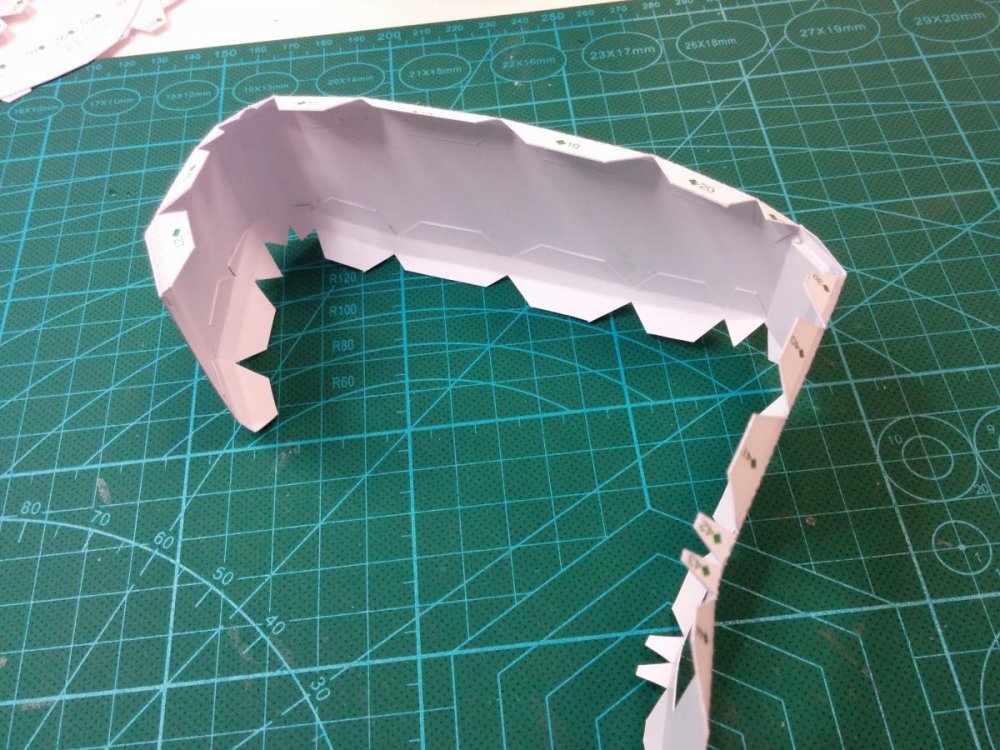
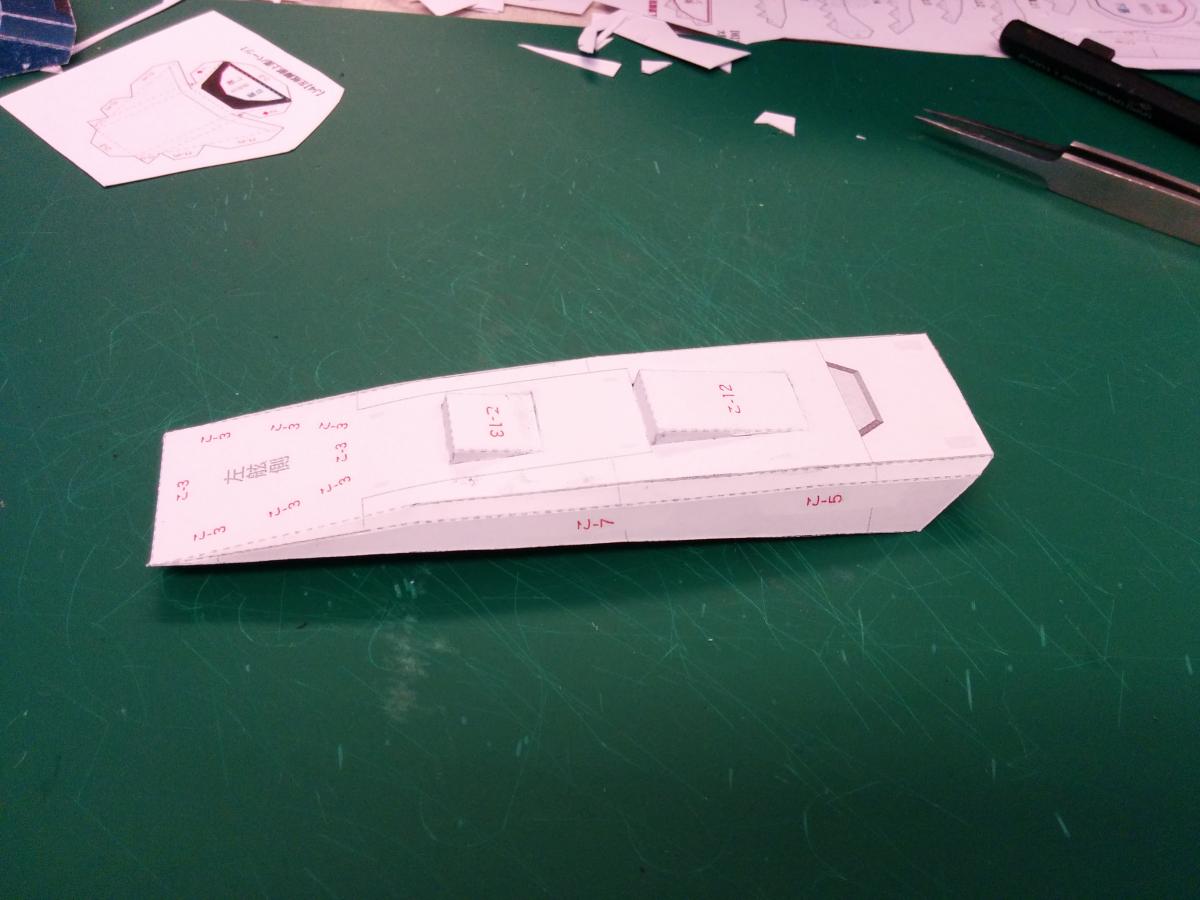
now lets continue!
a bit more progress...
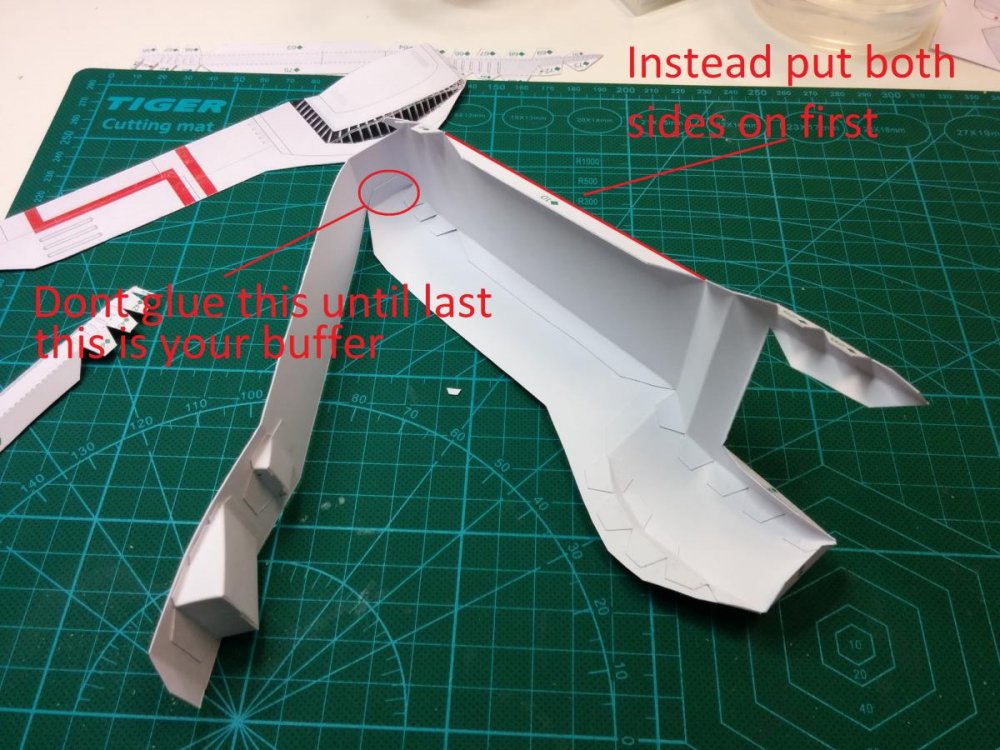
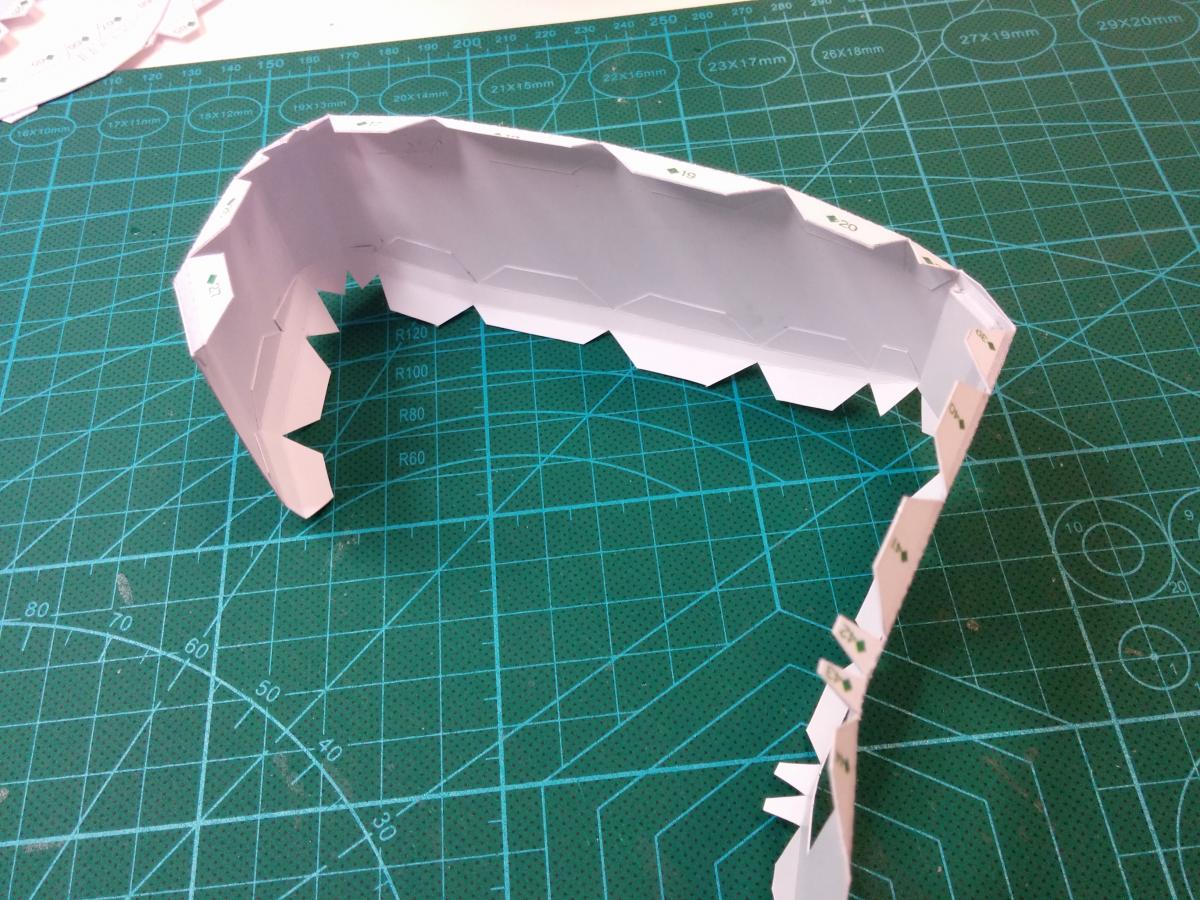
what i mean about buffer is having put both sides on first then glue the front last to make sure everything is in level
cause it can easily twist....


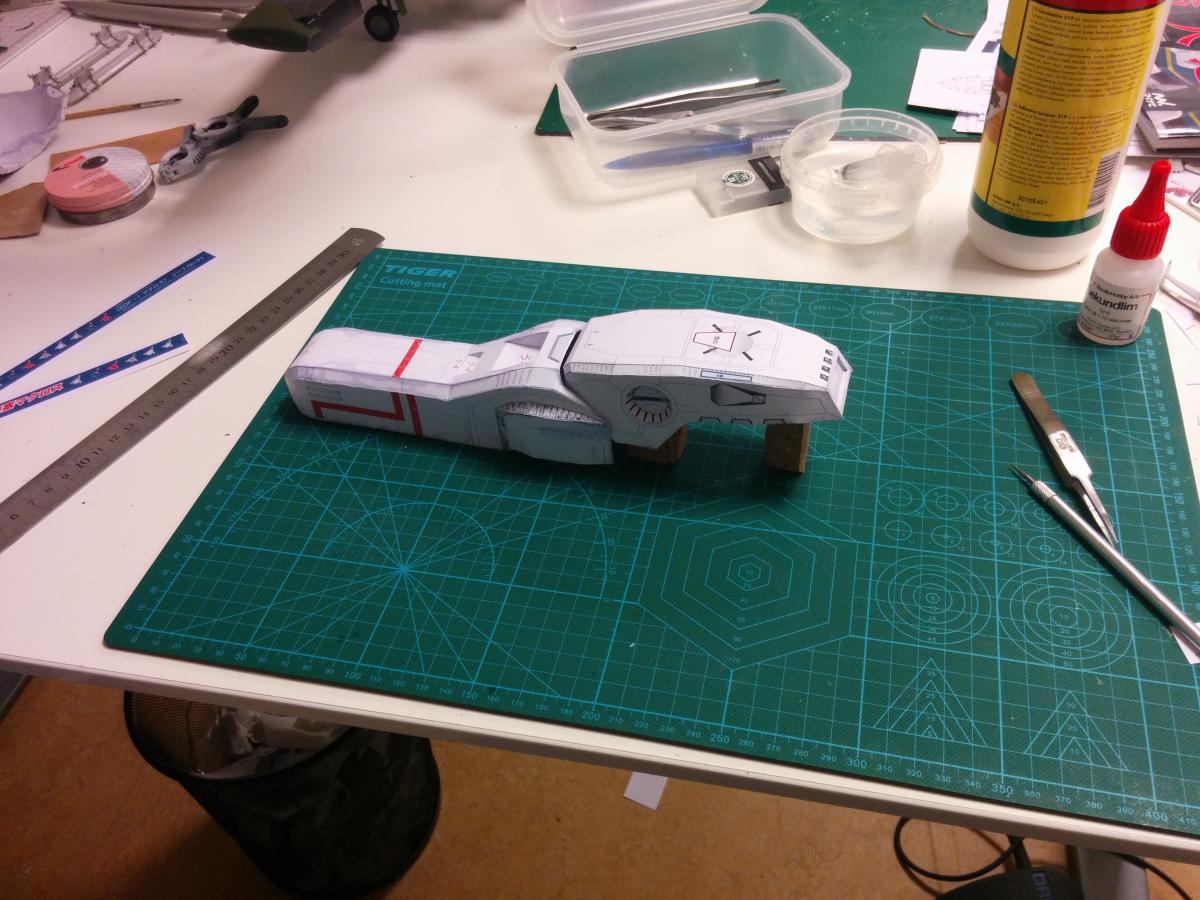
i managed to correct my mistake...
cause my front did skew abit... nothing a knife and superglue couldn't fix though
but dang this is gonna be big

-
just edited first post with more images of my tools and added some that i forgot
also a size comparison
-
ok guys ive started the new build thread.....
link is in my signature down below


-
As promised ill be starting the
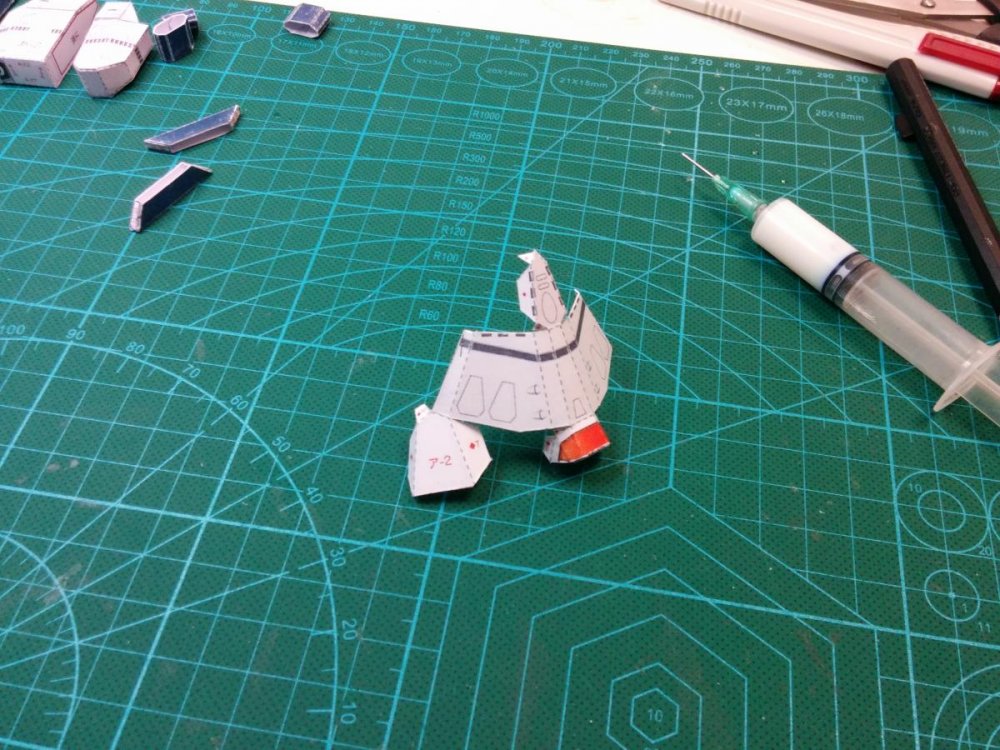
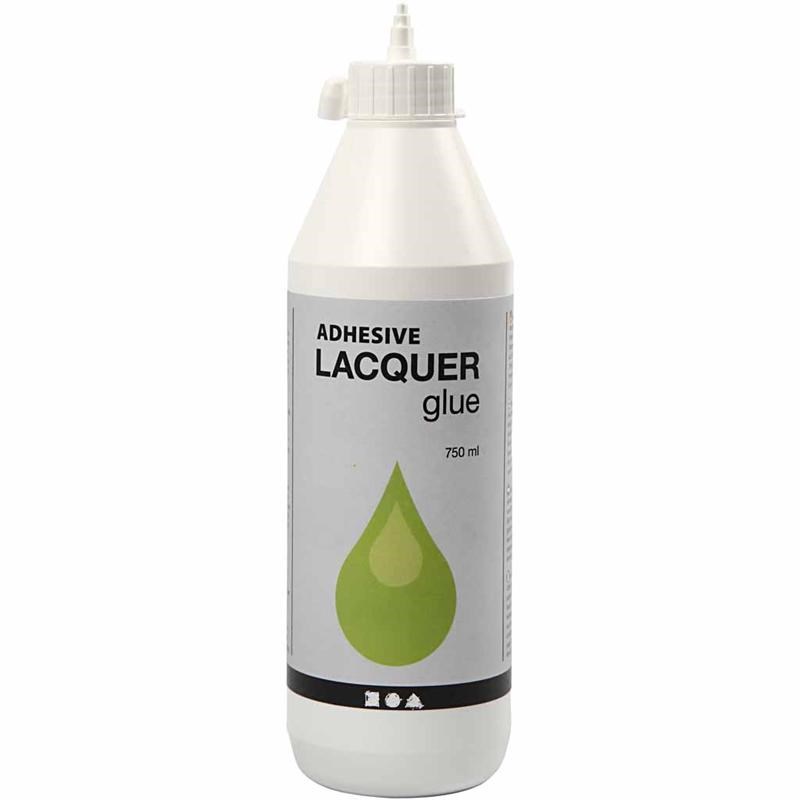
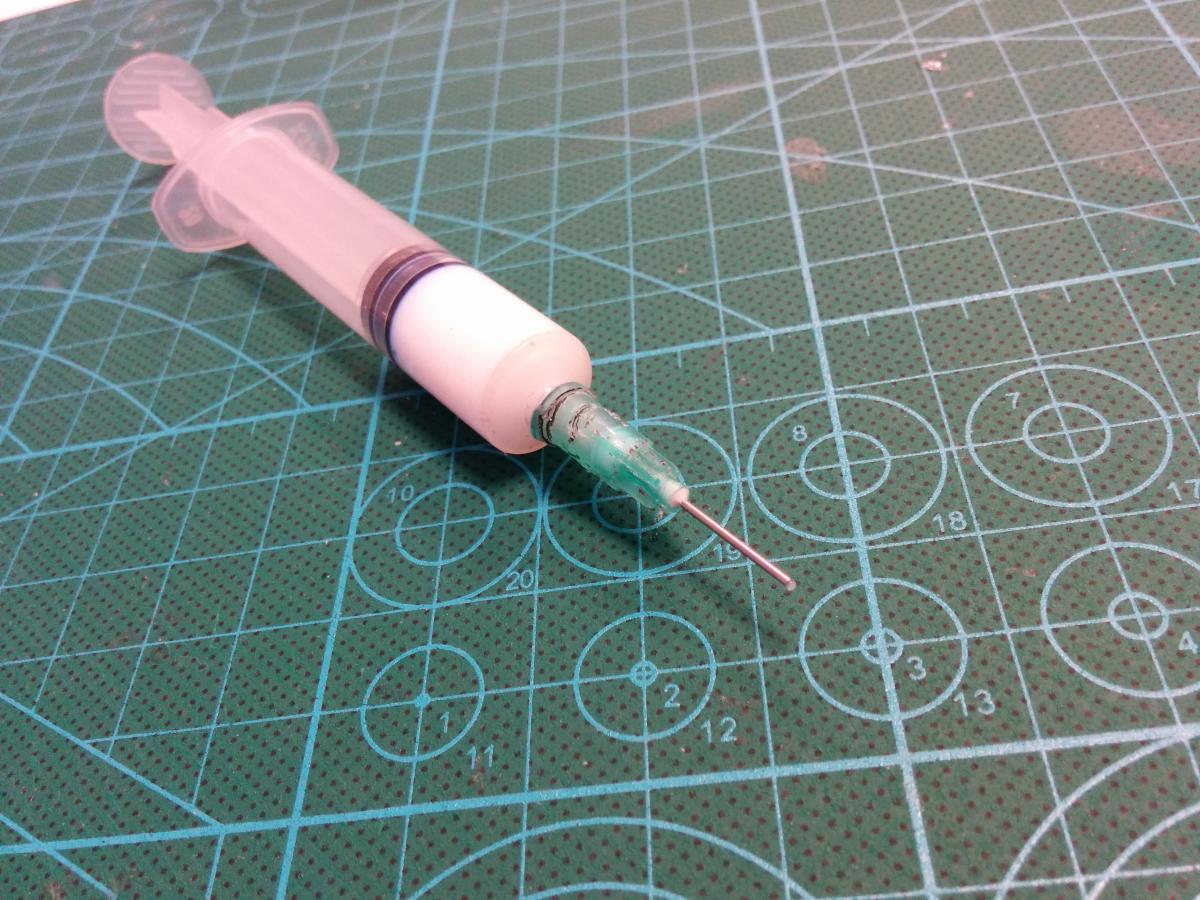
ok im using a Tamiya Modellers Knife, Metal Ruler, adhesive lacquer, syringe w/ blunt needle, Cutting Mat, tweezers, cyanoacrylate Thin (Super glue), a dull needle or similar, and a pair of scissors for rough cutting.
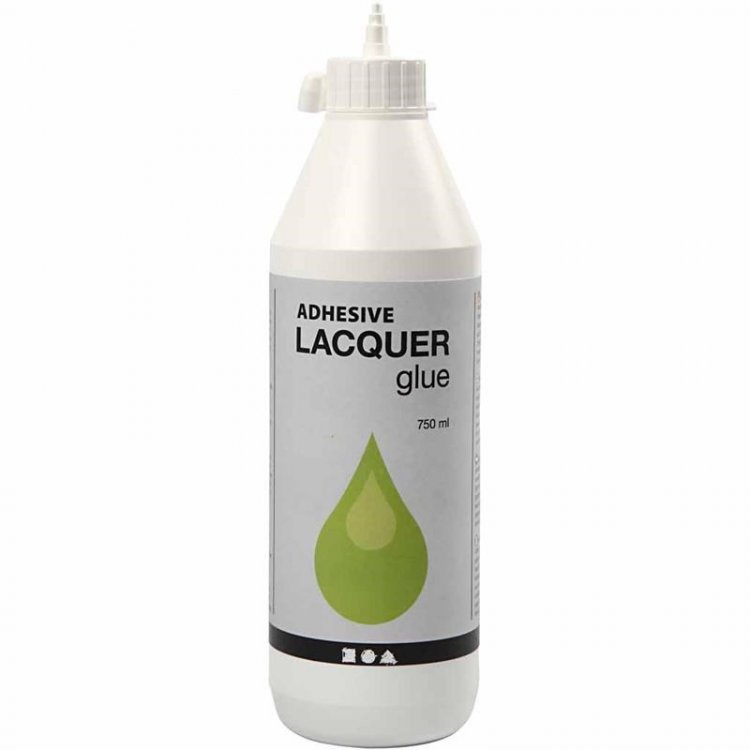
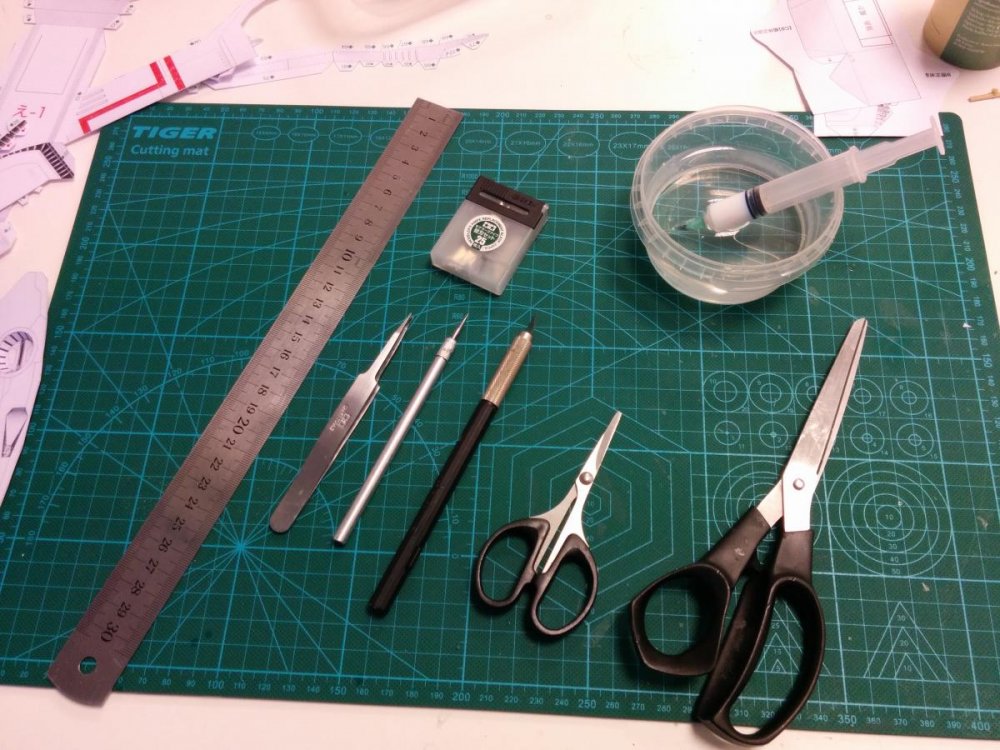
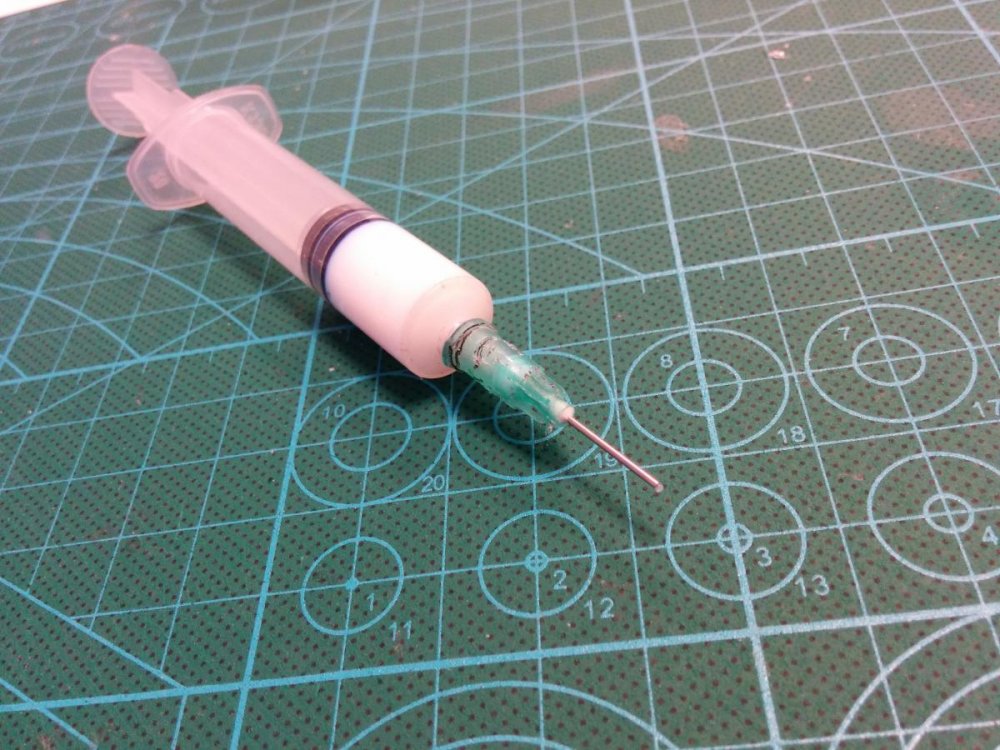
the syringe is for easy application and dosage of the glue
of cause it doesnt have to Tamiya any model knife can be used, in the end its what you feel most comfortable with.
now the super glue is not a must... but i find it very useful in certain situations!
the needle is for bevel the paper on foldlines...(if u have absolute no clue as to what i just wrote, tell me and ill post a video of it)
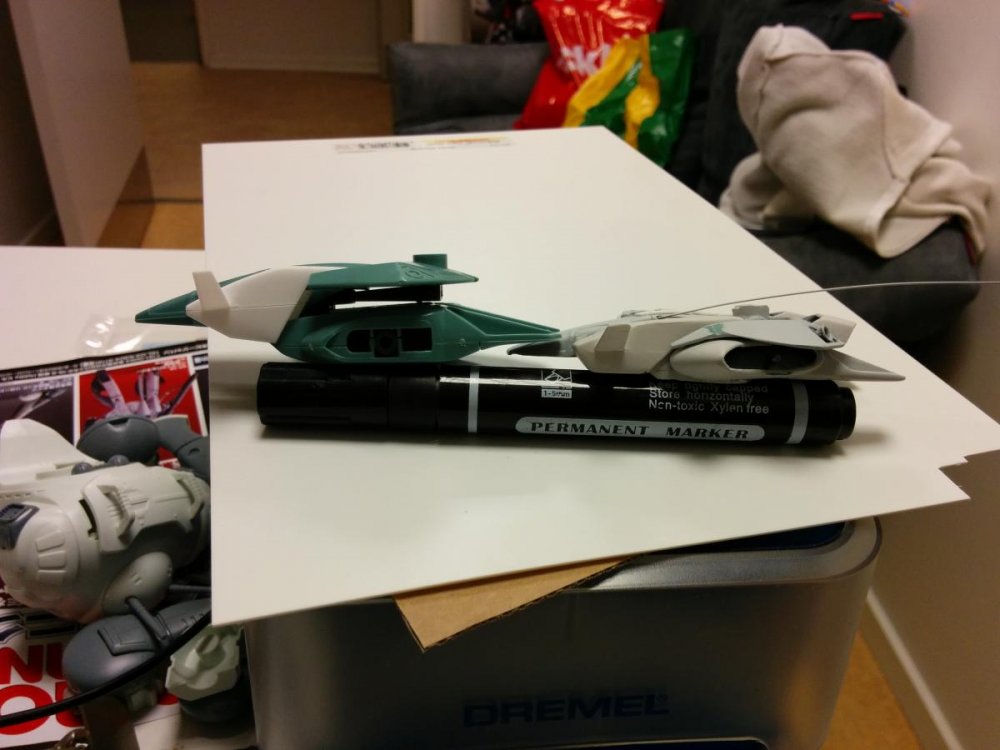
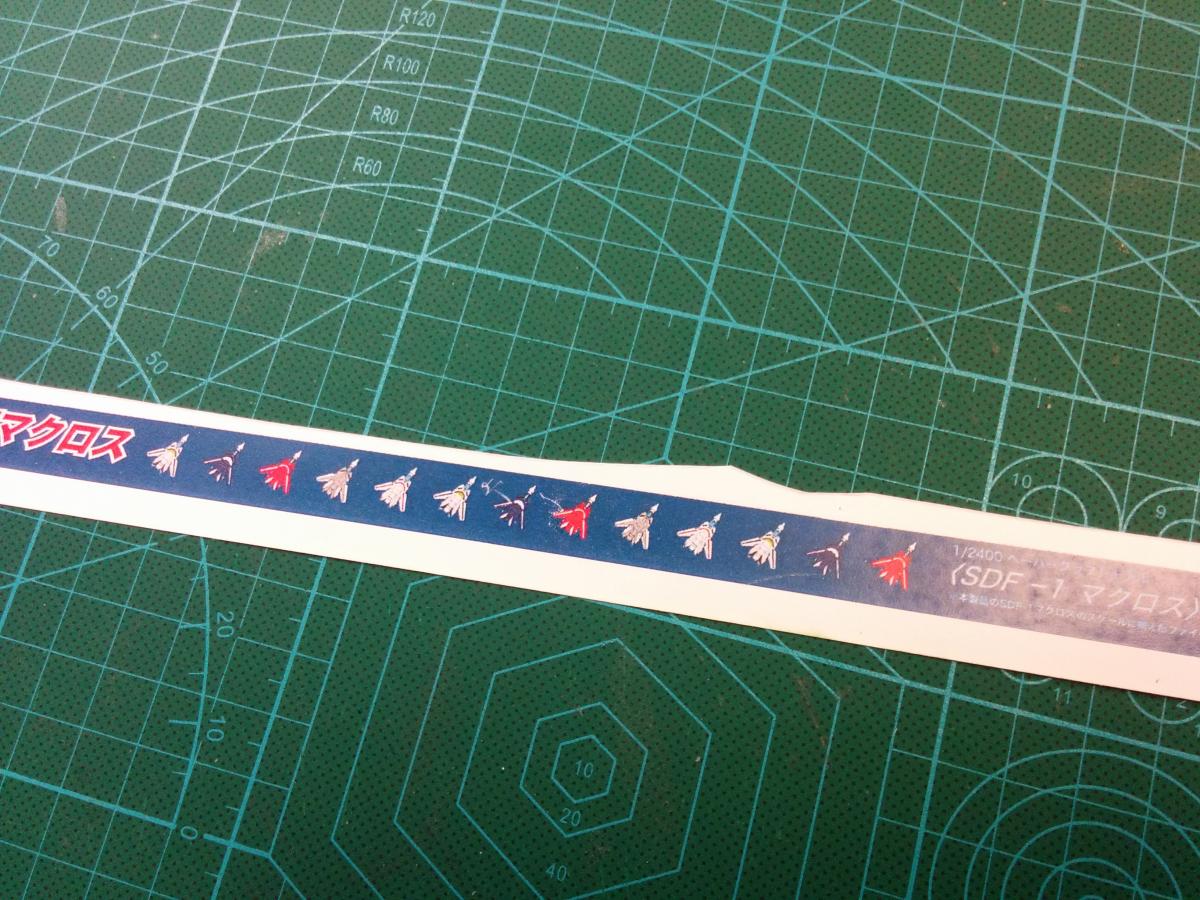
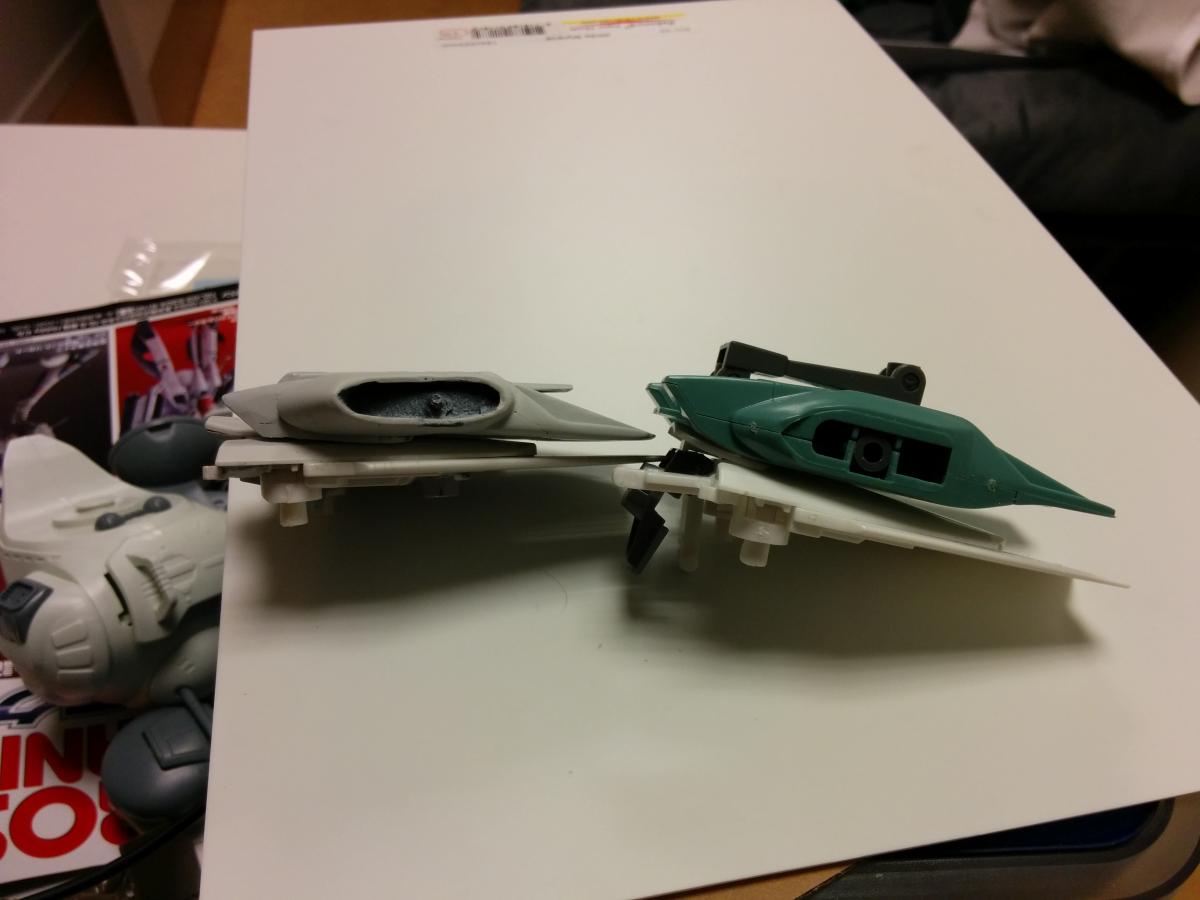
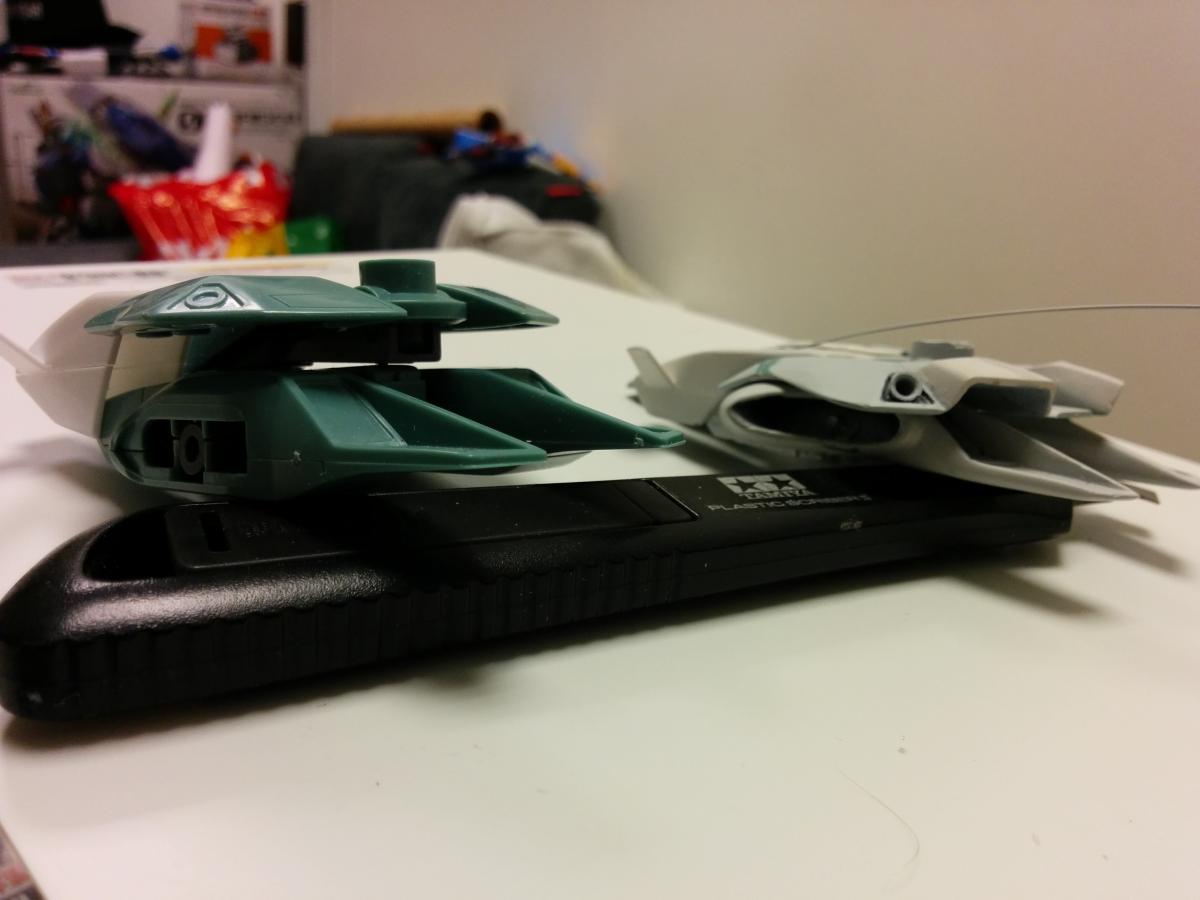
now first up, a little fun fact:
These are in scale!!
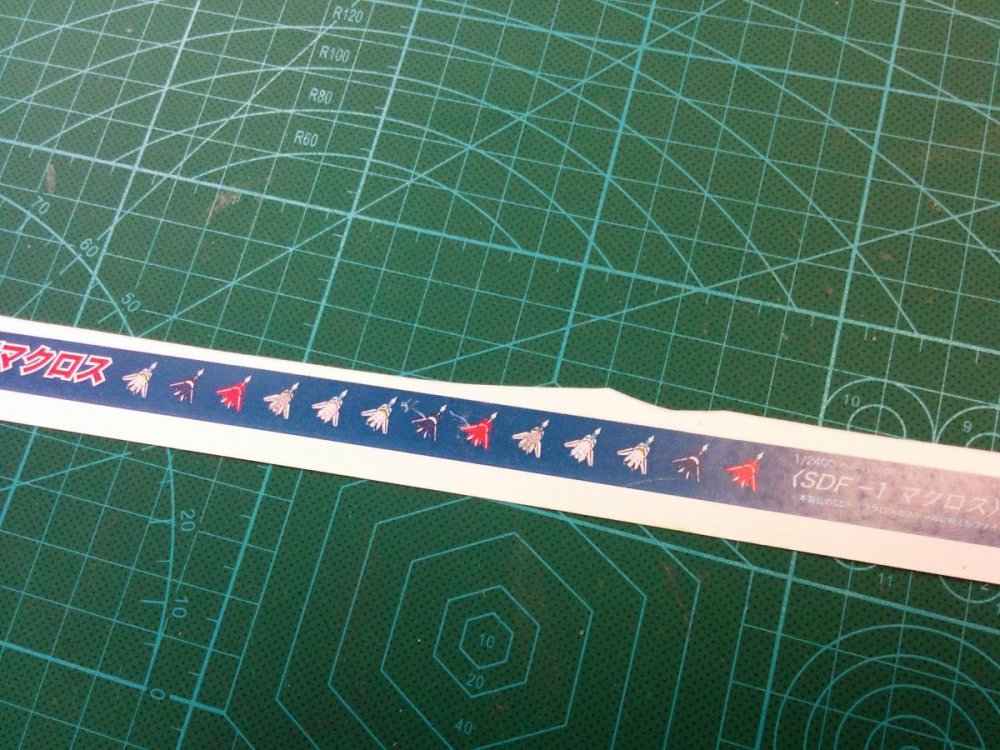
and remember:
to those of you out there who is also building this model, ask me if u have any trouble with this build... or if you feel that i havent explained a troublesome part, thoroughly enough!
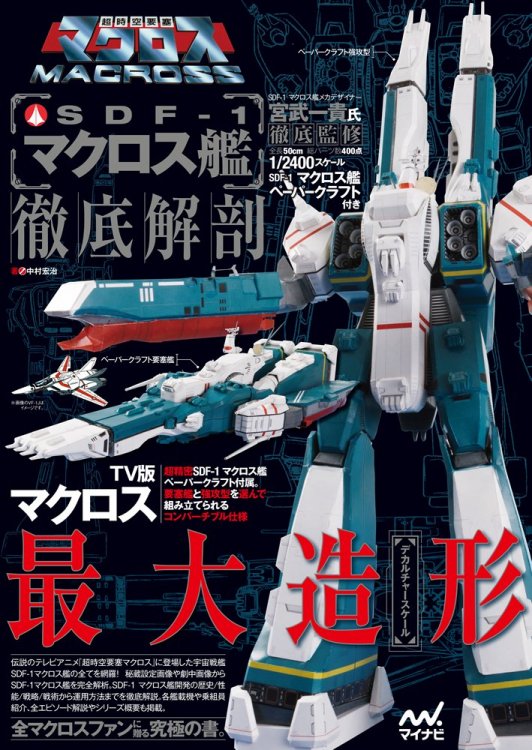
what i did firstly was to scan the pages from the original magazine and scale them up from A4 to A3 which changes the size from 50 cm in length to 75 cm
thats why it seems so big on my cutting mat, just an info so you dont get confused

________________________________________________________________________________________________________________
Ok here we go!
First some simple parts should be straight foreward

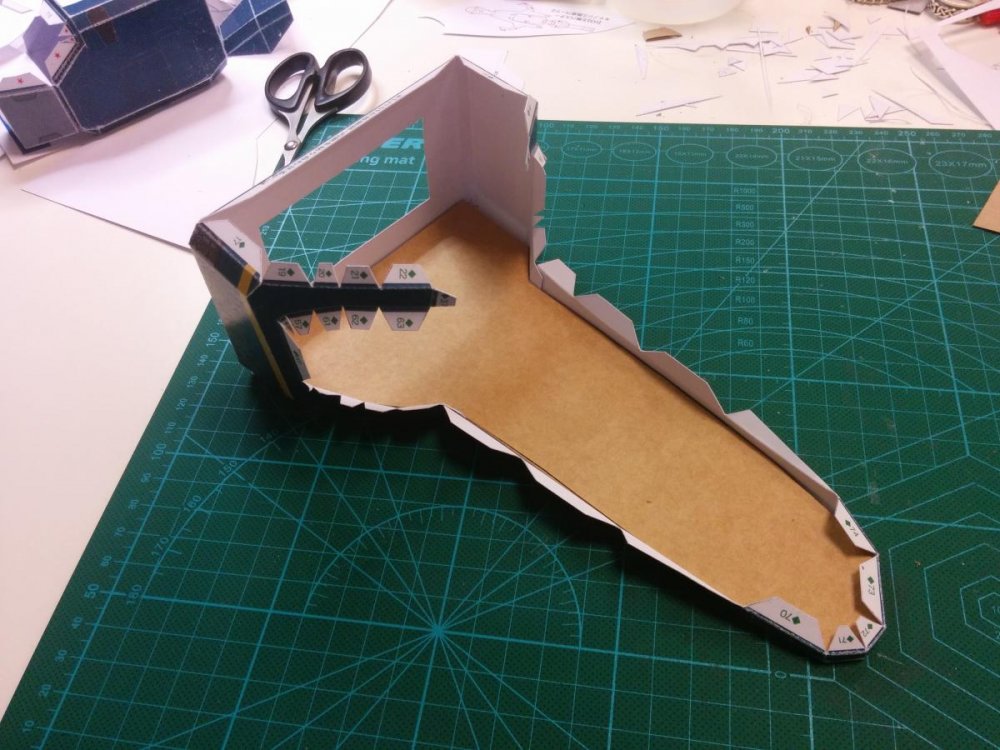
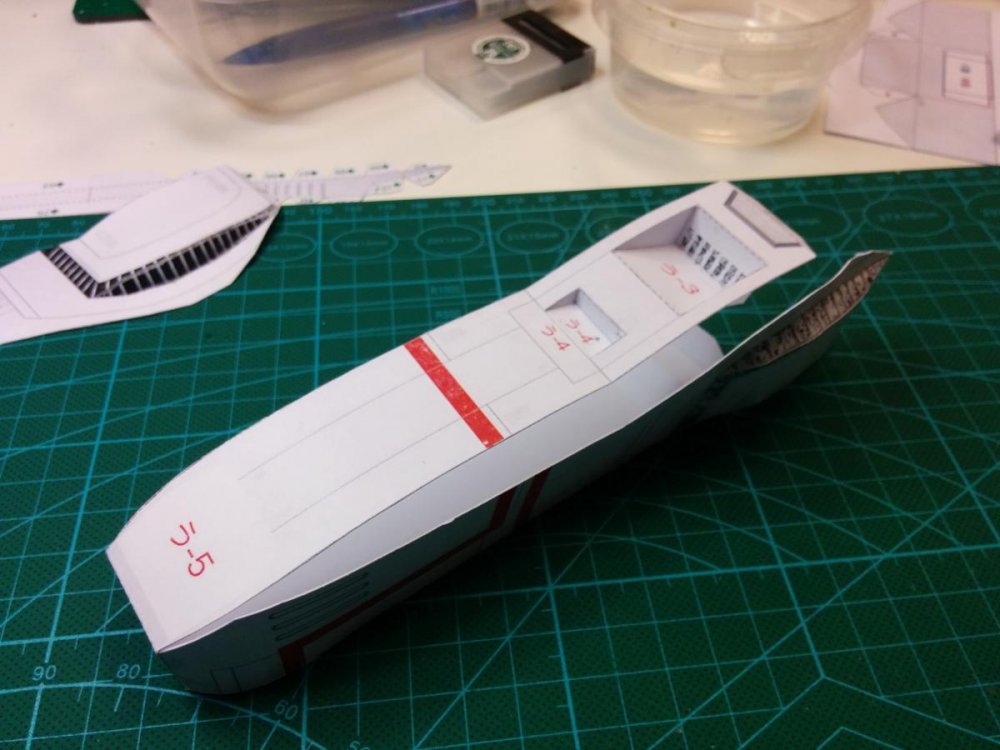
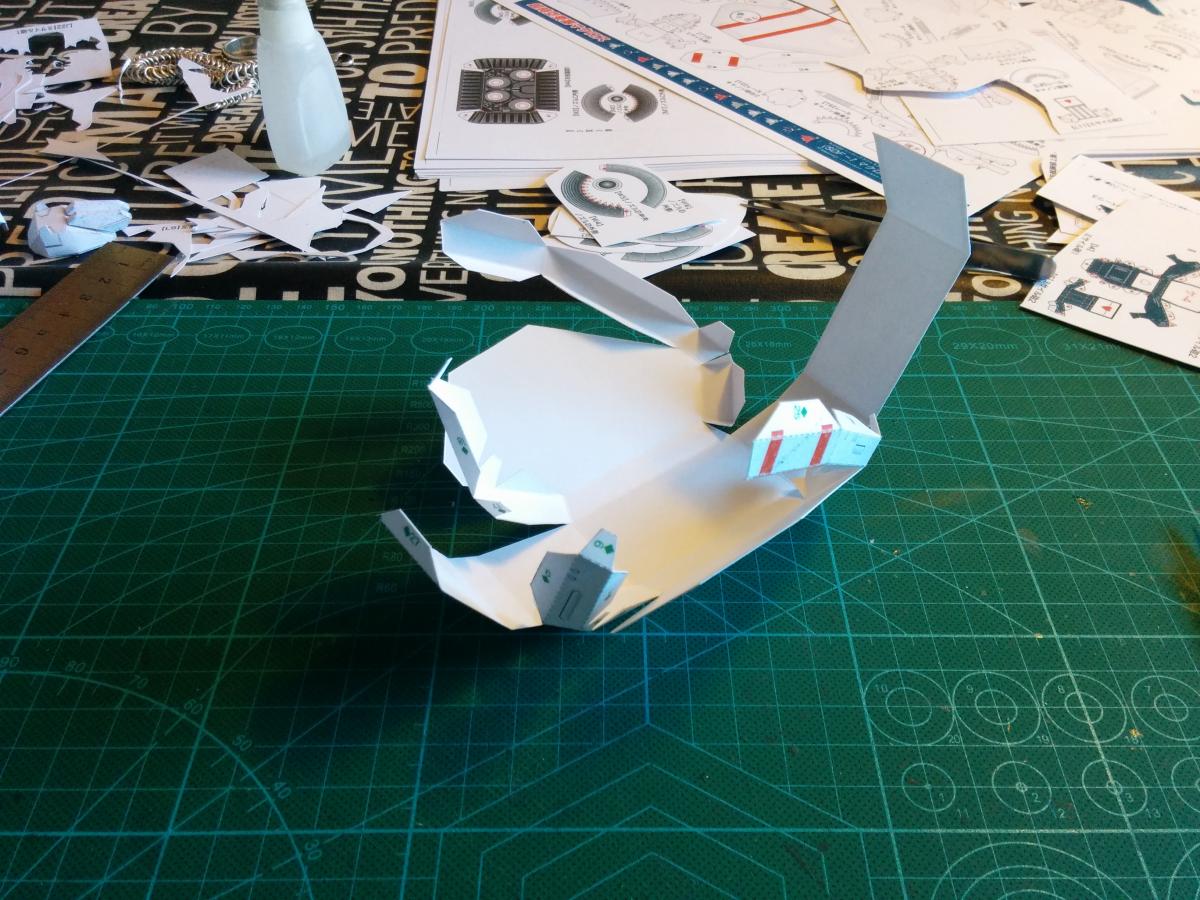
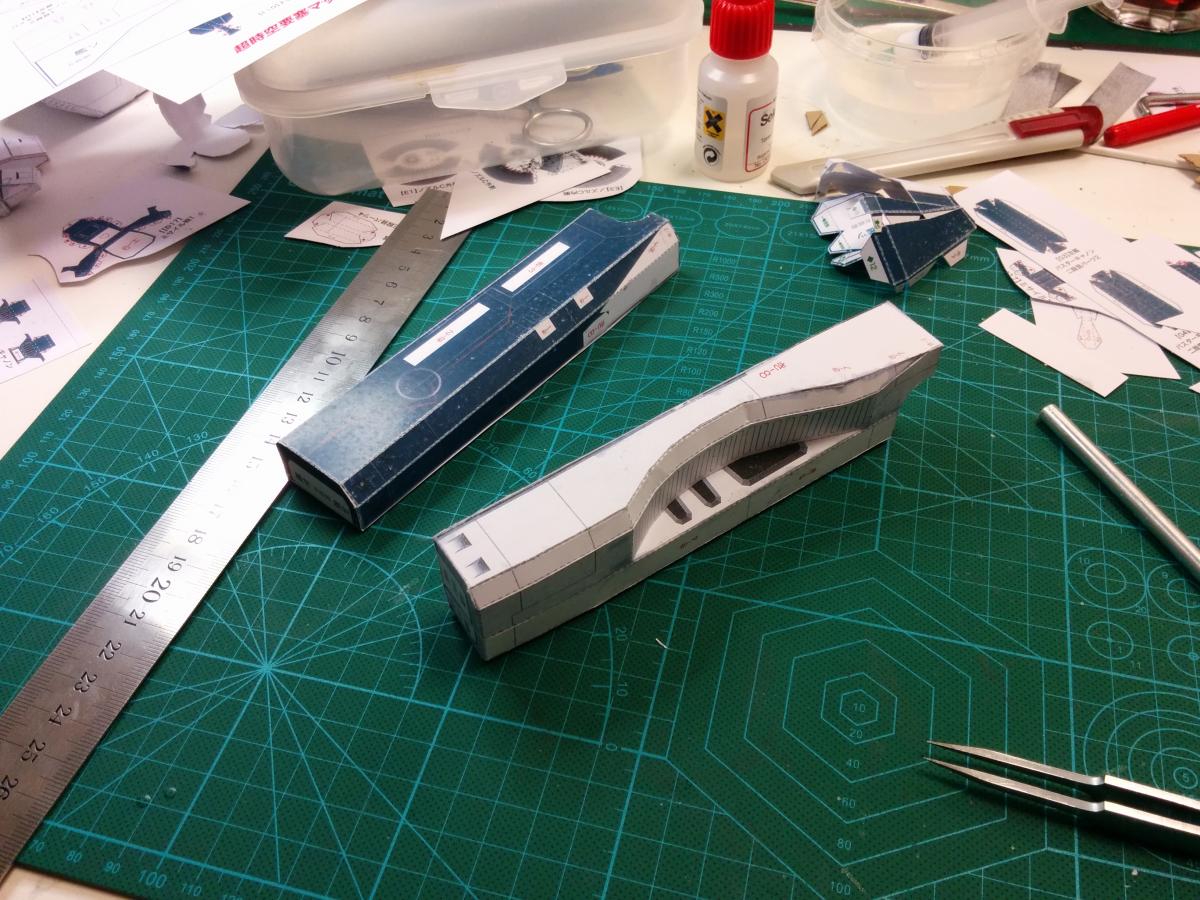
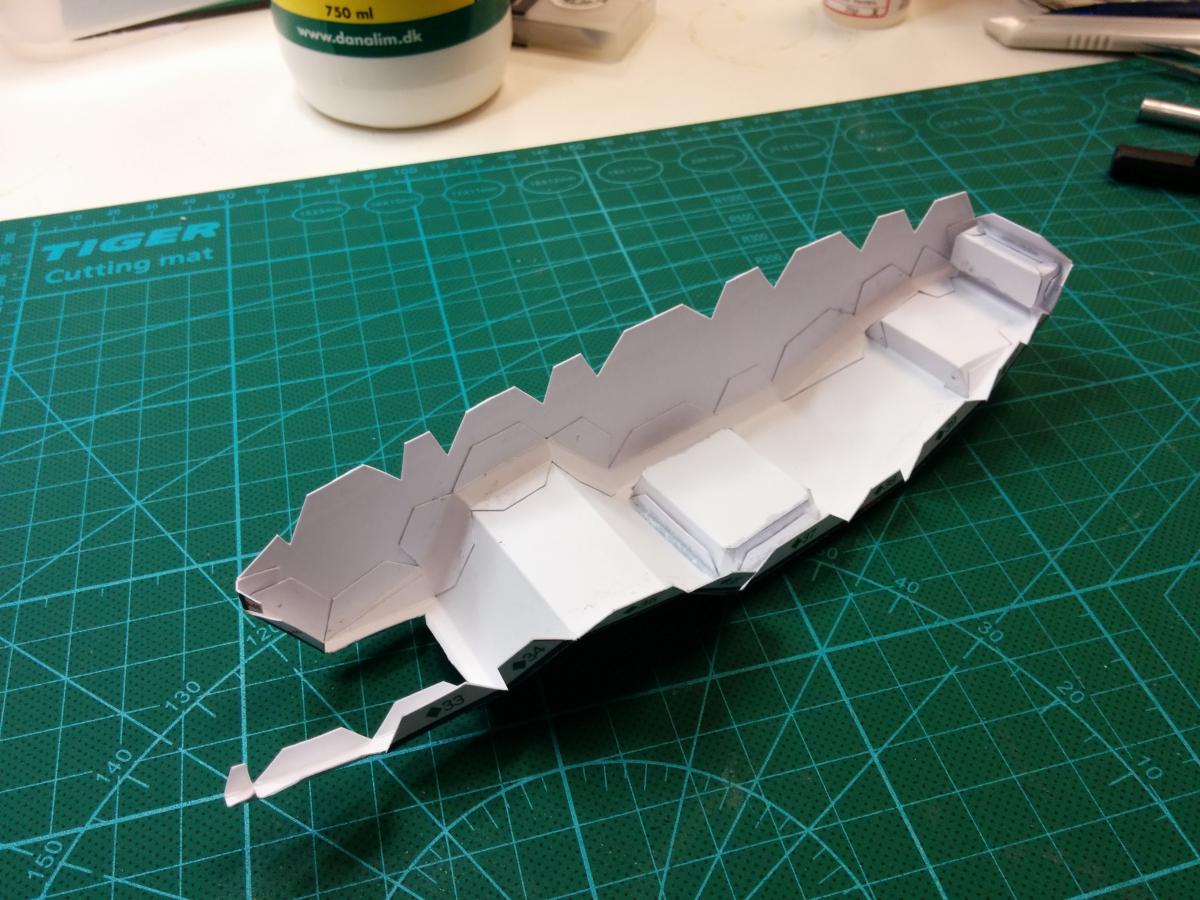
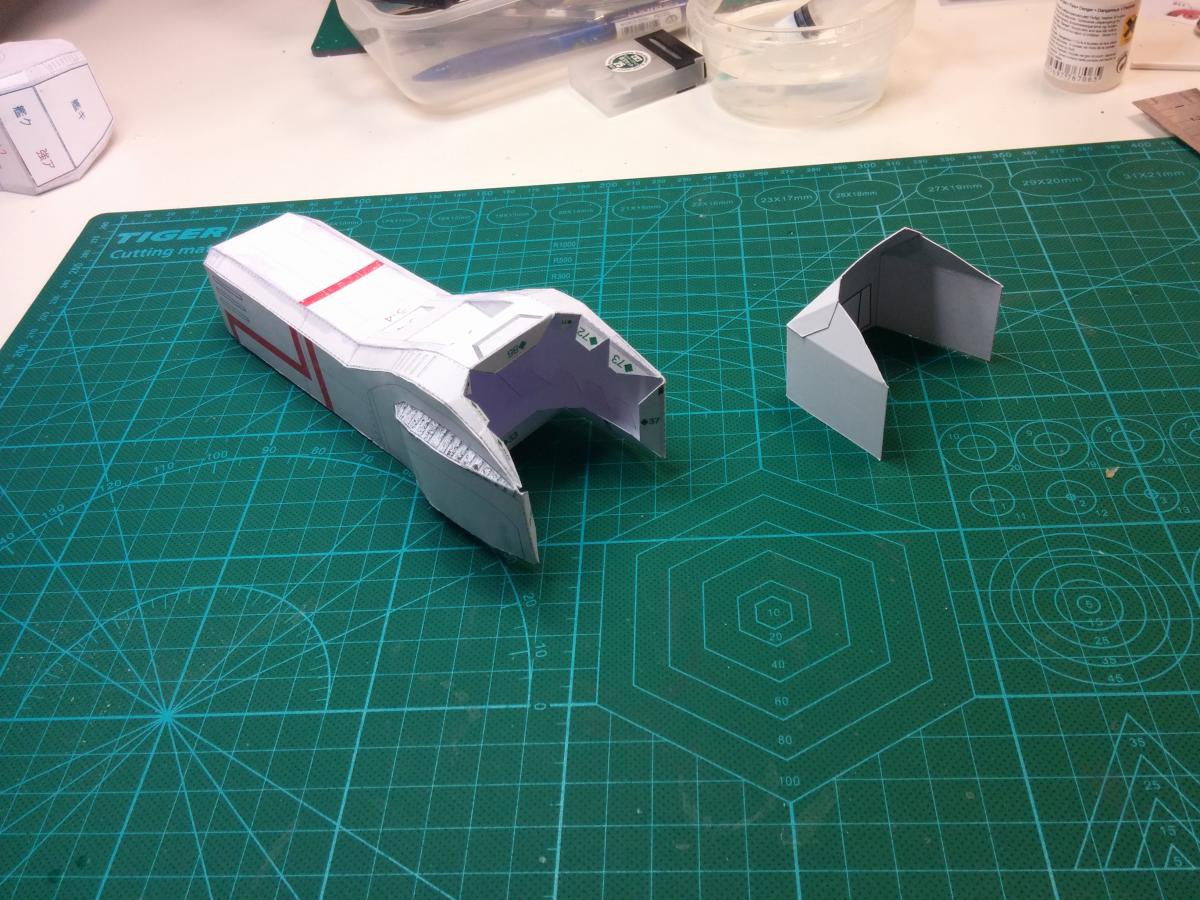
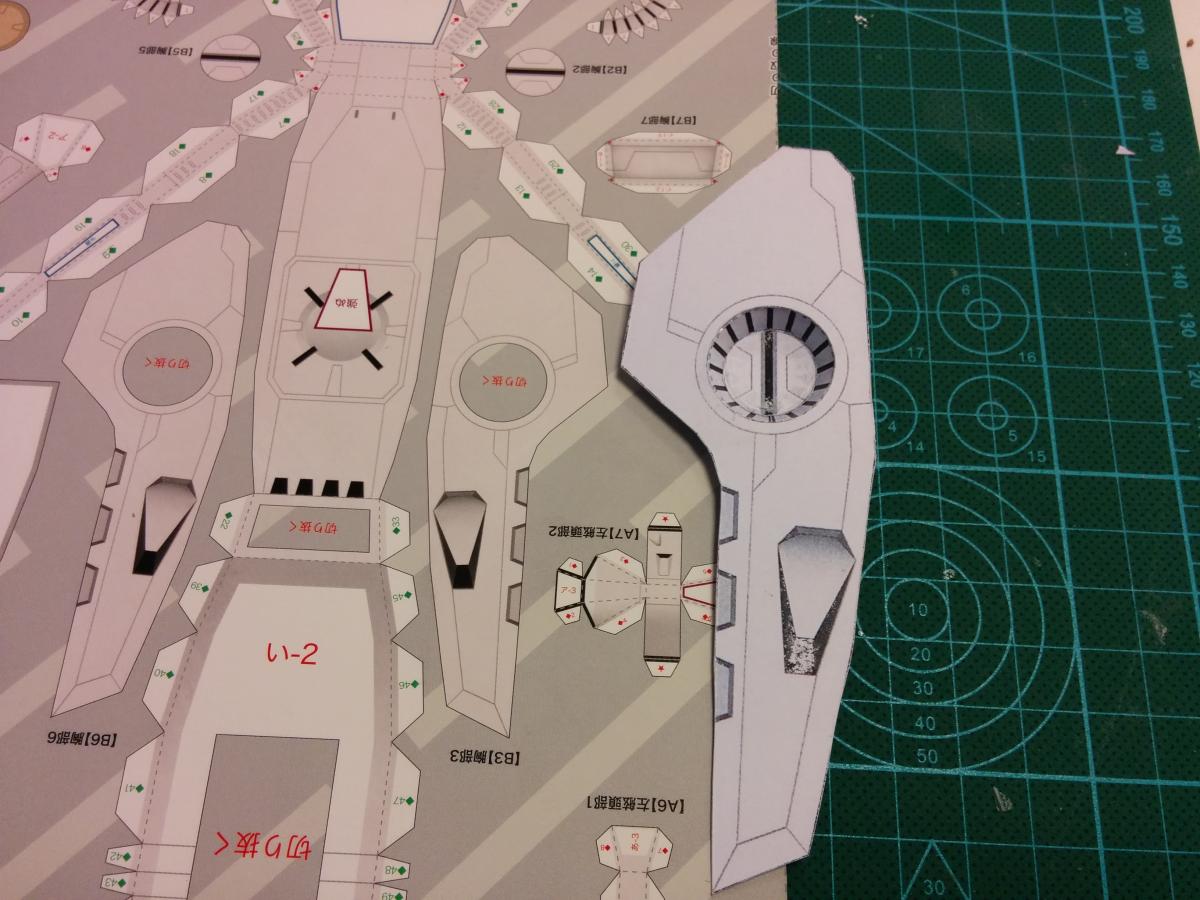
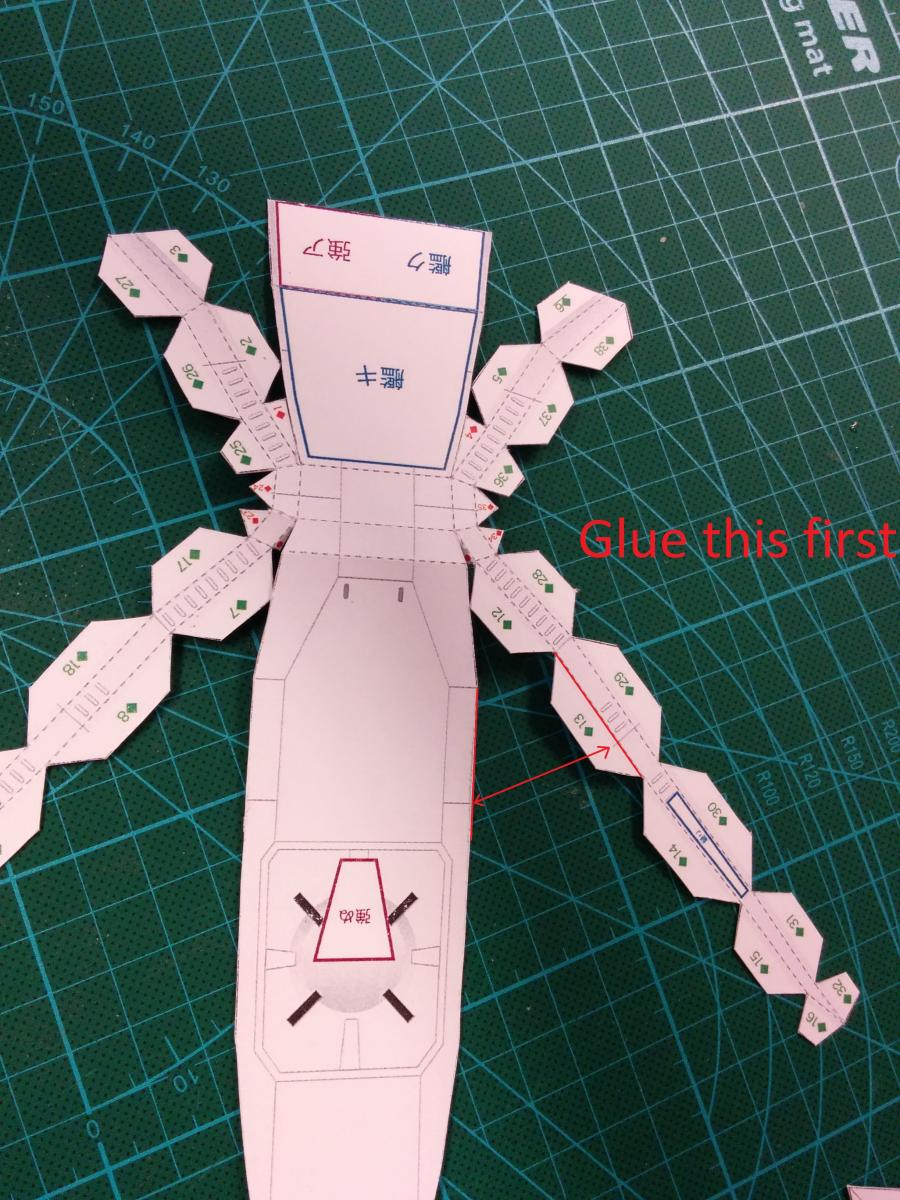
now this bigger piece, its important to start glueing the big flaps first, to make sure they lineup with the panelines.

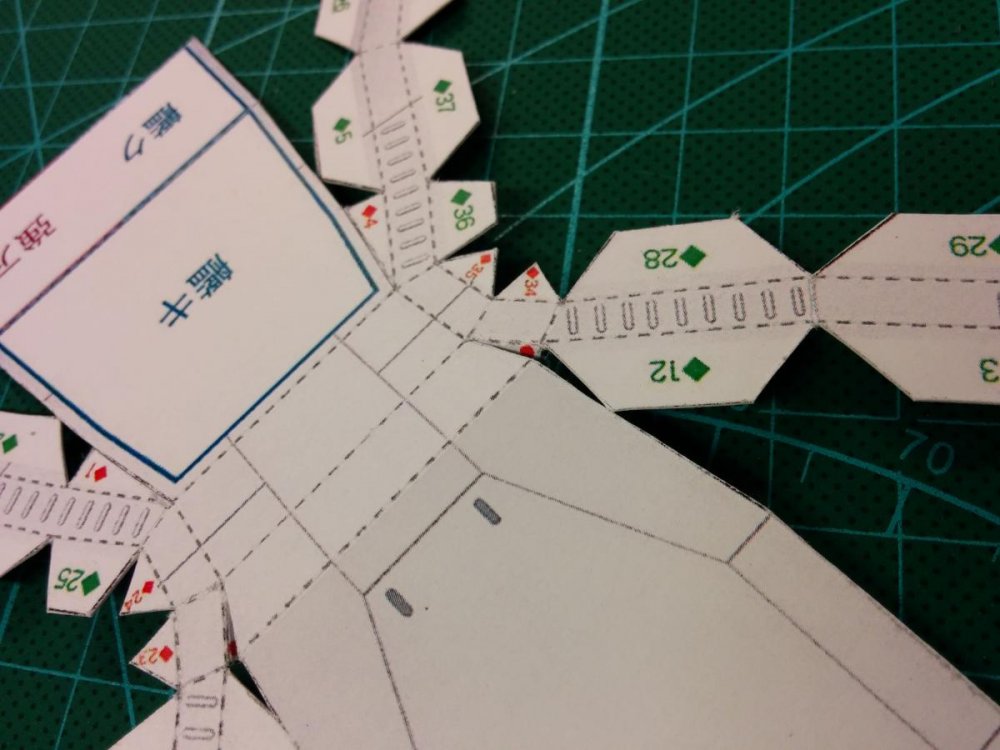
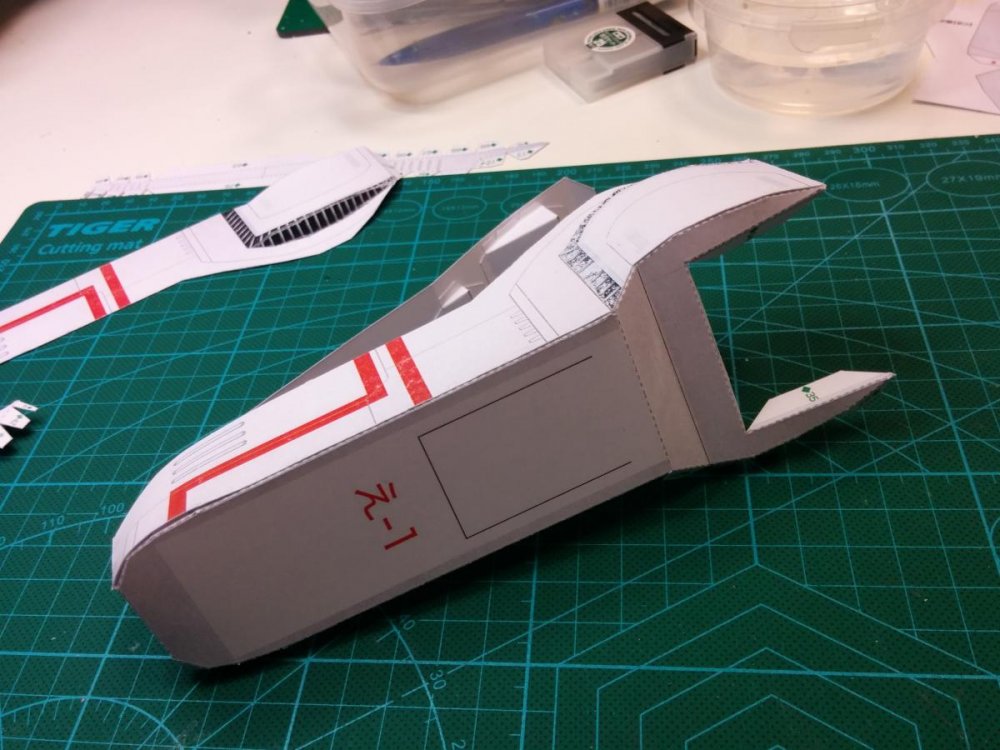
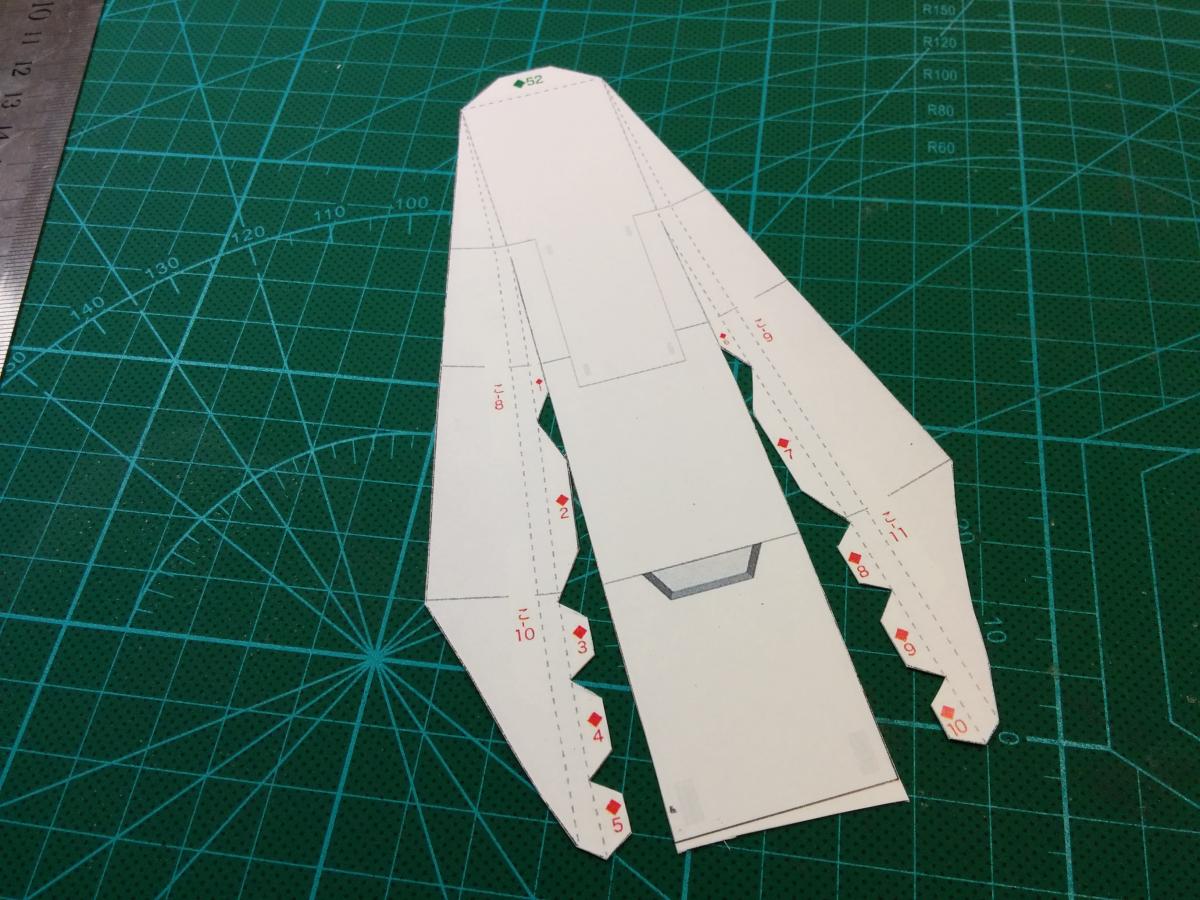
a friend of mine could not figure out how the next big piece would fit together, it actually to me a couple of glances..
the need to be seperated first
this is it for today.....
-
Is anyone planning an upscaled build? Maybe 1/350?
LOL!!
i was planning to have it upscaled to A3 papersize
which would make the scale around 1/1600 and the model would be around 75cm in lenght
-
Mine should be arriving in the next few days (non registered SAL shipping).
I've NEVER done this kind of papercraft before. Any tools I should have on the ready?
Cutting knife w/ extra blades, paper glue or my preffered adhesive laquer... Well if u can wait a couple of days.... I'll cover all u need to know in a build thread...
Also this isn't my first TV SDF-1 made out of paper
-
ok my copy arrived earlyer this day....
give me some time to prepare for
show and tell
ill cover tools, glues and touchups also handling of difficult areas
and strengthening
-
i bought it from amazon japan, and ill recieve it soon
and i thought i would start a thread with this build
if anyone is interested in me to do show and tell!
-
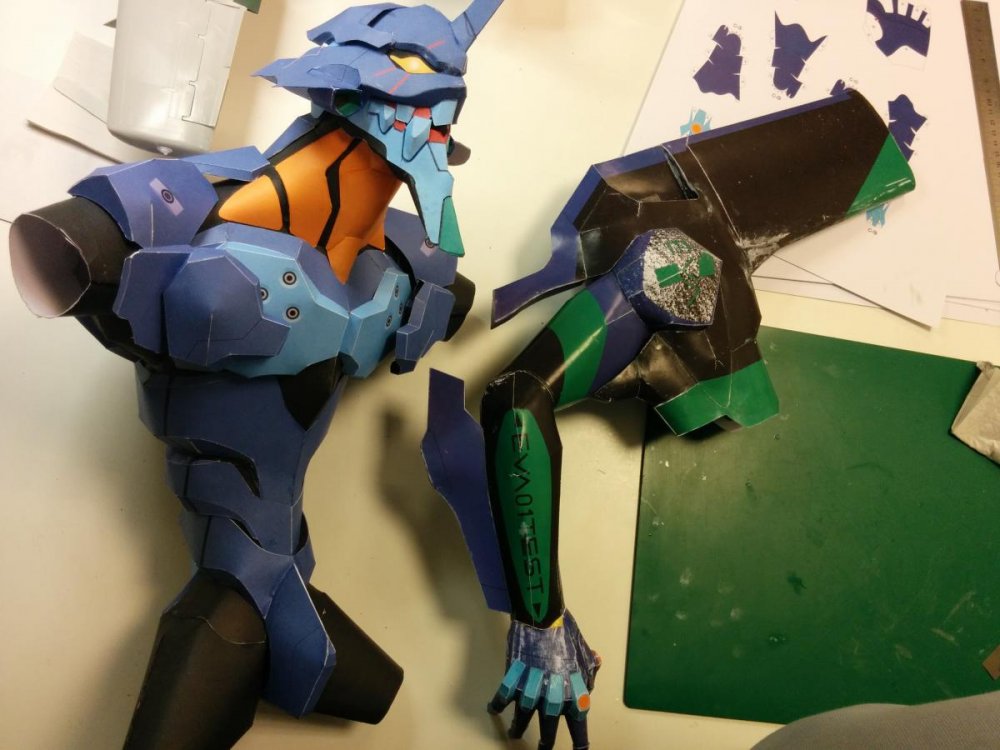
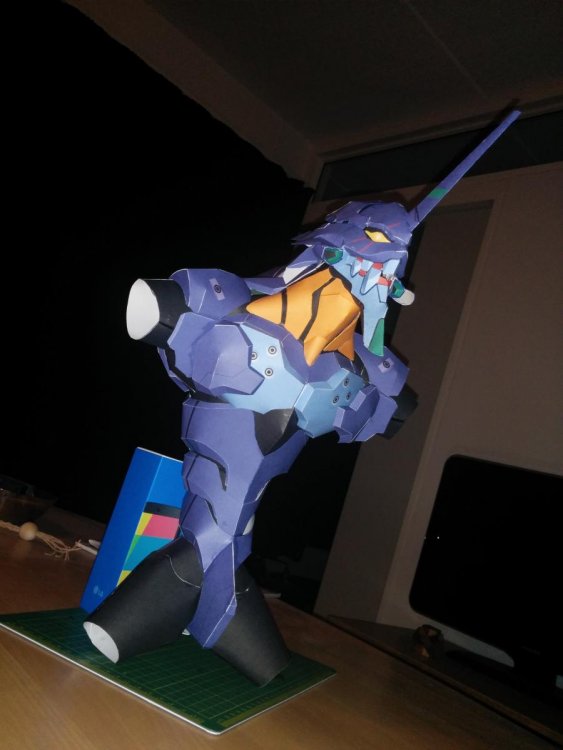
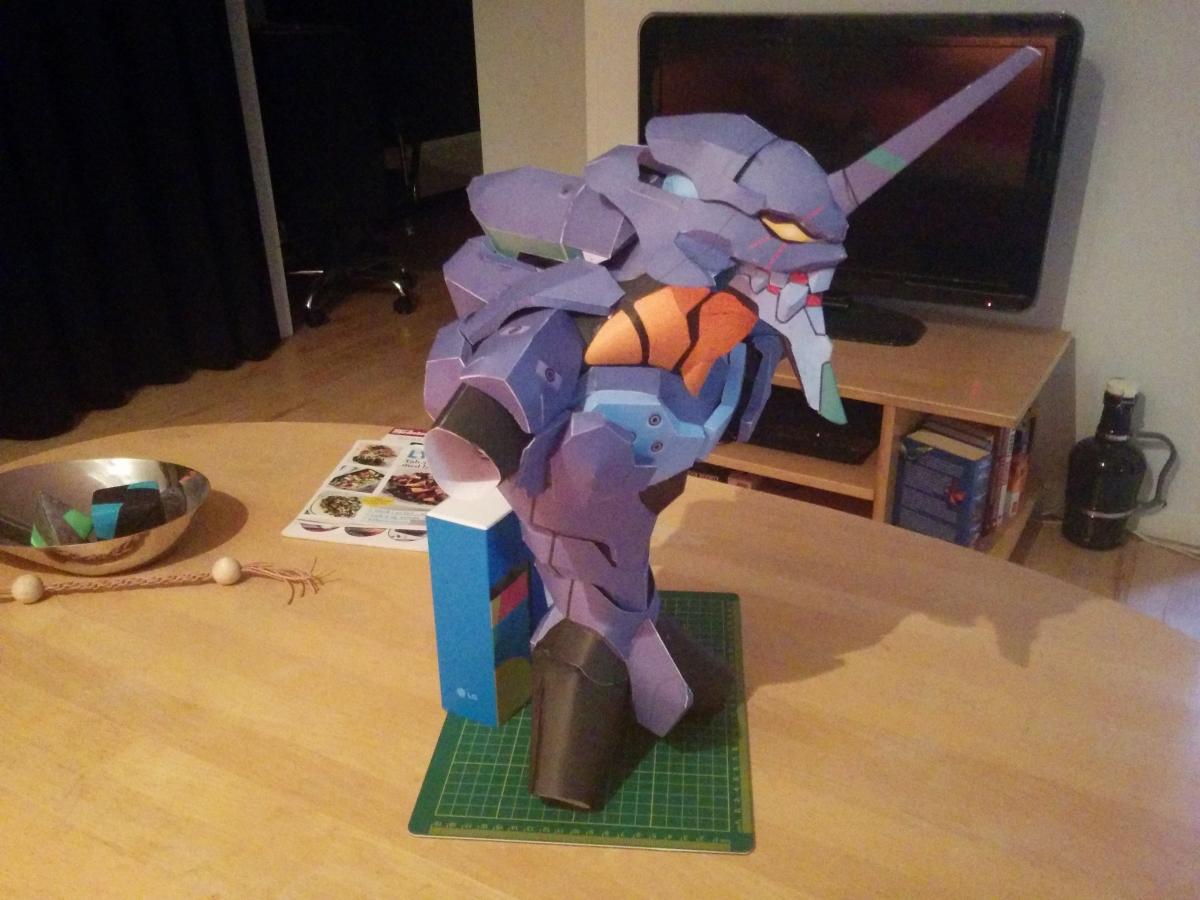
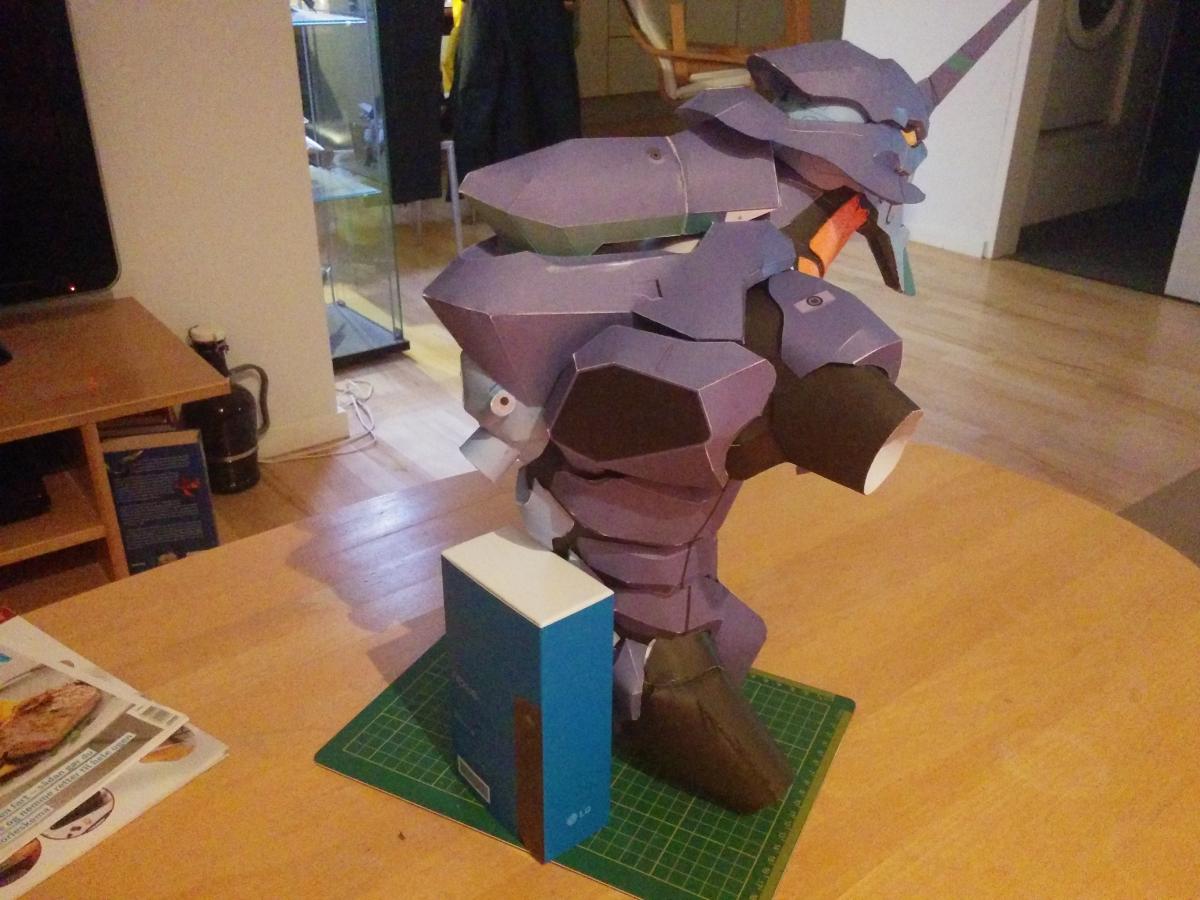
WOW!!!!!!! My old Bandai kit feels like a micro-machine toy compared to that EVA!
yea hes gonna be massive, i weren't expecting him to be this big

and with all the details im gonna add to him.... its gonna take some time!

-
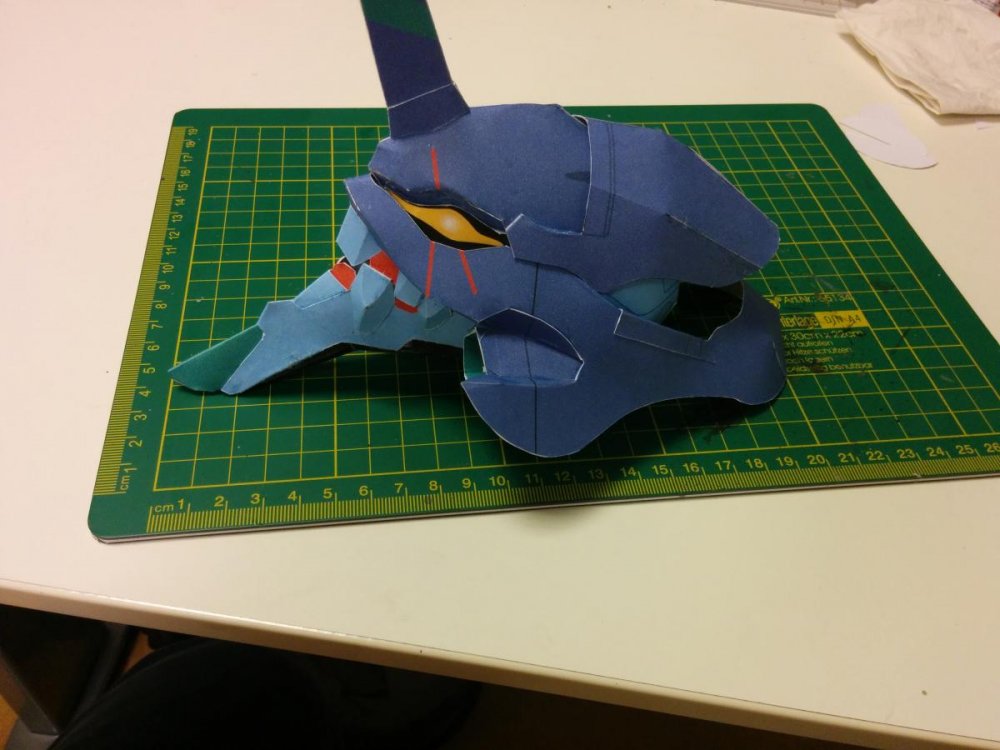
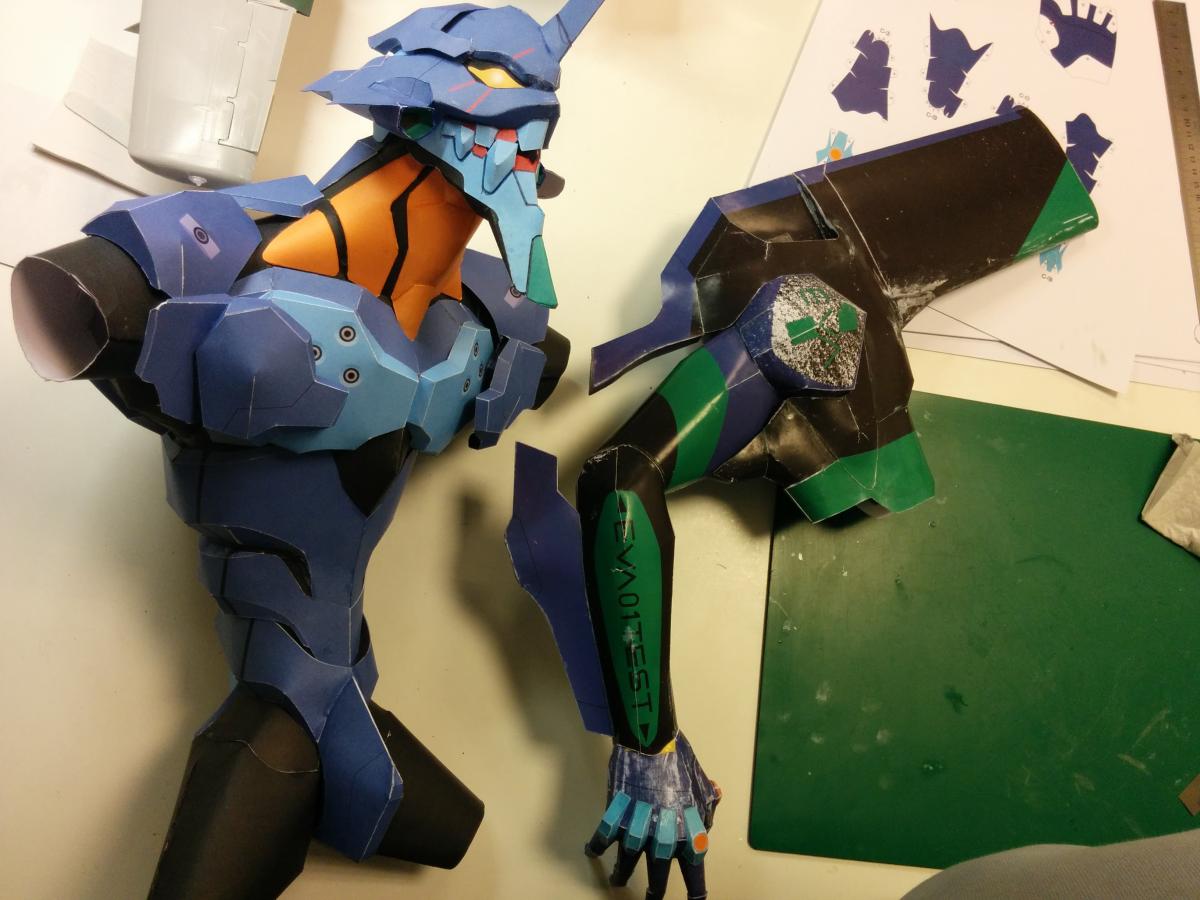
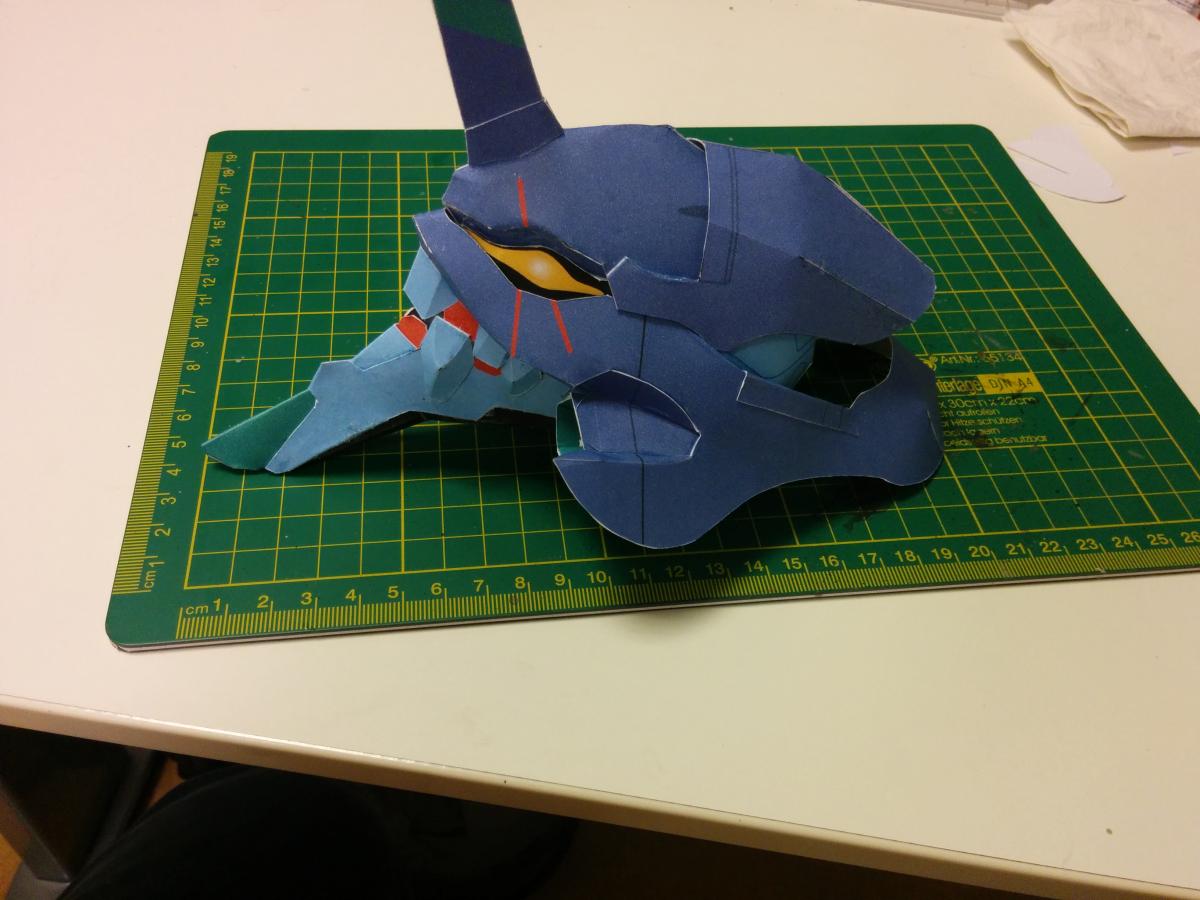
made some progress....

-
Are you going to seal the model with something? Once dust gets on paper, it's pretty much impossible to clean without leaving a grayish smear on the surface.
Yes im gonna seal, prime, paint and then seal again...
Derex, that came out great!
Nyankodevice,that thing is big enough to put by the door and scare salesmen away!-MT
My mom and grandma came to visit and my grandma paused by The door for 3 seconds when she saw it
-
That Huge! Where can one get one of these?
it can be found here
http://www.mypapercraft.net/neon-genesis-evangelion-eva-01-paper-model
or here
http://www.papercraftsquare.com/neon-genesis-evangelion-eva-01-ver-2-free-papercraft-download.html
just print it in A3 or equivalent size, and use thick paper.... 250 gsm paper is what i use on this one
-
"Little"..... LOL
well......i...
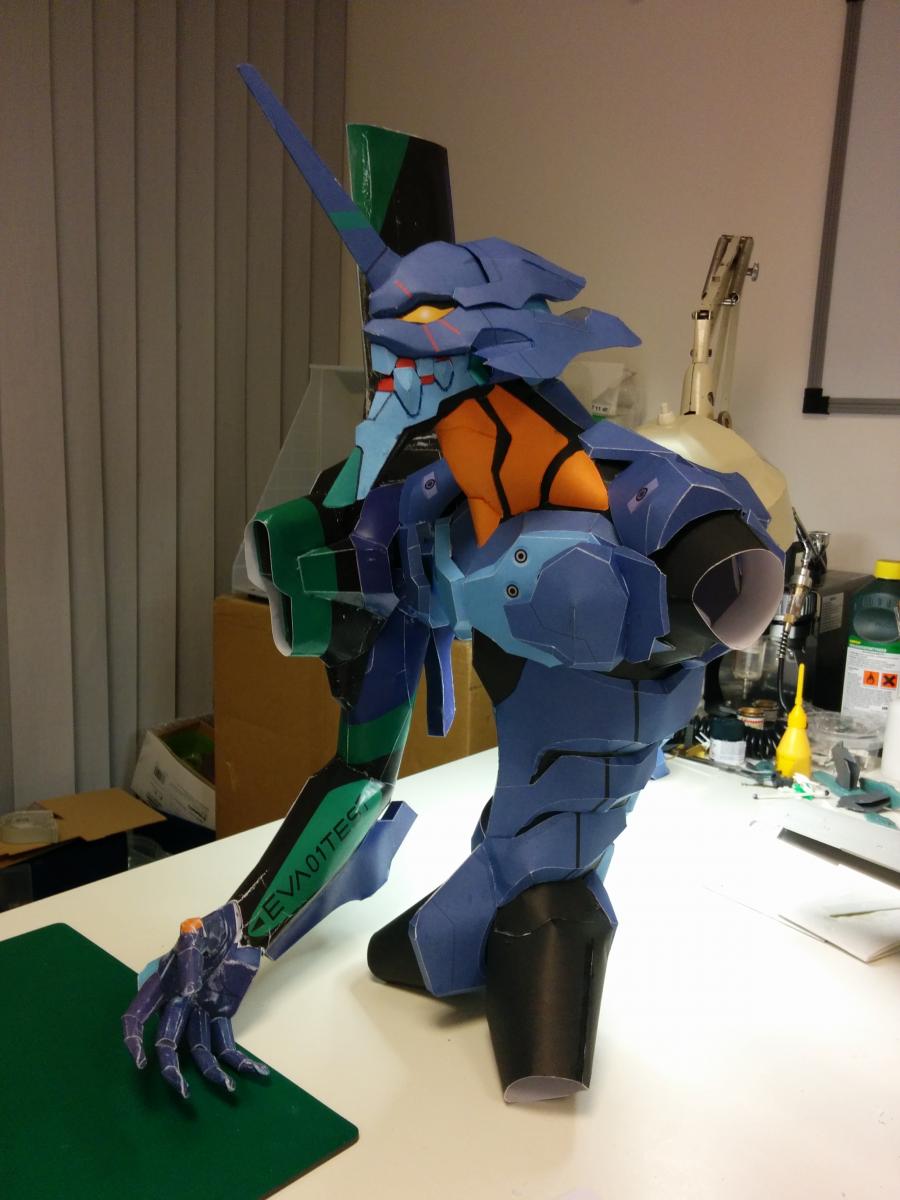
anyway some more progress!!


-
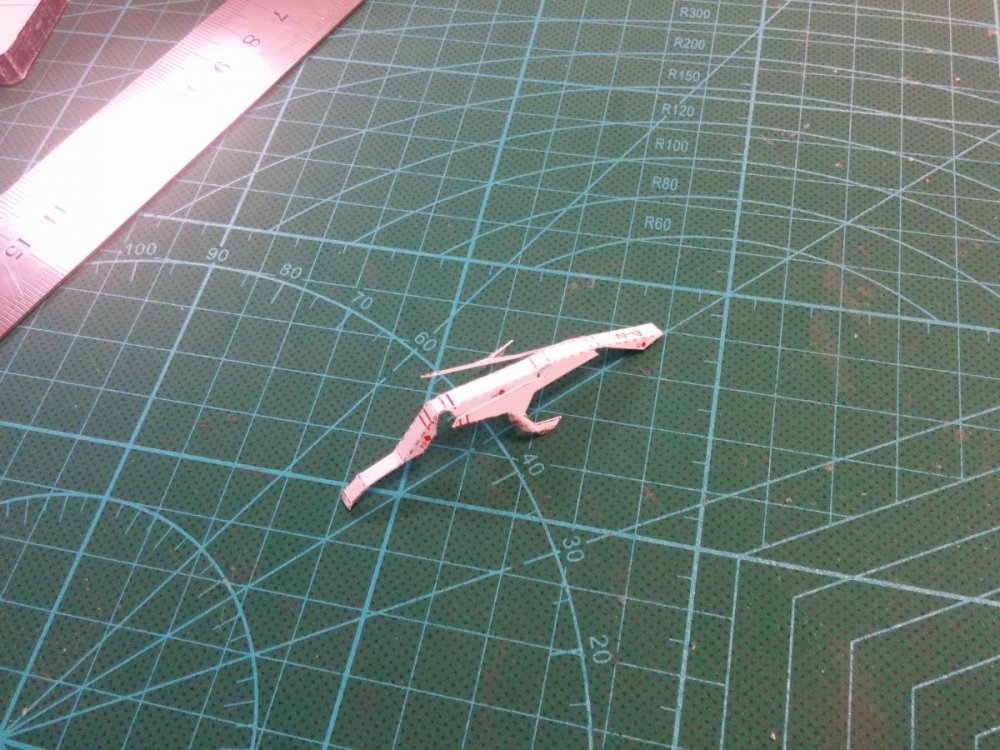
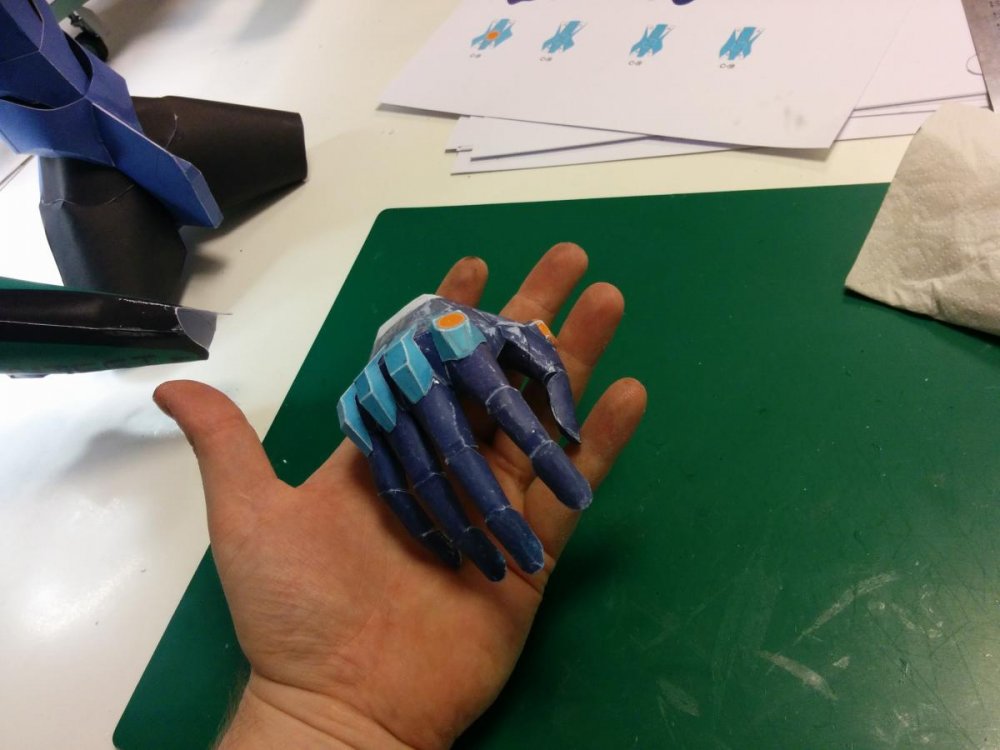
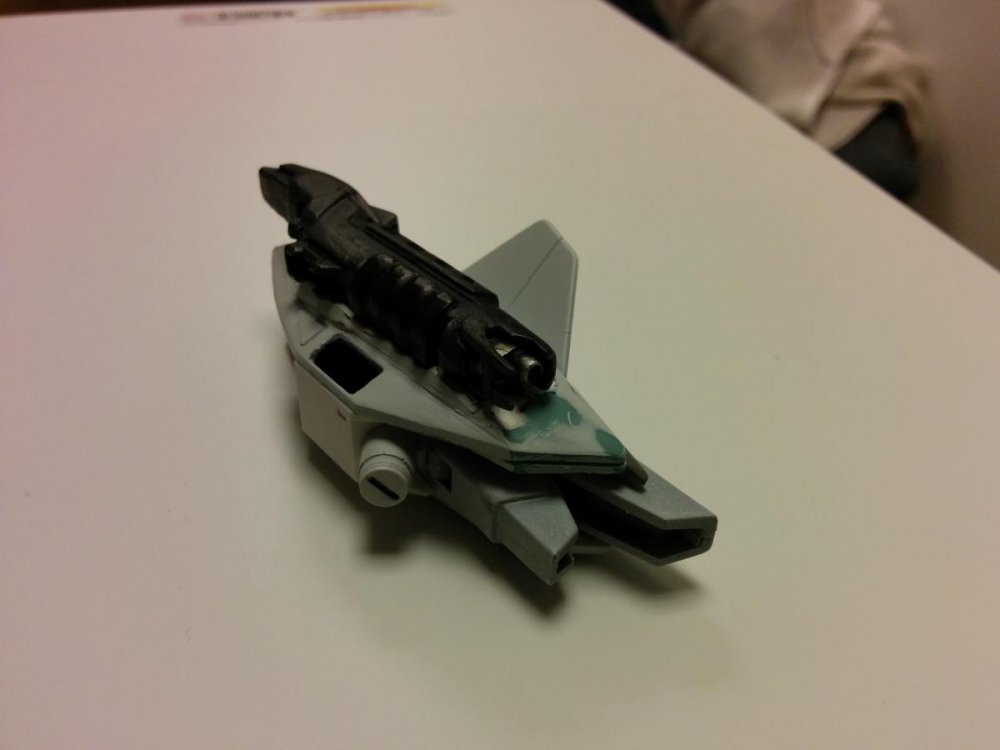
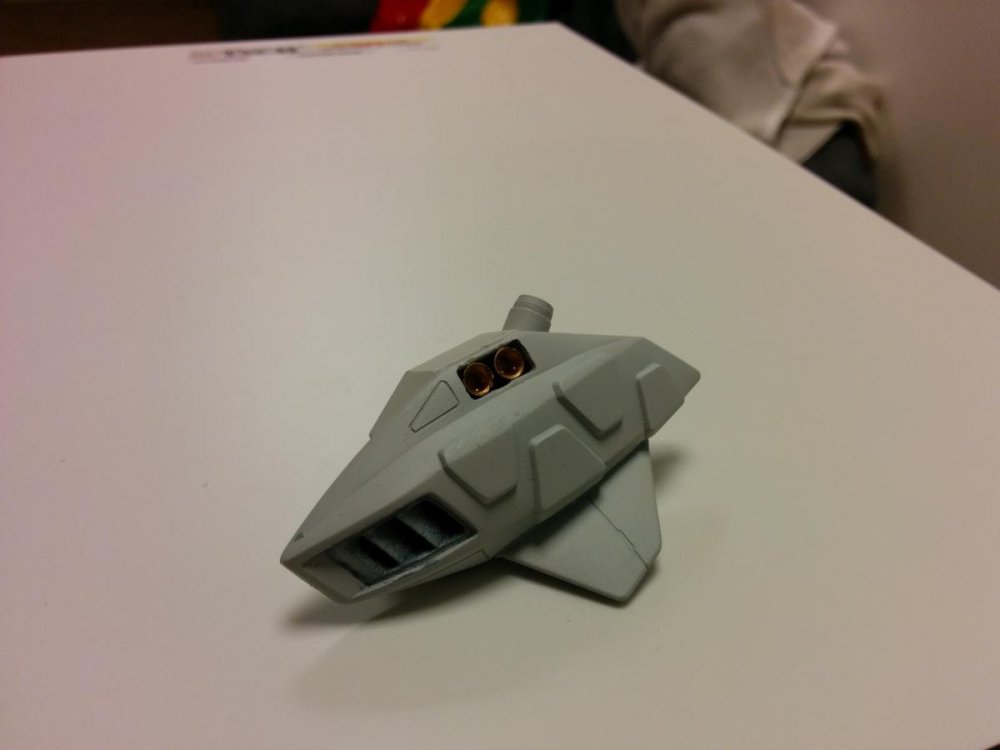
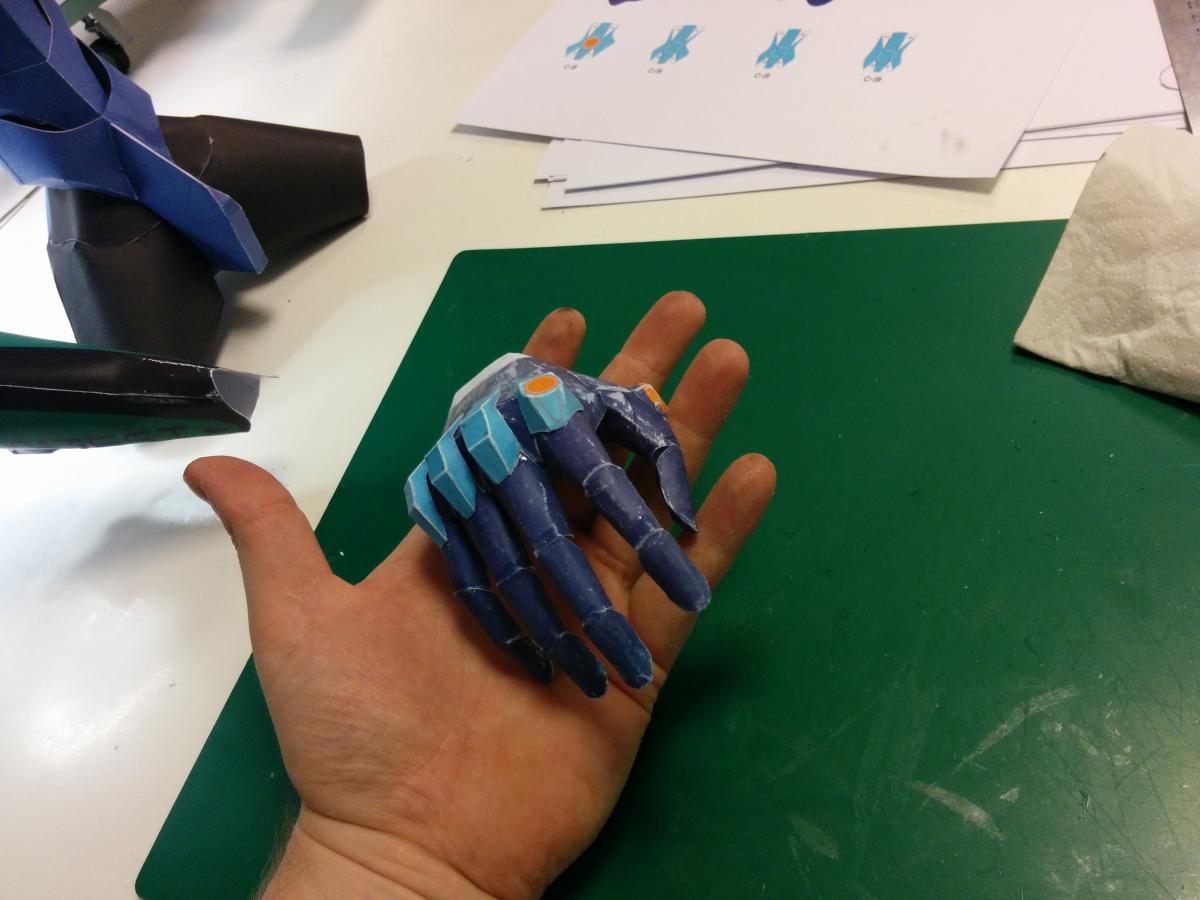
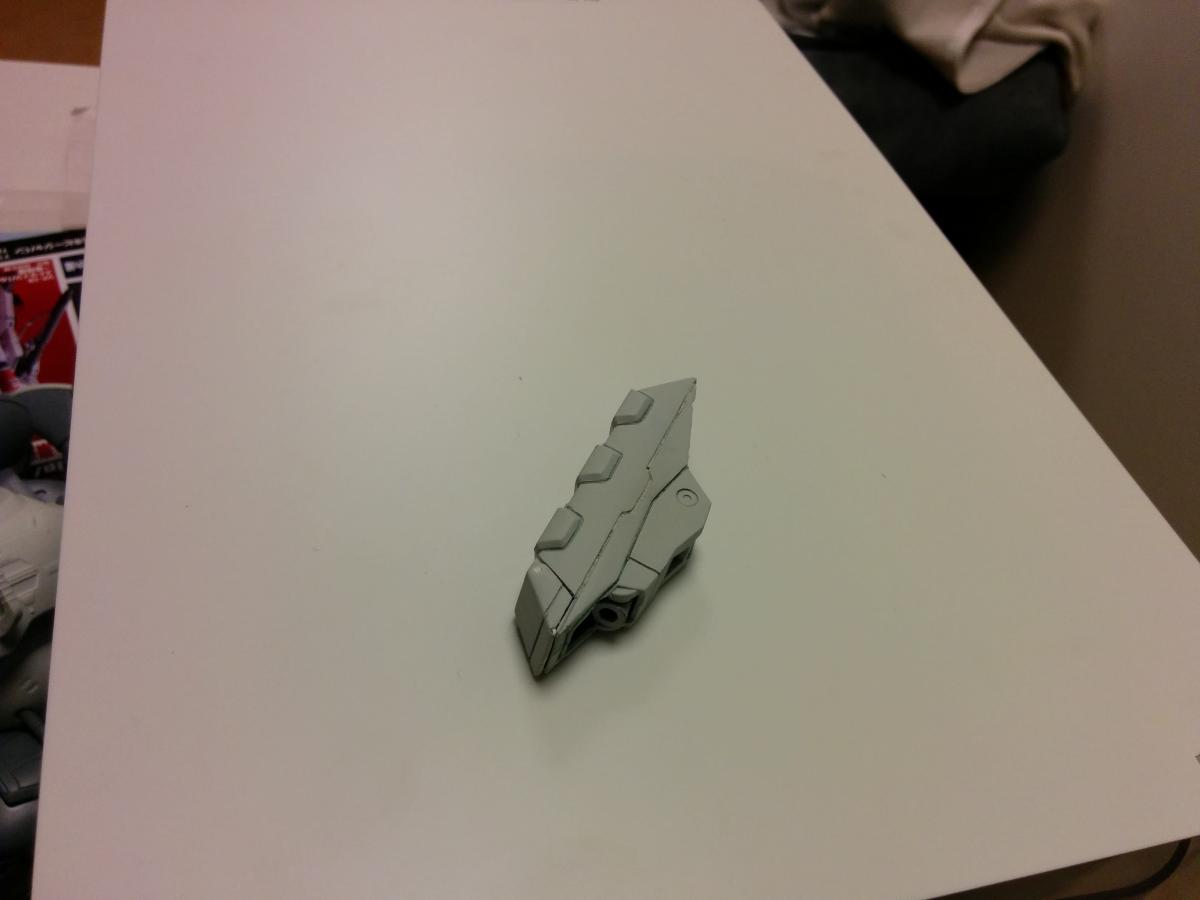
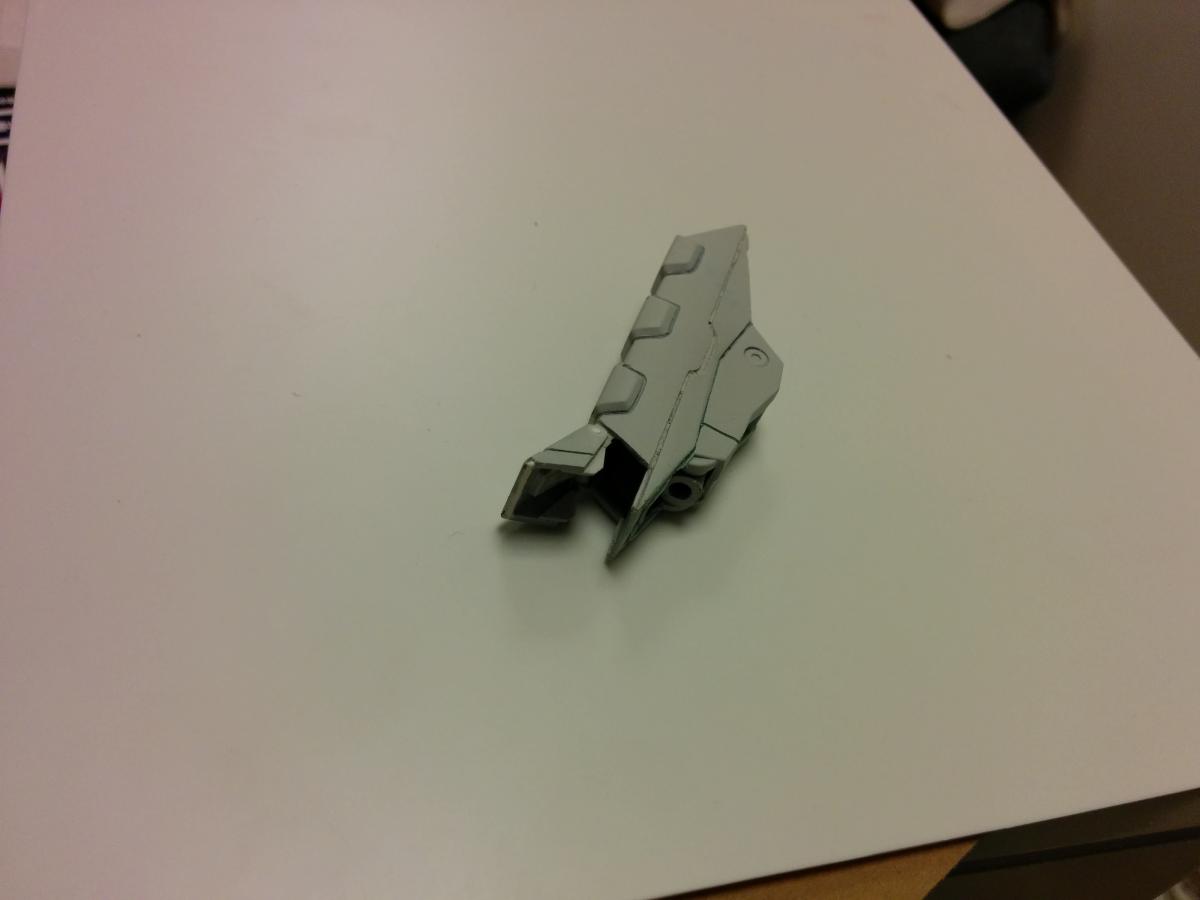
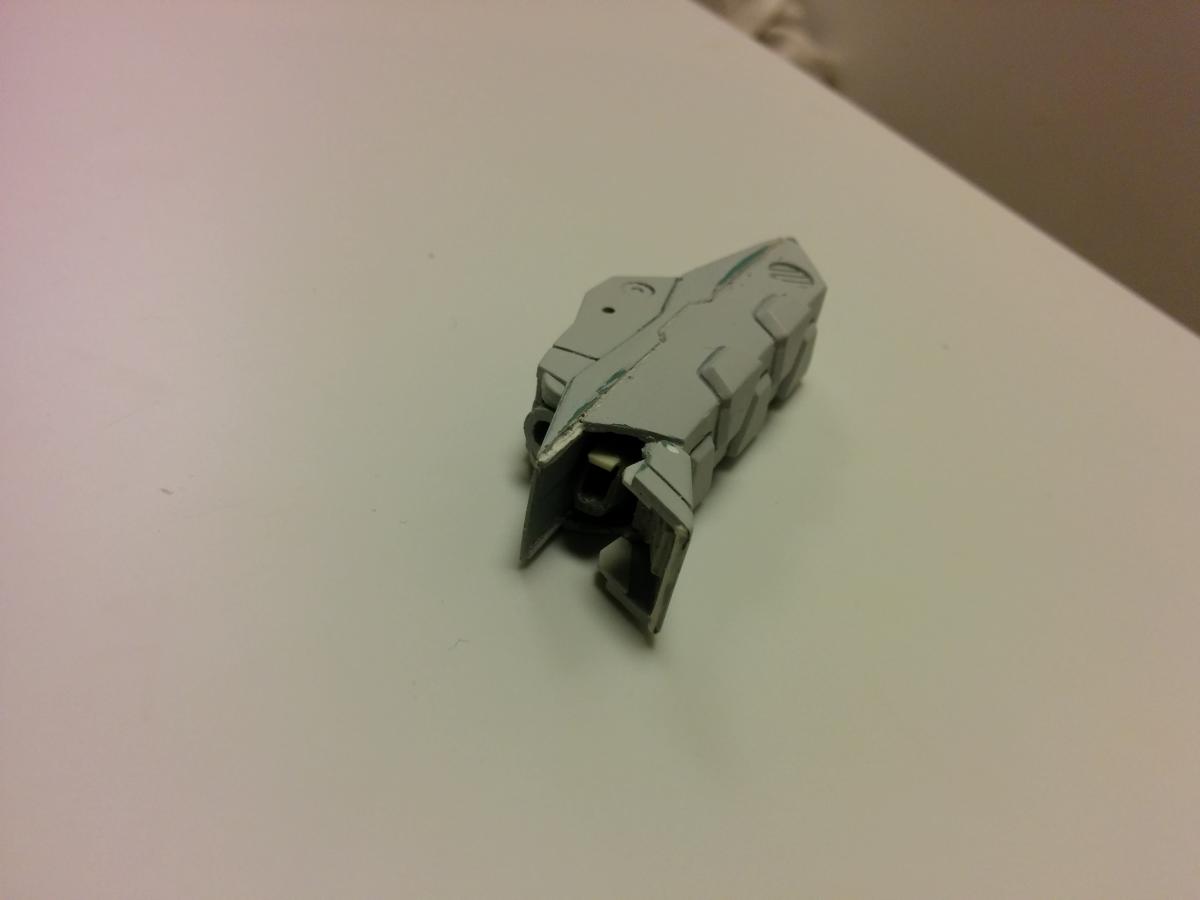
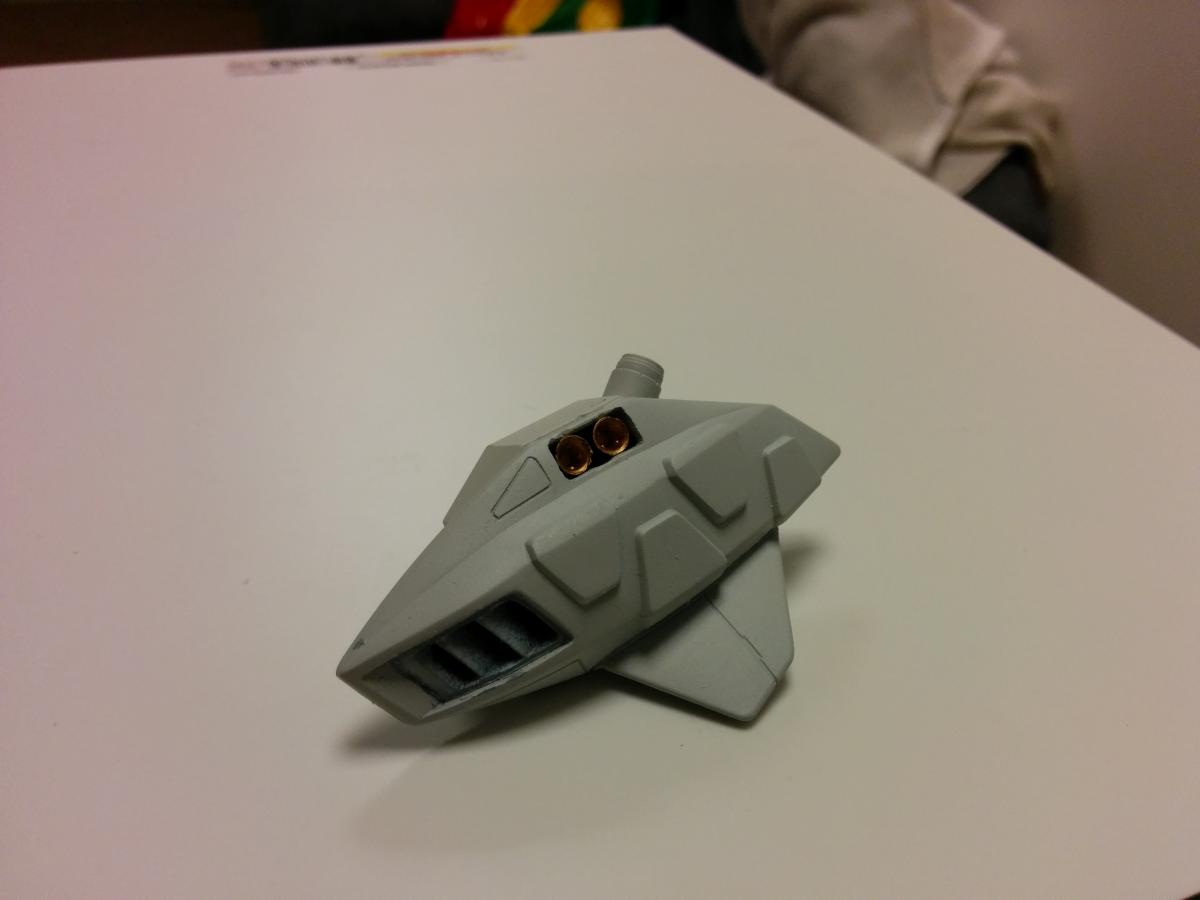
im working on this little fella' atm

-
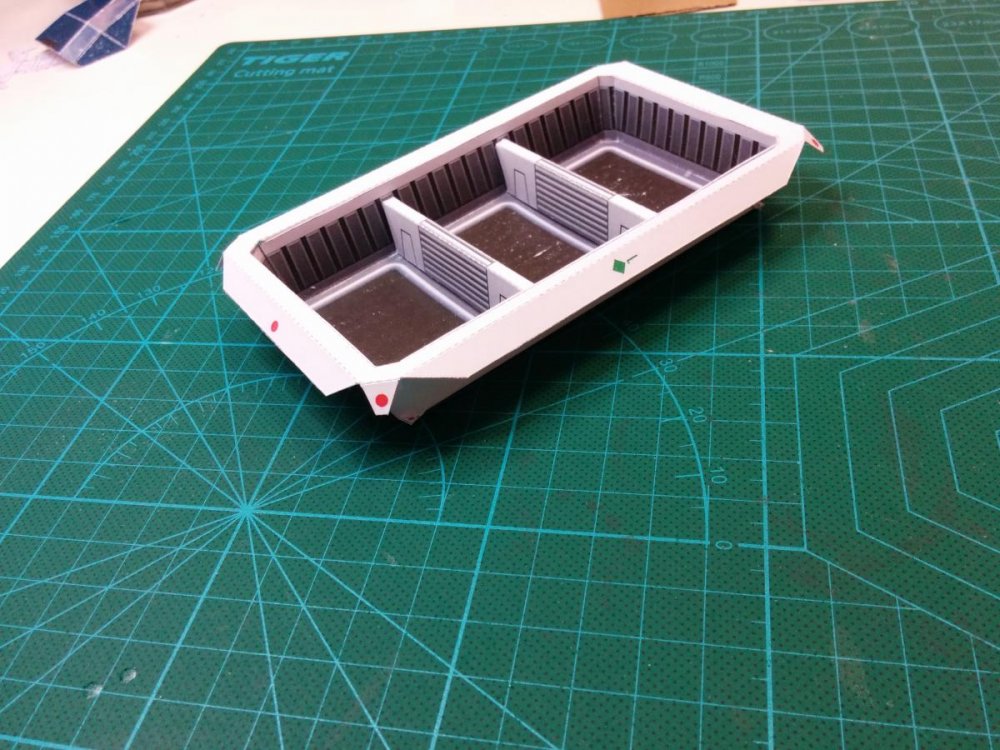
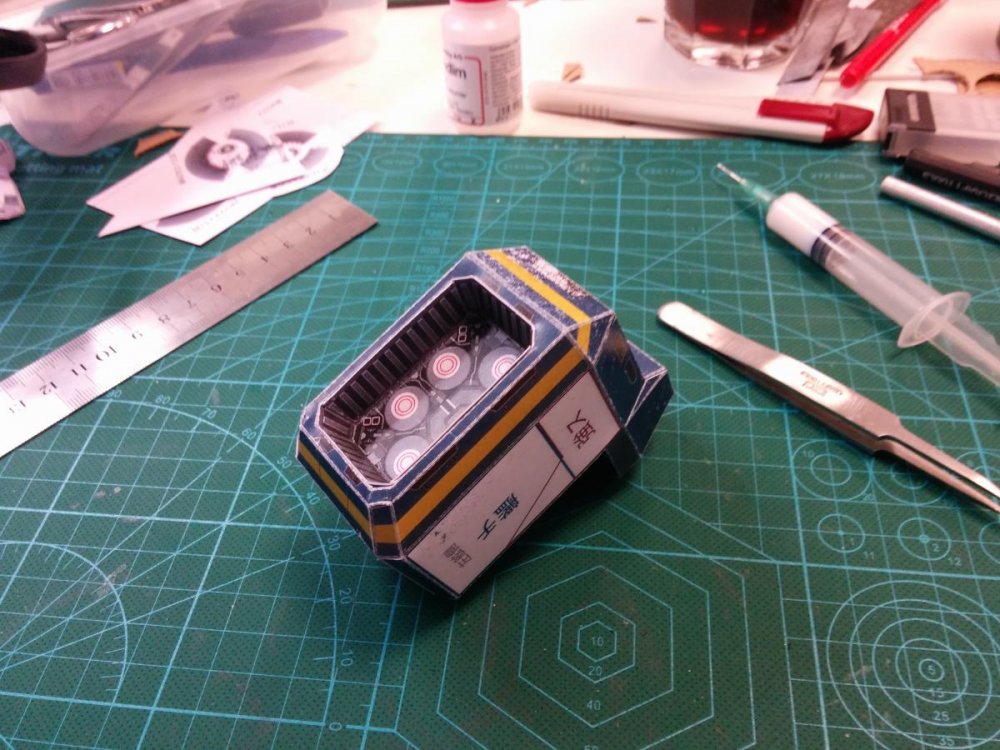
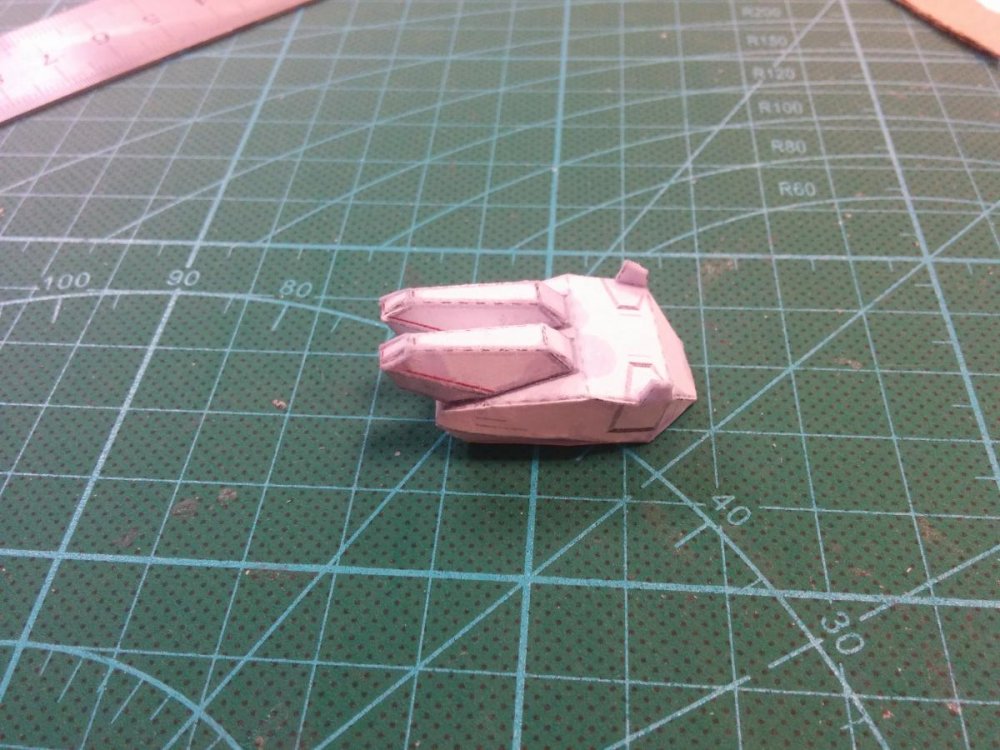
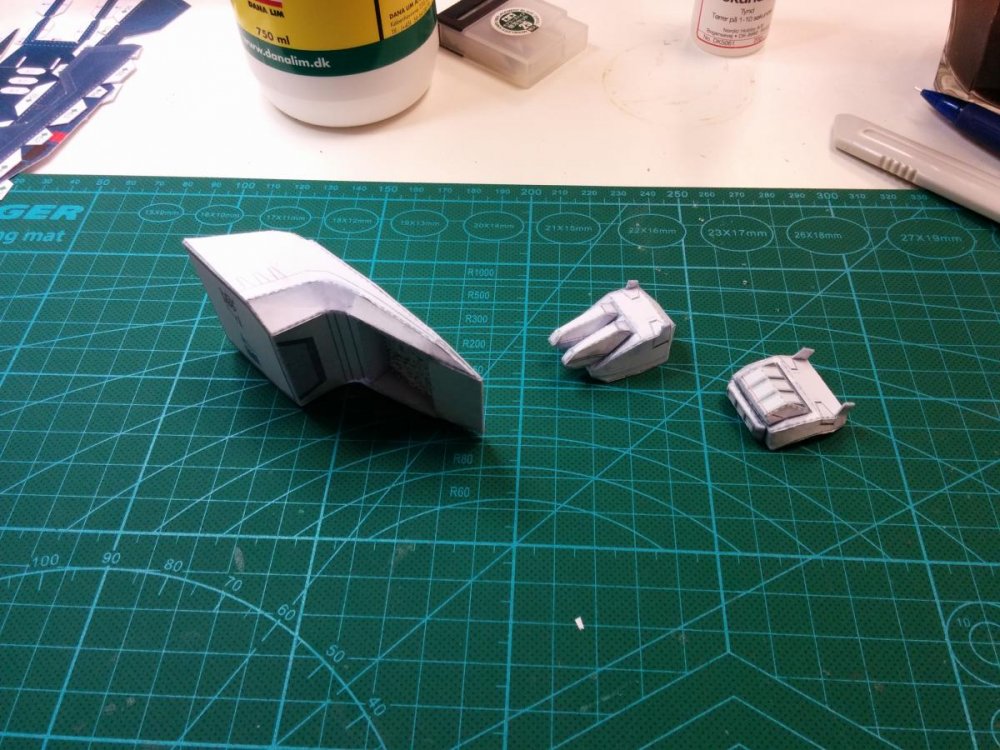
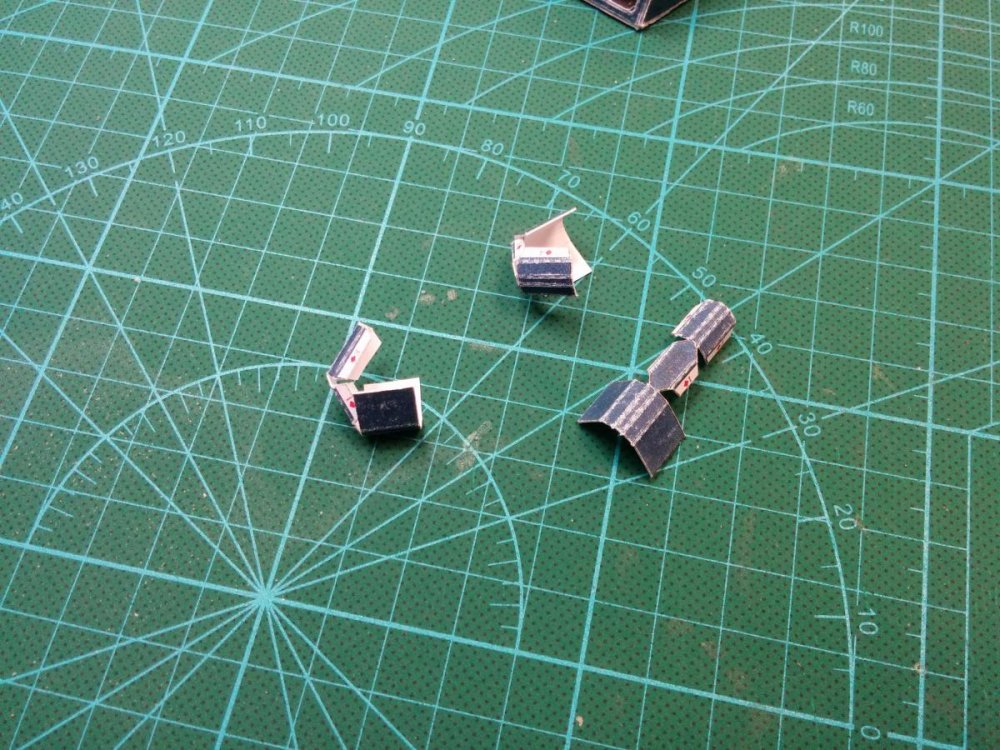
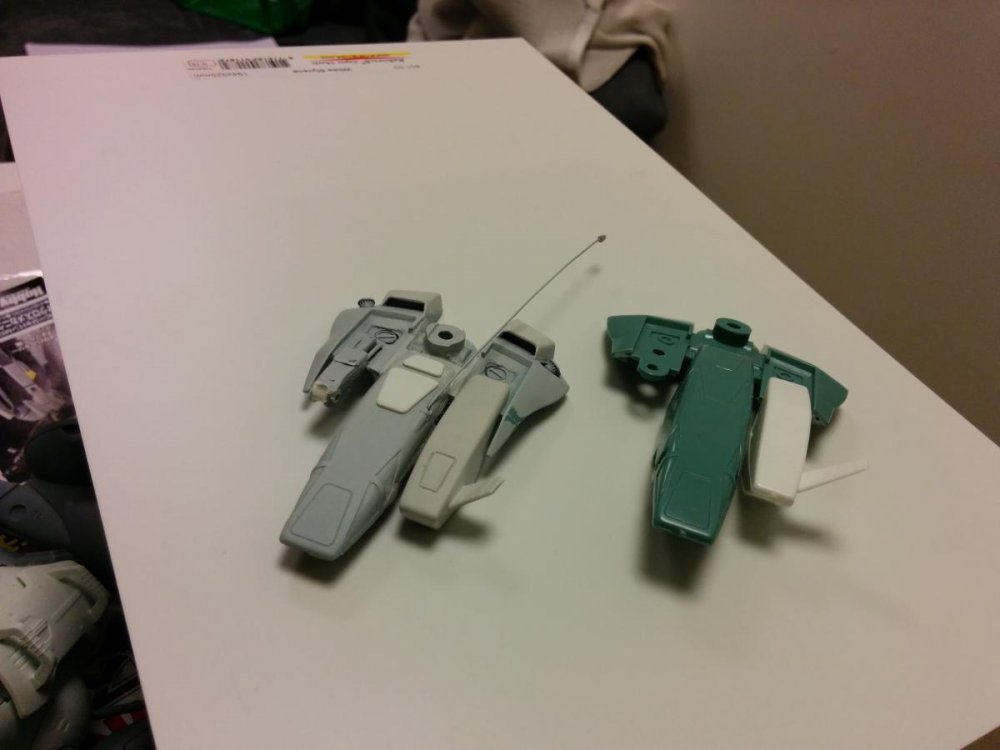
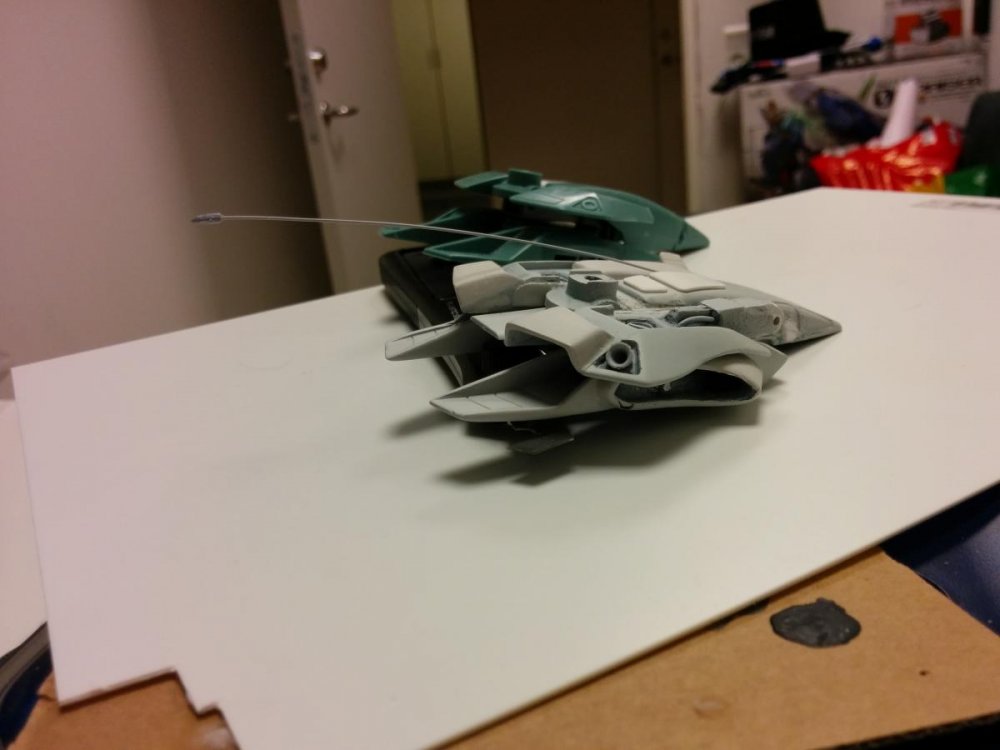
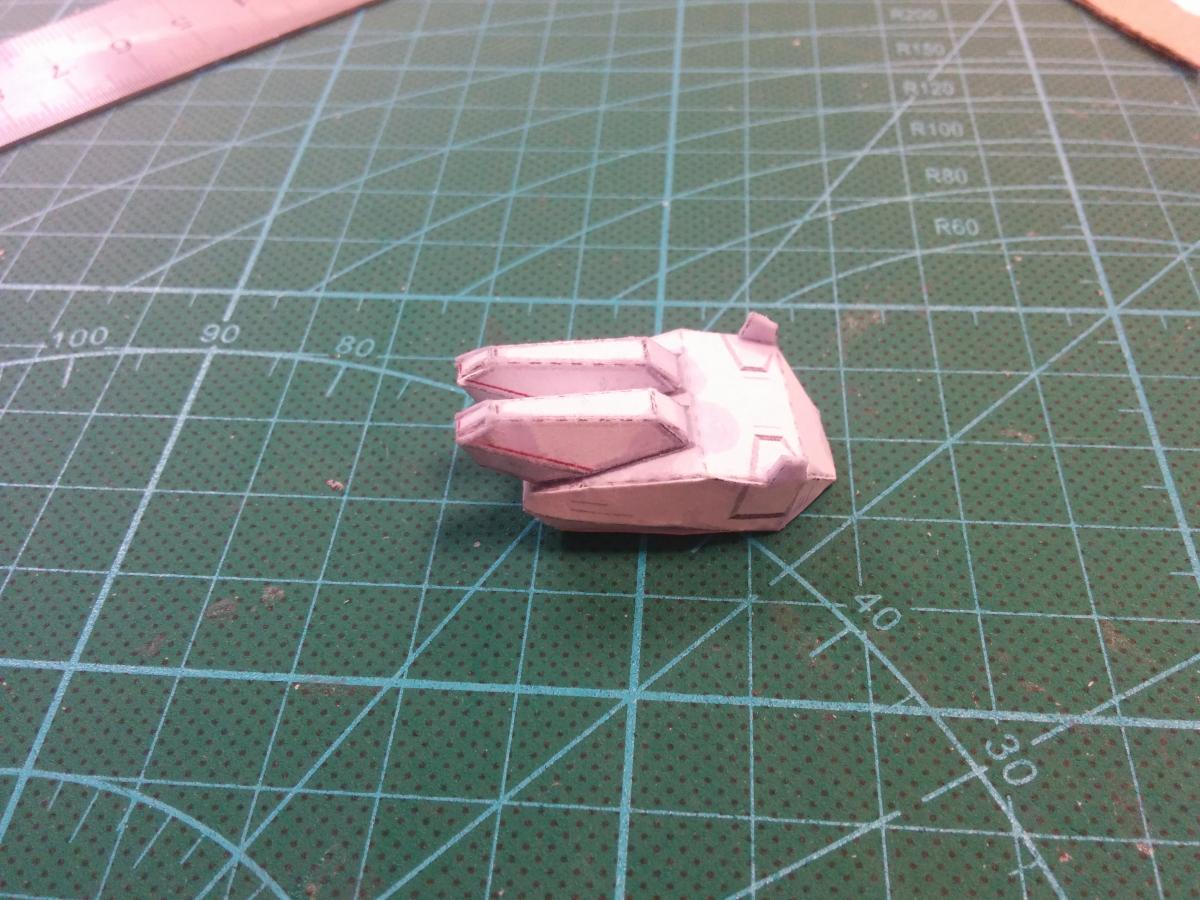
A little update!
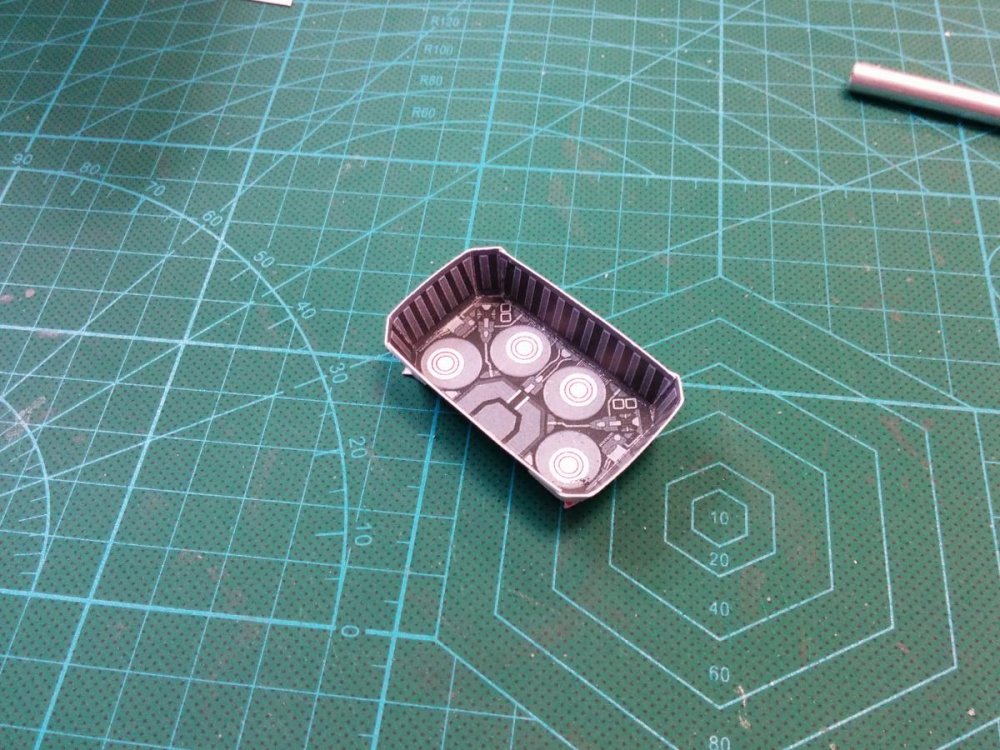
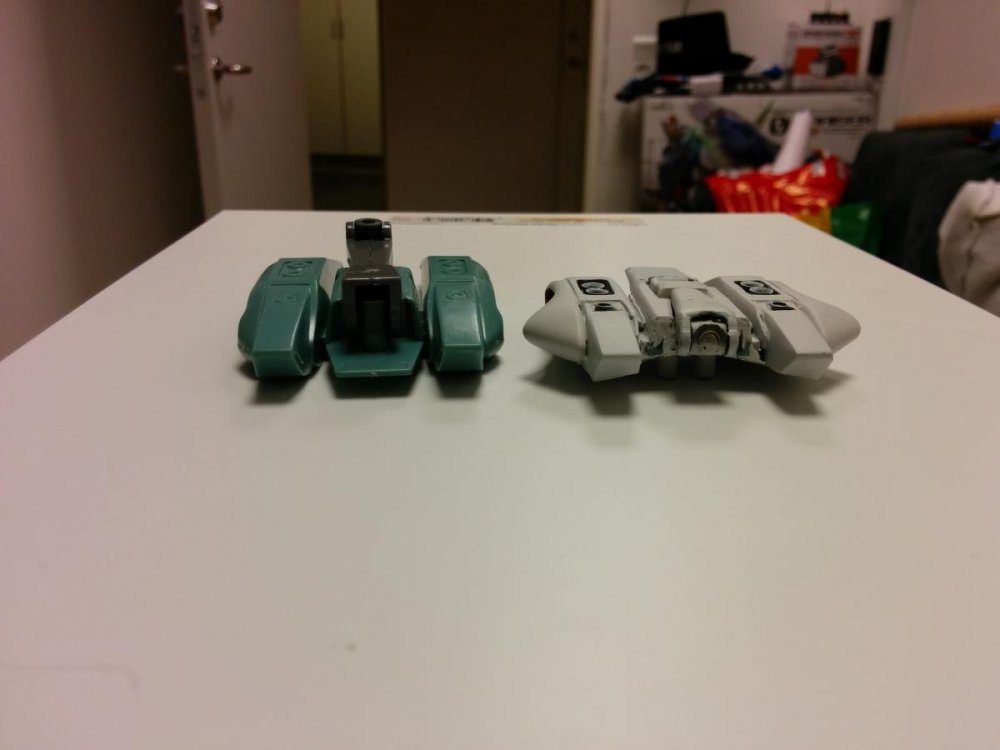
Have made some progress on the side launchers
More details and almost ready to be painted..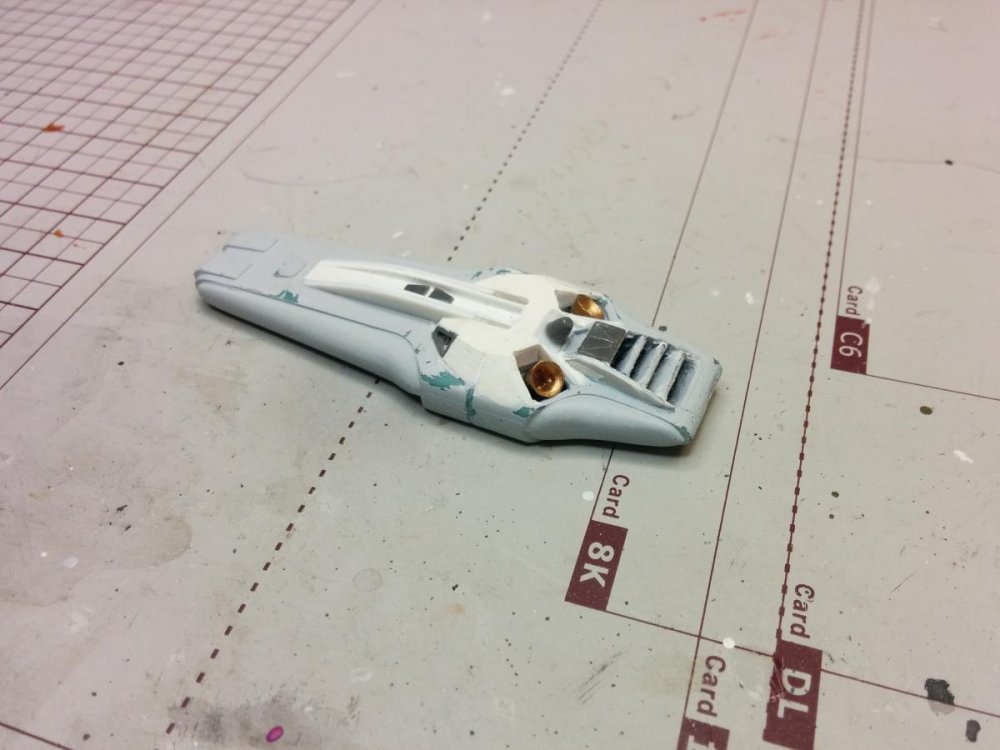
Begun painting on some of the other parts not weathered yet...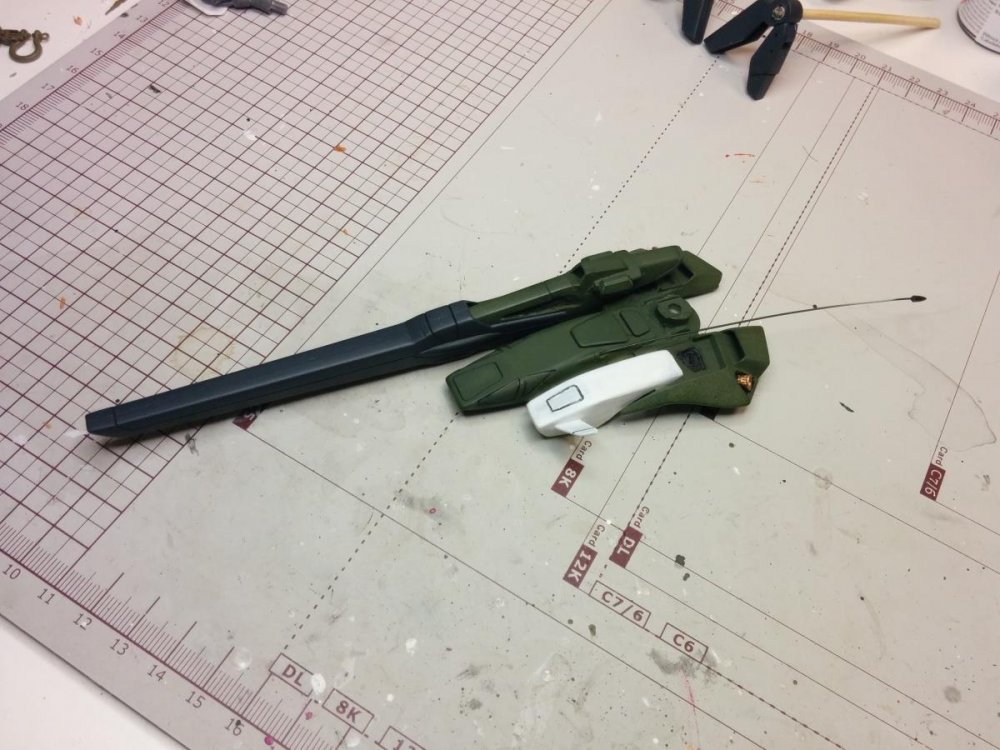
-
Nice.... Ill keep my eye om this one.
-
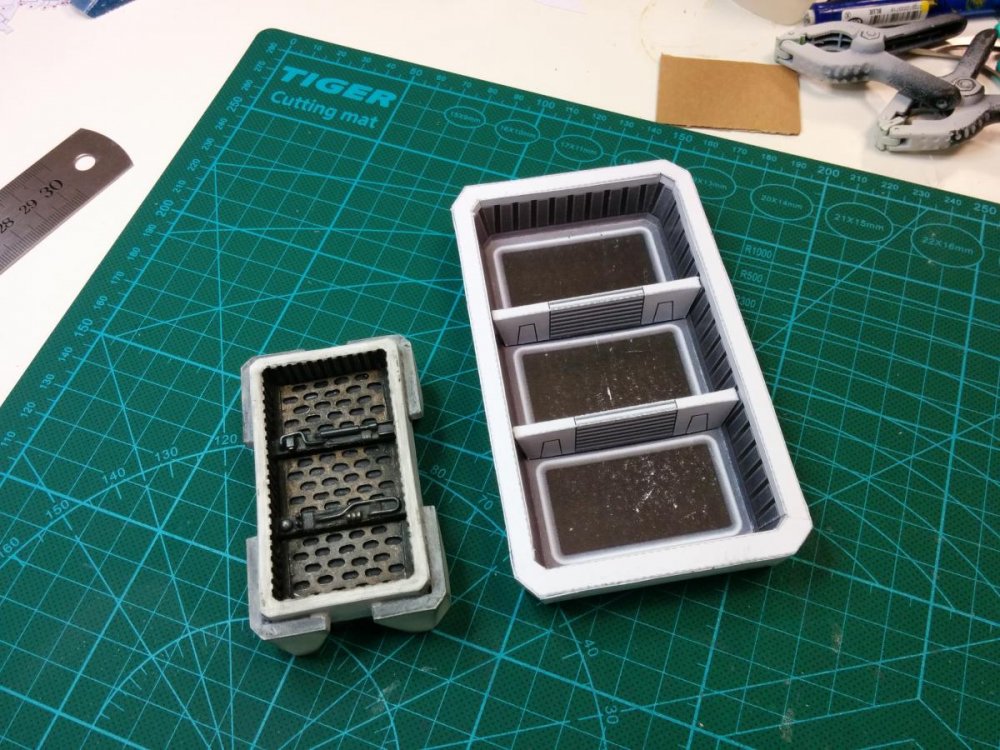
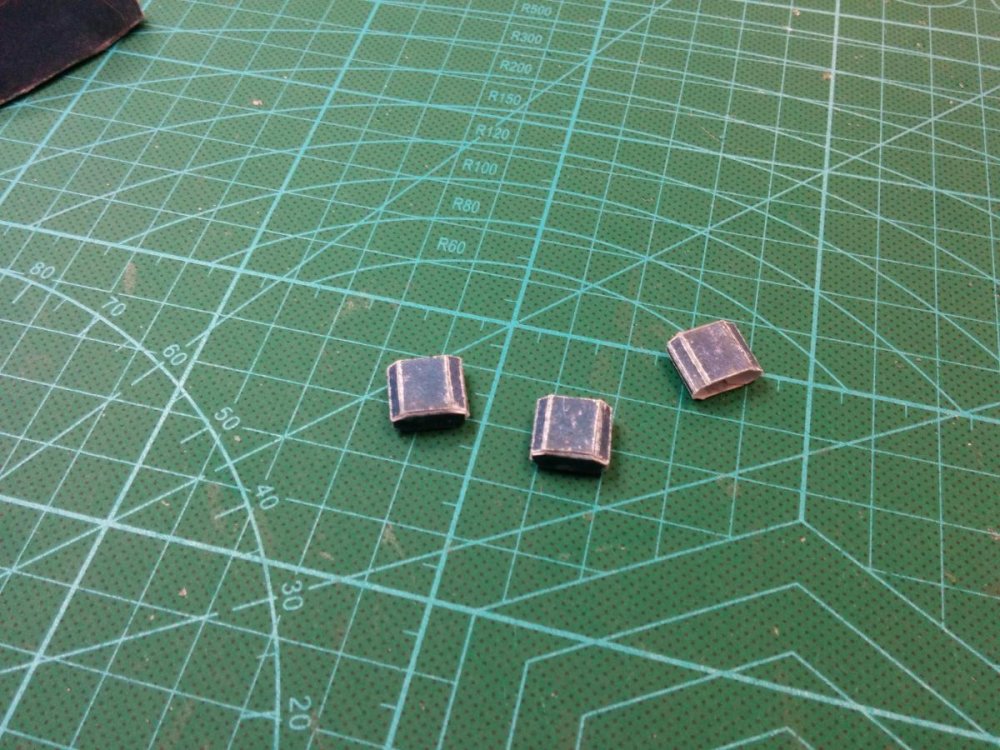
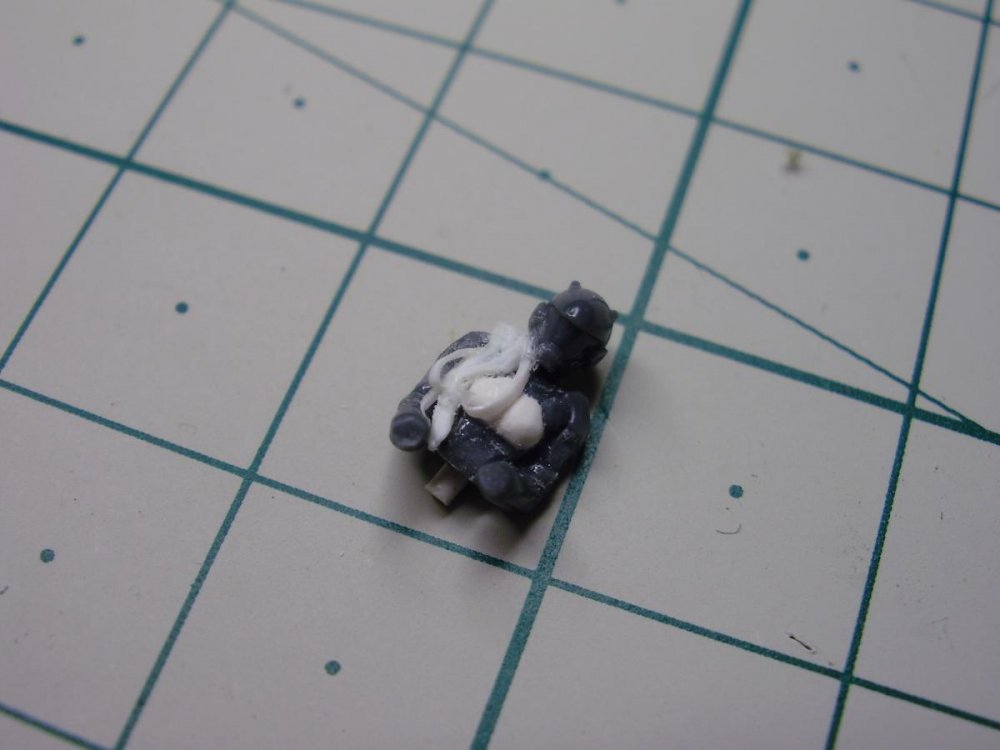
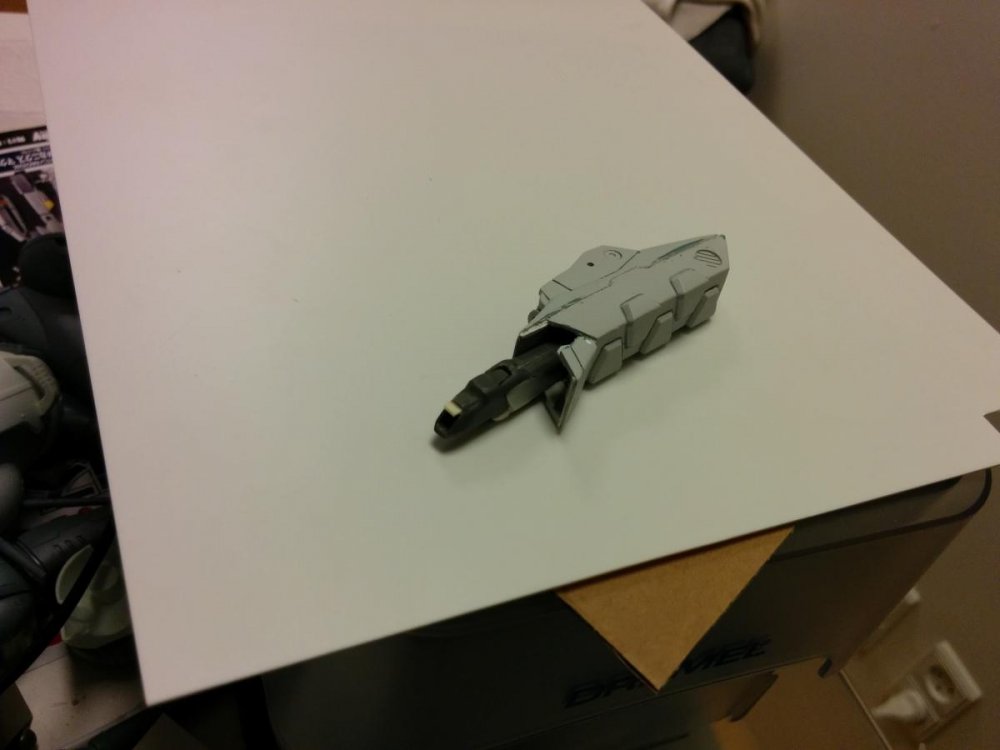
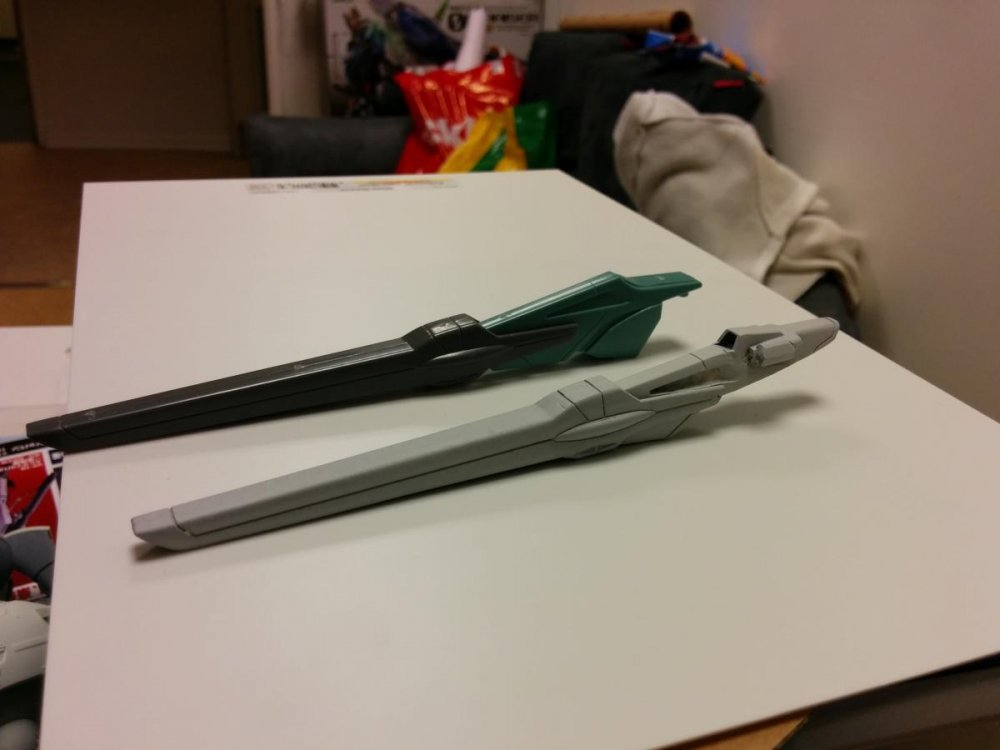
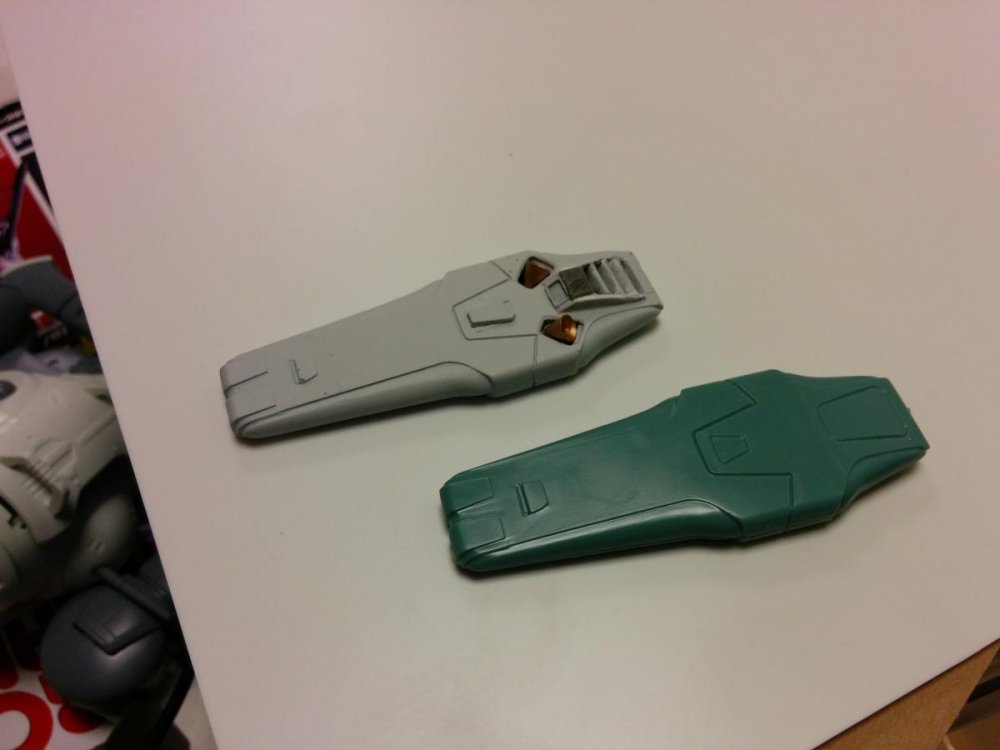
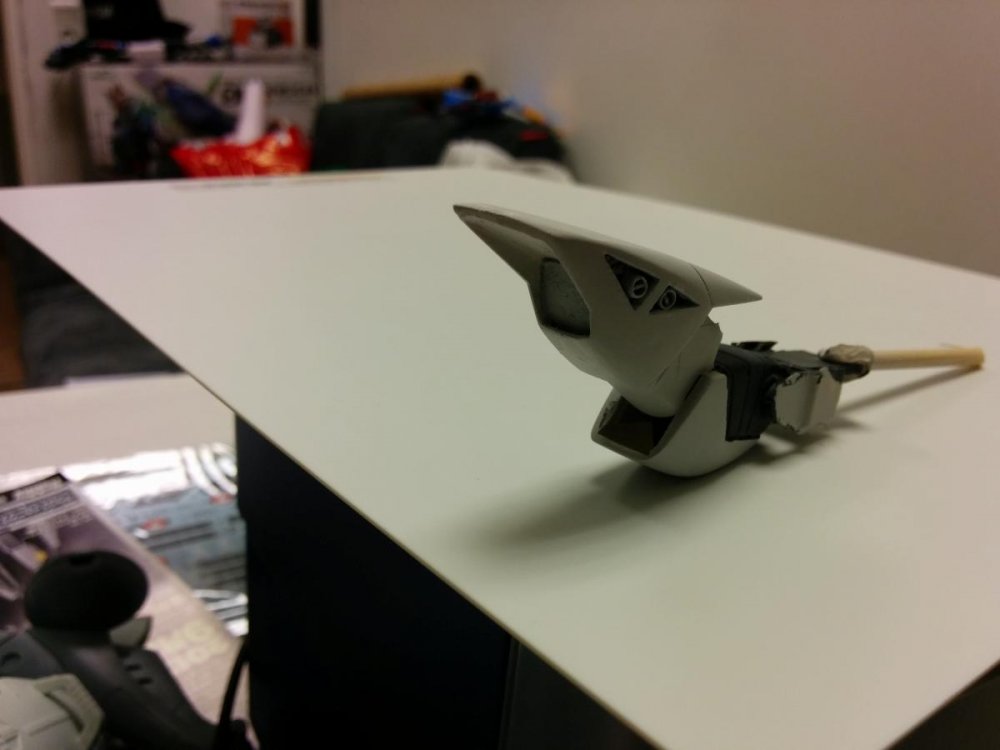
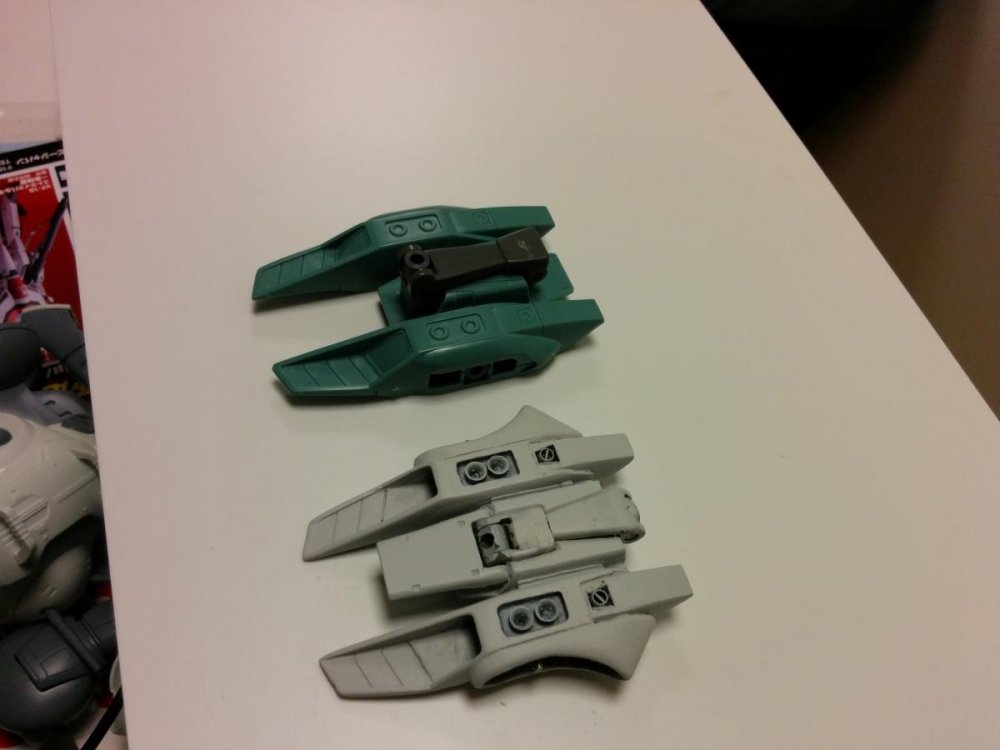
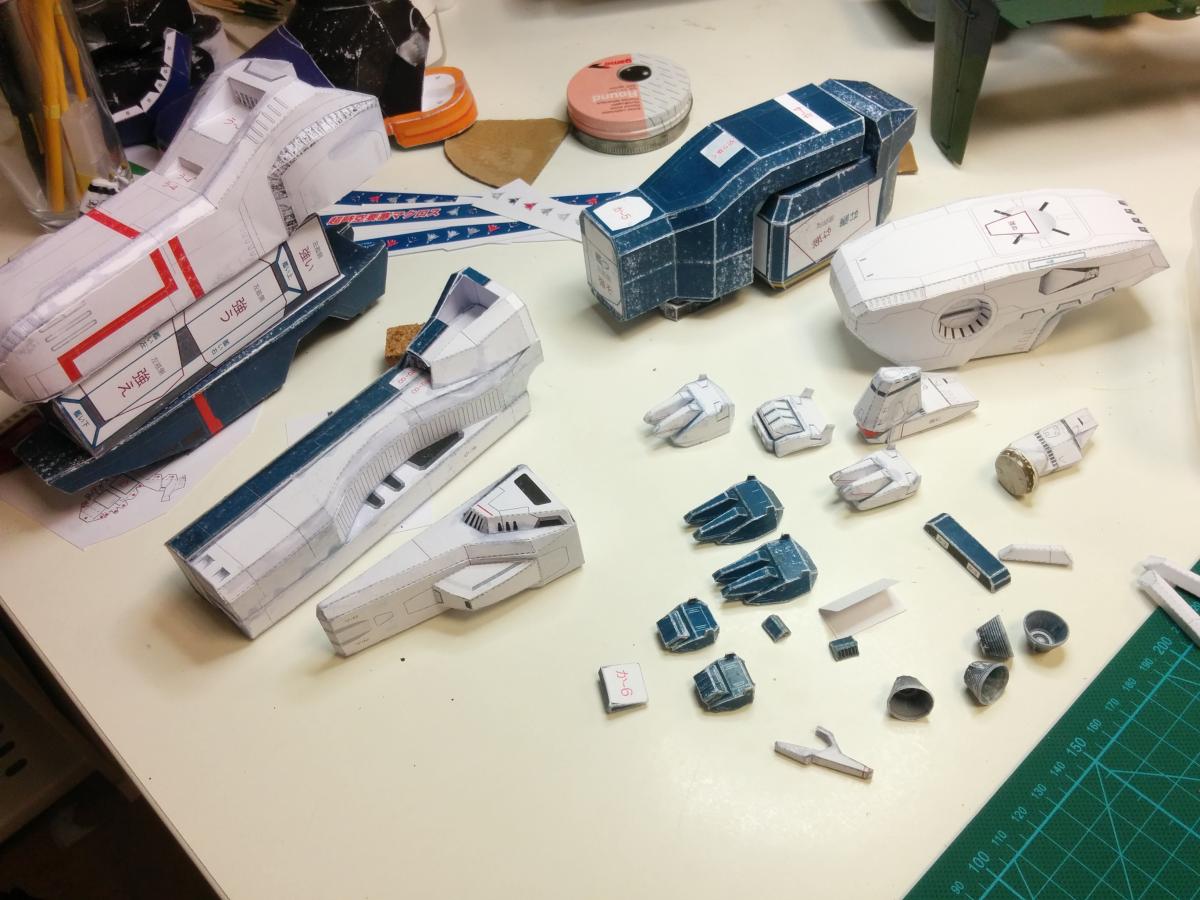
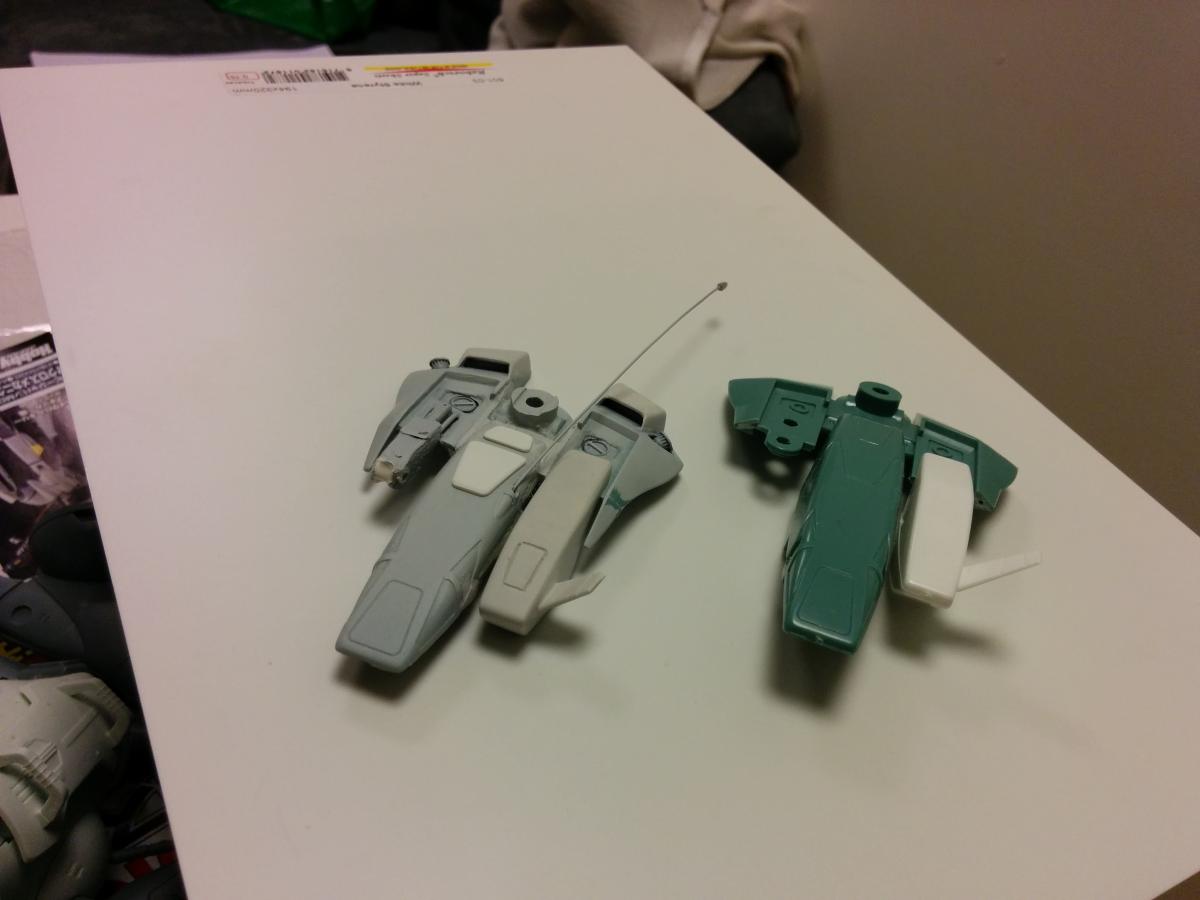
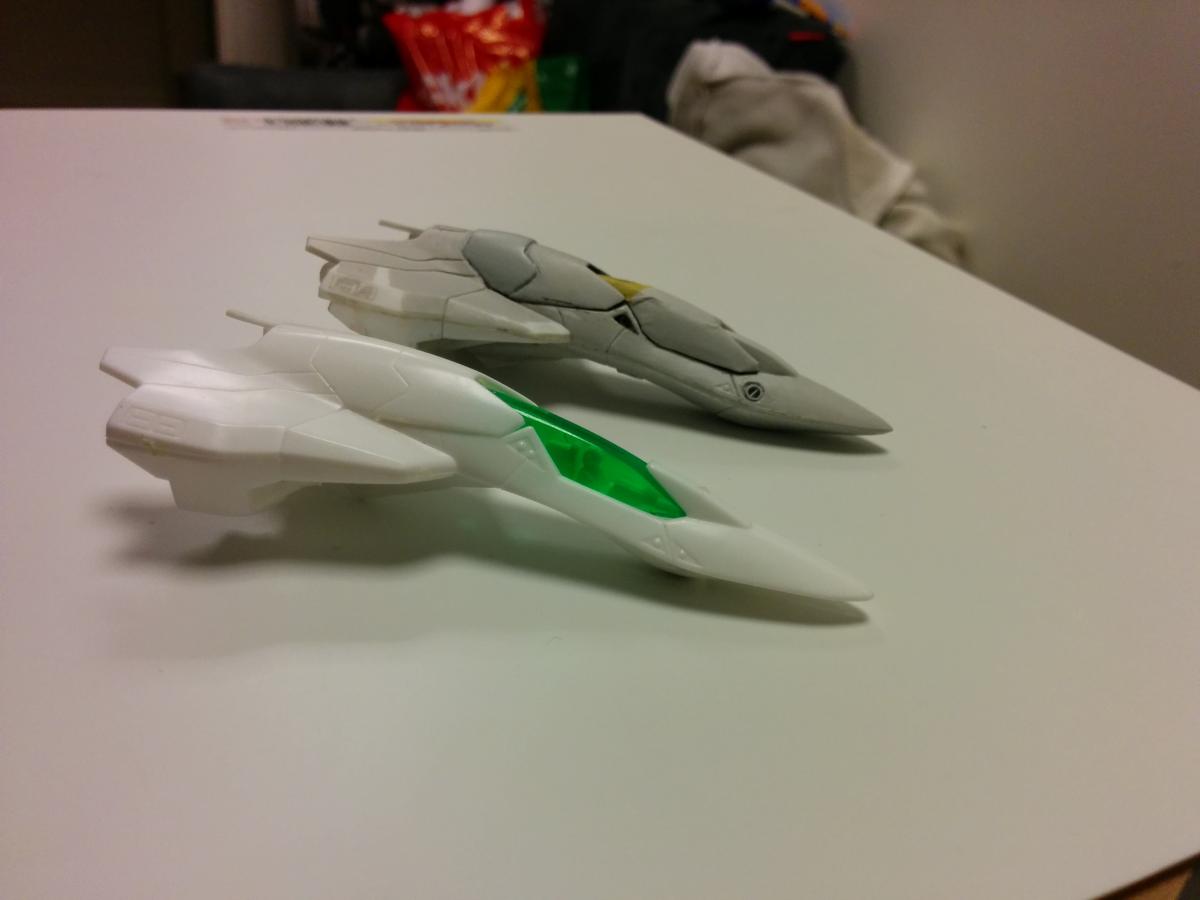
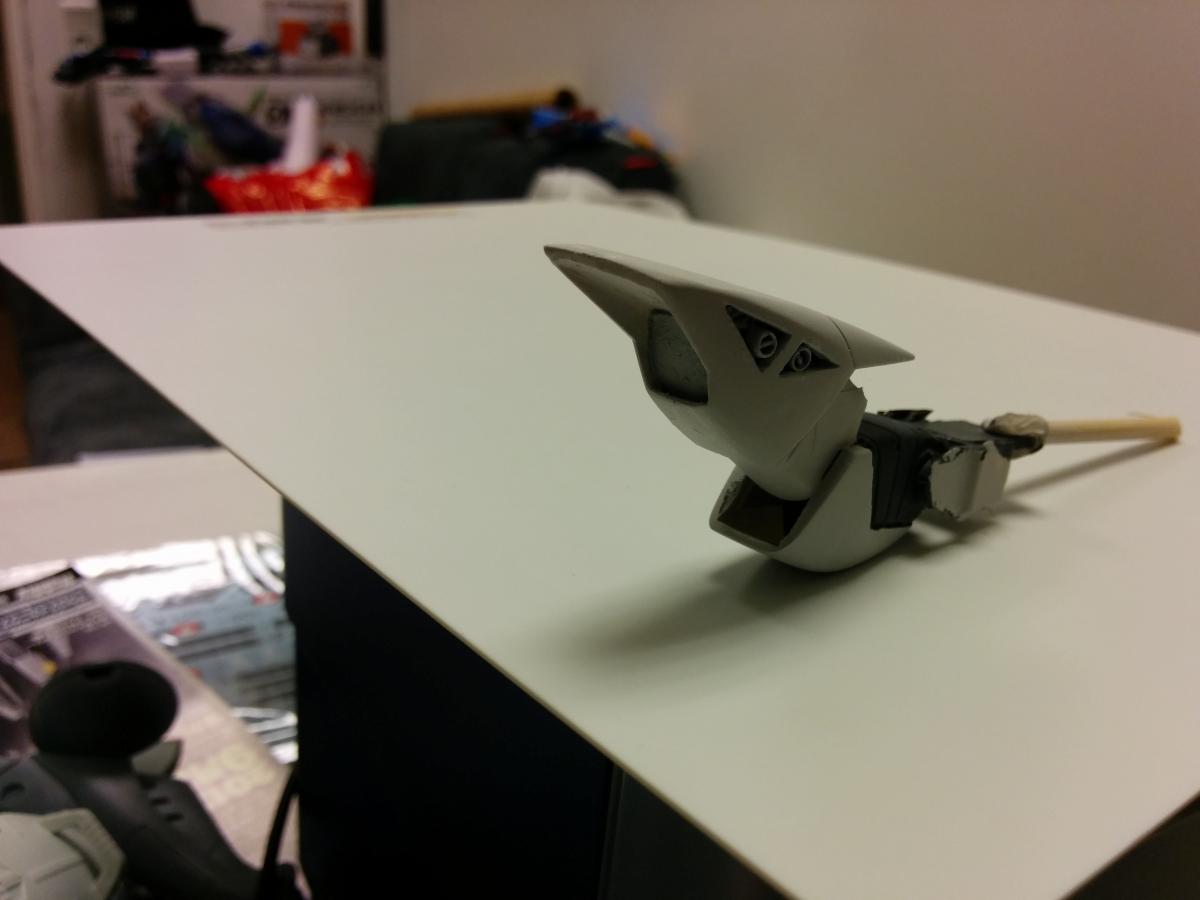
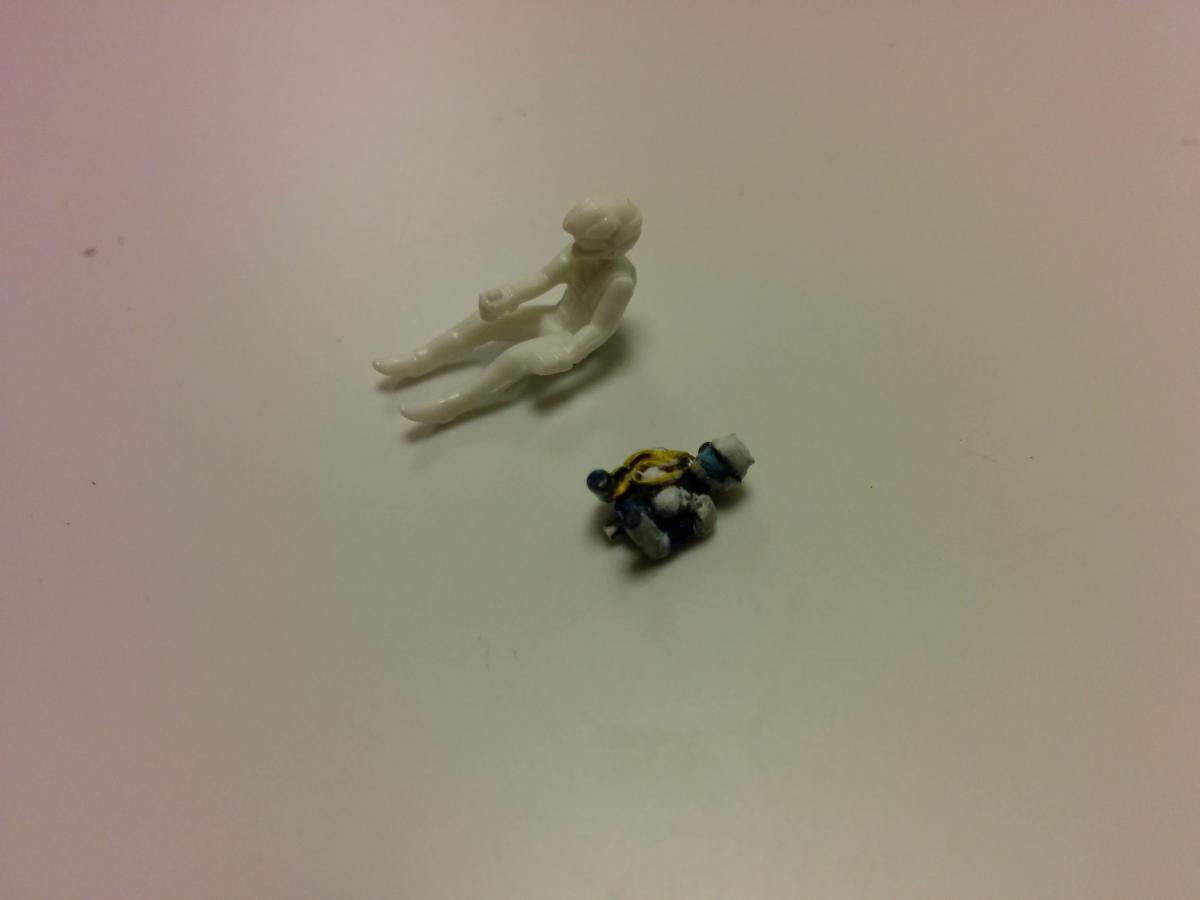
as i promised earlier heres some more pics of the parts separately, more or less!
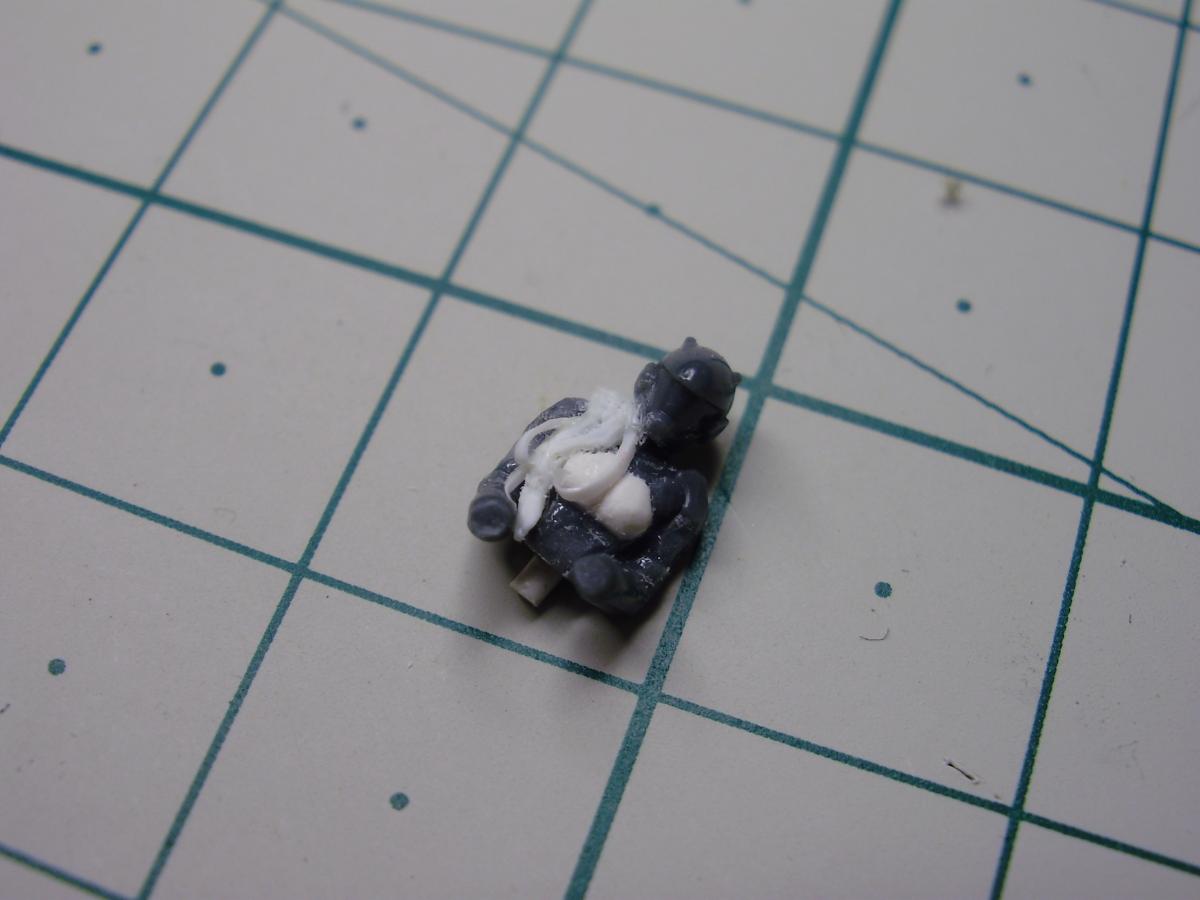
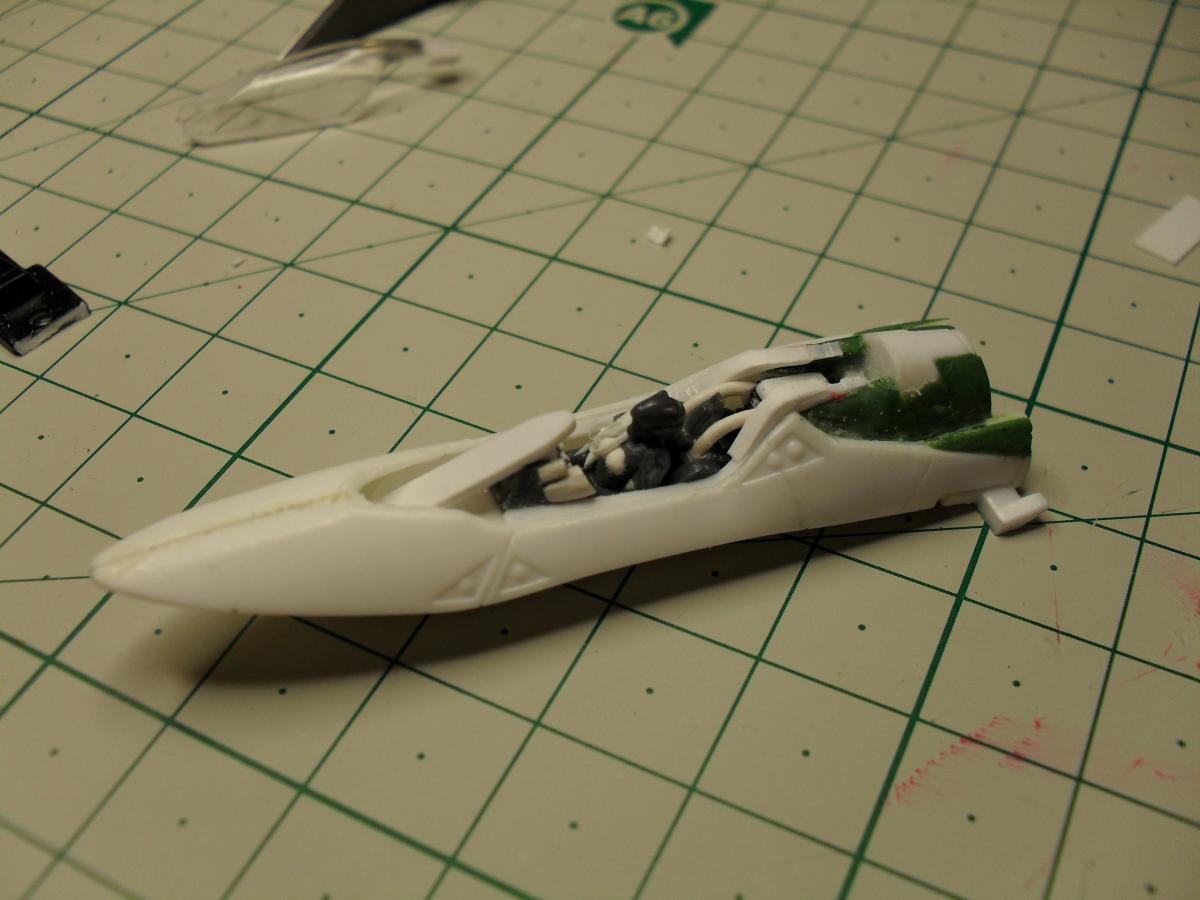
first some early progress pics anno 2011
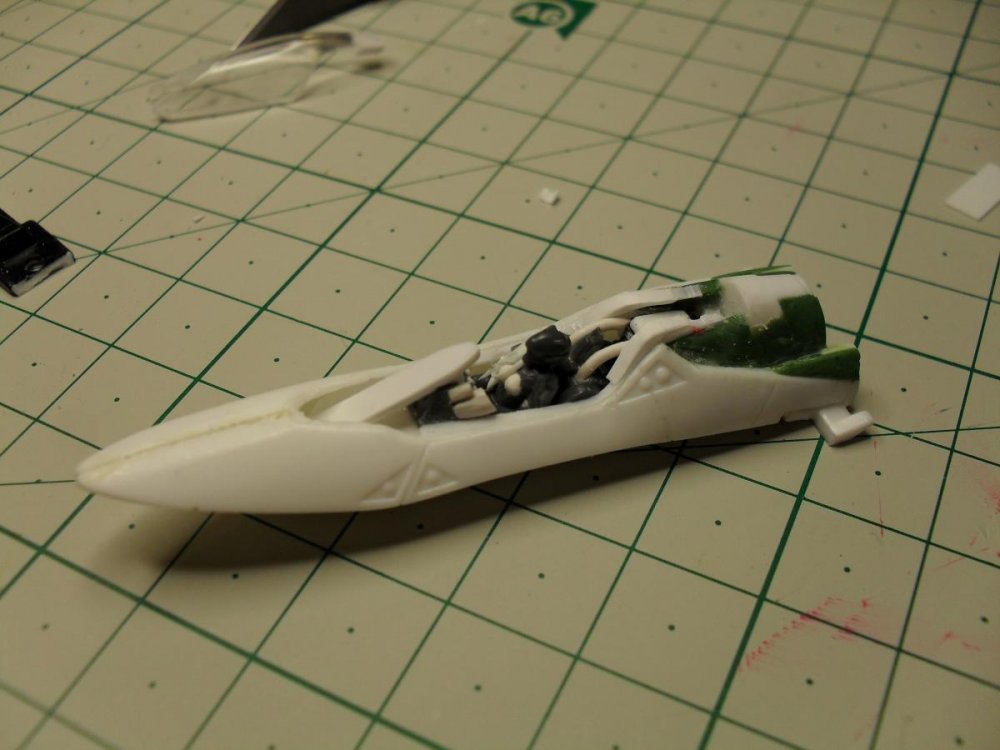
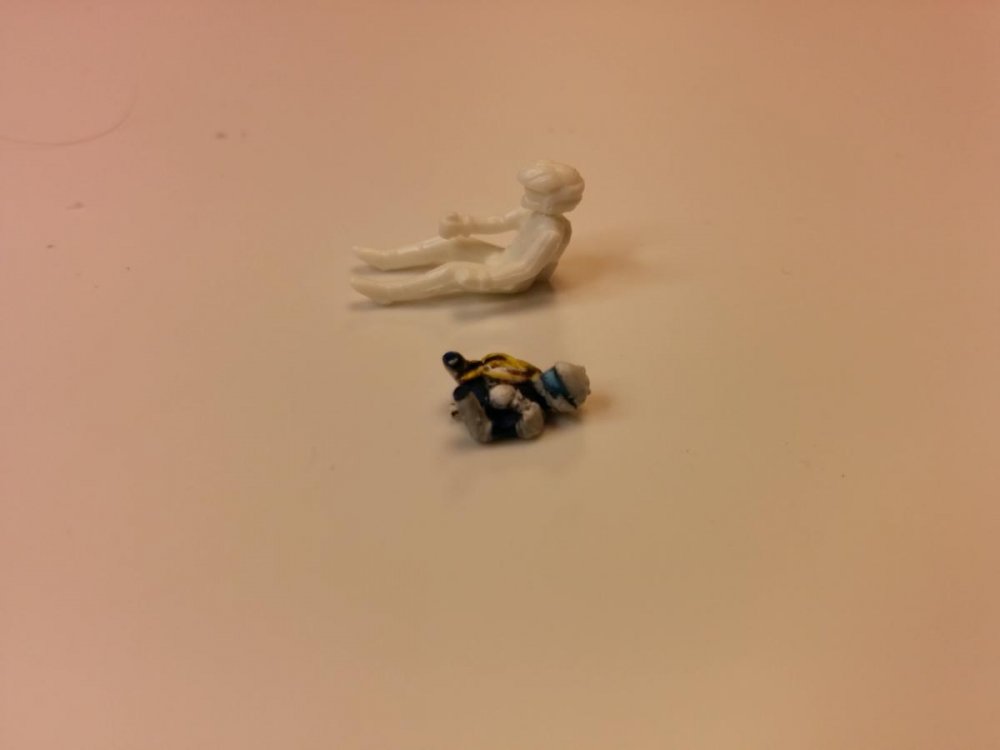
female pilot and cockpit interior
_______________________________________________________________________________________________________________
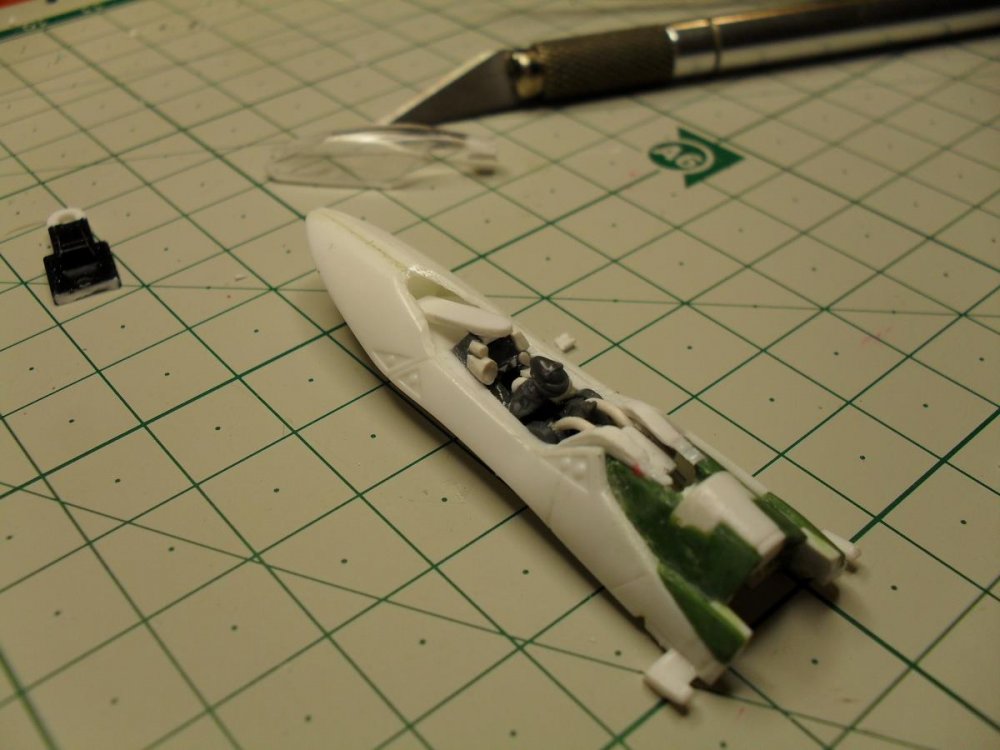
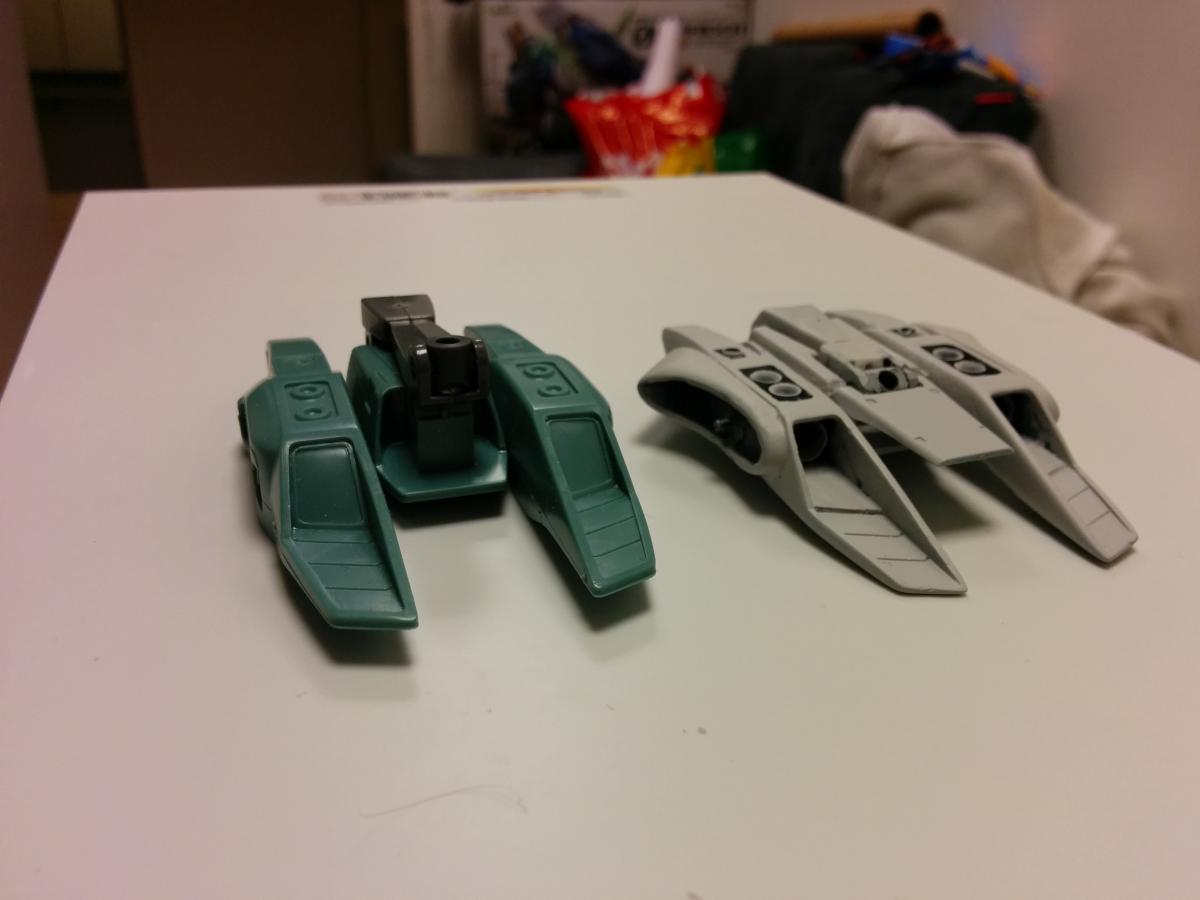
and the separate parts


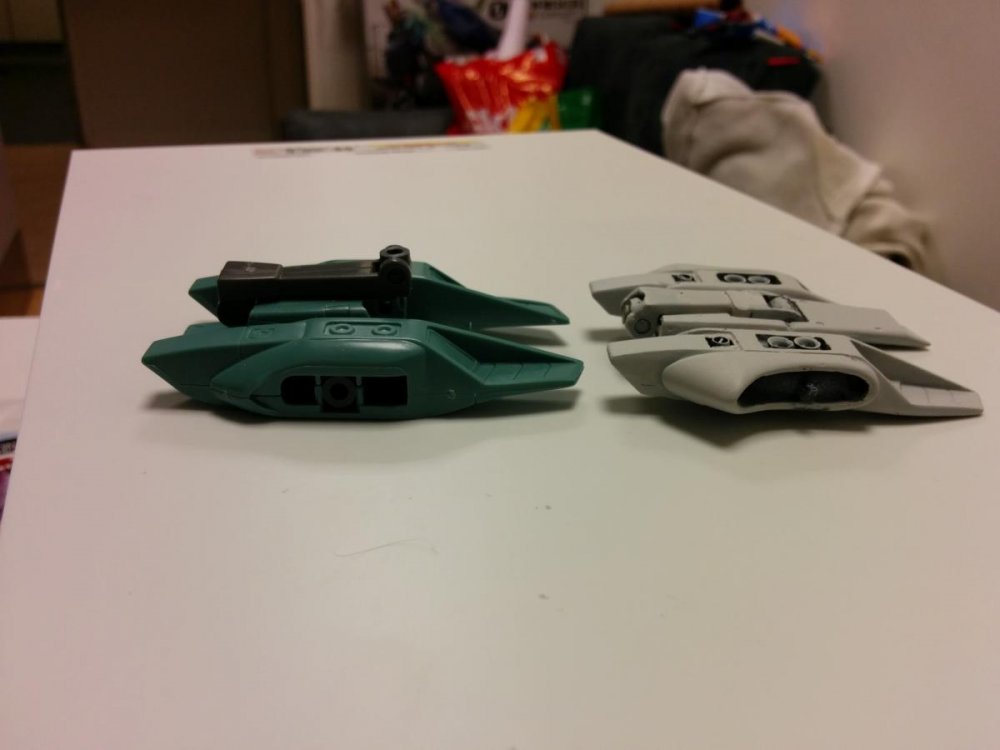


female pilot painted.


TV SDF-1 Macross 1/1600
in The Workshop!
Posted
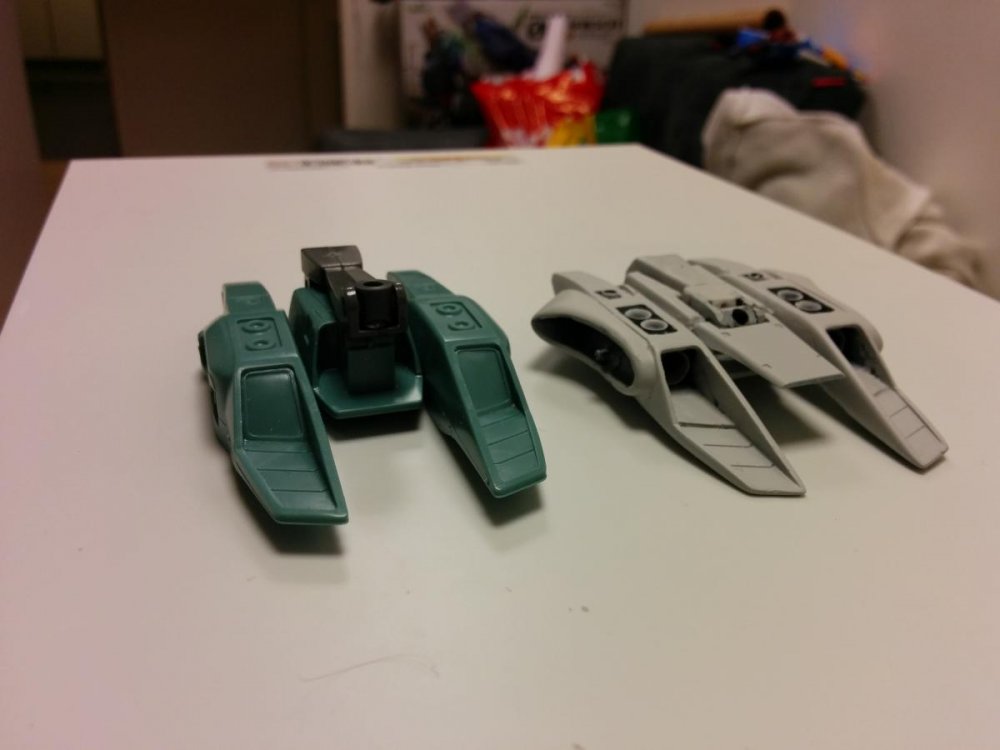
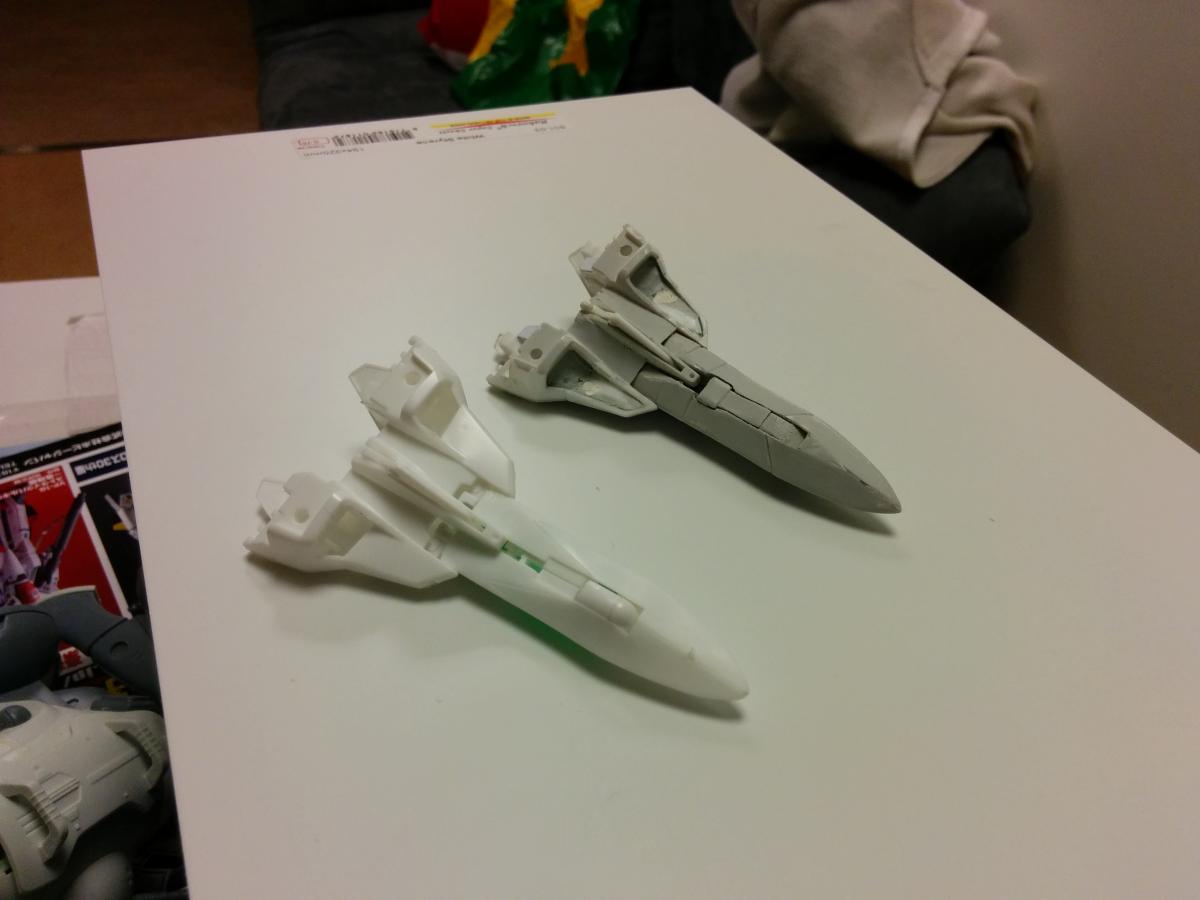
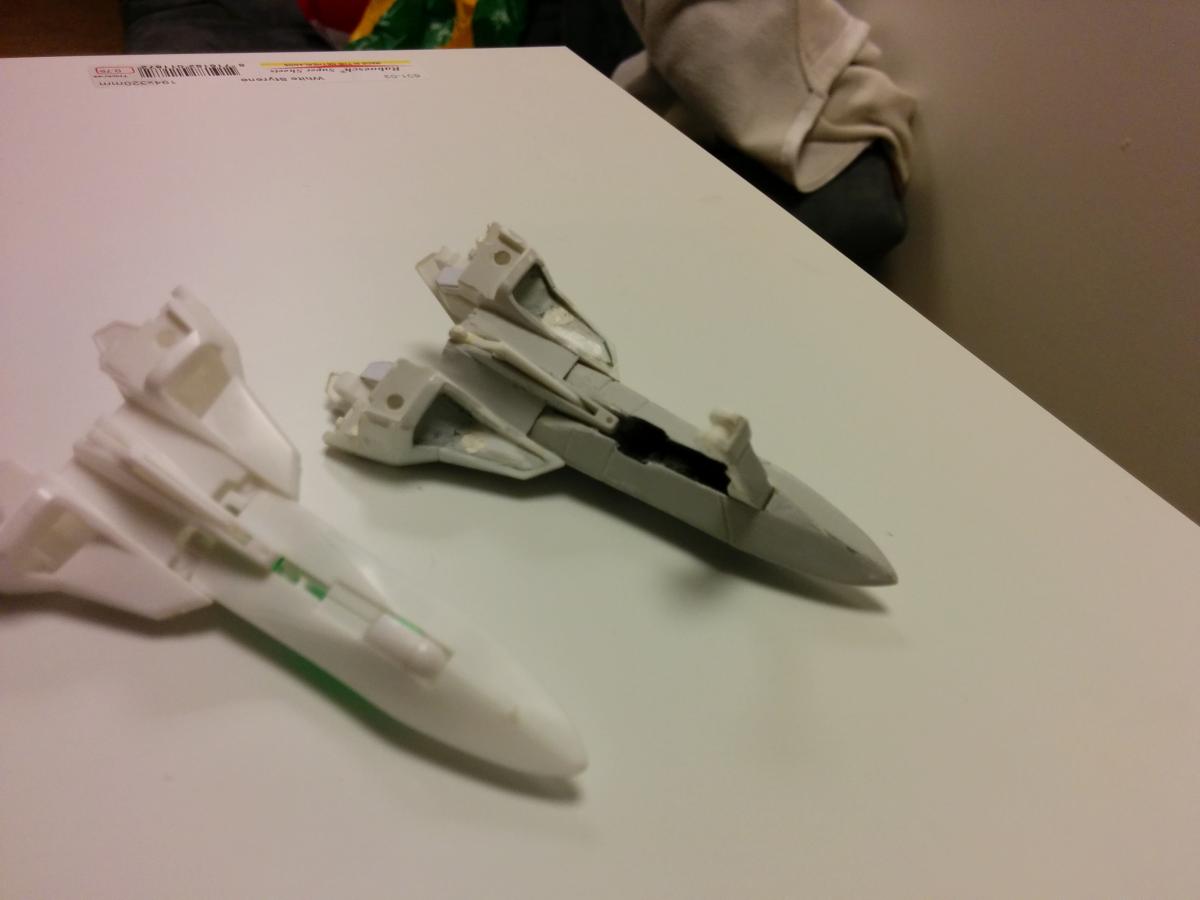
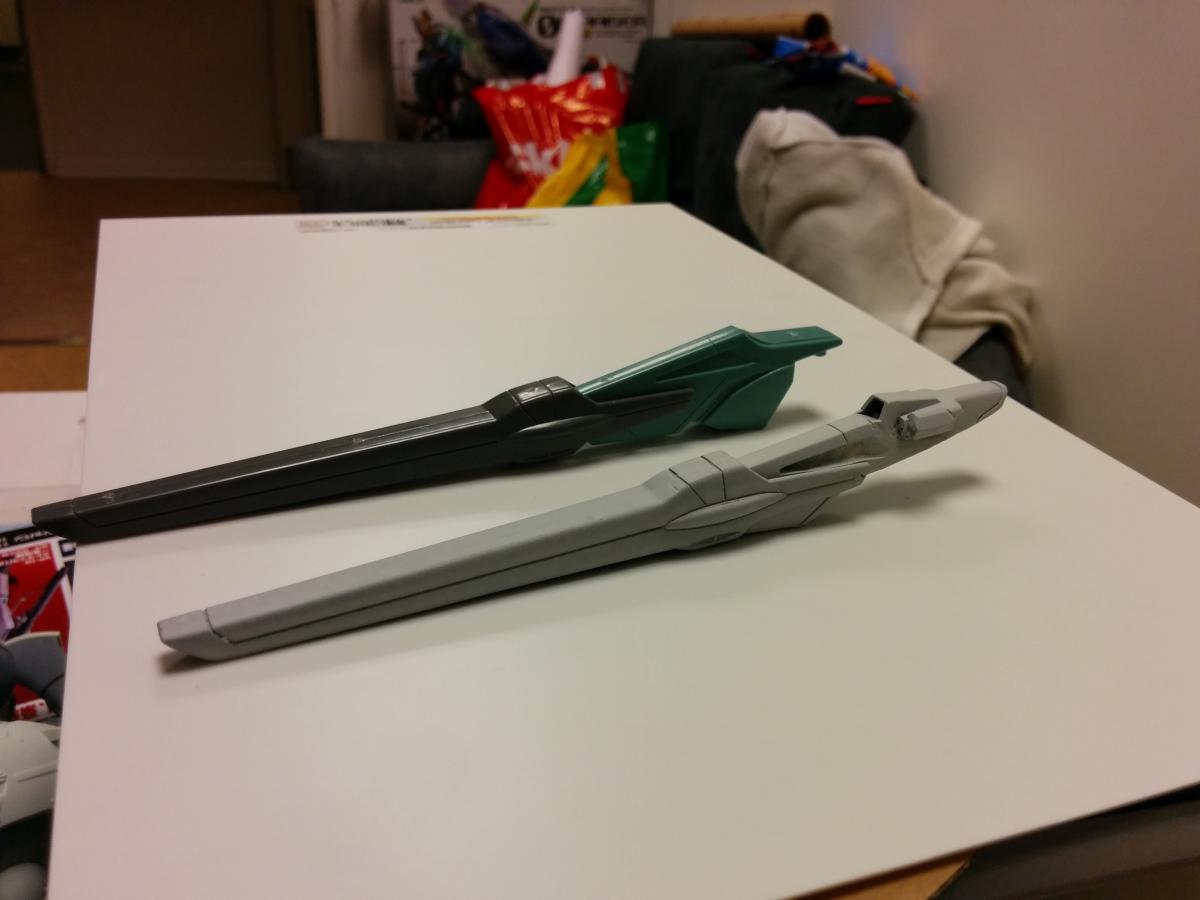
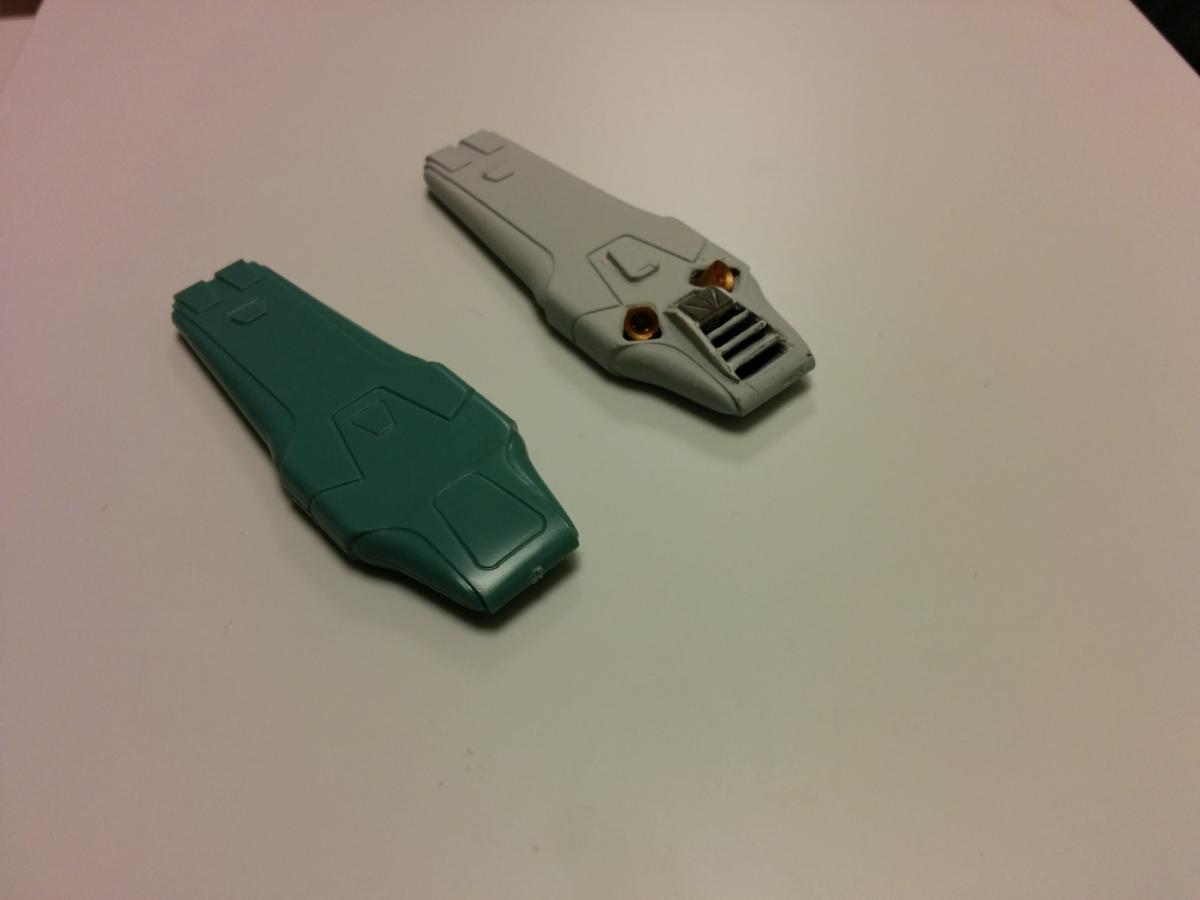
at last i have some more time to work on this....
and a little update!!
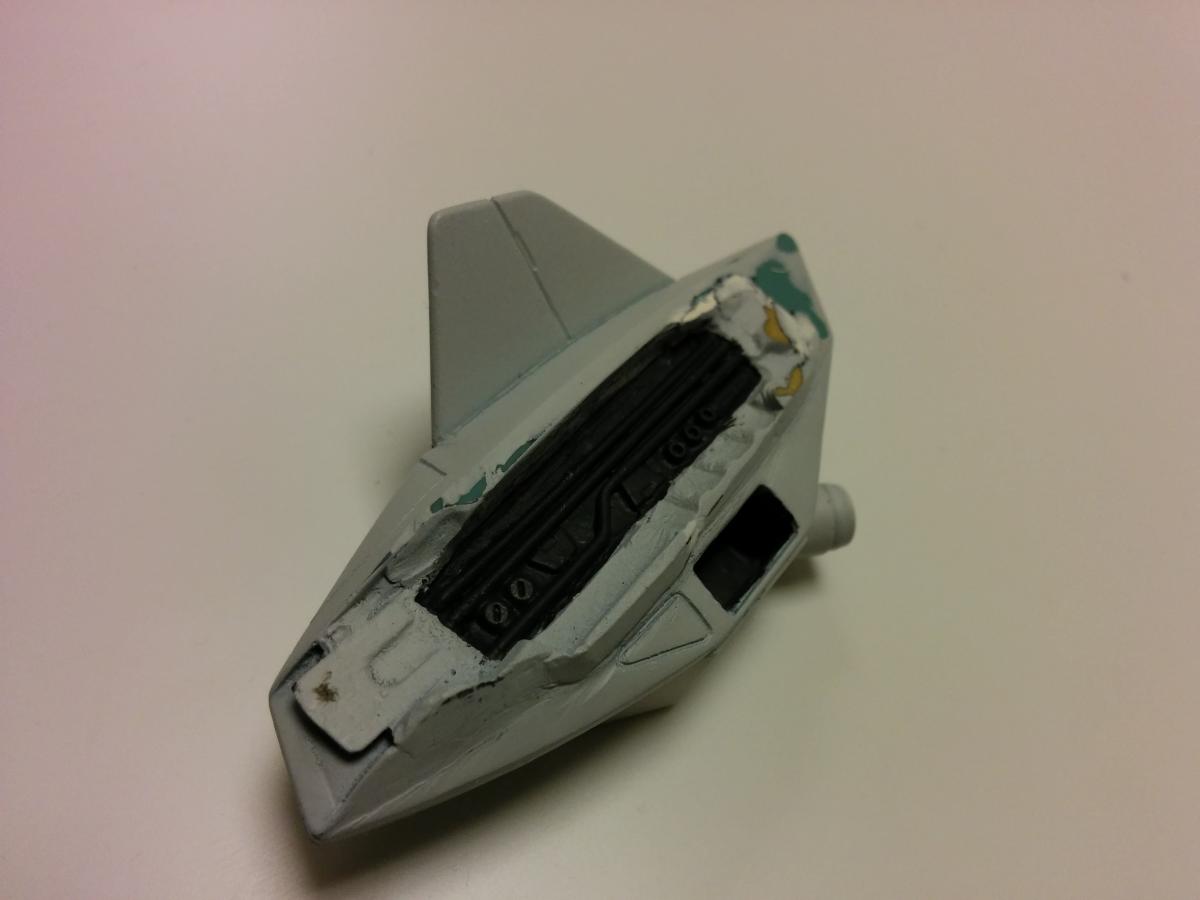
______________________________________________________________________________________________
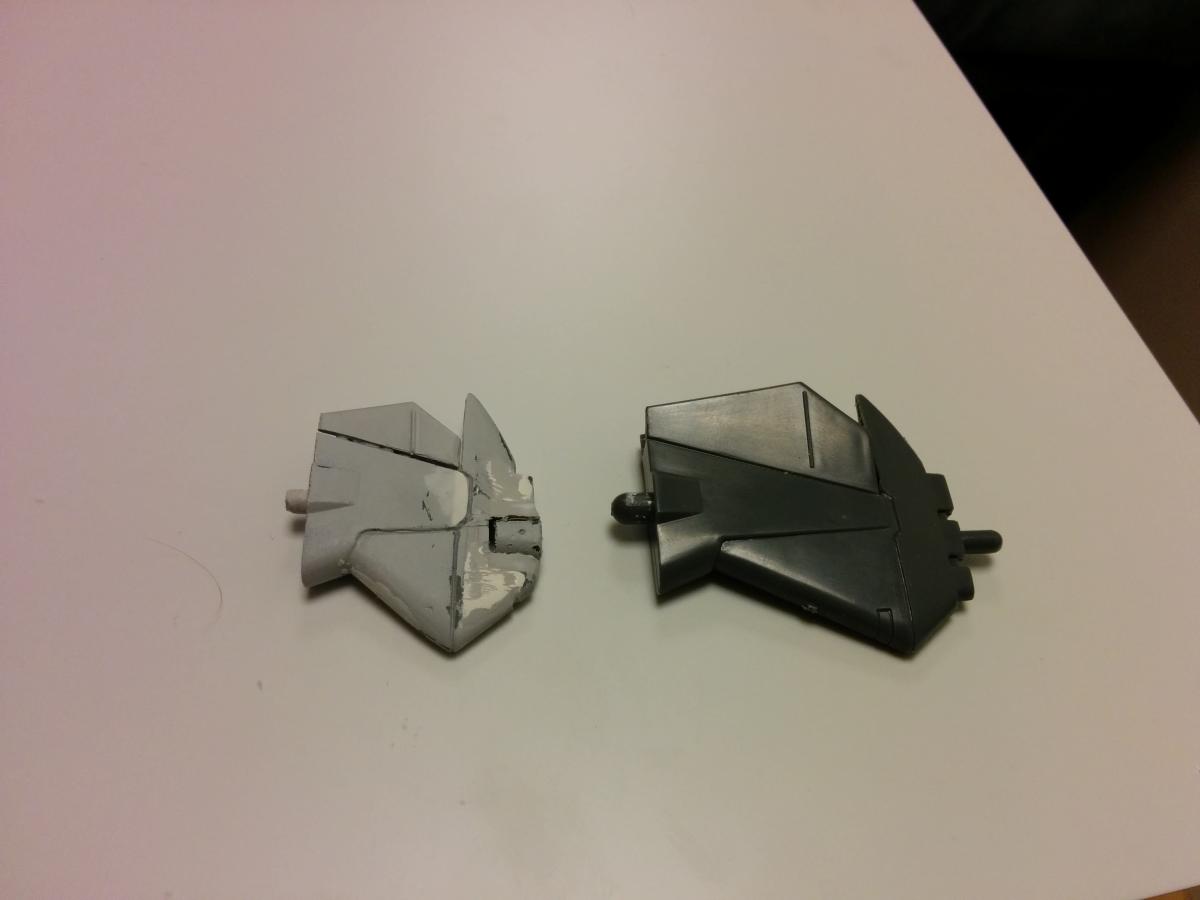
Decided to make the front "spikes" in styrene as part of my "upgrade" for this ship!