-
Posts
525 -
Joined
-
Last visited
Content Type
Profiles
Forums
Events
Gallery
Posts posted by Nyankodevice
-
-
-
-
-
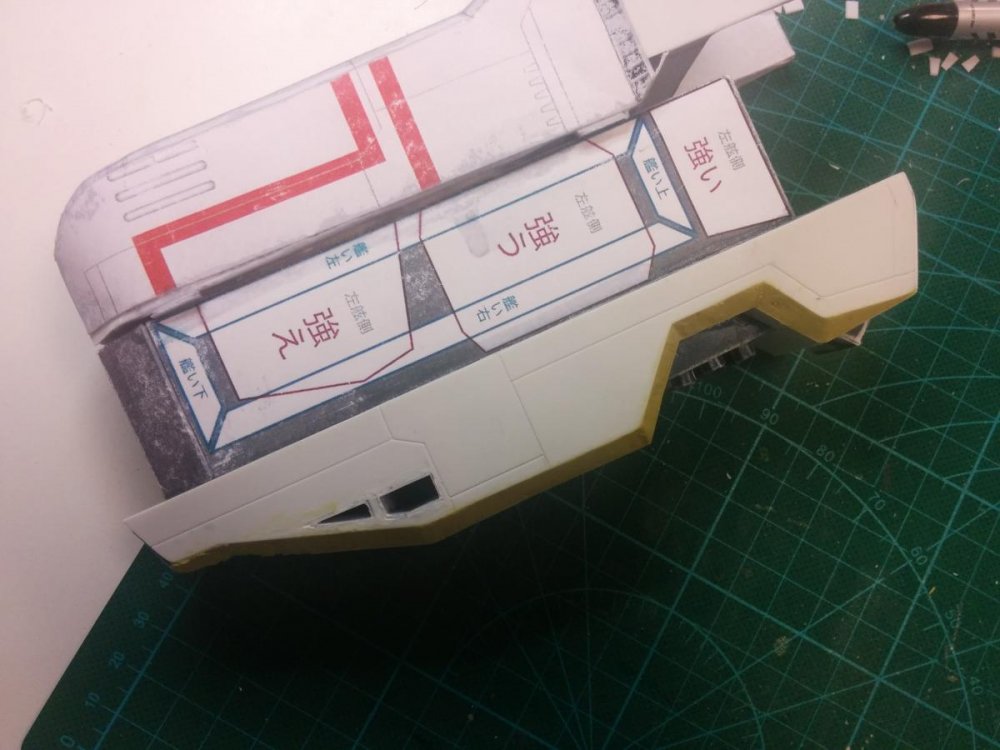
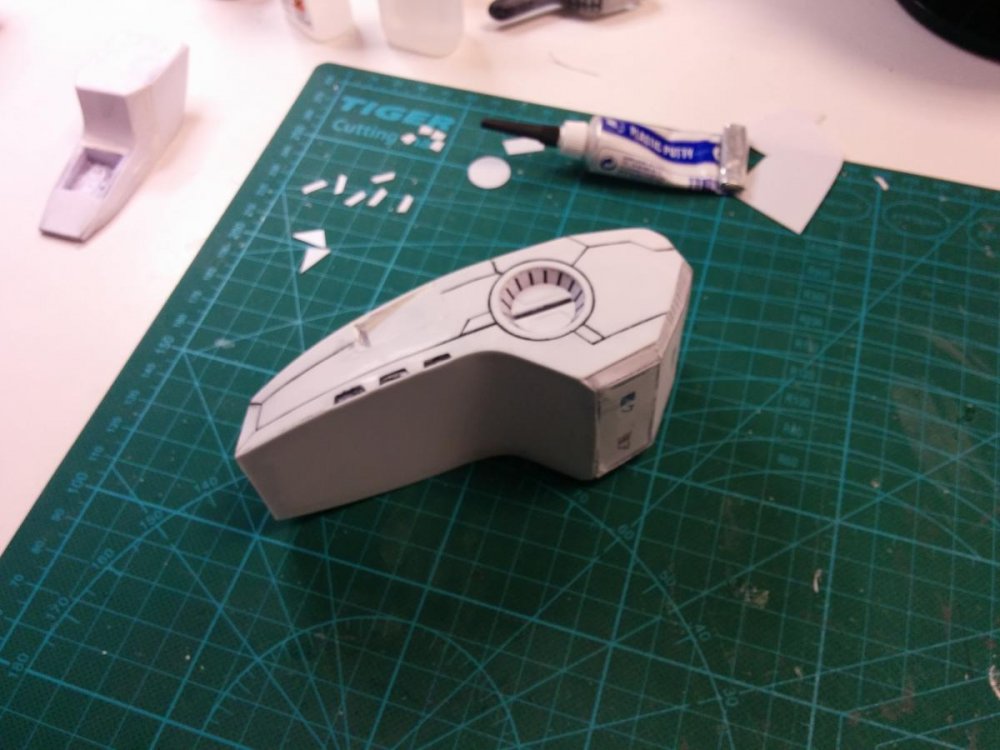
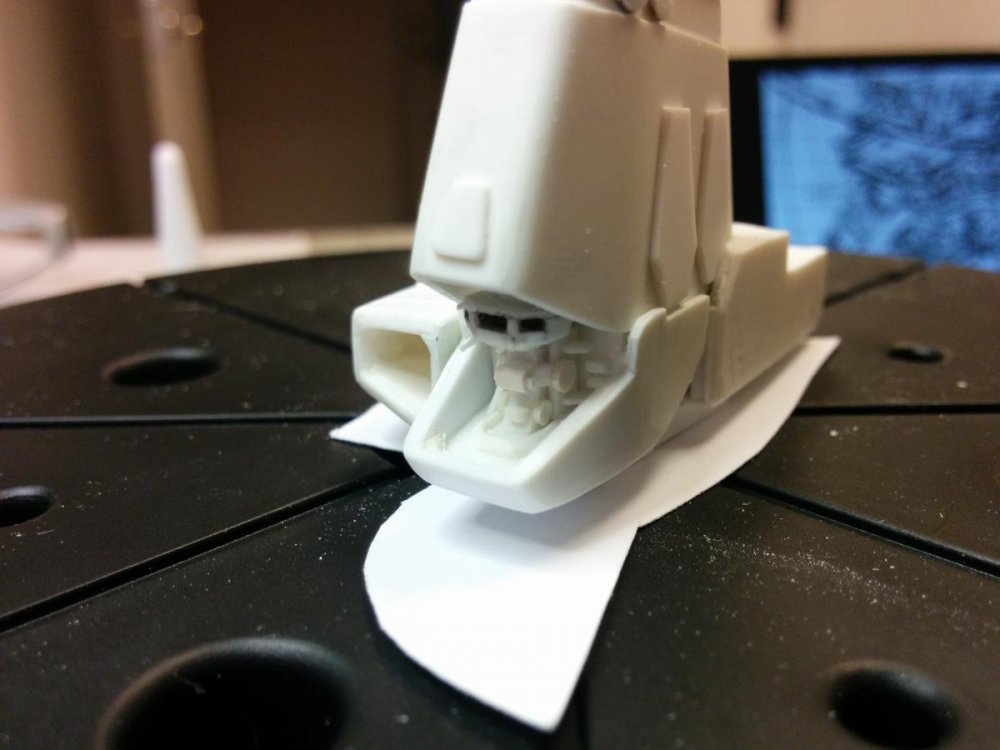
Very impressive. I would love to know how you achieved these curved surfaces. It almost looks vacuum-formed!
it isn't vacu-formed.... don't have the tools for that... yet

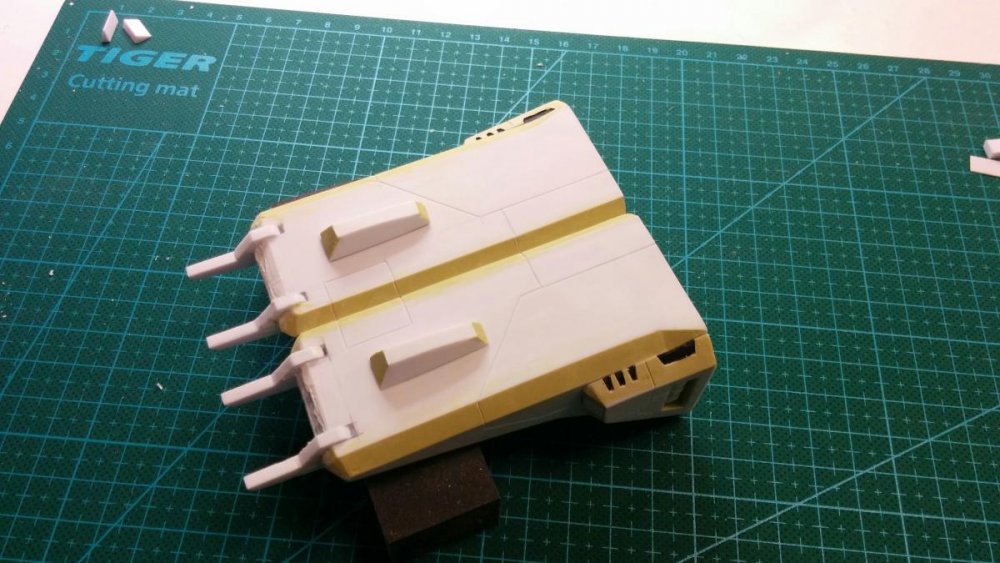
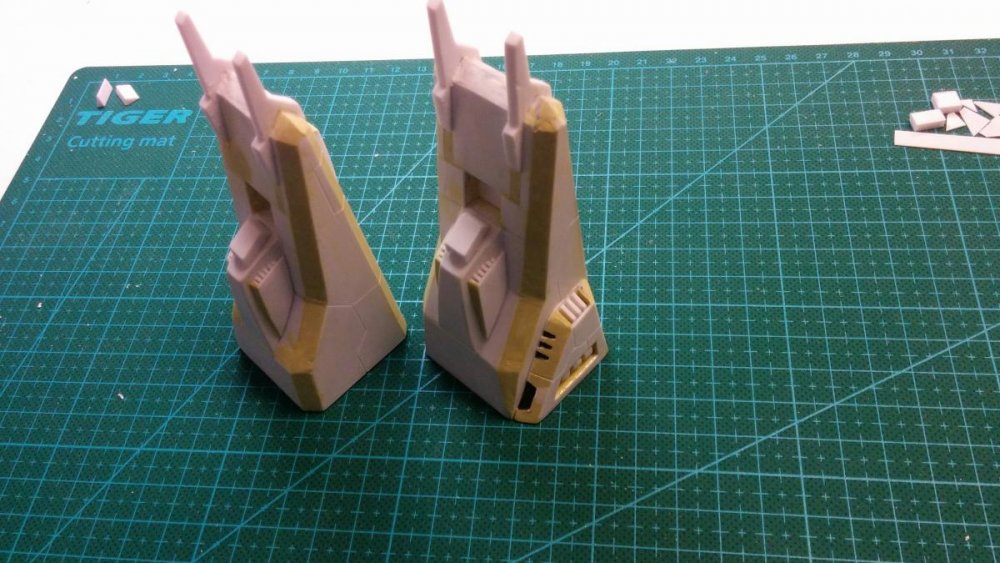
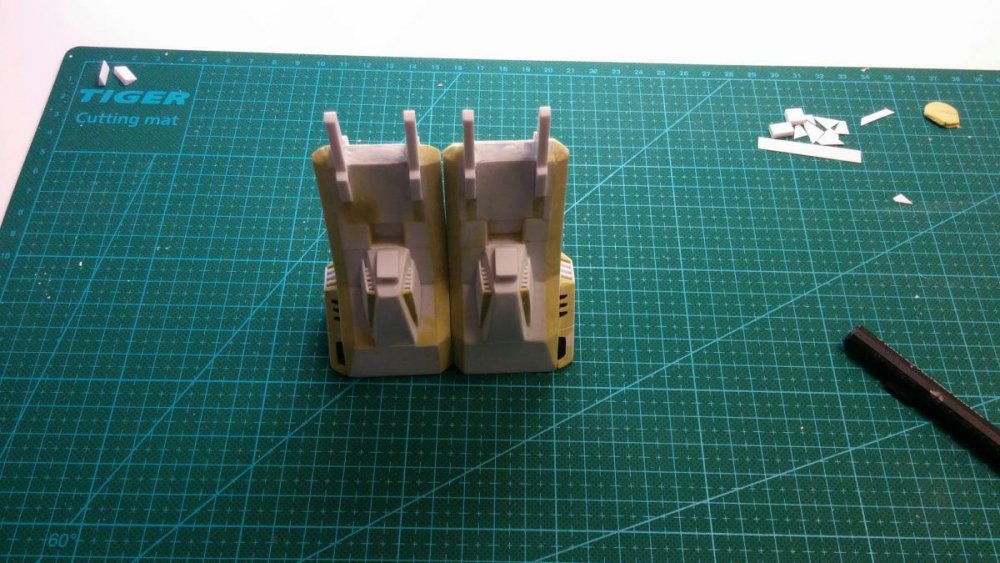
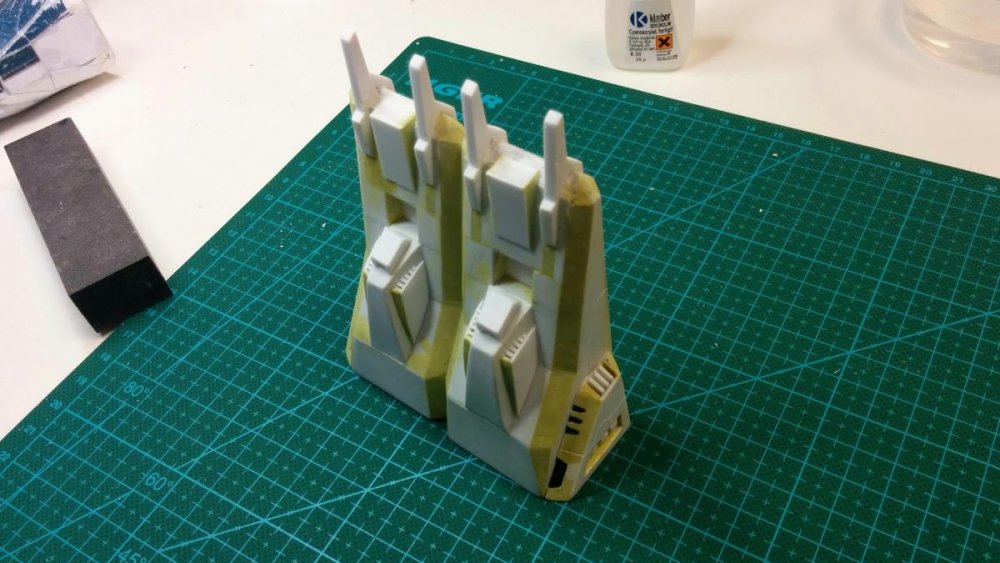
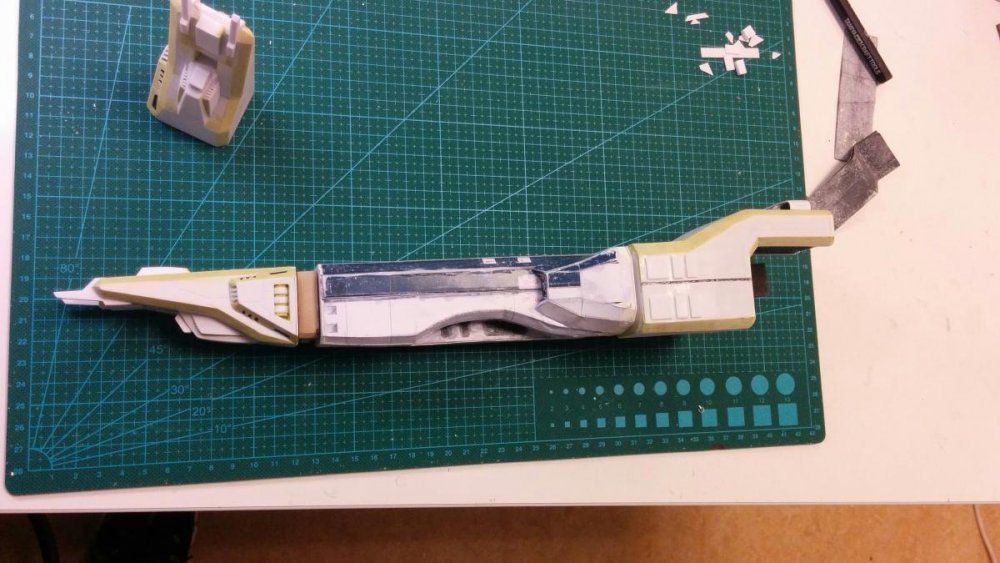
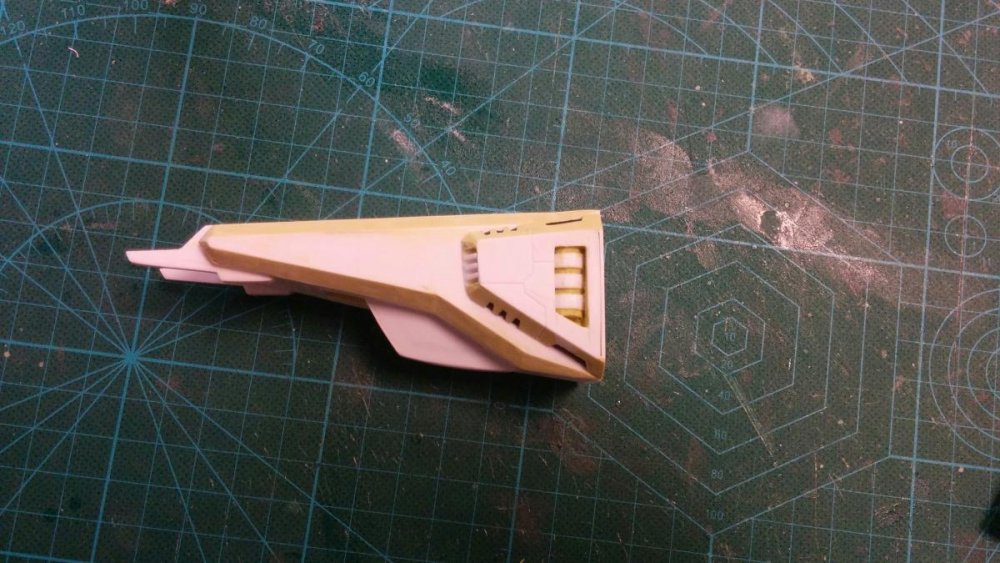
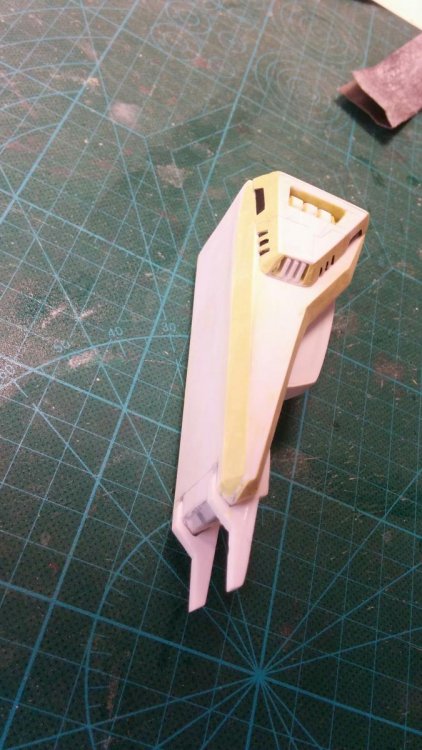
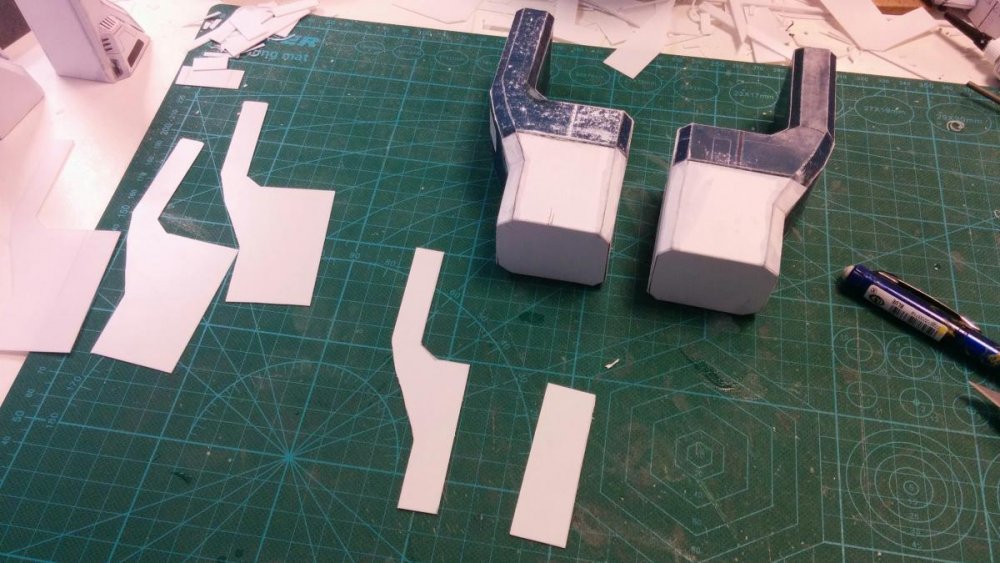
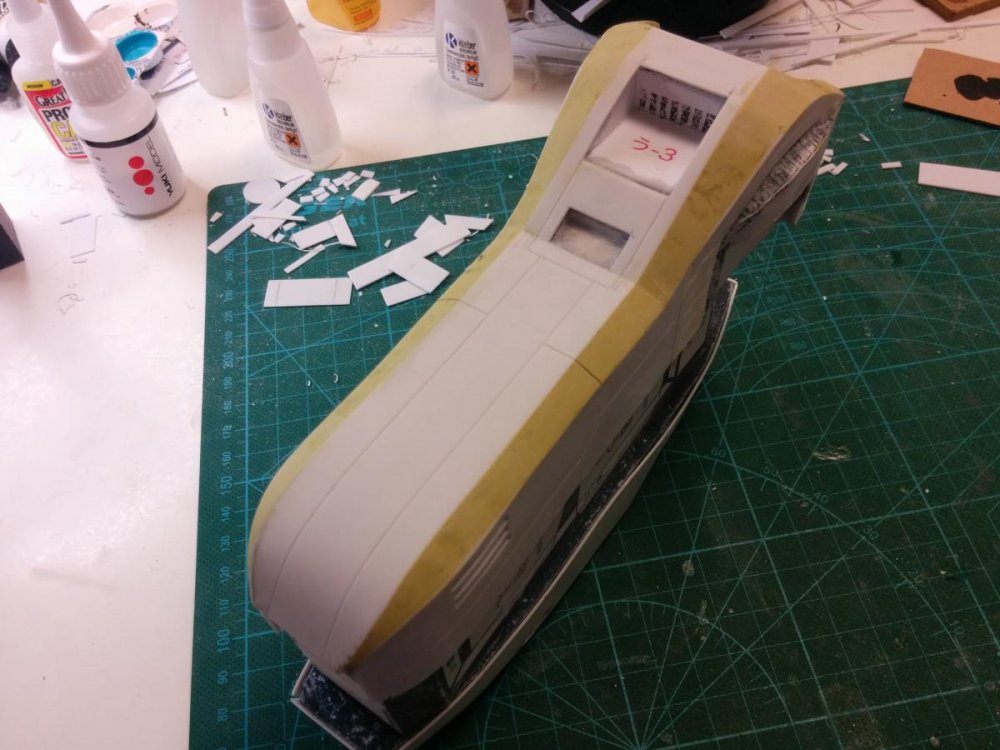
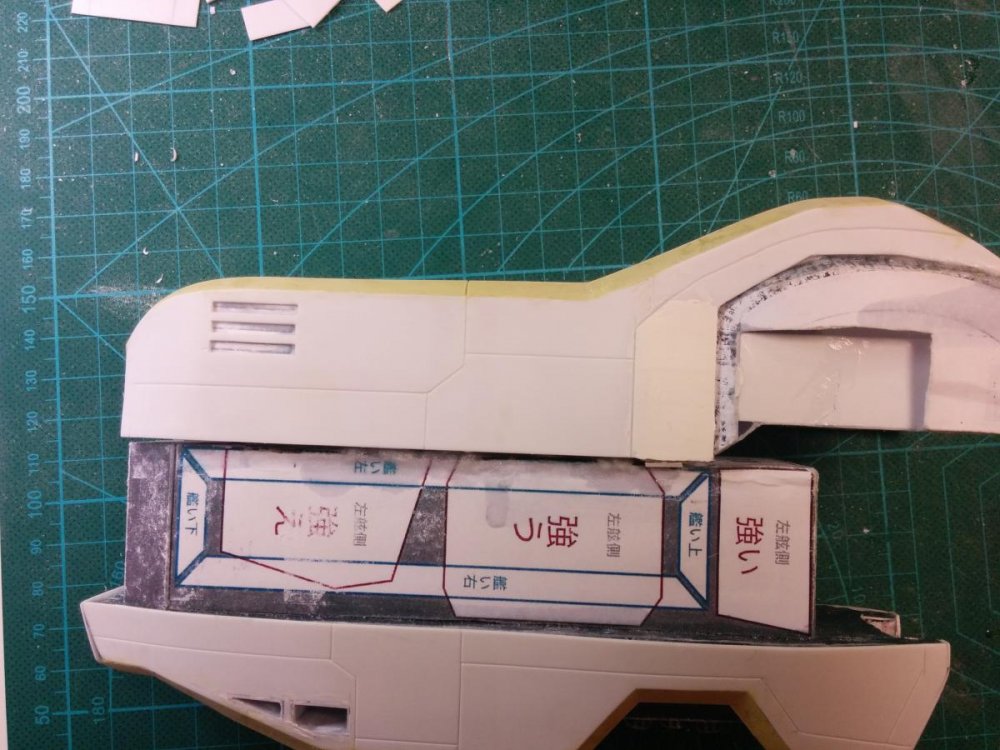
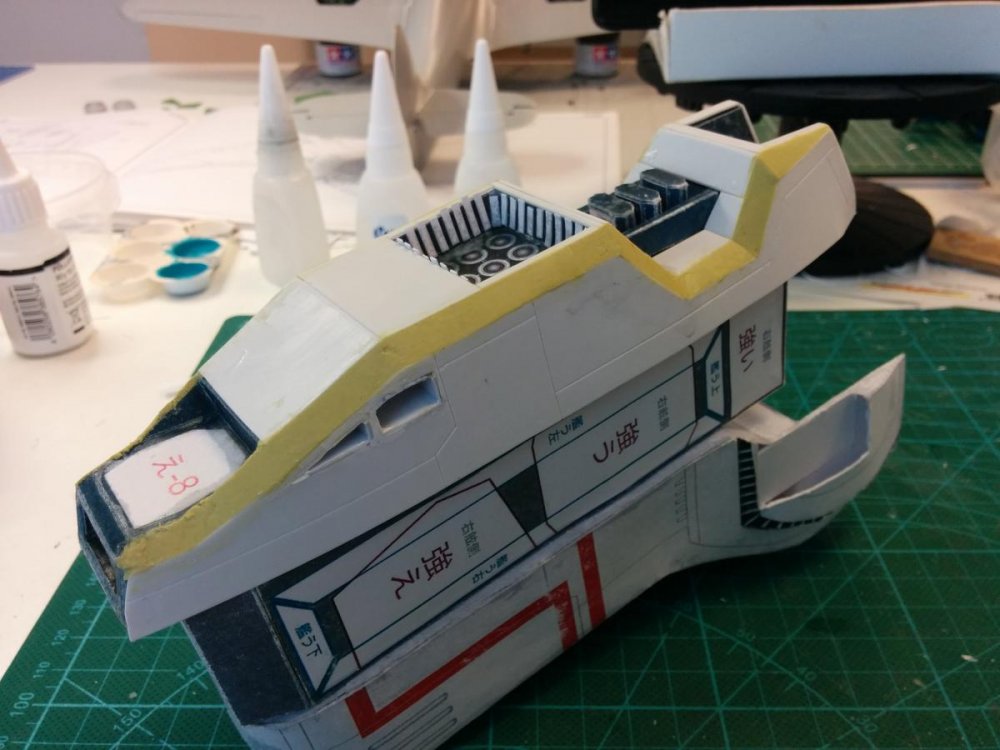
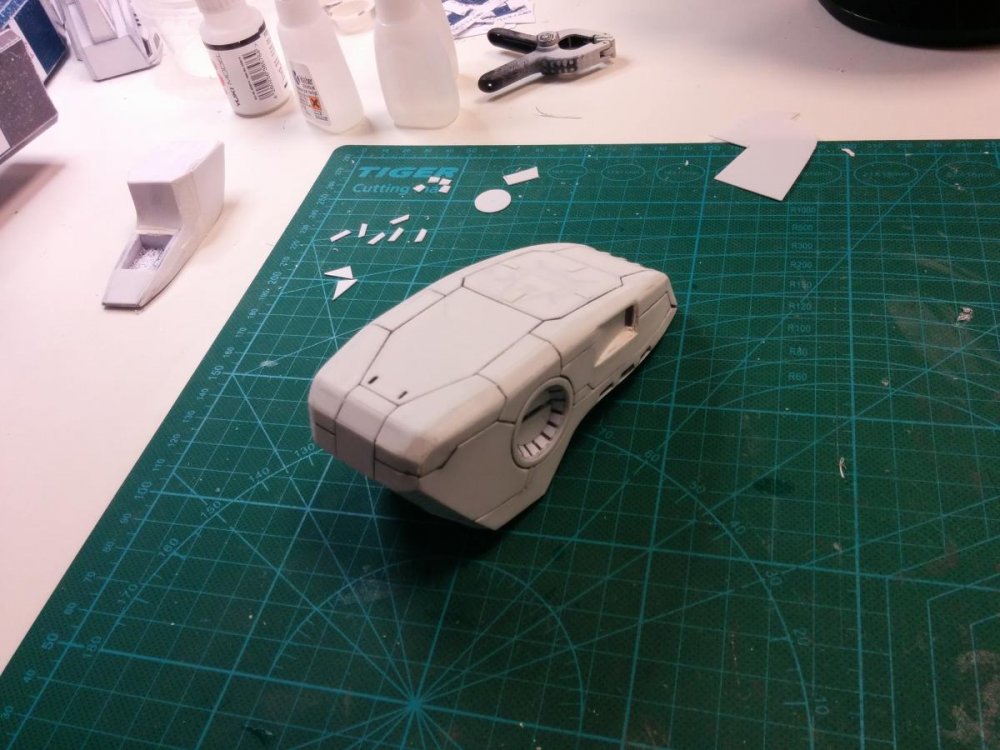
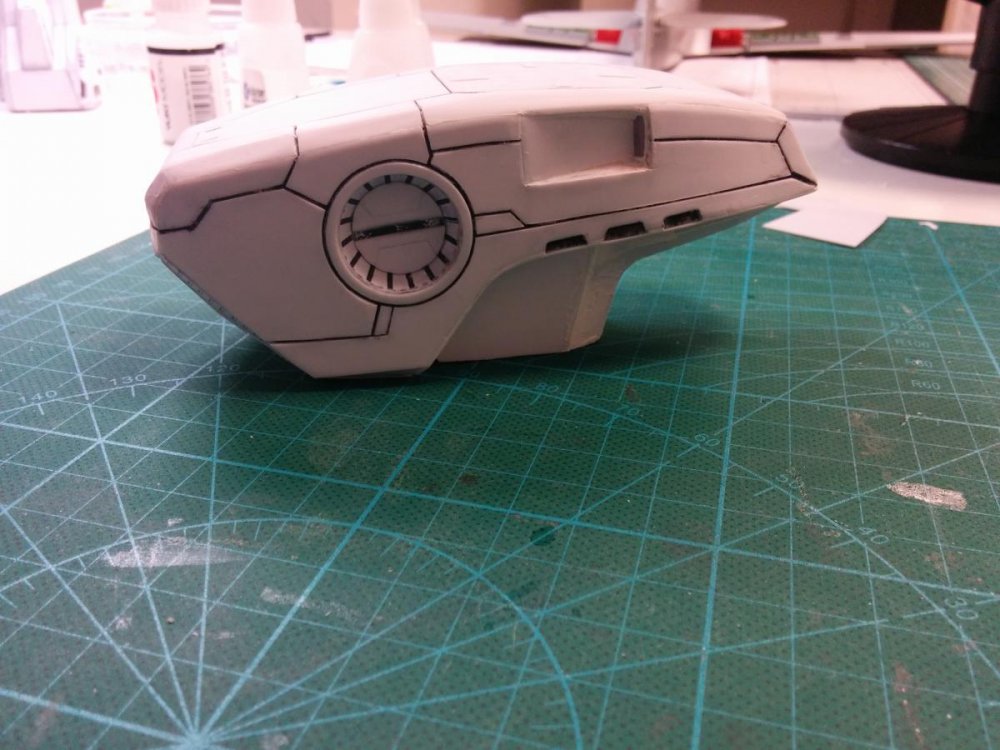
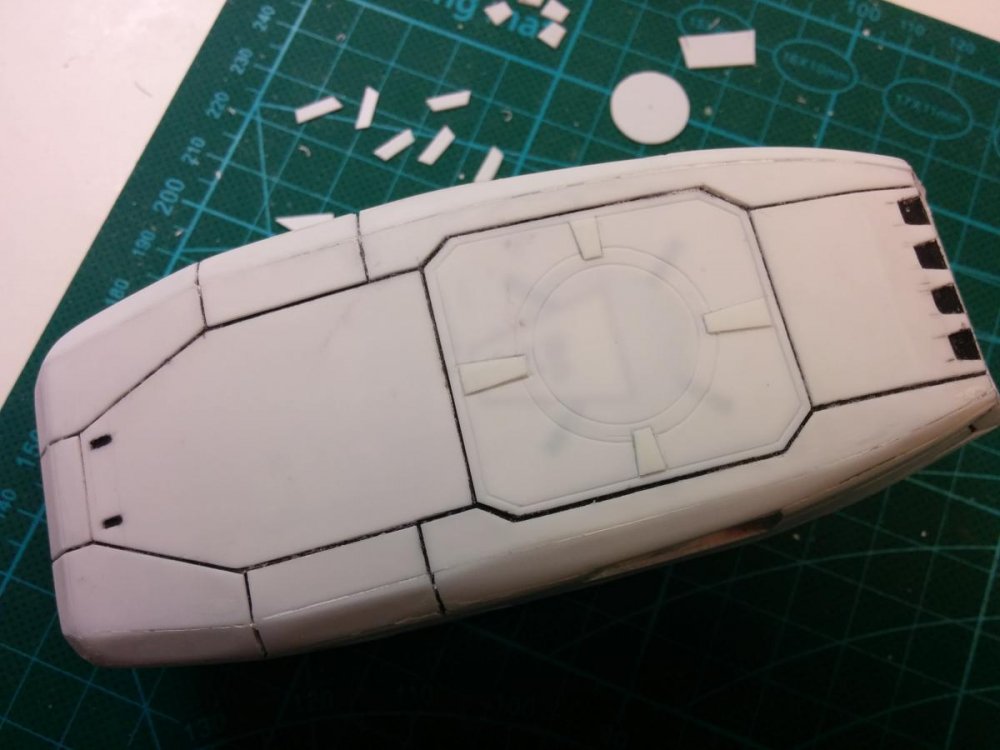
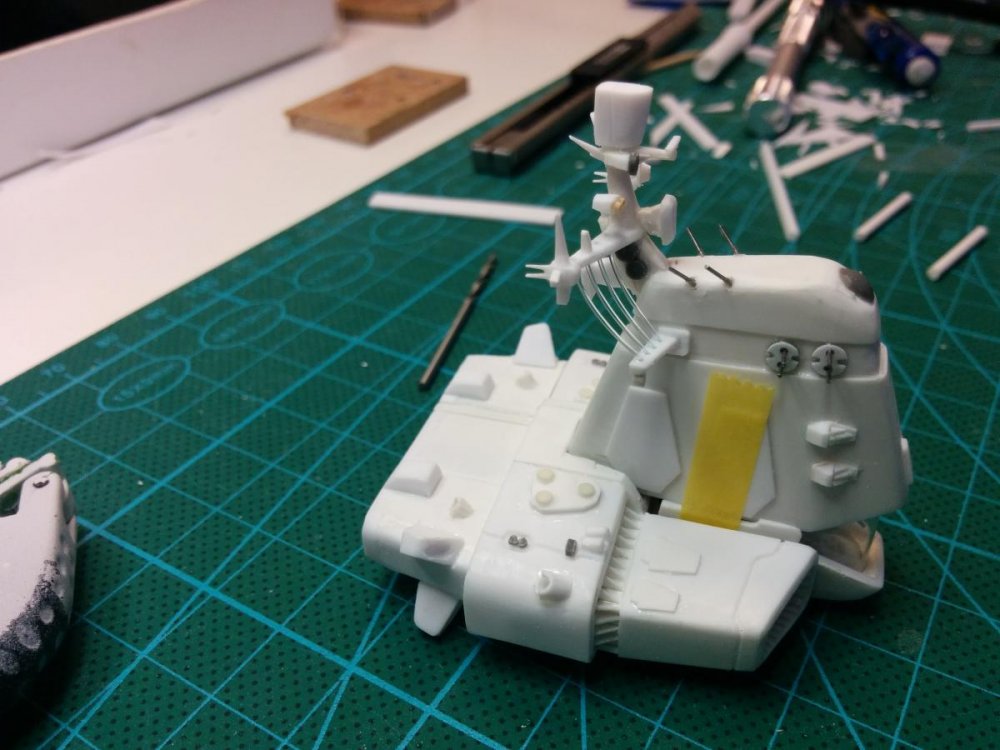
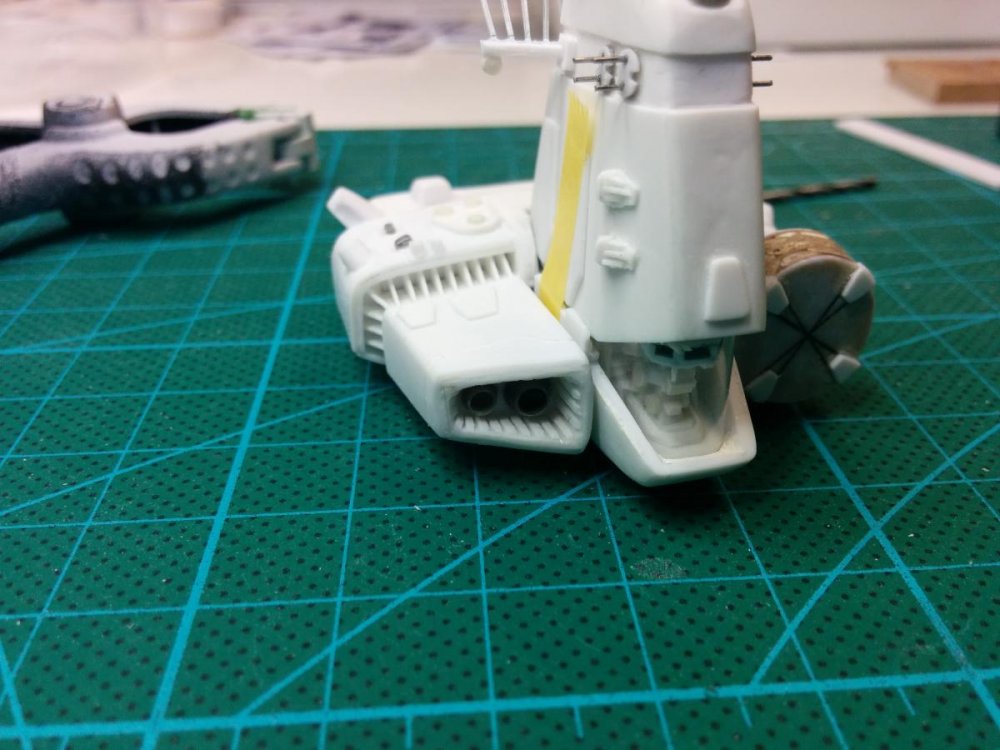
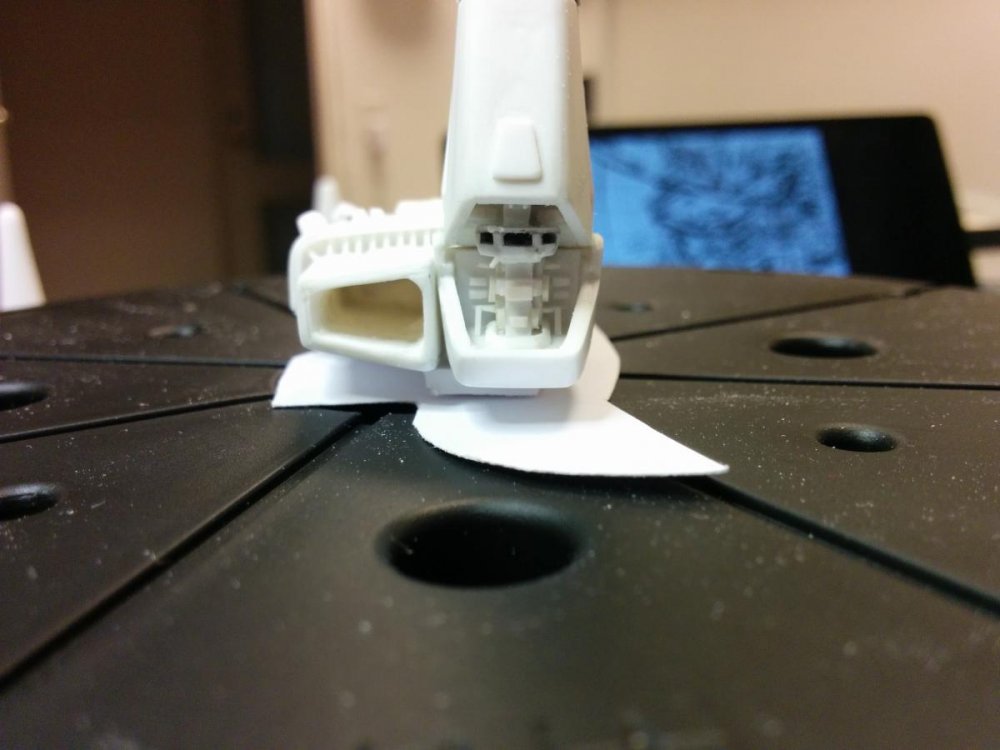
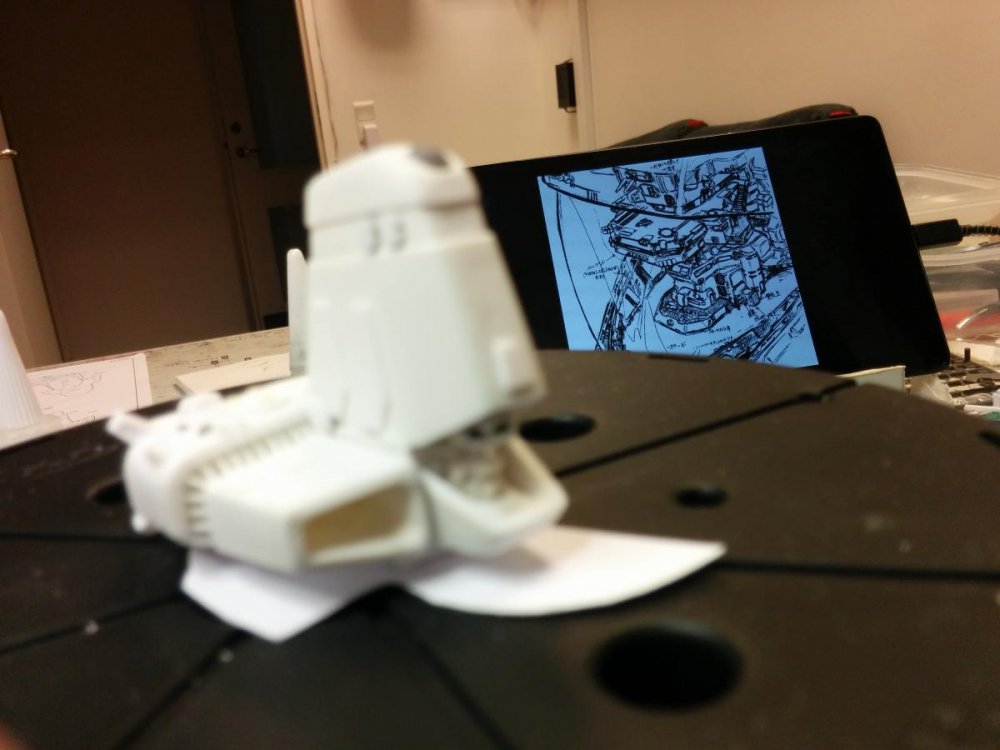
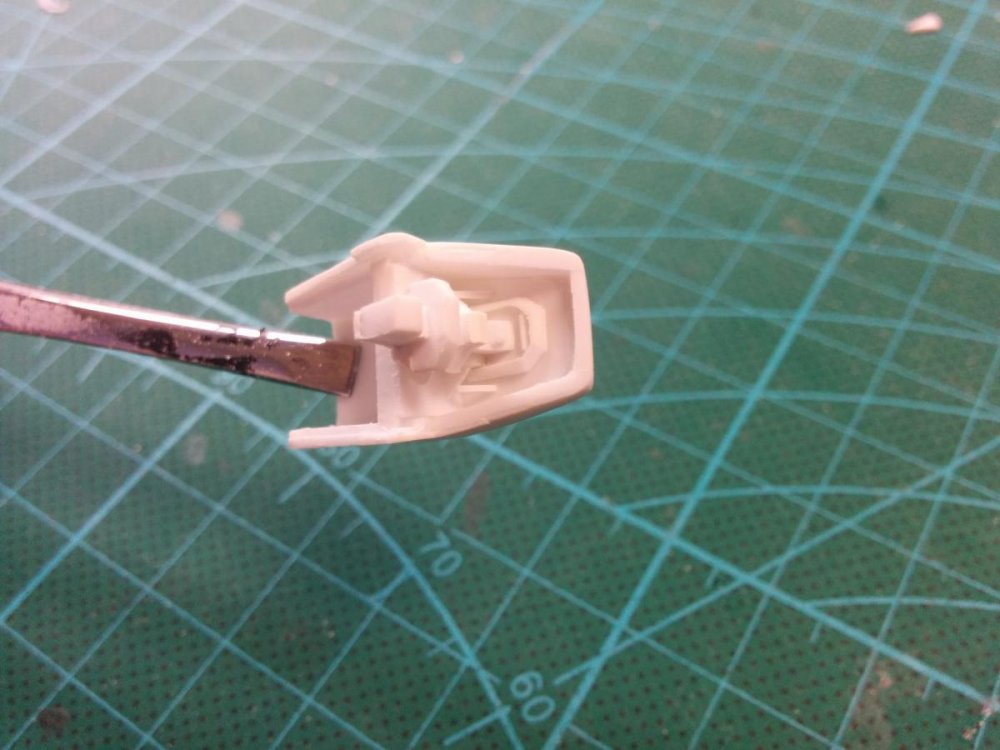
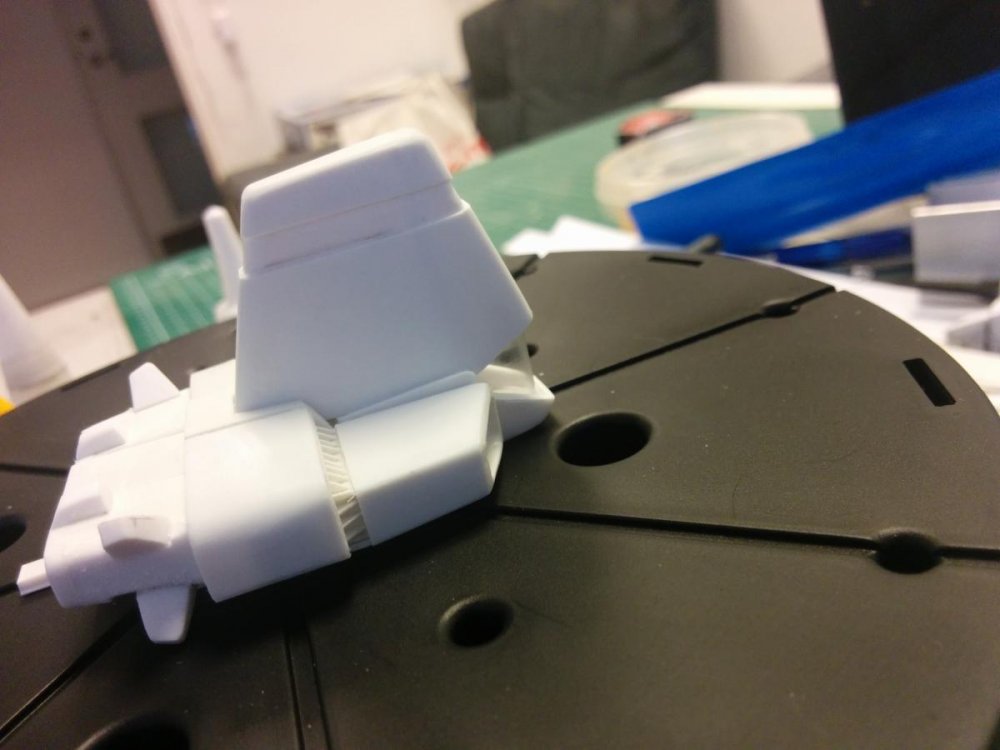
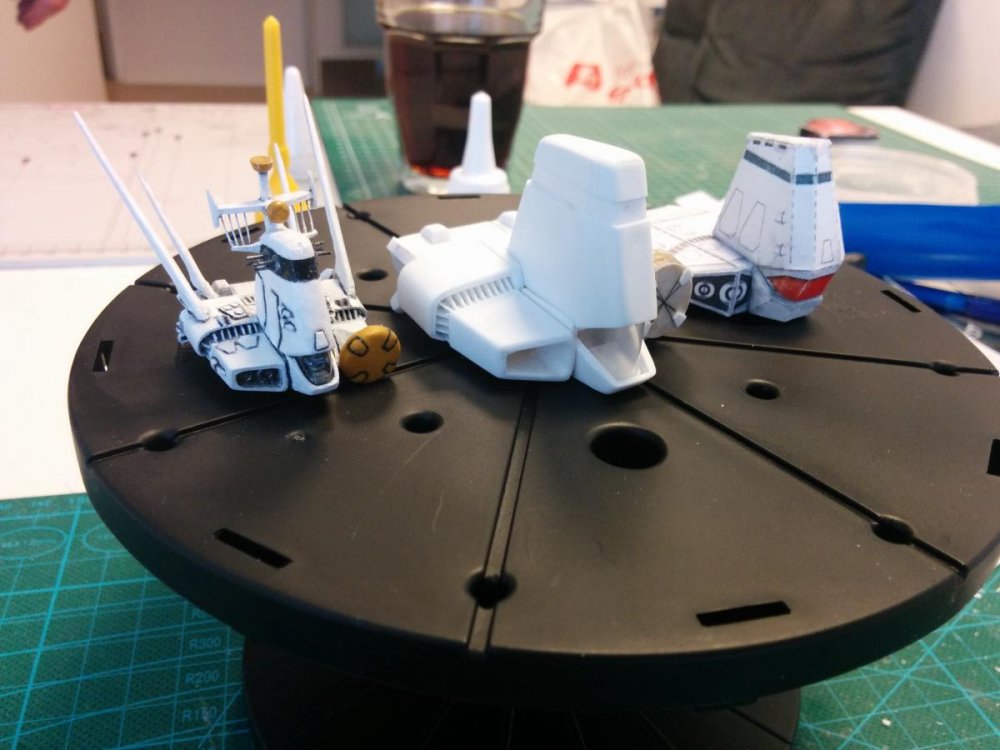
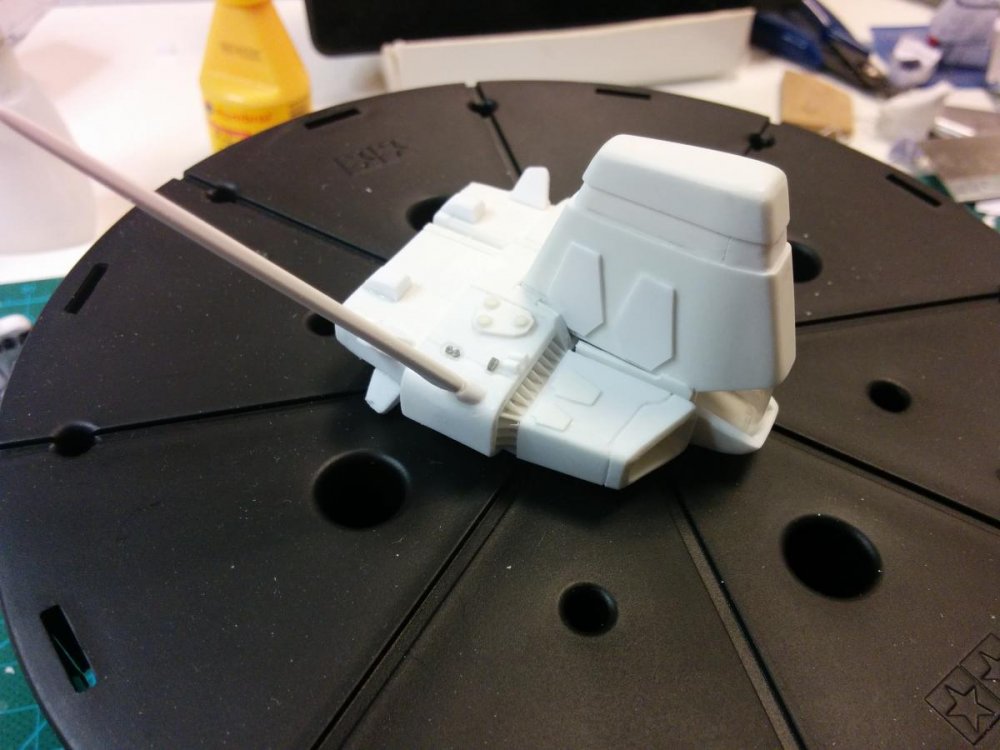
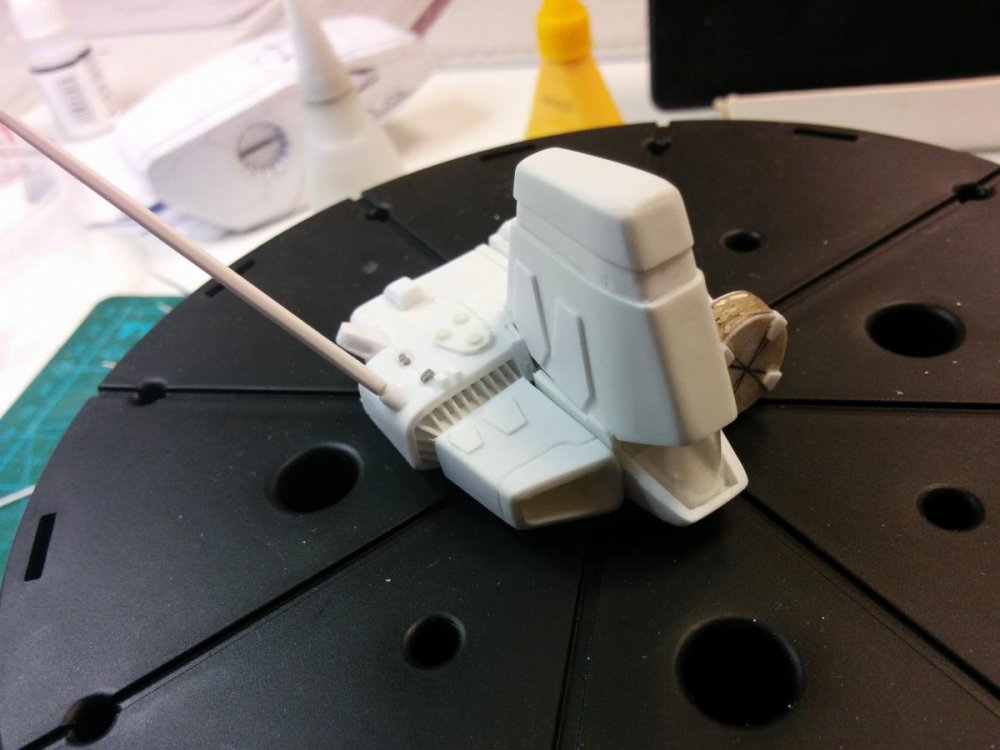
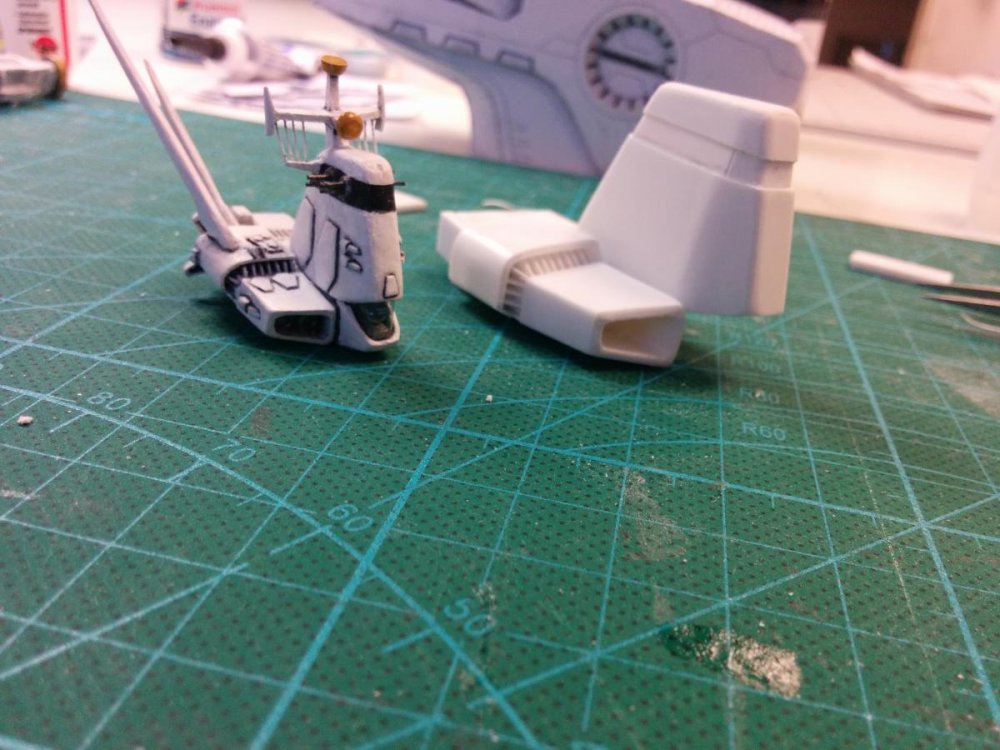
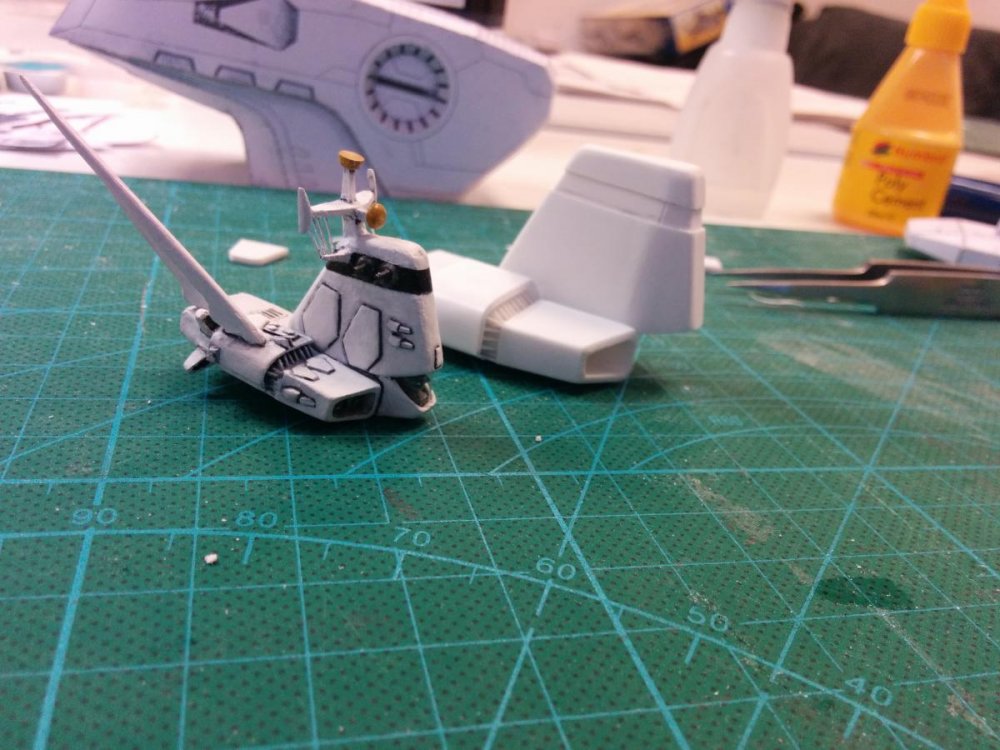
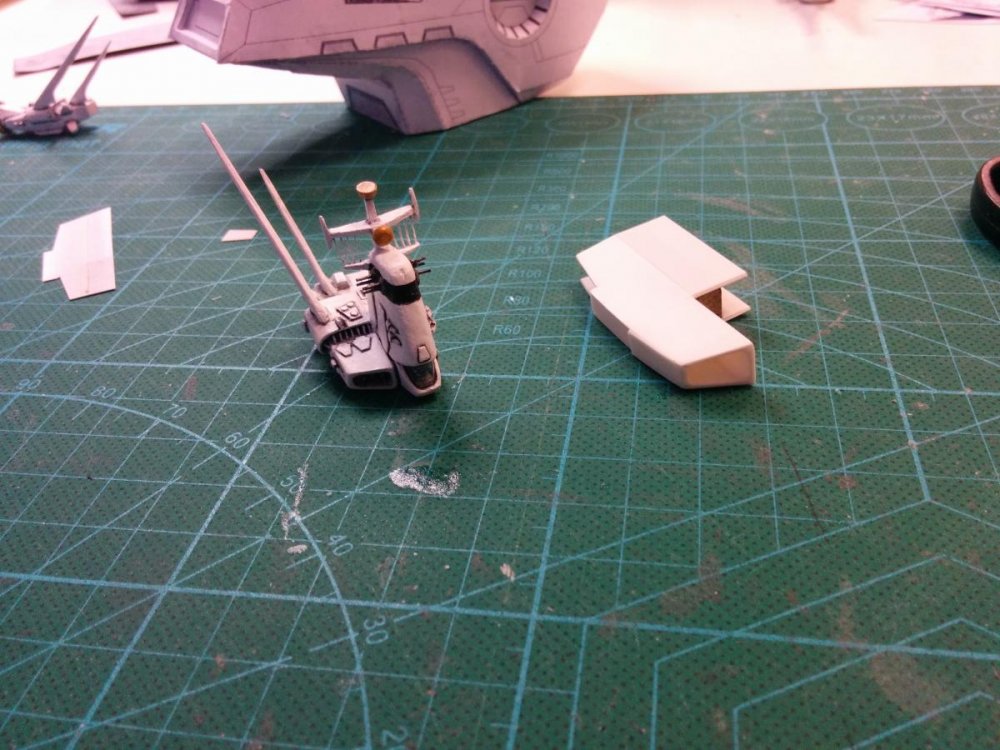
its put together in sections then sanded round to fit the curve i need..
further more there's two layers of Styrene on that bridge, the inner layer at 1mm thickness
and the outer layer at 0,5mm
-
After you make your SAP, you can make kits for the rest of us!!

that is a real possibility

Don't forget the drones for it, either!
right... mustn't forget the drones


-
i will buy this...
then ill make the necessary changes, for it to look even better...
then ill make a SAP pack for it...
-
dang cant come this year either

ill have to wait for '16
-
That looks awesome....

any chance you'll make a 1/48 Bike for my VF-19?
-
-
That's absolutelly awesome..
Care to share from where to get the styrene sheets in bulk?
well i buy mine through a danish shop, which is reselling from this company: http://www.raboesch.com
standard sizes: 194 x 320 mm / 7,6 x 12,6 inch ranging from 0.3 - 3.0 thickness (1,59 USD - 5,97USD)
plus many other options and larger sheets......
dunno if theres cheeper alternates out there....
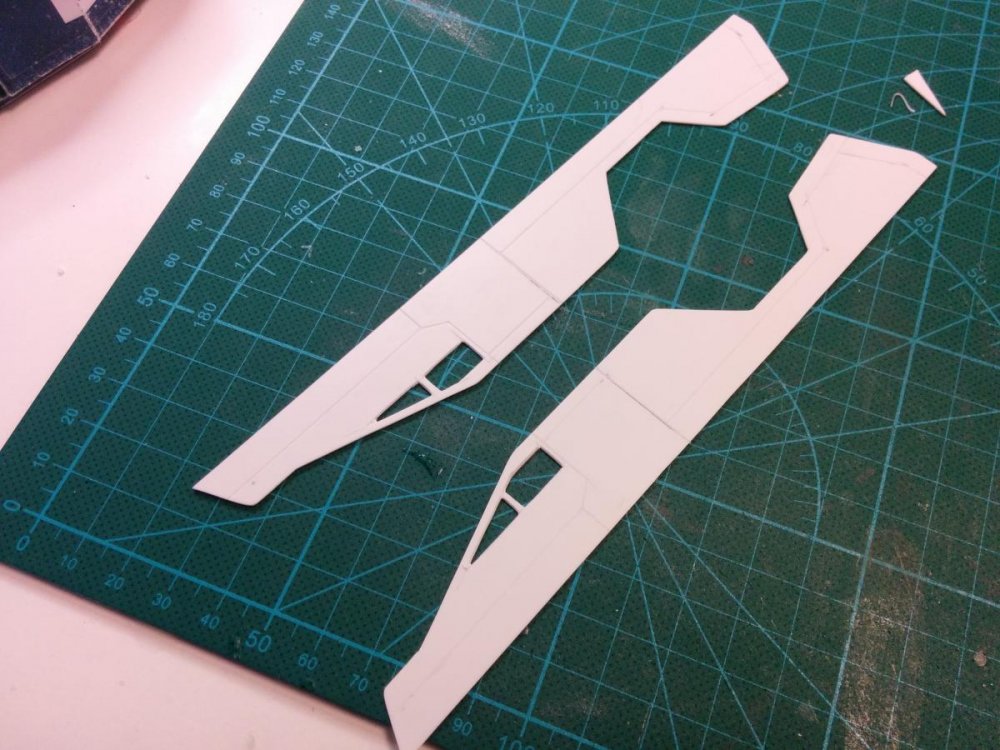
my preferred sheet thicknesses for scratch building are 0.5mm 0.75mm 1mm 1.5mm
hope this helps!

-
-
-
Has anybody ever thought of making a, say, 1/350 display piece of the SDF-1 bridge?
that is actually something i have thought about my self....
maybe i should add that on my to do list


-
-
-
You, sir, have an incredible amount of patience! That is turning out absolutely awesome!
thx
 patience yea, but more so, stubborn!
You Sir are a Modeling Wizard!!!
thx, ill keep conjuring up more details


-
-
Wow!
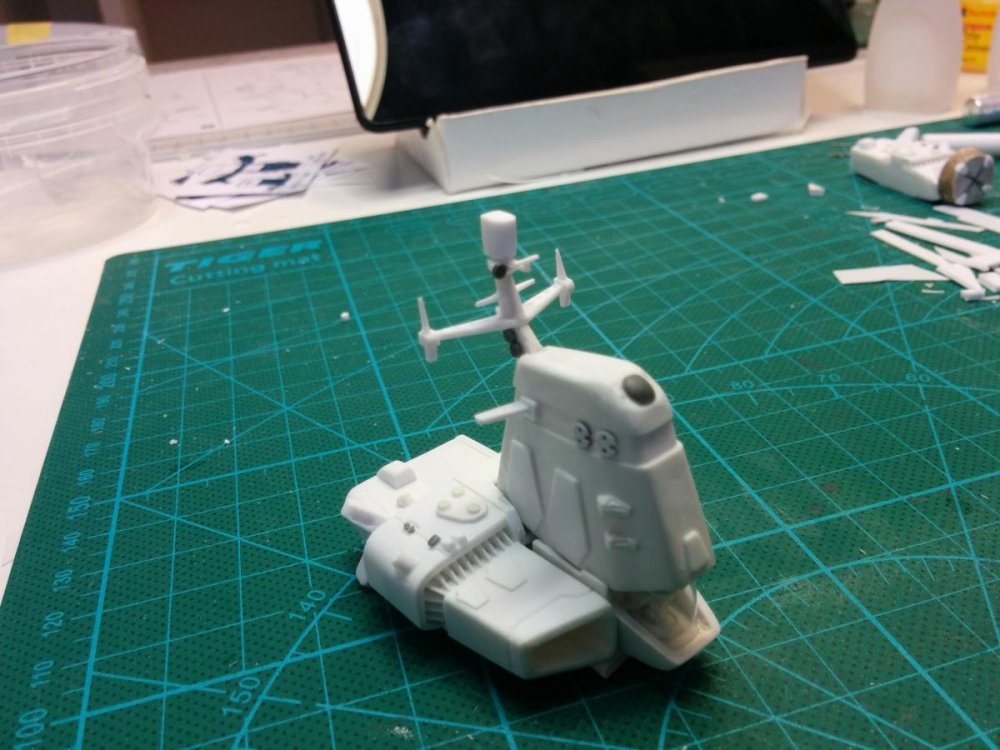
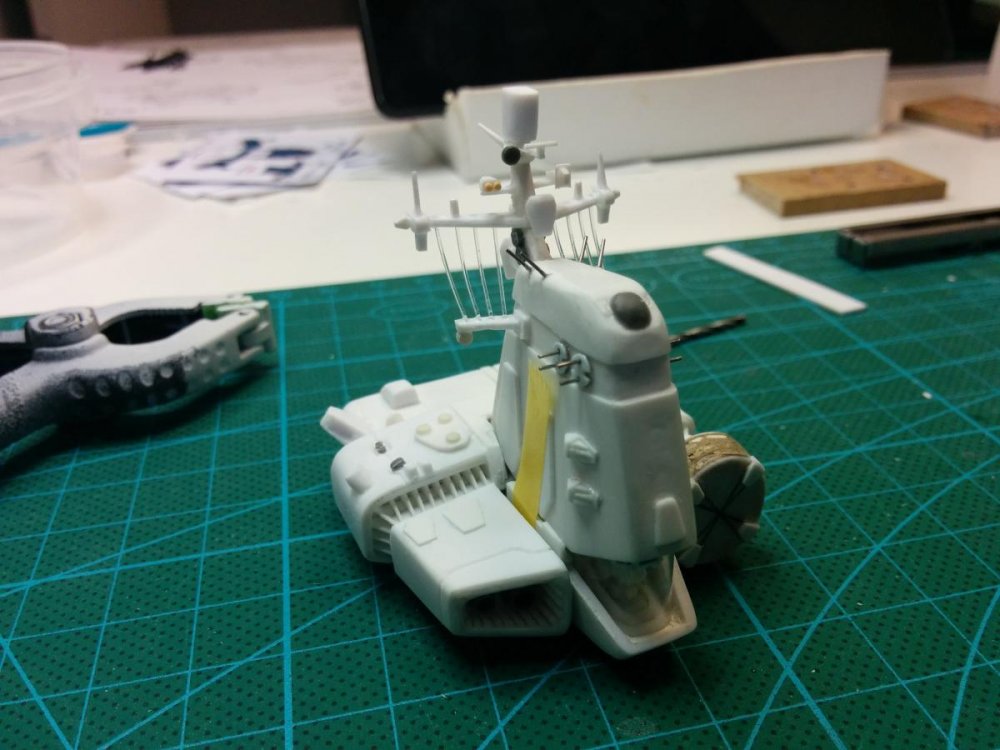
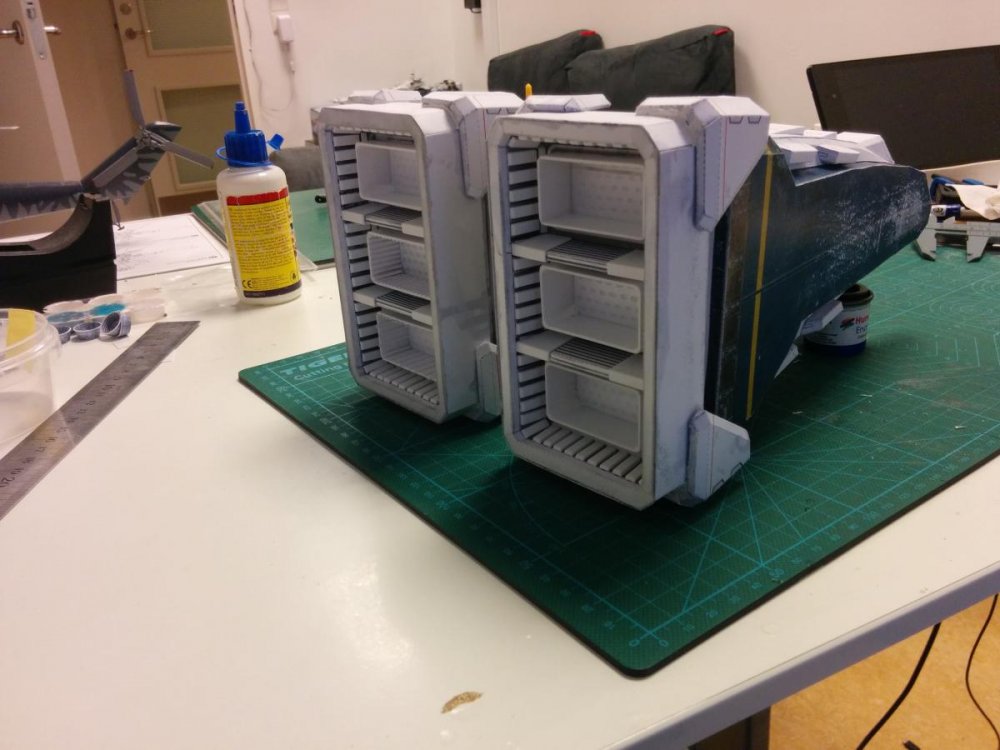
So are you using styrene now and not paper for some of the bridge?
well i decided early on that i wouldn't limit my self to paper....
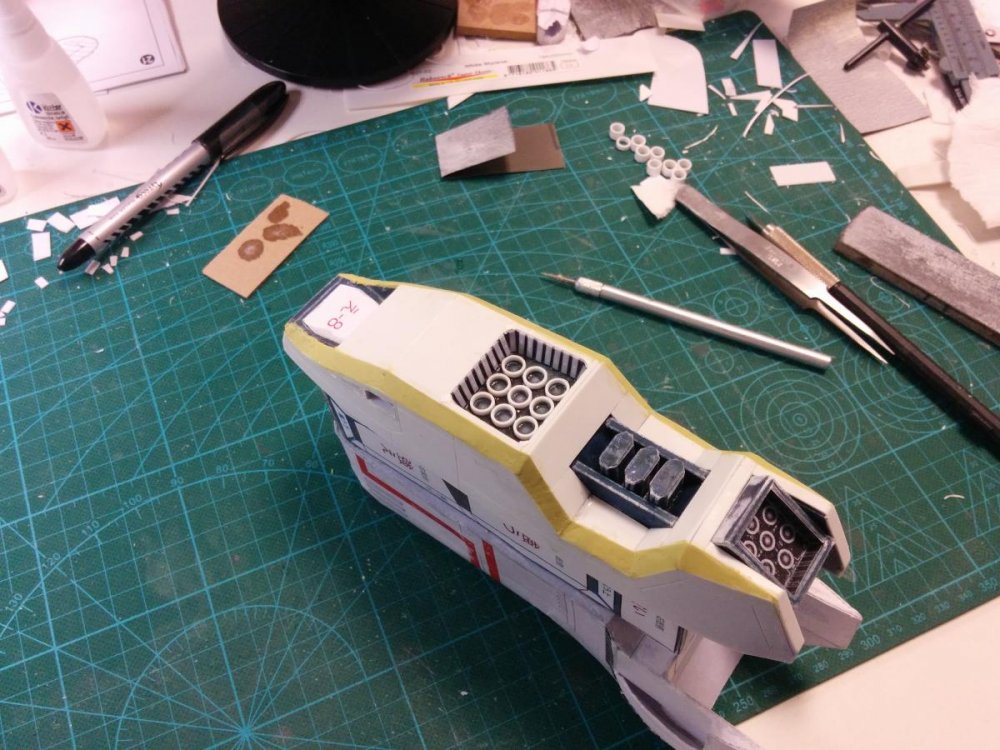
paper is great for alot, so is styrene... so whichever works best for any given task, i use!

-
-
-
-
-
-
Hey - where can I get a hold of syringes like that? I need syringes with large needles like that for applying different substances.
i would suggest you search on Amazon for Industrial Syringes with Blunt Tip Needle


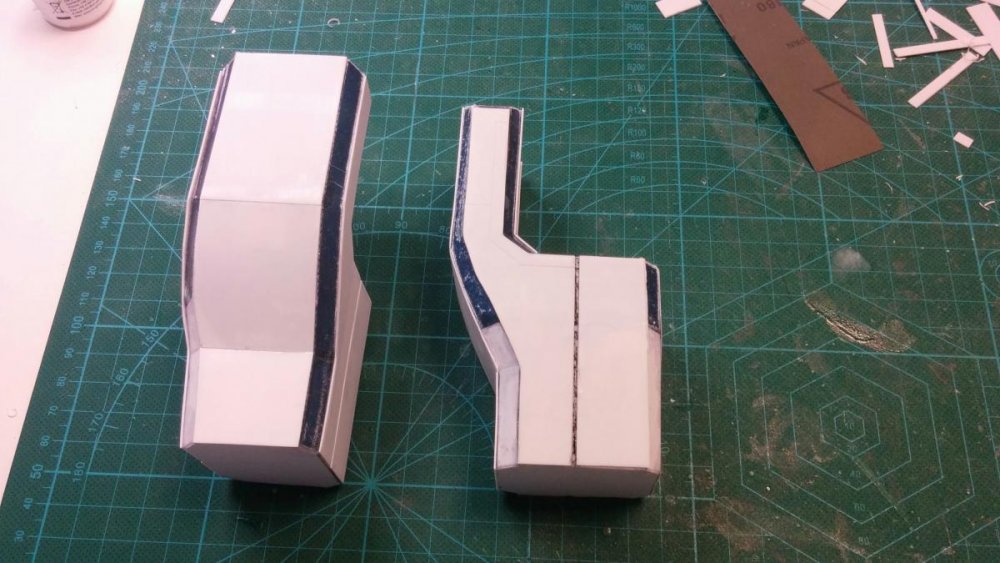
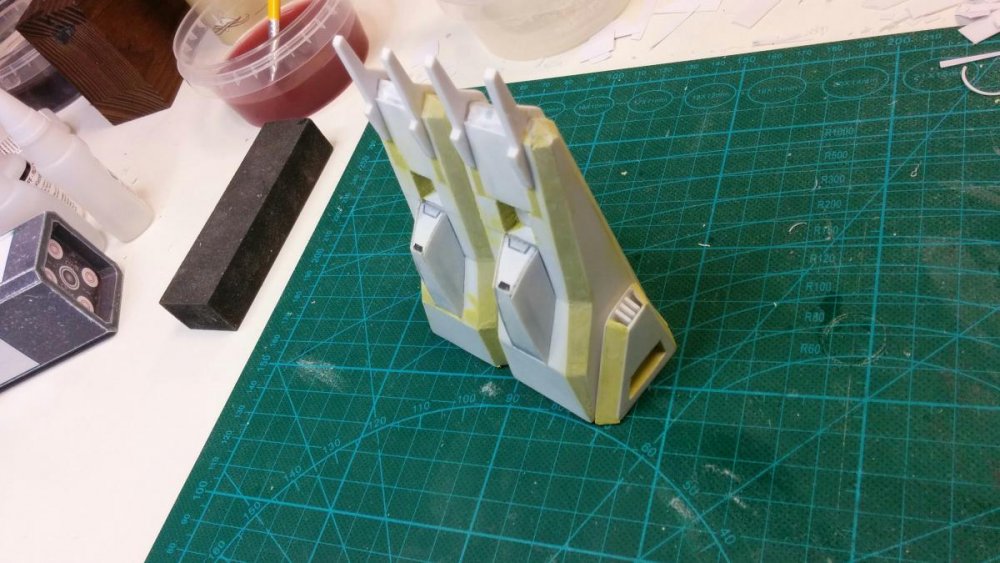
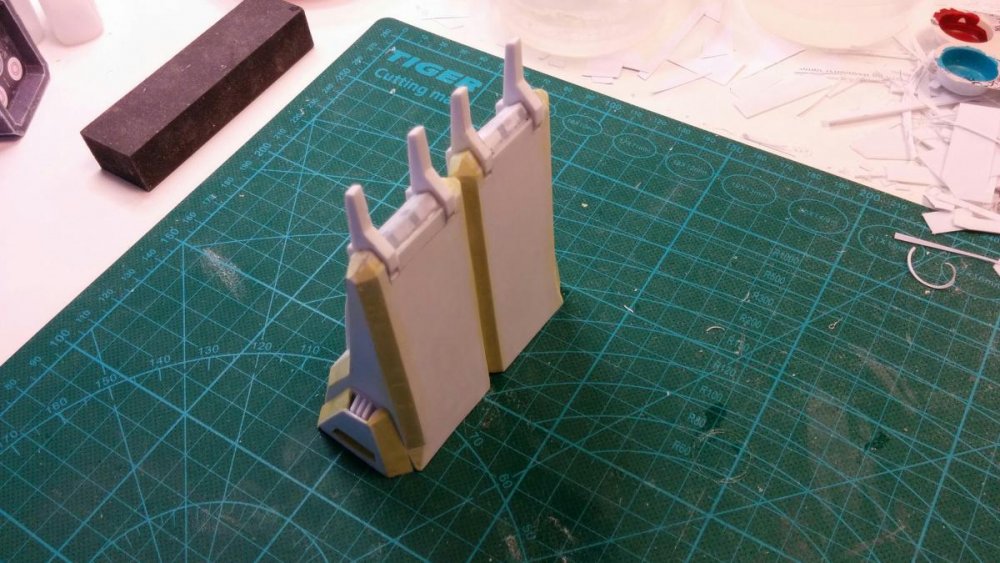
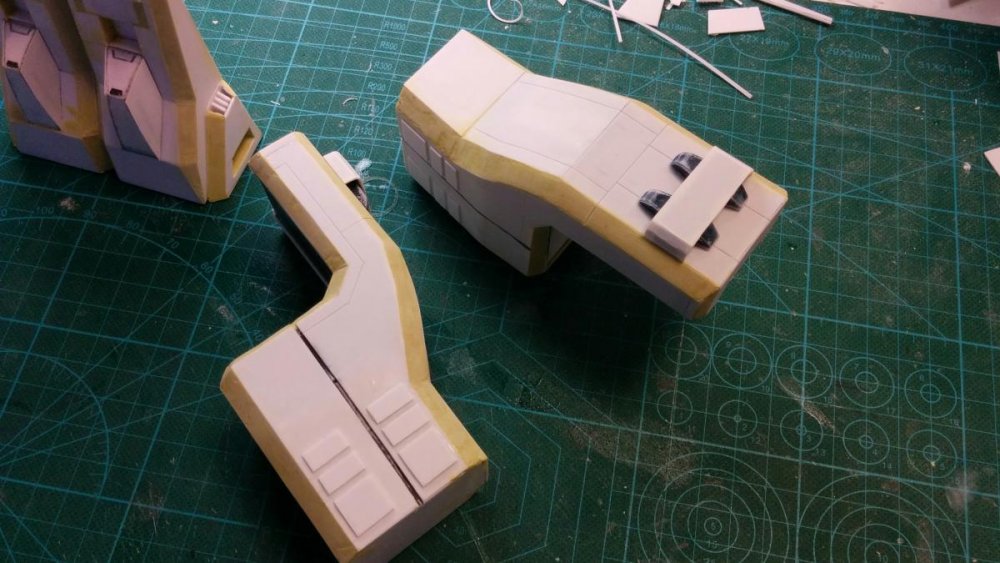
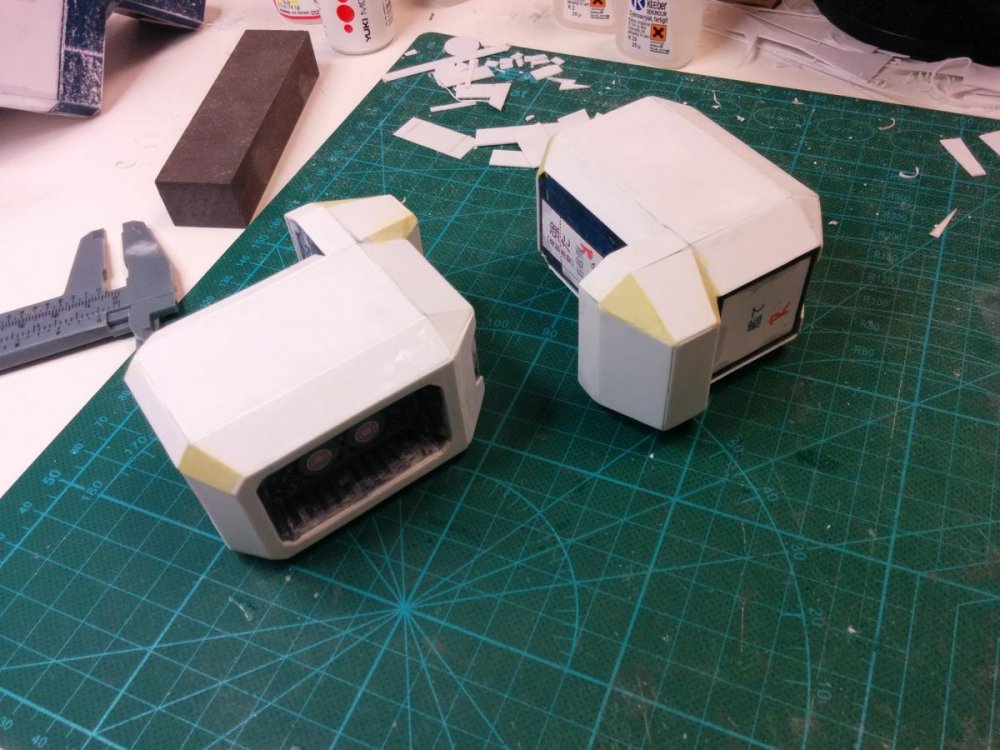
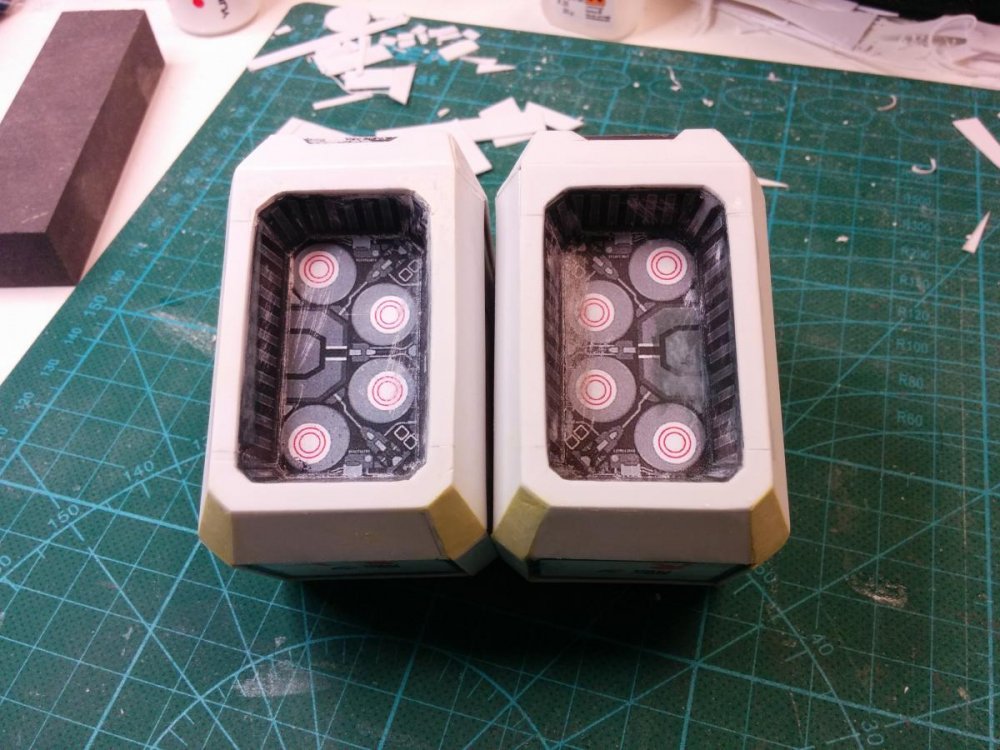
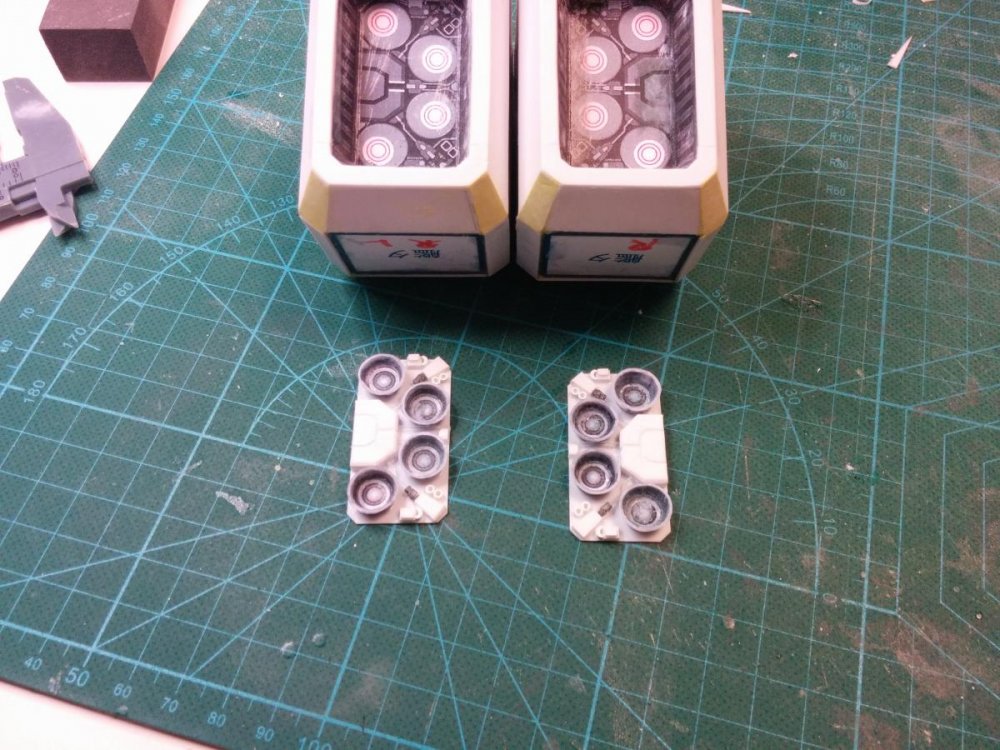
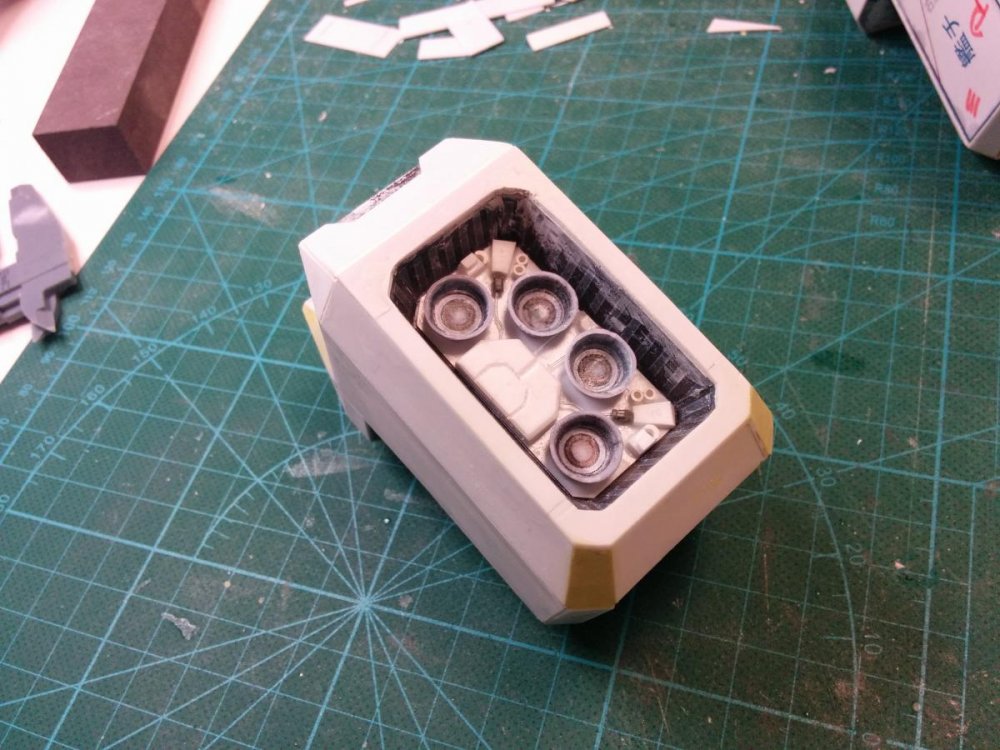
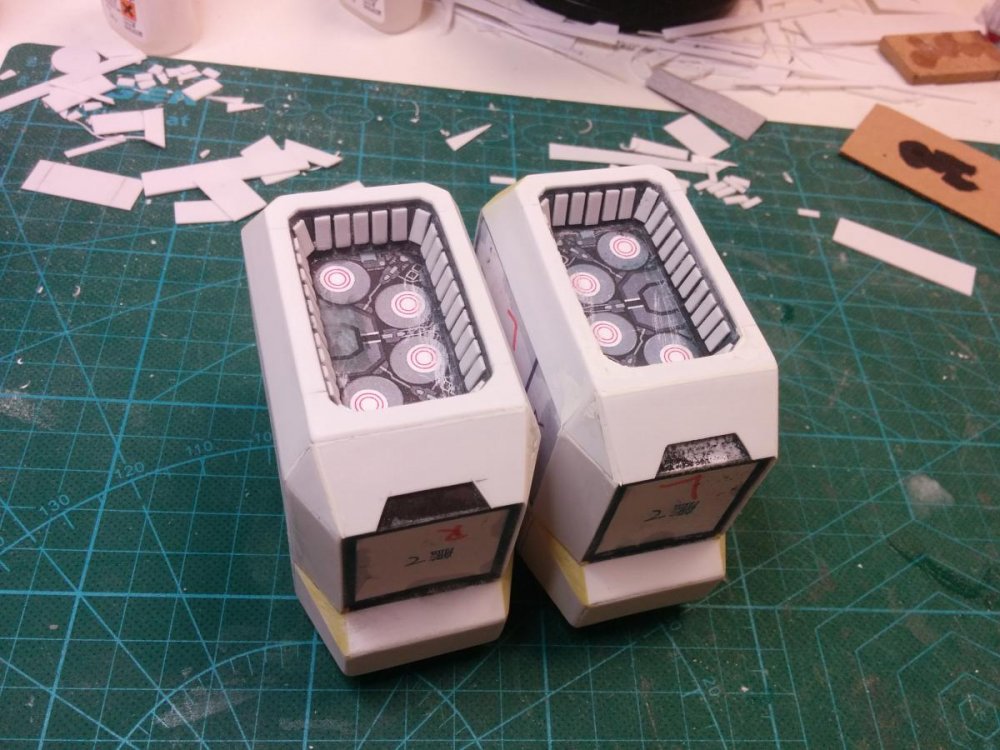
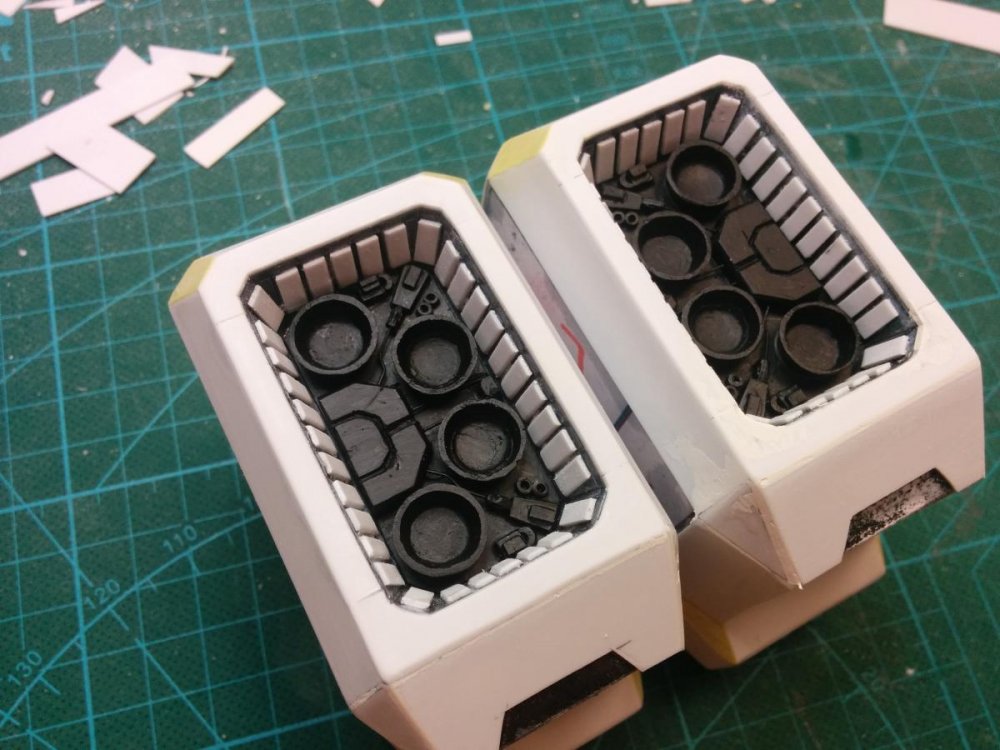
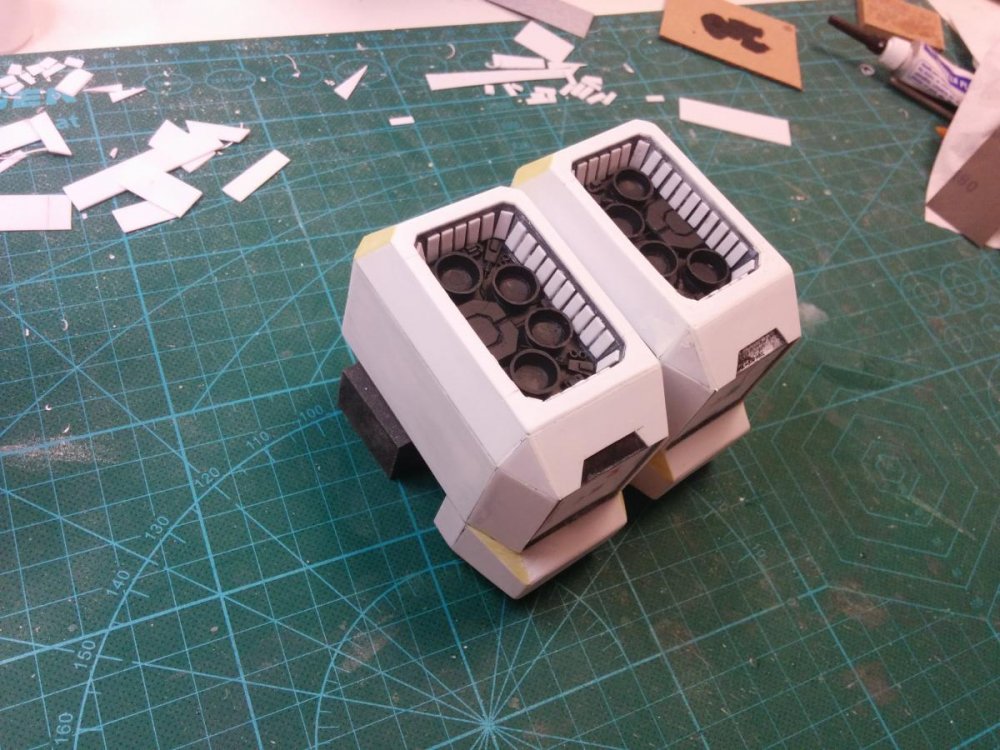
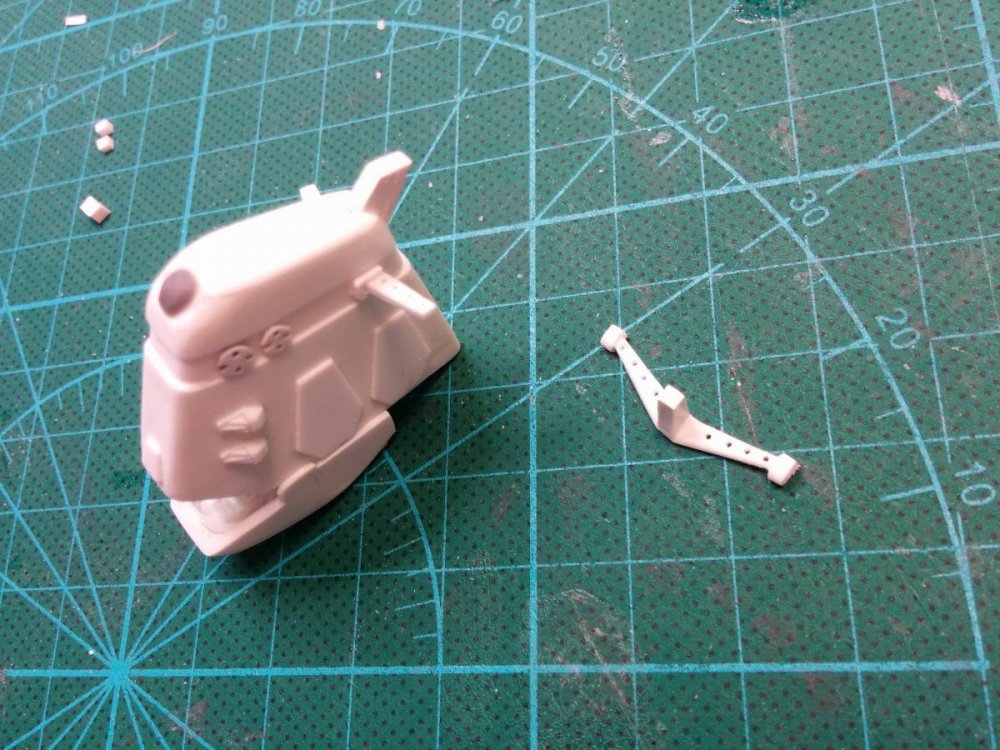
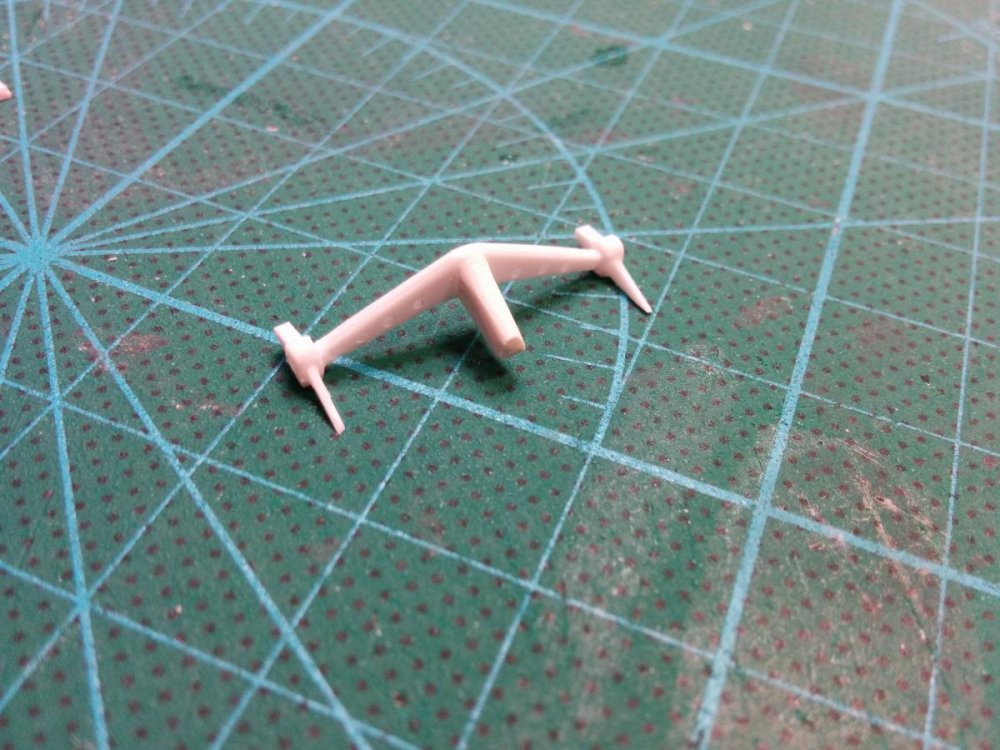
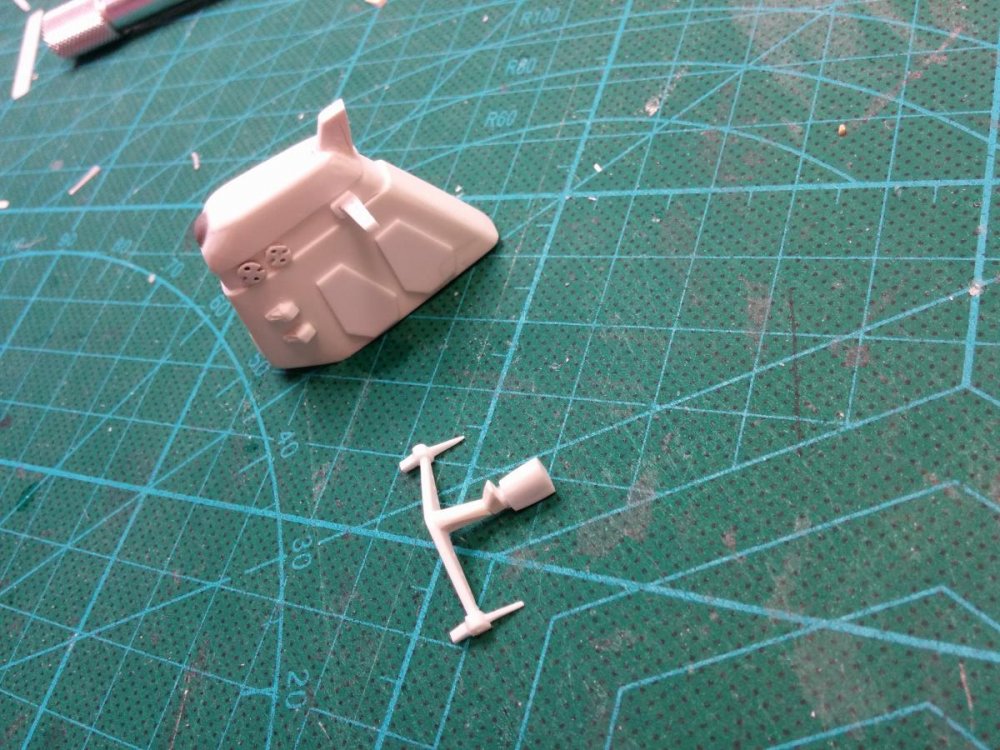
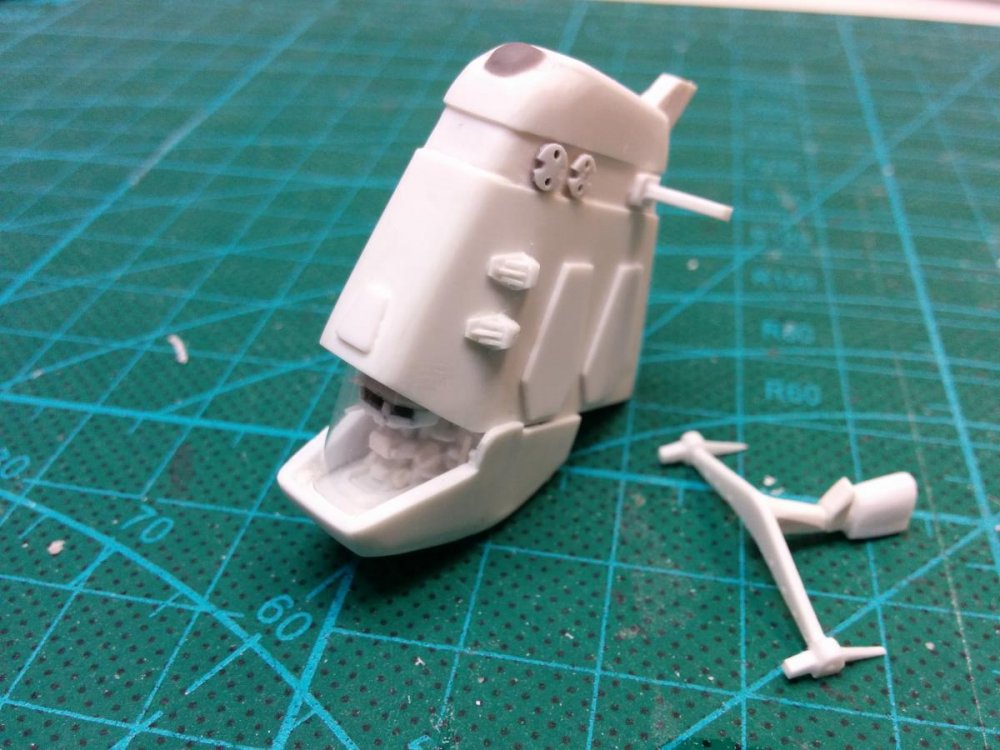
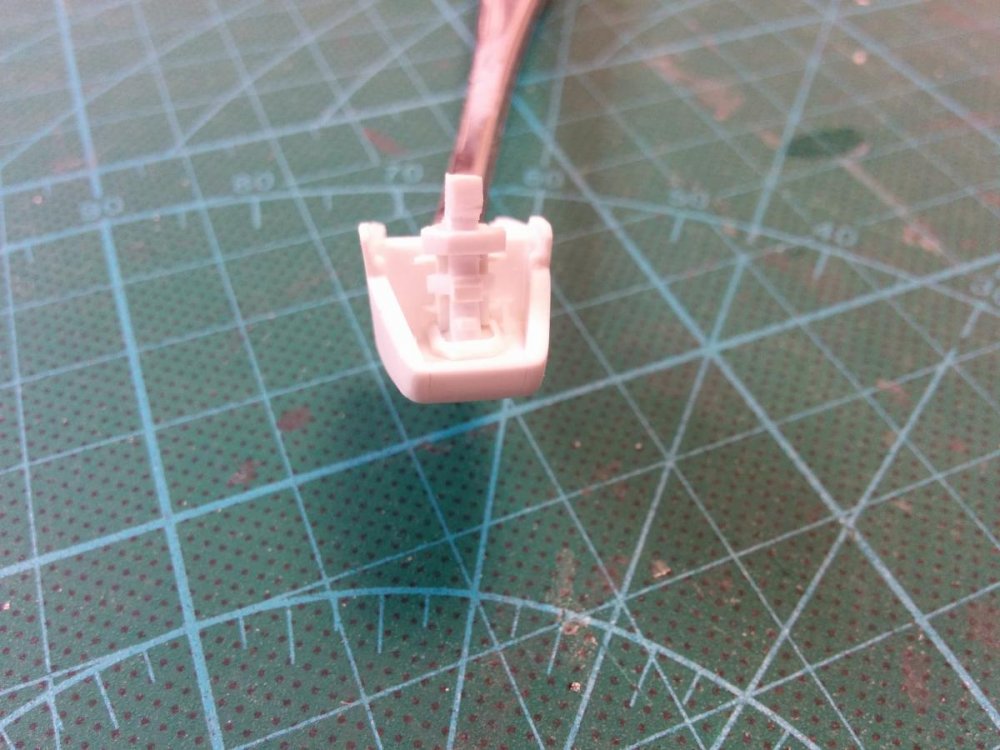
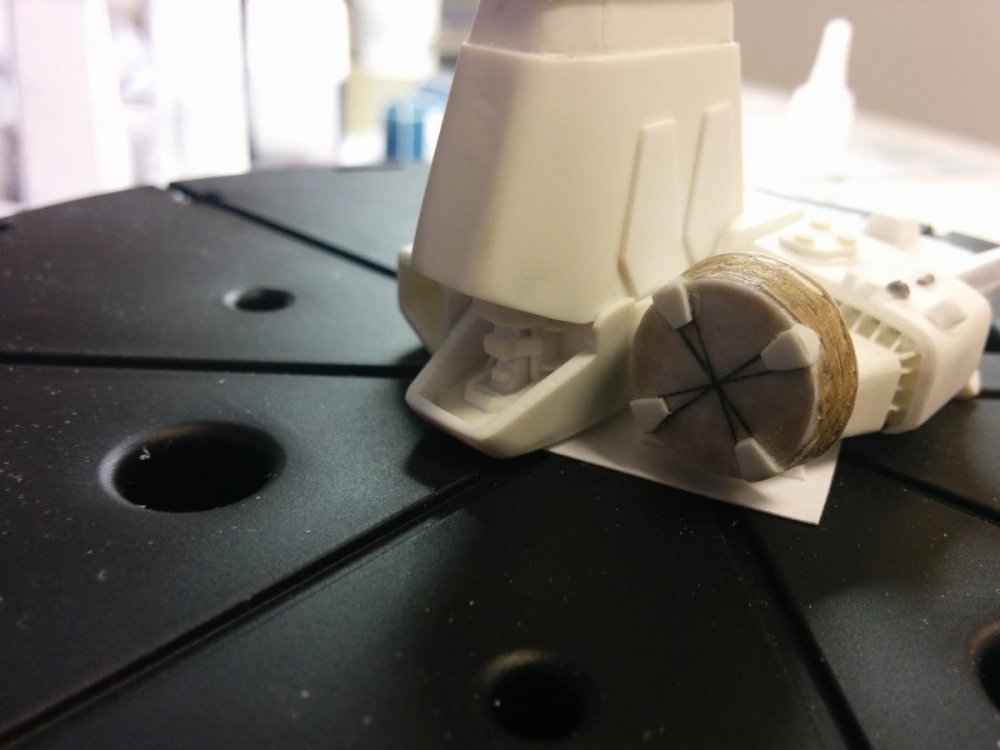
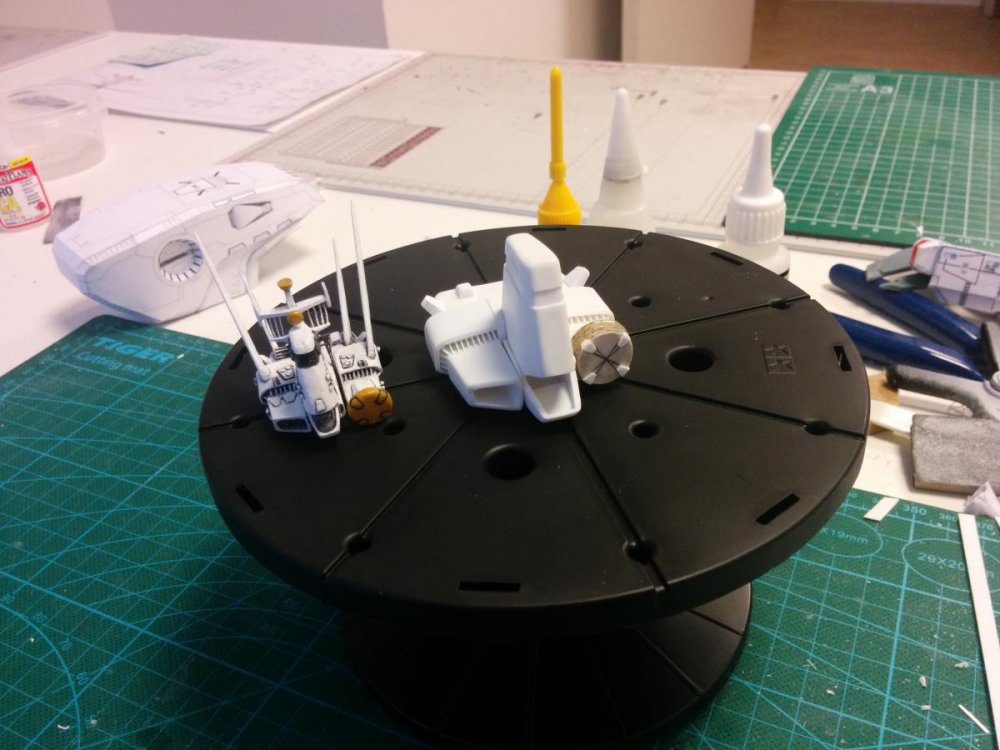
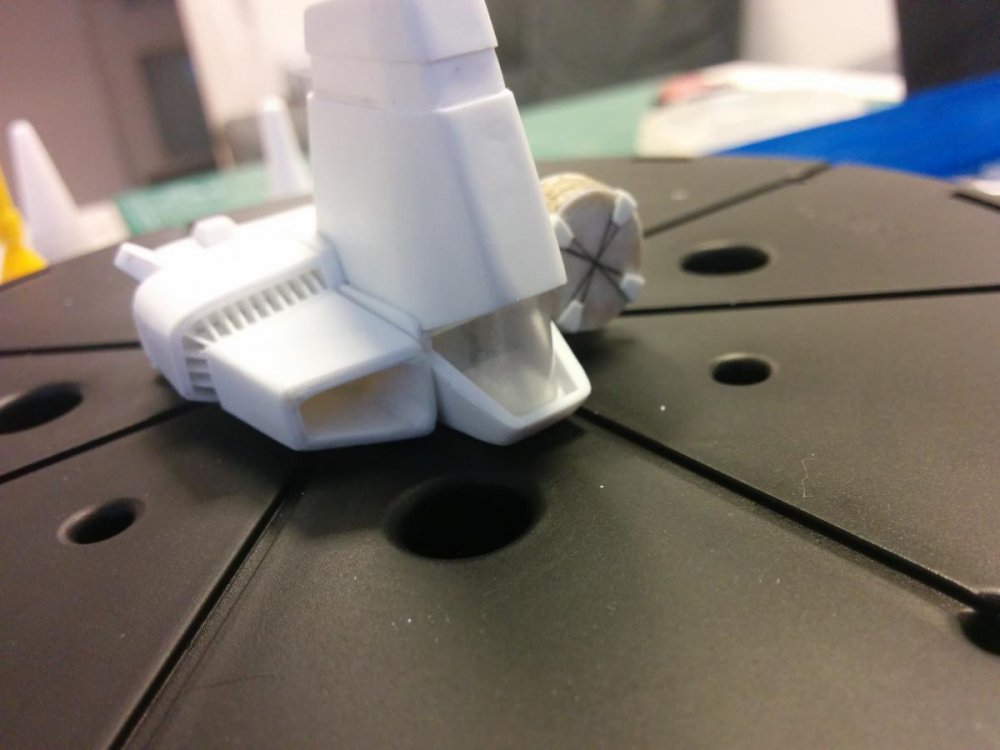
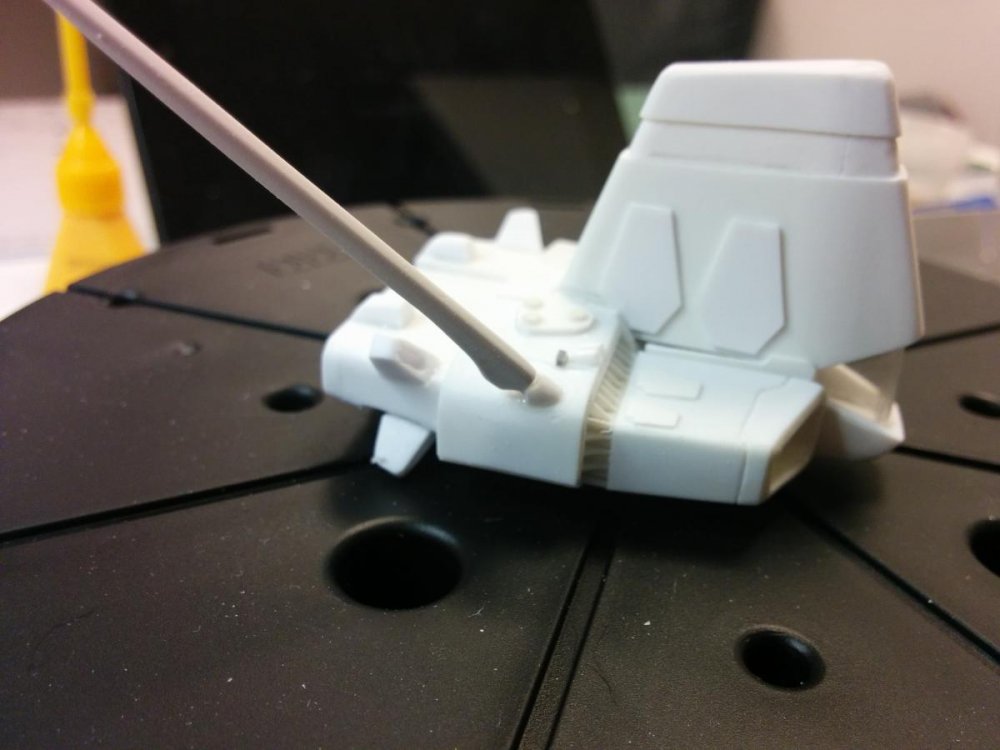
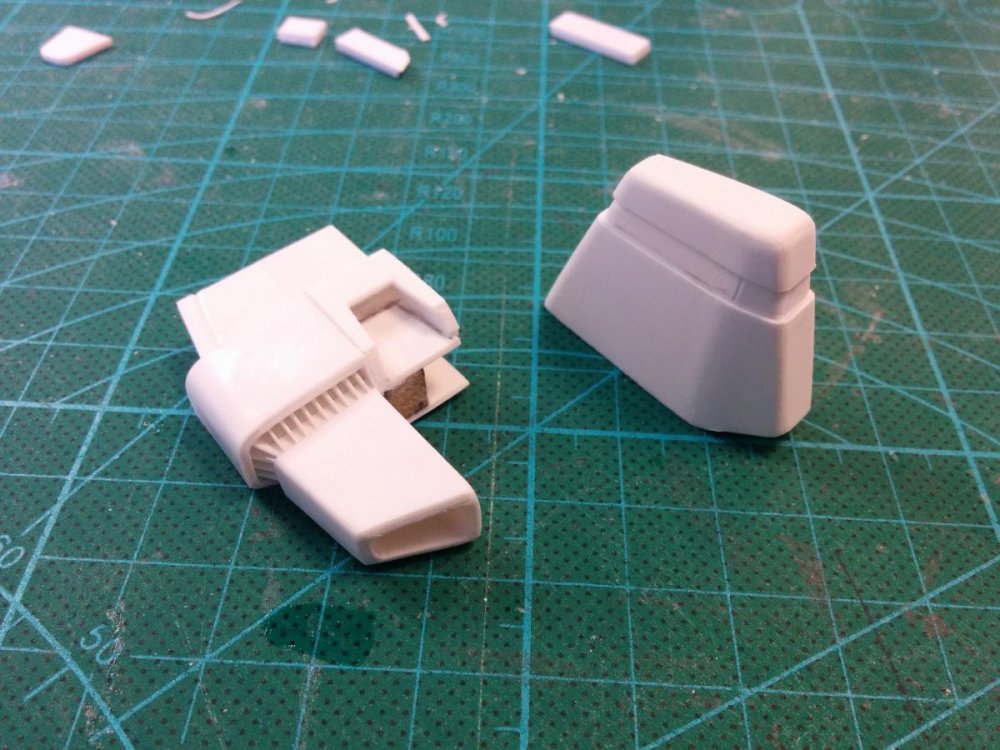
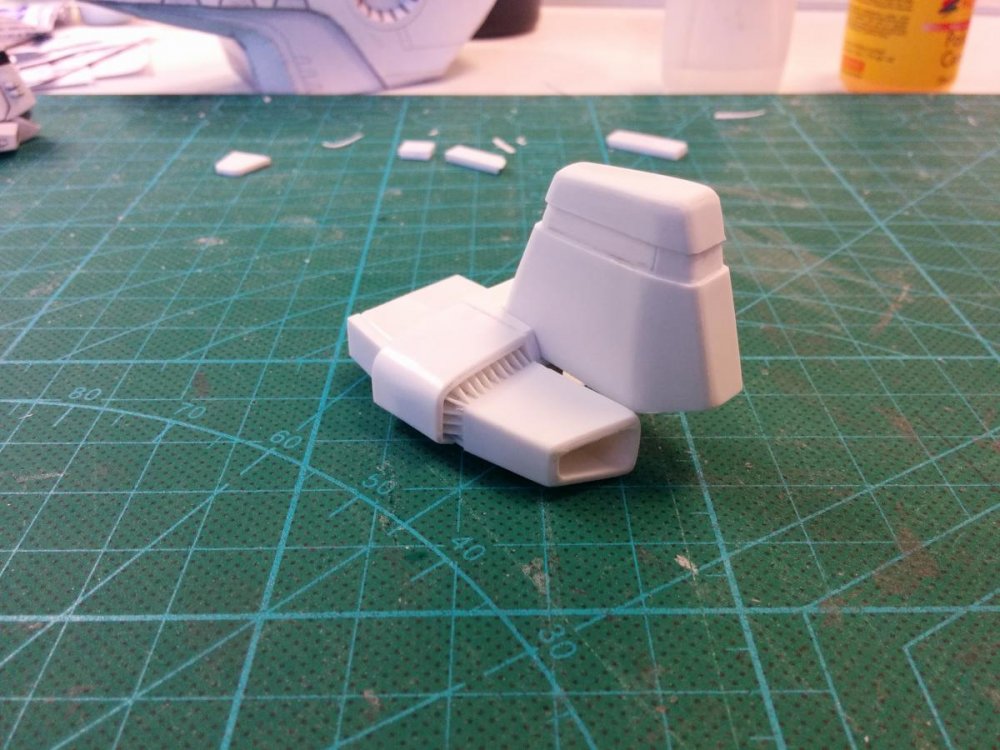
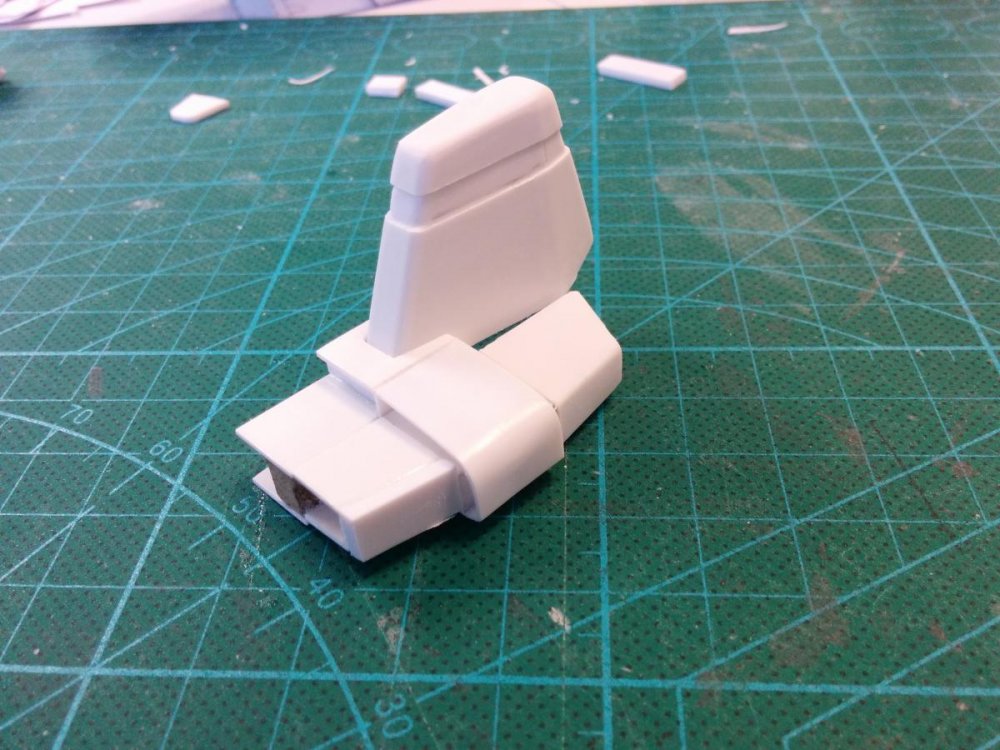
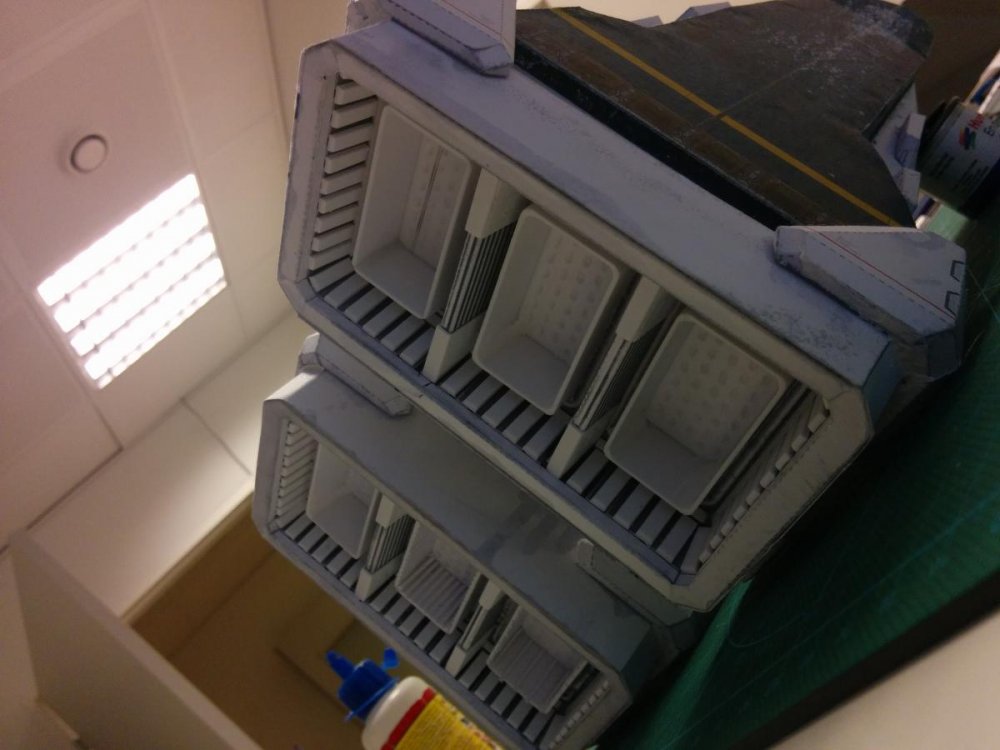
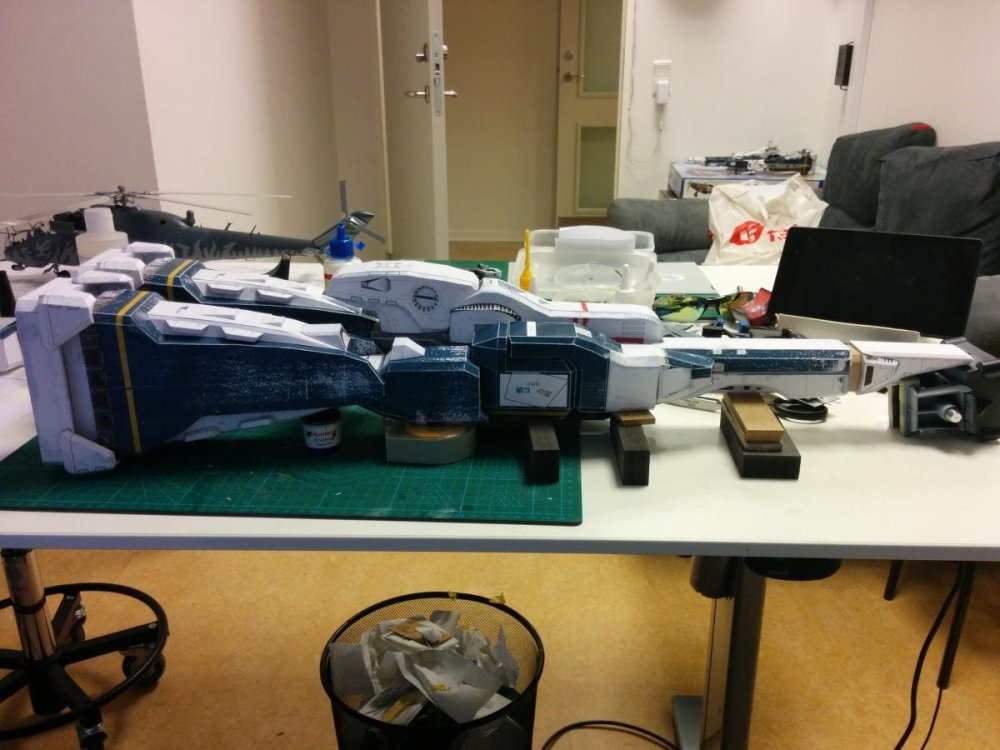
Evolution Toy - VF-2SS Valkyrie I 《MACROSS II ~LOVERS AGAIN~
in Toys
Posted
ordered mine from HLJ
gonna redo some things on it though, and make a SAP for it!!!
also ill give it a proper paint job w/ weathering