

Urashiman
-
Posts
825 -
Joined
-
Last visited
Content Type
Profiles
Forums
Events
Gallery
Everything posted by Urashiman
-
Well - I'd go for number 5 then
-
how and where are you voting?
-
Really awesome man!
-
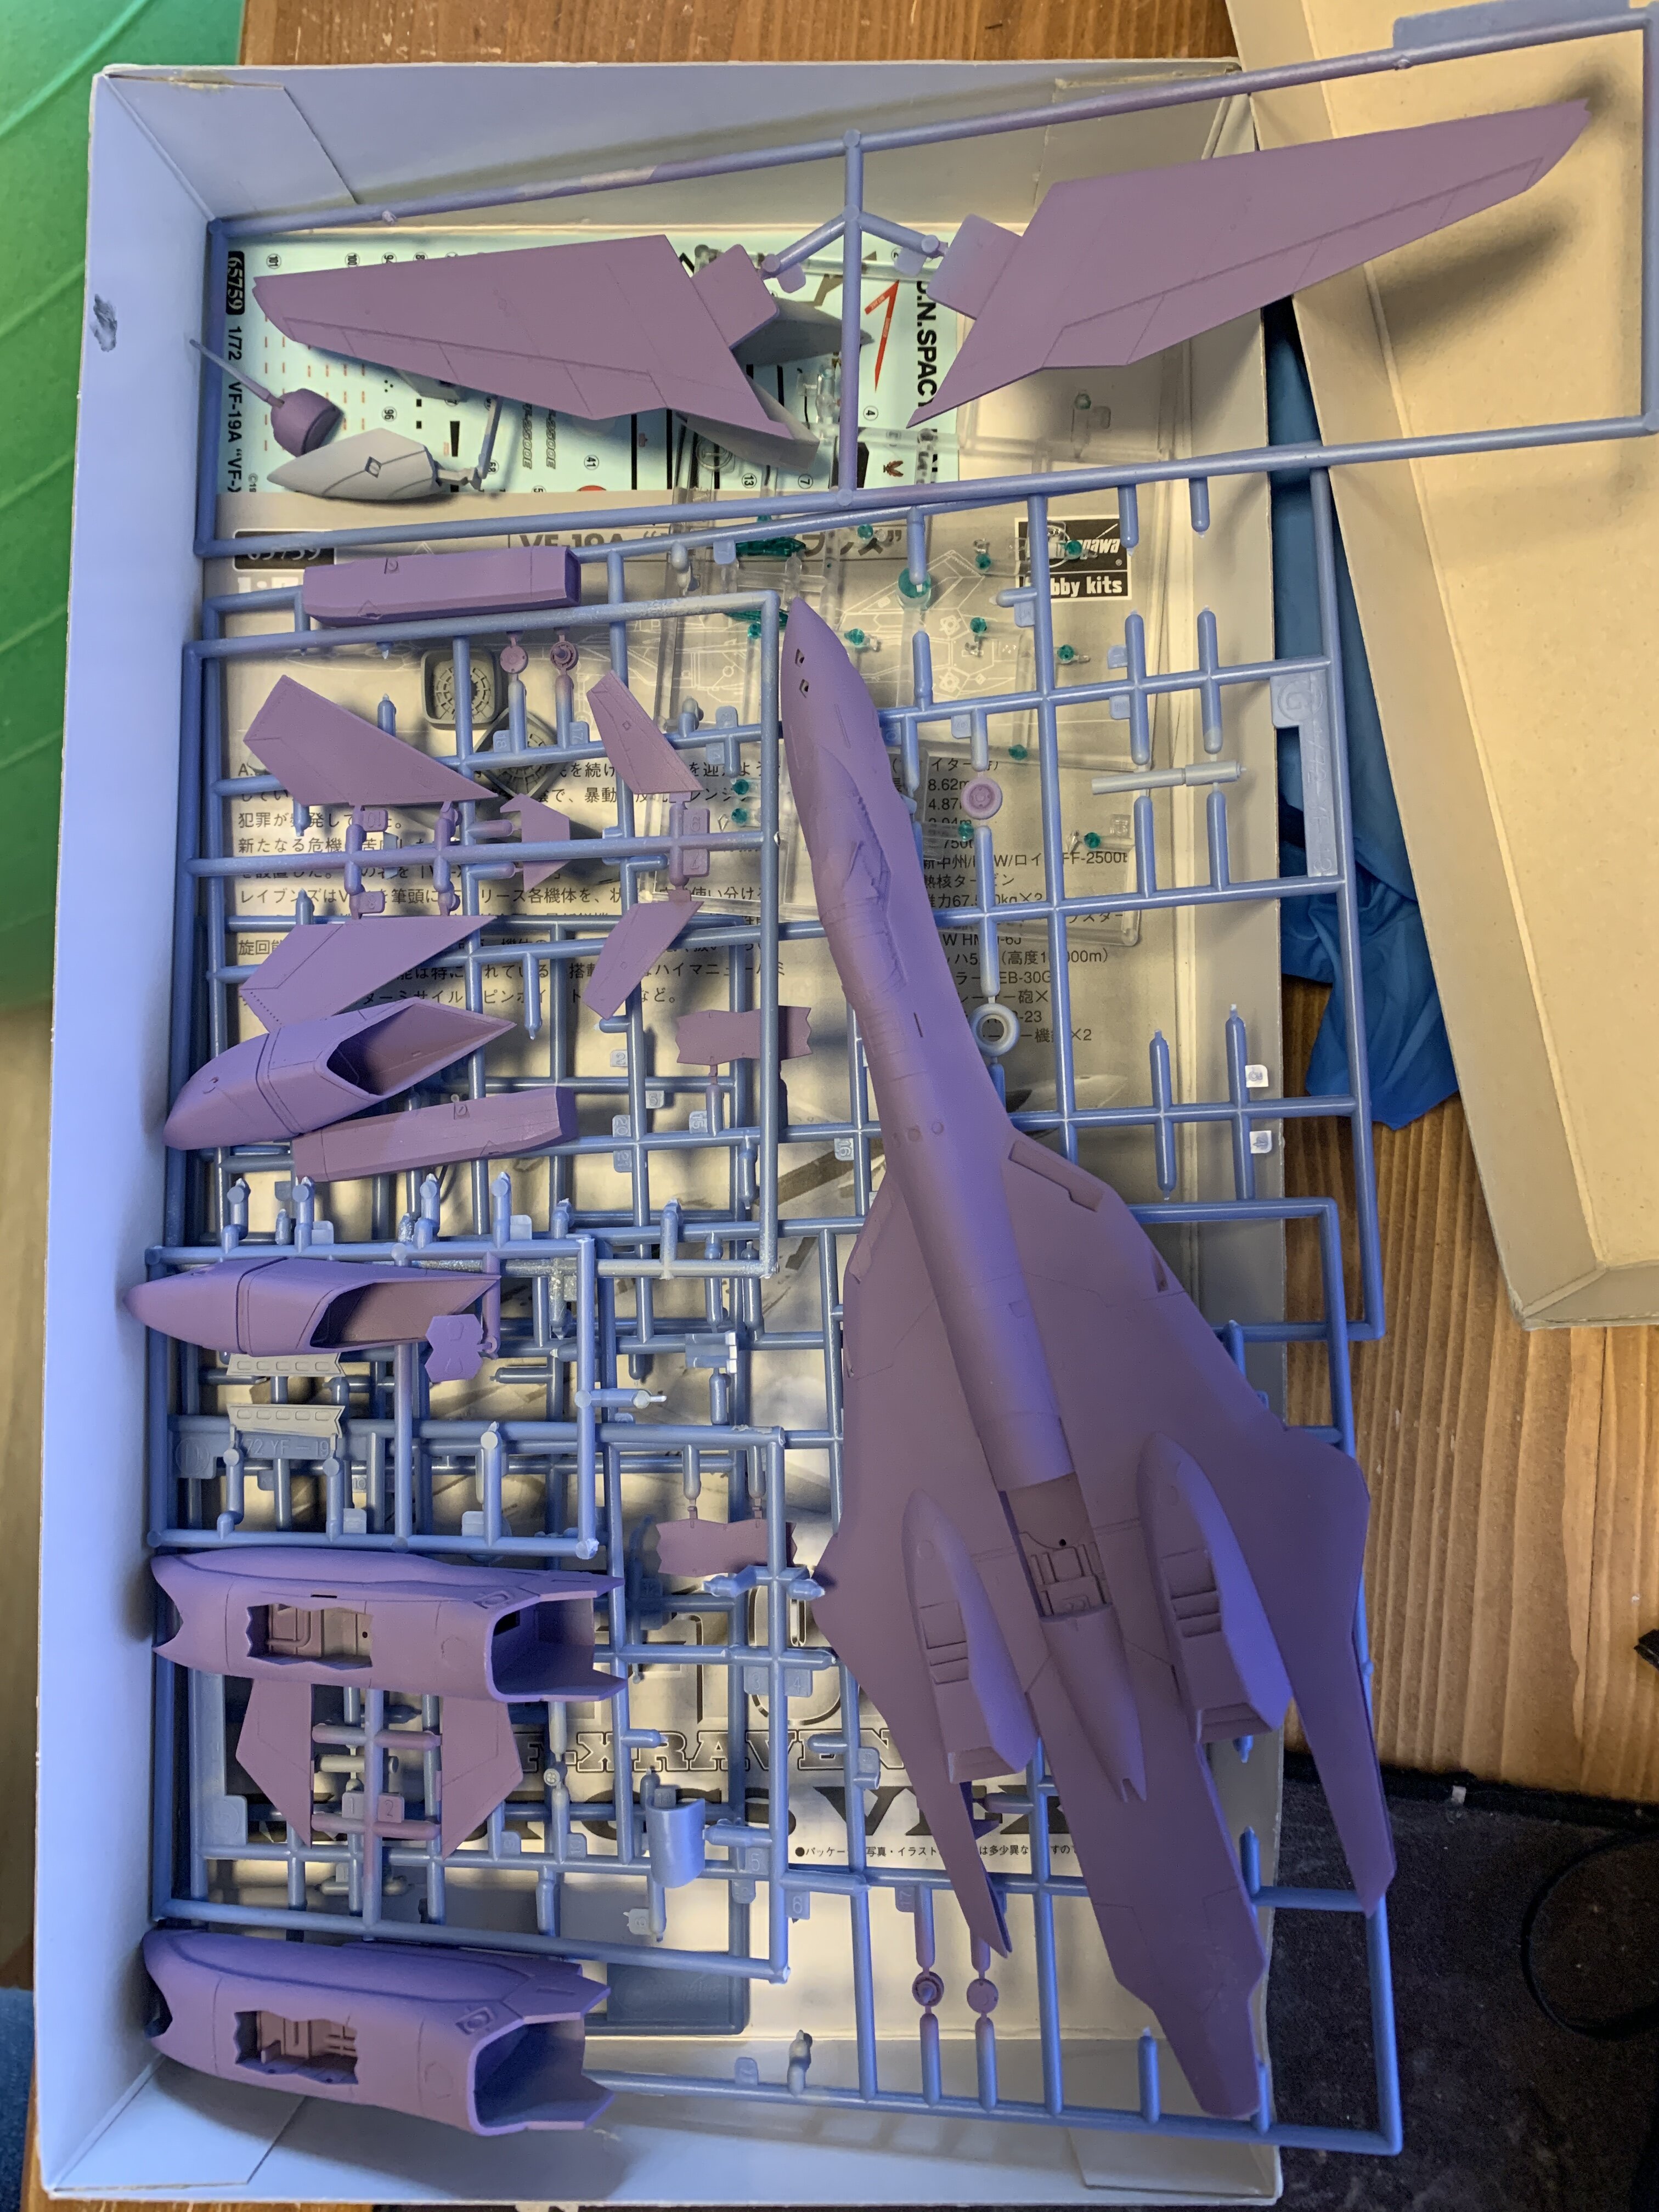
Base shade color on the vf-19A done
-
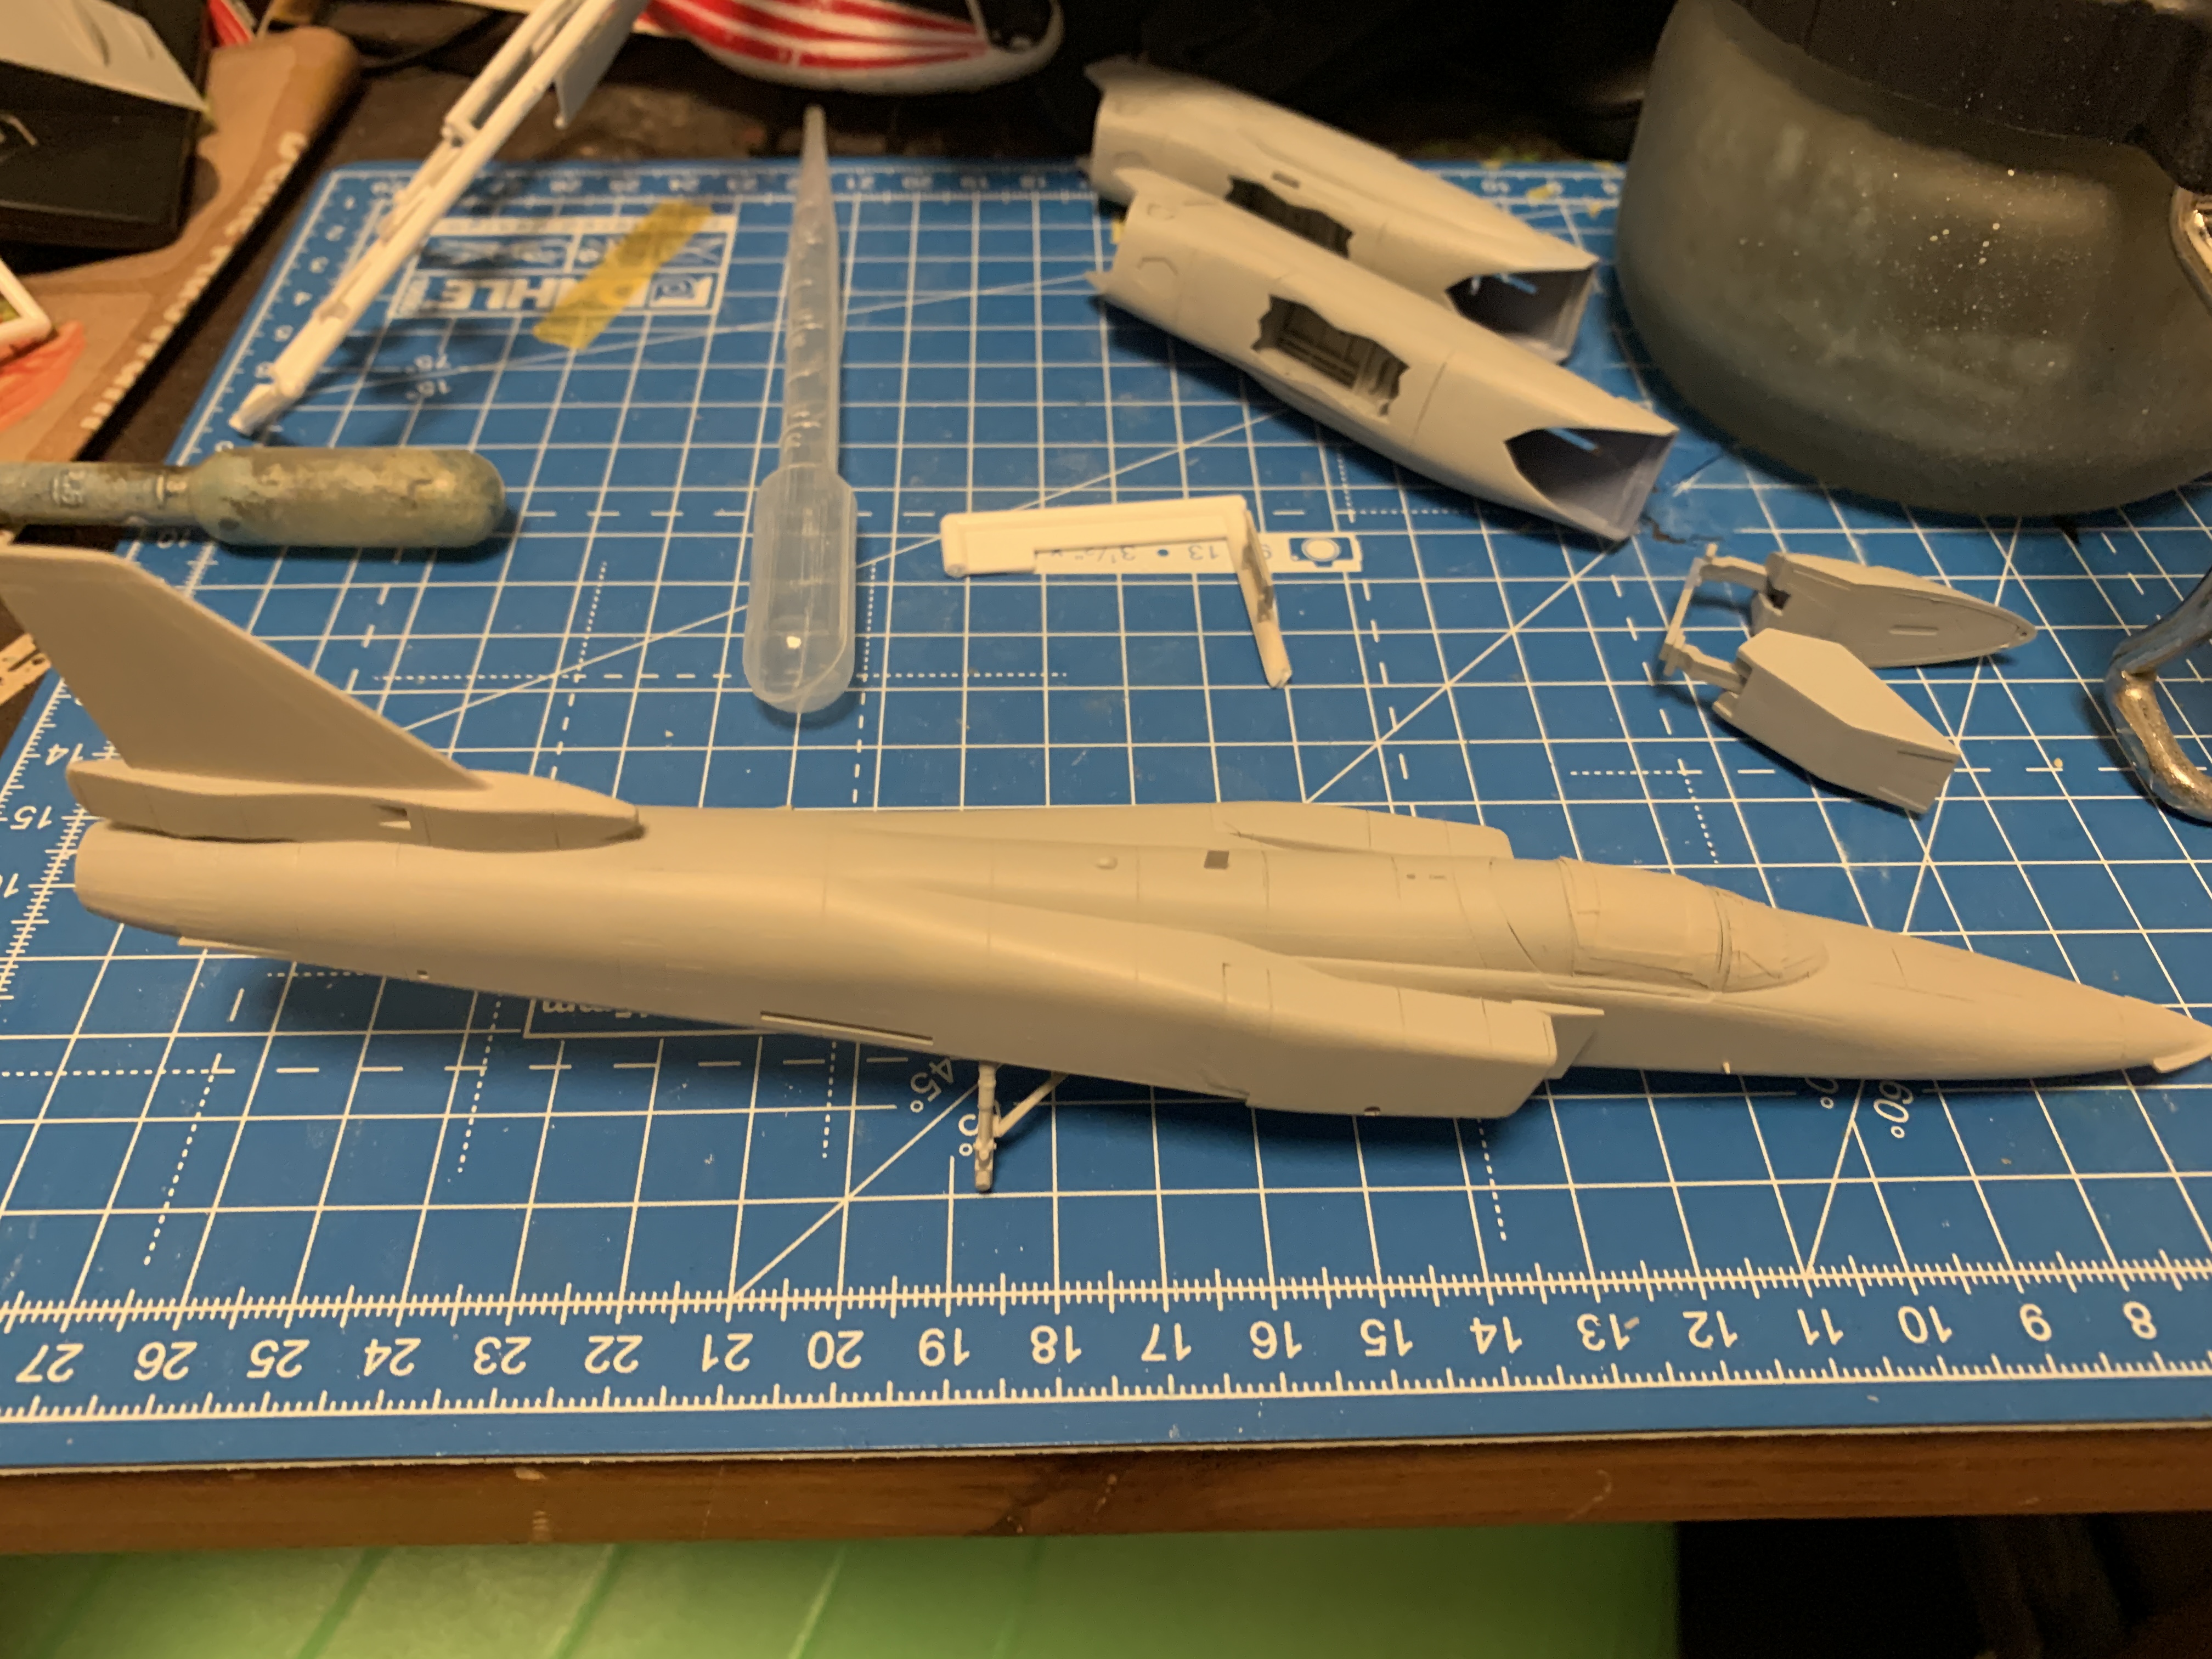
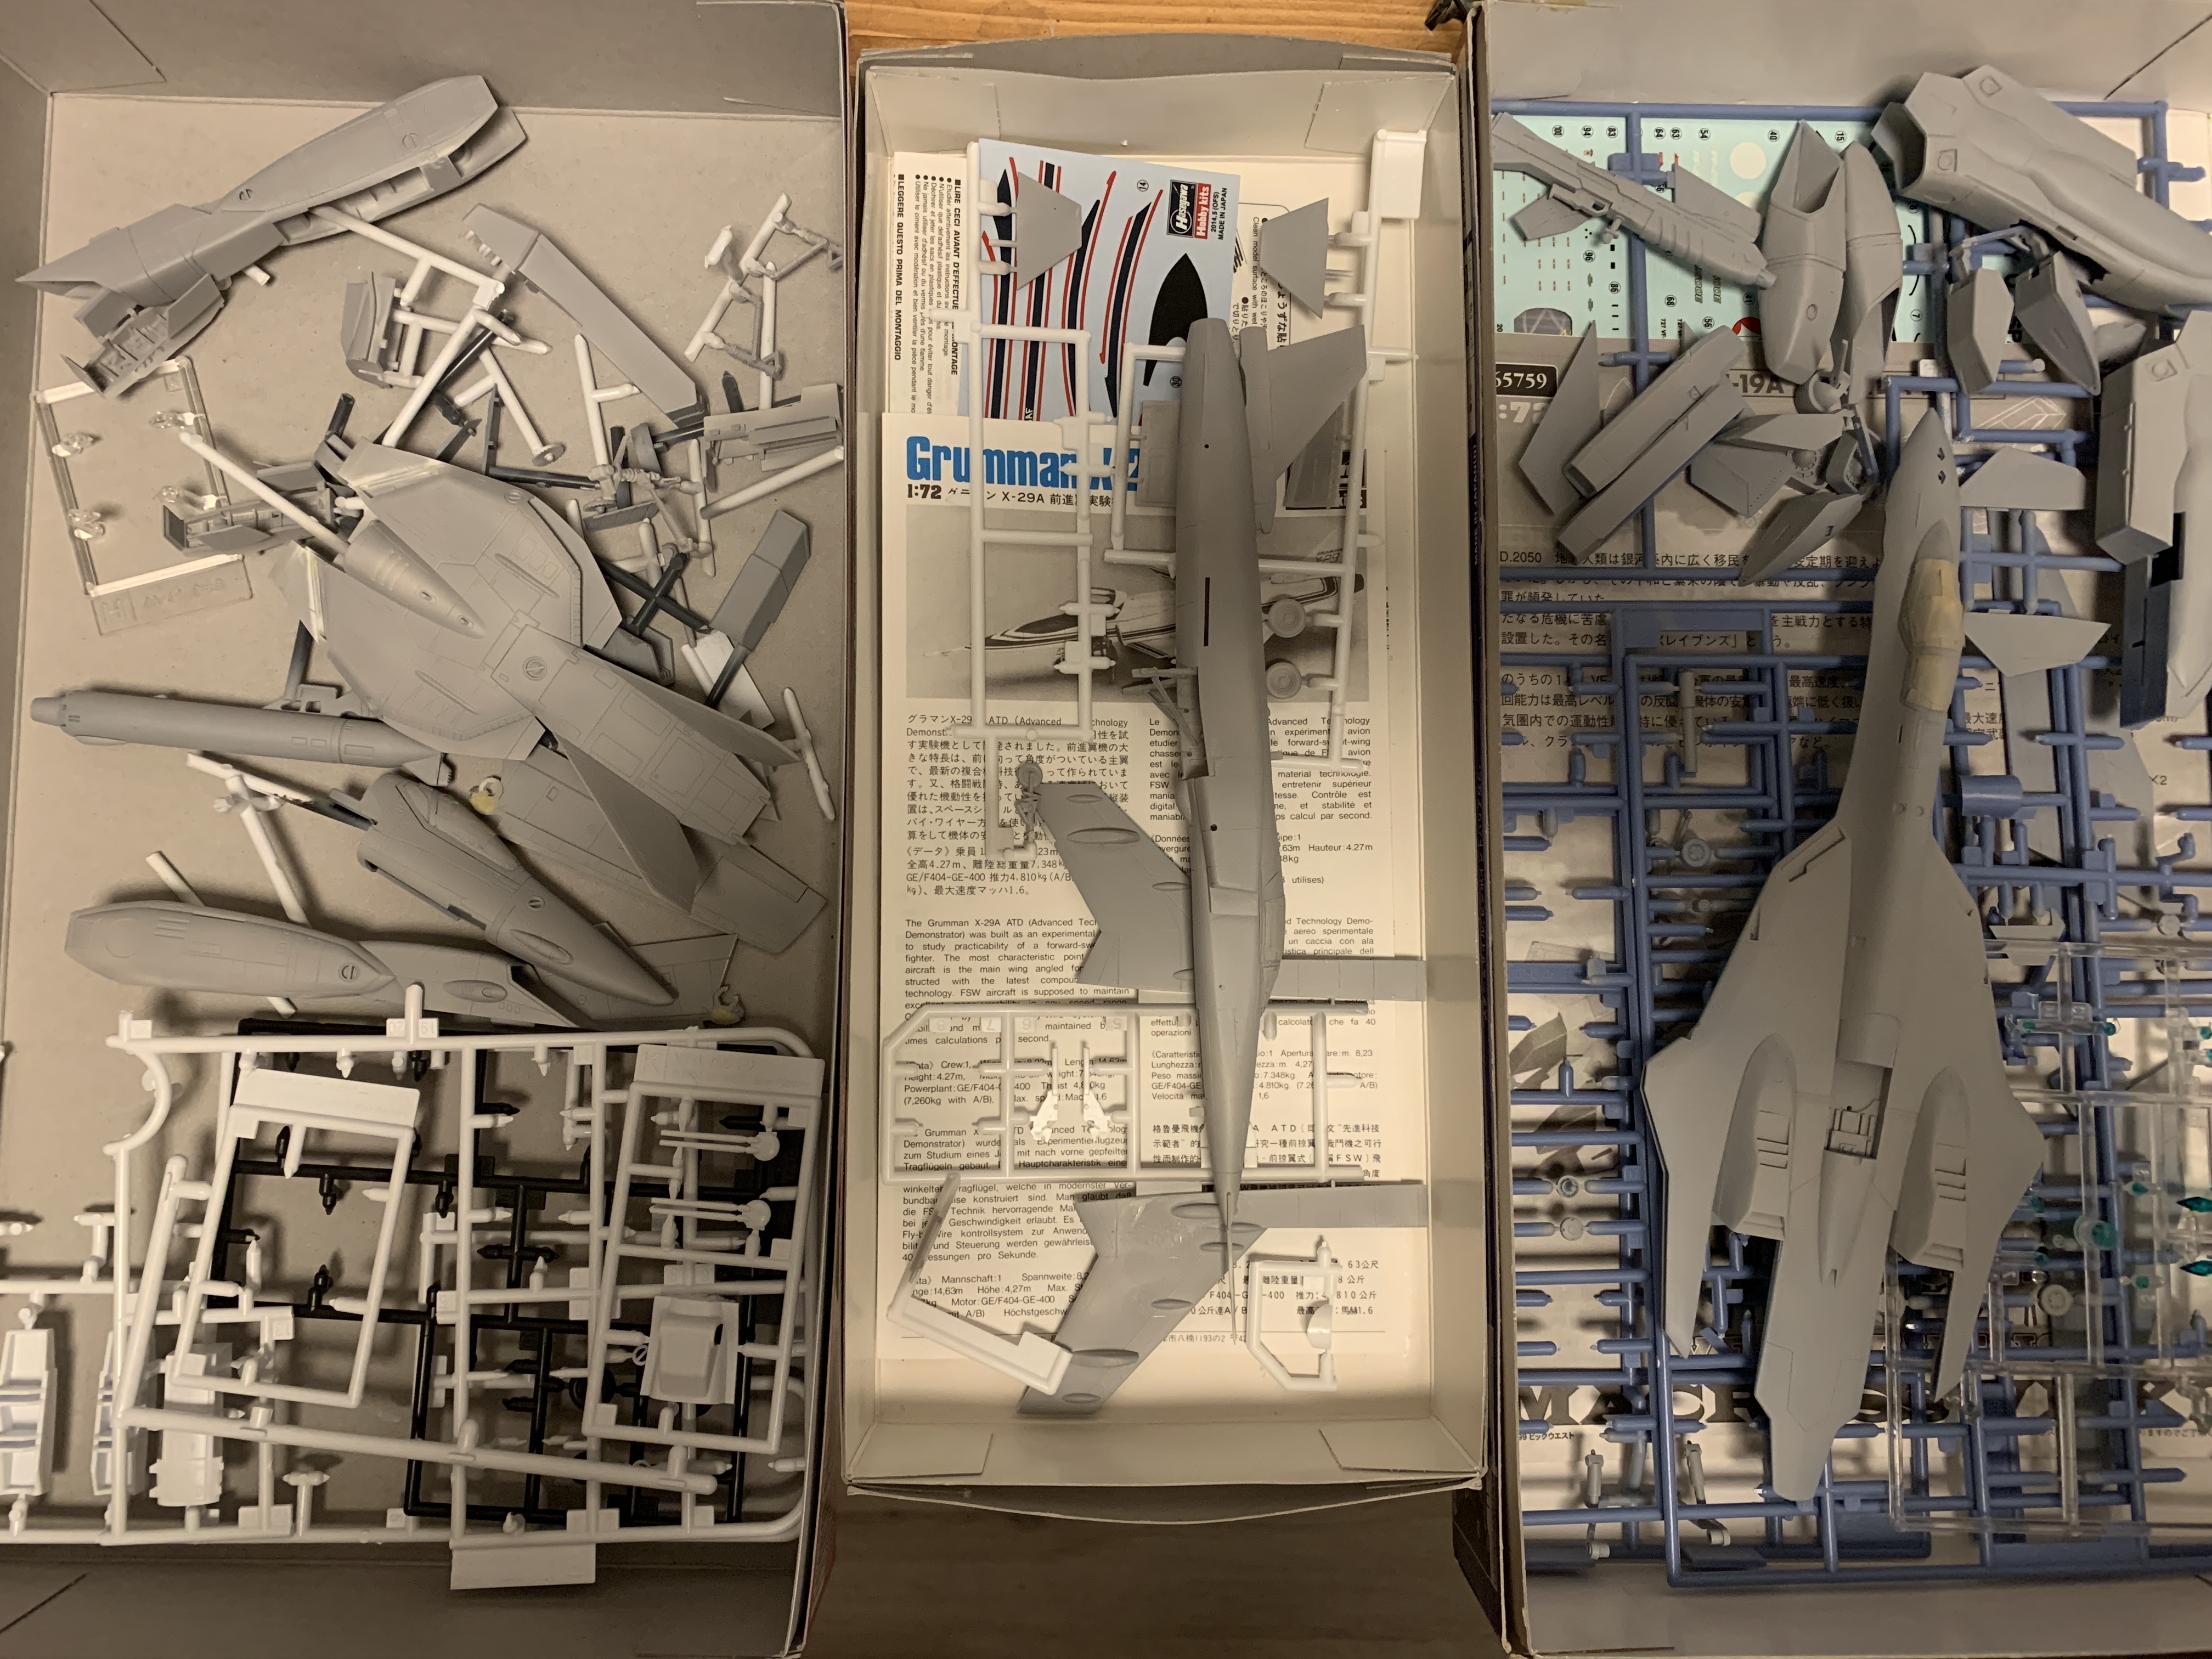
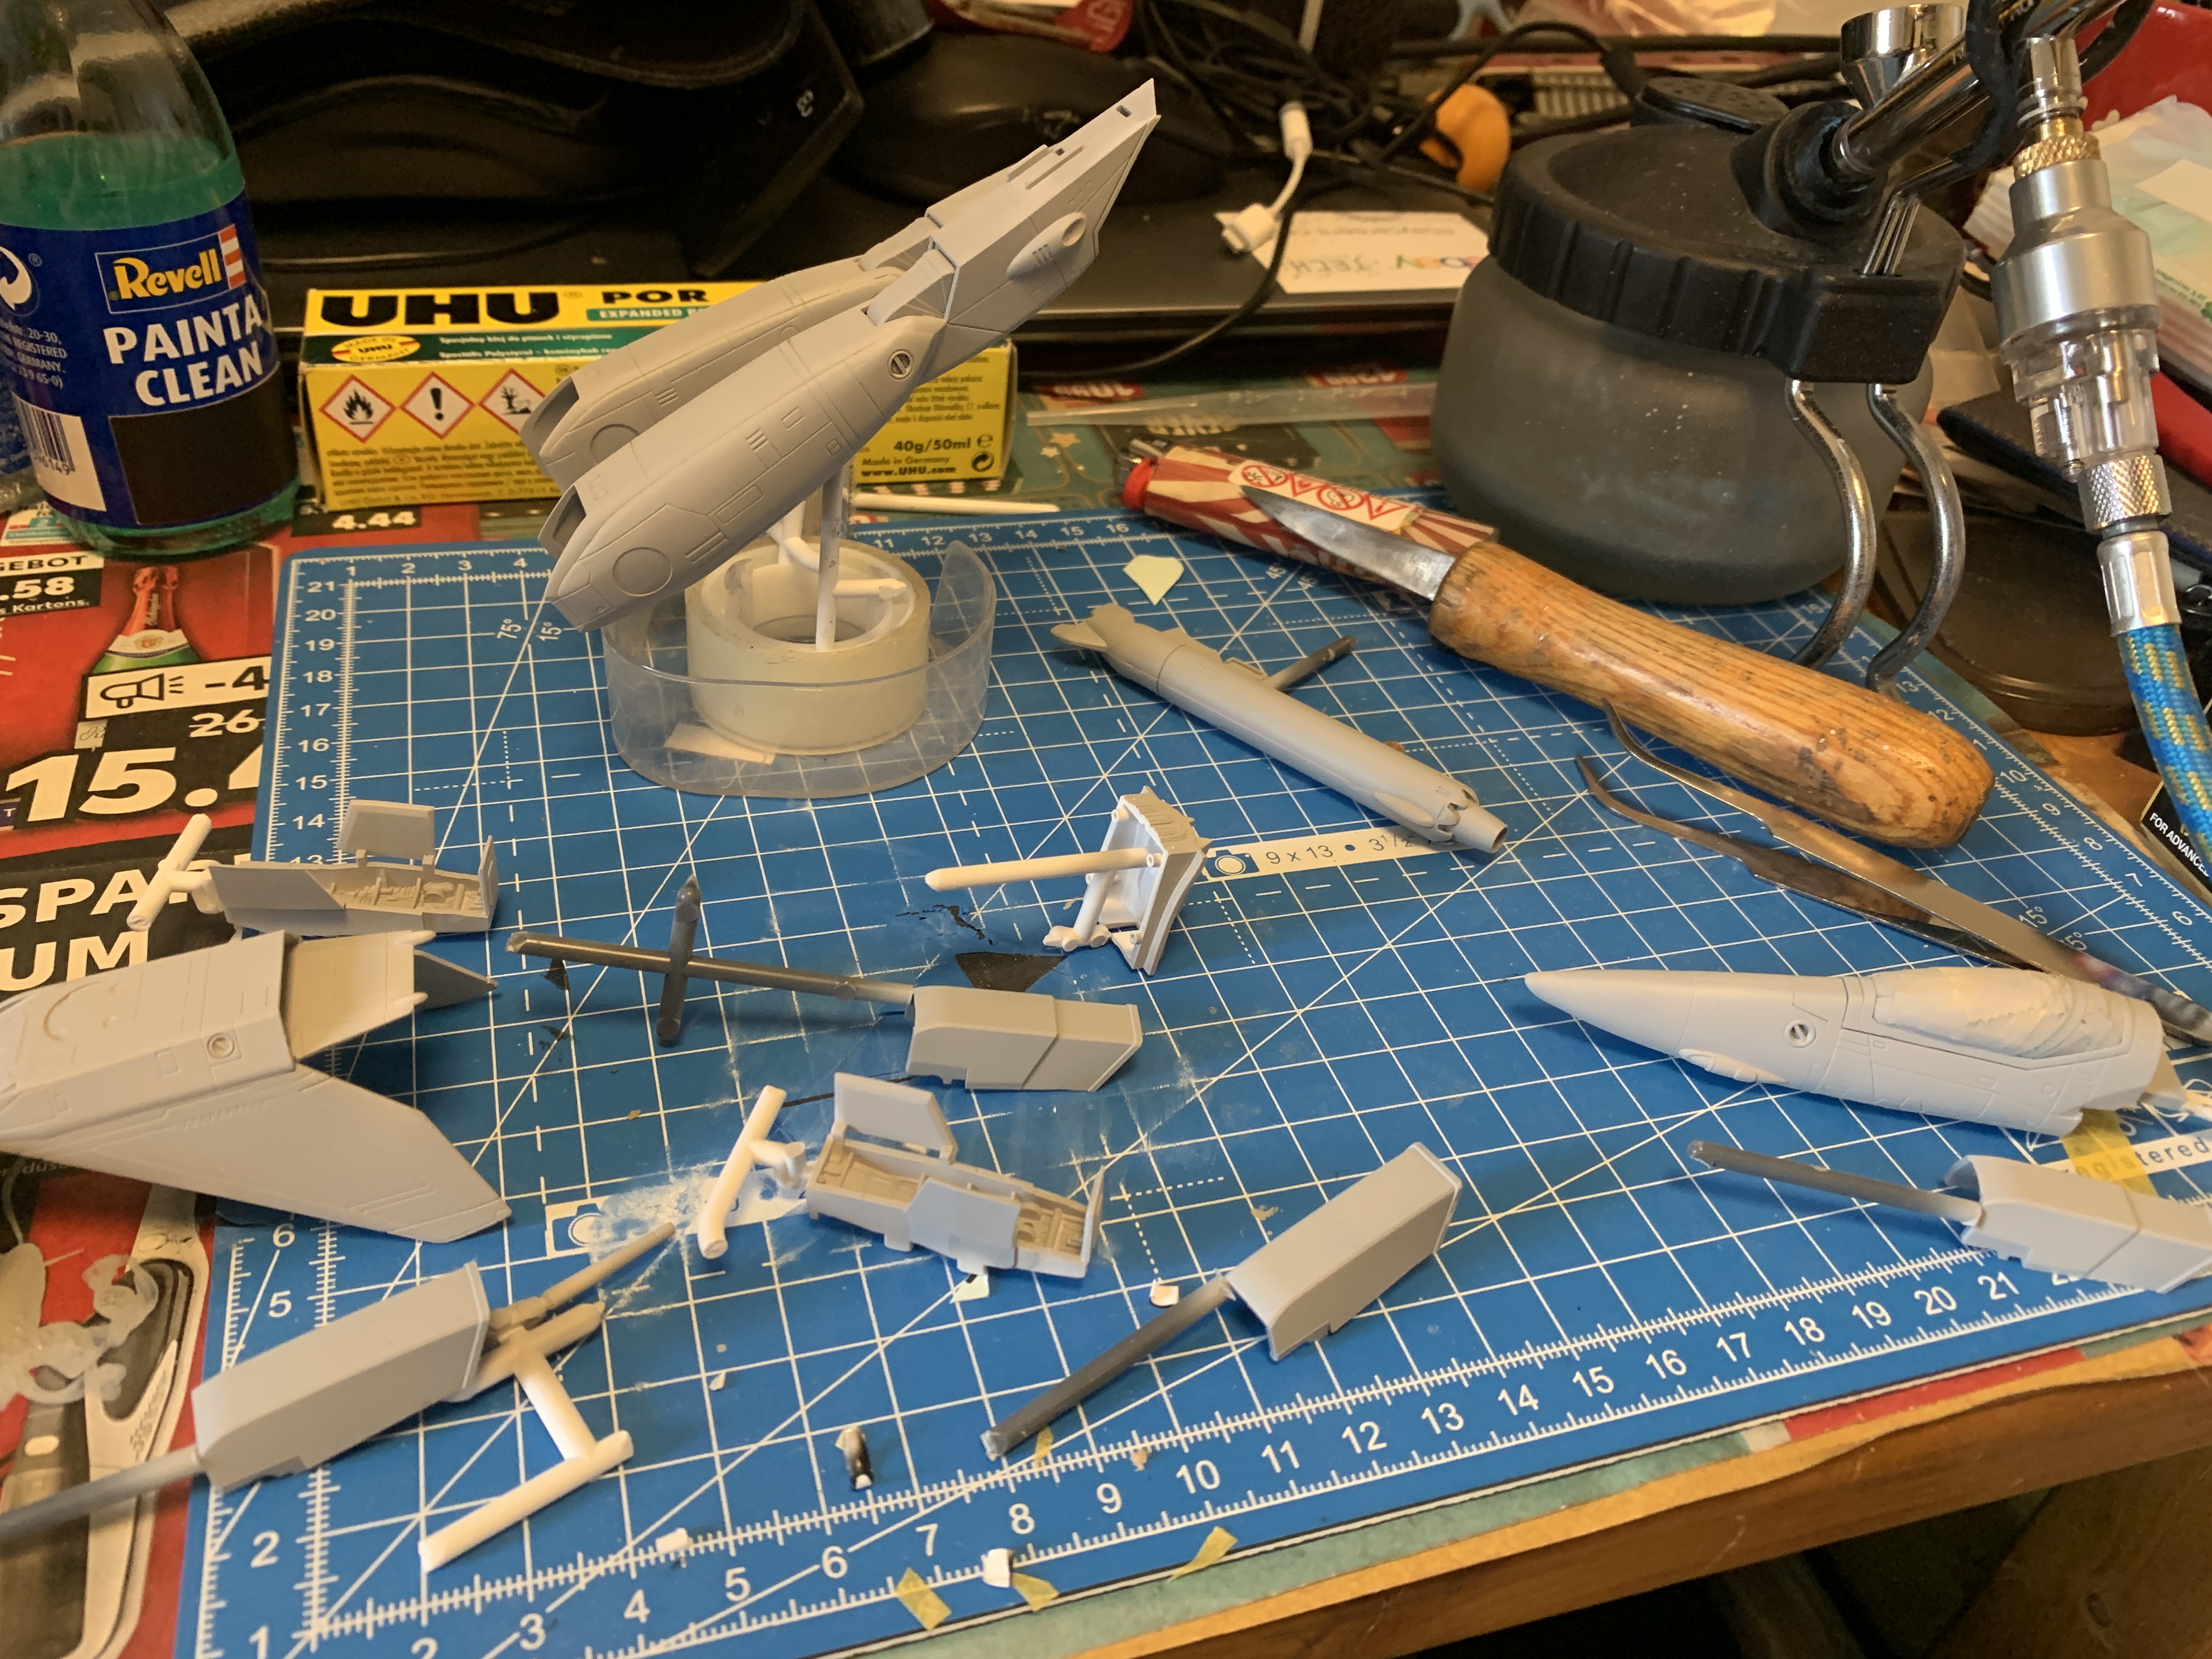
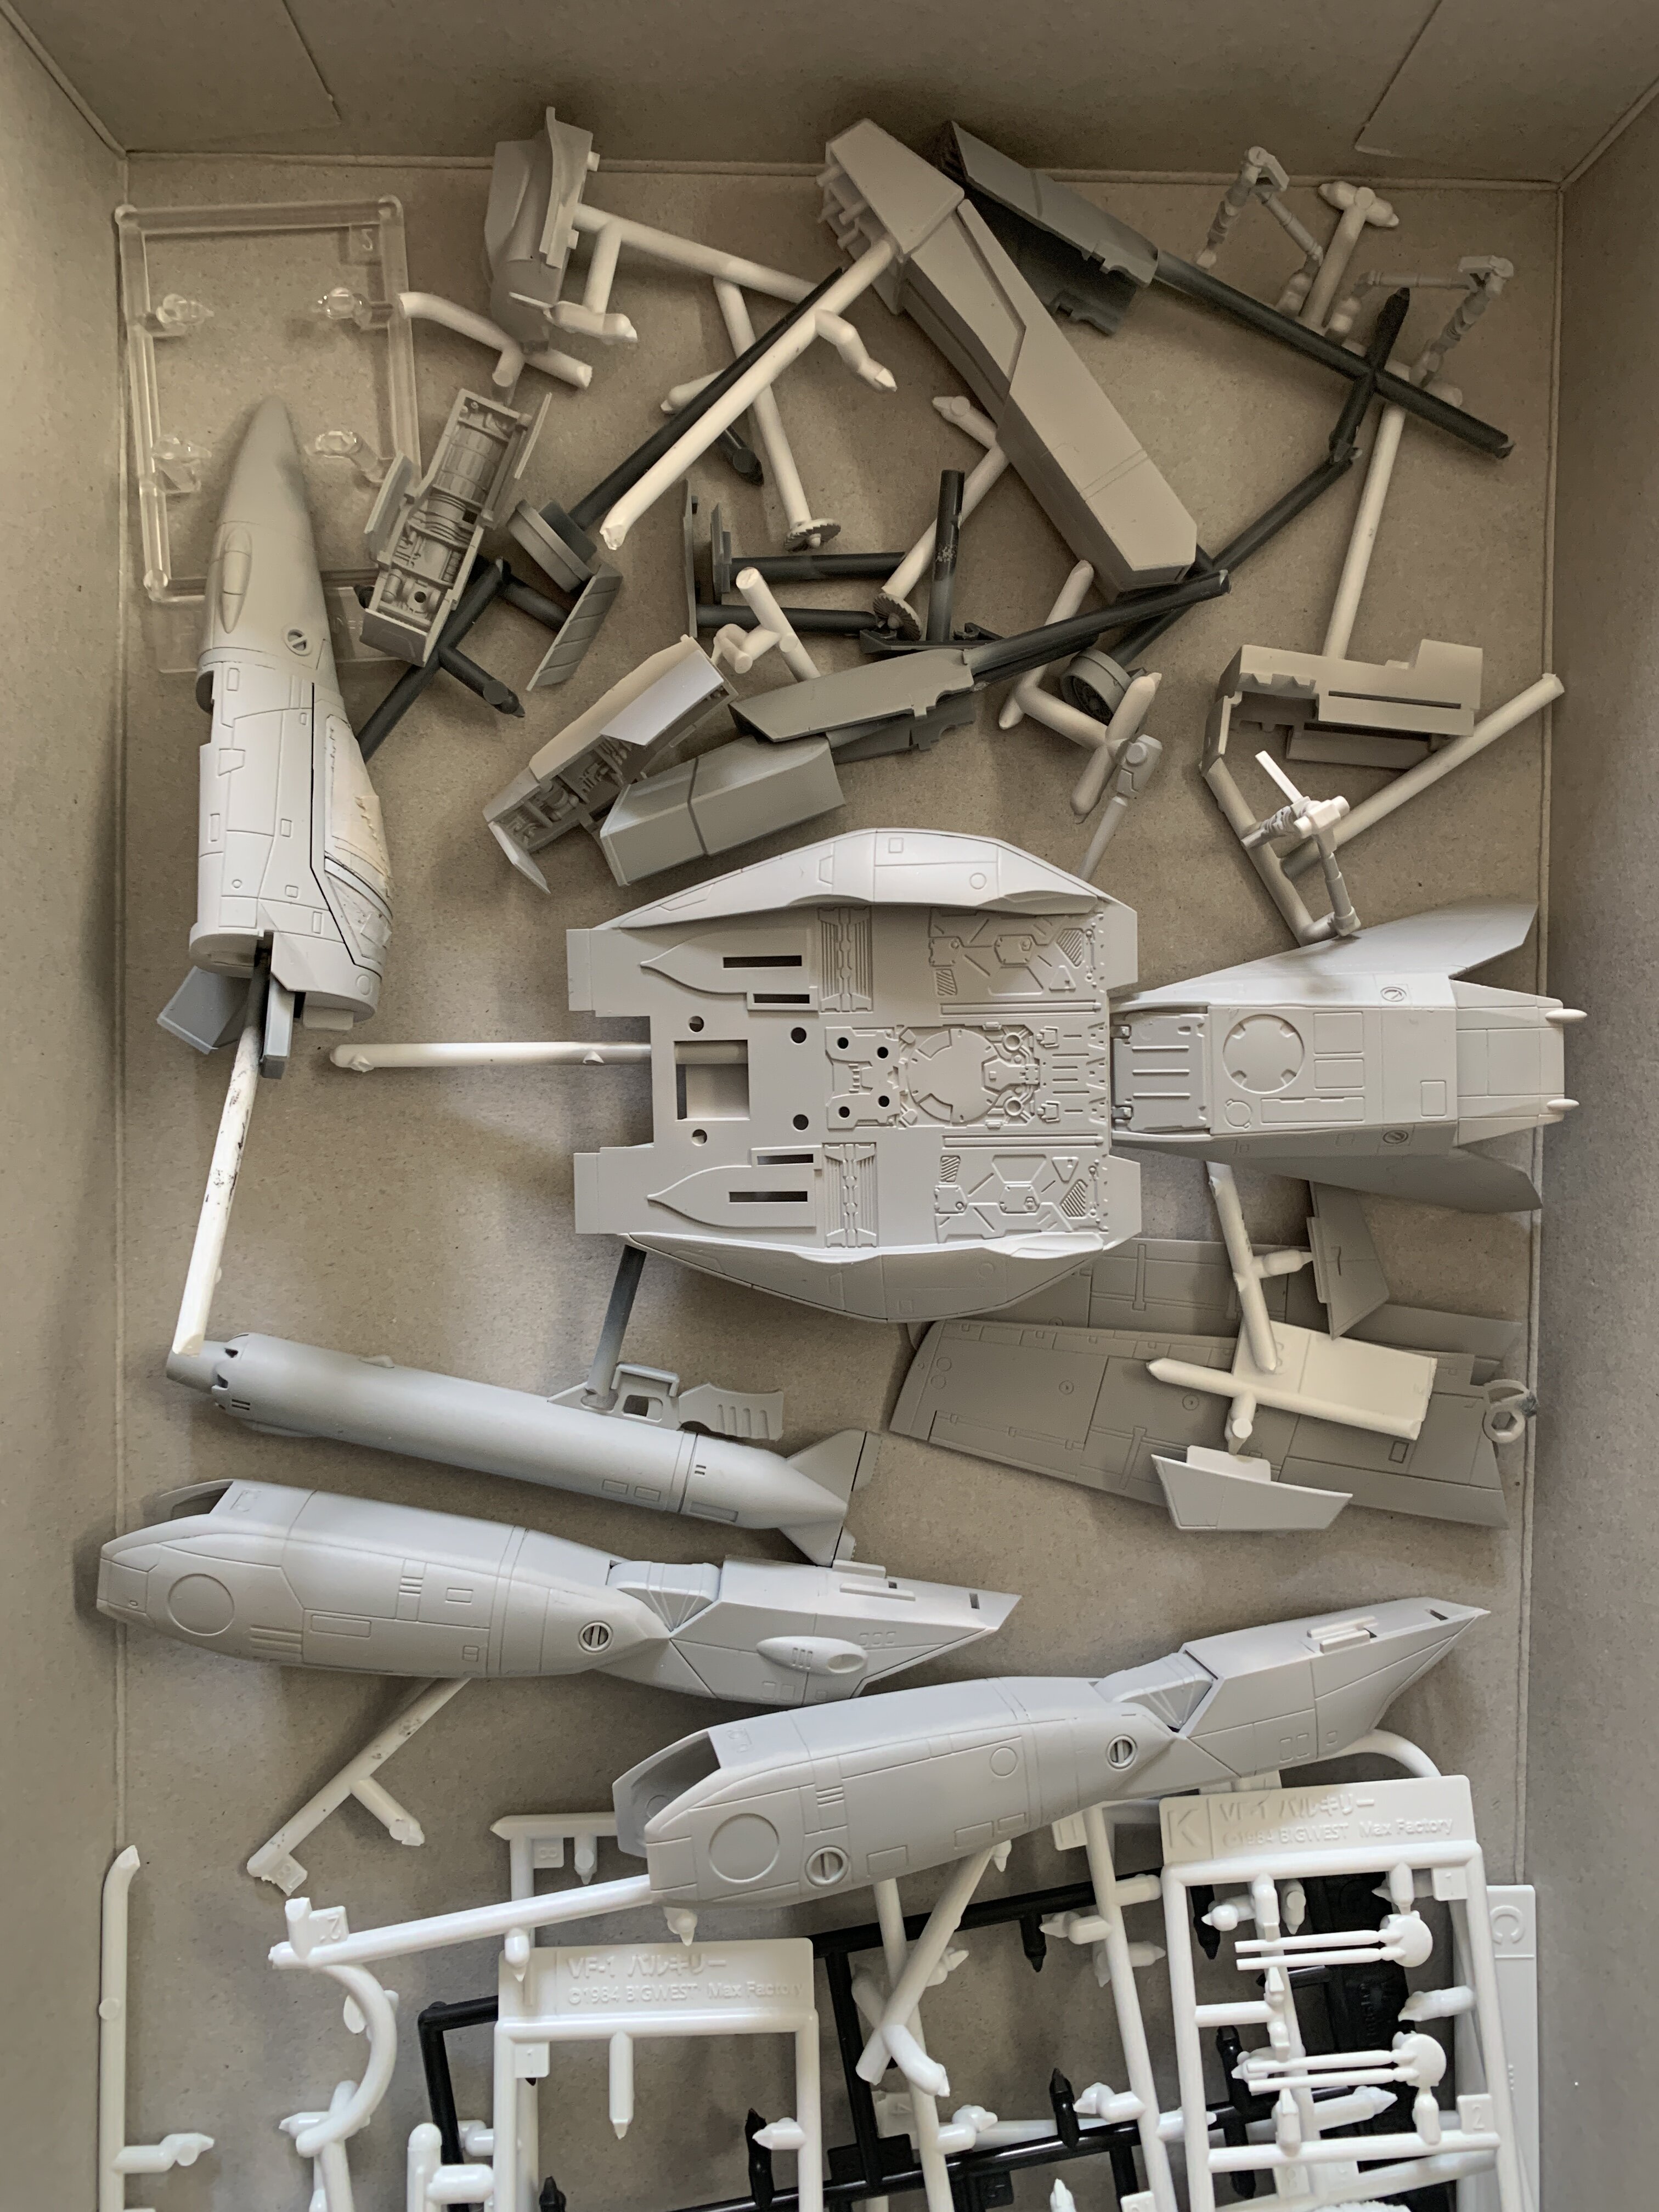
@Bolt re-scribing is… there are no nice words. It is a tedious process and needs much patience. There is no easy way to do it. The easiest so far was with Hasegawa trytools, at least from my experience. I primed the X-29 and I still need to rescribe some of the panel lines. It annoys me. Hahaha The VF-19A is basically done priming now. No further sanding needed. It can go into the pre-shading queue now. Here are the current stages of the VF-1, X-29 and VF-19A. Found some sanding stuff on the VF-1 after priming the VF-19A and X-29. will prime that when I am done with scribing and more sanding on the X-29. For pre-shading I decided on the following… VF-19A: purple base color with black shading along the panel lines. X-29: beige/sand base color with dark brown shading along the panel lines. VF-1: light grey base color with dark blue shading. Still much work to do here.
-
Looks really nice
-
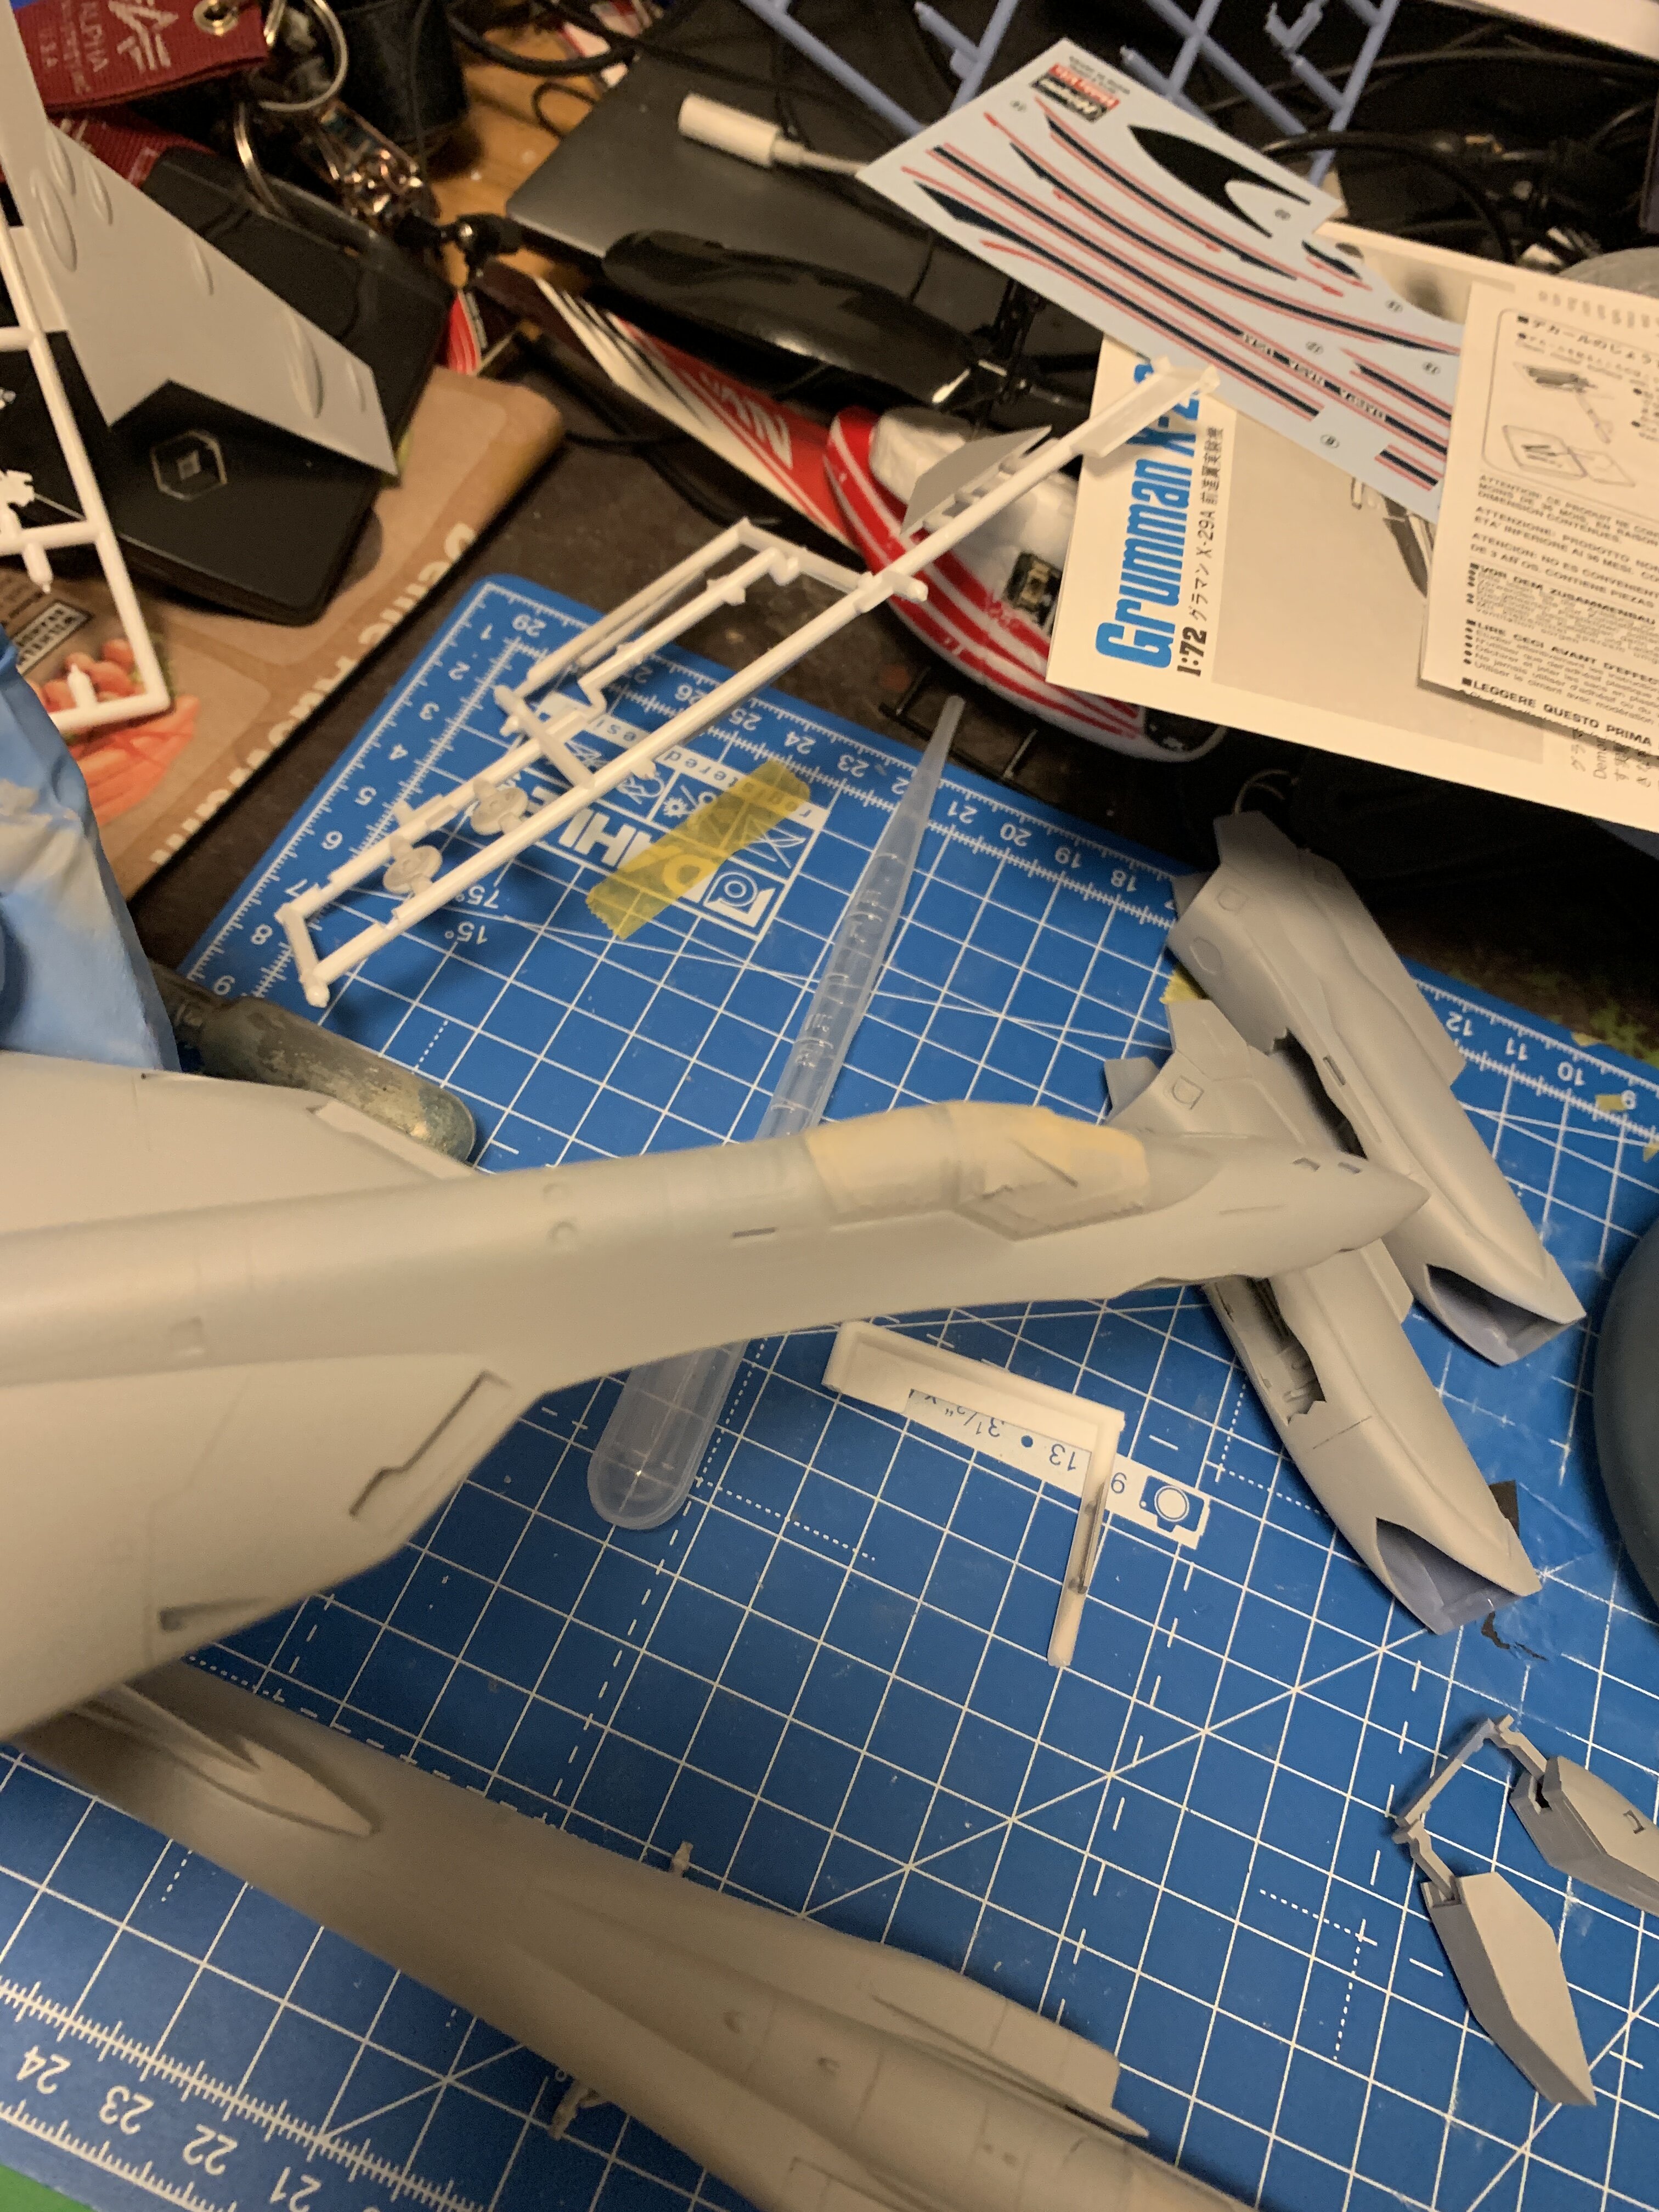
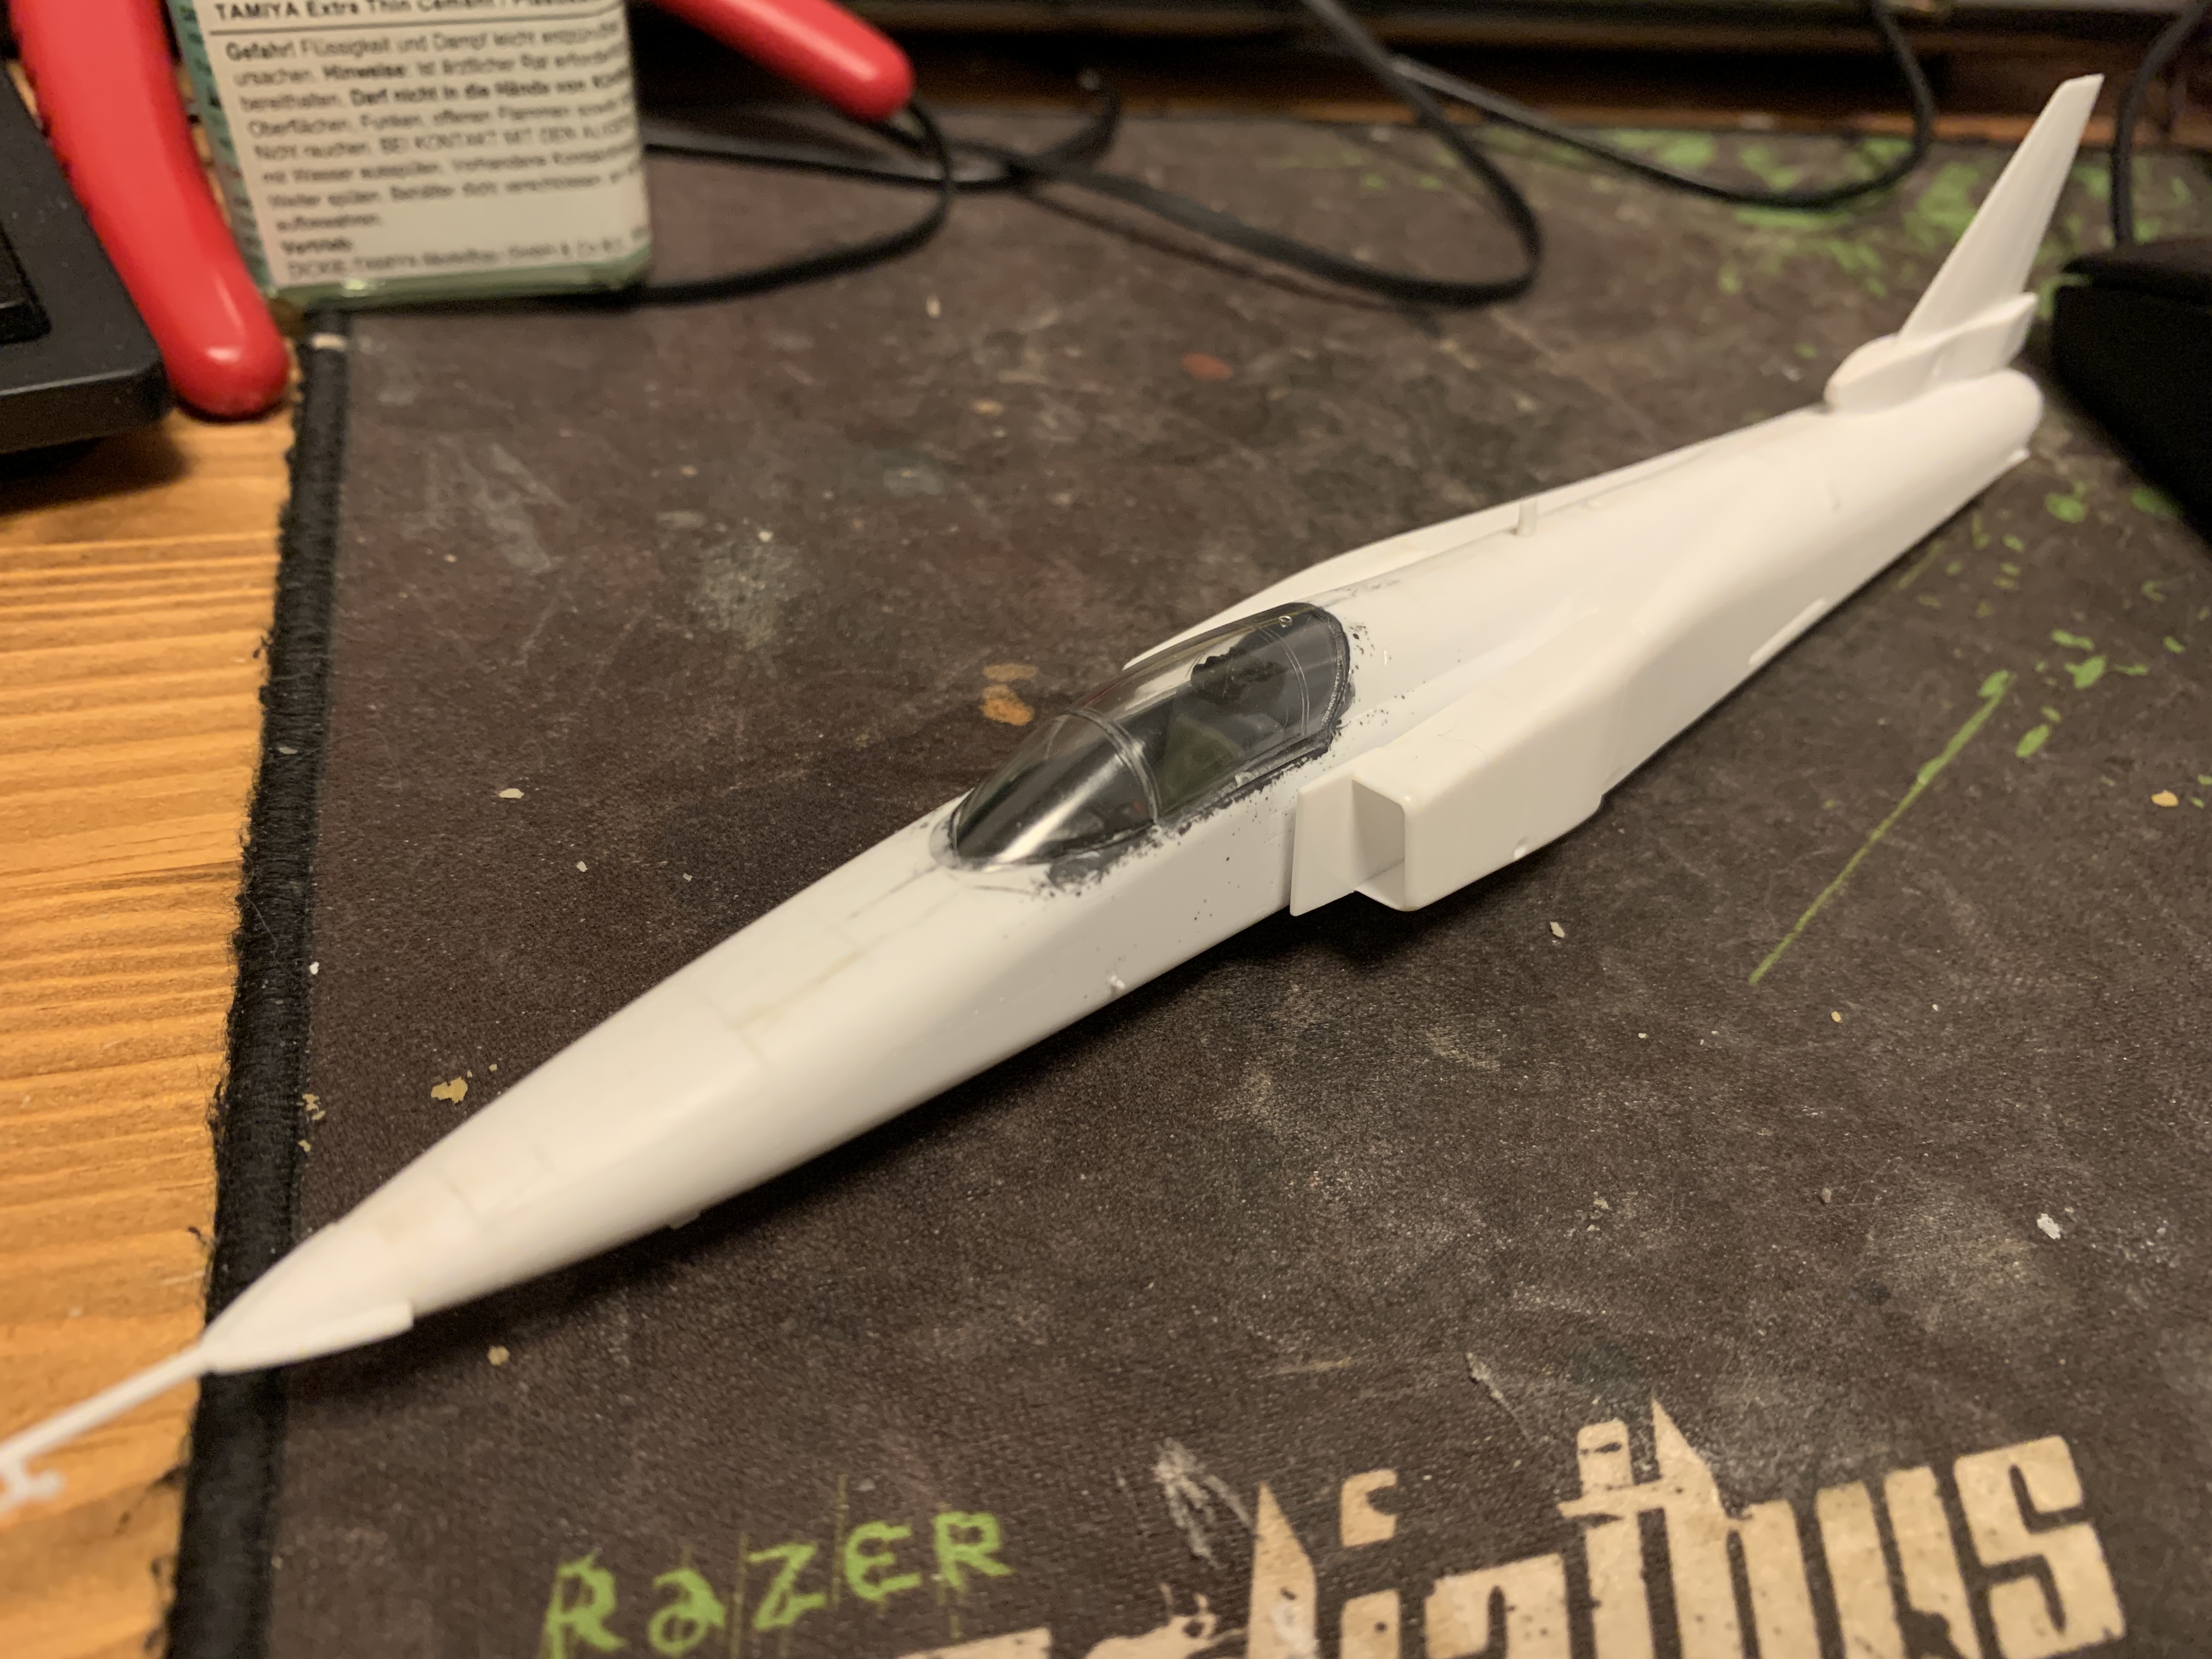
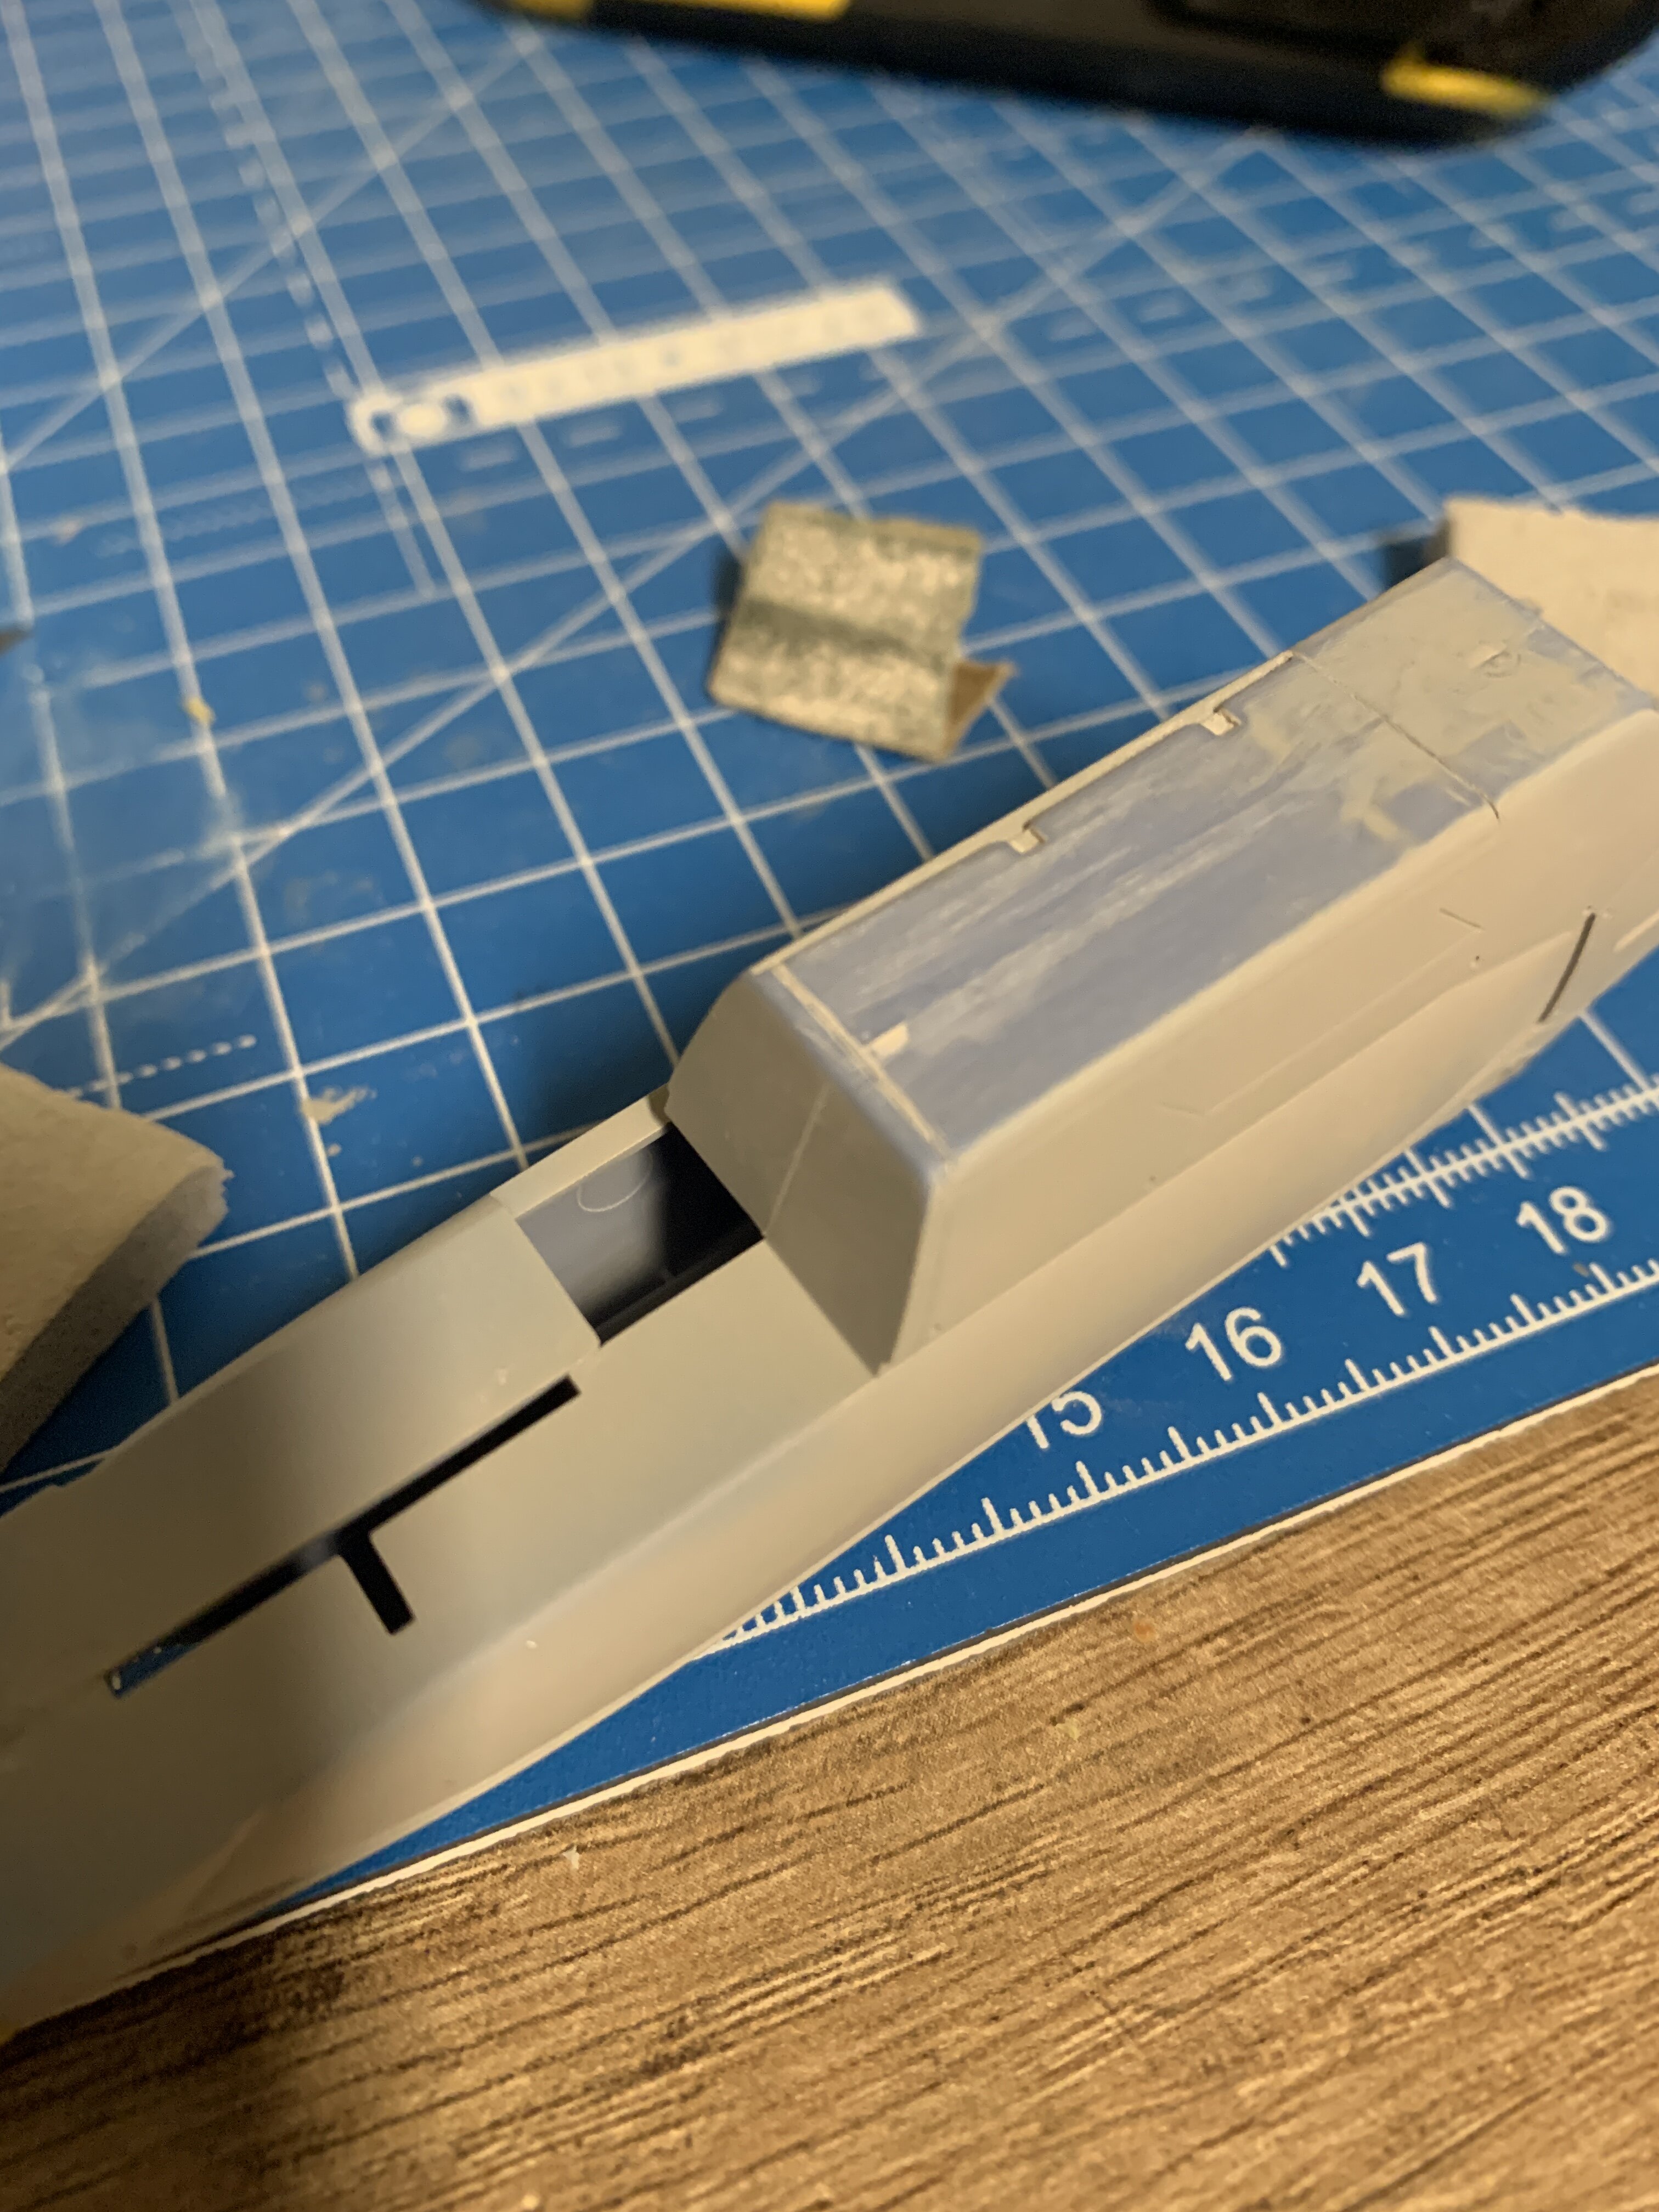
Oh… hahahaha. Well, I never opened mine, so I was not aware of the large color print. @Thom ah, yeh that’s cool for me it was: another day, another canopy mask. Prepared the grumman x-29 for priming. the canopy is the horror as the panel lines of the kit are worn out and really fine, barely noticeable. I scratch along all of them with the trytools from Hasegawa. I‘ll see how it turns out after the first primer coat.
-
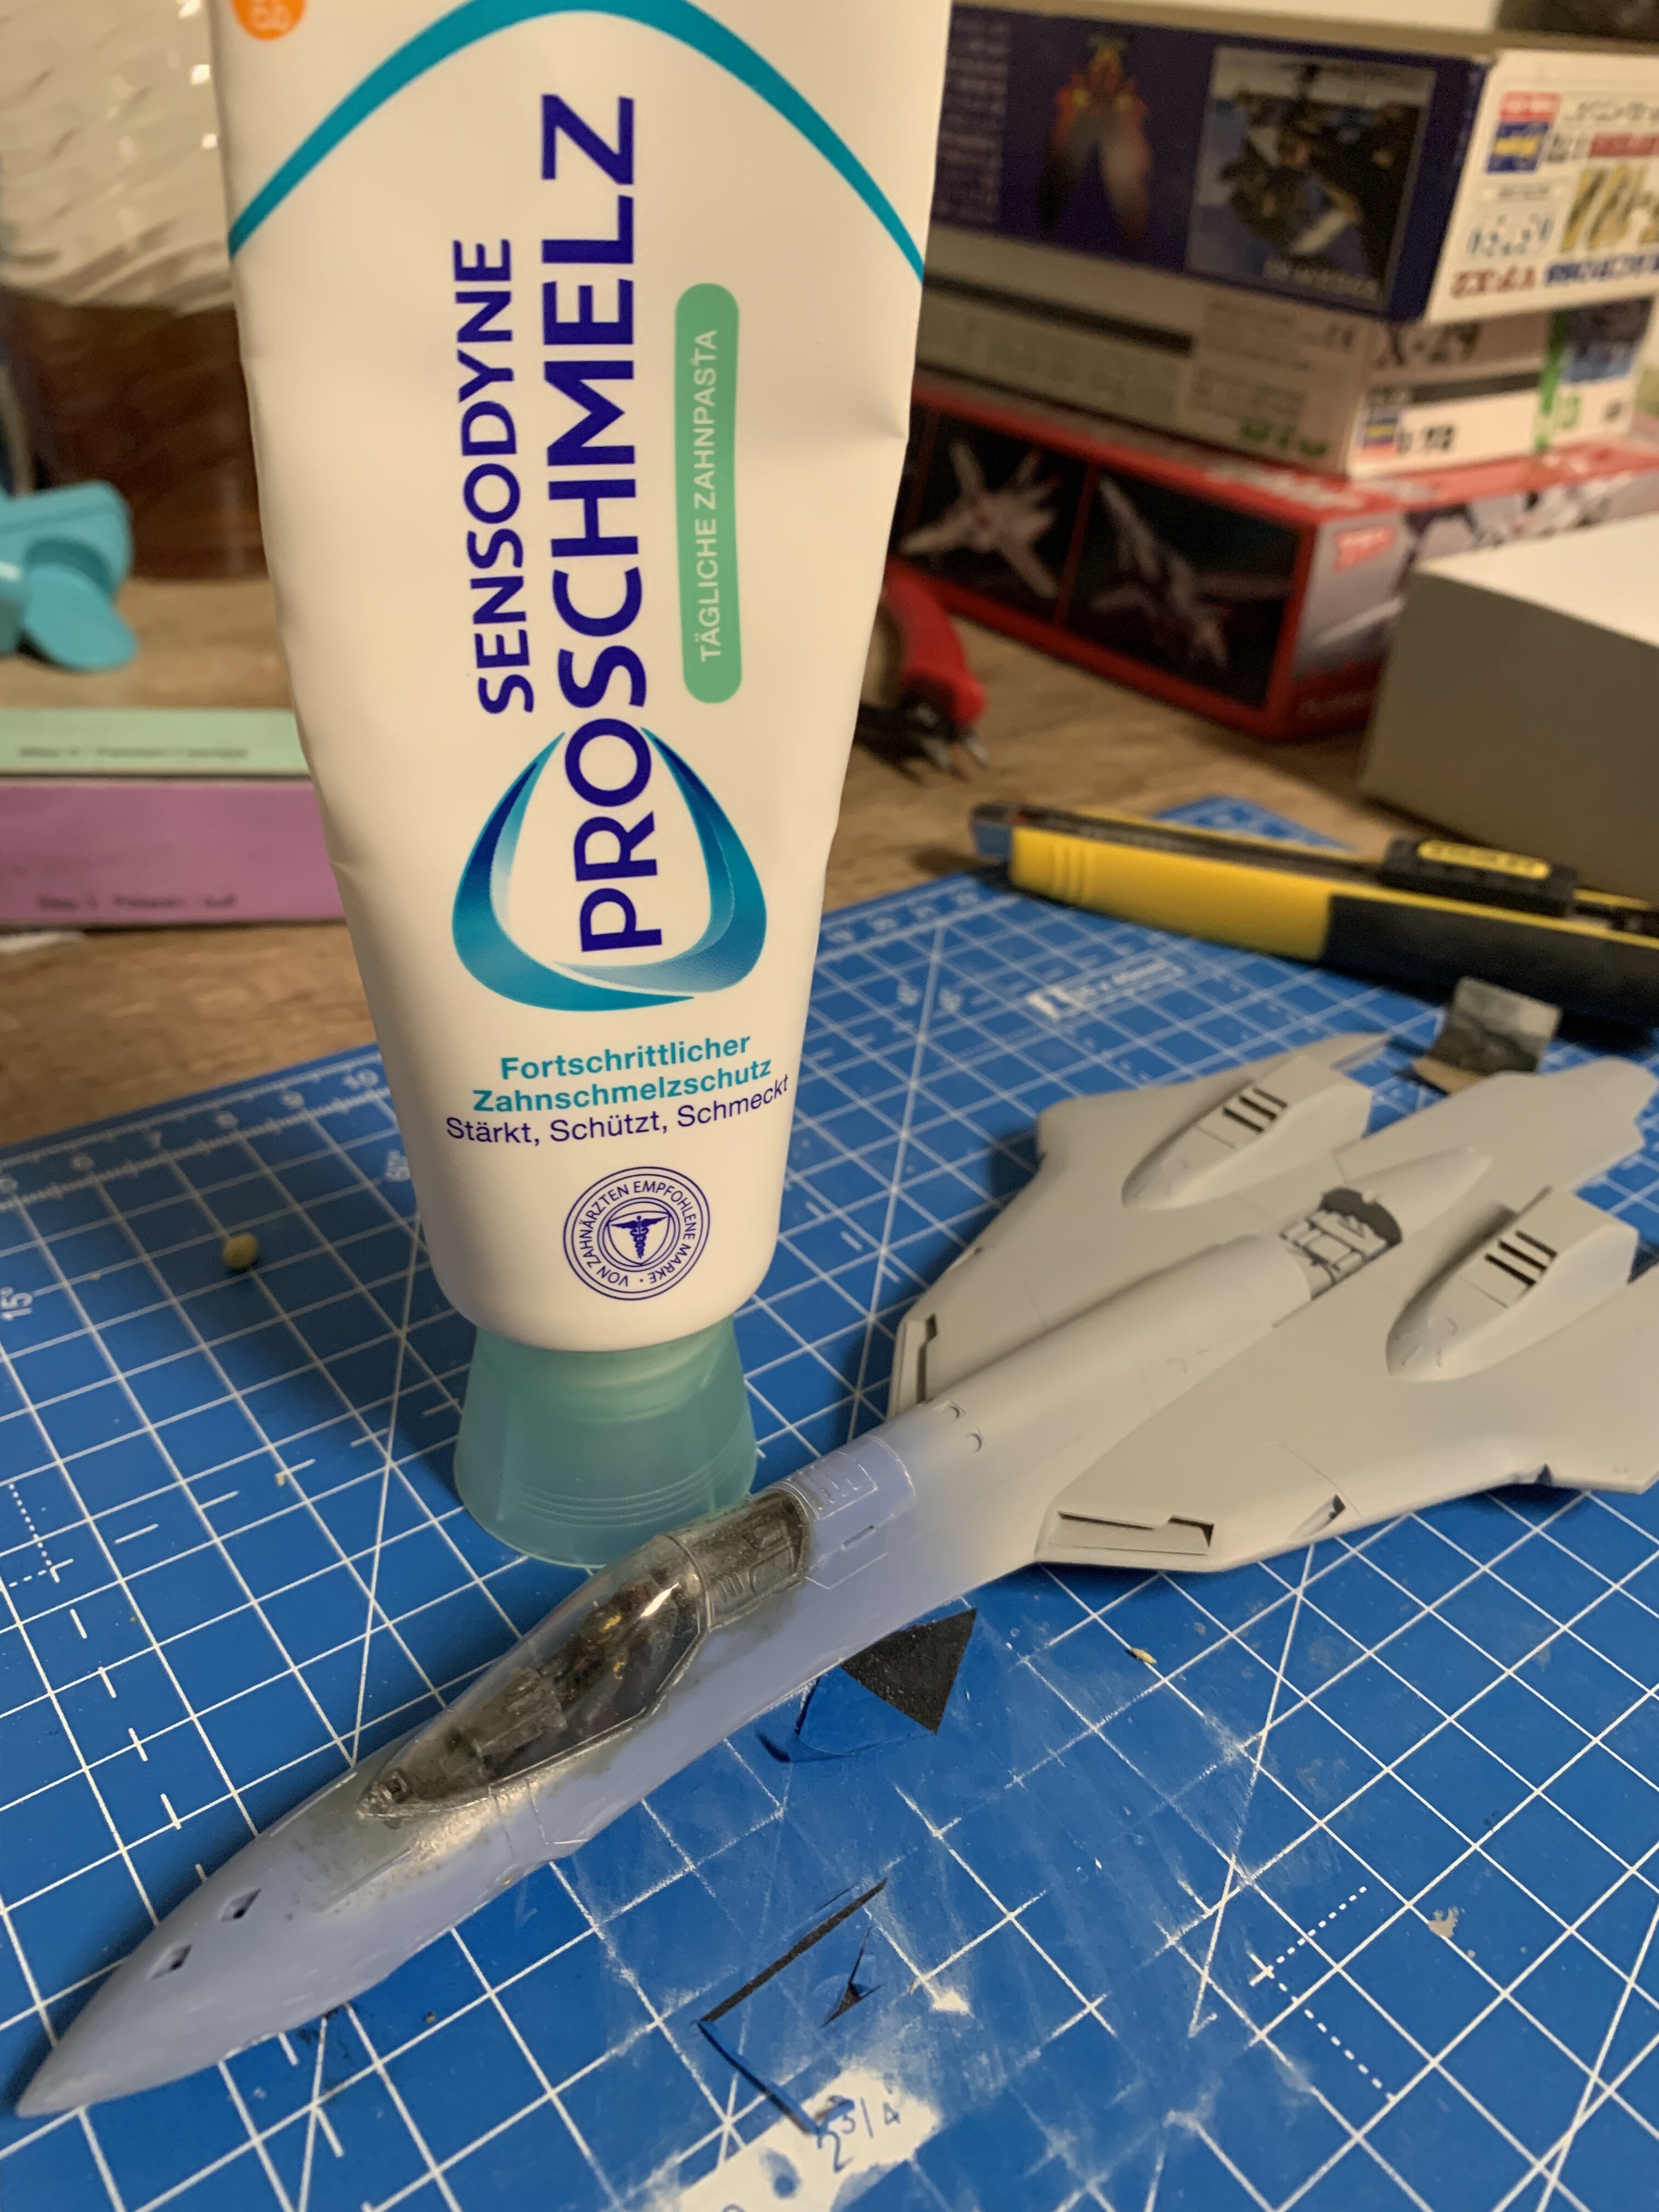
My special polishing compound is tooth paste. XD @Rock Ooooh yeah! I have the 1/48 YF-19 in my stash. Not sure when I am going to build that thing. It is huge. How are the Jasmine model 1/48 PE parts? I only got the Hasegawa ones. The adjustments on the scheme give it a little bit of Frontier/Delta touch to it @Bolt Thanks man! @Thom Thanks a lot! That Battle Star looks like a lot of work, placing all the panels on your own haha.
-
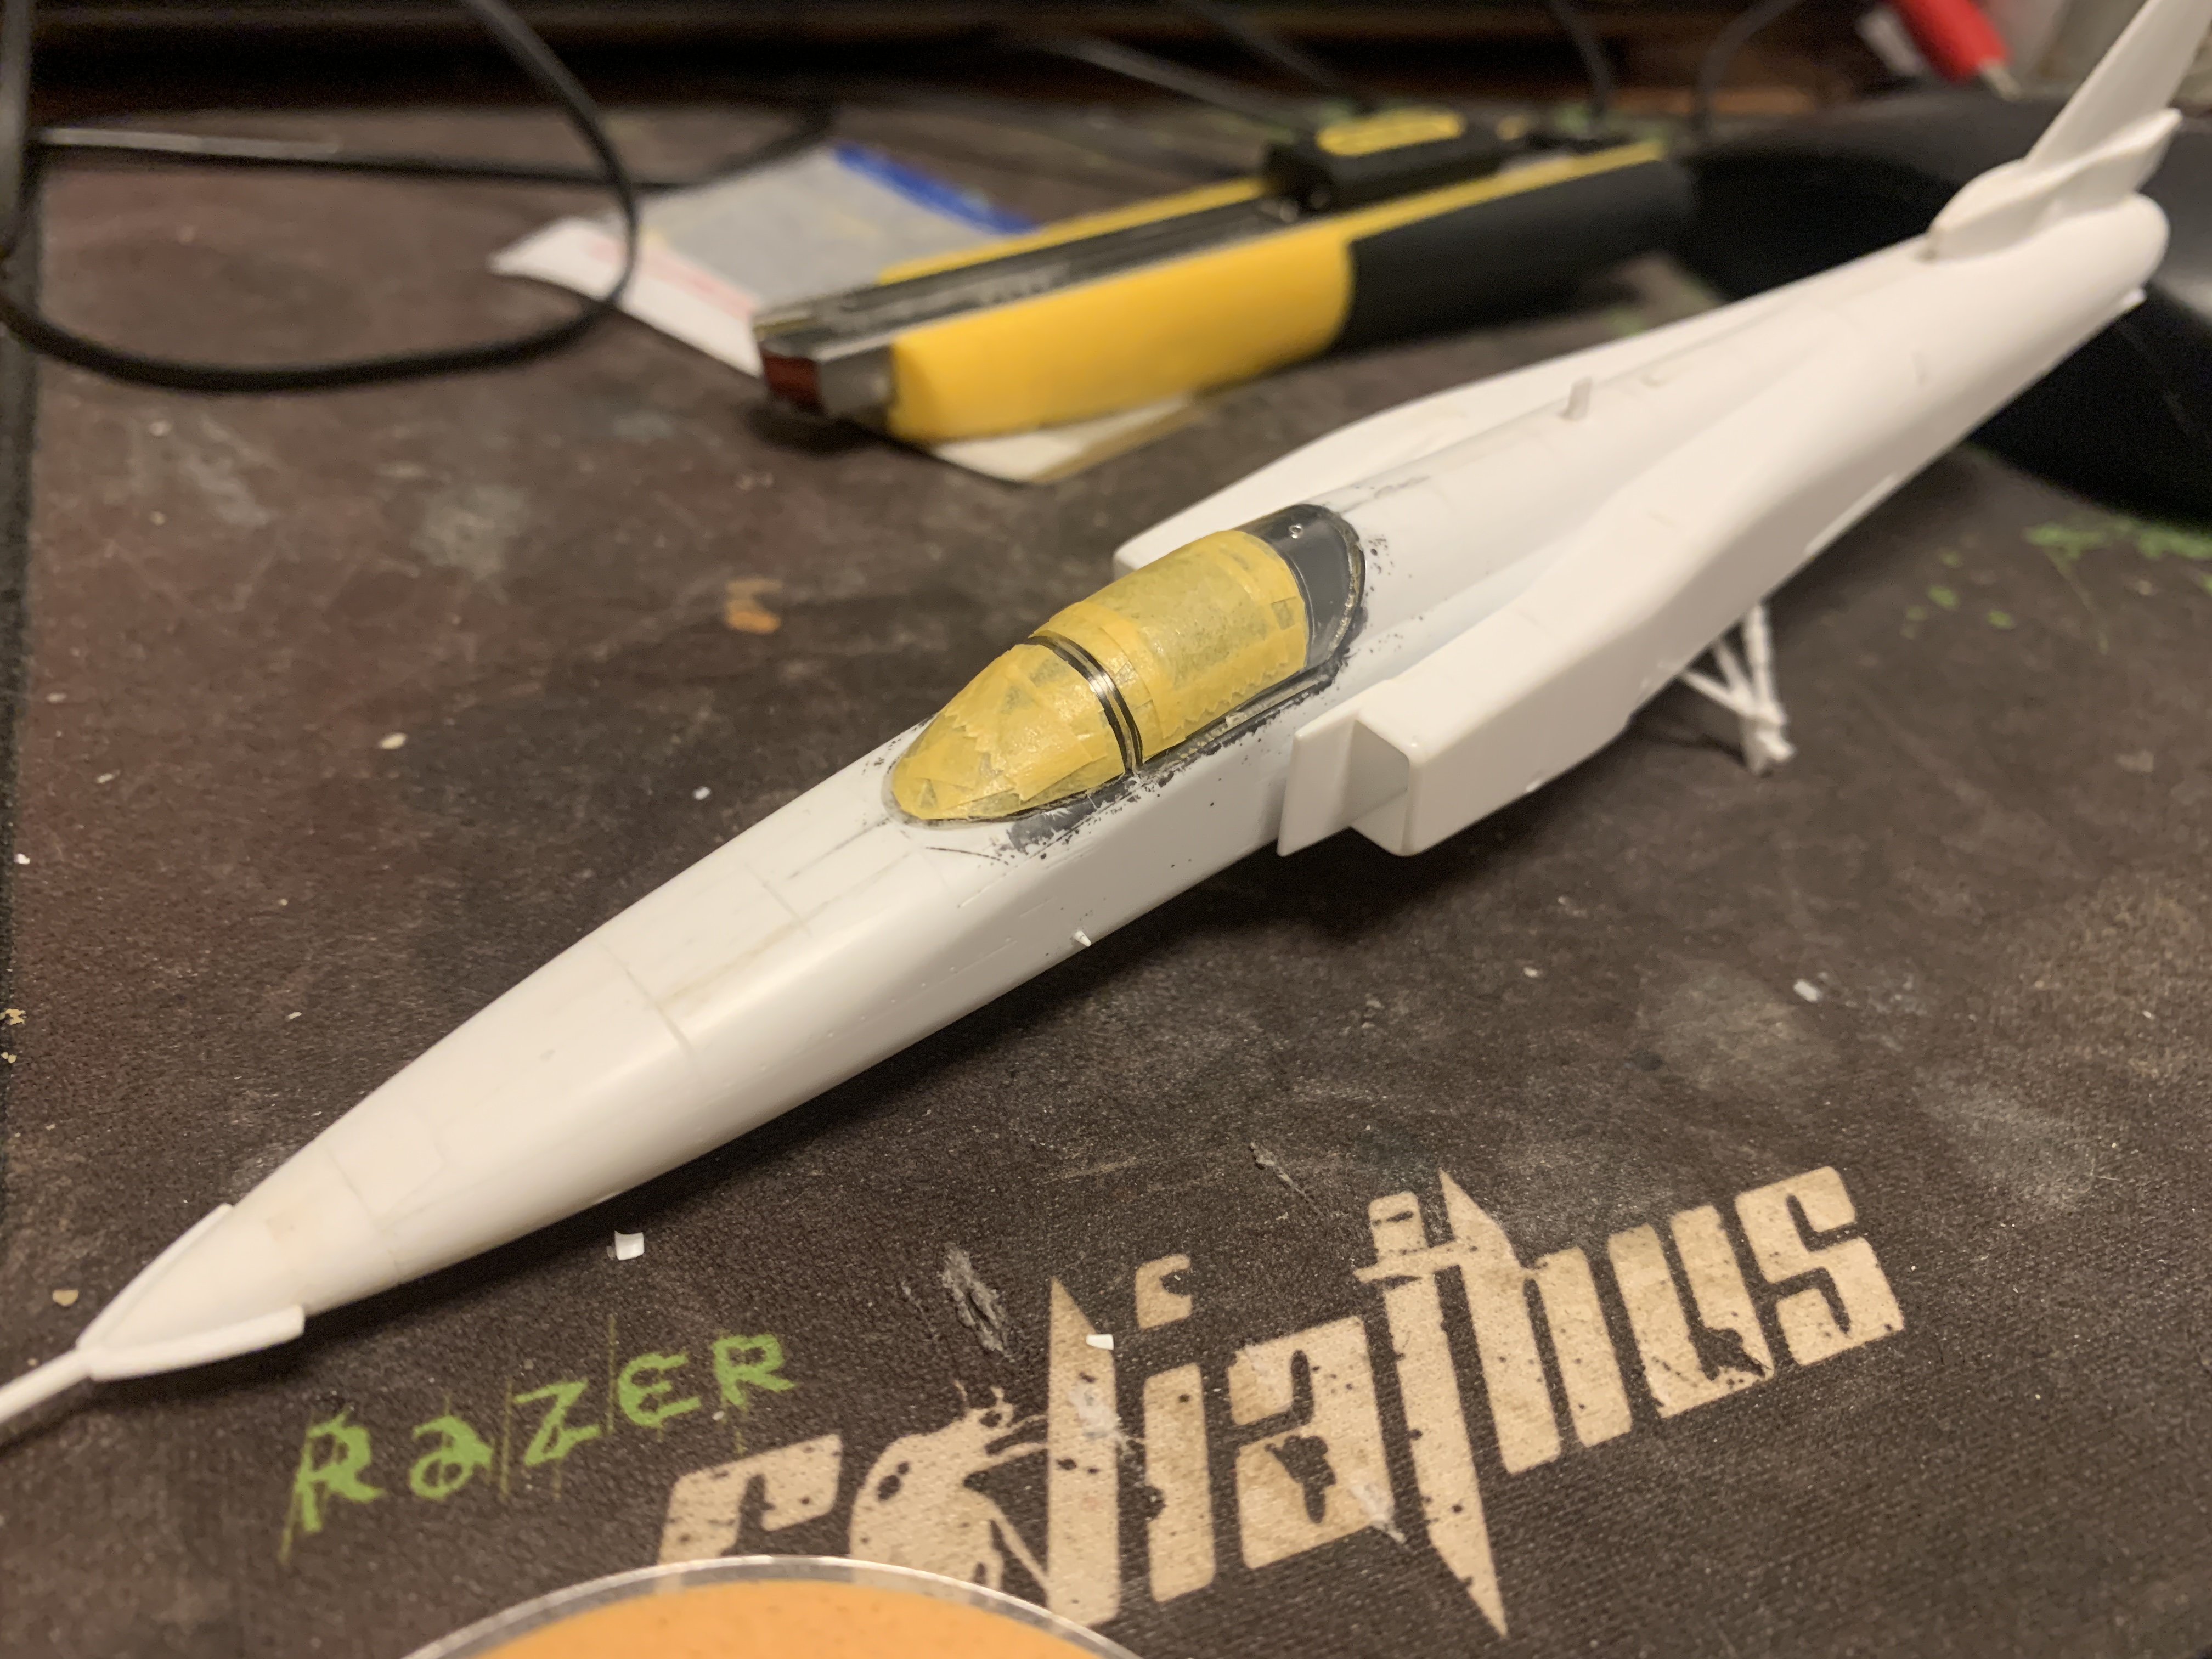
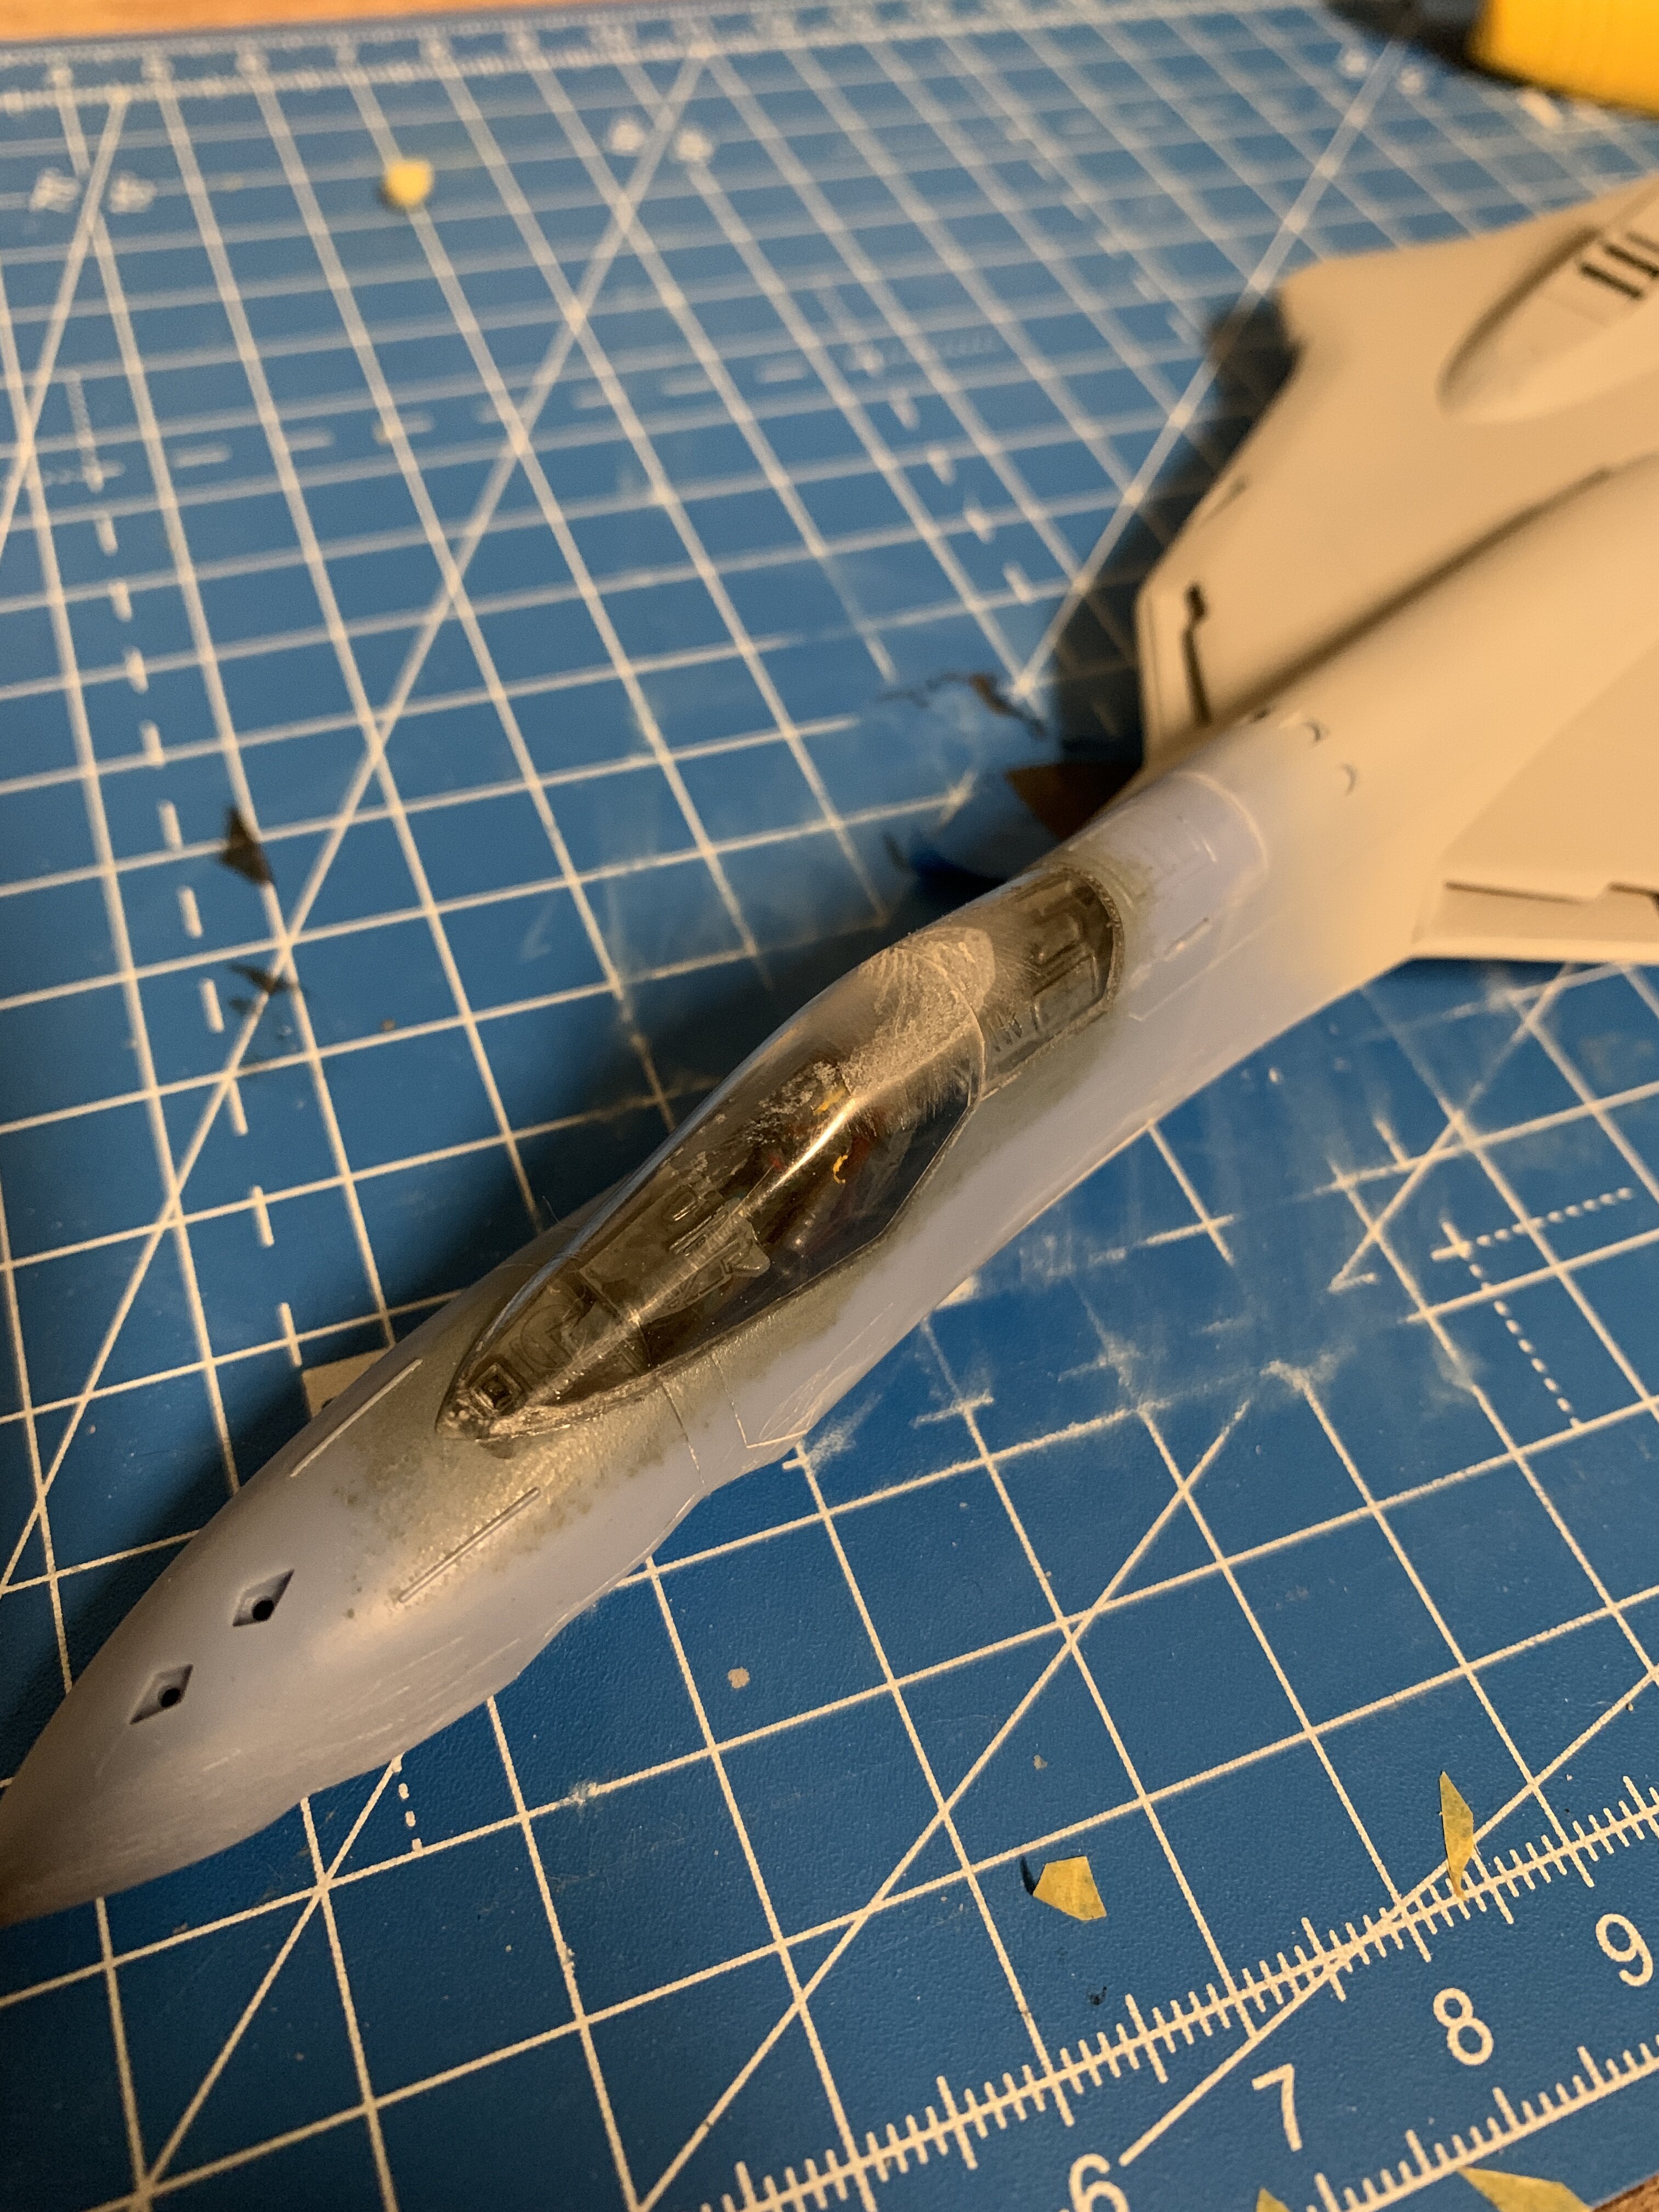
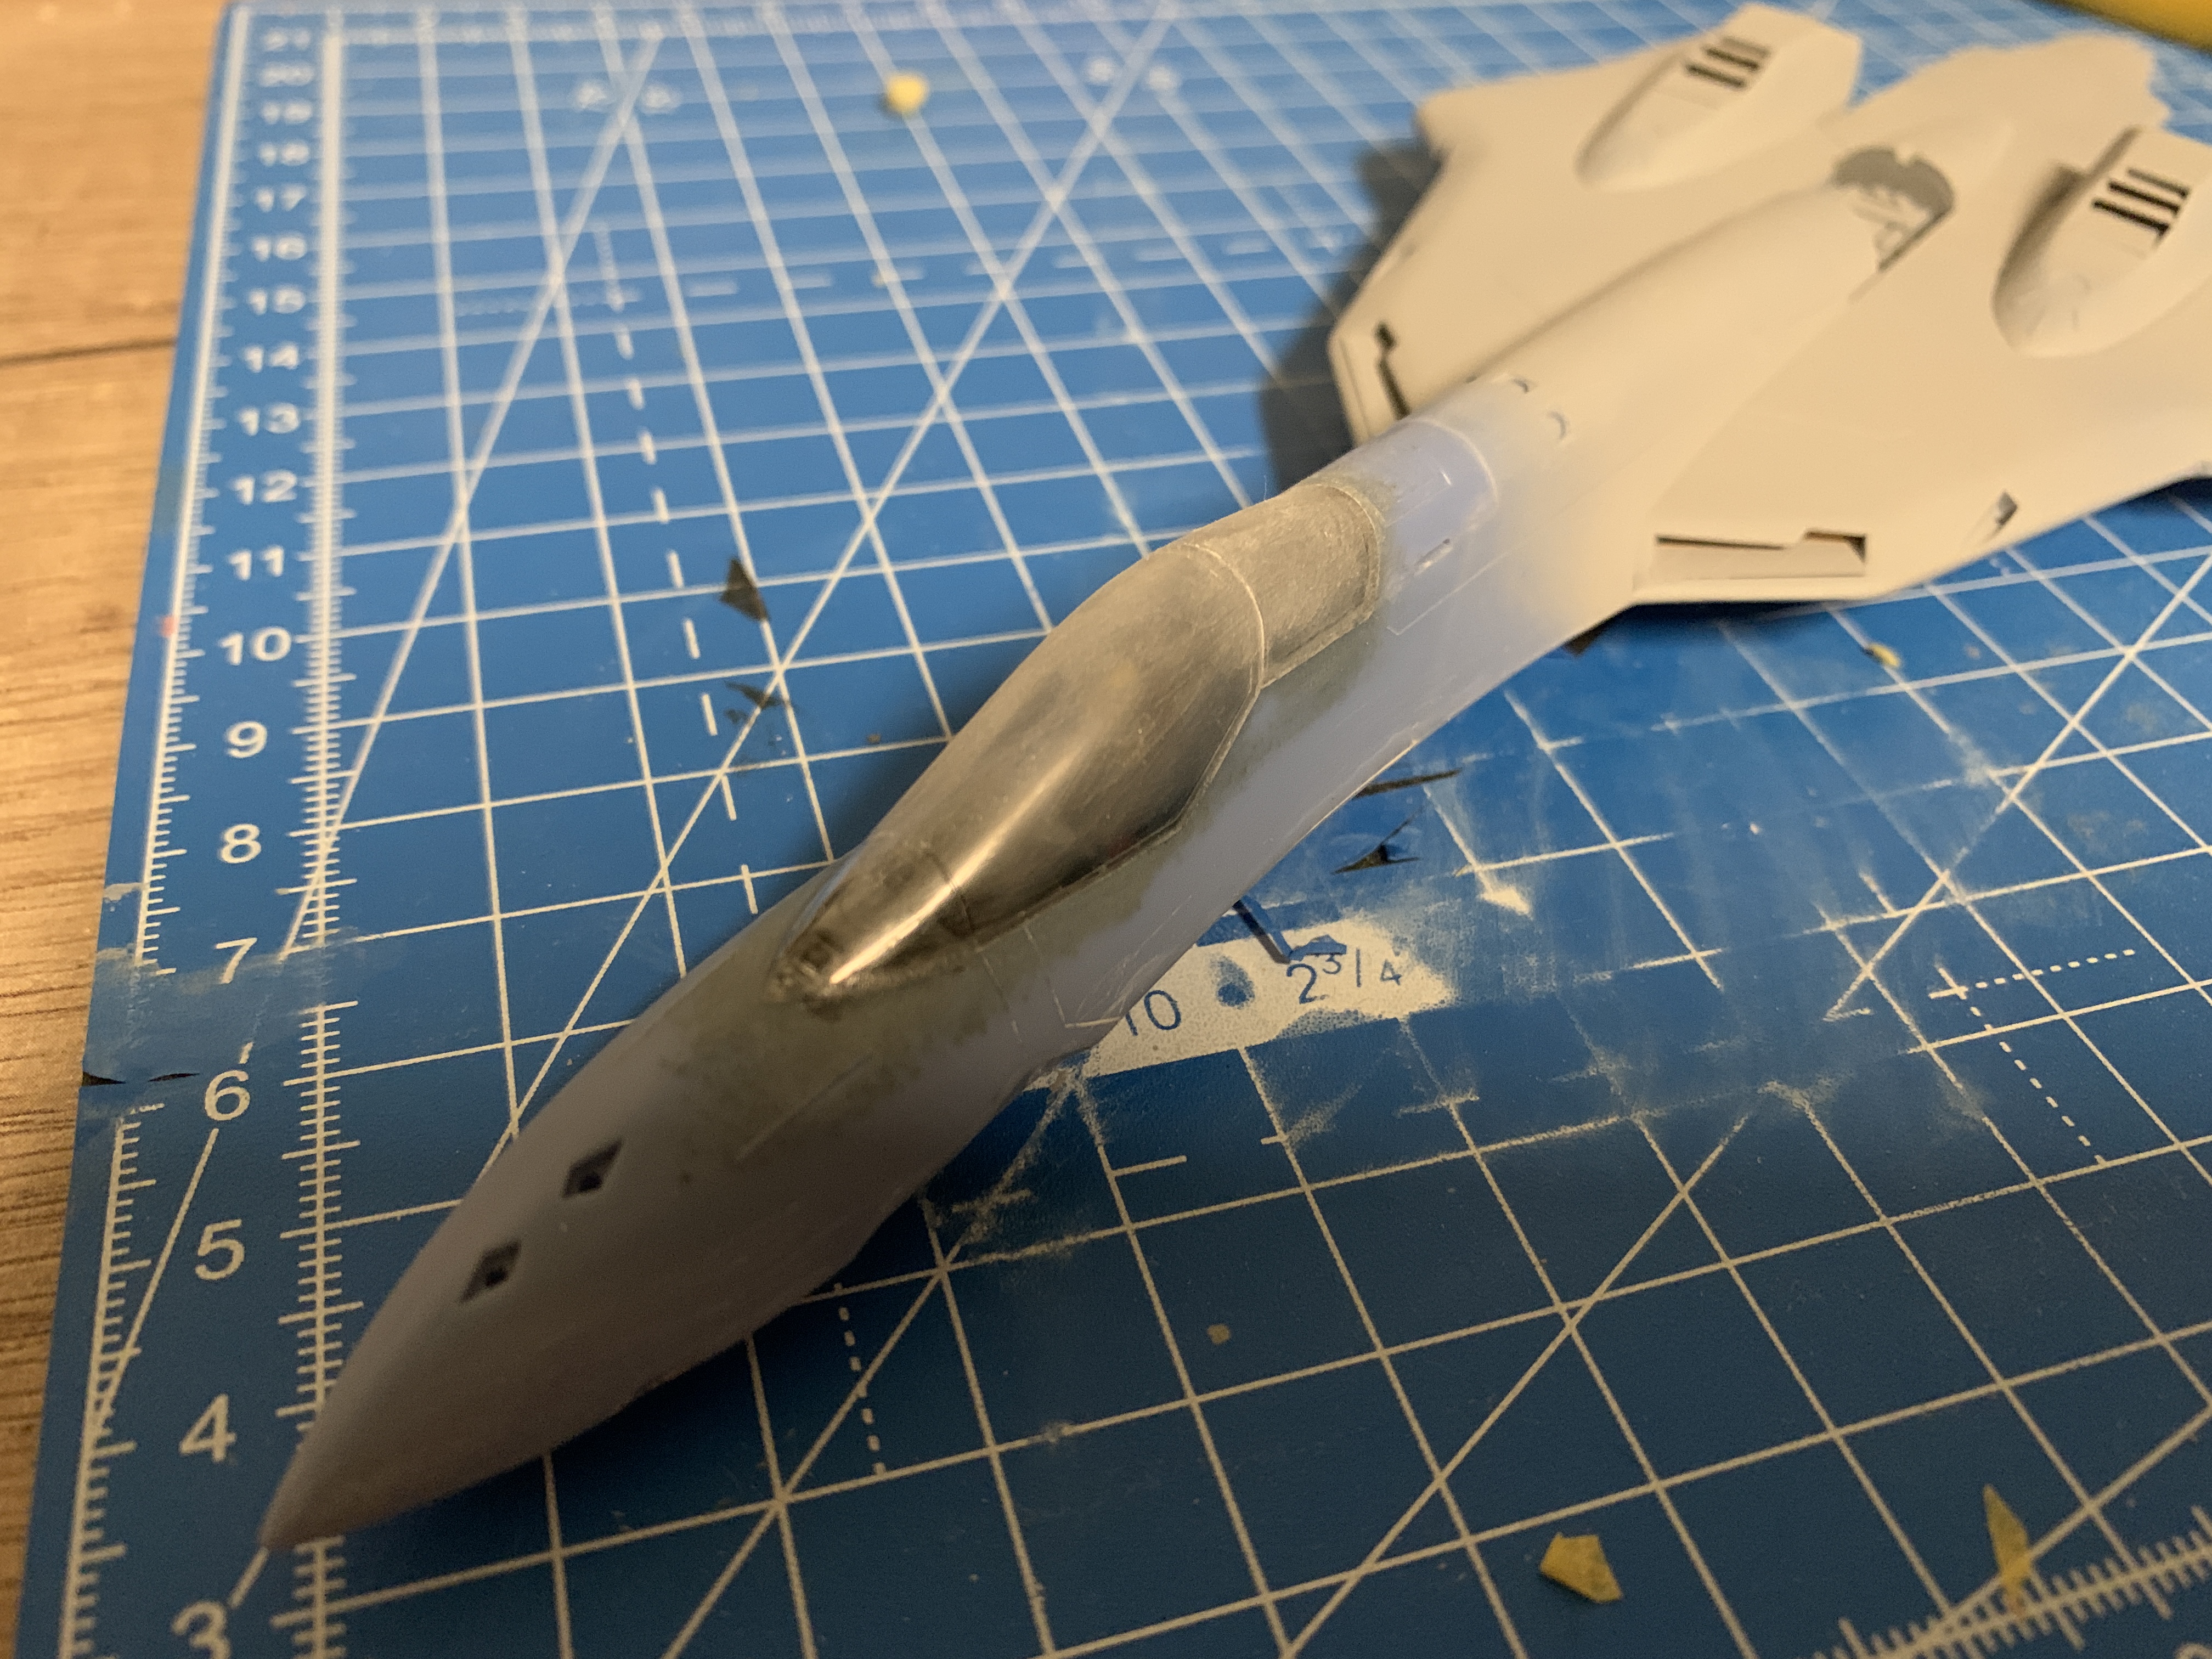
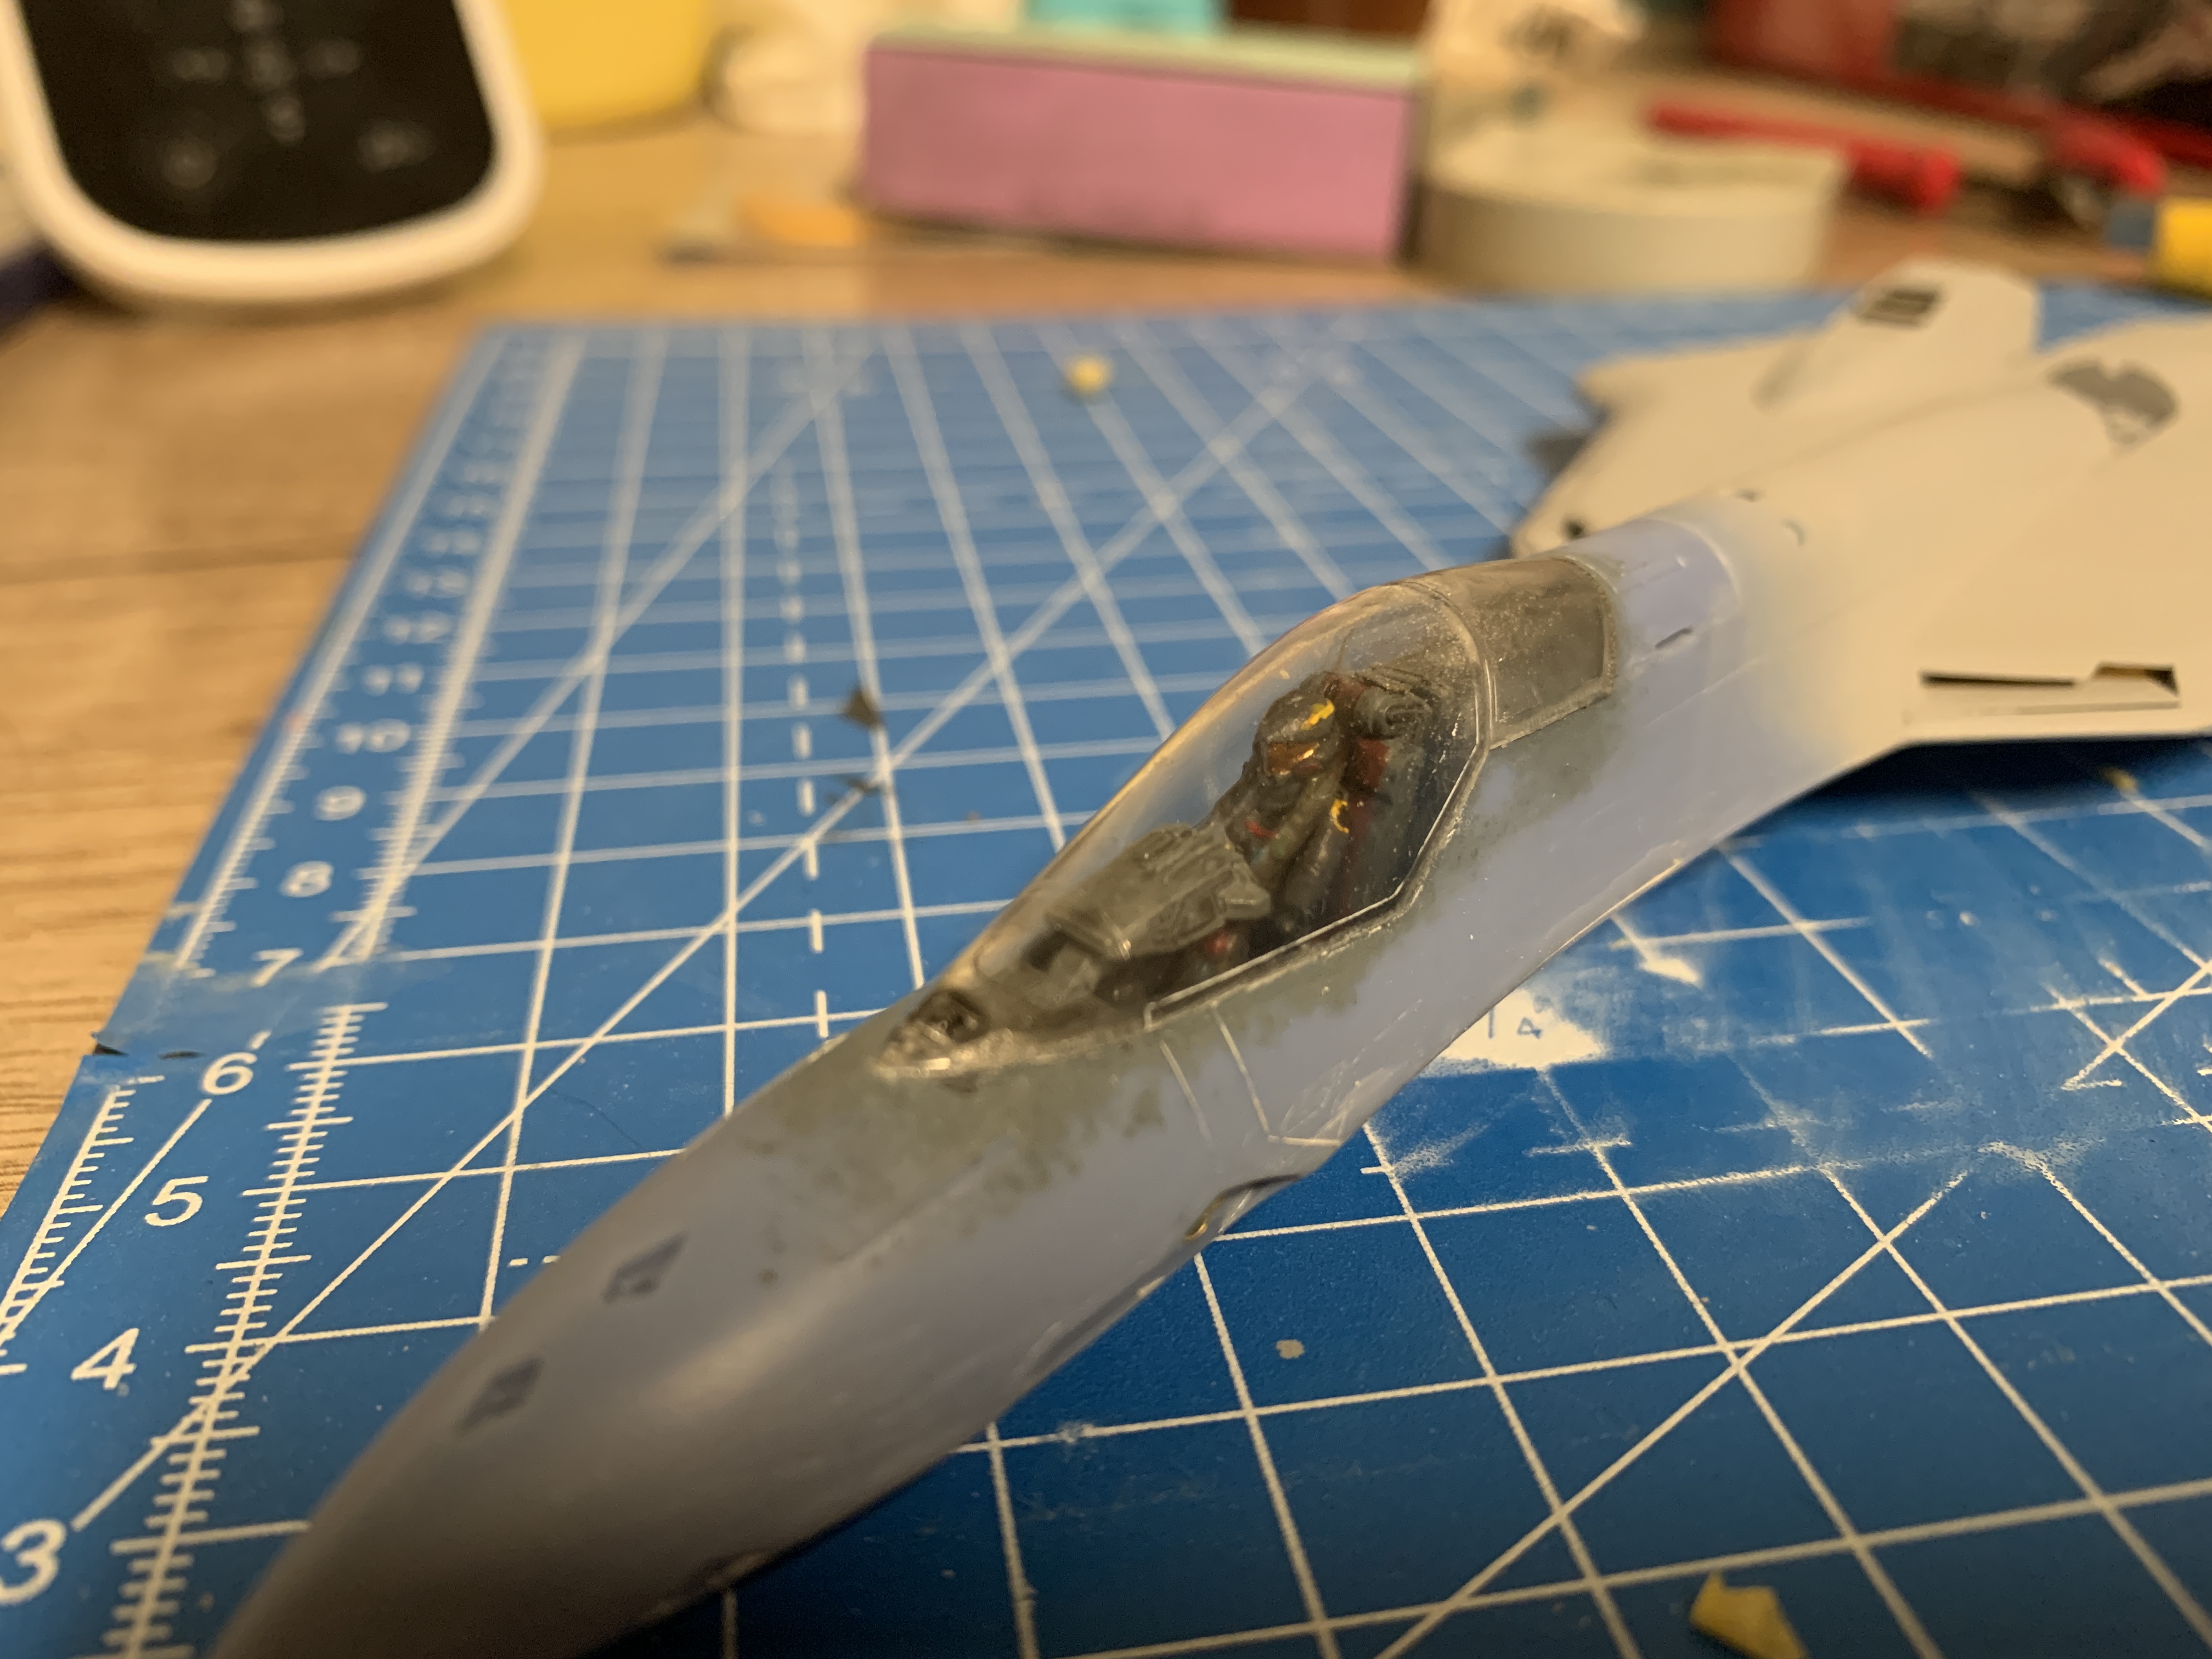
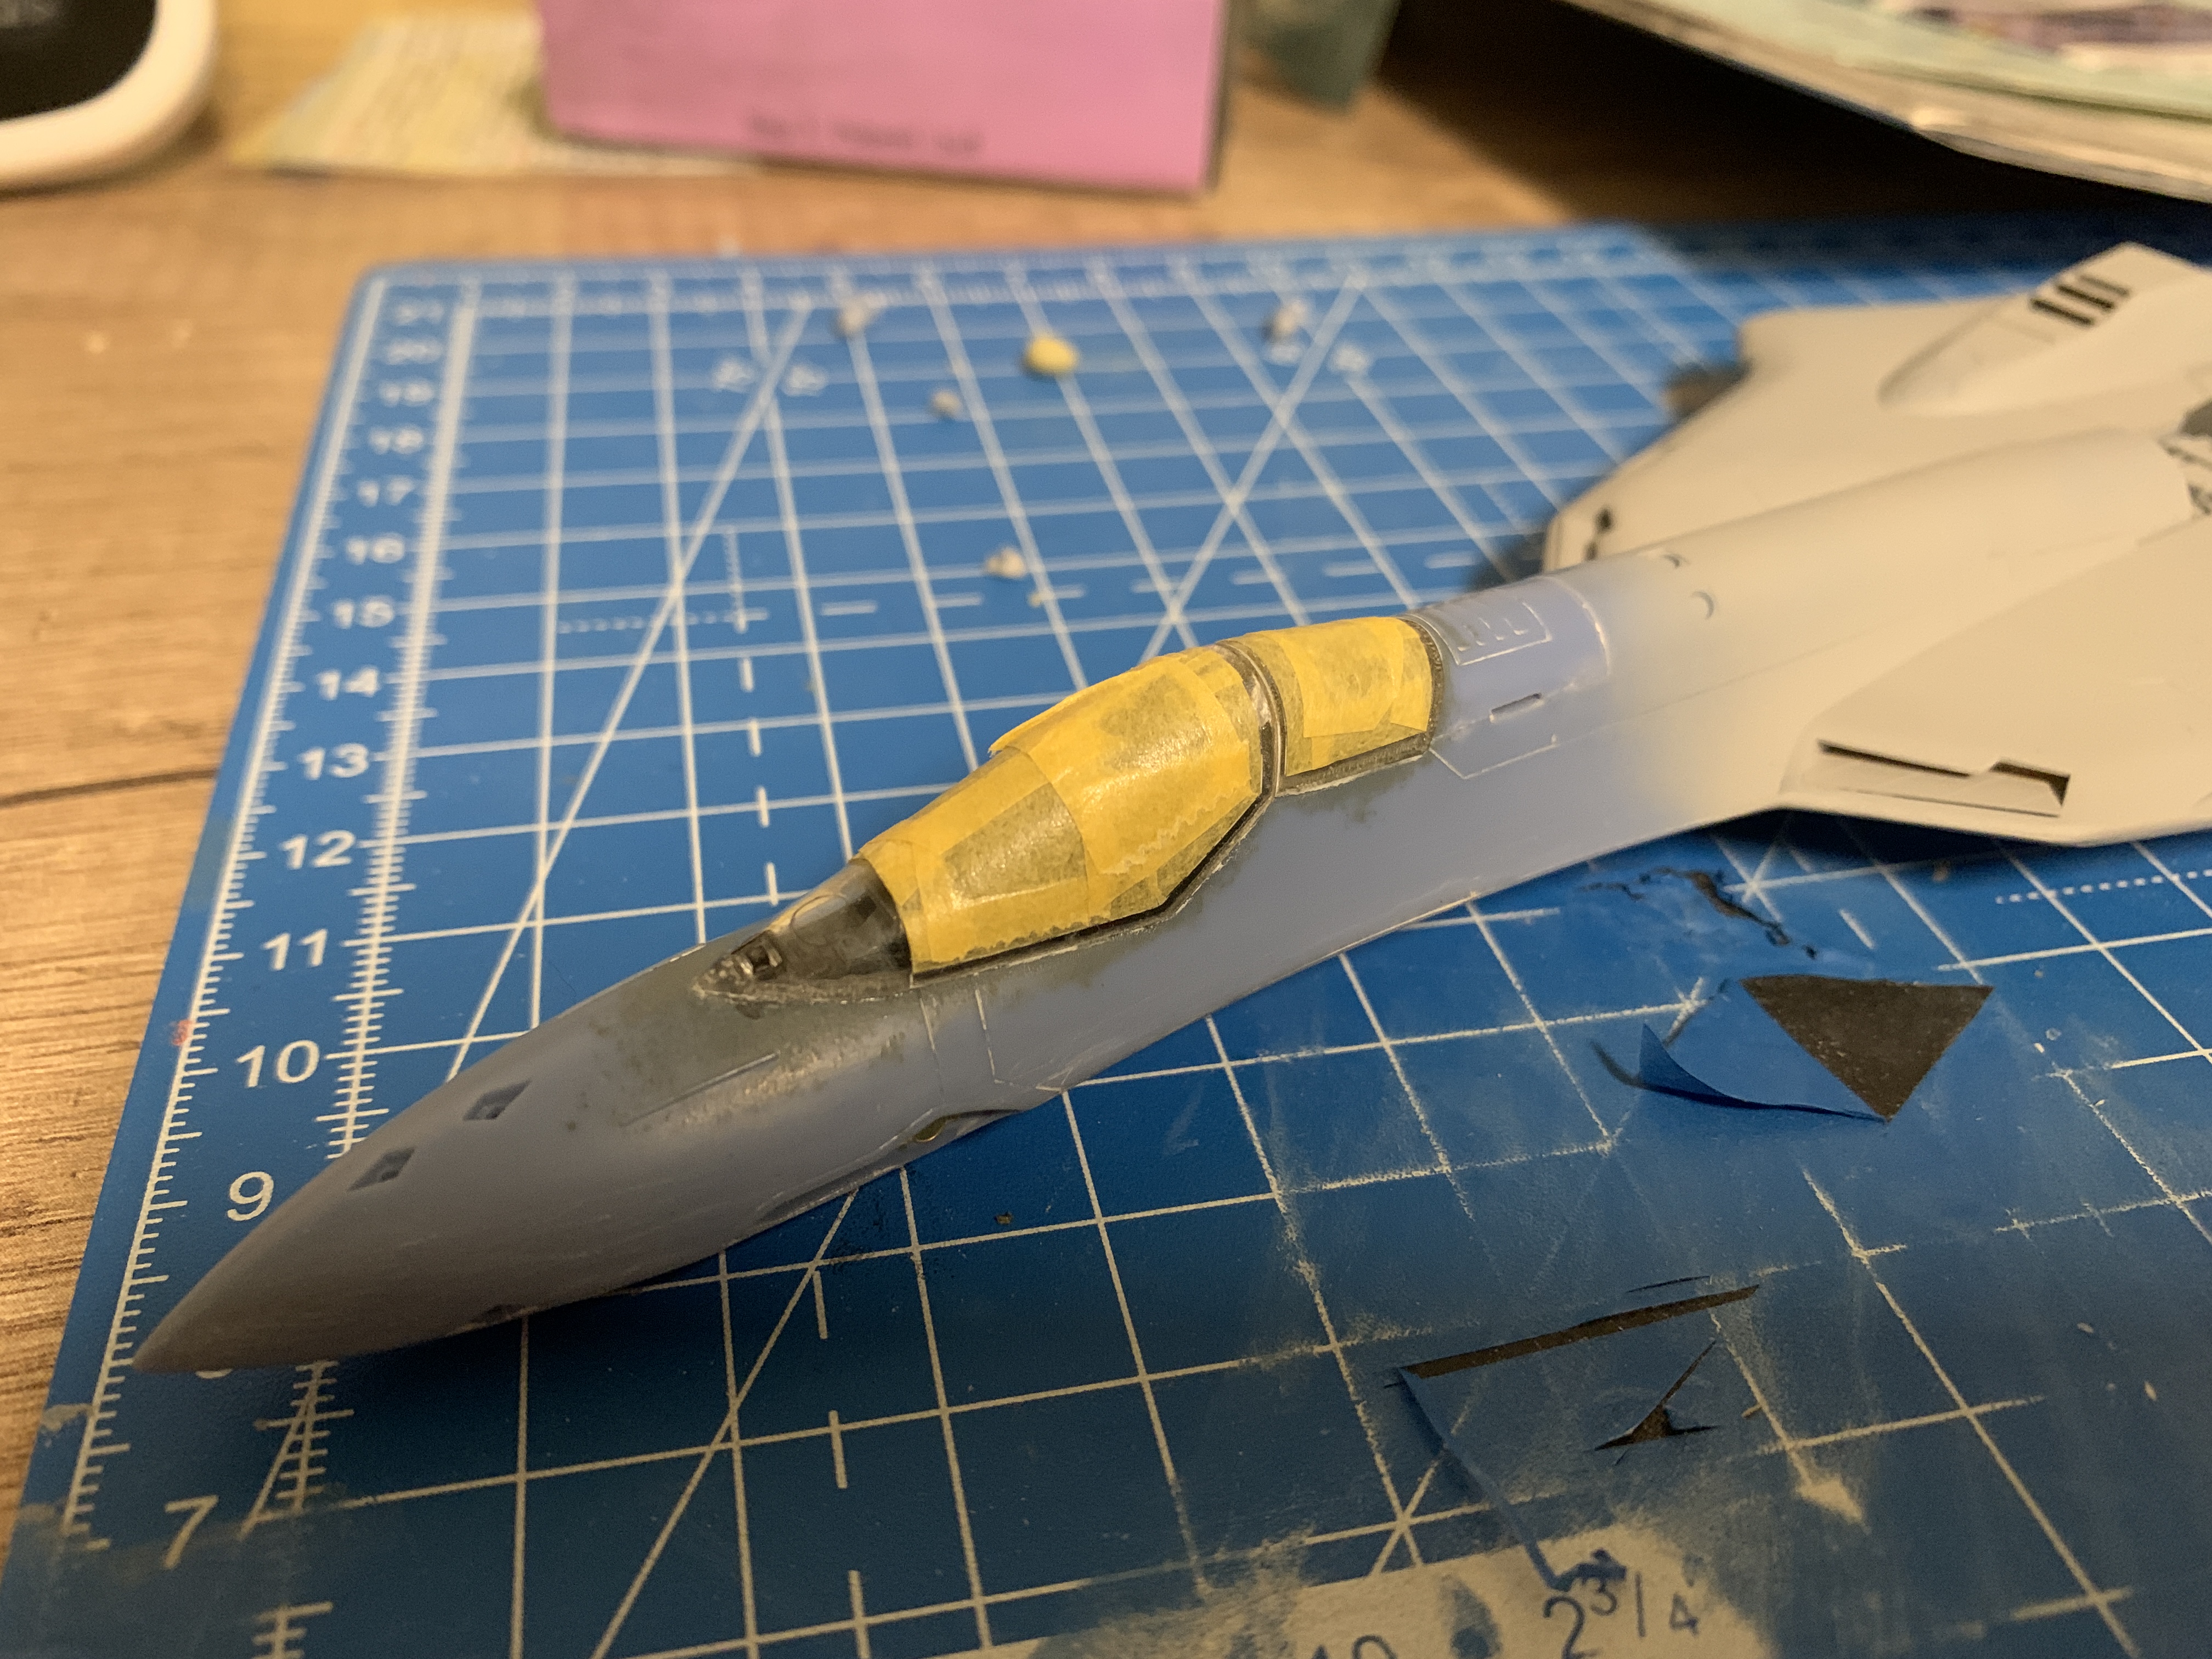
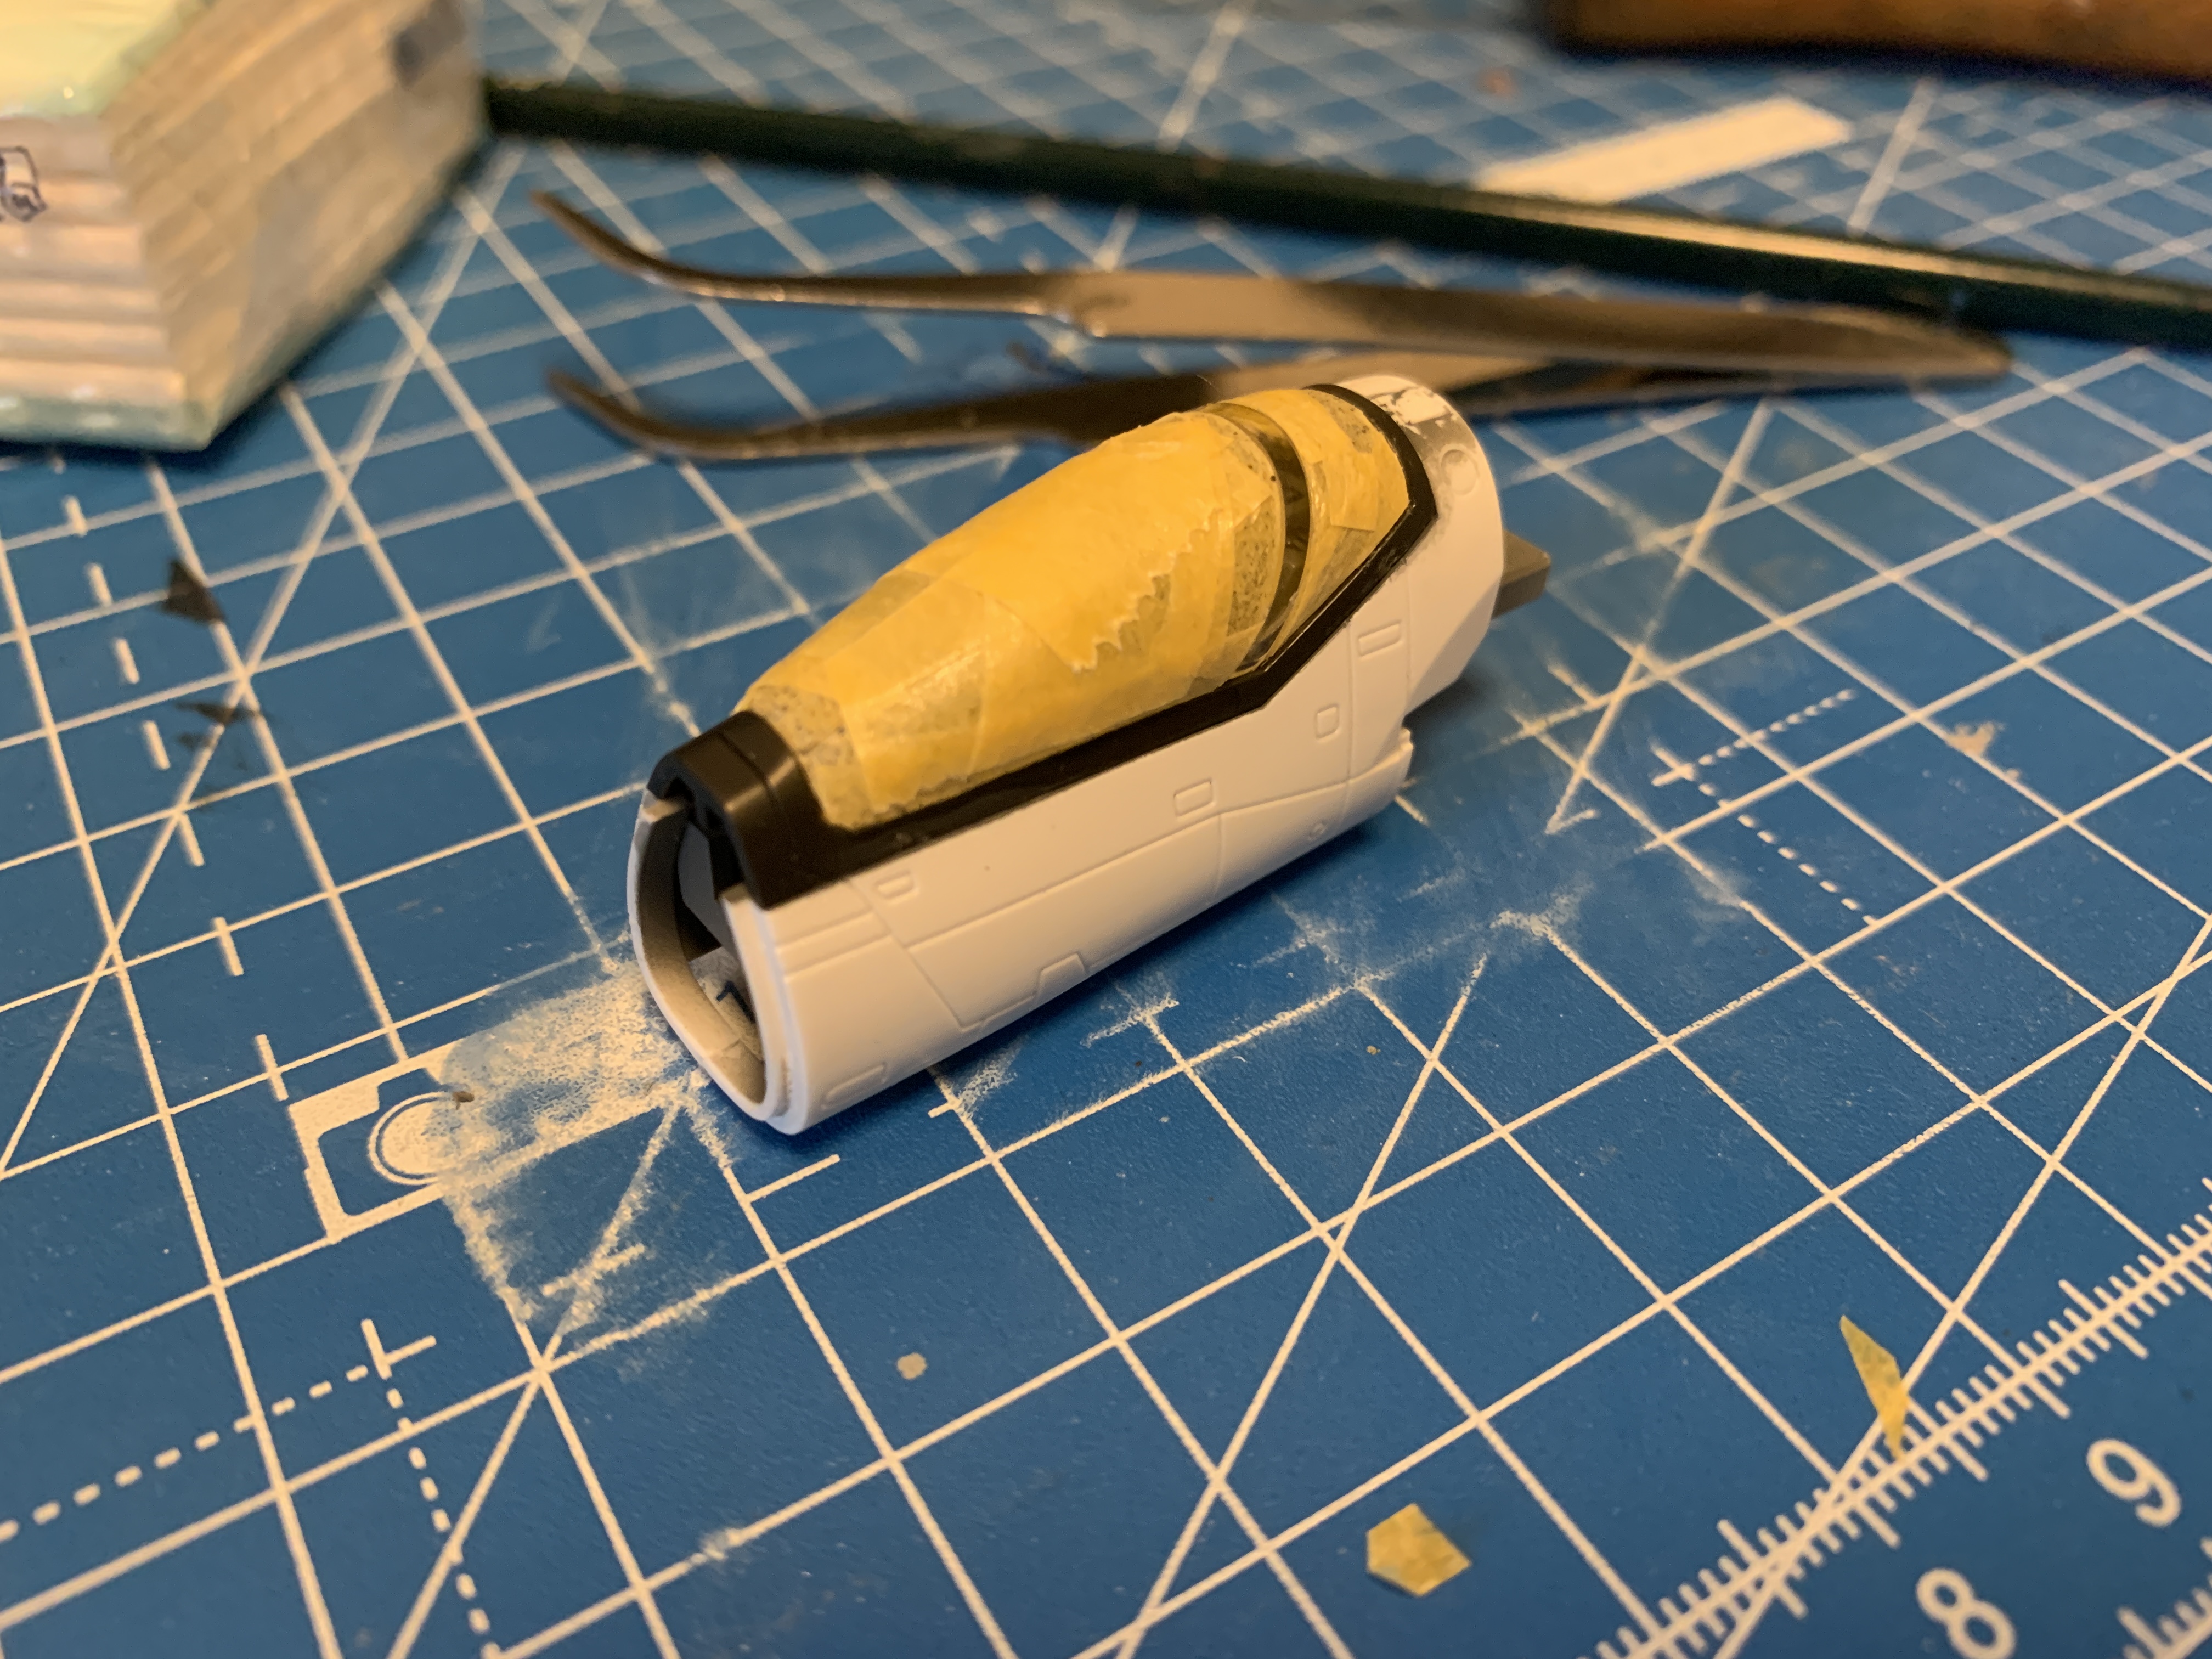
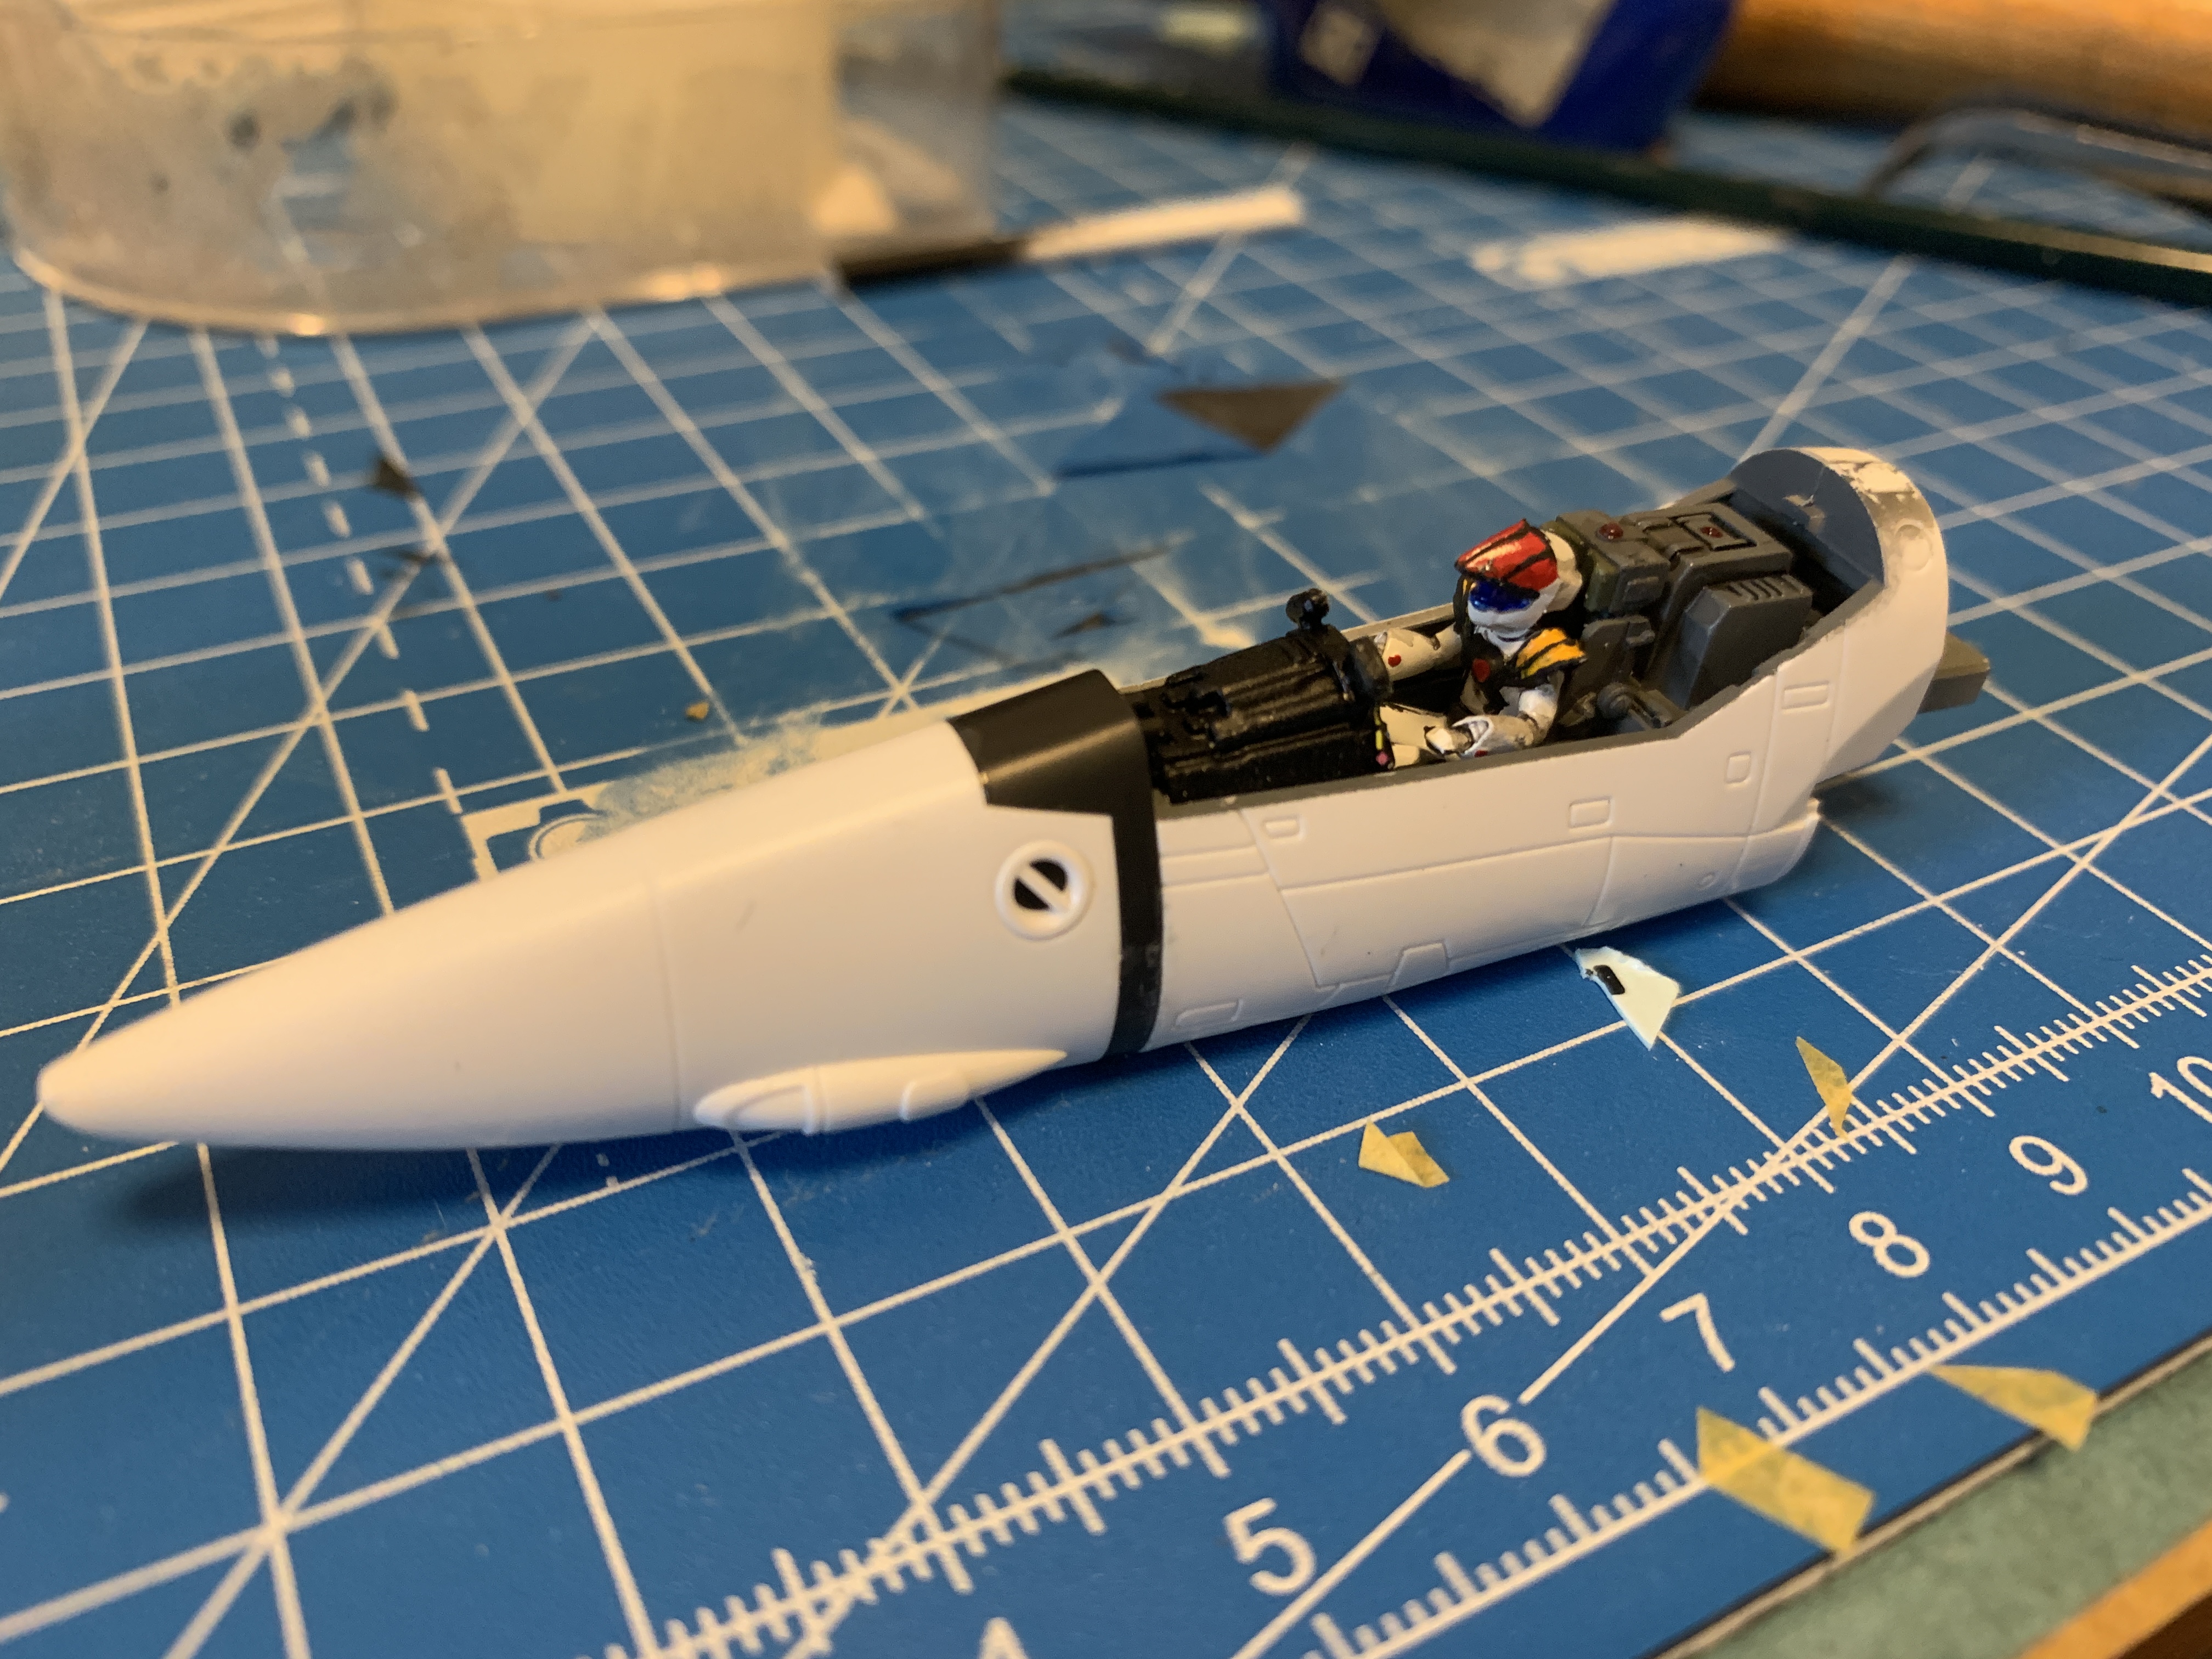
So much nice stuff on the thread. I cannot comment it all Little progress today. Mostly putty and sanding. Really small application of milliput on some small gap of the plamax vf-1. When I accidentally spilled tamiya extra thin cement on my cutting mat, it actually hit my vf-19a as well. Unfortunately, the canopy. On top of that, I touched it with my finger. so, lets see how we can get this nice and shiny again. Sandpaper grid 320 first. Then grid 600 sanding sponge. Looks worse than before hahaha. Then 1500 sanding sponge. Looks semi gloss now. After sanding with 2000 sanding sponge, I started polishing with special polishing paste. Almost as good as new! If you are super cheap and need decent polishing paste, I‘d recommend tooth paste. I use the same stuff to polish away scratches from CDs. Works miracles! And then, canopy masking time! canopy masking is an art form XD I did some more sanding here and there, as well as re-scribing panel lines on the VF-1, the VF-19A and the X-29. Having so much kits in queue at once always feels fun due to the mix and variety. Going to finish priming on the VF-19A and the X-29 soon, and then it will be color coat time.

-
Well, they have different colored spures and so on, but it is mostly just white. The decals will not do much though.
-
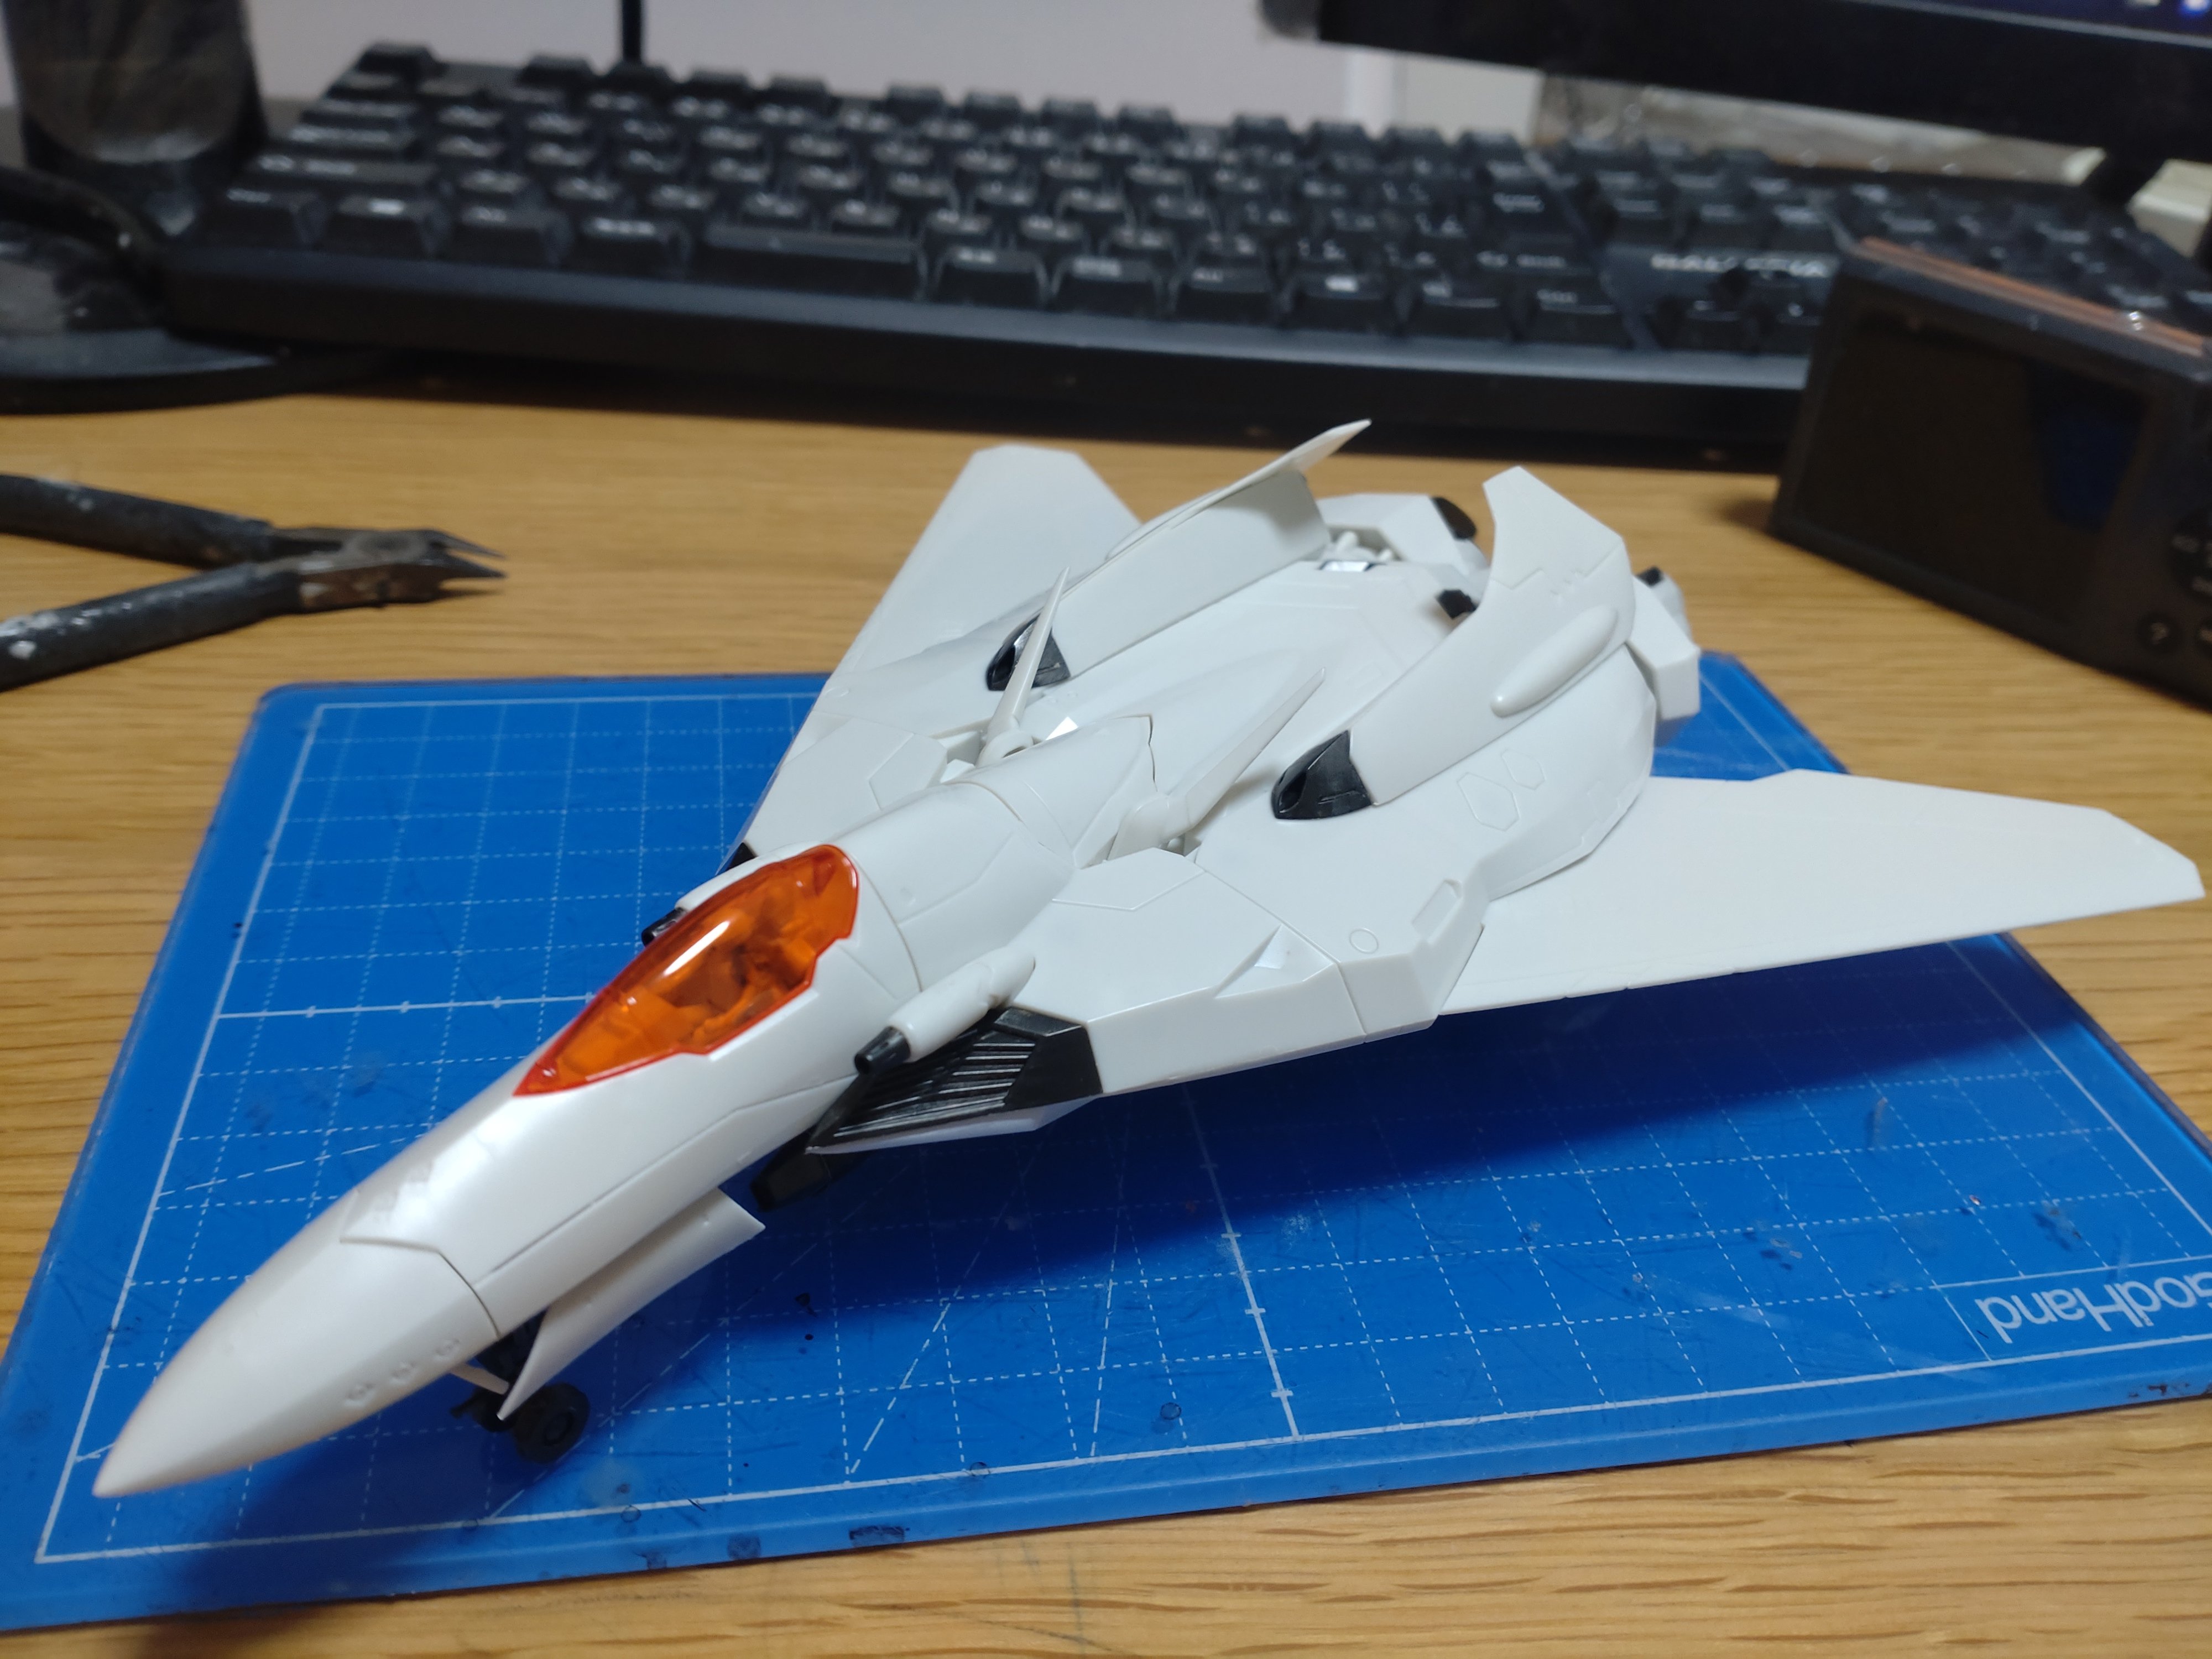
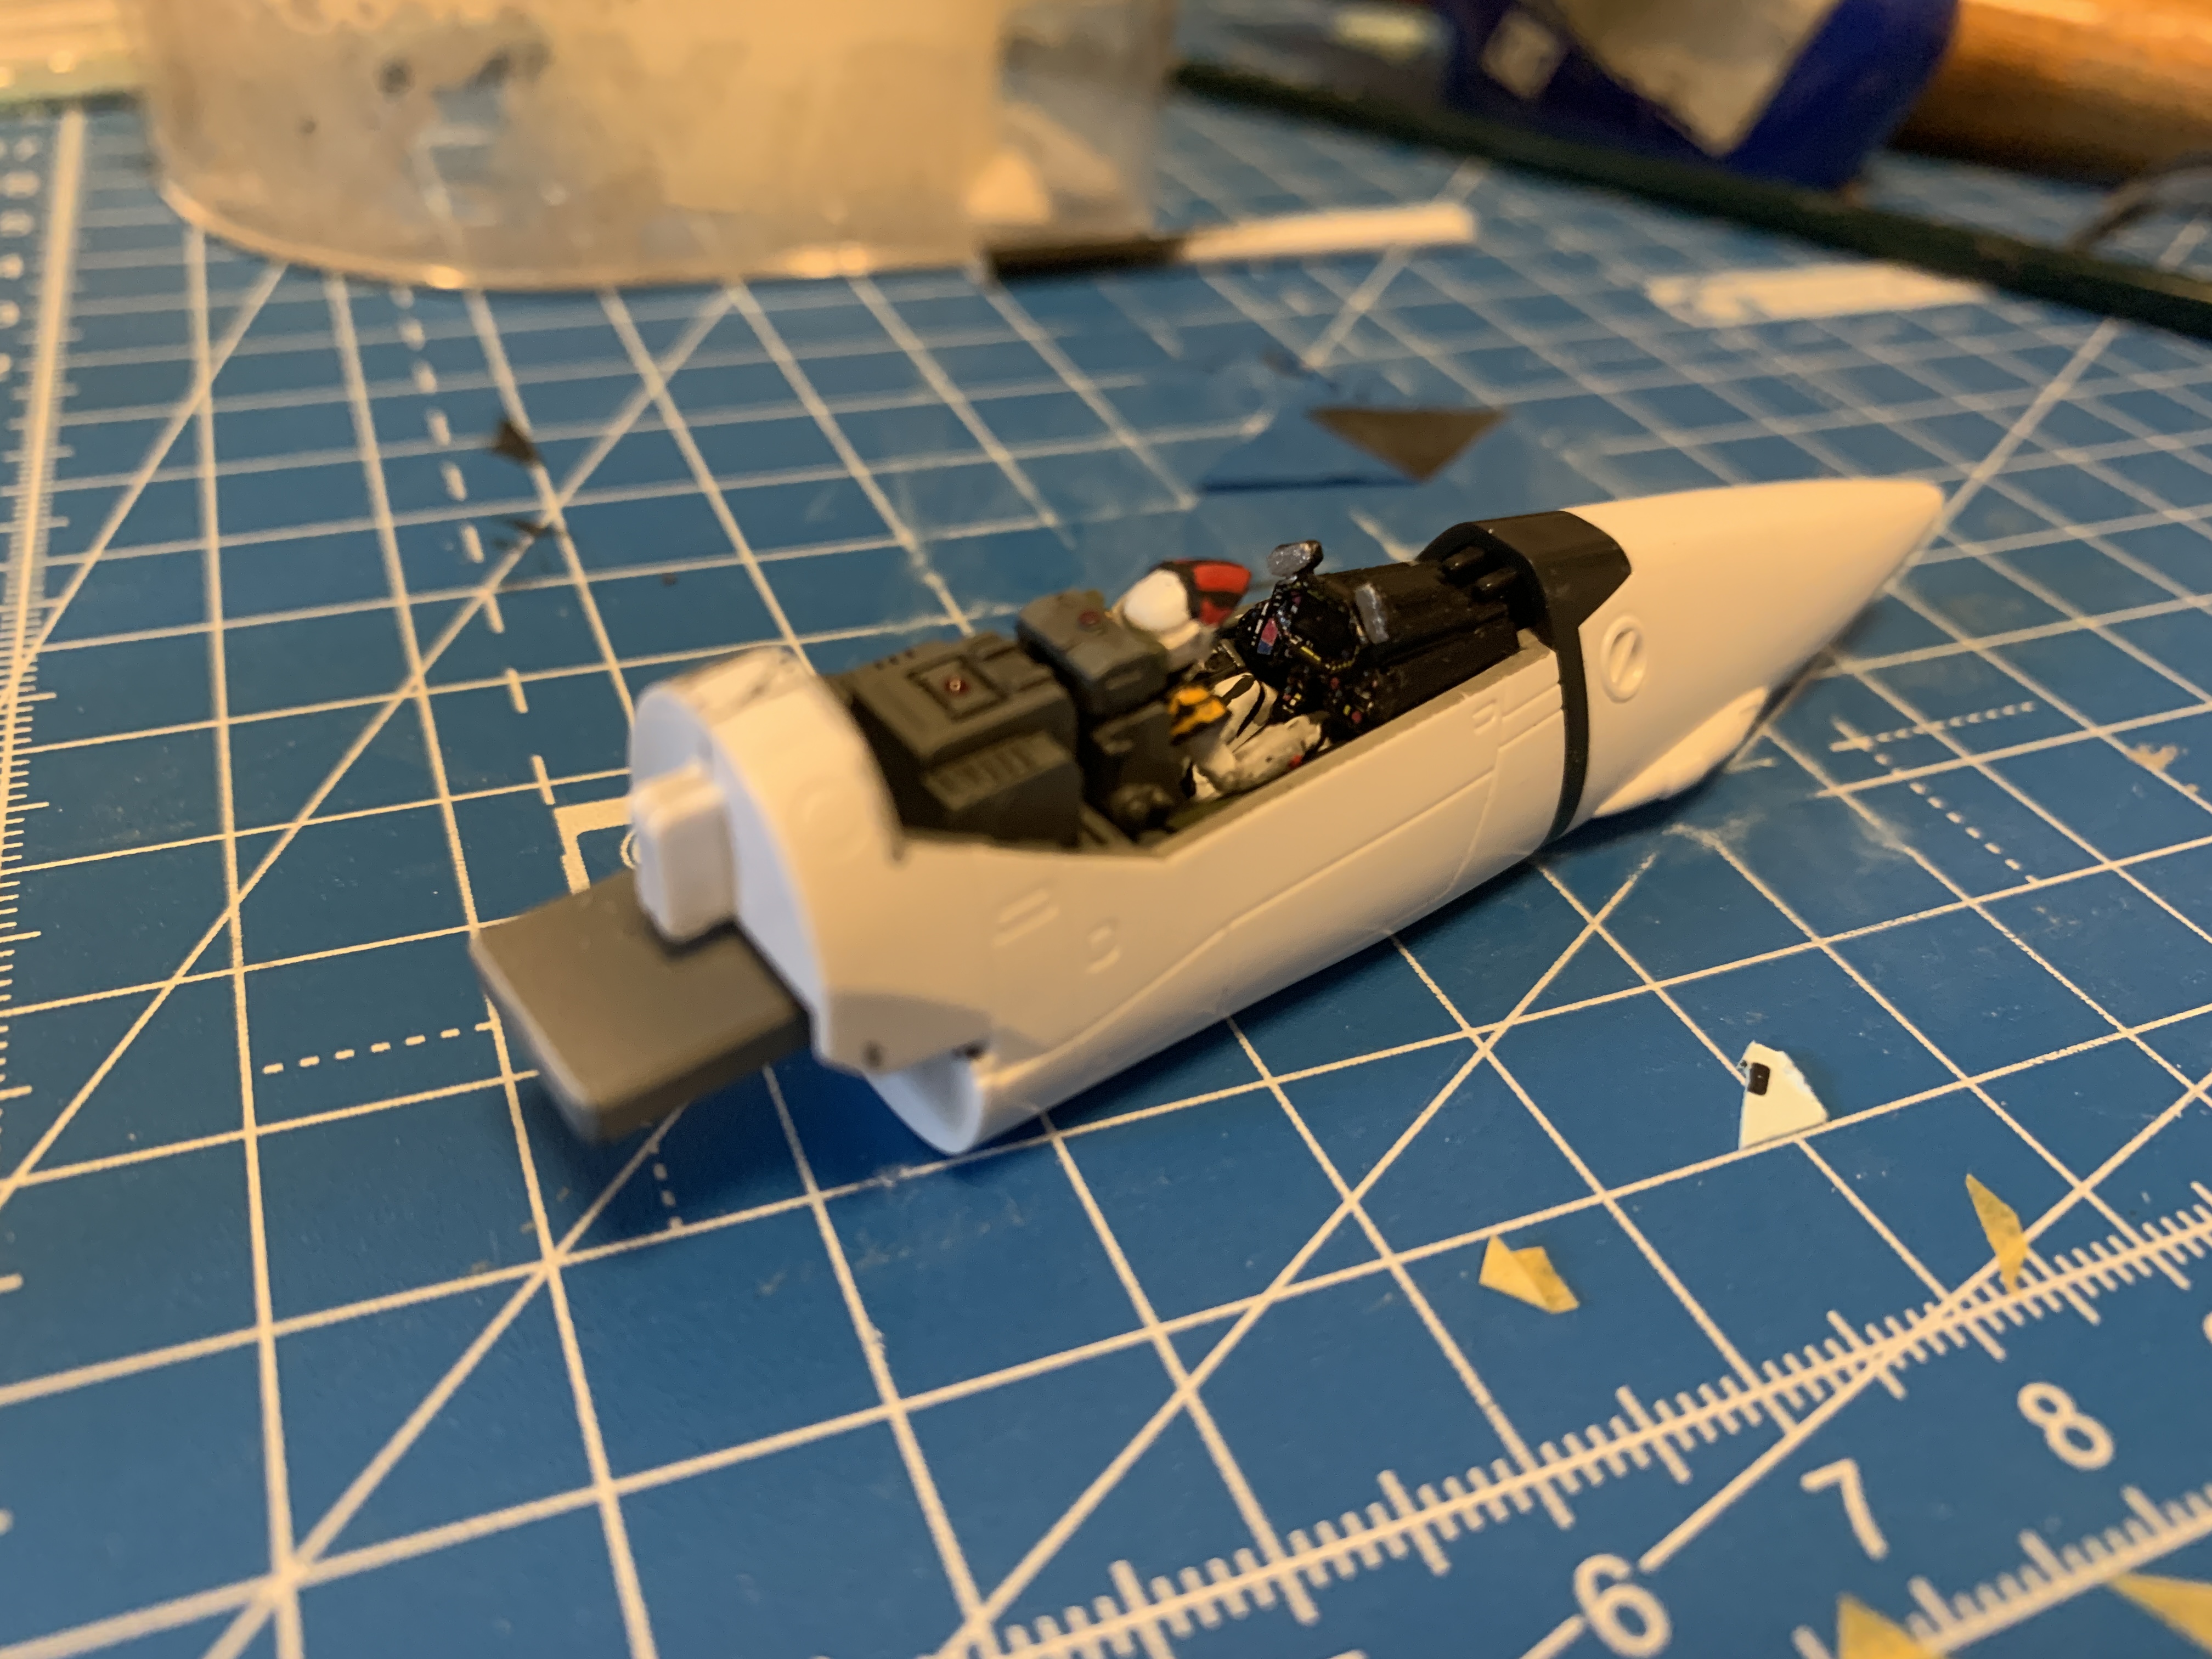
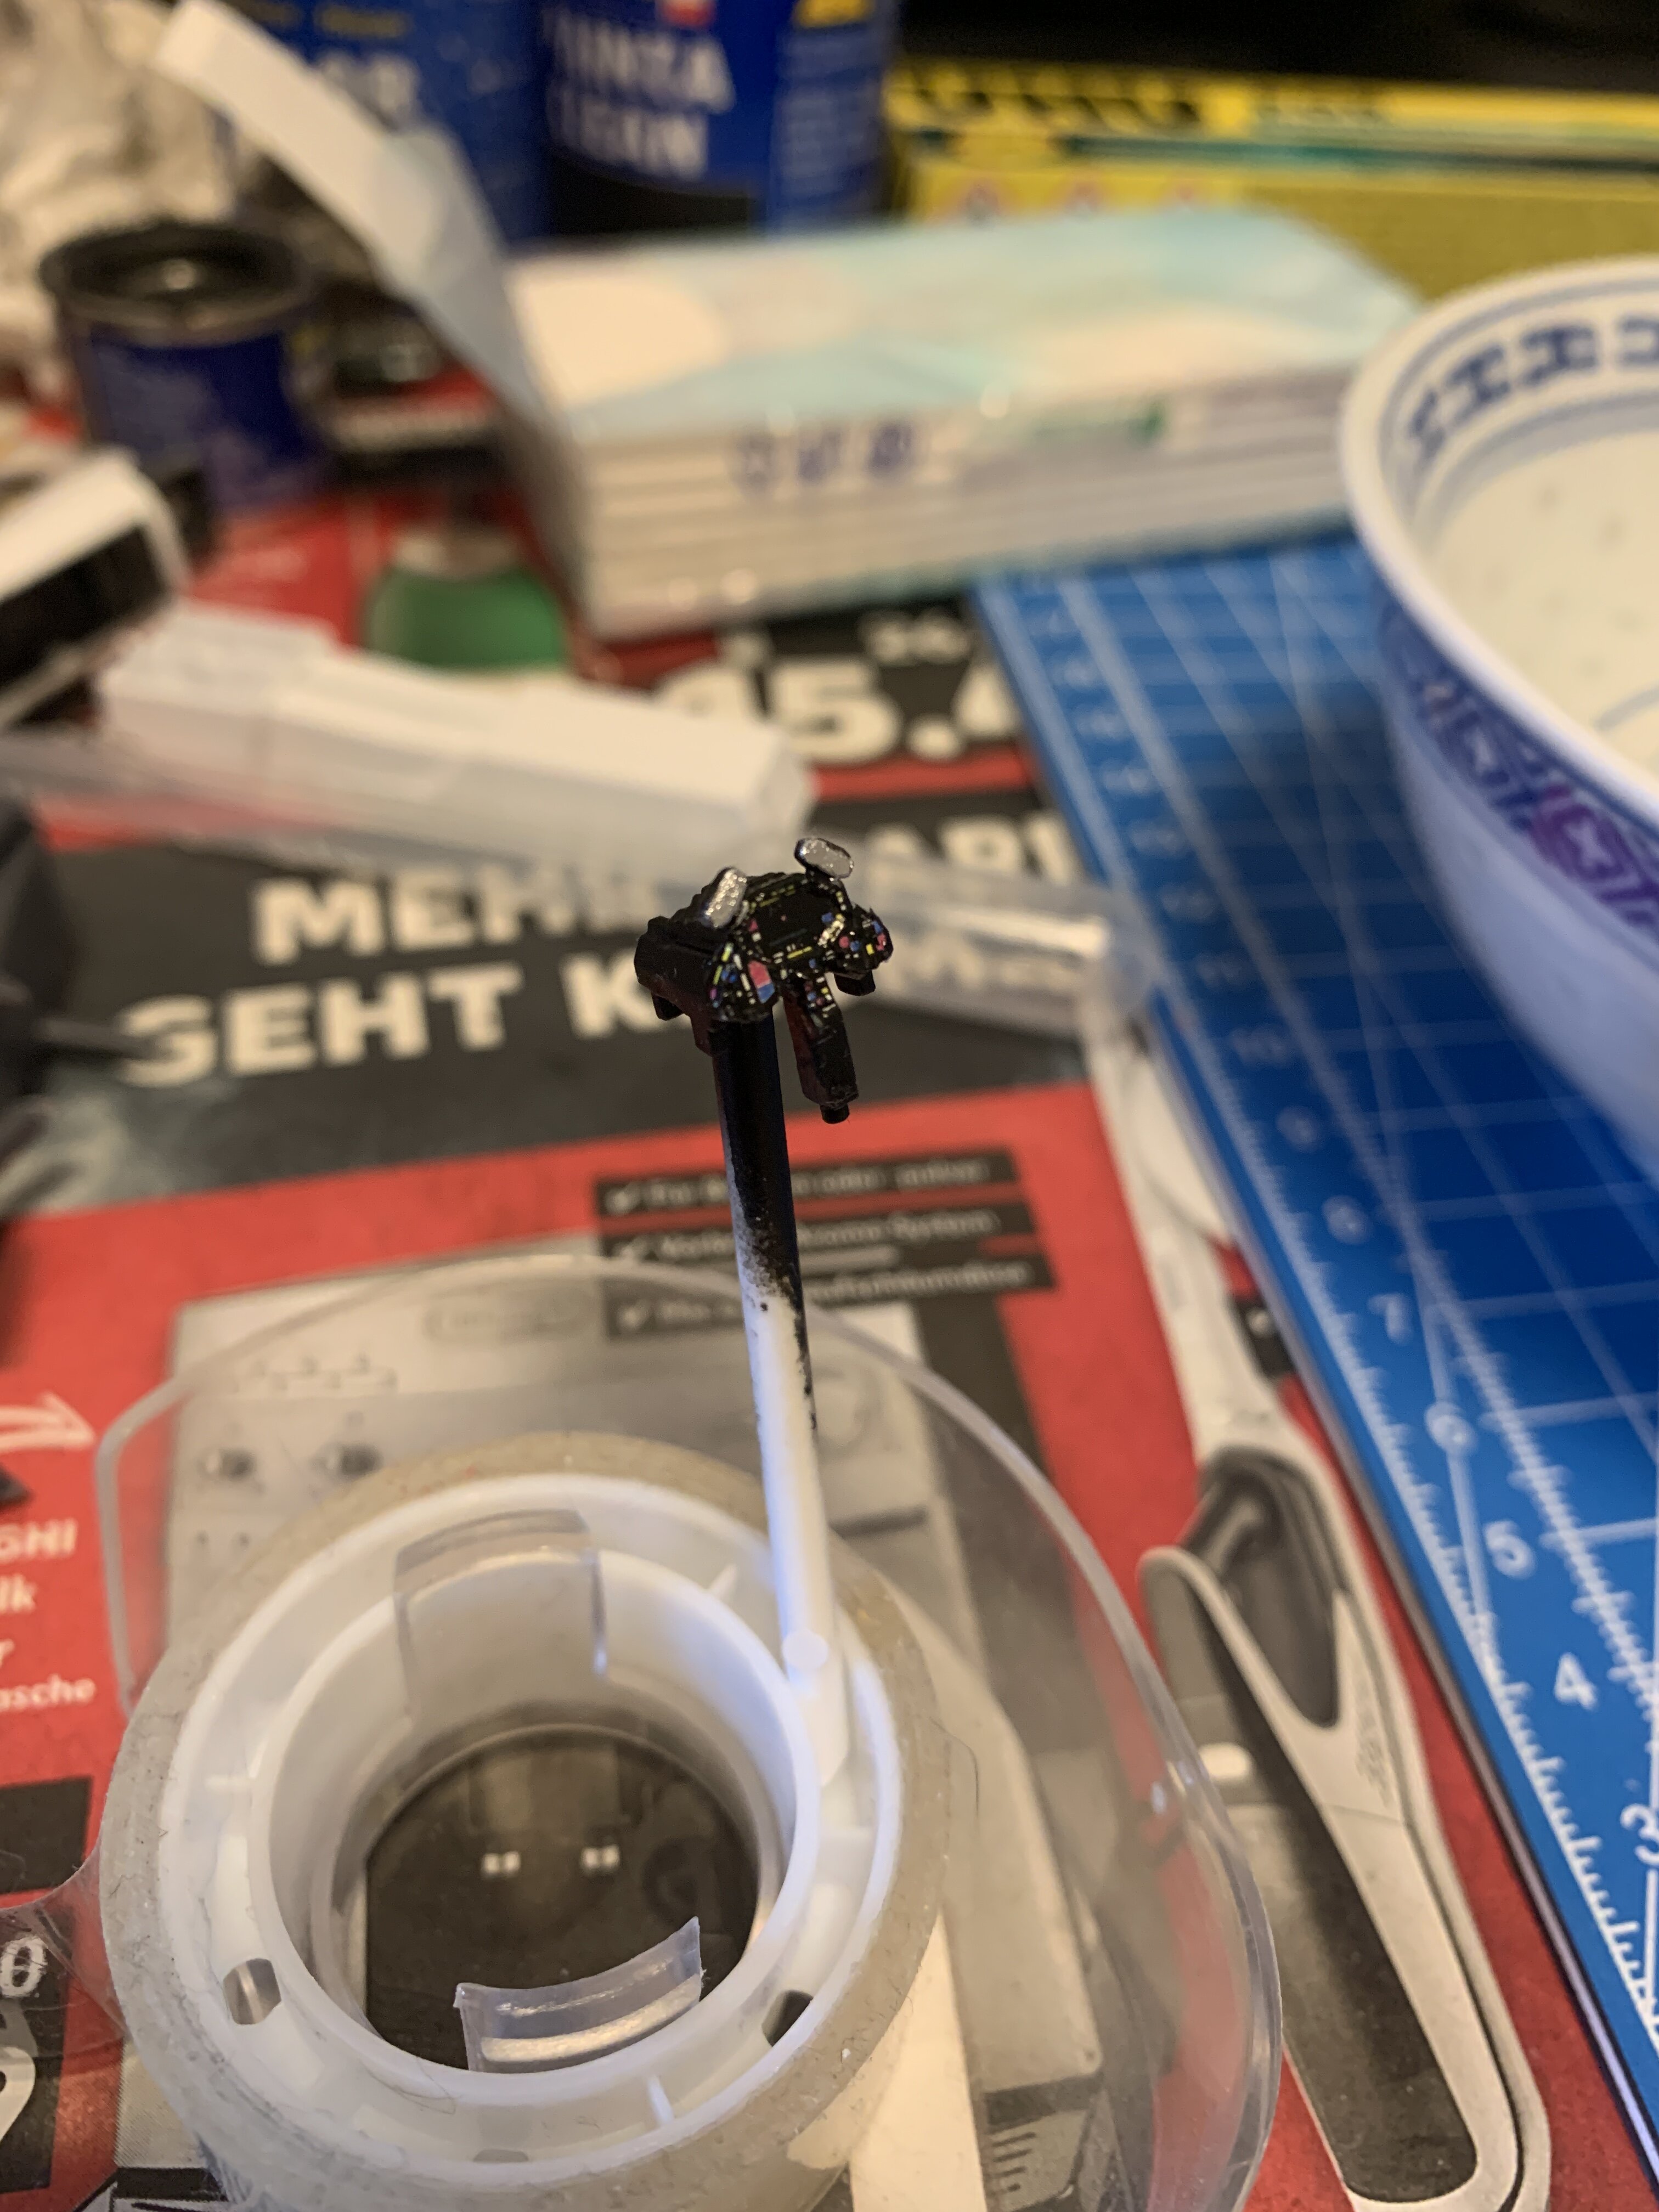
Build log Number 357998 The reprinted Hasegawa decals fit well with the plamax kit. Finished up the cockpit and masked it for priming. then prime time next will be checking for seams and missed gaps, then filling and sanding, and then priming again
-
Fair haha - yeah, roy is pushing the valks like crazy.
-
Such a dirty VF-1... to the car wash! haha! Nice build though
-
Time to learn japanese then XD
-
He scratch built it. Just check the twitter feed
-
Not sure what inch sizes they are because I life in a metric country Mine are are around 6ish centimetres (which ist around 2.4 inch.
-
Bandai is even so nice to provide both, sometimes. I had stickers and decals in my MG RX-78-2.
-
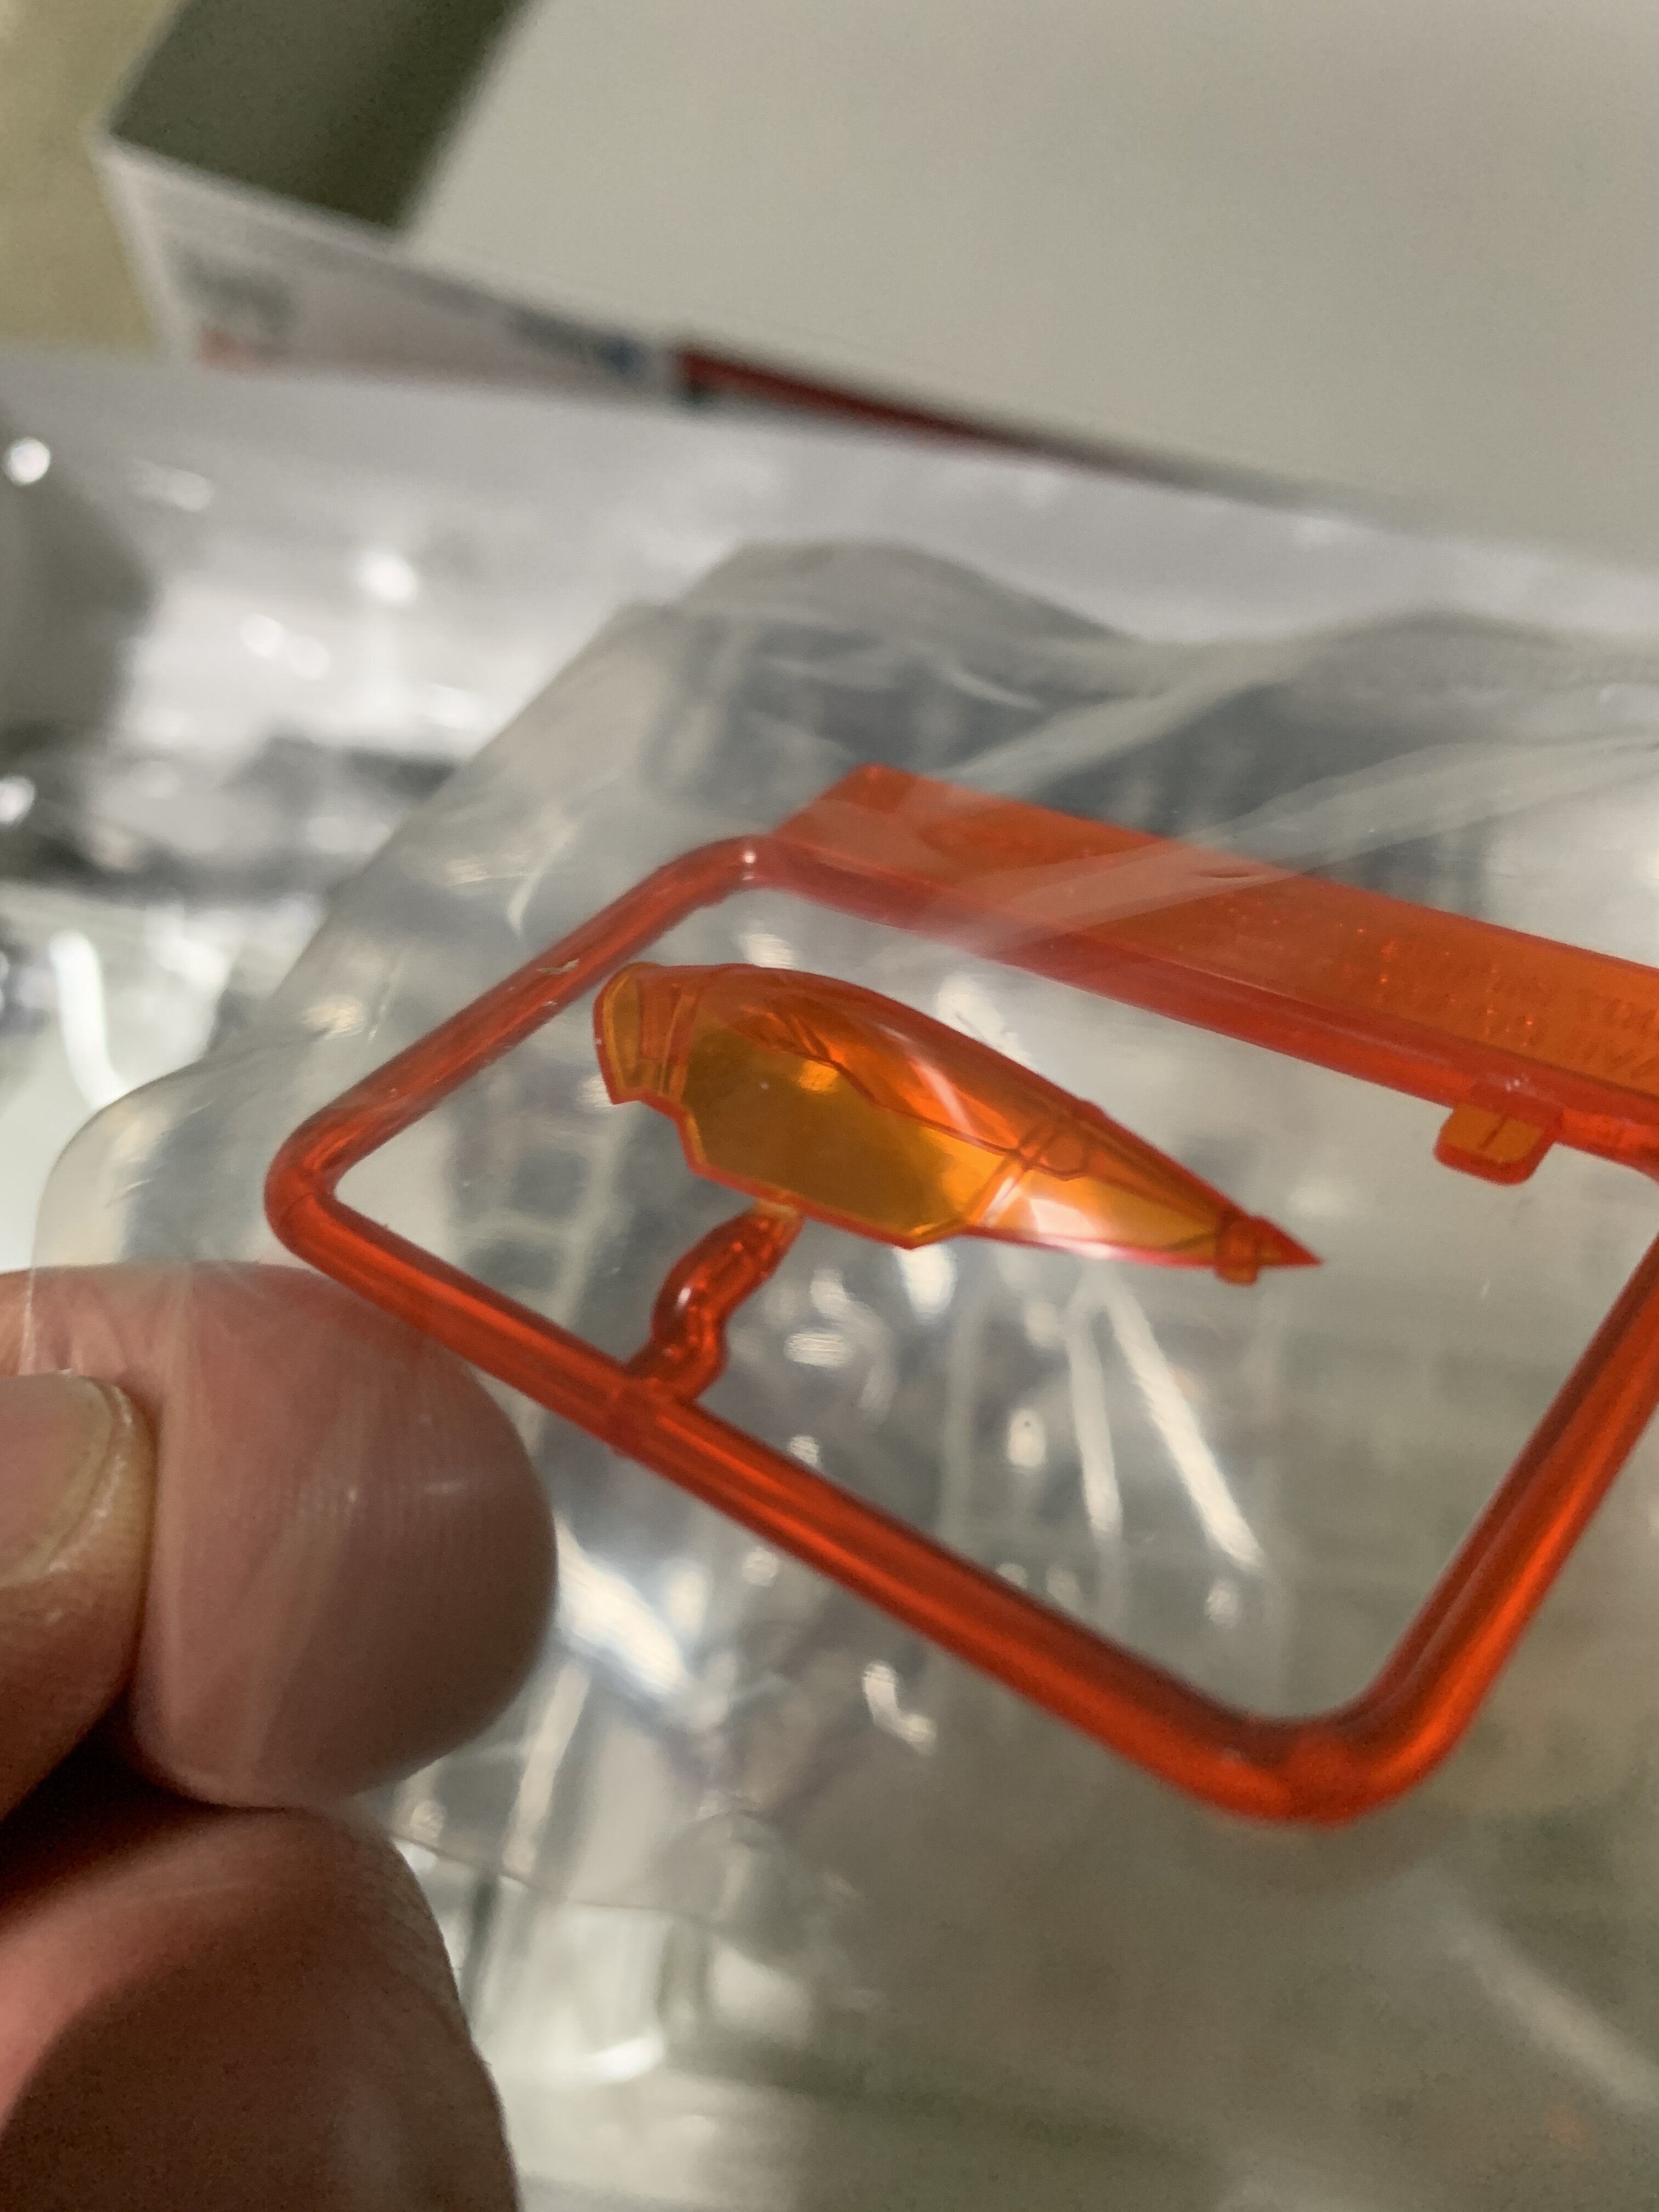
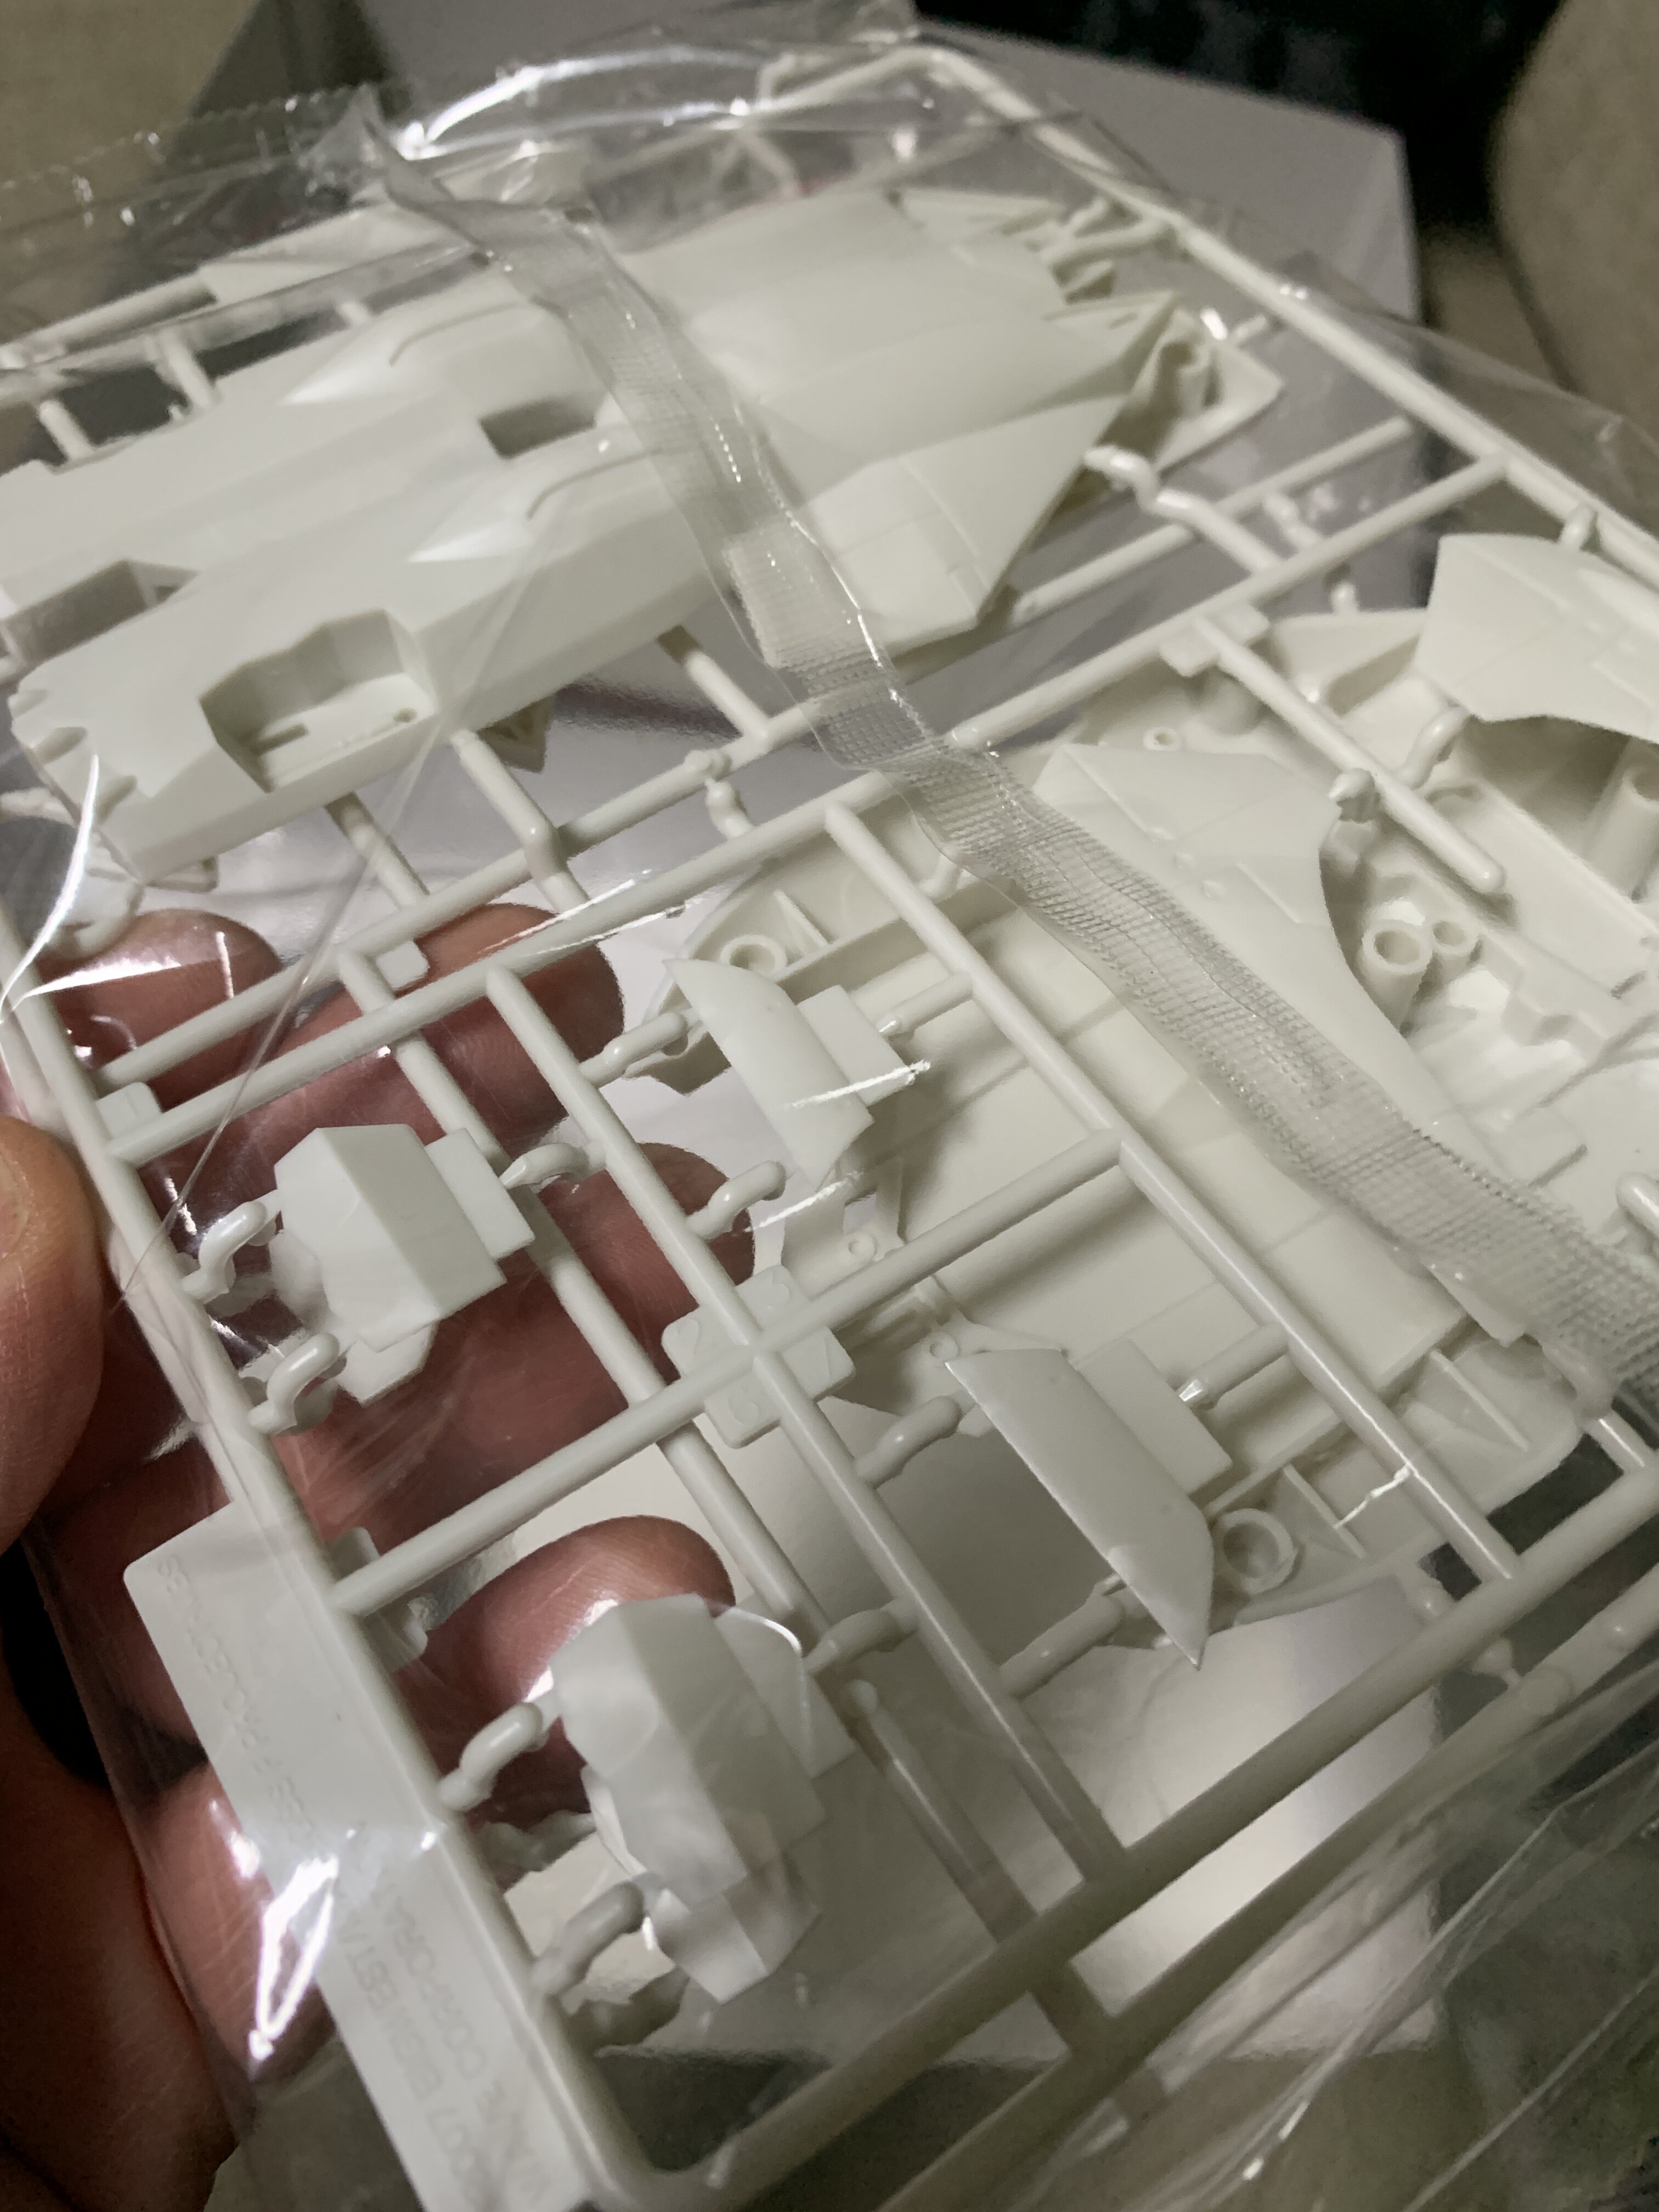
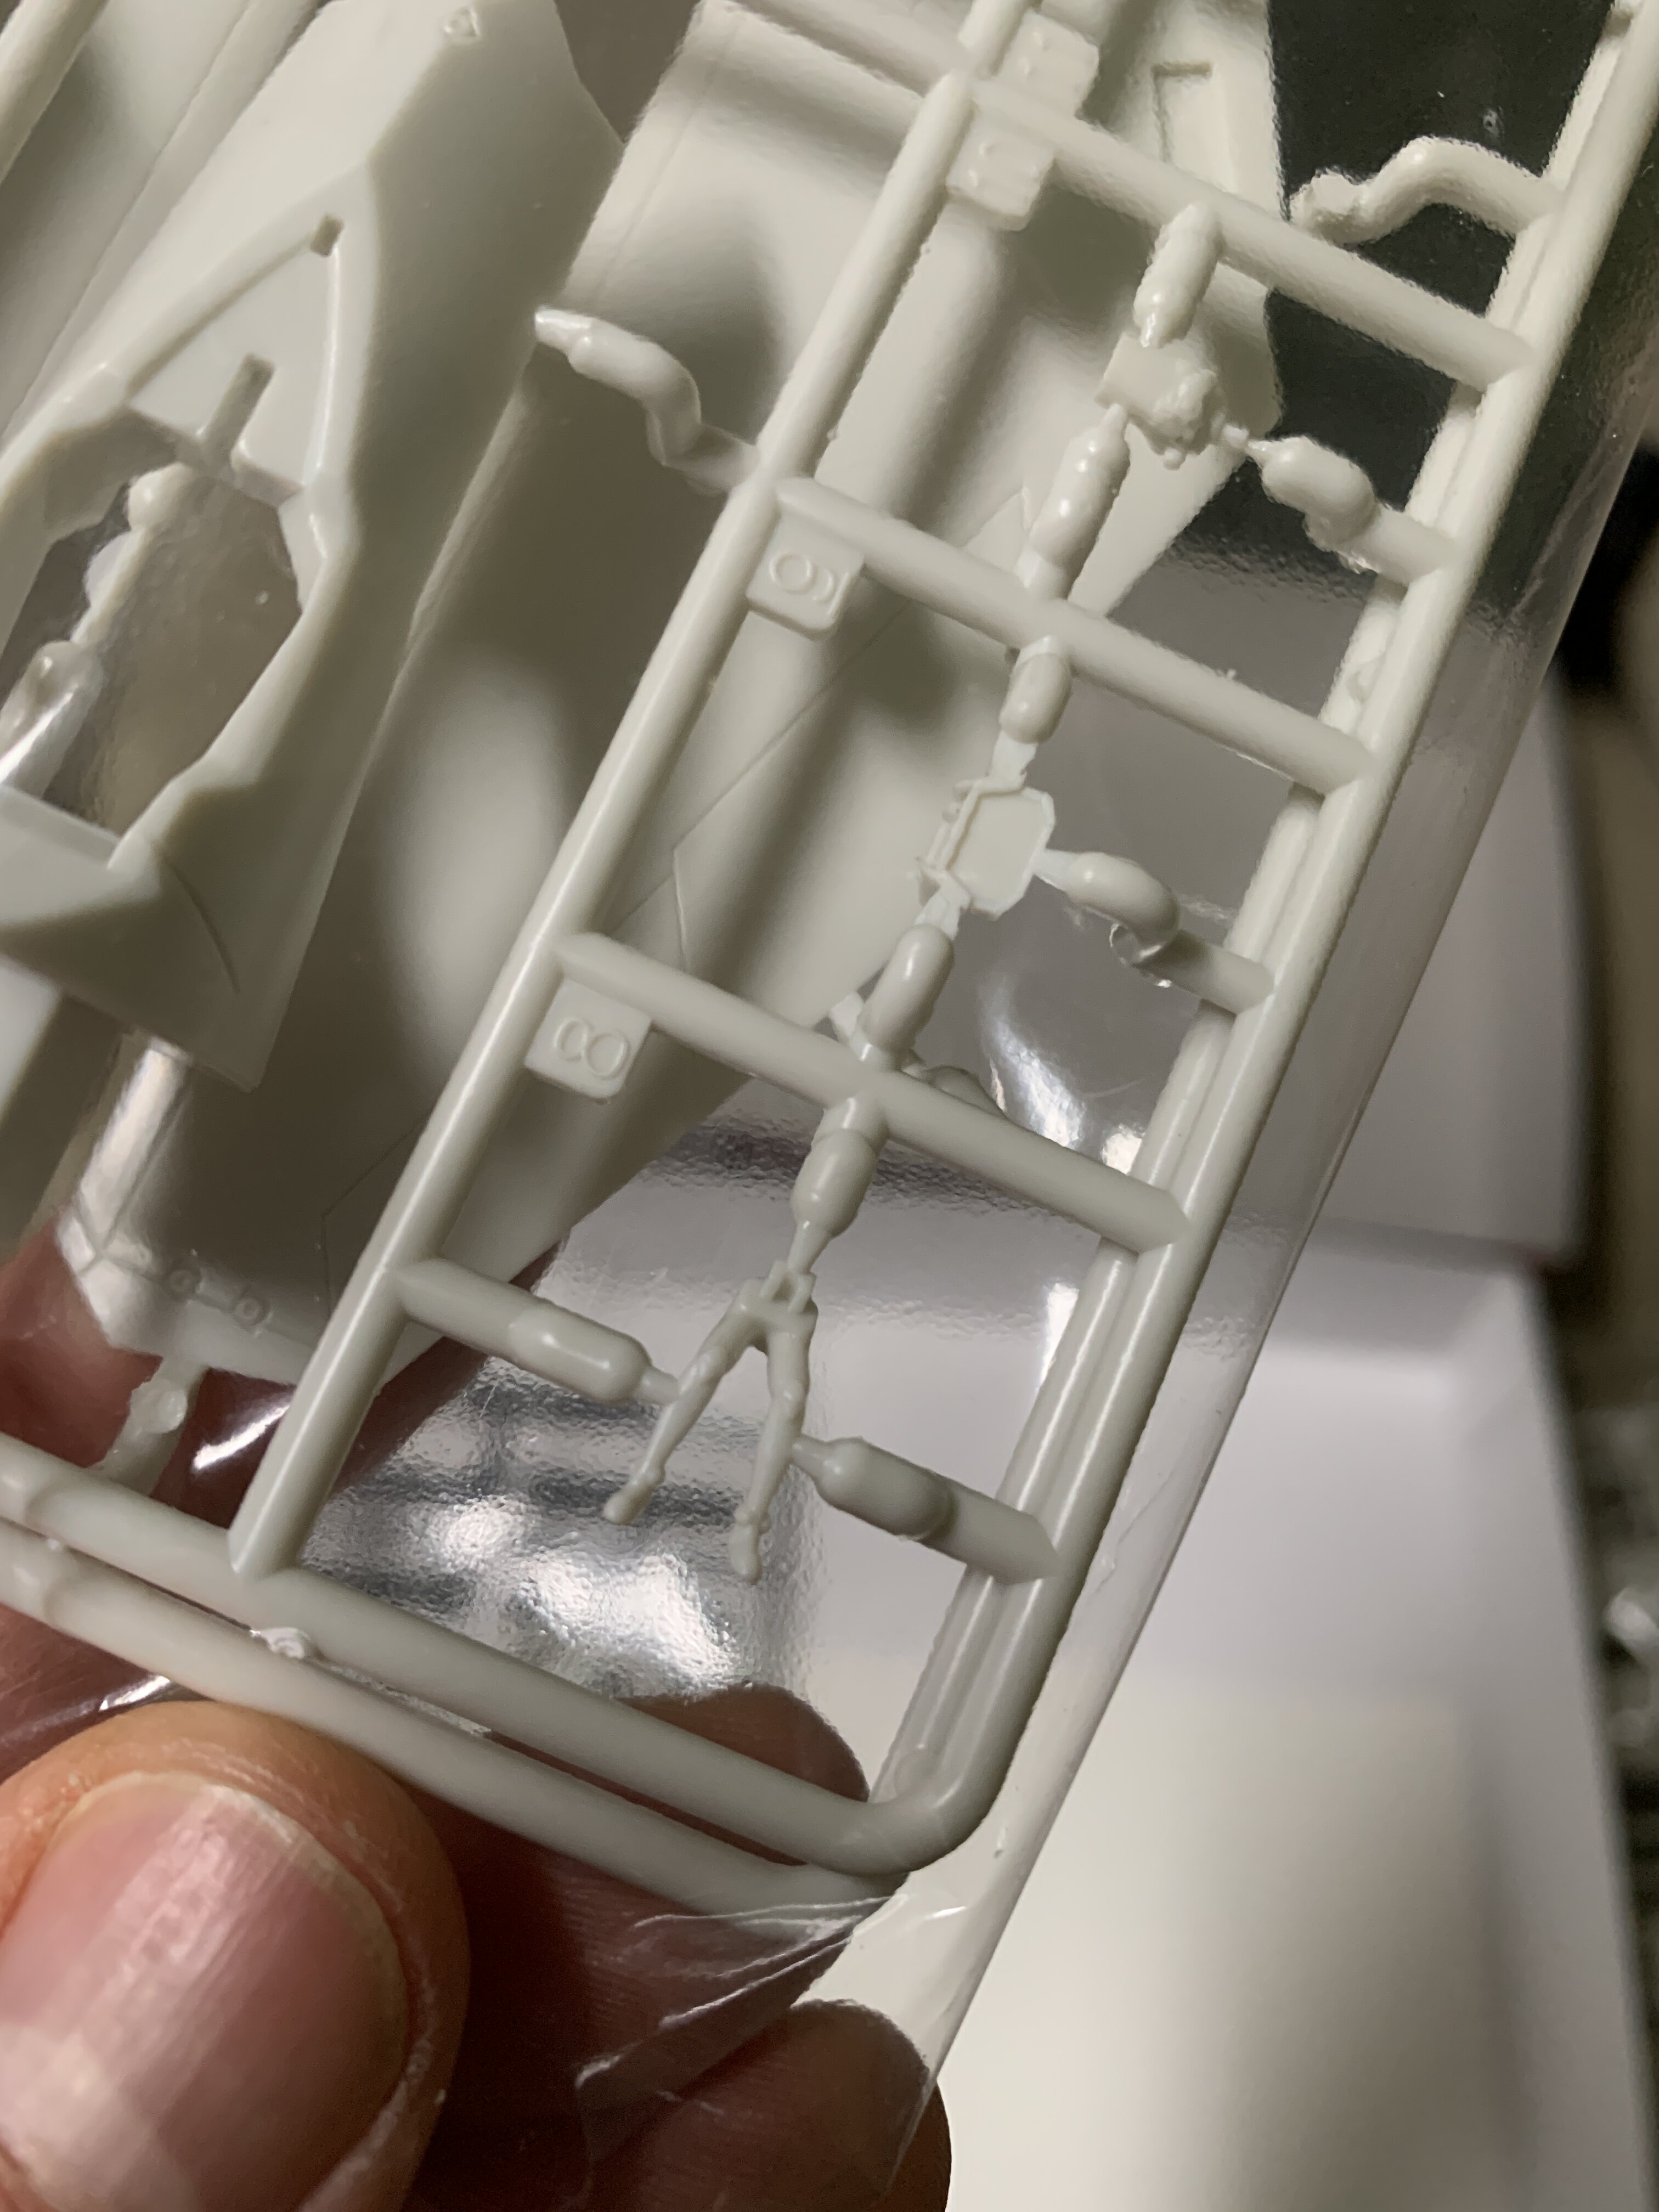
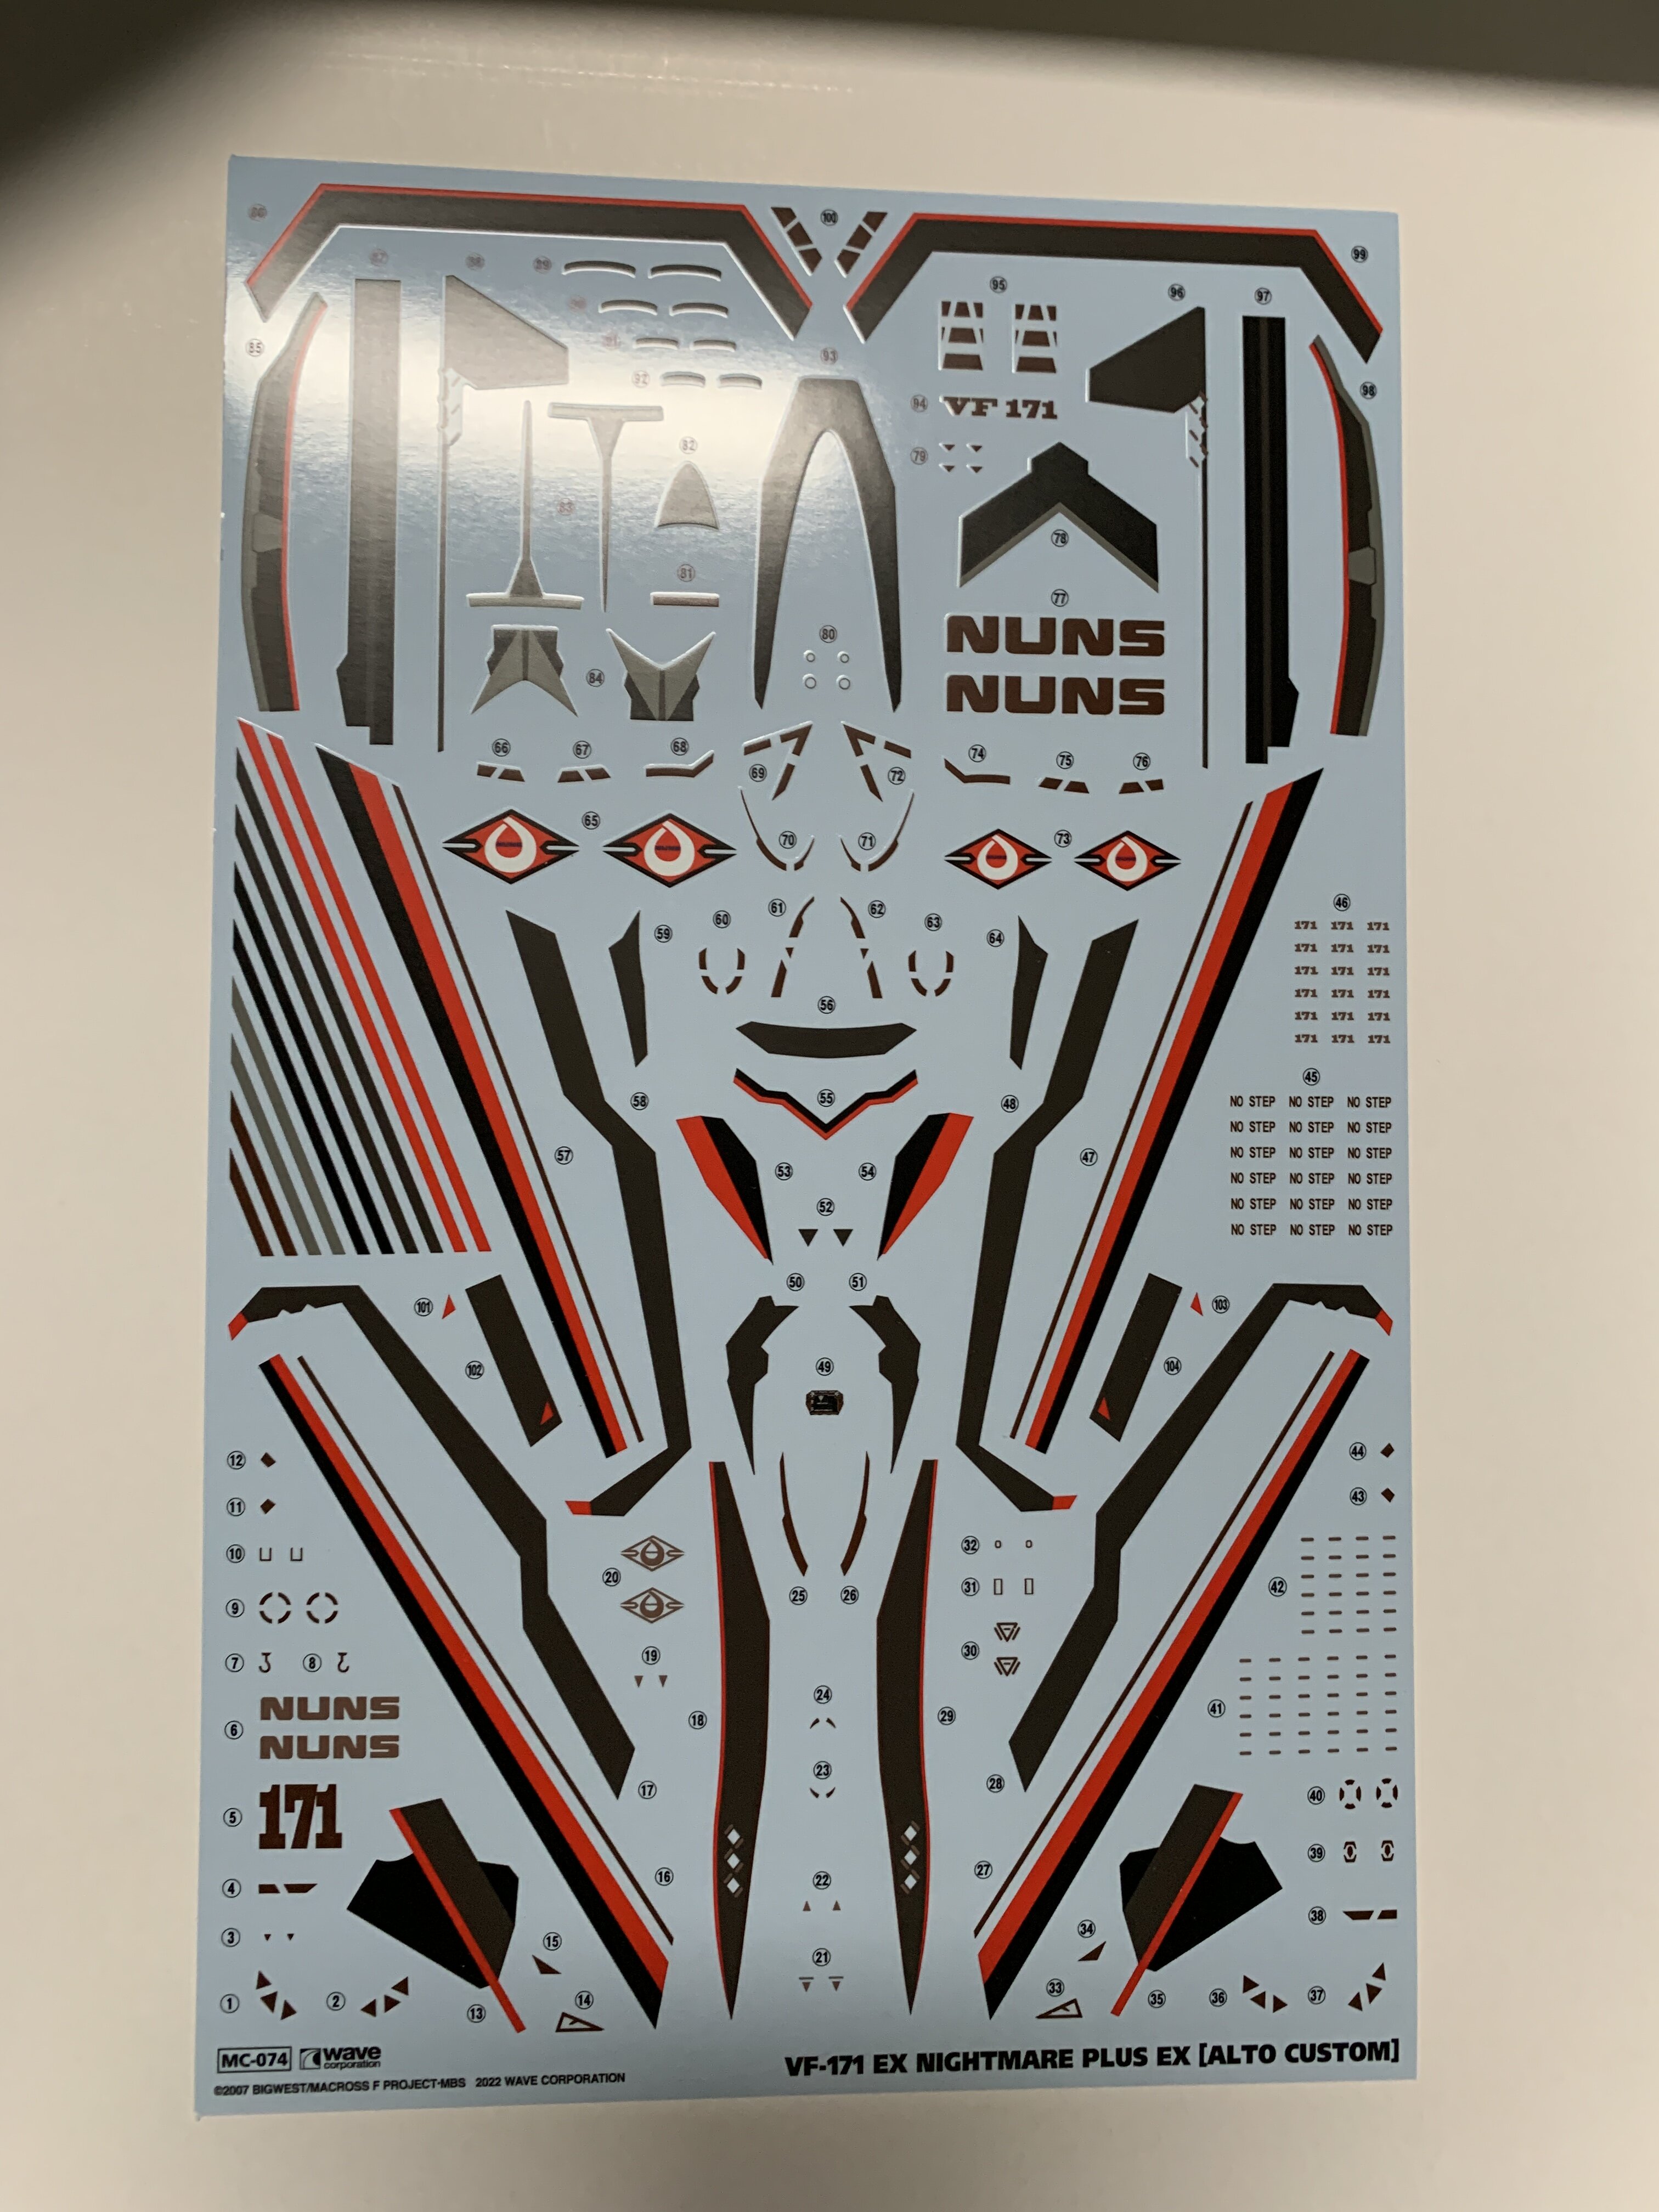
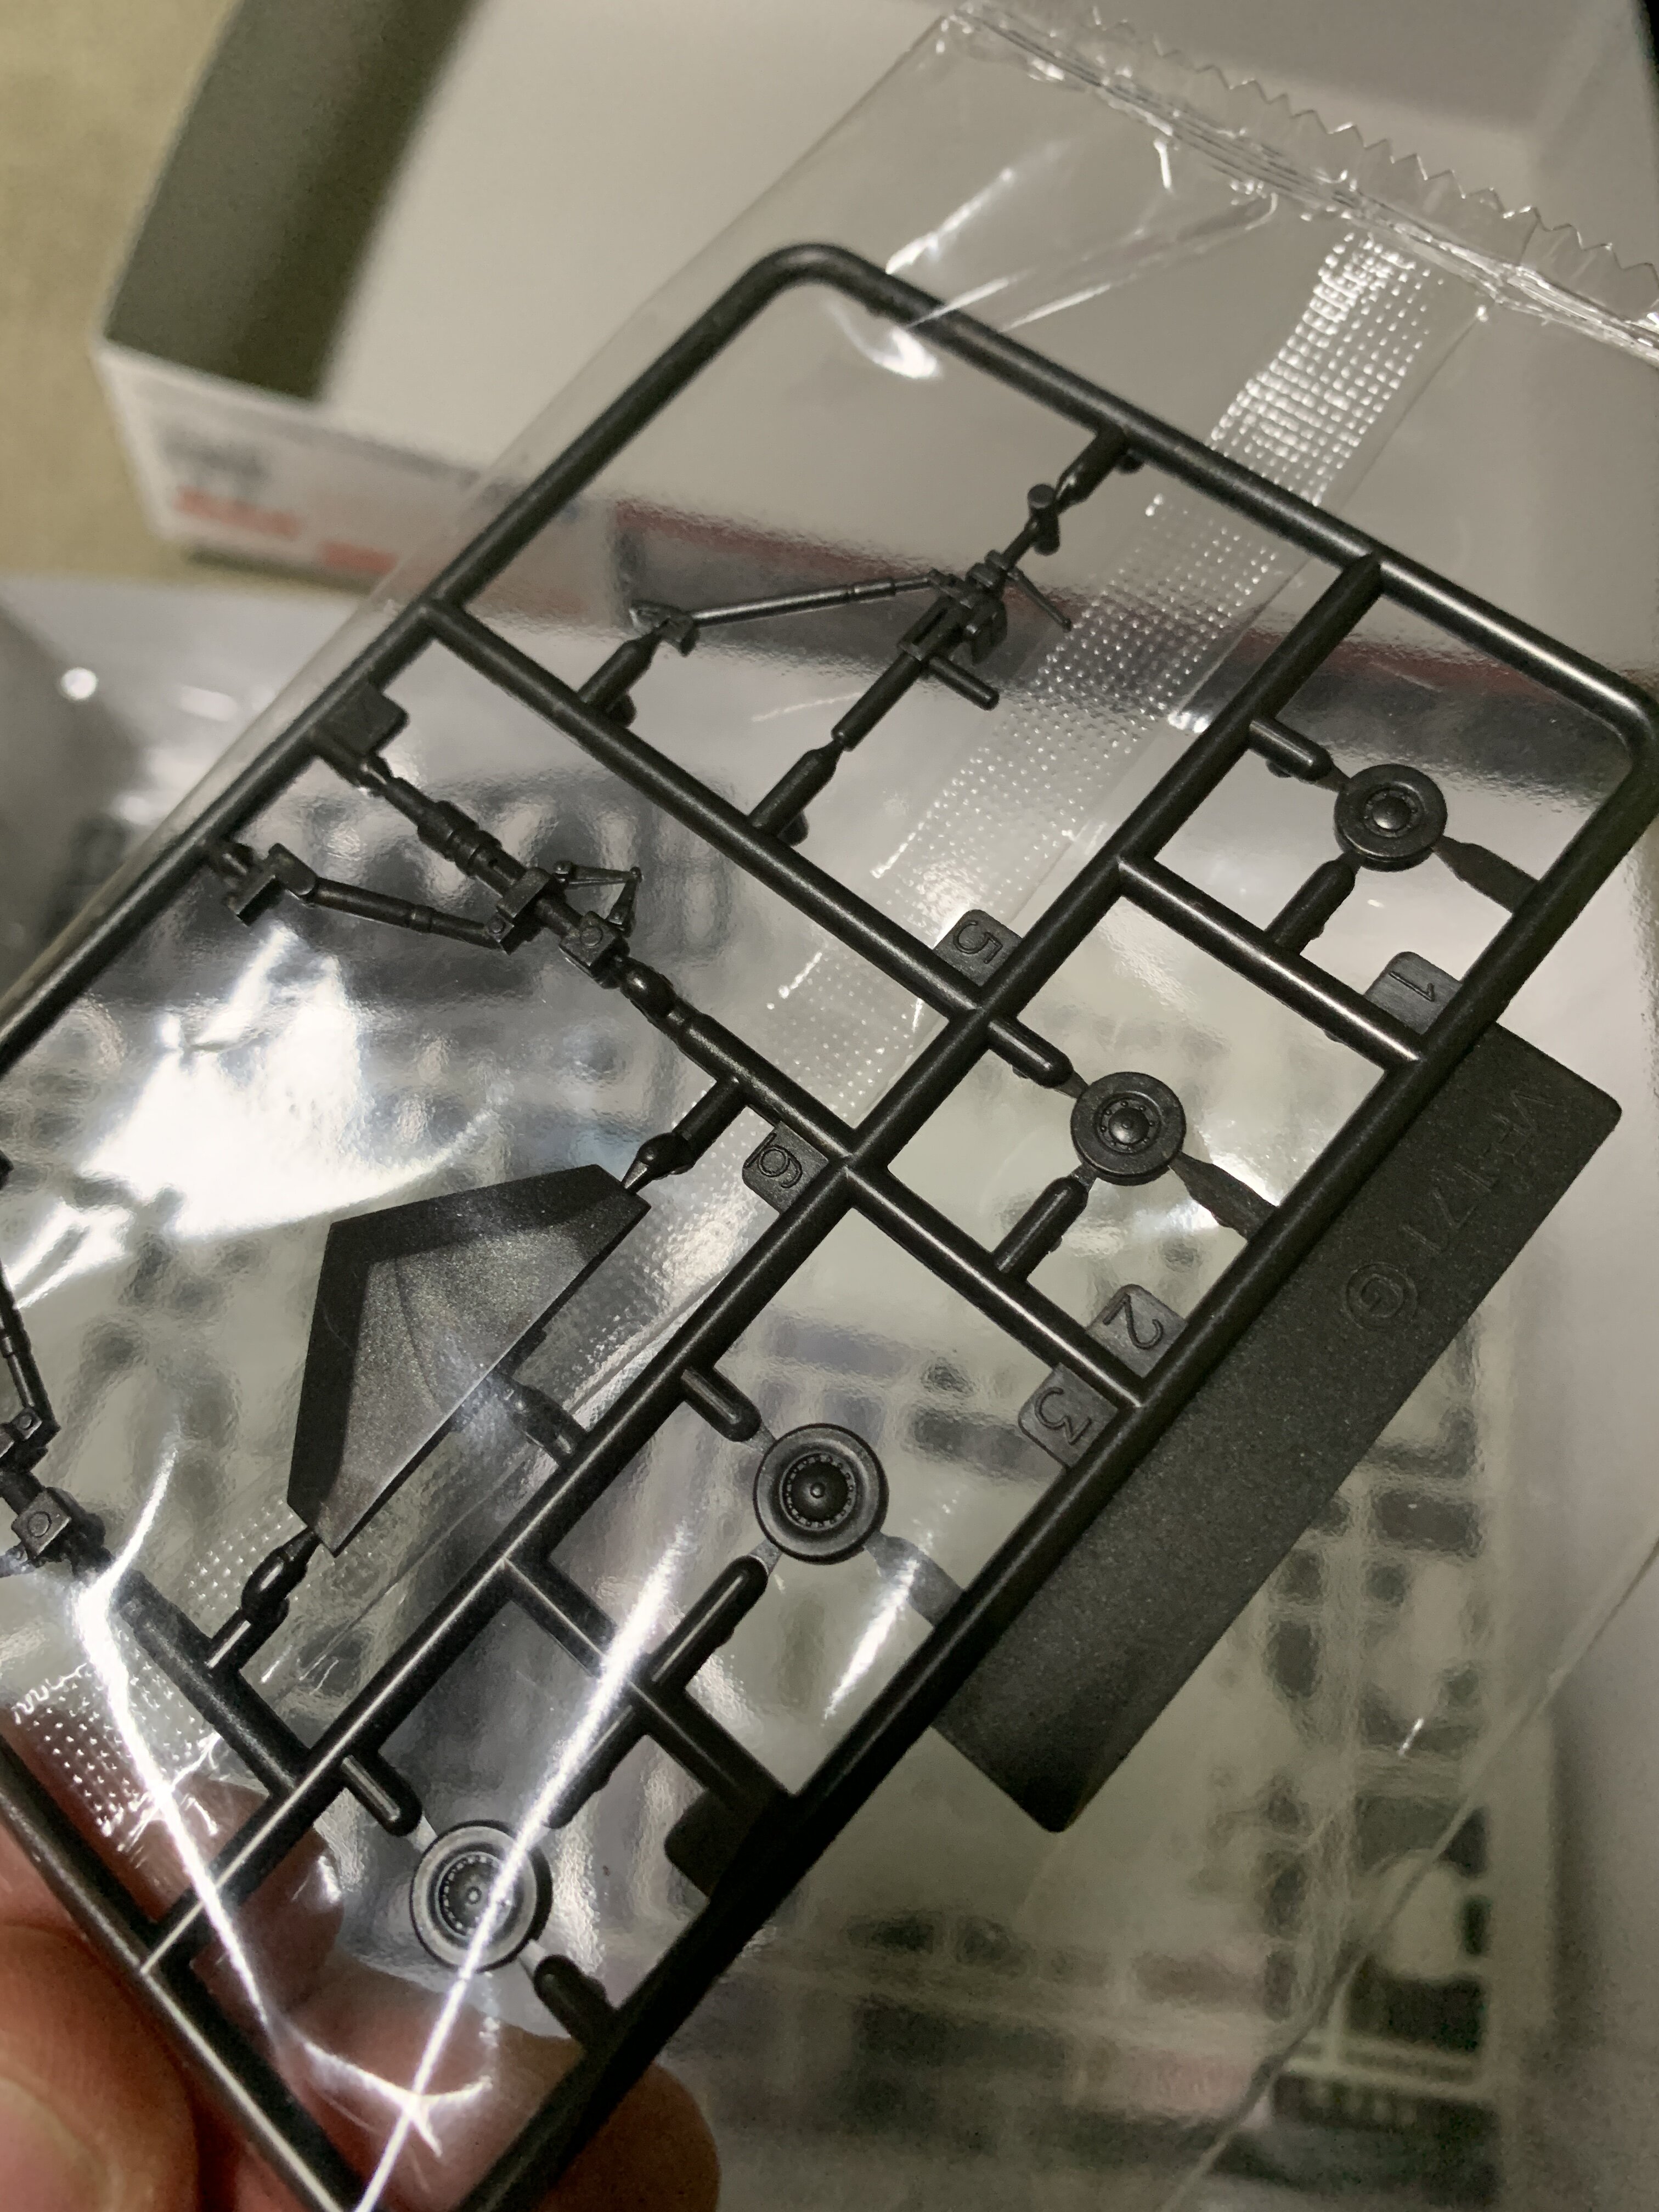
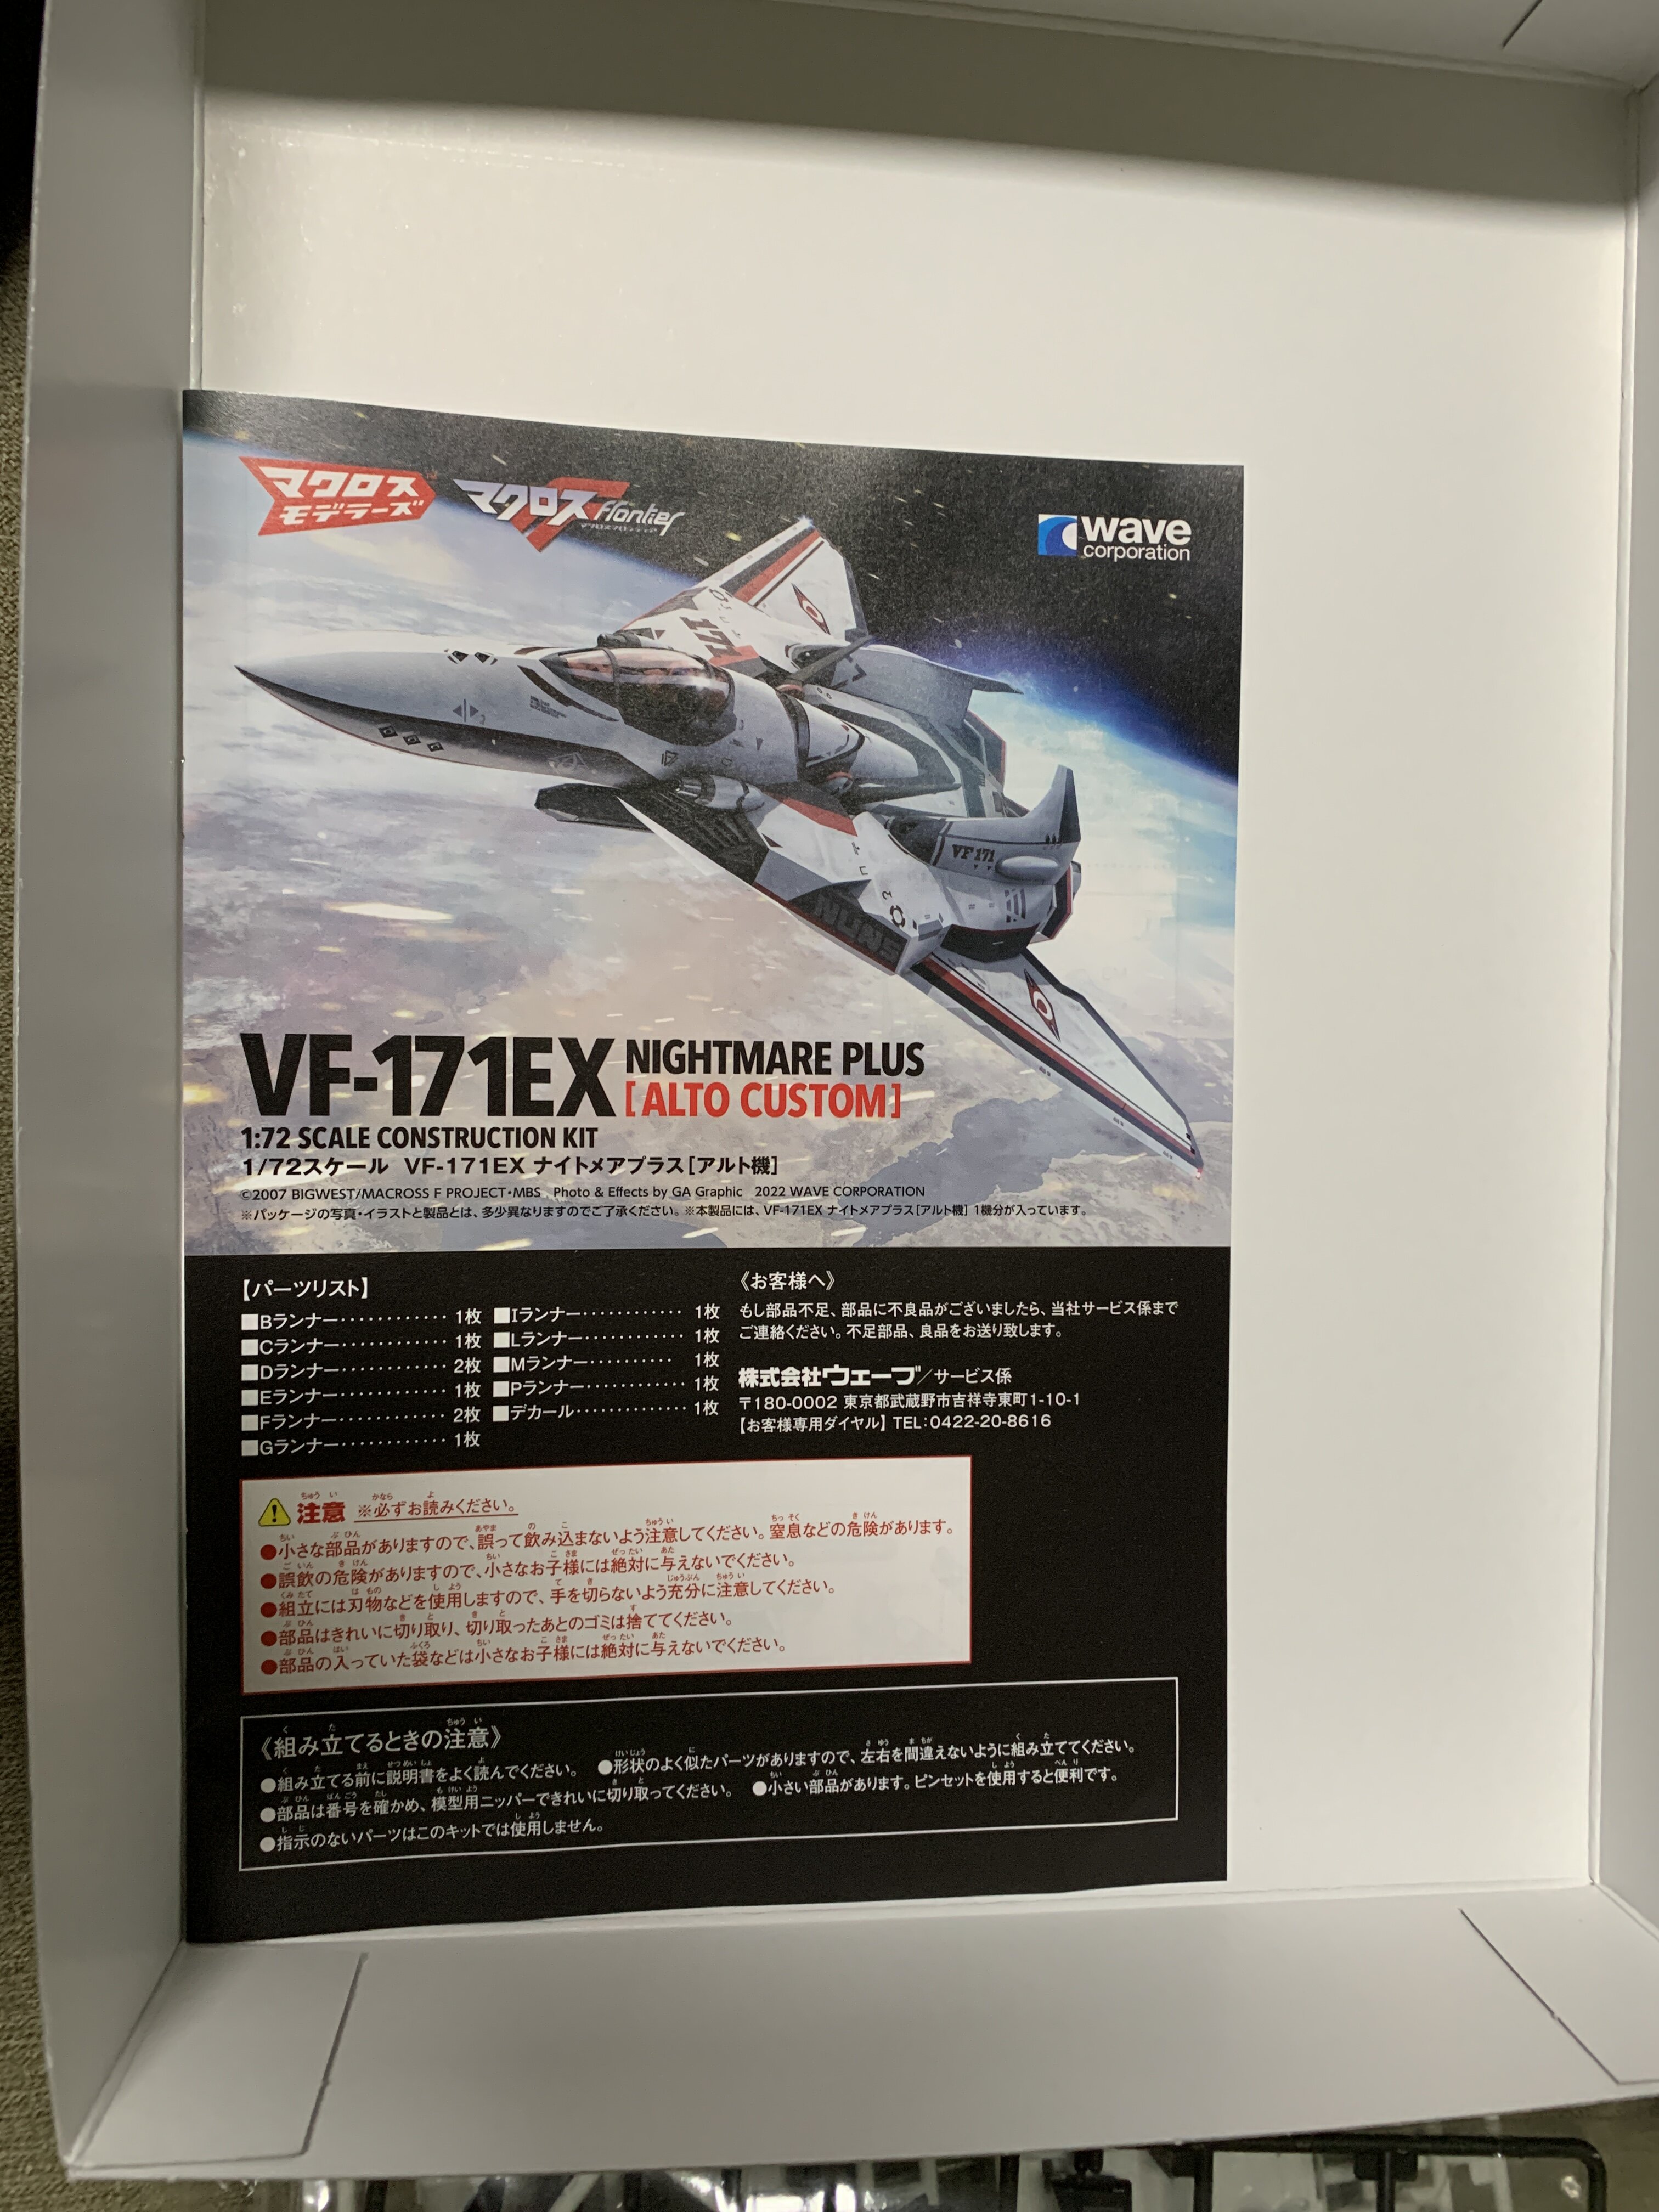
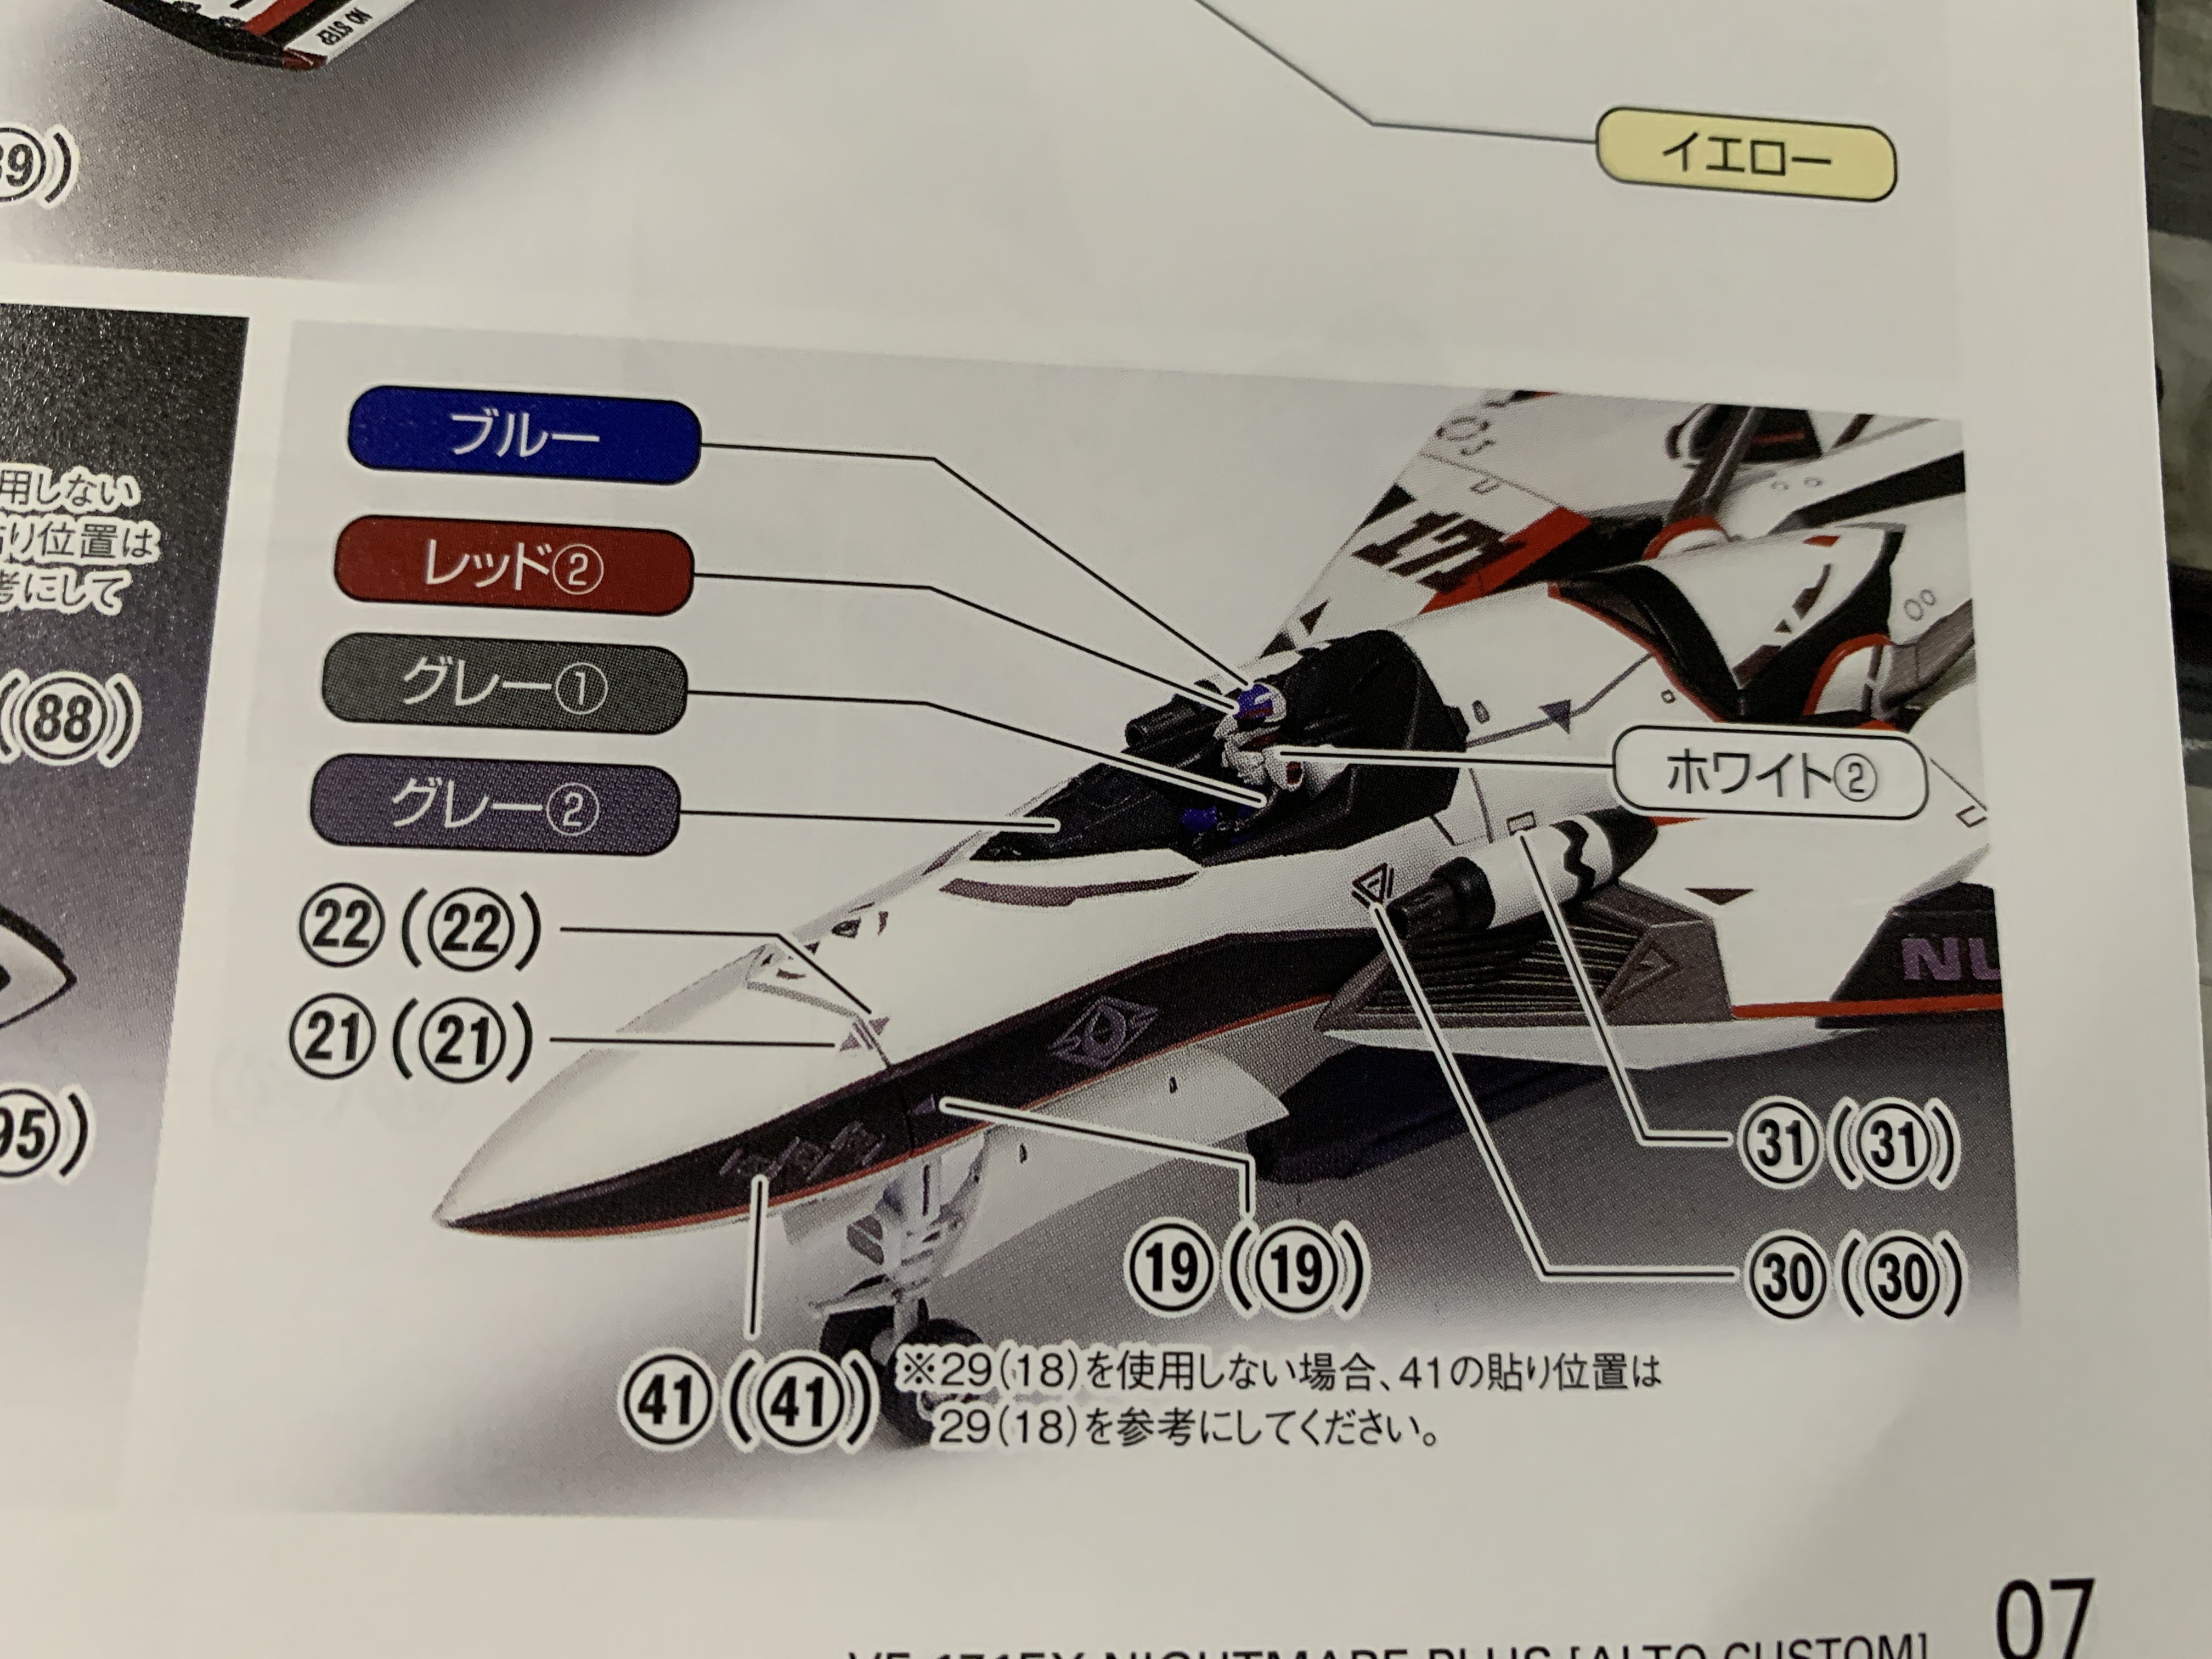
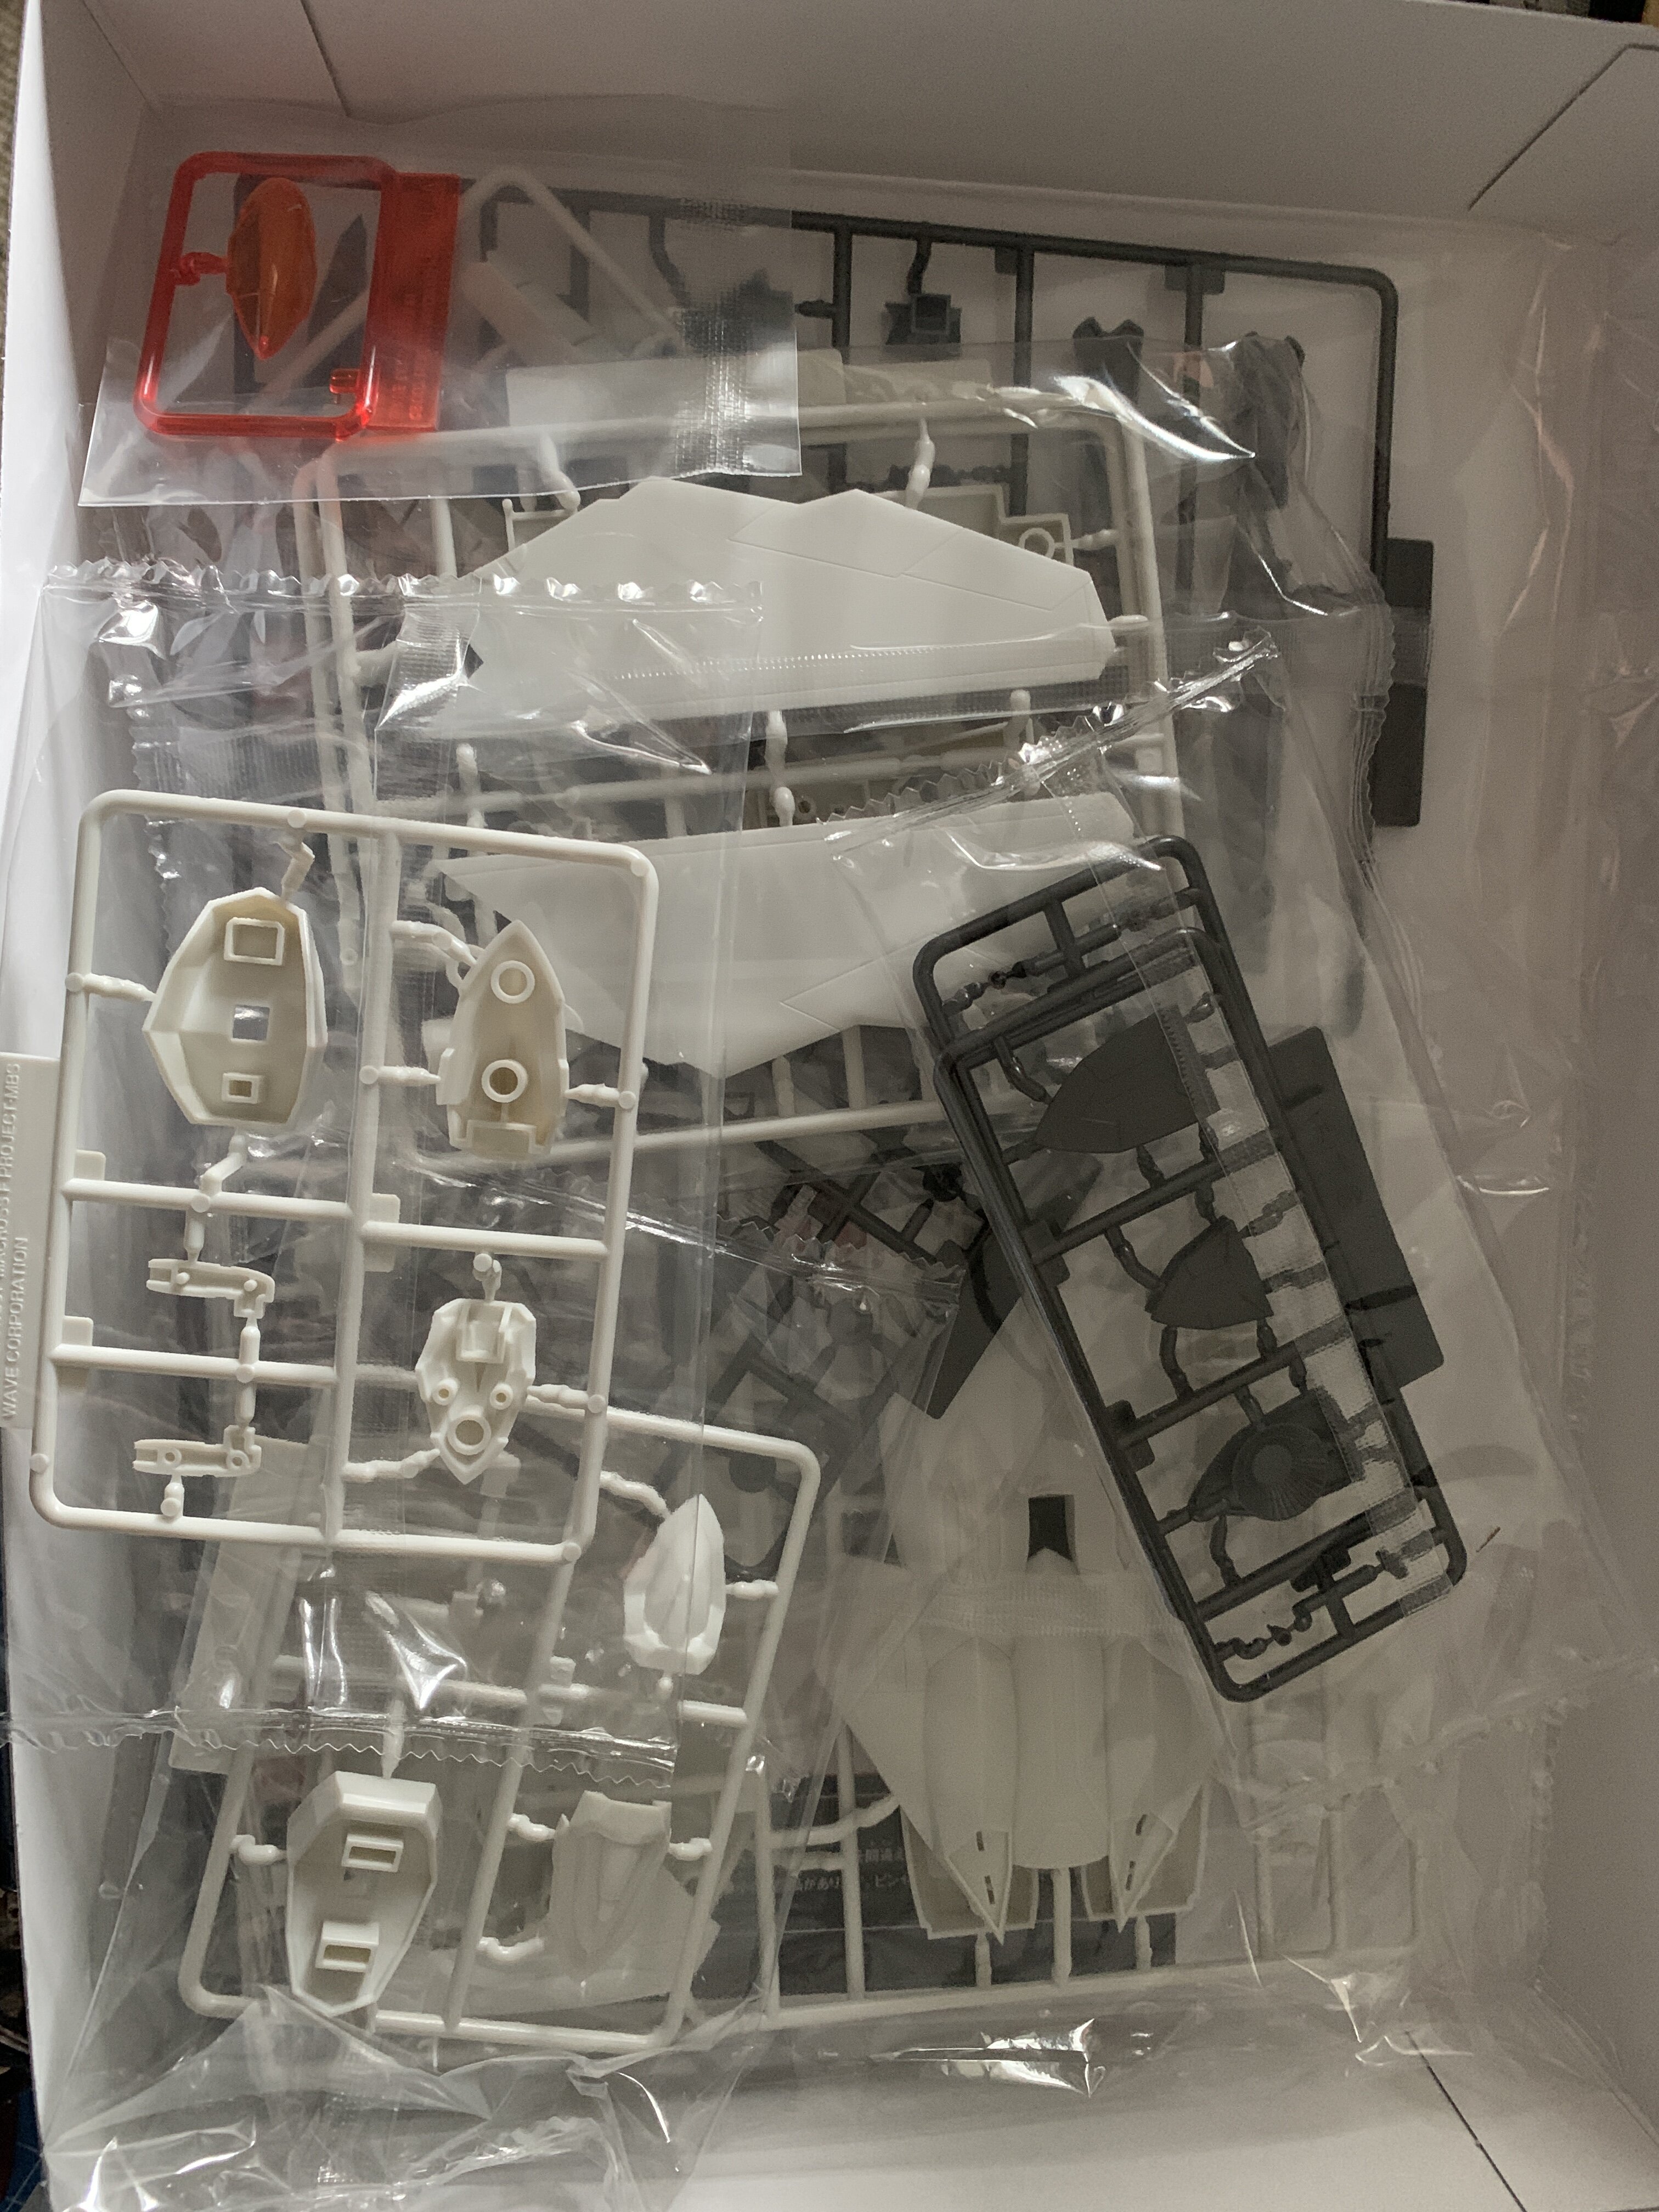
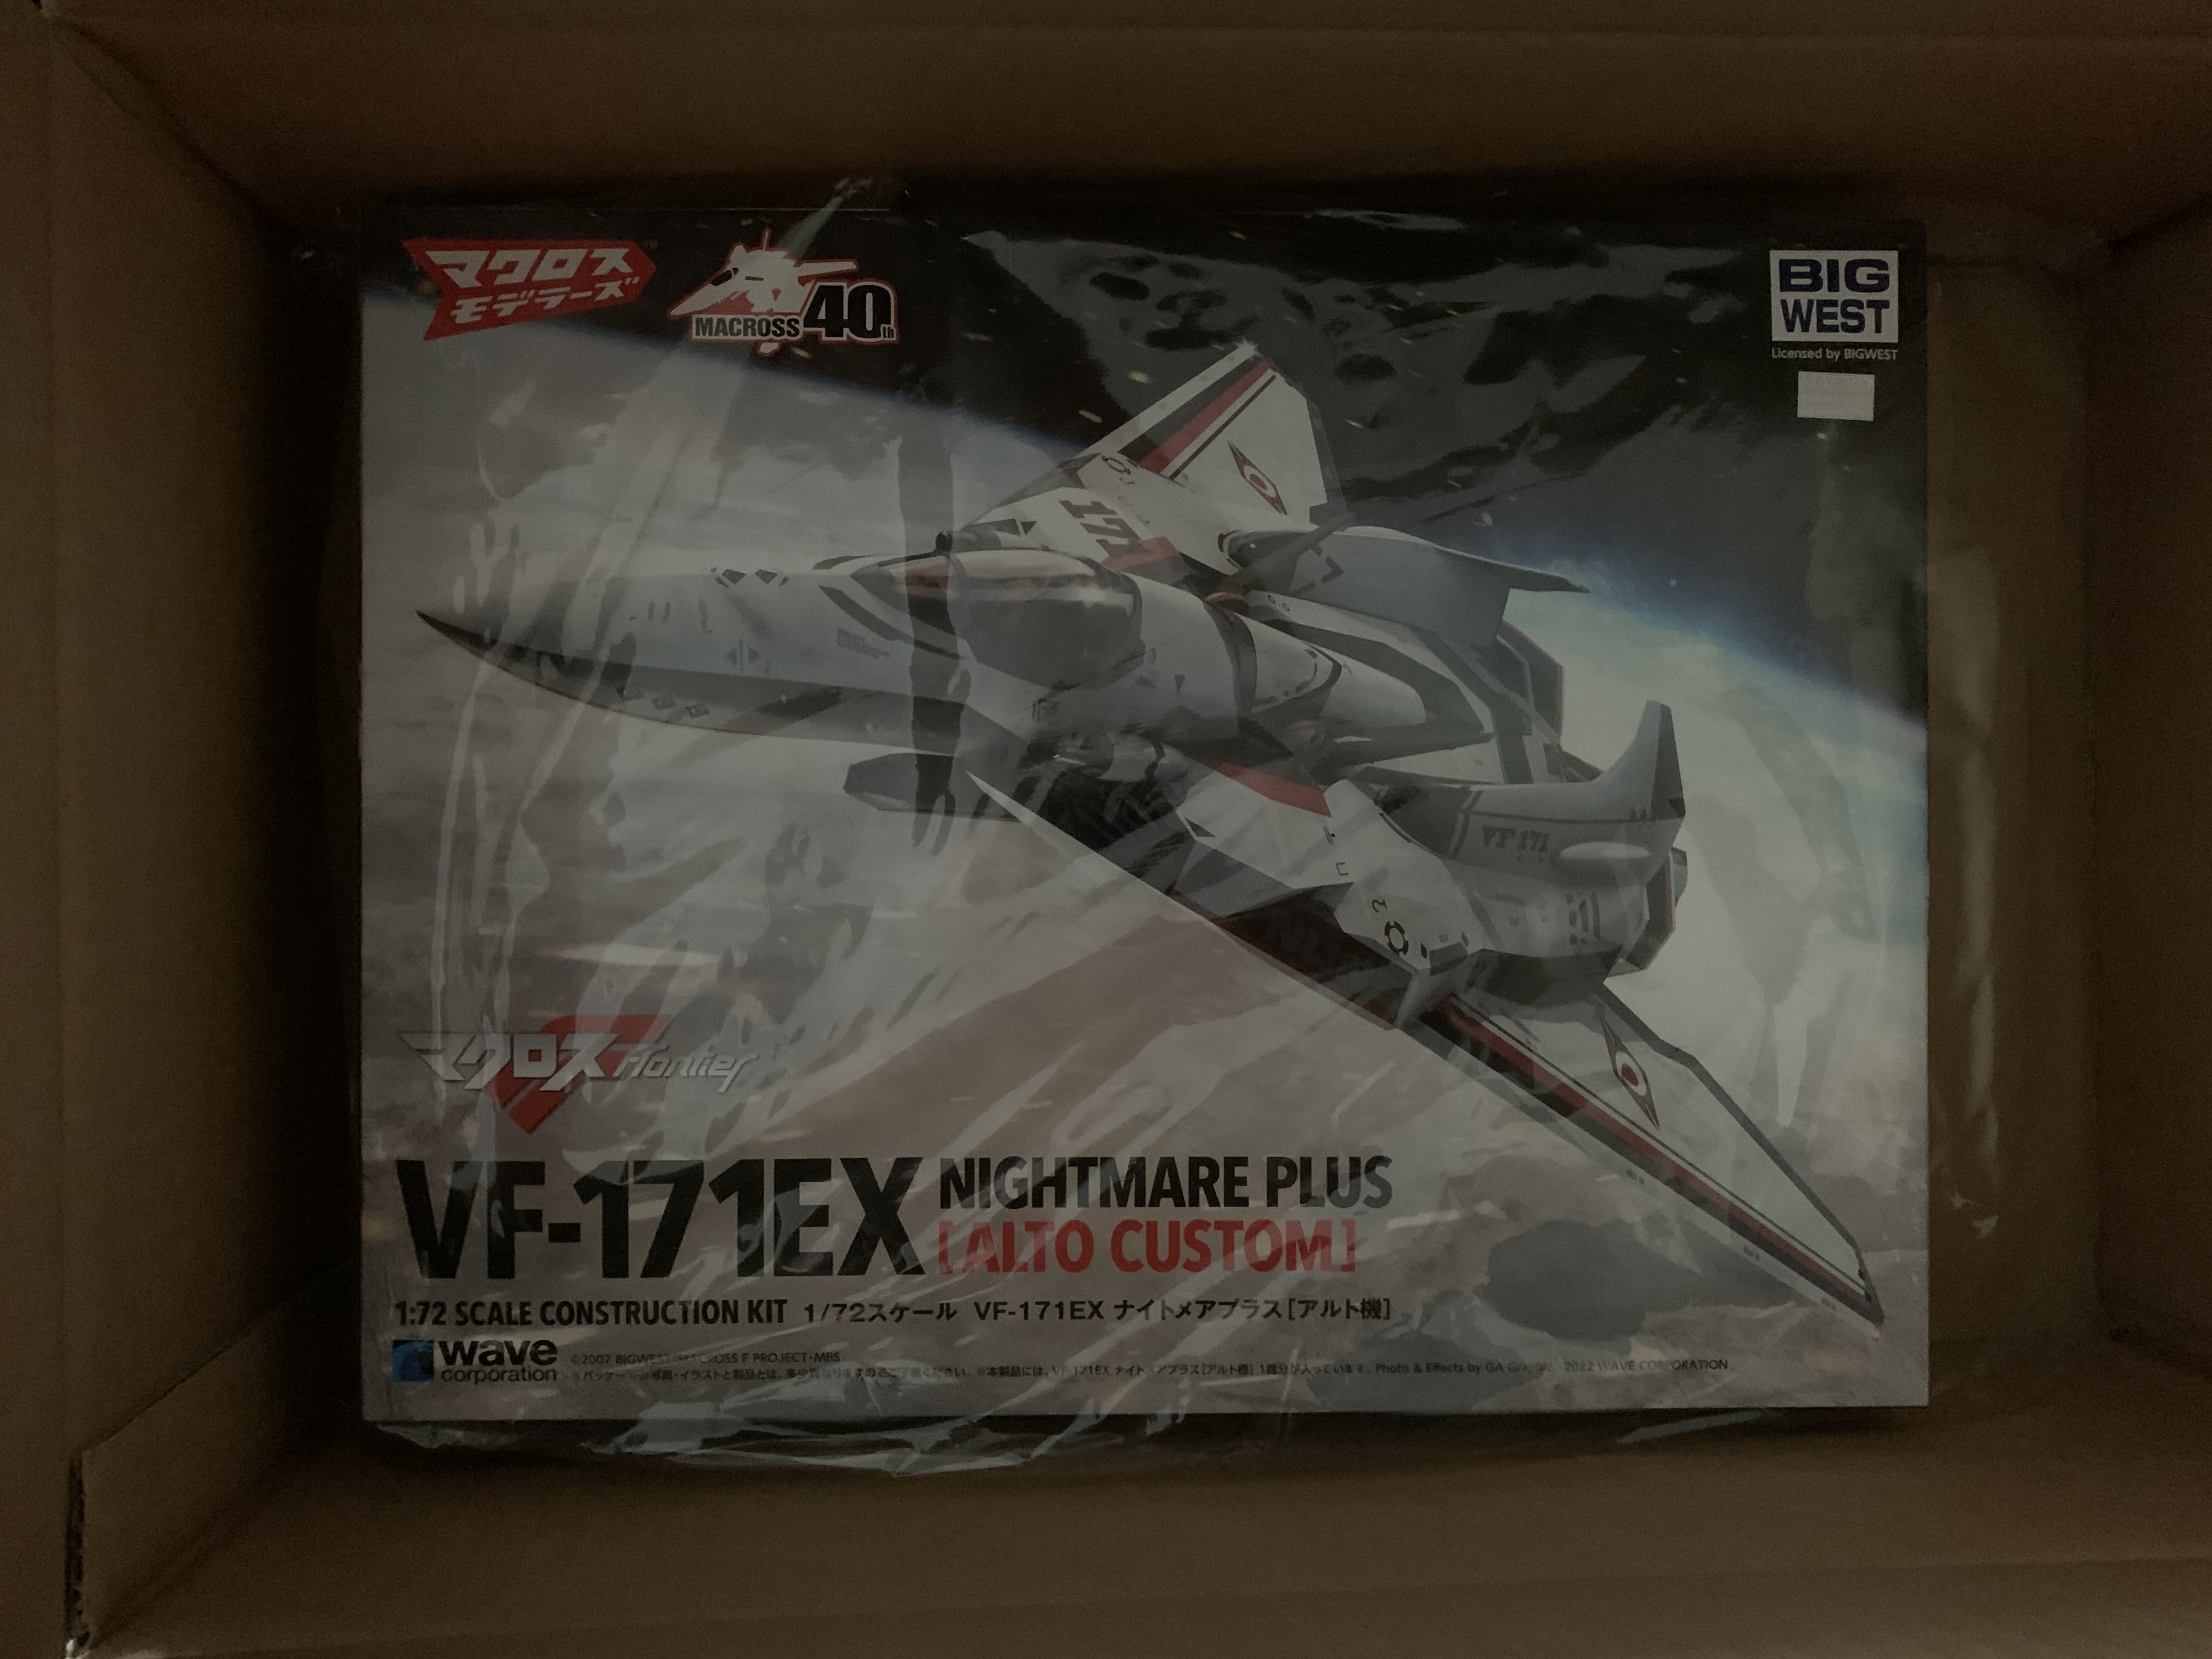
More stuff the plastic is a dirty/used/old white. clear orange canopy. The only clear part. details are mostly crisp and they seemed to have learned from the trenches the panel lines of the vf-4 where these look a lot mor delicate. alto is super skinny this kit has huge parts, so no easy modding in case anyone wants to battroid or gerwalk it. the gears and wheels look a bit underdeveloped for my taste. under all that plastic and bags you will find the instructions. Only downside: no explanation how to paint the cockpit and pilot. then comes the largest decal sheet I ever had with a 1/72 kit. the decals are nice and crisp. I‘ll start building this when done with the plamax vf-1. edit: oh wait, here are the paint instructions for cockpit and pilot. I am old and blind, obviously.
-
There you go
-
Tadaa in the mail today…
-
Super nice man!
-
Nice, implement it everywhere
-
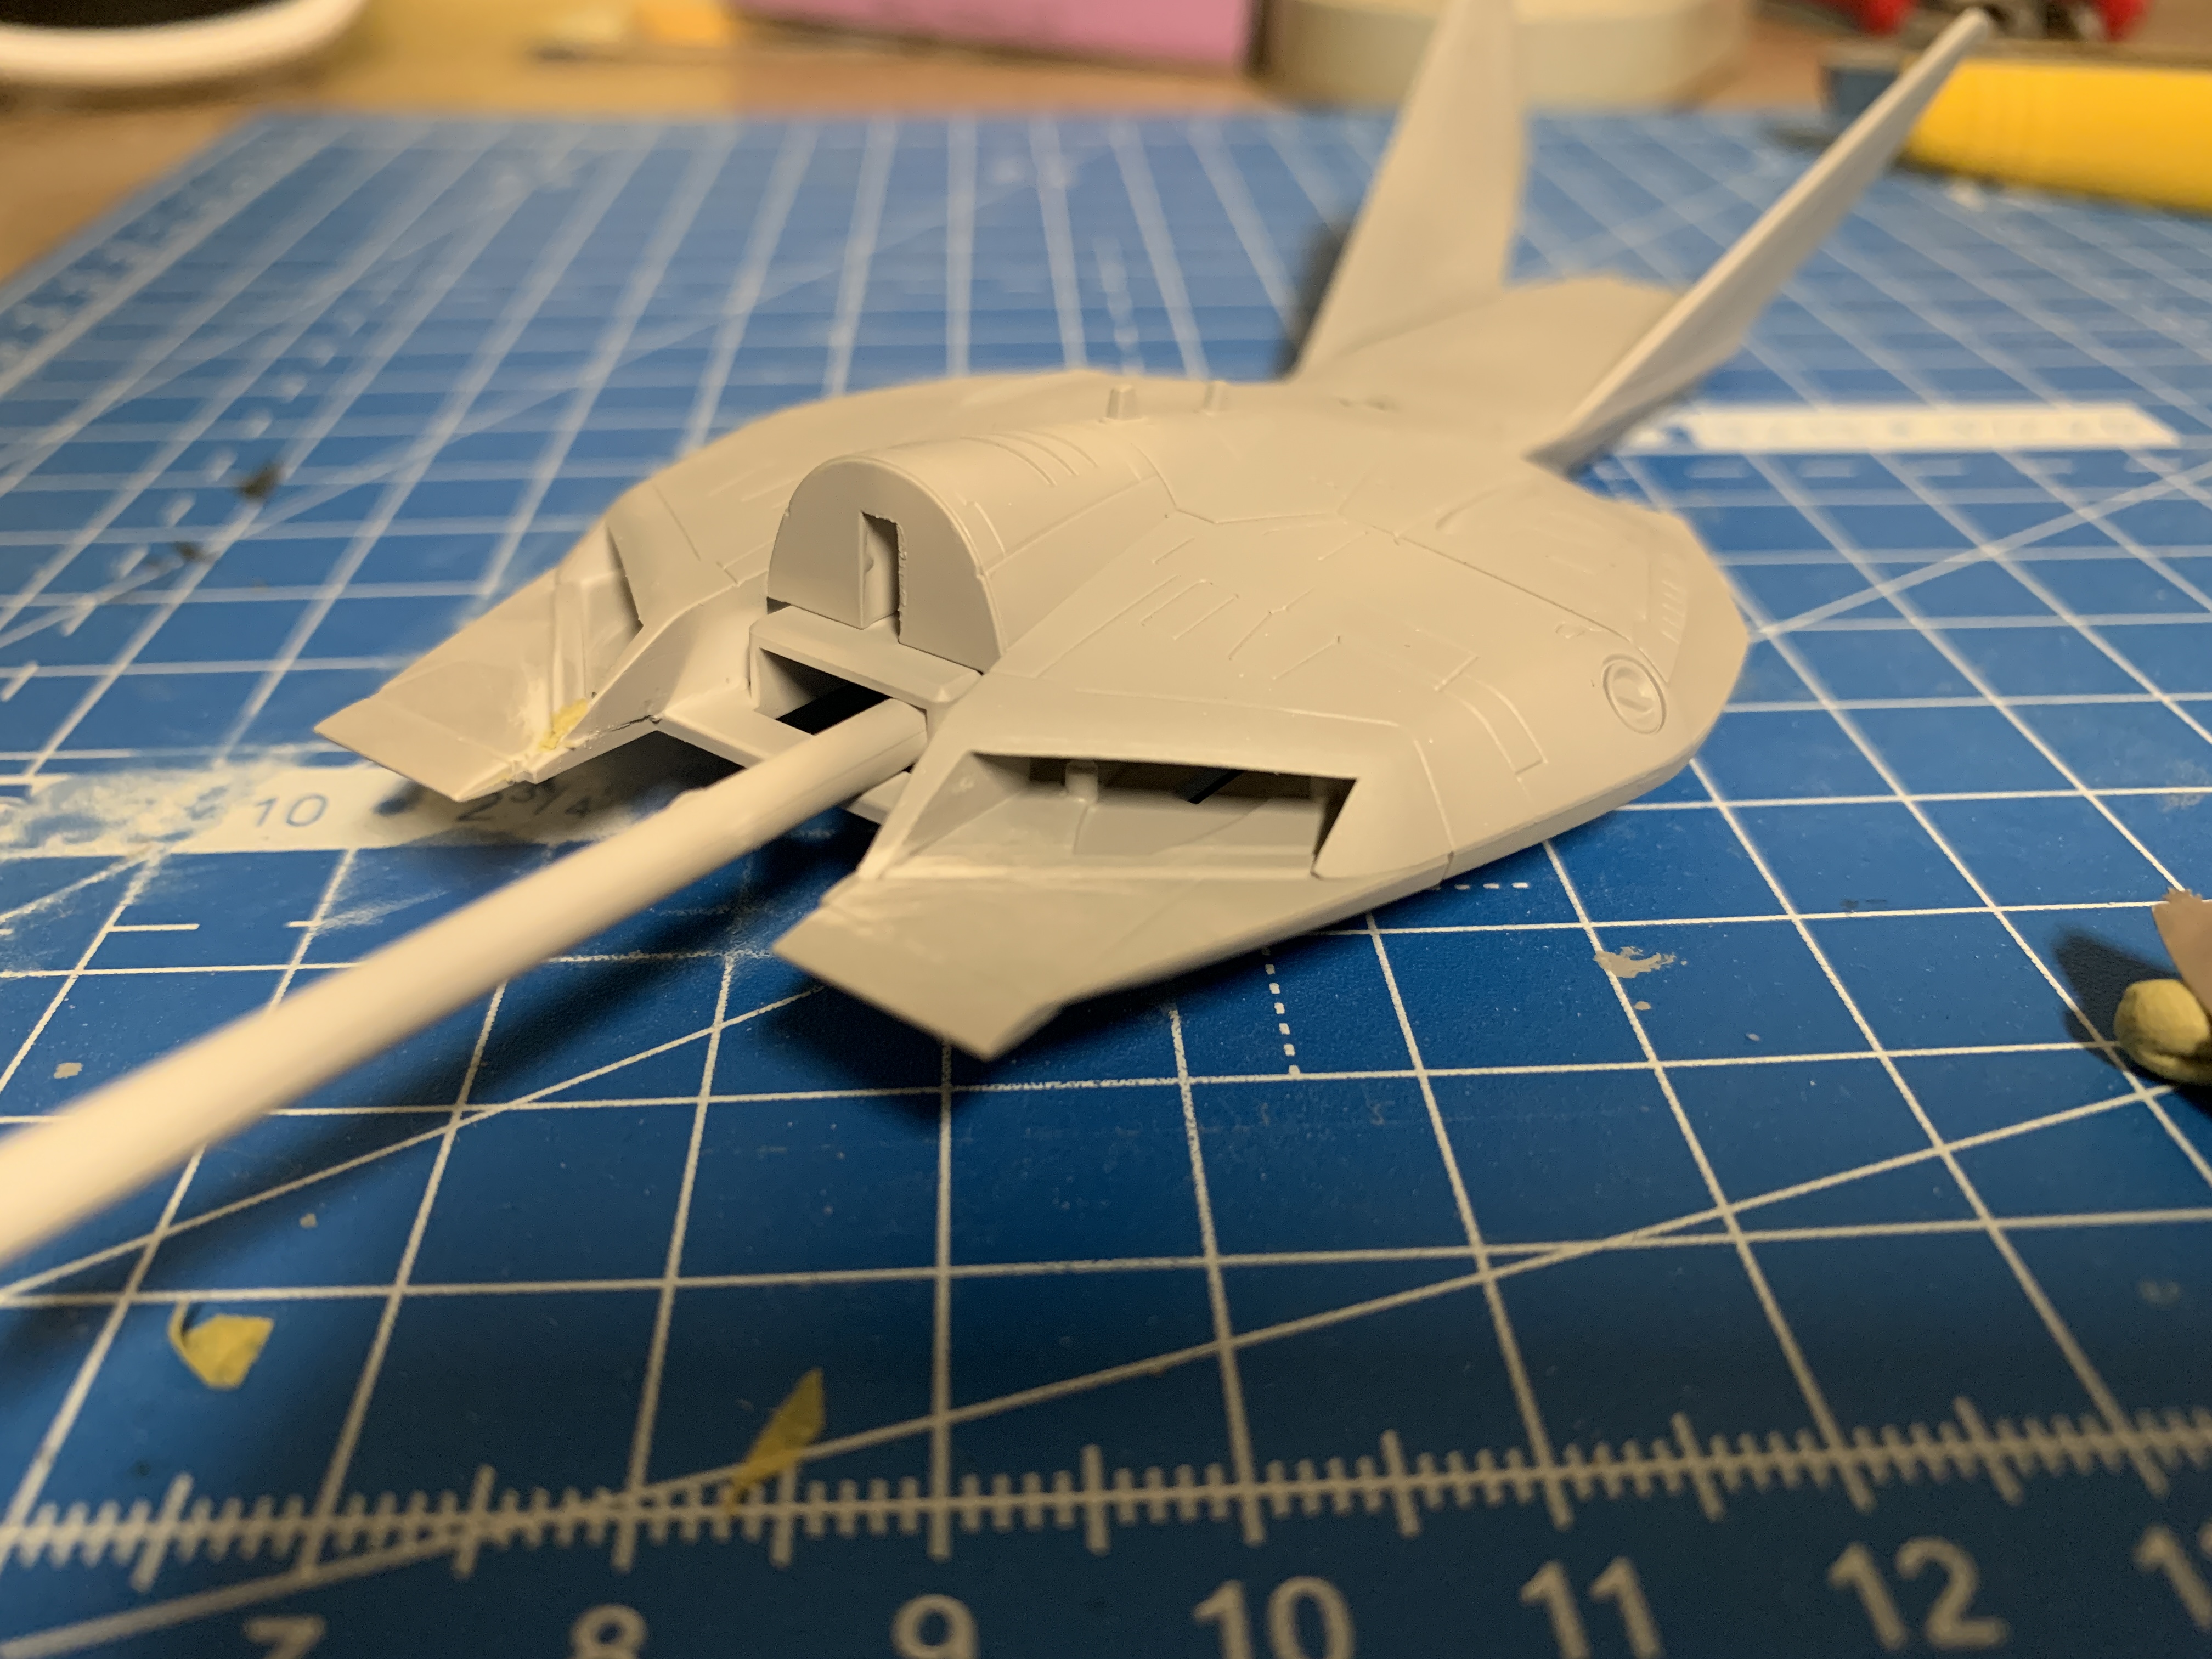
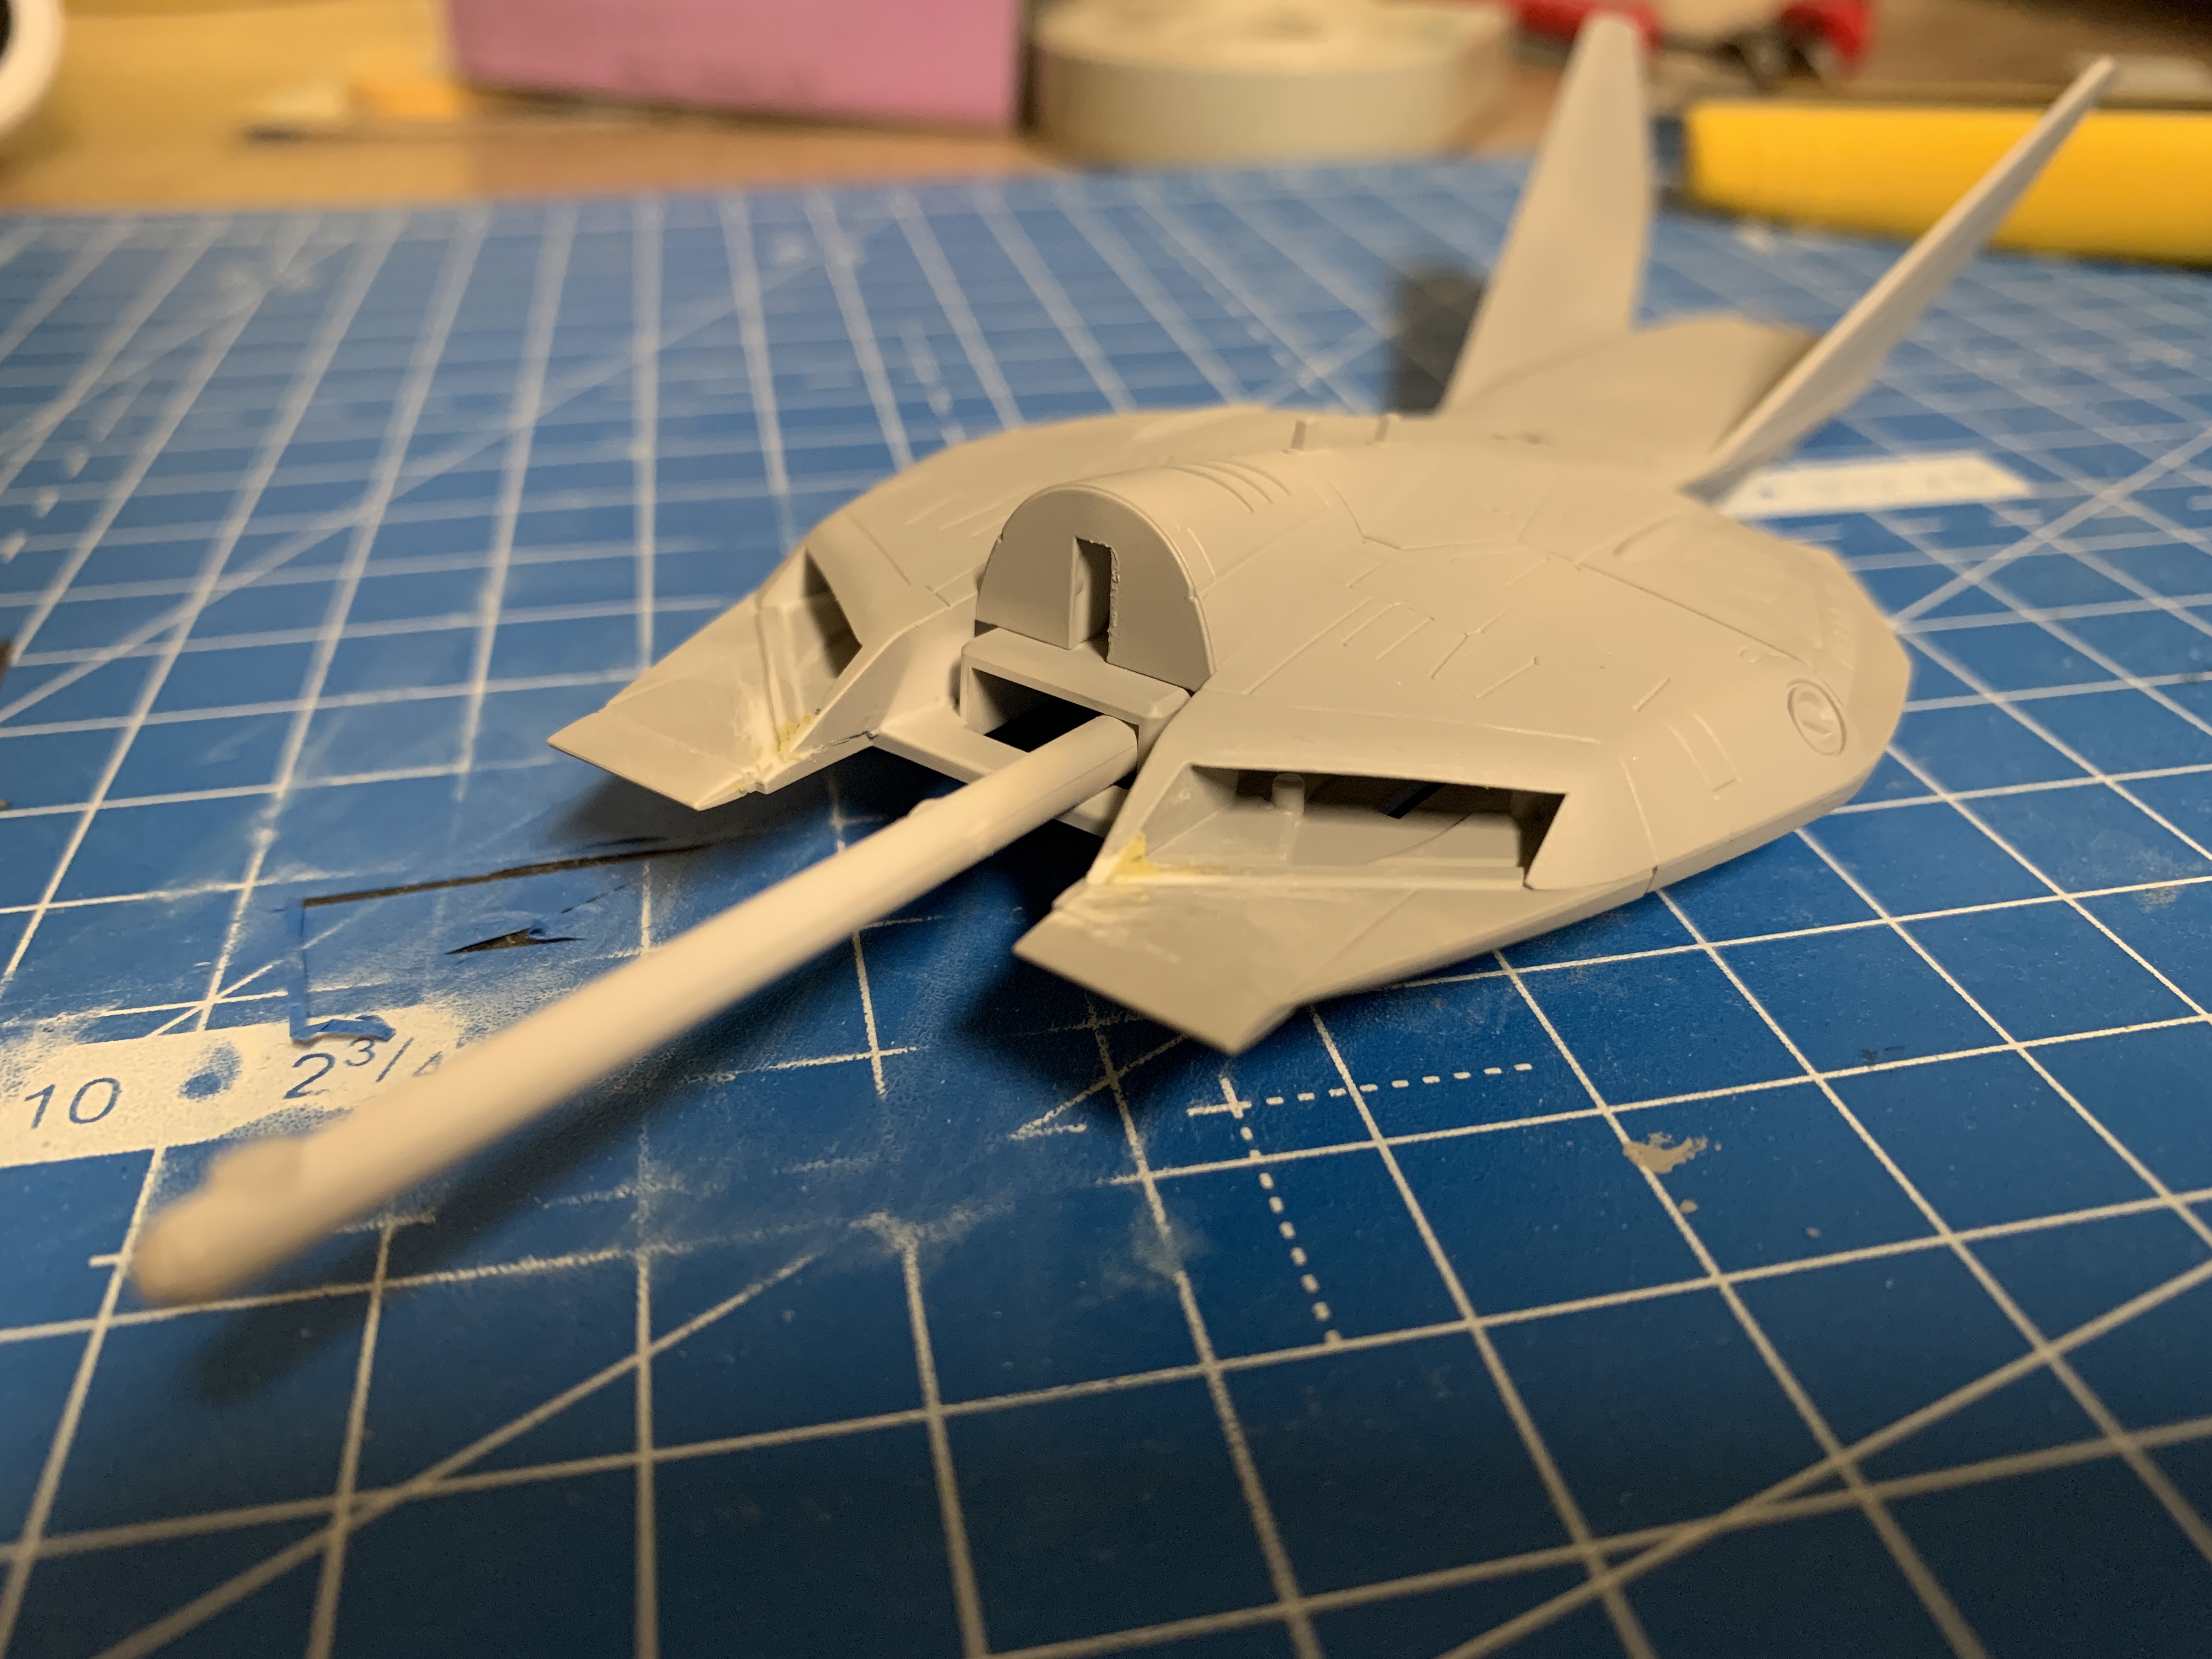
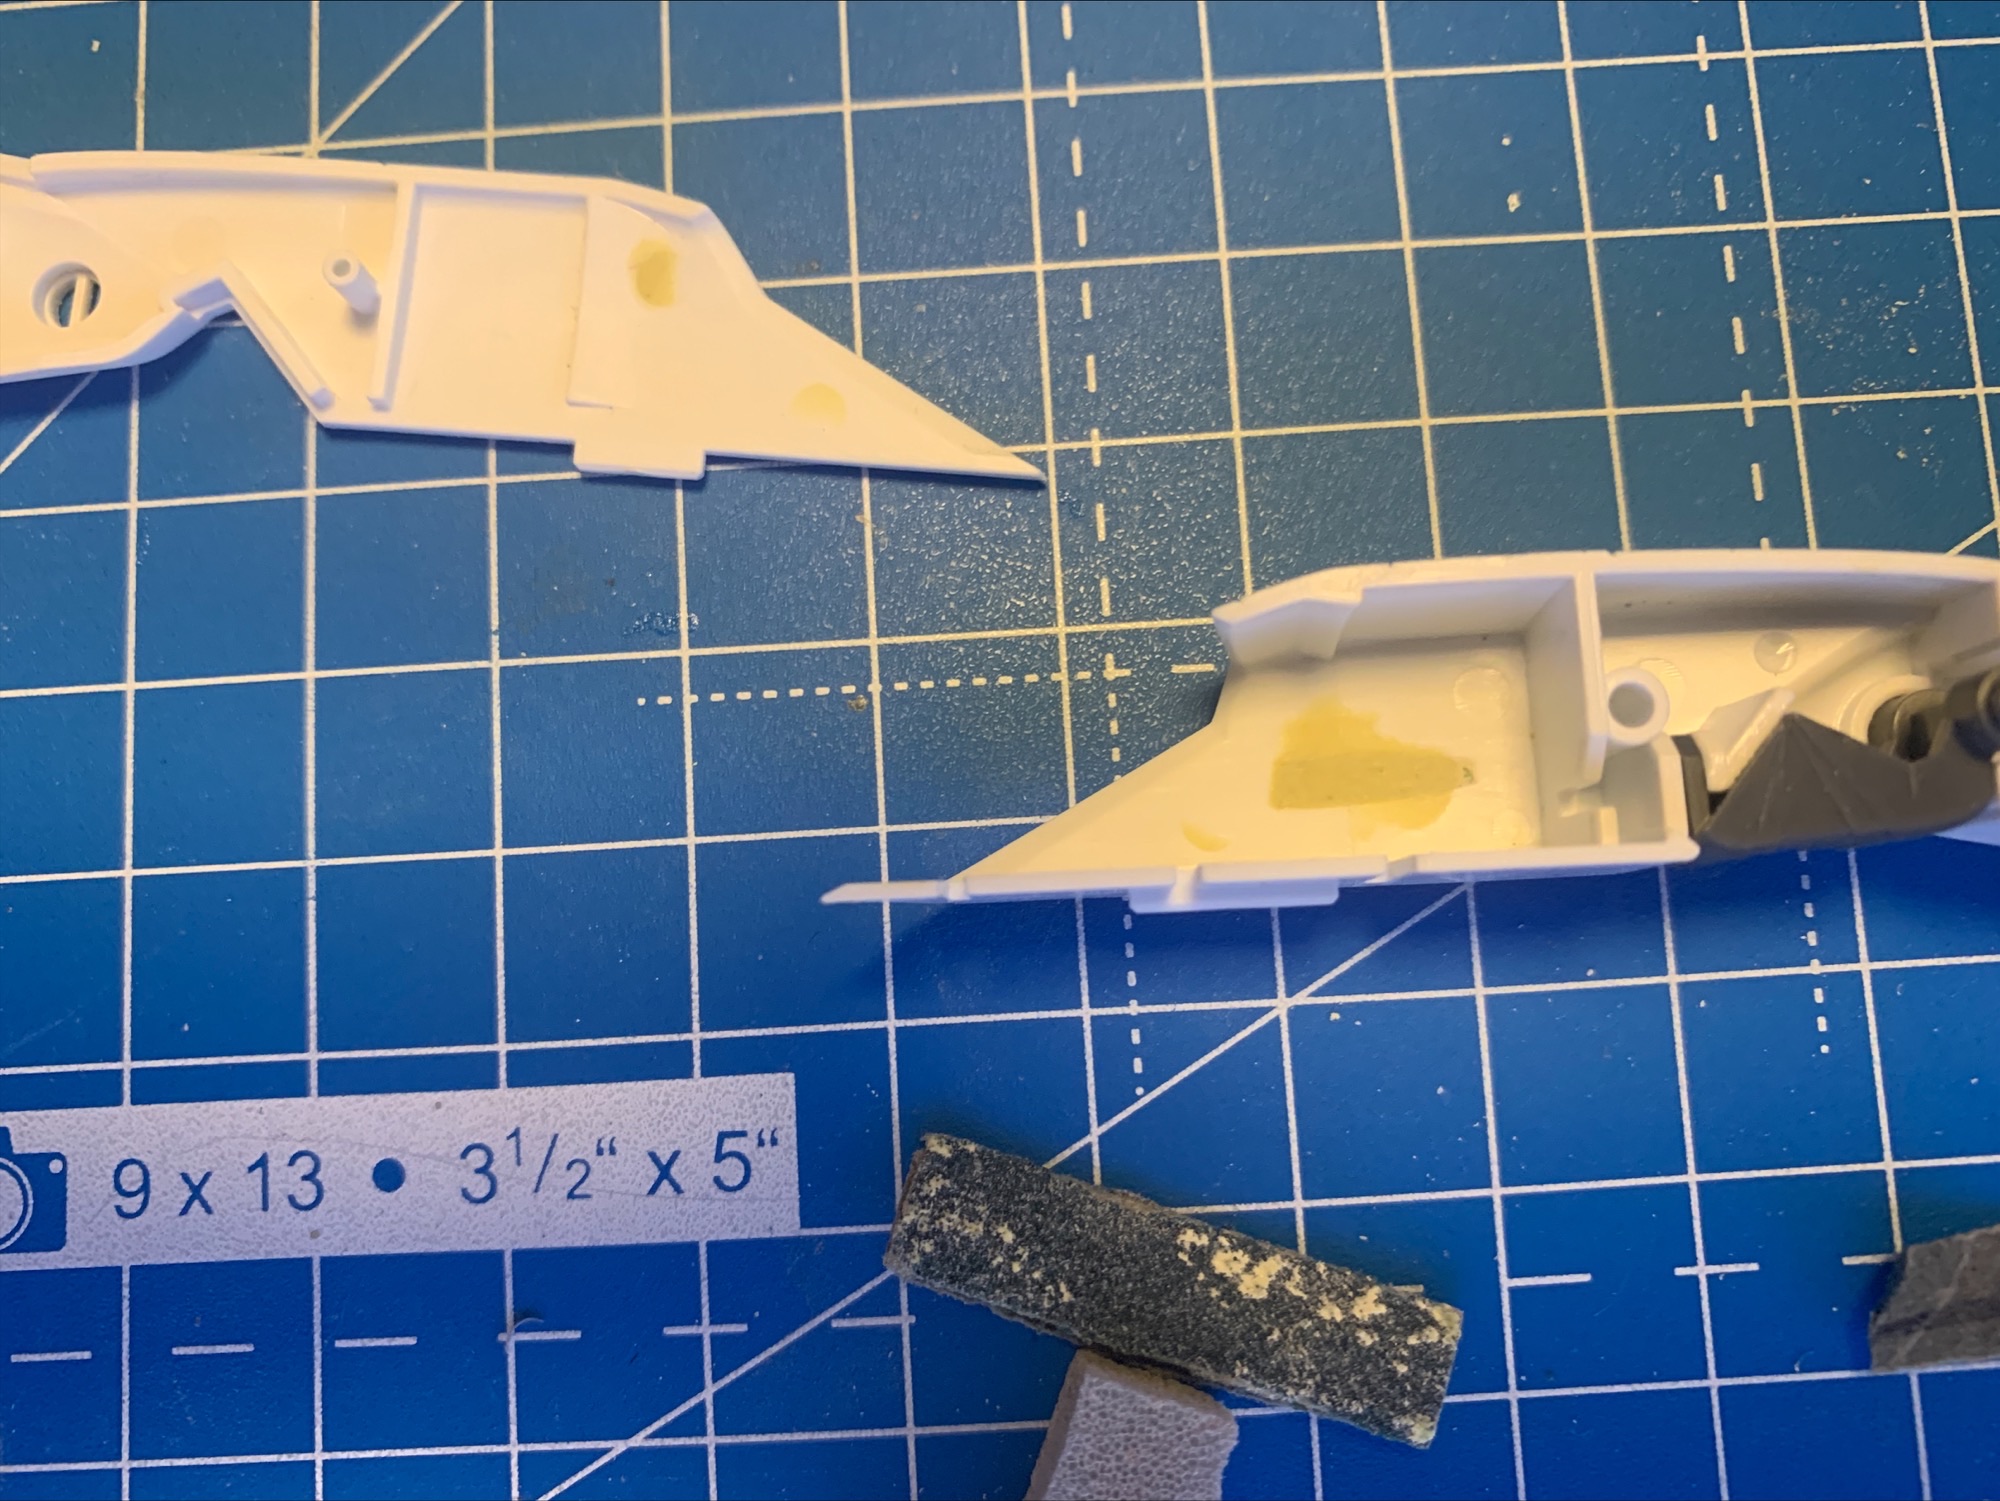
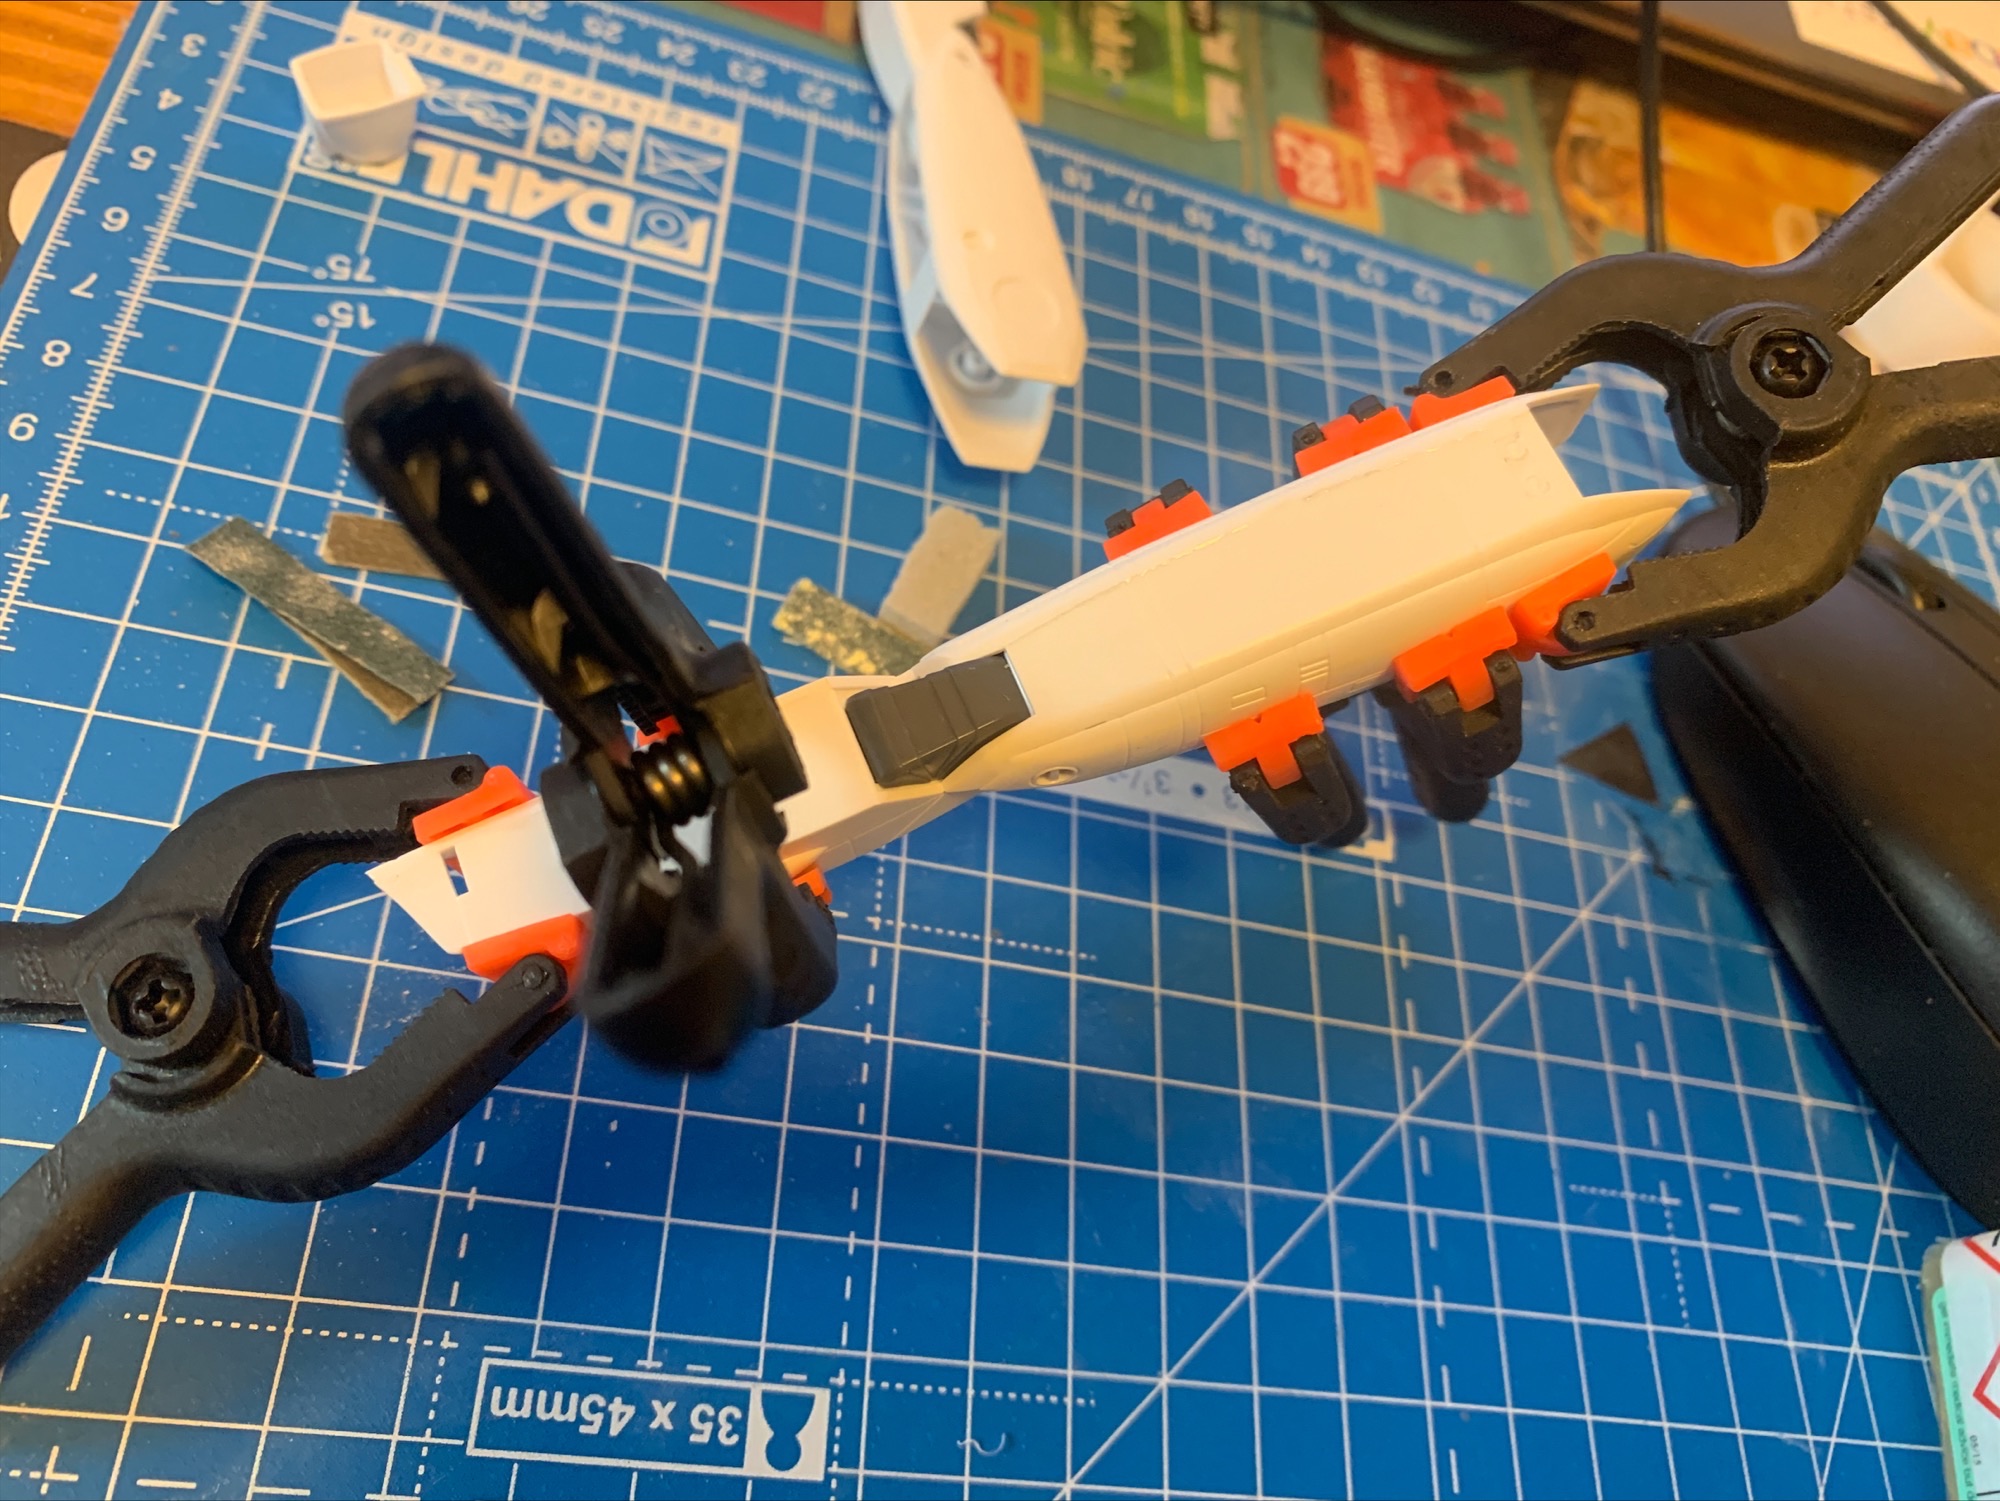
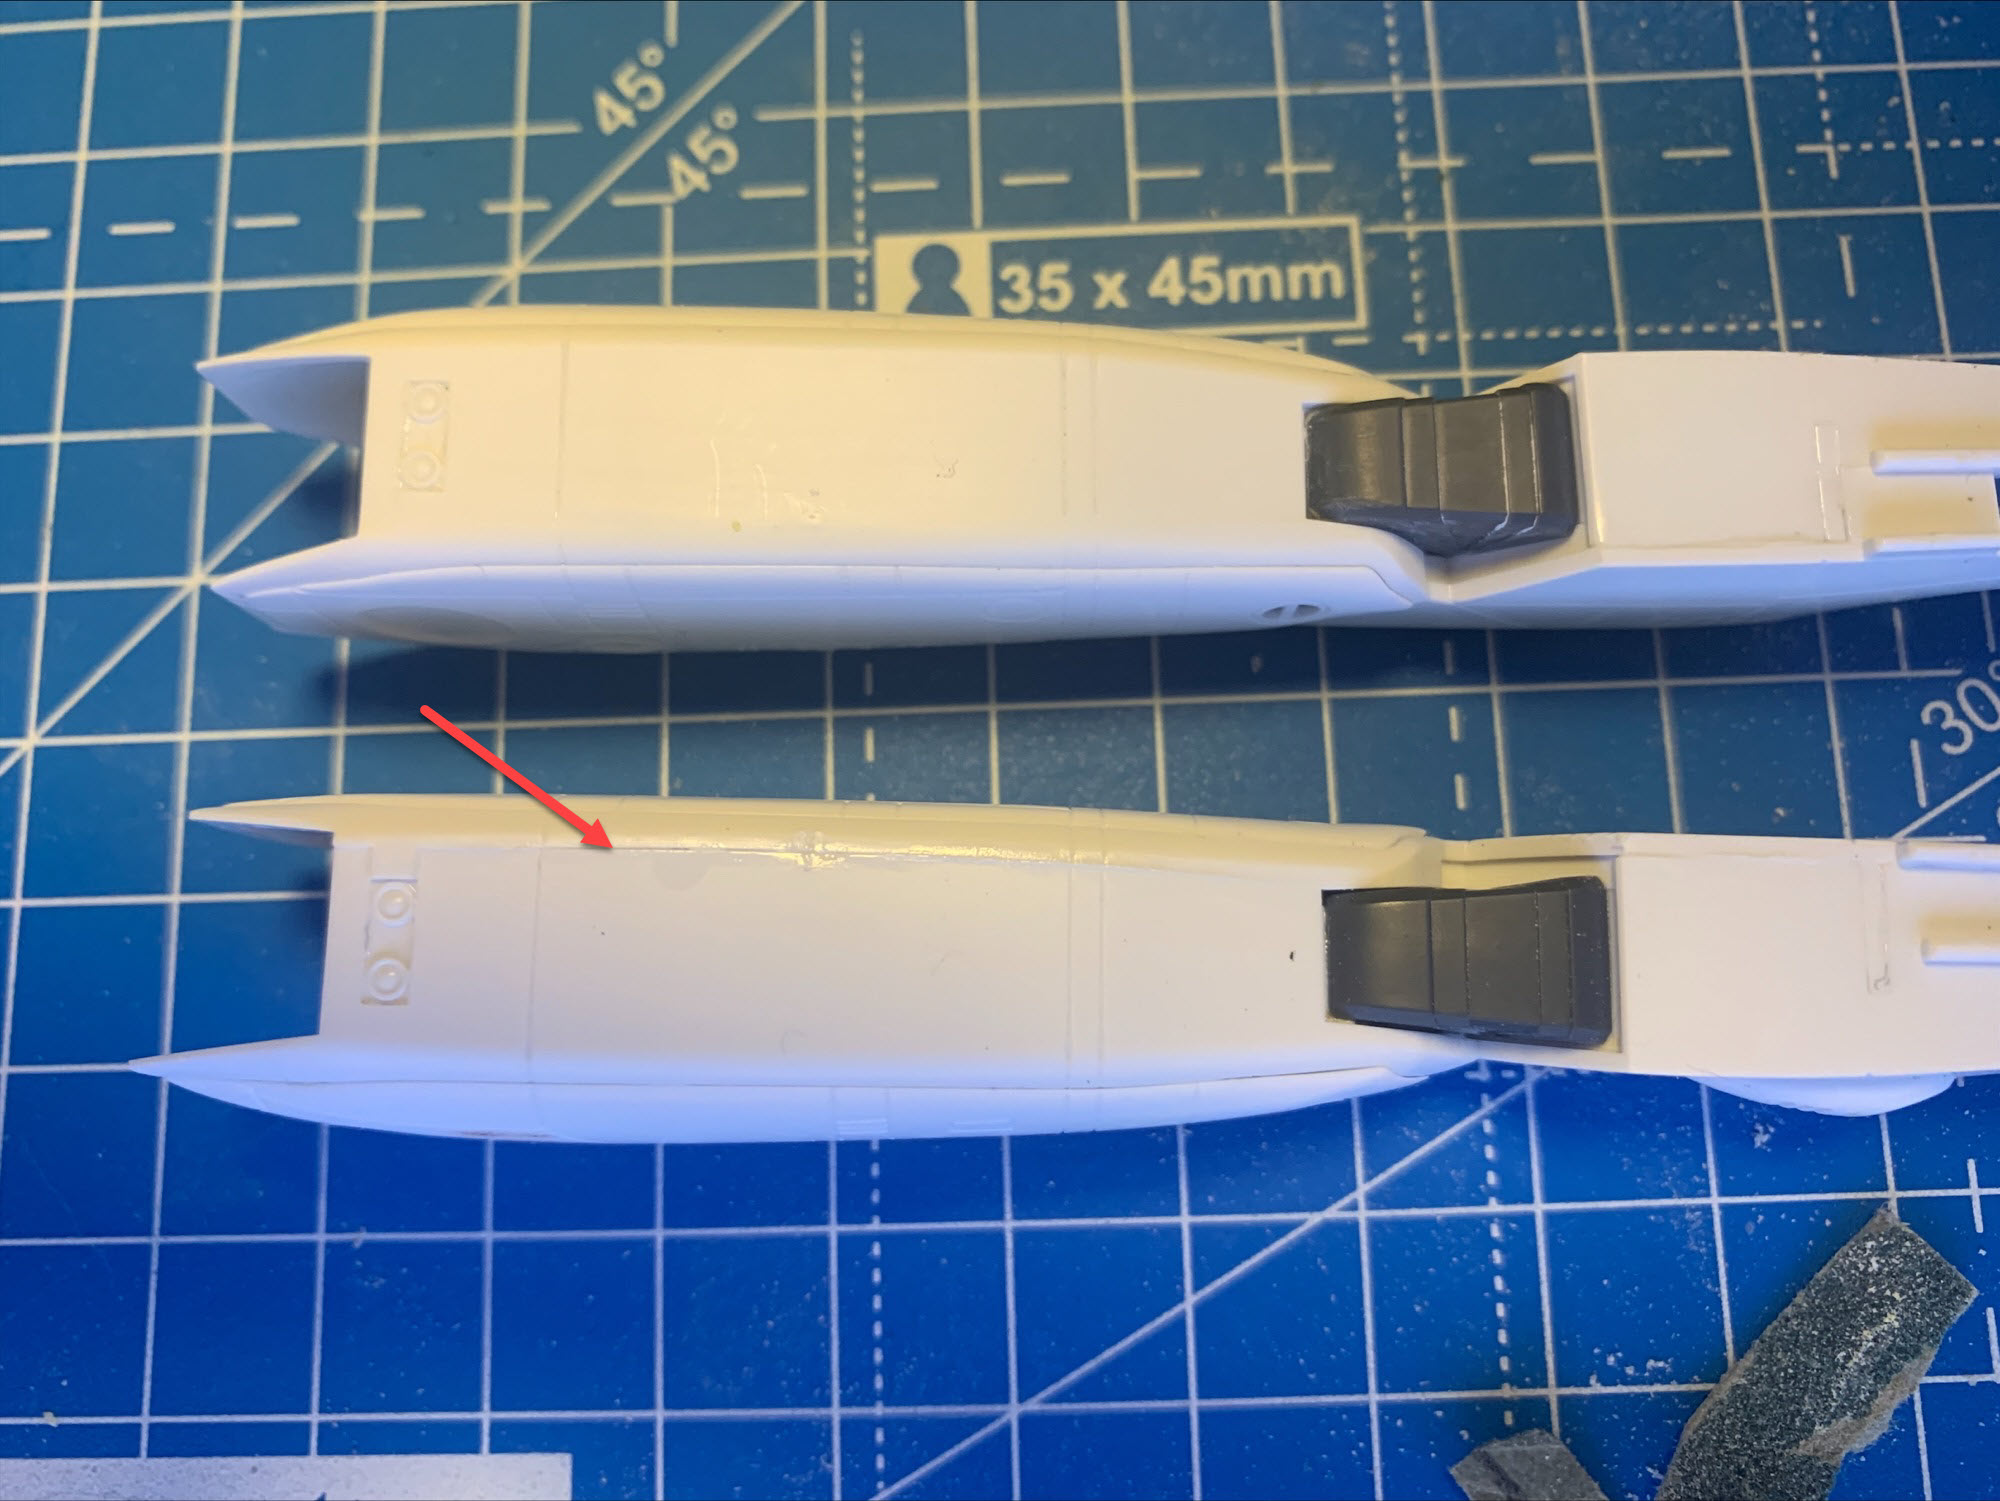
@Thom & @MechTech Thanks a lot! Did some sanding and glueing during my lunch break today. I love miliput - so much better than the revell stuff. Clamps ... Clamps everywhere! I found a good use for these old empty tape rolls I have flying around in a box. Much sanding needed to get rid of the seems on the VF-1, but less than actually expected. Watching that kit review video on youtube basically gave me nightmares on possible gaps. If using clamps to get everything fit together well, I only had to sand down the seams. No putty needed. Here a comparision of the left and right engine nacelle/leg. On the upper one, basically no seam to be seen after mild sanding. Have to carve some panel lines back on though

-
My first VF-1 was Arii as well, with a little beach suit minmay as well
-
Check this: https://www.paypal.com/buttons/

