Jung
-
Posts
381 -
Joined
-
Last visited
Content Type
Profiles
Forums
Events
Gallery
Everything posted by Jung
-
Very nice! I like this new paint scheme, yellow cav armour, very unique OOOOOOOOOHhhh, looks like your moon act is almost done, can't wait!
-
haha thanks! but no elaborate setup, no special lighting, just 2x 40watt incandescent bulbs placed on each side. Try to position the lights to eliminate as much shadows as possible. I guess the more number of lights you use, the better. The background is just a sheet of white bristo(sp?) board, taped to the back wall and curled down to the desk. My digital camera is really low end, a canon A10. Turn flash off, macros on and the proper light (incandescent) setting. I have a large flash card so I take a lot of pics and choose the best ones. Monster hexagons attacked me nightly in my nightmares...
-
thanks for the updates! Wow, just looking at the legs shows the complexity of the kit
-
looks like an excellent build, but I don't like those big white ghosts, they look like halloween stickers. Also, it appears he did shading for the red, he should shade the white decals and the yellow trimming a bit to match the shaded red so they don't stand out too much. The cockpit looks really nice!
-
can't find it on kazaa lite either, any other methods to d/l? btw what format is it in?
-
that thing looks gorgeous! Any plans on recasting that pilot and seat? btw why did you choose to use a 1j head for roy?
-
I think that should cover it. Big tip, keep your grubby finger nails trimmed
-
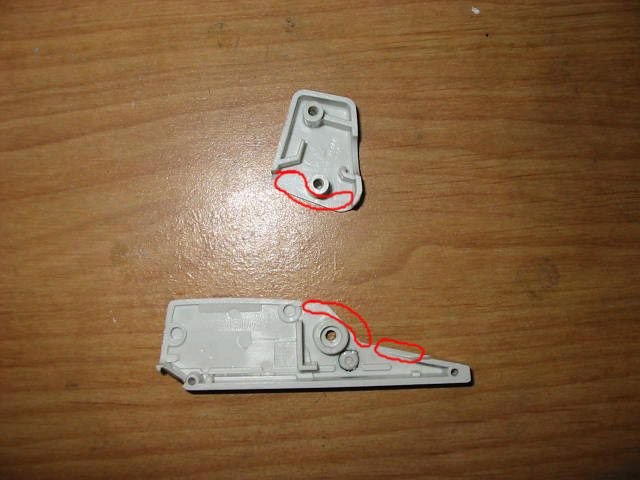
For the wings, sand this area of the backplate down, again, it's the peg that keeps the wing swivel tight.
-
for the big fat 1s head, you need to sand areas down so it can fit through easily without paint rubbing off. With all heads however, becareful getting the lasers through.

-
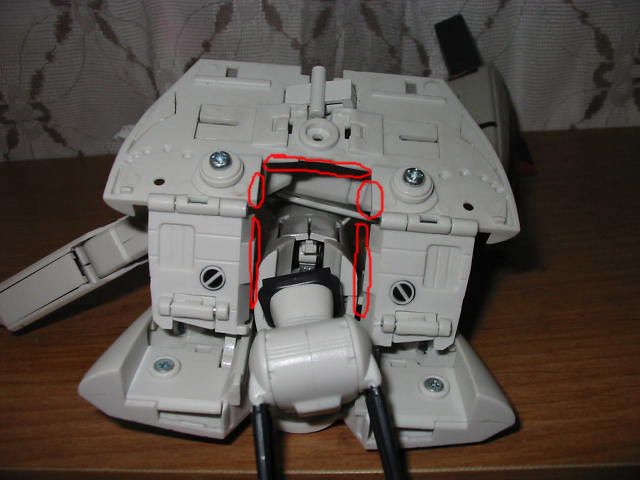
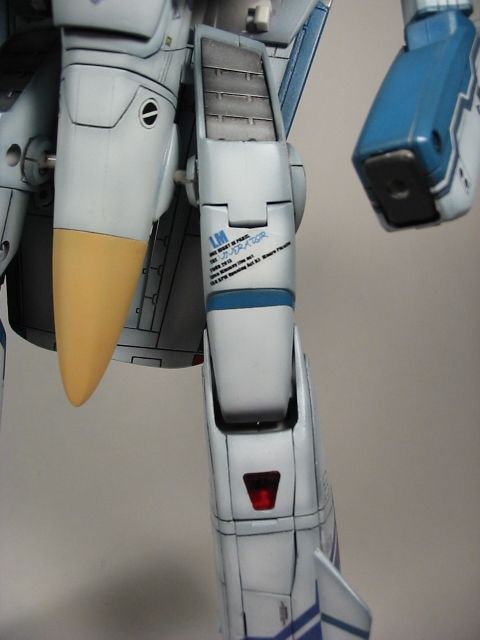
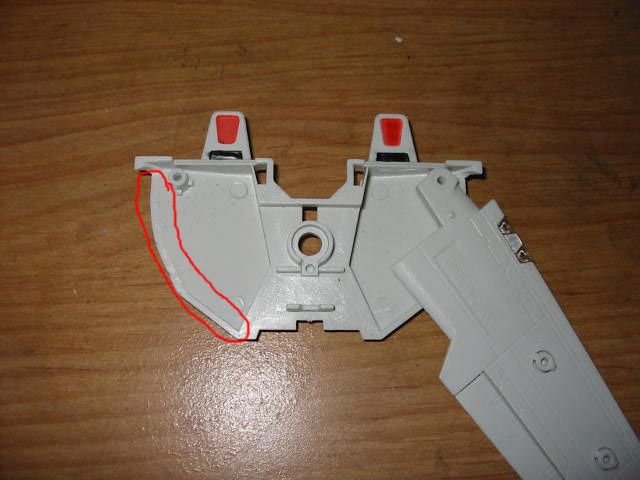
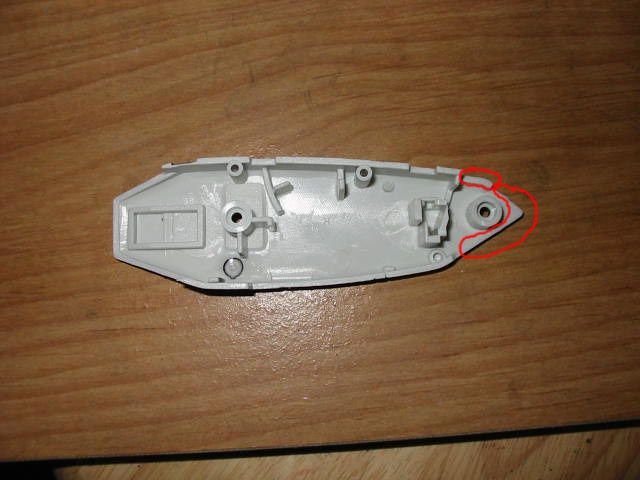
I stopped painting the top of the chest plate and the backplate, can't sand these down since they should fit tightly together in fighter mode, and hence rub against each other. Also note, I sand a bit off the shoulder mount (look at circled area than uncirled), this is to avoid rubbing against the thigh in gerwalk mode. The shoulder mount holds the arms up without having to rest on the thigh in gerwalk.

-
forgot to add, MAKE sure this little fin is DOWN when you fold the backpack up, otherwise it'll grind into the tailfin

-
The big locking peg for the legs will eventually chip off some paint on the legs.
-
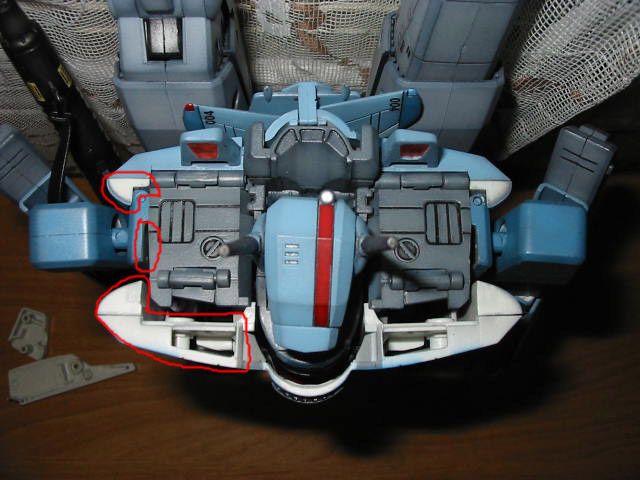
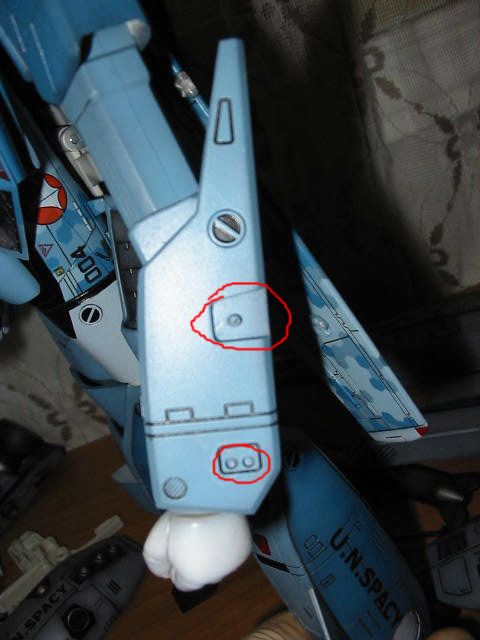
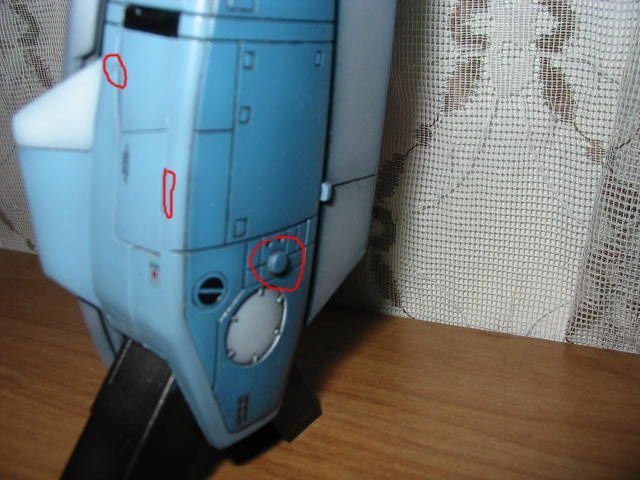
the leg peg that locks the arms in fighter mode will have paint wear, also circled areas at the landing gear doors will chip off, it's the design of the doors, again should be very minor without big chunks of paint chipping off.
-
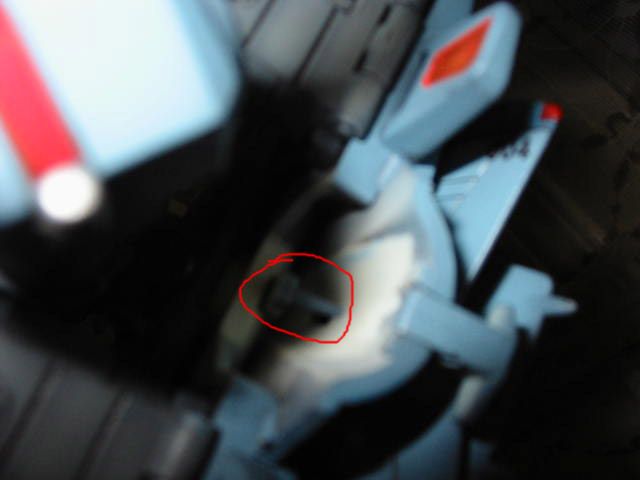
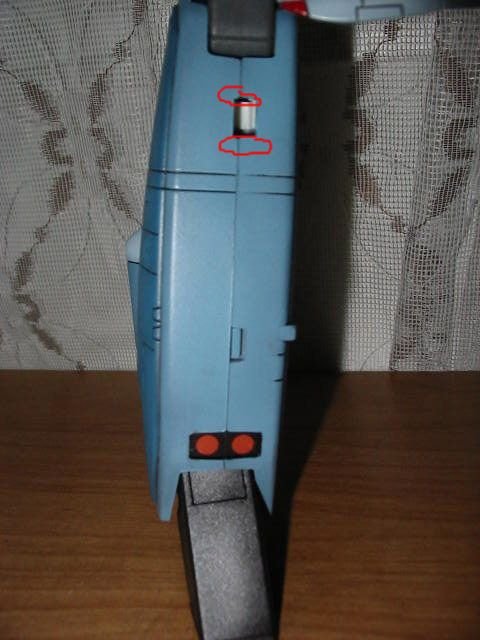
sand the underside of the "hip light" so it doesn't rub against the thigh. Blurry pic but you can make out the spacing between the "hip light" and the thigh.
-
There should be just enough space between the legs and knee cap to avoid rubbing. Just enough but not a huge gap where it becomes an eyesore

-
For the knee cap I sand down the cirled areas of the leg halves...Also the knee cap is sanded down significantly, otherwise it's a very tight fit. Don't sand down the ring area of the knee caps
-
no chipping. it also allows the heatshield to slide a lot easier and smoother.

-
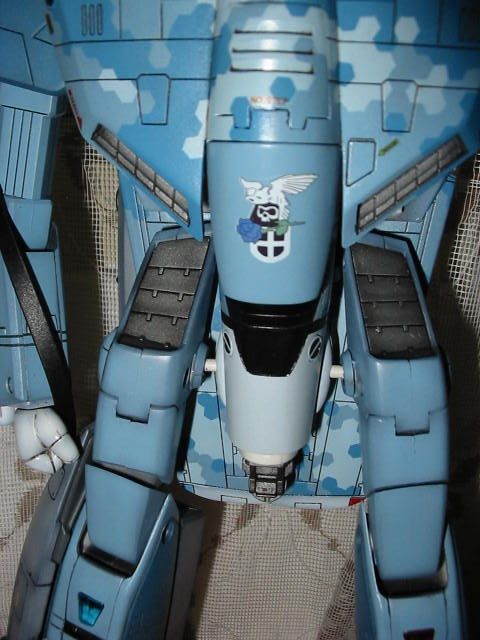
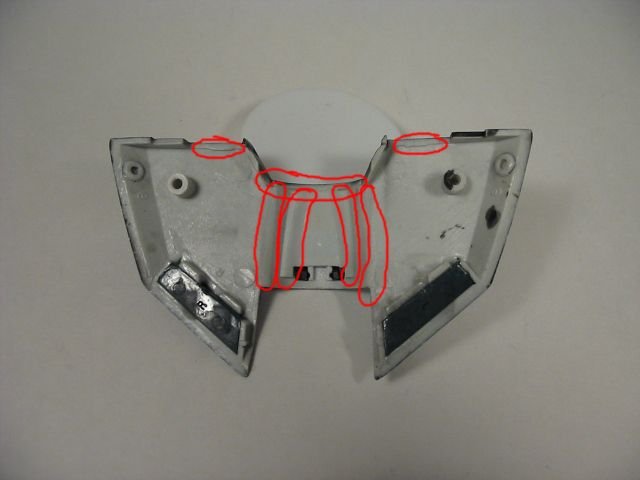
To avoid paint chipping on the heatshield, I round off the sharp corners on the underside of the chestplate. I also sand away the 2 pegs on the top corners to avoid paint scraping off the "shoulder lights" in battroid.
-
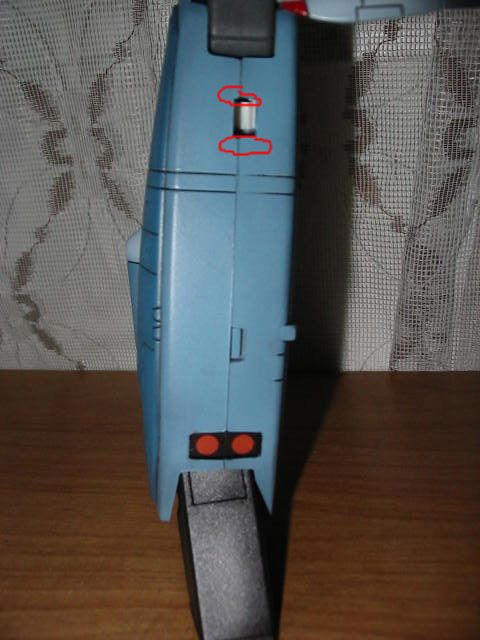
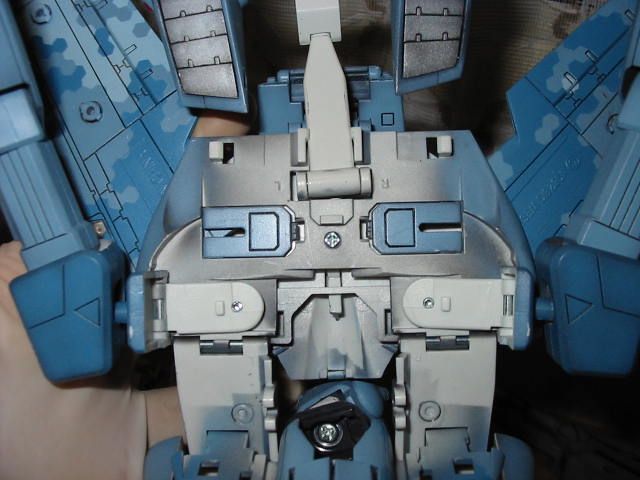
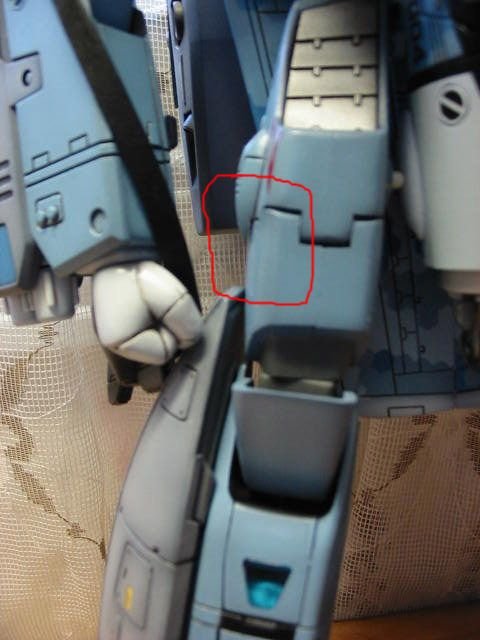
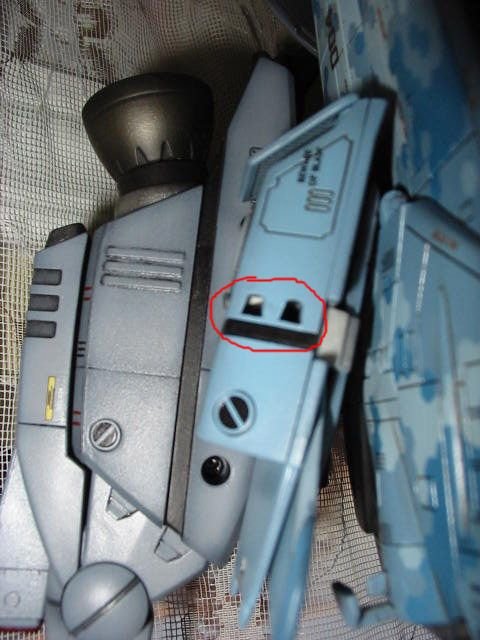
The backpack: the area that the boosters lock into place will eventually have some paint chip off, should be relatively minor, big chunks of paint shouldn't be chiping off. Also note, NEVER push down the tail fins together tighly, don't "grind" them against one another when folded, always keep this in mind when transforming and removing the boosters.
-
I don't bother painting the back of area, this is out of sight on all modes

-
paint that rubs off on the arms are the pegs that locks the arms together and arm armour. Only the paint on the peg should rub off, you can see in the pic some paint on arm armour peg rubbing off. No big deal.

-
This might be slow, I'm watching the basketball game as I do this Again, there's no looseness to the joints in any of this, all the joints are either peg and hole joints or springy ratchet joints, don't touch these! arms: Circled areas are sanded down to avoid the rubbing of the middle arm pice..
-
I'm in veg mode today, so I'll try to answer. Note: this applies to myself, I don't know how others do theirs. Of course, customs cannot be treated like toys straight out of the box, however they are obviously more durable than models. The 1/48 lends itself far better for customizing than the 1/55s. The biggest reason being the design of the swing bar. The 1/55 swing bar "grinds" against the nosecone, so the spring had to be loosened to avoid/eliminate paint chipping from that area. With the 1/48's design, this is not a problem. Overall you don't have to loosen any joints, it's just as poseable and tight as ever. Definitely not static display pieces, although I don't like displaying in armoured battroid mode. Armoured battroid is really back heavy, you definitely don't want a painted piece dropping to the floor Definitely get something to support it if you want to display it in that mode. Transformation should be taken slowly, the hands should be removed, there just isn't enough space in the forearm housing. Always remove the nosecone when doing anything(poseing, transforming, missile attachment/removal etc..). Paint on sharp corners are easy to chip/wear off. Paints, I use enamels, it's stronger than acrylics, and readily available unlike lacquers. Big downside for me is that it's highly toxic, I having a painting room where I have it set up that I paint right next to a large window with a fan blowing out. Room has 2 windows so there's excellent ventilation and of course I wear a respirator. I'm gonna disassemble a 1s and take some pics to show areas I sand down to avoid paint rubbing off.
-
Awesome, great job! Best Rook kit I've seen! I love seeing built mospeada kits
-
check out this site: http://codyscoop.com/gk.shtml Although it's a modeling site, the techniques can be applied to your toys. Oil wash/paneling is in the Weathering Mecha section. There's some really nice weathering techniques there aswell. He even has a section on building the hasegawa strike hikaru.