Jung
-
Posts
381 -
Joined
-
Last visited
Content Type
Profiles
Forums
Events
Gallery
Everything posted by Jung
-
definitely needs a longer neck, and looks fat aswell hehe. Does it fit properly in fighter mode?
-
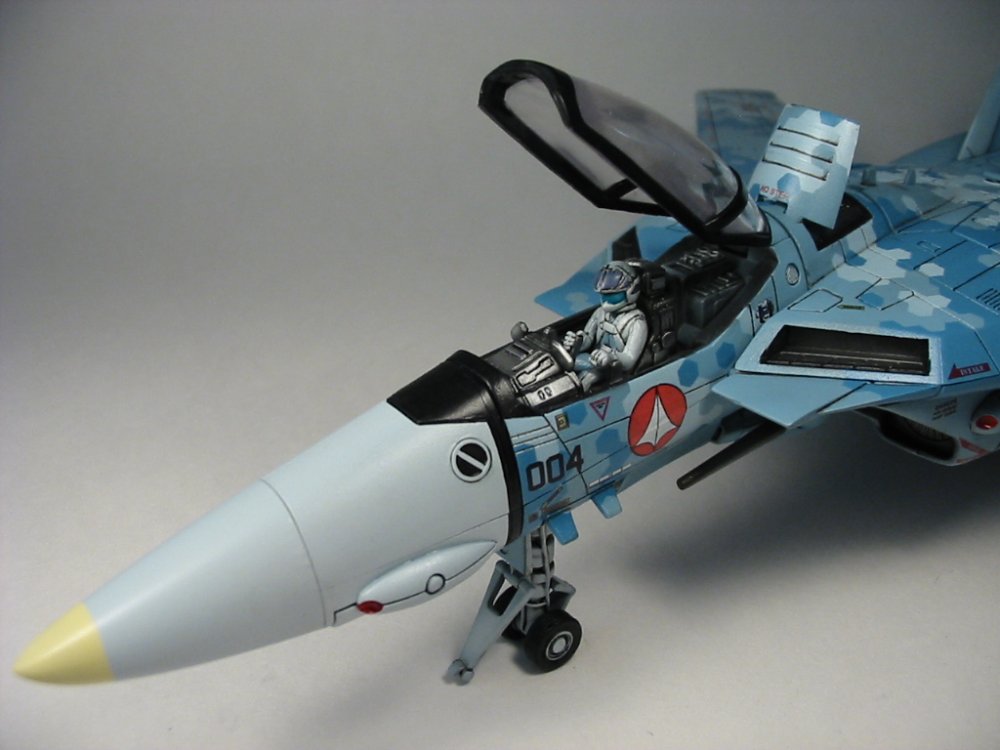
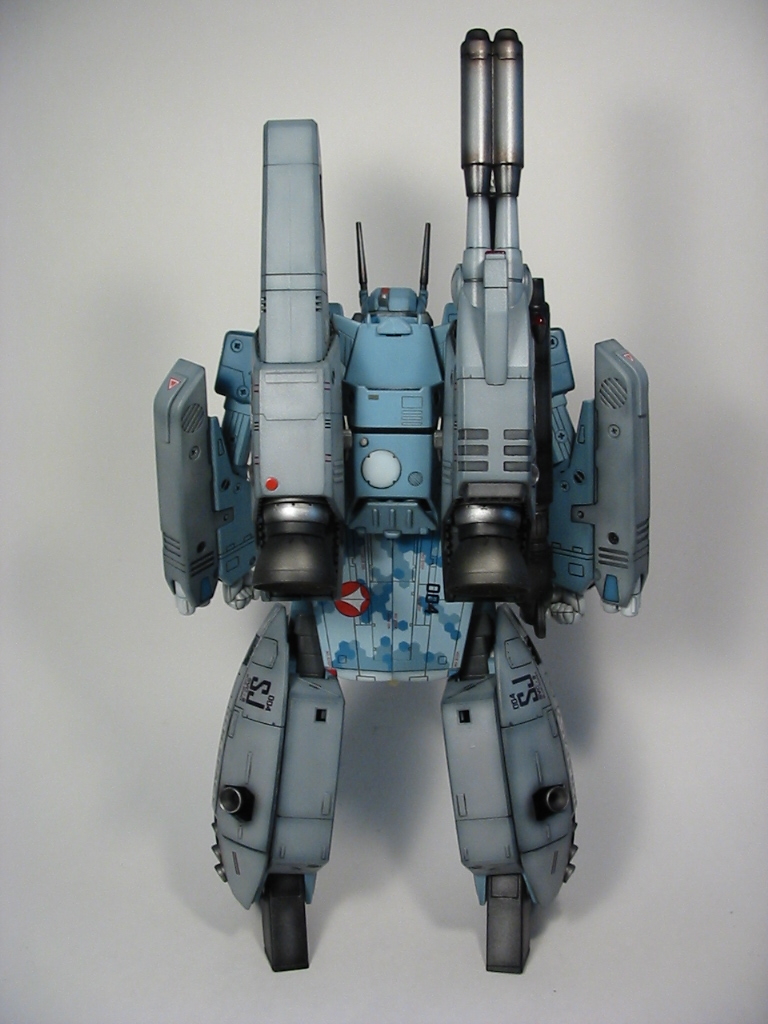
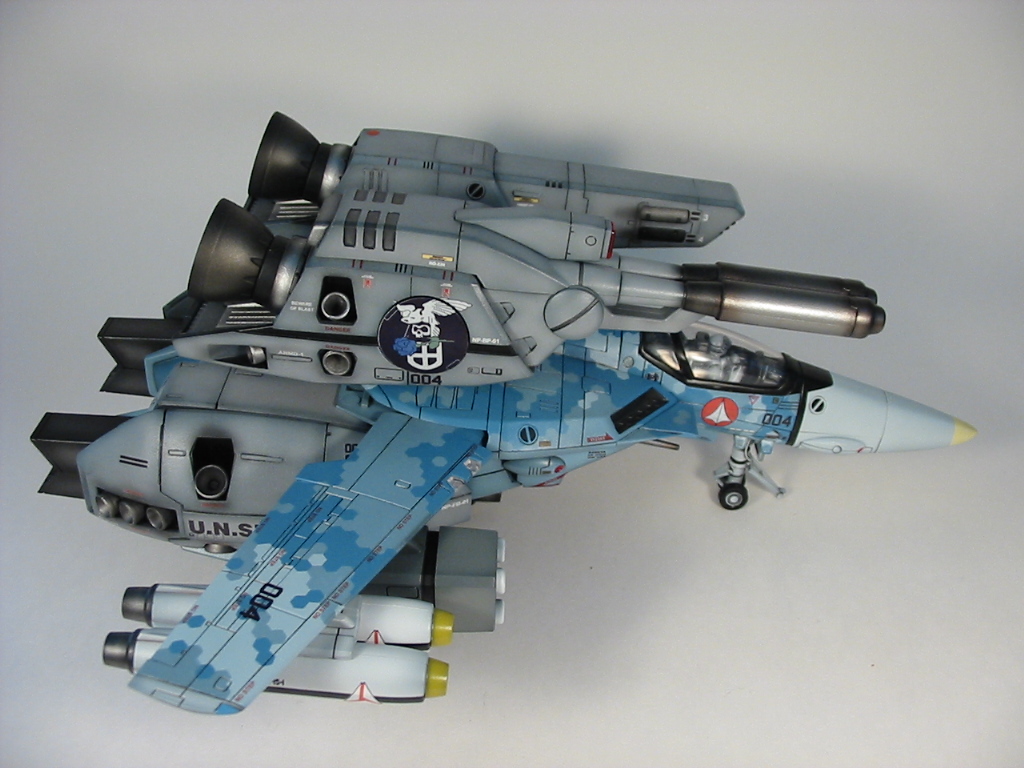
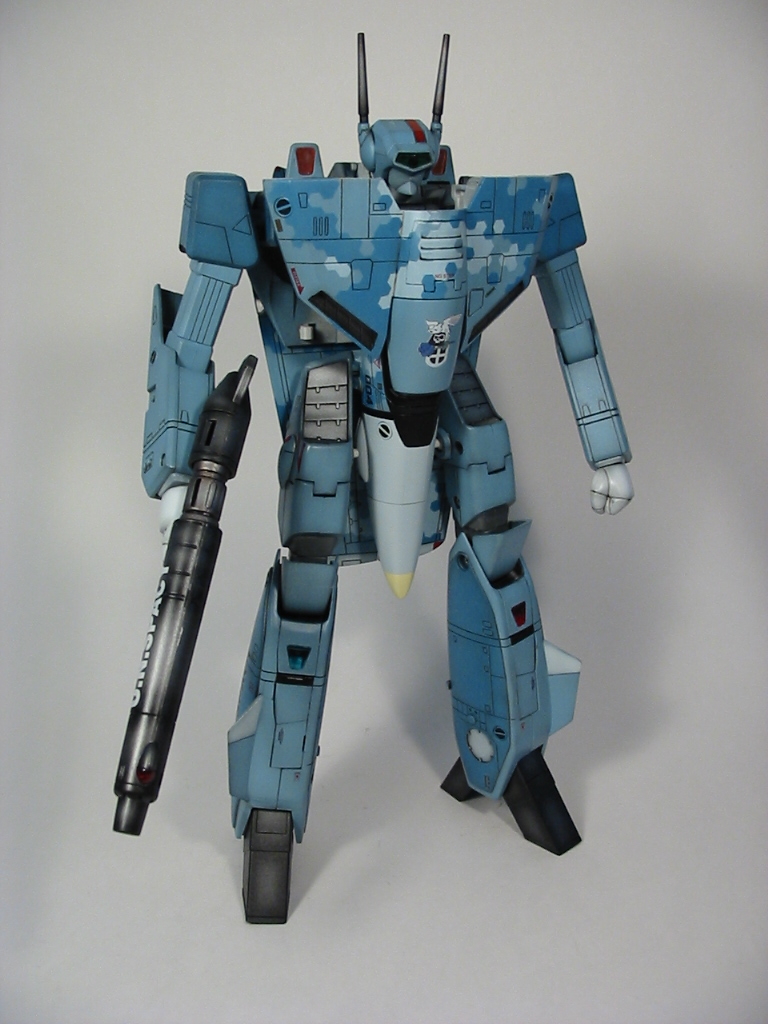
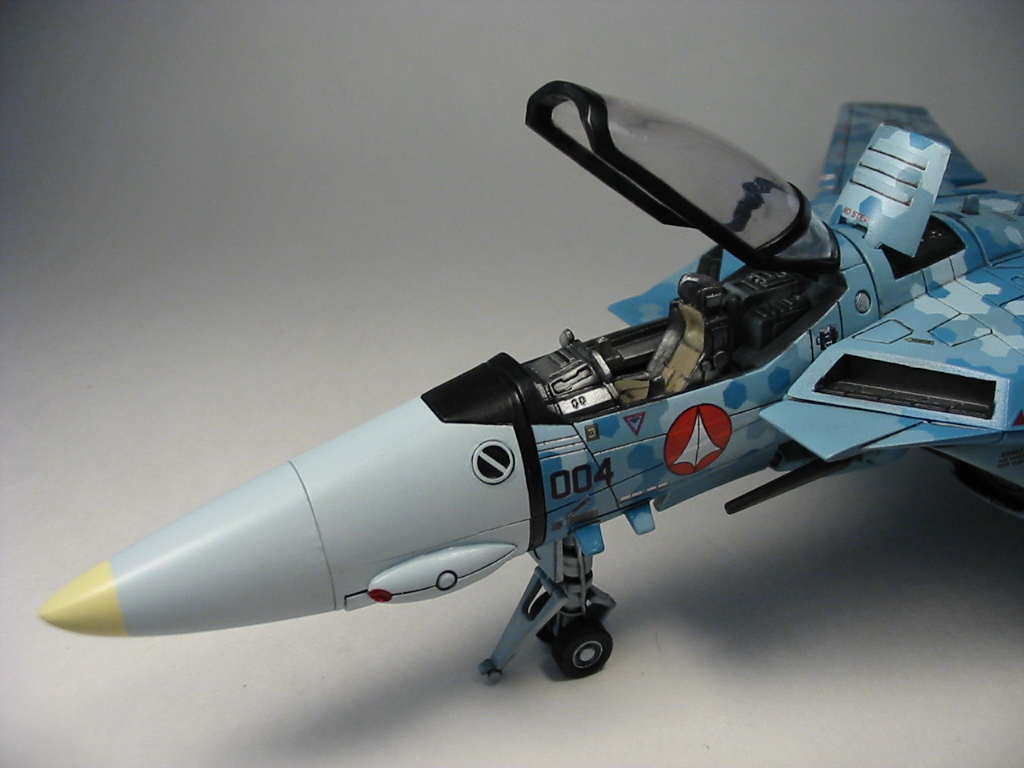
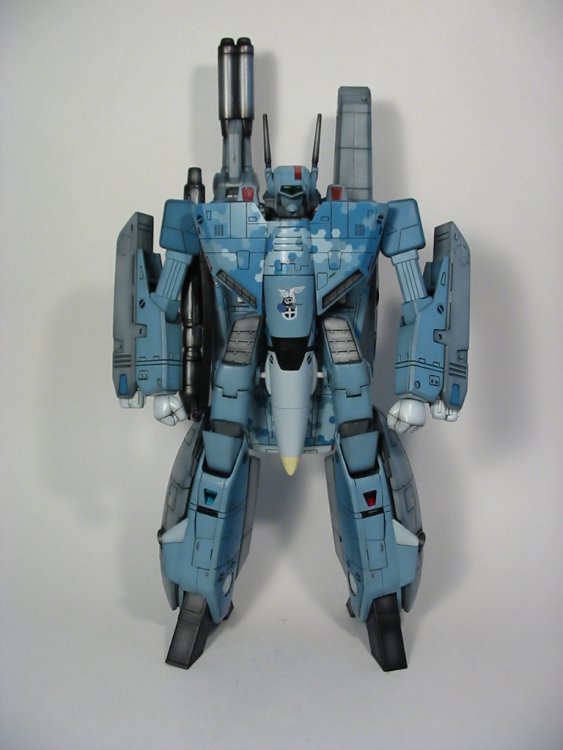
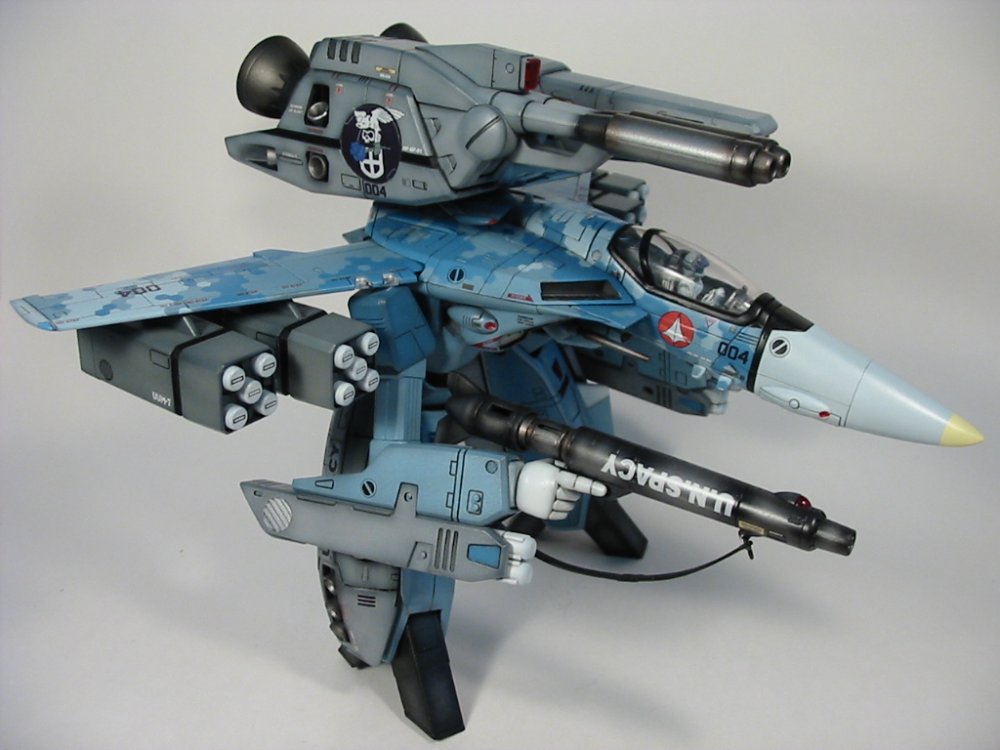
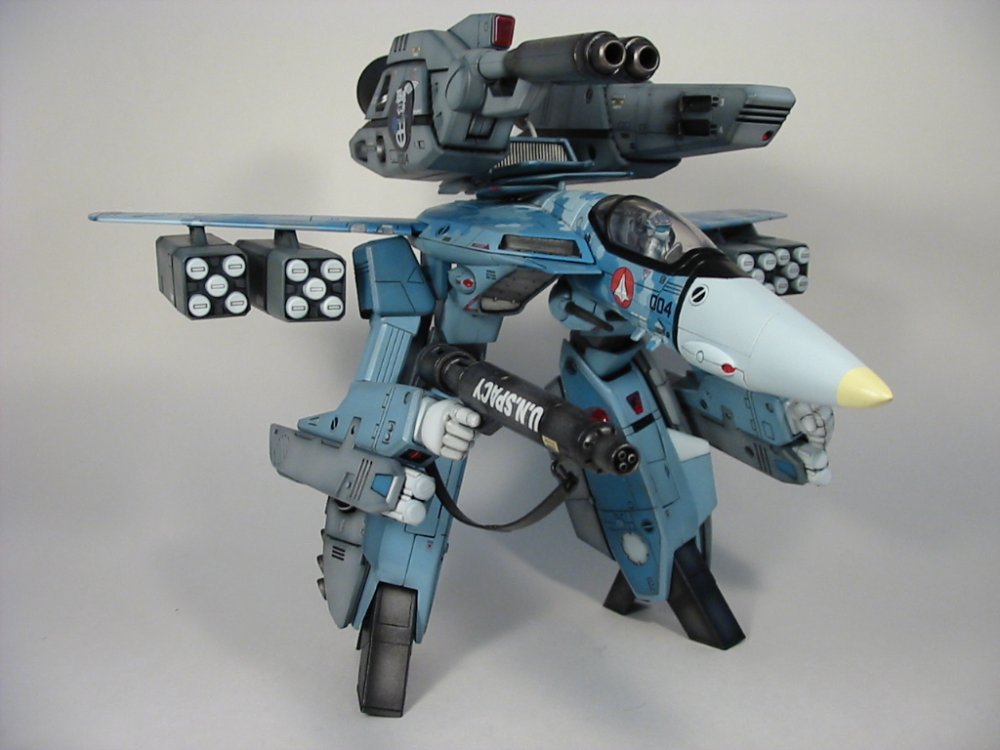
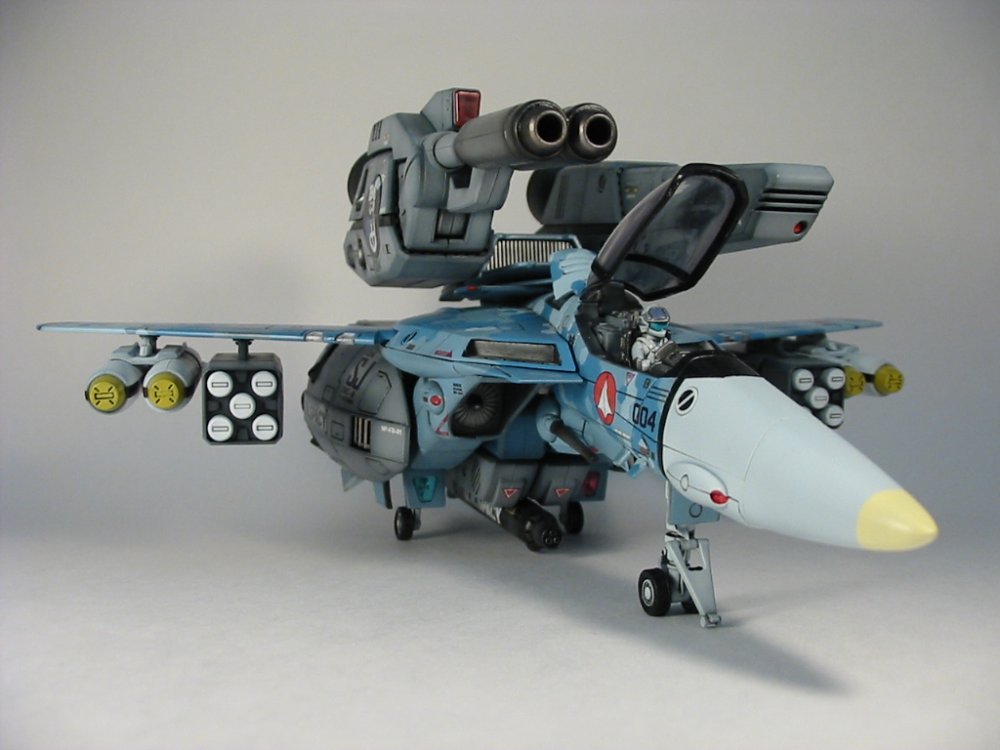
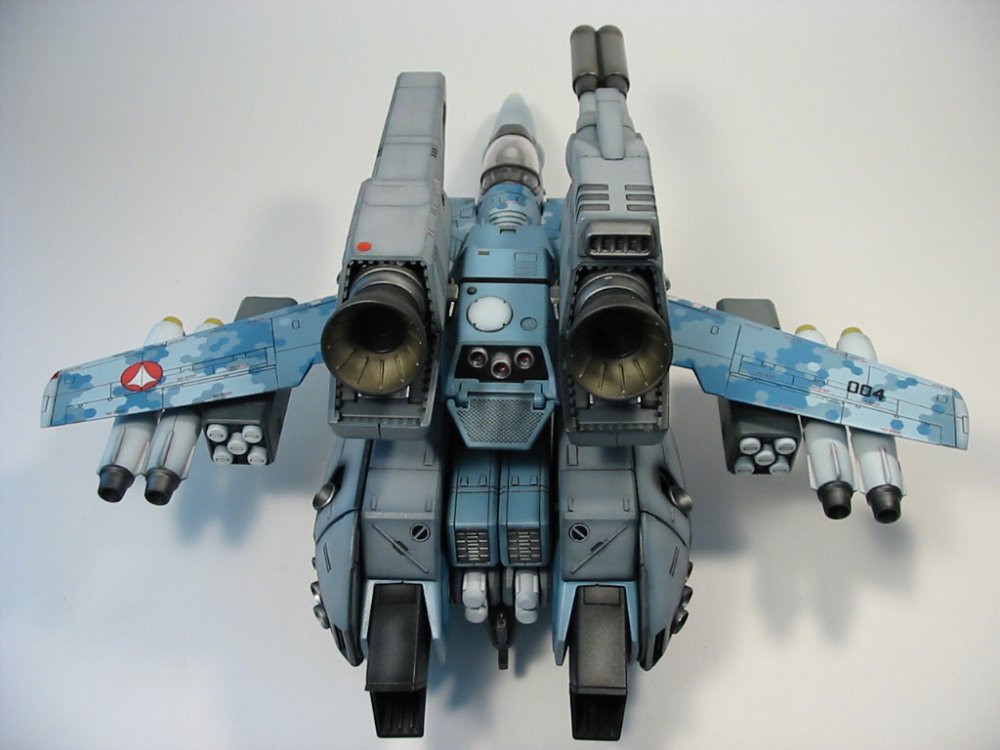
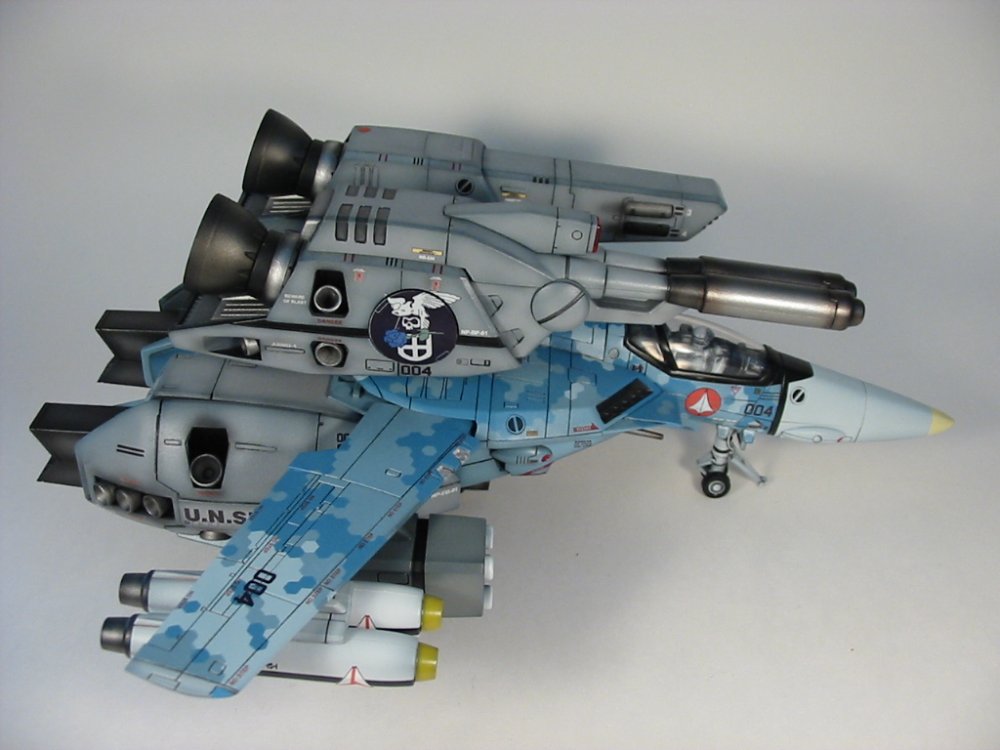
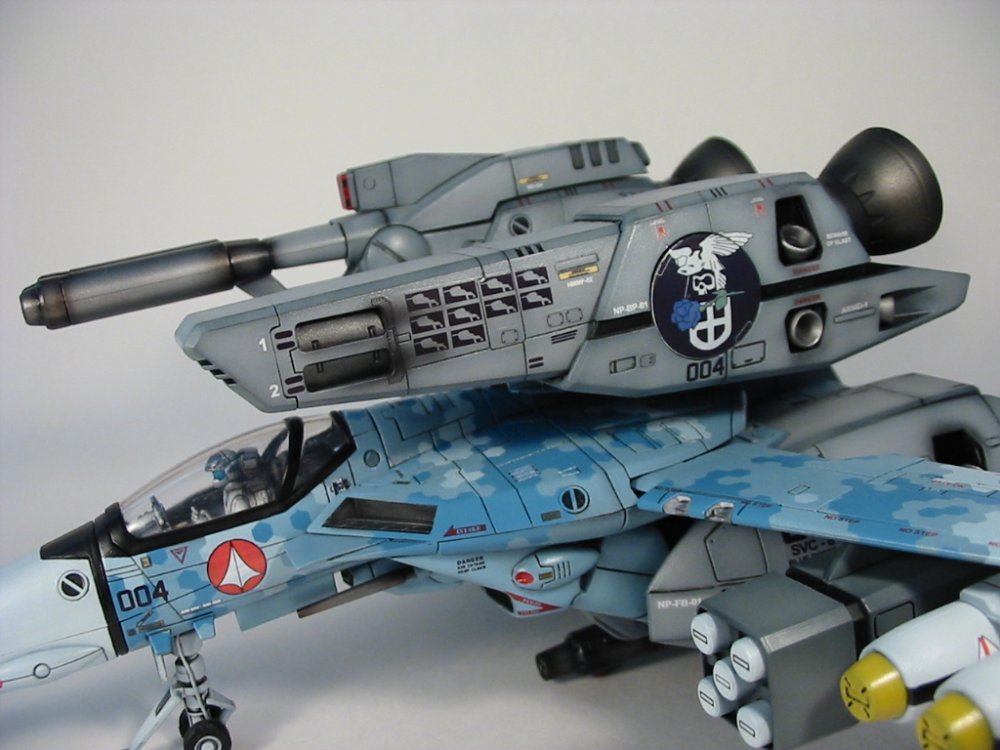
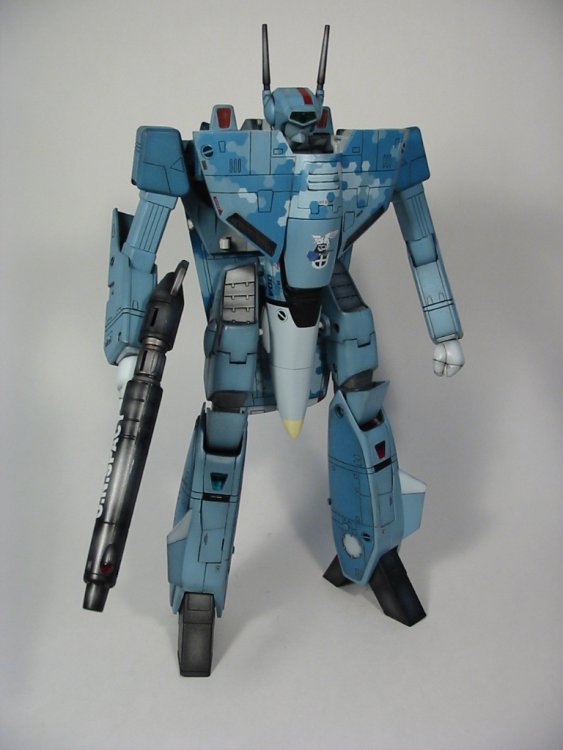
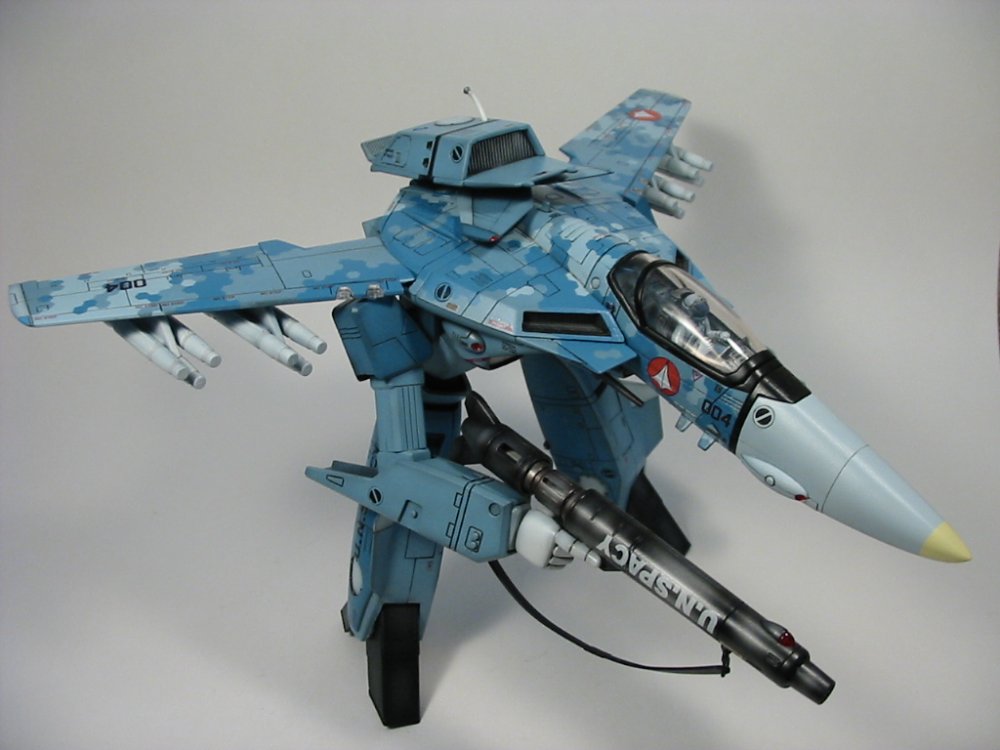
All the ones that appeared in the Japanese magazines showed it as a vf1j. That's a very cool site, thanks! the camo is painted, the markings are from Devin's sheet.
-
Hi Christopher, please put me down as confirmed. thanks
-
Too cool! do more!
-
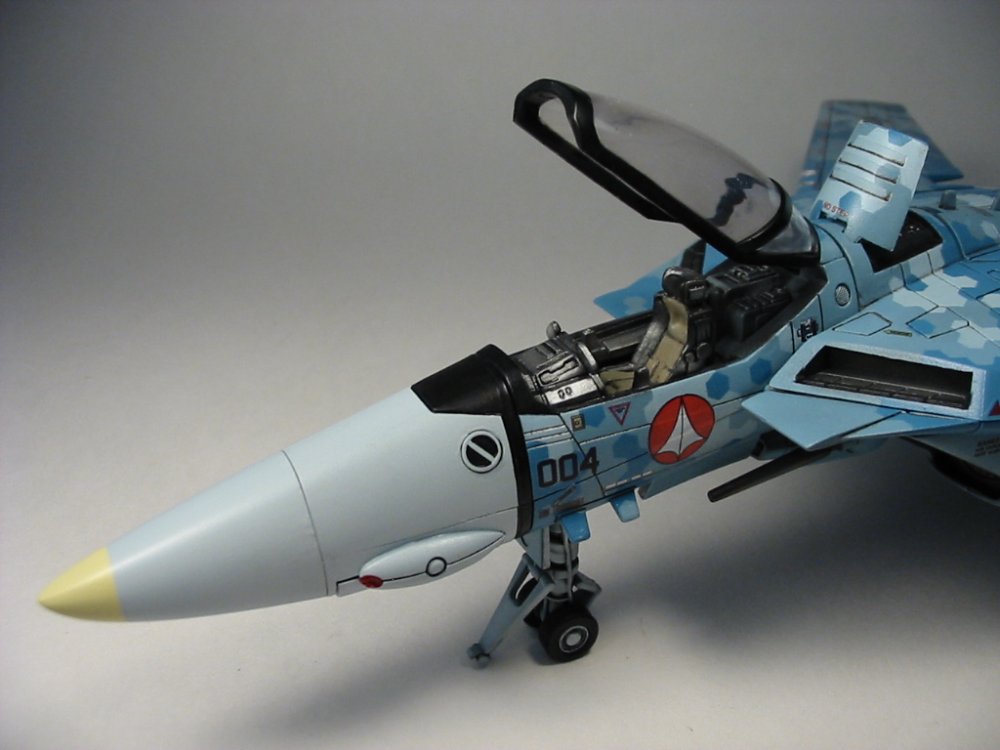
too many hours the paint scheme appeared in japanese magazines, there's 3 schems to the Blue roses squadron, the dark blue, this blue camo and a desert camo. I'll tackle the desert camo next to complete Gene's BR squadron
-
I use enamel paints. Out of the 3 types of paints you encounter in modeling, enamels, lacquers and acrylics. Enamels and lacquers are the most durable, but ver toxic, use HIGH ventilation. Lacquers are very difficult to find though, you pretty much have to order them from Japan. Acrylics aren't as durable, but a lot less toxic to use(windex/soap and water to clean). Wear a respiration/filter mask whenever painting. Aside from the durability of the paints, you really have to pay special attention to areas where the parts rub against each other. Sand those areas down (knees, wing housings, inside chest for the heatshield, arm joints, leg joints etc...) If you're uncertain, prime first, than put the valk back together and than transform it, it'll show you which areas needs attention and fixing.
-
funny thing is that if Yamato wanted to do this, they can do it easily ,than doing it by hand, with the greatly improved painting techniques in toy production. methinks
-
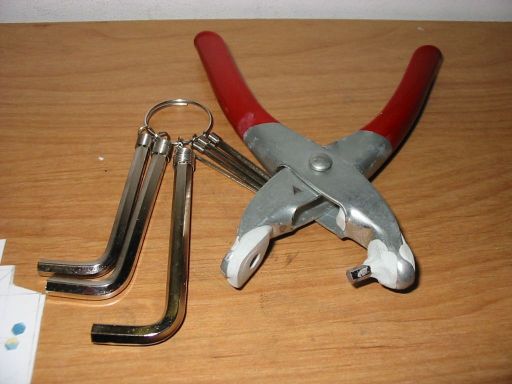
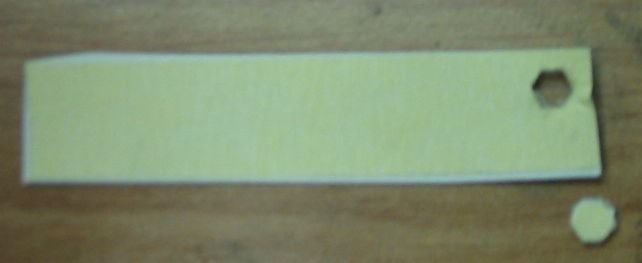
pealing it off is a real pain, had to use my hobby knife, imagine doing it 100+ times...ugh, so try to find some really sticky masking tape so you can reuse the hex stickers
-
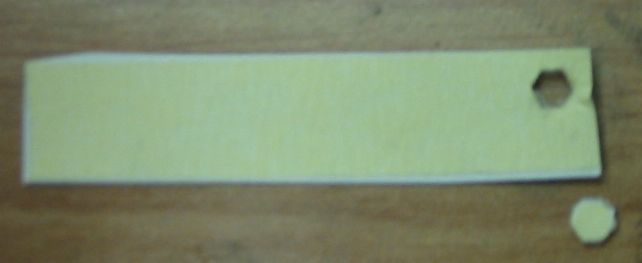
Couldn't find any commercial hexagonal hole punchers so had to build my own. Here's how I did it: Materials: 1)hole puncher 2)set of hex keys 3)epoxy putty take apart the holepuncher so you can thread your hex key through. Use putty to secure the hex key. Let it cure for the appropriate amount ot time. For the hex hole, I placed some putty and than wet the hex key and push it through the putty. Than let that cure, pretty easy. For the masking stickers, I used thin cardboard with a glossy surface (comic book backing, cereal boxes etc..). Than just apply the masking tape on the glossy side so you can peal it off.

-
asdf

-
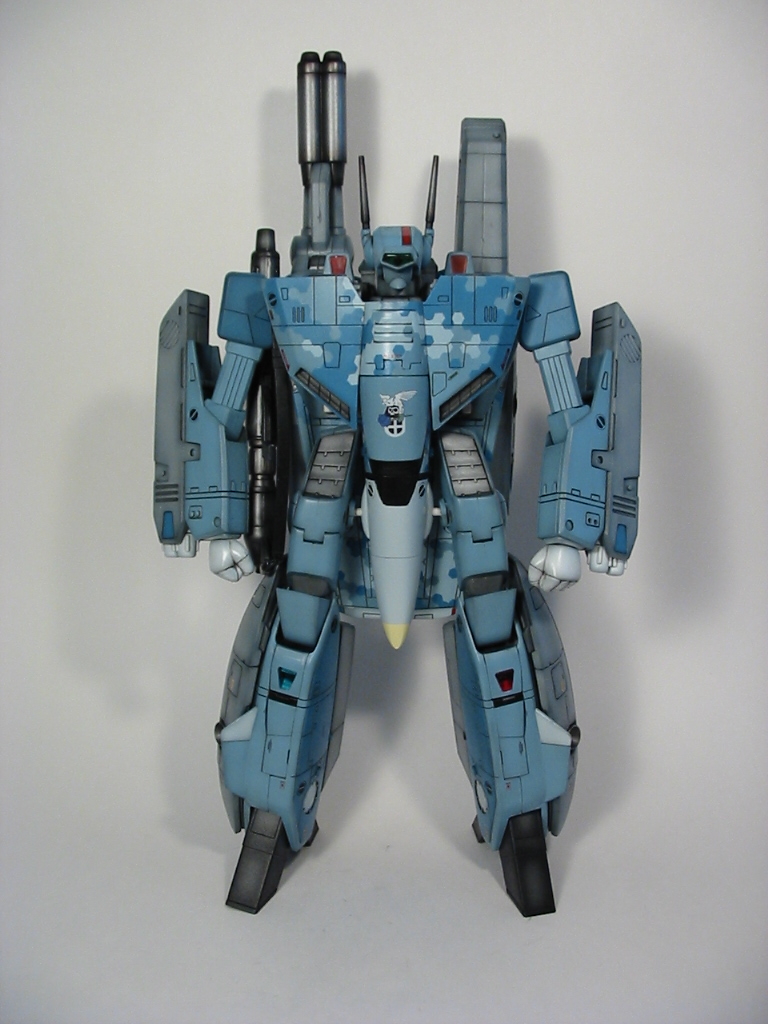
battroid fp
-
asdf
-
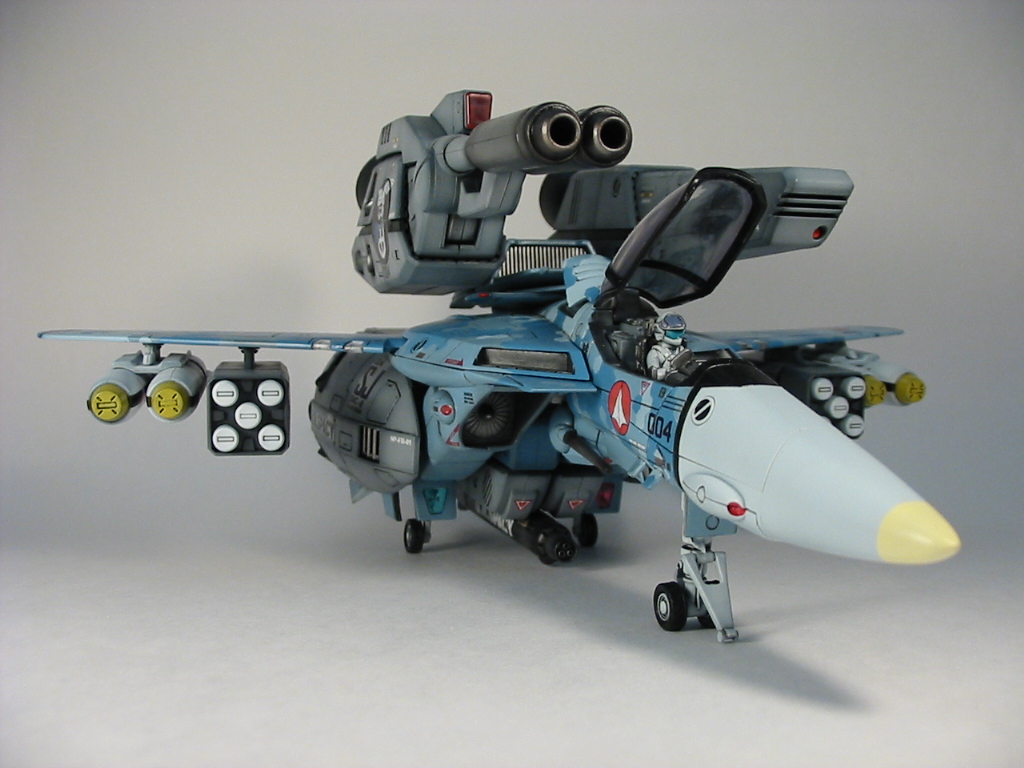
gerwalk fp
-
asdf
-
asdf
-
asdf

-
asdf
-
asdf

-
asdf

-
asdf
-
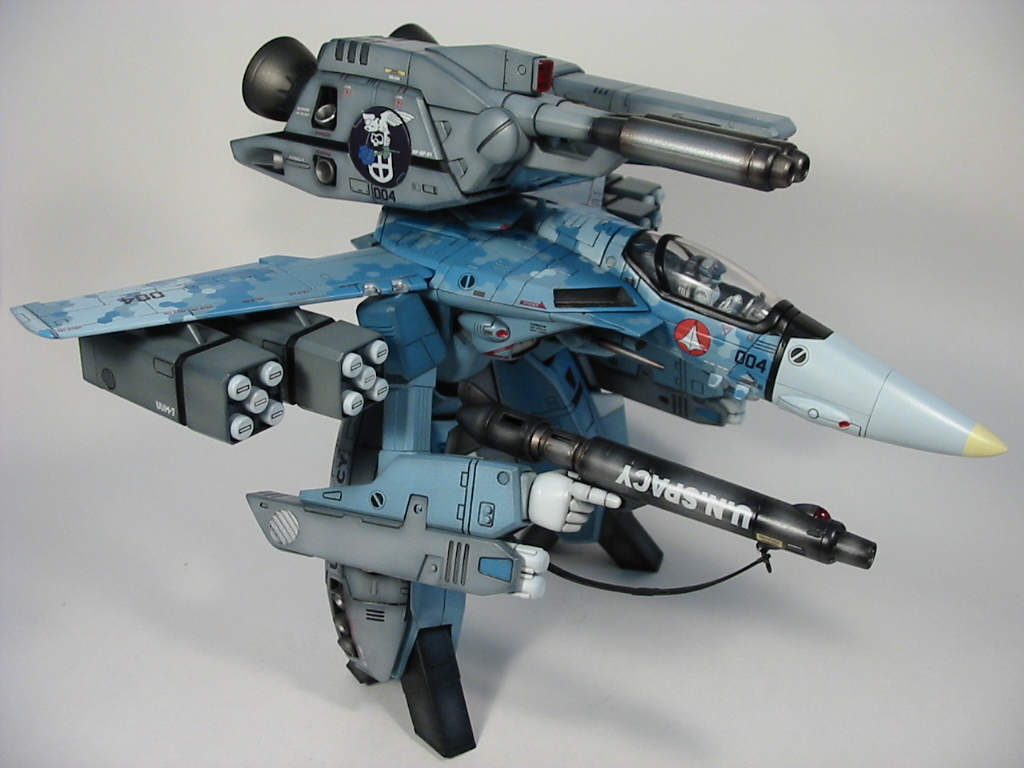
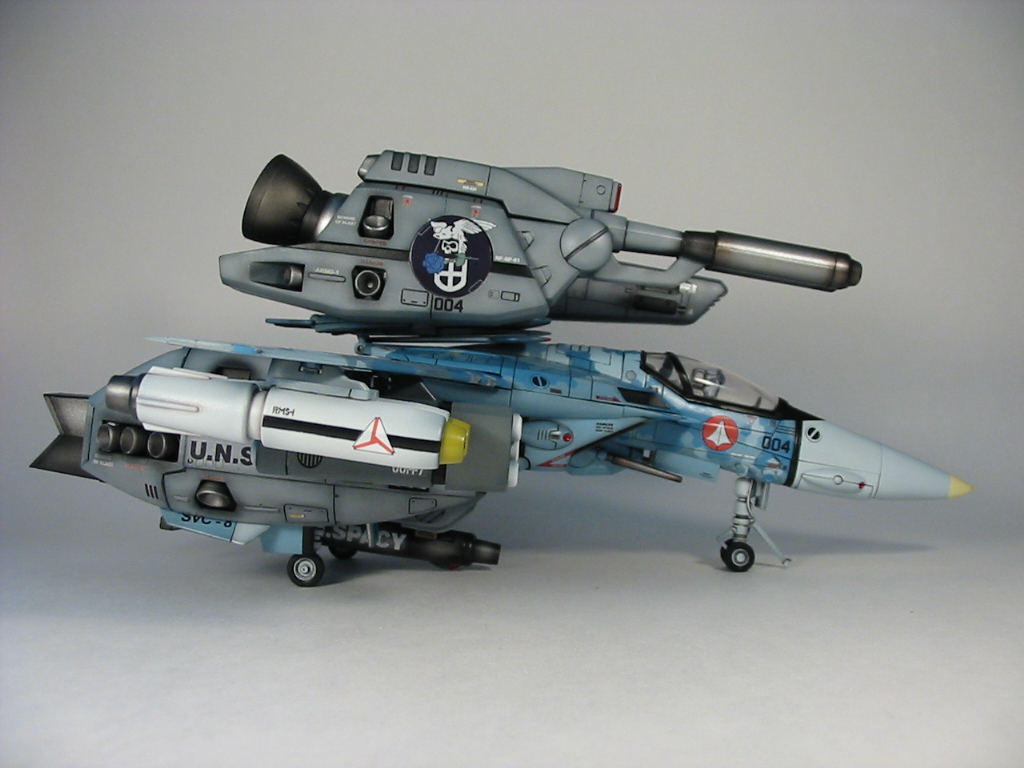
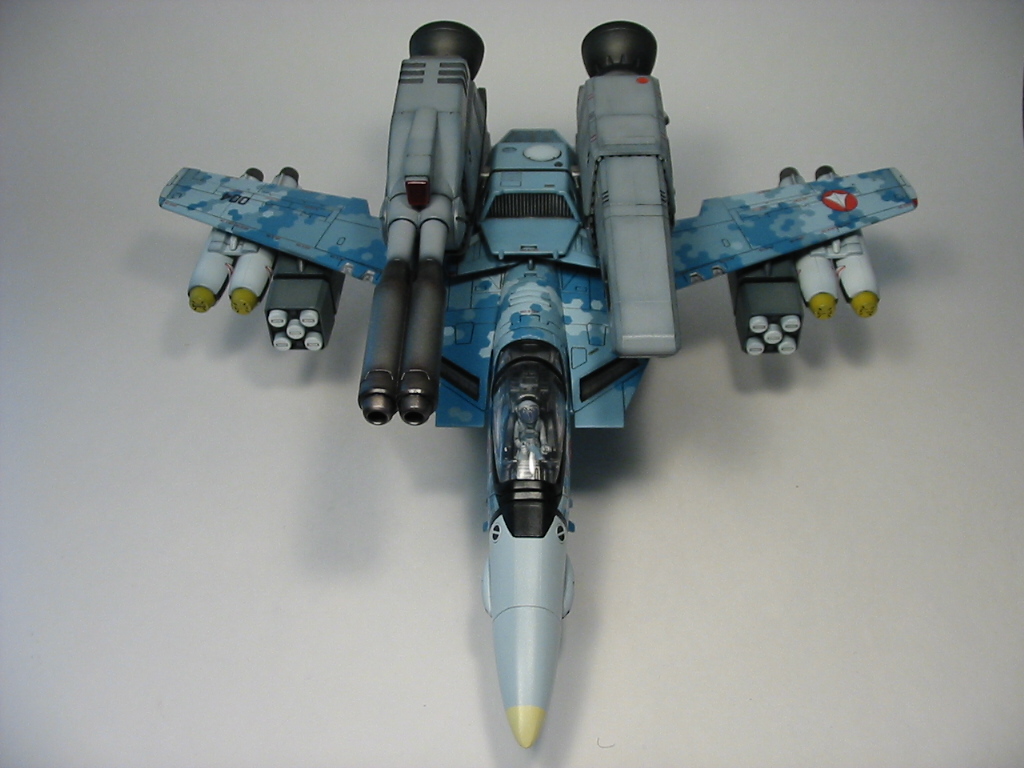
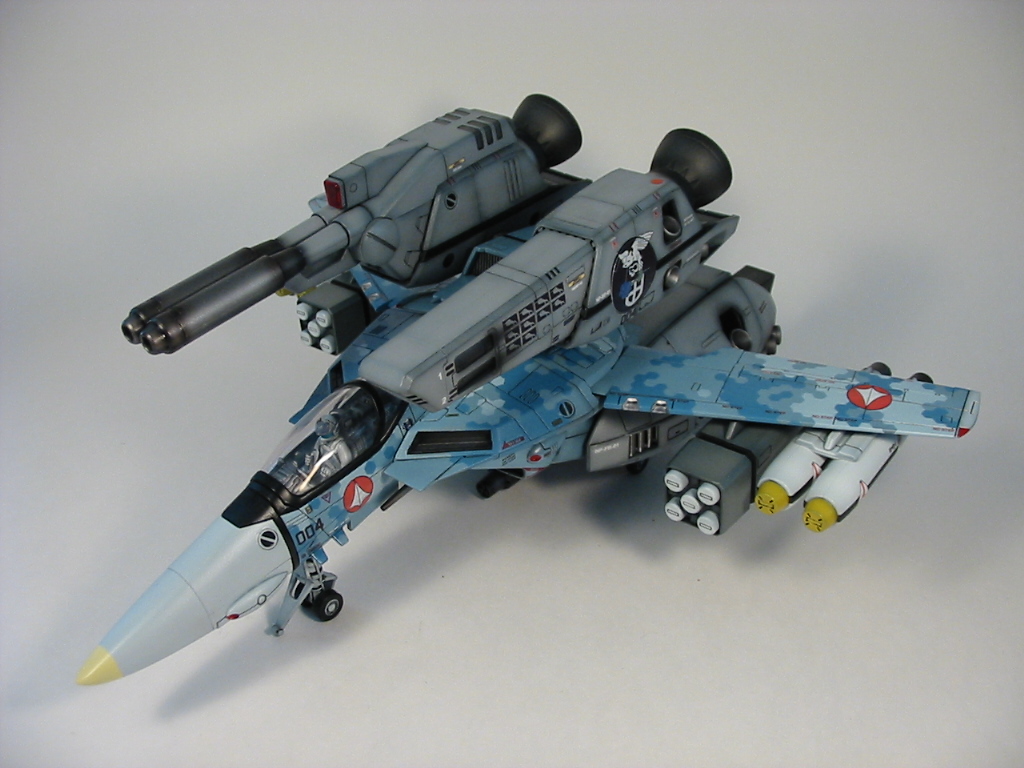
Fast packs fighter:

-
battroid
-
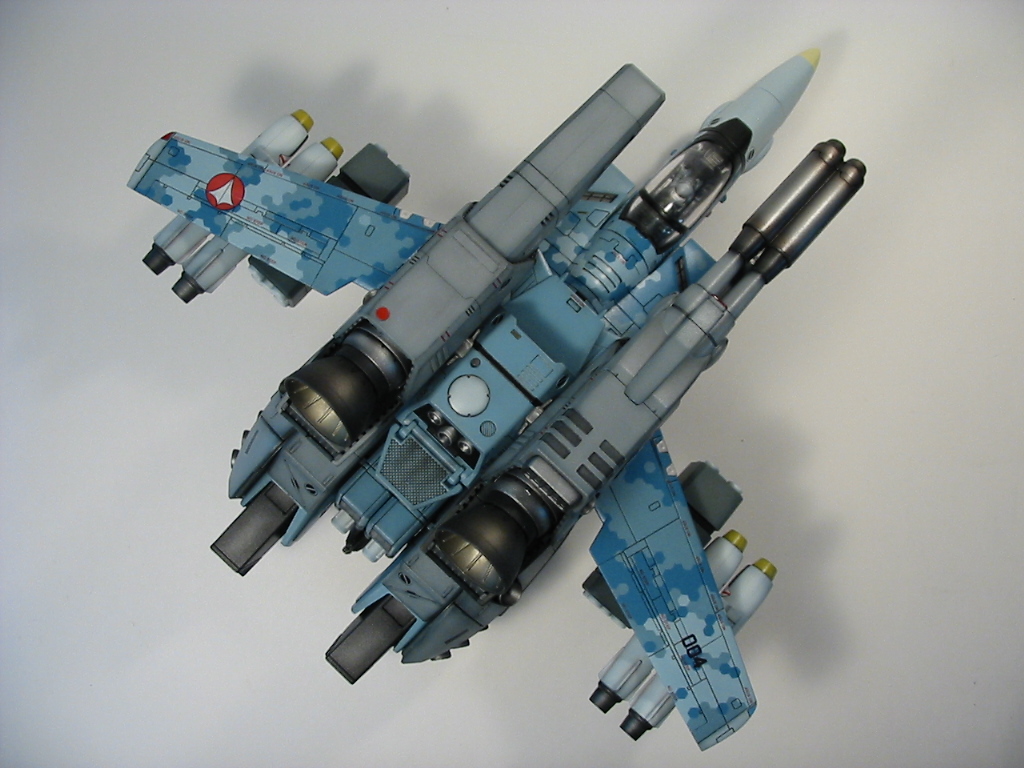
gerwalk
-
asdf
-
asdf