Cesar Enrique
-
Posts
164 -
Joined
-
Last visited
Content Type
Profiles
Forums
Events
Gallery
Everything posted by Cesar Enrique
-
I hope regult and Glaug are not as awful as this one.
-
I love it!! I want to see the final photos. I hope John re issue this in the near future.
-
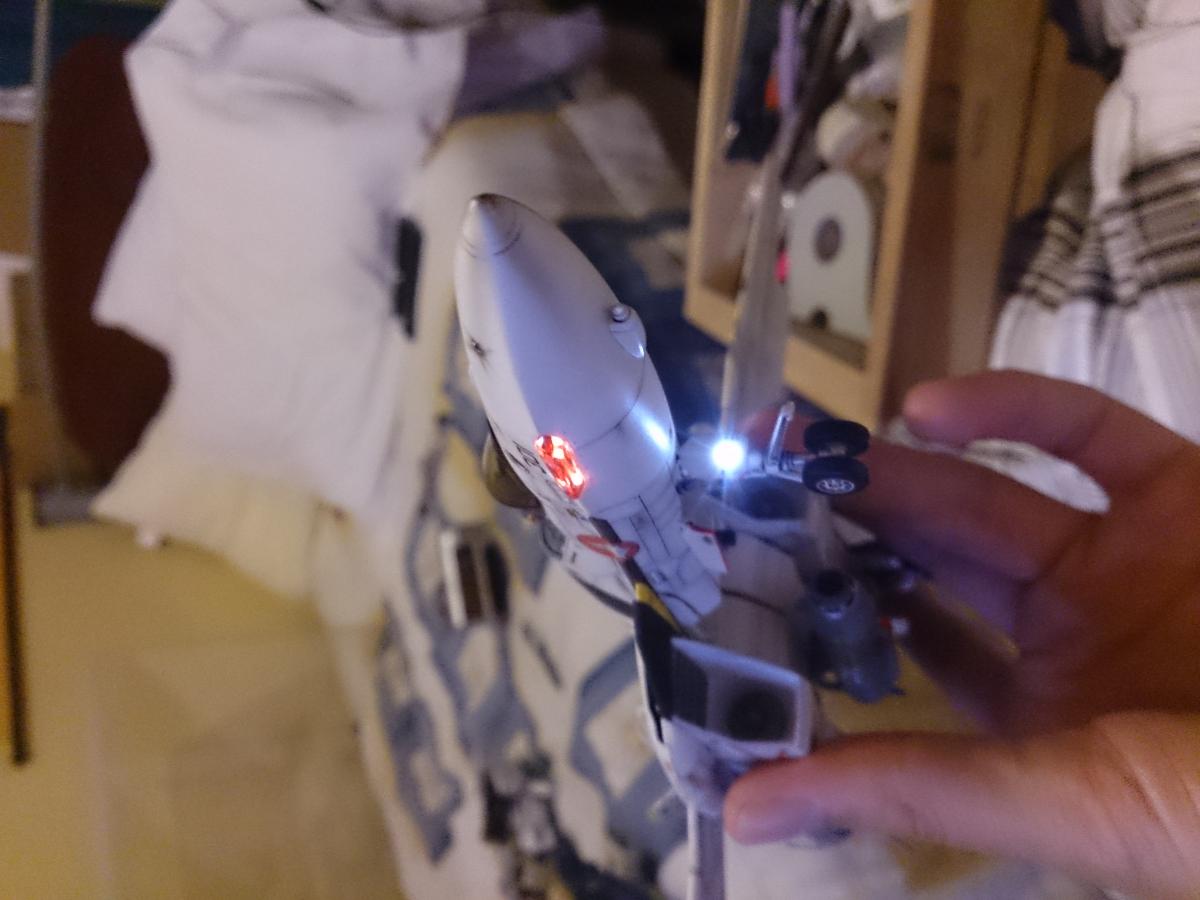
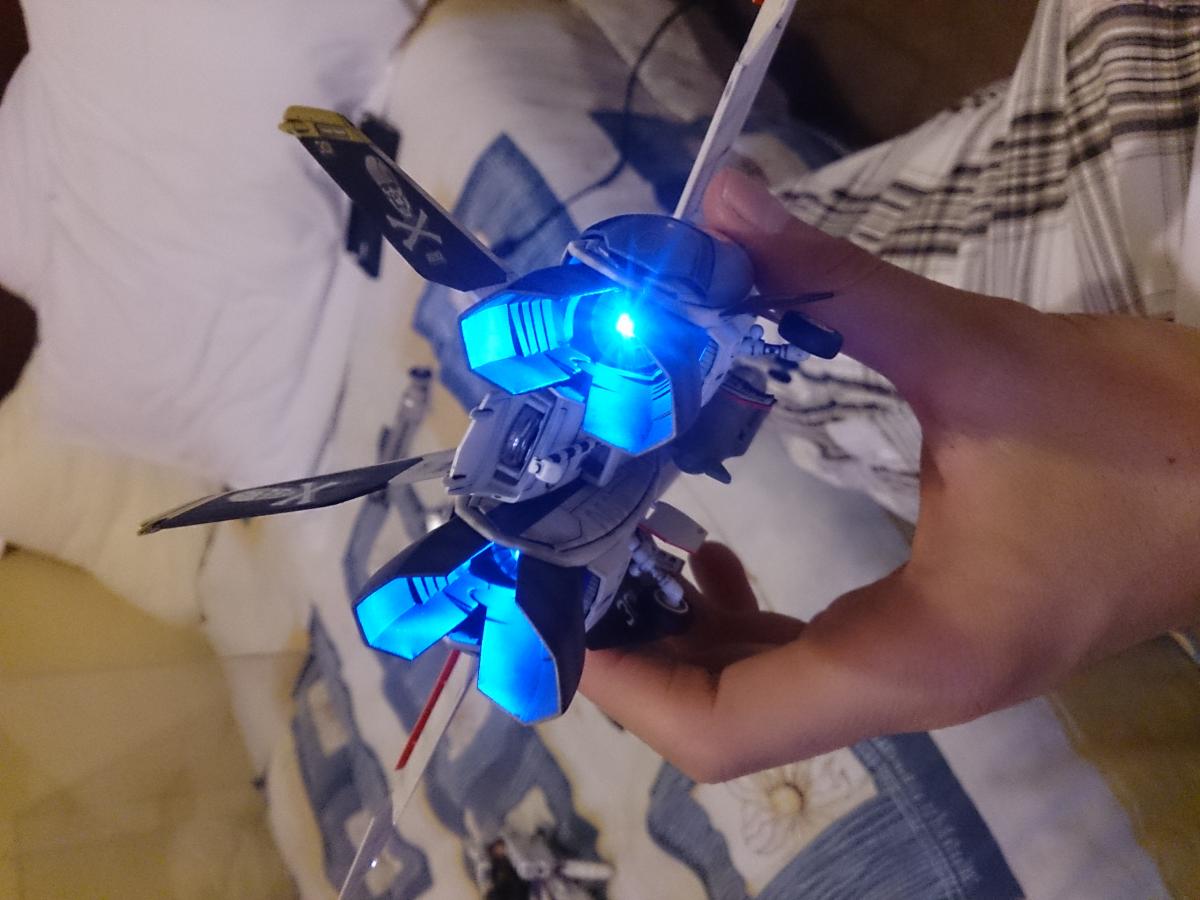
They are micro leds, I make my own sockets to receive watch batteries and added 3 mini switches hidden in the fuselage. I will upload pictures soon.
-
Testing the lights on this vf-0s hasegawa, old kit. Needs some touch ups for a proper photo shoot.


-
That is a movie... A good one.
-
MOSCATO'S GLAUG COMPLETED RESIN KIT AMAZING!!!!
Cesar Enrique replied to tdo7623's topic in Model kits
... Wow!!... I'm spechless... Impressive paint job. What modifications he did on the legs? Can you tell us please? I don't have the Moscato's glaug kit, so, can't tell where it was modified. -
In the meantime, I found this, it's very similar, if not the same. http://kirorohobby.blogspot.sg/2013/01/172-pod-regult-bandai-kit.html?m=1
-
I have them all, but those are on my computer back in home and I will be out for 2 months. As soon as I have the chance I will post them here.
-
Interesting, now there are several of us who are working on a regult, I am working on 2 regults, a regular regult Bandai 1/72, and another bandai that I am scratch modifiying into a SCOUT, sadly, I will be working out of the city for 4 months and will stop all my model making, but I will watch yours guys.
-
Thank you, I wanted to represent burnt paint, due to hight speeds, or being exposed to the sun in space, I really love dirty Sci-fi mechs, valkyries will not be the exception in my collection.
-
I'm eager to see the final photos, you created a lot of expectation with this awesome progress. I started a regult too, it's a Bandai, sadly, I didn't bought any of the Moscato regults.
-
Thank you. It would be very long to explain each technique used,I used airbrush, brush, oils, pastels, and a lot of practice of different techniques, also it was a project of many months of careful work.
-
Thank you spanner76, I'm sorry, I didn't took progress shots
-
Thank you. I'm terrible at painting pilots, I painted both figures included with the weapon set... they look awful, it's better not to use them hahaha.
-
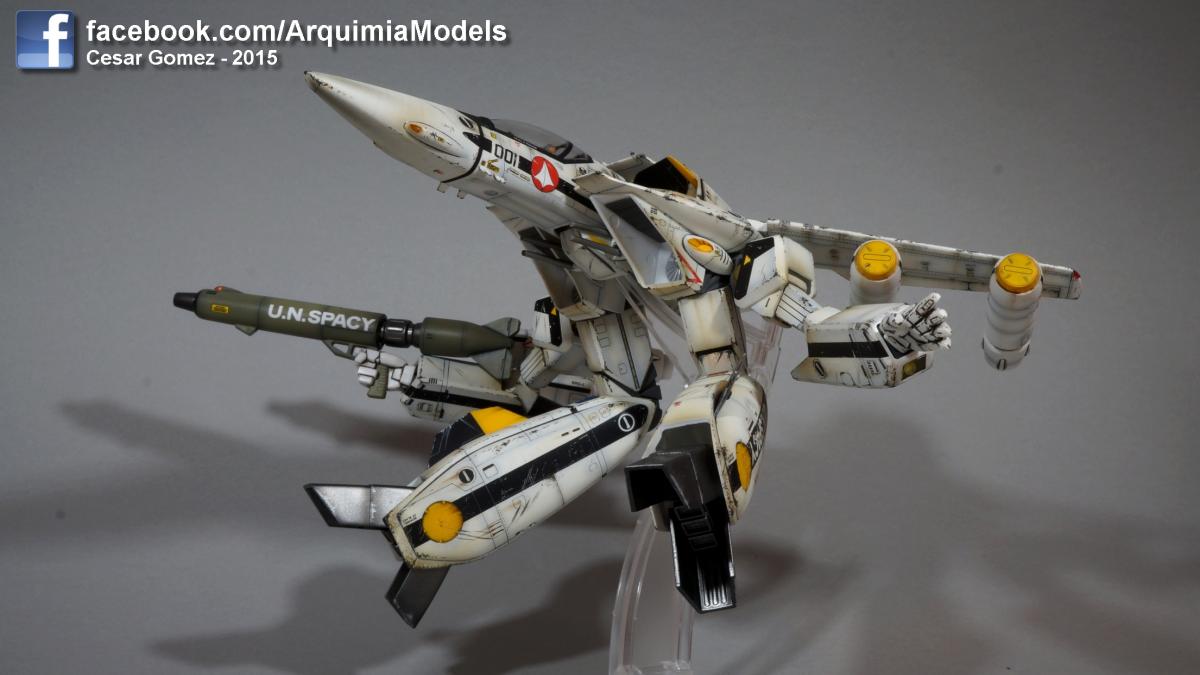
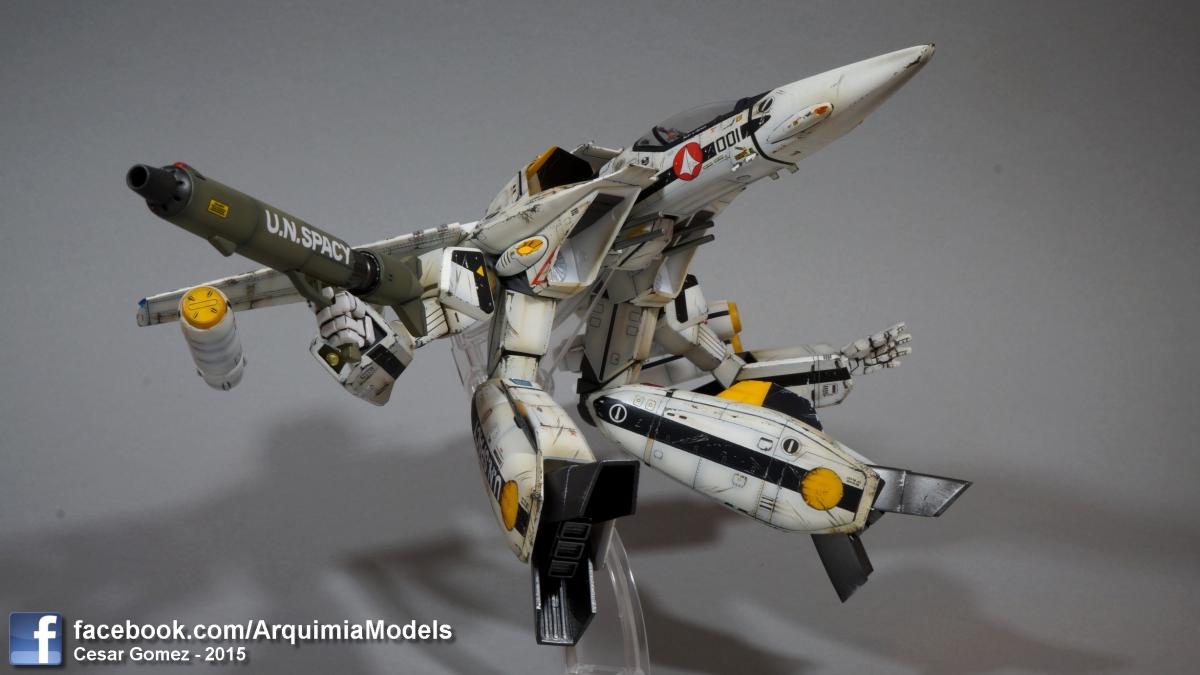
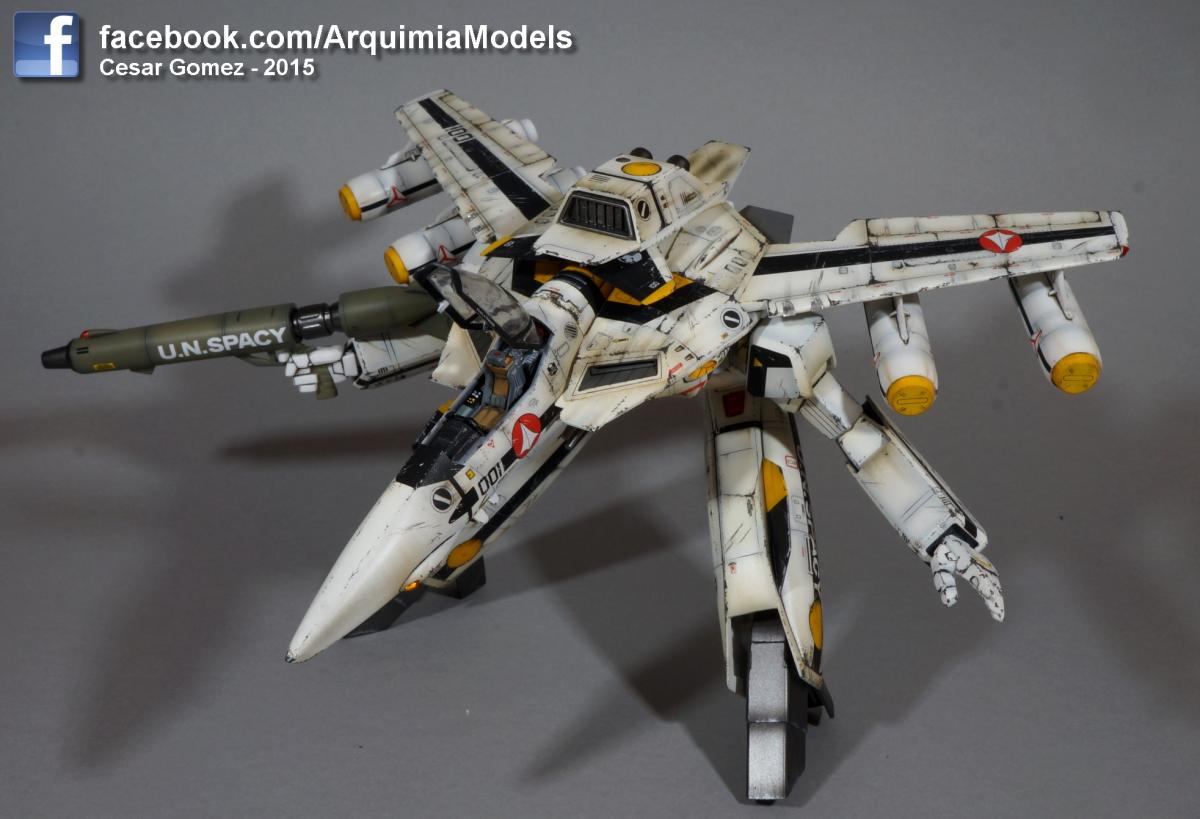
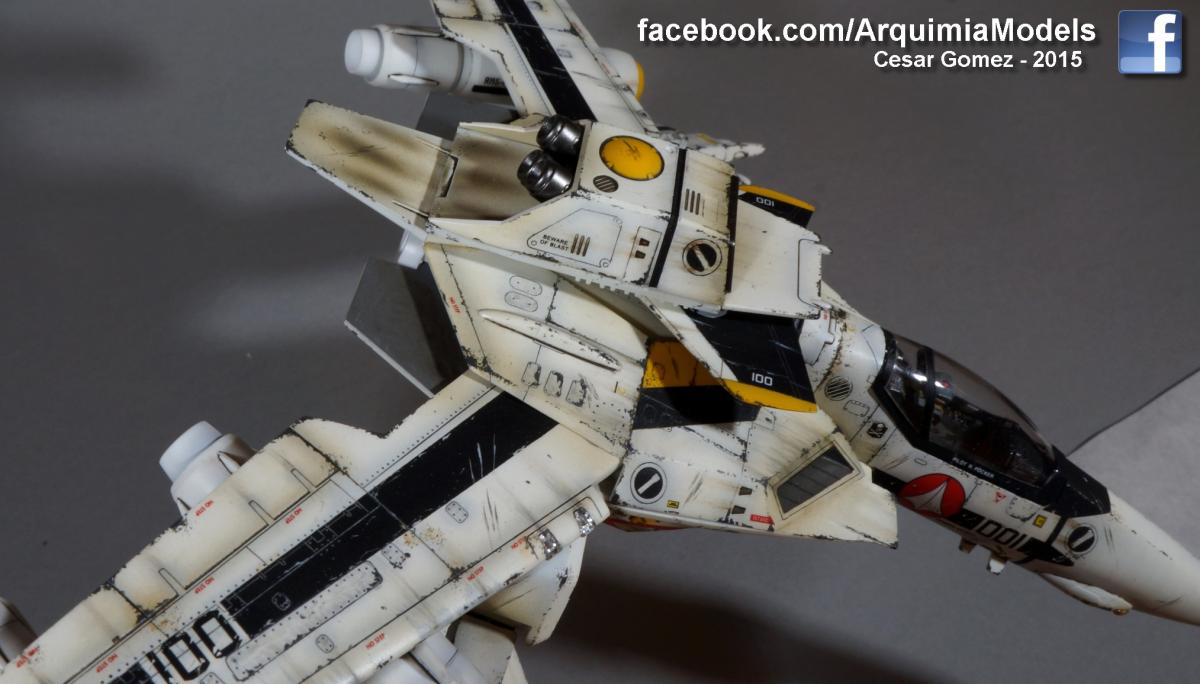
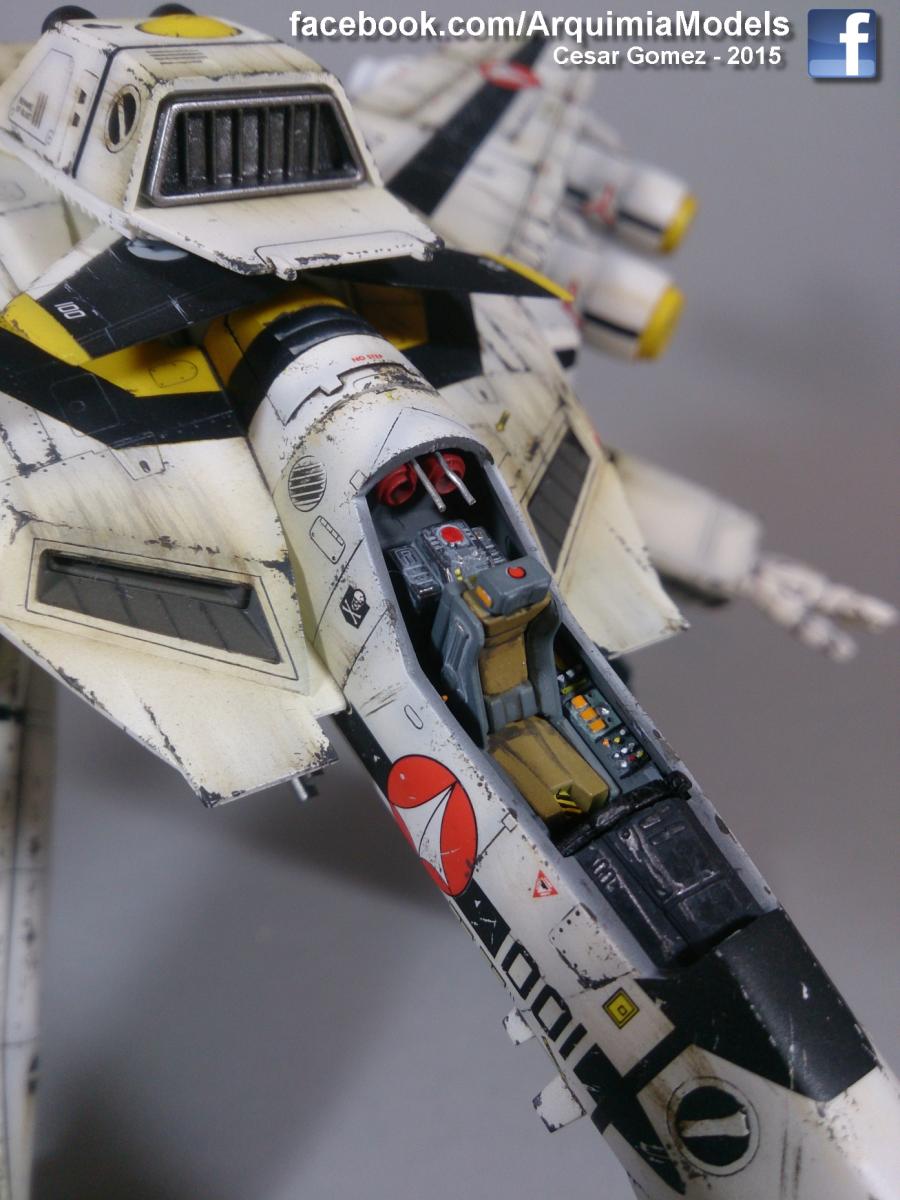
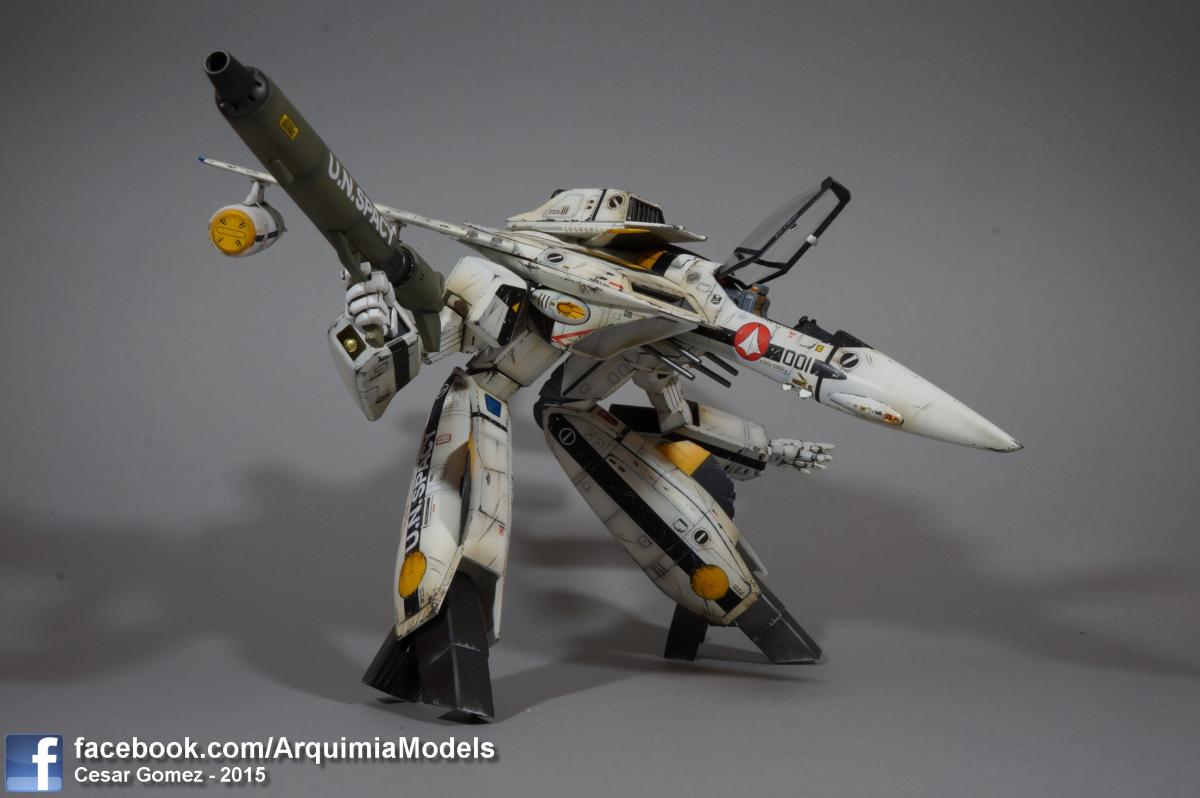
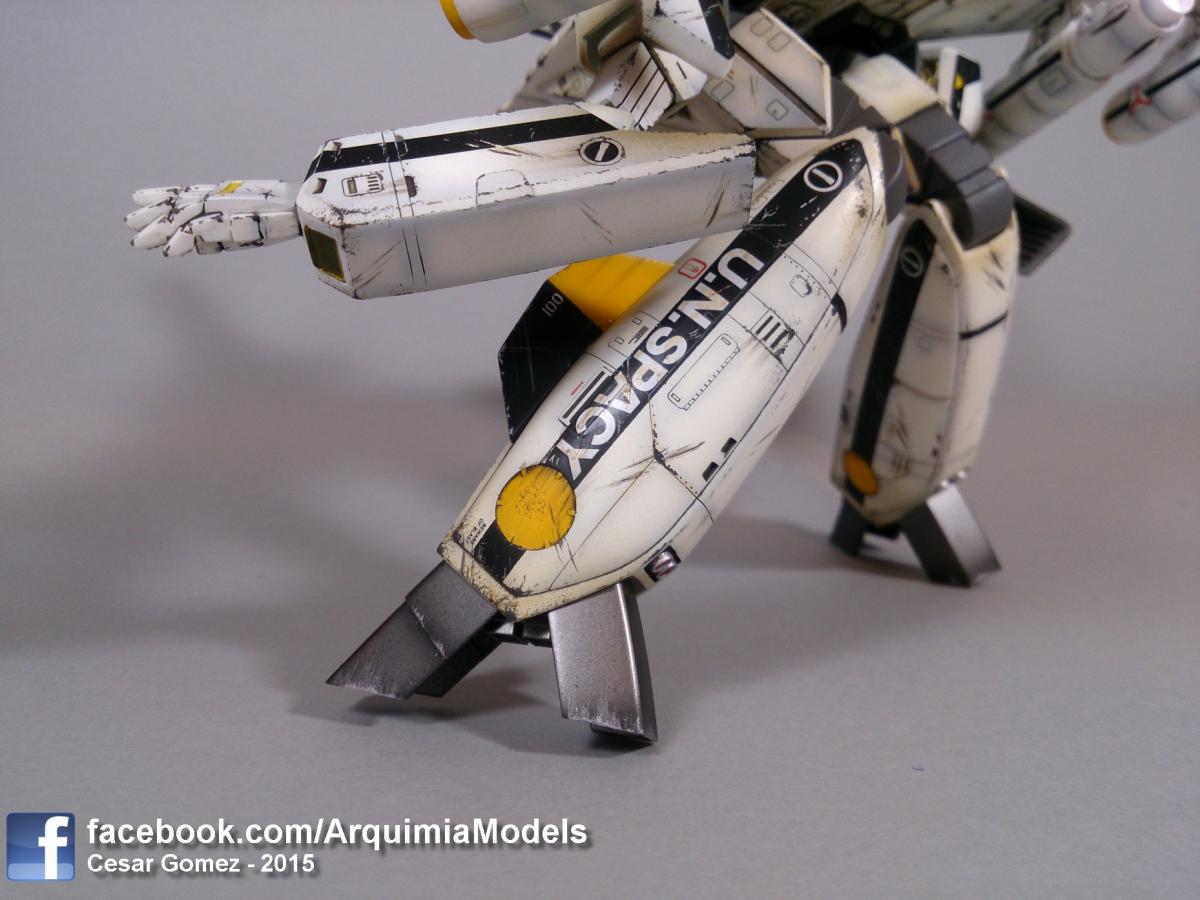
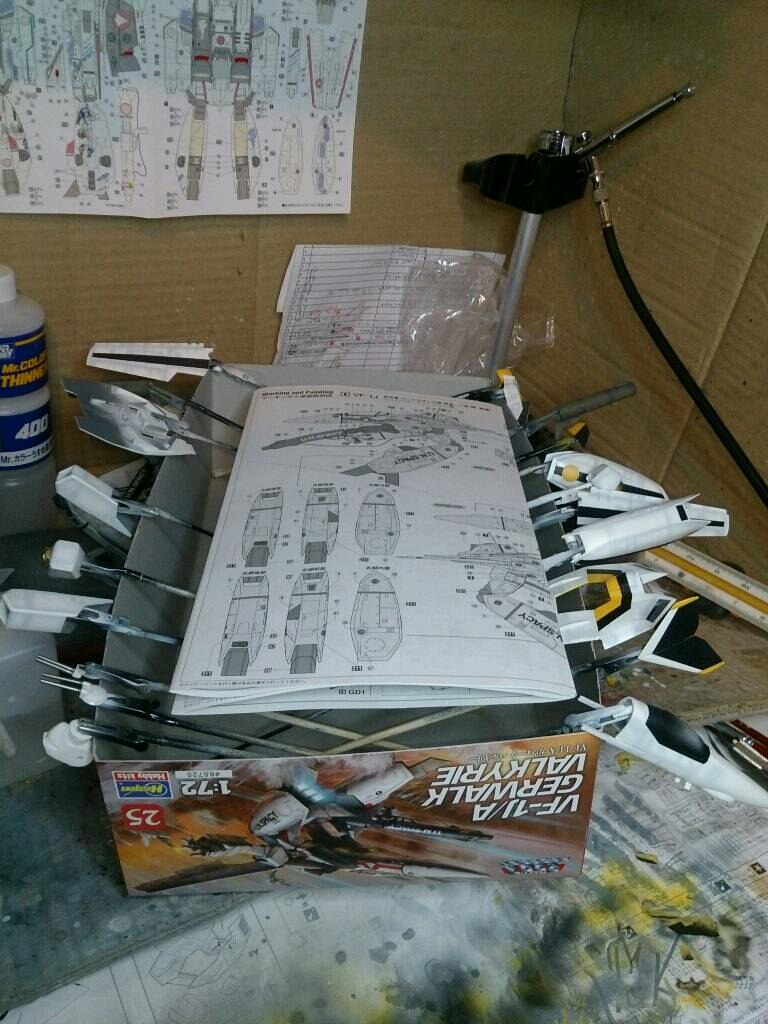
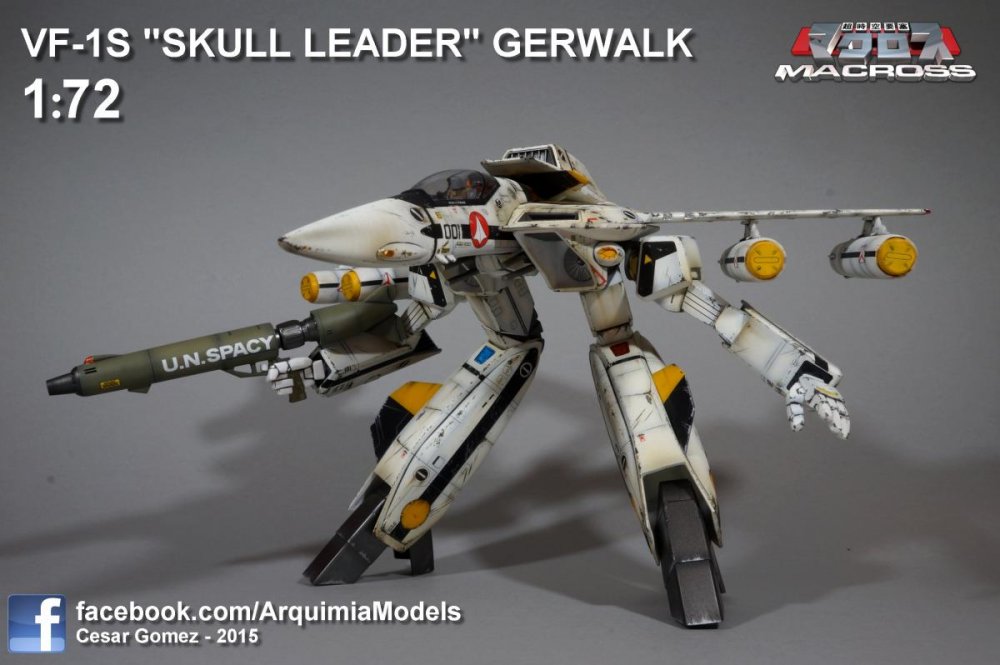
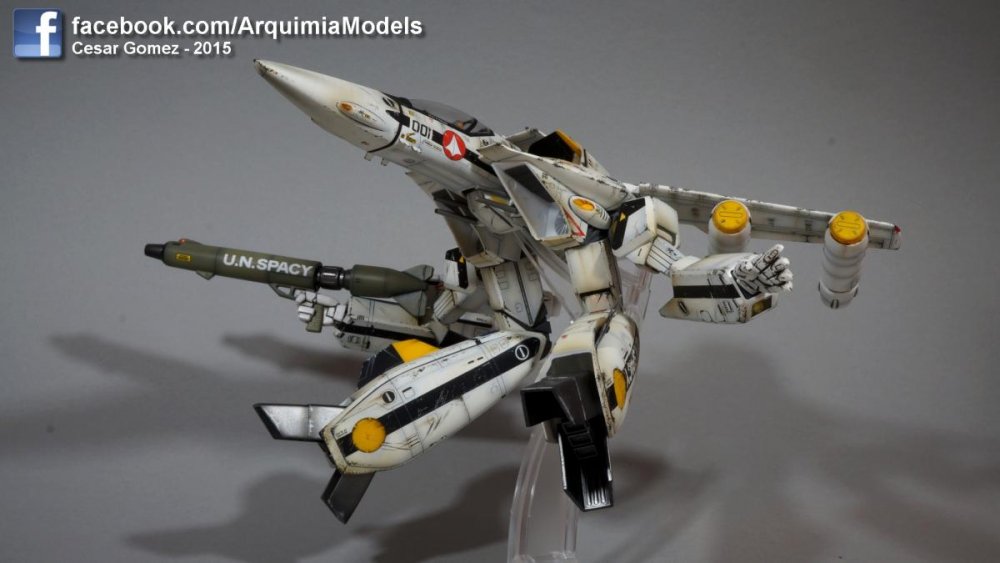
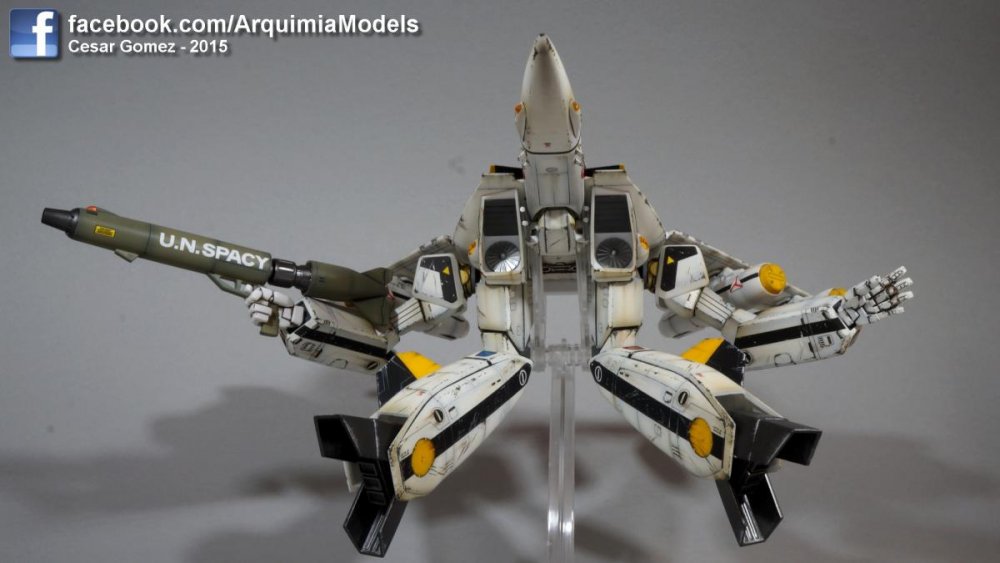
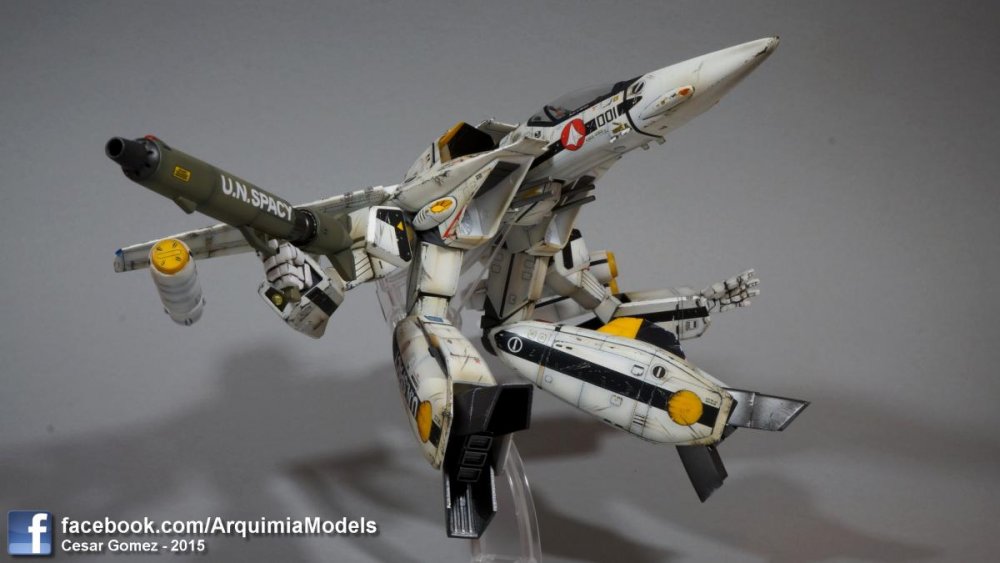
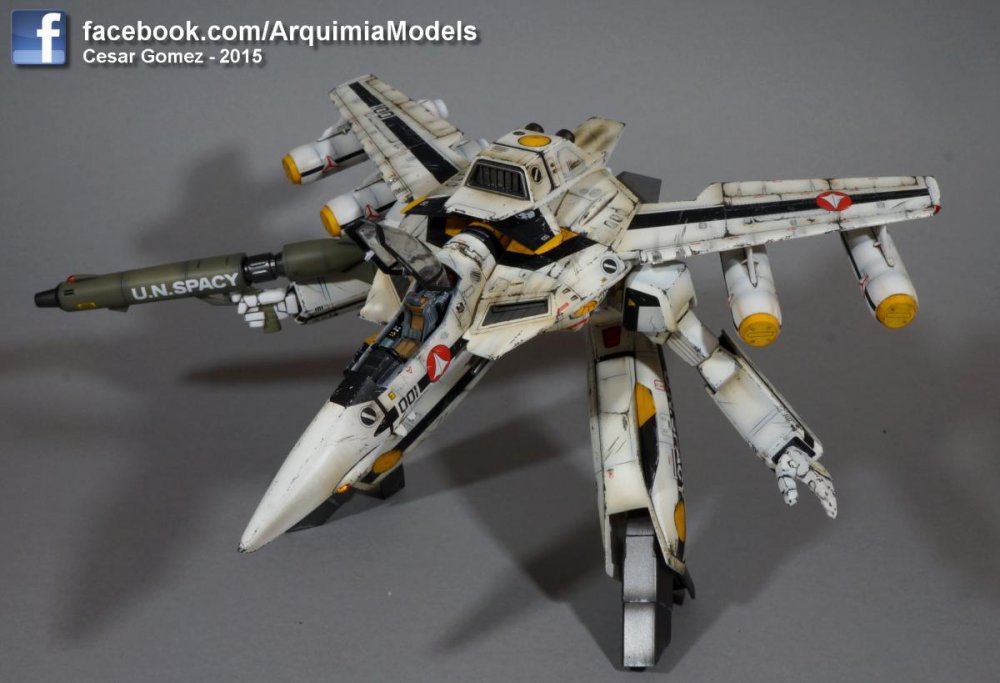
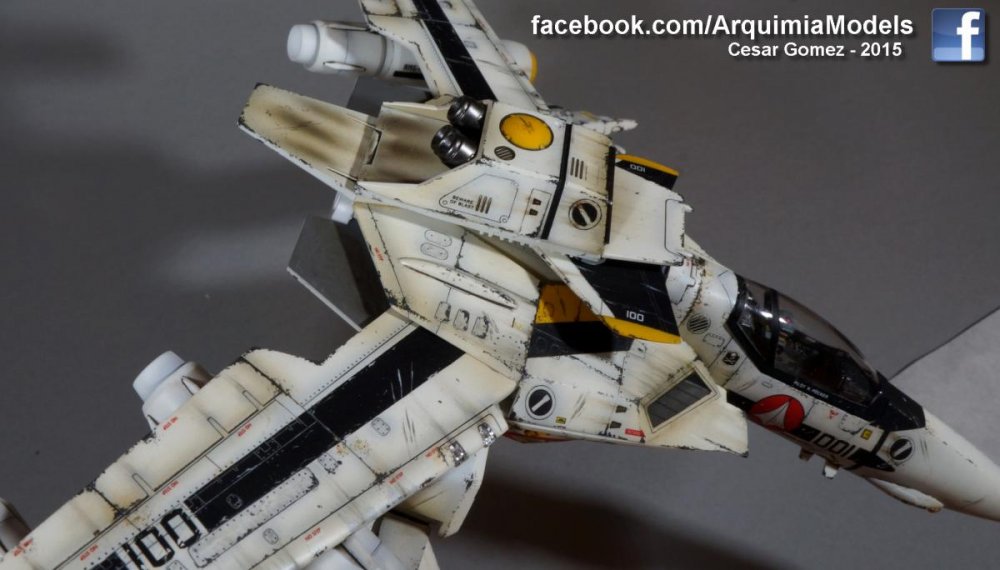
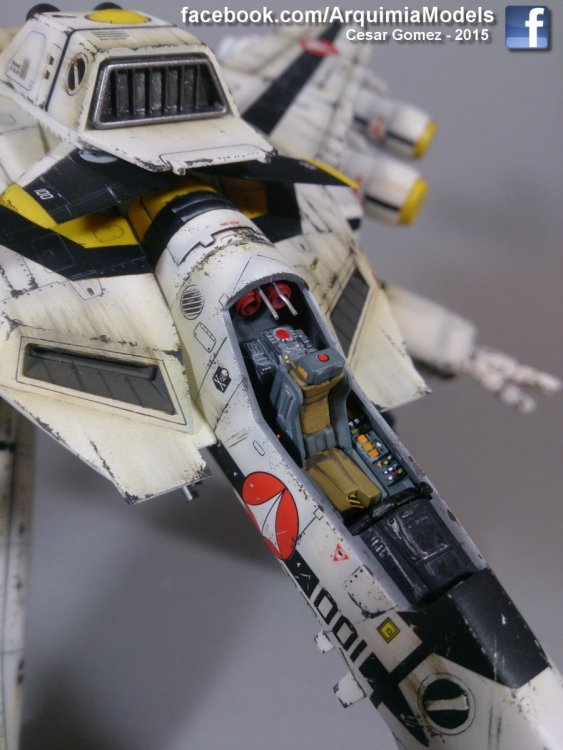
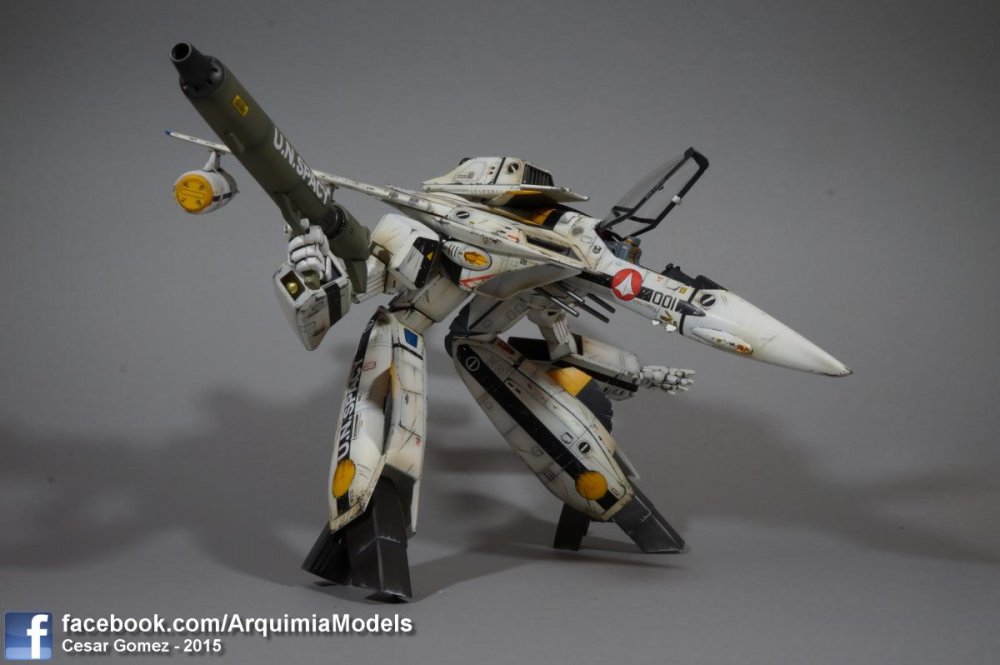
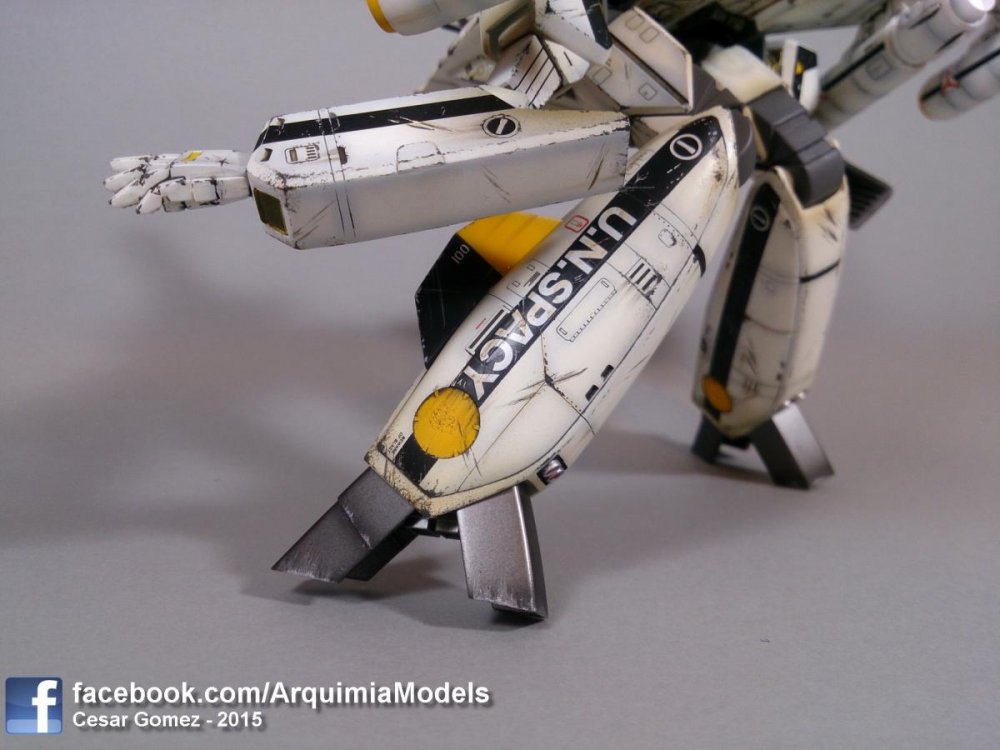
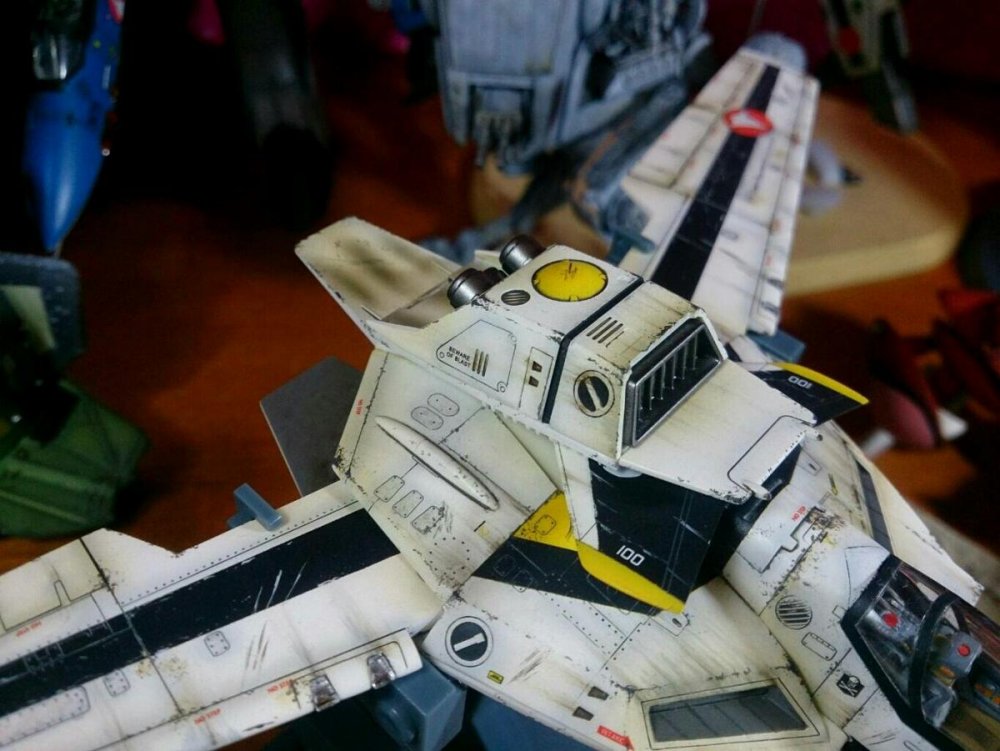
Hi again!! This is the turn for my VF-1S gerwalk, I made this from a VF-1J gerwalk hasegawa, I used some markings from spare vf-1s fighter and battroid decals, also the head is from a hasegawa vf-1 a/j/s fighter. I still have SO MANY macross models to work on, I see so much fun in the horizon. I really enjoy painting my kits weathered, as I don`t really like clean valkyries. This kit also has a canopy that can be displayed open, closed or without it, it also has scratch build for the controls inside the cockpit instead of buying the expensive photo etched details. I still need to learn how to make seat belts. If you like how it came out, please visit my facebook page to see extra pictures of it and other macross projects I have worked on www.facebook.com/ArquimiaModels Please leave a comment below. Thank you.
-
Hi, thank you all for watching my pictures. I've just created a Facebook page, I will upload pictures of my builds there, there are a couple of them already. facebook.com/ArquimiaModels Let me know if the link works, if it does, please give it "likes", I hope to make a proper web page any time soon. hehe.
-
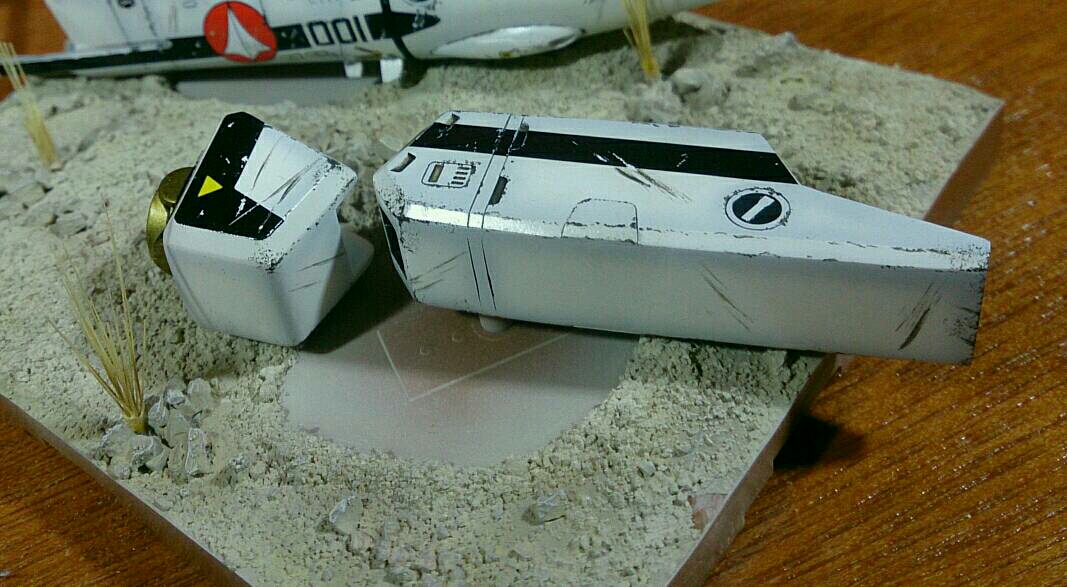
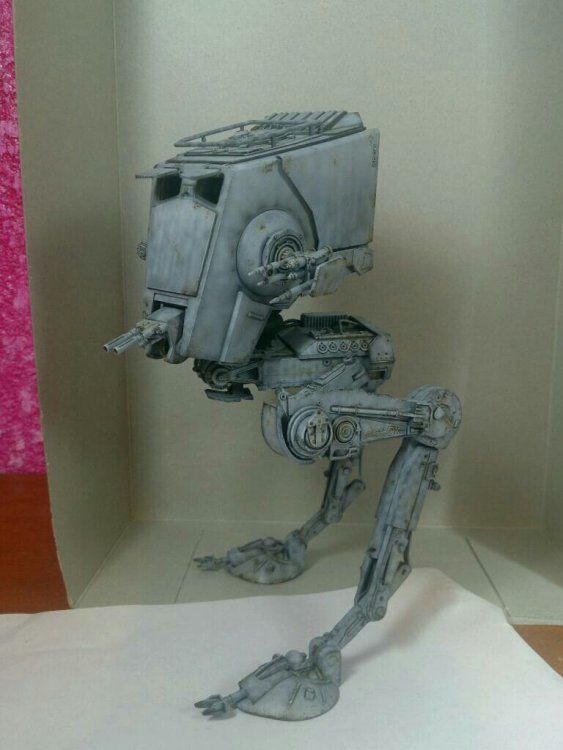
Vf-1s gerwalk almost done, just need to paint the hands and add flat clear cover to the rifle... ... it's been a slow painting since I'm working on other two kits, a super battroid and an AT-ST chicken walker:
-
VF-1S Gerwalk, almost done, need to add some weathering and we're done.


-
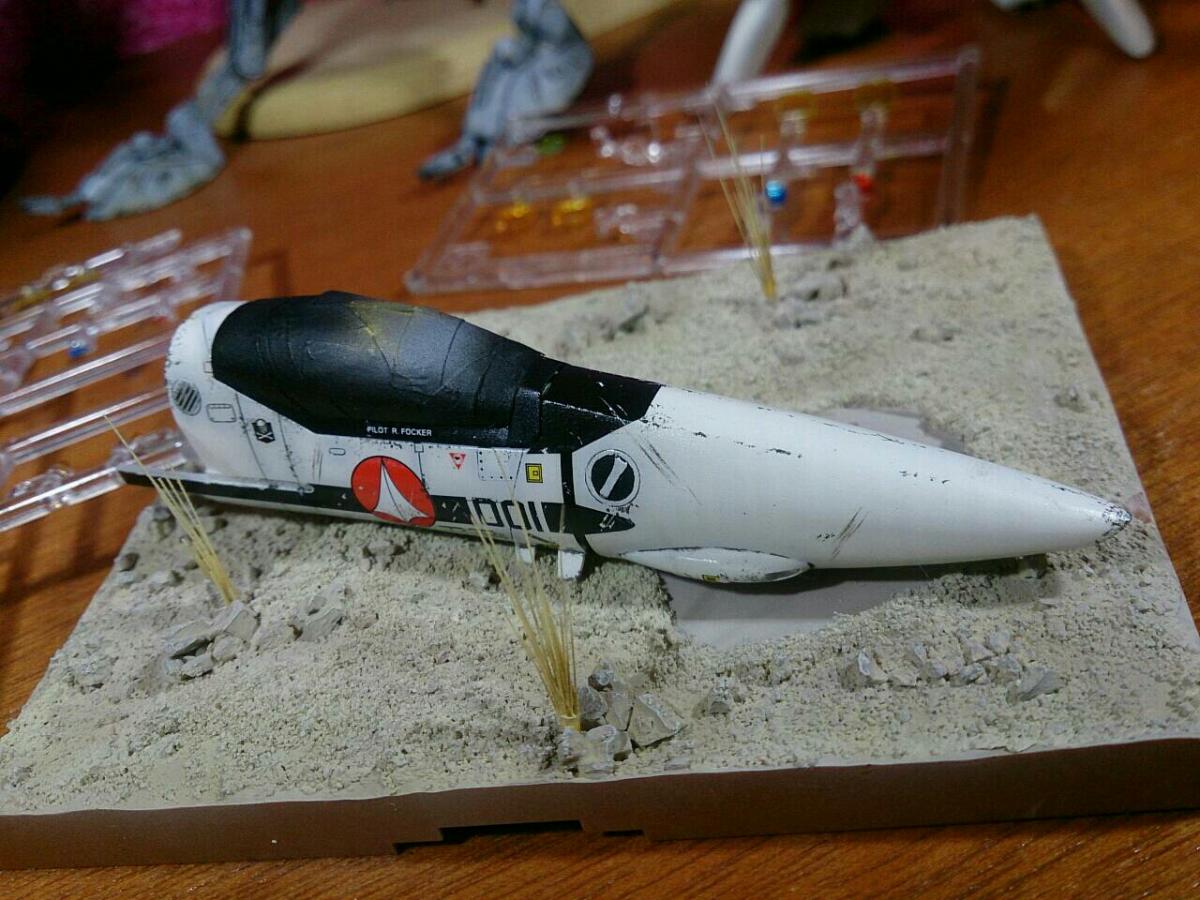
Here is what I am working on right now, a vf-1s gerwalk, it will be ready by Monday I hope, I just have to finish panel lining, decaling and weathering. A new thread of this baby will be ready for inspection in less than a week... or so.
-
Jesús Christ!! people really died for working with resin kits? It was a real surprice to read that...scary. When I sand resin I use water with the sanding sticks, so the resin dust don't fly. I will be more careful when working with those kits.
-
Welcome to the active posting. I know Luca's work, and never thought about gave him a commission work as I almost haven't resin Kits, and it is beyond wonderful to see a macross kit built by a Master like him, thank you very much for sharing this photos, I really love this work, since I like dirty valkyries, and his paint job really makes justice to this legendary kit, wich I must confess, after hasegawa released the 1/48 strike kit, never expected to see anything this good about the resin one.
-
Inbit Baby Crab with color
Cesar Enrique replied to Cesar Enrique's topic in Anime or Science Fiction
It was 8-10 drops of tamiya xf-7 and 1-2 drops of mahogany. -
Inbit Baby Crab with color
Cesar Enrique replied to Cesar Enrique's topic in Anime or Science Fiction
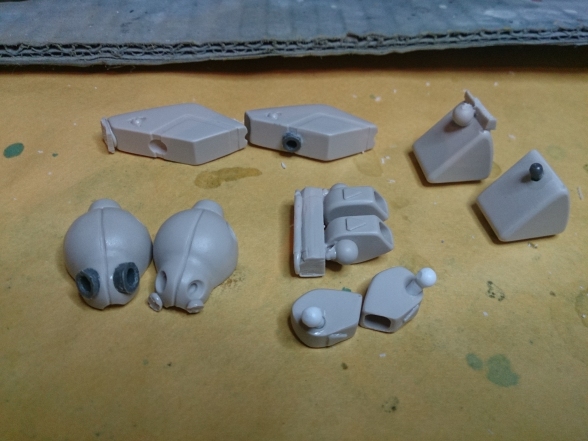
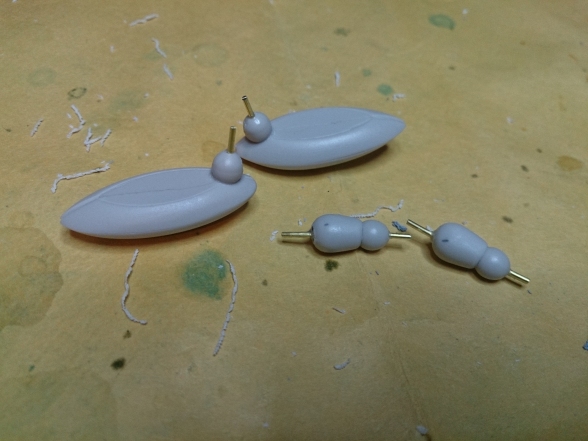
I hope this helps: You can see a comparison between original parts vs parts that were modified or prepared for pinning and ball joints. Basically I cut the original resin joints, sanded the area, and used a dremel tool and a pin vise to fit the new ball joint system, I used cyanoacrylate to glue them in place, then I primed, masked and painted as usual. For other parts, I just used brass beams and cyanoacrylate.

-
Inbit Baby Crab with color
Cesar Enrique replied to Cesar Enrique's topic in Anime or Science Fiction
Thank you. The Black lines were masked and airbrushed, some brush touch ups were necesary. I wanted a smaller and rounded clear eye Ball, so the light reflects better on the Back of it and make it look like a LED (in some angles), as you can see in pictures.