-
Posts
156 -
Joined
-
Last visited
Content Type
Profiles
Forums
Events
Gallery
Posts posted by ce25254
-
-
Here's my latest progress on my GMK Godzilla. I'm almost there, I just need to feather in the claws and add some wash to blend the teeth into the gums better. This version has no pupils for the eyes, but I'm working on getting them to be a little more pearlescent. I used oil paints for the teeth and claws, and it is taking forever to dry.

-
I had noticed recently that Mr Surfacer was out of stock everywhere I looked online. My local shop just has a couple of cans of spray, but I wanted the liquid...
-
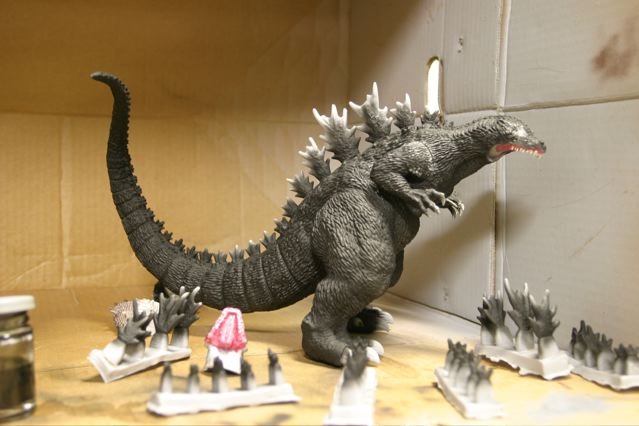
And here is my WIP GMK Godzilla. It's a mean pose released last year by West Kenji in vinyl. I chopped off the feet, turned them out a bit, and weighted him so that he is leaning forward with his tail in the air. (Weighting put in the feet and in the head.) Thanks to Aves Sculpt the feet joints look good as new. (Other than the mouth, he has just been given a base coat of flat black.)
-
Cloverfield ... does it really look like a giant whalo-saurus with squid tentacles? Please post pics!!!! I wanna see the beast!!!!
Cloverfield sticks to the genre tradition of showing the monster only fleetingly until towards the end of the film. (Unlike The Host.) If you really want to see some pictures and drawings it, you could start with this thread on the Unfiction board.
Thanks for the comment about my Godzilla! I first made a Desu-goji ('95) and the one that is really on my workbench is a new one of the GMK Goji from West Kenji. I'll try to snap some pics of that, sometime.
Xabungle... wow, I remember that from my first catalog of anime kits, but I never followed up. I'll have to try to watch the series! Your kits look great.
-
What's on my workbench, Special Cloverfield Edition. (I saw Cloverfield over the weekend, and think it's a really worthy addition to the daikaiju genre!)
Anyway for a while I've been working on various Godzilla kits.
This is a Goji'54 sculpted by Yuji Sakai, released by Kaiyodo and molded in glow-in-the dark (!) soft vinyl. I painted him entirely with a brush (Tamiya Acrylics with some oil washes) but finally broke out my airbrush and did some work on his fins. I have a 1/285 scale unpainted metal truck miniature under his foot there :-)
-
OK, let me temper my enthusiasm by saying this product is not the greatest gap/seam filler for styrene models. Aves hardens so hard that it is very difficult to sand it away without doing a lot of damage to the surrounding plastic. I'm still waiting for liquid Mr. Surfacer for erasing seams in plastic kits, but every shop seems to be out of stock...

-
I finally got around to trying out Aves Apoxie Sculpt putty.
This stuff is amazing, and I just had to write about it! It is the most perfect putty experience I've ever had. Now, I know that it might not apply in every modeling situation, but for me it is just what I've been looking for. In particular right now I am using it on a vinyl Godzilla where I had chopped off the feet to re-orient them, and was left with gaping (5 to 7mm) gashes in places that I had to fill and re-sculpt to look seamless.
I have tried Squadron putty in the past and some automotive products recently, but on recommendation from the Starship Modeler board, I bought this putty because it sounded like it would work up the way I wanted. It really does--it is super easy to work with, not messy or smelly, feathers and molds easily with a bit of denatured alcohol, works up just like clay and stays workable for a long time (at least an hour), and then hardens really nicely. Also I like the two-part clay-like composition. (No tubes--I hate them!)
I cannot recommend it highly enough when you need a putty to sculpt. Next I'll try it on a plastic model where I need to do some gap filling and leveling, to see how it works for that application.
http://www.starshipmodeler.biz/index.cfm?f...;Product_ID=162
-
Oh yeah, I had one of those, too. I have no idea where I got it or which box art, although that IMAI box art sure makes it look a whole lot better than the actual kit looks!
-
Why do the tail fins on the backpacks of the VT-1 and VE-1 from DYRL not fold flat?
Is it because of the two-pilot cockpit configuration?
I just noticed this recently, had never paid attention to it before.
-
OK, I will soon embark on making my VF-1 Super, and VE-1 and VF-4 kits. I want to order a stock of Wave or Kotobukiya vernier nozzles to replace the bar/handle verniers on the nose and shoulder of the VF-1; I'm also planning to add nozzles to the side of the VF-4 engines (Valk009's kit).
I don't want to waste my money on getting the wrong size option parts, and it's difficult to tell from the HLJ etc. online images. I think I will get the Kotobukiya Vernier Nozzle III set, as used by maxjr on his VF-0 http://macrossworld.com/mwf/index.php?showtopic=24132 ... http://www.hlj.com/product/KBYP-113
I have seen the "Minus Mold 4" set mentioned, but I'm not sure it has the look I am after http://www.hlj.com/product/KBYP-123
What other sets have been used successfully in 1/72?
In addition, I'm interested in other nozzles for the super/booster packs if they are better than the stock ones.
And since we're on the topic, I'll ask for recommendations on 1/72 photo-etch parts... I have one set of Hasegawa's VF-1 photo etch parts already.
Thanks!
-
It looks like this is the 18th Fighter Squadron at Eielson AFB?
-
I think that subsequent versions of "Arctic Camo" will probably need to include some brown, and maybe green, considering the rapidly melting ice cap.


(I do like the colors.)
-
That's a really nice VF-1D!
Personally the transformable aspect isn't that important to me. I prefer the Hasegawa look... Especially when the two are put together like in your picture above, the Bandai one looks like art from the Macross series and the Hasegawa looks rather like the Macross movie.
-
I also have posted some close-up pictures of an old Bandai variable VF-1J kit in this thread:
http://macrossworld.com/mwf/index.php?showtopic=24073
As for details, the Hasegawa kits blow the old kits out of the water. However the Hasegawa VF-1 doesn't transform...
-
Probably the best way to fix it would be to carefully drill out the broken areas and insert a thin metal pin. With the right drill bits and a pin vise it's not that difficult. Just be careful to drill as straight as possible.
Good job on the kit. It's very nice to see those old warhorses getting some love, and good luck with the repairs!
I've read for the first time about a pin vise recently, but never used one. (I'm just getting back into plastic modeling after doing vinyl kits for several years.) I looked around but haven't been able to locate one at a shop nearby. Do you have any recommendations about what sort of tool to buy and where to buy it online? Would one of these at Starship Modeler be a good choice?
http://www.starshipmodeler.biz/index.cfm?f...category_id=152
PS: I love the stand you are using too! Though for Millia, you might need a nice bright red Swingline model!Yeah, as you can see, I've taken all my toys to work to keep them away from my kids.

Thanks for the kind words.
-
OK, here is the airplane mode. Unfortunately I broke off one of the head cannons, so most of the pictures don't have the head in place. Those cannons apparently don't like to turn anymore.

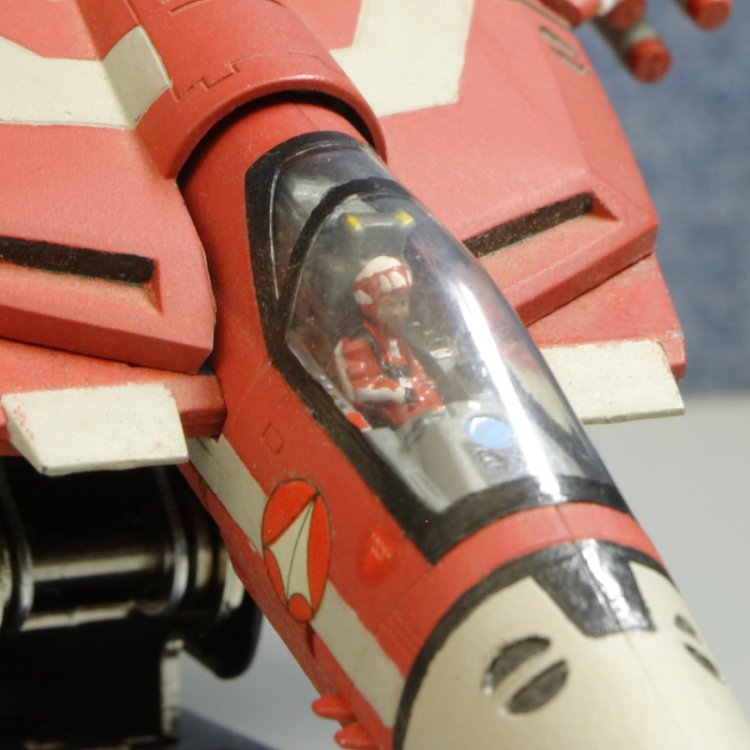
I don't remember why I didn't add the number decals. In the last picture you can kind of see Millia in the cockpit.
-
Can we see Gervalk/valk mode? Just curious what it looks like with c/pit piece.
Yes, I have the cockpit piece. I will (very gently!) transform it and put up a picture soon.
-
The tiny little round thing is from a Kotobukiya option set called "vernier nozzle III", link
They are plastic and come in different sizes, the smallest one fits right with the macross kit.
It looks like you also used these on the jet/handle located near the wing root ? (I guess these things are actually called vernier thrusters? I always thought they were some kind of handle!
 )
) I wonder if they are the right size to use on a Hasegawa VF-1. Has anyone tried this? I have the photo-etched parts set, but those nozzle parts are still flat. Did you fabricate the "handle" to go over the top of the Kotobukiya nozzle from styrene strip?
-
The part in the green circle was Kotobukiya's option parts.
Looks great, wow, what cockpit detail! Do you happen to know which set provides that jet/handle thing in the green circle? Is it plastic or photo-etched parts?
Thanks!
-
Next I highlight the edges on the boosters
Wow, that makes a huge difference. What paint are you using to highlight? Oil or acrylic? Are you applying it with a dry brush technique or more exact spot application? (Seems like the latter to me.)
-
Well I did find this in the Macross Compendium.
I guess if the average human is 1.80m then the average Zentraedi would be about 9m.
Still seems like a tight squeeze.

-
The lighting wasn't from the flash, it 's from LEDs I used for the sensor "eye" in the regult and the VF...
Those lights look great!!
This diorama reminds me of a question that I've had for some time. Is there a scale comparison chart of the VF vs. a Zentraedi soldier vs. a Regult pod? I am always surprised when I see the size of the pod next to the valkyrie. These models seem to be to scale according to reference (battroid: 12.68m, pod: 15.12m), but I can't see how the Zentraedi can fit inside that thing unless he is much shorter than I imagined...
-
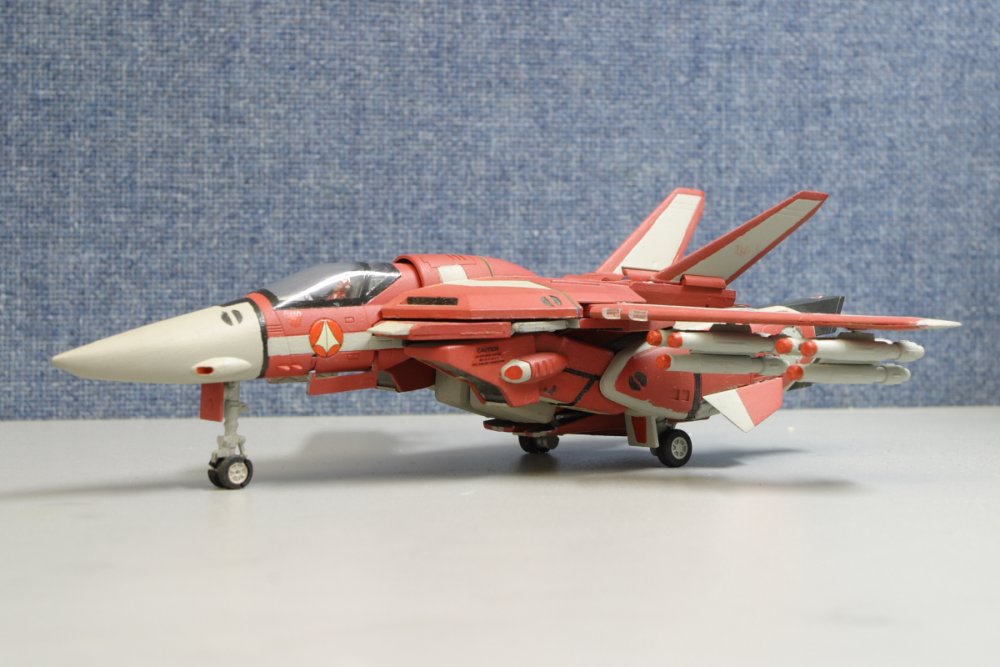
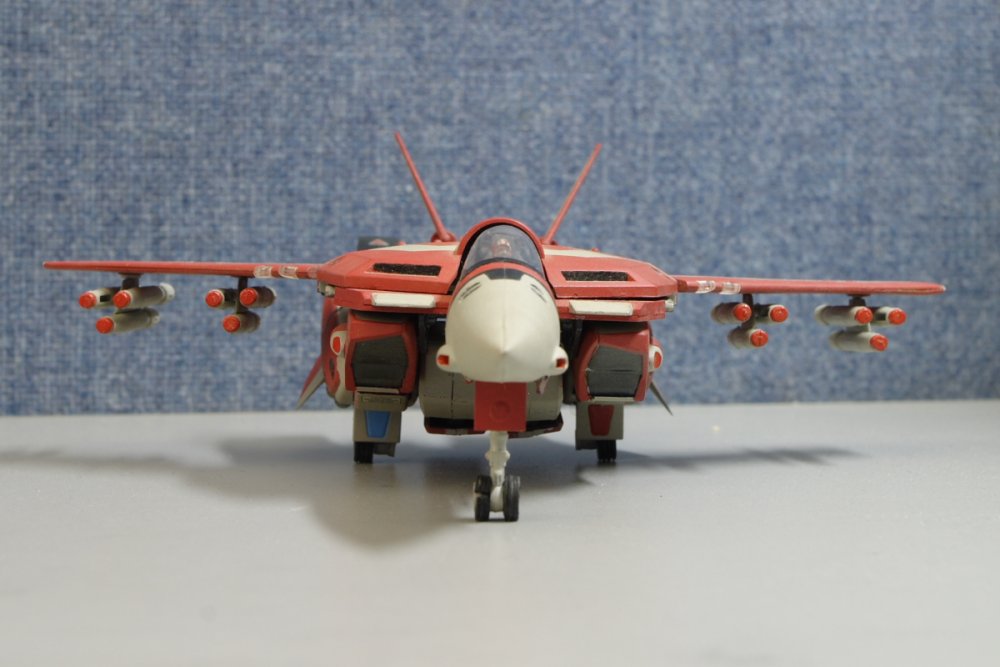
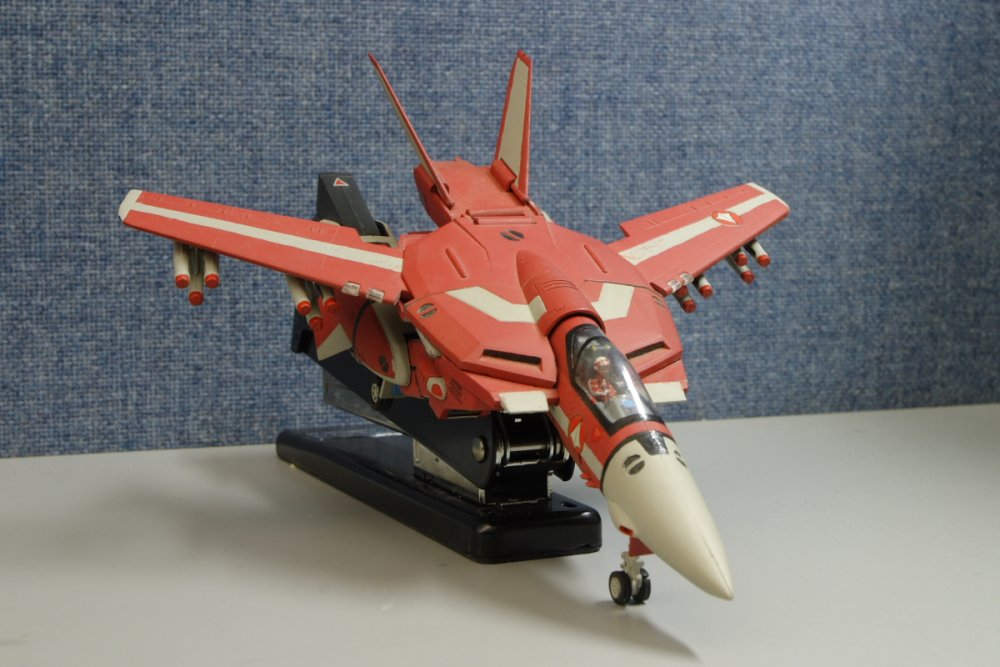
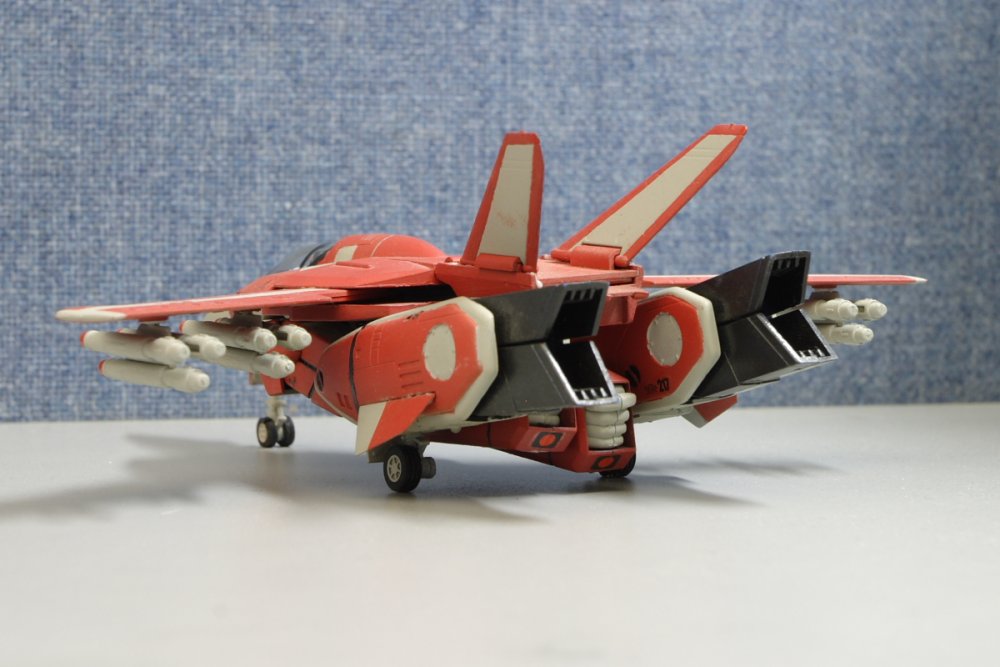
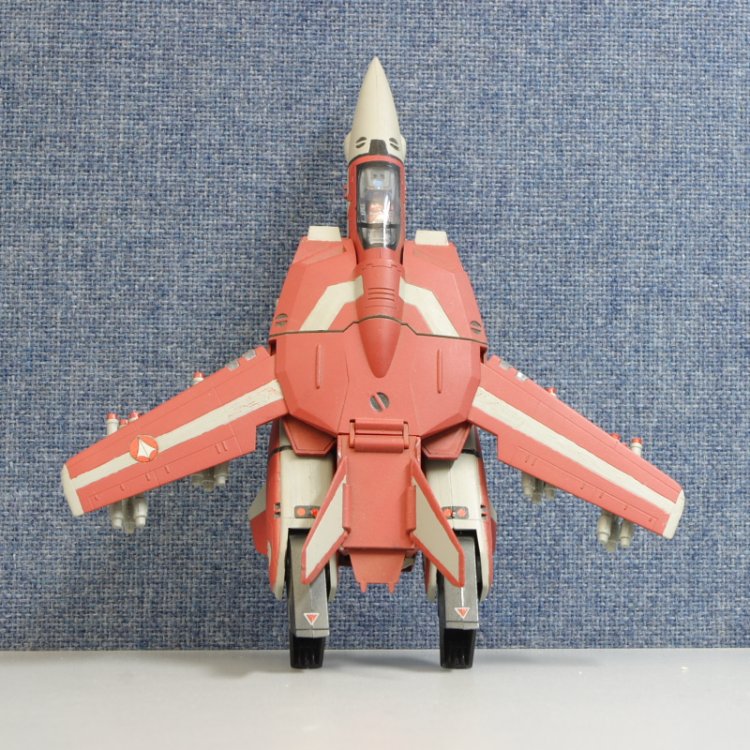
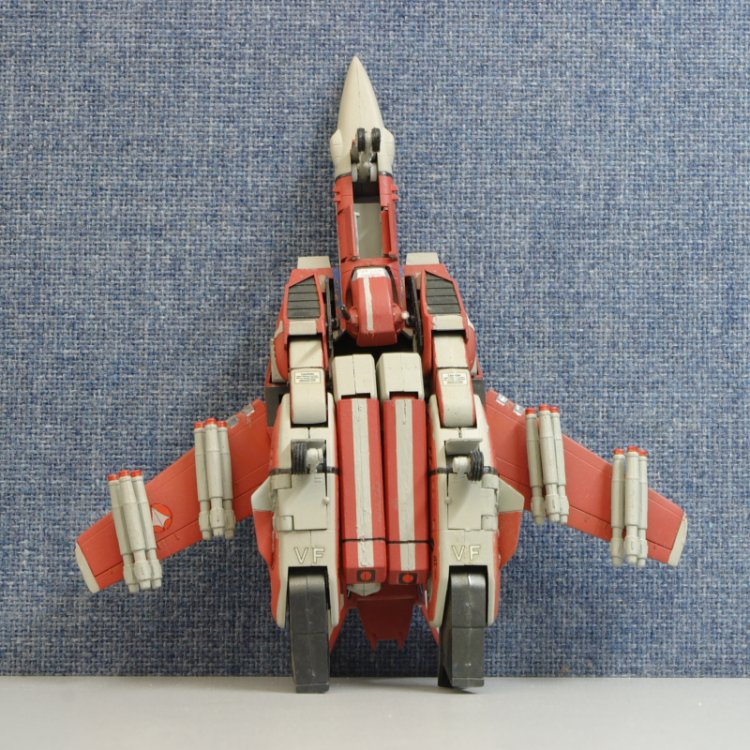
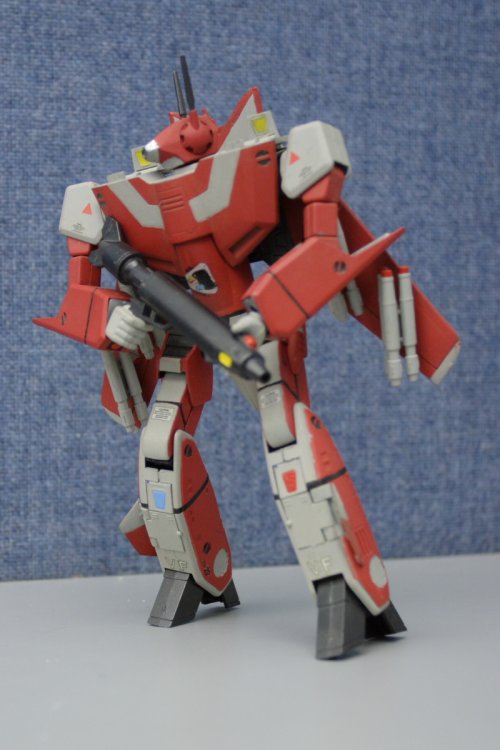
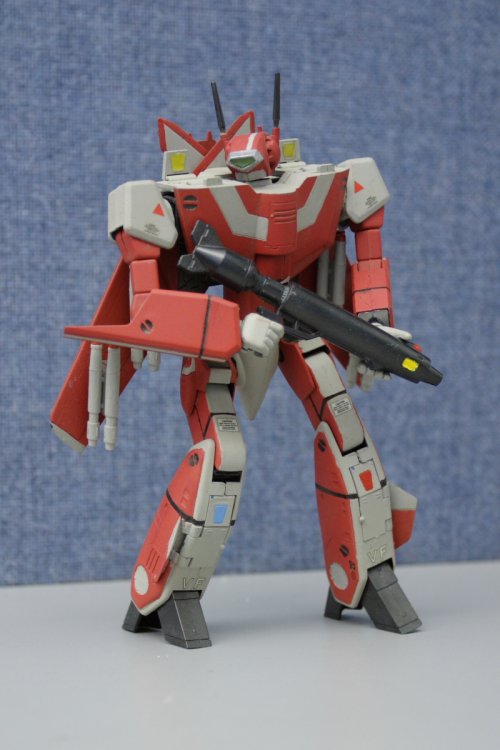
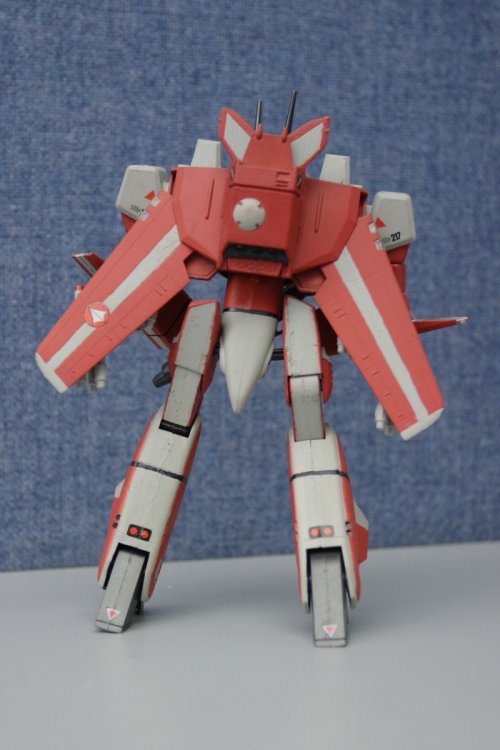
Here are a few pictures of a 1/72 Valkyrie that I built around 1988.
This is actually the transformable Bandai #0504996 1/72 Variable Valkyrie VF-1J Max Type as shown on this page.
I didn't know anything about putty when I built this kit, so you can see lots of seams. Nor did I highlight any panel lines (didn't know about that, either!).
I like Millia and her colors in so many ways more than Max, so although the plastic is blue I painted the kit in my vision of the Millia VF-1J scheme. As an inspiration I used the box art from the 1/100 Millia VF-1J Super kit (shown here). I prefer a grey rather than white in this scheme.
Wow, it sure was hard to pose this battroid after so many years. After I got it in this pose I thought it best not to try a 2nd pose! Hope you enjoy it.
-
is it me or does the reptu kit have less panel lines than the one valk009 had for sale.. theres little detail in it for some reason.. duno maybe its just me.
This kit shows many fewer lines and different ones. For instance the recent kit does not have the sets of three pill-shaped panels this kit has at the rear top of the fuselage.

What's lying on your workbench? MKII
in Hall Of The Super Topics
Posted
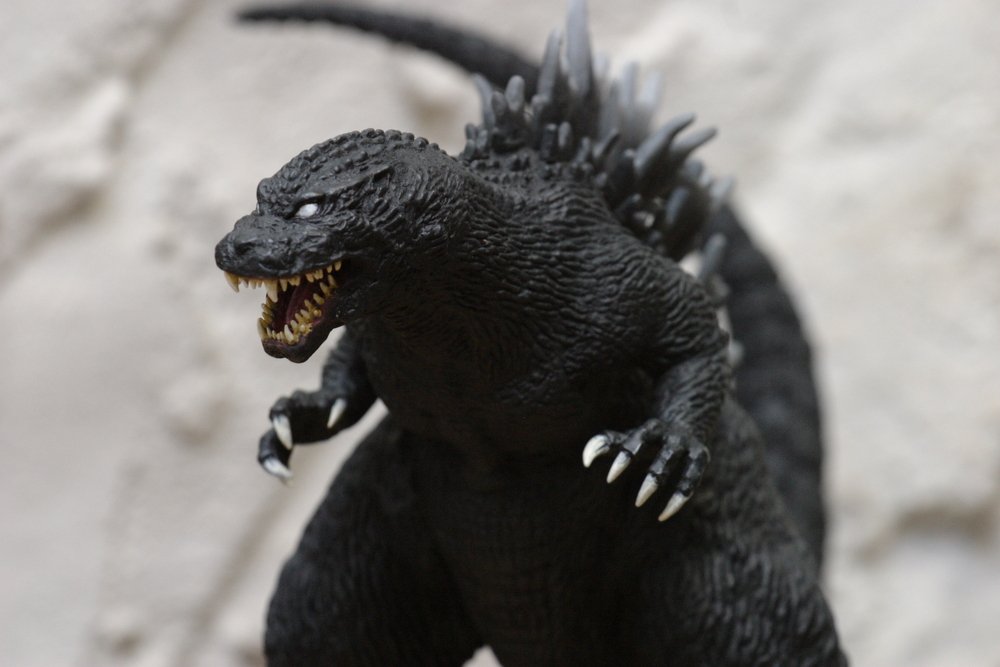
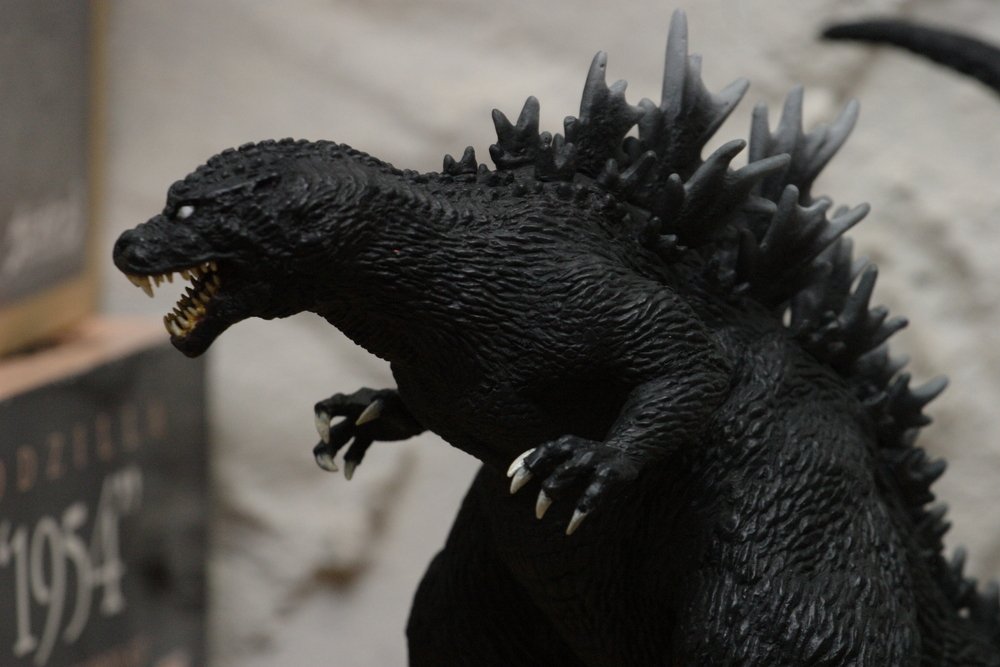
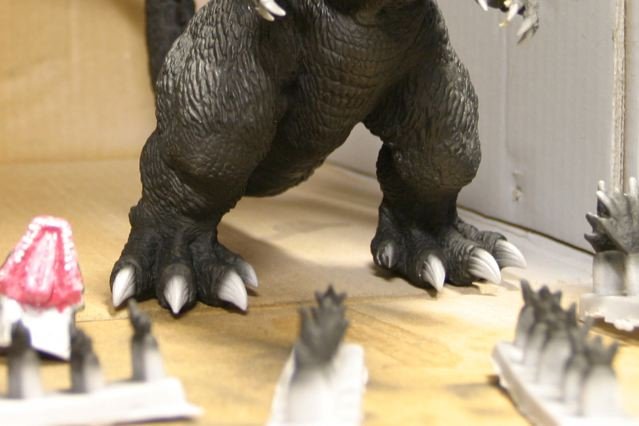
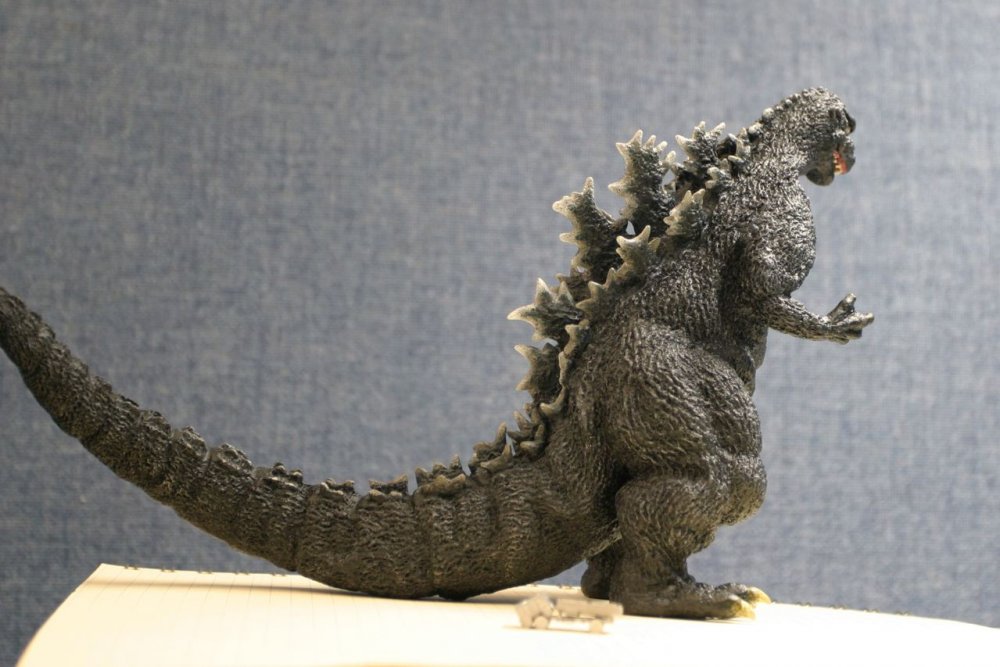
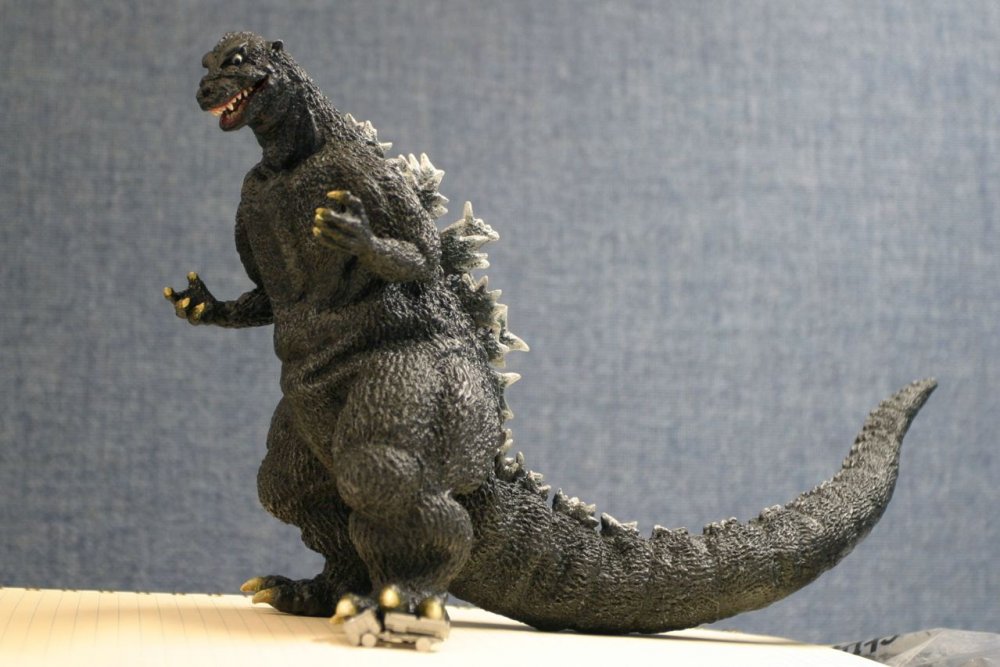
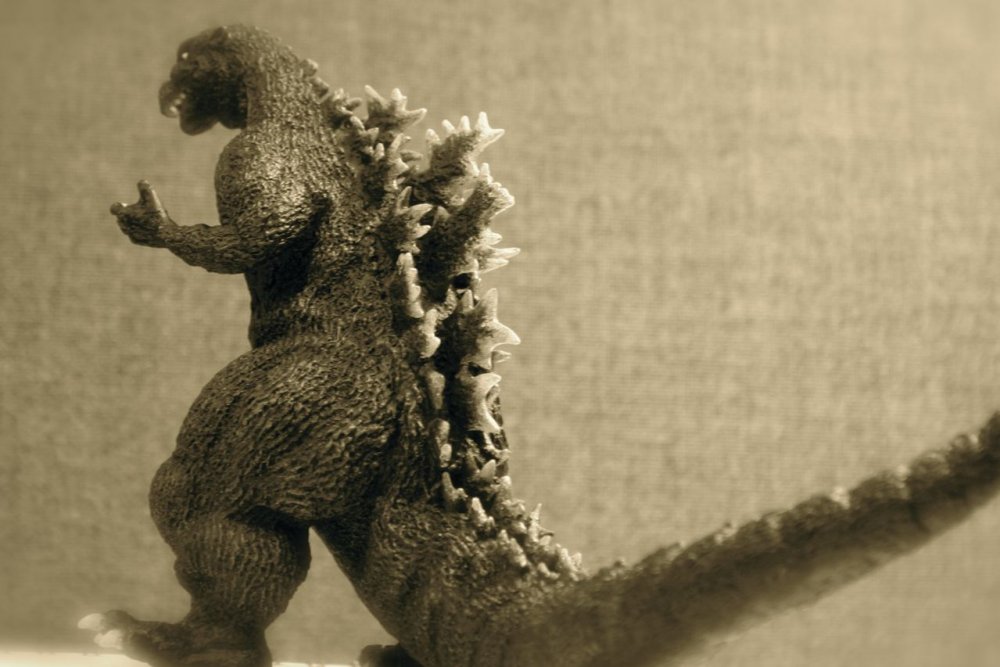
Finished GMK Gojira. West Kenji vinyl kit.
He might possibly benefit from a little drybrushed highlight, but I'm moving on for now.