
ce25254
-
Posts
156 -
Joined
-
Last visited
Content Type
Profiles
Forums
Events
Gallery
Posts posted by ce25254
-
-
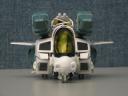
I really enjoy these composites of models with real-world photography. Nice lighting!
-
The photos look better than the illustration. Is it Valkyrie by Adobé? --> http://vimeo.com/34813864
-
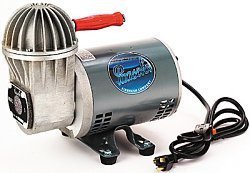
Back to painting with my new/old air compressor! I like recycling if possible... I hope this one will last a little while at least.
-
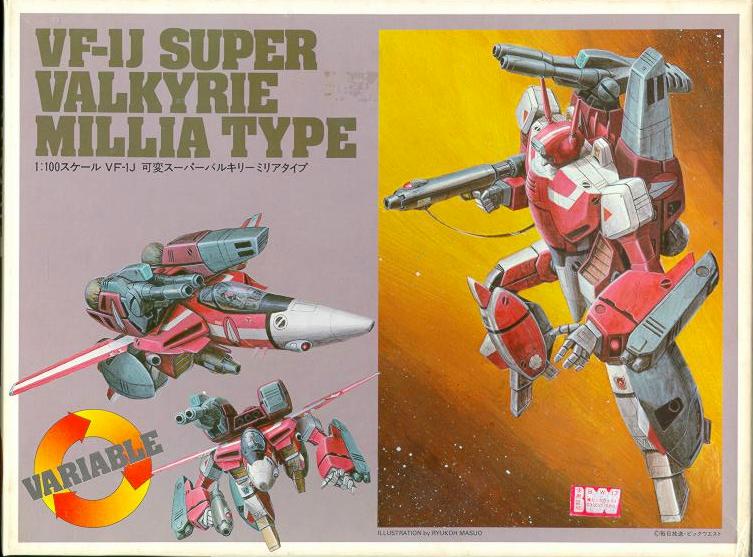
EDIT: What's the red used on the Millia Valk above?
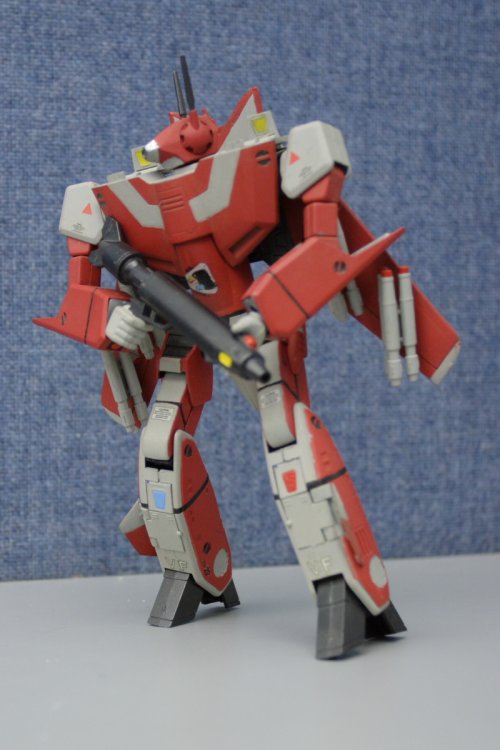
Sorry, I can't be sure. I built the kit in 1990, I think.

I know it was a Testors Model Master Enamel, possibly Insignia Red, more possibly one of the automobile engine colors, but even more possibly I mixed it up myself. Although it looks a little bit orange in this picture, in person it feels somewhat more wine colored.
-
Aaaaaargh
Just as I was ramping up my modeling work, my 25-year-old Paasche compressor died just as I had begun a paint job. Looks like I can get another one on Craigslist, but it will take me a few days at least.
How long is too long to leave Tamiya masking tape on my (enamel) painted model? A few days or a week should not damage the paint underneath, right?
-
At least he has kids. My fiancee cannot so I have no choice but to fill my time with cats and macross
We are fortunate to have healthy kids, but I know many people can't say that at all.
Sorry.
-
In fact, I can't even find the time to ...
I feel your pain.
But kids are only around for a little while — enjoy your time with her.
-
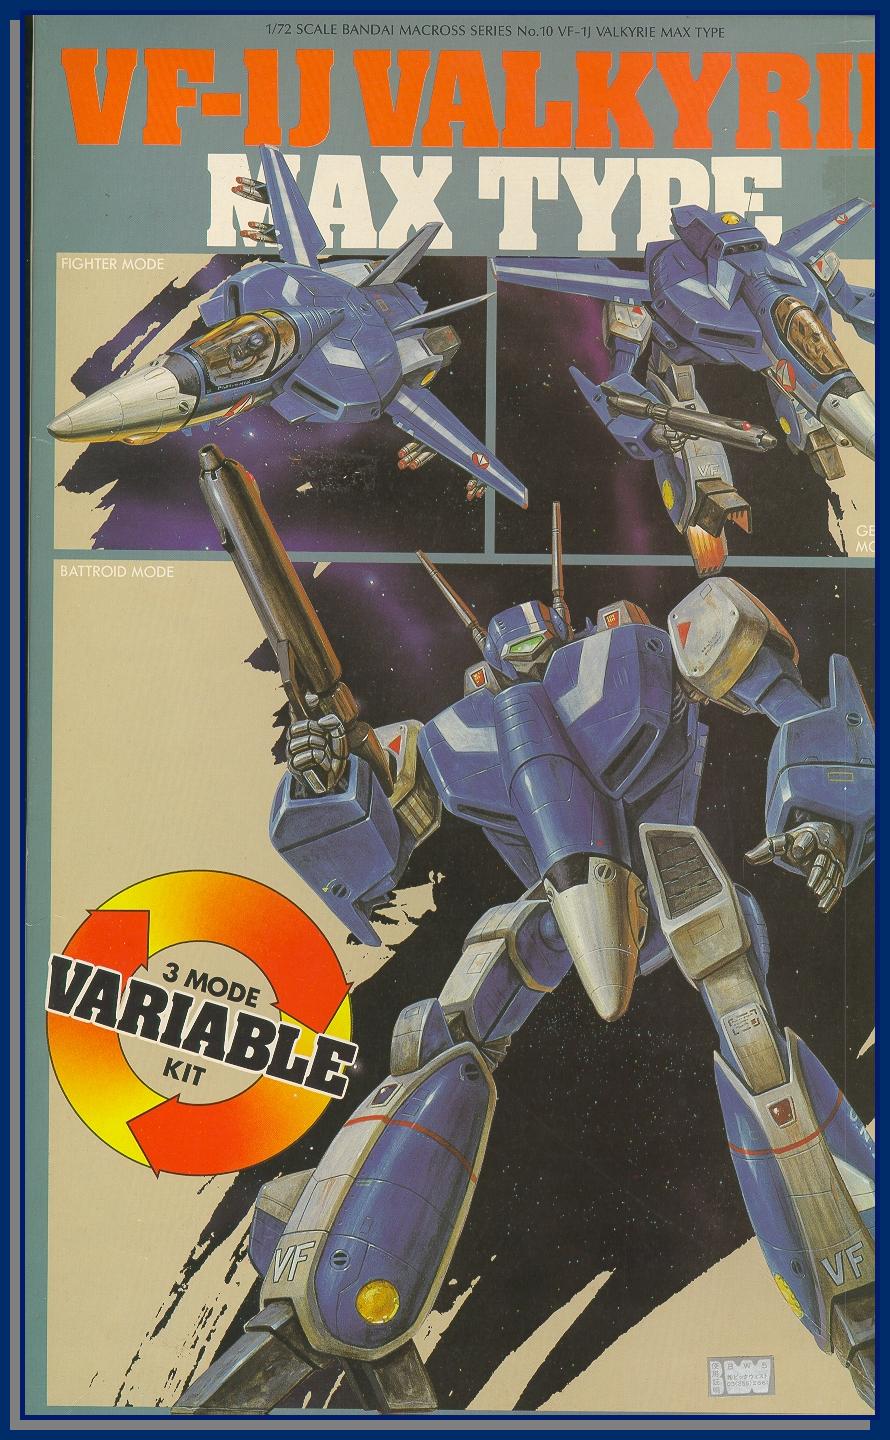
@Mommar: I'm trying to decide about the VF-4. I don't like the Insignia White all that much, actually. I have never made one using that color, but usually used a grey instead. I've posted my my Milia example here before (actually it's the 1985 Bandai 1/72 VF-1J Max Type), a scheme similar to the 1994 Bandai 1/100 VF-1J Strike Milia Type box art. (And I painted the 1/100 in a sort of low-viz scheme.)
For Milia I think I used a gull grey. But I thought I might as well see what the white looked like as I experiment with this kit. I also like the grey scheme used in the Elintseeker.
Before I attempt the VF-4 I'll probably make my VF-0 or Strike VF-1 Valks first and experiment with color there.
@coronadlux: thanks for the encouragement about scribing.
-
If you'd rather paint the skull, please, show us how cause it would be awesome!

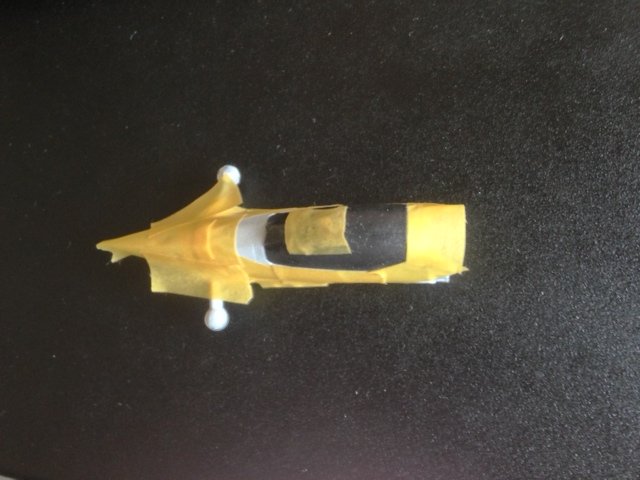
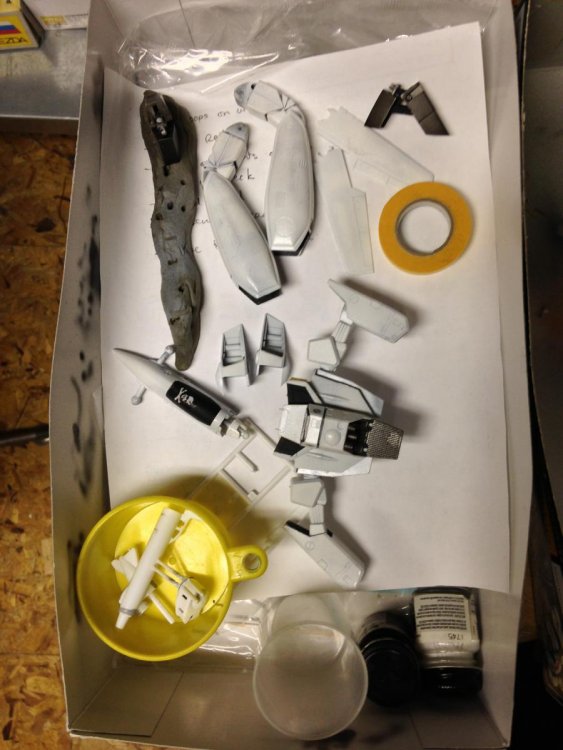
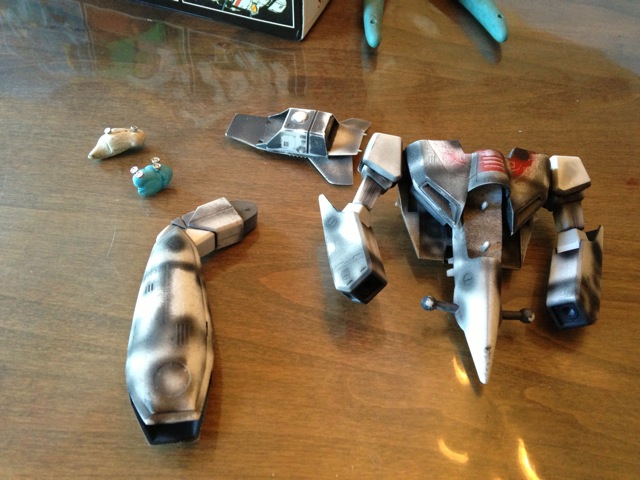
So, I tried it already. I painted the shield white, then masked the skull and crossbones with liquid masking, painted the shield black, and removed the masking, and touched it up with black paint. It was OK. Trying to touch it up a second time with white was a mistake. I screwed it up. I will probably try the decal. You can see the state of the shield in the second WIP picture here.
This is the first model I've worked on in quite a while and I am having some trouble with my airbrush, but barreling ahead anyway. Unfortunately I dropped a splash of glue on the backback and it melted part of the grid pattern... you can see that in the picture. Actually I have made all kinds of mistakes, and that's why i started with this kit. I don't want to destroy my VF-4!

-
For a variety of personal reasons this project stalled, but I am working on it again now. And somehow this old topic still exists...
I wonder if anyone can give advice about the black striping on the Battroid. Did you really use the decals, or did you mask and paint the black stripes? Has anyone hand-painted the jolly roger on the canopy shield? Do the two decals really settle on that raised piece? Or did you put the jolly roger decals onto the smooth canopy shield?
thanks
-
Yesterday my family went to the Hayden Planetarium at the Museum of Science in Boston. There was almost no one there, and after the show the presenter gave us a custom tour of the solar system using the DigitalSky 2 software. http://www.skyskan.com/products/ds ...We got to fly around the rings of Saturn... it was amazing. I guess it would have been better in a Super Ostrich, though. Yours looks great--thanks for sharing the album!
-
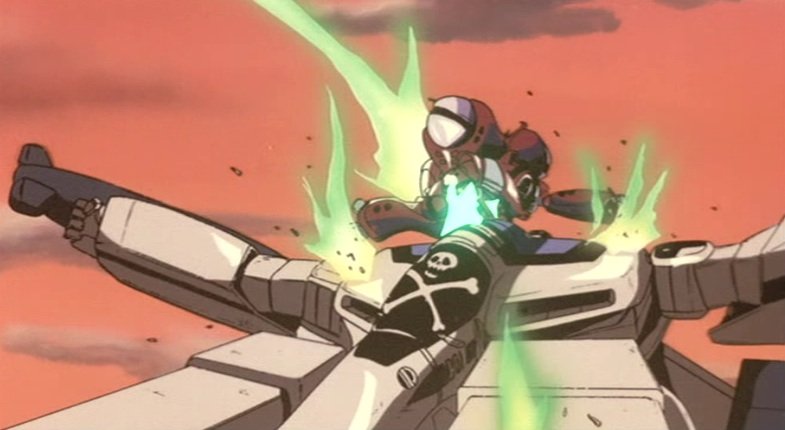
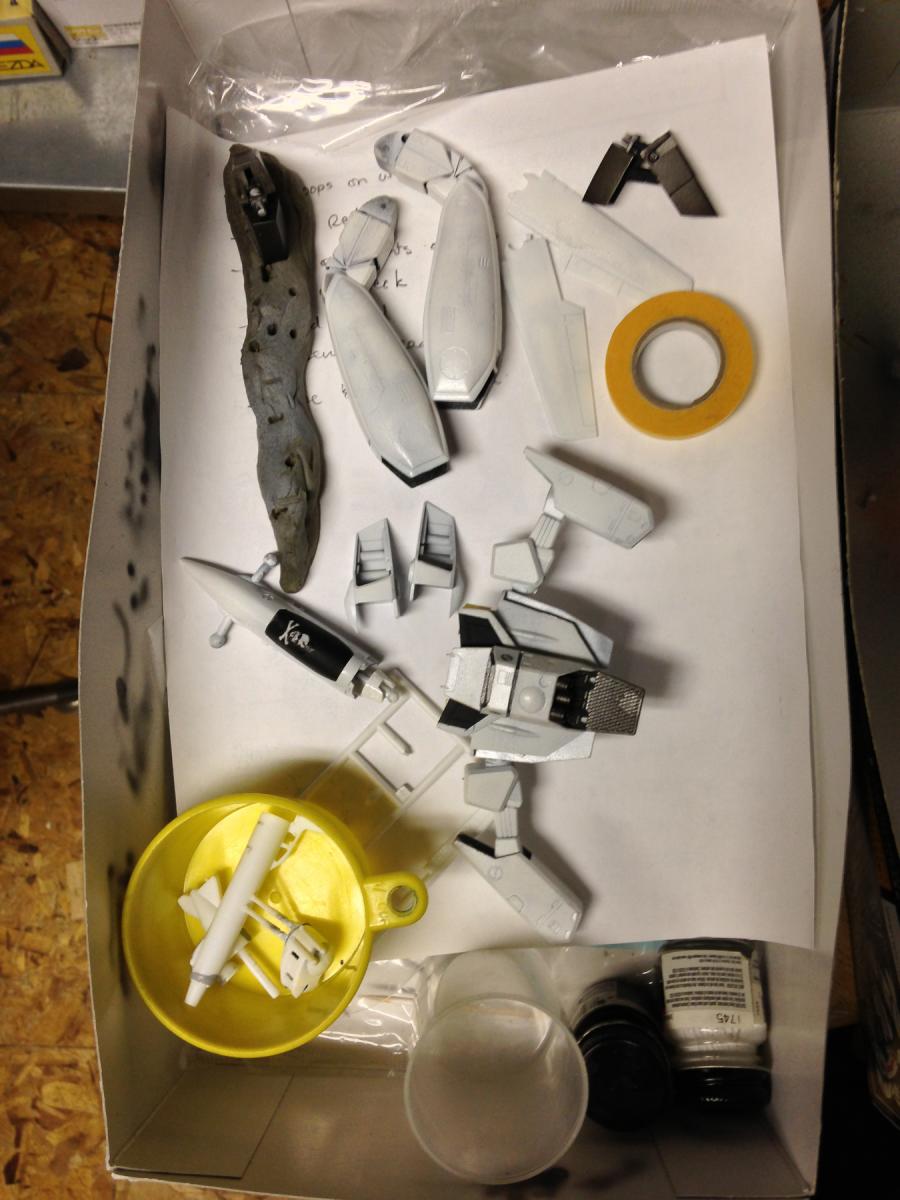
I recently got my first Hasegawa battroid kit and have been trying to decide how to paint it. This kit doesn't have the super or strike attachments, and upon reflection I realized that the only time an "unpacked" battroid appears in DYRL is when Max dogfights Miria to a stalemate on Earth. I am not a huge fan of the blue markings, but decided to give it a try. In the past I have shied away from white for the Valkyrie but I may go forward with the canon color for the plane.
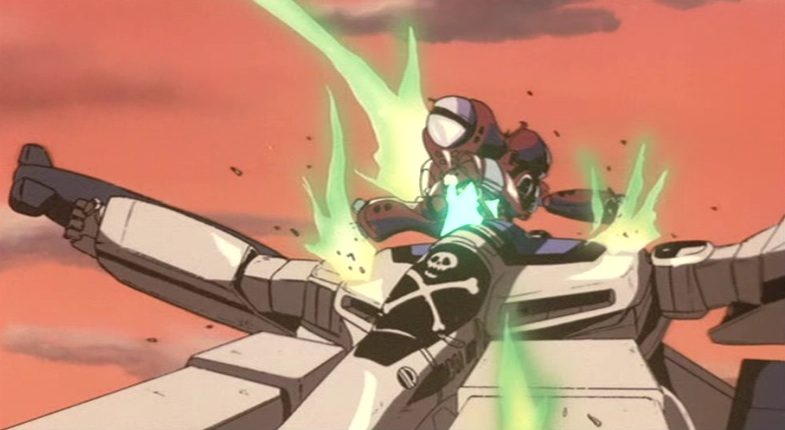
But I noticed a few interesting things when I reviewed the scene in the film.
- Max is Skull Leader at this point in the film and his plane is a VF-1S, numbered 001.
- The cockpit shield has a black field, not blue, as it does at the beginning of the film.
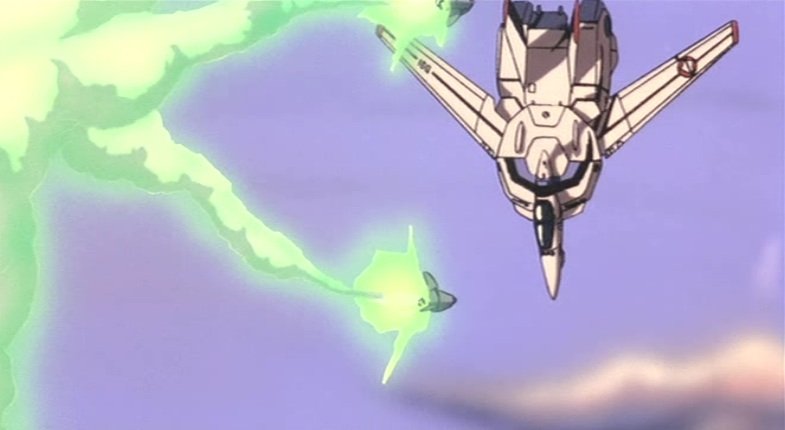
- The wingtips and stabilizer tips are red. Actually the coloring is very inconsistent in this scene; blue disappears and reappears on the legs, and and the wingtips alternate between white and red. I guess the cockpit shield could also be a coloring error, but it is consistent throughout the scene.
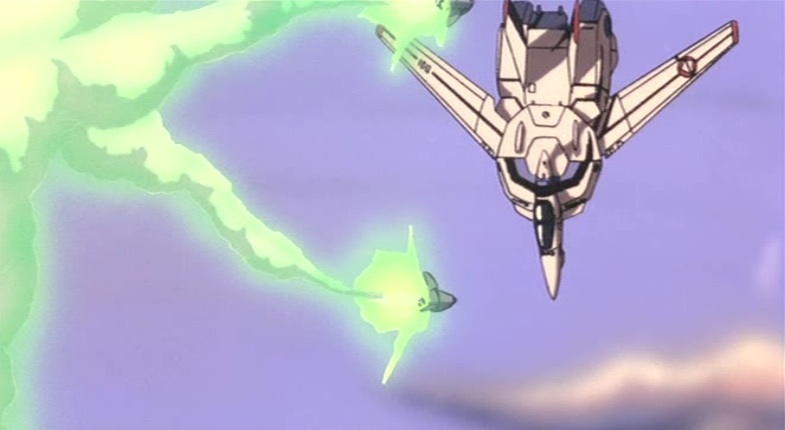
- The VF's wings are broken off during the final confrontation within the Meltrandi ship. You can see the rocket packs on the floor and bits of wing. I don't know if this is the result of his VF rolling on the floor, or being shot off. Since I have only one of these kits and I'm not willing to sacrifice pane-mode wings to support the rocket packs, I will probably just make the kit with normal wings, but I am considering chopping the wings off and battle-damaging the body of the battroid...
I thought I would post these thoughts, with supporting pictures below. I'll post pictures of my battroid as it progresses, or when I finish, if that ever happens.
--ce.

- Max is Skull Leader at this point in the film and his plane is a VF-1S, numbered 001.
-
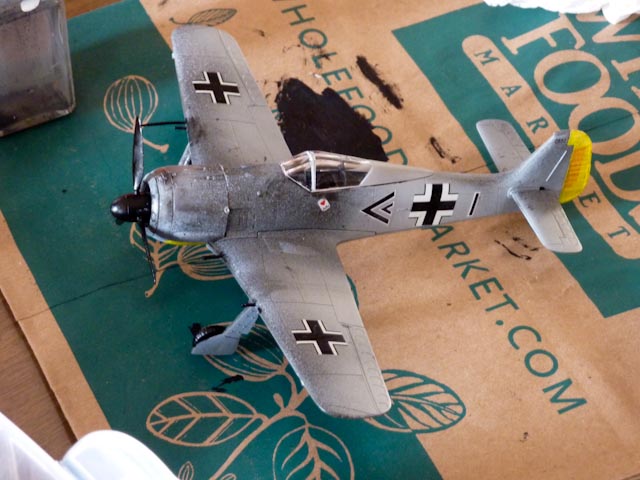
I haven't posted on this board in a long time, or worked on models much in the last few years. But my sons' recent interest in the Battle of Britain, as well as a sale at our local hobby store Hobby Bunker in Malden, MA, has brought model-making back for my family. So yesterday I had a great experience--I wondered if this could ever happen--I sat down with all three of my kids and we worked on models together!
So I thought I would share our collective workbench.
First, it is my youngest son's Focke-Wulf Fw 190 (Pegasus Hobbies 1/48 snap kit). He is just six, and really could not do this kit himself, but he still feels a great sense of ownership and accomplishment. I found out that he can paint better than his siblings could at this age--he did all of the black painting without any help (except to help him wipe off a couple of mistakes)! I did a quick & dirty camo with Krylon spray primer.

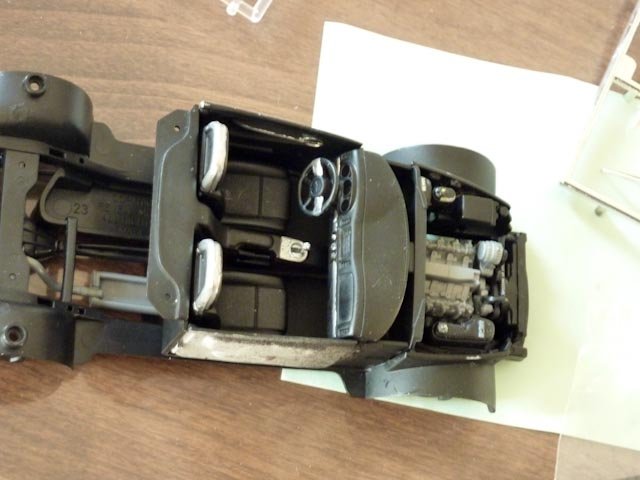
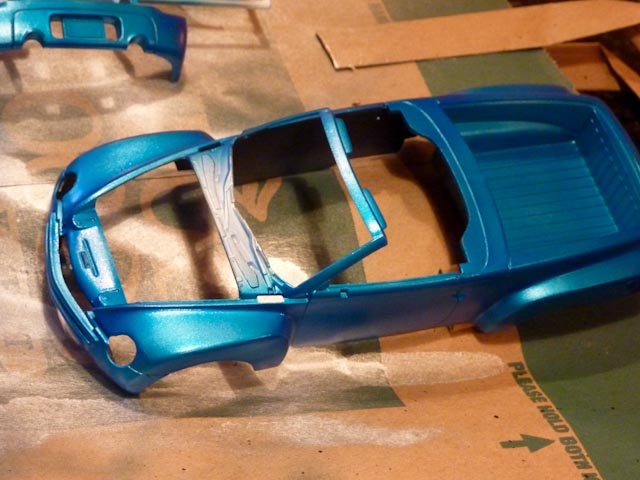
Next it's my daughter's Chevy SSR (Revell). We started this together last year, but she lost interest. Yesterday she found she is good at decals, and after she chose the color scheme I got to try out clear colors over silver :-) she is really excited to see it coming together. She had fun painting and assembling the interior. Unfortunately I found out this morning that she must have laid one of the sprues on top of the hood and scratched some of the blue off before I could put a protective clear coat on. Argh! I hate the fragility of Tamiya acrylics...!!!
Live and learn.
(Personally I still always use enamel if I can for this reason.)
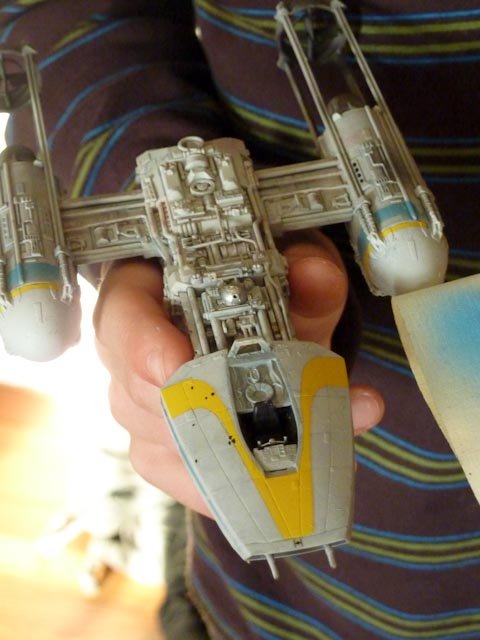
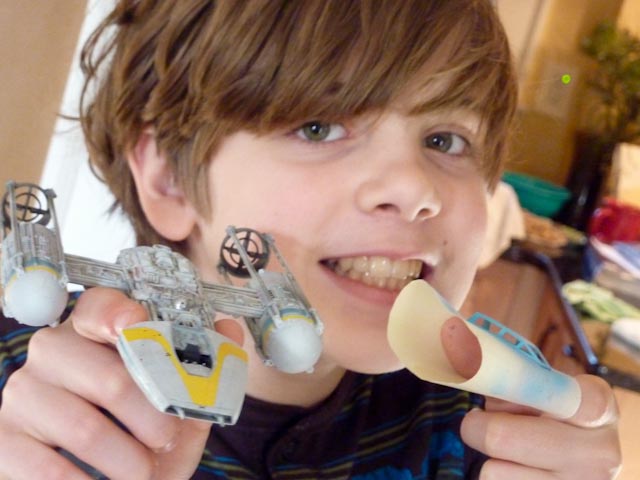
Next is my oldest son's Y-Wing. I used this kit to help him learn how to use the airbrush and do weathering this summer. He still needed help with the decals, though. He had chosen a basic Testors sky blue for the canopy and it looks exactly right. He had fun scratching off the paint from the blue canopy after we painted it yesterday.

I helped them a lot and didn't get much of my own work done, but I can't complain! I started a battroid that I plan to paint as Max as Skull Leader from DYRL.
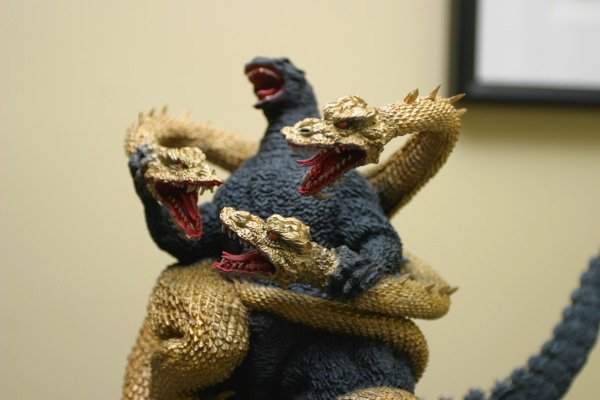
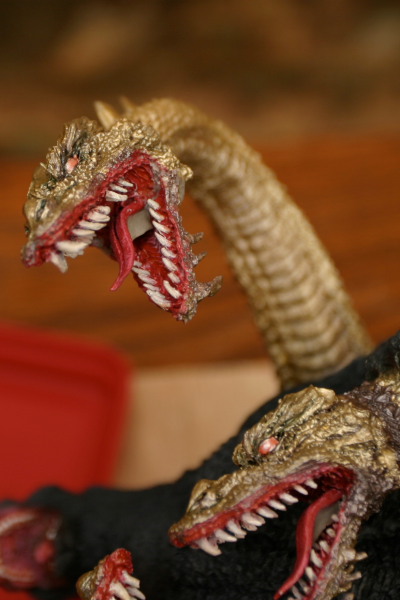
Oh, and I finally got a Dremel recently and have been able to start fixing up King Ghidorah's wings in my horrible G-vs-KG "Big Wrap" recast. I can't wait to be finished with this one... it is a lot of work.

-- ce.
-
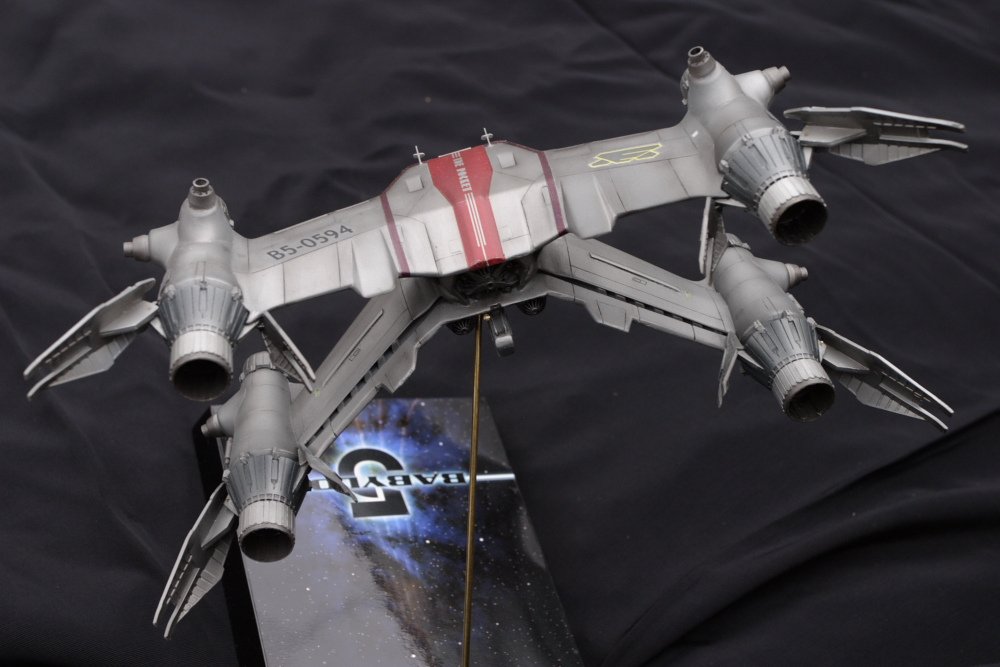
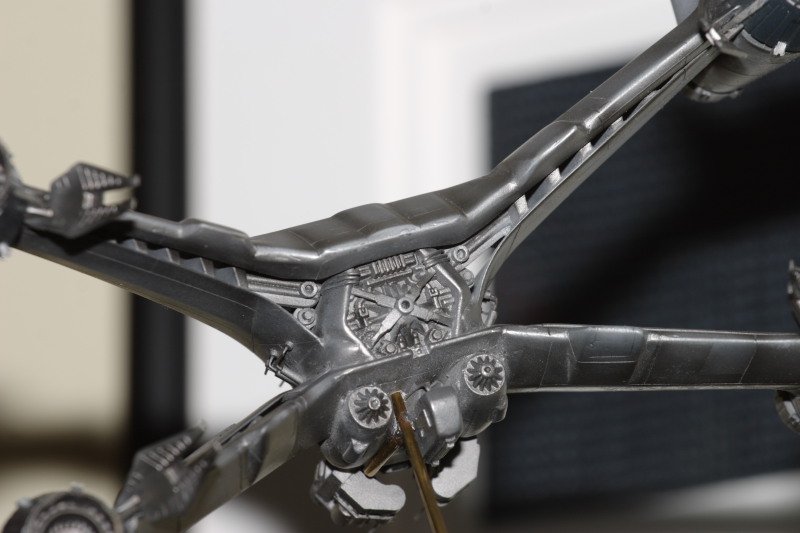
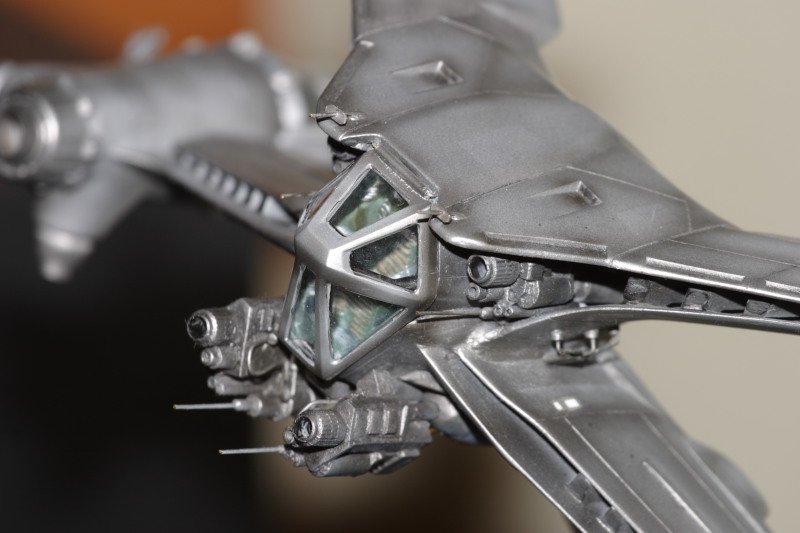
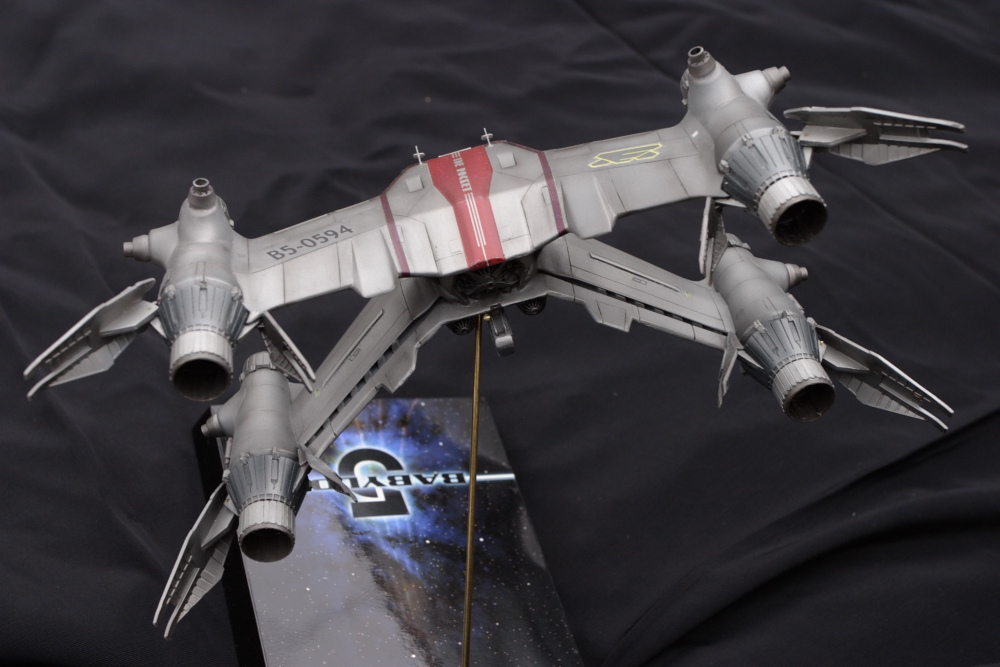
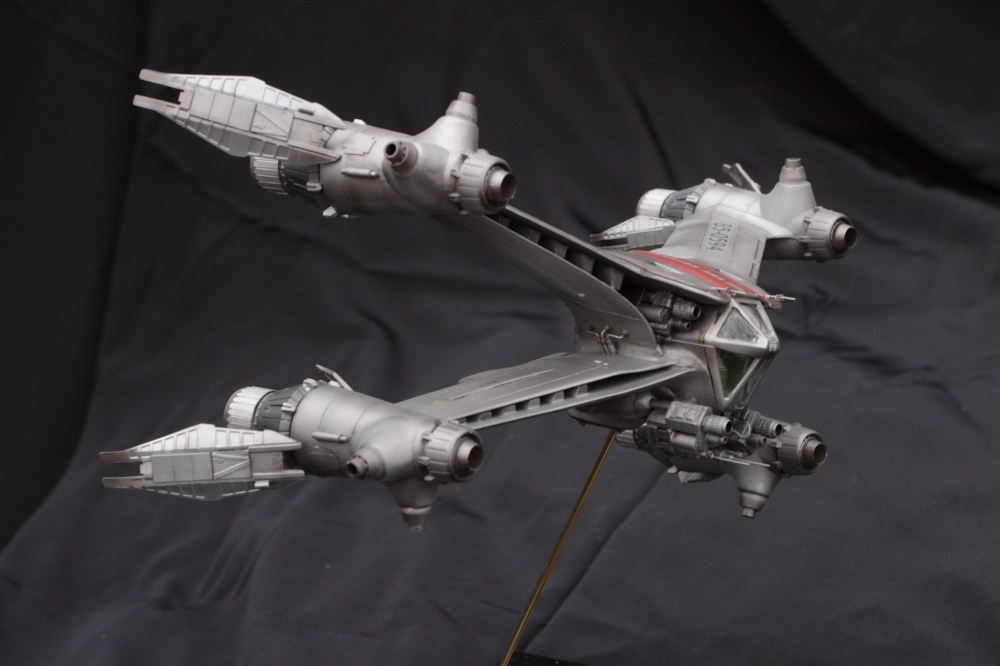
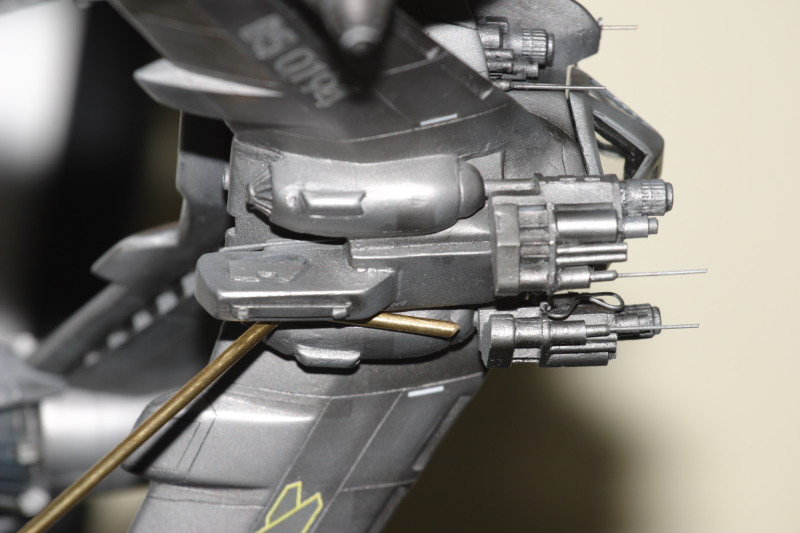
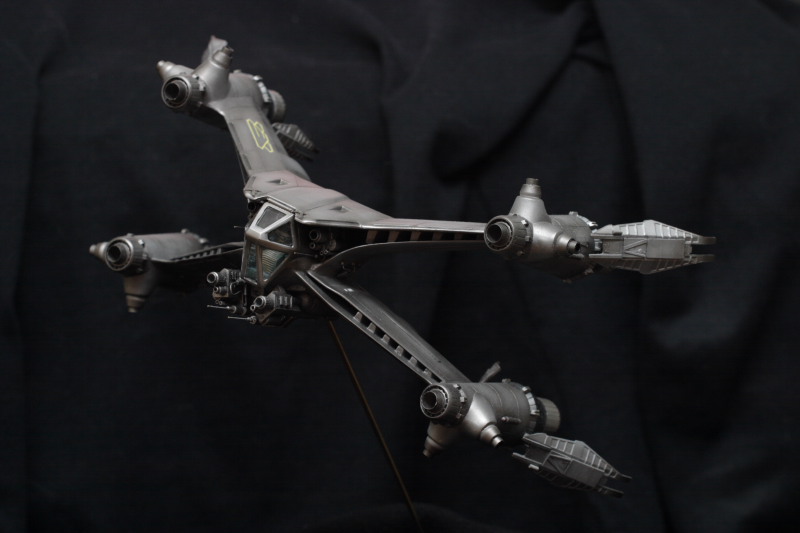
I finally finished my Starfury.
My wife and kids will be in Japan for six weeks this summer, so I should have enough spare time to get at least one Macross kit complete in that time period. :-)
WIP gallery: http://tenbyten.com/images/Starfury/TLT%20Custom%20Build/
-
Geez I can't believe I missed this. It is beautiful.
-
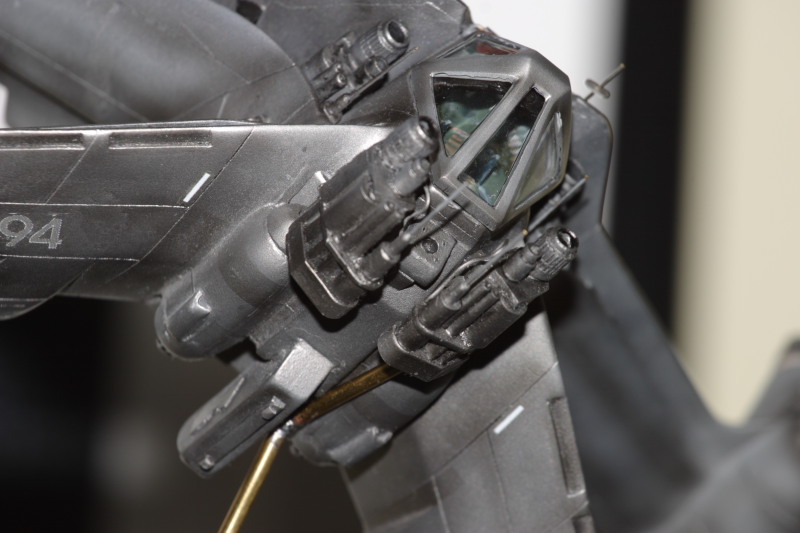
Great! What was the weathering technique? Is the upper hatch actually hinged, and if so, how did you do that? :-)
-
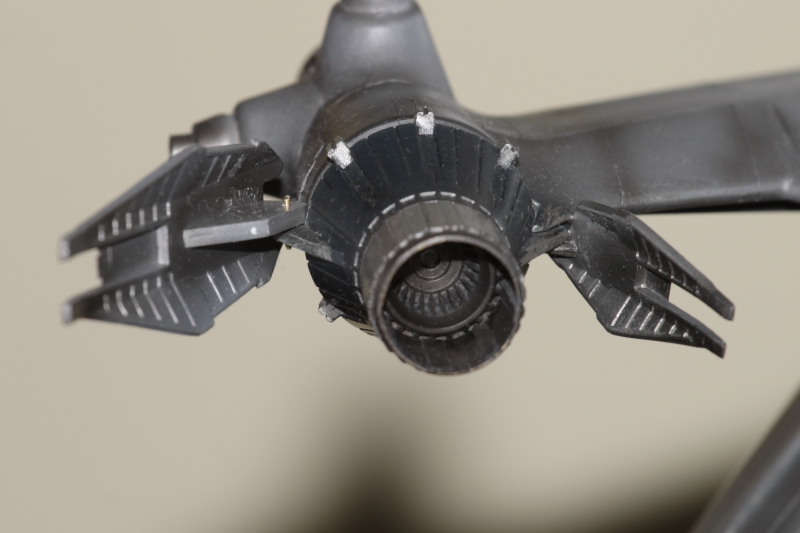
Looks great! I kinda like those big cone verniers, actually...
-
Nice StarFury man. Is this the one that was posted over at SSM as well?
Thanks! Yes, that's right. I usually follow here but I got hooked on this project and figured it applies more to SSM!
-
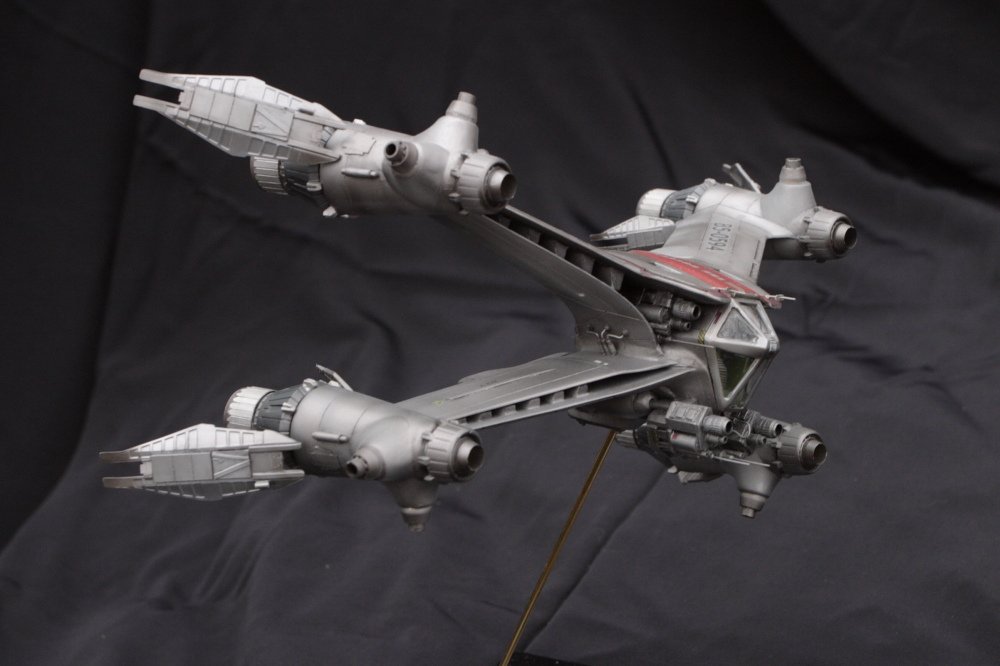
Well i think you did a good job. Could we get some pics against a light background in normal lighting? Be easier to see the details.
By Your Command.
The direct flash really makes it seem like I need to weather it more heavily. I'm not sure this is the case.
Also it looks very dusty in the pictures. Hmmm...
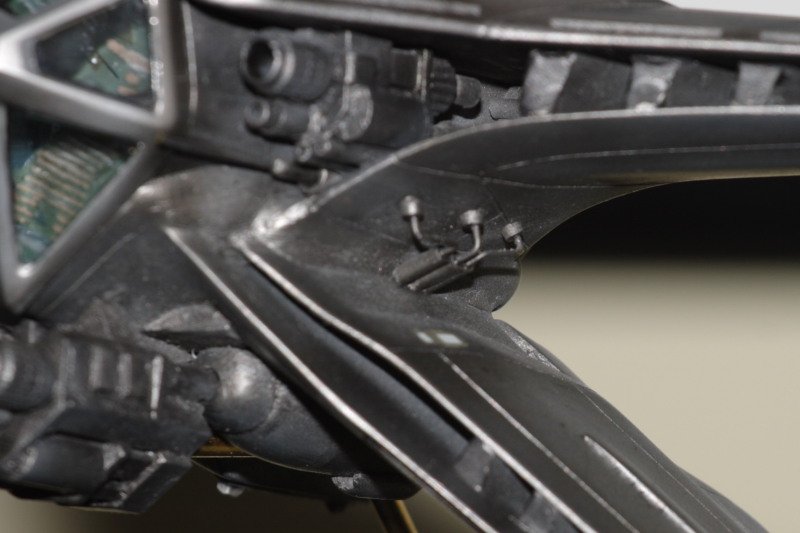

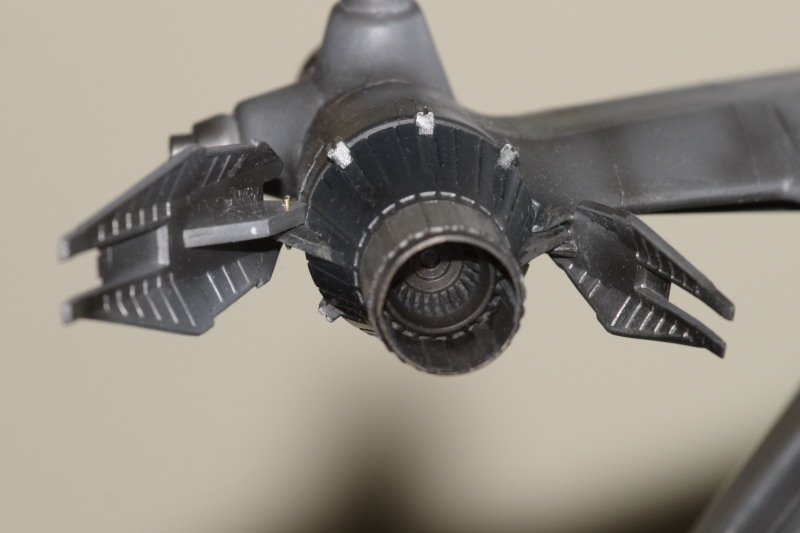
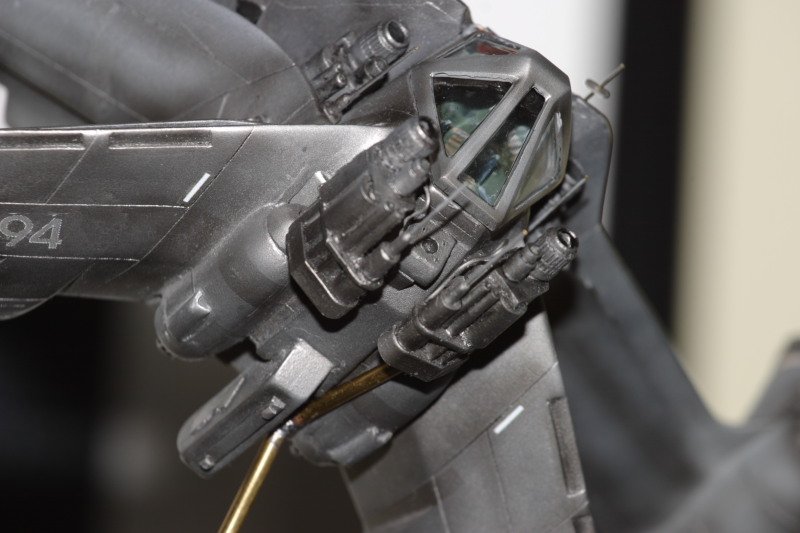
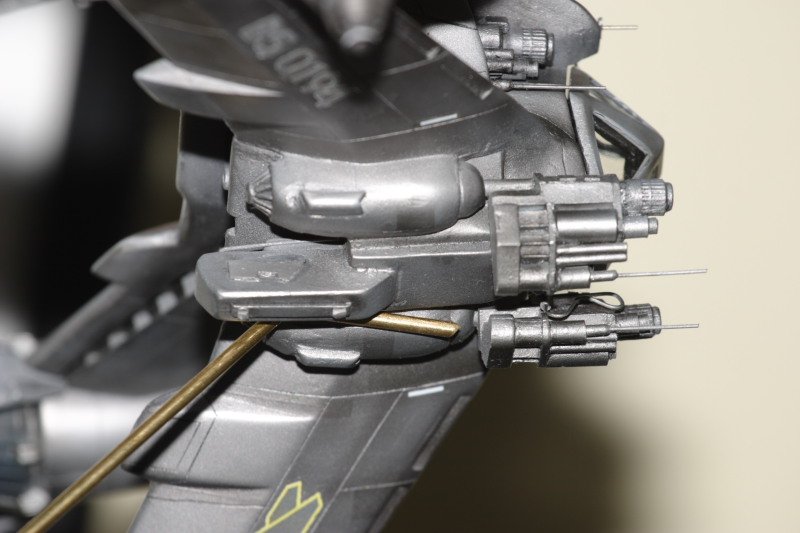
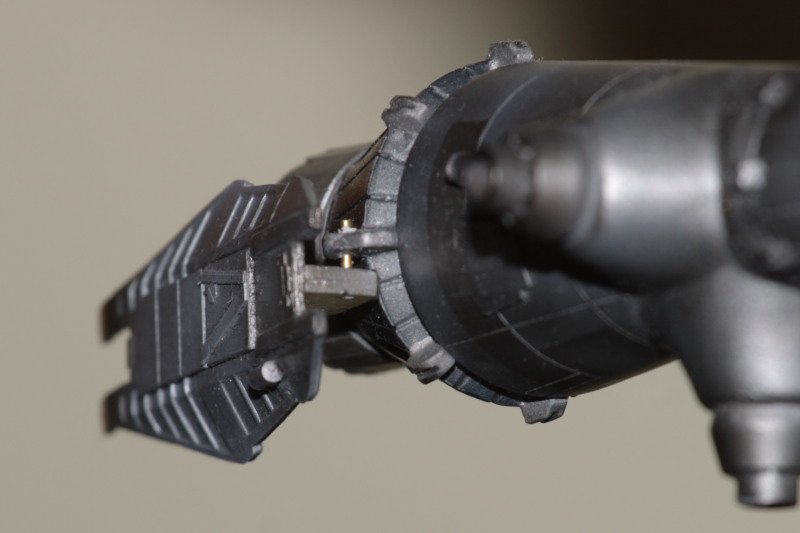
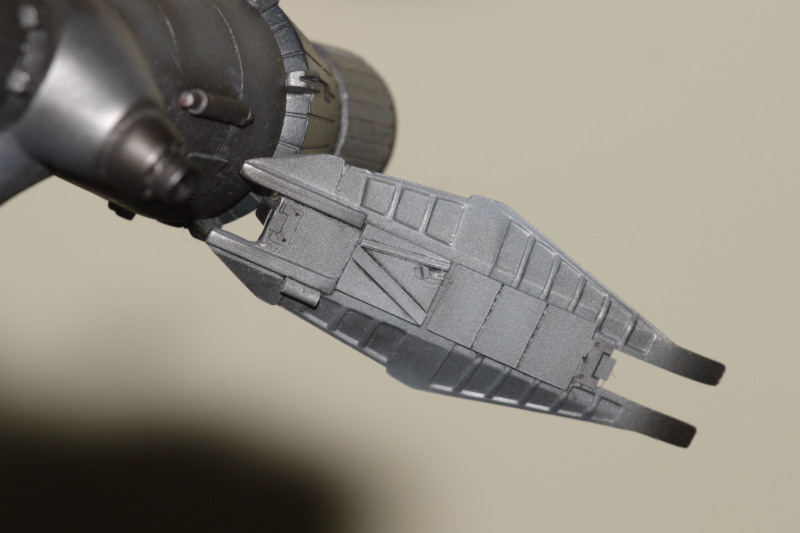
These focus on the changes I have made to the original kit.
-
Frisket film and airbrushing with a little brush work for line and details. Then sealed under many coats of future.
Nice!
I think it will be impossible to paint by hand what I have in mind for my base, so I'll go ahead with my photo plan. I think that as long as I have it printed on nice paper it should look good. I might try both glossy + matte, or maybe even metallic paper.
-
How do you plan to put the logo/image on the base? Print a decal? I am thinking that for my B5 base I will print out a photo and glue it to the top of a wooden slab.
-
Actually I should mention that I worked on this kit in order to get my skills back into shape so I will be ready to finally build my Hasegawa Valks. :-)
-
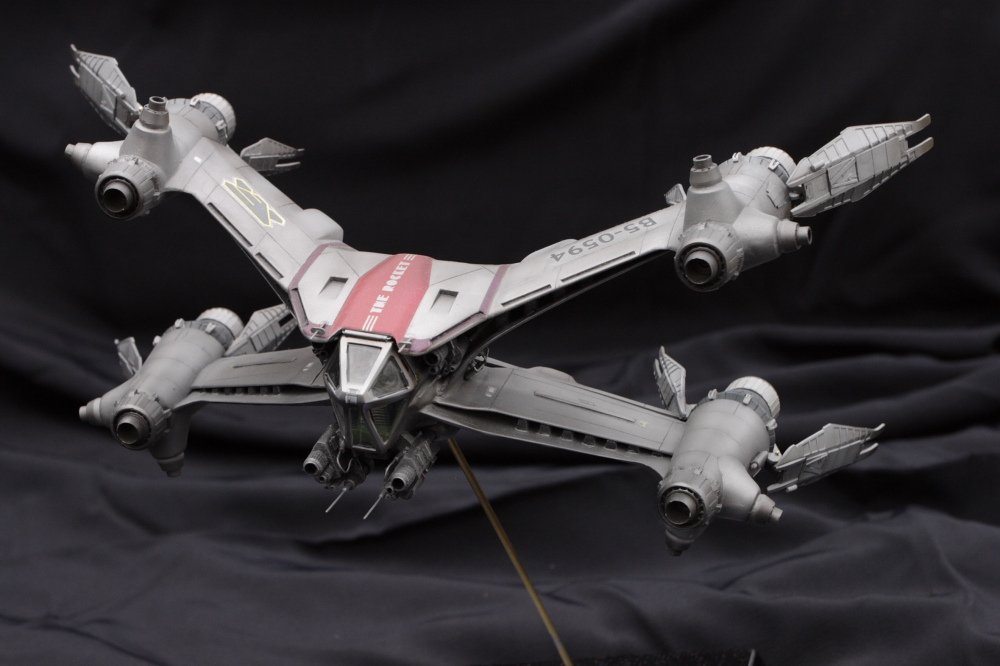
I'm finally finishing up my modified Babylon 5 Starfury that has weapons and details to match the one shown in the Lost Tales DVD.
Not quite done but close...
Also I started working on the Alliance Models B5 Thunderbolt.
http://tenbyten.com/images/Starfury/TLT%20...0Nearly%20Done/

(Gave up on Godzilla for a while :-)
-
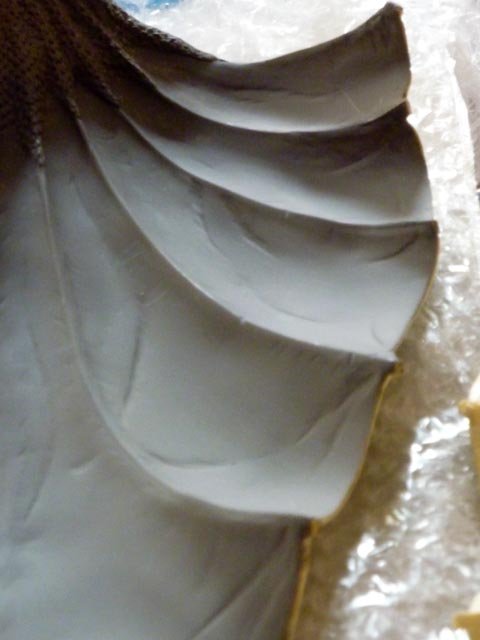
Slow going work, there are a lot of more important things in my life right now!
I added one in-progress pic so you can see some tissue detail I have added under the tongues.
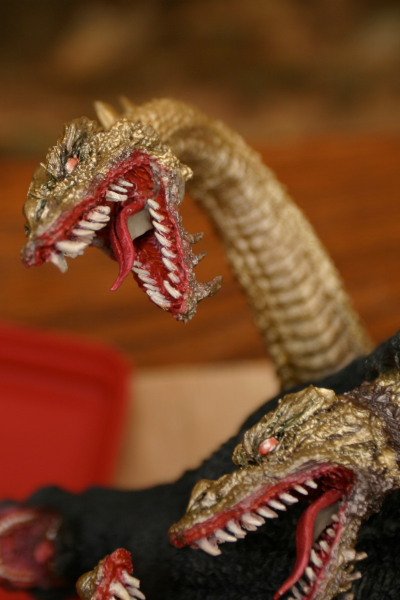
After this I will move on to a Macross kit, I promise. Or at least a spacecraft. :-)


Max as Skull Leader in DYRL, Hasegawa Battroid
in Model kits
Posted
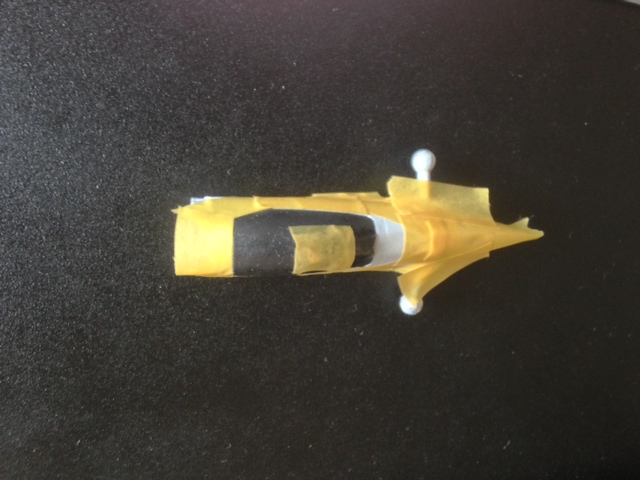
At last! I have reached True Blue. (My new/old compressor is working great!)