
ce25254
-
Posts
156 -
Joined
-
Last visited
Content Type
Profiles
Forums
Events
Gallery
Posts posted by ce25254
-
-
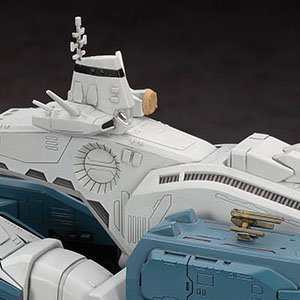
It's interesting to me that, although these two kits are both 1:4000, the bridge-head-thing is quite a bit smaller in the movie version. This surprises me, since I always think that the command area looks huge in the film's opening shot (a really well done scene IMO). I don't recall any similar perspective of the interior ever shown in the TV show.
-
There was a QF-3000E Ghost resin kit: http://www.macrossworld.com/mwf/index.php?showtopic=16461
-
How long and how wide (the wing thing) is the 1/72 kit? Thanks!
-
Great job
-
I've discovered a new love for the VF-1A ! Great work.
-
I could be interested in 1/72 since I'm nearly done with a VF-1S Battroid from the DYRL Max vs Millia showdown.
-
Well, it's awesome. Why did you decide to paint the forward-facing thruster on the side of the intake yellow on the Max bird, and red on the Hikaru bird?
Did you use the decals for the verniers, or paint them?
Thanks!
Agreed about the weathering, the exhaust from the backpack boosters in particular. I also really like the green tone you used on the gunpod.
Me too about the rifle, as with Max's!
-
Really great! Personally I'm not a fan of the TV blue but it looks exactly right. I like the non-metallized rifle. What was the color scheme for the other two?
-
I have so many kits in 1:72 that I haven't considered the larger scale, but the 1:48 kit sure looks like a lot of fun, and your finished product is going to be fantastic. Thanks for letting us join in!
-
I've finished my decal work on this kit. @jefuemon you sure are right about hot water for the decals. I was pretty scared about tearing the two jolly roger ones but they went on great.
I'm a little bit frustrated about a crack that appeared in the hip intake as I installed the legs onto the body, and in the legs when I put in the lights.
 Oh, and I accidentally dripped too much CA inside the leg to secure the fins, and it ran up the leg and froze up the left knee! At least it's frozen straight.
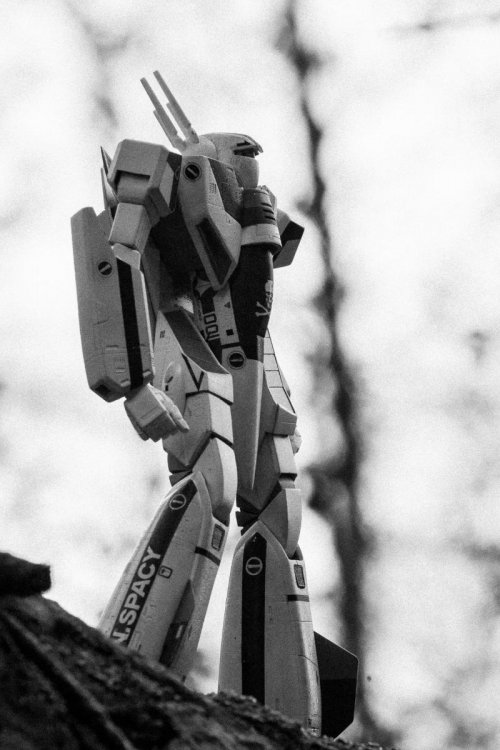
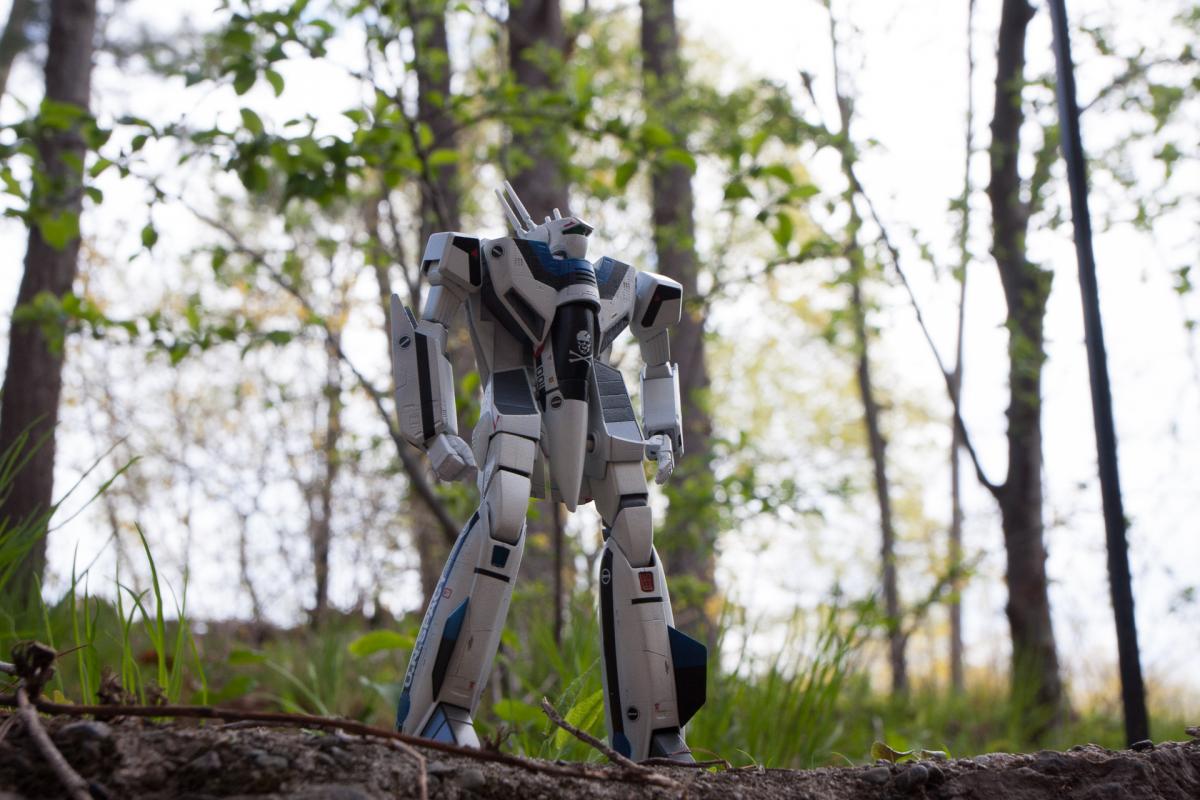
It was a beautiful day and I couldn't resist taking a few pictures, even though I'm not quite done! (still to go: clear coat, panel lines, head cannons, rifle…)

-
It would be so great to see this standing up next to the Gnerl, Reguld, Glaug, Quamzin, as well as the Zentradi warrior.
-
So the soldier will theoretically fit inside this? How far down would his legs go into the suit's legs?
I imagine he'd be pretty sore after riding in that suit all day — or maybe that's why they need the wacky tobacky!
-
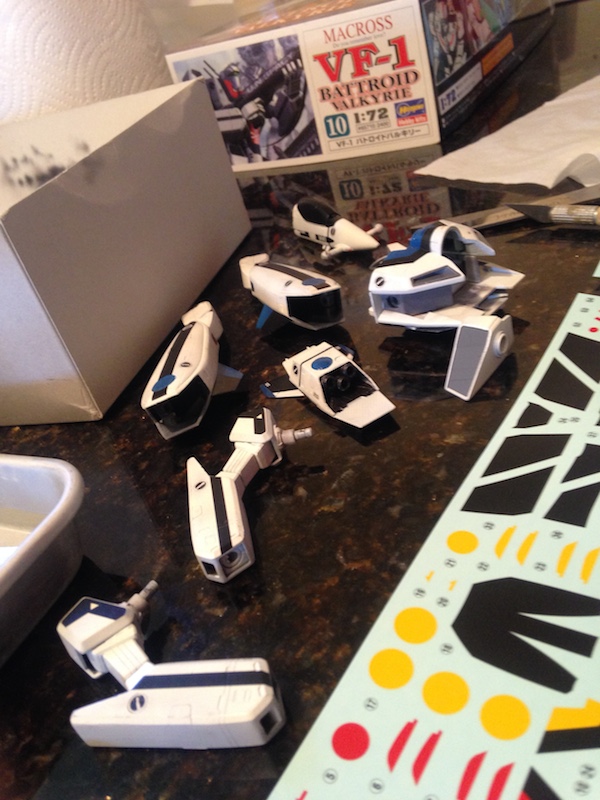
I finally got to start putting decals on my VF-1S yesterday. I learned a few things…
- Applying decals is not entirely compatible with two espressos and no food.
- Patience… it took a lot longer for the decals to release than I expected.
- The stripes decals do look pretty nice, but I don't regret painting a lot of the black areas.
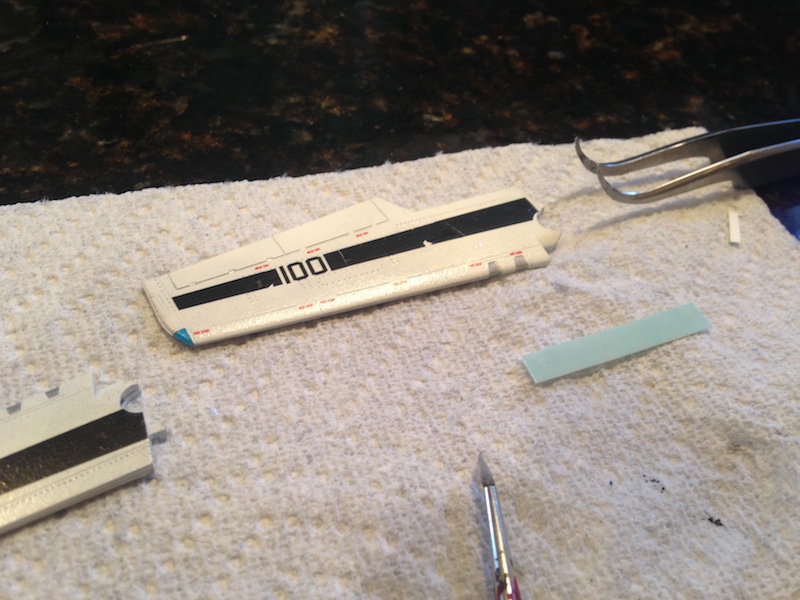
- The vernier decals. Argh! I had a hard time with them. I started with these and tore three of them.
I had debated about whether or not I should paint the verniers by hand. I decided to paint them, but had mixed results, and then backtracked and went with the decals, mostly. I won't know which technique looks better until after I put a dull coat and weathering over everything. - These Hasegawa decals are really thin. Trying to move them around by poking them with a sharp tool or grabbing them with tweezers off the backing ended badly. As long as I stuck to a brush to move them around I was (mostly) OK.
- I am so so so so scared to put on the skull and crossbones.
I had a lot of fun at this stage. It's so rewarding when it all starts to come together. But again: I'm so glad that I decided to do this kit before touching anything I care too much about! (Later I might trash this kit for a DYRL Max/Millia showdown dio.)


-
I don't doubt the double-action is better… I'm still thinking about it.
I'm impressed by the reviews of the HP-M2 or M1 (actually thinking that the M1 would be a better choice for small work). My old Paasche H has the trigger limiting screw that allows me to treat it kind of like a simplified double-action. Will I miss this? I don't know! Maybe I should get two :-D
-
I'm thinking about replacing my airbrush after the discussion on the Workbench thread.
I have an order that needs to ship soon from HLJ and I noticed they have the Iwata HP-M2 is in stock, and it's 2/3 the cost of an Iwata HP-CS. The HP-M2 is single action, but since I'm used to my Paasche H I don't think that would be a problem for me.
Does anyone have experience with this one or advice against it?
Thanks
-
Have you tried the Google translate phone app? You can point your camera at Japanese text, select the text, and it will translate it for you. Of course it's often a pretty rough machine translation, but it might be good enough for you to get the information you want. Here's the text translated from the first column at the bottom of page 63 using this app:
The ACL of the vertical tail, even for embedding he scraped the red LED of 5m, further sharpened reproduced out the form to. The LED because those are cemented to the light emitting element with a resin, it is possible to light-emitting element is crowded cut a portion of the resin around until the last minute exposed. However, the device is divided into two, and are connected by a fineness of line of about invisible to the naked eye between them. Since not emit light as would cut this, it is necessary to cut while acceleration while watching some margin Yu. It is necessary to embody - so this not part of the tail is thin LED is tail b rather than to be embedded. Purpose to prevent the leakage of gap and dents after molding also doubles as using the black instant adhesive of wave. LED yelling shaving thin to the extent that the metal of the device is slightly exposed. Perimeter of the resin Rashiku epoxy, by scraping large in rough water sandpaper the eyes of about 100 number so hard scraping and work fast hard.
-
@mickyg, @derex3592: I do have a good moisture trap and regulator, it might be the mix. I have been lazy and trying to save paint by mixing in the airbrush cup, so that is the first thing I should rule out. I have a quite old Paasche H model and paint does tend to collect at the needle. I have to twist the tip to clear paint that collects there sometimes. There's a chance the needle might be bent, too. It looks as if these parts are so cheap… maybe I should just replace them instead of stressing about it. Oh, and mix my paint outside the cup

-
Obviously Gerwalk is selling well for Hasegawa. I hope they decide to do a VF-1D version.
Indeed, that would be the only thing that could possibly get me interested in one.
I'm surprised there is a lot of interest, but maybe they are taking advantage of the unfavorable response to Bandai's kit.
-
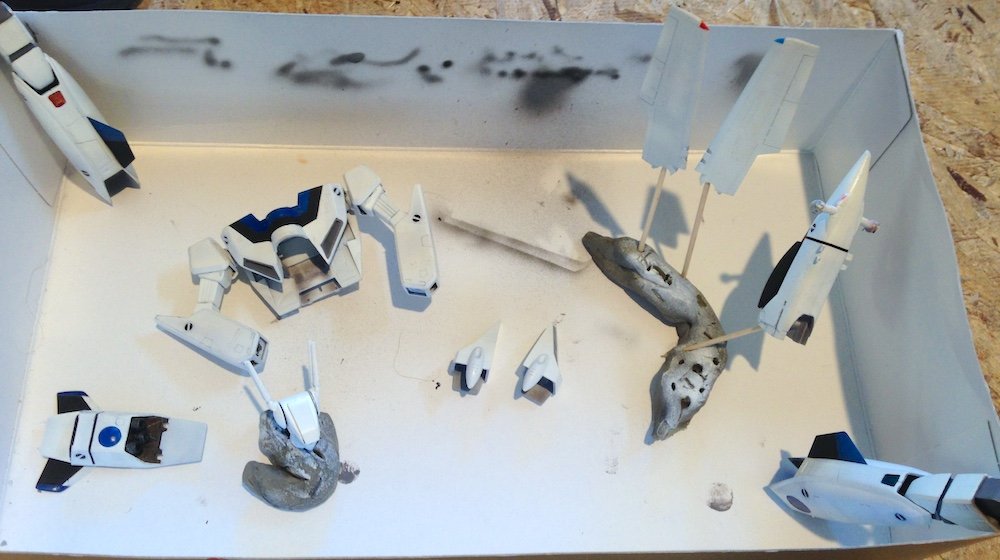
The huge pile of snow in New England is almost gone (!), and the weather was warm and dry enough yesterday to finally get the paint out again.
I need to just get this thing finished. It's Max's VF-1S from the 2nd act of DYRL.
I've had some trouble with my airbrush spitting paint and creating a bumpy surface. I don't know if this is because my paint mix is wrong or my airbrush is adjusted wrong or my airbrush is damaged. I need to get this figured out before I move on to my next kit.
Here we are ready to apply Future before decals:
-
What does the Japanese text says about the small rear trap?
I believe it's
地上射出用ブースター取り付け用ハッチ:Hatch for mounting booster for ground launch
-
Actually, the producers of Macross DID stop using it. It's just 'us' English speaking fans who haven't stopped calling them FAST packs (I'd err on it being a common term that's still used to aid communications, and not a case of blind ignorance [unlike the "colony fleet" term that's used in English discussions on Macross...]).
As has been mentioned elsewhere in this topic, Super Parts and Super Packs are the terms that replaced FAST Packs, and us English speakers have to start using those terms more.
In fact the poster from the Macross Gold Book uses both terms. It refers to the parts in a large label as "Super parts (Leg part)" but then in the lower right-hand corner of the legend in it says "FAST pack Propellant 11000 kg" ...
Anyway I could not resist posting the F-15E picture since the flares made me think of an Itano Circus.
-
I always figured the FAST packs on the F-15E Strike Eagle were the starting point for the leg super parts on the Super/Strike Valkyrie.

Oh, the '80s.
-
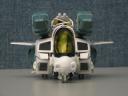
Catching up after some time away. I just managed to grab a Cat's Eye kit from SSM store, so here's a comparison between

and E-2 Hawkeye:

There are obviously a lot of differences but I think this is the closest match for an Airborne Early Warning & Control plane.
-
I'm really pleased with how my masking for the stripes turned out here!
I've decided that I will probably use the decals for some of the other stripes, though.
Although I am aiming for a used/dirty look, it looks like I'm going to need to give it another coat of white in a few places before I move on.


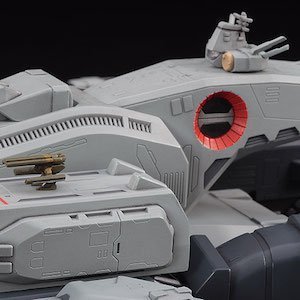
Hasegawa announces a TV SDF-1 and a Super Messiah!
in Model kits
Posted