
Papa Rat
-
Posts
810 -
Joined
-
Last visited
Content Type
Profiles
Forums
Events
Gallery
Everything posted by Papa Rat
-
Diggin the wild color schemes.
-
Oh yeah!!!! Looking good
-
Oof. Wonder how much. Edit* Just saw this for USA
-
Another amazing box art. 🤩
-
Love that skull design. Very cool. Also best of luck on the Beta. 👍
-
🤯 oh and thanks for the pronunciation. 👍
-
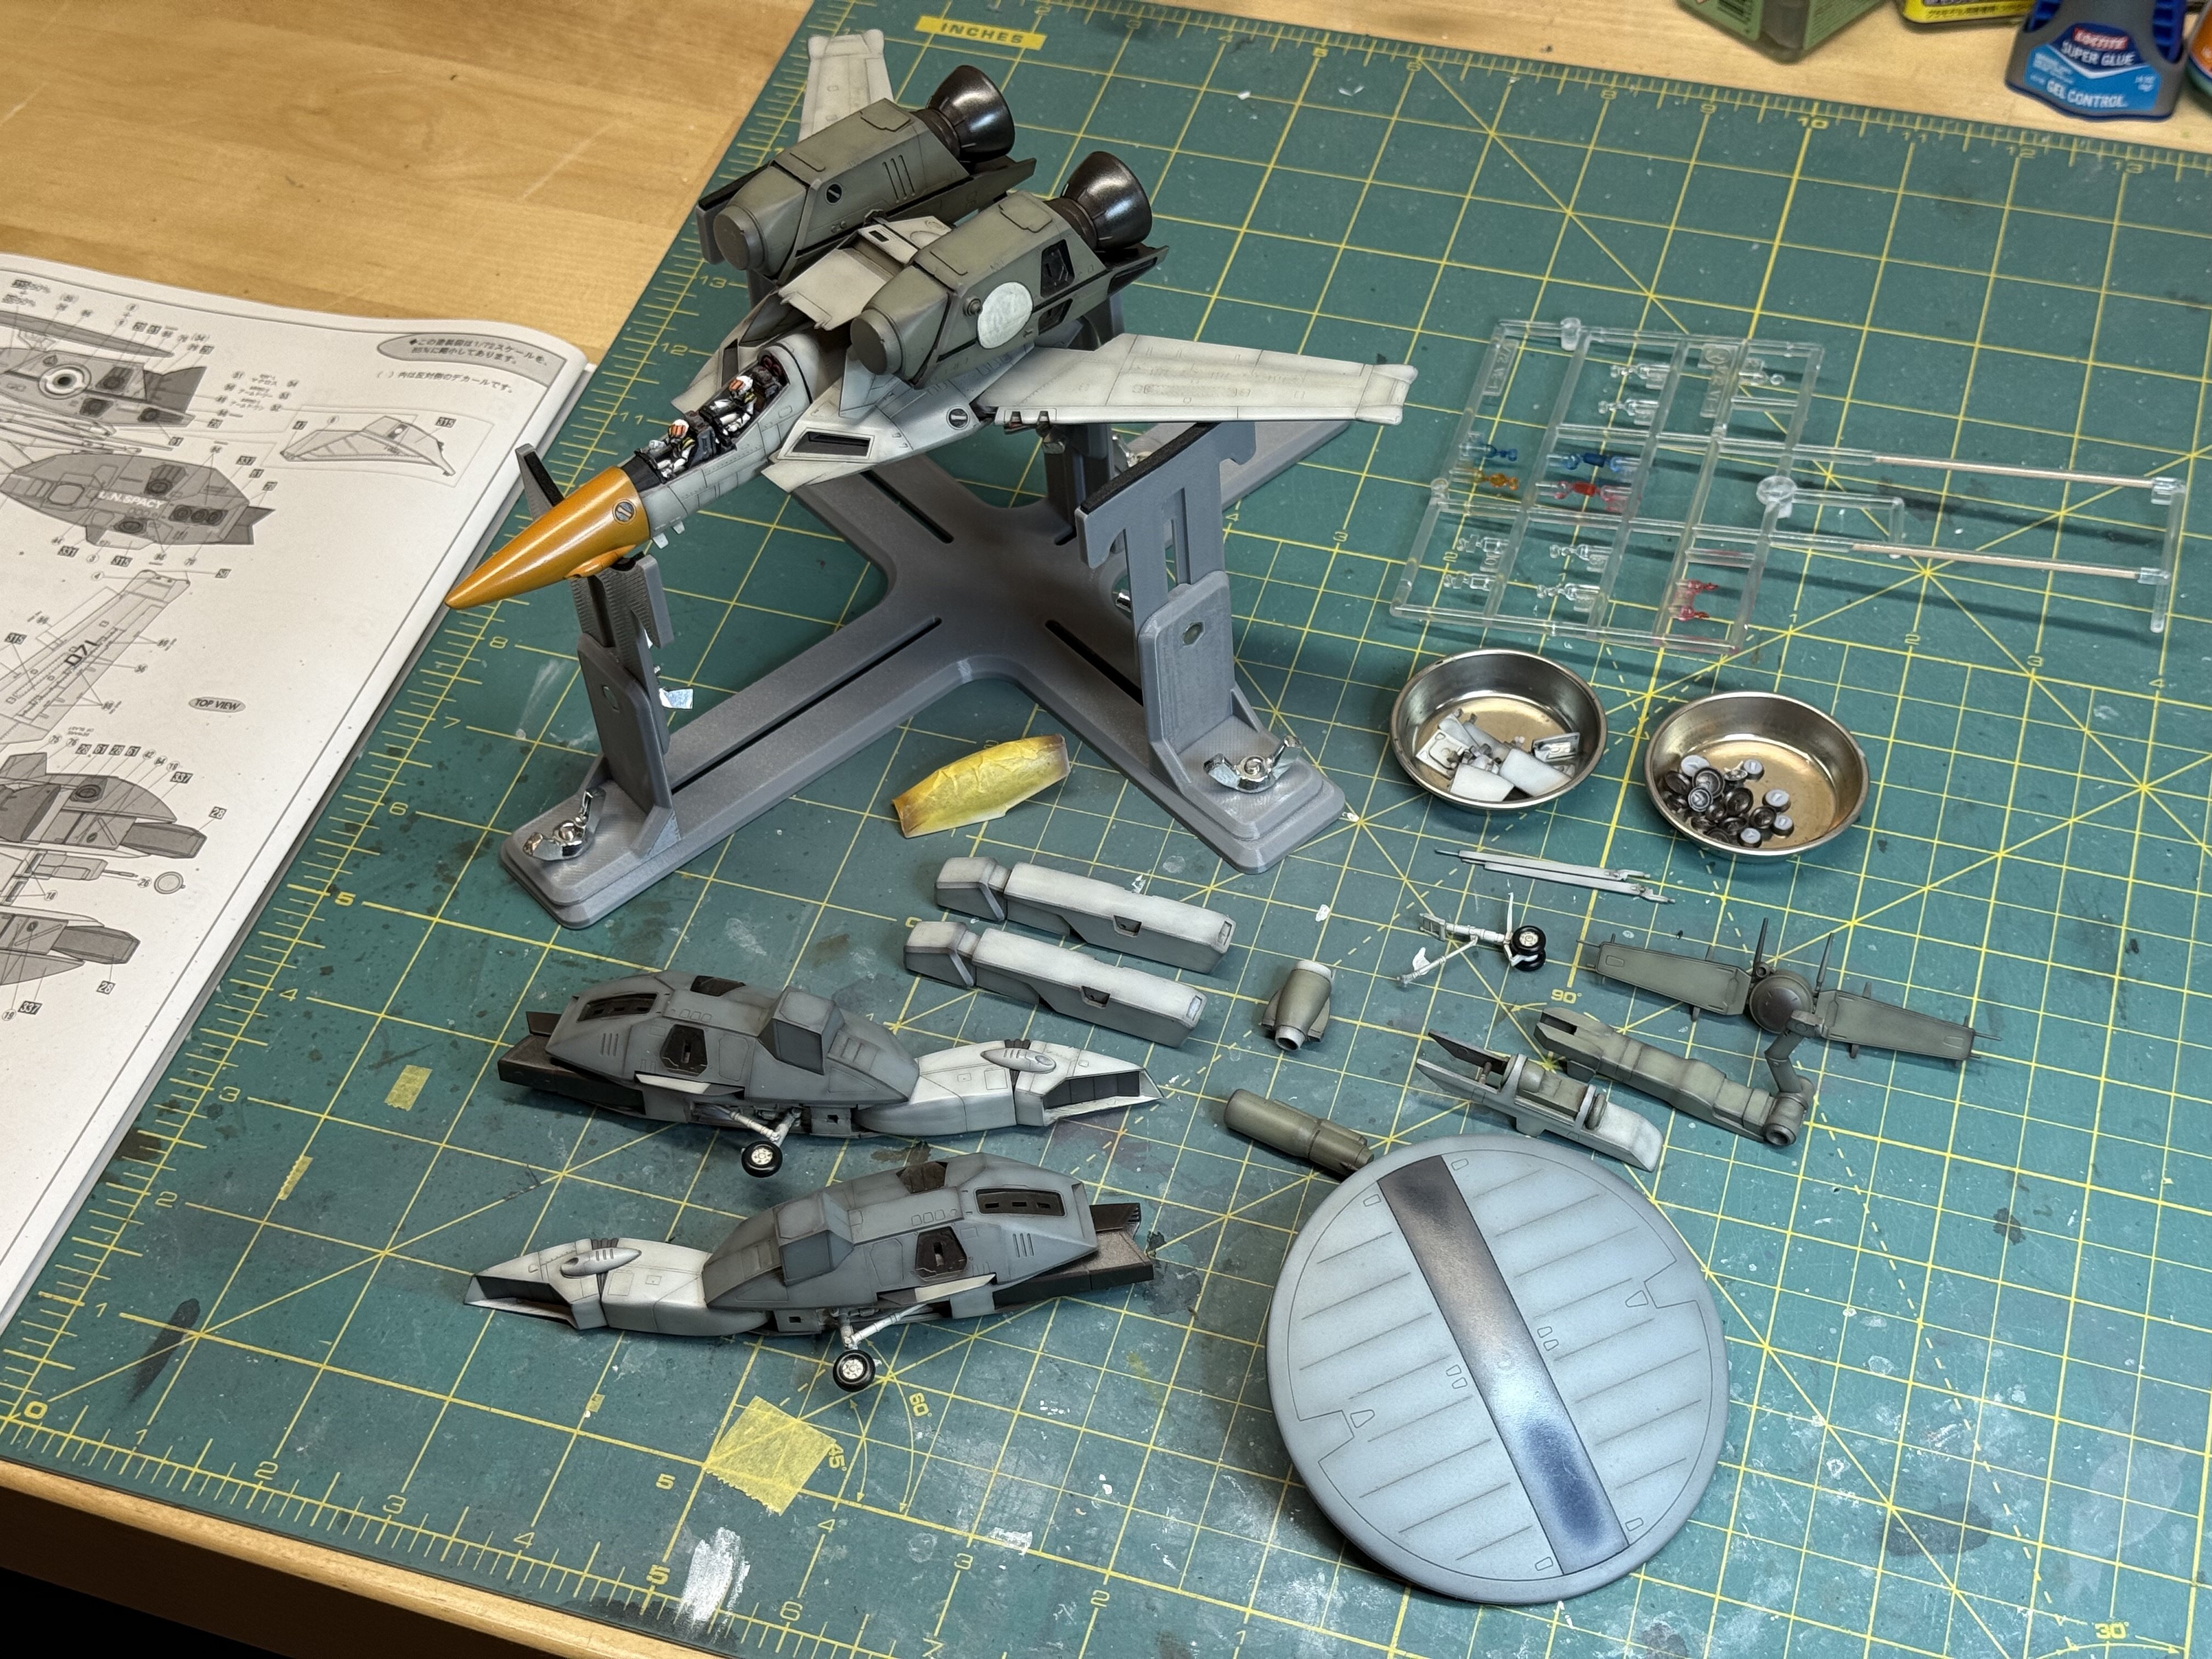
Hahahaha. I tend to buckle up and hit it hard with projects and shi* gets done. Lol Those old kits though. I think you are right about surface prep. I like overcoming a challenge to a certain degree. It just feels good in the end. I also adore the smaller scale of those kits compared to the huge, let’s say VOLKS KOG kit with the buster. That box sits on my shelf which I haven’t had the courage to start yet. One day. Also that Nousjadel-Ger looks great! That’s a mouthful.
-
Thanks. The pilots are my favorite part. 😊
-
Hey thanks. Yeah, I love to push myself and try new things. I also read up on how to approach things that interest me so I am prepared to dive in. Maybe it’s making sourdough bread, learning to drywall in my home, fixing my bicycle or whatever it happens to be. Reading about how to do something and the actual doing are so wildly different. I still learn the most by the doing part and all the mistakes I make are great opportunities for learning. I have a good enough sort of attitude with the hobby for the most part but I pay attention to the process and outcome. There is plenty of room for improvement, growth… I wish I had started building sooner but better late than never. I think that getting older and having a family has changed my priorities quite a bit. I go out way less and I find that I’m more of a homebody and this hobby just dovetails into my lifestyle at this point. Also having a place like this with a great community is an amazing resource for creativity, insight, and inspiration! ✌️
-
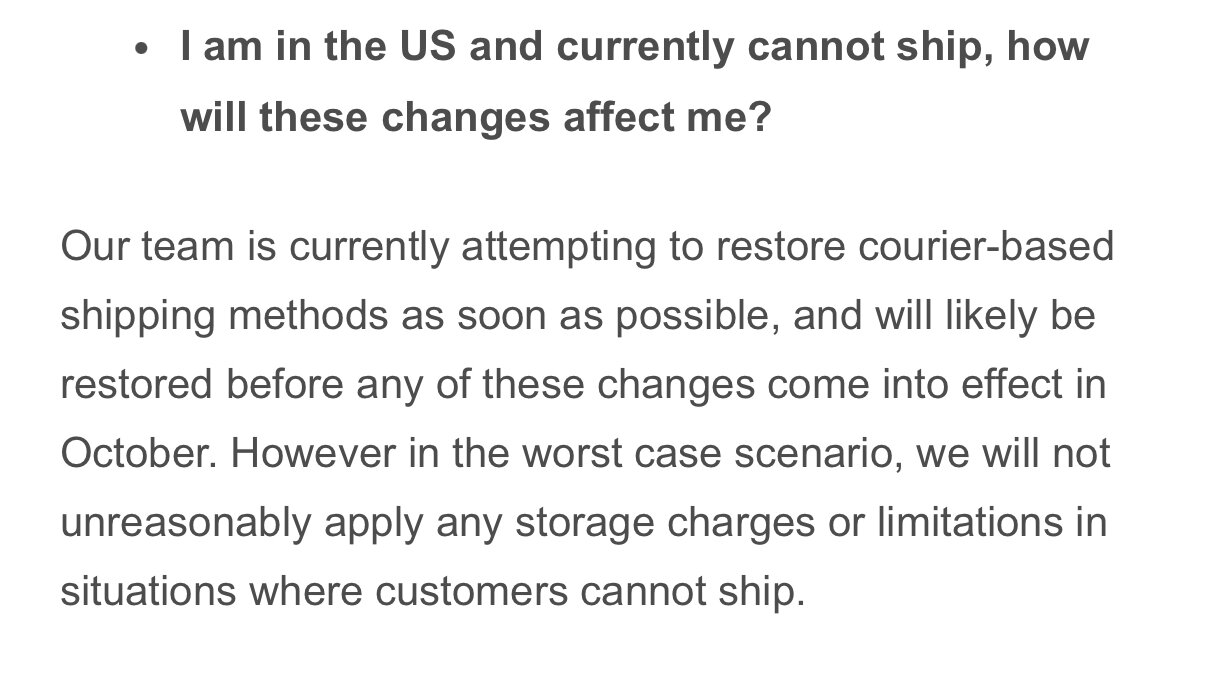
Getting closer. Still needs decals, detail paint, top coat, the usual…I’m excited to finish this up but I have to say that this build hasn’t been as fun as some of the old vintage stuff I have been doing. Regardless I’m learning a lot through the process. Maybe I’m learning in too hard on the highlight shading thing with my paint jobs? I am on the fence about it. A big thanks to @pengbuzzfor the heads up about pilot options. I reached out to @arbit for the digital pilot files. They are tiny tiny and work perfectly for this build. I had a blast painting them and they actually look half decent. ♥️ @derex3592Look! Got one of those stands you plugged awhile back. Super handy, thanks for the heads up. 👍
-
I’m onboard for the Queadlunn-Rau. The old IMAI kit was my very first model kit build and what got me into this hobby last year and I’m so excited to get a new “more accurate “ version in the mix.
-
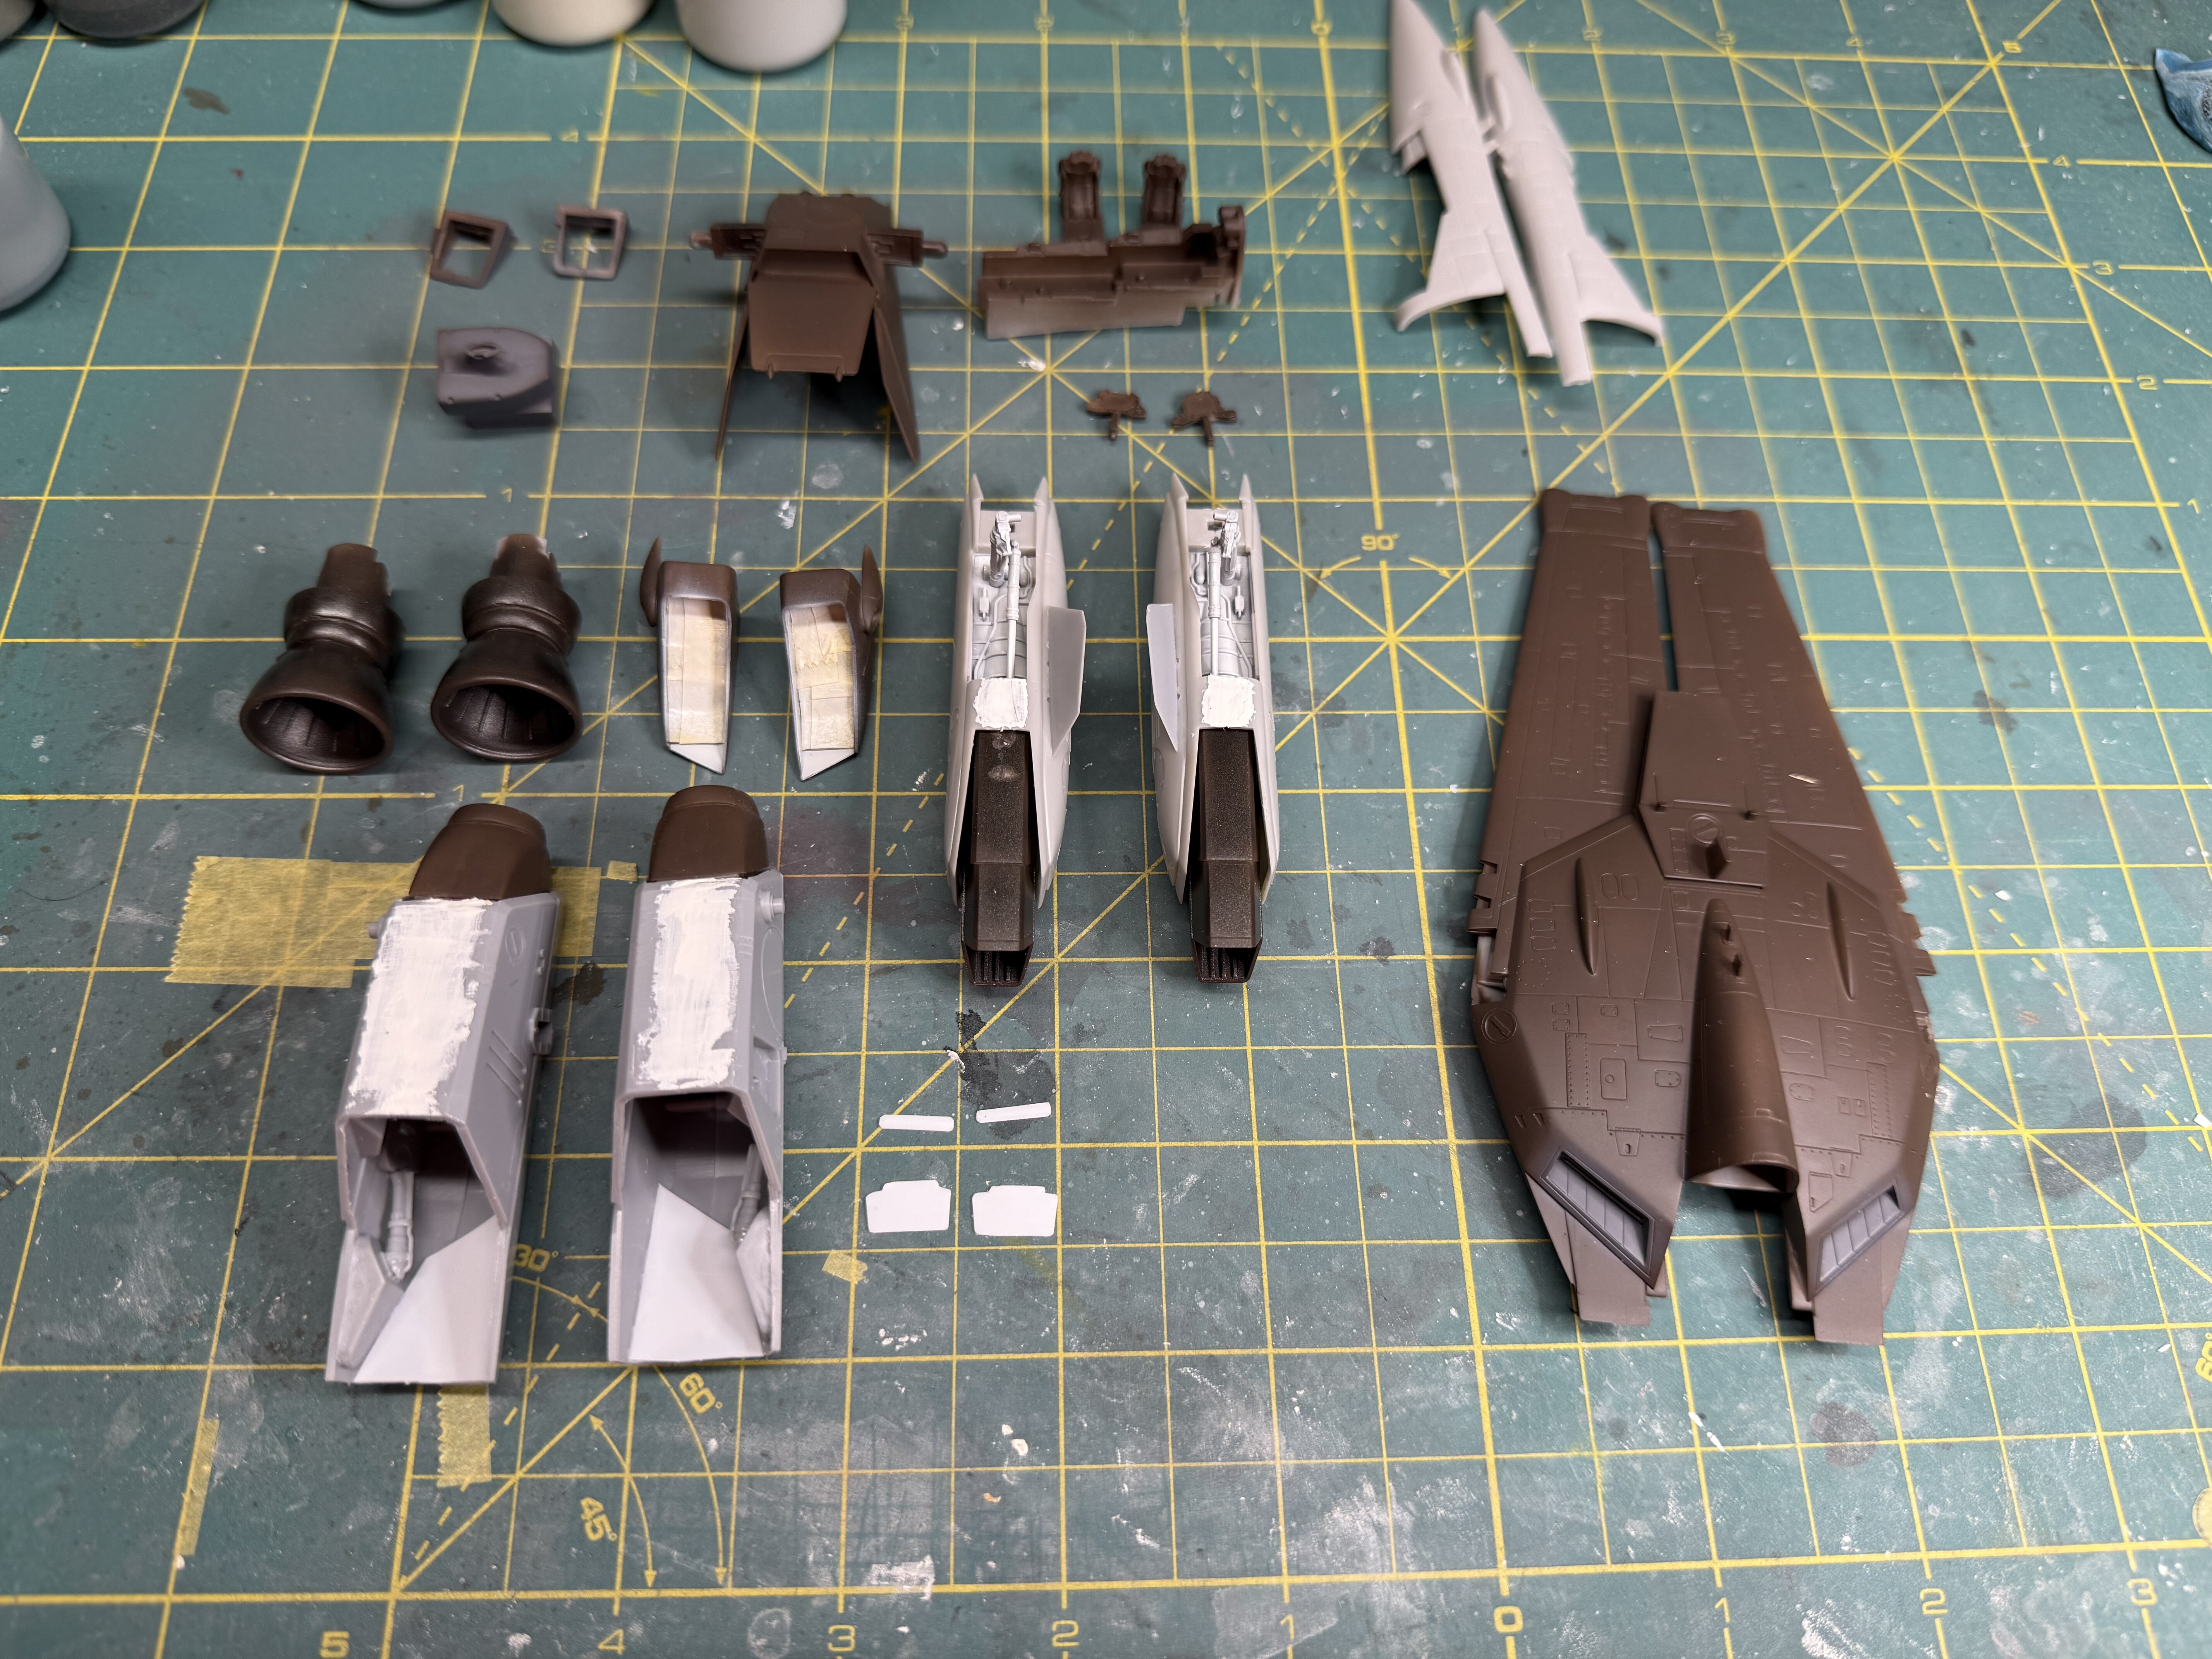
Got a long holiday weekend for Labor Day, so I’ll be laboring over the VE-1 Made a ton of progress today and will get at it again later tonight.
-
Awesome! I’m so excited for a full review on the sander and I’m excited to see the Cat’s Eye coming along. ♥️
-
😊
-
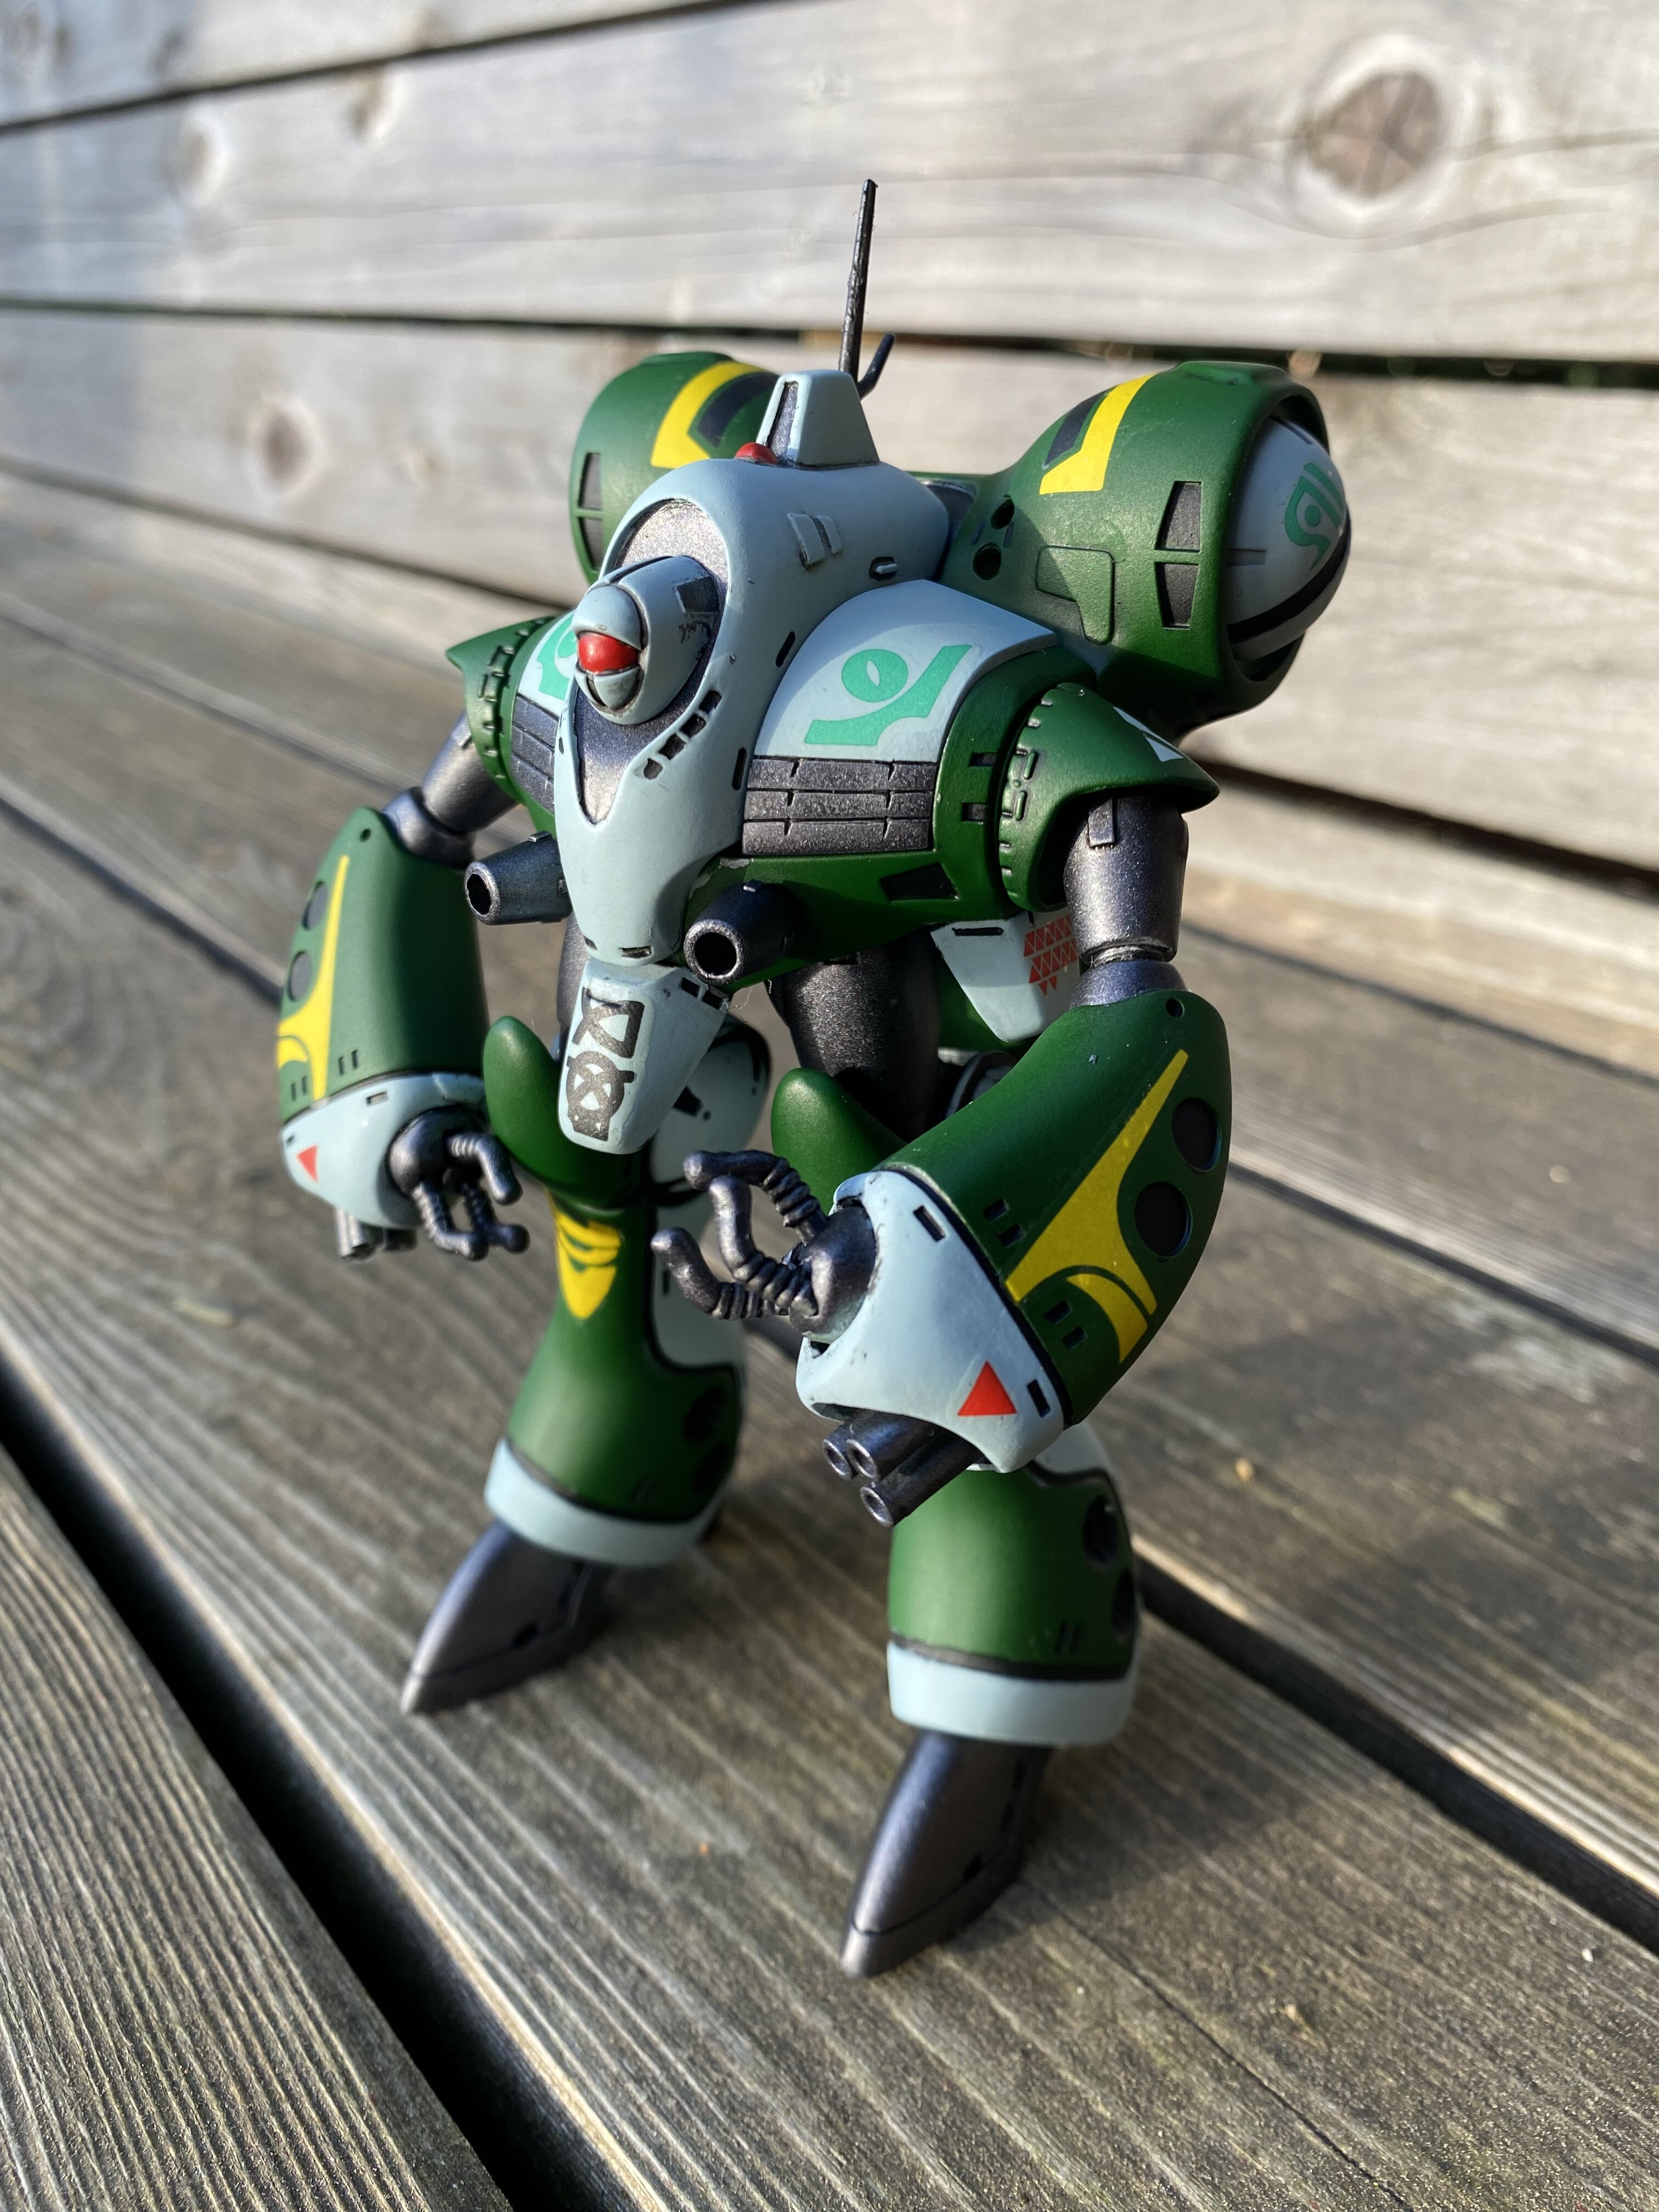
Looks great! Been super busy with life stuff, kid back to school etc… but got to get to work on that VE-1. So far only getting a few pieces primed in mahogany and painted. The brown primer gives it a really nice warm shift and I think it will be a great balance with all the cool gray colors when sprayed on top. I have to fix the left thruster “is that what’s it called” since I had glue drip on it when locking it in for assembly and ruined the paint. Ugh… anyway. Getting some putty, some pla plate in the mix. I also cut out the connection for the top thruster pod things so I could attach them after assembly. Soon I will be cruising on this one. I’m getting excited, but still need to find a simple stand for 1:72 scale. The hunt continues.
-
Yeah seems like the call had to be made hastily. I totally get it. Now we wait and see.
-
Told my wife I was going to make a yard sign saying “keep your teriffs off my plastic models” lol.
-
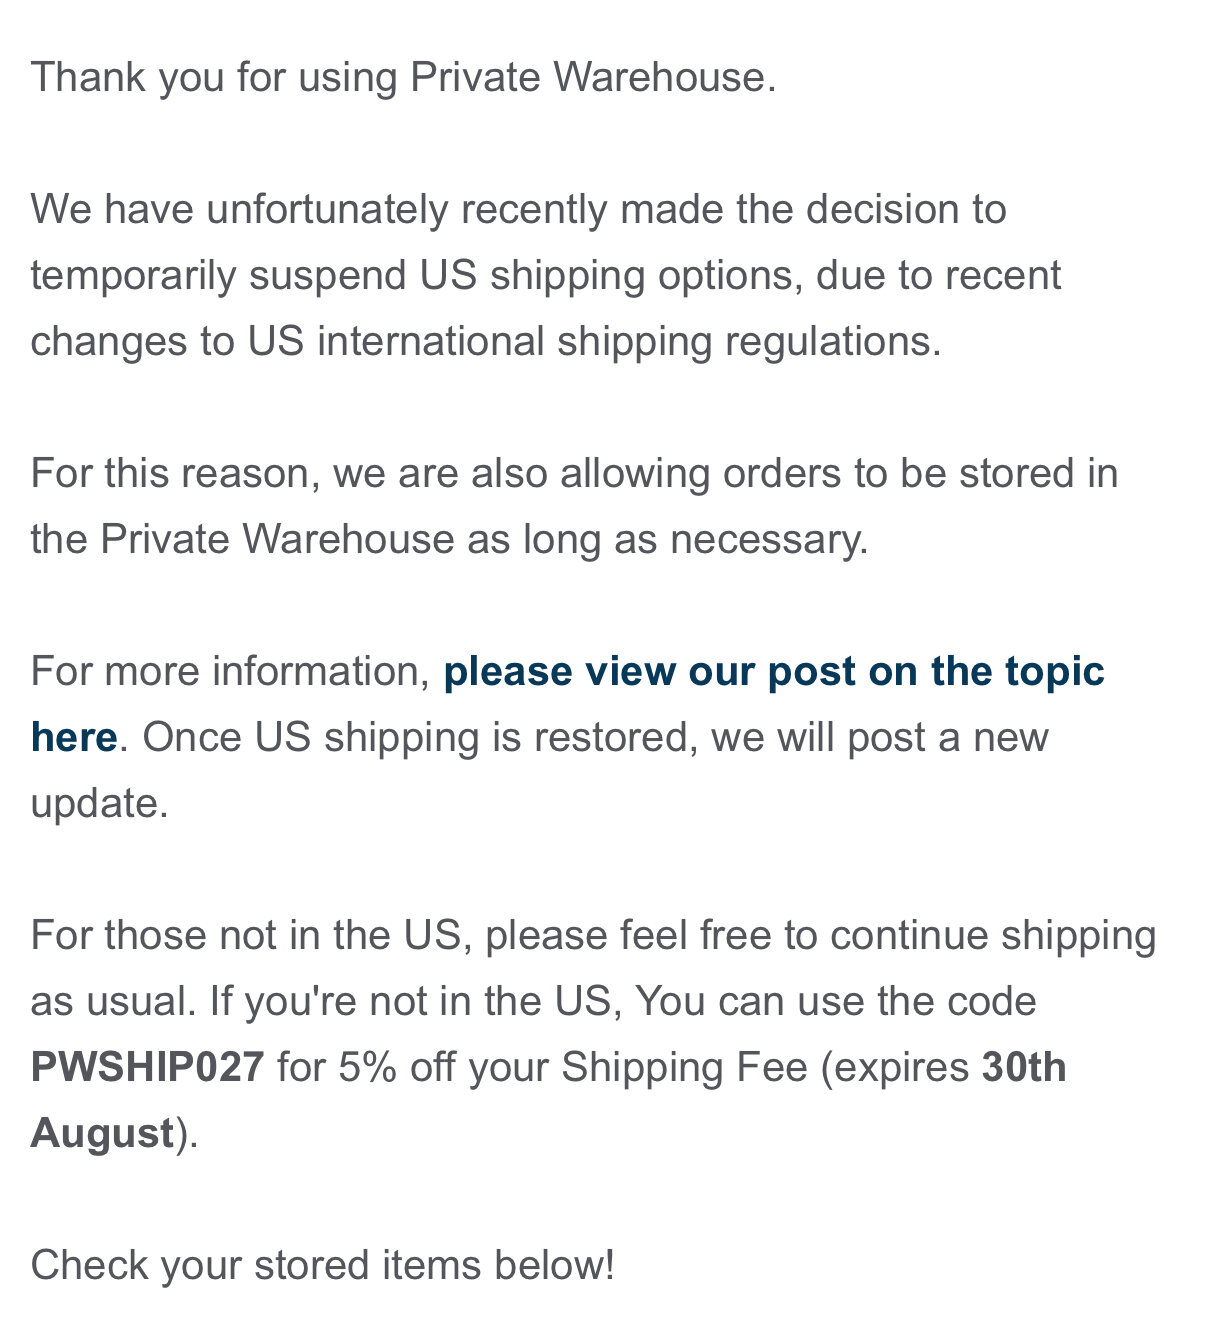
I wish they had reached out to customers about the freeze happening before it was enacted so folks in the USA could clean out their private warehouse, but it is what it is. Shrug emoji. Lol
-
Holy cow. Hope you have a safe recovery
-
Oh no. That sucks. Keep the burn dry and clean and rest up. 😢
-
Yeah I also have plenty of kits in my stash, but some of the items in the private warehouse are calling to me. Time will tell.
-
Not sure if there is a better place to post this but looks like my items at HLJ won’t be able to be shipped at this time.
-
@derex3592Wow. That came out great! 😊
-
@MechTech Congratulations on the new additions. We are currently in talks with our kiddo about adopting a cat, but need to get a few things sorted before taking the plunge. ♥️ Also great work as usual!
-
Sounds like you have a great plan. I would love to see it once you get time to finish it up.