

wm cheng
-
Posts
4312 -
Joined
-
Last visited
Content Type
Profiles
Forums
Events
Gallery
Everything posted by wm cheng
-
 I hear ya @Chronocidal - I would have much rather had it in plastic too for the same reasons, I don't really care about the metal or heft. However I just don't see having anytime to put into building one of these anytime in the near future, plus I know Polar Lights is just a crappy manufacturer so its a lot of sanding and modifying to get it to fit properly and after pricing out all the aftermarket parts, iridescent paints, paint masks, electronics and LEDs plus the kit itself not including my time would be close to $2K. This seems like a good interm solution for my all time favourite starship design. Maybe someday if I ever retire I can get to building my own model, by then maybe there would be a better kit out and better electronics but then again, I might have arthritis and can't build anymore - you just don't know!
 -
No, that's the TOS (The Original Series) Enterprise from the 60s and it's over now. This if for the TMP (The Motion Picture) Enterprise from 1979 and it's just starting up today and accepting orders through to Sep 15.
-
Hi all, just wanted to let you guys know about this offer from TOMY Plus (I don't work for them, I only ordered one - but thinking this is a place where people have a little extra cash and is passionate about toys :P) Their TOS Enterprise did well (although there were some shortcomings IMHO) and is selling for 2-3x the MSRP now on eBay. The company seems legit (I normally hate backing these things since I was conned out of almost $2K for backing that HAL9000 and will never back any crowdfunding campaign again) and has already delivered a previous replica. This seems like a good replica for the price (its not the $15K QMX or Master Replica or Factory Entertainment replicas!). It's $699USD + $50USD shipping to US & Canada only. Delivery October 31, 2025. https://tomyplus.tomy.com/startrek2024 https://www.facebook.com/groups/tomyplusinsidersclub?_kx=ASsd1kix0NbkHmlXjdrZOJrhExkHP7cqi-c03lKBWuQ.W2DwWC
-
Have you tried using a hairdryer to heat it up to remove the white stress mark (I haven't tried it myself) I've read on here earlier that someone found that successful.
-
I guess I have a long way to wait for mine from Amazon.com... sorry to miss out on all the "fun" with antenna gate
-
I wonder when Amazon.com will deliver their orders - on June 29th or a few months afterwards?
-
Wow!!! @nightmareB4macross those are some tiny hinges - amazing work! Can't wait to see it all painted up.
-
Ooooh, that would be good!
-
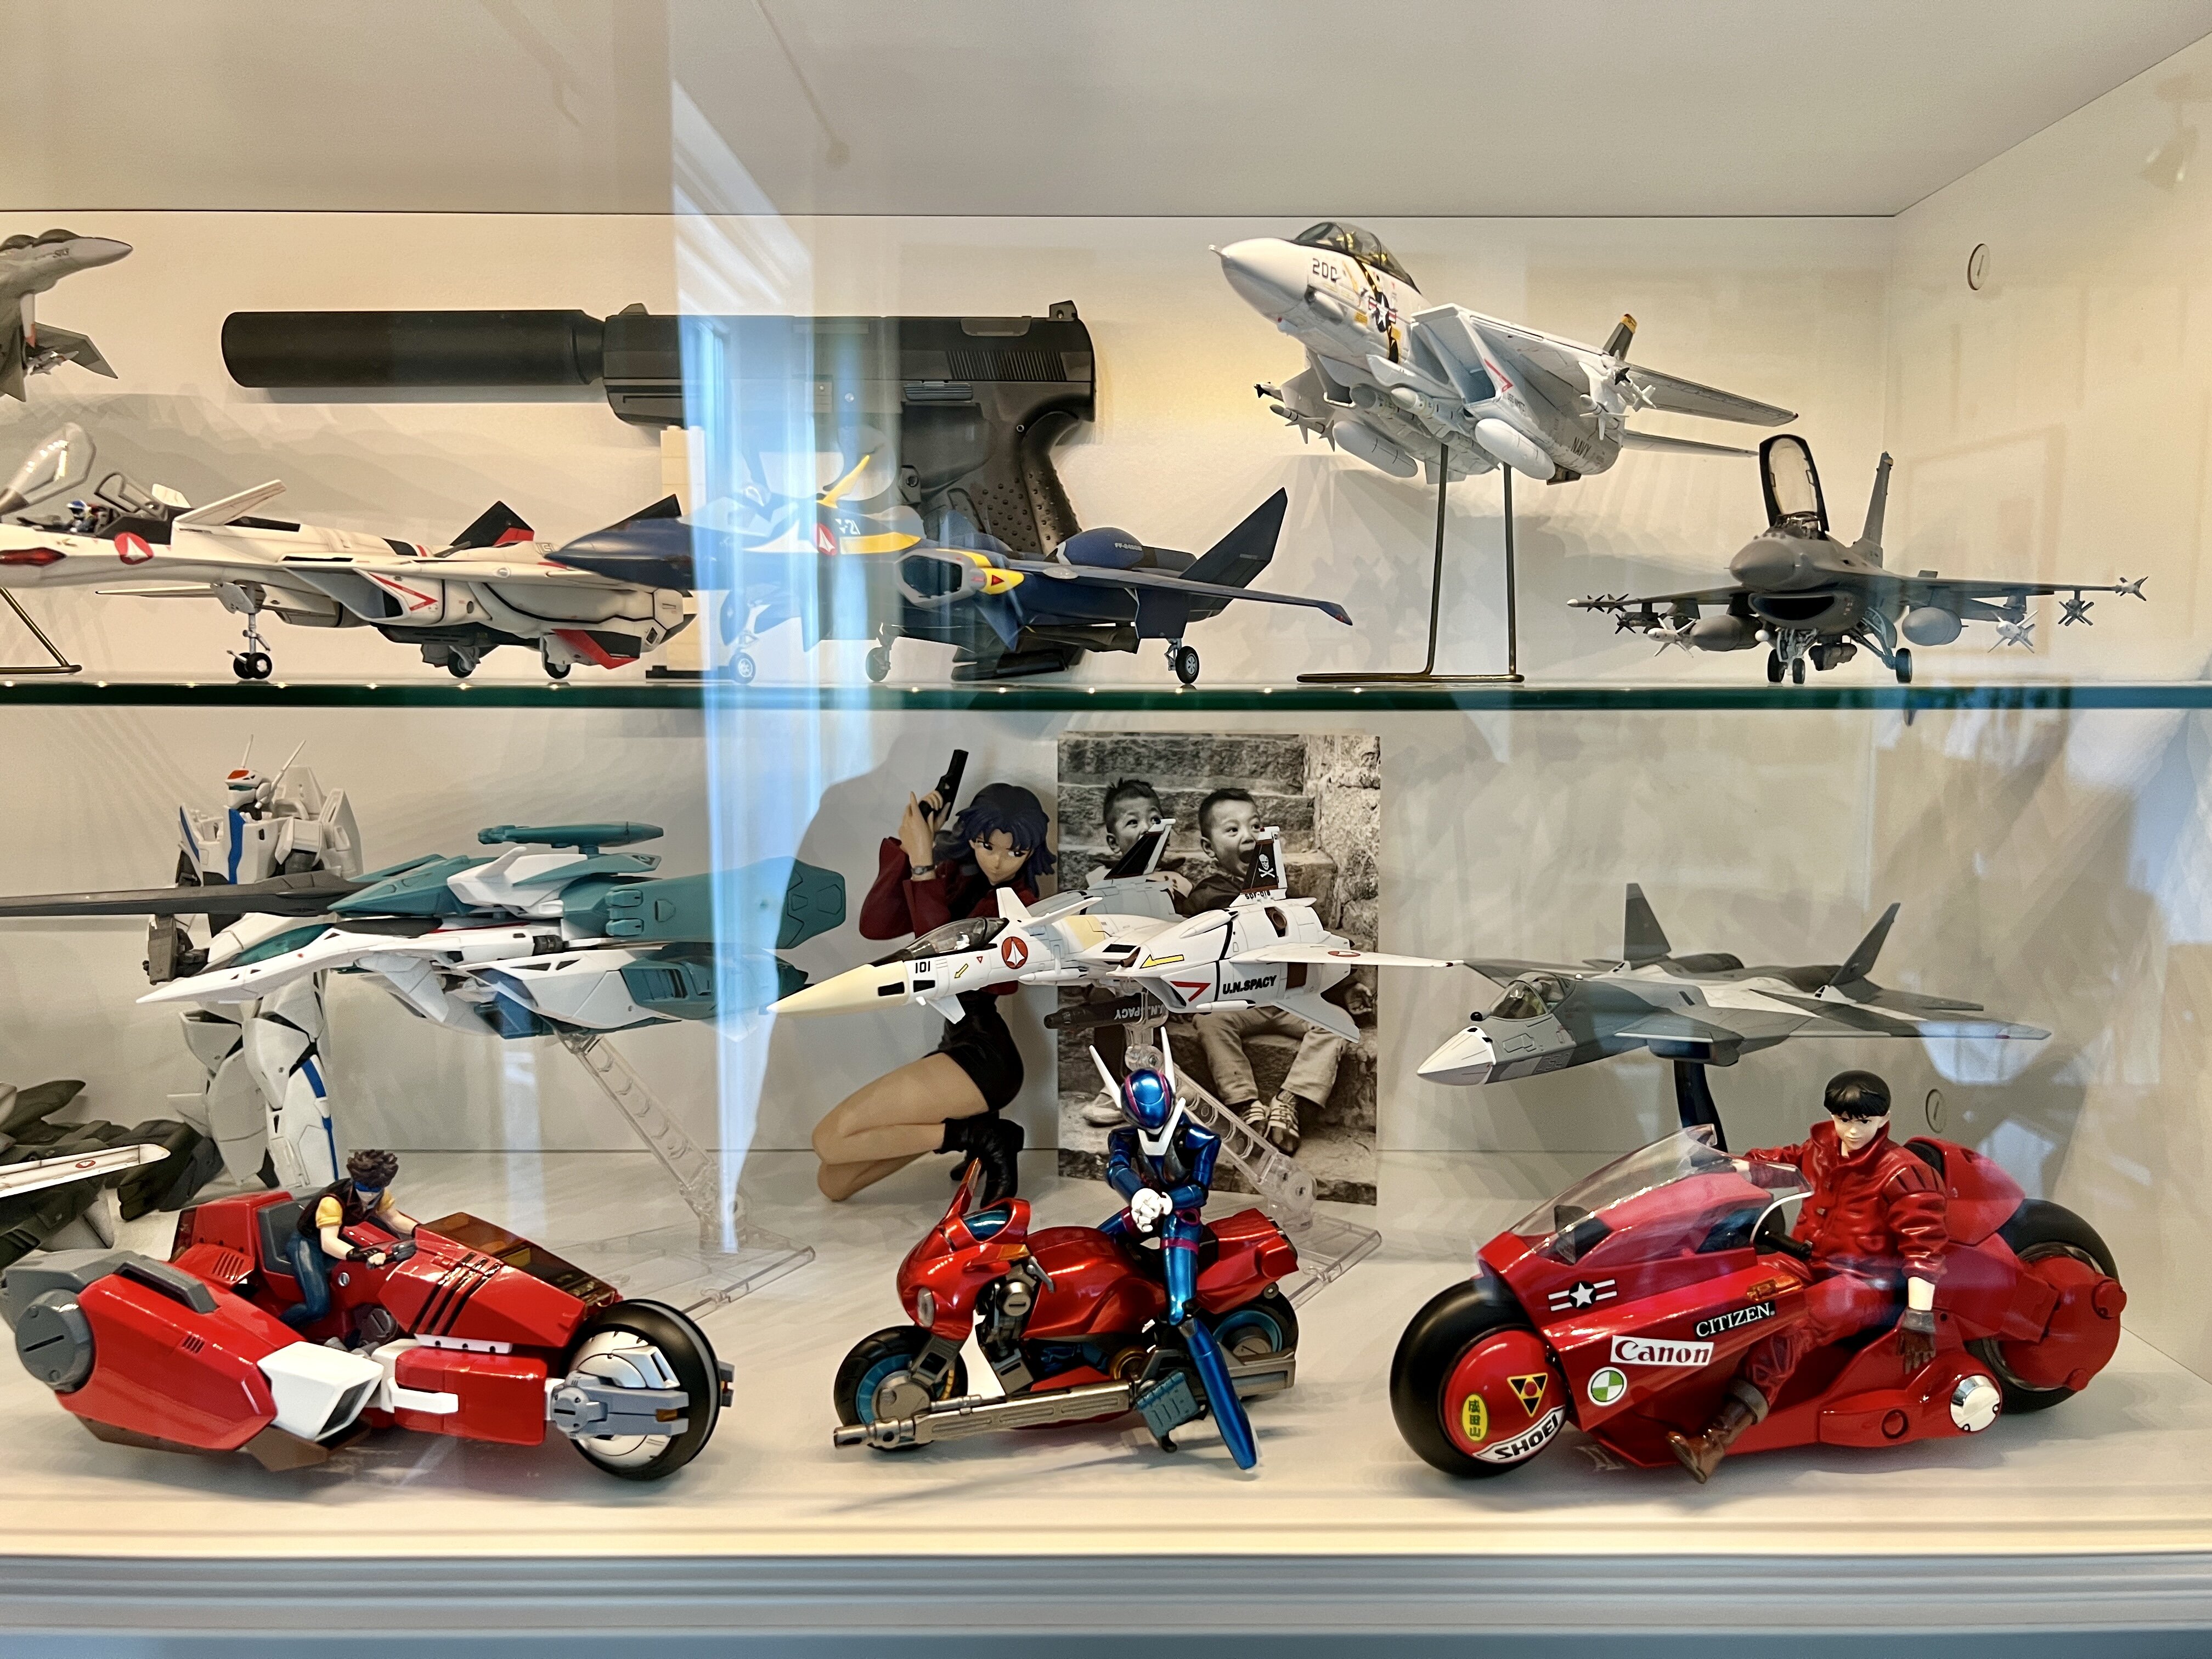
Yay! I finally got my 80's Anime red bikes collection together as I had wanted!!! Special thanks to @MKT for helping me track down the Metallic Motoslave, it's fantastically beautiful in the painted metallic scheme. When I first saw the toy back in 2008 in bare red plastic, I wasn't interested at all, then missed the Metallic re-paint, but this version makes all the difference. I just did a quick black wash to pick out the details and it just really pops. It's so much fun to play around with, its incredibly fiddly like a swiss watch, but you can get it into all the great poses. Does anyone have the instructions manual scanned that I could have, mine is still sealed in its bag and the CollectionDX transformation video was incredibly helpful, but I'd like a PDF of the instructions to keep on the computer.


- 881 replies
-
- 4
-

-
- bubblegum crisis
- toys
- (and 6 more)
-
Oh, the cockpit bubble and windows are not clear so you can see inside? They're painted silver?
-
Uh, I wonder how they compare to the Bandai DX. They are a lot better looking than that NECA crap. Crimson looks pretty nice indeed, Gypsy paneling is a bit overdone for the scale, but the metallic paints are nice. I wonder if they'd be available once it release as they all say its sold out.
-
The 'Hey look at this really cool model build I saw' post
wm cheng replied to Shawn's topic in Model kits
WOW!!! Love the metallic paint scheme (which was what I would have done) but really love the custom Milia sculpt - so dynamic, I wish I could buy that! -
@electric indigo Love all that intricate masking, so much patience is clearly evident, and my personal favourite grey and orange paint scheme!
-
Has anyone ever made a proper cockpit replacement for that all-resin-one-piece cockpit that we can't ever paint?
-
Anime was hard to come by in the late 80's, I was at the mercy of bootleg VHS tapes and got what I was given. Wow! I never seen any of these fan made transformations. Thanks!
-
WOW great pic!!! Strangely I never got into Mospeada in my high-school days so I can kindly ignore that existed LOL.
-
Oh man that's beautiful, I wish that was a moving toy!!! I wish Arcadia would reissue those older Yamato toys or better yet Bandai redo them. Now that I just got my Garland and Akira bike, I just need Priss to complete my 3 red 80's bike collection!
-
What Is The Quintessential Akira Bike/Rider Toy?
wm cheng replied to sqidd's topic in Anime or Science Fiction
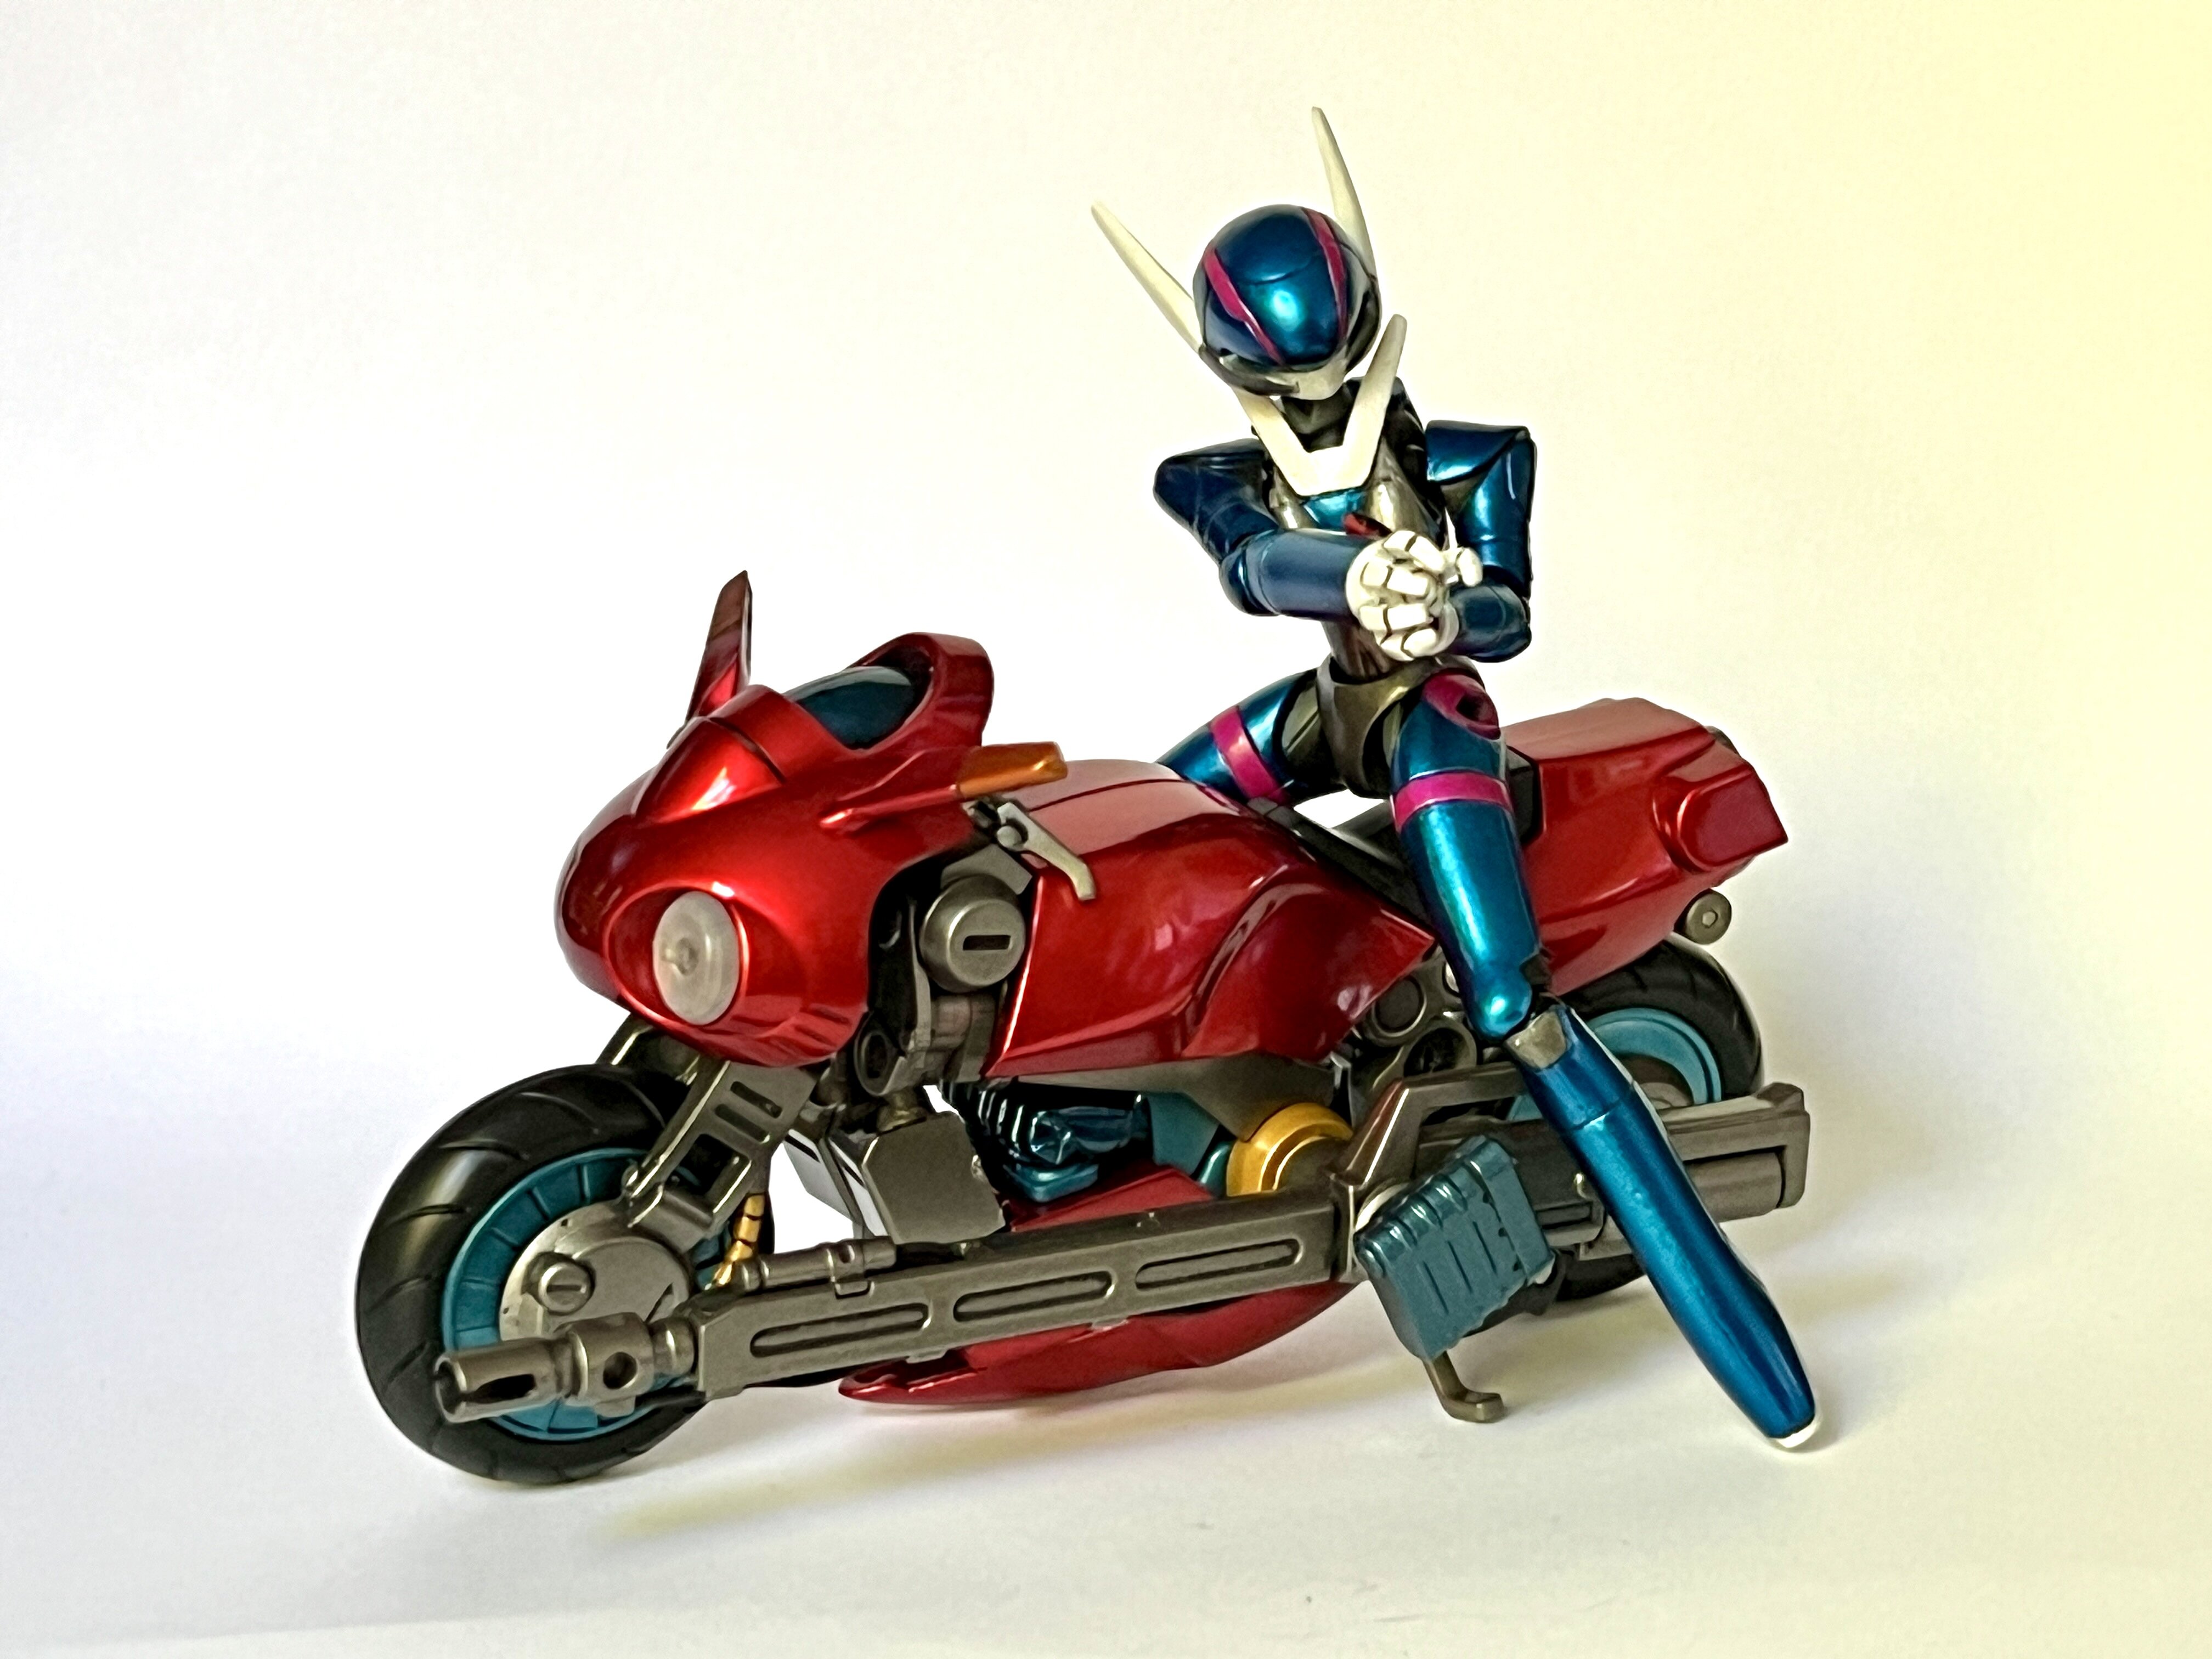
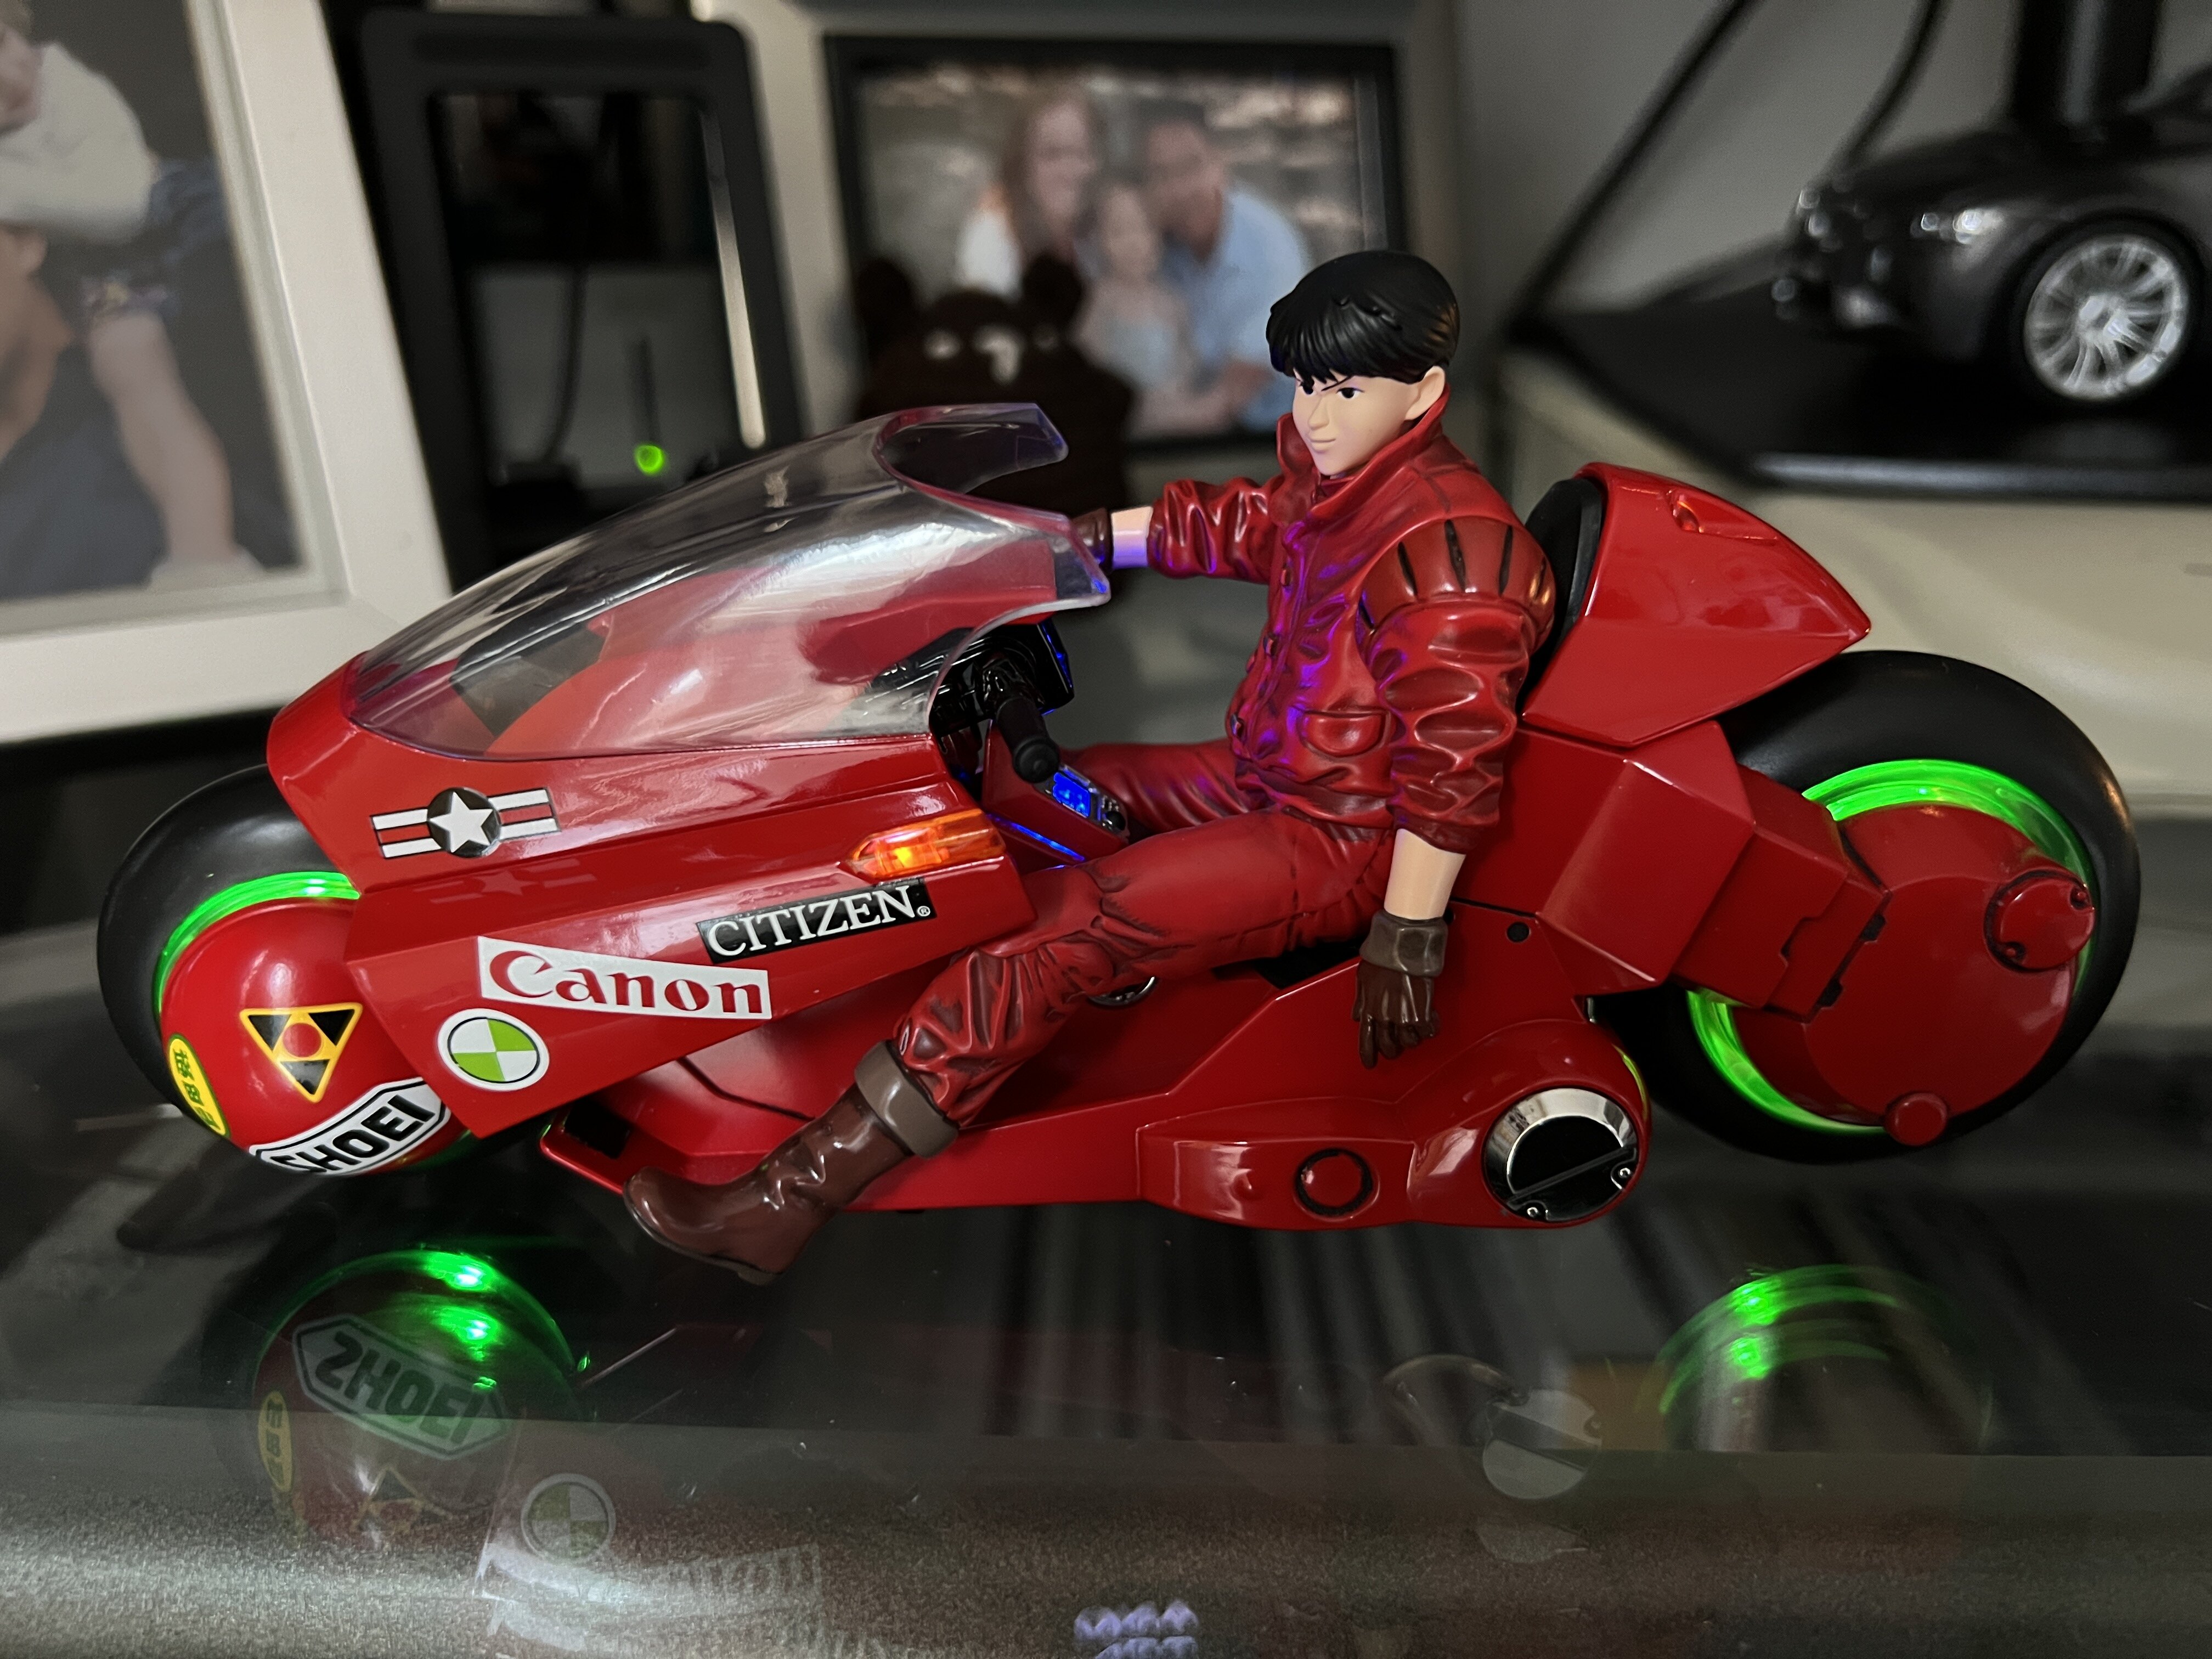
Yes, I have been playing with the headlight. I did have to gel the turn signals orange as it looks quite bright white out of the box, the orange lens just didn't color the turn signals enough, I ended up applying a double layer of orange gels (filters cut from my samples book) to make the light look orange instead of white. It's kind of crazy they sell it with and without the Kenada figure. I feel it really needs the figure to give it scale and presence, without it looks kind of generic. The Ali-Express listings of this toy shows that you can just get the figure by itself, or bike by itself or together - so be care if you are ordering. -
What Is The Quintessential Akira Bike/Rider Toy?
wm cheng replied to sqidd's topic in Anime or Science Fiction
Finally got it in hand and its great! Very accurate for a non-licensed and better figure sculpt. (too bad it wasn't in scale with the Garland) but the size is small which I like but with the lighting gimmick. I just did a very quick little black wash to pick out the few recessed details. Thanks for your comments and the link!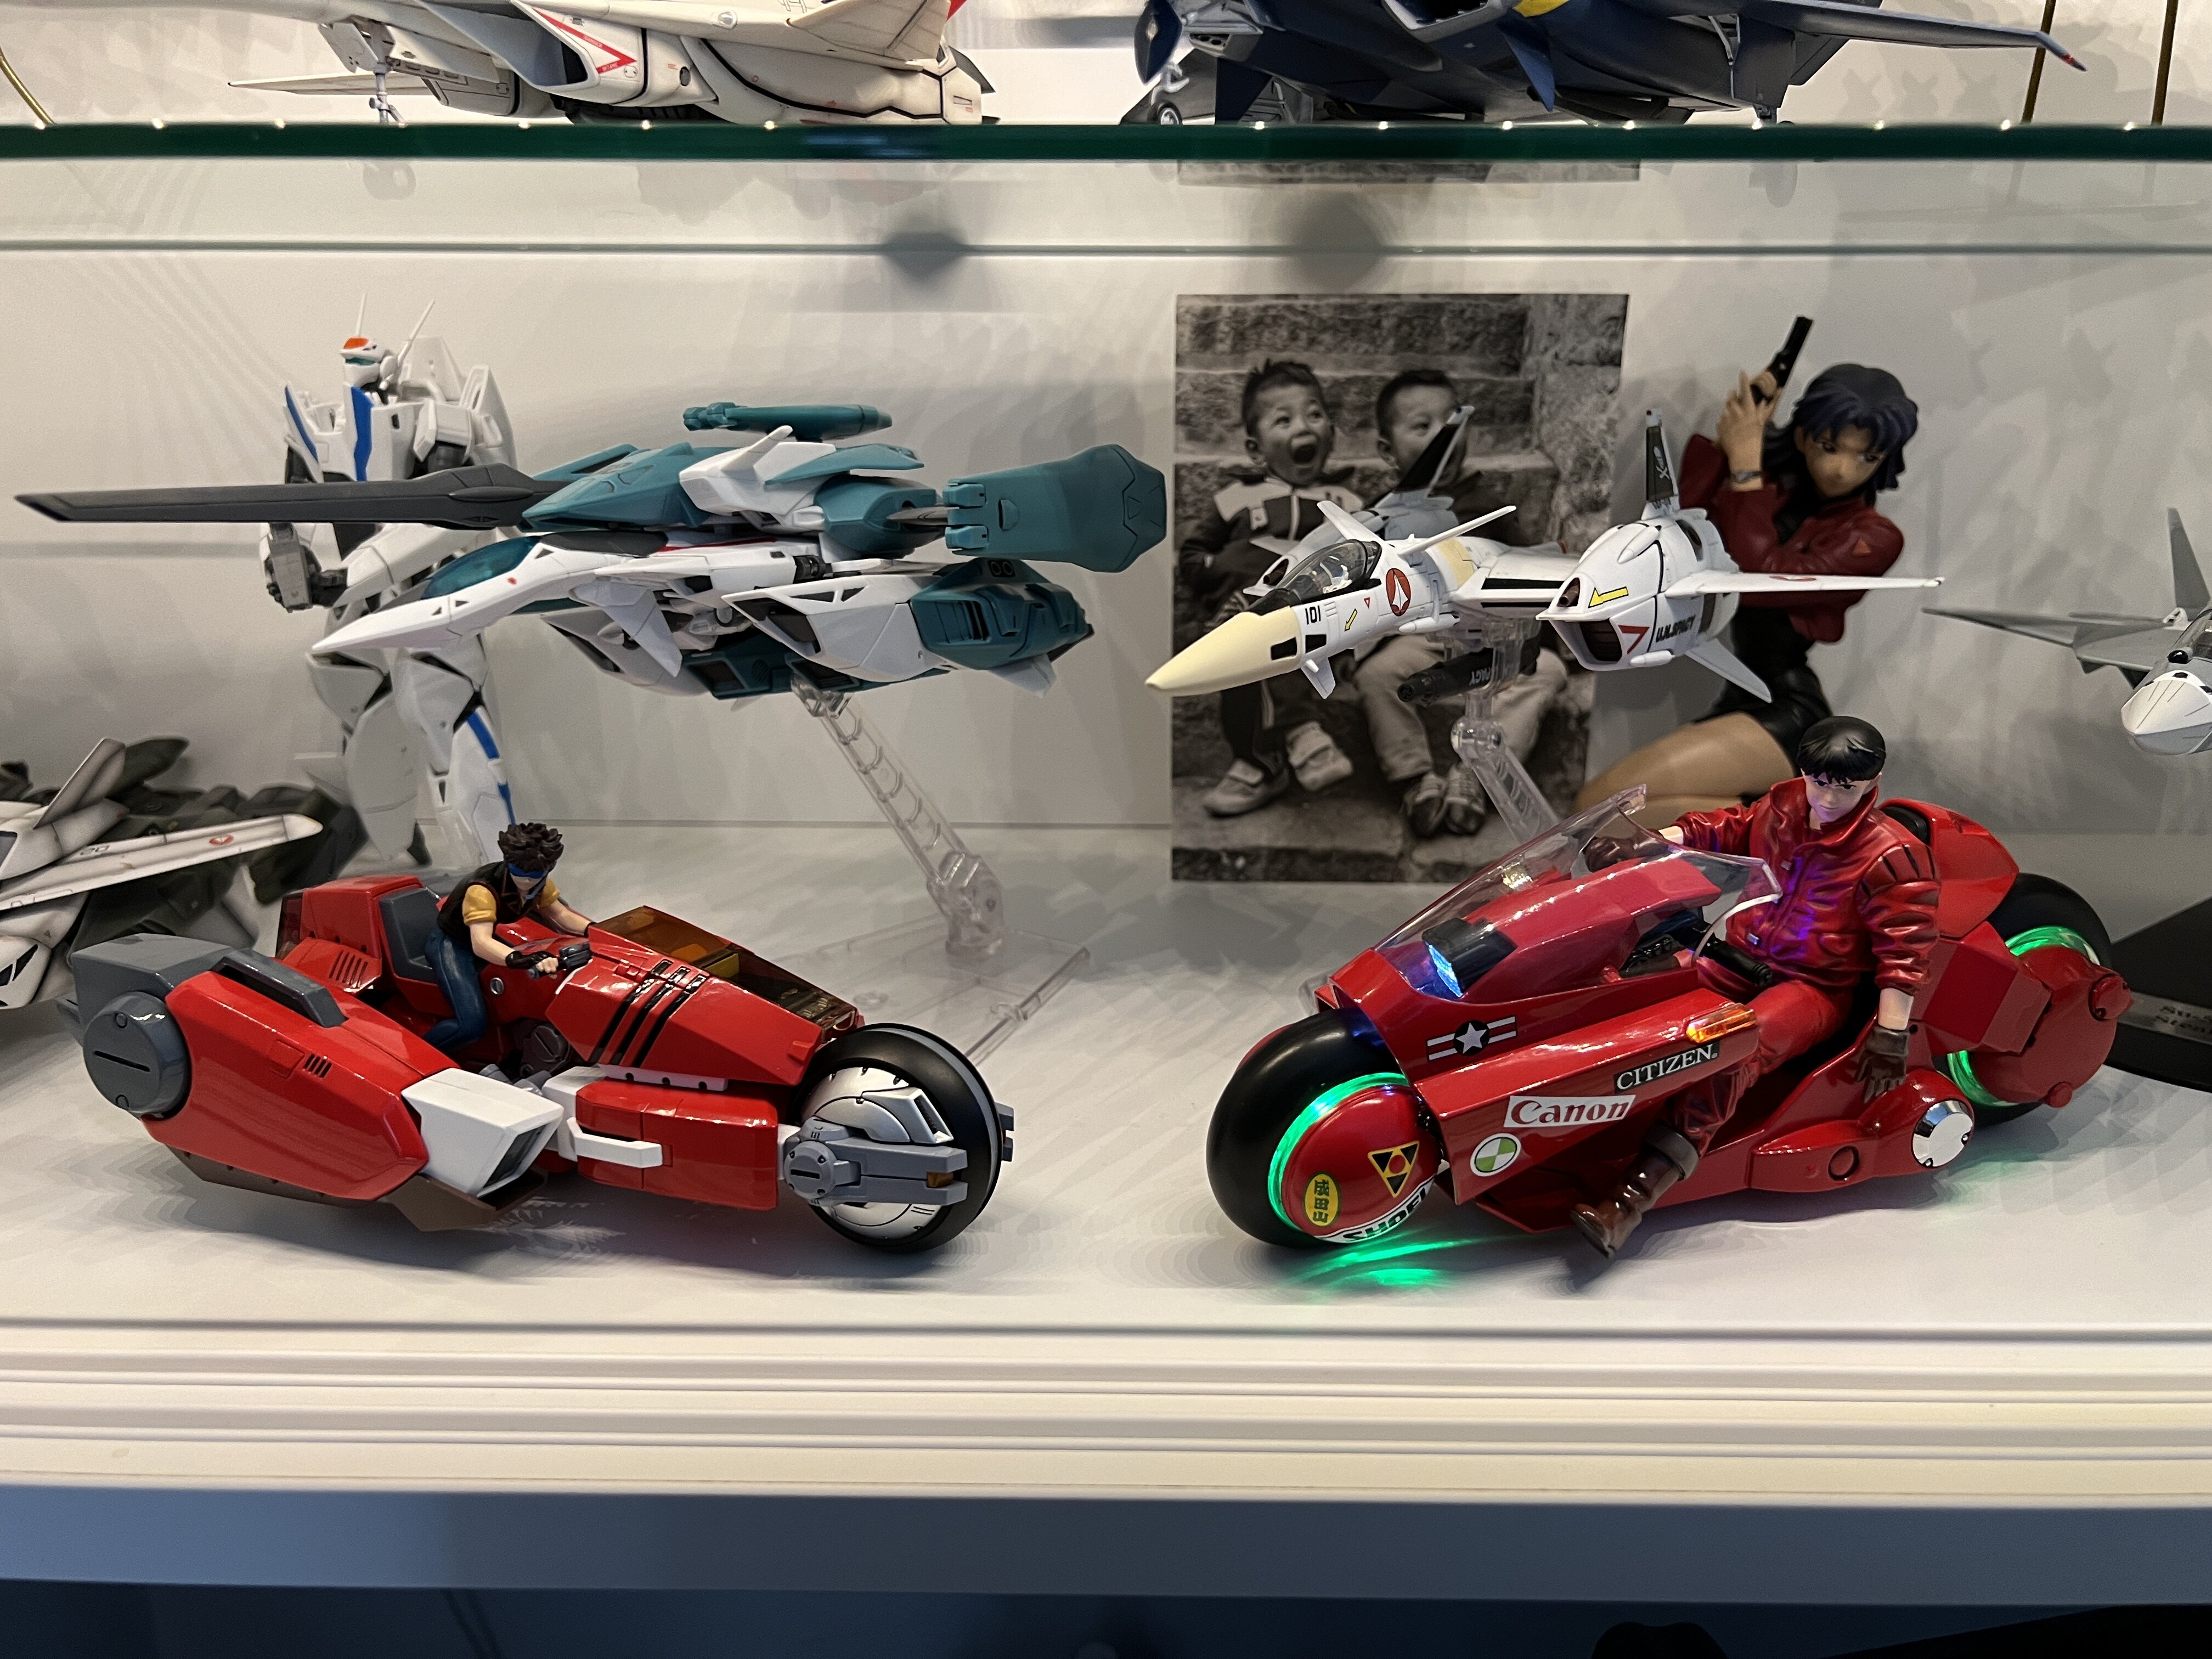
-
LOL you said my thoughts exactly!!! I got the 2000 blue and black tie as a b-day present from my office at work back in the day.
-
Hey @Dobber, @Dynaman, @Seto Kaiba very interesting observations about the Disco crew and entitlement. Being in Art Dept (in ST SNW) but this isn’t specific only to Star Trek but all different art departments for all different shows, the newer generation hires never gel together like family from earlier on in my career. New hires are constantly asking why they aren’t in charge more without taking the responsibility or earning the experience. I feel the new younger writers represent this demographic now and Disco isn’t aimed at “us” old timers. It’s aimed at the much larger younger generation that identifies with these instant gratification entitlement workplaces. Experience is no longer valued because the corporations don’t promote from within anymore. This generation moves up by being headhunted away into higher positions, if the companies won’t show you loyalty, why would you be loyal to the company?! Can’t say to much specifics but I can say that SNW is definitely the orphaned stepchild with the fewest resources of all the newer ST productions. Disco has more than 2-3x our budget (and so squandered!). Even the showrunner has said that TOS was so low budget and did its best when it had very little which is so frustrating for us. SNW is seen as only popular with a very small (but vocal) dying aging demographic that’s getting smaller and more irrelevant. The Studios are trying to court the larger more influential demographic than serve the old fans (which is why you get S31 and Starfleet Academy which is YA).
-
What Is The Quintessential Akira Bike/Rider Toy?
wm cheng replied to sqidd's topic in Anime or Science Fiction
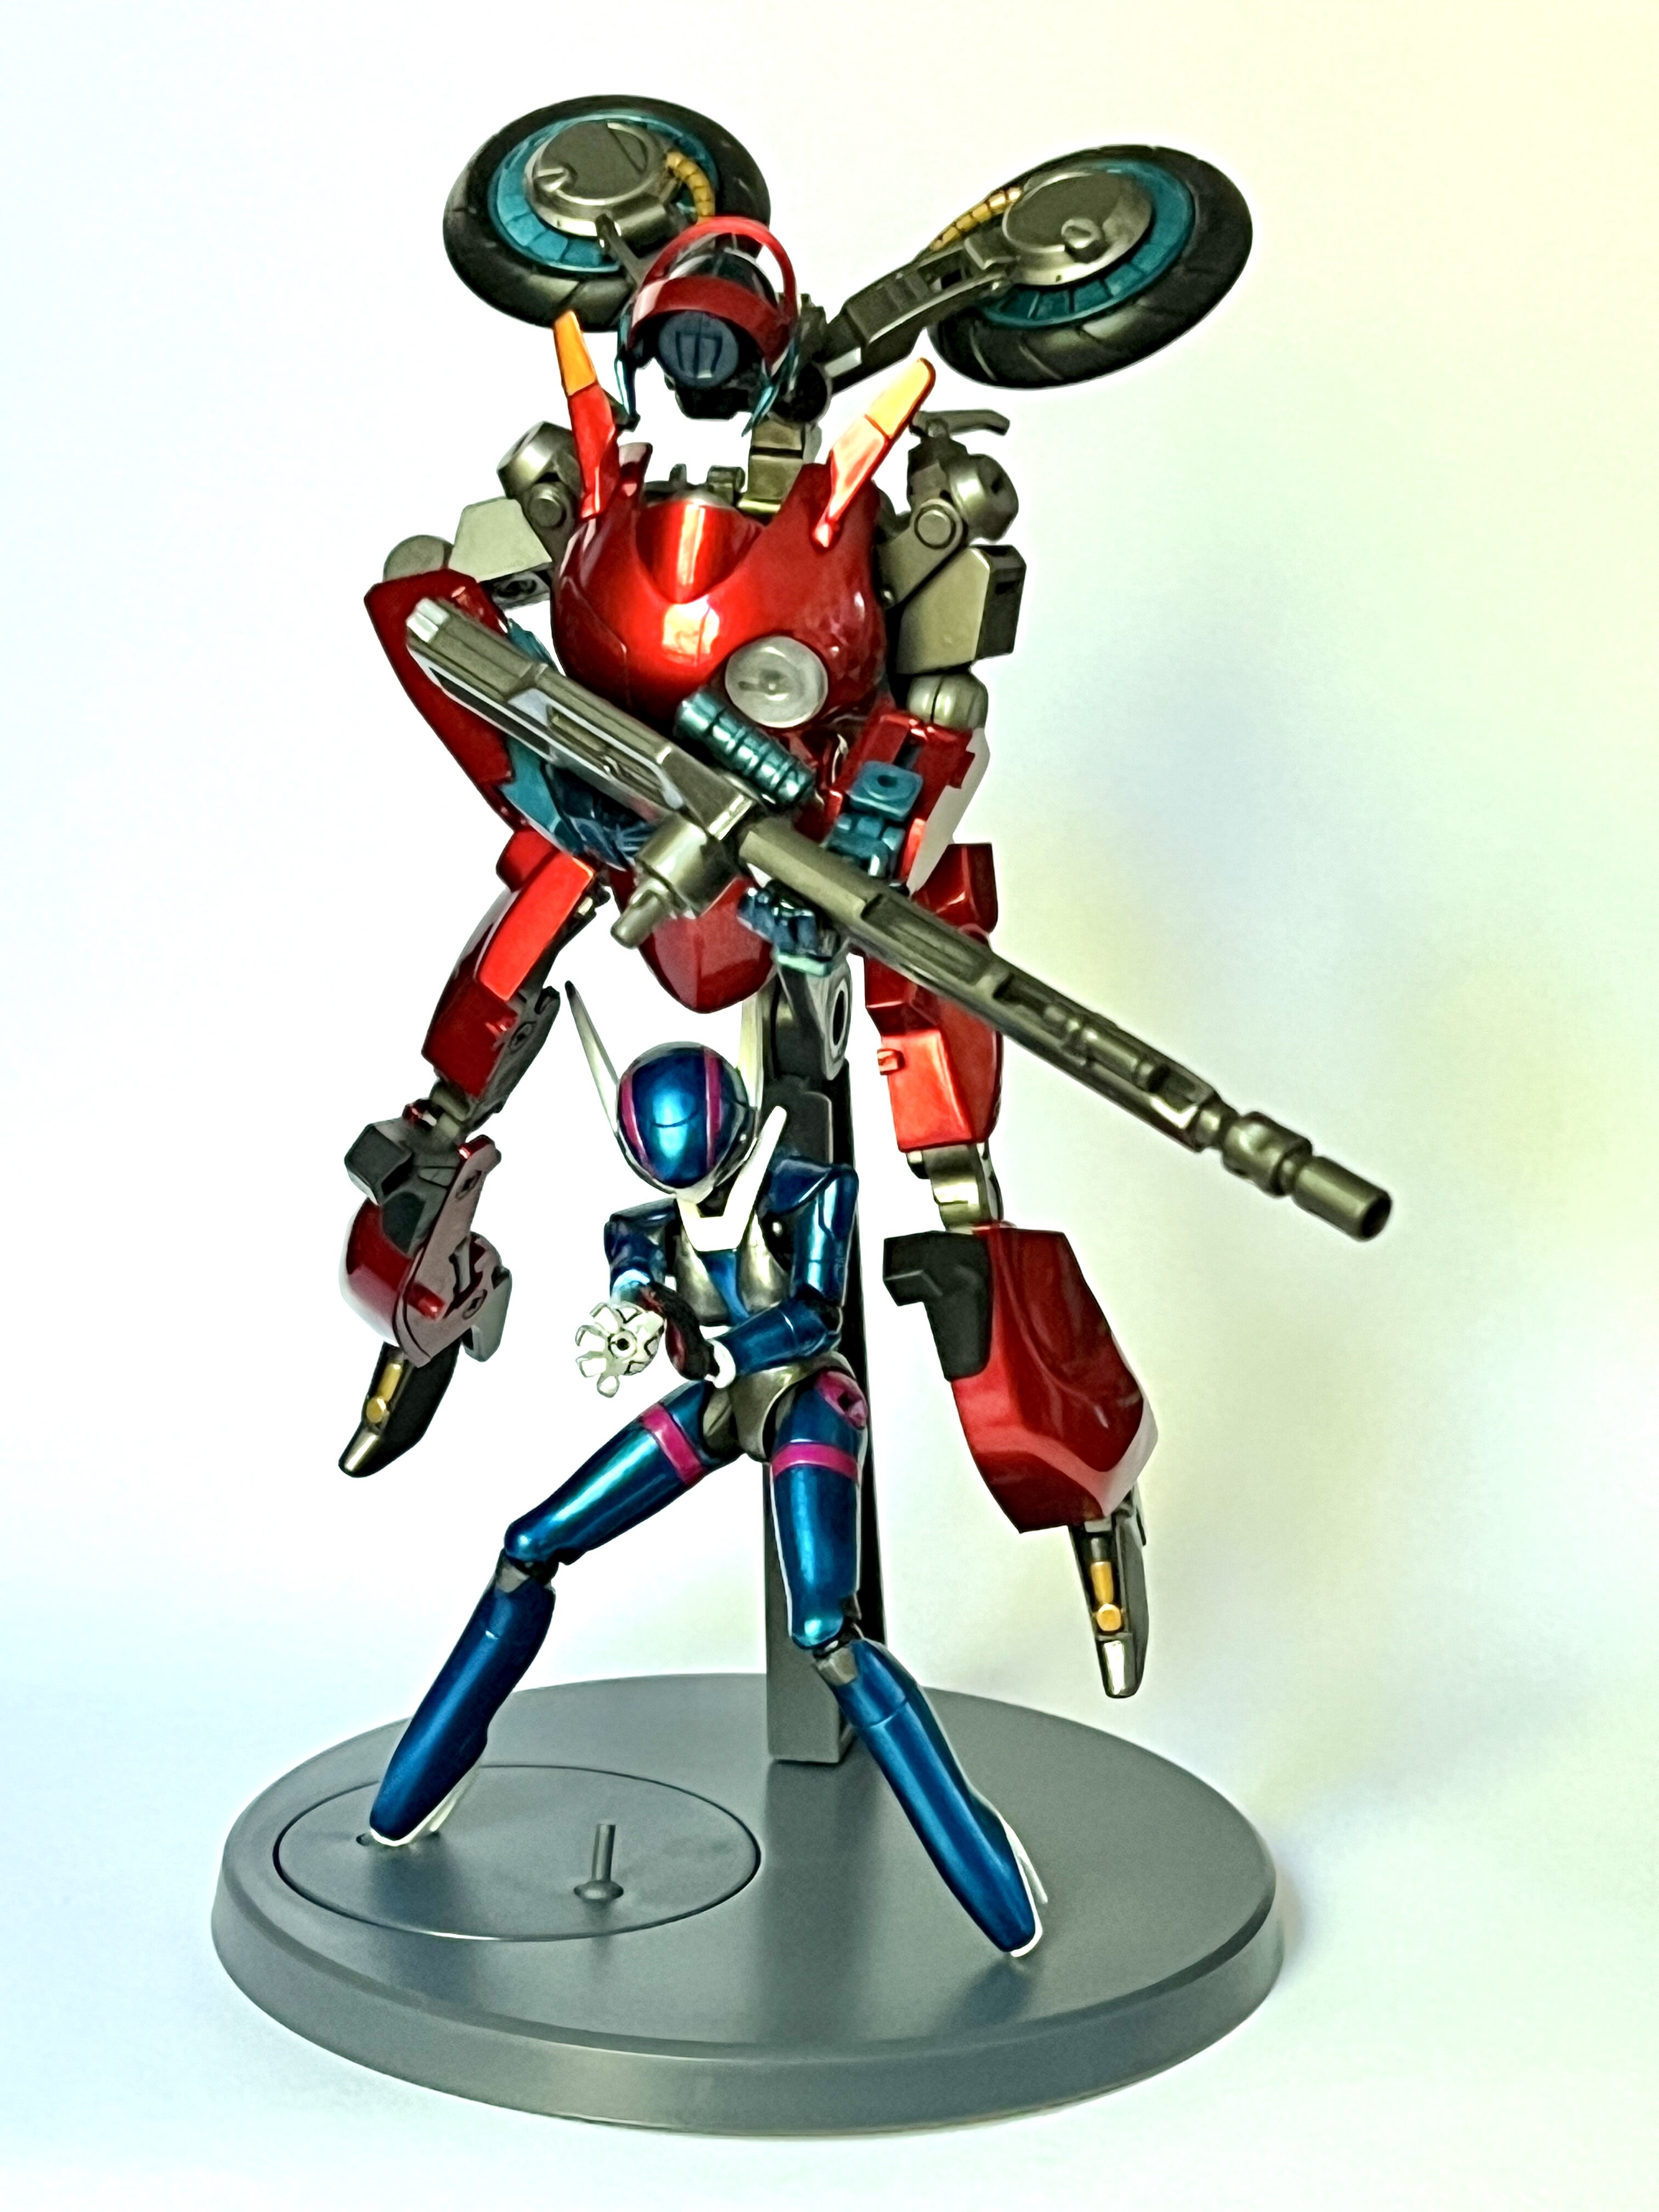
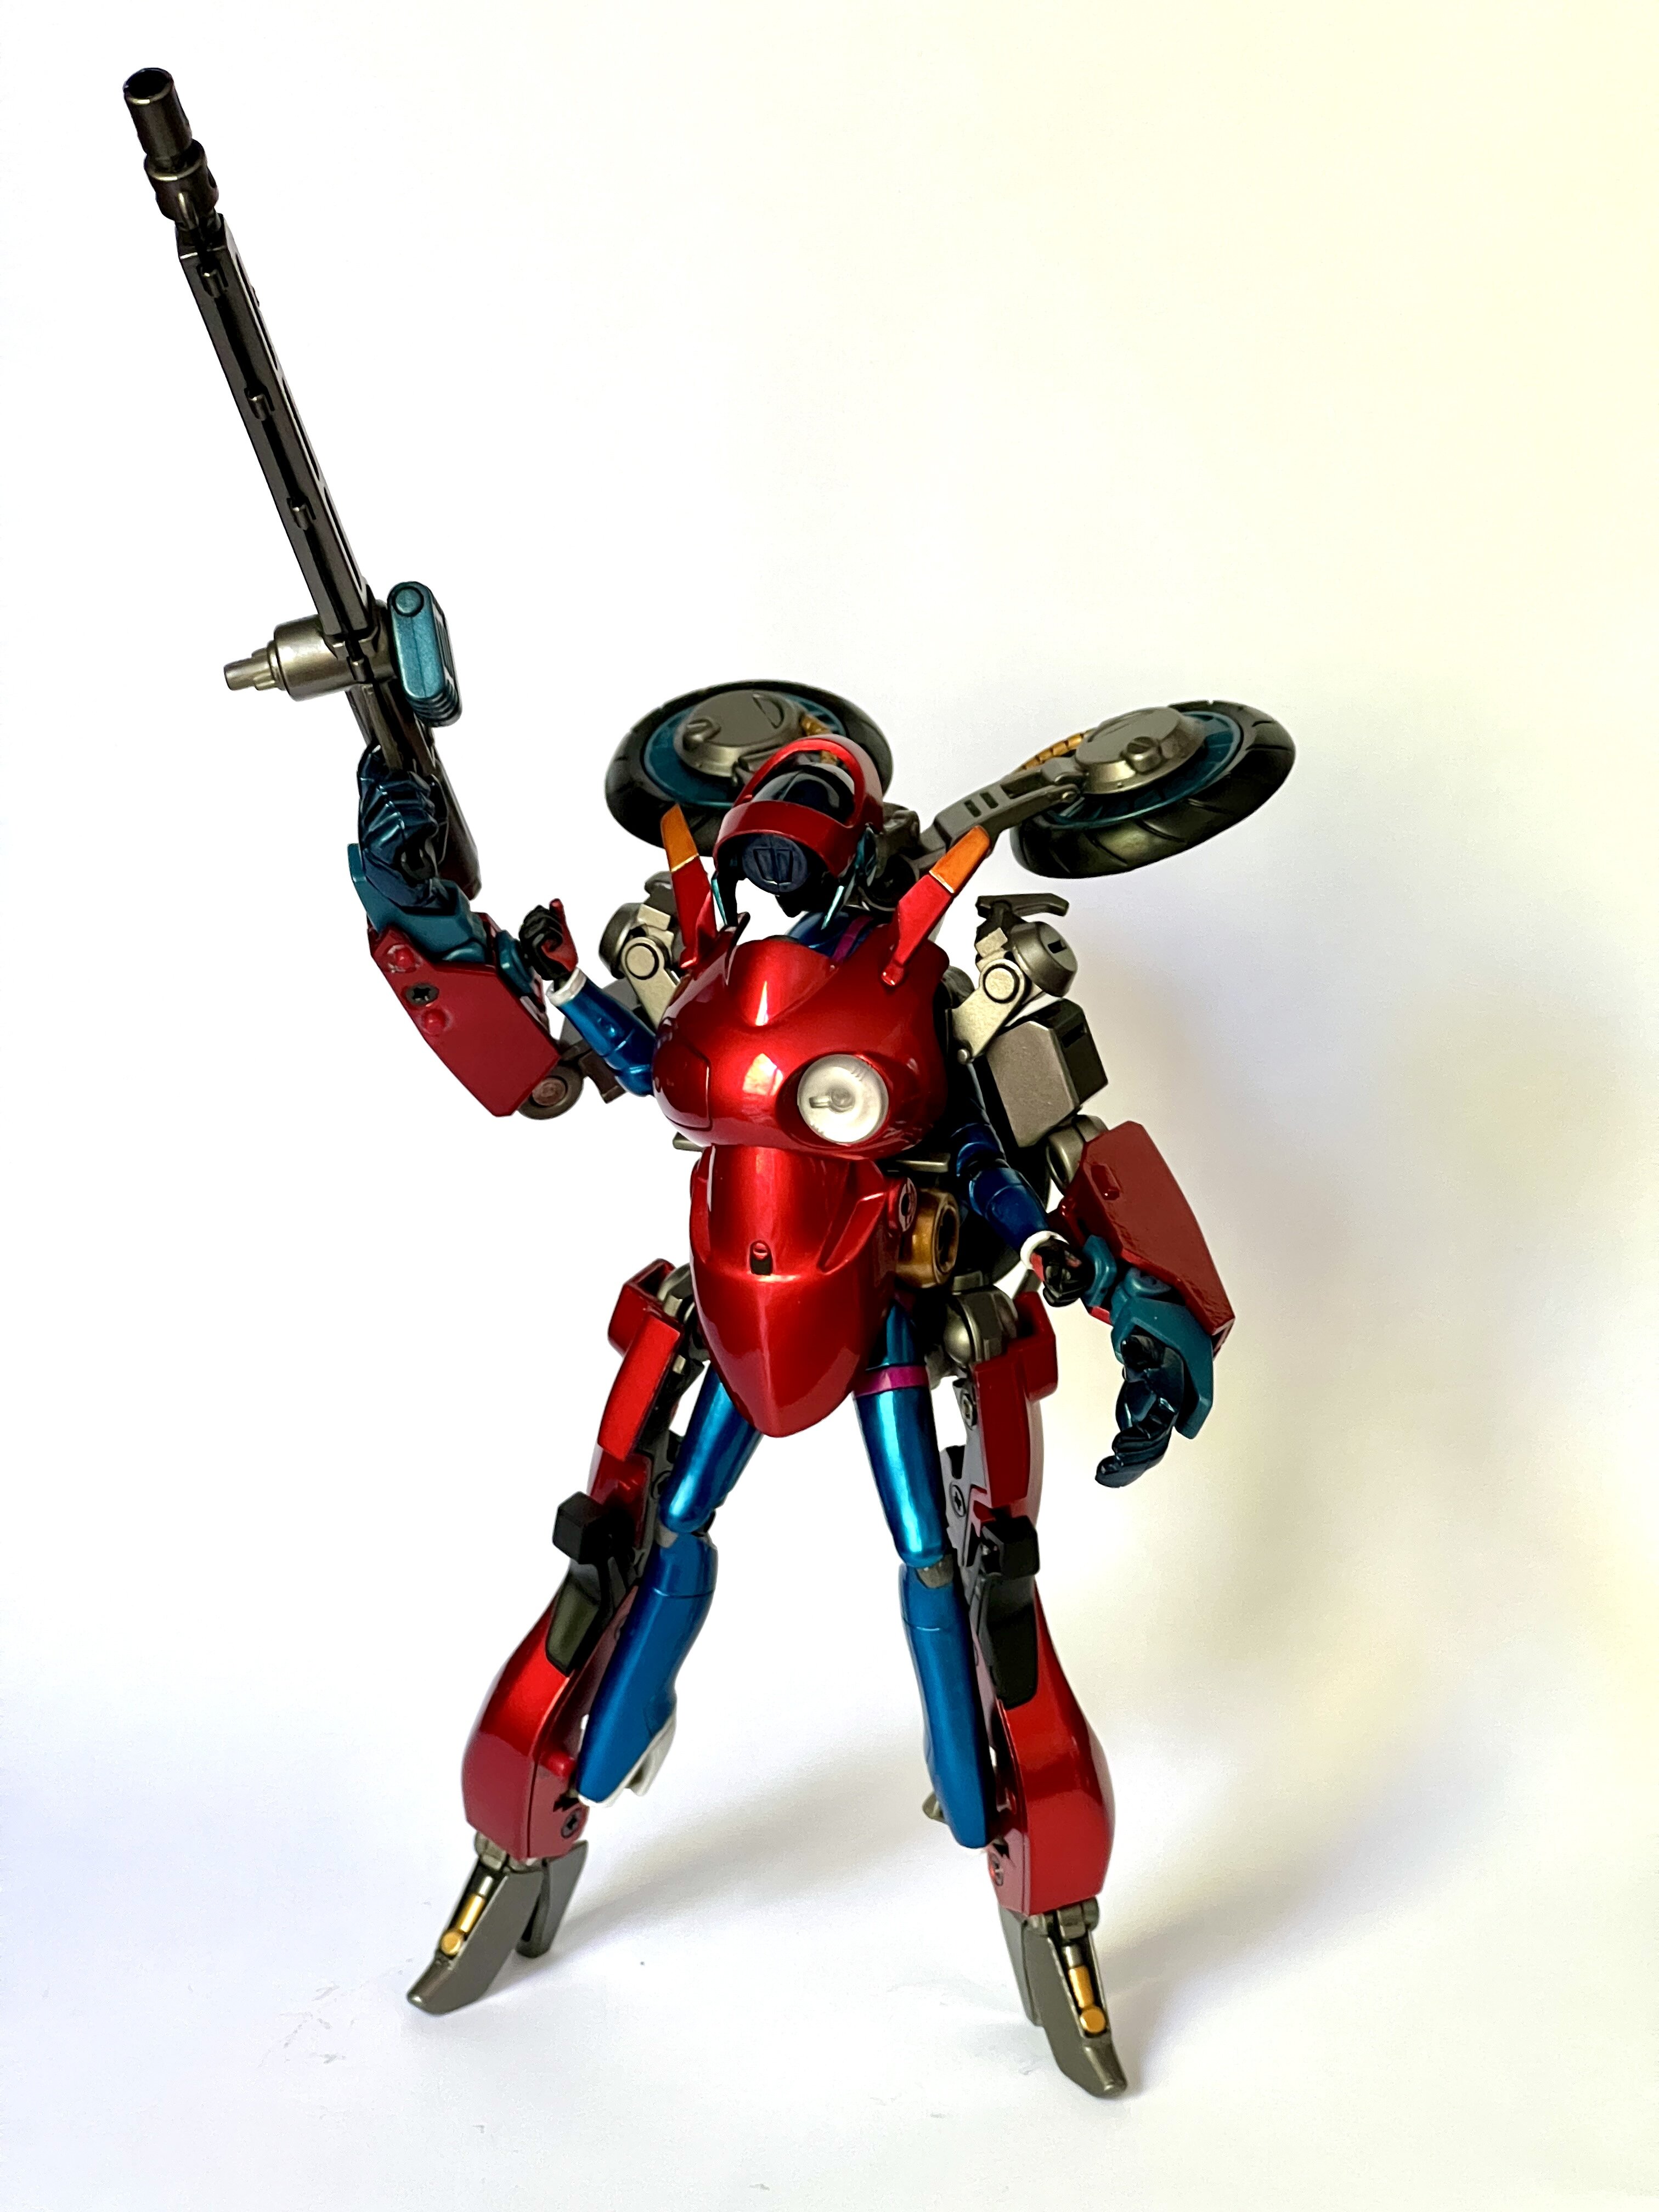
Thanks, I did pull the trigger on the Ace Toyz version! The first thing I thought when I saw the smaller 1/12 Bandai PX-03 was I wished it was lit like the bigger 1/6 version - so when you guys pointed me to the Ace Toyz - I was like wow, it's exactly what I wanted! It's just too bad the mechanical detailing wasn't as nice under all the cowling but I don't think I'd ever display it with the cowling off which offsets the display with the lights - so they cancelled each other out (in my post rationalization mind :P) So what tipped me was that I find the figure nicer (better shaded, creases with wash, liked the magnetic swivels AND $60 cheaper. I think I would turn on the lights more (and it is a bigger Wow factor) than I would remove the cowlings when playing with it. It's really the perfect size to display with my new Garland (even though the scales are wrong but the relative lengths are close). Now I just have to wait for someone to re-issue the Bubblegum Crisis Priss Motoslave in the Metallic Colour. Thanks so much for your insights and help finding one. -
What Is The Quintessential Akira Bike/Rider Toy?
wm cheng replied to sqidd's topic in Anime or Science Fiction
Thanks @Bobby - that's exactly the kind of opinion I was hoping to hear. So you're recommending the Ace Toyz over the Bandai? The lighting gimmick is cool at first, but I usually end up taking the batteries out after a few months when it sits in my display case as I've had a few batteries corrode on me after forgetting about them. But it is a nifty feature! The figure on the Any Toyz seems a bit better too. But the mechanical details seem better on the Bandai especially with more covers to remove and strip down. -
What Is The Quintessential Akira Bike/Rider Toy?
wm cheng replied to sqidd's topic in Anime or Science Fiction
Thanks @MKT!!! So they're about $50-60 difference between the "used" licensed Bandai (more expensive) and the "new" Ace Toyz - so what's your suggestion? Better detailing in the mechanicals on the Bandai (plus its actually licensed) vs. the lighting feature and slightly cheaper on the Ace Toyz but boy are they similar. -
What Is The Quintessential Akira Bike/Rider Toy?
wm cheng replied to sqidd's topic in Anime or Science Fiction
Wow! Is this Ace Toys bike out? Does anyone have it? Is it any good (better than Bandai)? I've been eyeing the Bandai PX-03 but at over $200-$250 its a bit rich for me. But my recent 1/15 Garland has lit a fire under my butt for these 80s motorcycles from my youth. I'm concerned it doesn't have all the markings - says waterslide decals is limited edition but can't find that for sale anywhere and its around $200 too - so which is better, Bandai or Ace Toys?