HWR MKII
-
Posts
2644 -
Joined
-
Last visited
Content Type
Profiles
Forums
Events
Gallery
Everything posted by HWR MKII
-
and the second.

-
two more shots today. heres the first

-
one last shot for today.

-
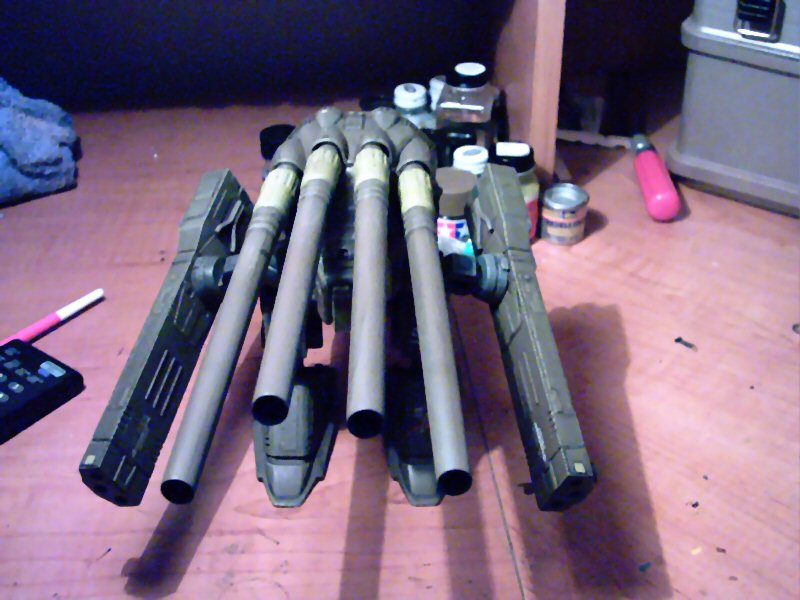
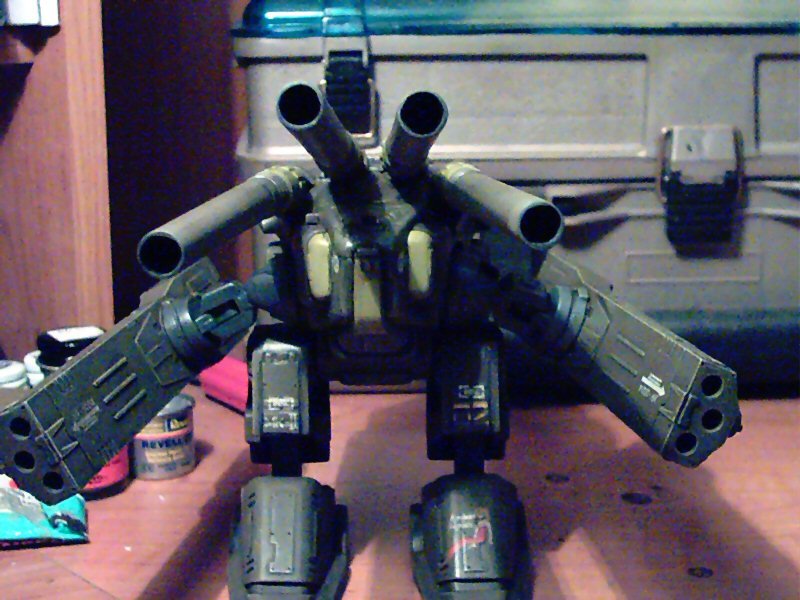
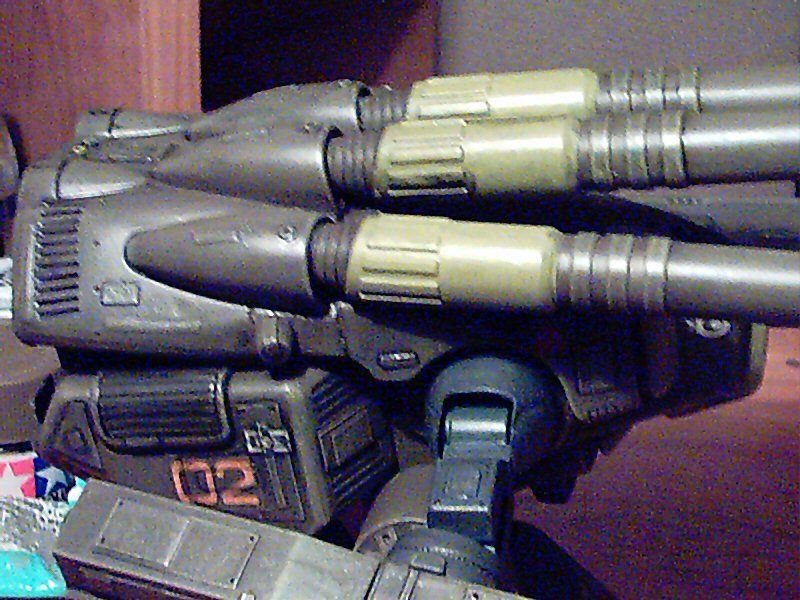
another shot. i love this angle its like its saying gimmie your best shot. cmon chicken.
-
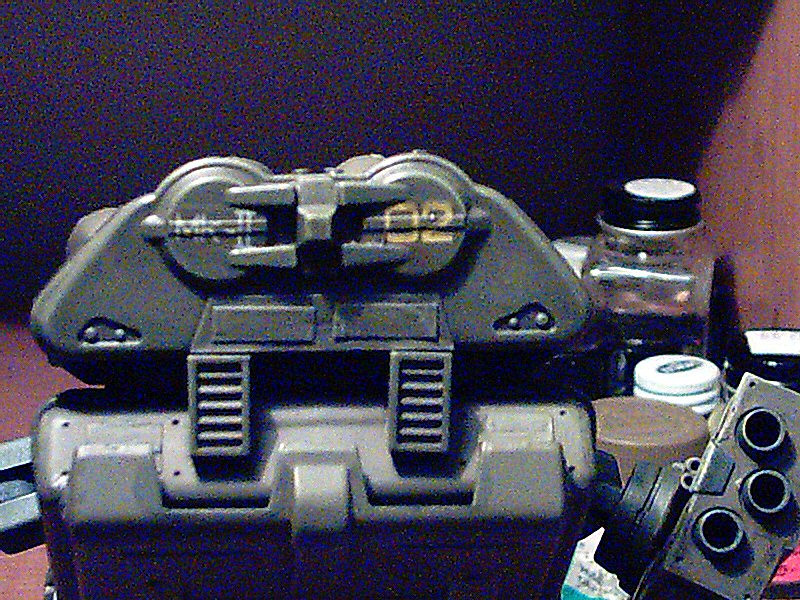
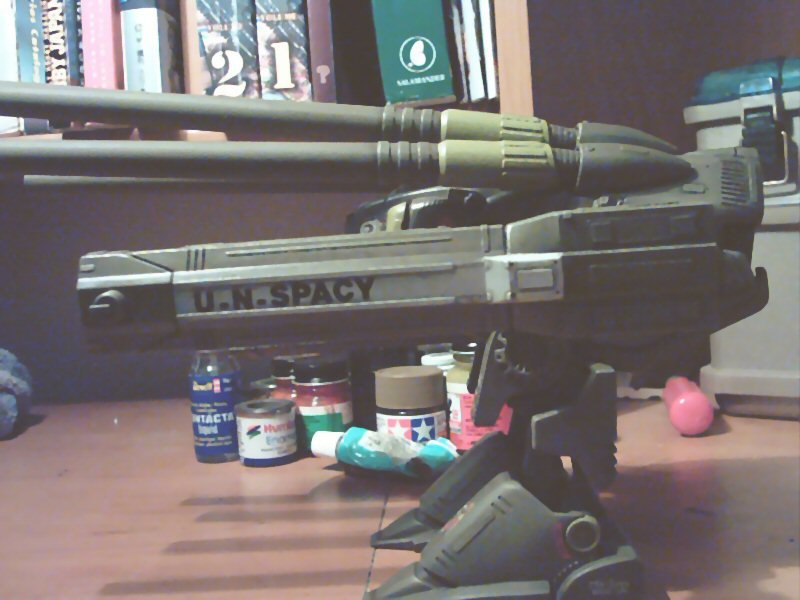
a side view showing the "arm "details.
-
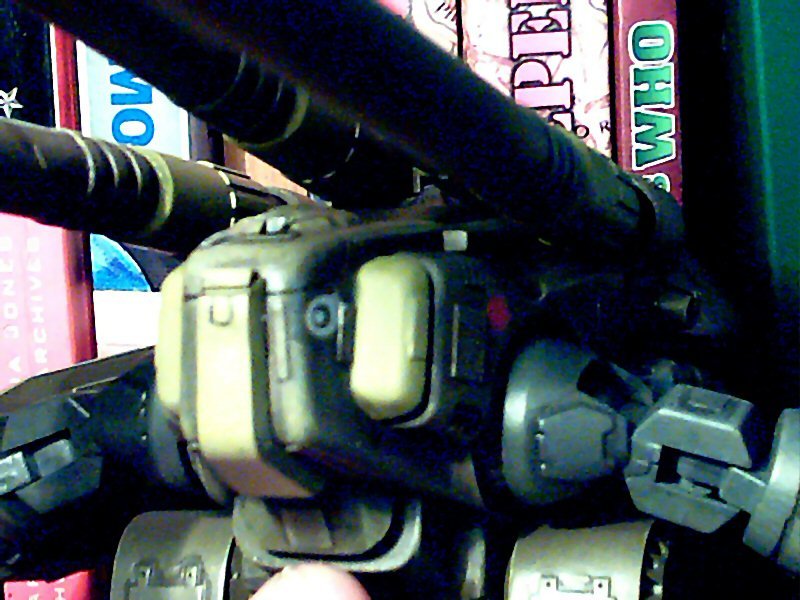
good shot of the characteristic "eyes"
-
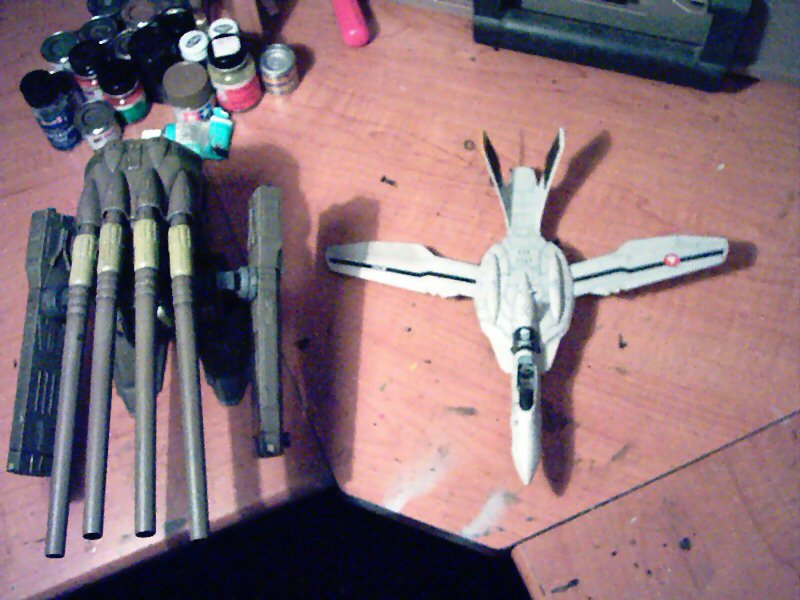
heres a more common kit comparison for everyone its next to my still incomplete VF-0S.

-
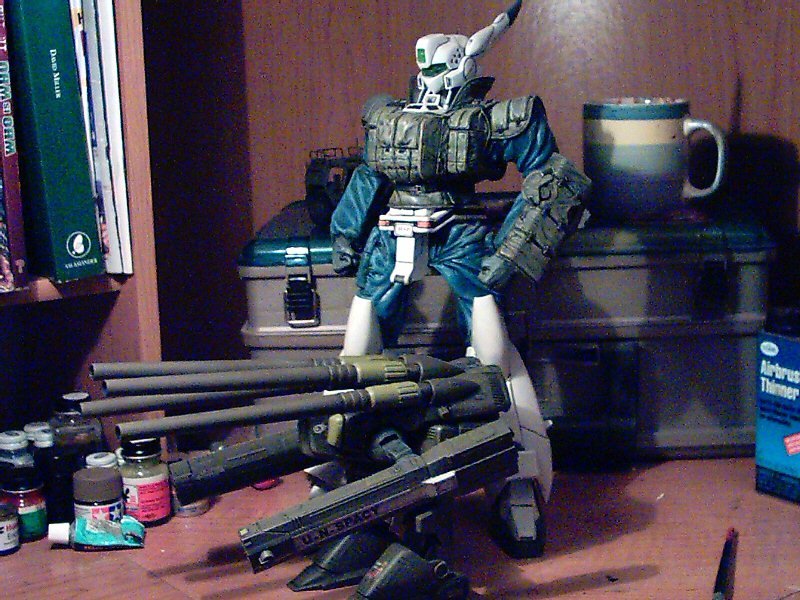
here is the monster with my 1/24 scale av98 ingram from patlabor. its a resin cast garage kit i picked up on a whim.
-
well guys i said id post more and i am. this is just my first step in weathering. its an enamel wash followed by drybrushing with acrylics. the next step is pastels and a rewash and drybrush where needed.
-

Could anyone recommend a good 1:72 scale F-14 kit?
HWR MKII replied to GunnerX's topic in The Workshop!
love fujimi it even comes with a compressed nose gear for simulated cat launches. the F-14 kit is also praised by most to be the best 1/72 scale kit on the market to date. -
tube glues can be messy yes. they shouldnt be used for entire kits as well but they are good for tacking parts toether until you can hit them with liquid cement. tube glue is also good for test fitting sub assemblies before final applcation of liquid cement. if you want a good cheap source of liquid cement go to a home depot or DIY store and get a can of oateys PVC pipe cleaner. it has MEK (methyl ethyl keytone ) which is the active ingredient in all liquid cements. its about 2.50 for a large can which will last you for a long while. the can is yellow and youll need to sacfifice a brush to use it but its great stuff.
-
testors acryl is good for brush painting, enamels are good for fine detail. tamiya is made primarily for airbrushing. testors orange tube cement is a staple of model building has been for decades. DONT USE THE BLUE TUBE CEMENT. try to make subassemblies as often as possible but paint most small parts on the trees.
-
actually if you put the effort into the arm to make it movie detailed and accurate then it becomes a work of your own. you can recast at your will since it is no longer a direct copy of the kit but somethng you created using the kit as a bare bones starter. you would have to make sure that it is a drastic change though when you make the master. hey its another thing to put on the most wanted list. wouldnt mind a 48 scale one for my club m valk. another project for the dark winter months.
-
the only resin casting i have done is with 2 part polyester. it was industrial grade stuff so i cant remember the name you should be able to find it on the web. when i was using it i had access to a pressure pot to compress the air bubbles out of it. i know the pressure method works well im not too sure about the vaccuum casting for removing air bubles i havnt seen any close up examples to get a difference in quality. there are also 2 part polyeurethane resins too. if you want to test out some things one source of resin that may work is the bondo resin for their fiberglass body repair kits. the fiberglass isnt mixed into it so you get a can of regular 2 part resin pretty cheap.
-
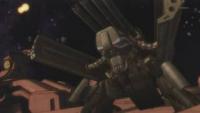
i was talking about the second one from the movies. its visually more interesting and has possibilities for doing a field maintenance scene.
-
Paint technique, lines, wash... HELP, TIPS
HWR MKII replied to Kiotcloudkicker's topic in The Workshop!
thank god. i didnt think you were using that much on your other kits. you scared me for a minute. but for others reading 5 COATS IS WAY TOO MUCH! unless of course your handrubbing laquer onto the body of a 1/8 scale 65 vette or 87 IROC/Z trying to get that showroom shine. been there still doing that. -
ummmm holmes you do realise that macross, southern cross, and mospeda were mostly designed and animated by the same people dont you. man robotrekkies dont learn well . you get flamed on one thread in here and open yourself to it in this thread
-
US military. now in the uk until 2006 before that arizona and utah. where i go next i have no idea.
-
thanks for the info. anyone can post a link here for similar info even fan made line drawings (line art of any kind would be best for now) or a legit pic for reference.saves the trouble of link hunting. OT. i like the ID avatar ido xenogears was a great game.
-
im going to do the base color in tamiya field gray mixed 75/25 with panzer grey. the darker details would be straight panzer grey and the other highlights a lighter gull grey. if i decide to do it. some good line art of the "hands" would be good if i could get some. id like to gather info before i send it to the paint stripping bowl or even decide to do it. i havent done any weathering on it yet for lack of time in my schedule(building a 1/16 scale village for a tank museum). so i wont feel bad stripping it if the arms turn out right.
-
hello again all im thinking of modifying and repainting my 1/160 scale monster that i have been displaying on here. the arms are held on by polycaps so i can remove them. after seeing the pisc of the MKI monster from mac0 i feel the need to make it. i need moredetailed info in the way te fingers unfold in case i want to display them open i can make a seperate open hand arm. tell me what you think?
-
before you start on the patlabor truck try to find the truck most closely resembeling the one in the show if your doing the transporter in 1/35 scale a MAN cargo truck by revell should do the trick or the tow tractor from a trumpeter FAUN tank transporter would be better. thats a 90 dollar kit but it has a nice long trailer with it to hack apart for the base that the labor gets carried on. the number one thing with scratch building is patience. just like in carpentry measure twice and cut once maybe even make a foam core mockup to get your dimensions right before you cut the plastic parts. sometimes you dont need to scratch the entire kit just add onto an already existing vehicle until the desired look is achieved.
-
Paint technique, lines, wash... HELP, TIPS
HWR MKII replied to Kiotcloudkicker's topic in The Workshop!
i save the flat coat until last. i like to keep my paint thickness to a minimum. another way to counter decal silvering is to use a slightly semigloss paint your decals should not have any trouble with a little setting solution. FIVE COATS OF CLEAR FLAT! i dont know what your using to put it on but with an air brus it shouldnt take more than 2 coats tops. first a haze coat to start and second a wetter coat to settle everything. im stuck in my ways because they are contest proven to get results and have nevef failed me. over in england pollyscale paints are rare as hensteeth but ronseal makes a water based matt sealer that thins great with tamiya acrylic thinner. you can find this at a DIY(do it yourself store). for people in america ronseal is there too and can be found at home depot. -
Paint technique, lines, wash... HELP, TIPS
HWR MKII replied to Kiotcloudkicker's topic in The Workshop!
ive tried the adding future bit and am not pleased with the glossy sheen that results from using the floor wax. i still stand by using enamels, artist oils and thinners or mineral spirits in my washes. plus a jug of thinner or spirits is way cheaper than a bottle of future floor wax. -
evergreen styrene, evergreenstyrene. its a must for any scratch building project. comes in sheets of different thickness and rods of different diameters also in industrial shapes for alot of uses