

Nyankodevice
-
Posts
517 -
Joined
-
Last visited
Content Type
Profiles
Forums
Events
Gallery
Posts posted by Nyankodevice
-
-
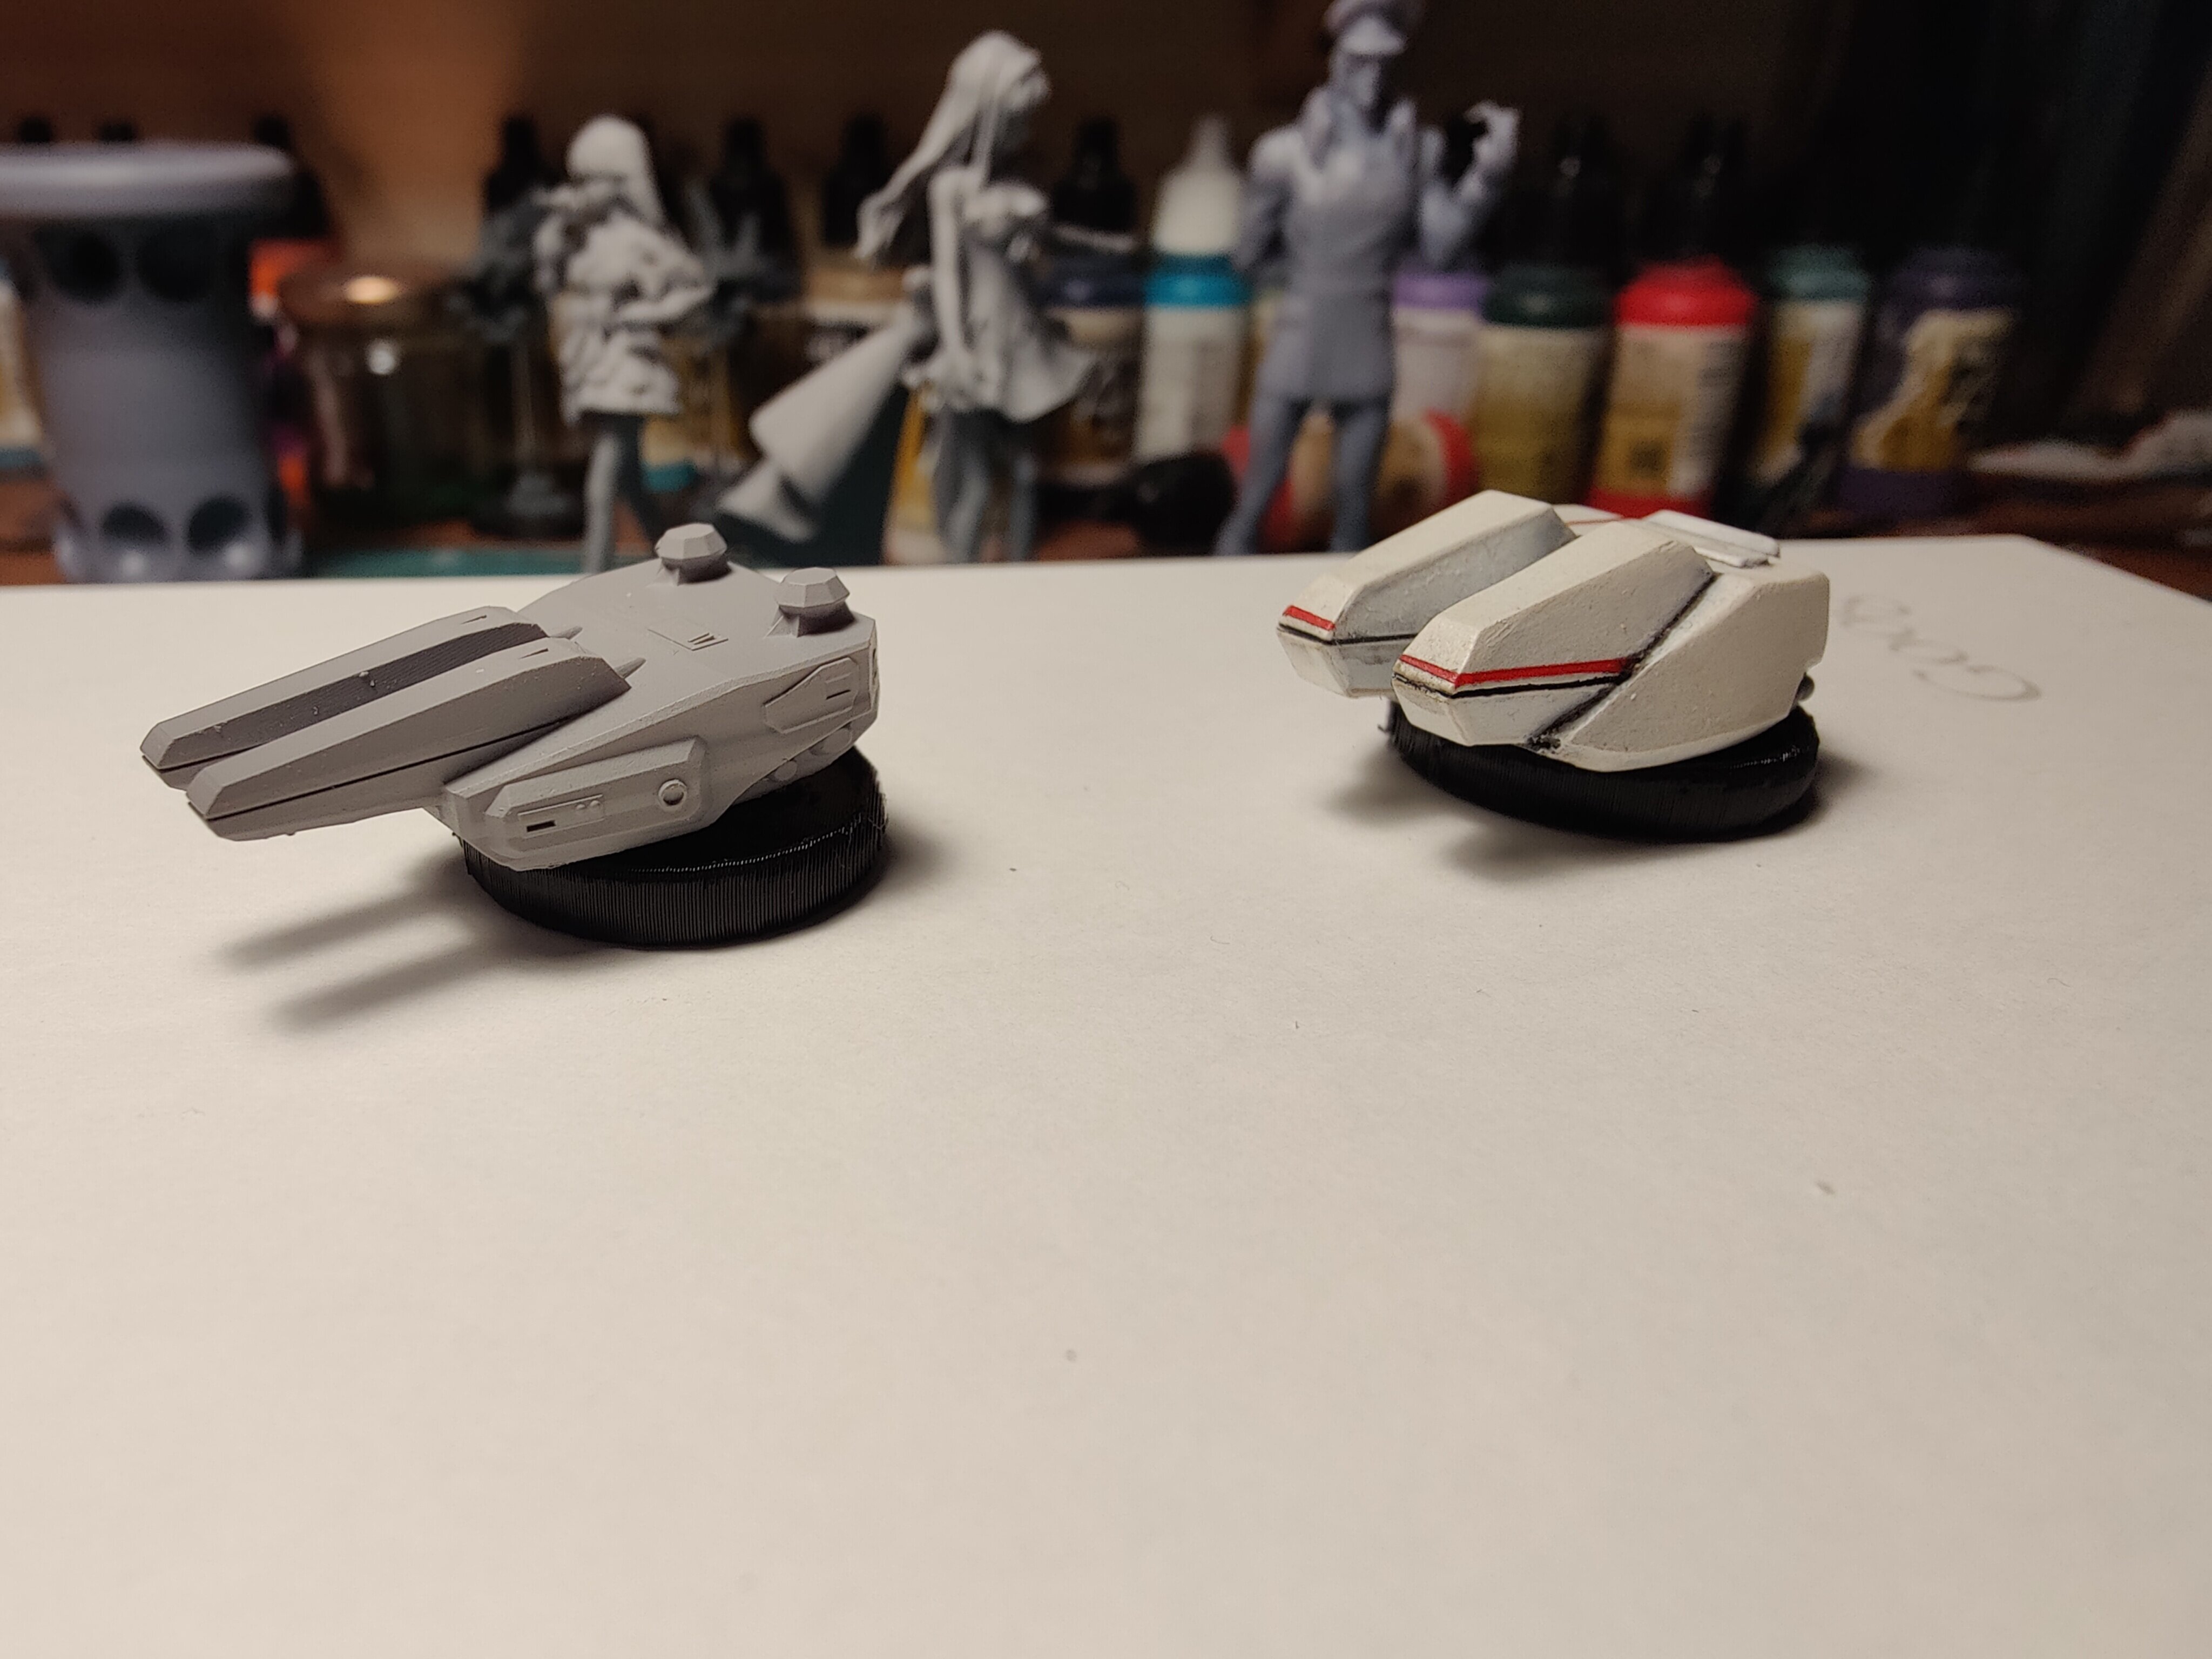
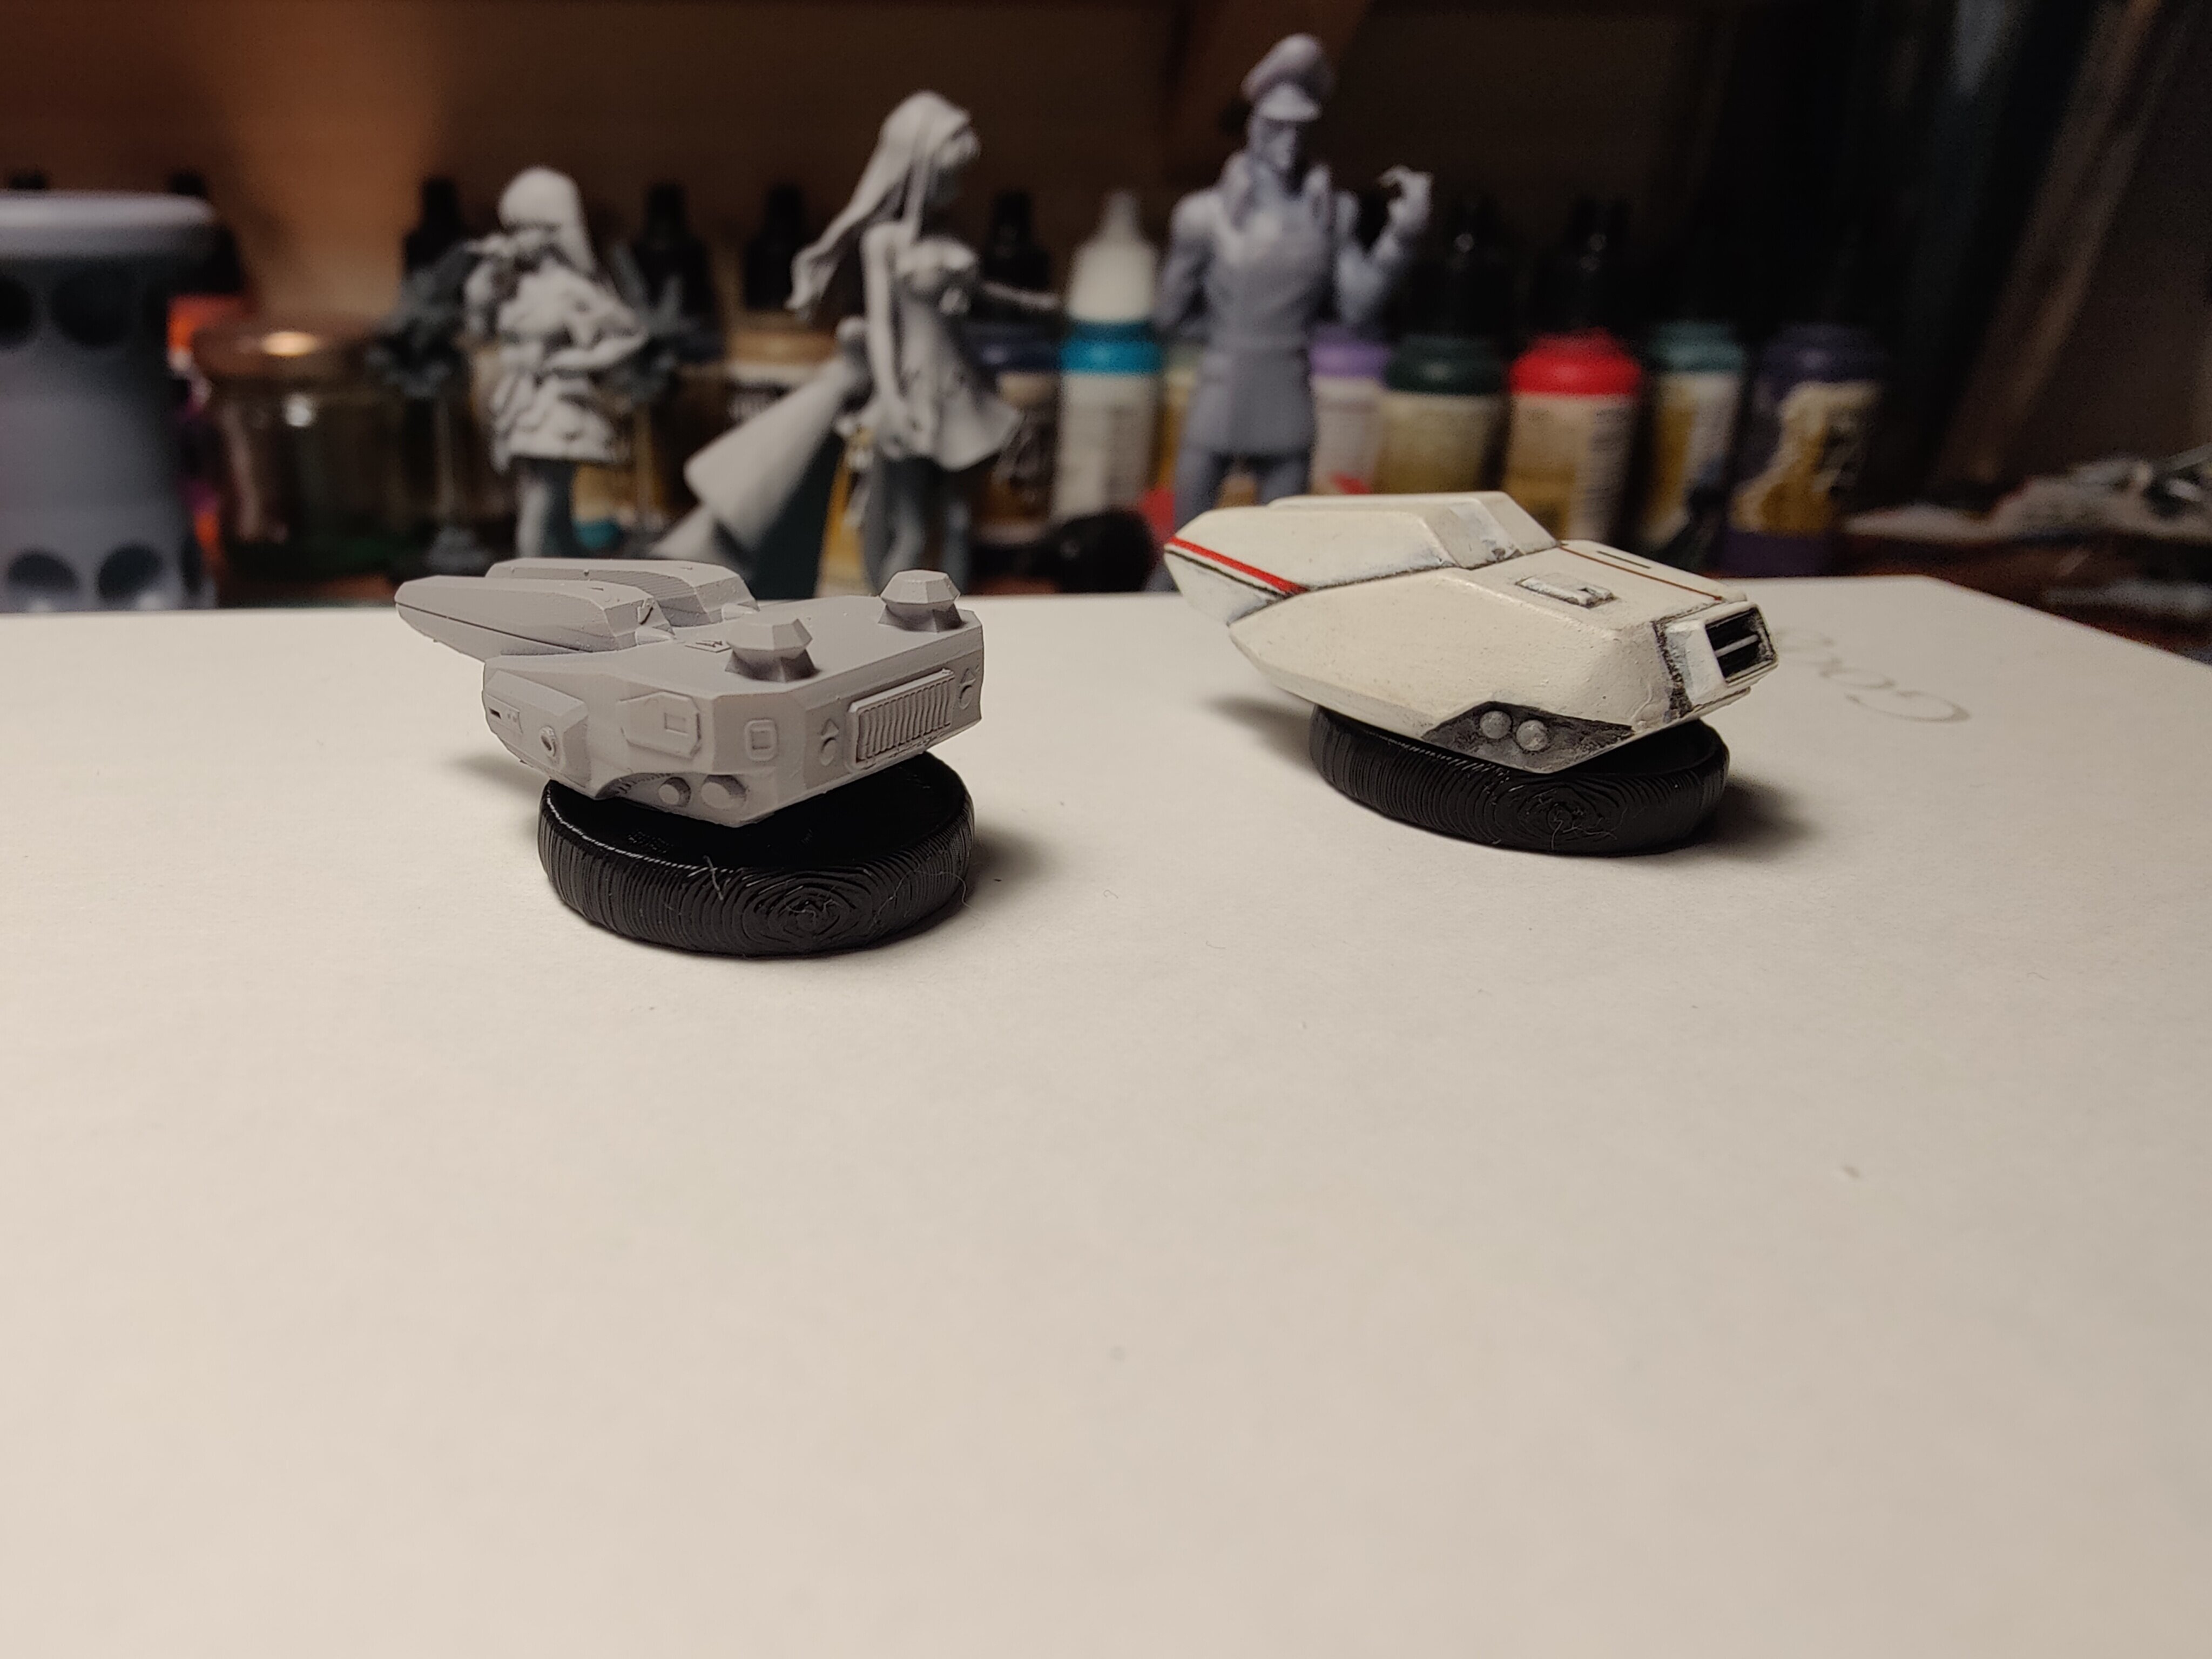
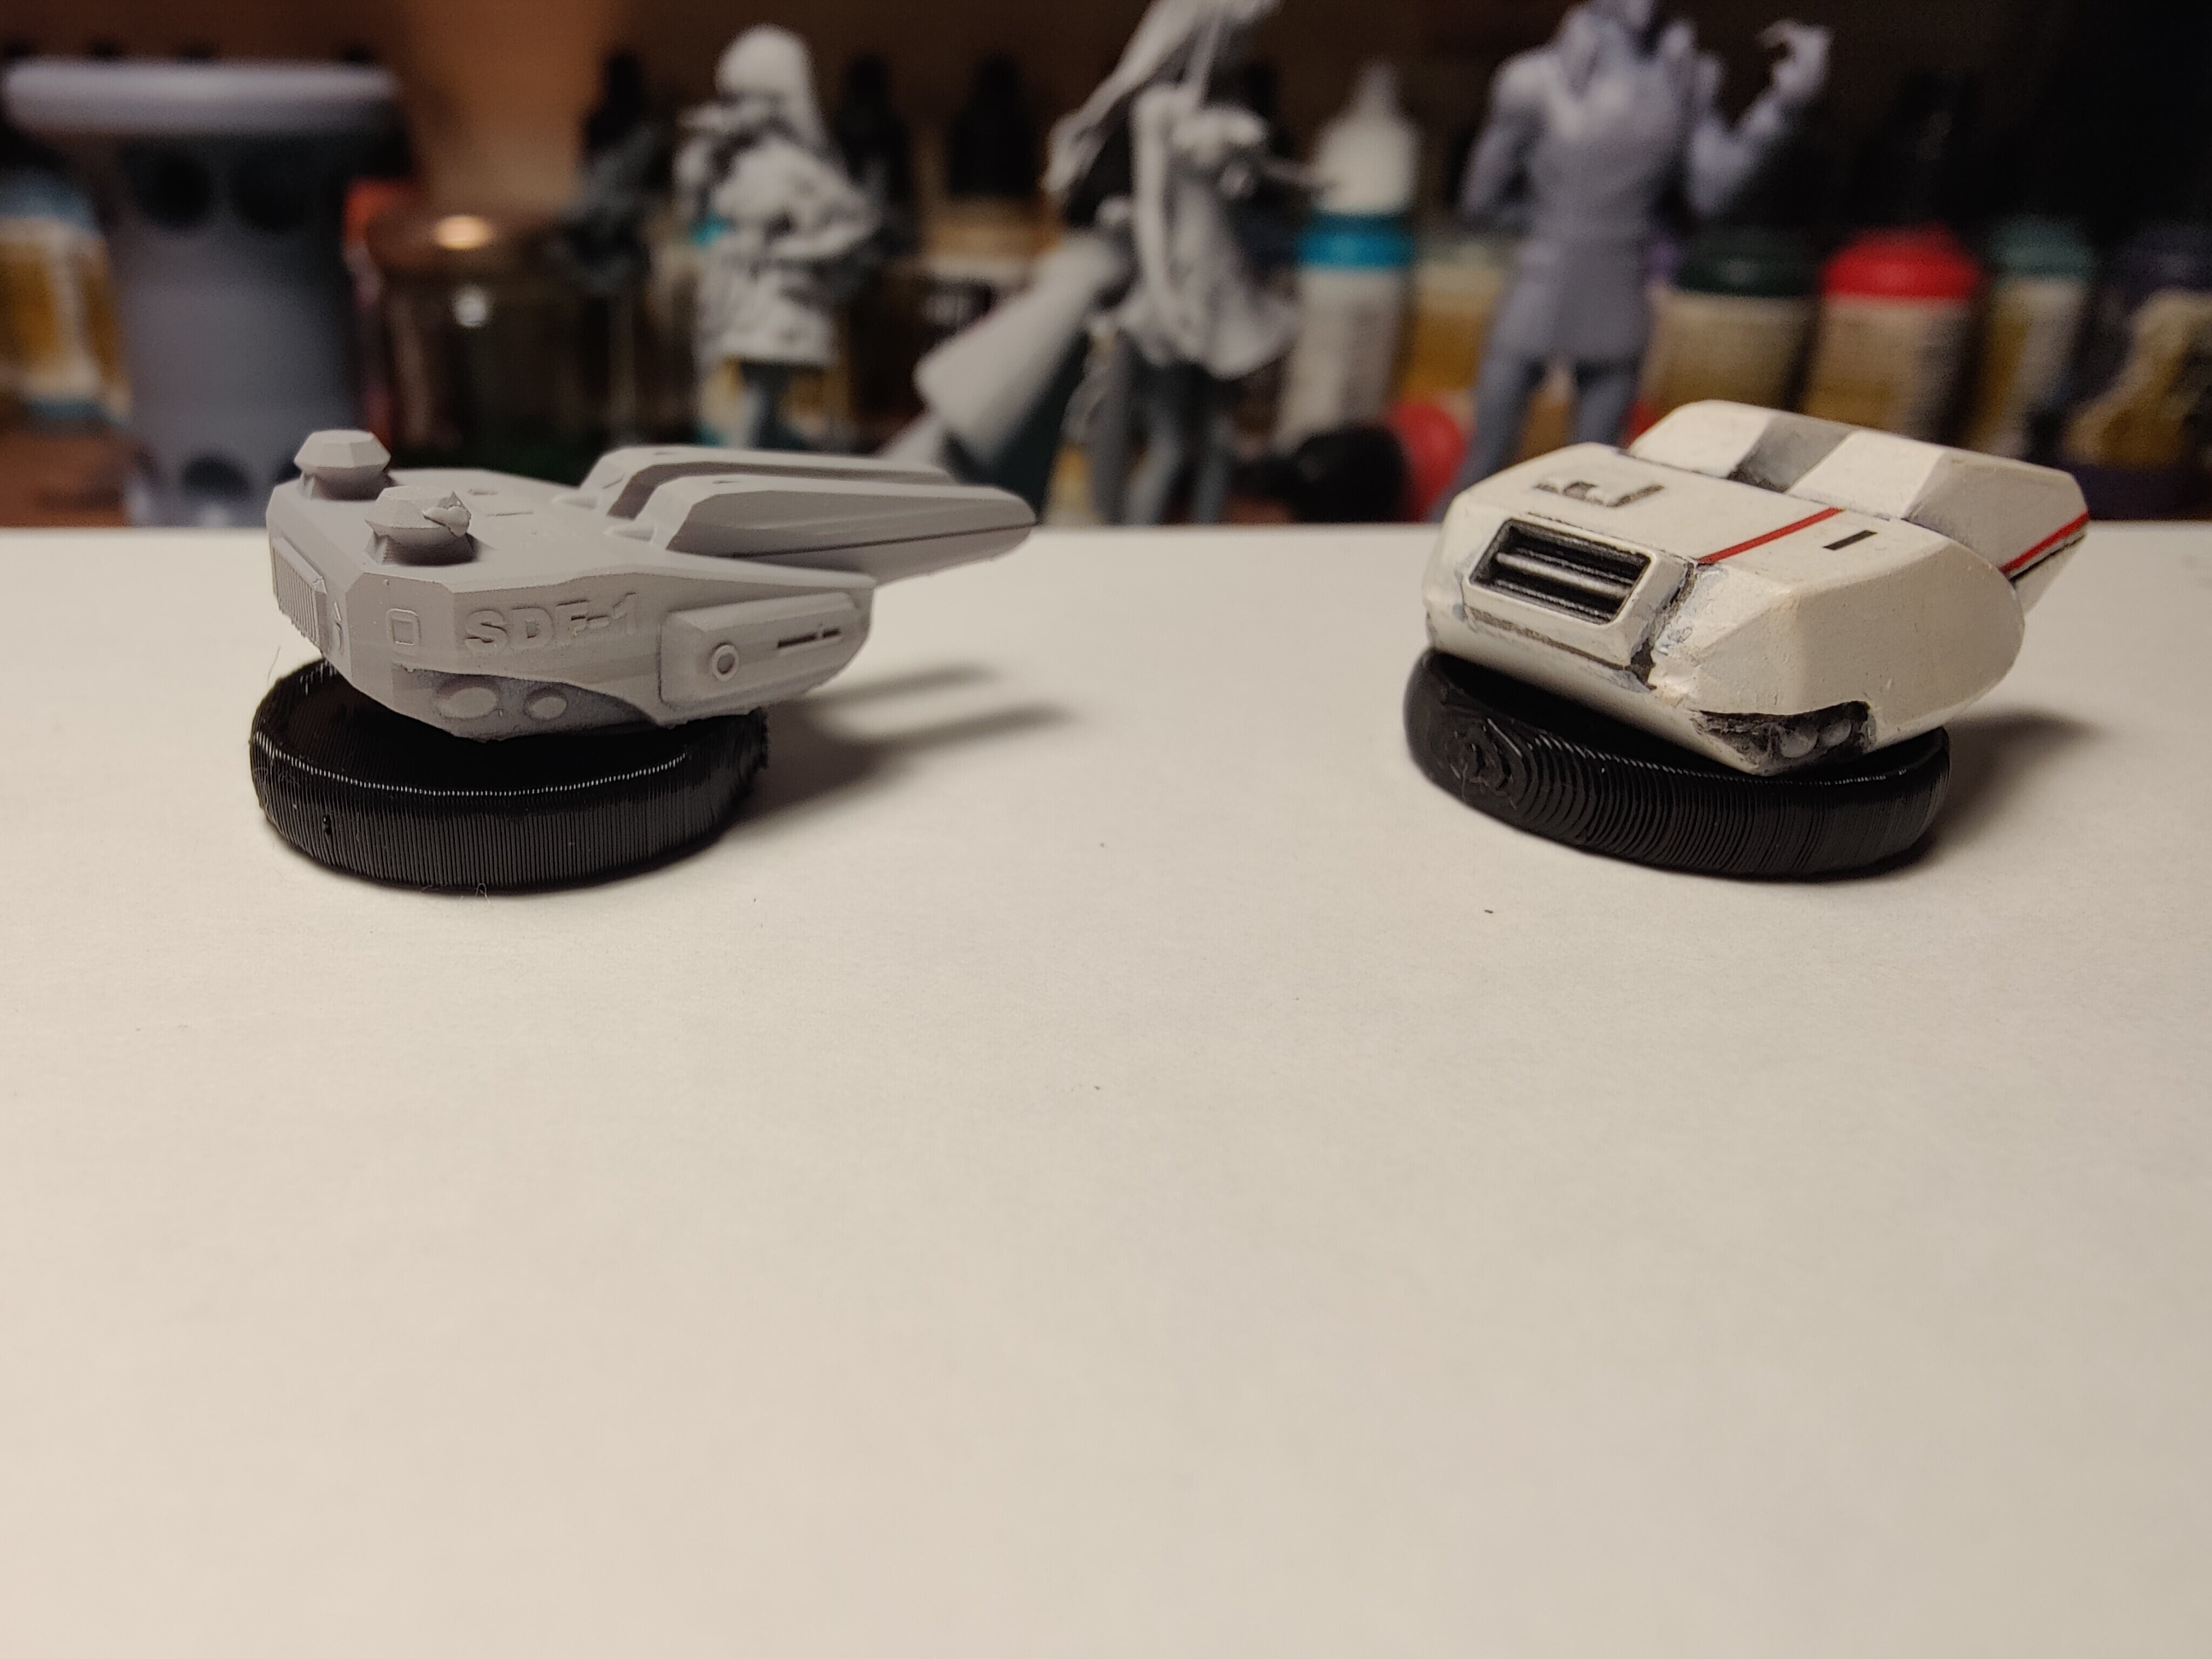
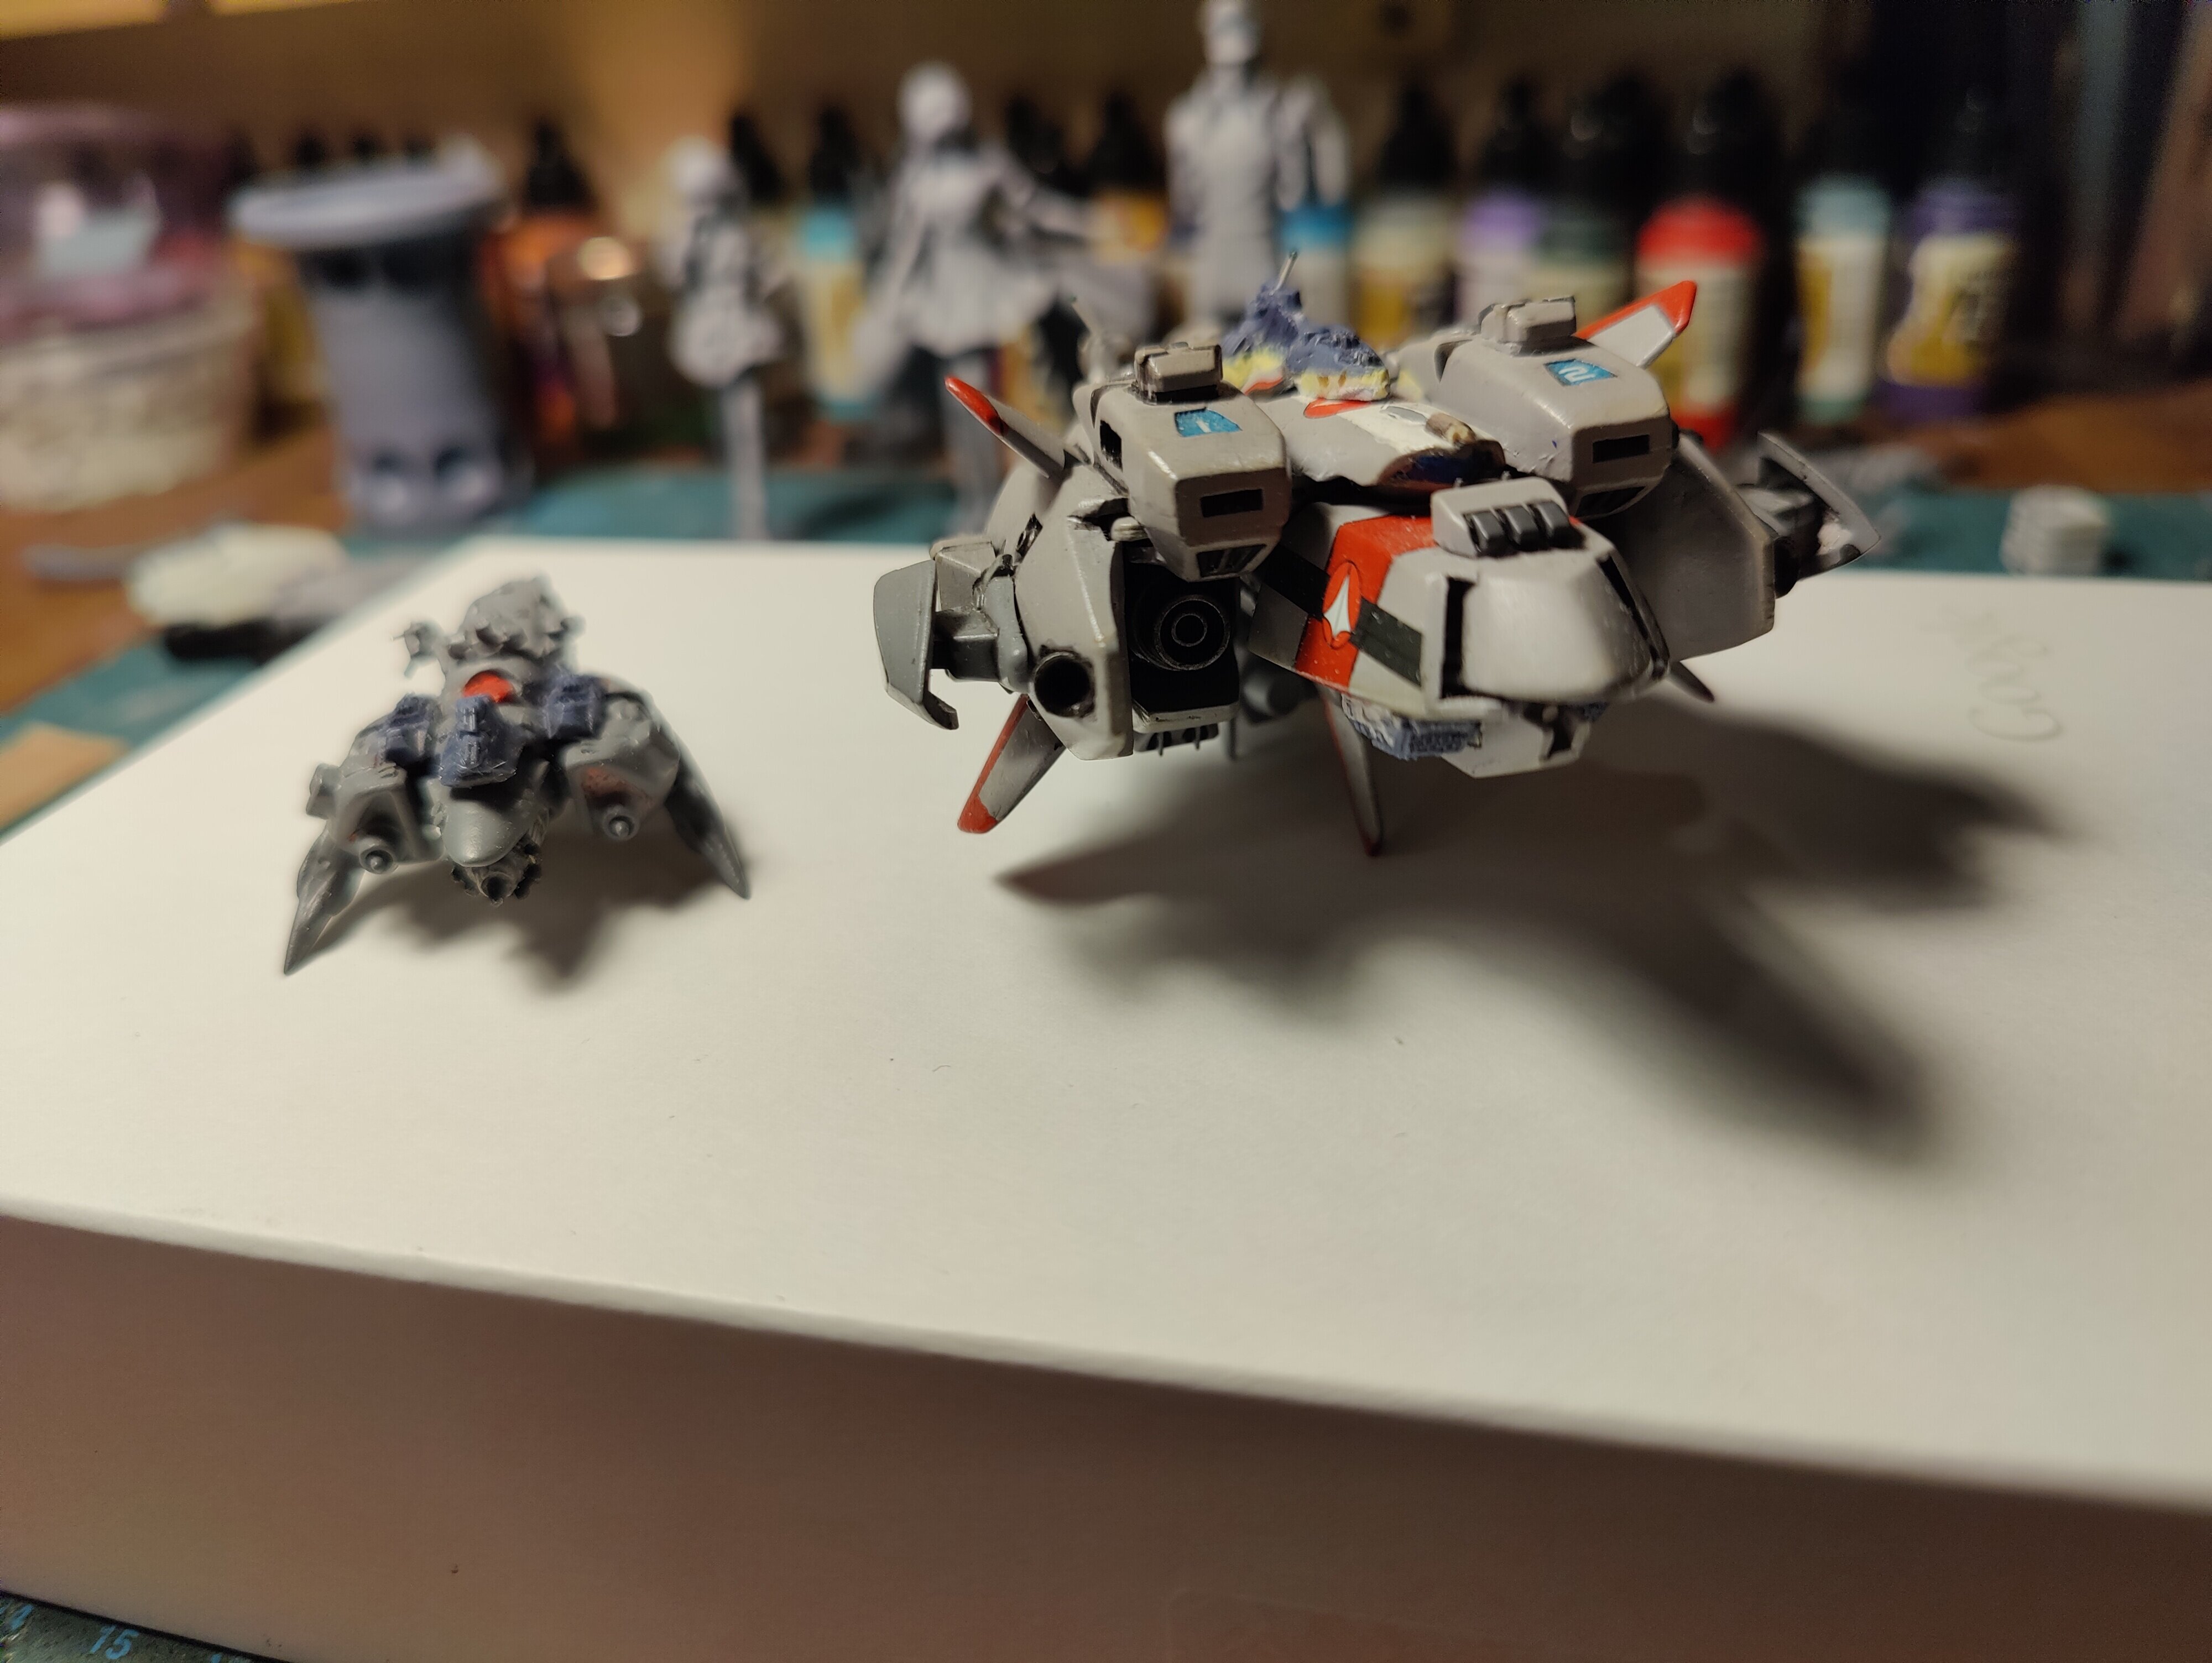
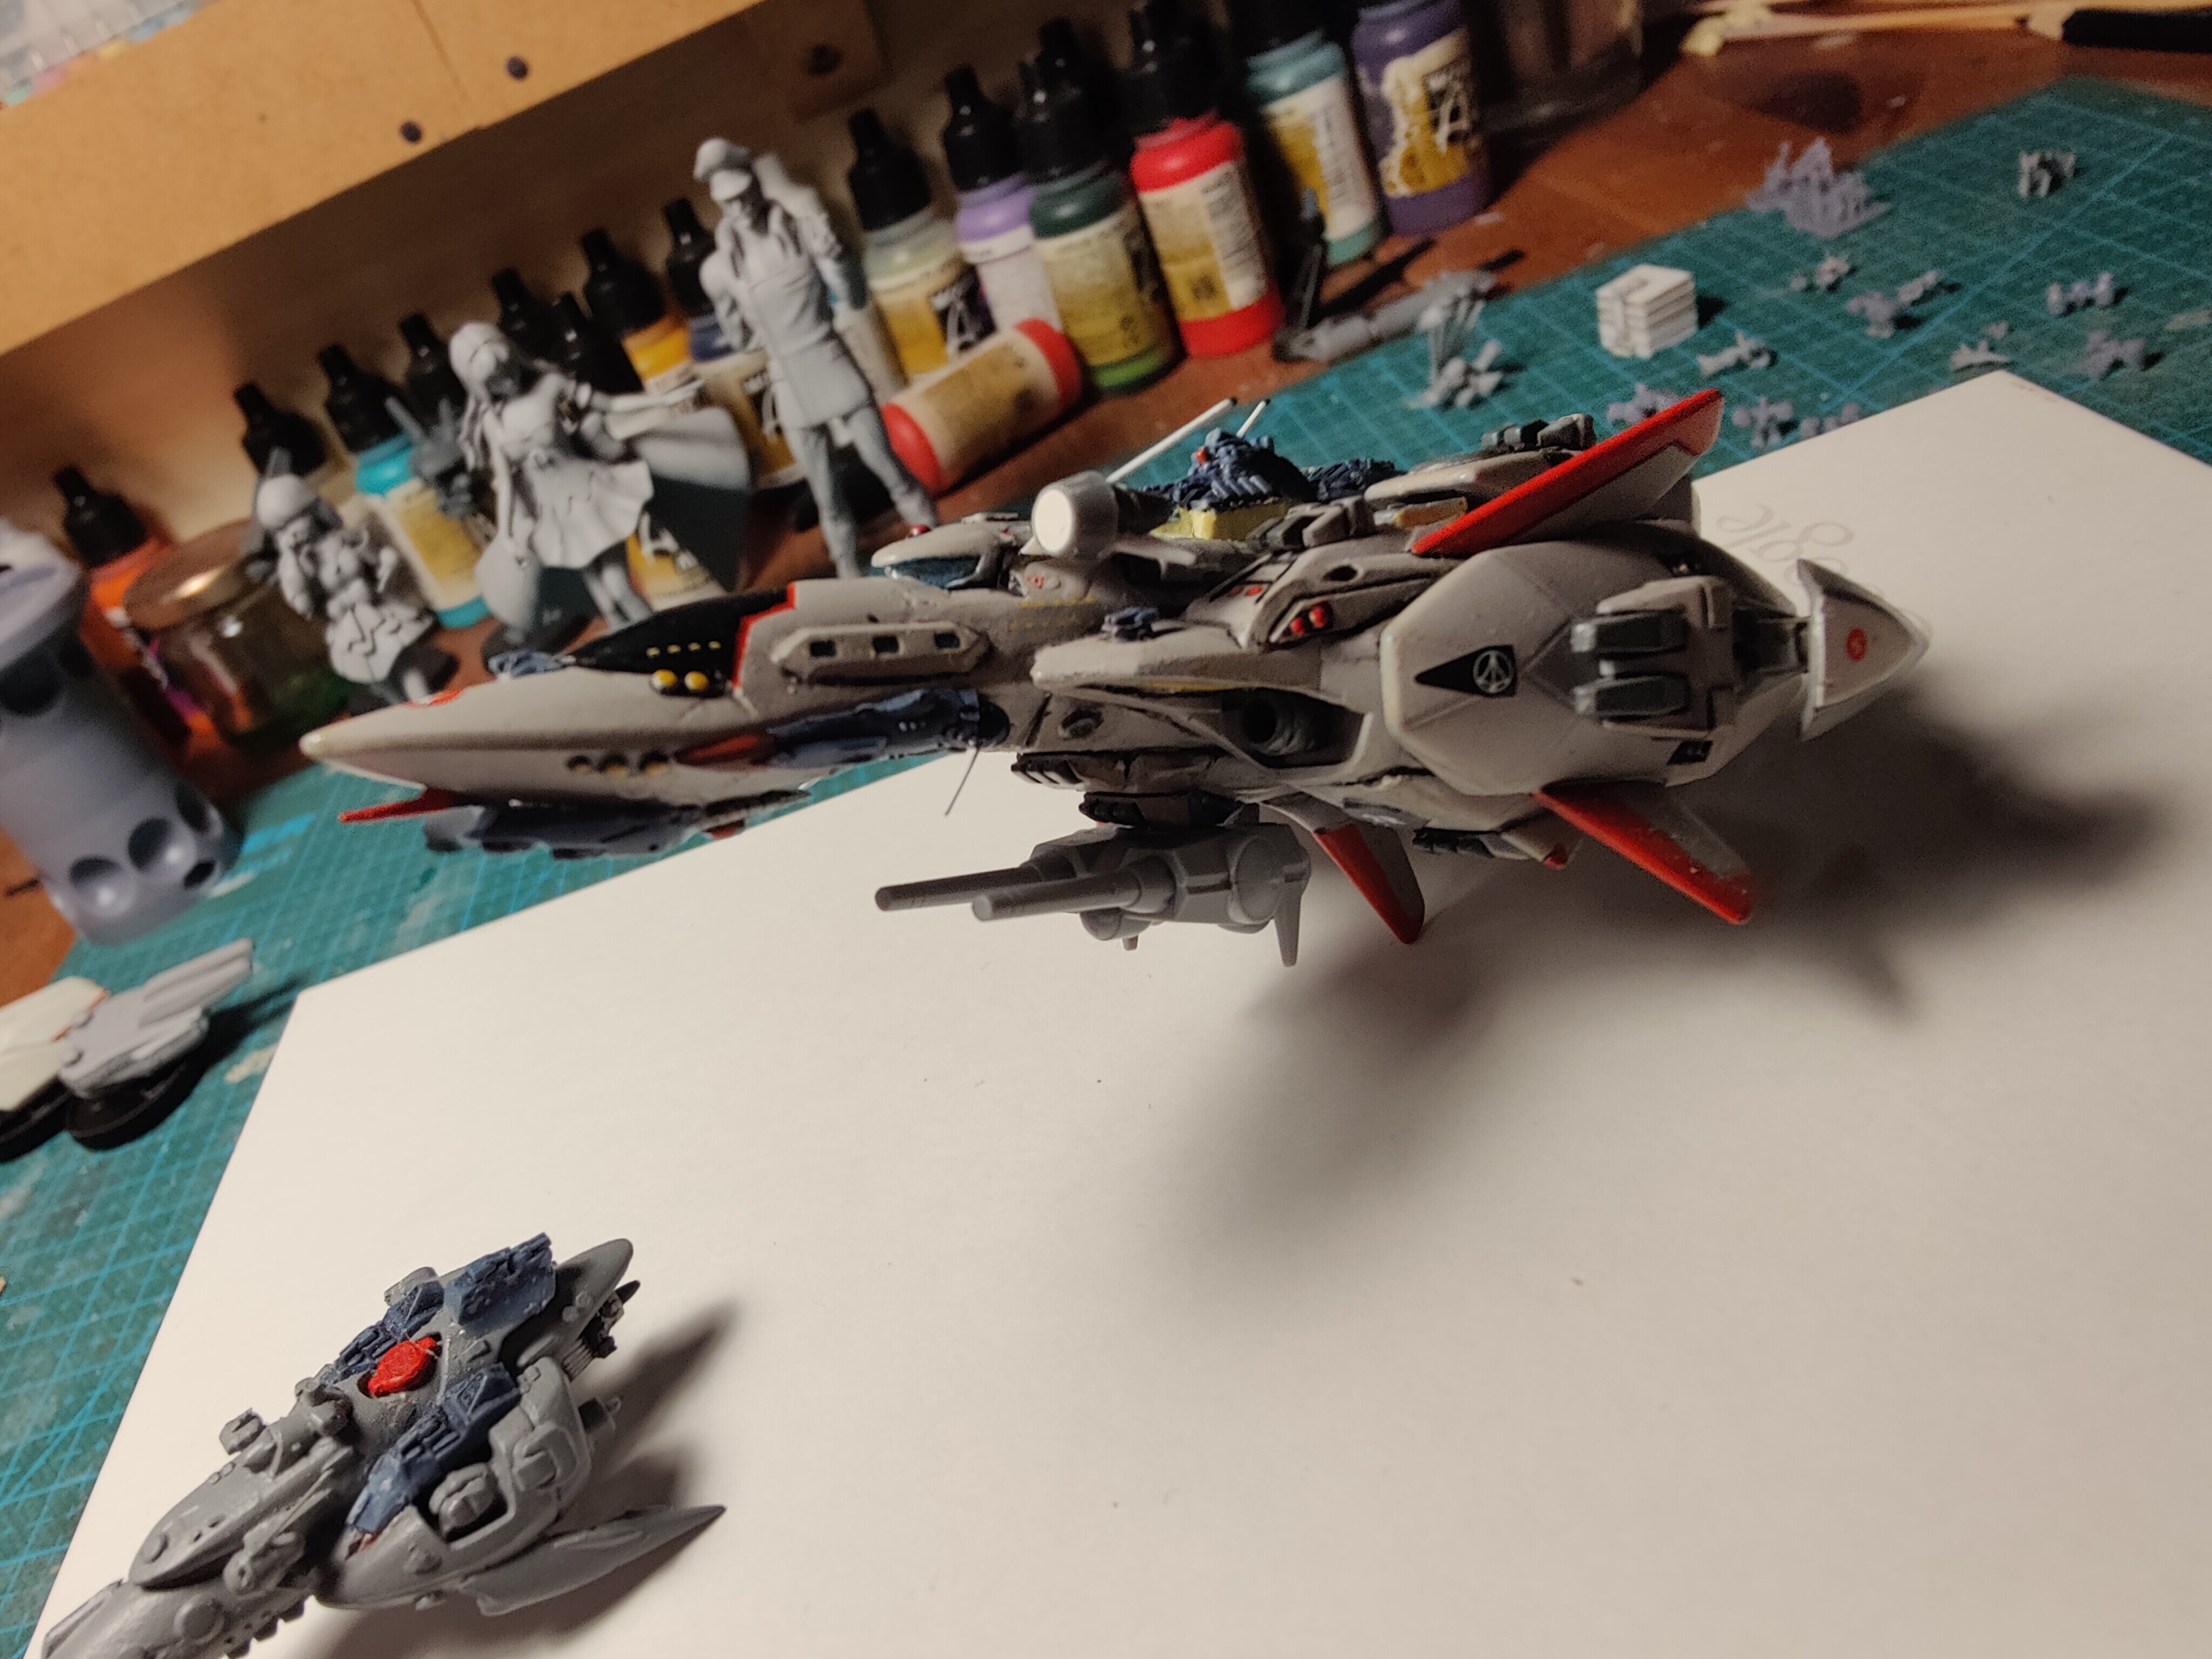
New cannons vs old cannons
-
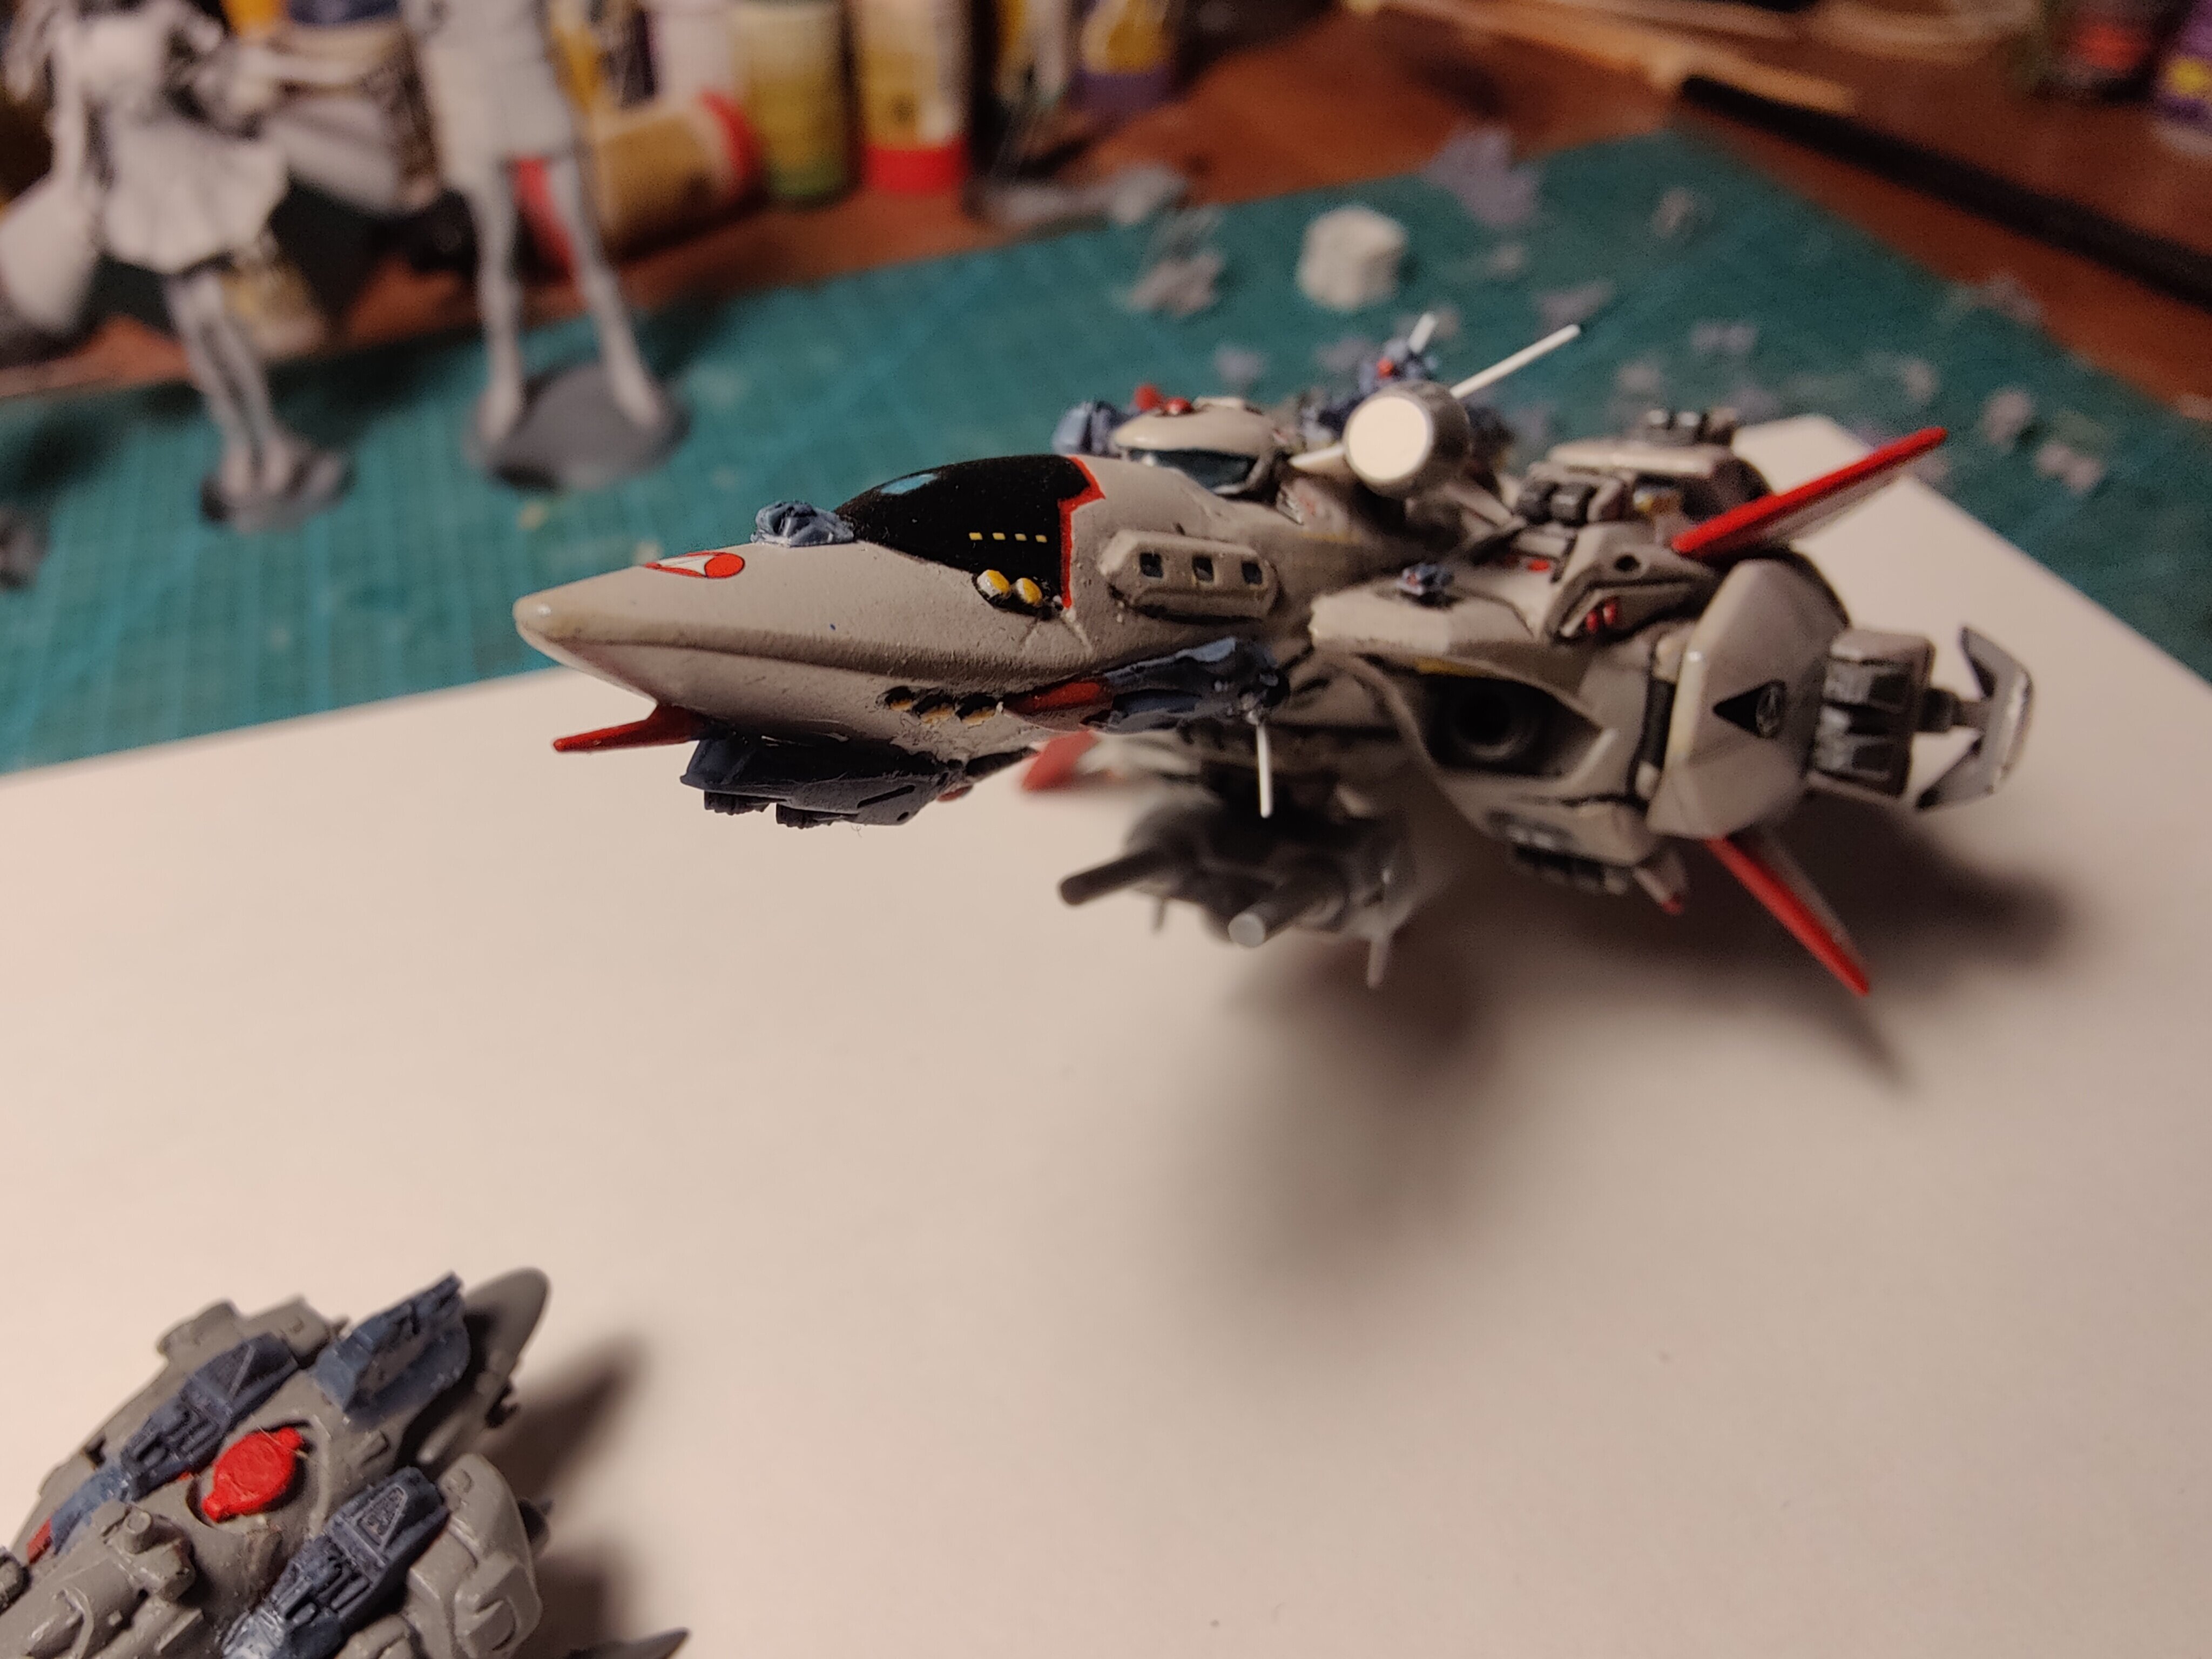
12 hours ago, Knight26 said:
AMazing detail, even at that scale. What is the ship in the background?
11 hours ago, 505thAirborne said:+1
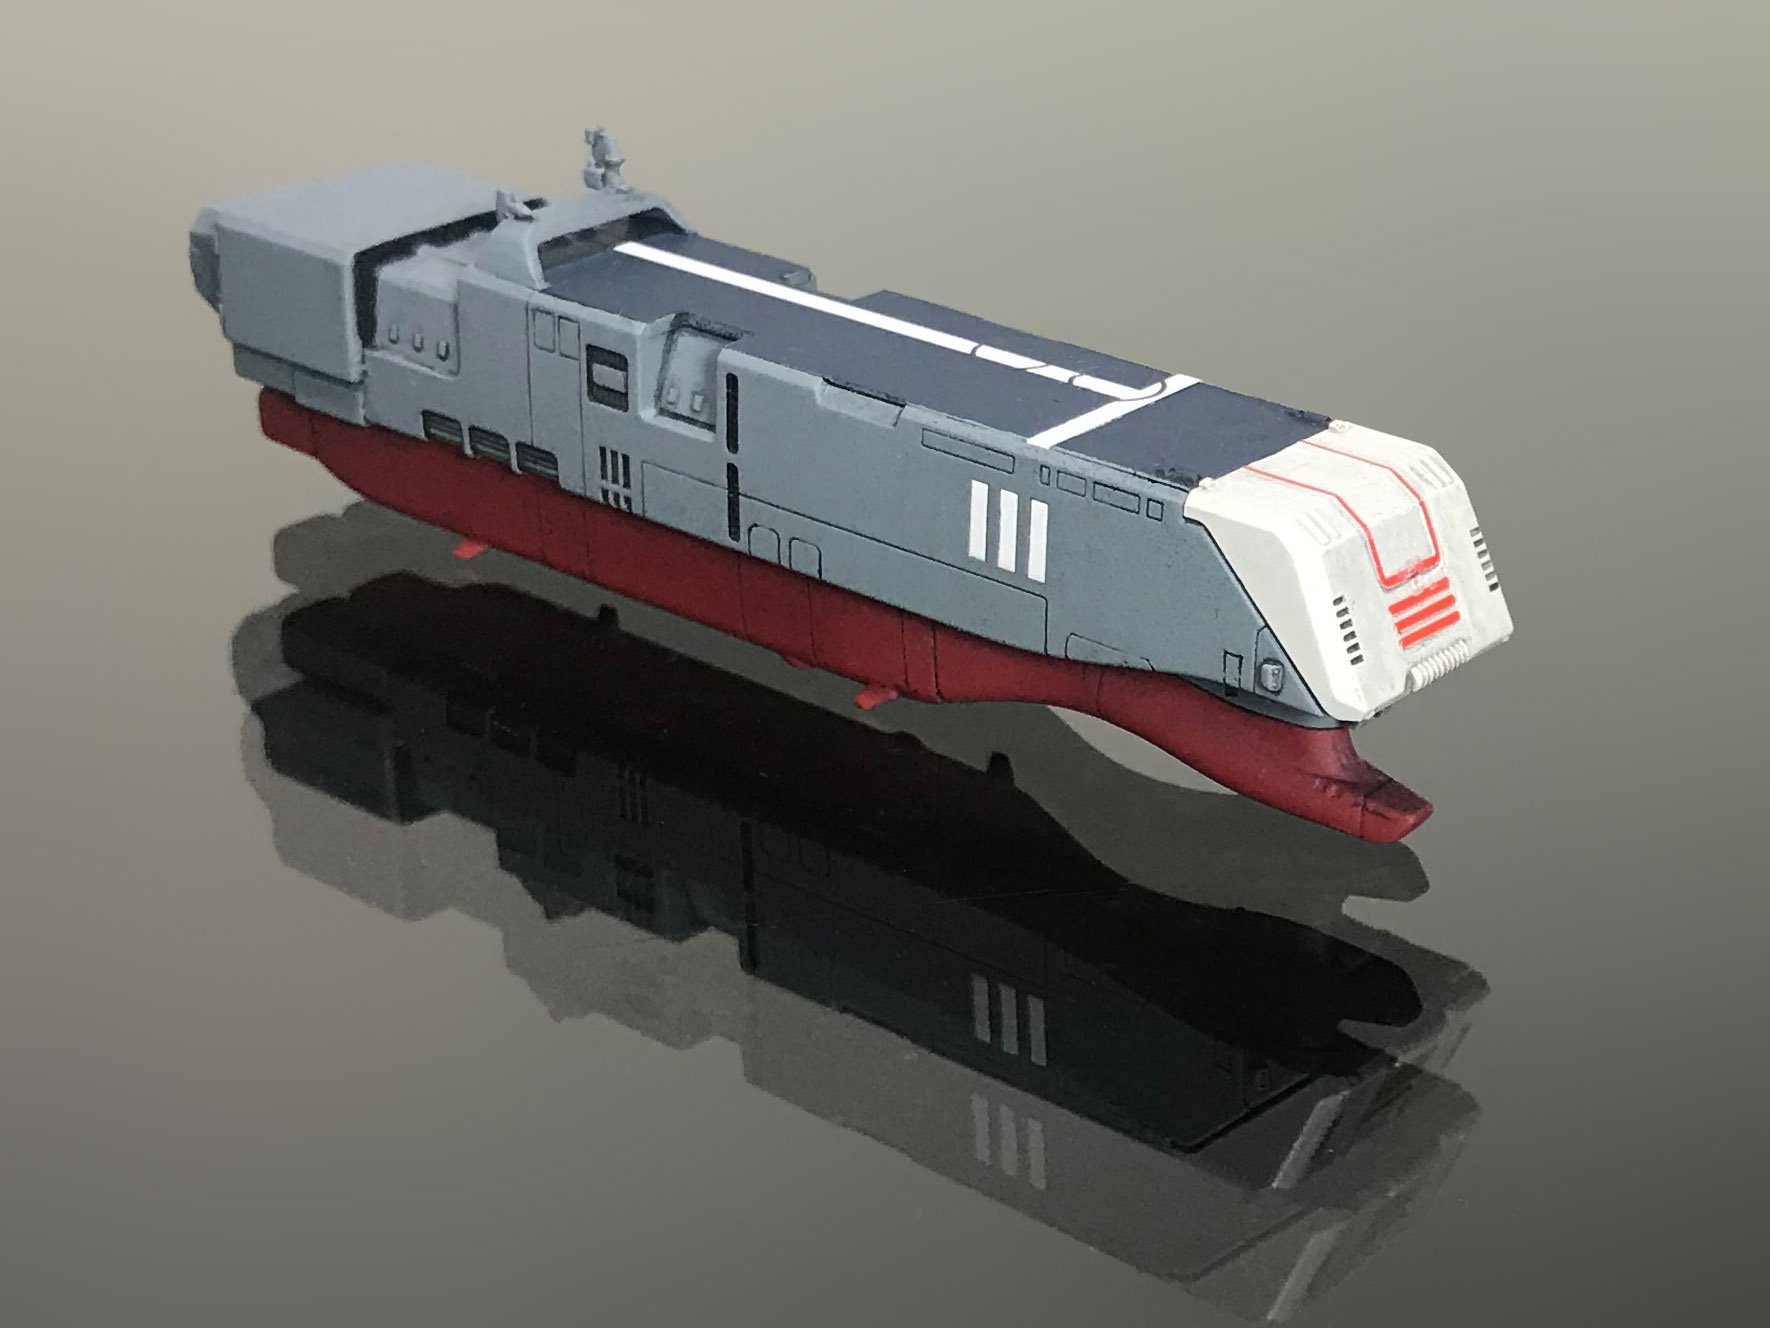
It's just something I make for fun, different ships in scale 1/1600
-
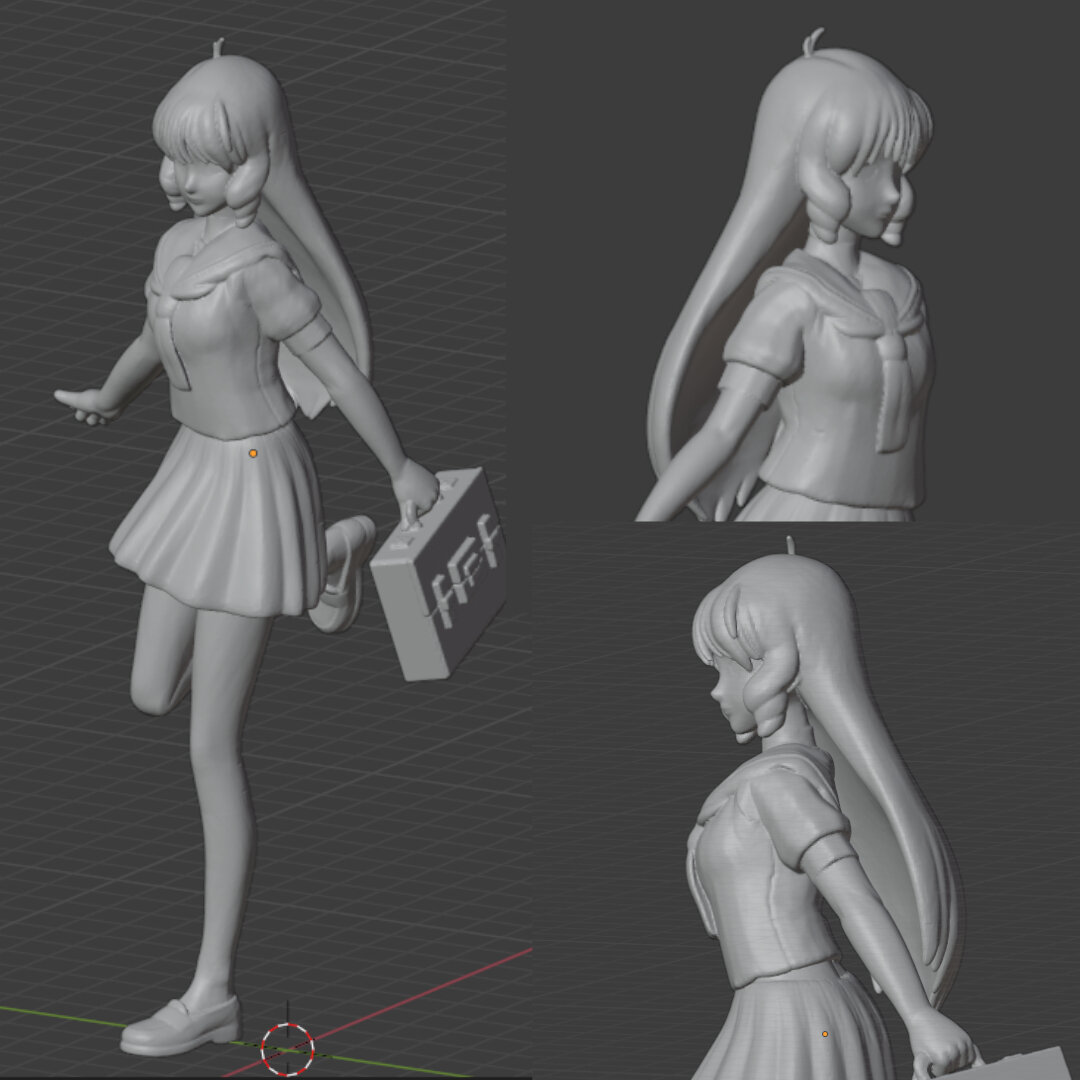
A little update...
Maybe I should make the scene from outside the hospital
-
32 minutes ago, arbit said:
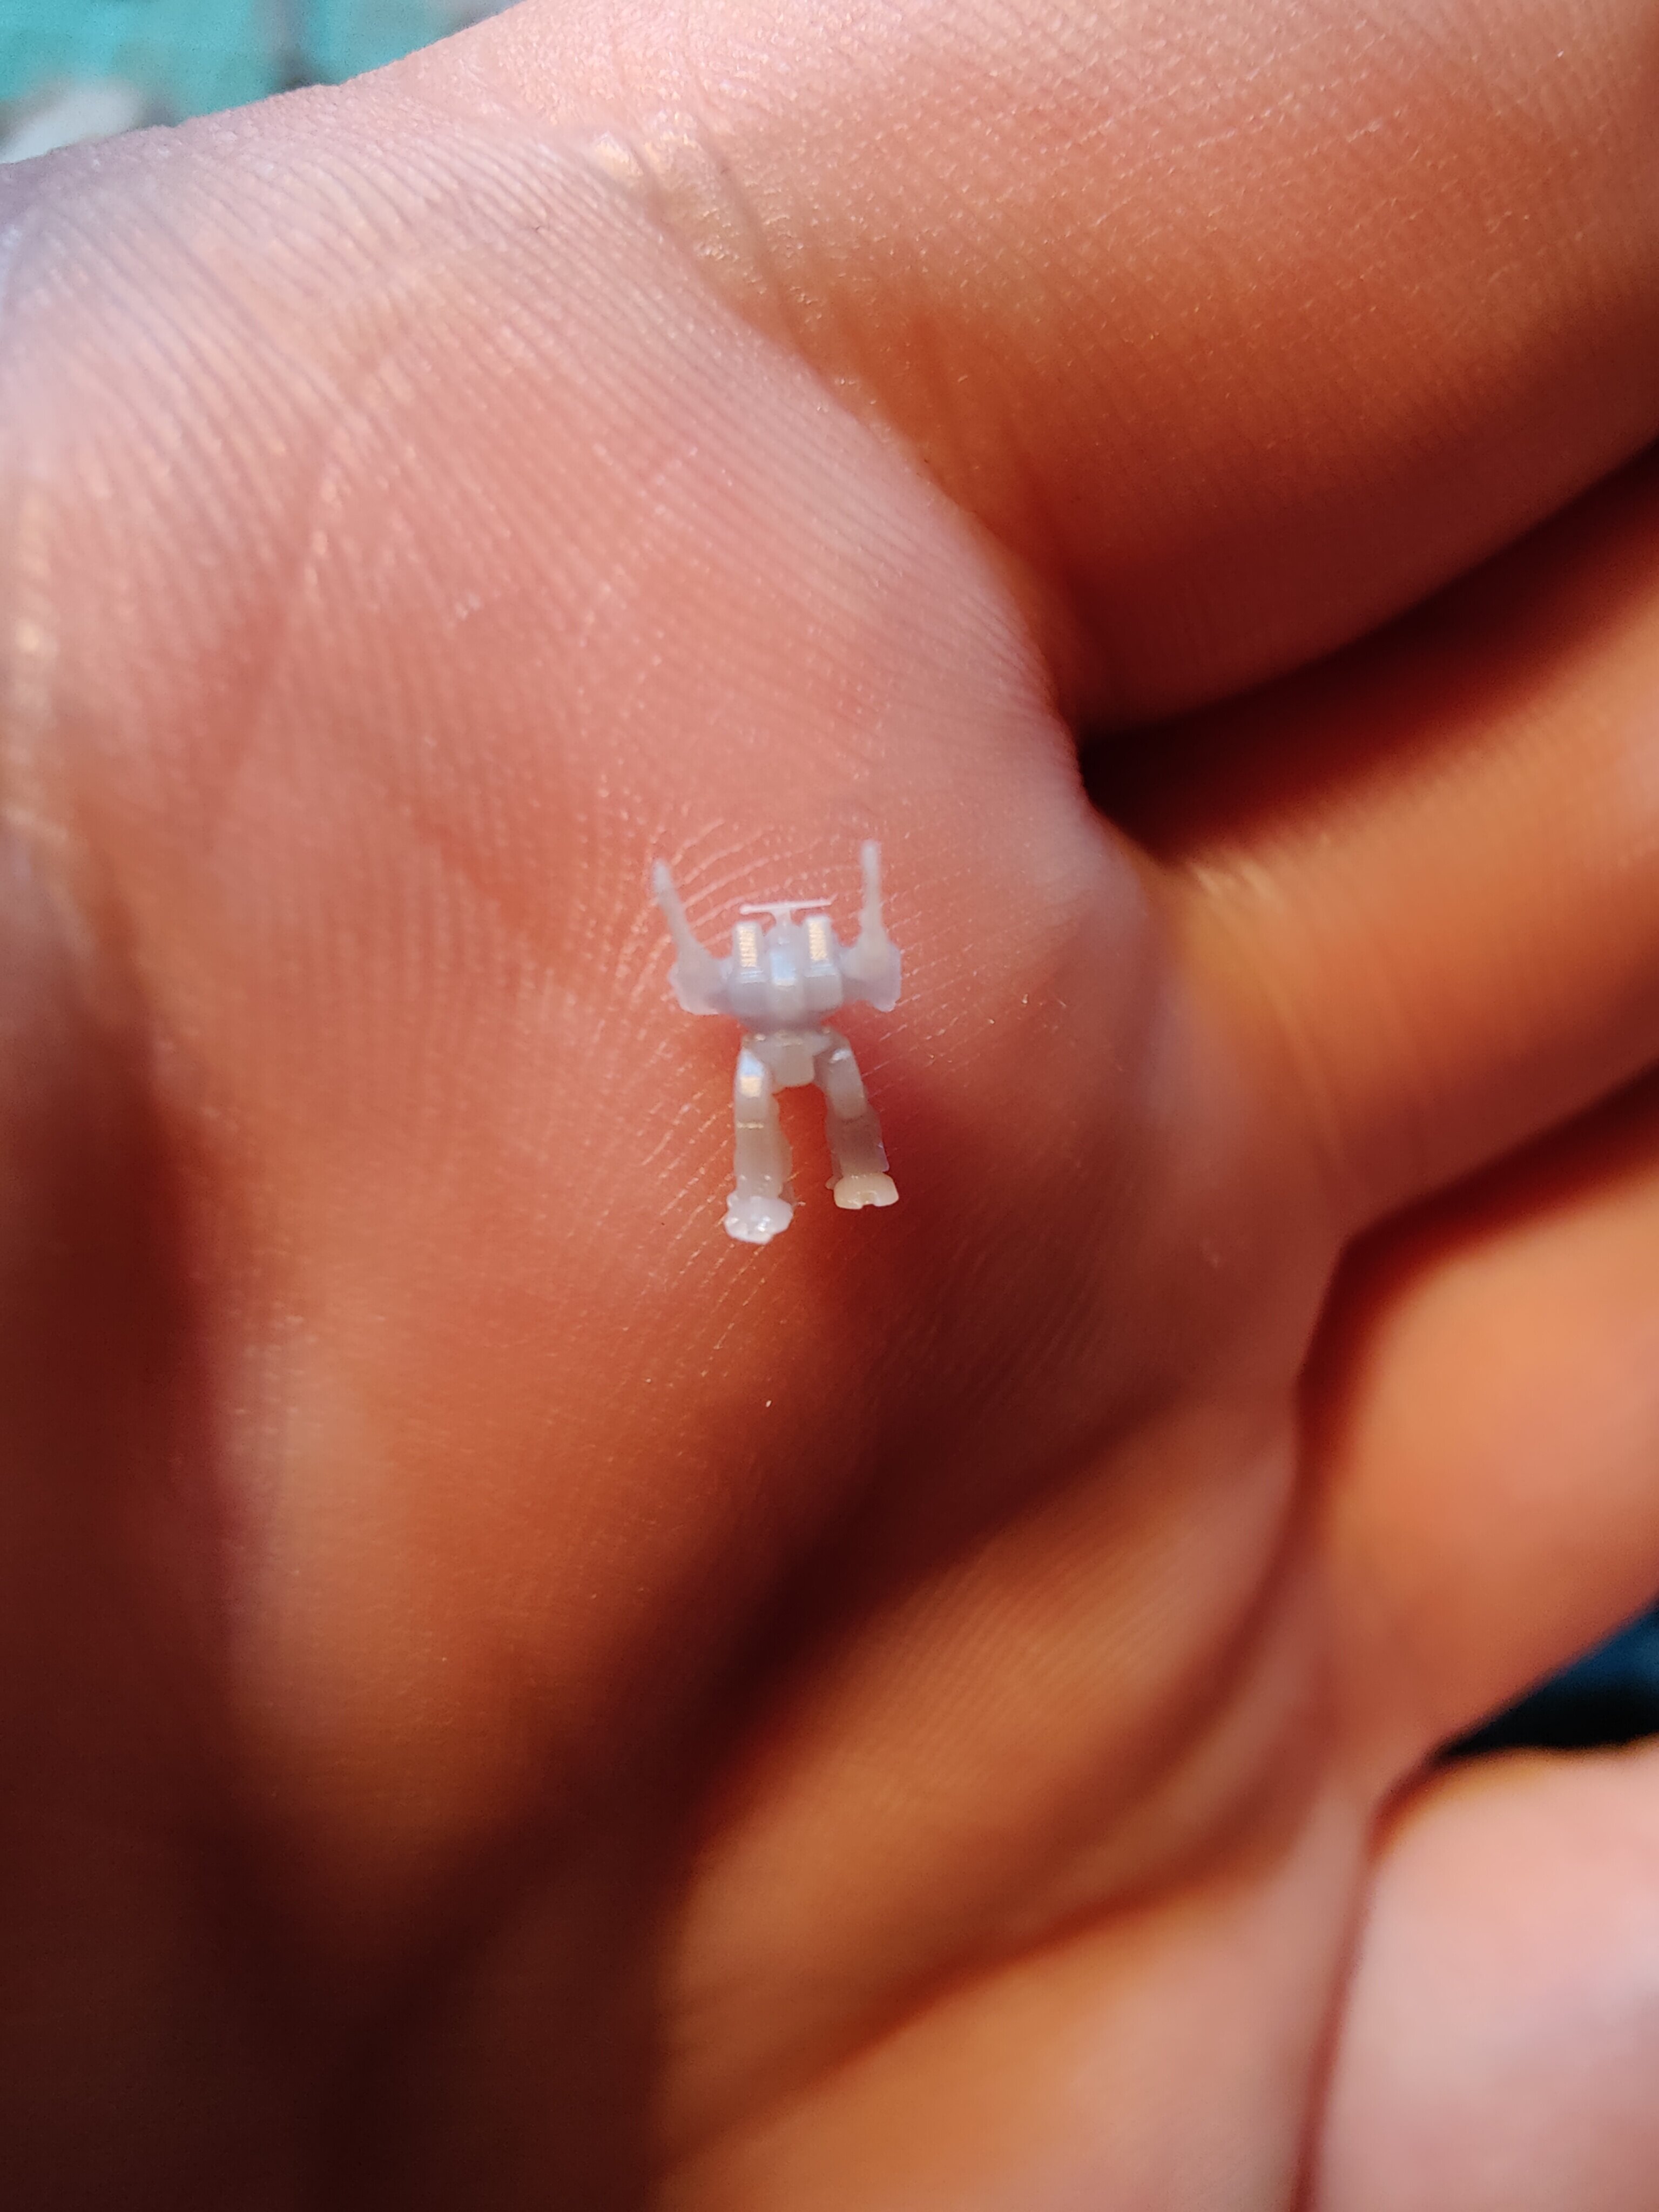
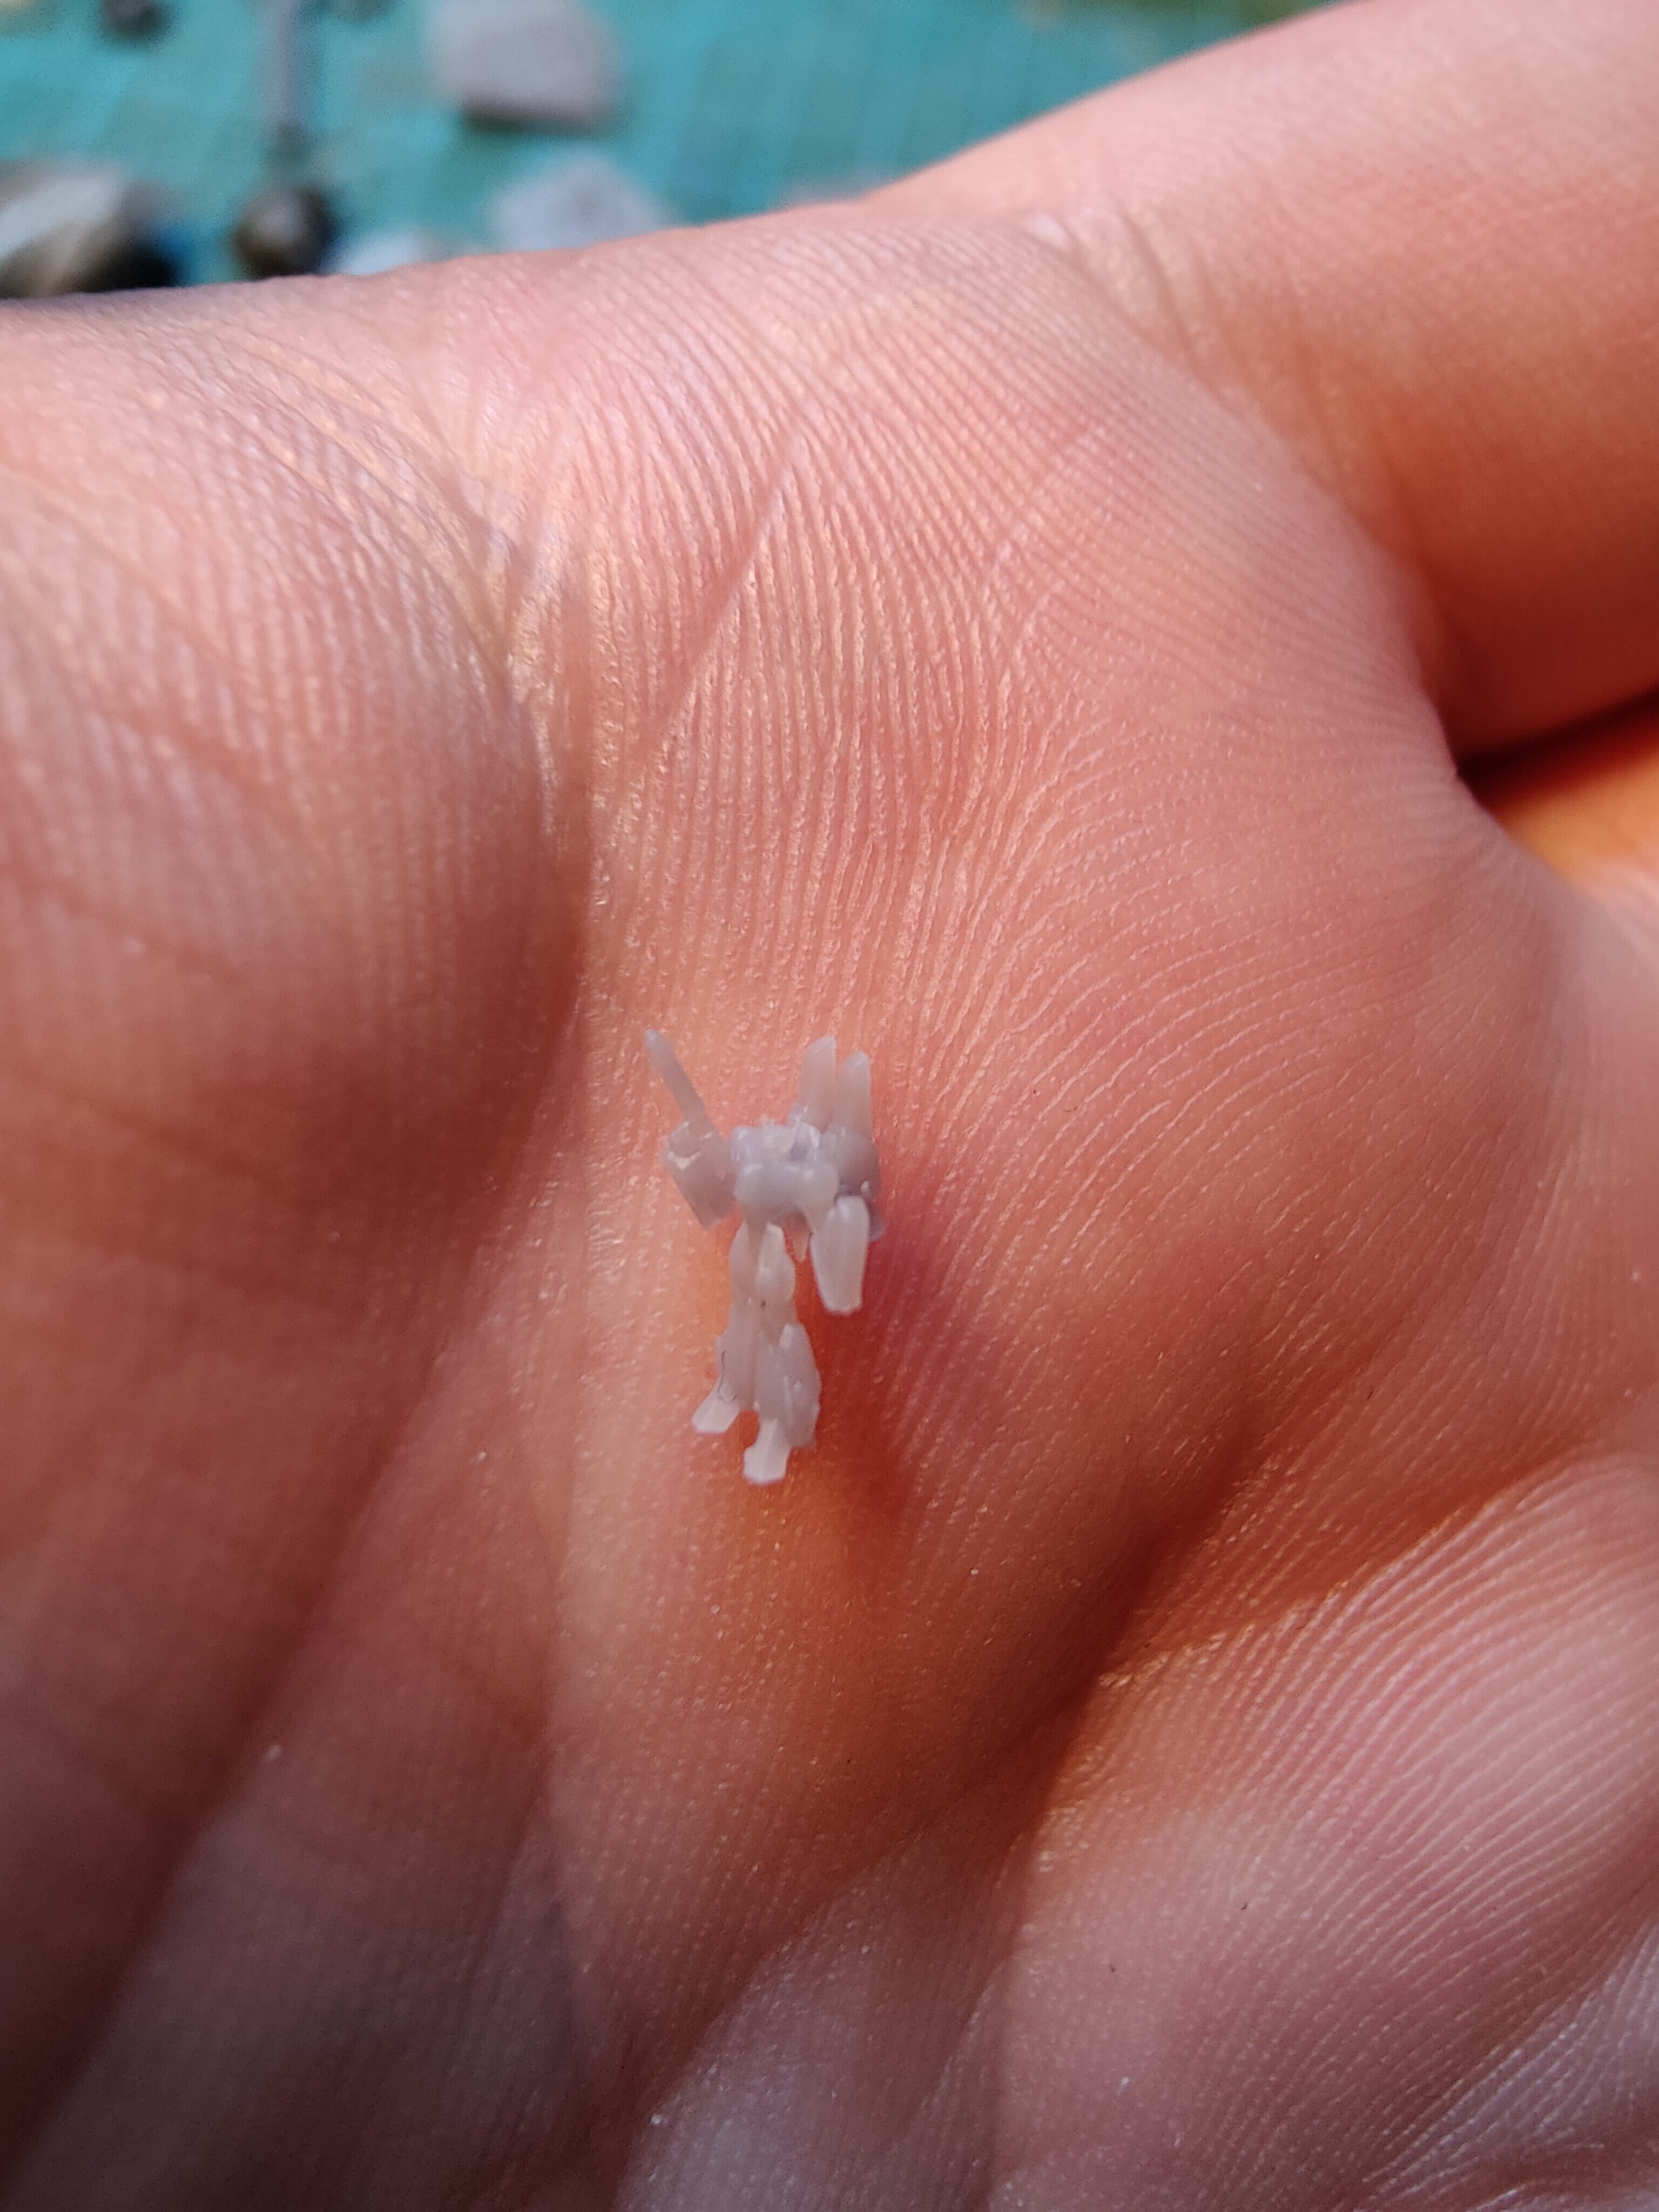
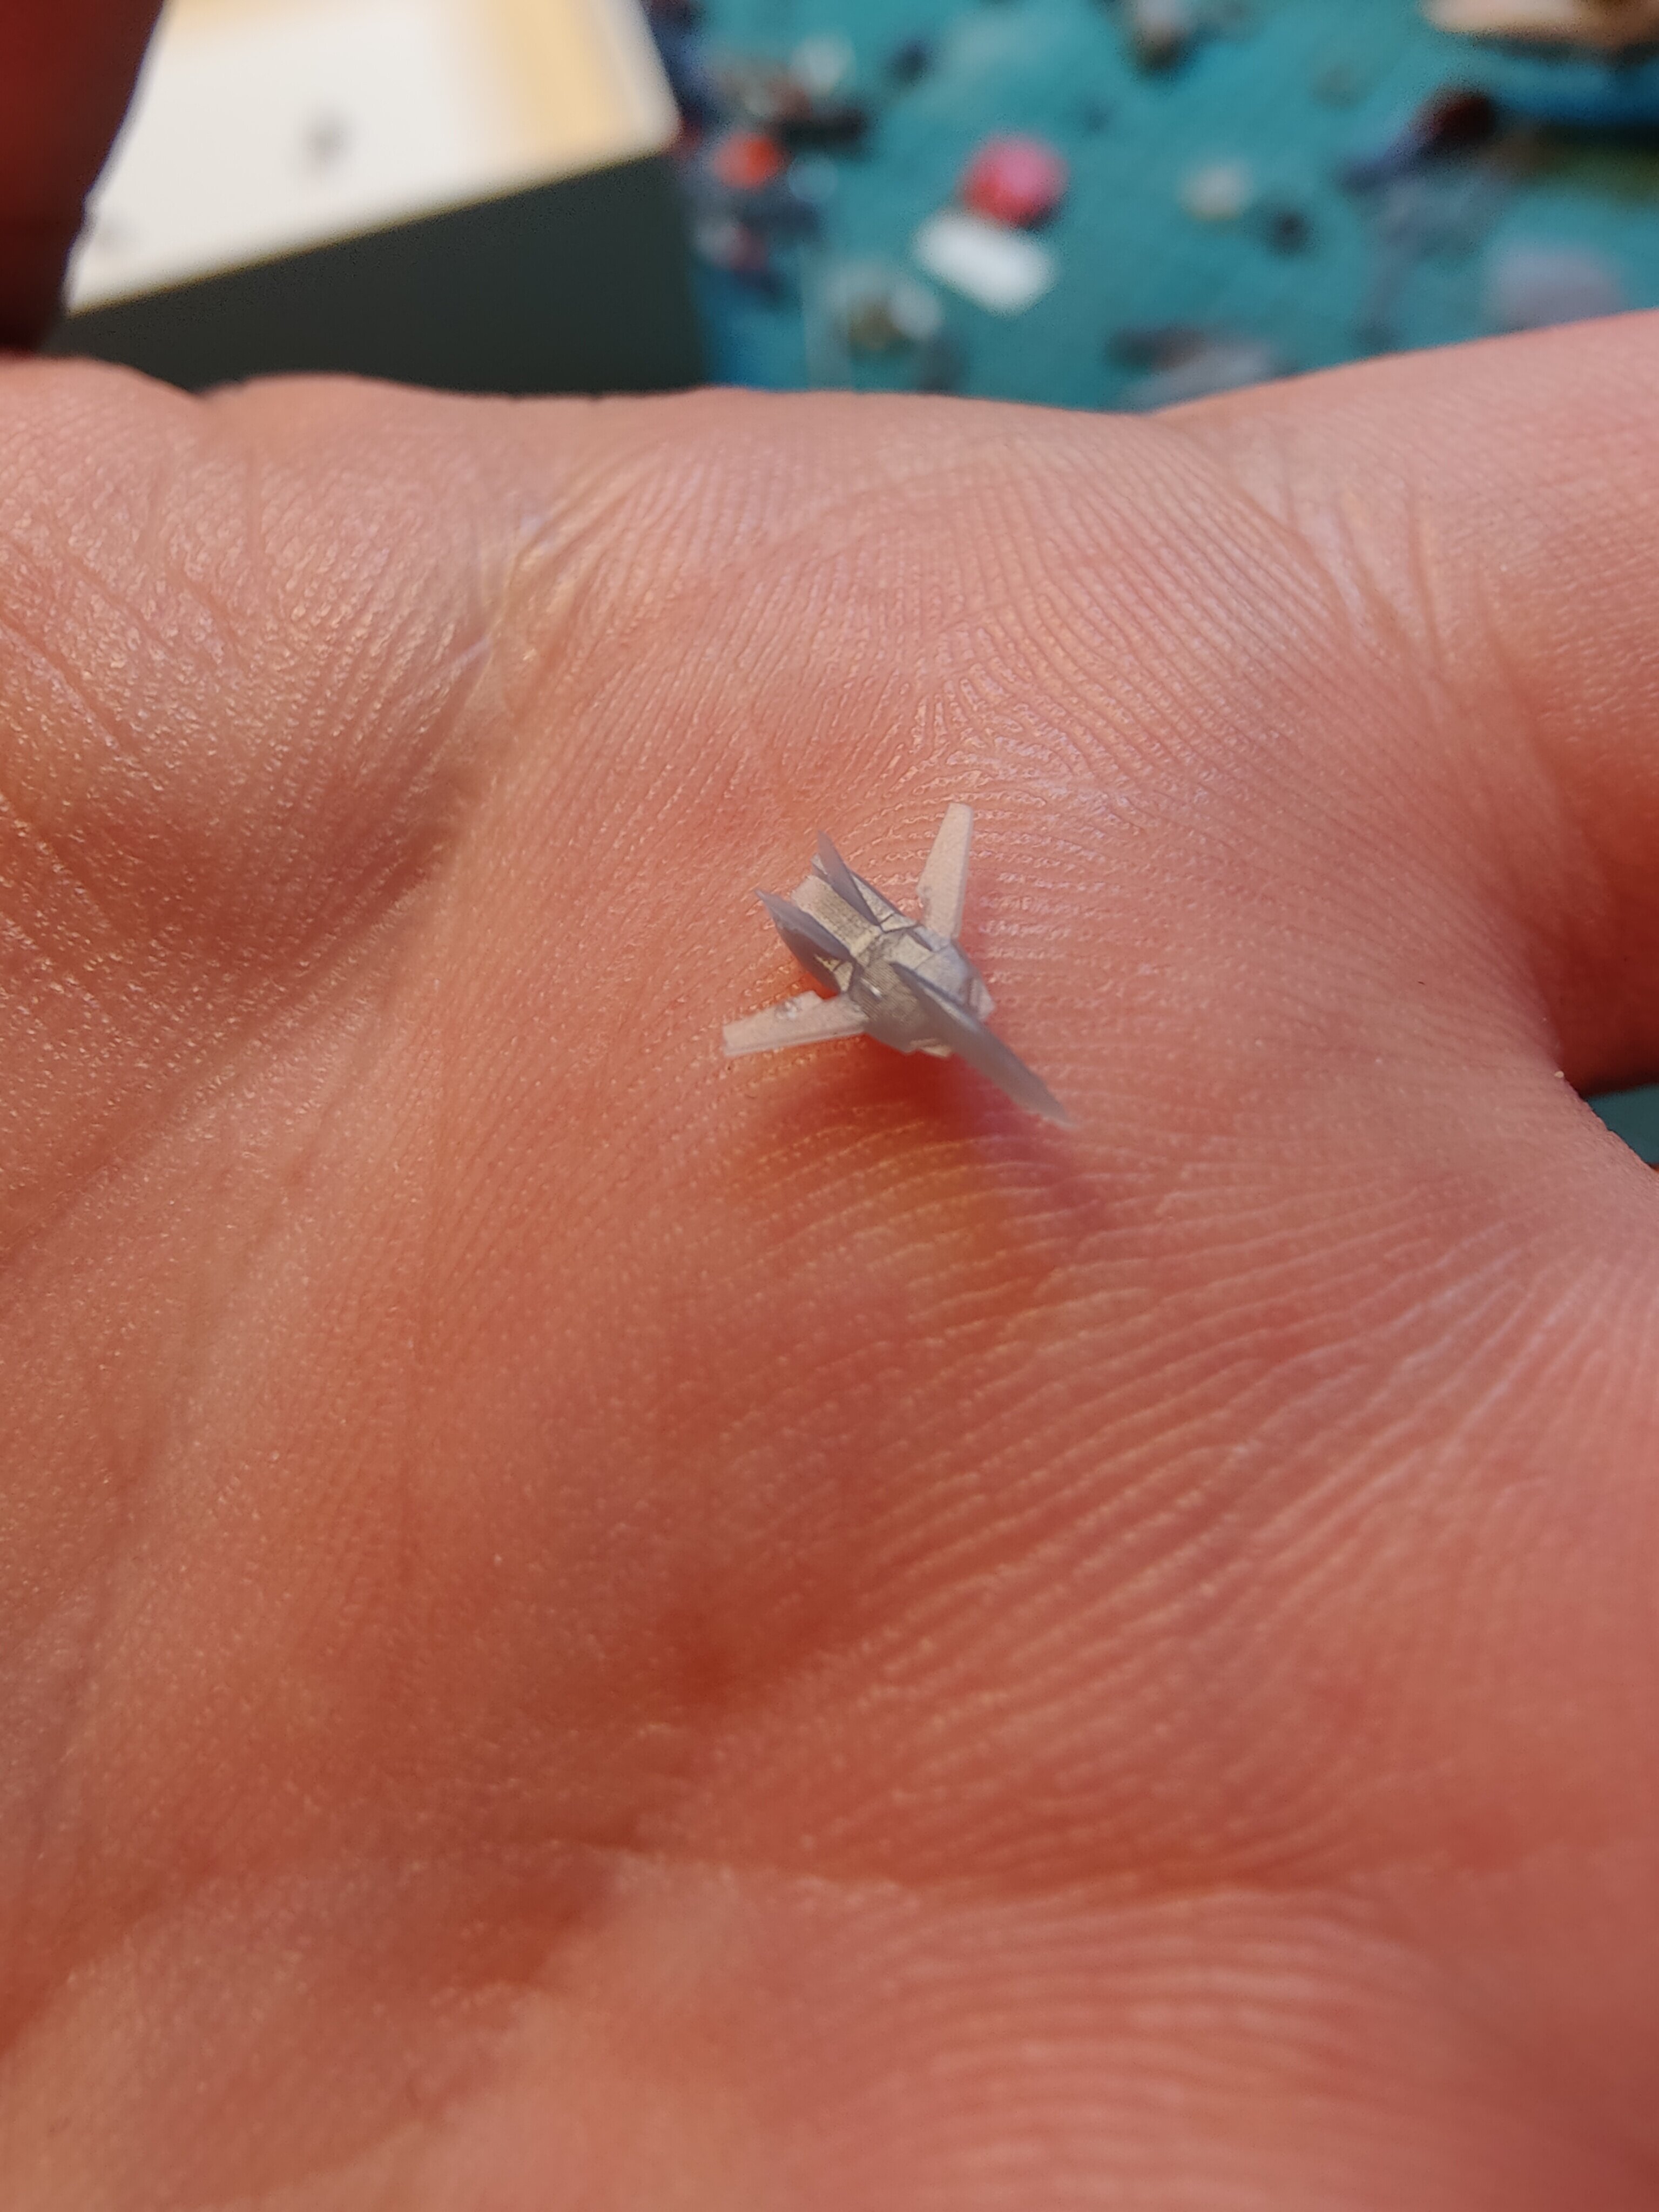
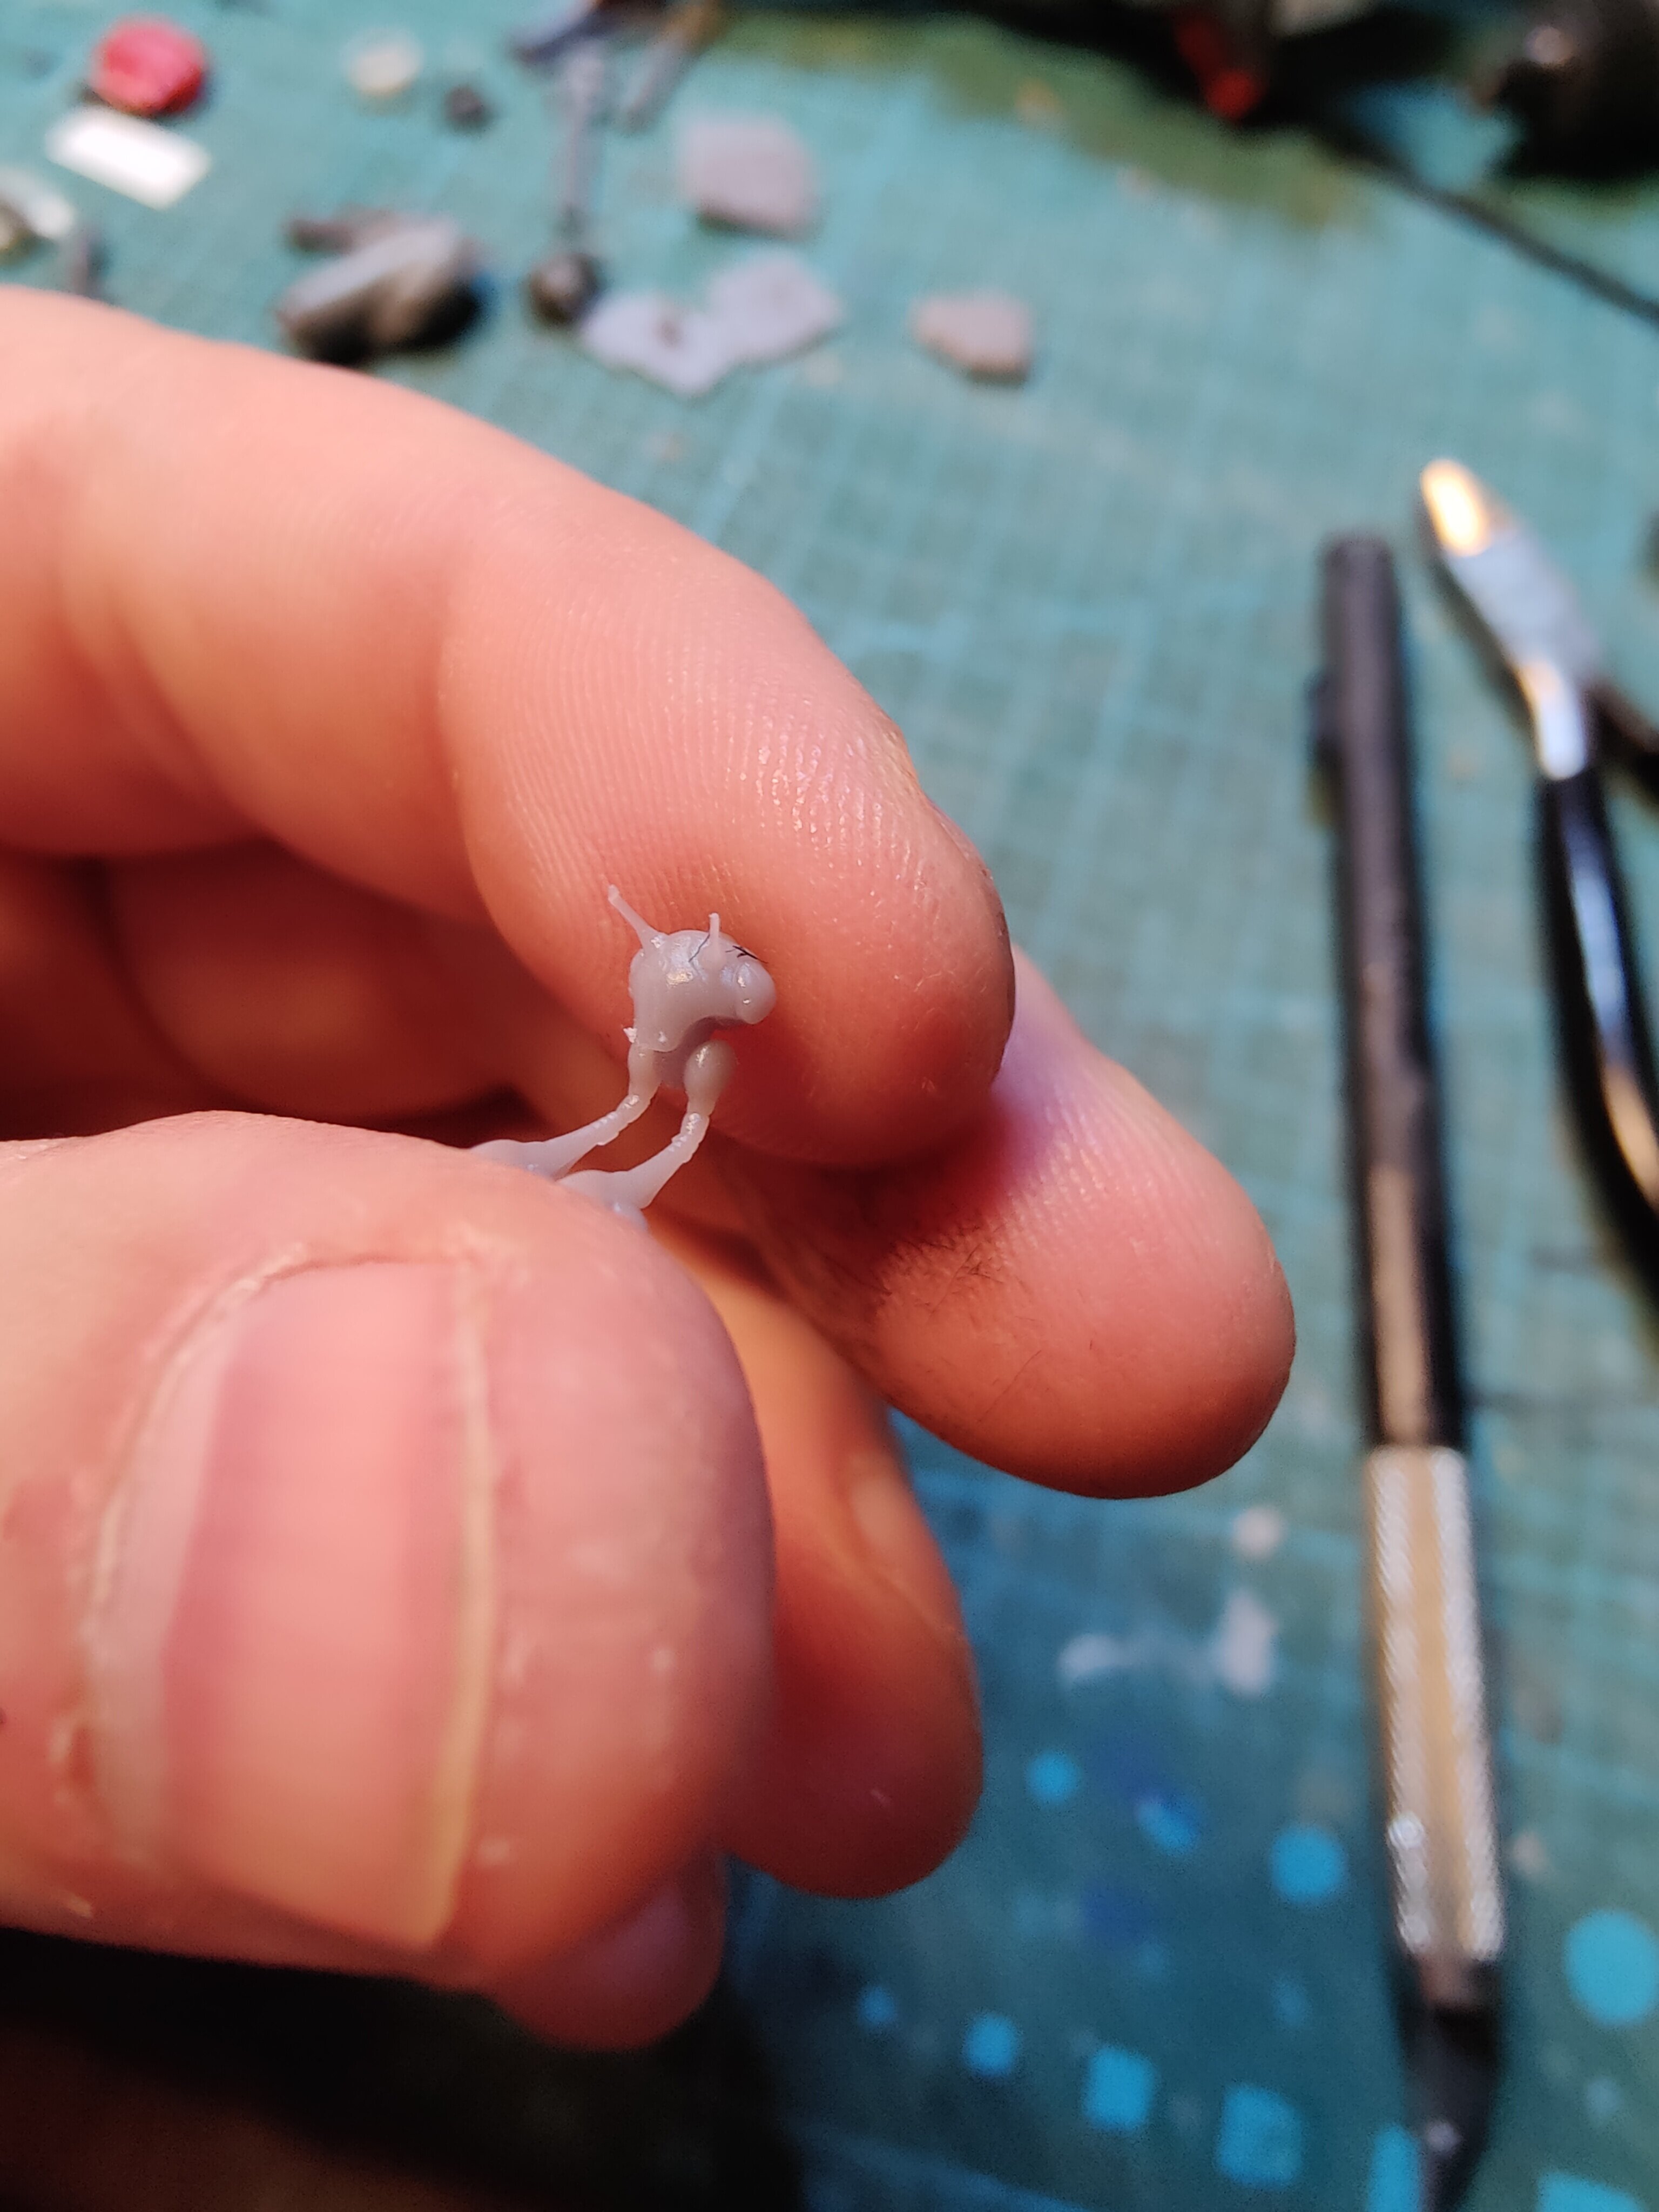
If I might make a suggestion: It looks like your small-scale valk wings are disintegrating. I have had the same problem when scaling 3D objects down.
Sometimes, for 3D Printing very thin objects, you need to "solidify" them, i.e. make them thicker. 3D Builder, Netfab and Microsoft 3D Repair fix a lot of problems, but they will not solidify an object for you.
One option you can use right away is Meshmixer to "Make Solid". You can check youtube for some tutorials. It is a trial and error process to make an object solid using different "Offset" parameters, until you get a result you like which thickens, yet maintains a nice appearance. In some case you may thicken an entire model, or in other cases you may separate parts to thicken an individual part of the model giving problems.
Another option is to use Blender "Solidify" Modifier as a first step before Meshmixer, to give a completely non-3d model some depth.
Additionally, in whatever design software you use like Blender, you can select specific parts of a model that are too thin to print and thicken them using various techniques (such as fatten, extrude, scale).
Hope that helps. Let me know if you have any questions.
Thanks for that info, I'll look into it.
What you see on the wing is a leftover fragment from the support that I forgot to remove
-
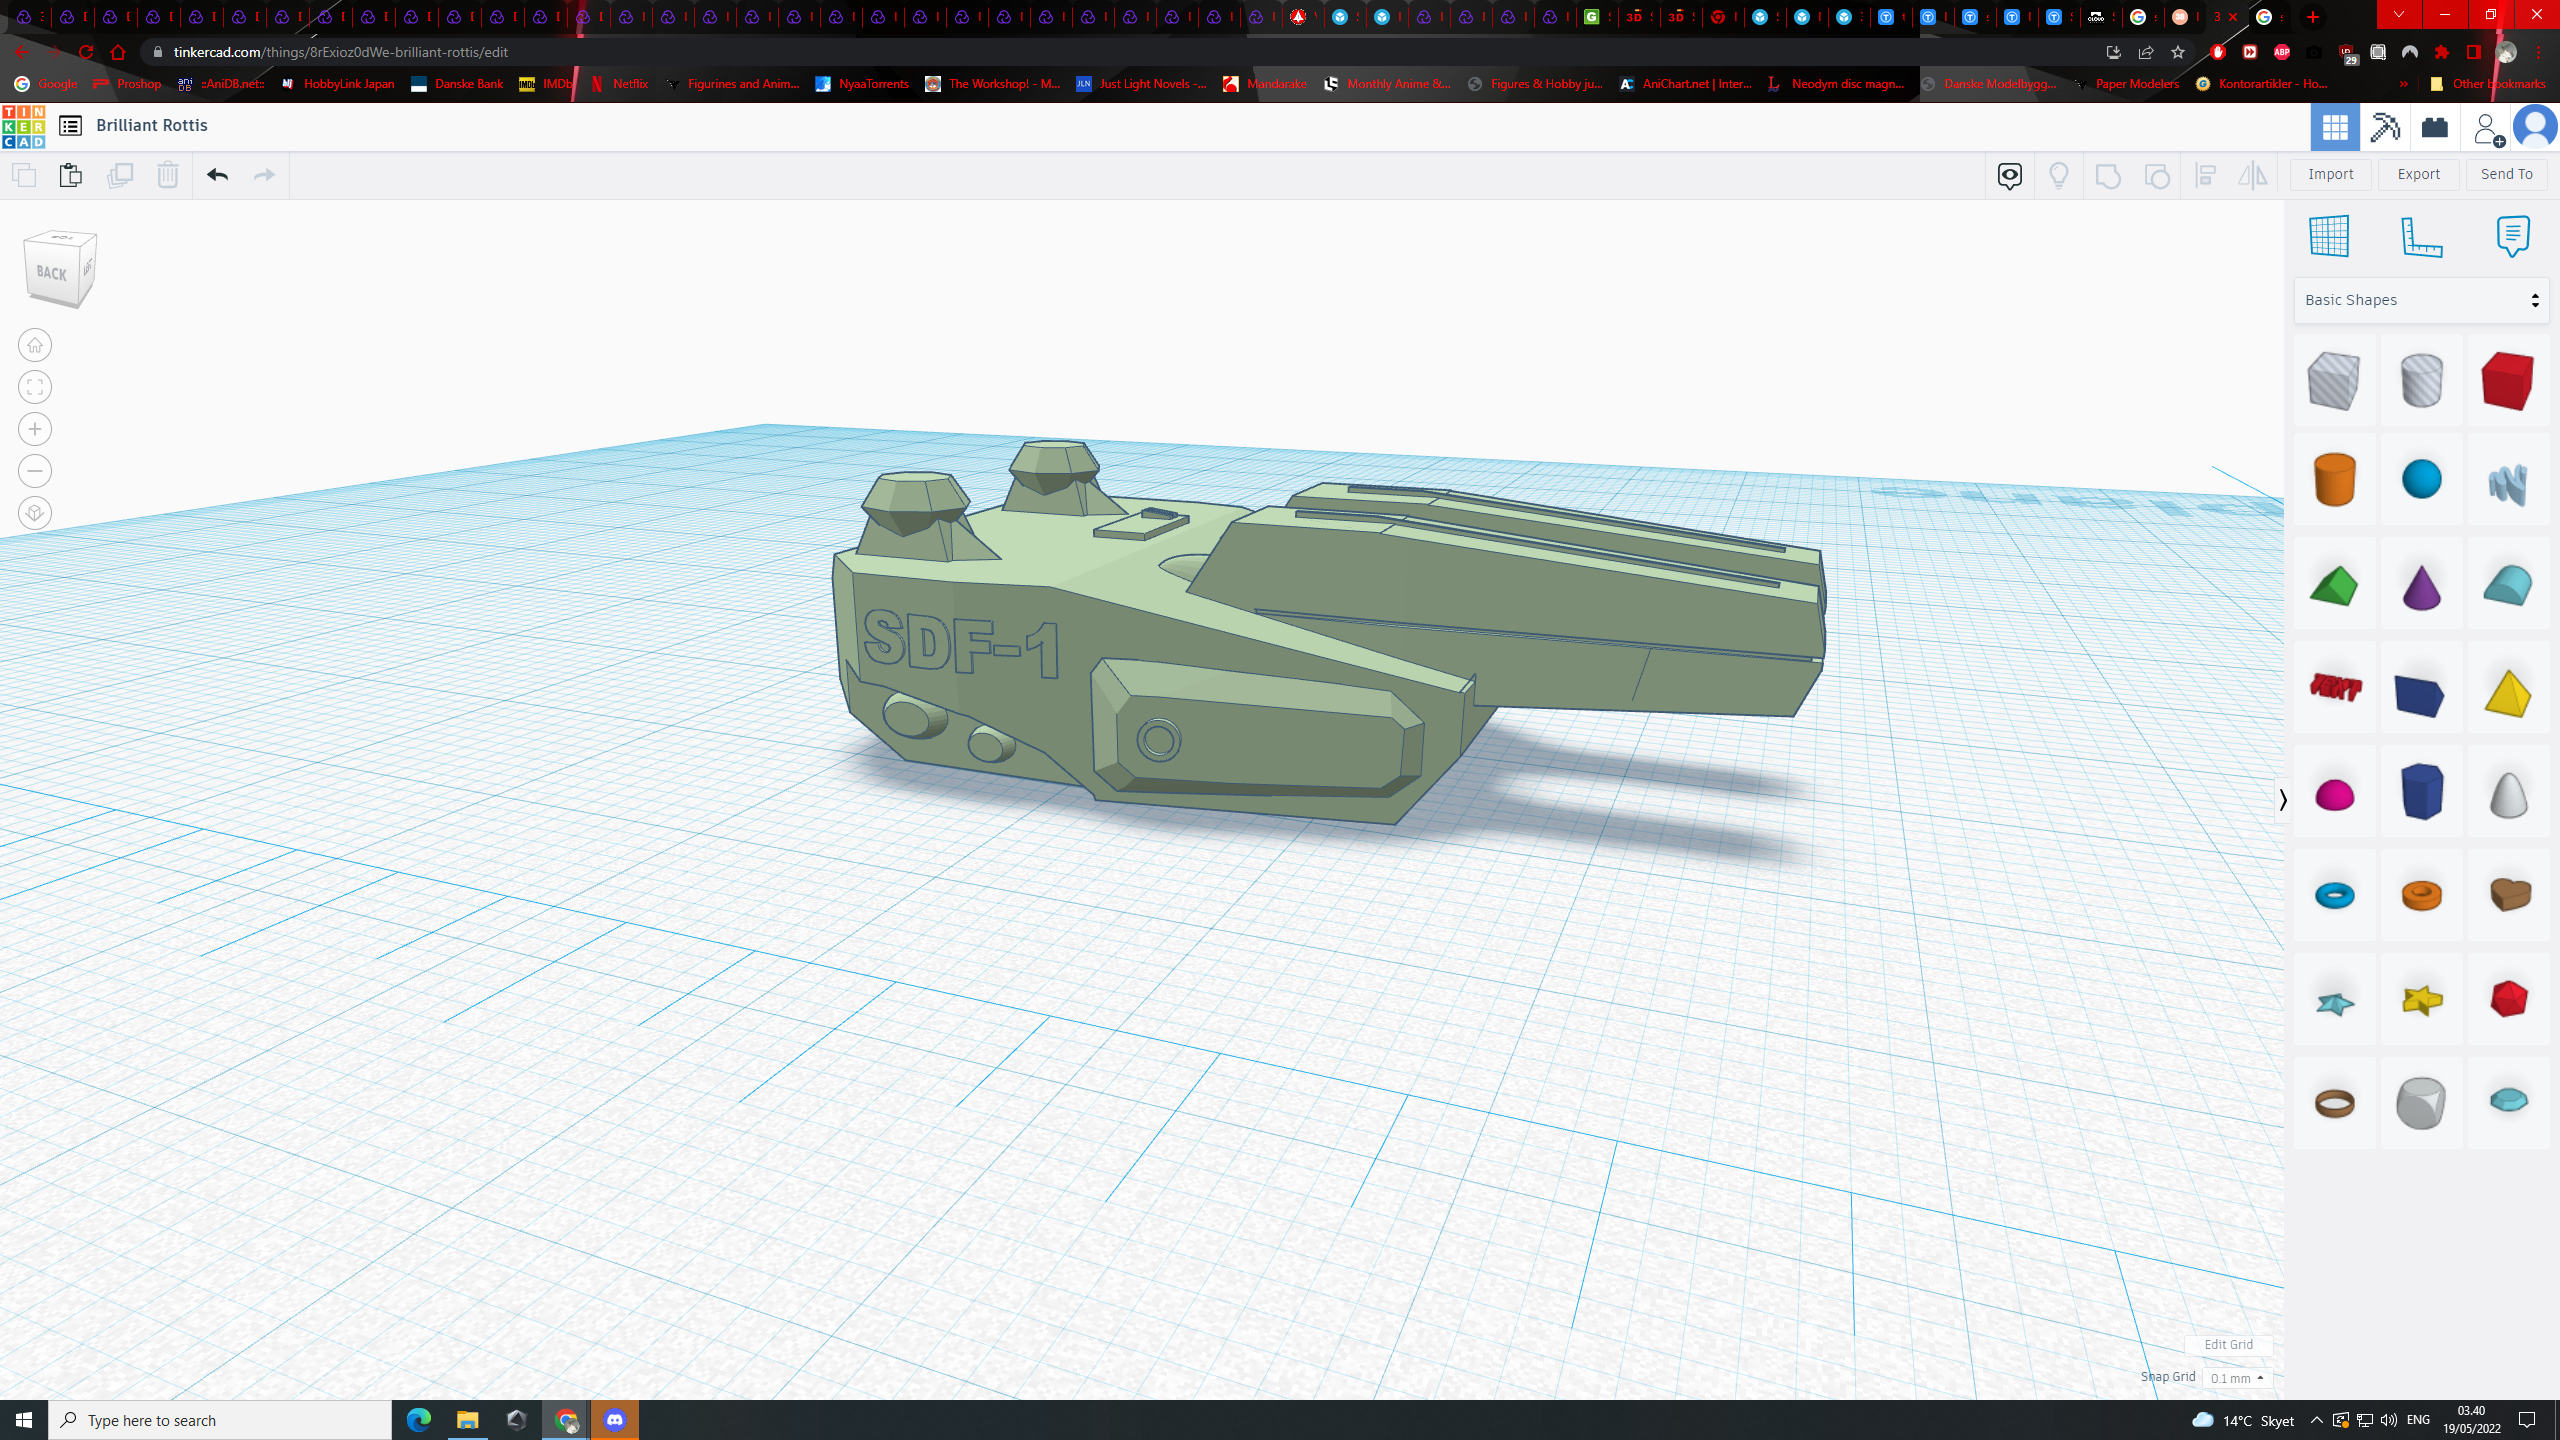
43 minutes ago, arbit said:
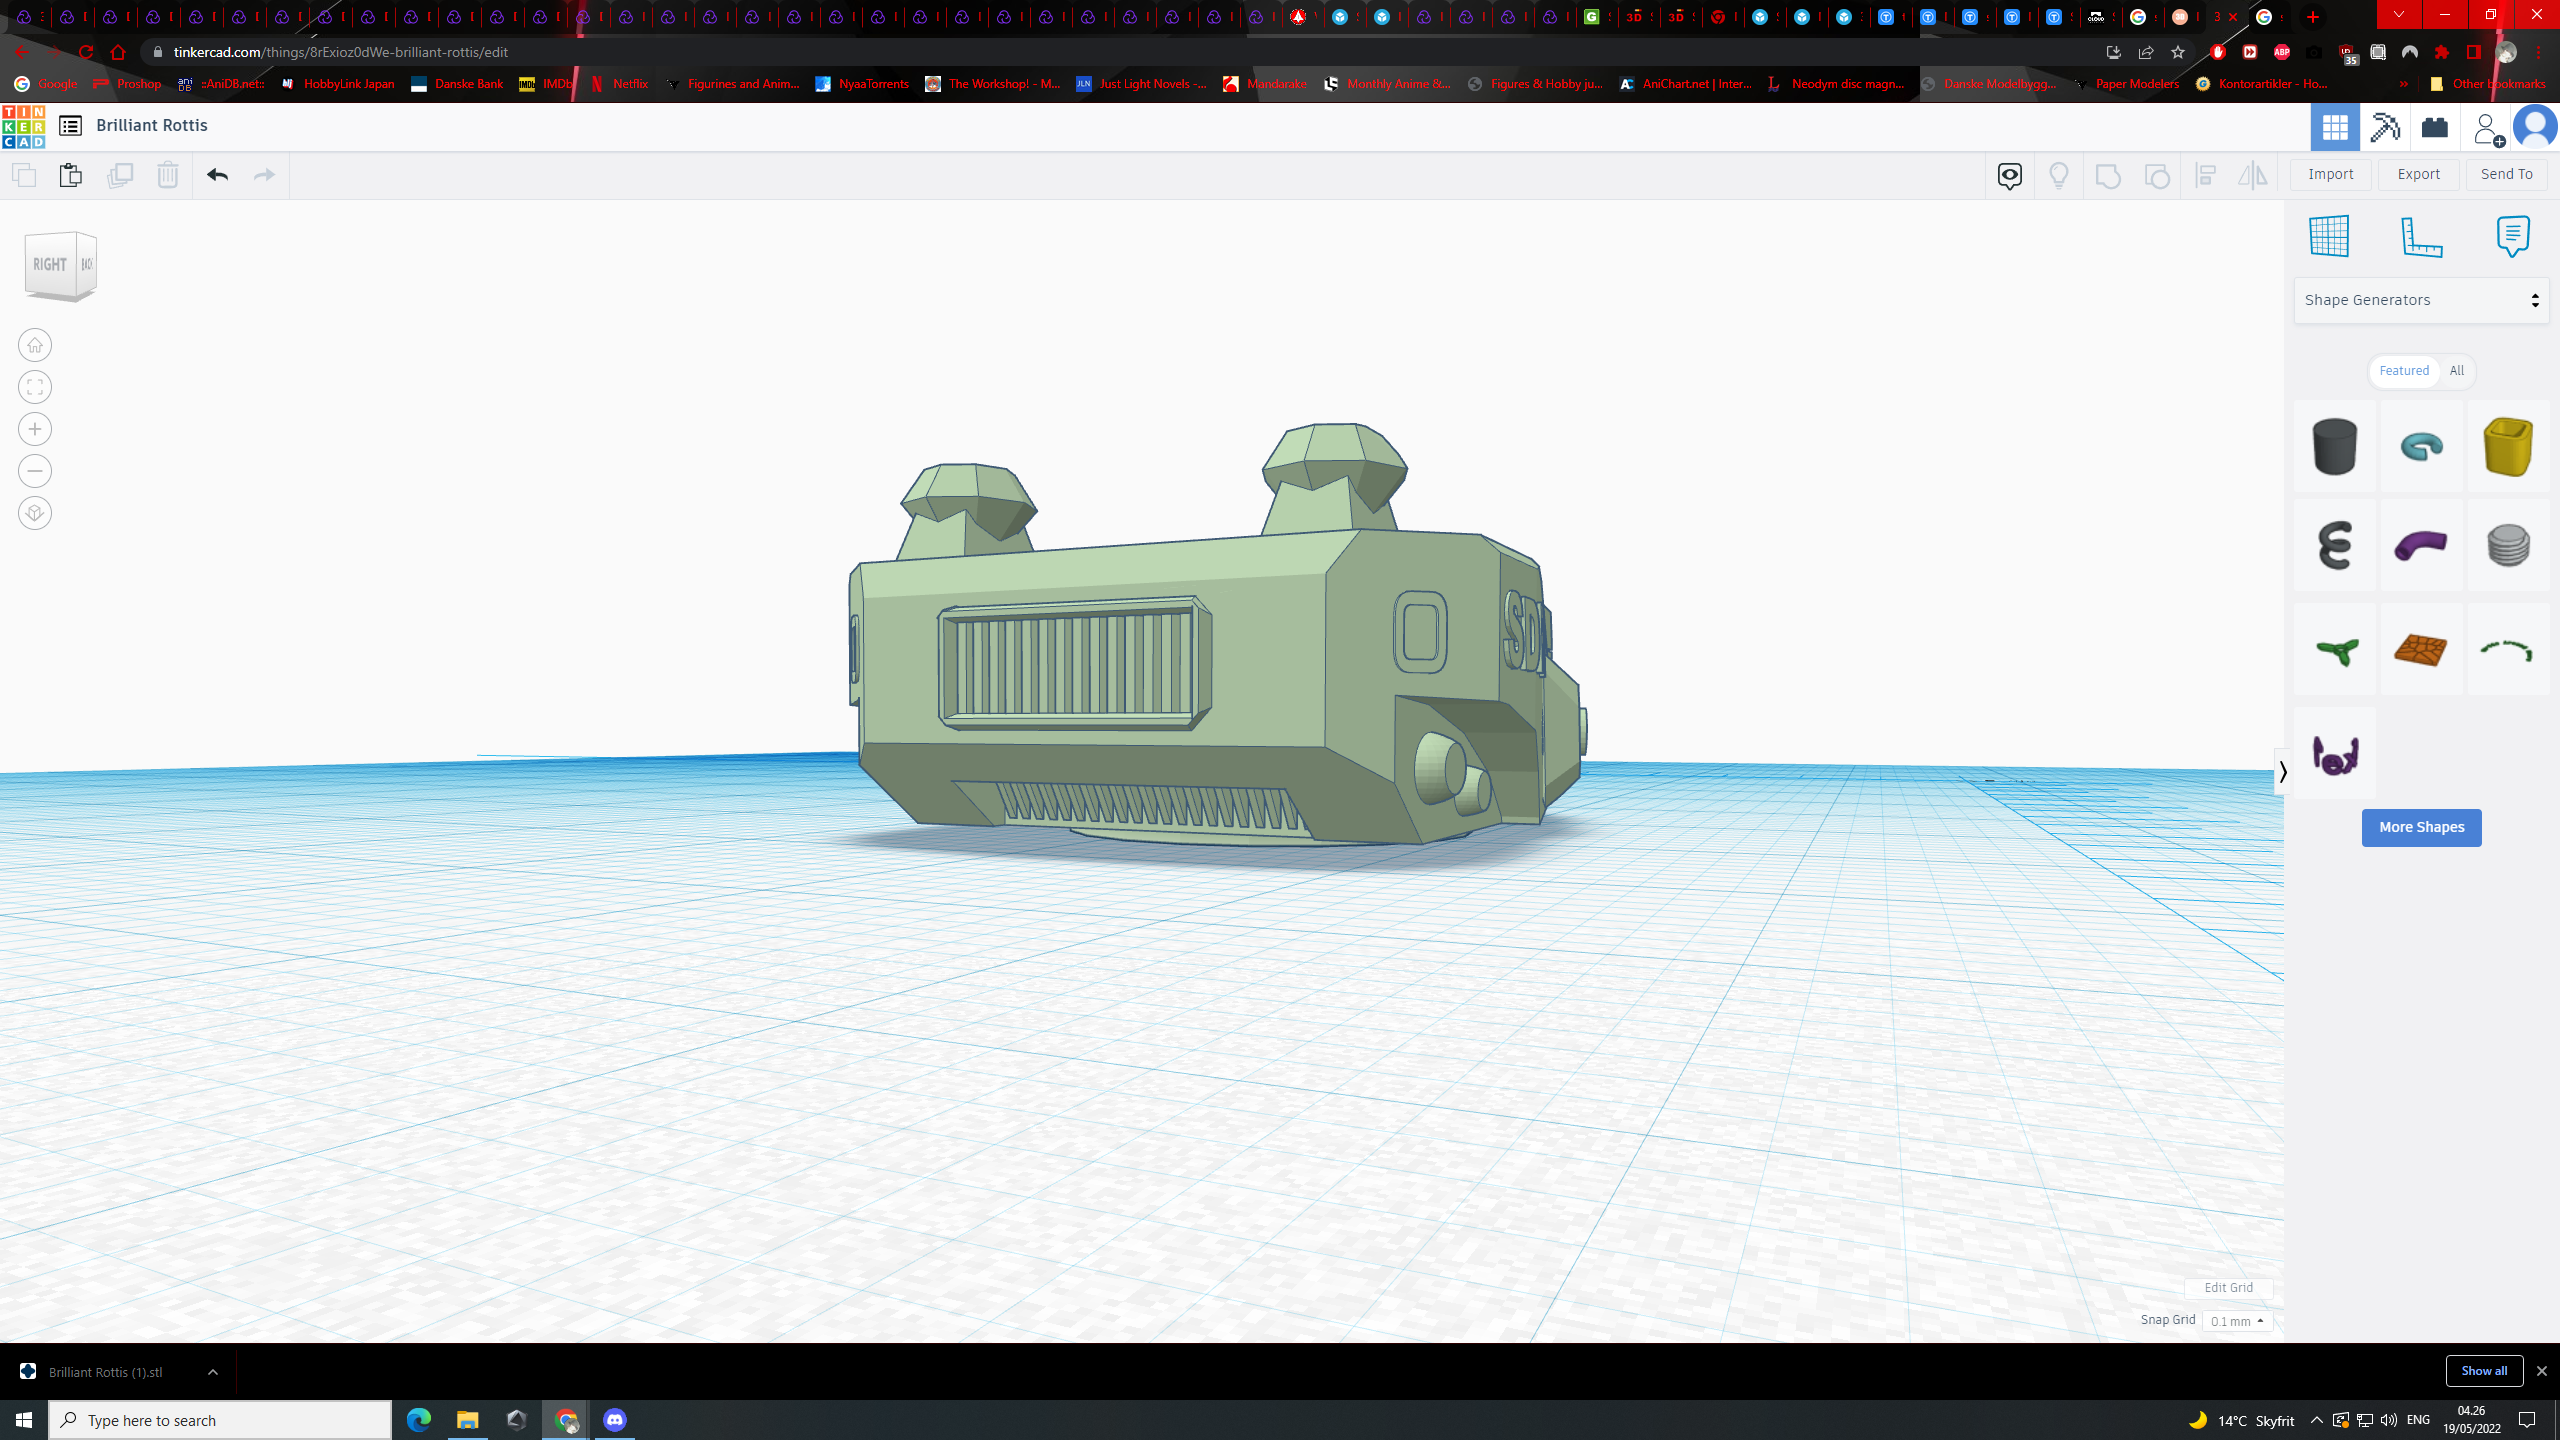
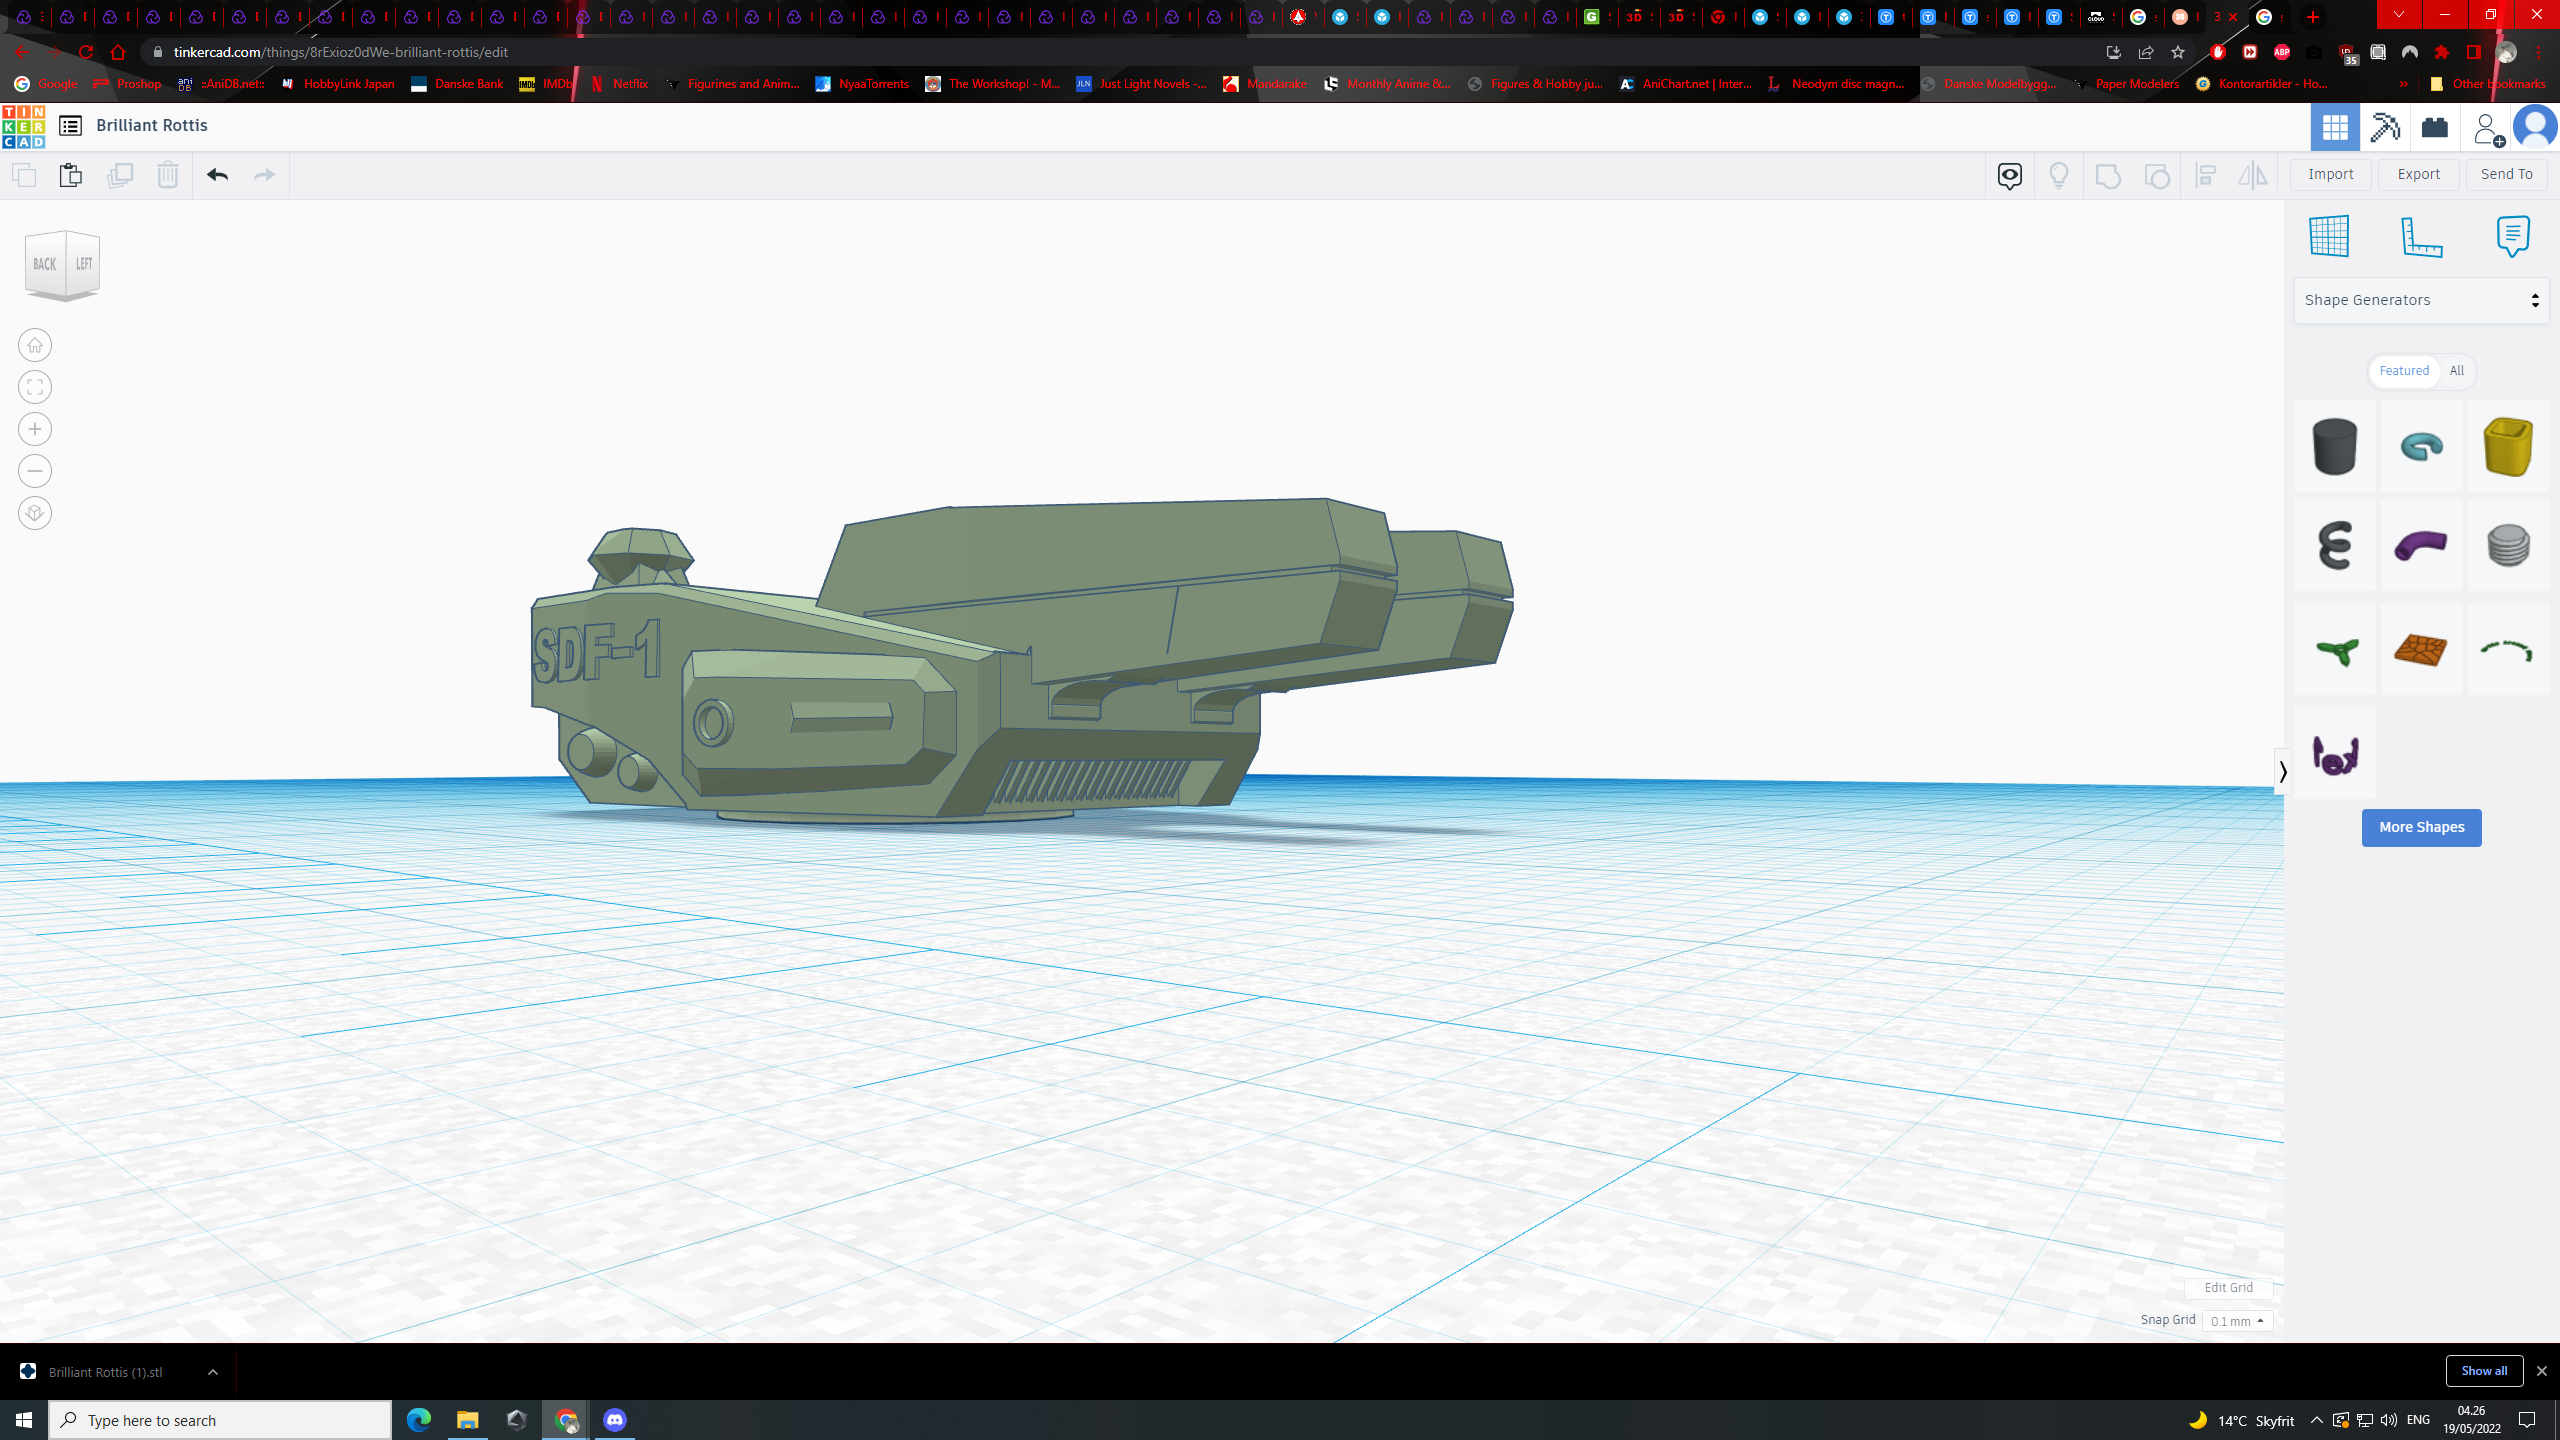
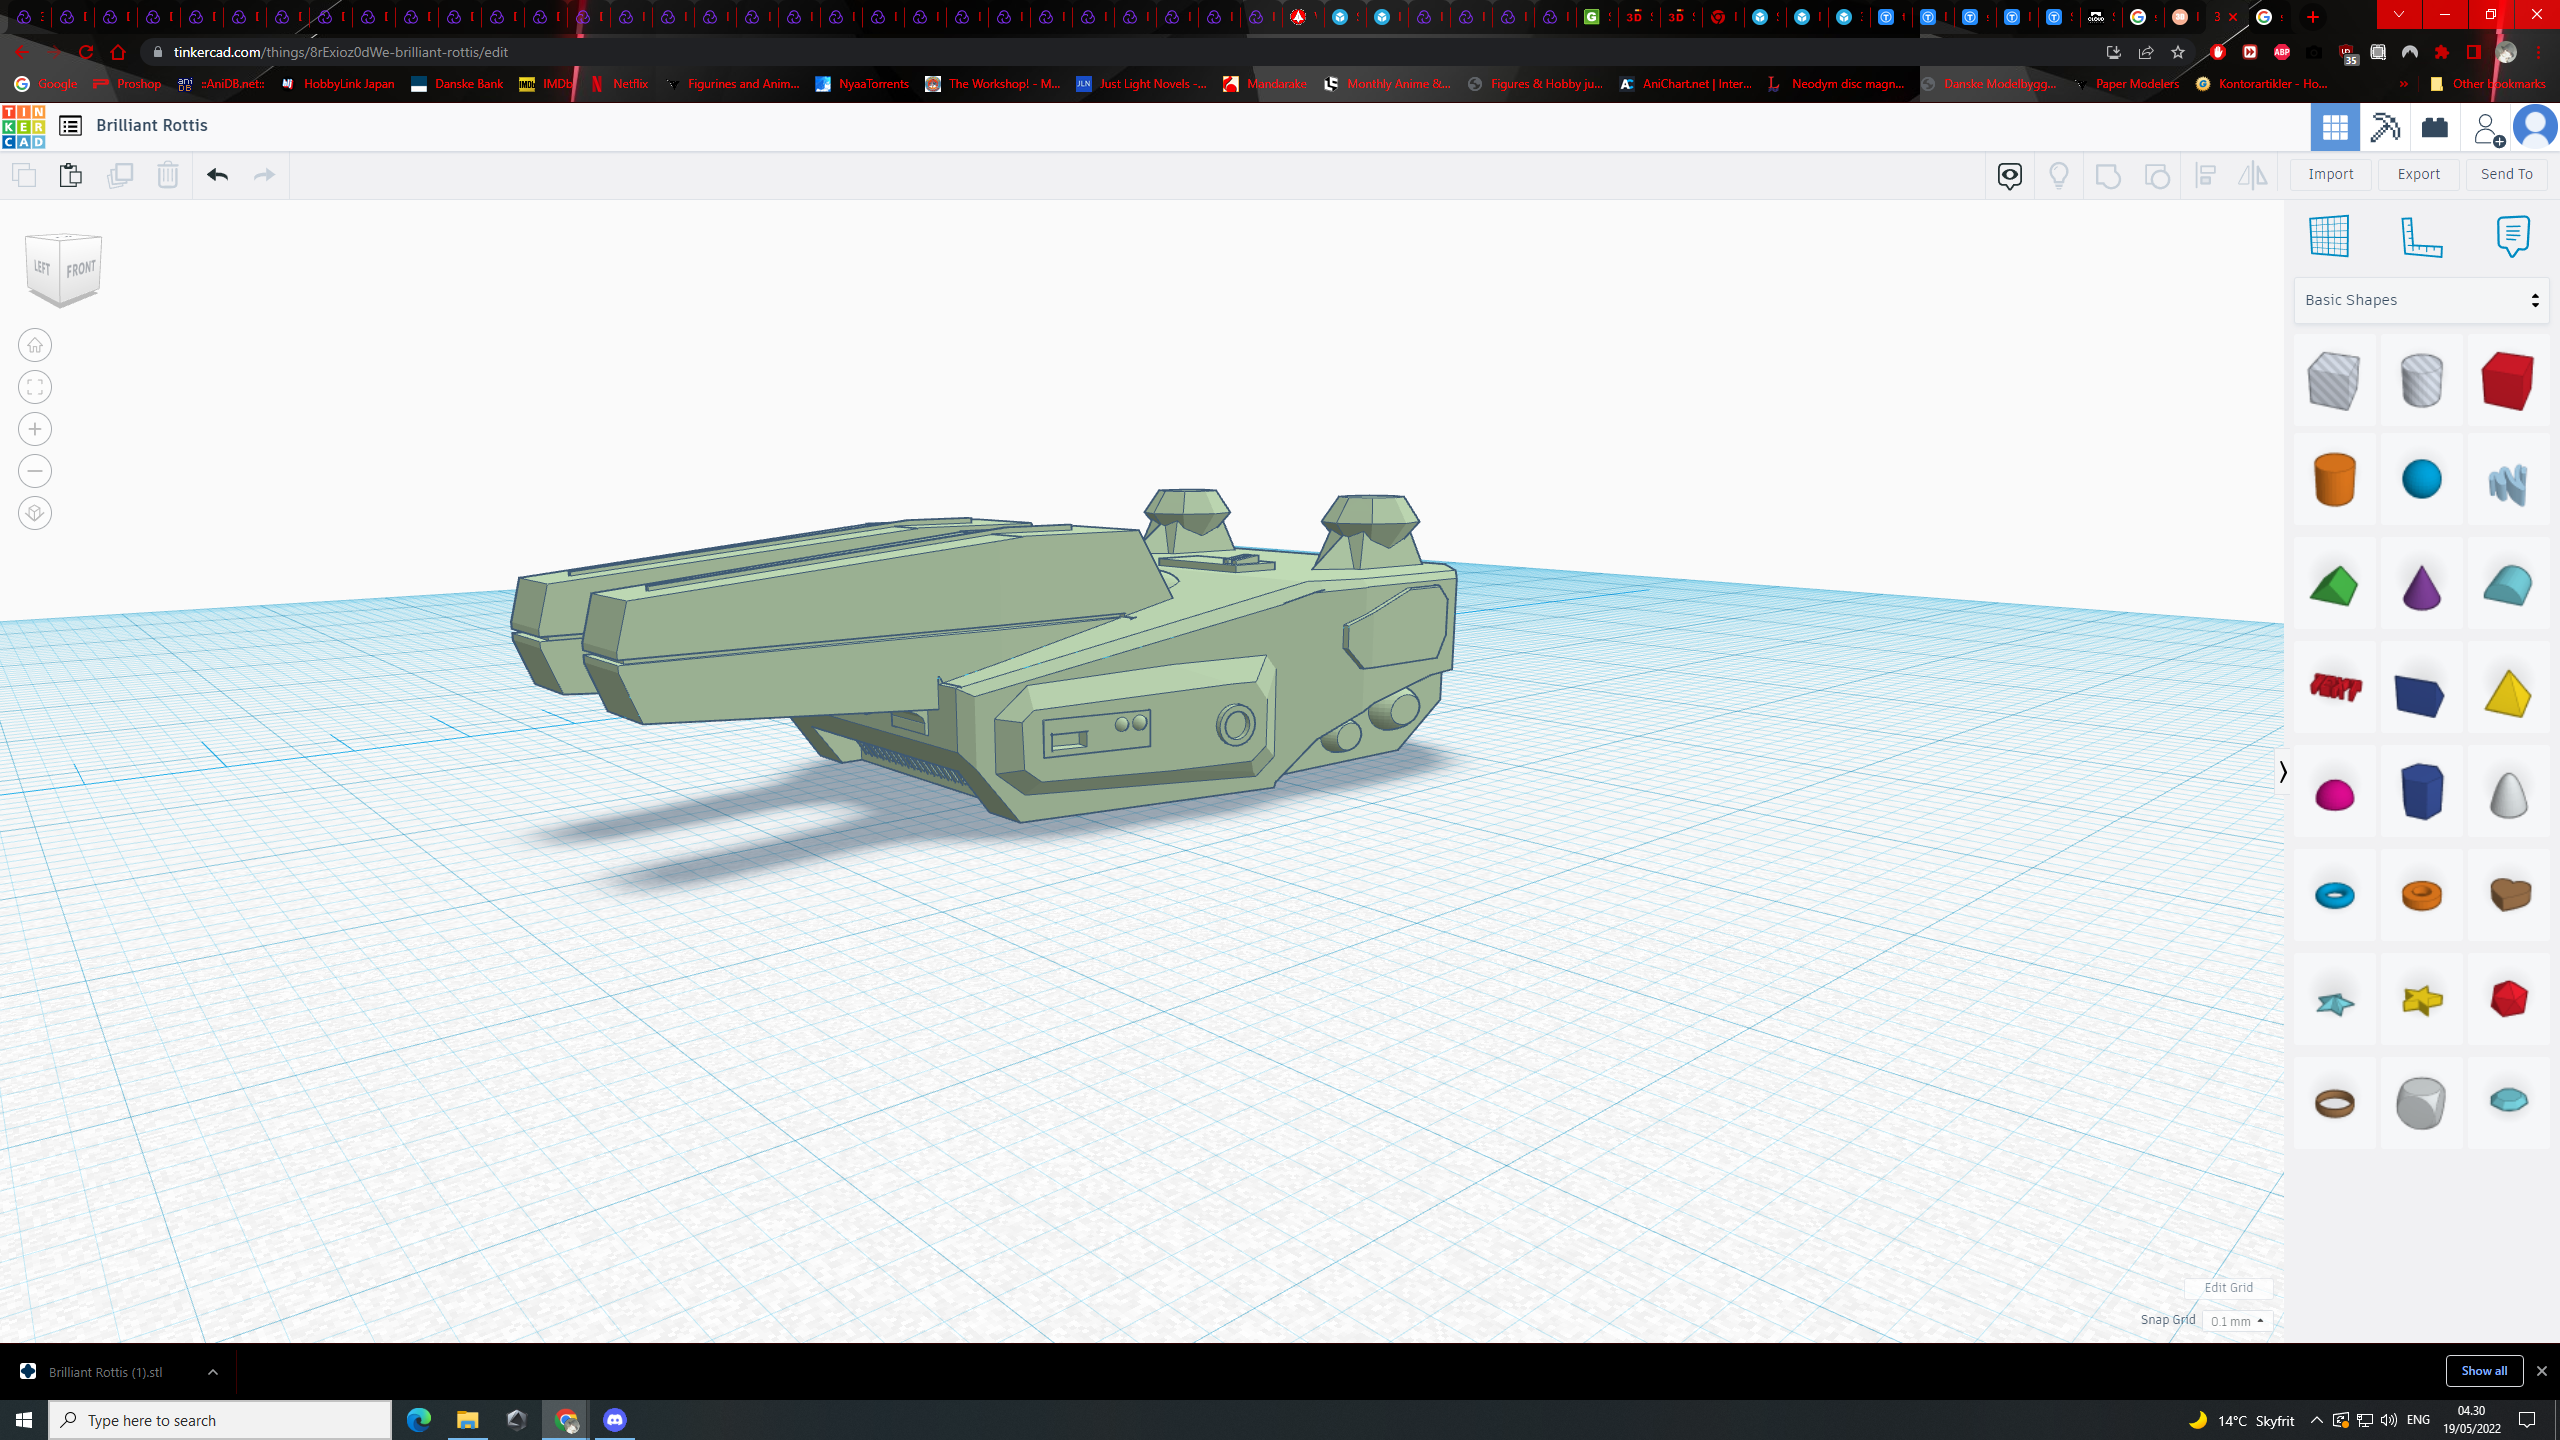
Looks like your designing details for your big SDF-1?
Yes it is 😊
I'm finally starting it up again, gonna go crazy with the city in the other leg, and details!
-
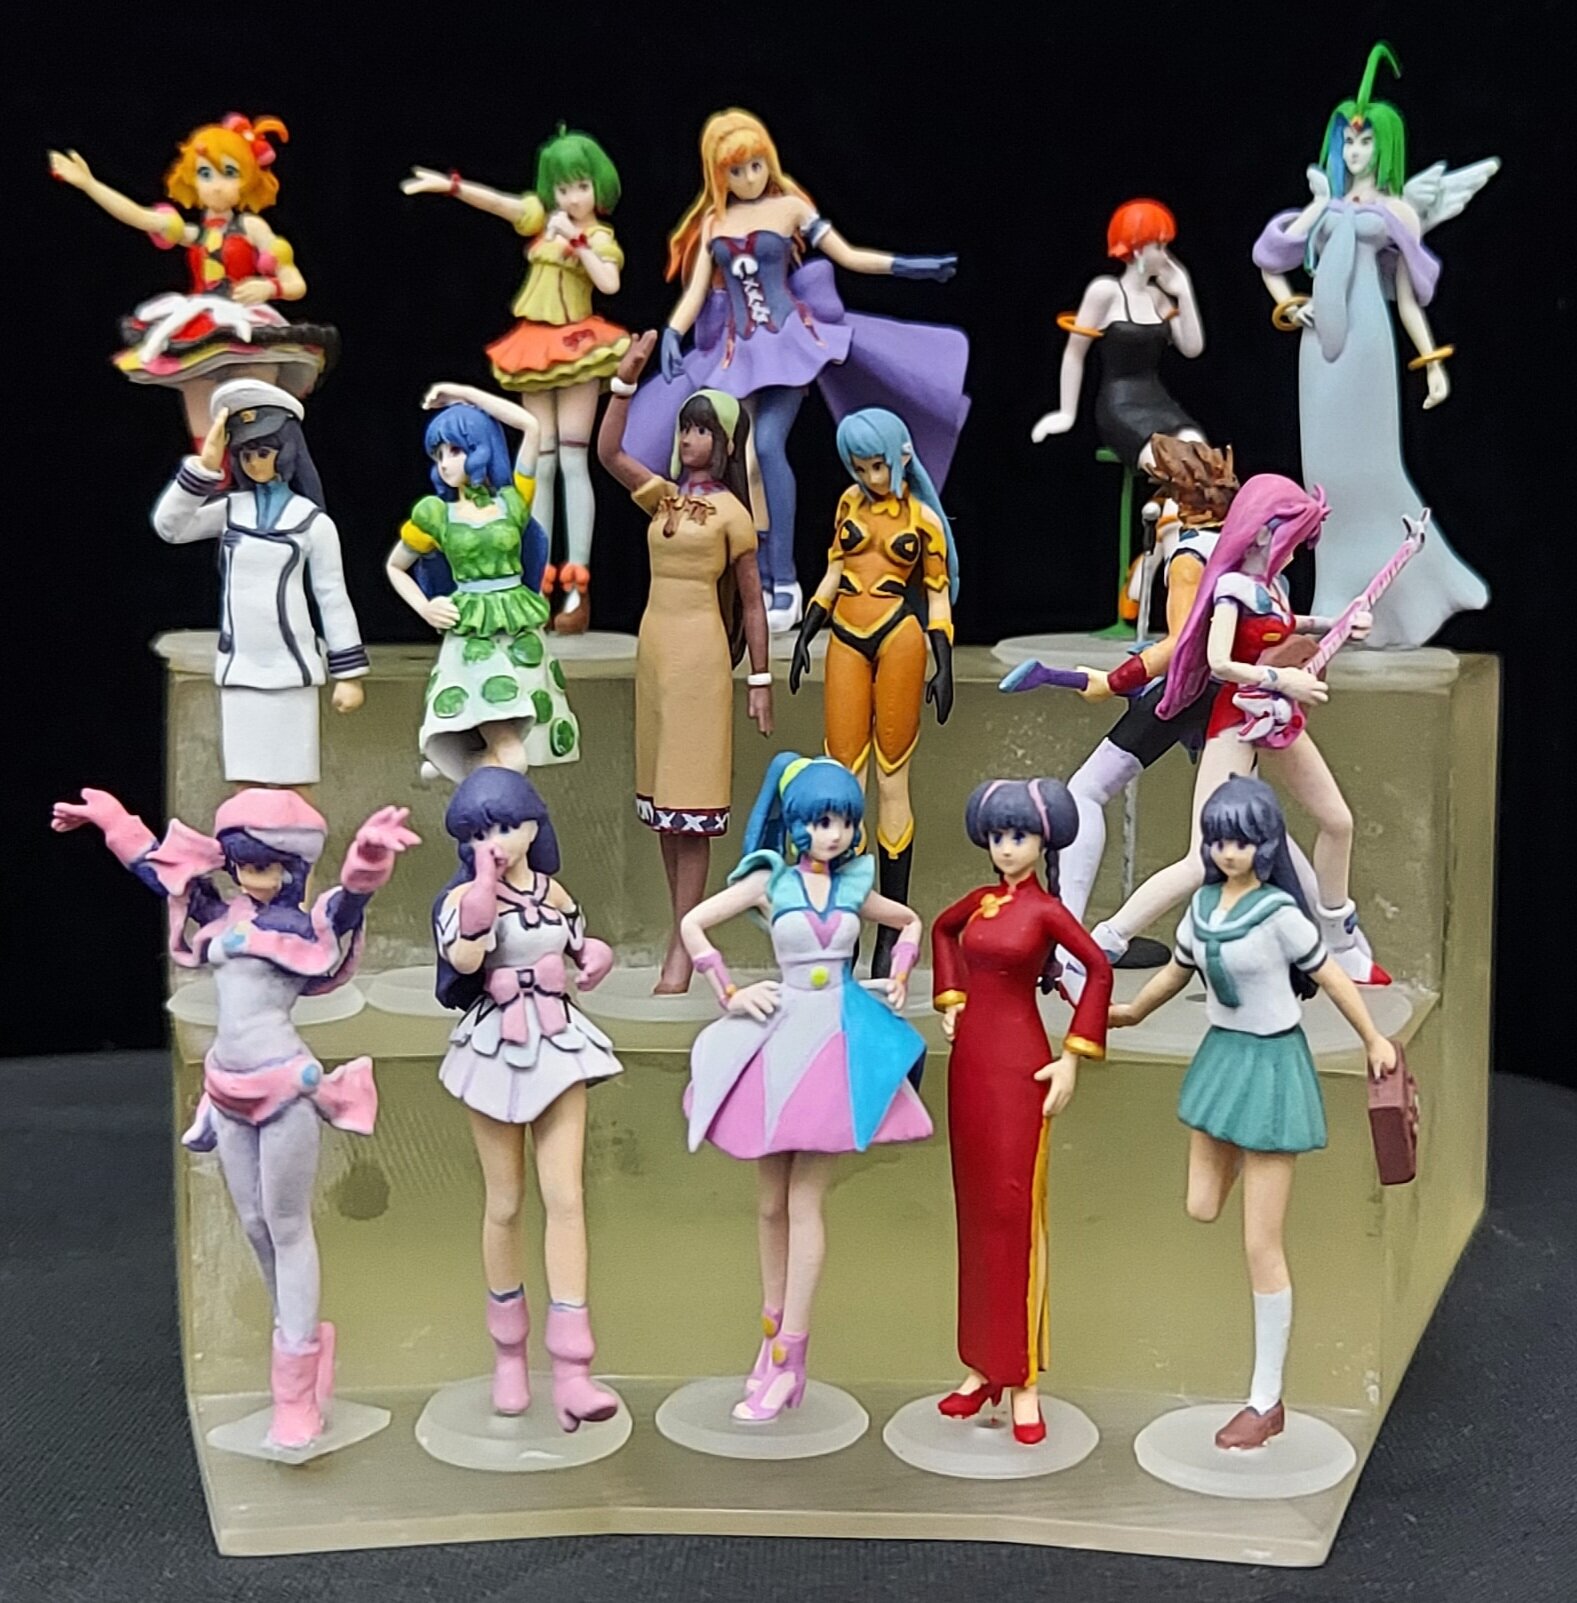
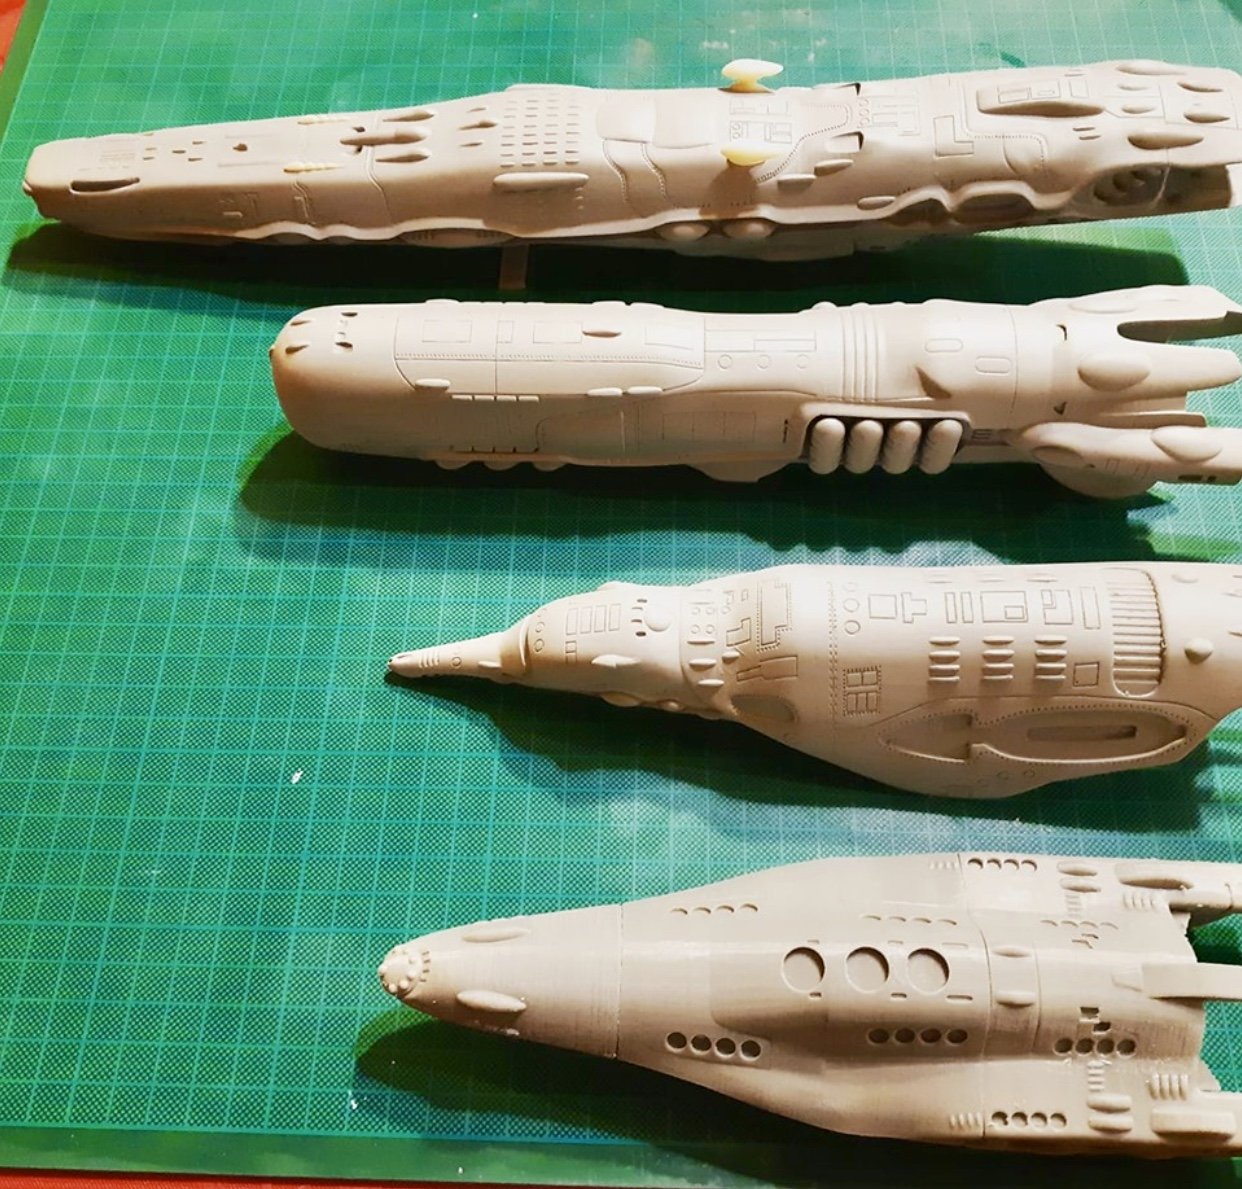
23 minutes ago, arbit said:
Finished up these version 2s, trying to fix some proportion problems.

looks awesome

keep up the good work 👍
-
-
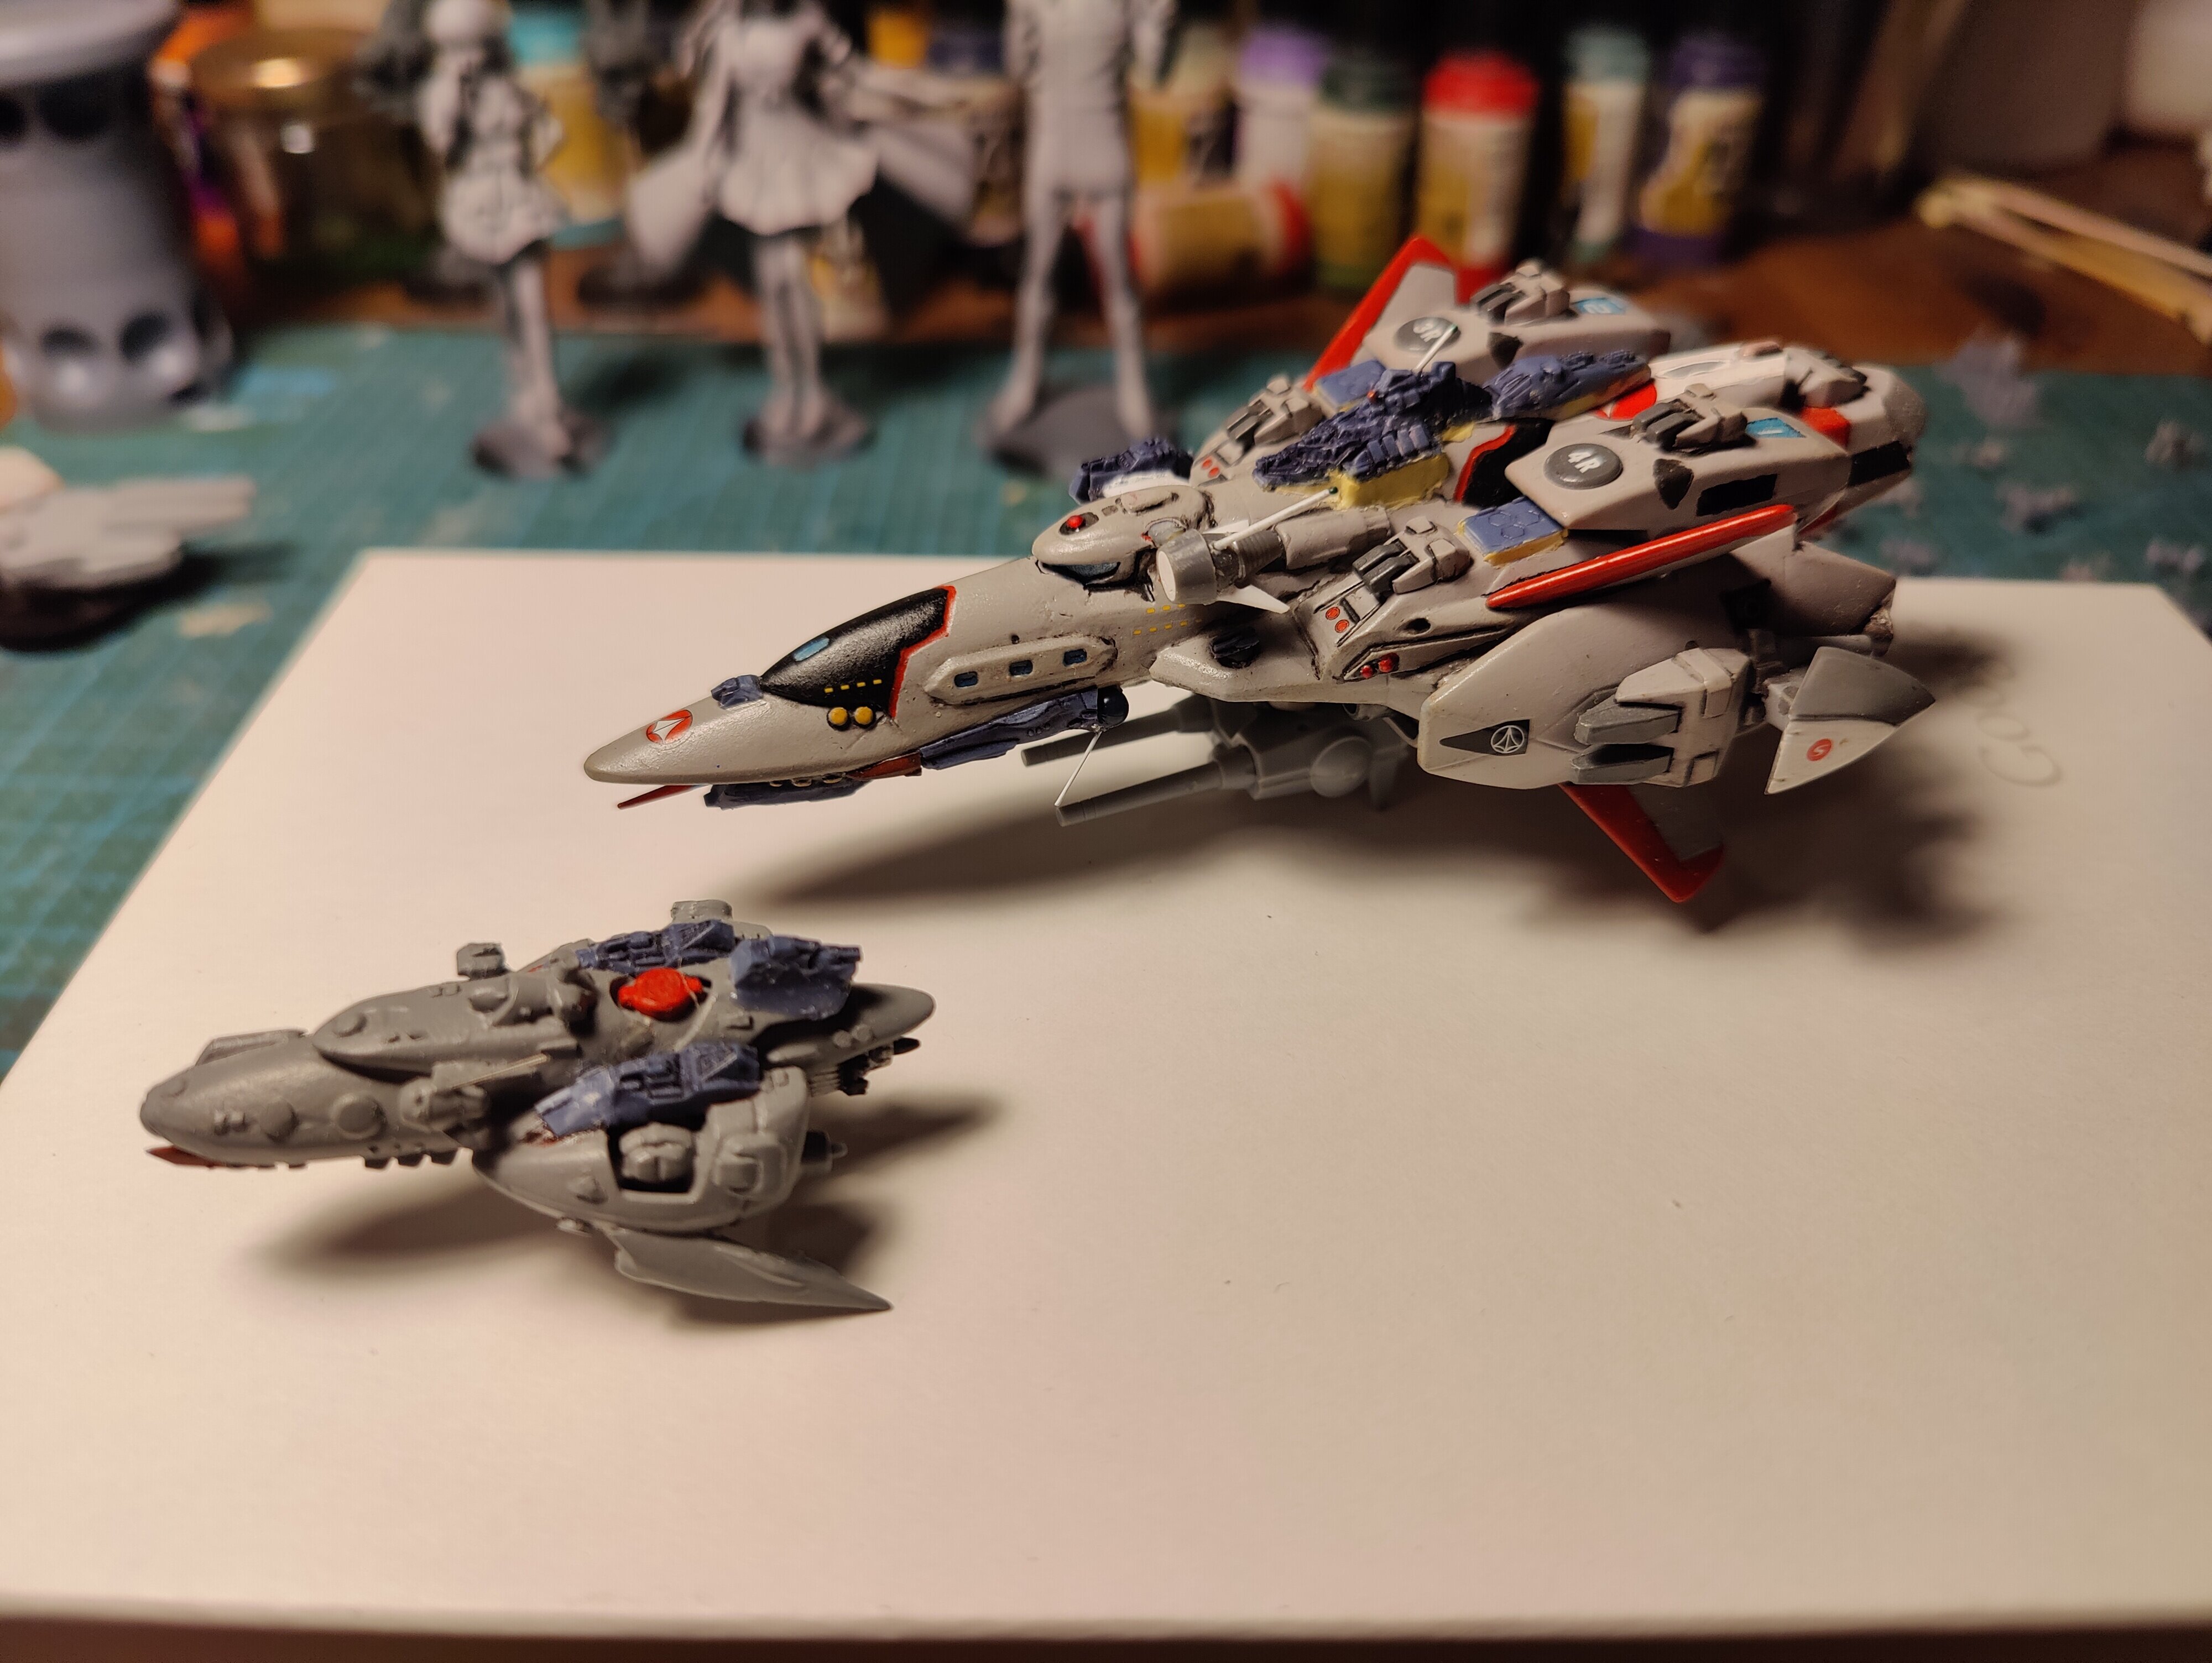
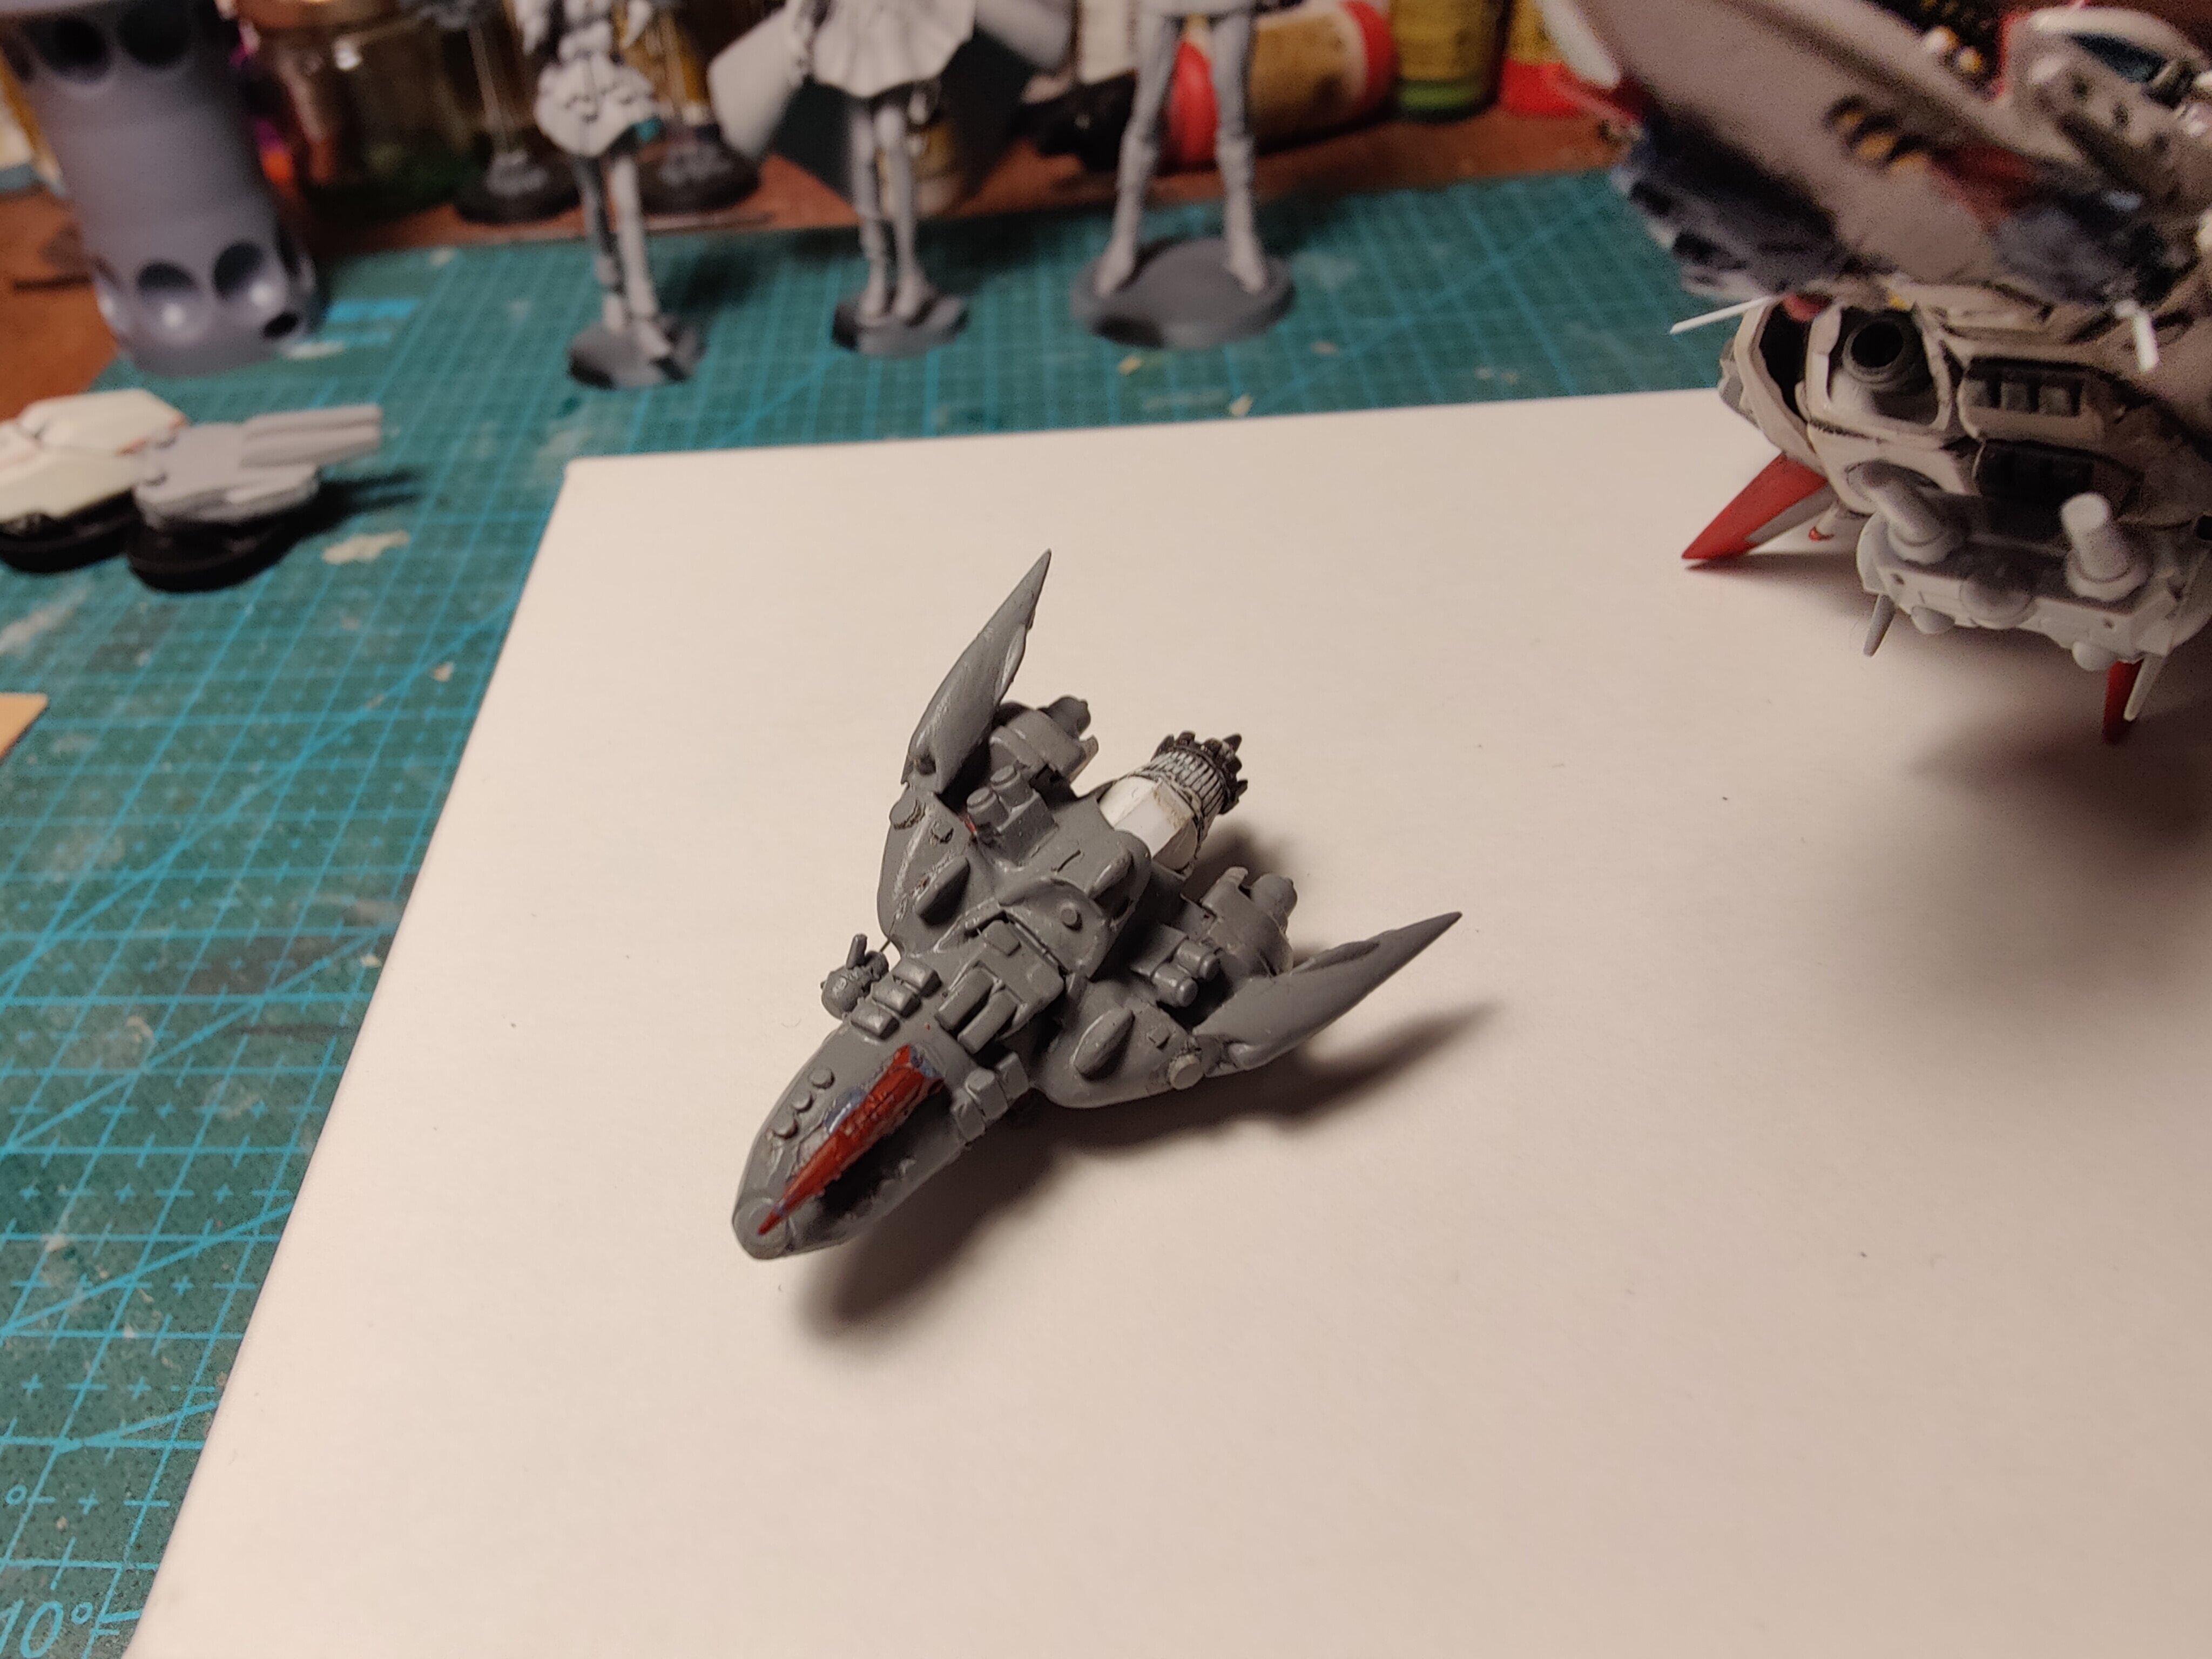
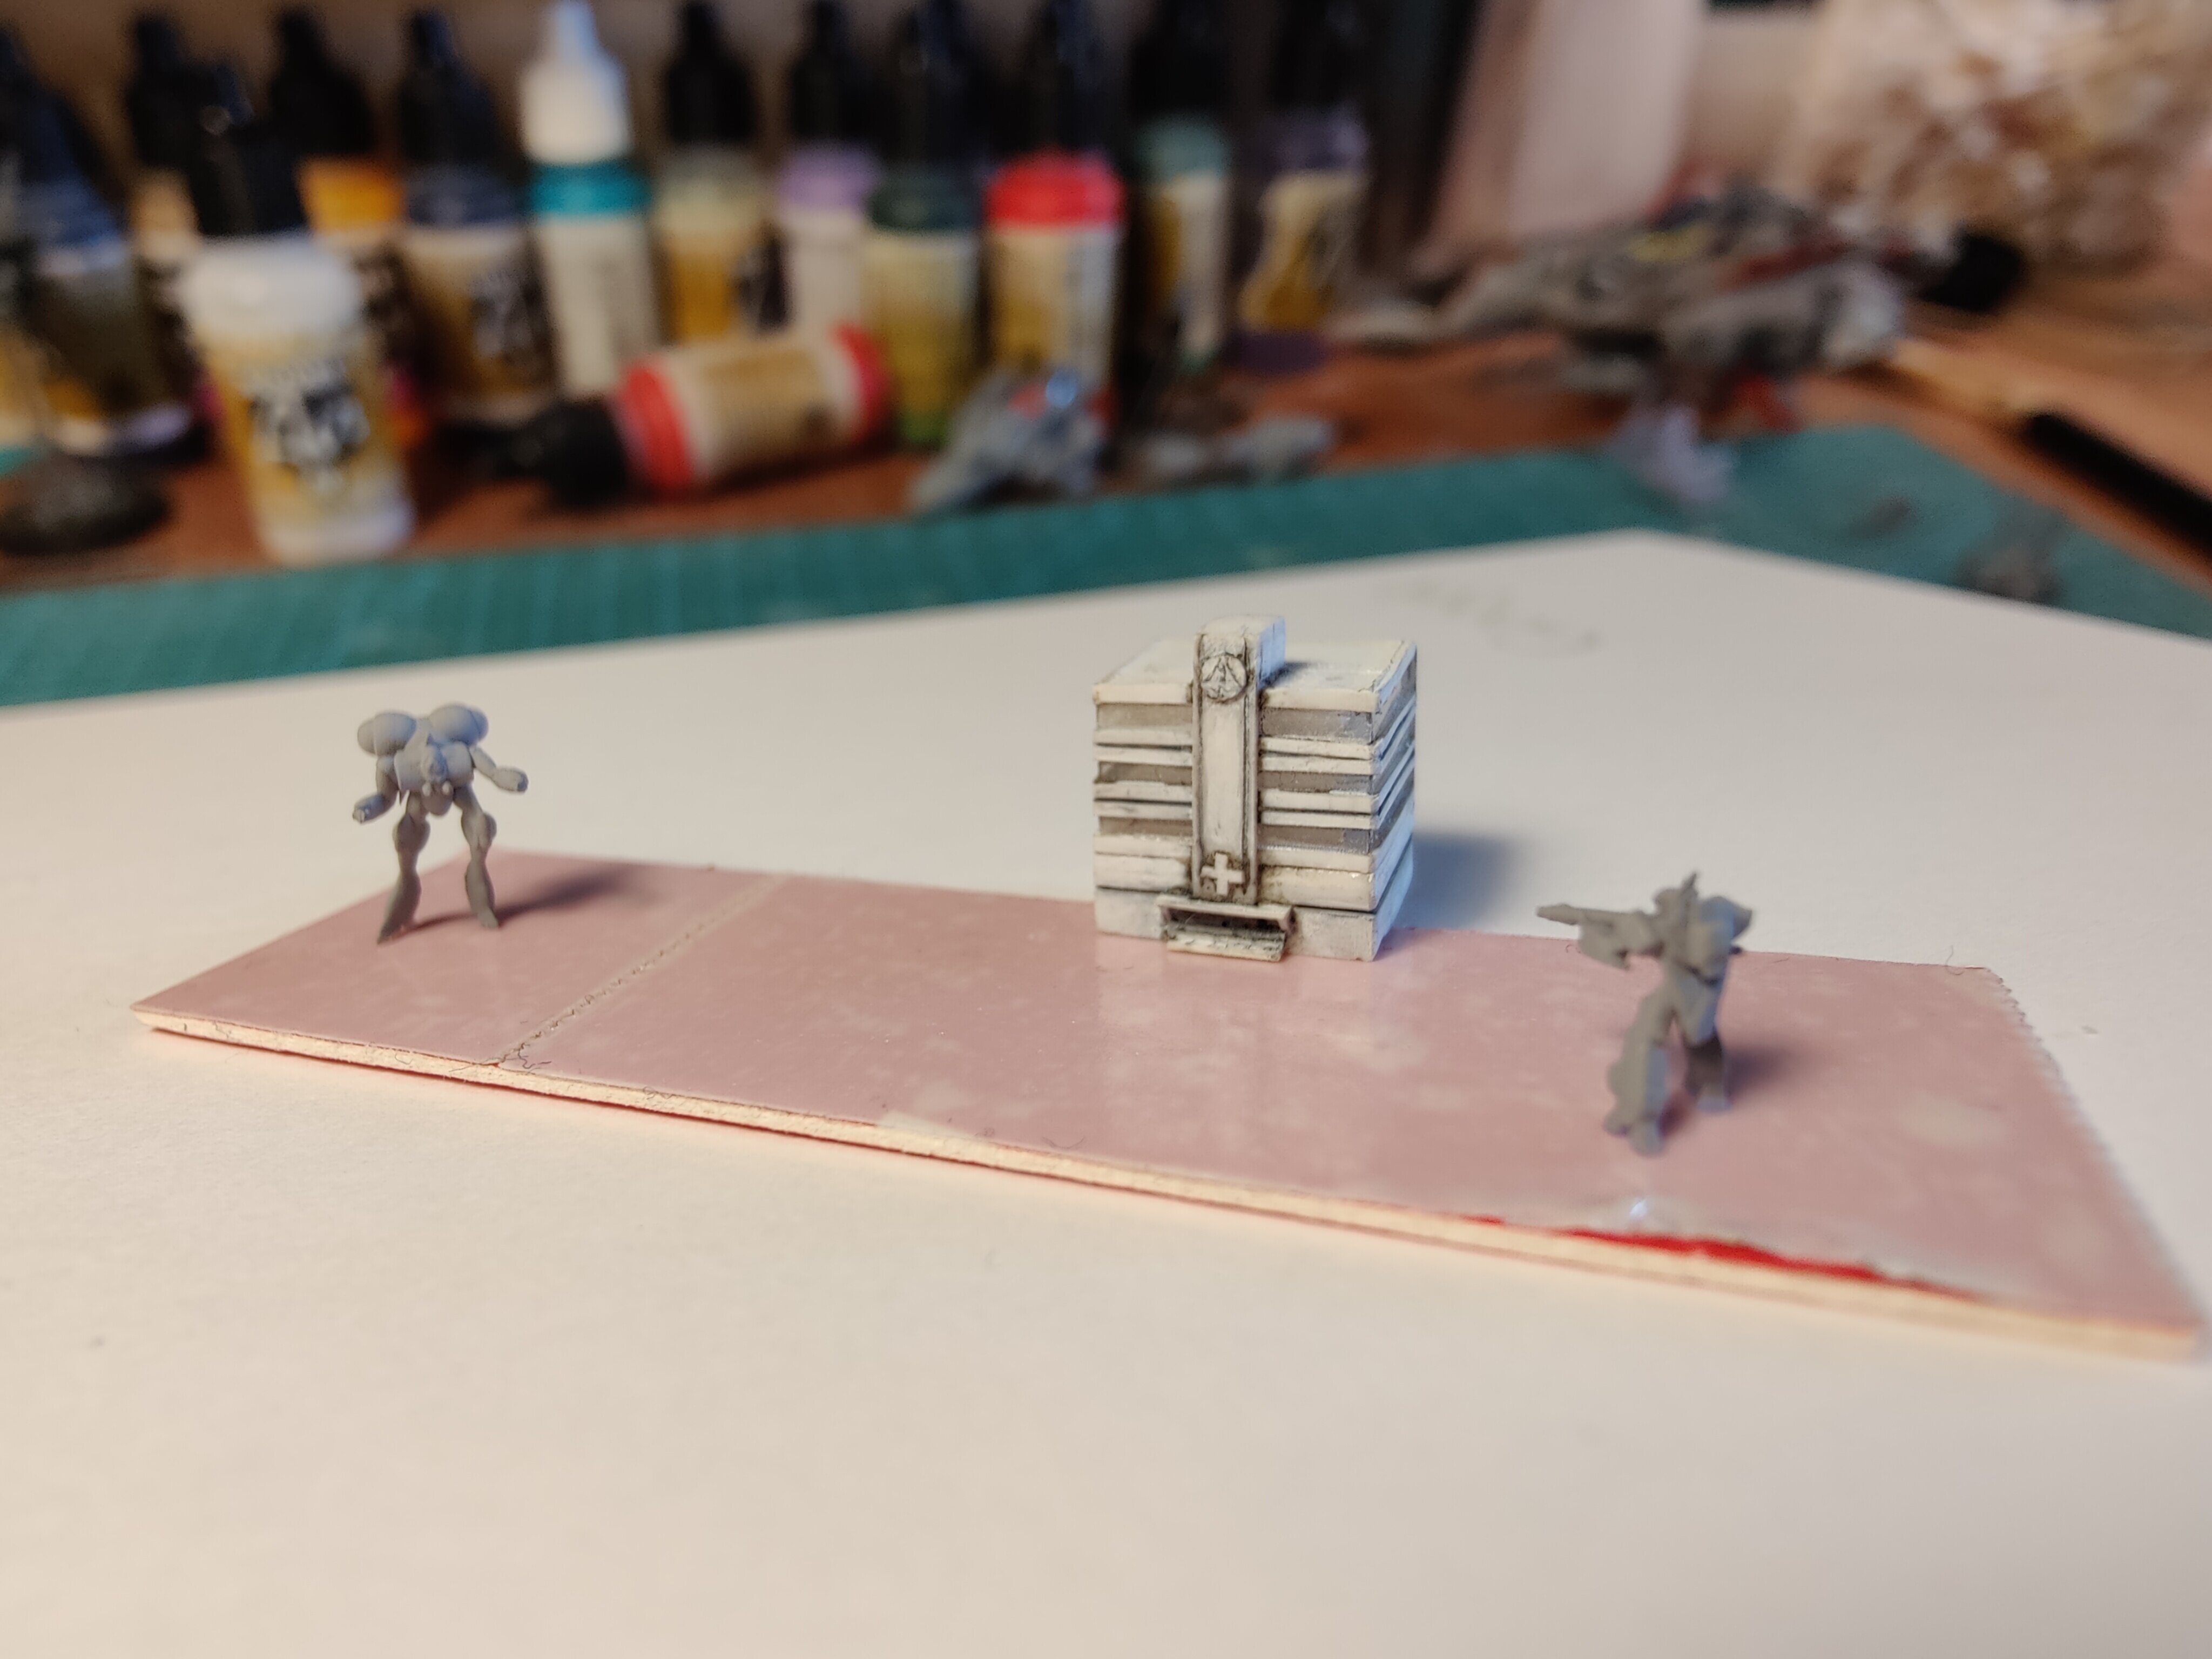
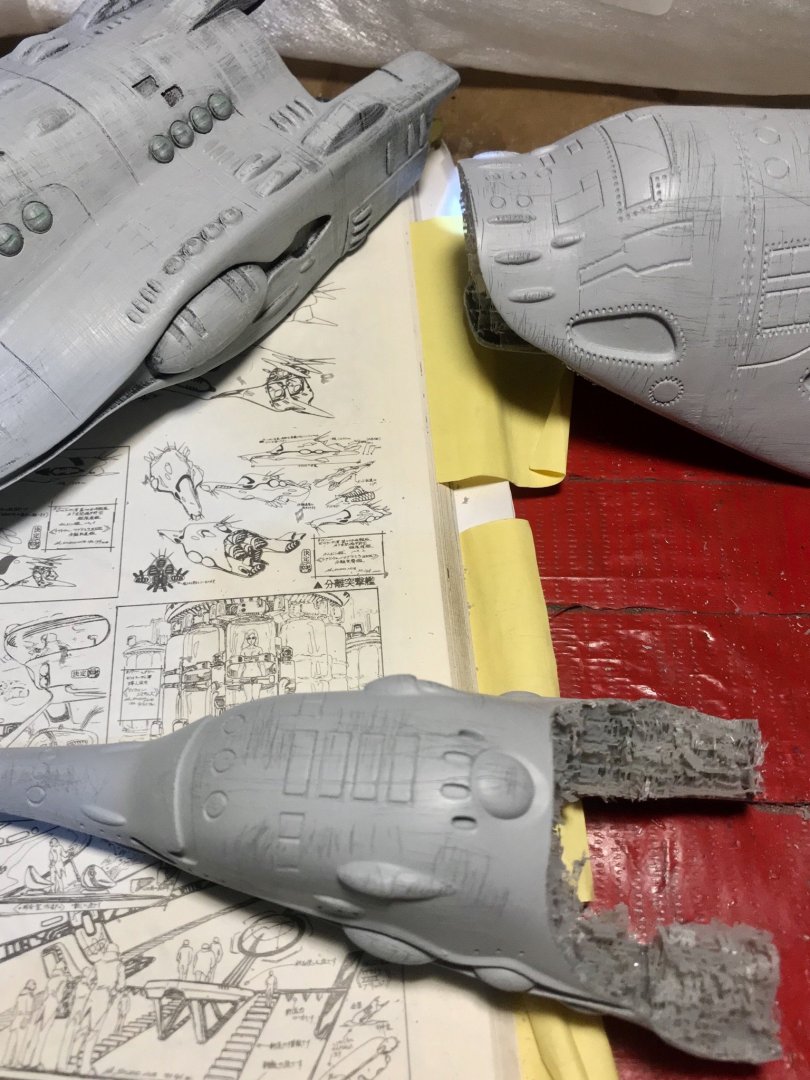
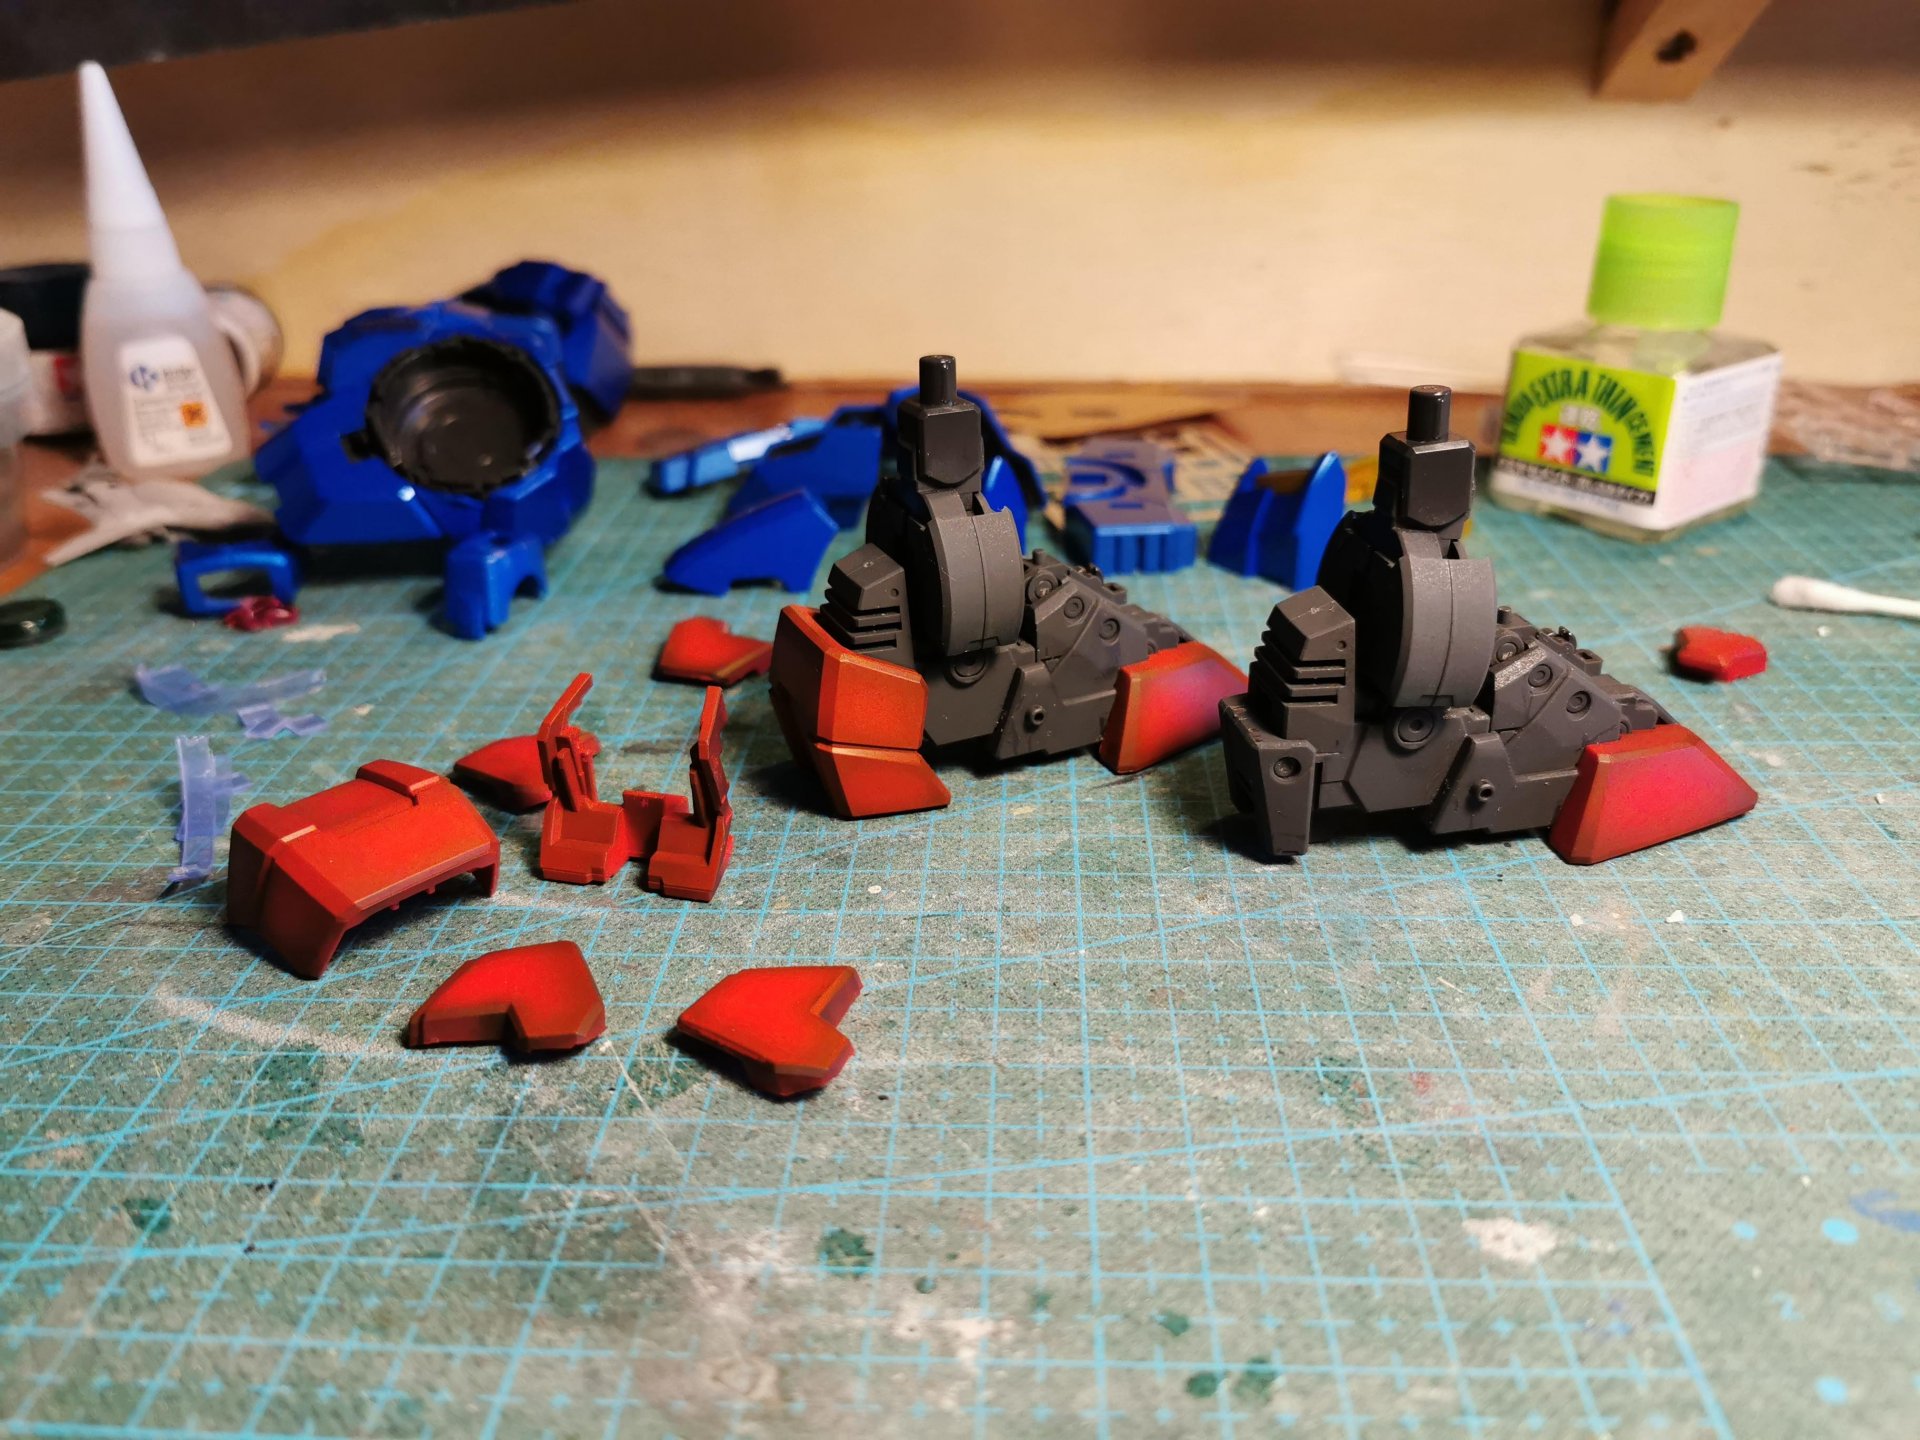
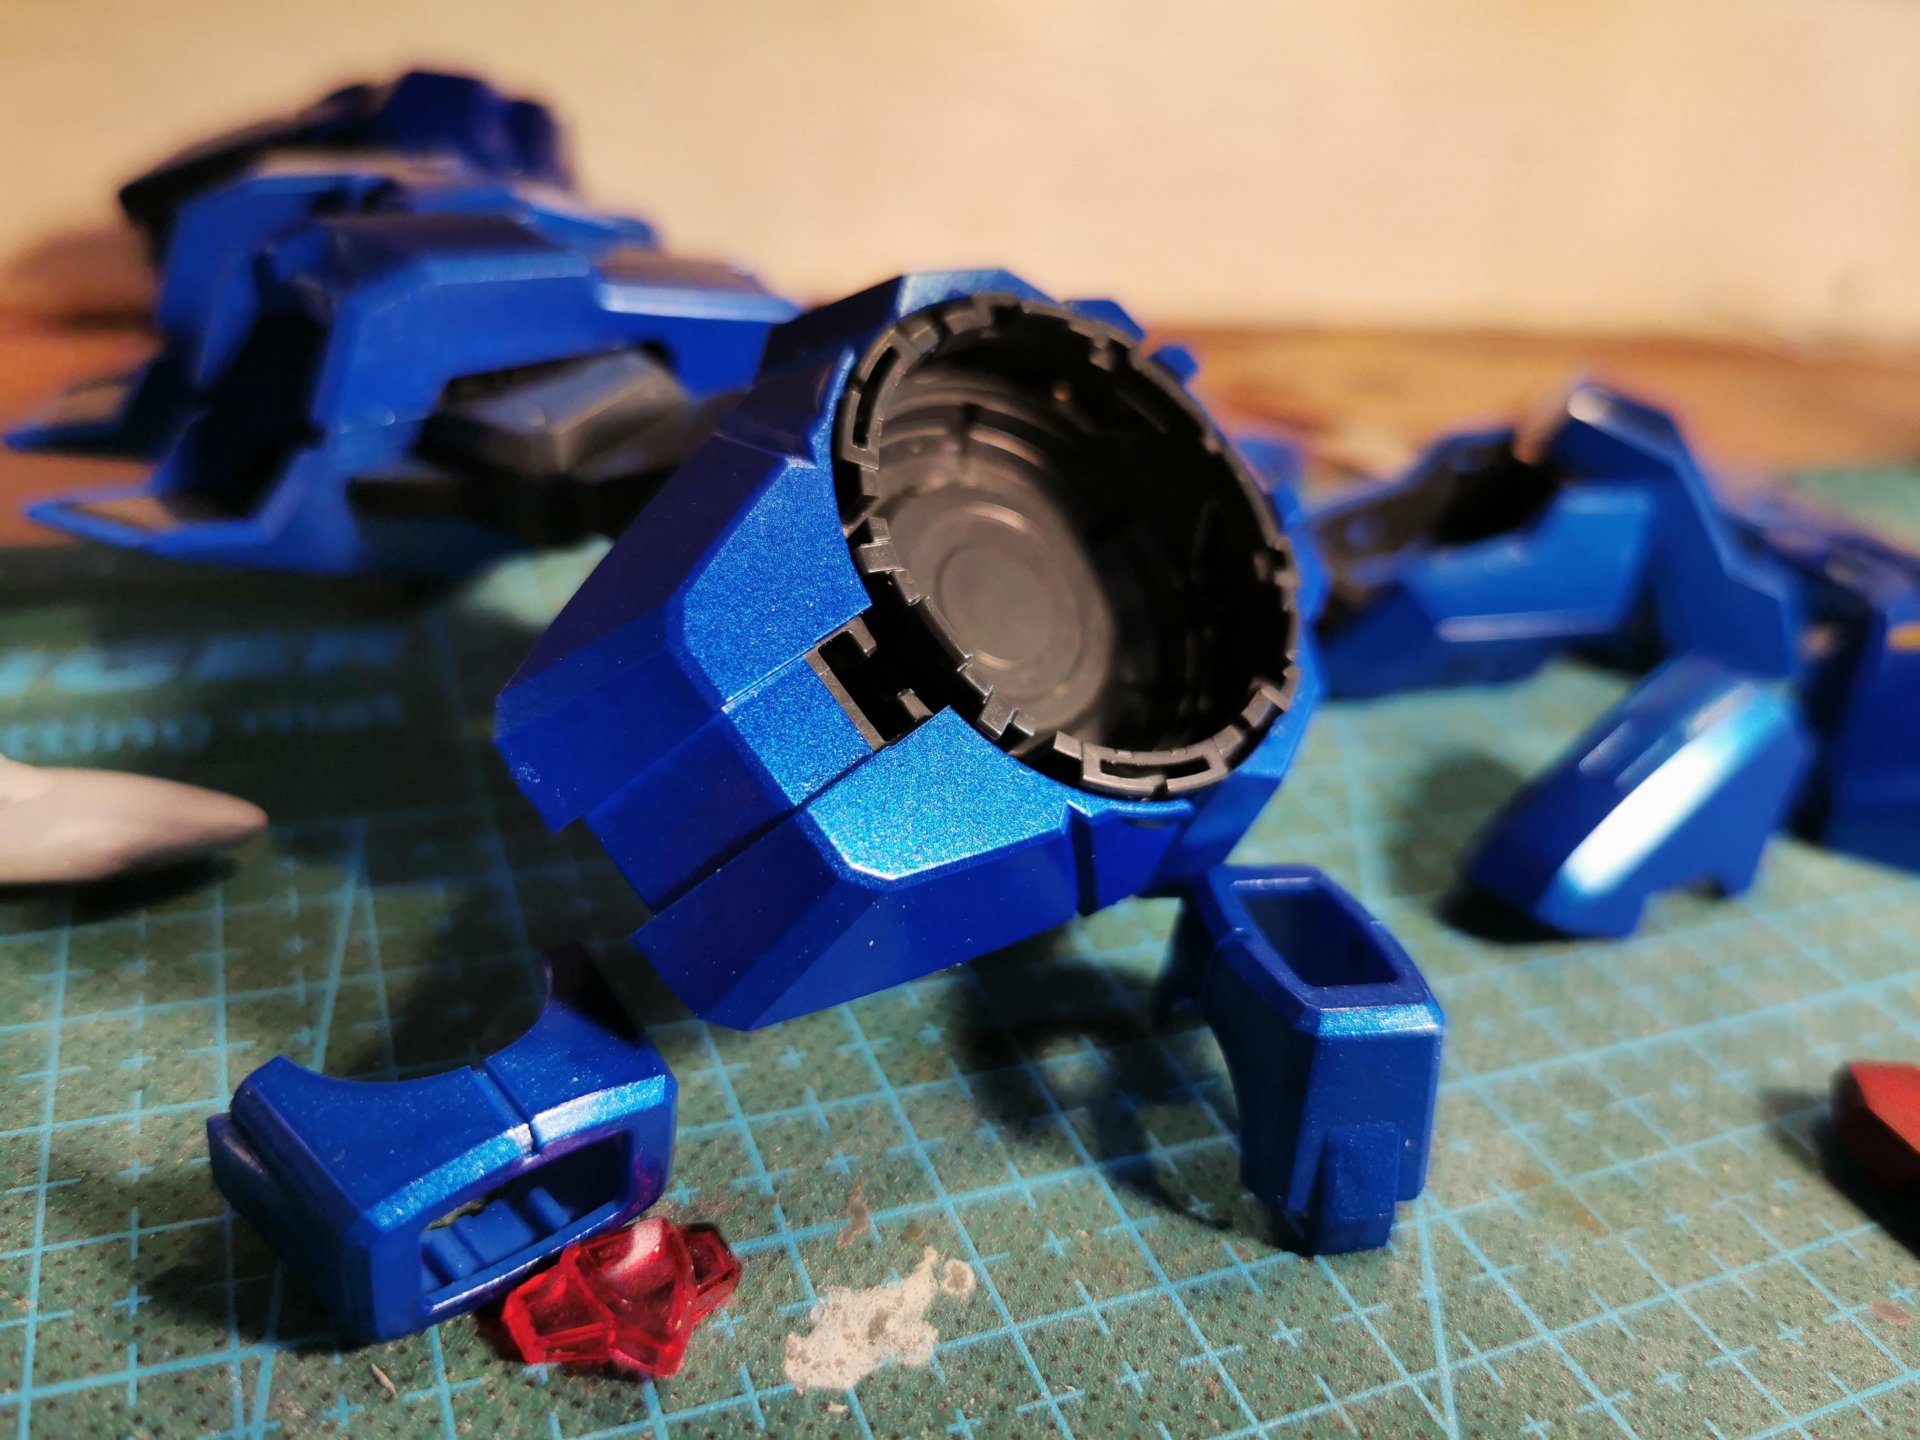
work in progress...
turret
-
On 5/13/2022 at 9:28 PM, arbit said:
They look fantastic, do you think I could buy a couple of the stl's
-
20 minutes ago, tekering said:
Congratulations! What model of printer did you buy?
Elegoo Mars 3 4k
-
2 hours ago, Sanity is Optional said:
Where did you get the files for those?
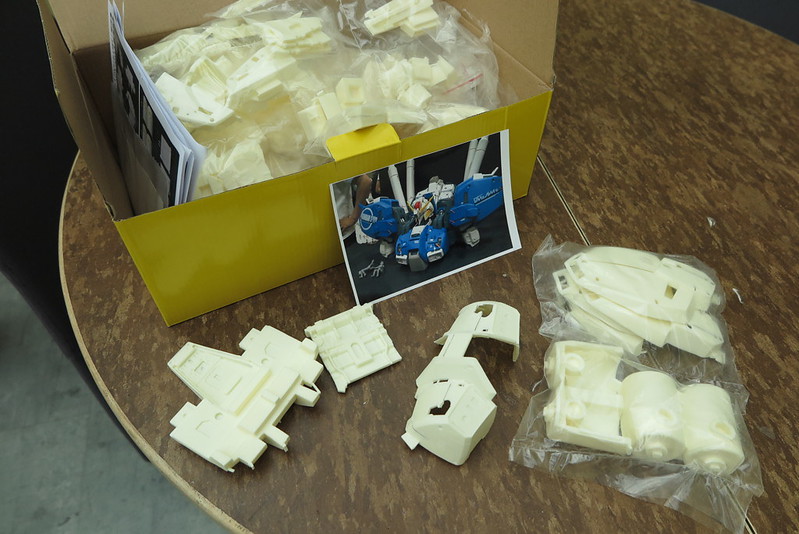
I've got a photon resin printer that needs some testing.
From cults3d.com
-
On 6/23/2020 at 4:45 AM, tekering said:
Just the Daedalus, I'm afraid...

Work has kept me busy this month.
I'm pleased with this color scheme, so I'll apply it to the Matchbox as well.
Now that looks good 👍👍
-
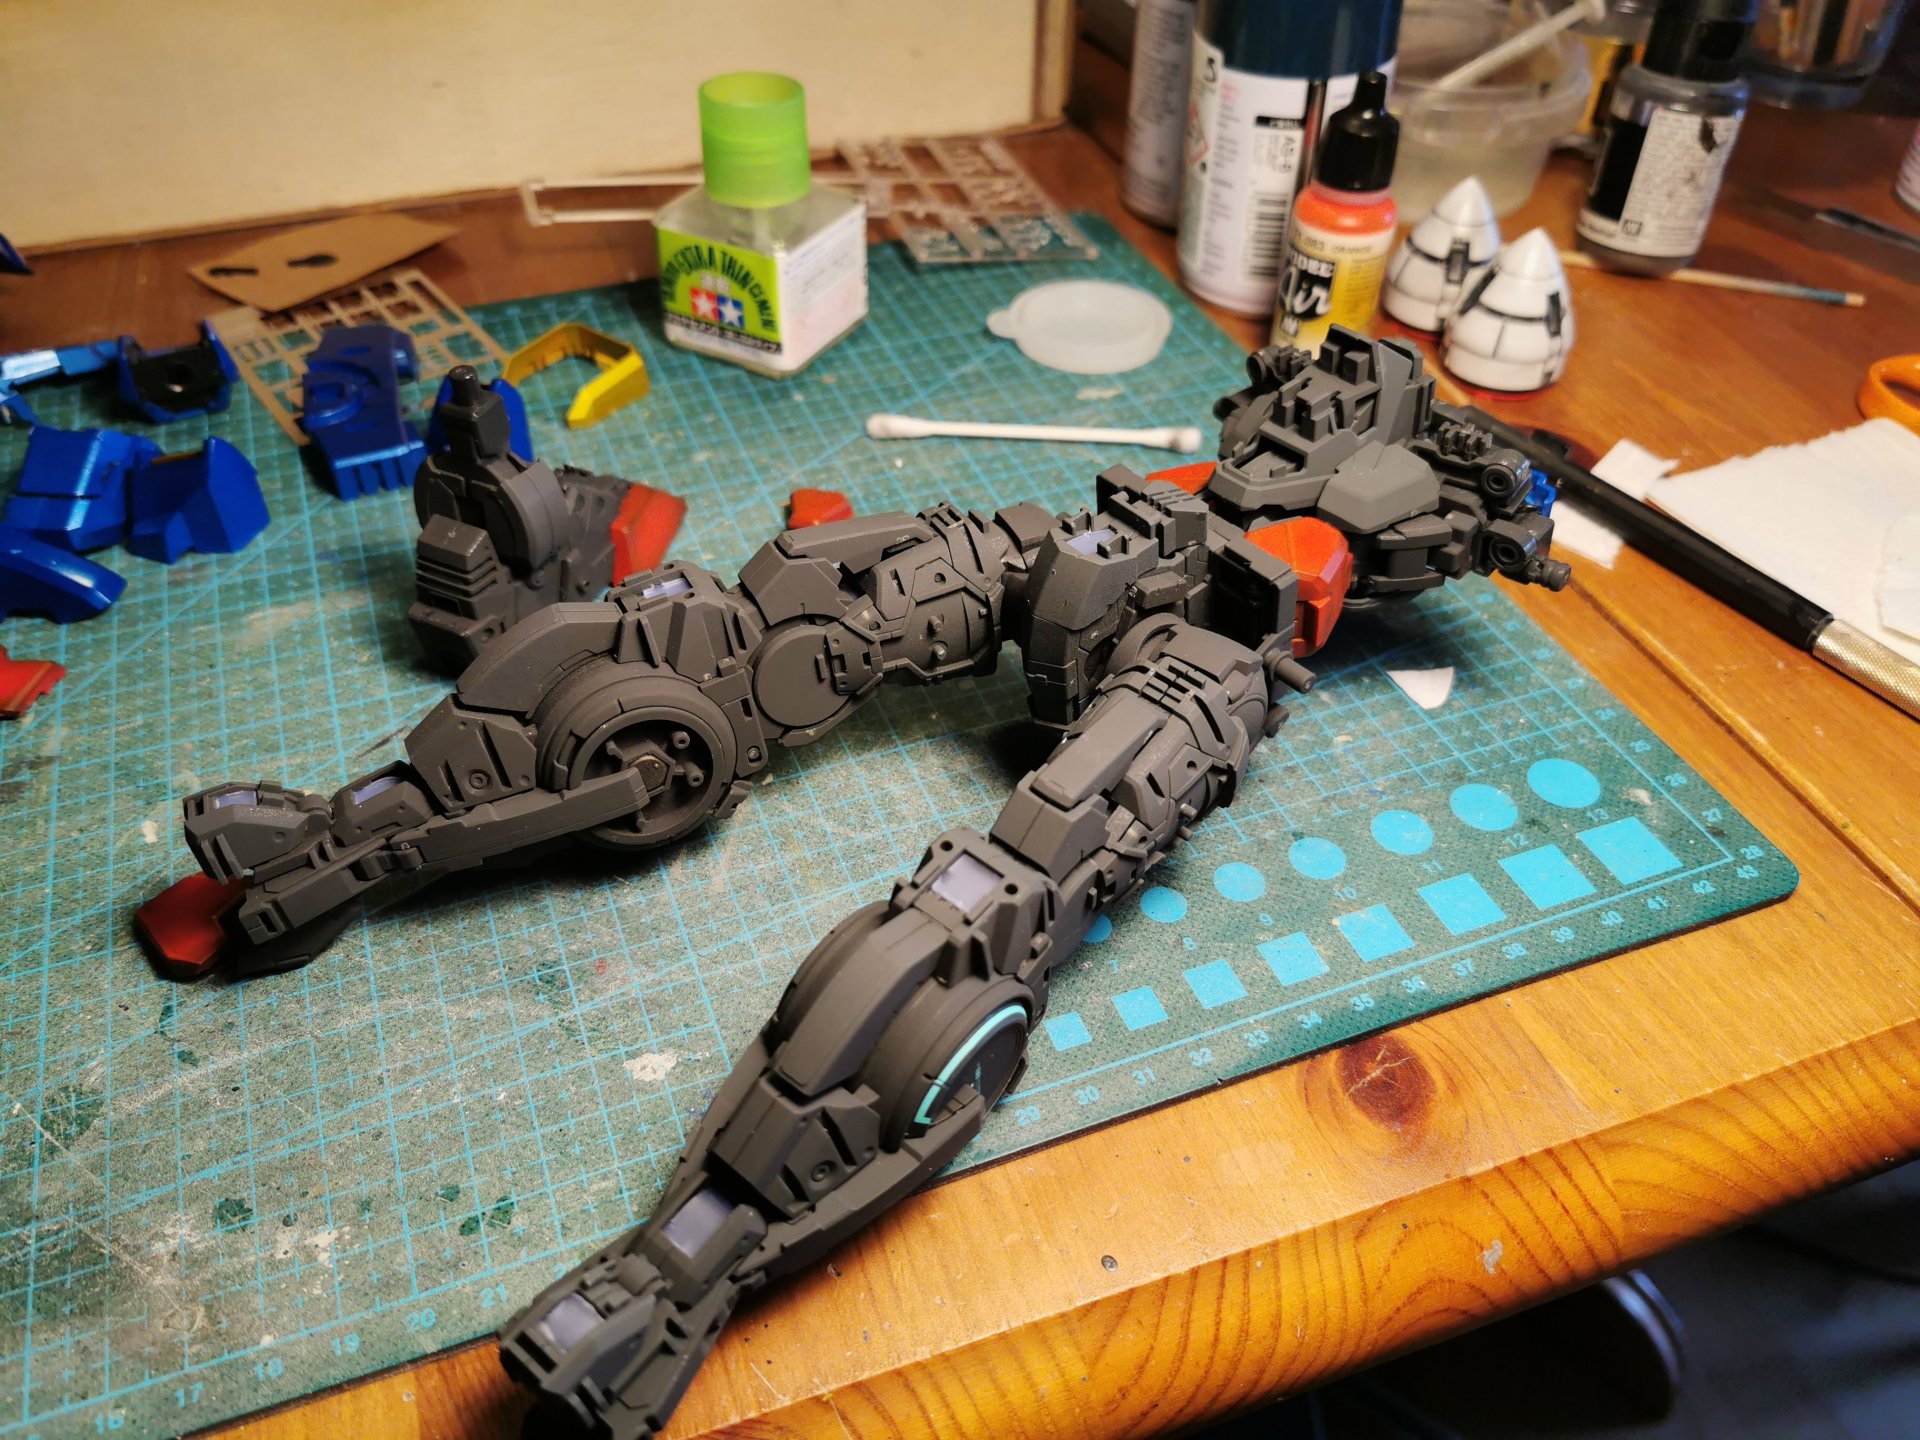
I'm starting this build up again...
Also got my first 3d printer....
Let the detailing begin 😁
-
-
On 10/14/2020 at 6:33 PM, electric indigo said:
Christmas came early:
Now I'm prepped for the second lockdown...
where did you buy this!
and are there any more?
-
On 8/31/2020 at 10:21 PM, peter said:
I've never done anything with paper apart from making paper cranes. Is this something someone like me should even bother attempting?
Is this something that can be e-mailed and I just print them on my printer, or do I have to take them to a print shop and get it done on different quality paper? Sorry for all the questions, but your build was mind-blowing and quite intimidating.
")
i used a regular a3 printer, and i printed it on 250 grams paper, which is plenty strong for this build
-
hey guys, thanks for your concerns but thankfully im not suffering from any covid-19 related problems,
but my thoughts are with the people who are affected in anyway by the pandemic..
i just burned myself out from model building...
im slowly coming back now, made some small stuff ill be posting in the coming days,
and yes i have made some progress in this project, ill post pictures soon...
-
On 4/2/2020 at 8:56 AM, nightmareB4macross said:
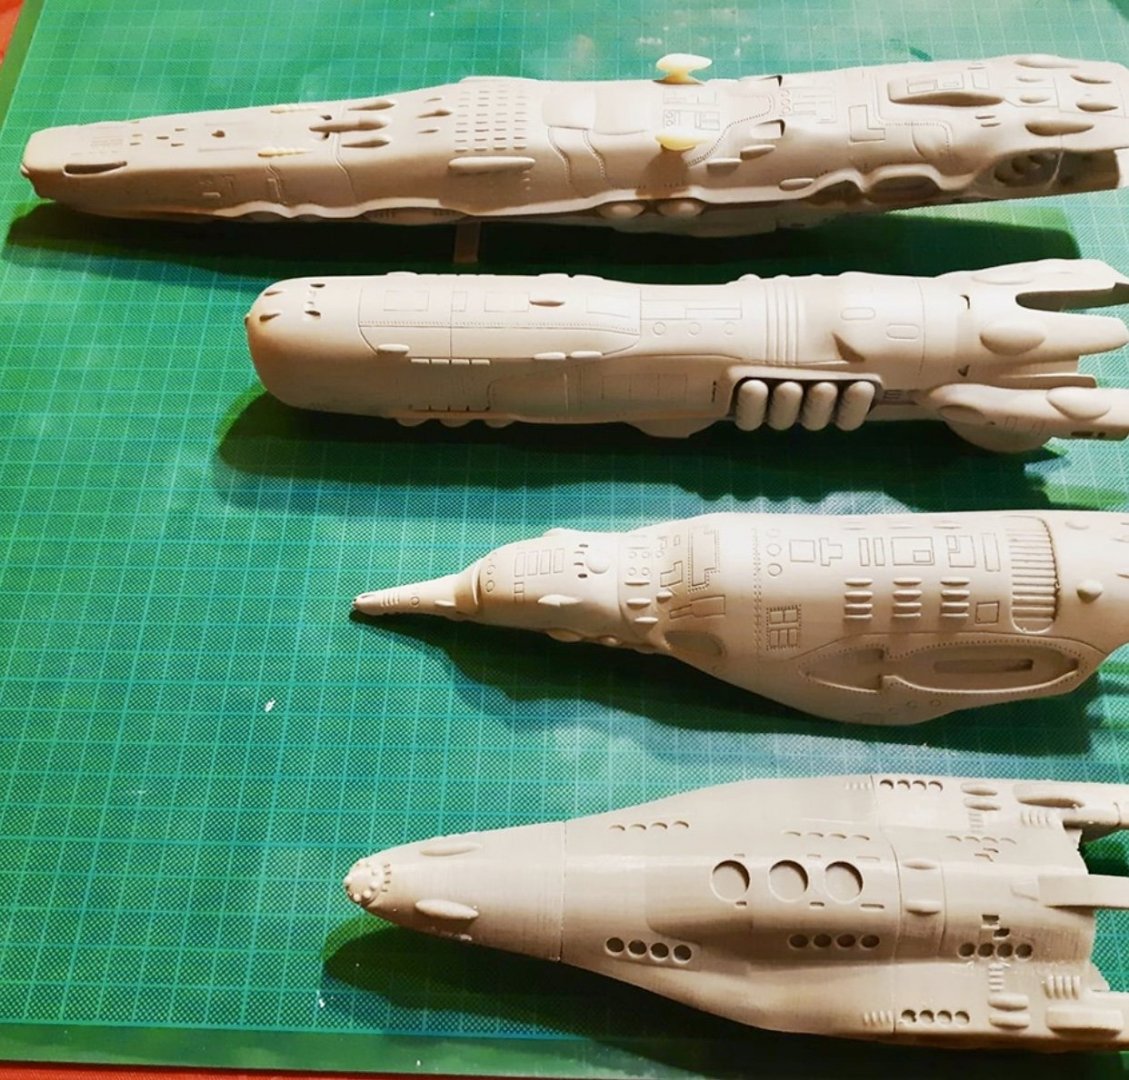
Working from home does afford some late night building.
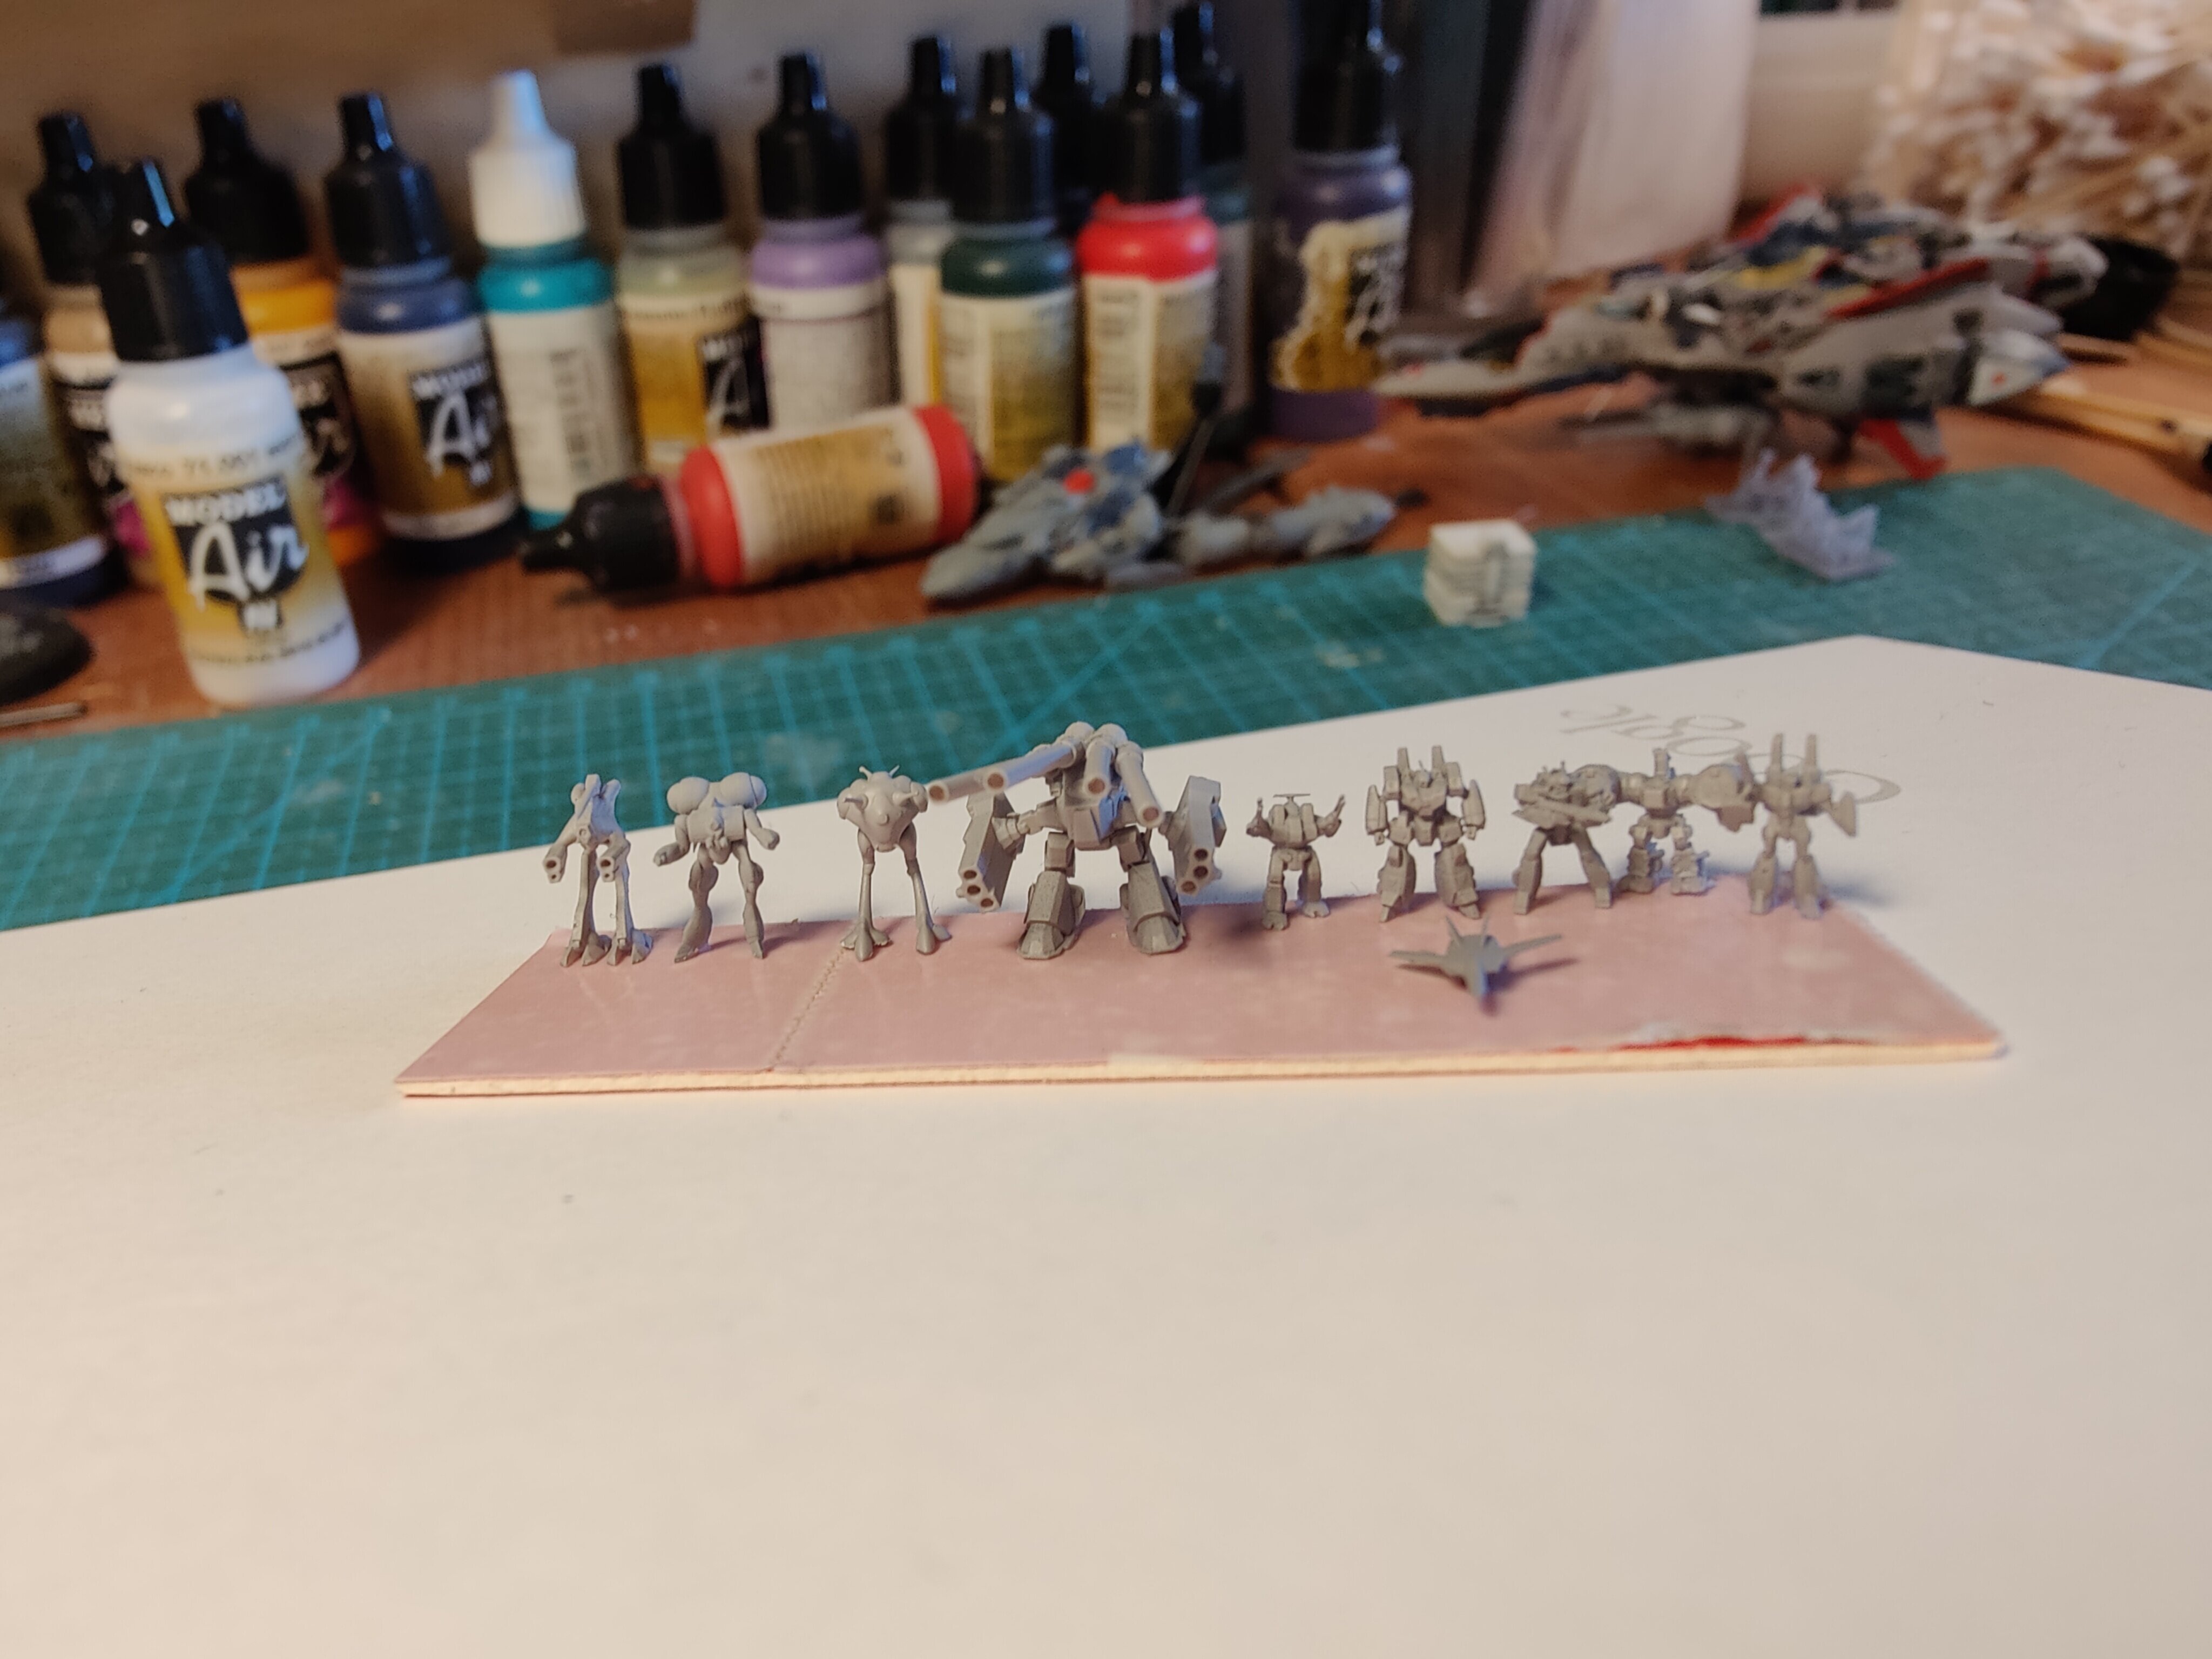
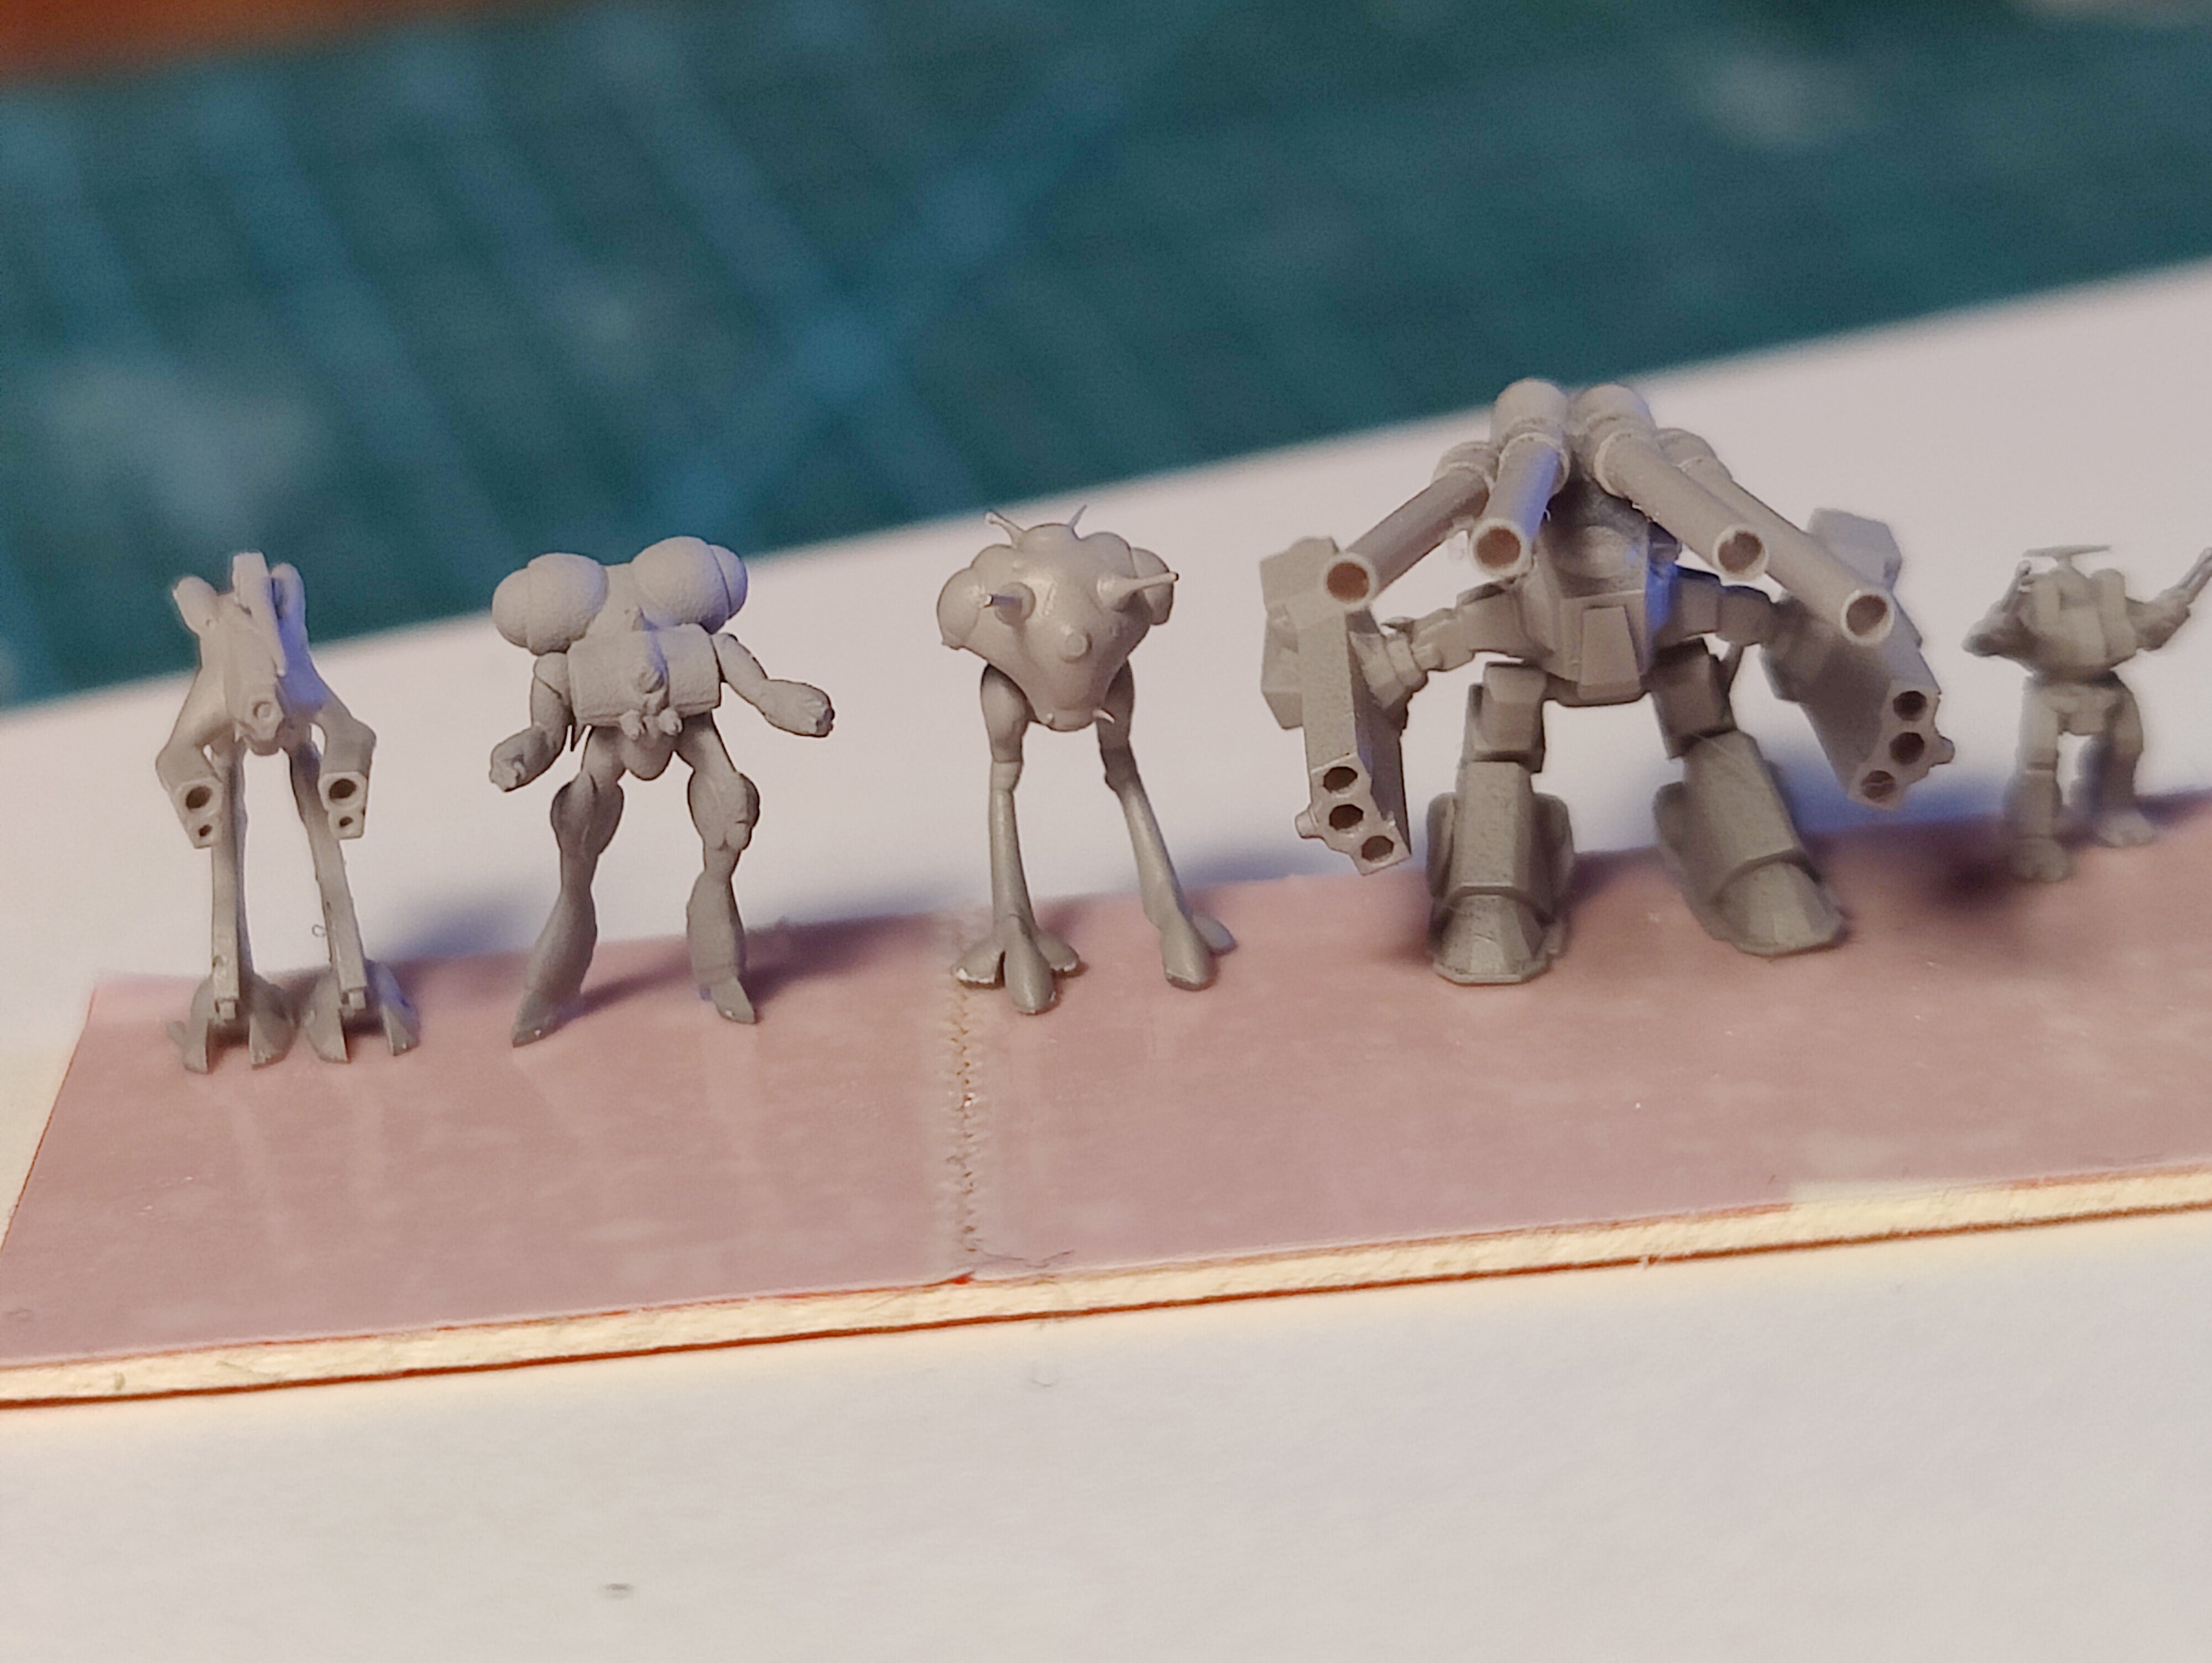
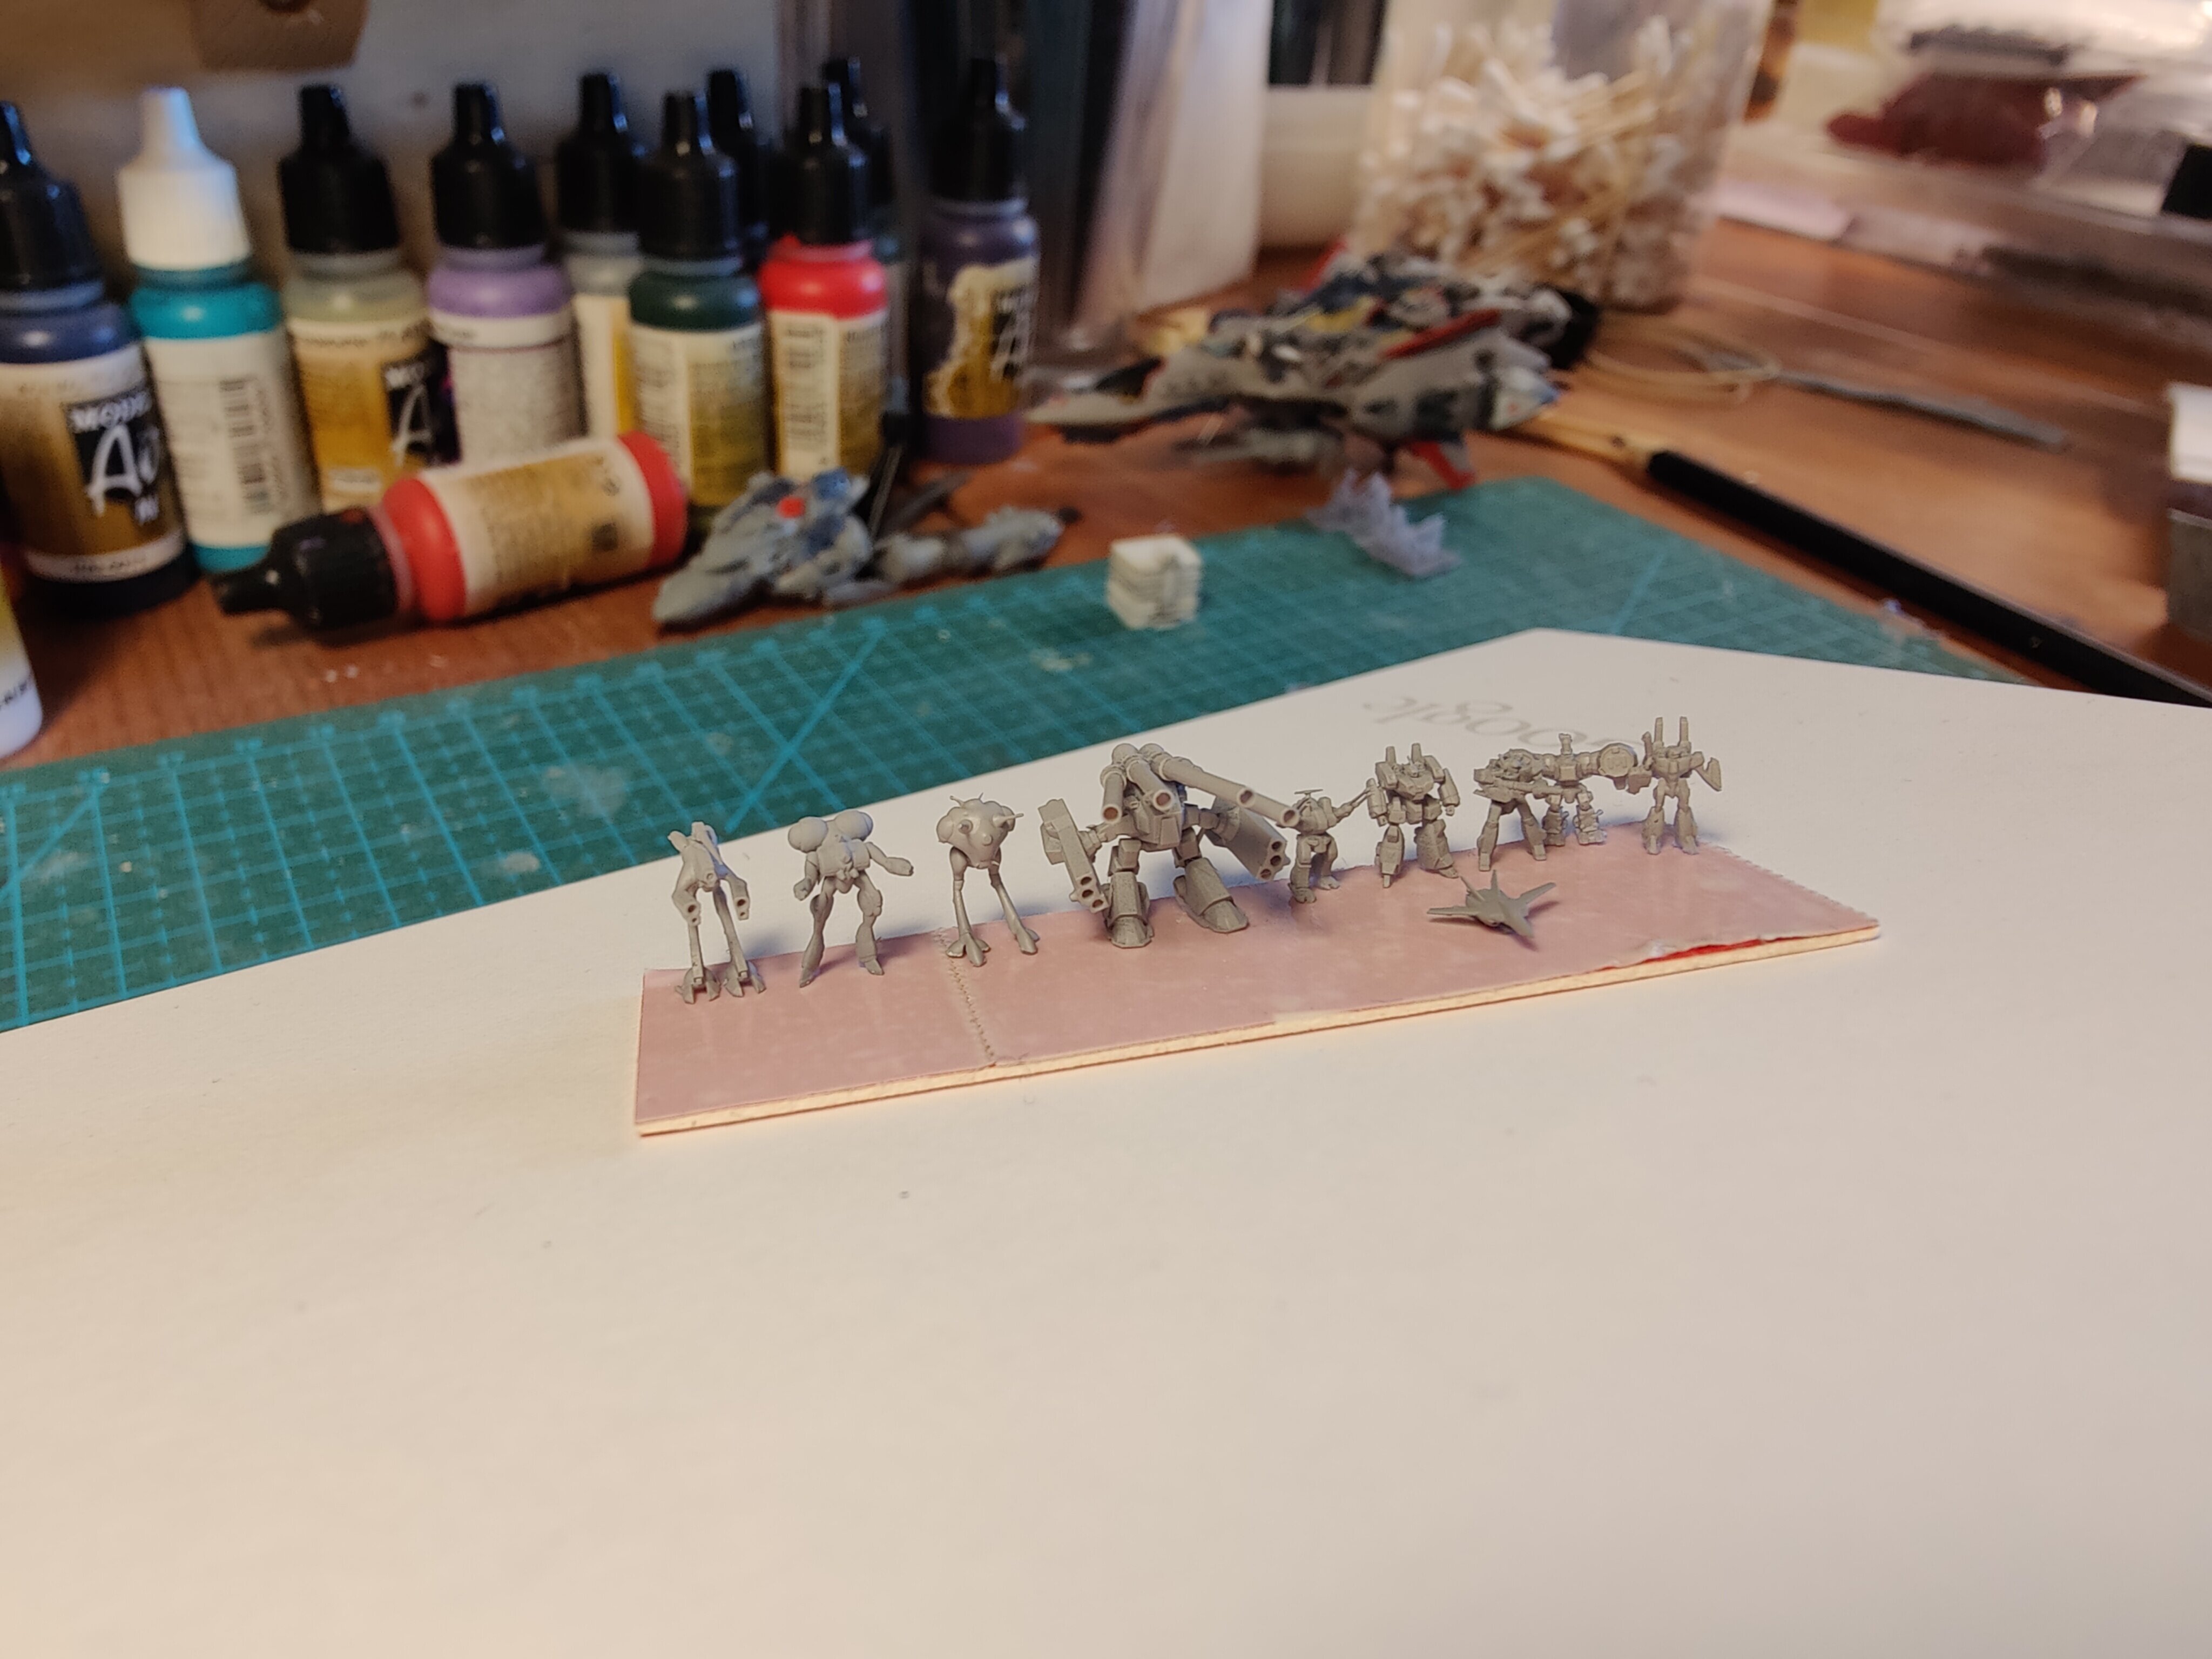
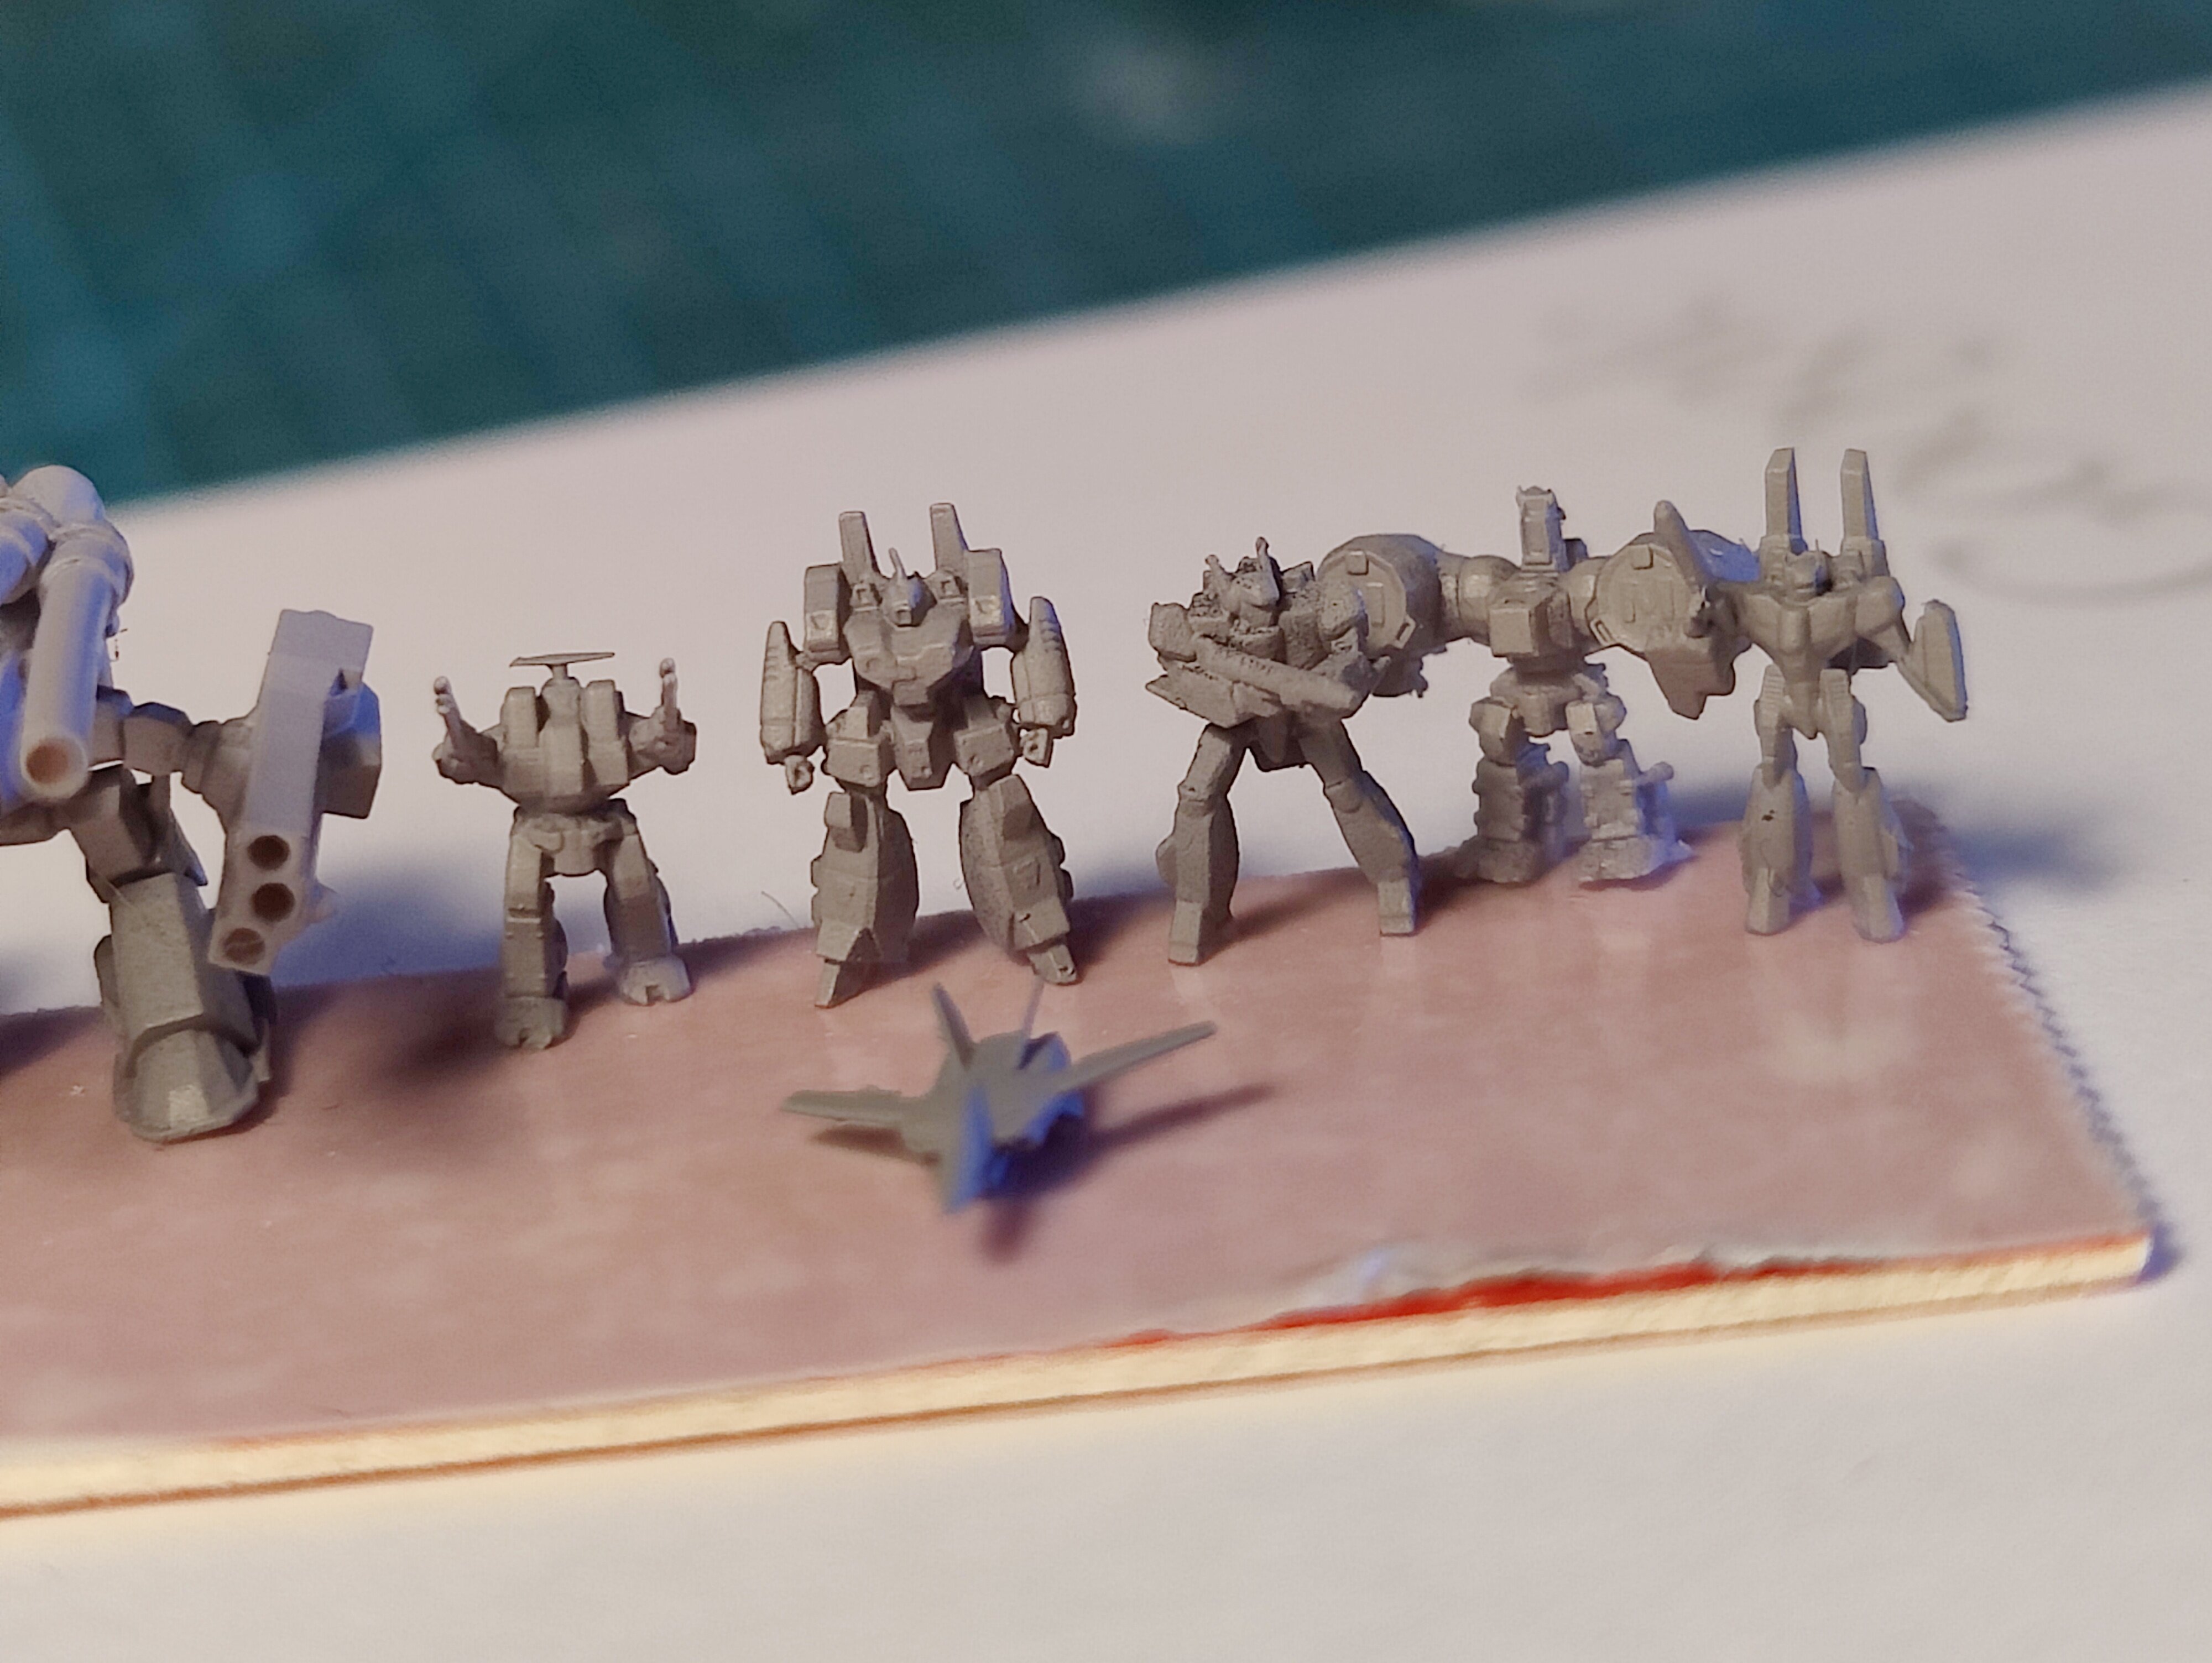
Time to work on the 1/8000 Zentradi Fleet.
The Quedol-Magdomillia should have been printed in two parts instead of one. So, I will be doing some scratch building a bit on these.
omg i need one of these.. xD
-
i still have the scans for this!
if you are interested?
-
it all looks great ppl
on my end i have way to many projects active at one time, so i need to, once in awhile
finish some of them.
long time ago i bought a Bandai PG 00 Raiser gundam.
i never intended to build the Raiser part.
since those parts make the kit way to heavy for any pose.
anyway here are some of the first painted parts.
-
On 9/4/2019 at 8:05 AM, nightmareB4macross said:
nice build!
where did you get these Zentraedi ships?
-
3 hours ago, MechTech said:
Sweet work on that Lexan body Nyankodevice! It looks nice and clean (until you roll it)
)") Is that a 4 x 4 or 2WD? I used to work in a hobby shop (some decades ago) selling all the Tamiya cars. I had a Frog, Hornet, and the Clod Buster with an all fiberglass chassis and hopped up motors/speed control. I've been seeing some of their cars are making a retro comeback - like vinyl records! - MT
Is that a 4 x 4 or 2WD? I used to work in a hobby shop (some decades ago) selling all the Tamiya cars. I had a Frog, Hornet, and the Clod Buster with an all fiberglass chassis and hopped up motors/speed control. I've been seeing some of their cars are making a retro comeback - like vinyl records! - MT
its a 4WD.
and yea my first RC car..
the paint job went well considering its also my first time painting something on the inside...
-
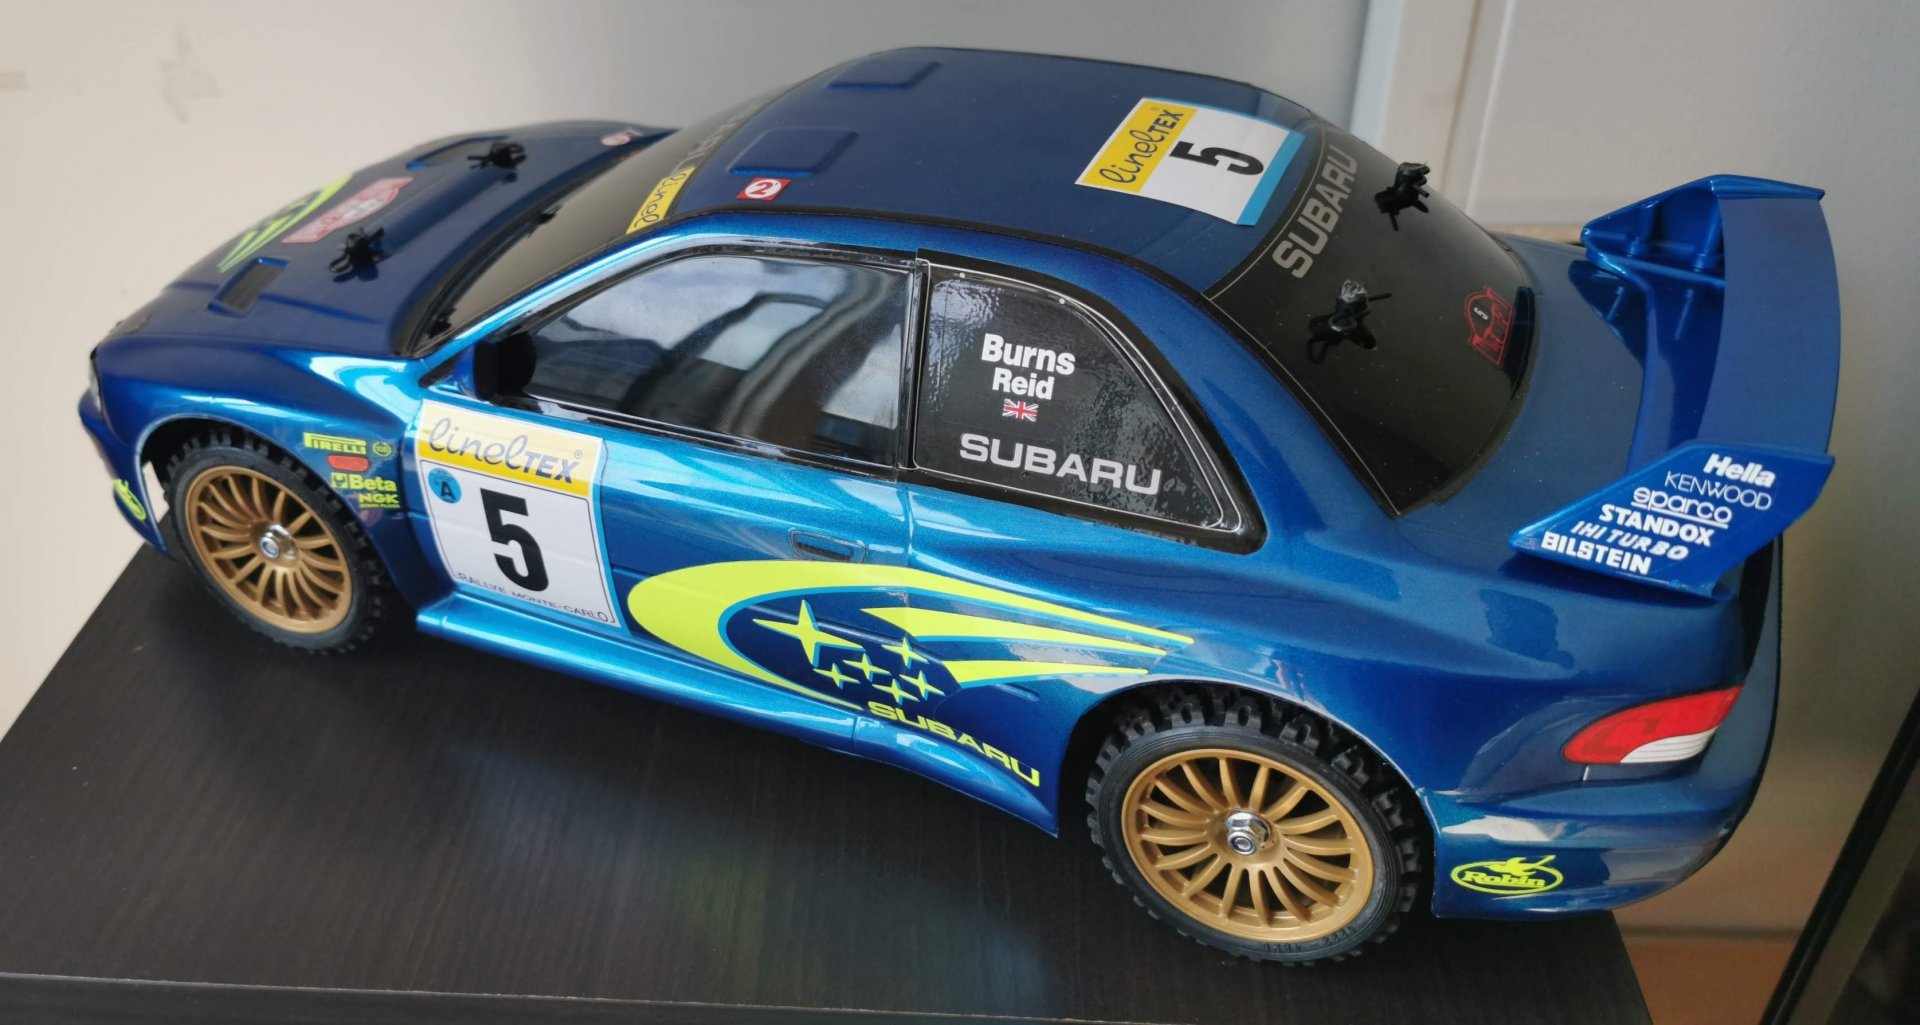
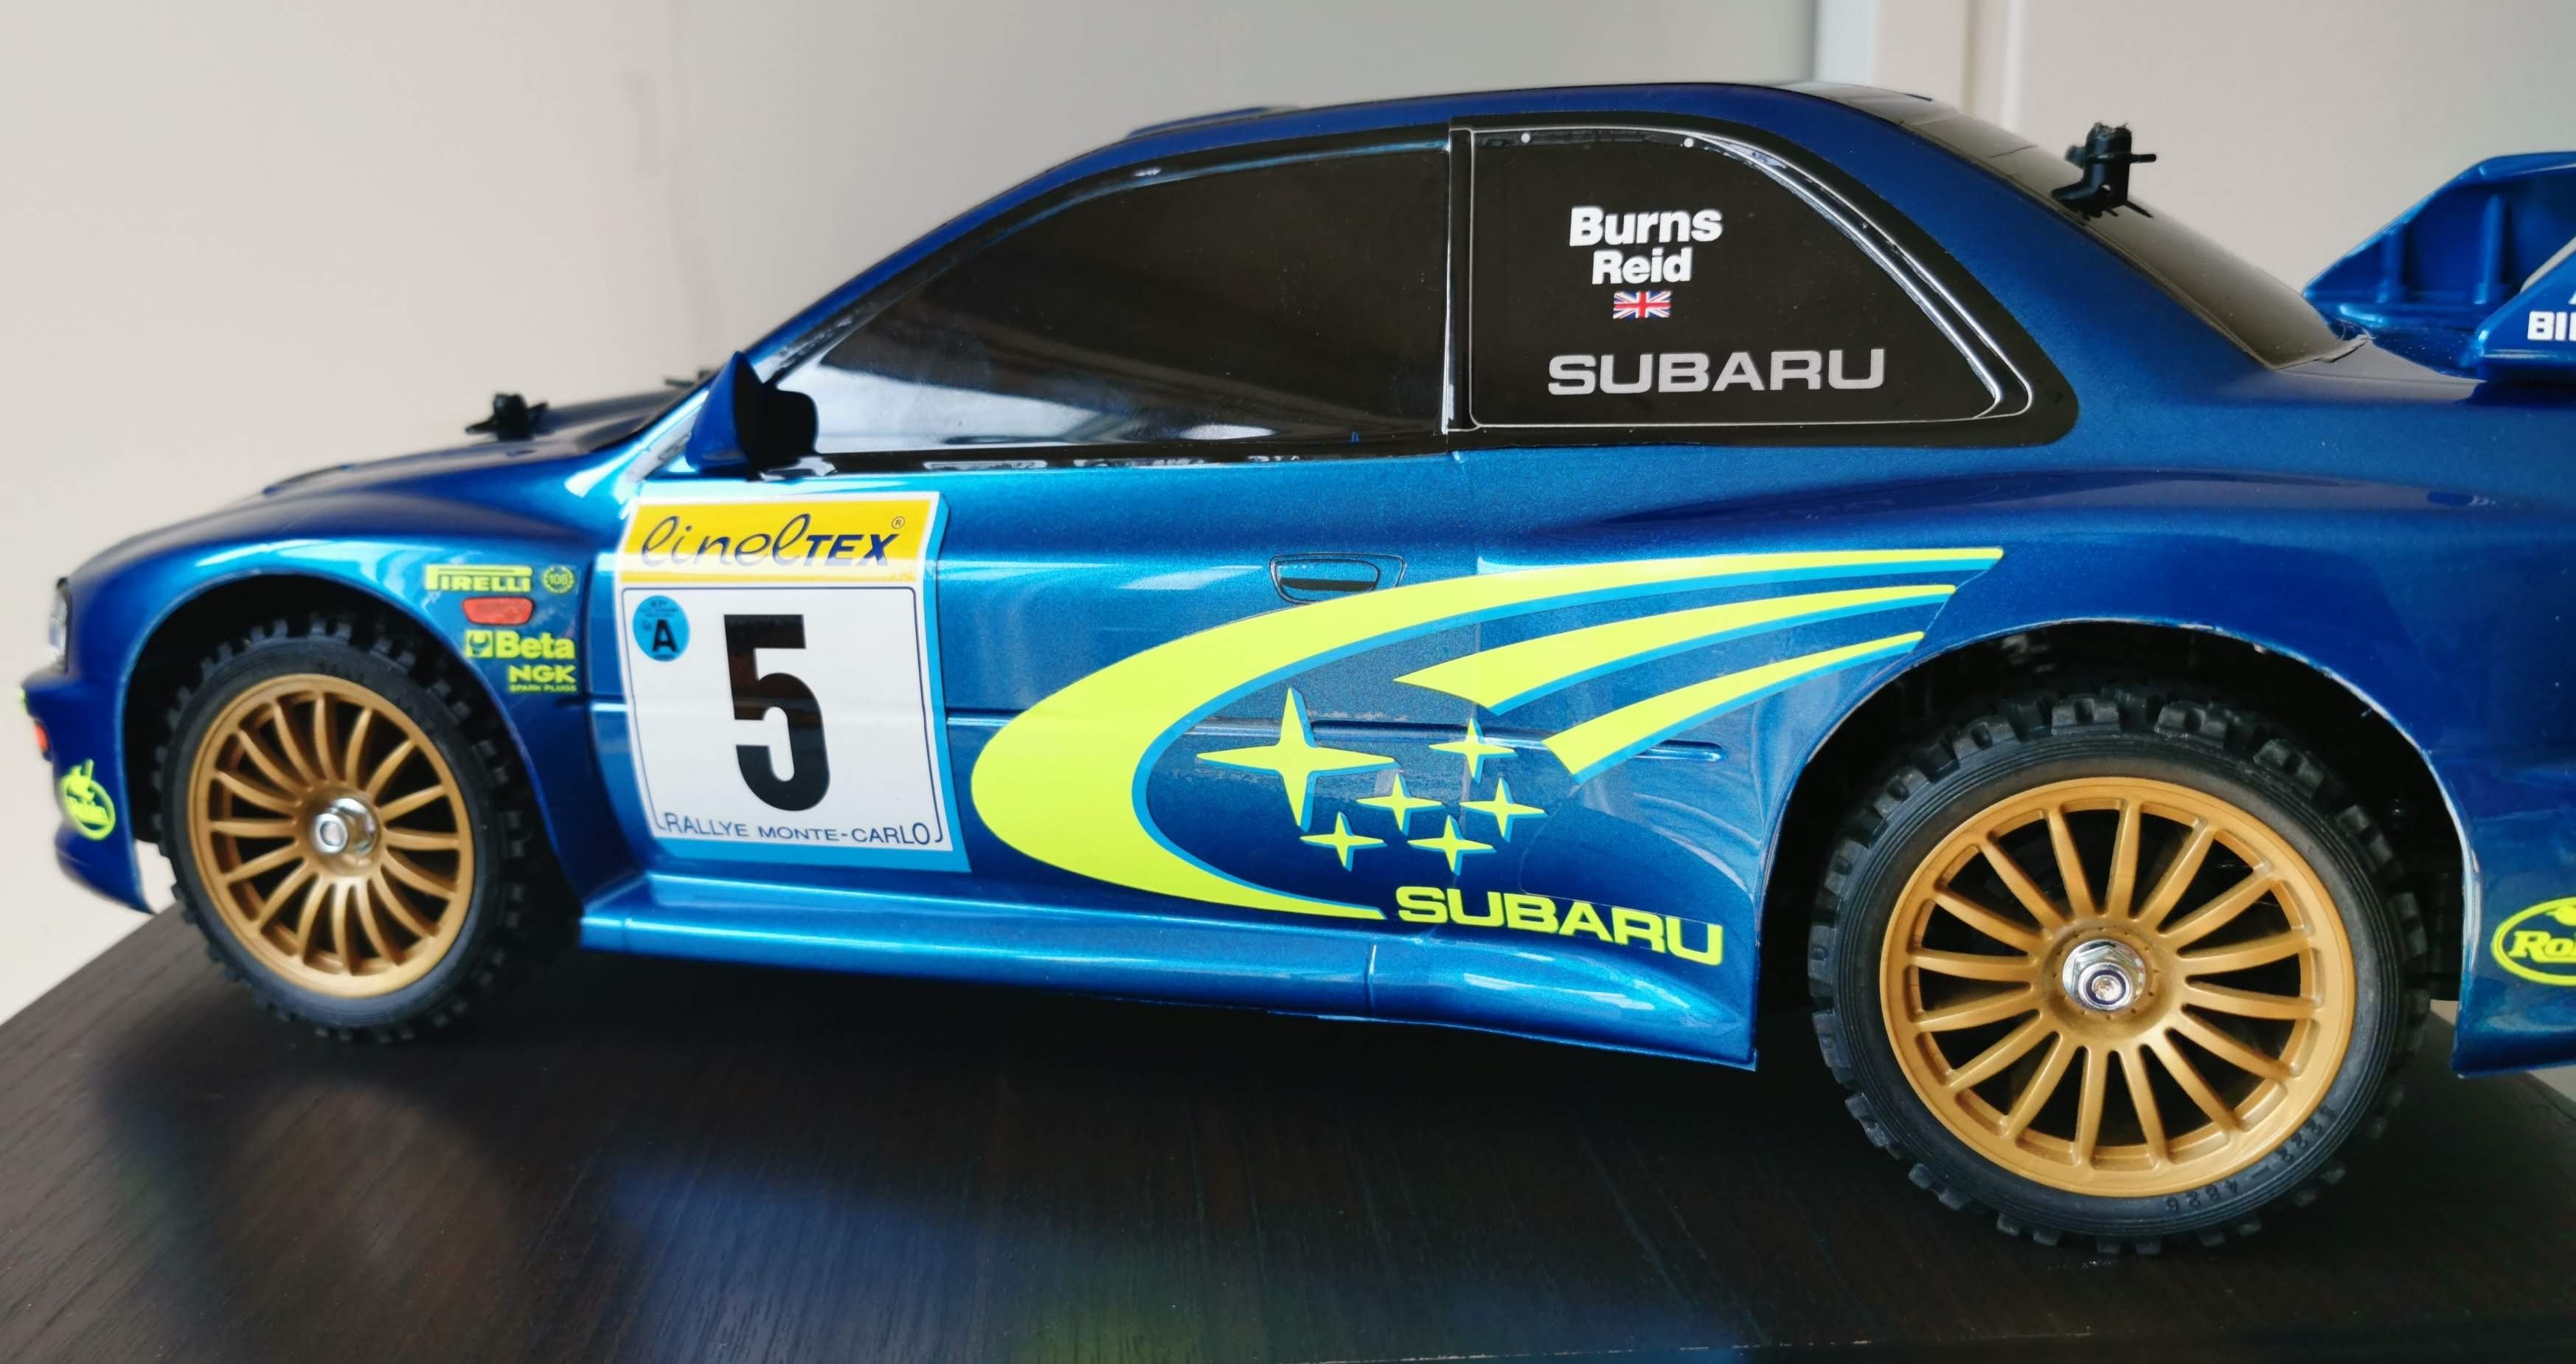
just finished this RC car from Tamiya!

-
lol... lag


Whats Lying on your Workbench MK IV
in The Workshop!
Posted
NICE!
great idea, cant wait to se it finished!