

Urashiman
-
Posts
766 -
Joined
-
Last visited
Content Type
Profiles
Forums
Events
Gallery
Everything posted by Urashiman
-
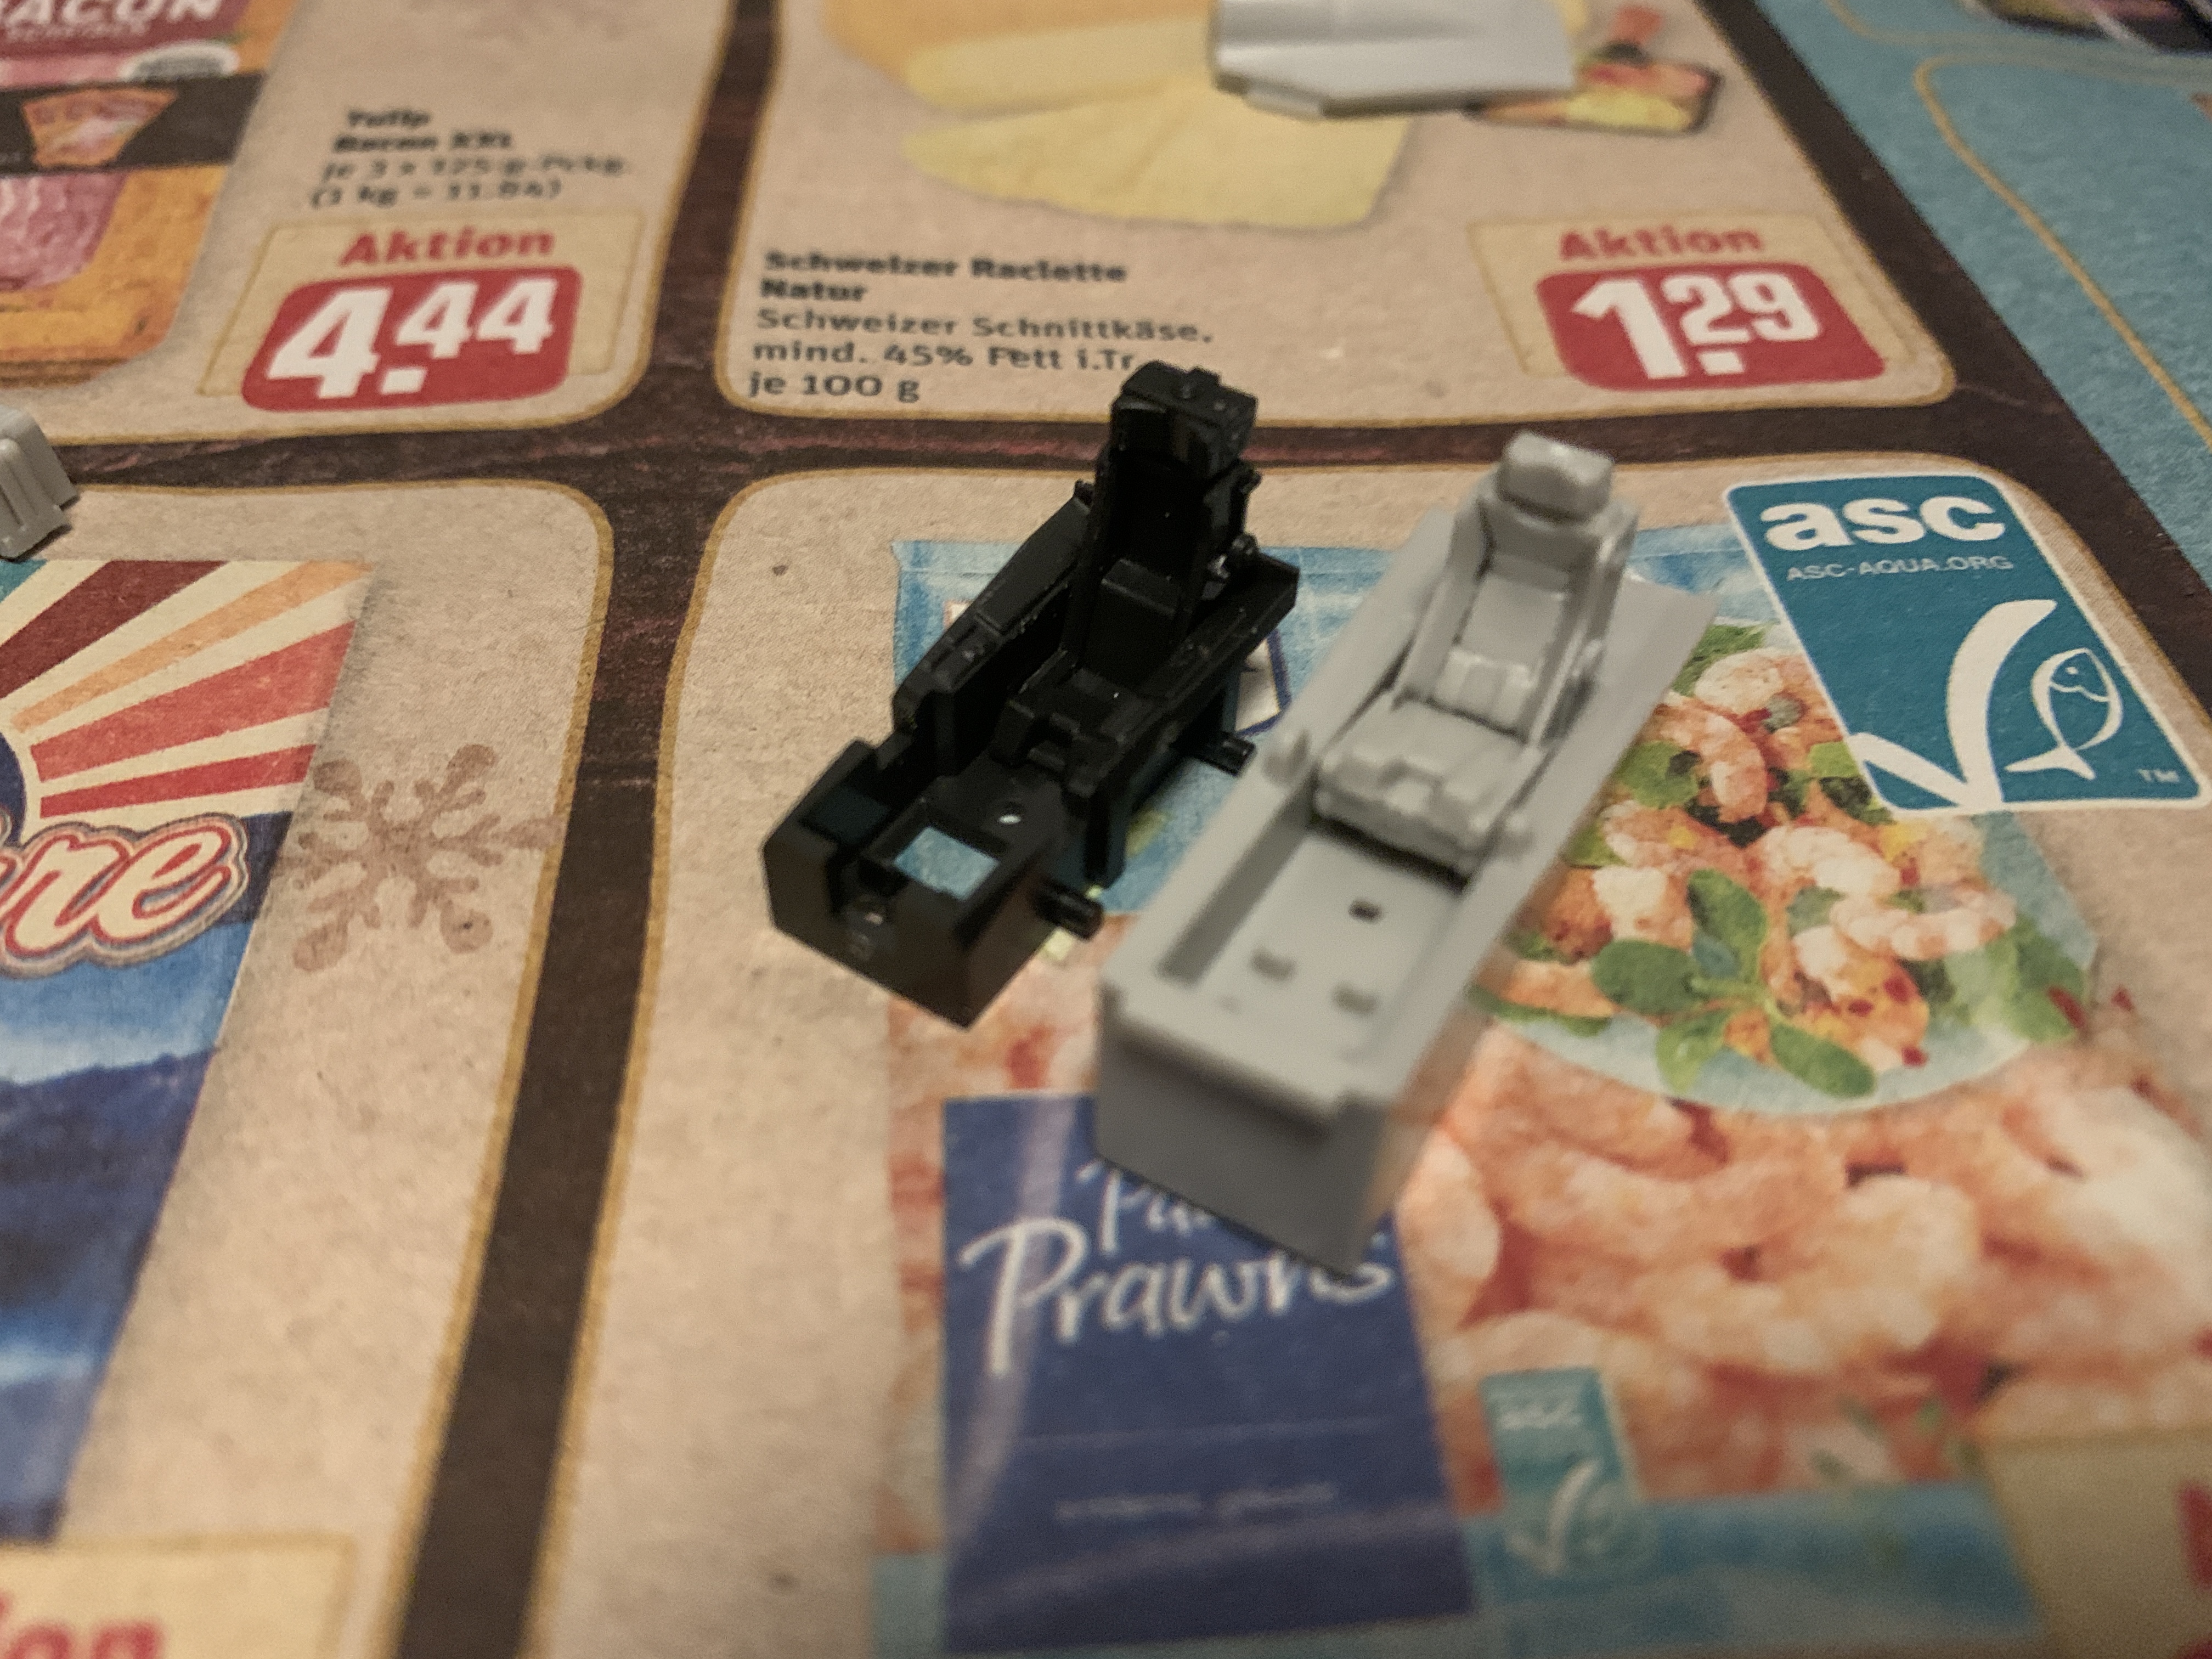
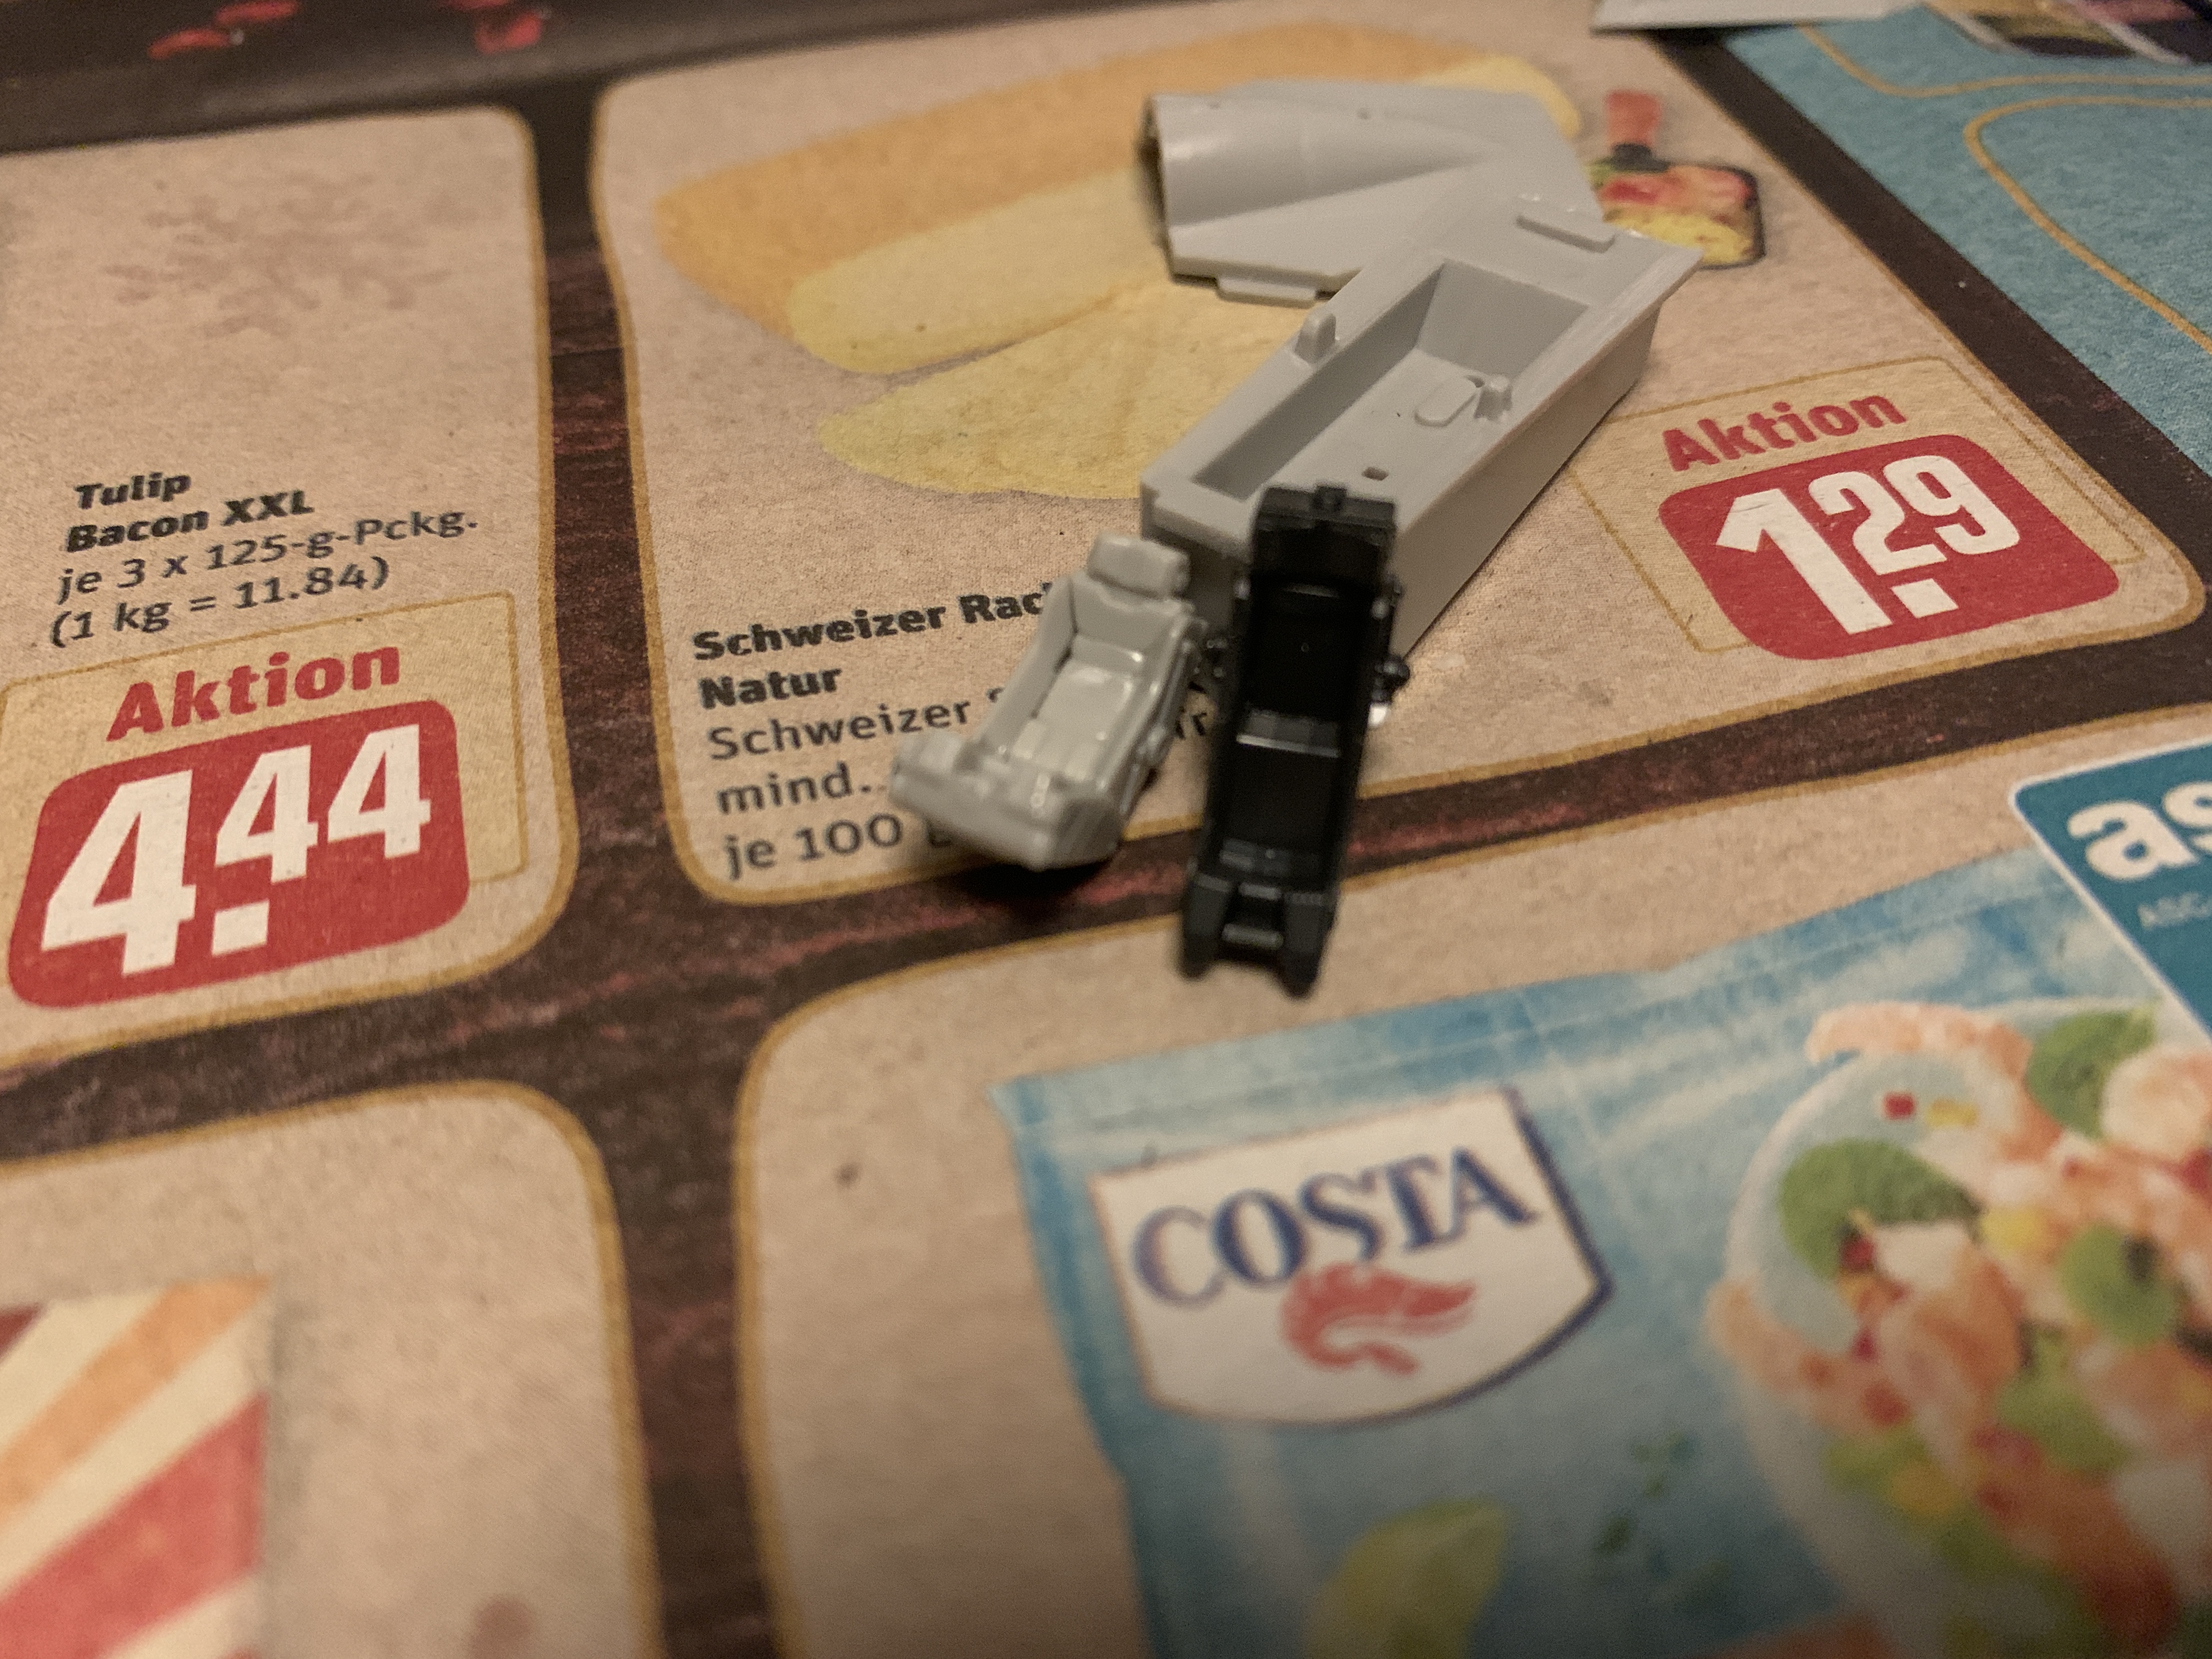
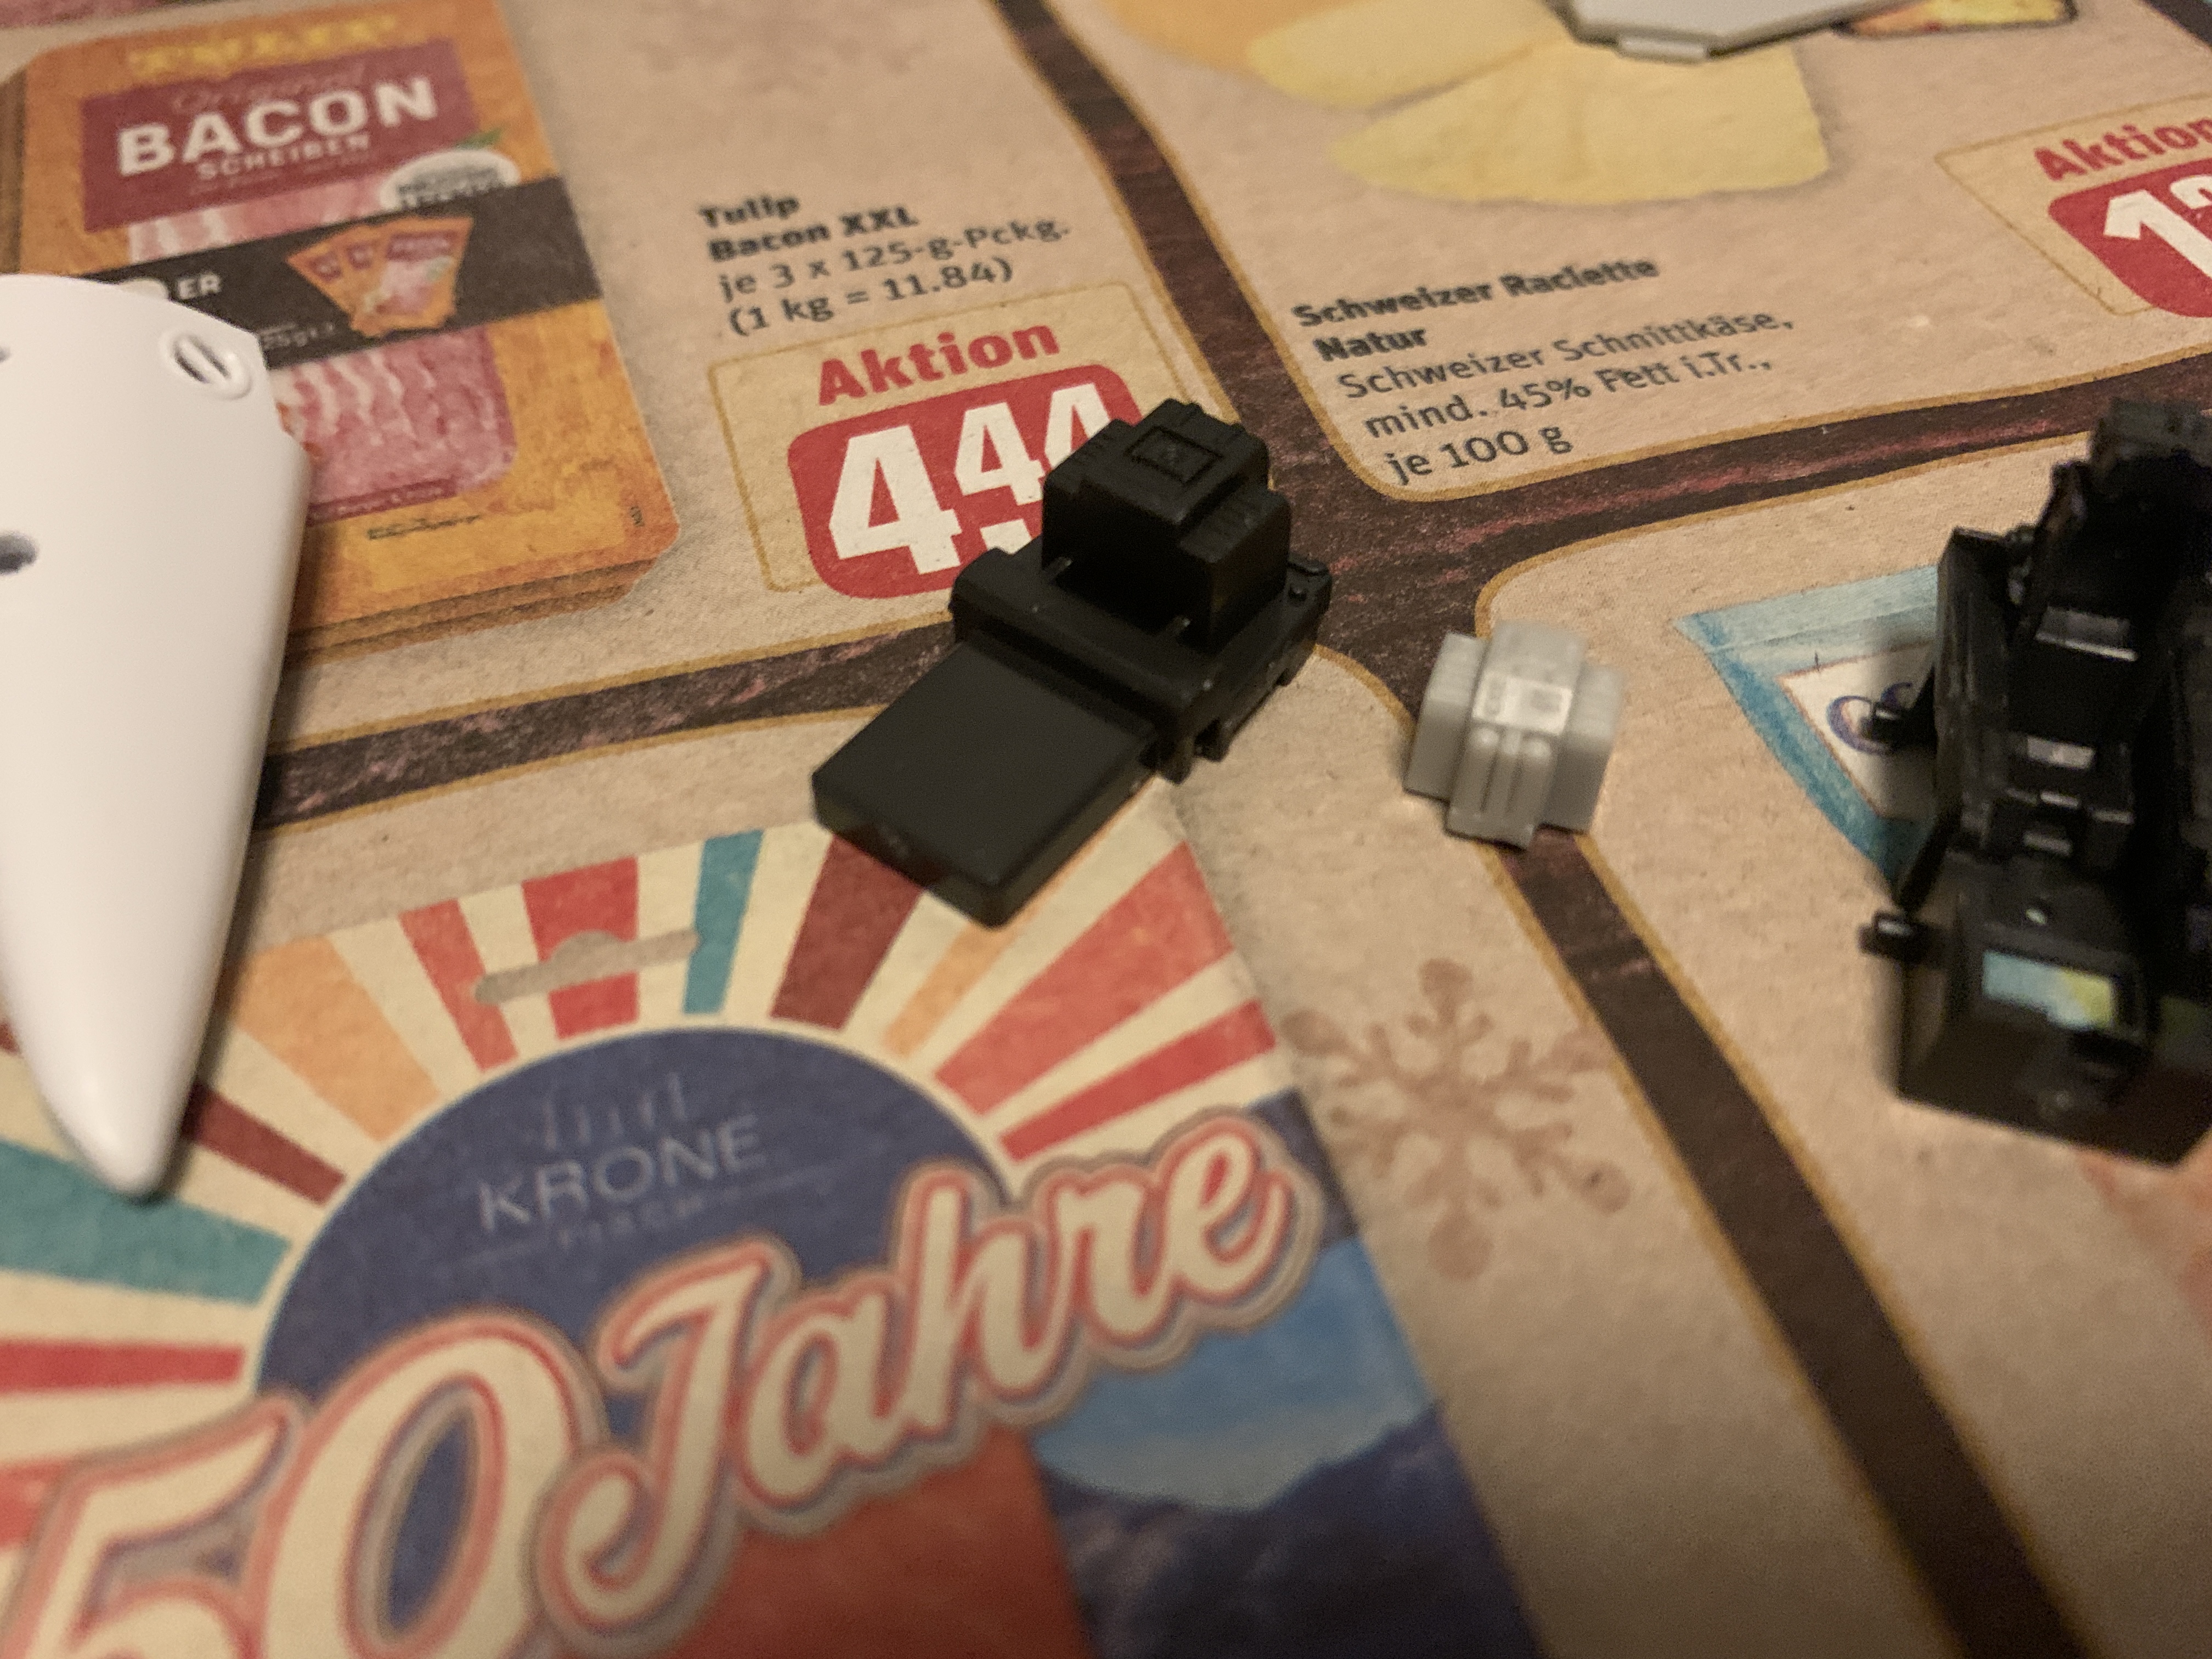
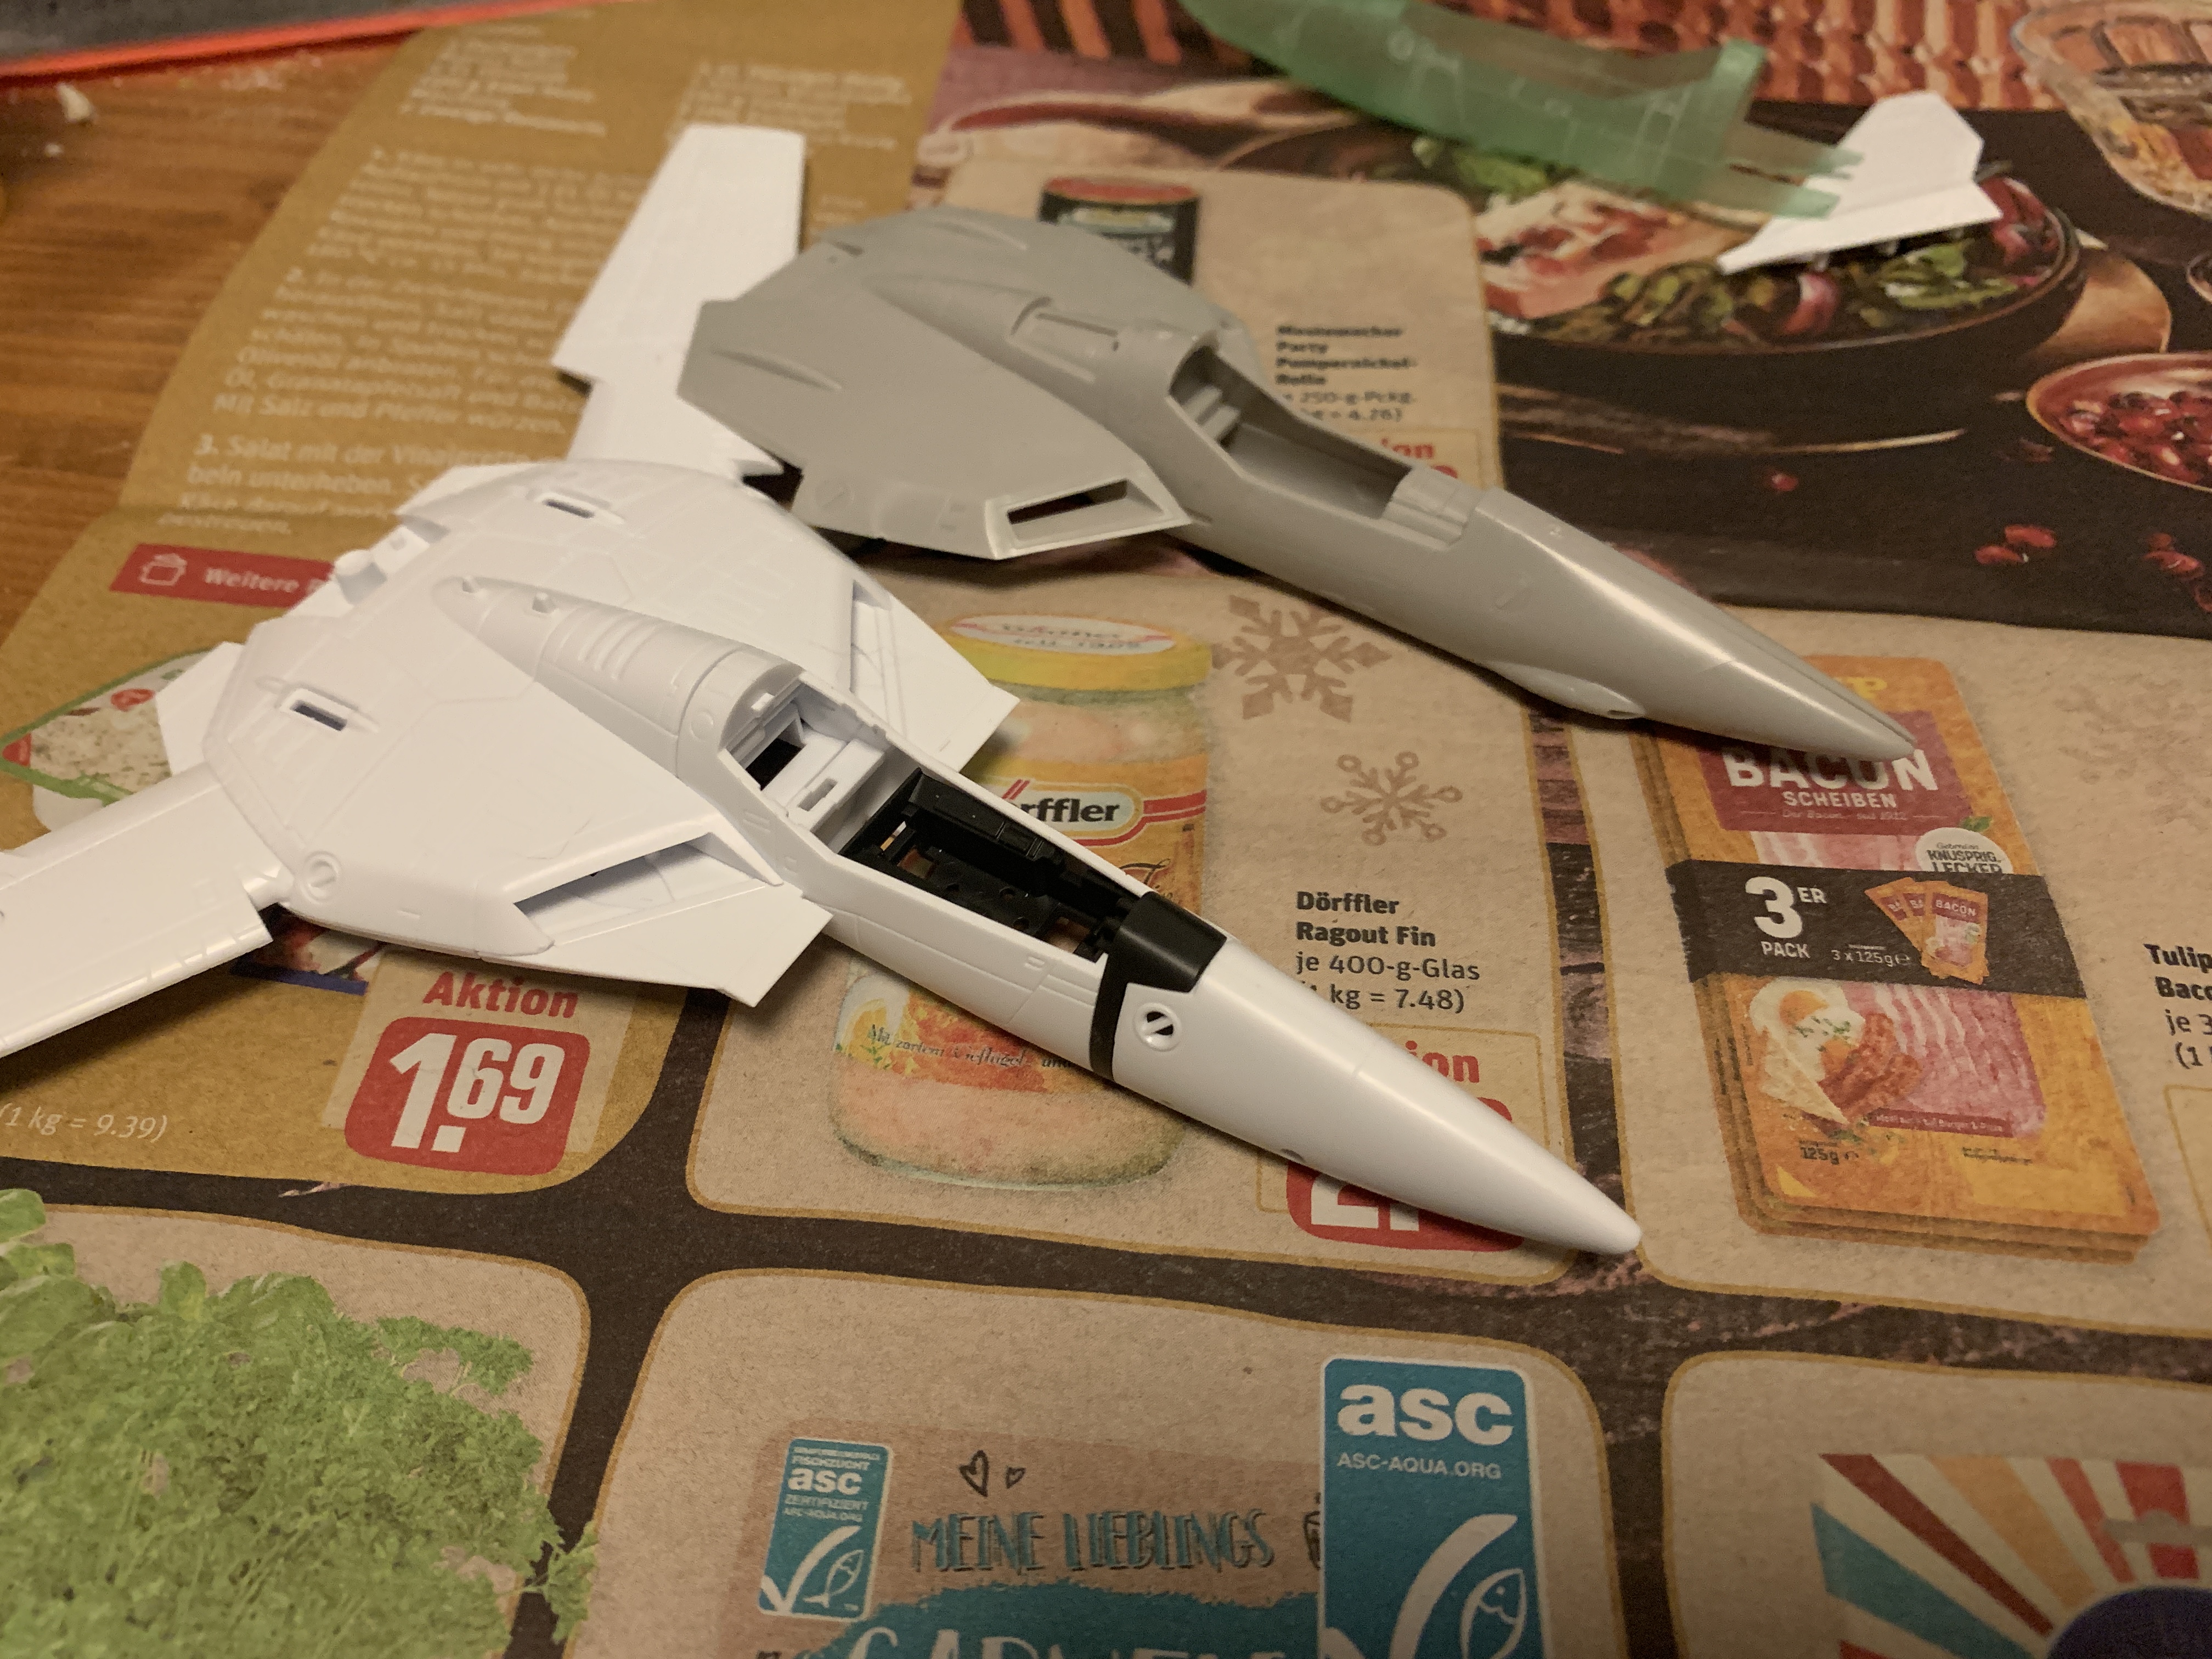
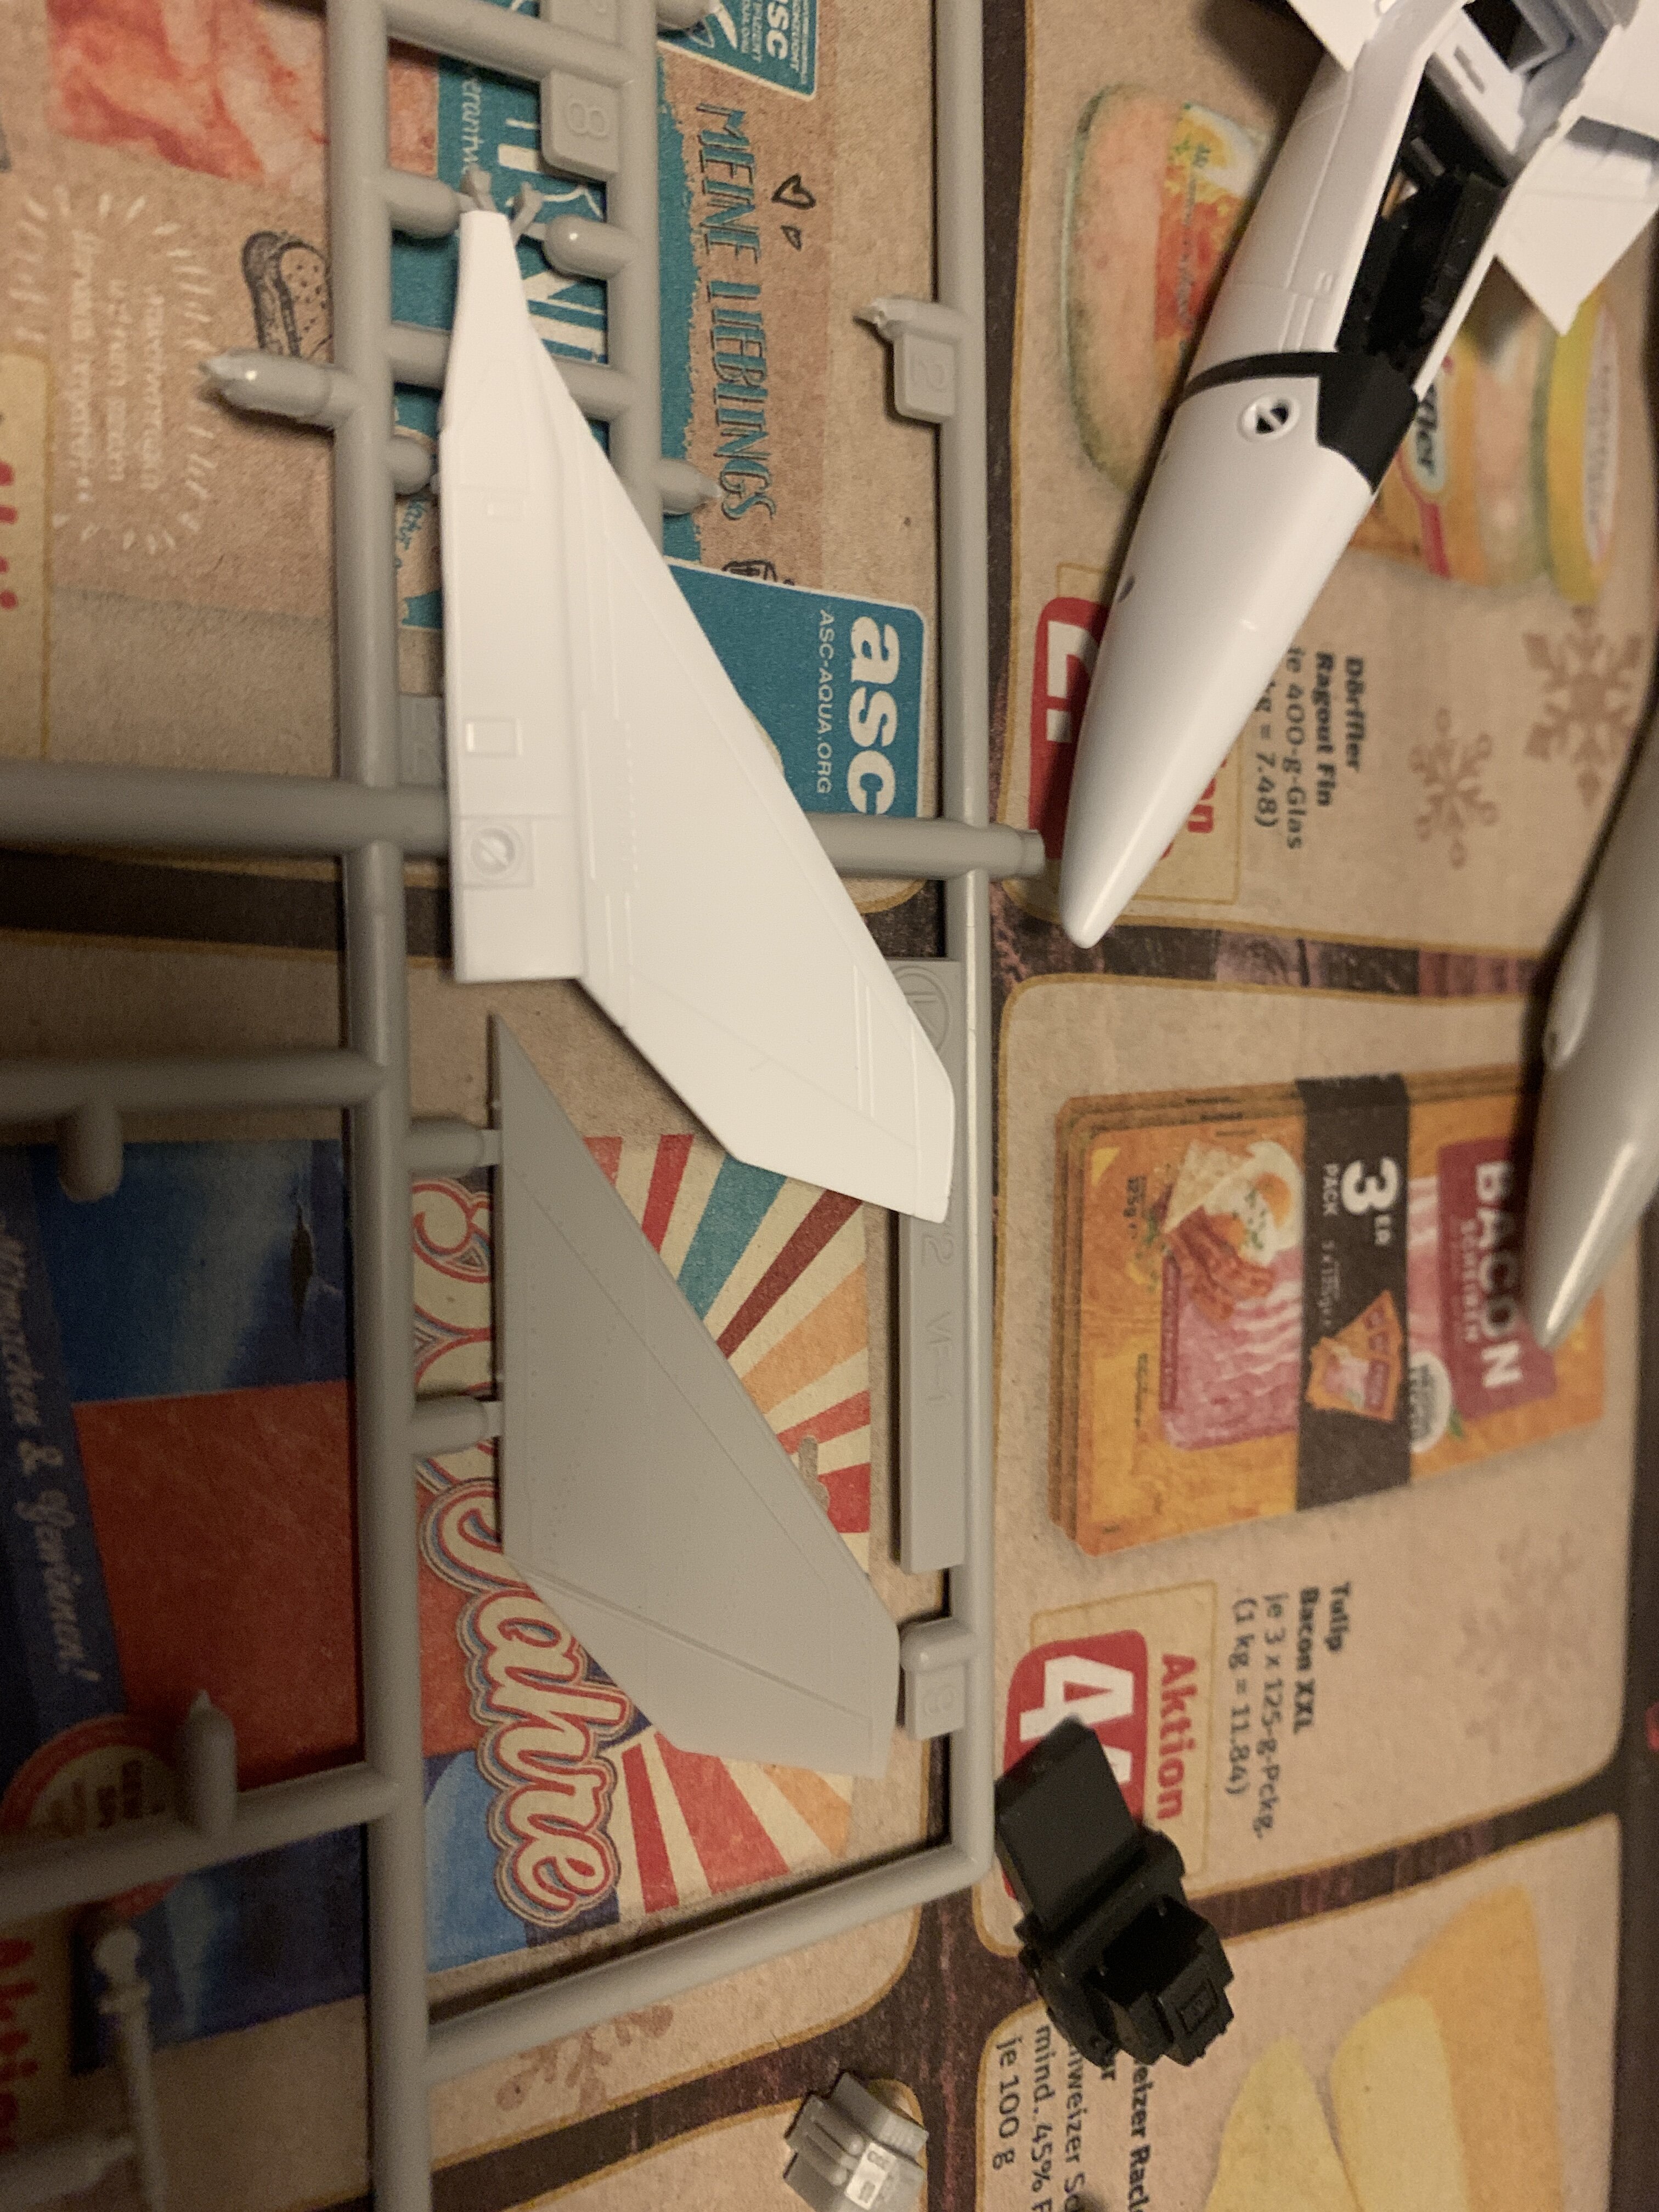
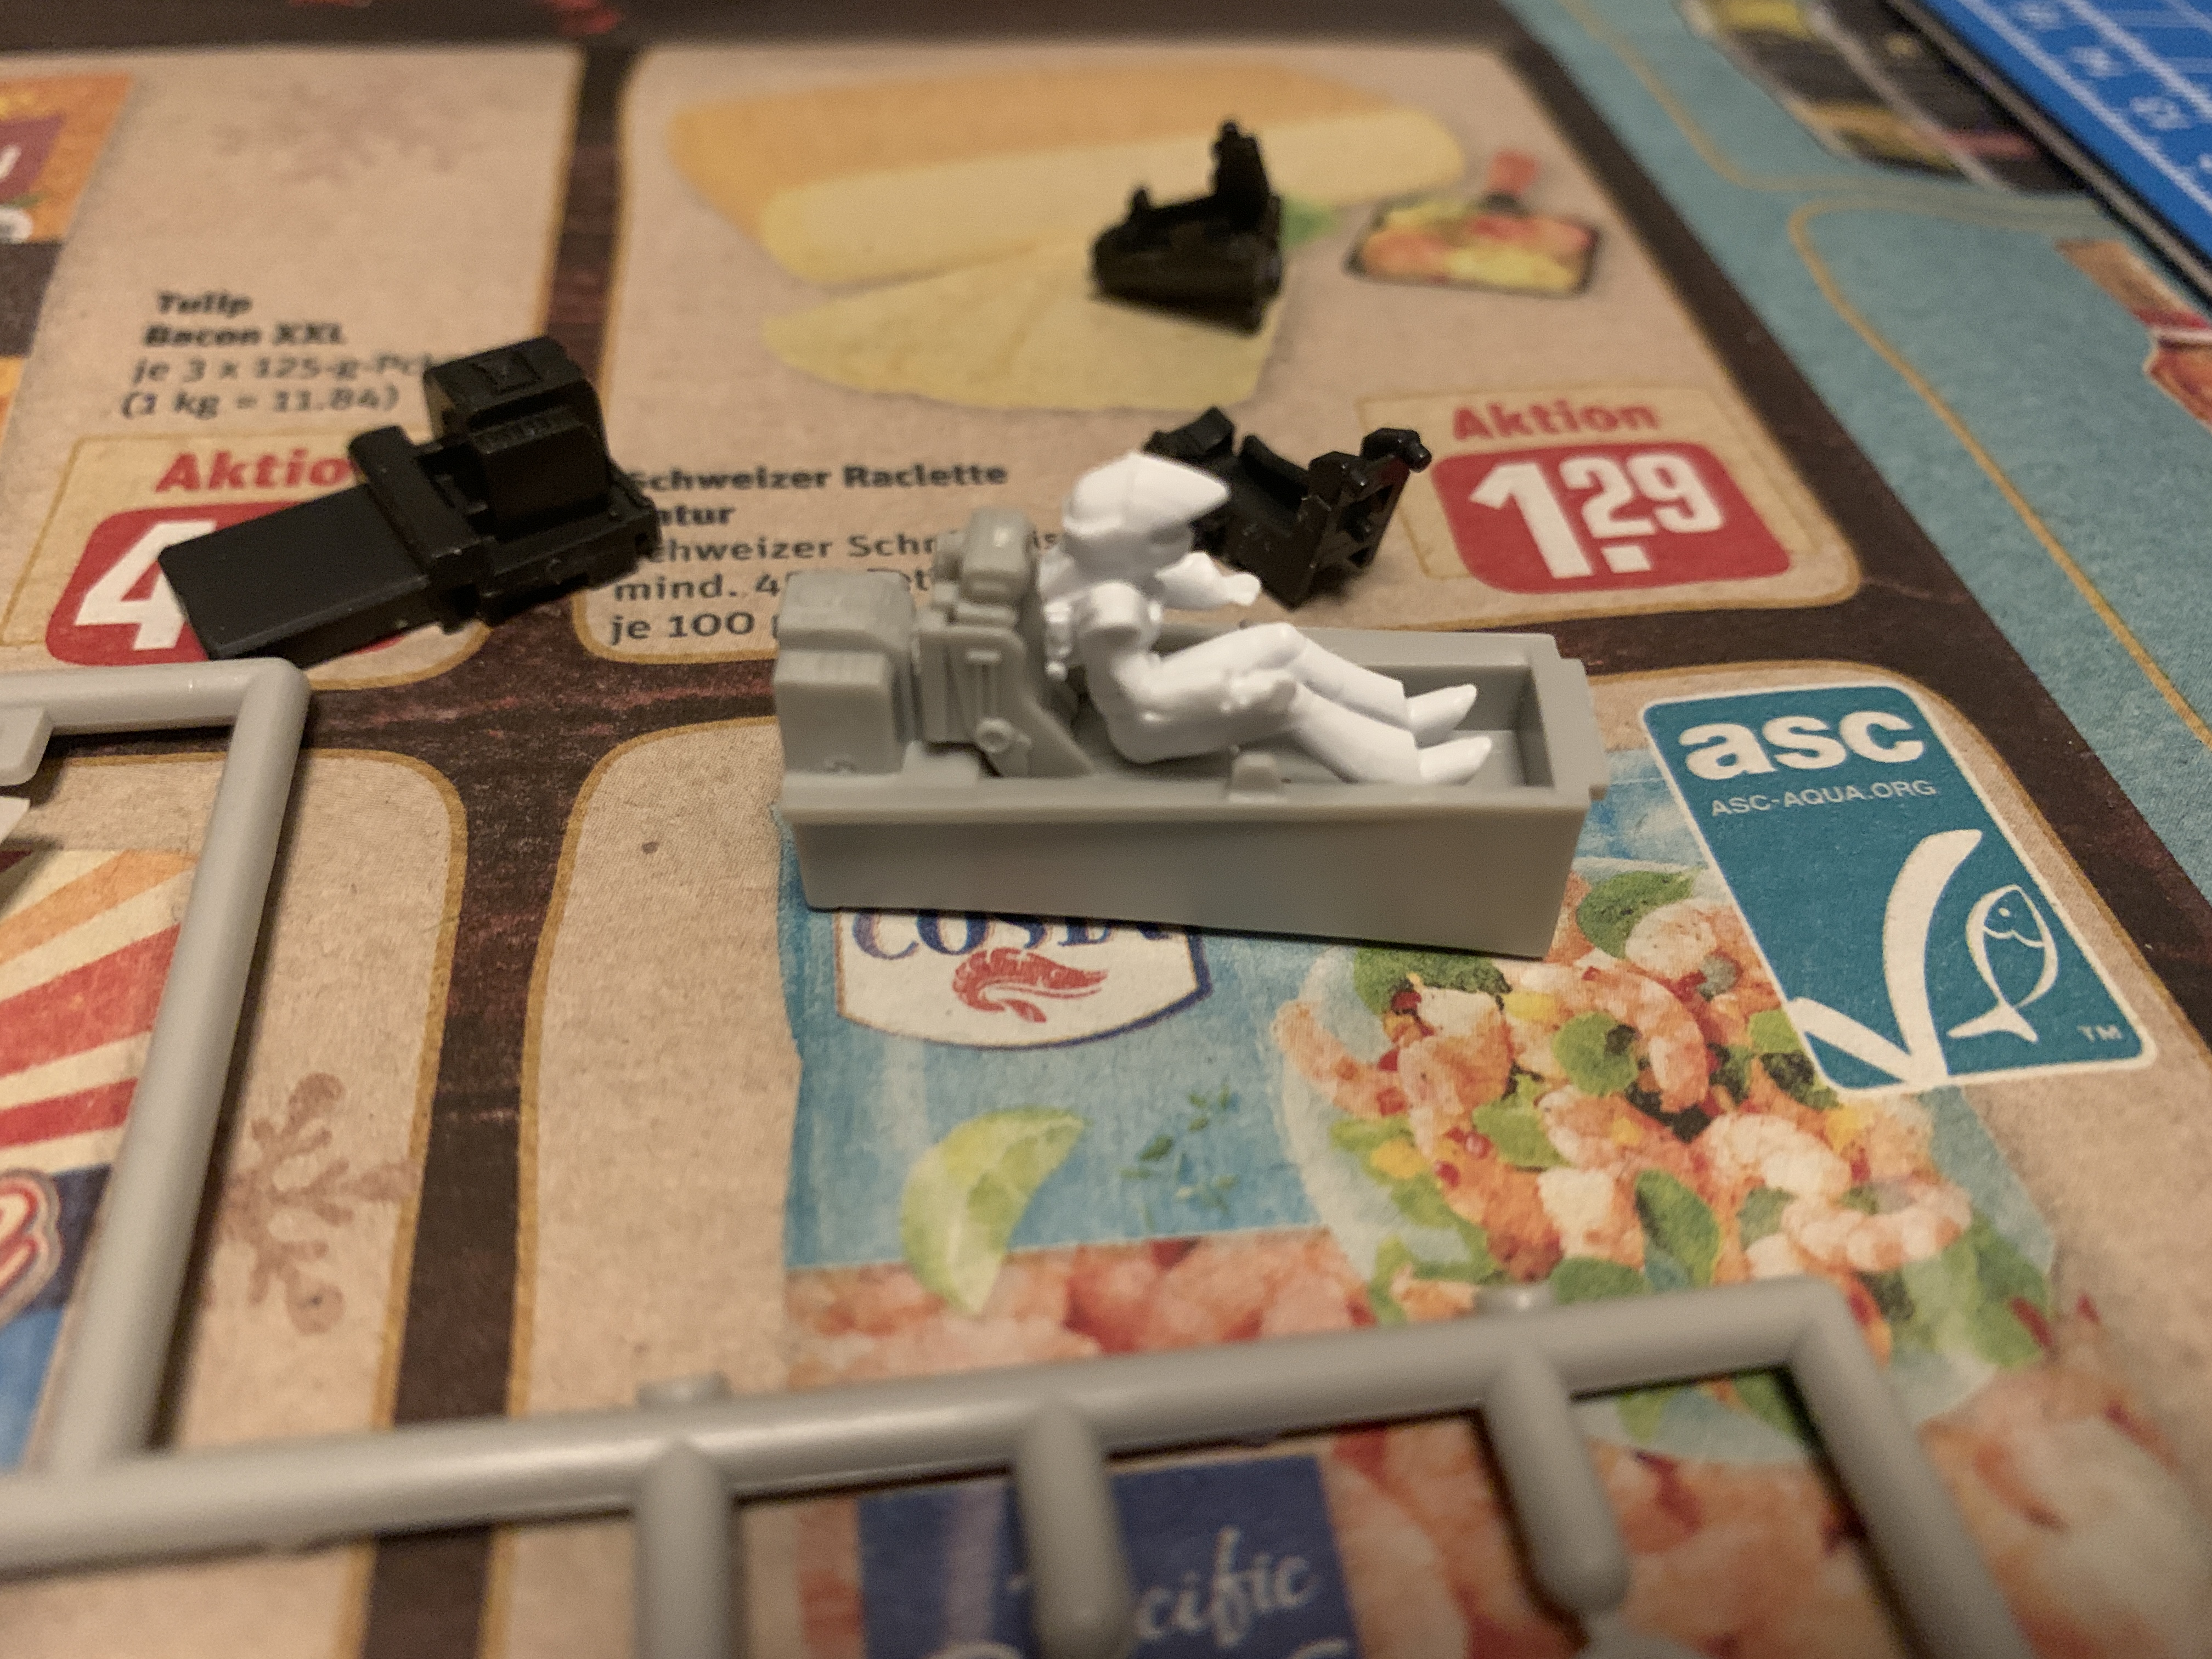
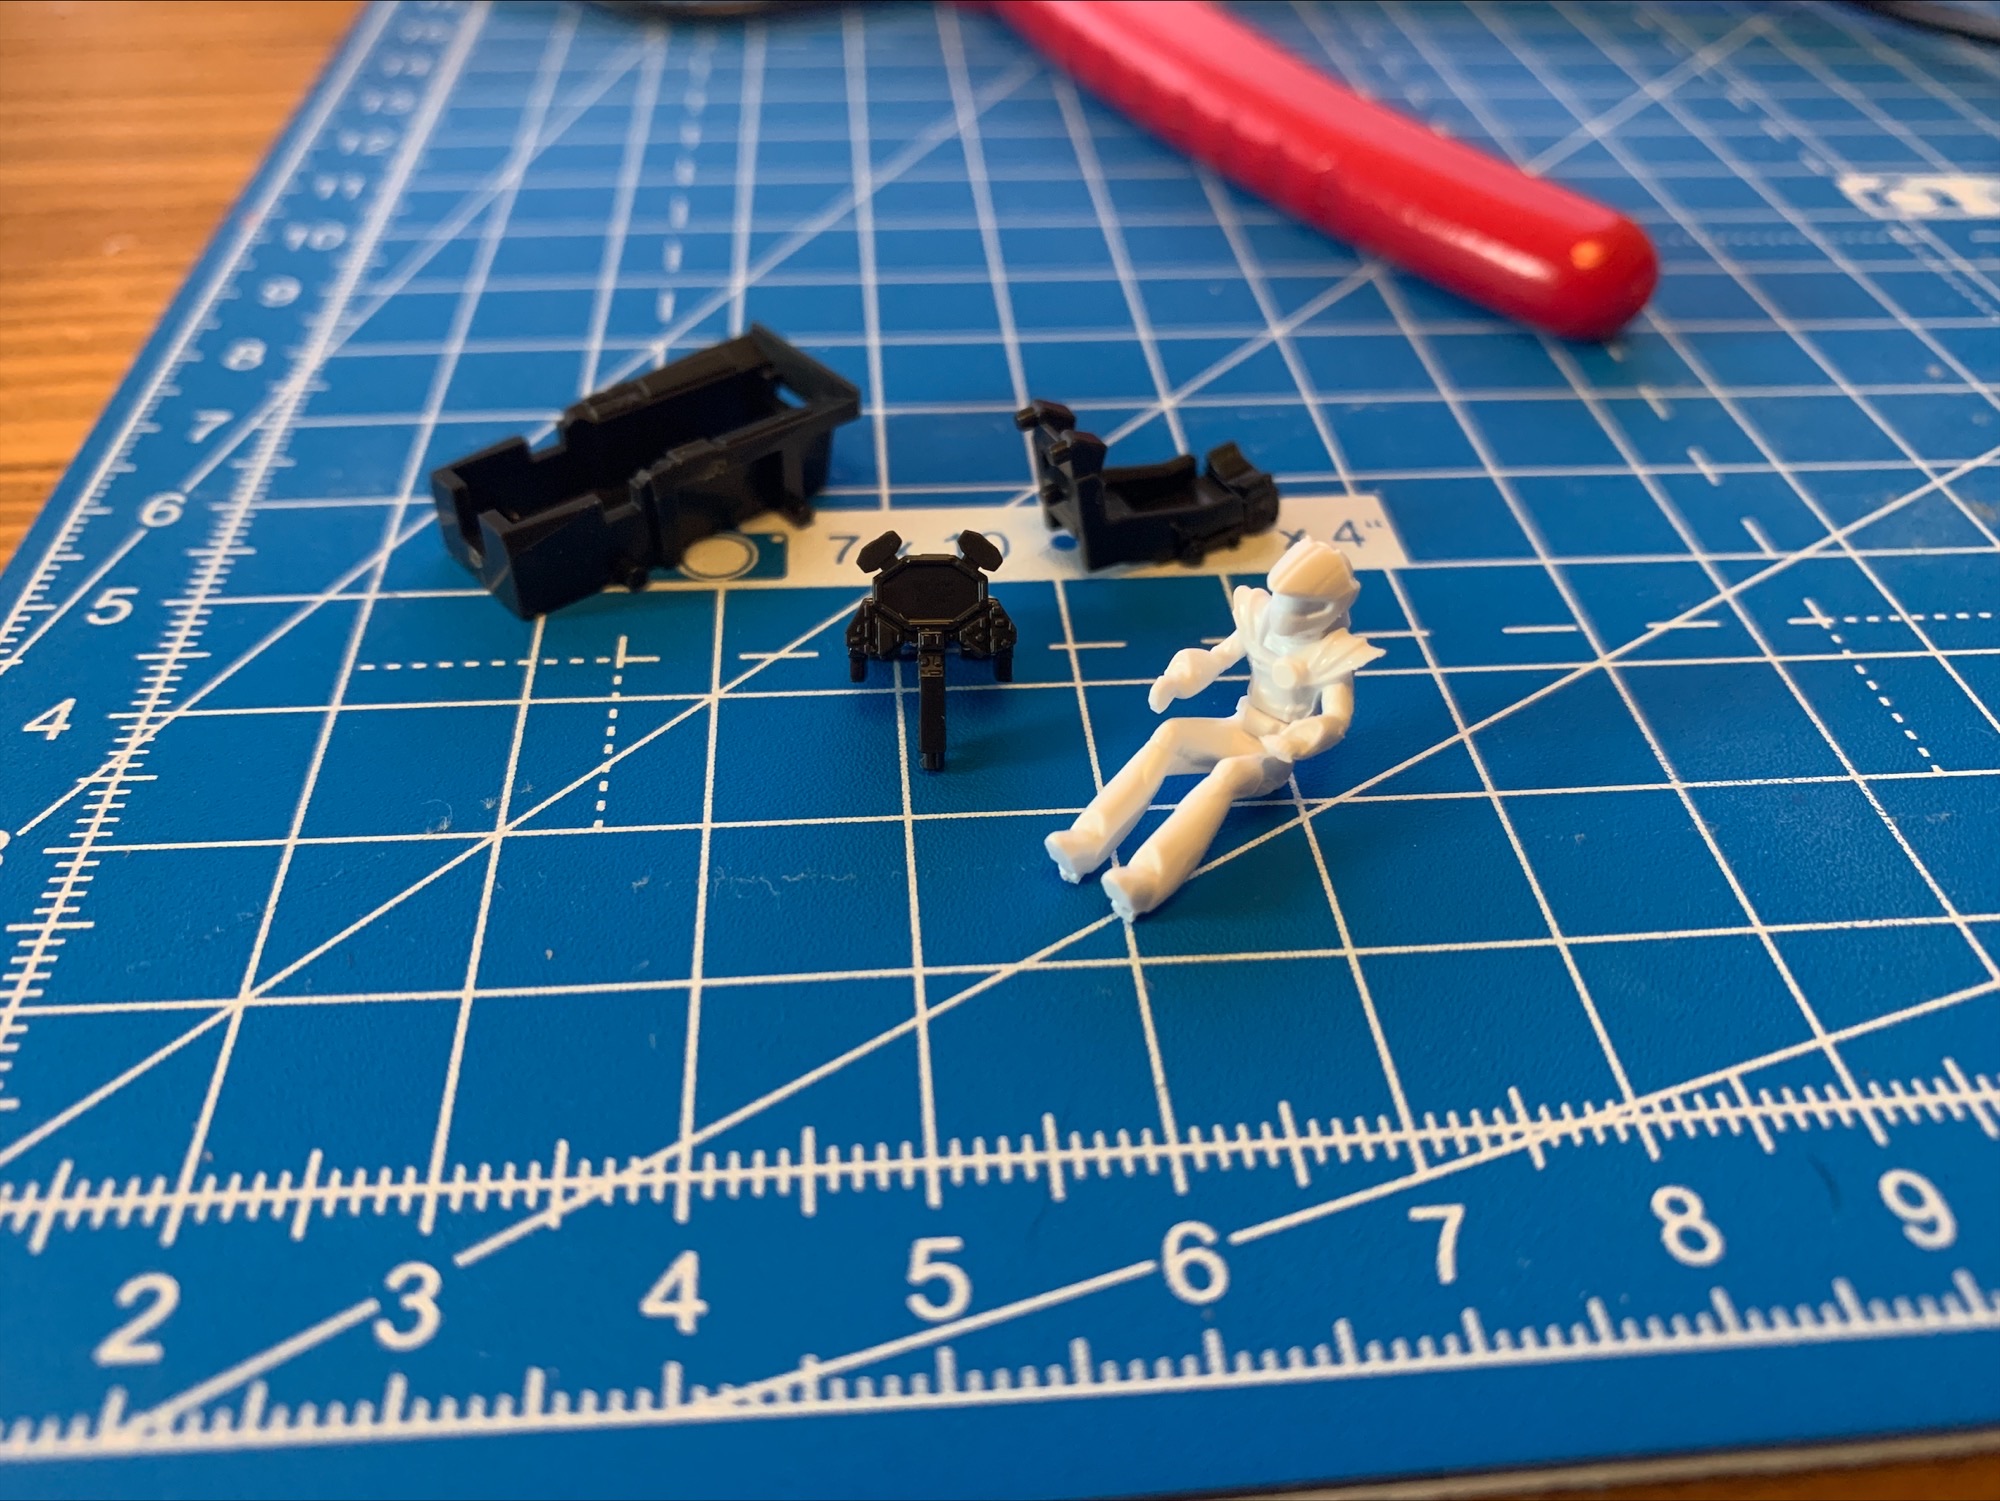
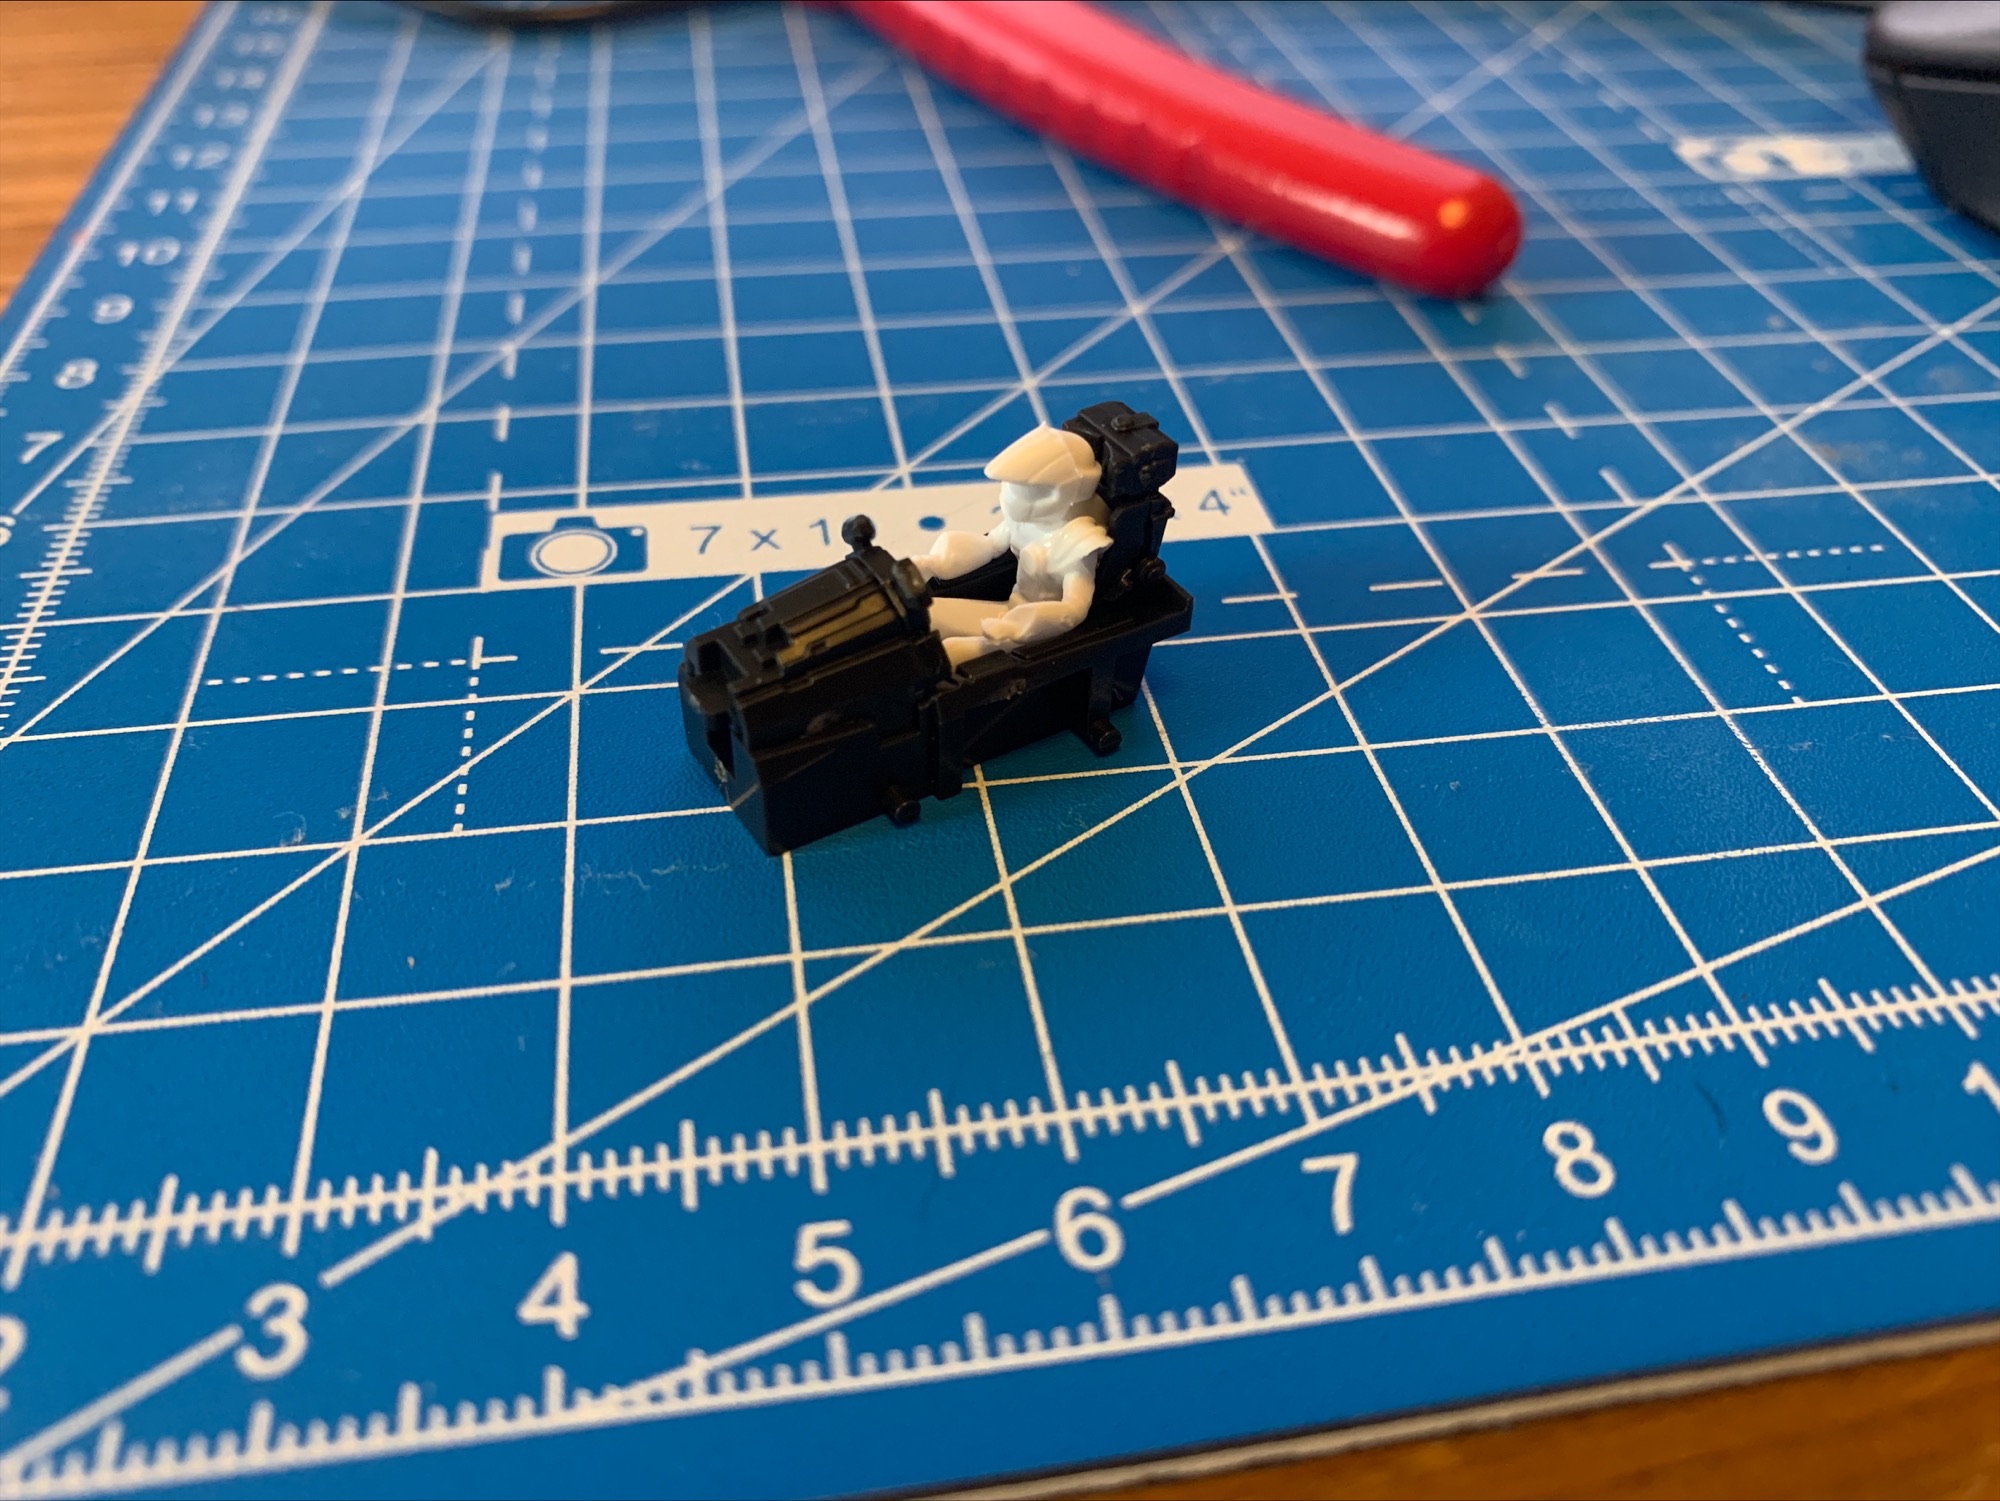
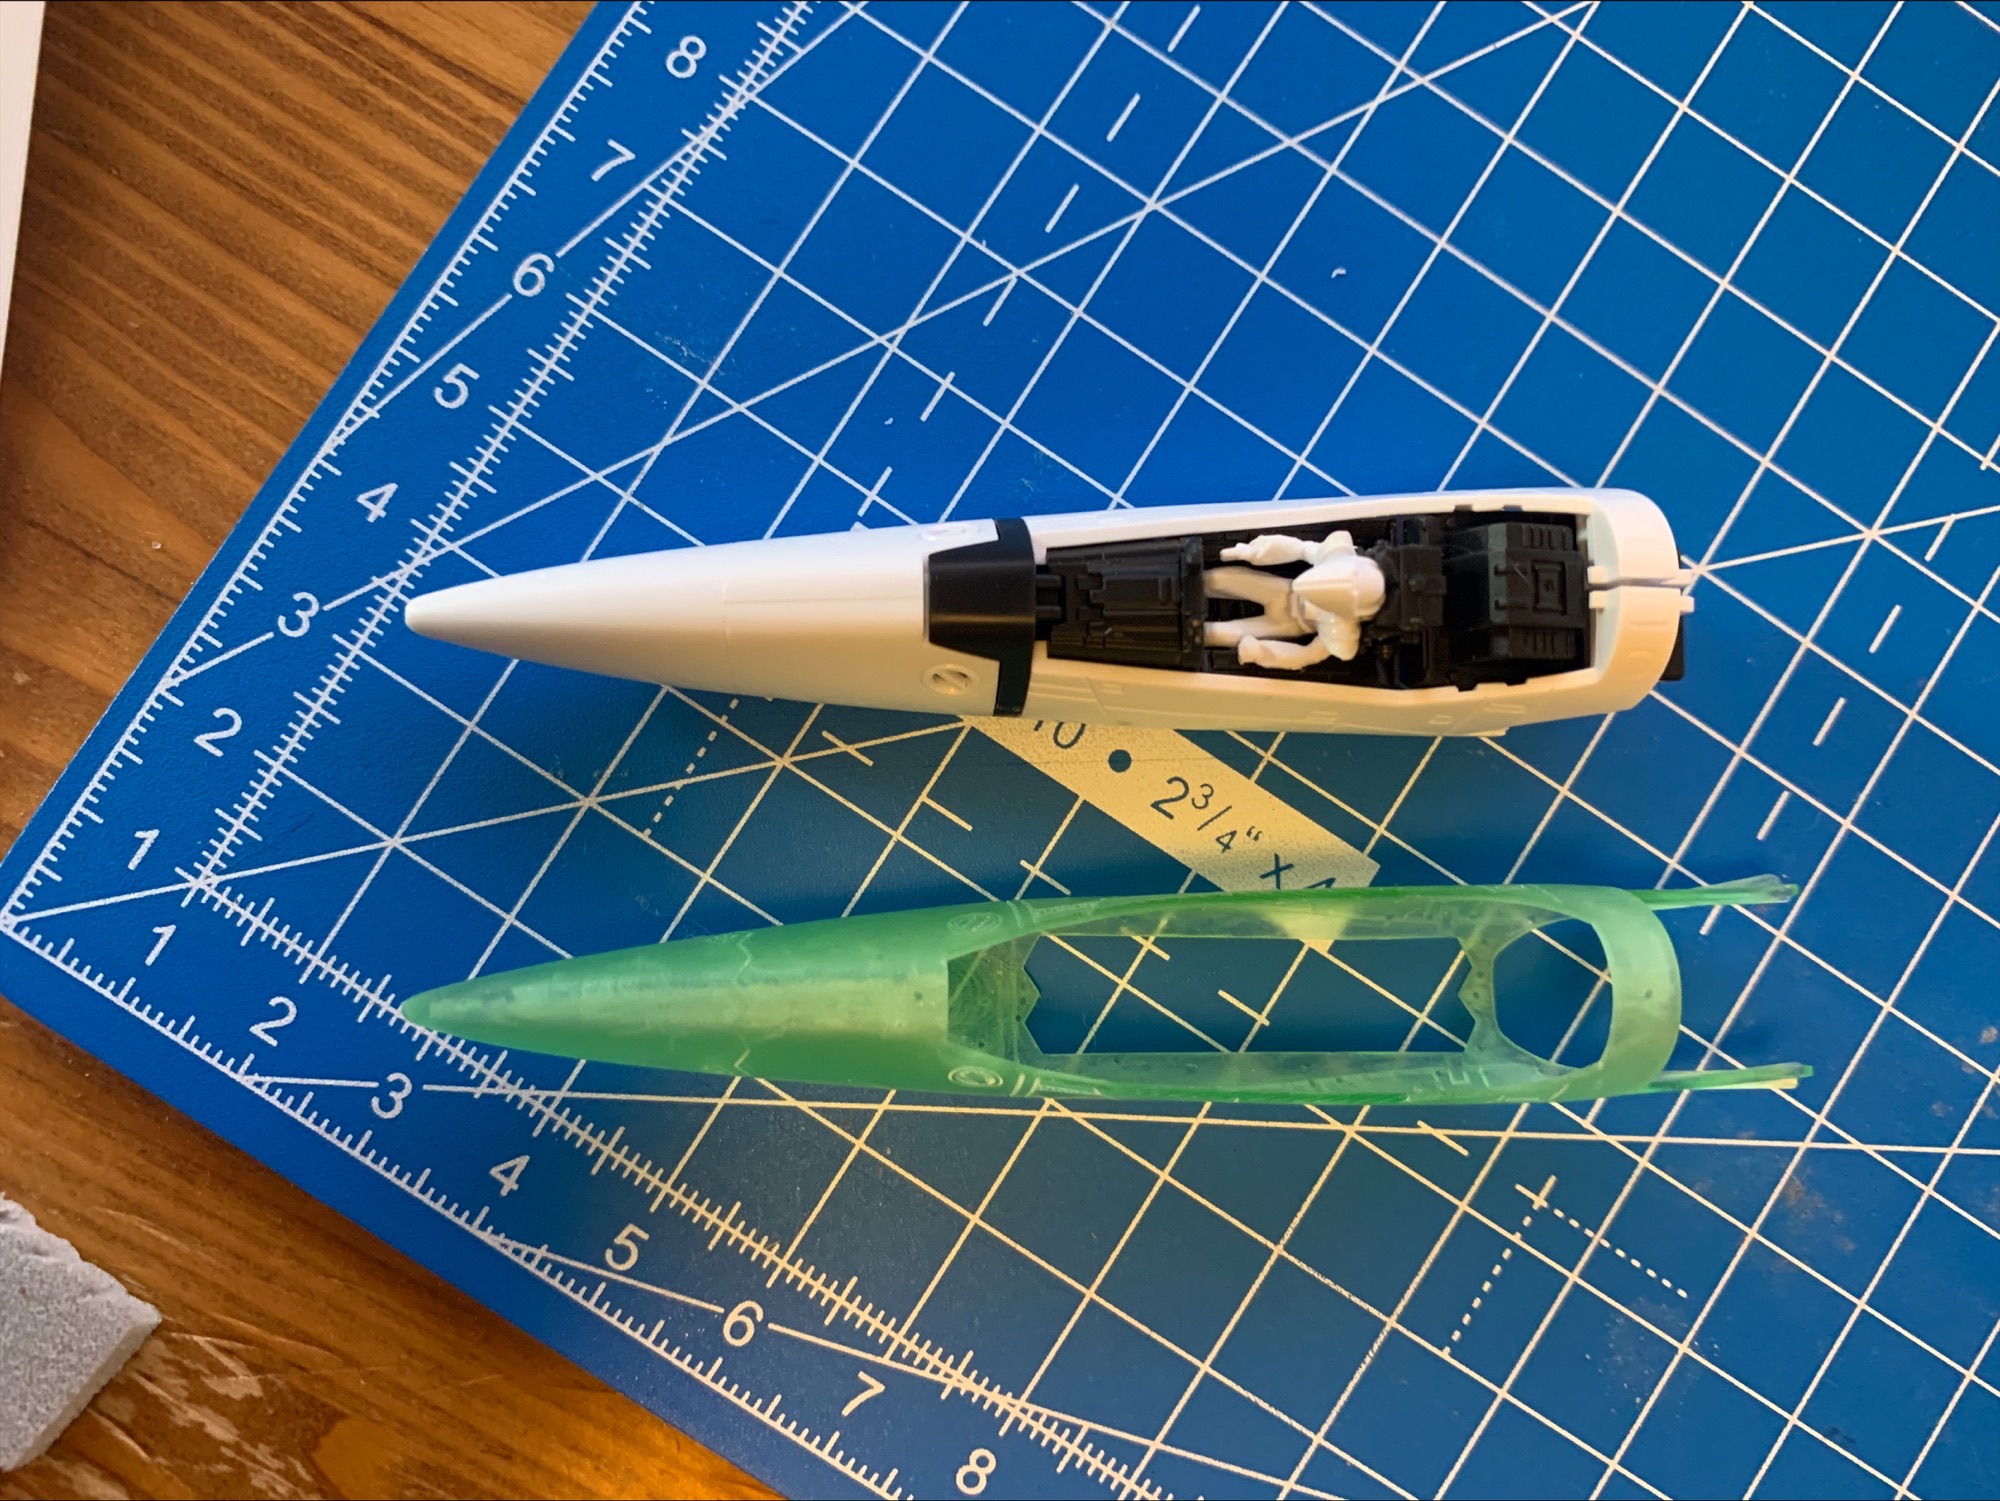
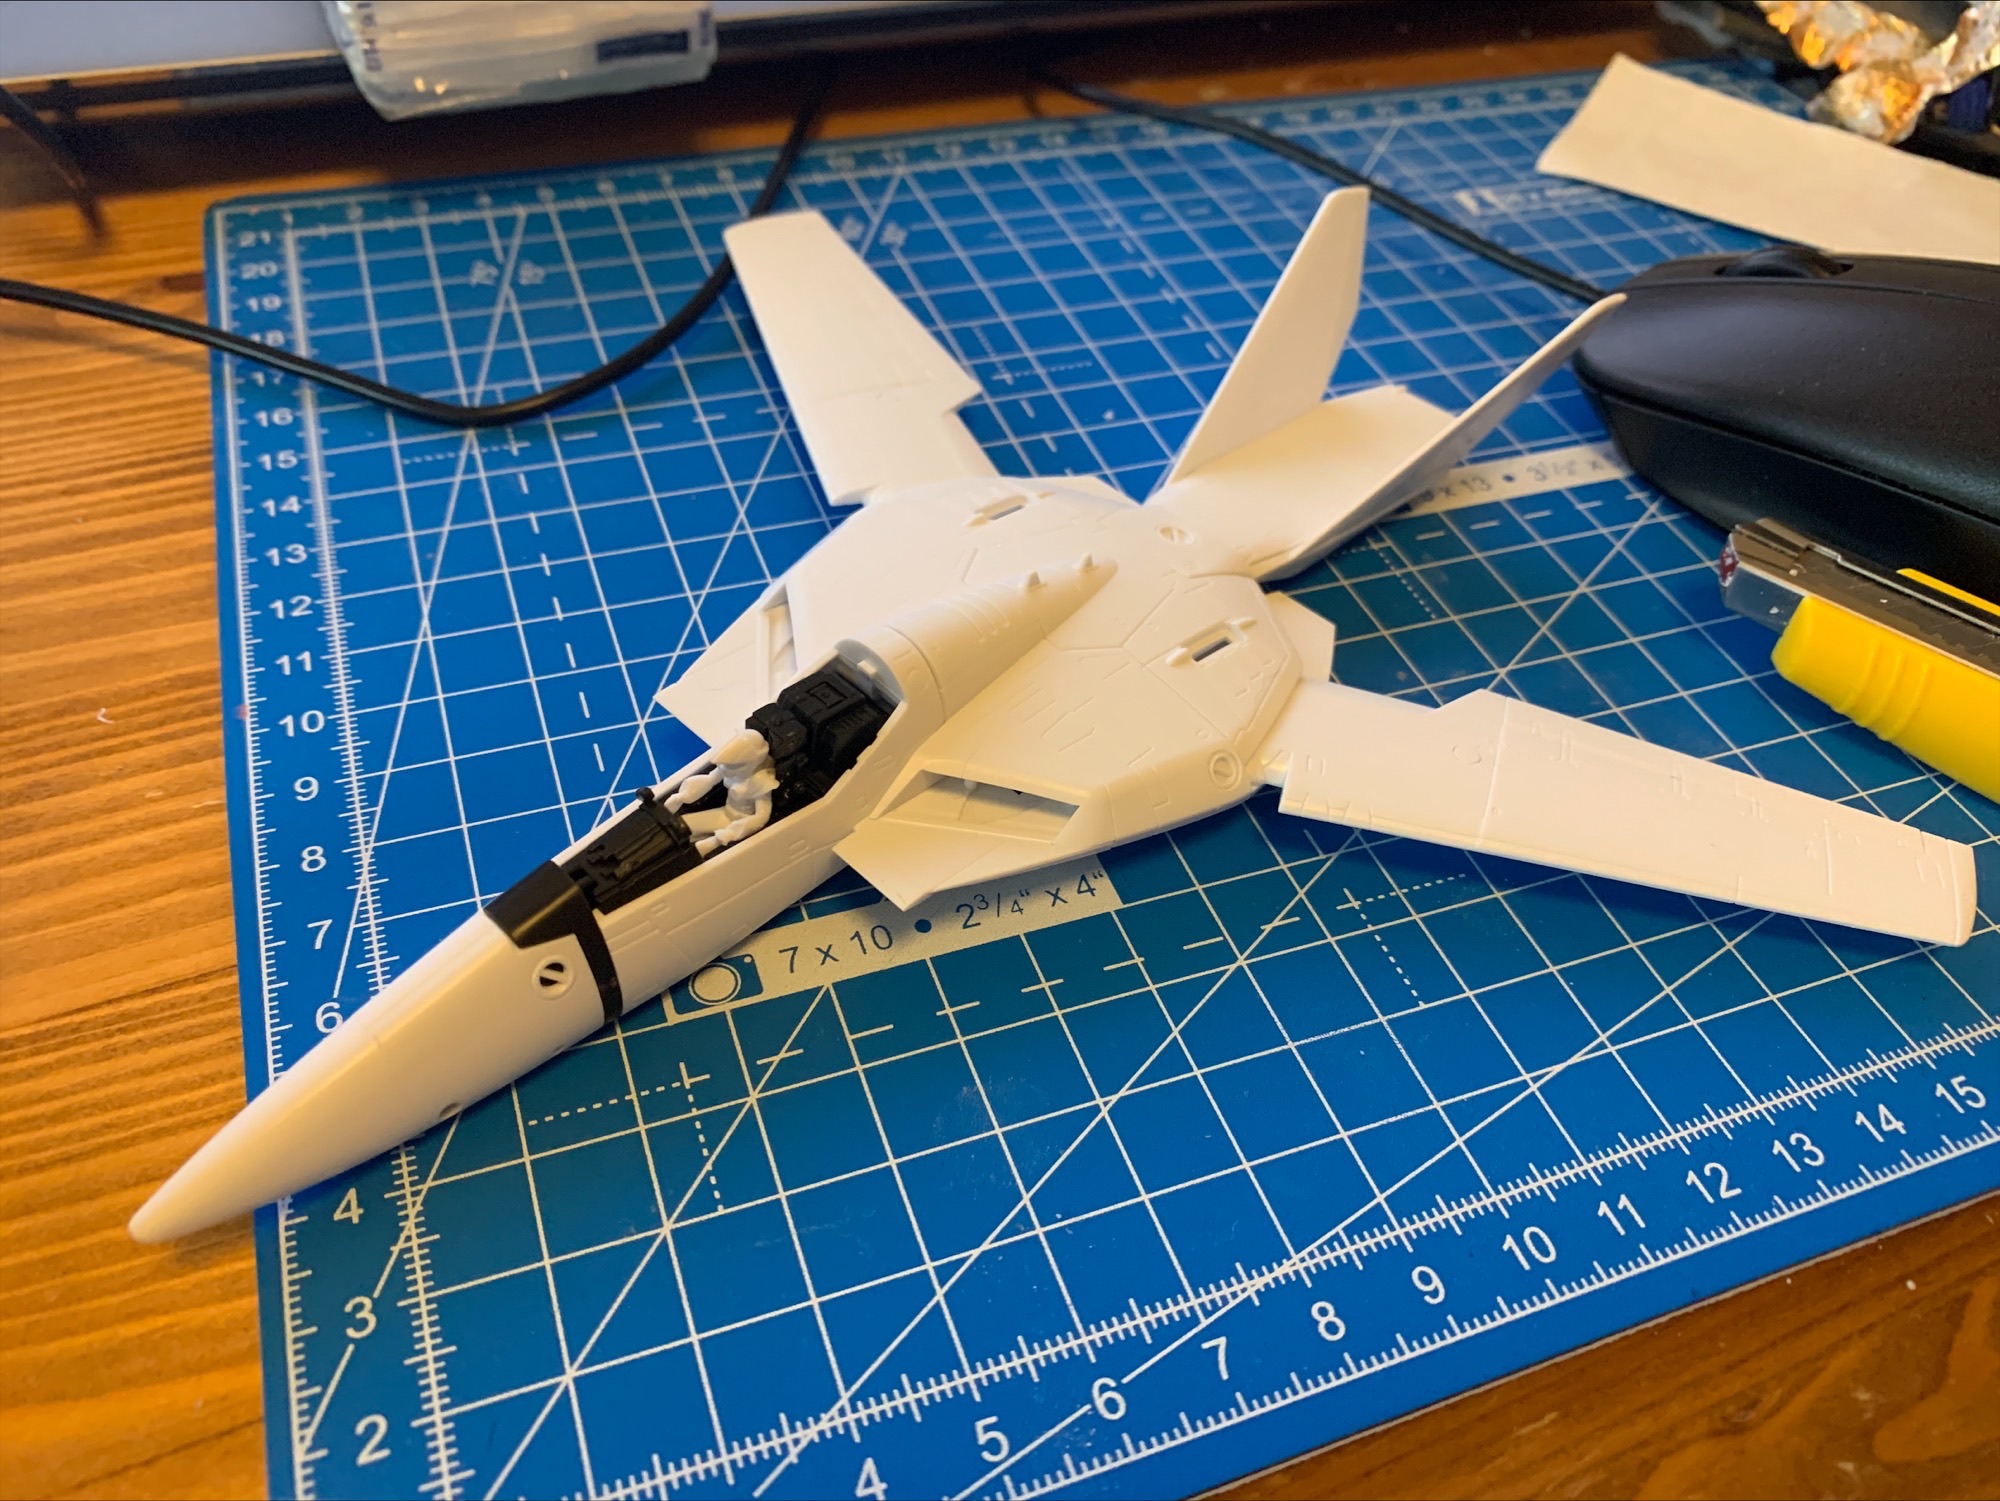
Okay, here is some stuff for the hase vs plamax thing. Unfortunately I only had the spare parts from the ve-1 left over and a mint vt-1. so here, grey parts are hase, black and white are plamax. The VE-1 was a first issue kit, meaning it wasn’t produced with the now worn out vf-1 molds. The hase vf-1 is a bit thinner on the walls and details are really fine. The plamax vf-1 has really thick walls and the details are feeling deeper and broader. Sizes of the nose and mainbody are matching. The cockpit interior varies. The Hasegawa cockpit is smaller. The plamax pilot won’t fit into it. A giant! I started priming on the cockpit parts today. and - behold! I continued my F-14D. Love it, airbrushing with my „new“ airbrush goes so much easier now.

-
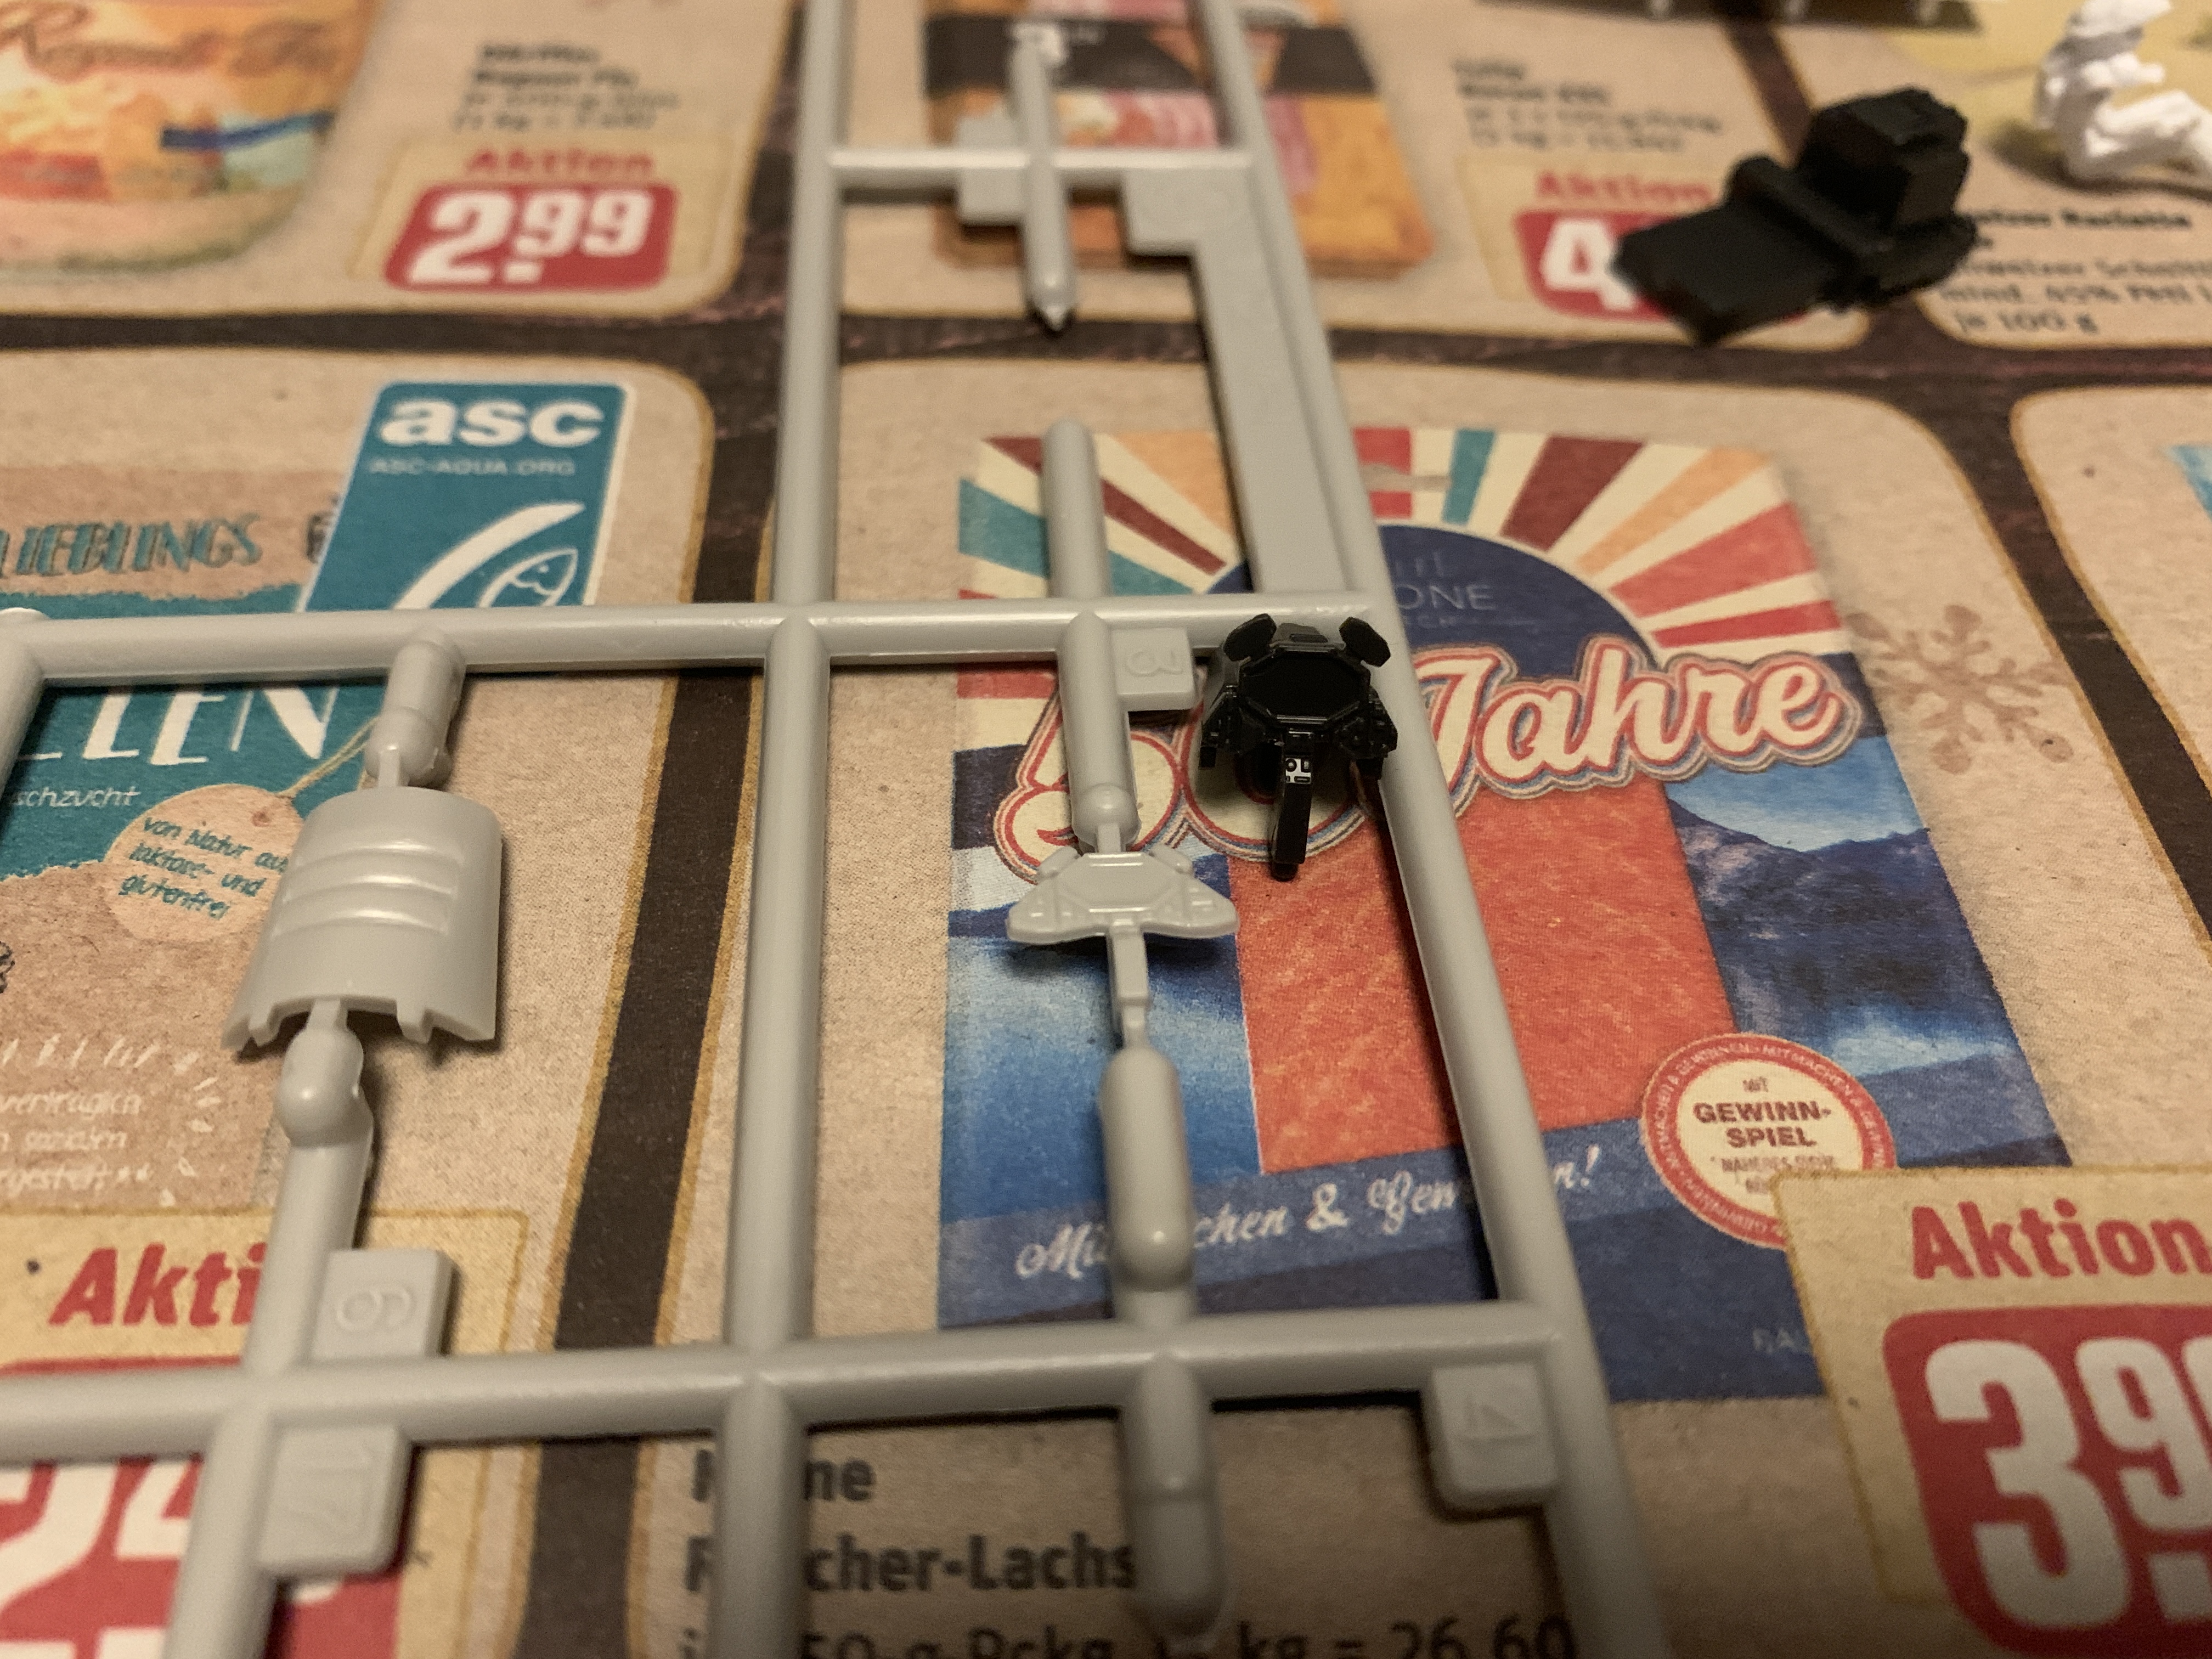
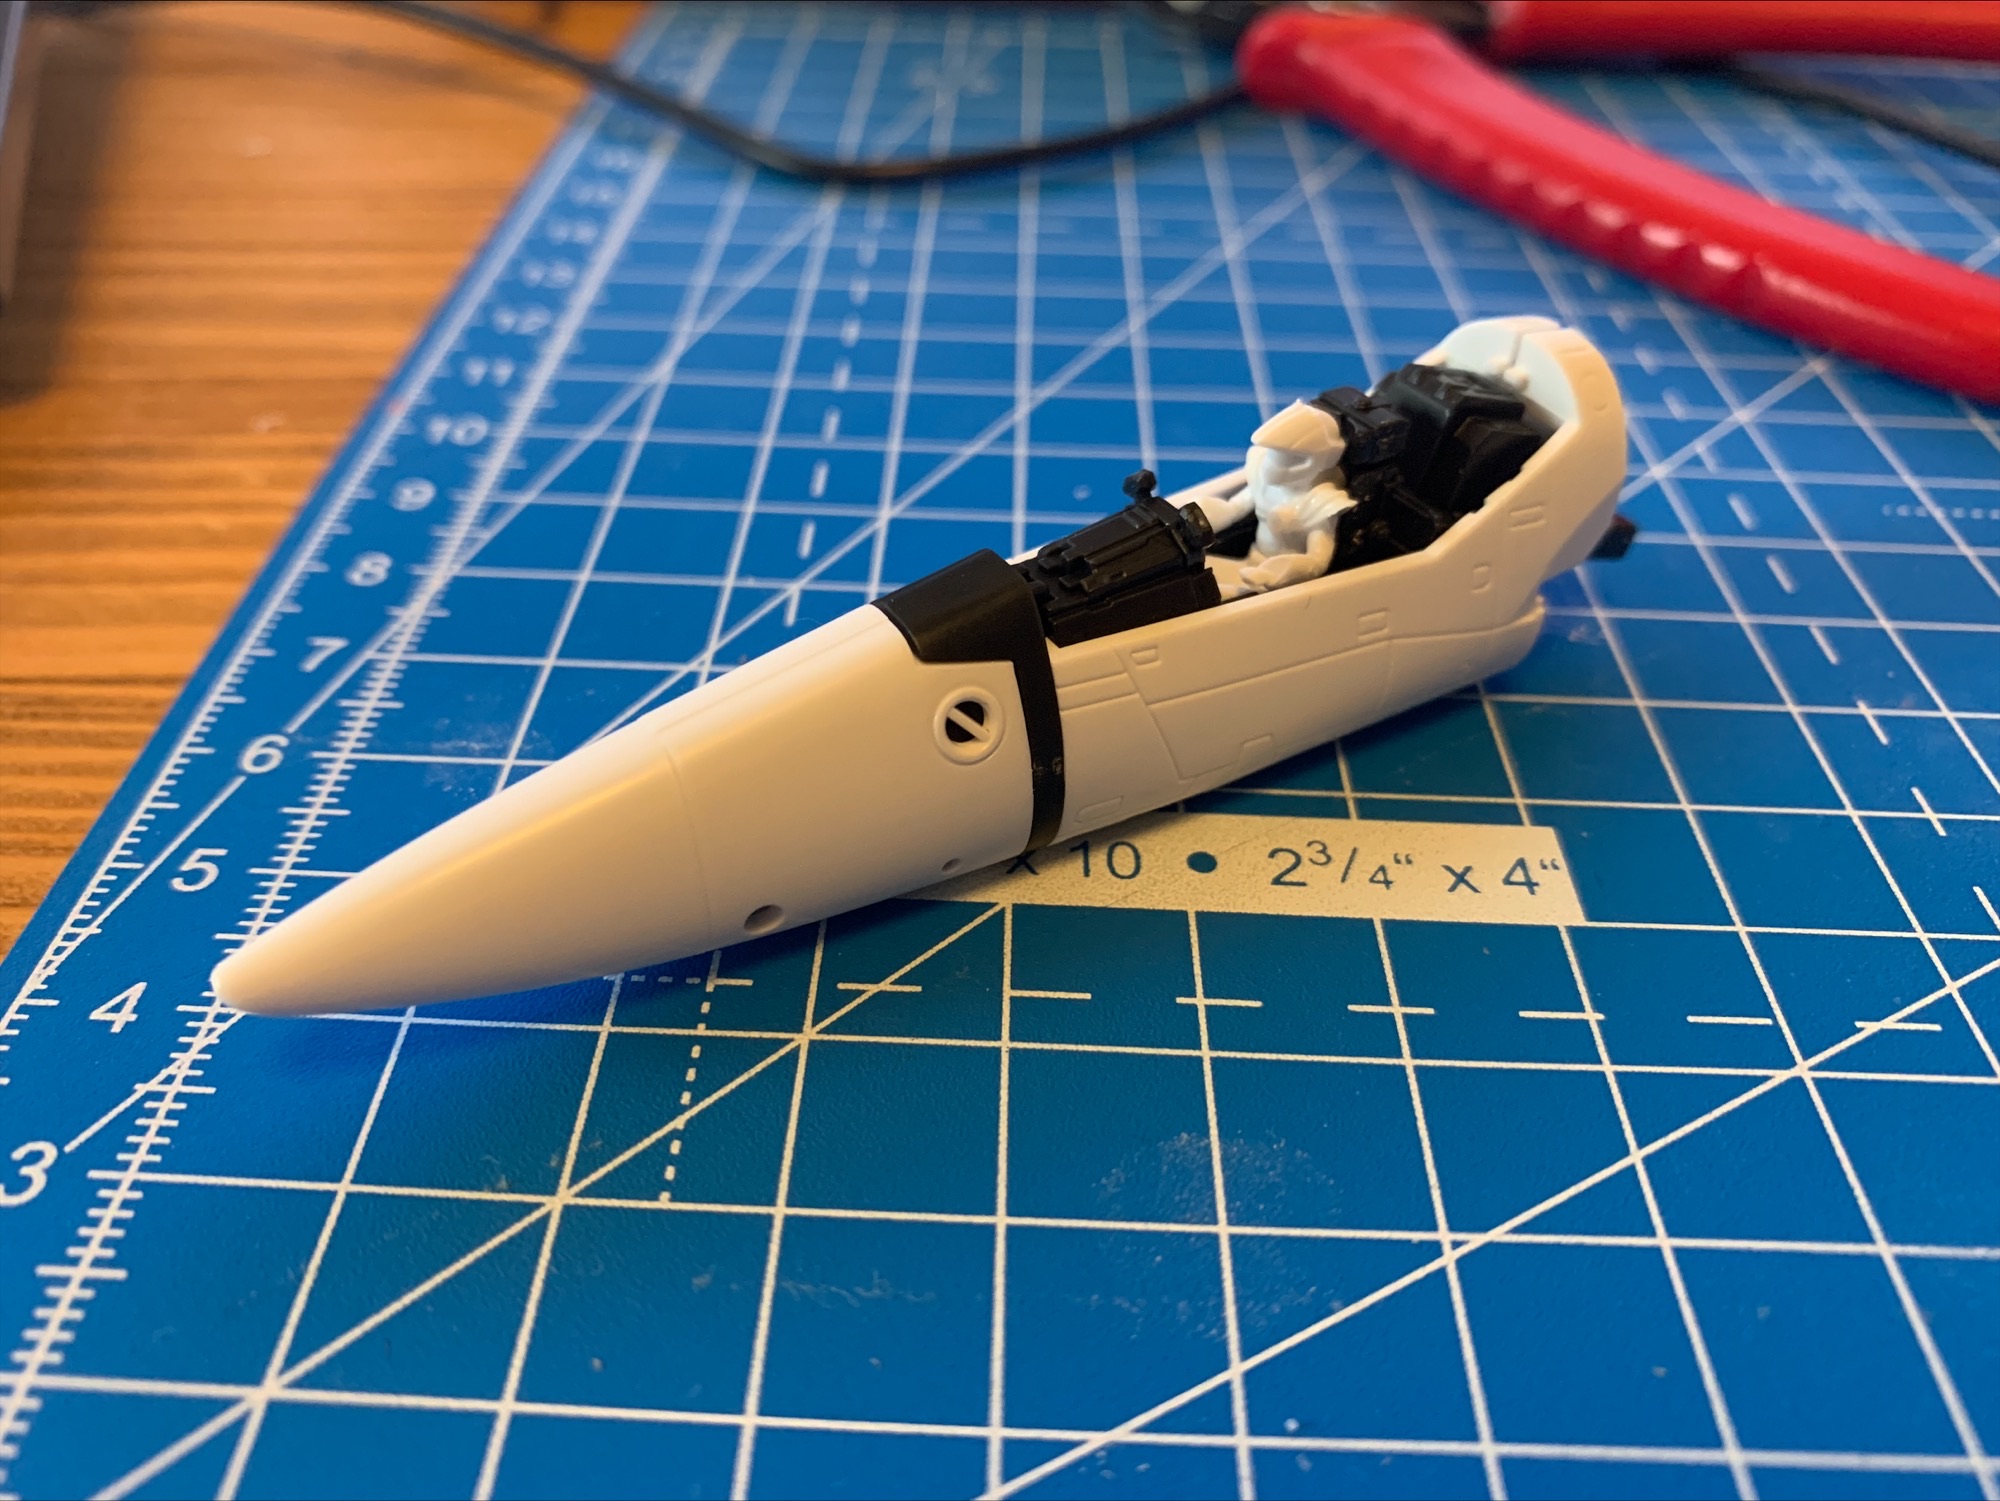
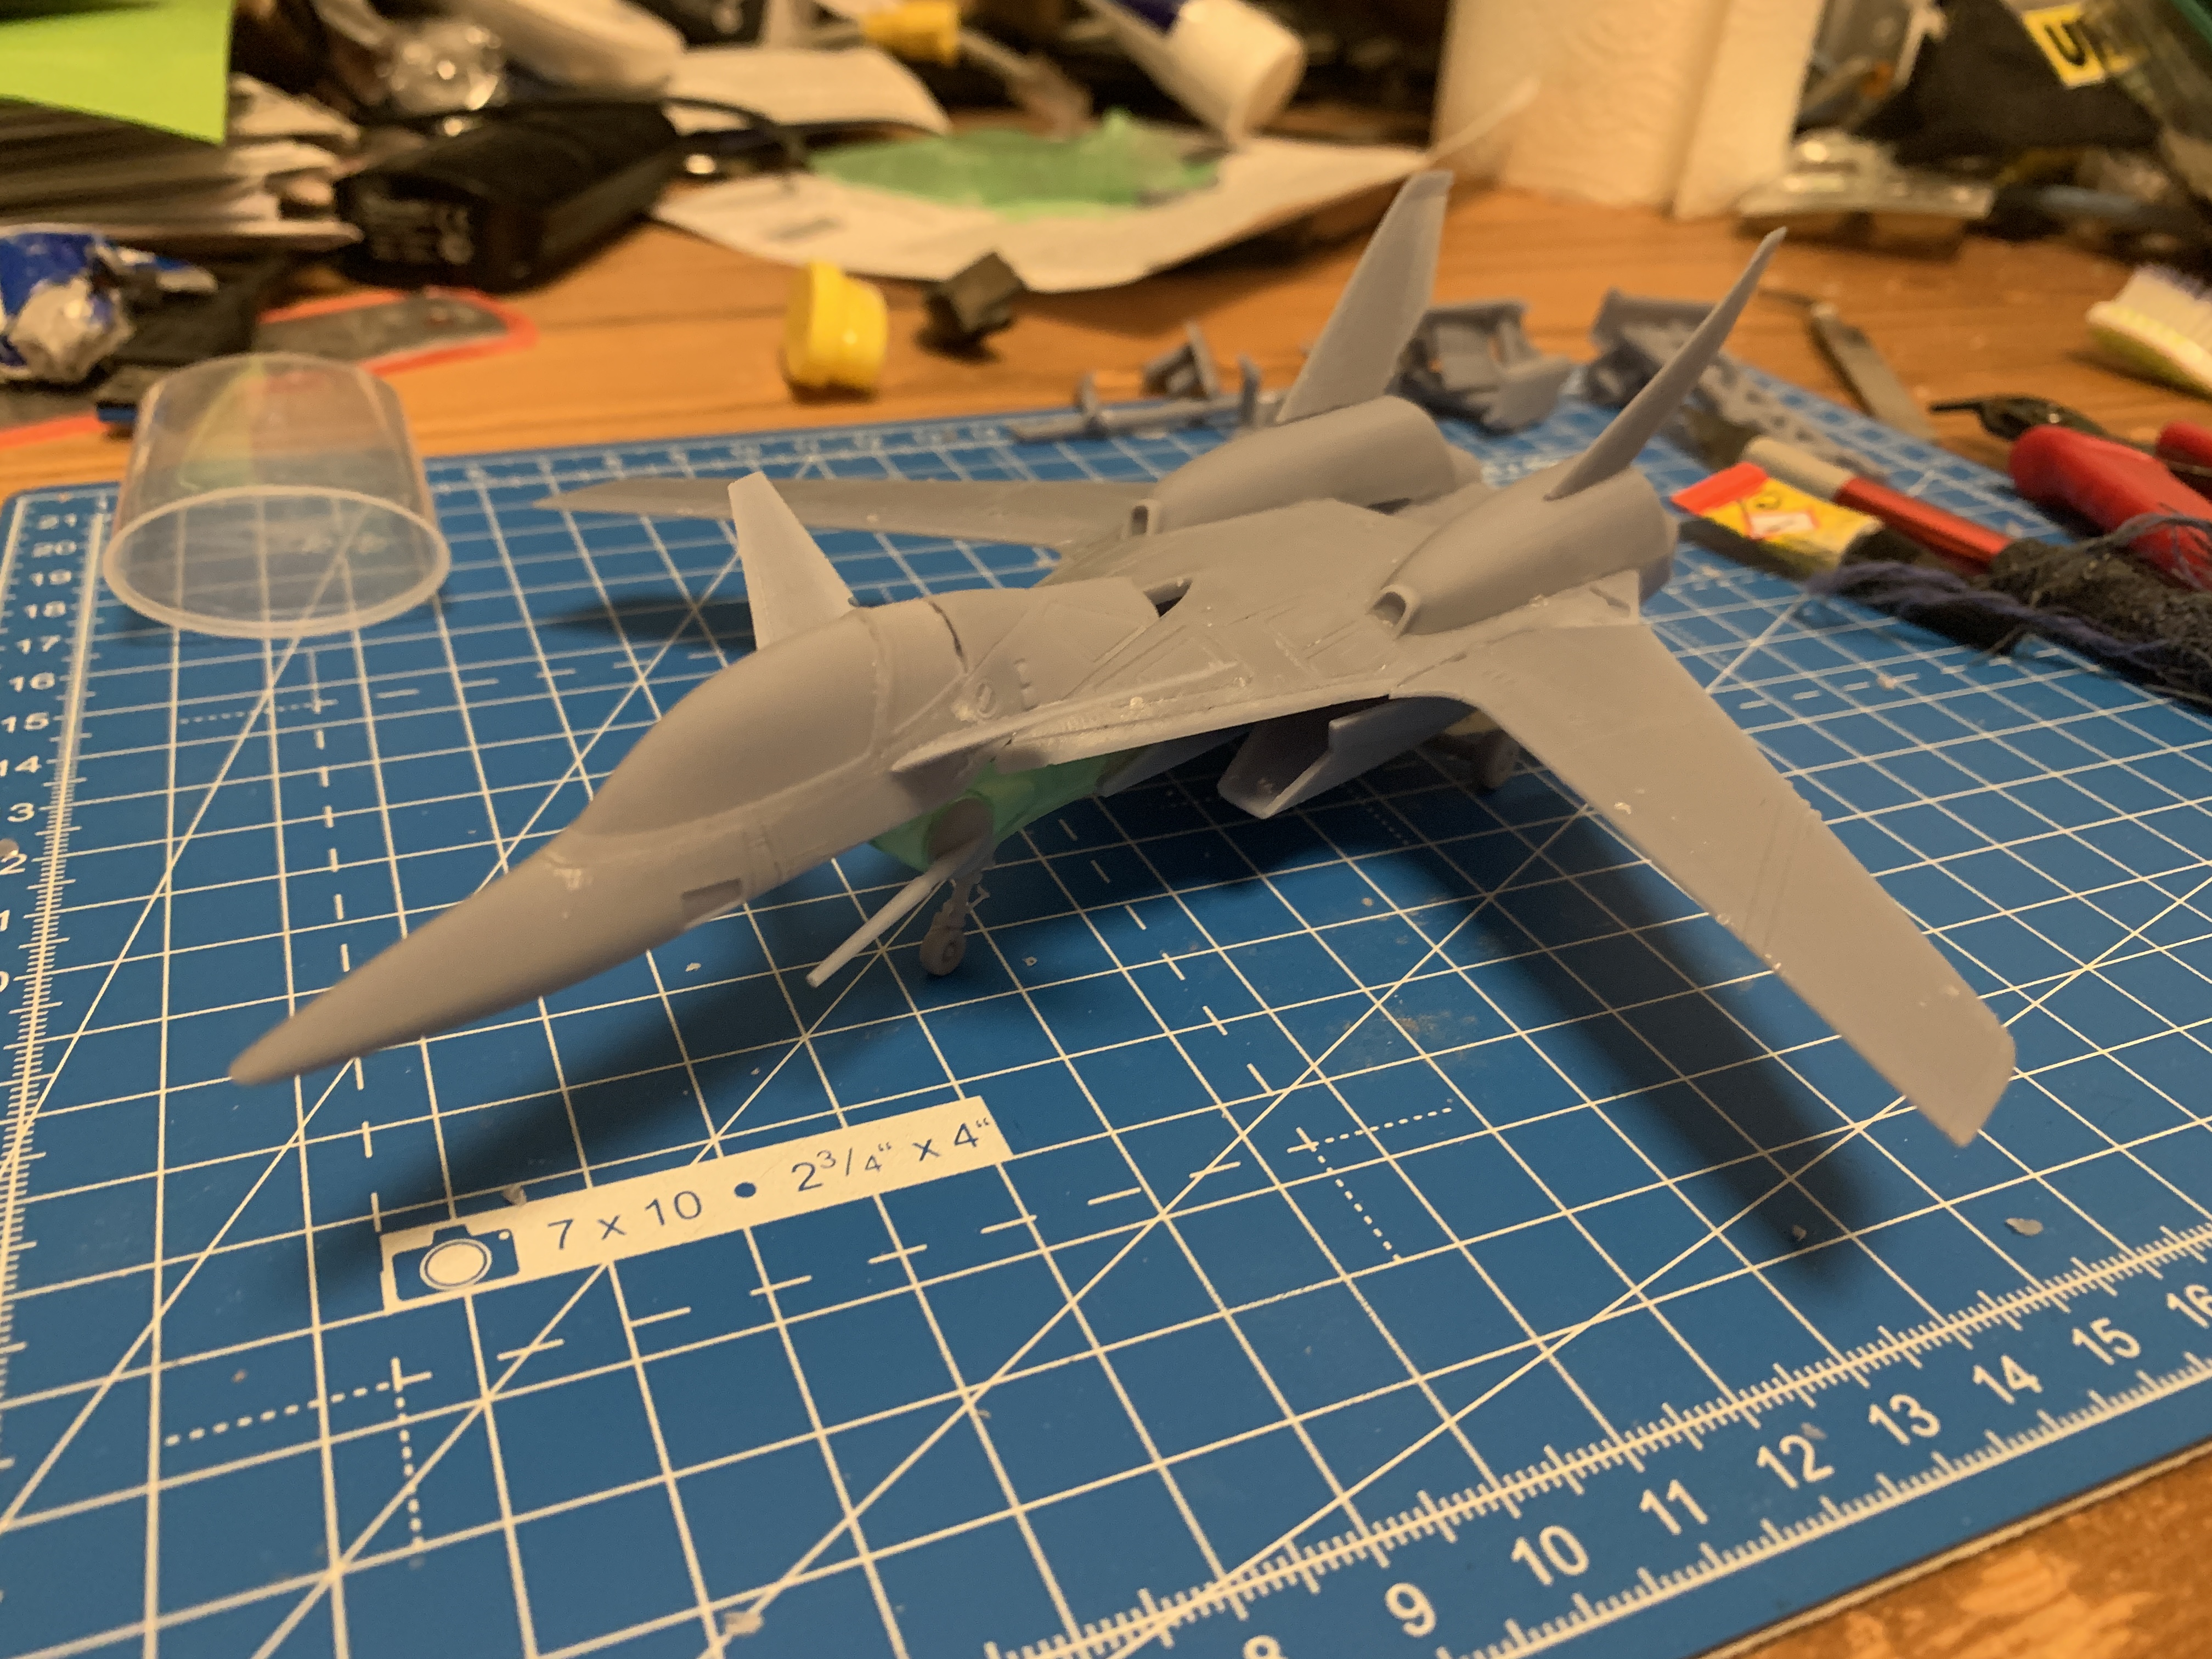
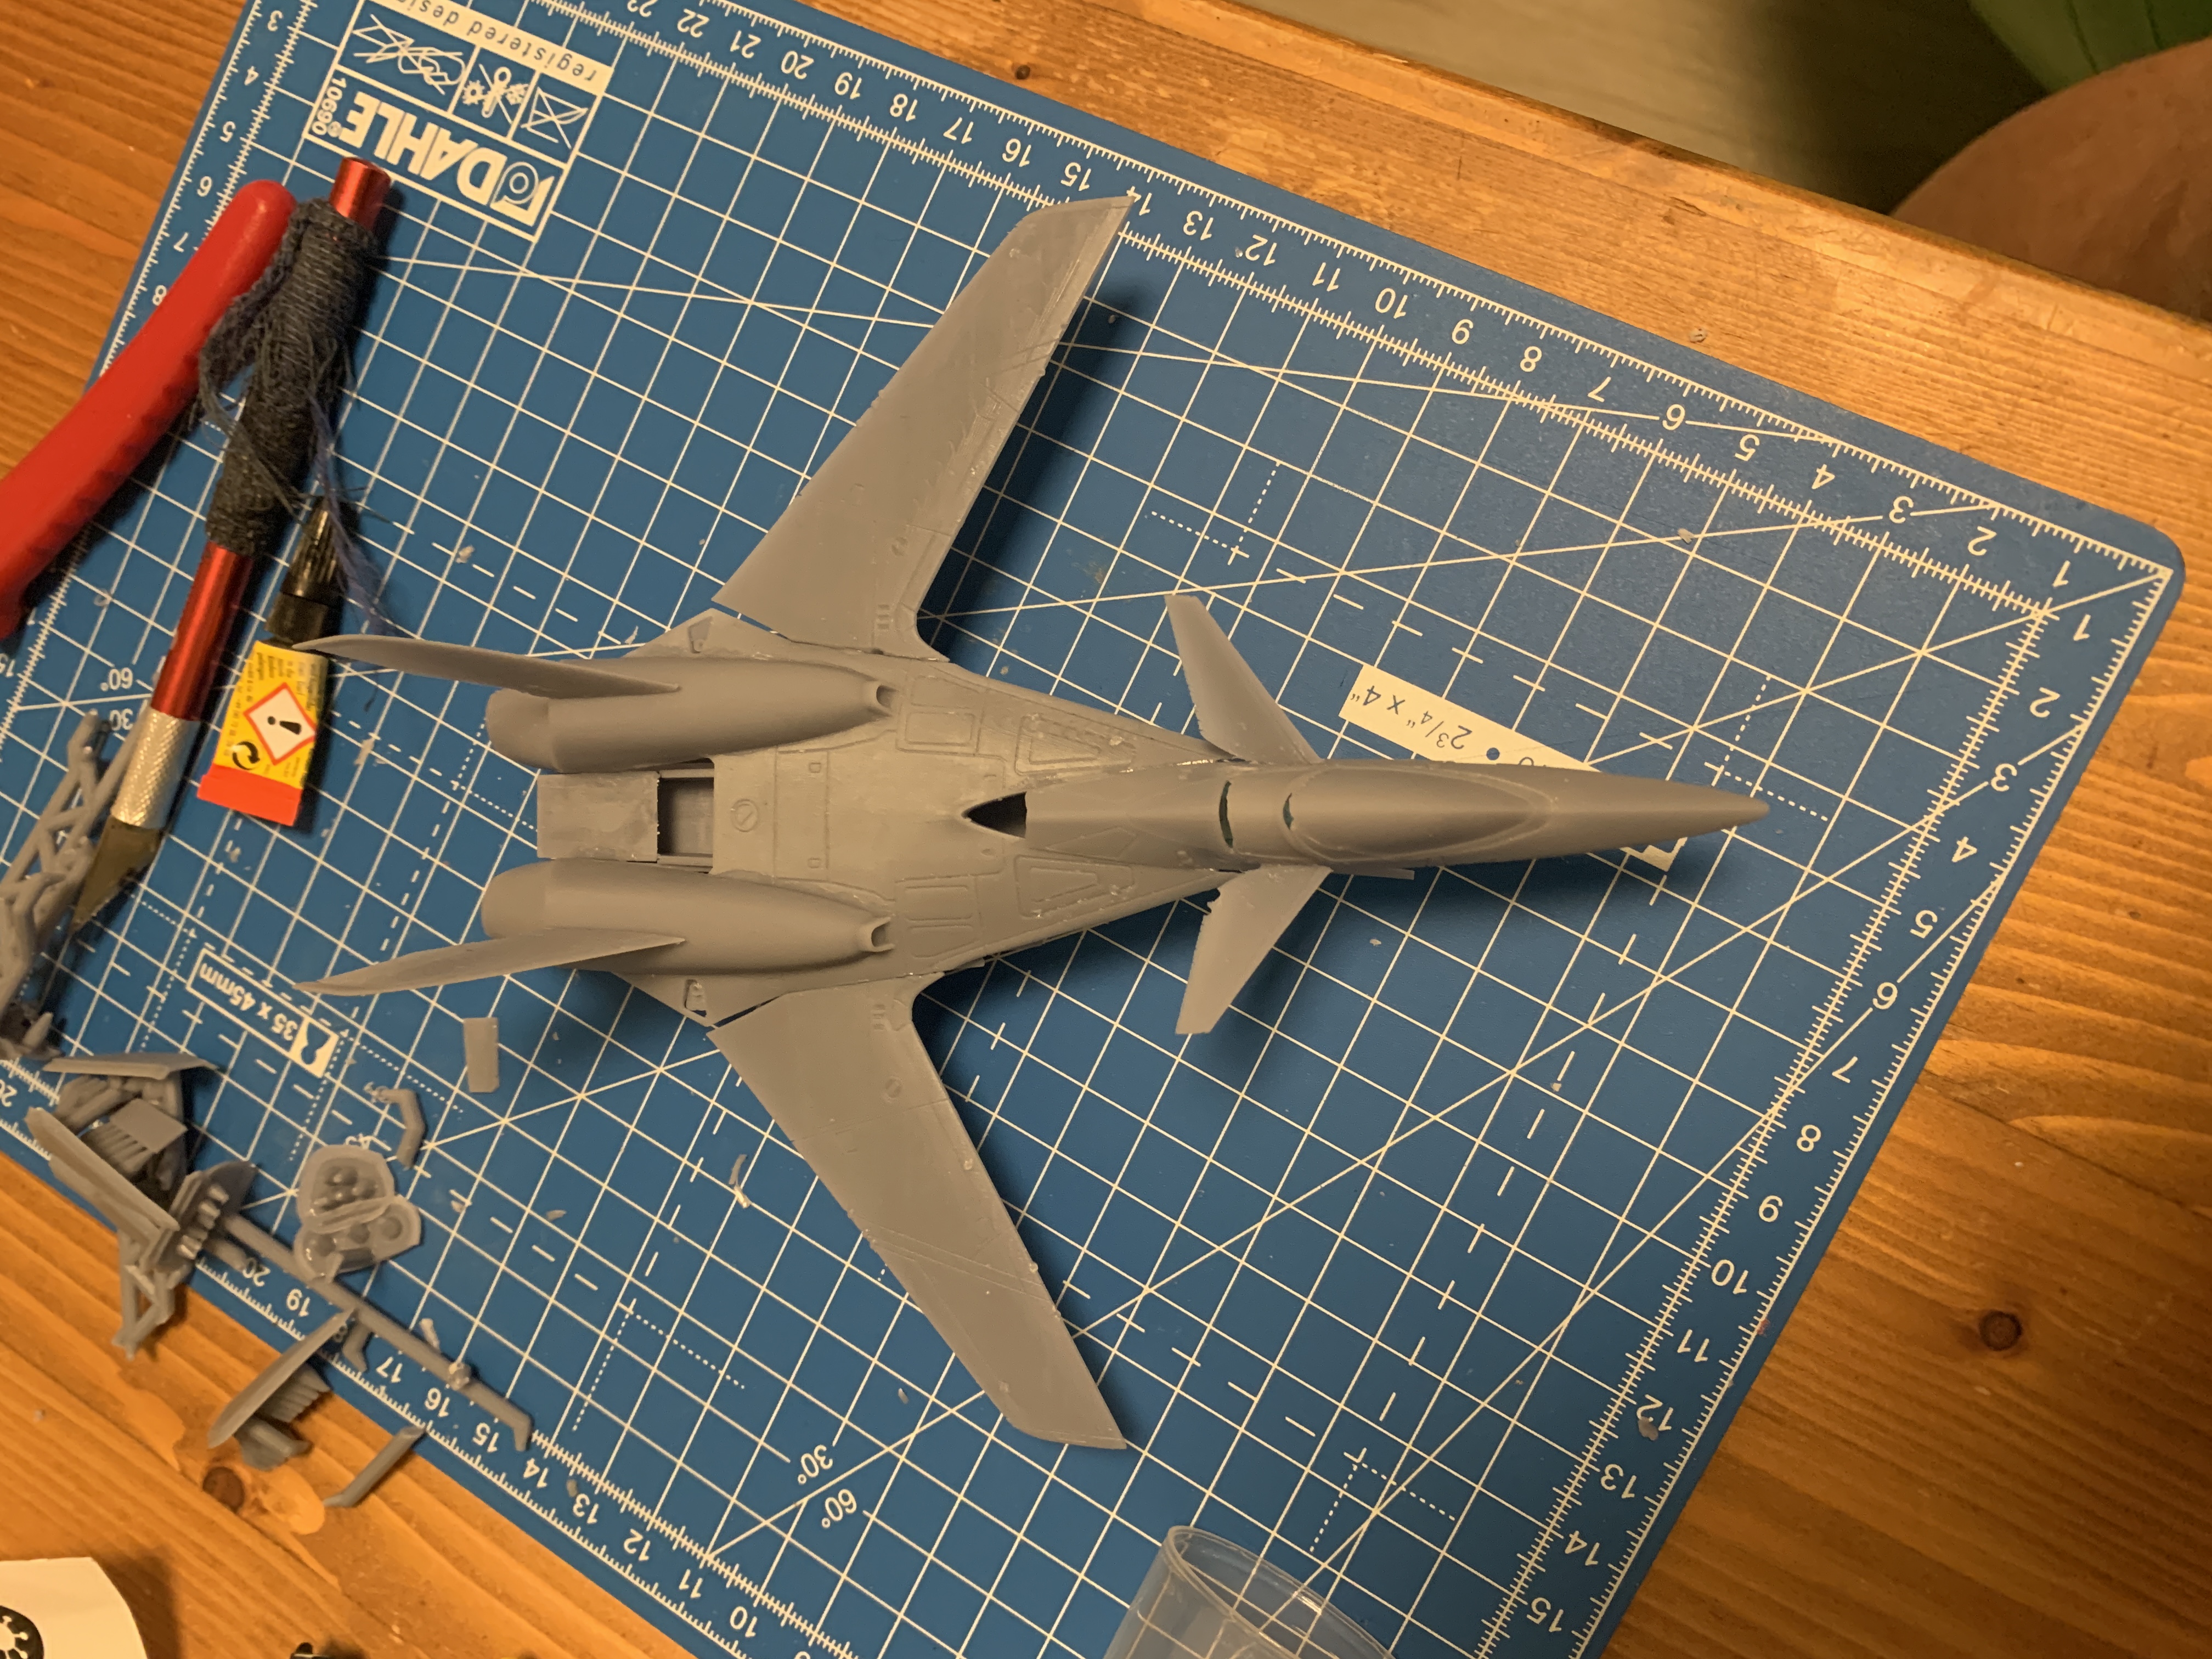
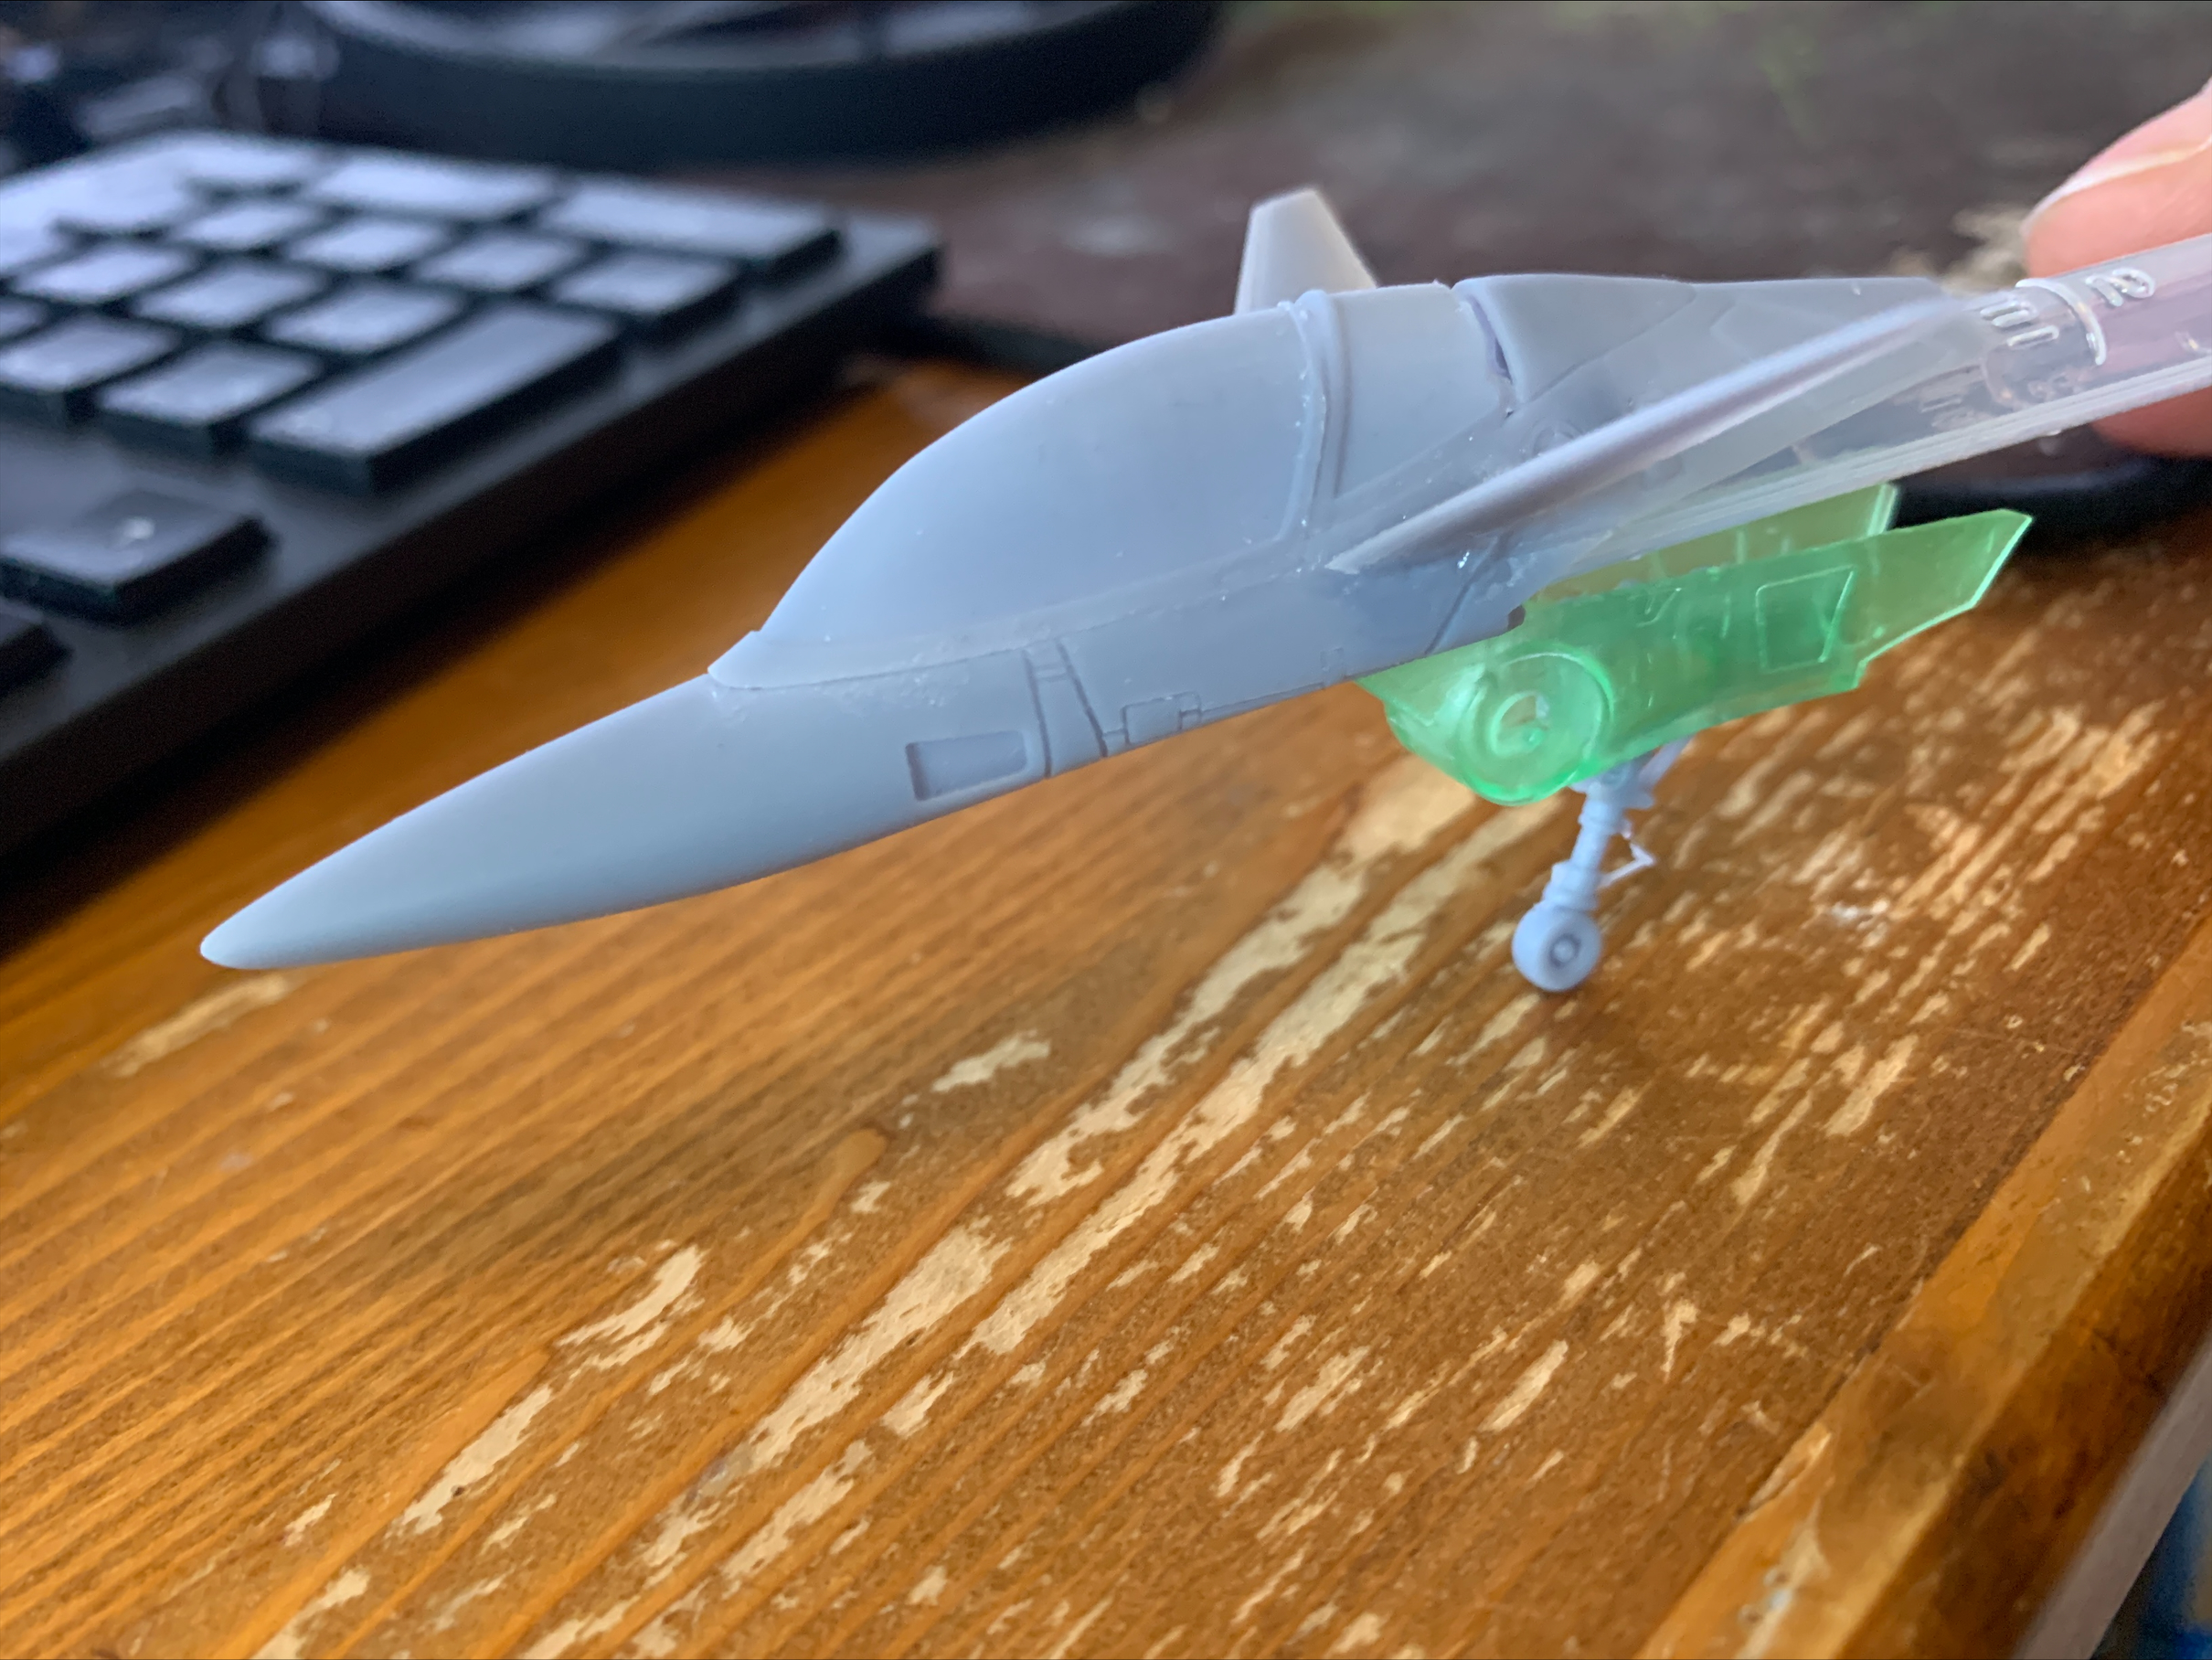
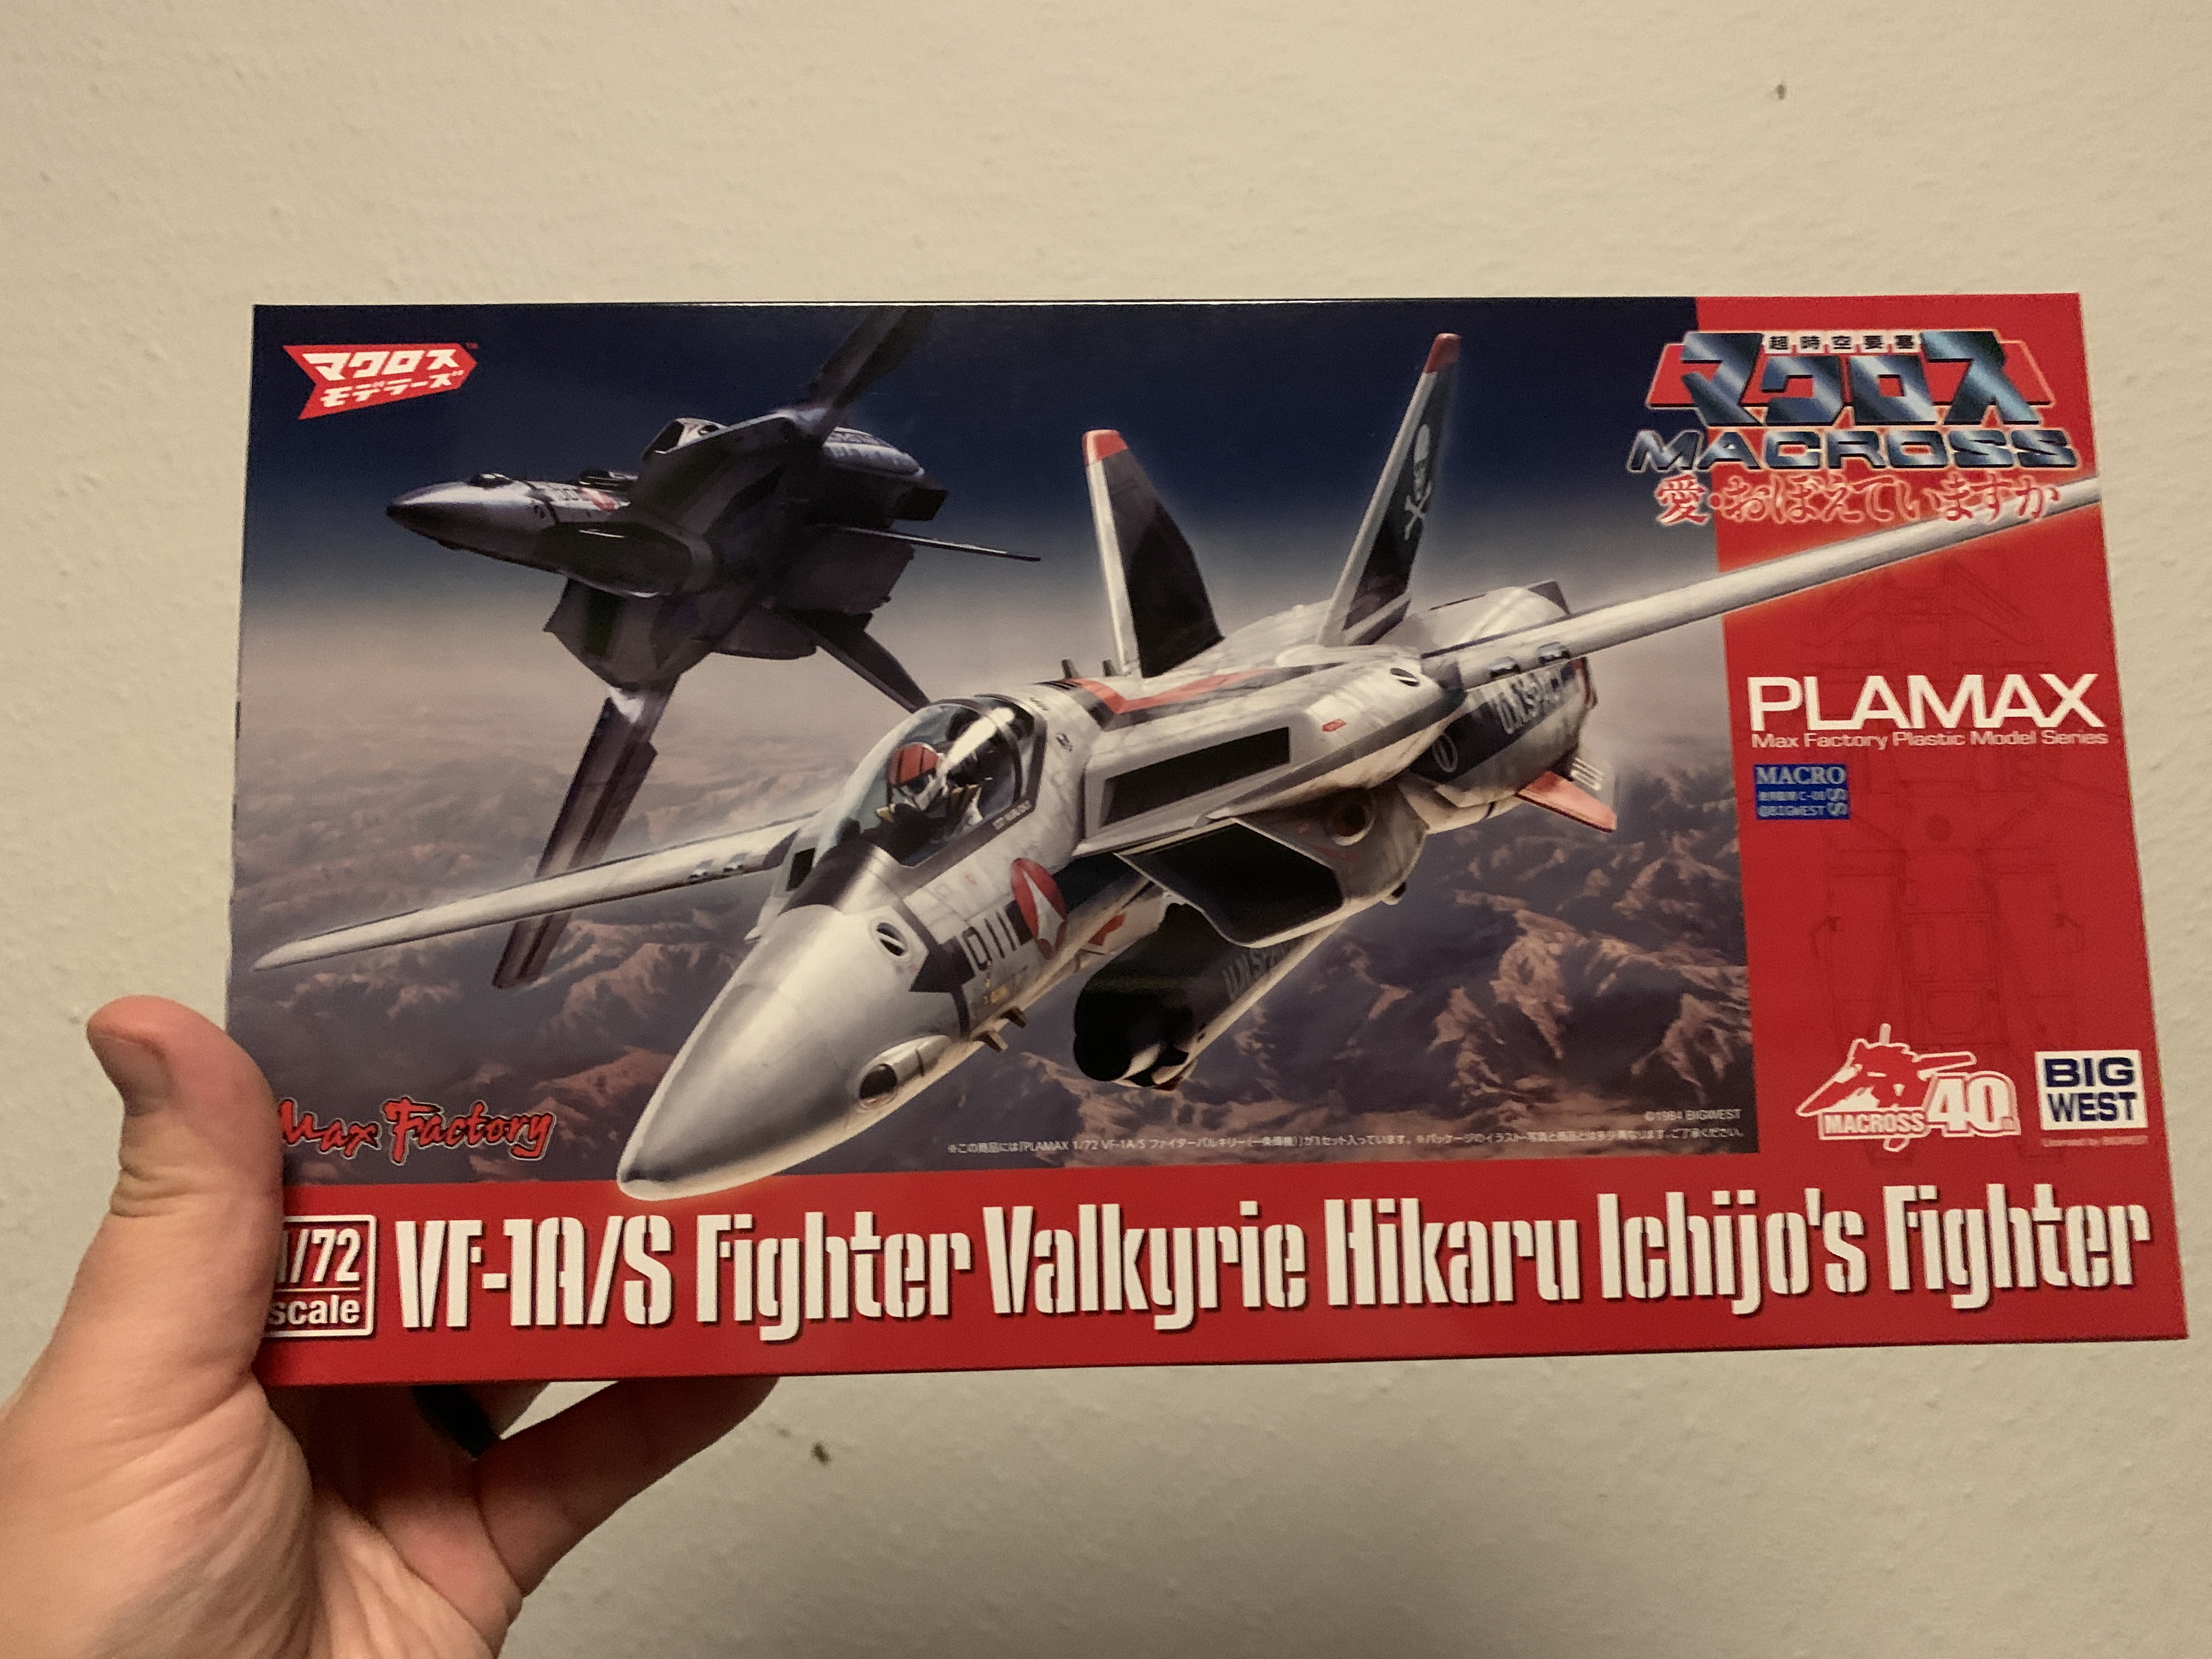
I couldn't hold myself back. I started building the new Plamax 1/72 VF-1A/S... First impression: The kit goes together nicely. What I like is that it is not trying to fight hasegawa, but doing it's own thing. I've build many hasegawa VF-1s since 2002 and the Plamax defo feels way different during build up. It is a nice refresh, and I like the details to it. Even being a bit more expensive than the Hasegawa one, this one really is worth it. I'd recommend it. If you expect something that is snap-fit here, it is not. The piece go together properly, but are not tight fit. First thing here: Black runner and colored instructions. One plus over the Hasegawa VF-1? The little dude here that comes with the kit. No need to purchase a weapons upgrade kit Second: from here on, no glue was incorporated. Everything is just "snapped together" (really losely). Just a small comparision to my failed VF-1P nose print. I am glad the dimension of my VF-1 nose fit, which makes me happy a bit, knowing I am on a good way with the VF-1P. Notice the bend outwards walls of the 3D printed nose, around the cockpit area. This is how far I got. I repeat: no glue used except for the pilot, the seat and the control panel in the cockpit. Edit: I'll go to my basement later and grab a Hasegawa VF-1 kit to compare some of the parts.
-
Yeah - gonna start today. Uhm - do you still have the kit out? Because the chinese re-print I have has bad jpeg artifacts on the minmay ... Just have a look :S

-
even with the 25% off, it was EUR 26.something for shipping. The fun part: EMS was 26.something and the cheaper surface mail without tracking was 25.something. So I went with EMS.
-
Oh man! That is so awesome! Thanks a lot! How can I ever repay you for that?
-
same for me... but I don't care.
-
Hey! I have the decals already, so only need a scan of instructions for the decals. Thanks a lot man!
-
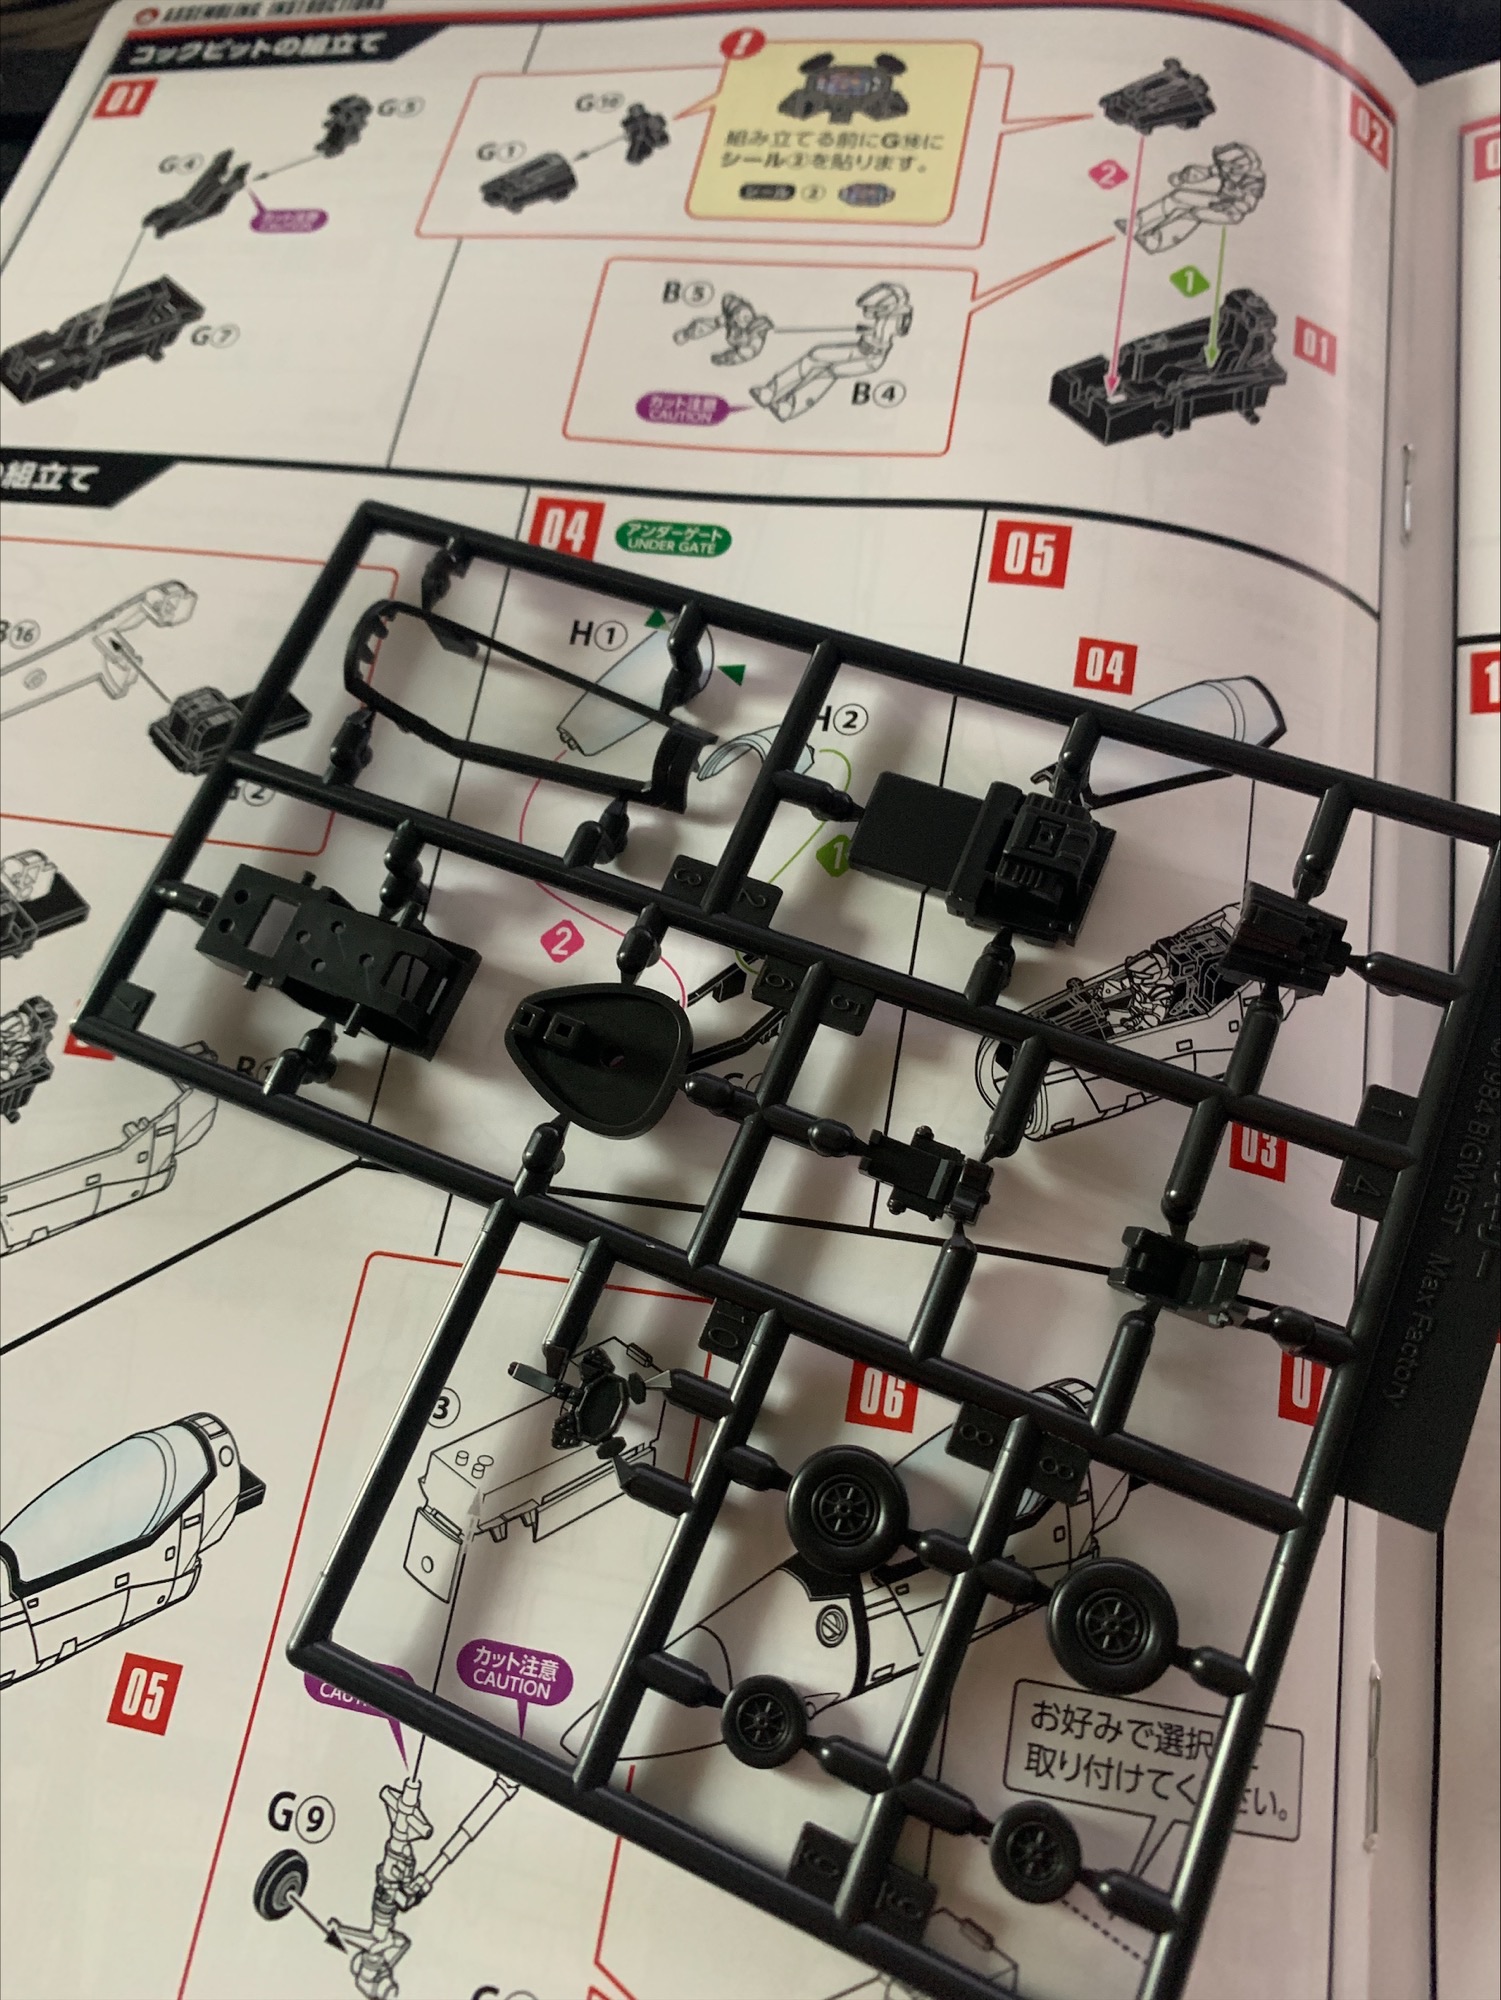
Pictures of box content and instructions as usual on 1999.co.jp. https://www.1999.co.jp/10916567 The instructions are straight forward. The pilot made from 5 pieces is a bit crazy though hahaha
-
First VF-171s are charged by HLJ today! Happy building!
-
@wm cheng thanks a lot! Yeah… it need a lot of sanding and resin printer are awesome! I think I call it a day. Let‘s call this one „Prototype 01“.
-
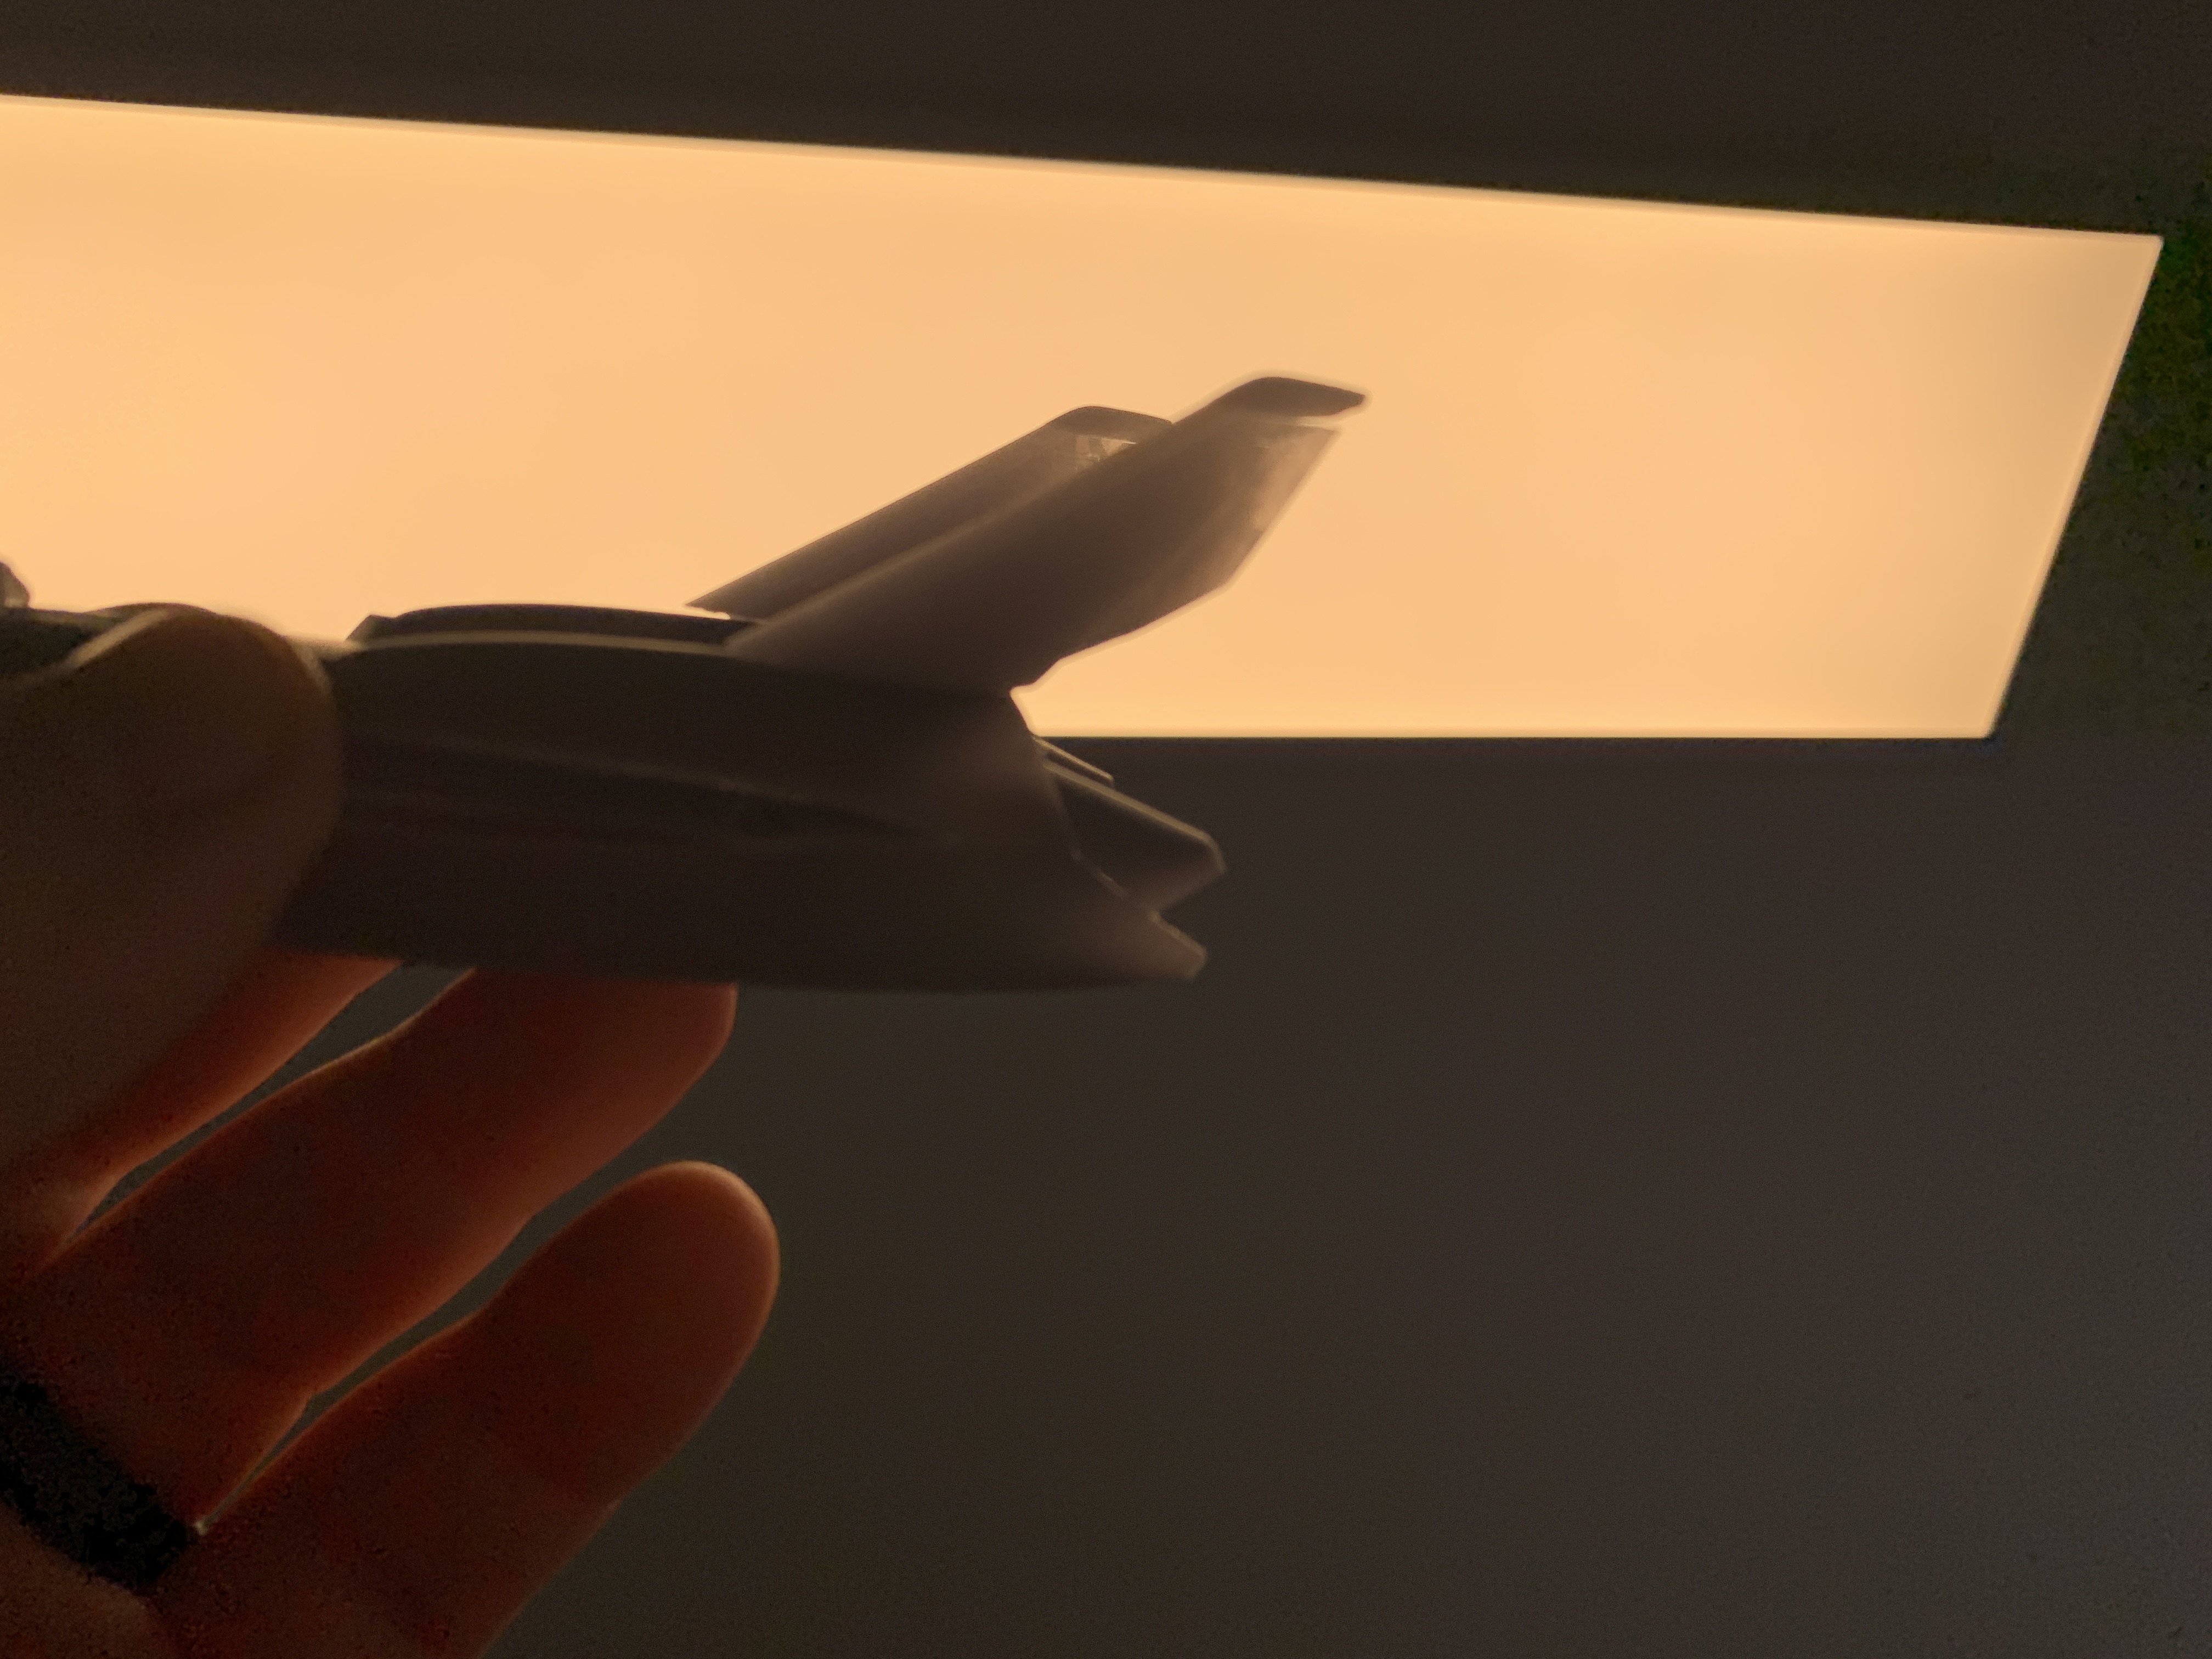
Yeah, they are paper thin and bend around. Light coming through easily. Have to make them thicker to prevent the warping.
-
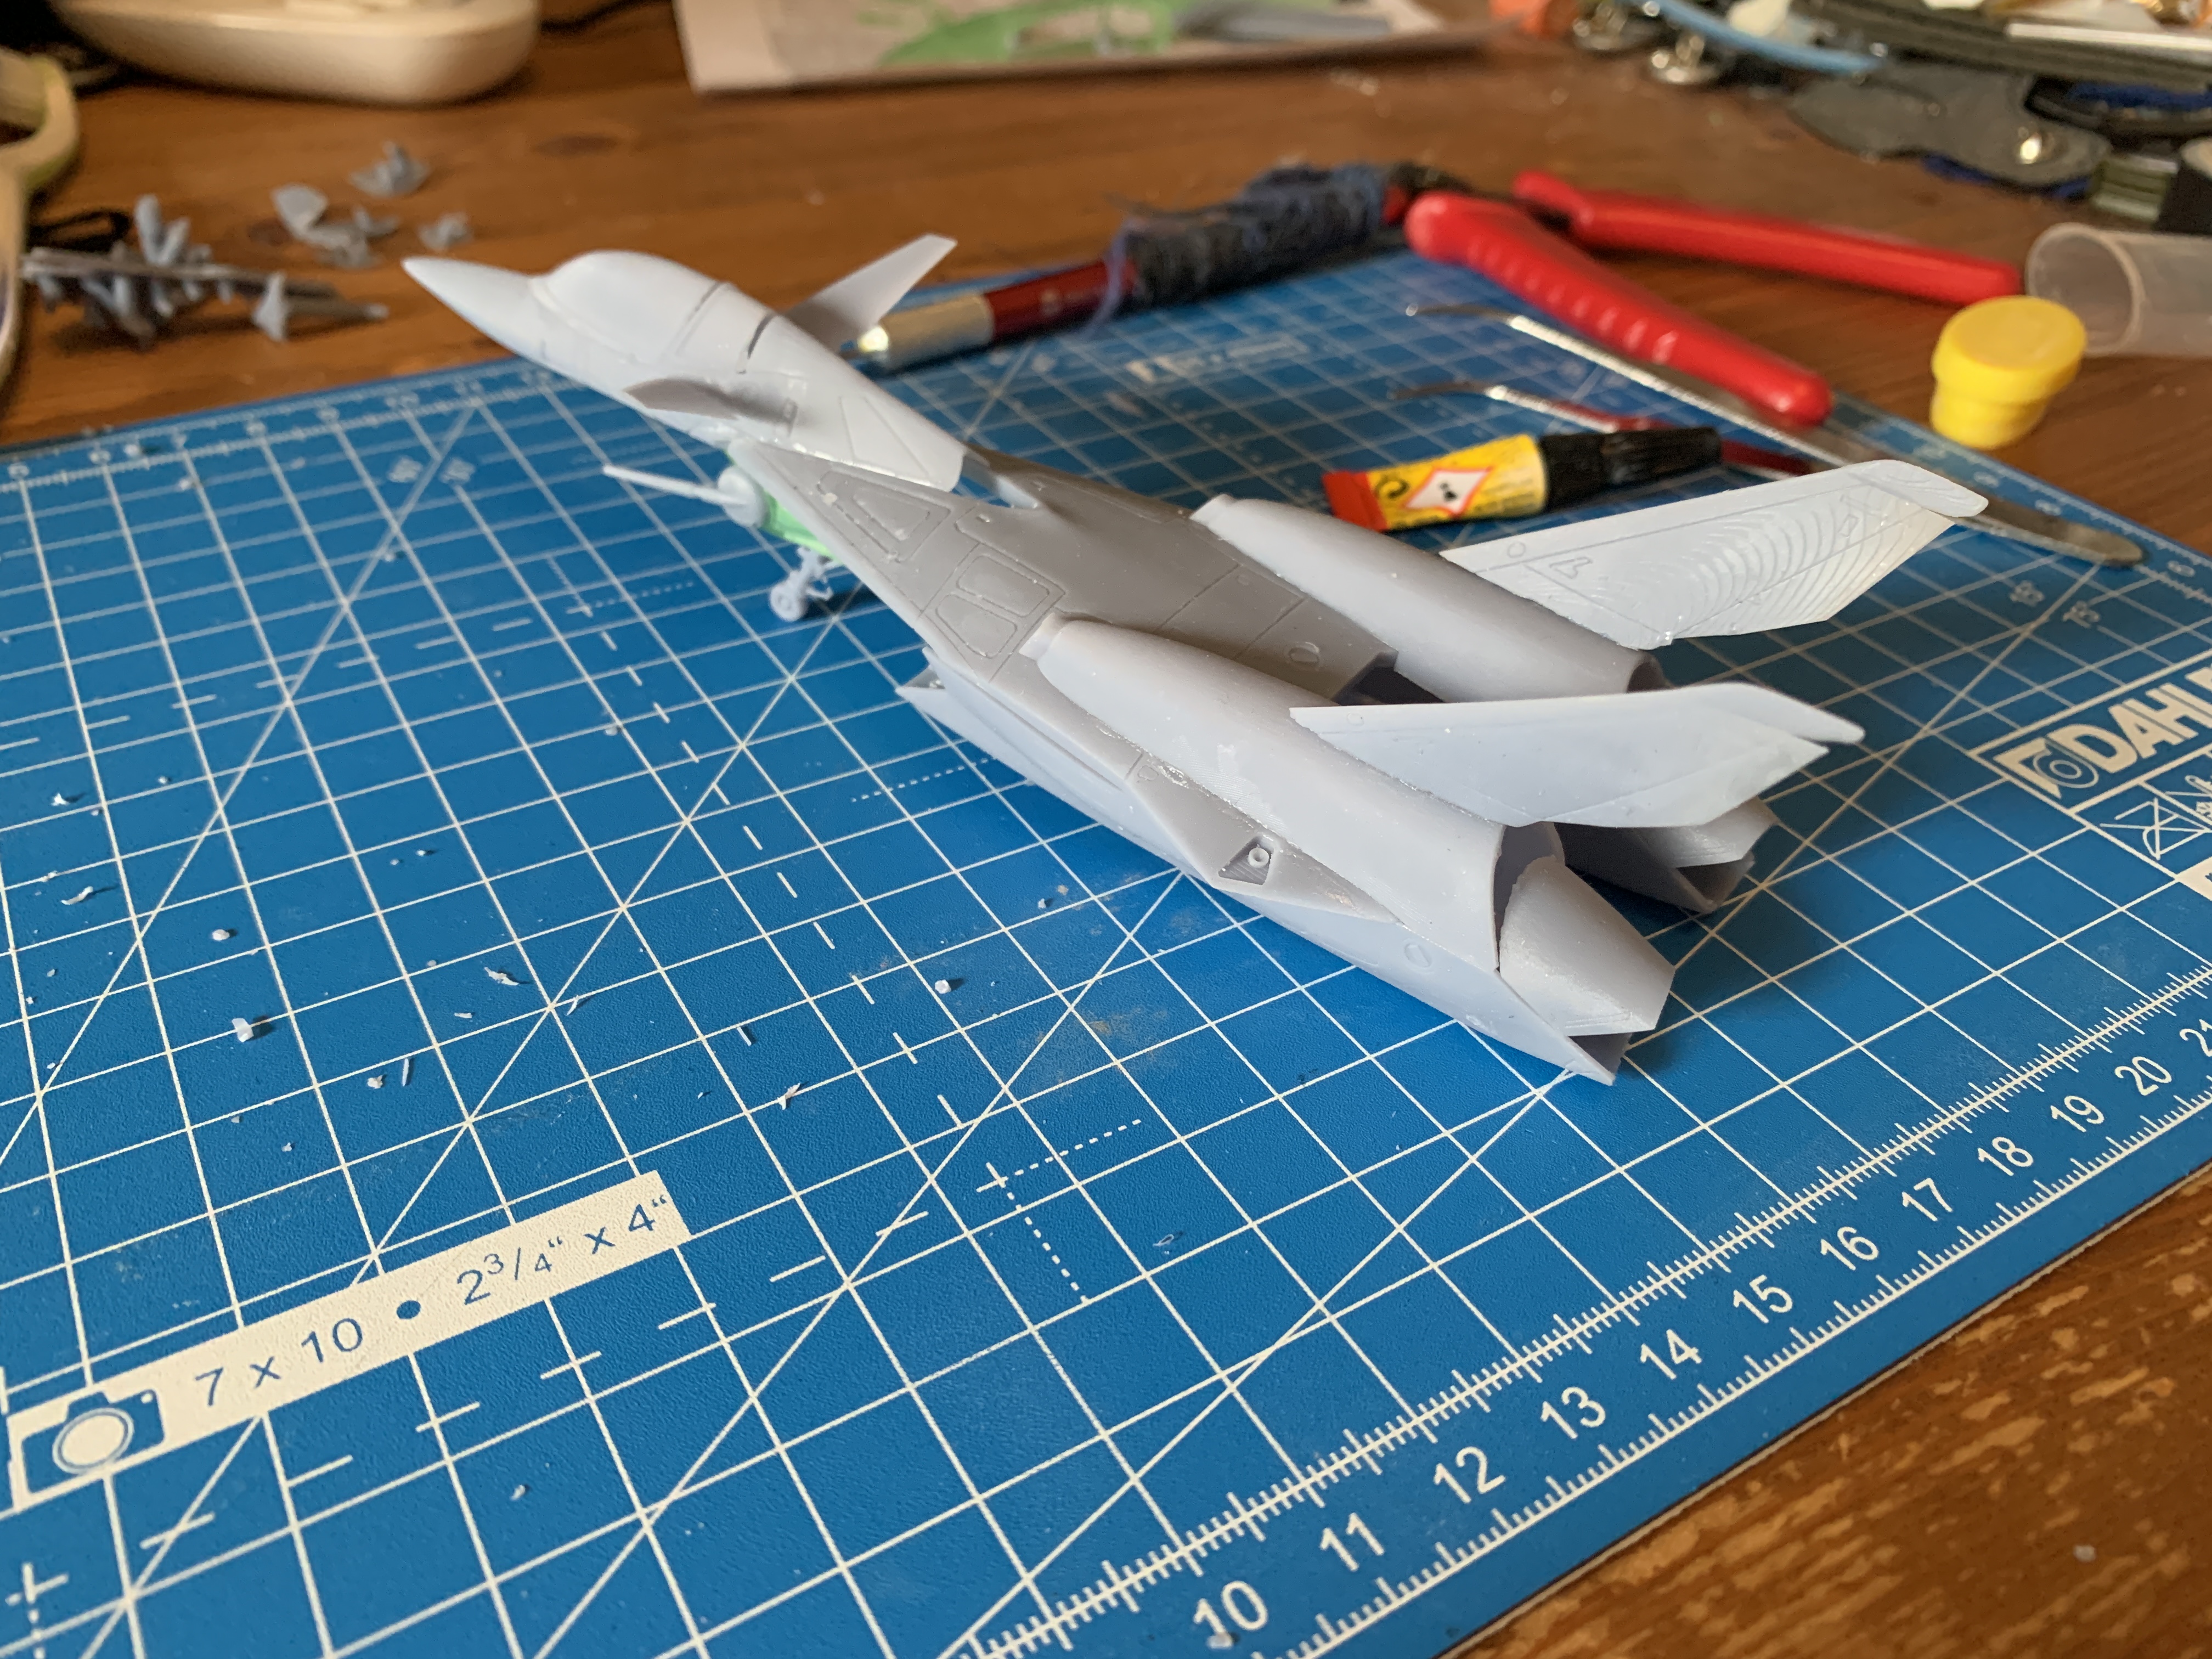
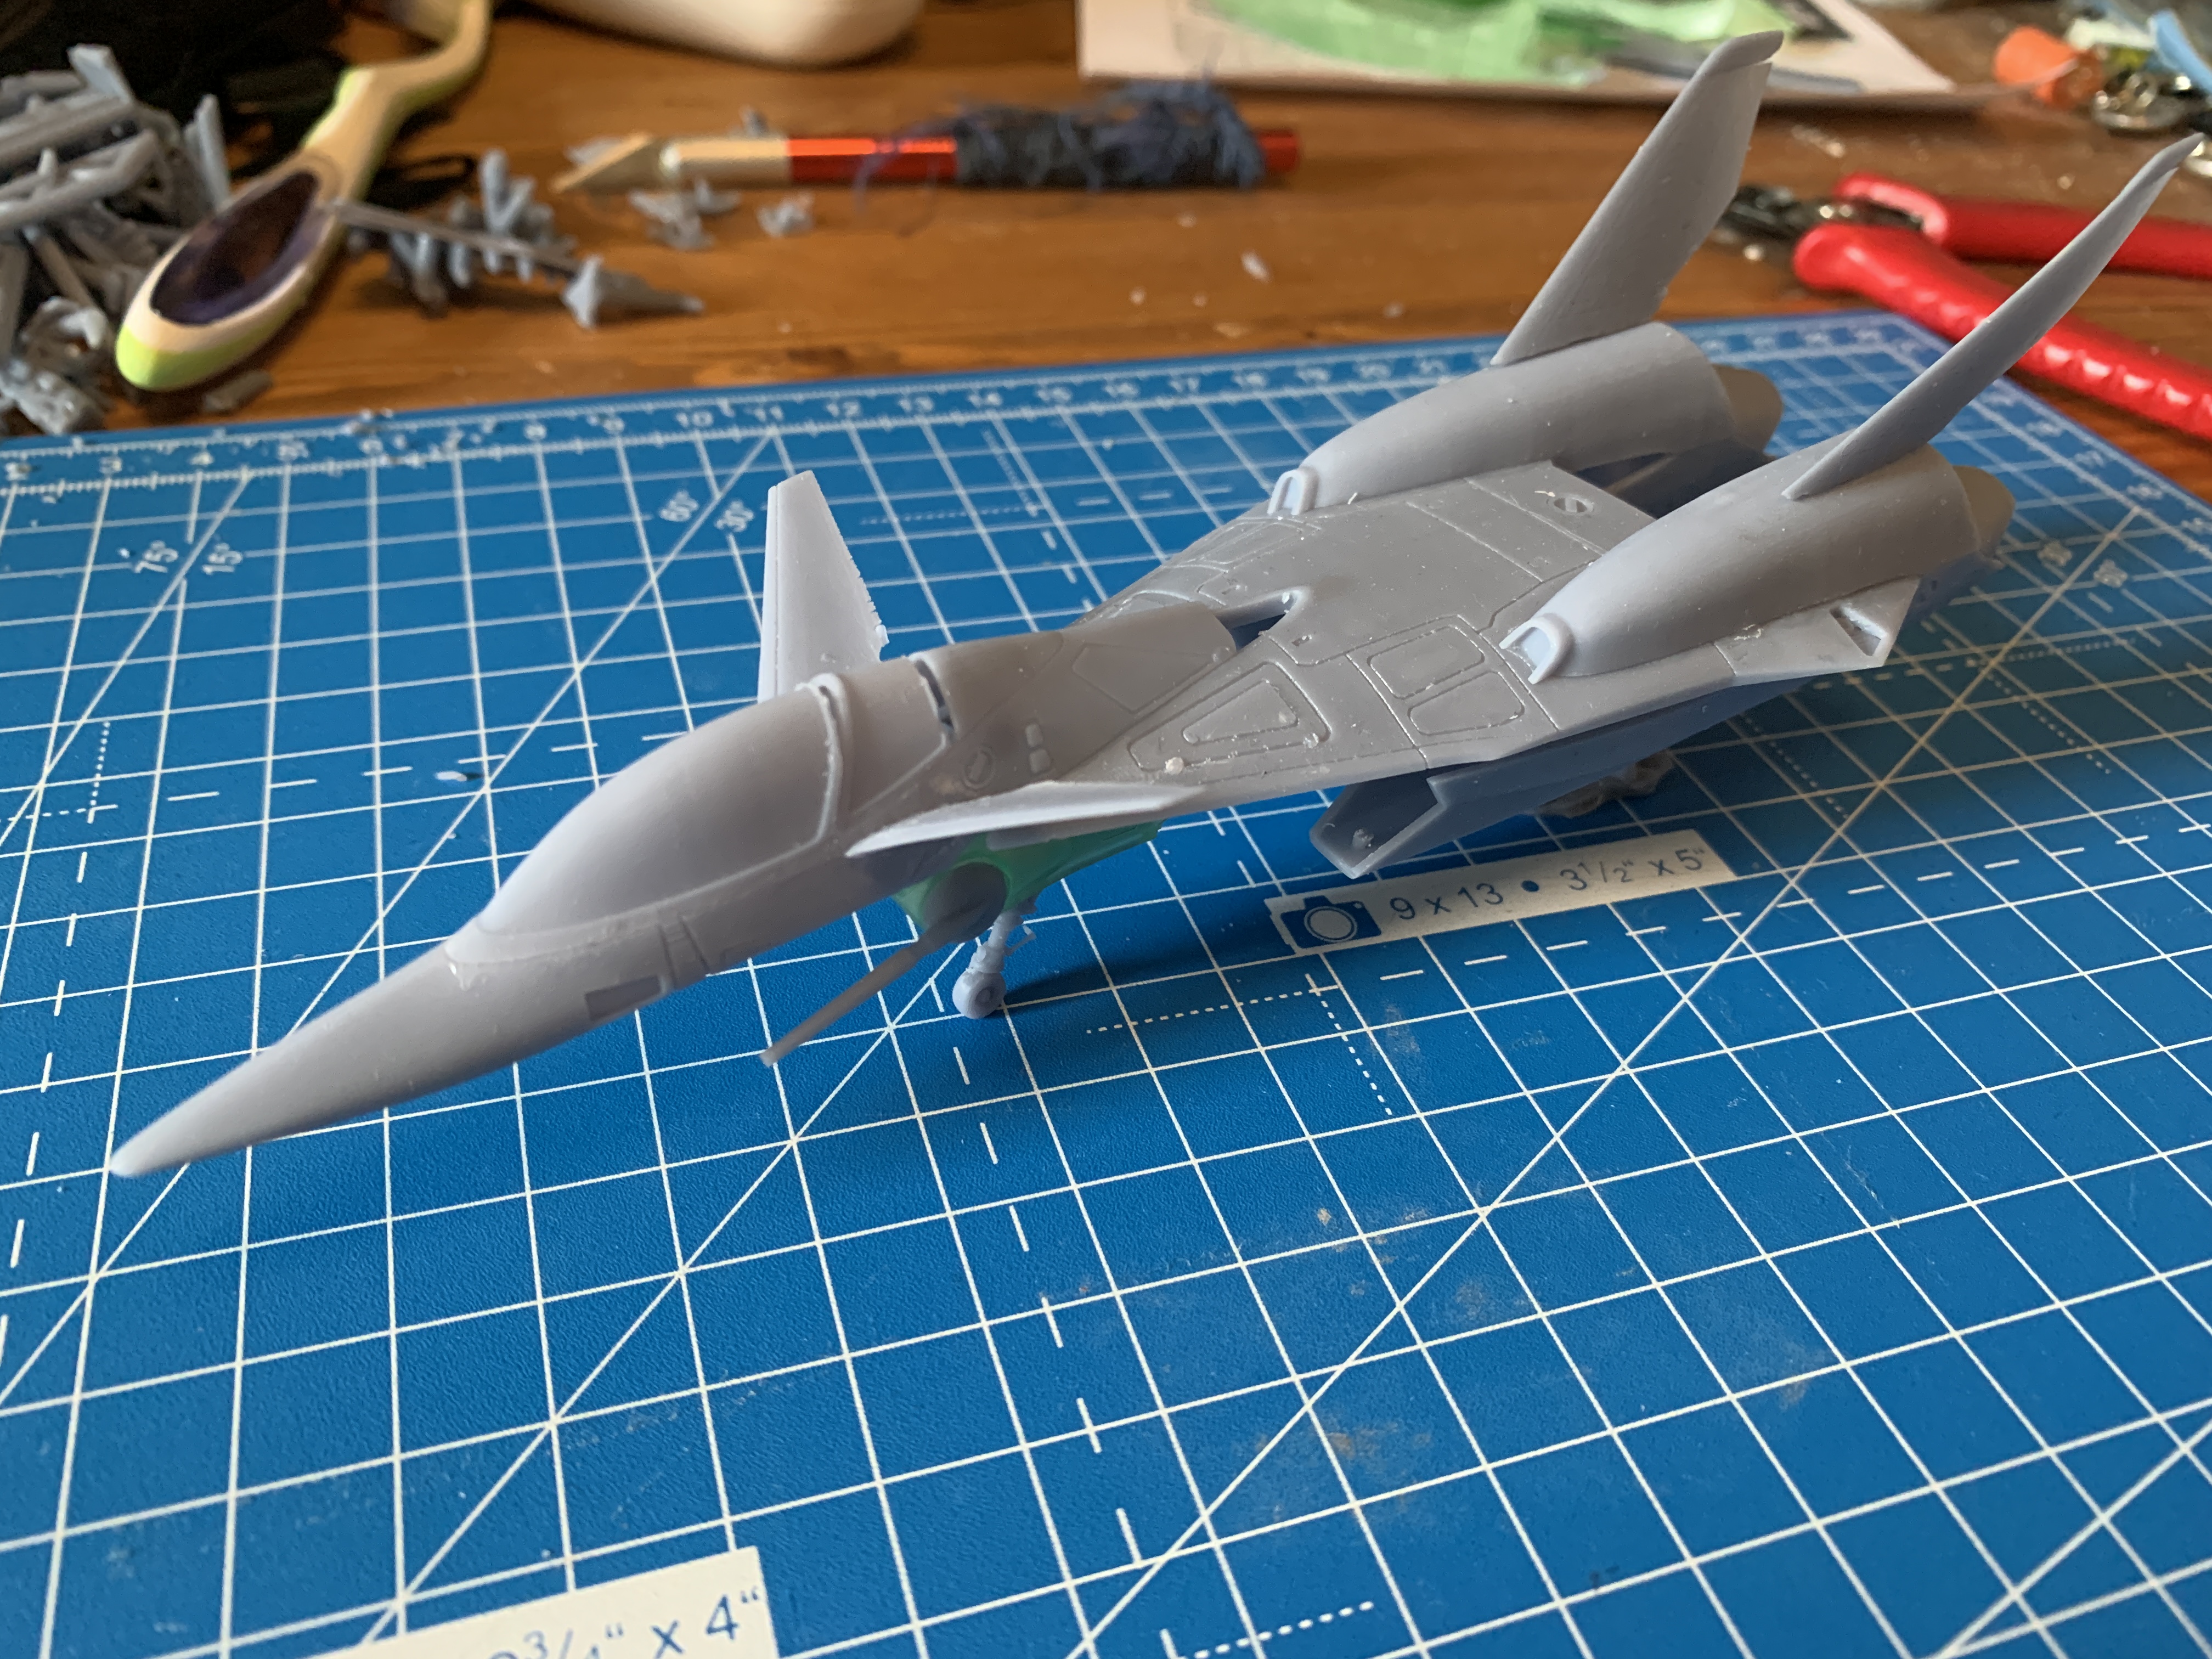
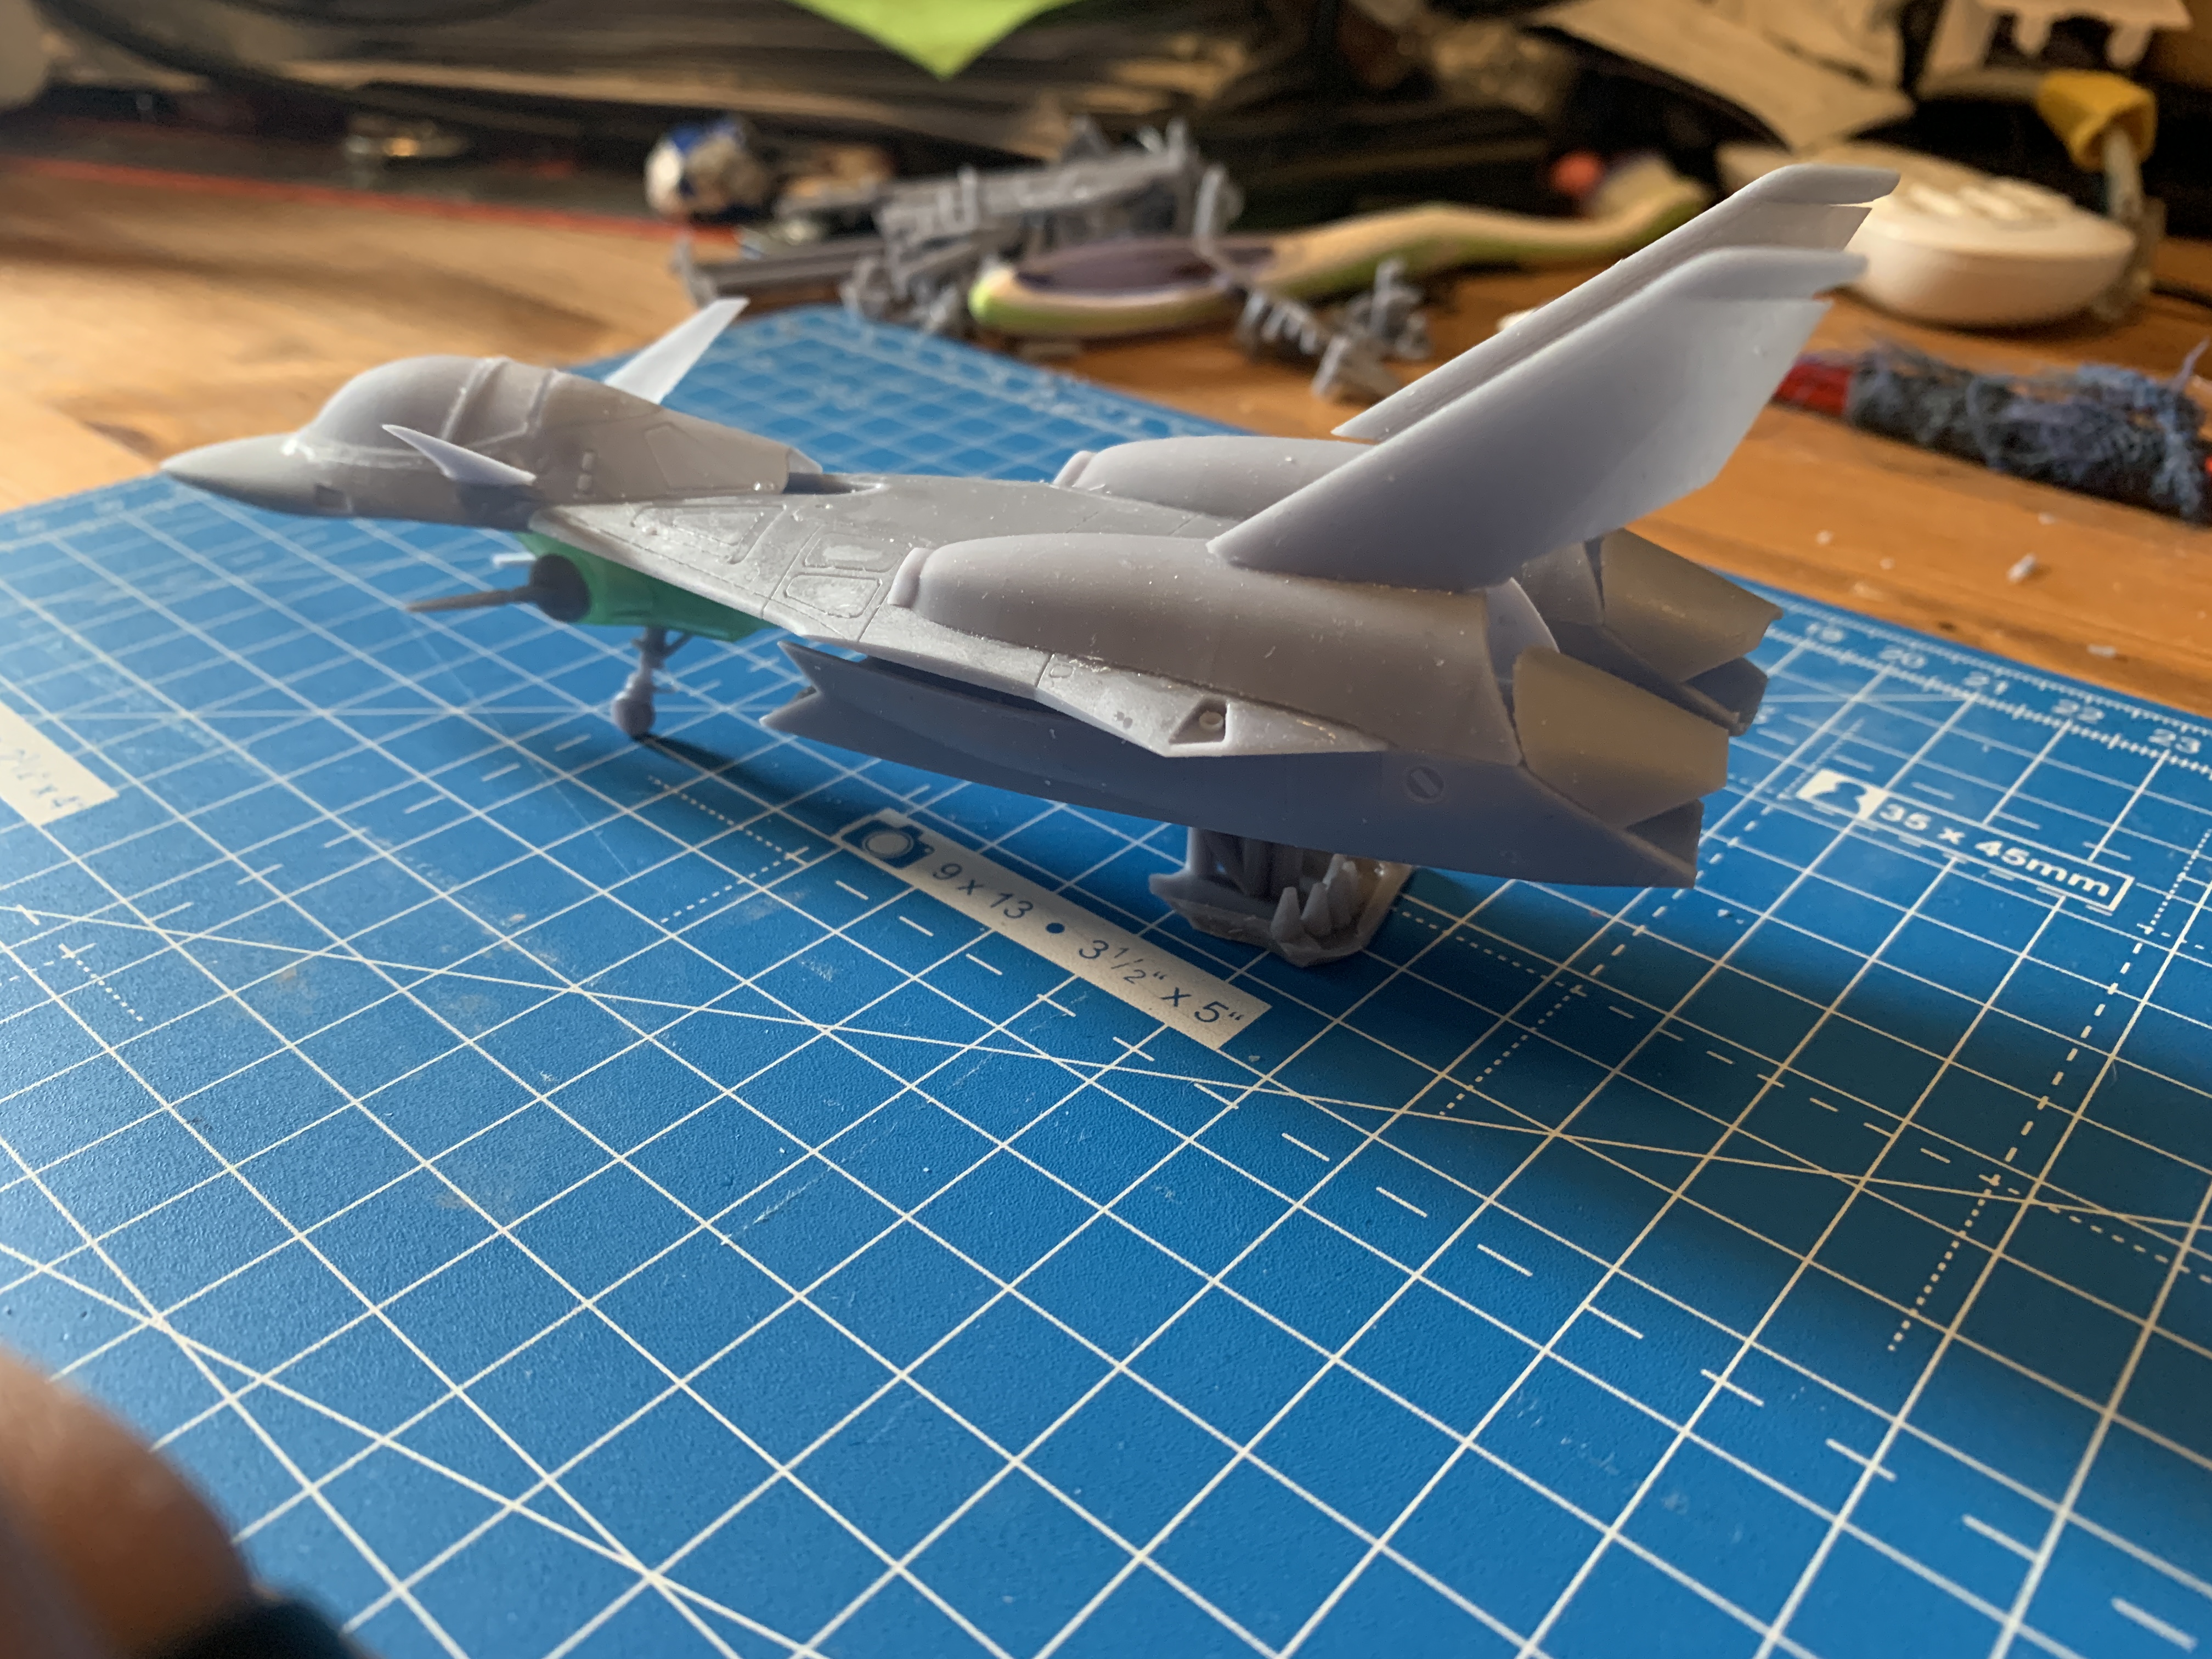
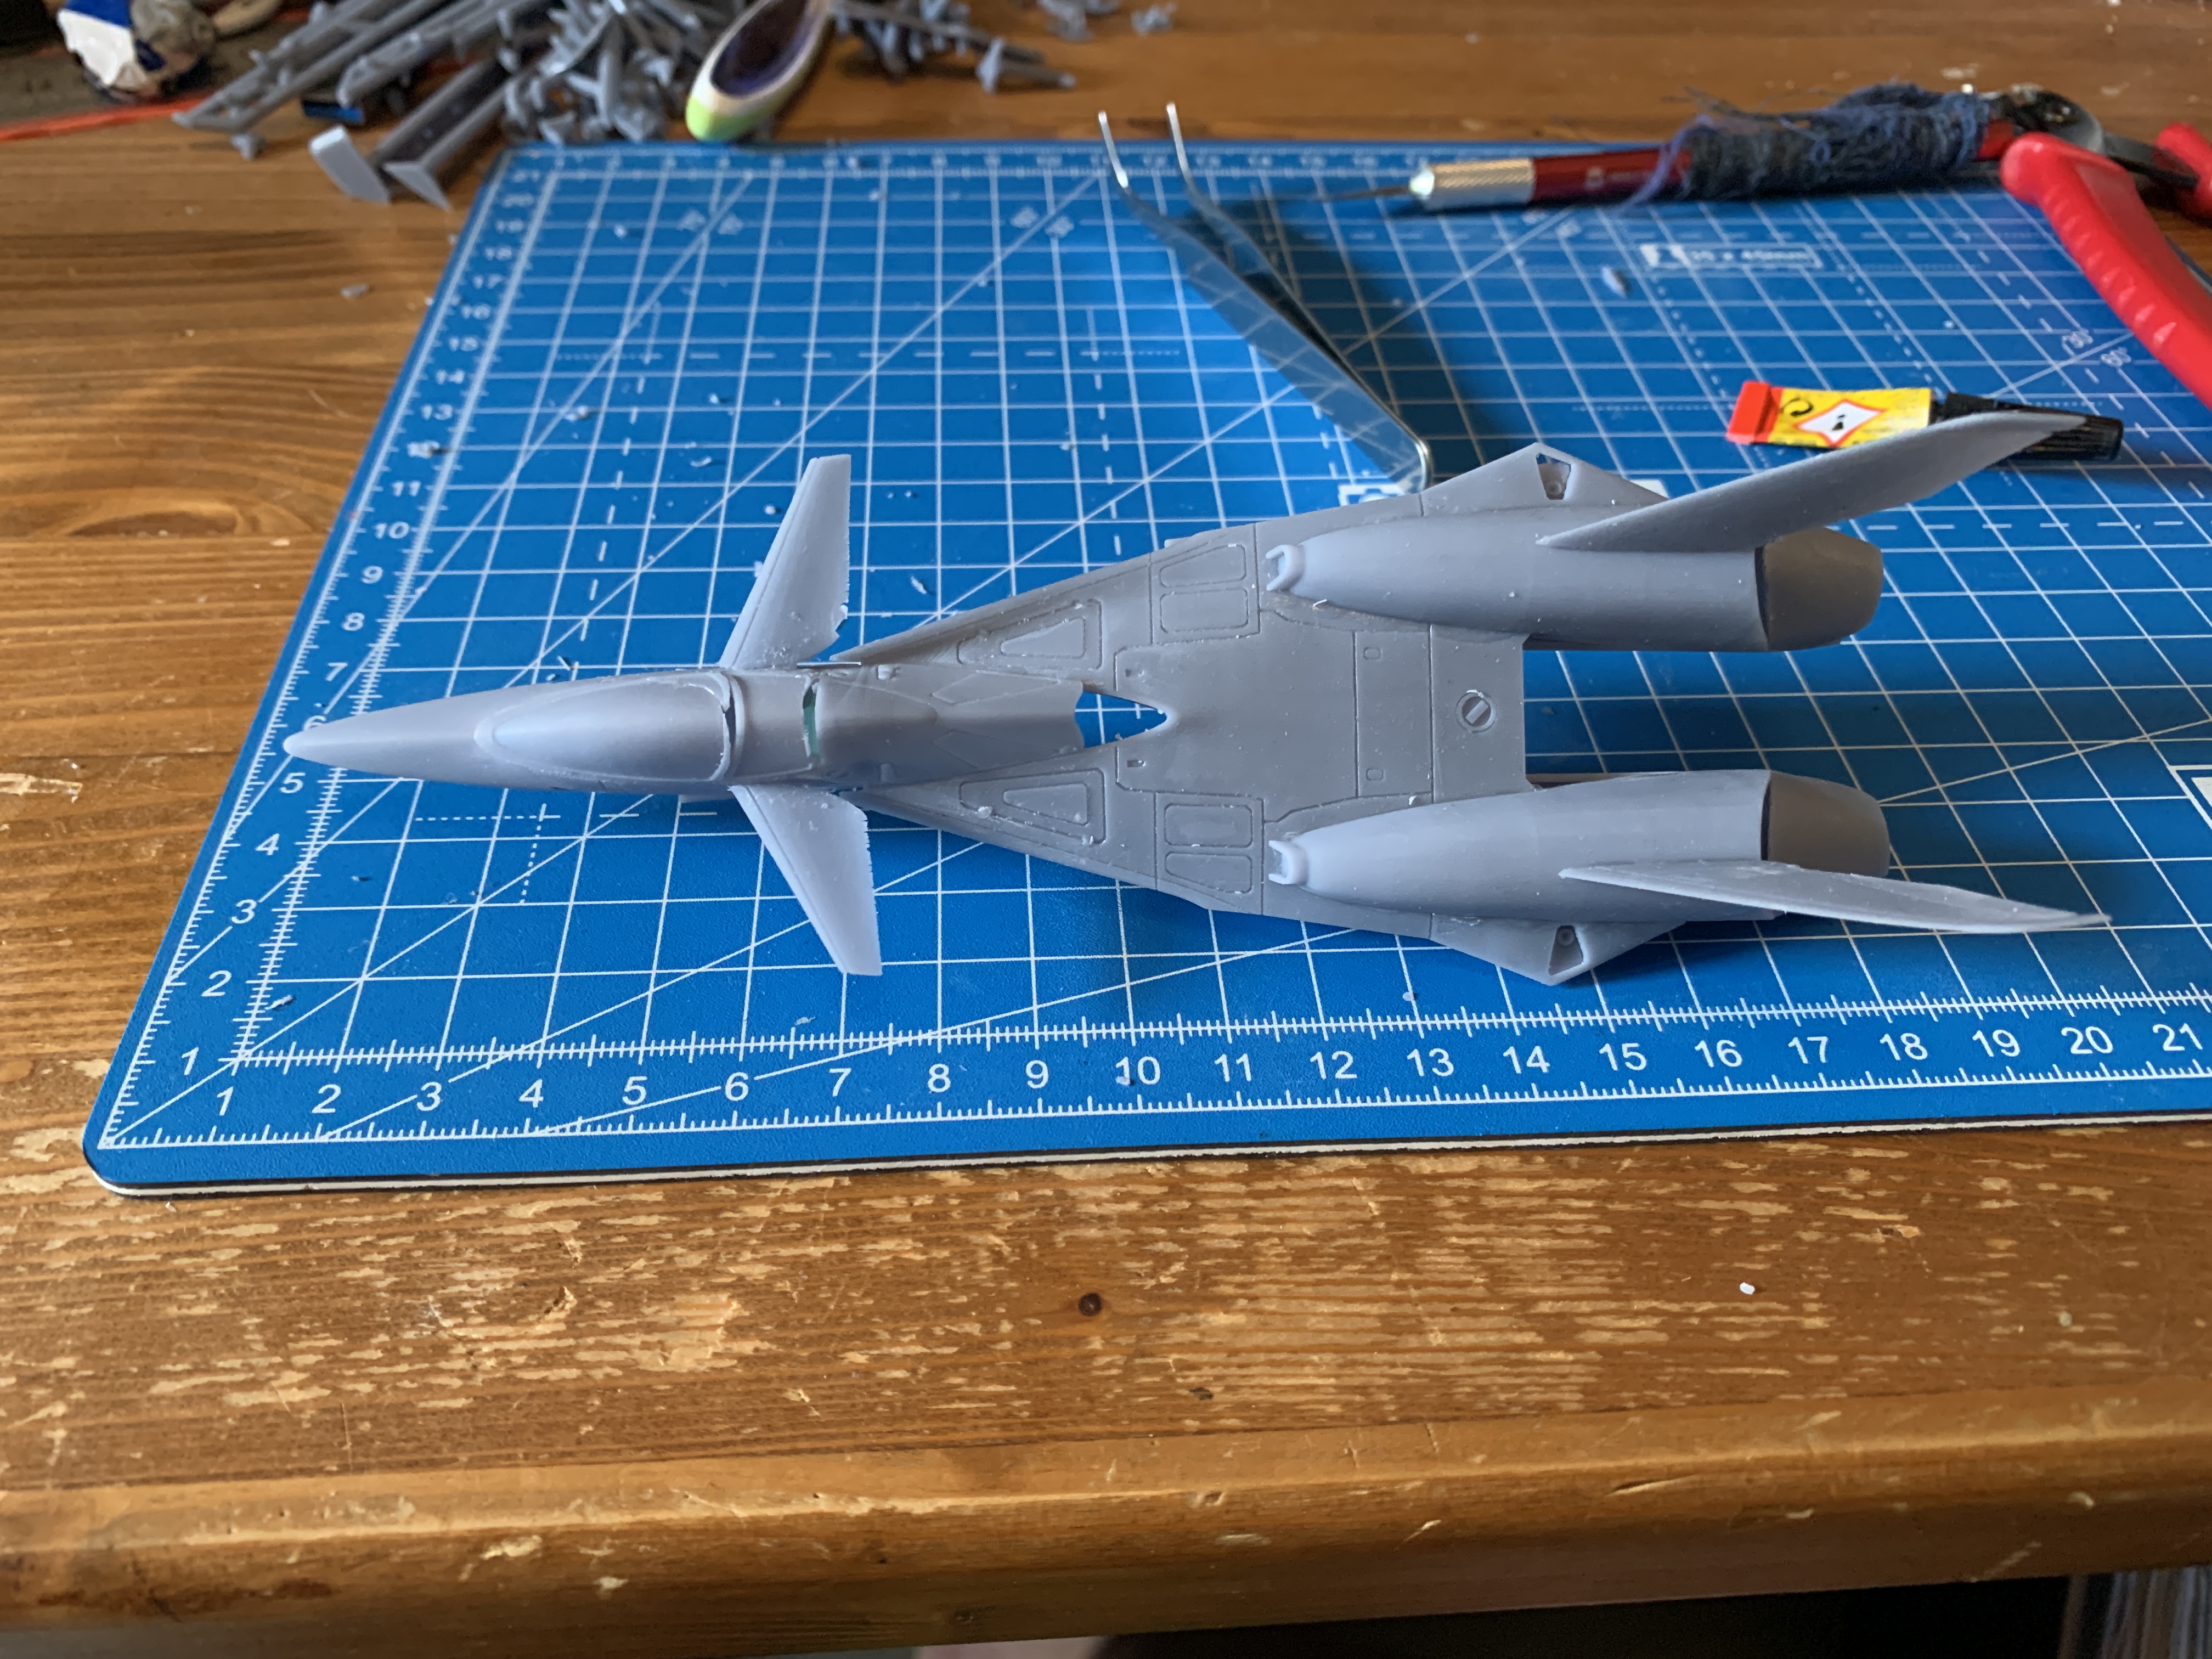
Okay, I could resist. I printed every piece I think was fine, just to check wall thinkness and if it would print good, or not. Behold! Around 18cm long, it is shorter than a 1/72 VF-1. everything seems fine except for the vertical stabilizers. They are way too thin. It bends like paper. So I have to redo them too. The engine bays and so on work great. They have a nice fit and I am mostly satisfied.
-
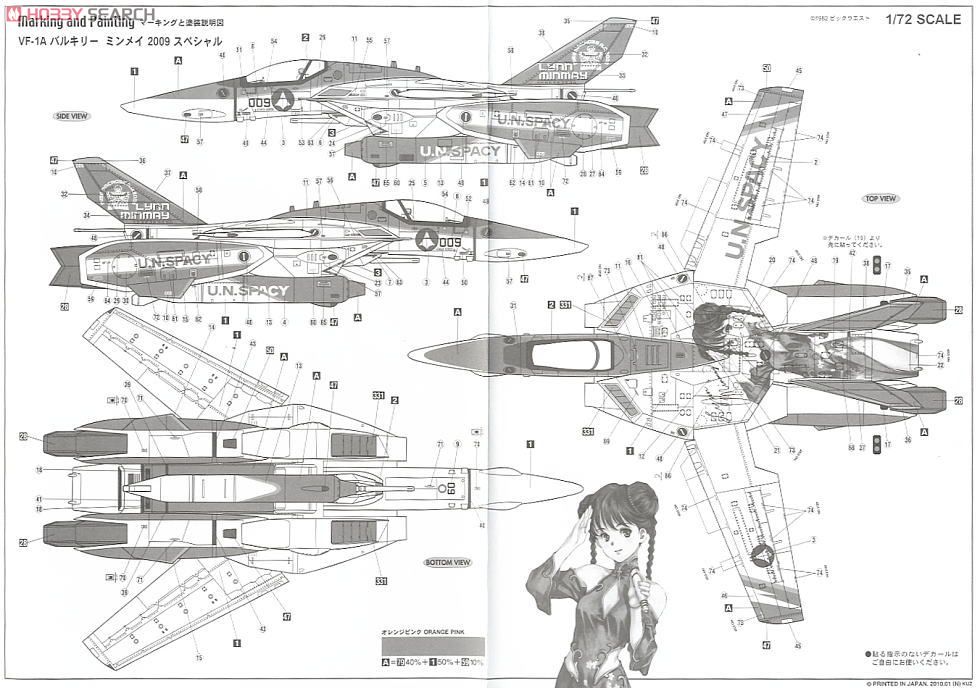
Hey everyone! For my next project I need a way better scan of hasegawas 2009 VF-1A Minmay special. I got this off 1999.co.jp, but it is rather rough. Can anyone help me out please?
-
that is a large box. The VF-4 box was big as well.
-
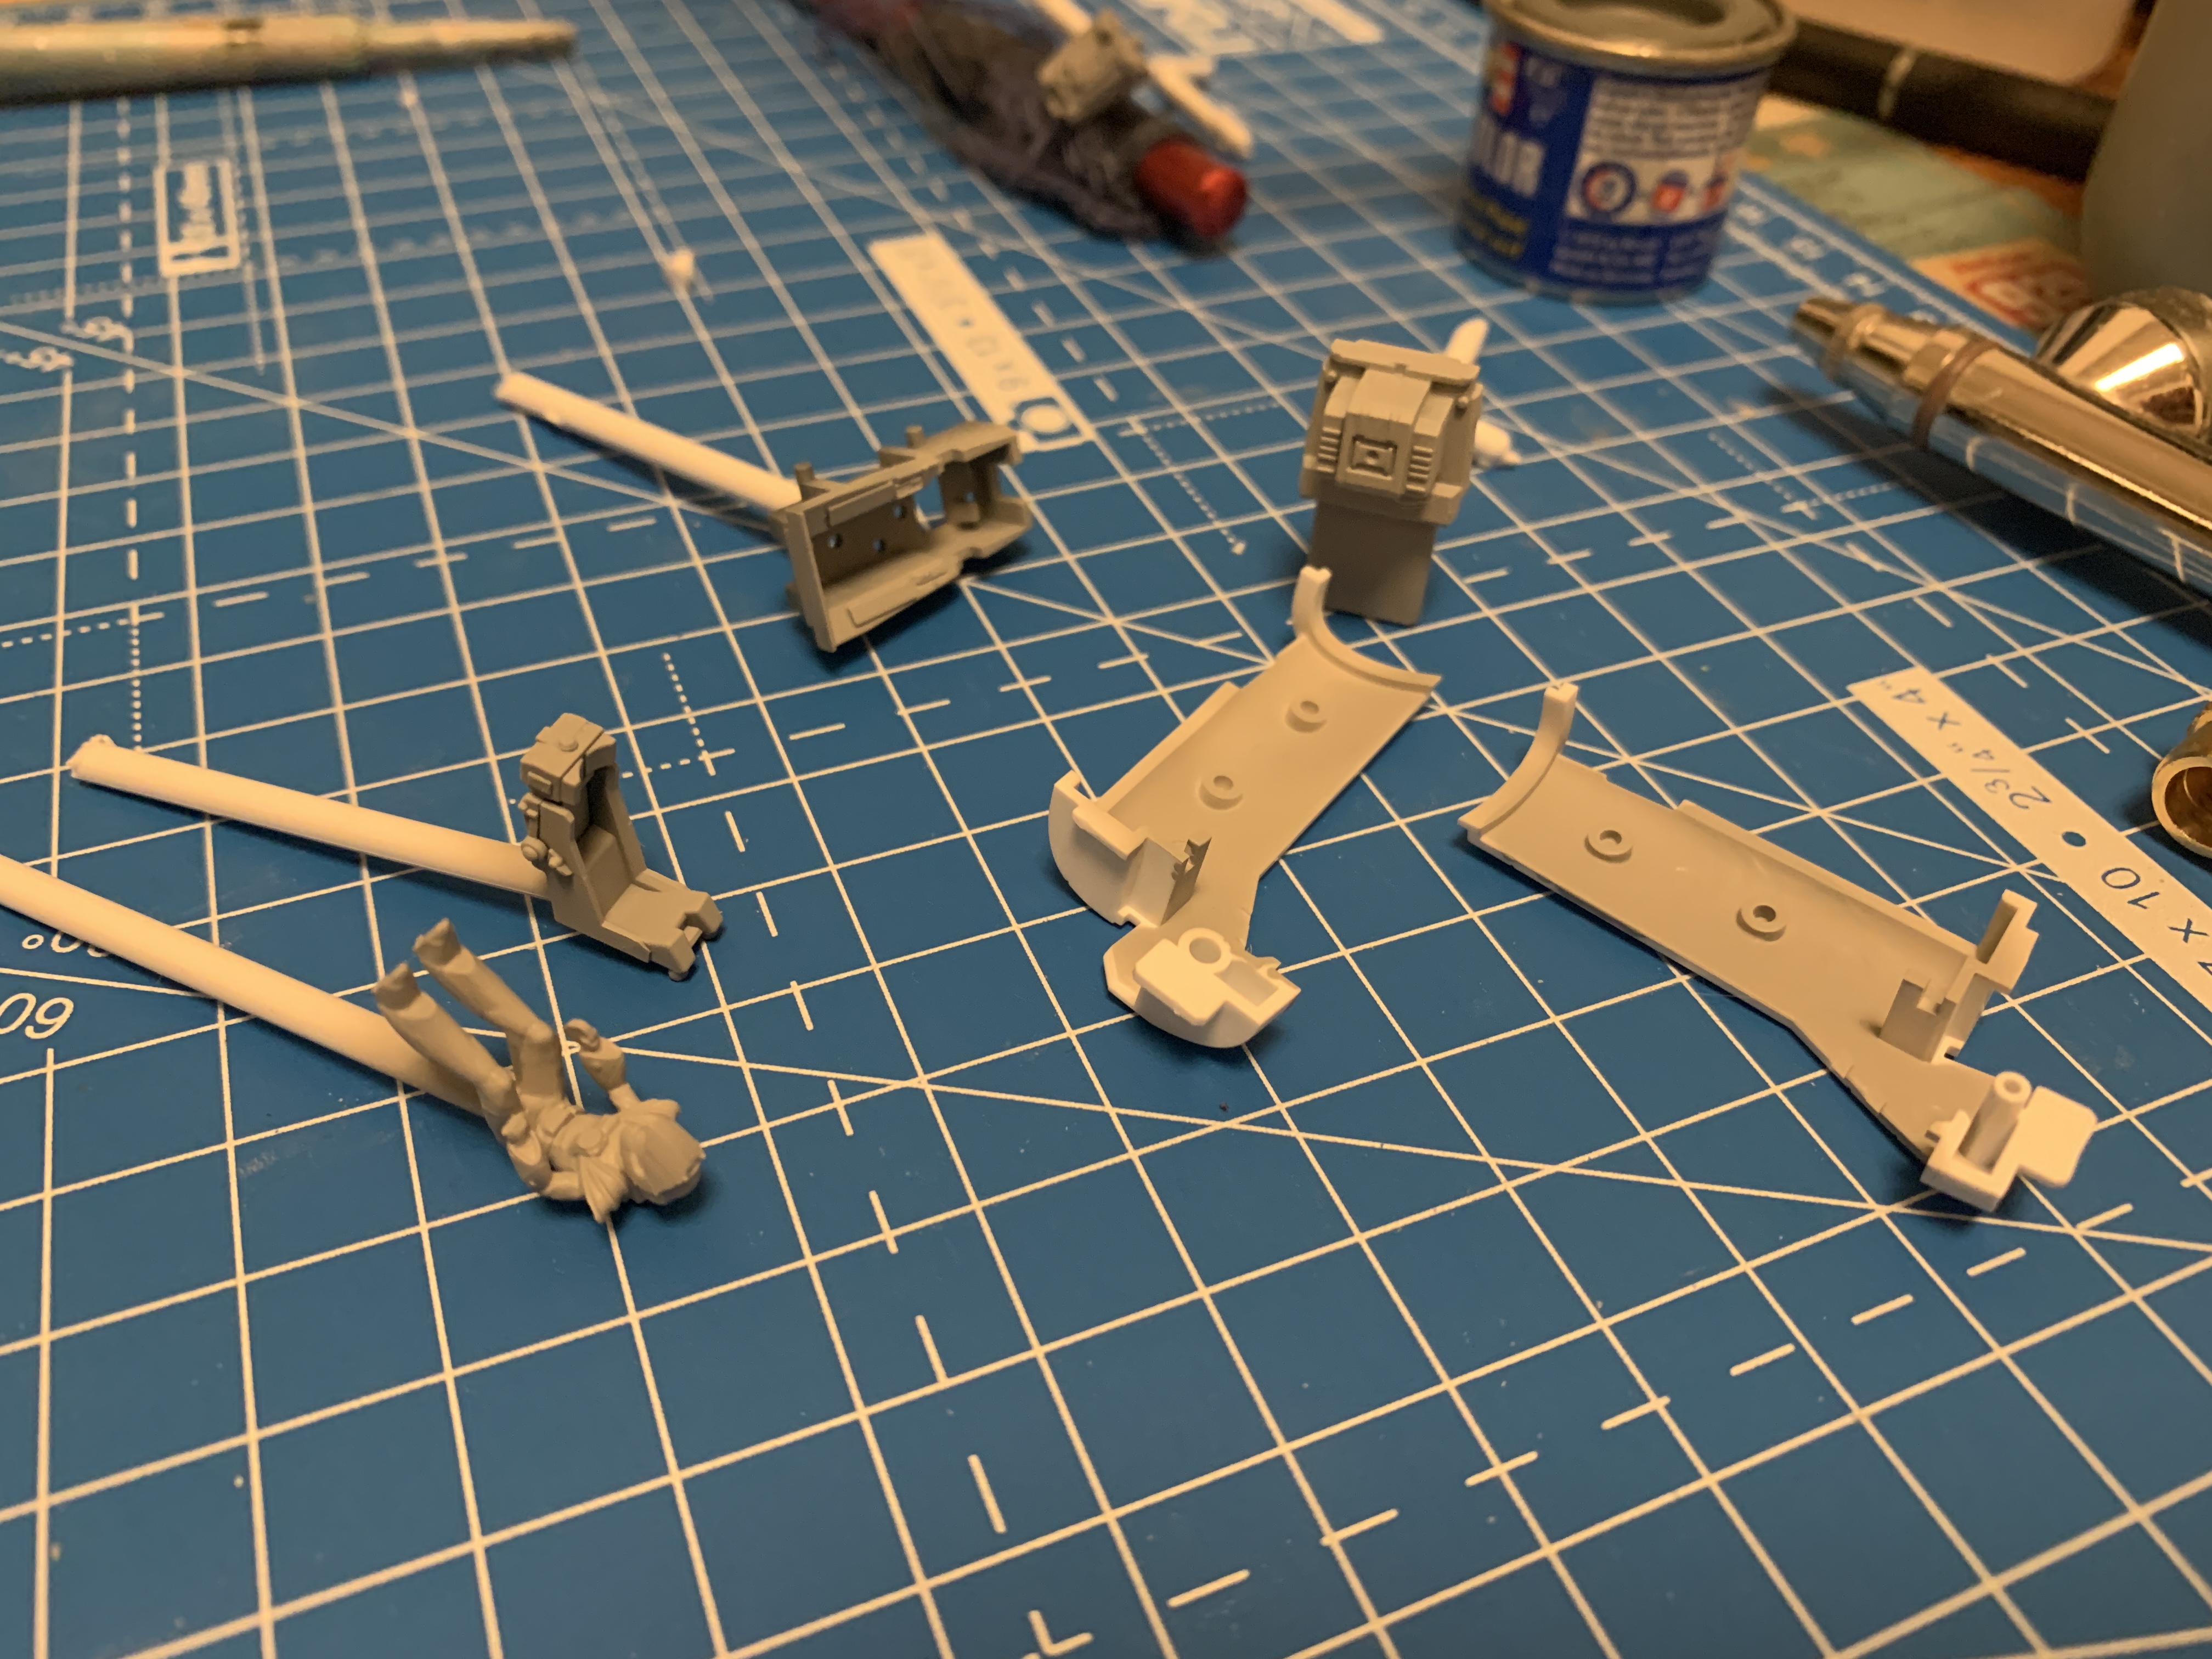
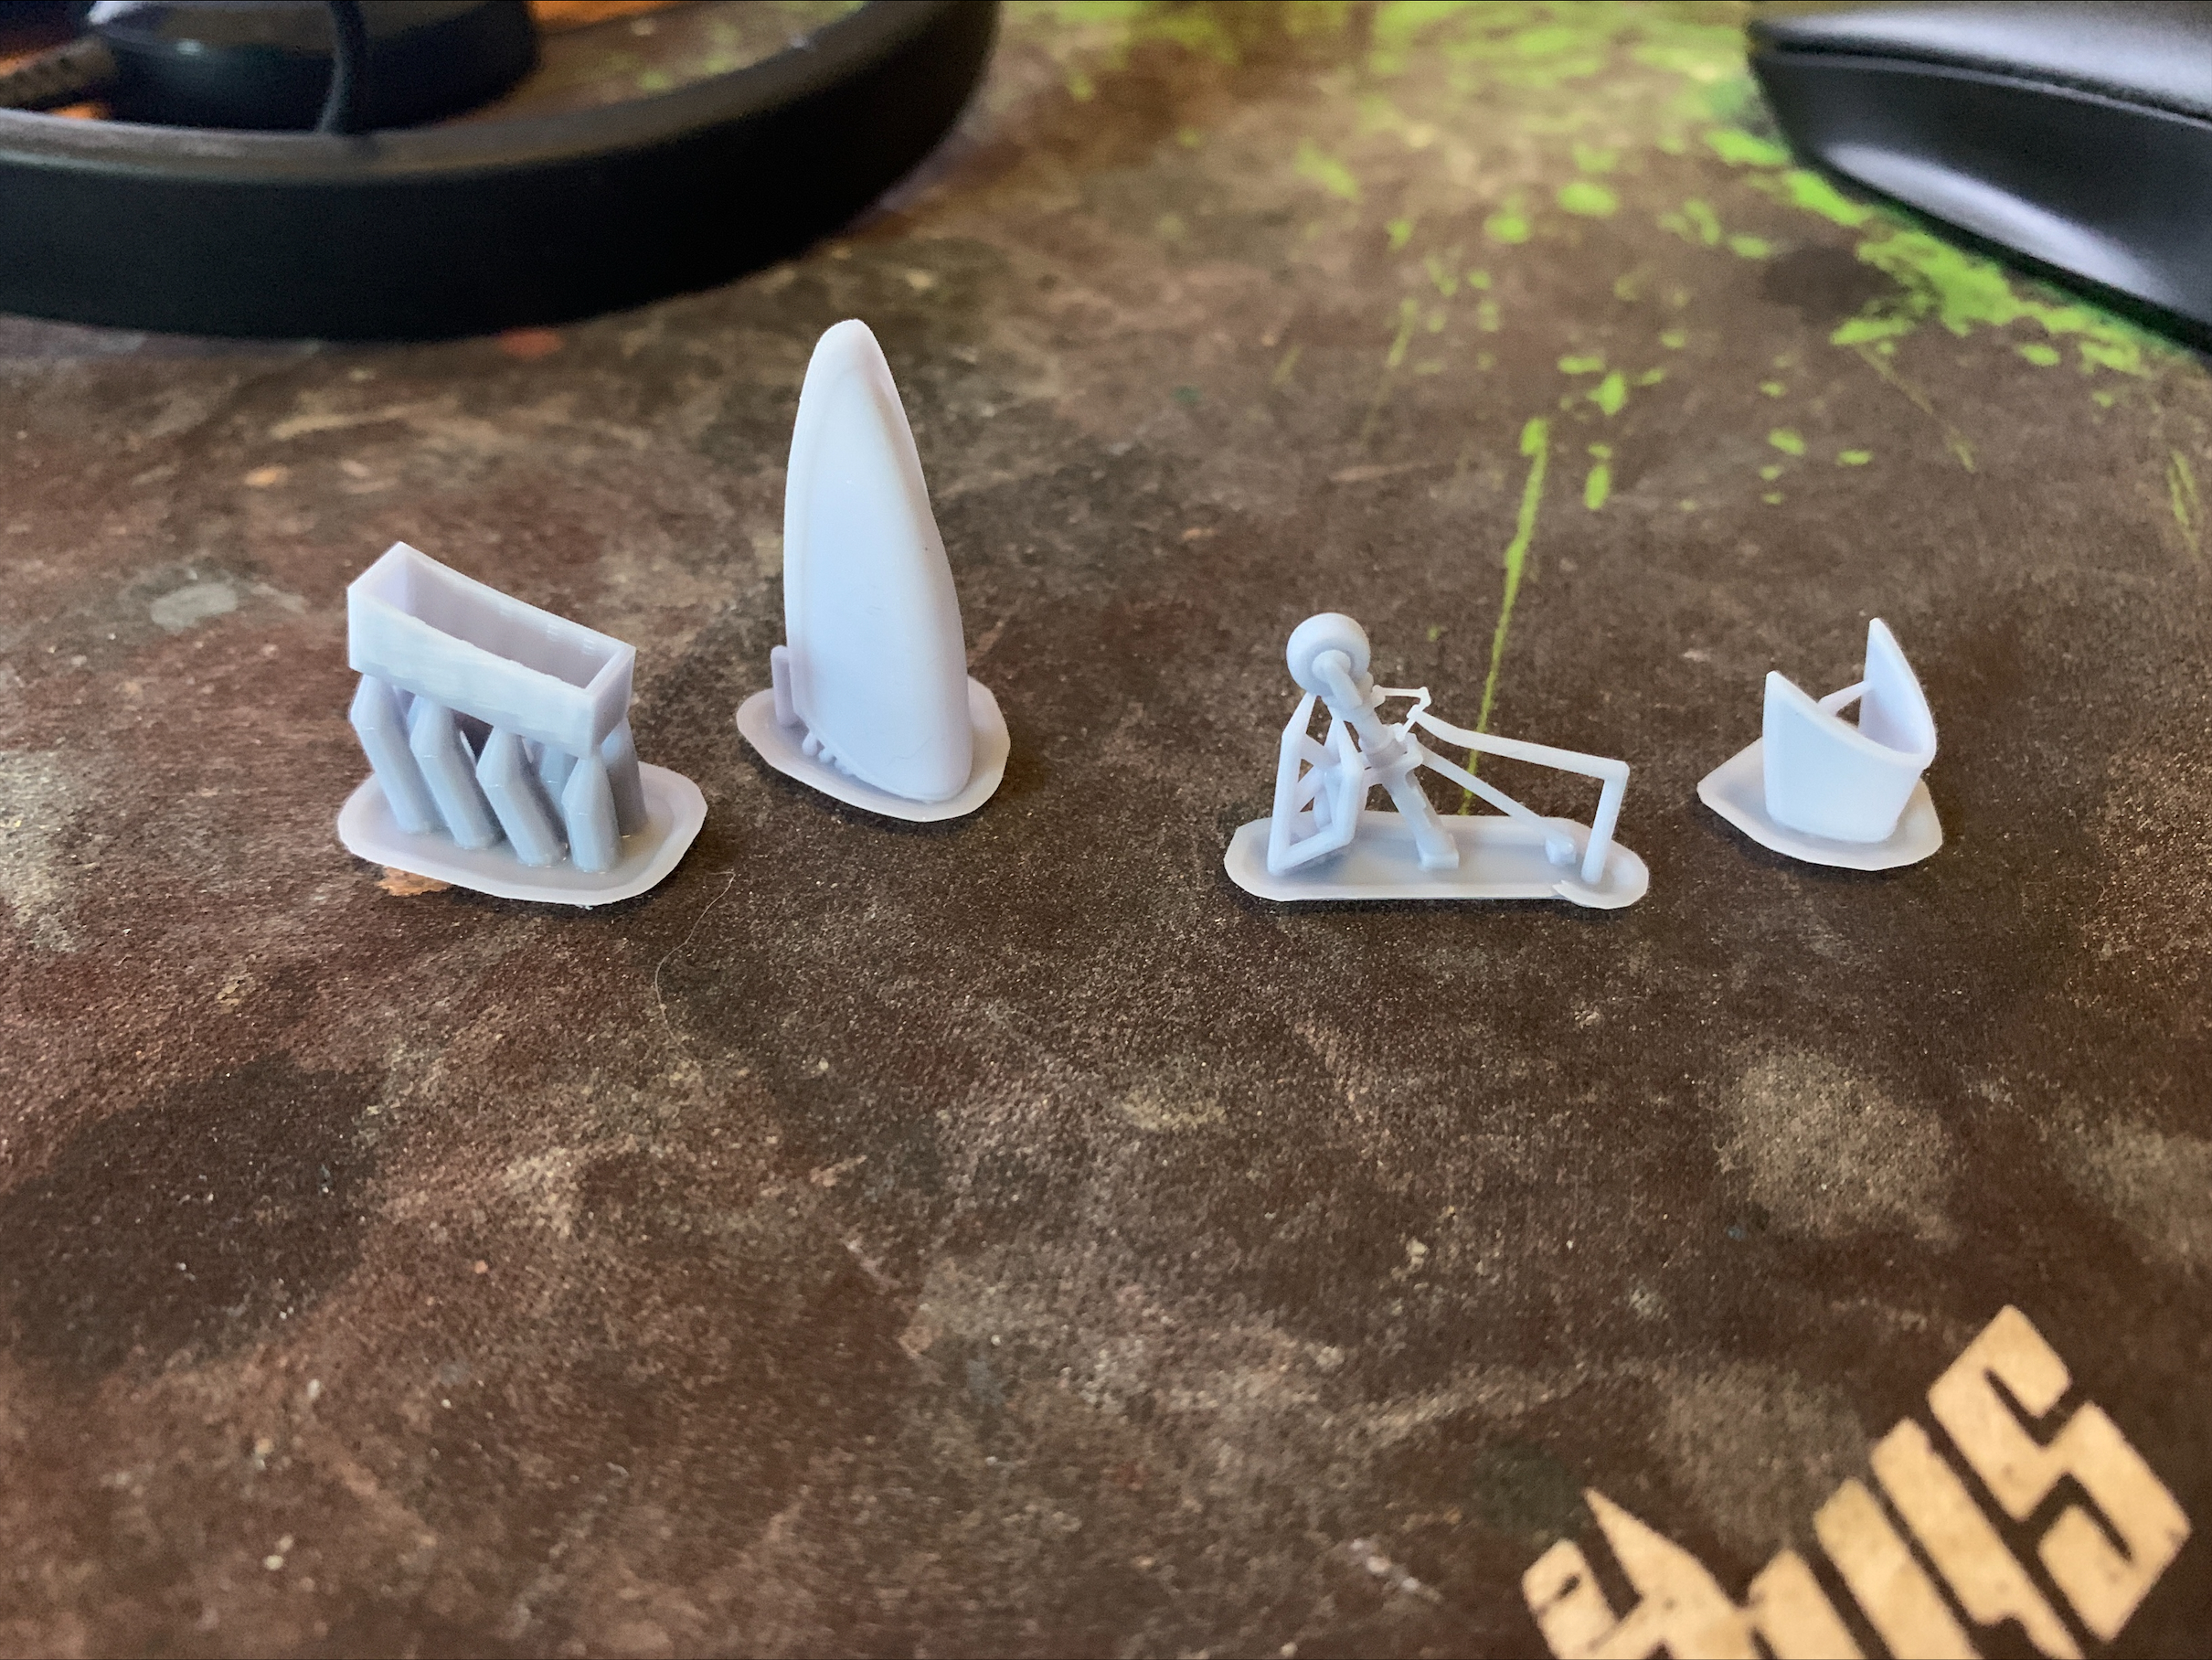
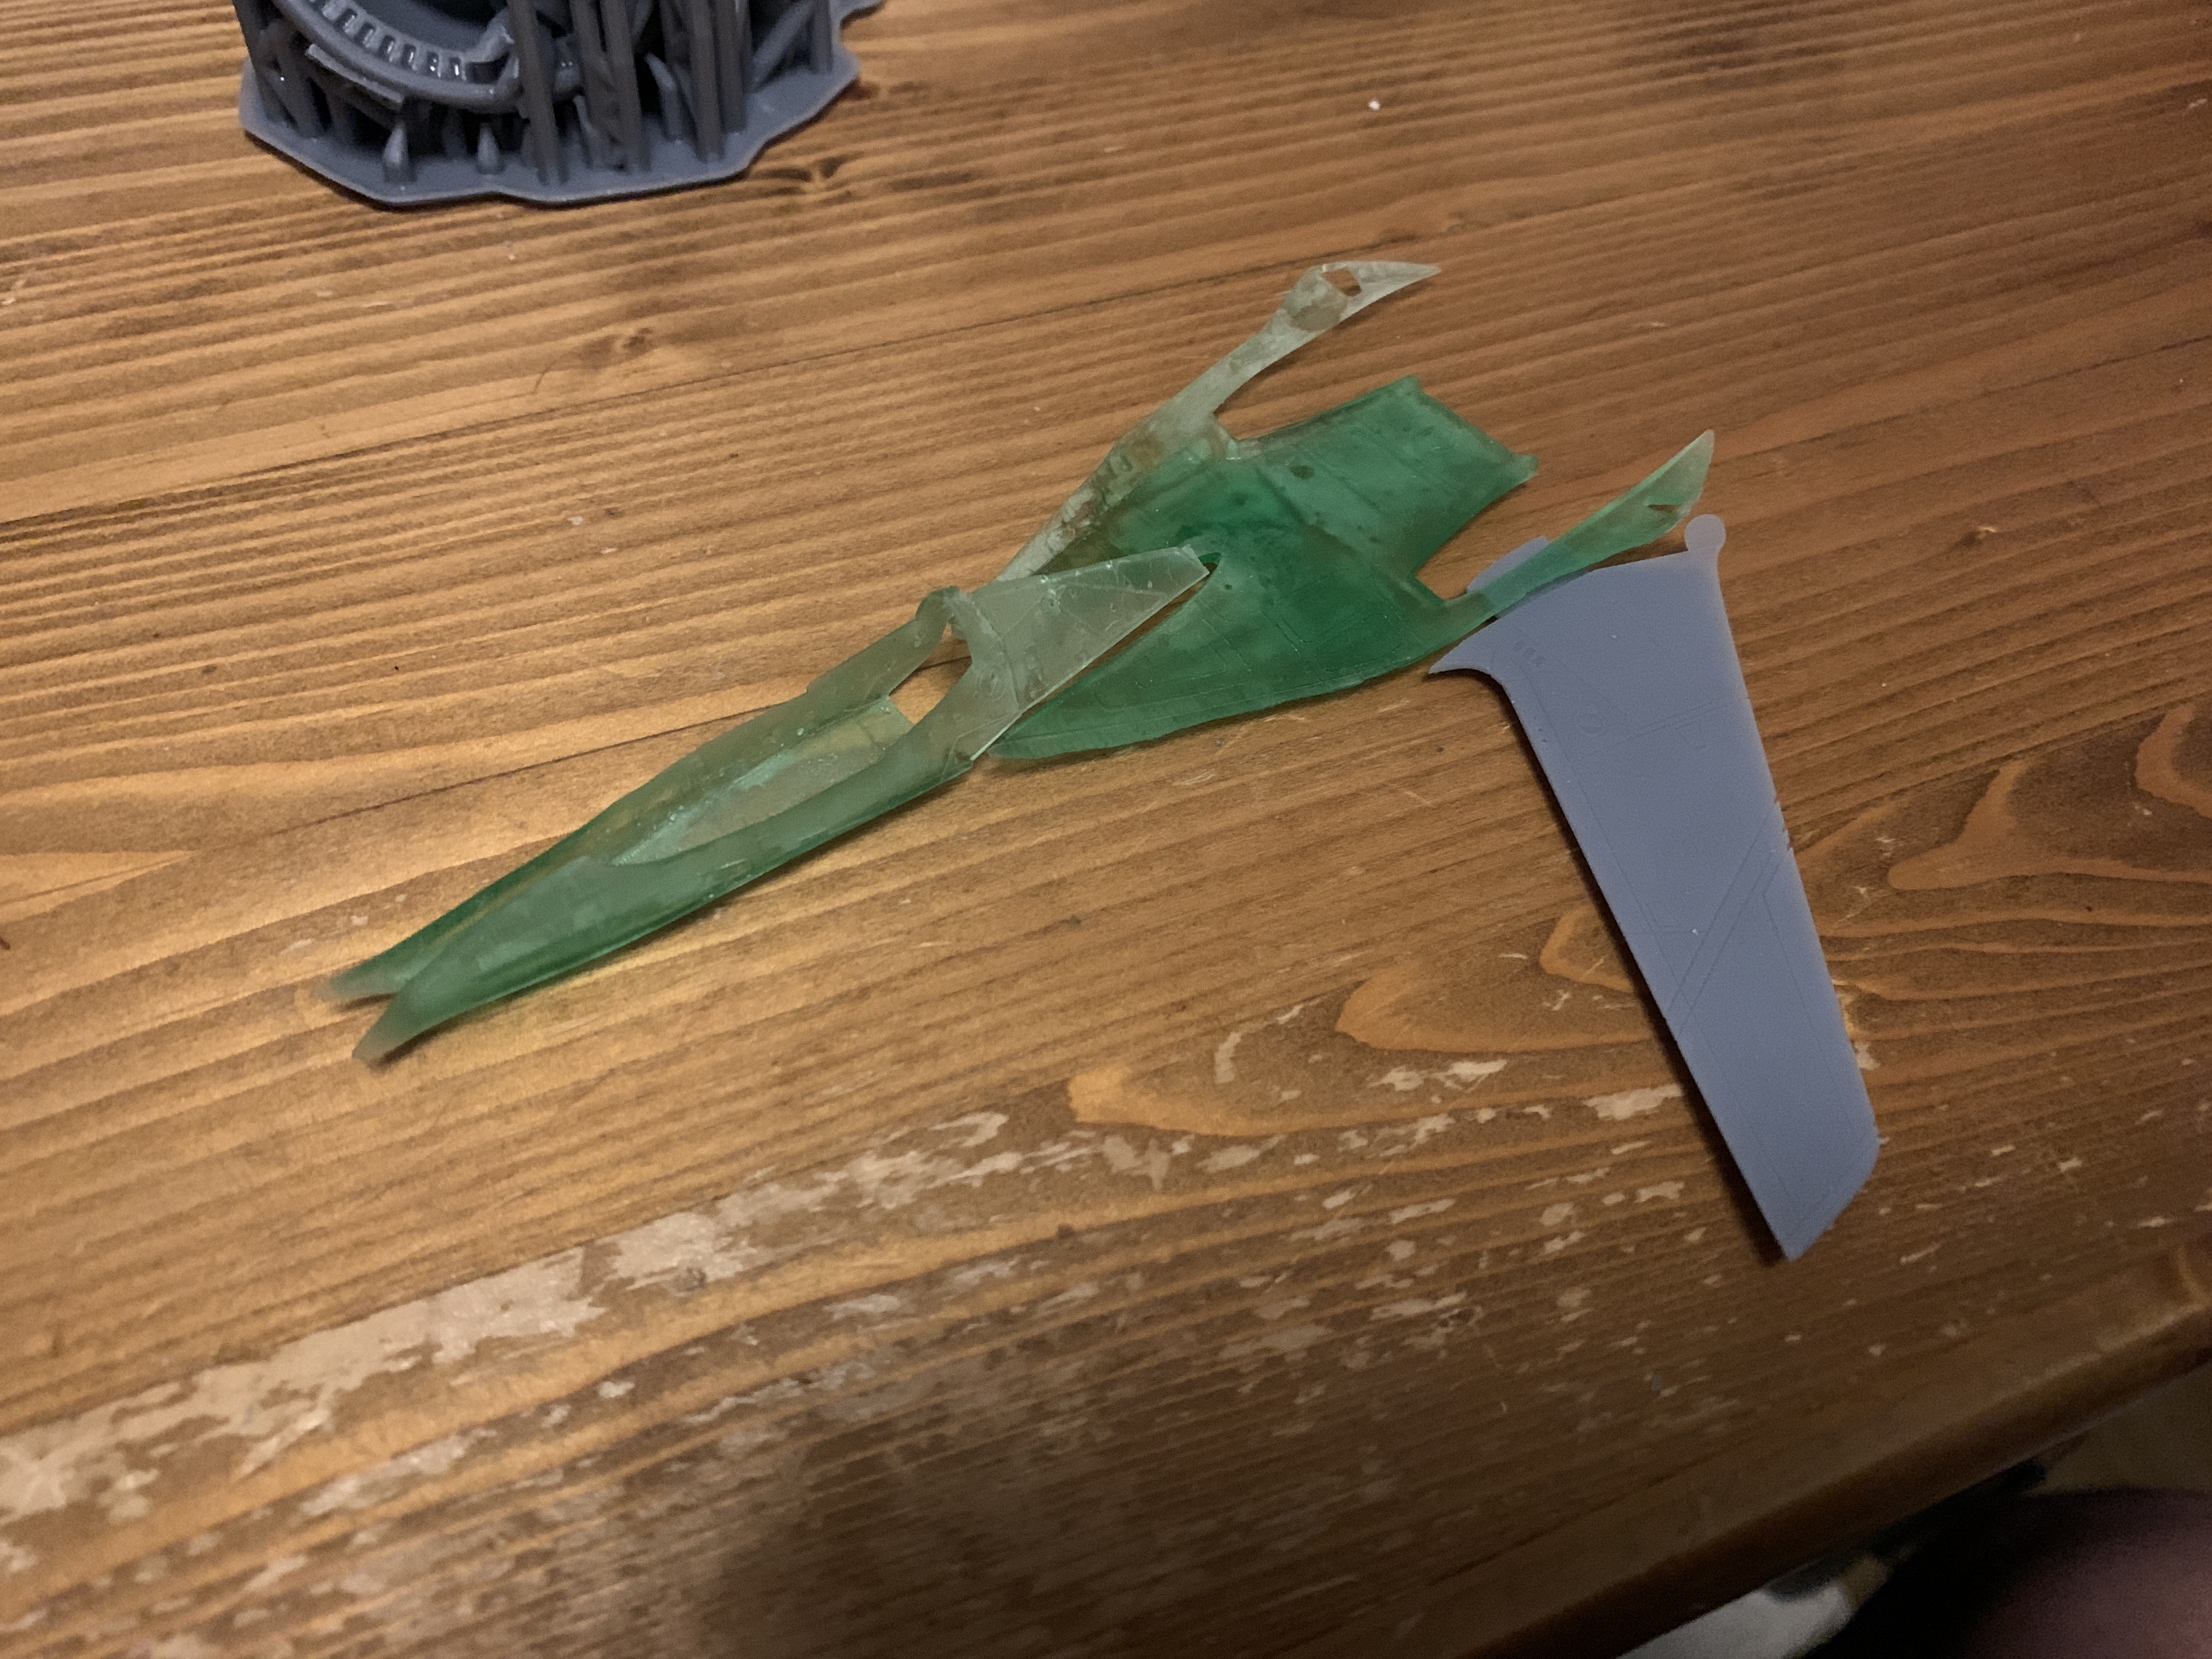
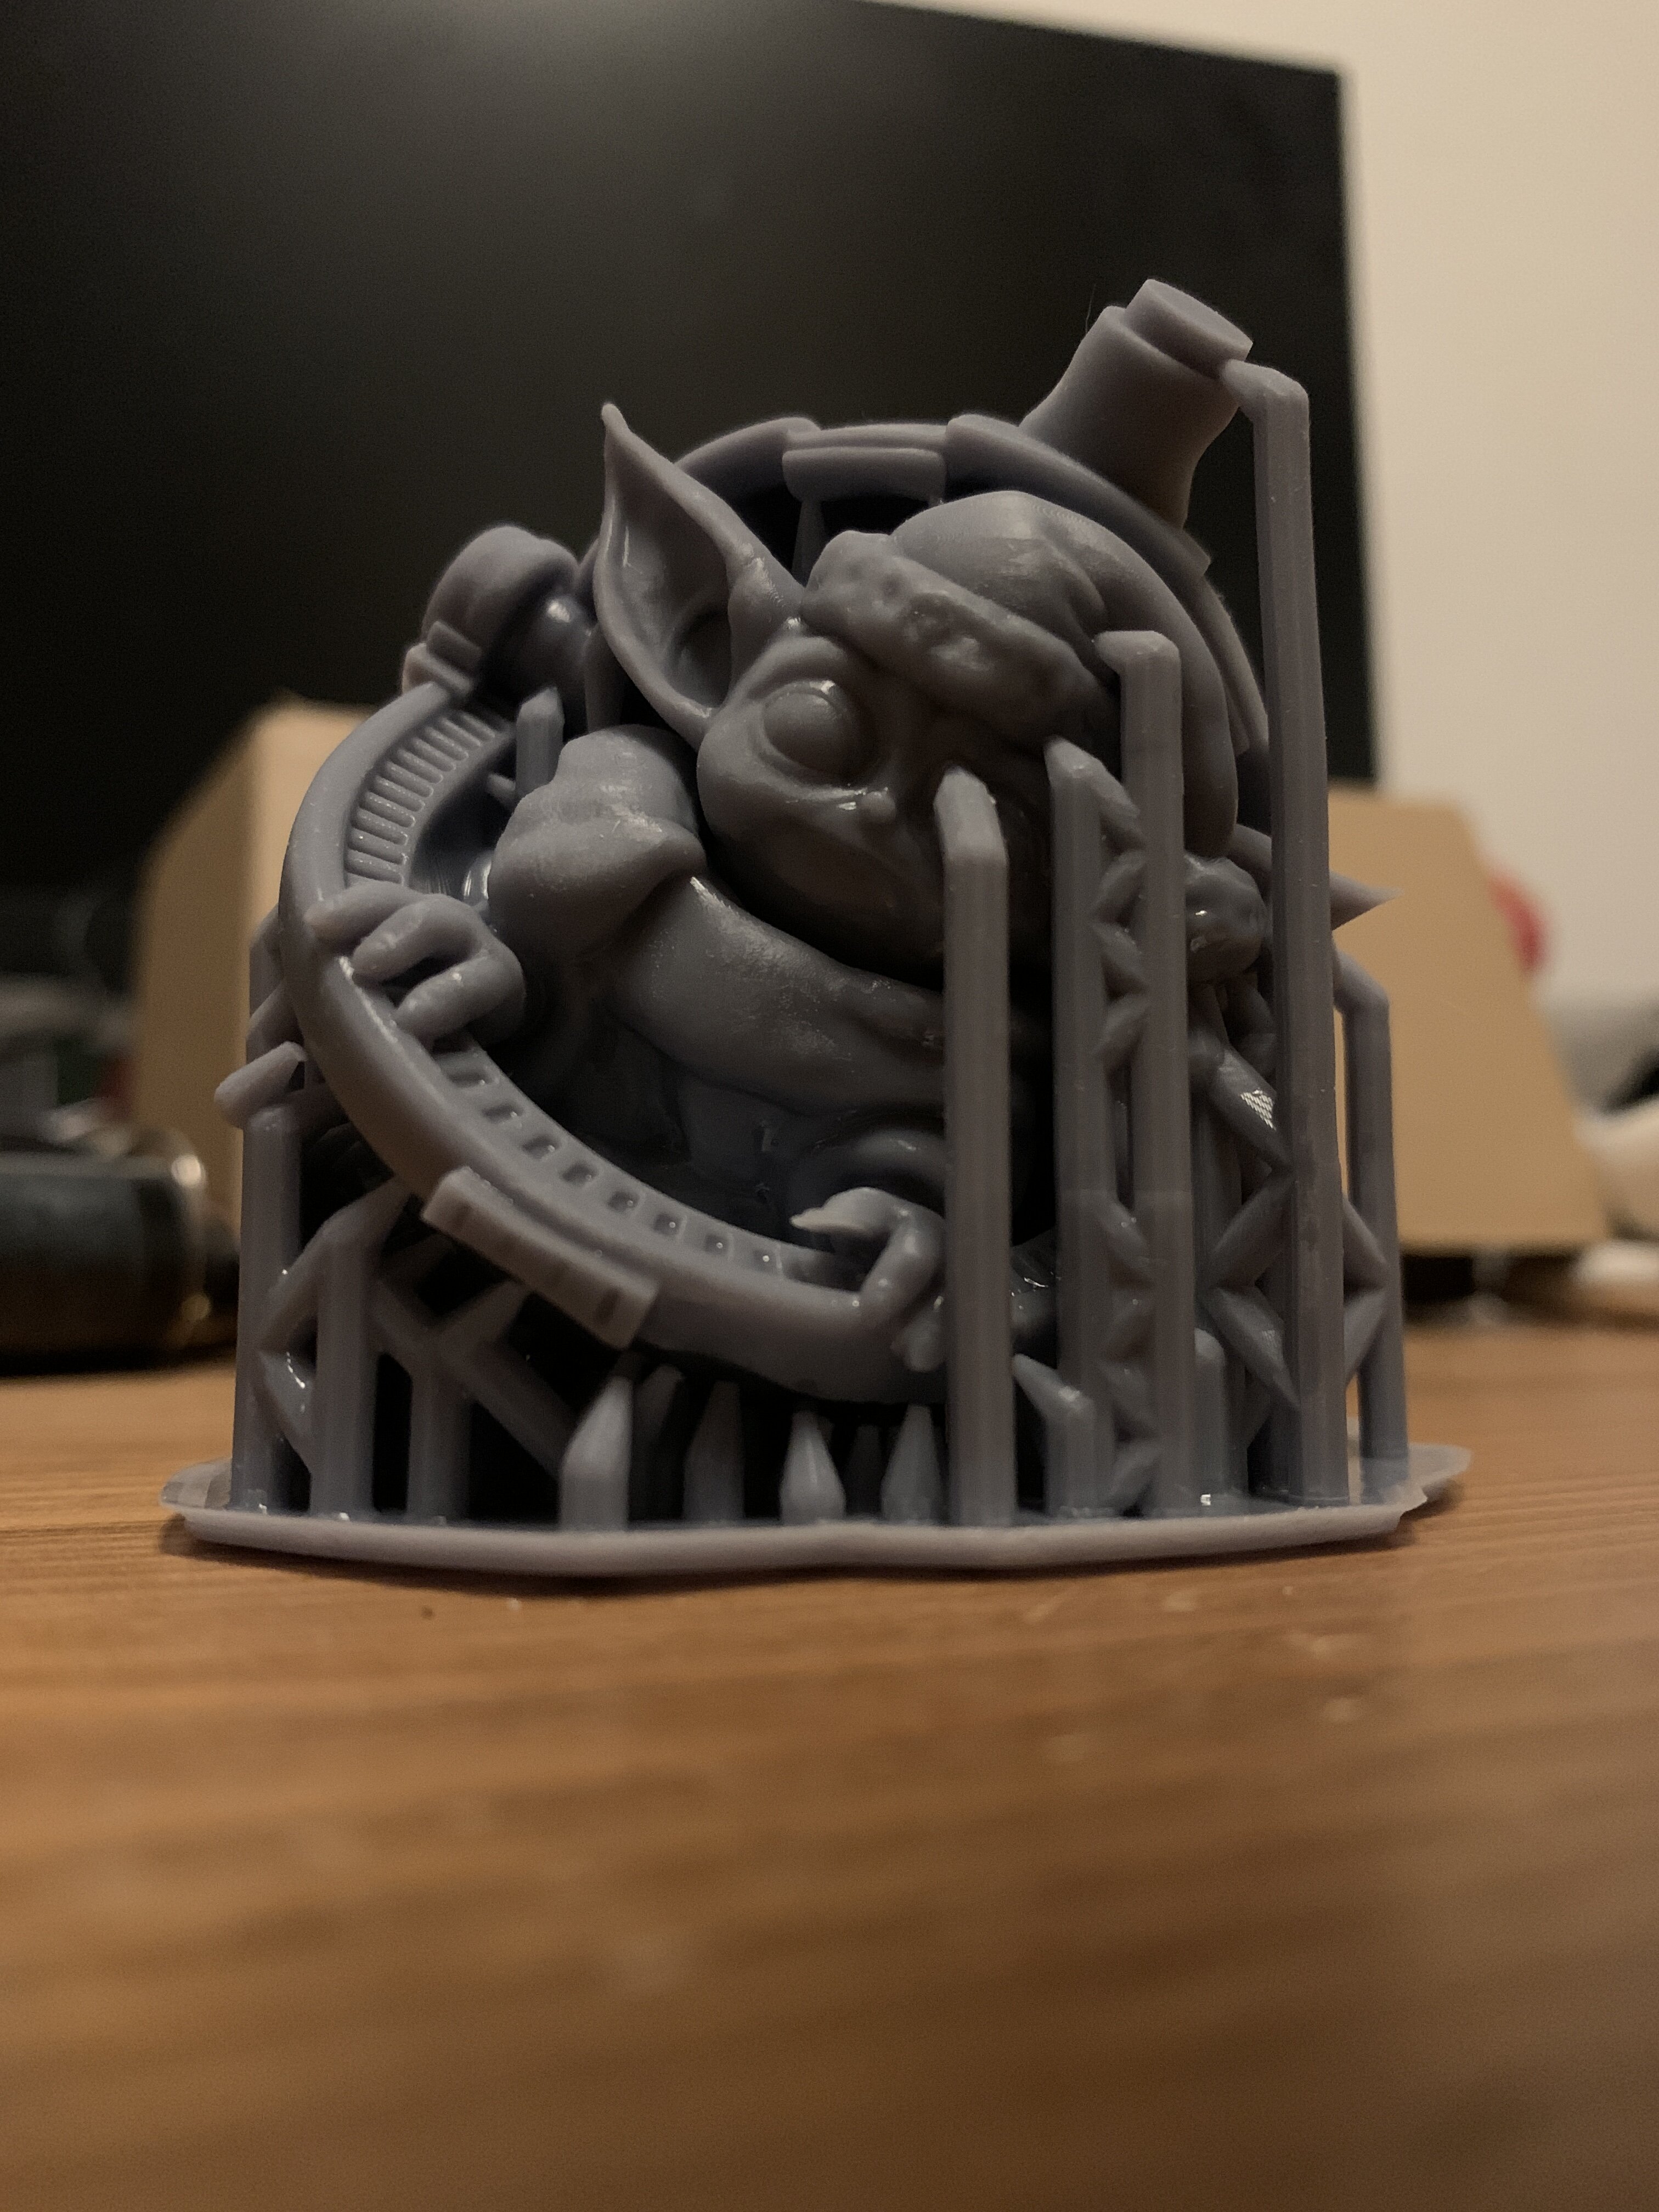
@pengbuzz Falcon Punch to the face! hahahahaah *smash* @arbit Thanks a lot! Yeah, the support on the head was too thin. Let me tell you one thing - I won't use the magic support creator in Lychee anymore. Every time is use it, the print fails horribly. Yesterday evening I decided to place the support myself and make sure that everything is supported properly. I decided to print out the VF-9 nose canopy and so on ... the version one I have been working years on, because I just wanted to see how it looks printed out. The walls are super thin. around 0.5mm, but it still managed to print properly. Only when detaching the supports the back broke and the back of the canopy pieces shattered. I glued everything together, just to get a sense of the size the VF-9 has and how much thicker the walls need to be. I have to go back to the mesh and change wall thickness on everything. I am redoing the nose anyway, so I make sure the wallthickness is increased for that. It feels so weird and amazing, actually touching the thing that I have been working on for so long, seeing it in the real world. It's just ... wow. hahaha But no further printing for me until I fix the wall thickness, so you won't see much prints from me in the next days.

-
Nah ... I am good. Got a set of 2009 Minmay Macross the First water slide decals to use with that VF-1
-
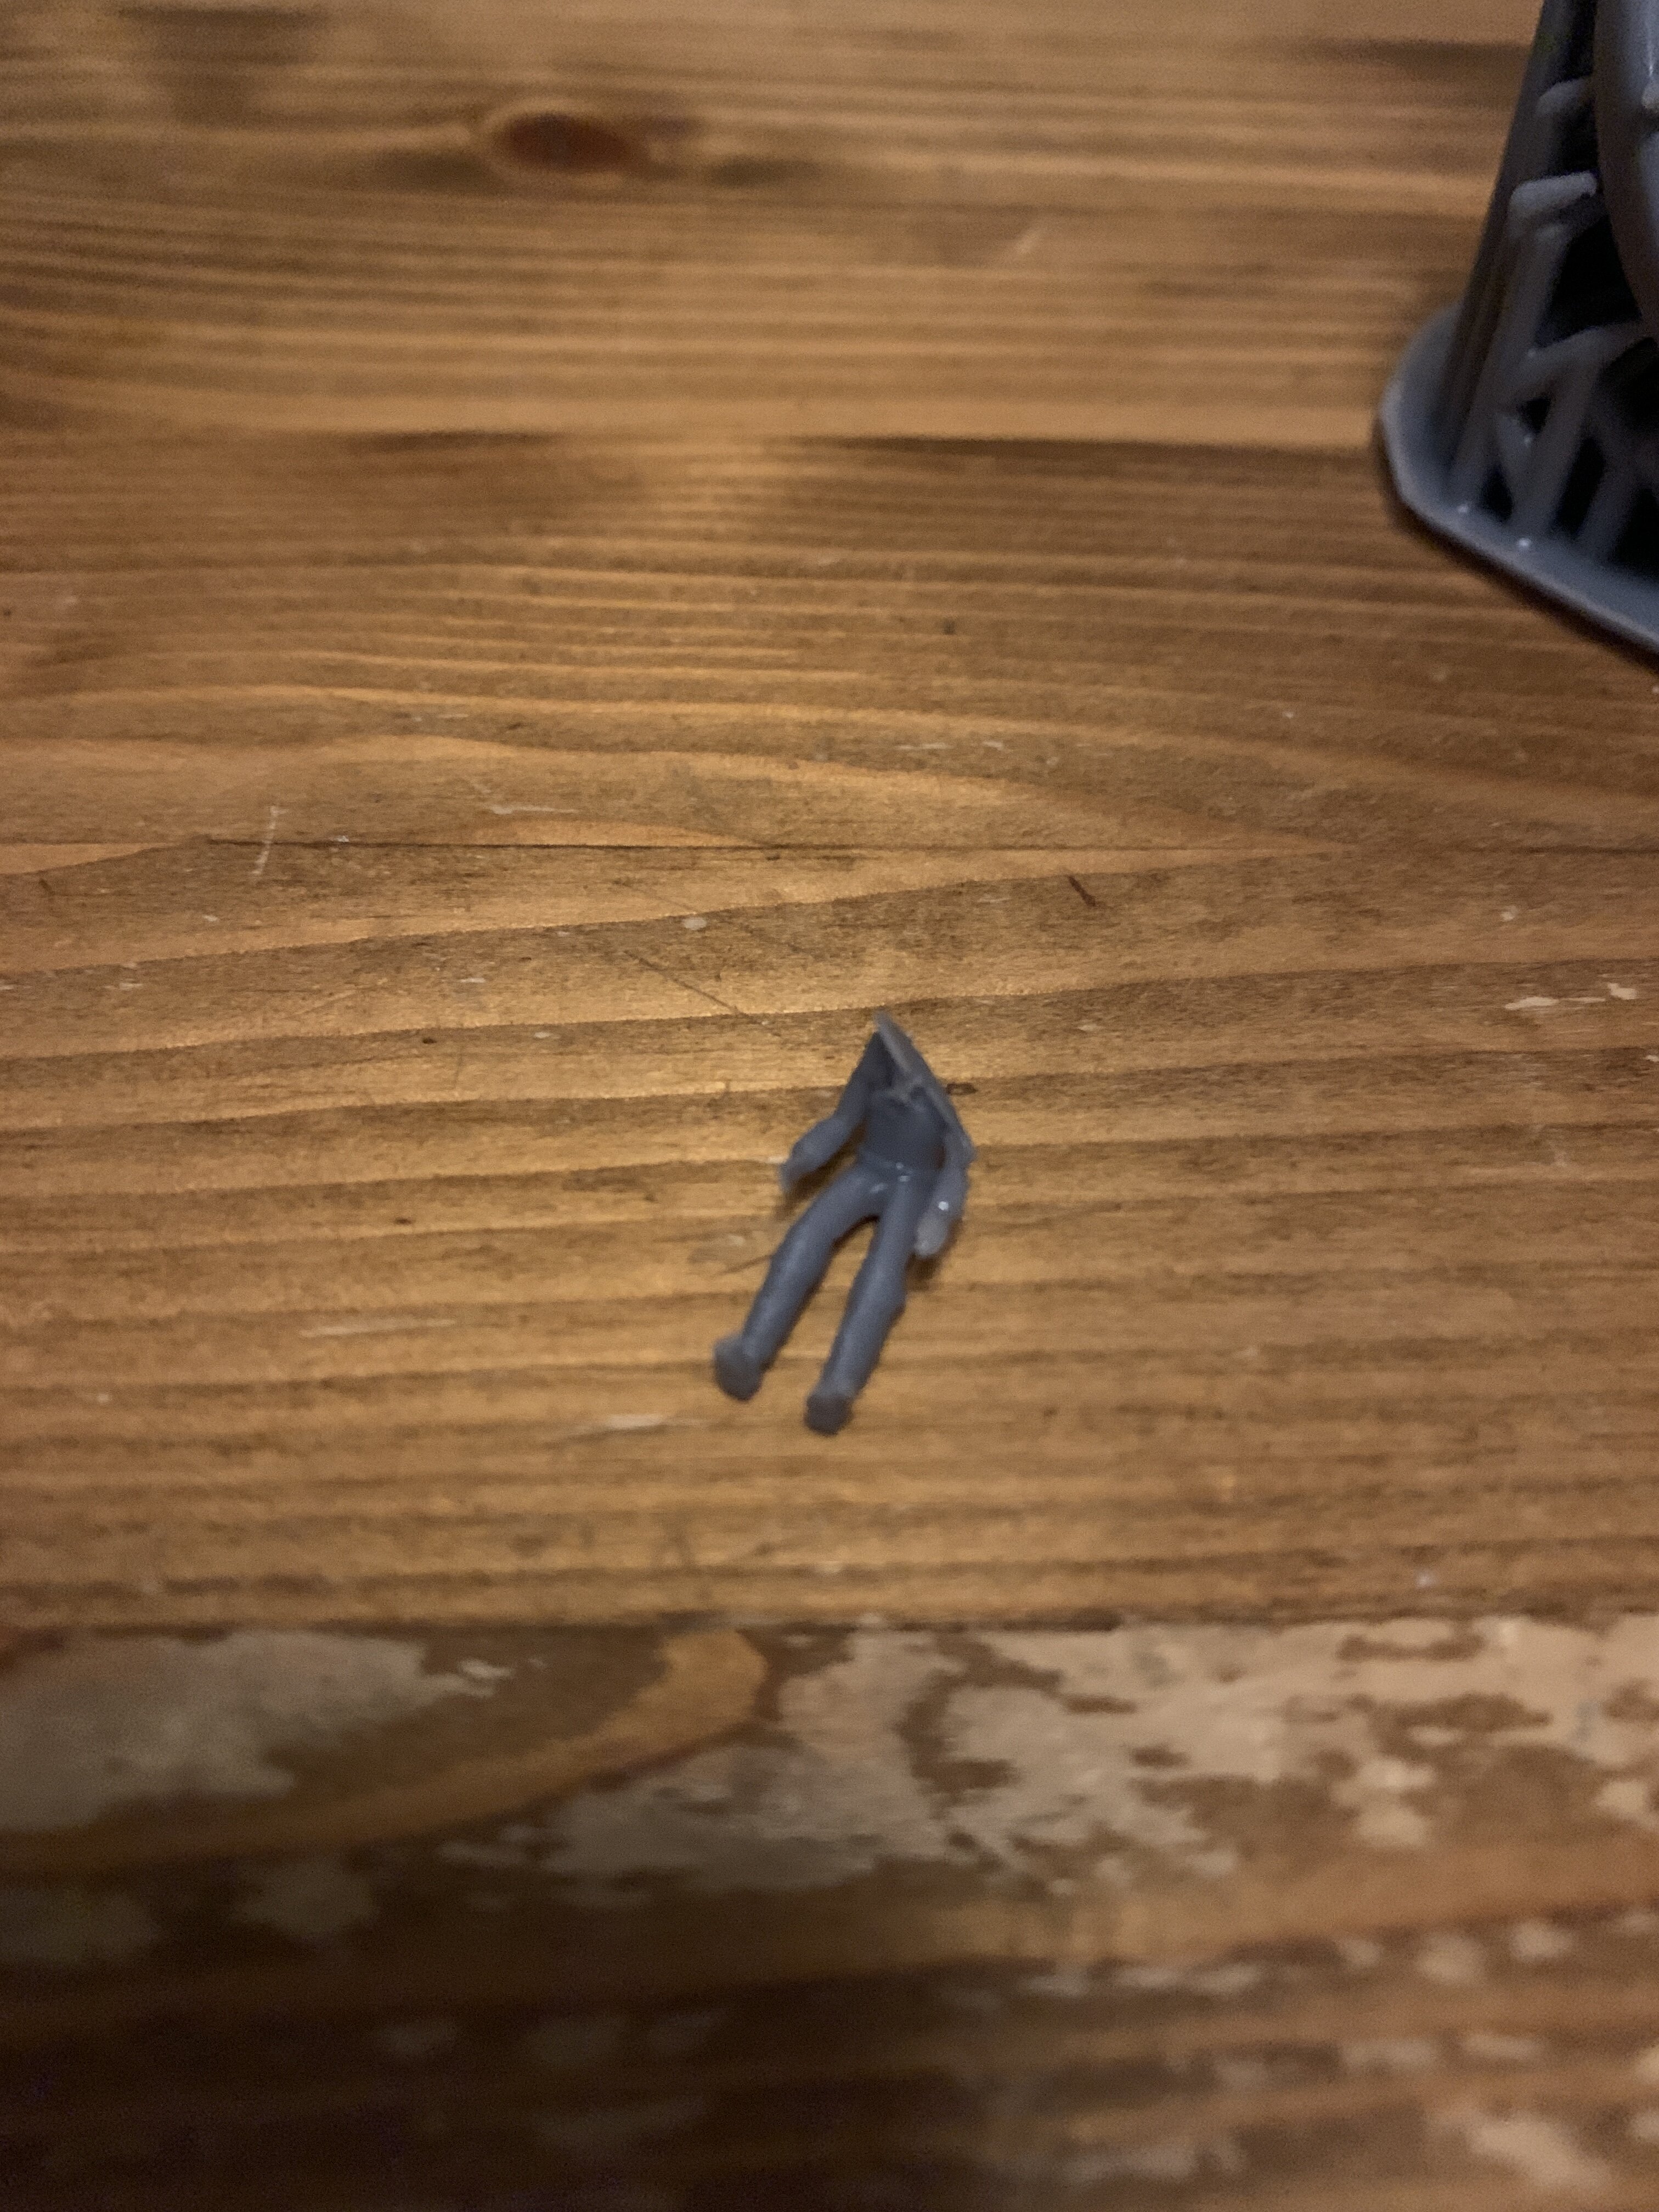
@arbit somehow your 1/72 vf-4 pilot didn’t survive the print. Looks like he smashed against a wall with too many Gs maybe I should build a vf-9 crash diorama with thise failed prints. Hehehe „3D printing is fun“ they said, „buy a 3D printer“ they said. but yeah, printing is getting better, print by print.
-
Yay, mine came today. Finally!
-
Ahahaha! Oh man - I do that quick strip with masking tape as well, just to check how far I can break the kit down into building groups for better airbrushing and decal applying And yes - putting lights into your kits is a churning task.... so many kits ended up in the trash.
-
VF-27 would be awesome! @KOG Water Dragon A YF-30 wouldn't be that far off, as they could reuse parts of the VF-31 Kairos. Speaking of which ... A VF-31AX would be possible, as there is only little re-tooling needed.
-
post pictures of your build please
-
@wm cheng Oooooh! Awesome Weyland-Yutani M41A pulse rifle to the rescue! Btw: I like the masking tape strips on your cutting mat. That is exactly how my workbench tends to look like as well. Masking tape sticking everywhere hahaha.
-
The calibration thing is, because after printing, I take apart the lift base and clean out the resin from every piece. So I have to level the lift base again. I do this to save isopropanol, an manually clean that thing. I carefully clean every piece after every print. Maybe I am crazy. Well, not maybe. I am definately crazy. Everything else is factory settings.
-
Basically what @arbit says. PLUS: 3D Printing is a super manual task and you have to look at so many different things. It feels like operating my 80s 24 needle printer. You print one page, it goes bad and you have to calibrate and clean out the printing heads and and and and and ... The technology for the large audience isn't too fool proof, as it is with general laser or ink jet printers nowadays. A lot of tweaking is needed to get proper results. It also depends on what kind of printer you have. Using an FDM printer properly is the easiest way of 3D printing and has a better success rate in the beginning than SLA printers. When it comes to useability and maintenance, an FDM printer is super easy to use. There is no smelly resin that you'll get hyper allergetic to (or even worse get cancer), but PLA or ABS filament which is heated up. An 1KG roll is 12-20€ each and will last depending on how much you print. The fun part about FDM is, that you have less waste and you need less other tools. The SLA printers on the other hand are rather complex to handle. Use gloves all the time, setup an UV light to cure your print. Cleaning your print from left over resin. Cleaning out the resin bay, calibrating the printer all the time. You need much more stuff to operate it. e.g.: - Gloves - Resin filters - Isopropanol Alcohol - Lot's of kitchenroll/paper towels - Face masks While the resin price is relatively stable and cheap, you have to invest in the above disposables as well, making it less cheap to print one model.
-
An Anycubic Photon Mono 4K for a whopping 169€ There was a sale prior to the black friday deals, which was actually cheaper than the black friday deals.

