

Chronocidal
-
Posts
10131 -
Joined
-
Last visited
Content Type
Profiles
Forums
Events
Gallery
Posts posted by Chronocidal
-
-
Hmm... Good deal.. too bad we don't have Circuit City here... I'd have to drive a while to get there, but I'll be sure to go by there if I happen to be in that area. Thanks
 Btw, I have nothing but praise for Saitek Just be sure to get one of the programmable joysticks, and with a throttle.. no use simming without one.
I use the Saitek X-45 myself. Nothing like a six-axis HOTAS setup to make flight sim really fun. Those rotary dials are PERFECT for prop-pitch, mixture, airbrake axis, etc. and the four 8-way hat switches aren't bad either.

-
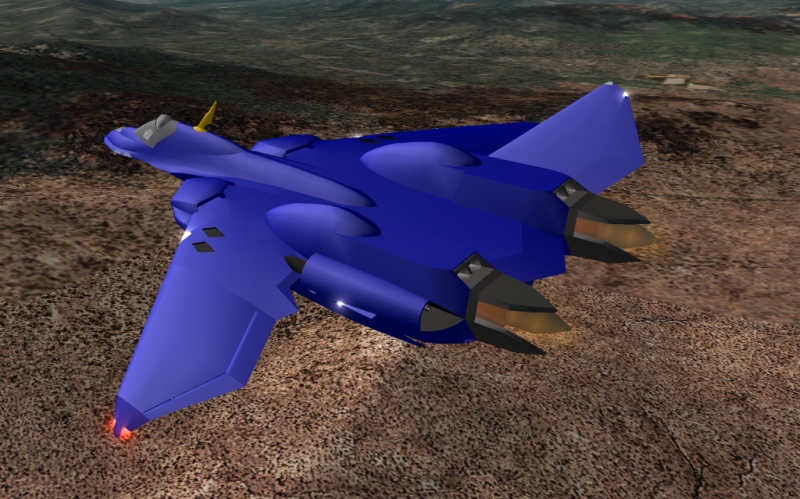
LOL.. S'okay... The YF-19 will probably get darker, especially when I make the beige version. I probably just need to weather it a little more. Right now, it's got that factory fresh look that only lasts about an hour before dirt starts to collect.
-
Well, the colors are supposed to be very bright.. it's a demonstrator craft after all, and they're usually very glossy and bright. But again, I haven't done any textures, so it'll look very different from that, with shaded panel lines, etc. I just haven't been able to draw them yet.
-
Same here, although I've had to dabble into animation to make the control surfaces and gear work on my Flight Sim planes. I only really know the basics, but I will tell you two things that are of utmost importance in animation of landing gear: 1. Make sure the center of rotation of the gear is where you want it, and 2. Linking parts together (in Max it's called "parenting", I'm sure Lightwave wil lhave an equivalent) will save you from many hours of frustration. Basically, link the lower parts of the gear to the upper parts, so they inherit the motion and rotation of the upper gear, ie, if the upper gear rotates back to retract, the lower gear parts will follow as if they are glued together. Also, if you're animating a hydraulic piston, set the rotation points for the two halves separately, where you want them anchored, then align them later. It's a complex process, but it'll come with a little practice. I'm sure there are probably tutorials online for that sort of thing.
-
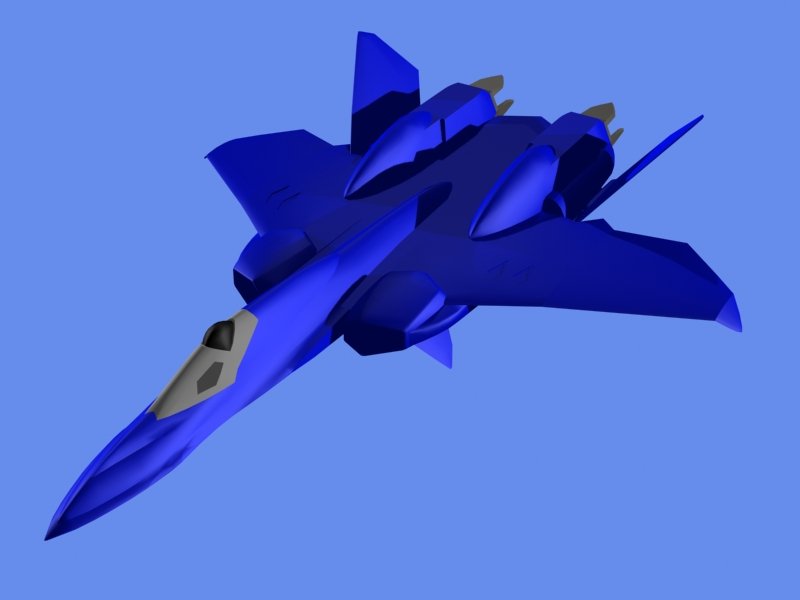
LOL.. Don't worry, that YF-21 doesn't even have textures yet.. it just has single colors aplied for testing. Now, I don't know about anime style though.. There really aren't enough panel lines ON these planes to make them look real. They're probably going to look slightly cartoony, no matter how I do the textures. It's also because of the markings. Once I do a dull camo scheme, it'll probably look much more realistic. But in any case, I'm planning to make the YF-21 textures look pretty much like the YF-19's in terms of style, although I may add more varied shades of blue to look more real. Hope that's not too anime-ish for you.
 I add some more panel lines to the textures, but I'll have to make up most of the paneling. These things are so smooth, it's like they're organically grown.
 Btw, I can do a beige YF-19, it's a simple color change. I'll include it as a marking set when I finish up the whole model. Now that I've made the model two-sided, I need to remake all my textures.

-
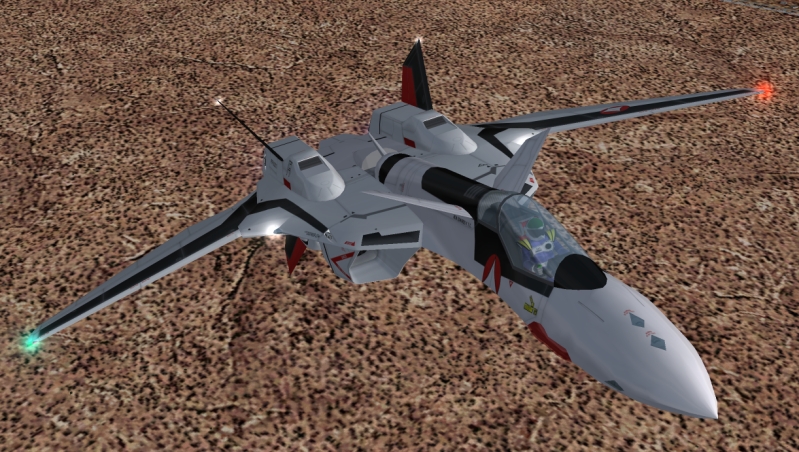
I noticed something that might make weathering textures simpler for some people... While working on my flight-sim YF-19, I was having trouble getting the black markings to look right... See, I drew the textures, then added a slightly transparent black area over them to do the markings. But it never looked quite right. I realized why the other day. Black areas don't get darker when they get weathered.. they get lighter. I found a very easy way to do it though... I just left all the areas that would be black as bright white, and weathered them lightly in black as I would any normal white surface. Then, when they were done, I selected that particular area, and inverted the color values. It turned out better than I expected. The light weathering turned lighter than the rest of the area, which was a good solid black, and it made it appear as if the black paint had been slightly worn and dulled, rather than getting dirty. Here's a pic of the results.

-
And, just for fun, here's a preview of the next one.

-
-
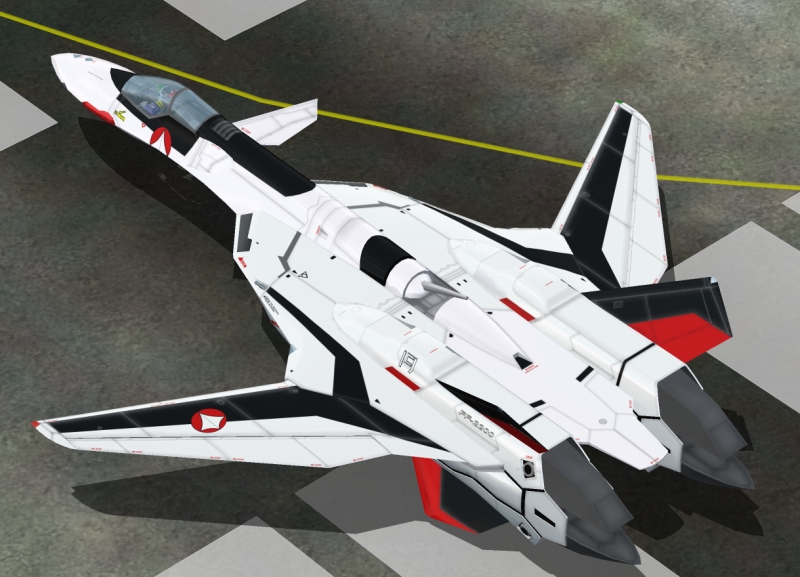
K, here we go, a few shots of the new textures.

-
-
Hear hear! Of course, following the pattern in the past, the YF-23 would probably become the YF-24, and the name would probably be changed as well. (Phoenix anyone?
)Heh. I just think this is funny.. wasn't the F-22 supposed to replace the F-15 in the fighter and attack roles? I could be wrong, but that's the impression I had.
If it's the amount of payload they're concerned with, I'd think the YF-23 would be able to carry much more than the -22... from what I've seen, they've kind of given up on keeping the -22 totally stealthy if it needs to carry lots of weapons.. I seem to recall seeing a chart with all the external hardpoints of an F-22, and there were quite a few. If that's the truth, imagine how much the -23 could carry under that gigantic wing...sheesh.
Oh well, if it happens, it happens, if it doesn't it doesn't. It's a shame, but the FB-22 will still probably win out. But, on the other hand, they still haven't come up with a decent plane to replace the Tomcat, and I'm still hopeful... *imagines an F-23 in Jolly Roger markings*
-
Sorry for the lack of replies, I've been testing a YF-21, and I've pretty much remapped the entire YF-19 in the past few days. it now uses nearly twice as many textures, but you can put text on it now, and it won't be backwards on the other side of the plane. I added separate mapping areas for a lot of things like the insides of the tails, fins, and undersides of the canards, and doubled up the mapping for the main fuselage, so it can be all decorated now. I also went and added in all the text I couldn't add before, like warning signs, and labels and stuff, basically all the stuff on the decal sheet of the model. So it's much more detailed now, to put it lightly. I'll try to get some pics of it up in the next few days.
I've also been tweaking the flight model so it's a little more controllable, I also need to figure out how to fix the stupid overspeed warning, that get's really annoying.
For you FS2004 people, I may have a solution for you... I'm planning on buying FS2004 myself, just so I can get the better graphics model it offers, and more complex animations that are possible... I read an article on how to add wing-flexing that bases the amount of flex off of the g-load. It uses XML coding to add special animations that are based off of the data coming out of the game. That might be just the trick I need to animate the weird wing-reshaping stuff the YF-21 is capable of. But anyway, I'll make sure to make a 2004 compatible -19 for you. I think it has something to do with the flaps not working right, but I won't know till I get the program myself.
-
-
LOL.. wow.. makes my collection pale by comparison... I've got, I think 4 total out of that list, not counting the old Hasegawa Tomcat kit they made into a Macross kit.
 Just one each of the VF-22S, YF-19, YF-21, and the standard VF-1J. I wouldn't mind expanding a little, but the only way to get the kits where I am is online...the one place that has them near here wanted $40 for a VF-22S, so I went online and got both the YF-21 and VF-22S for that price.
-
Umm.. someone earlier mentioned the YF-19 cockpit, and how it has displays every which way, like behind the pilot's head... As I understand it, the YF-19's cockpit is fully holographic, and completely labeled with data from every angle. So, it basically works like a computer game: the target stays bracketed no matter where it was in the pilot's vision, instead of only when it's centered in the hud. The entire cockpit of that thing was one gigantic wrap-around hud. The instrument panel was really tiny, and didn't have much on it, so most of the flight data had to be either projected on the canopy and/or cockpit floor, or the inside of his helmet. When he's starting it up, you see a line for the horizon, and degree markings appear around the sides of the cockpit, and the floor of the cockpit goes transparent. I'm guessing these markings would go completely around, so that no matter where the pilot was looking, he'd be able to tell what the plane's orientation was.
-
Thanks, that looks more like what was in the anime.. I was able to get the gear to fit, but just barely... I think Hasegawa changed the landing gear slightly from the original.. in the anime, the plane looks like it has much thinner landing gear, with the tire in-line with the strut, mounted like the front wheel, with shocks on the front edge, etc.. Hasegawa's kit on the other hand looks like it pulled the landing gear straight out of an F-14.. they retract exactly the same way, and look almost identical... they're just way too beefy to fit in the wing.
Btw, it might not be that hard to fix the lower leg.. It looks like the right shape overall, just kind of square. Maybe if you beveled the edges some... dunno.. This plane and the YF-19 have the most complex lower leg designs ever. They're just nasty to duplicate.
-
Well, based on the trends started with the VF-1, I'd say those are definitely landing lights. It wouldn't work to have a vernier in there, since the door has to move, and there's no room for exhaust vents in the gear well.
Personally, I think I'd remodel the lower leg from scratch, if you haven't done too much work already. I don't think it made the transition from low to high poly mesh very well, and still looks really blocky. Now, I could be wrong, maybe that's the way it's supposed to be.. but the legs on the VF-11 always seemed much more rounded to me.
Btw, it may very well be plastic magic.... Actually, I think it's just the liberties Hasegawa took when making the kit. They went strictly with the aircraft look, and made the wings thin like modern aircraft, not realizing that the wing root on the YF-21 is pretty thick. The wing looks like it actually gets really thick toward the mounting point in the anime, but they didn't do that on the kit.
-
-
-
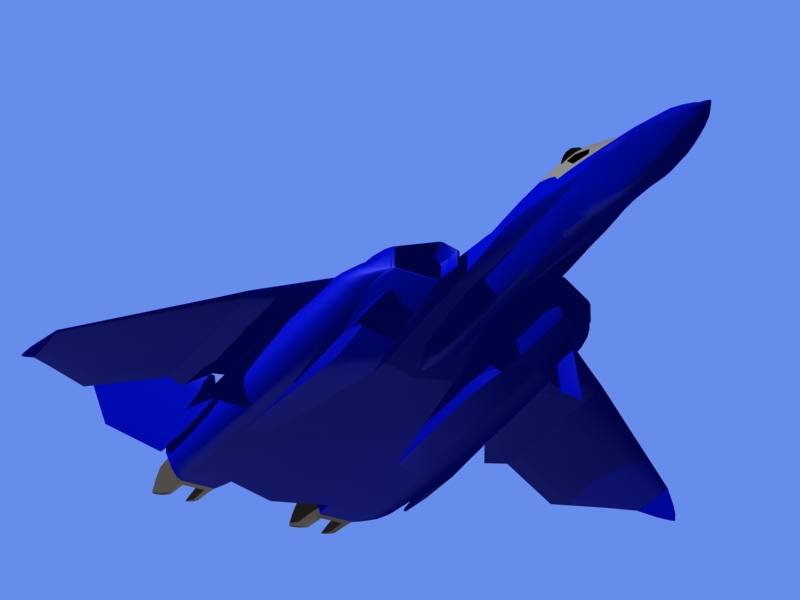
Here's one underside shot... So far, the model's stuck in fighter mode, and it's probably going to stay that way. It's based off the Hasegawa kit, so the battroid proportions wouldn't be quite right, and I don't know enough about the YF-21's transformation sequence to model it anyway.
It's only 5400 polygons at the moment, and I'm hoping to keep it low. This'll be my second Flight Sim model, I just need to build the control surfaces and landing gear in, as well as the cockpit... oh, and the head laser, didn't even notice that until now. I'll probably do a few versions of this model, there are only a few differences between the YF-21 and VF-22, so it'll be really easy to do both.
-
#2....

-
K, thought I'd bring a little new material into the thread. Started this last thursday, and it's going surprisingly fast. Enjoy.
-
Looking fantastic.
Wish I could get stuff that detailed into MS Flight Sim.. One thing though, the tires you've made look really thin... most aircraft tires are pretty thick. It might help if you keep the tires the same radius, but decrease the radius of the hubs a bit. The reference pics above show the tires making up much more of the wheels.
-
Hmm... Going with continuity, the second version of the fighter makes more sense, since that's what the Varuta fighters looked like. But personally, I really prefer the SR-71-like nose, and that's what's shown in the screenshots. That other thing just looks strange.. especially the nose. It just looks like a shovel to me.


New Polar Lights NCC-1701 Refit
in Anime or Science Fiction
Posted · Edited by Chronocidal
SWEET MOTHER OF GHANDI! I think I just found myself a present for my 20th birthday.. Ertl, you can just kiss my big fat... umm... ok, so I'm underweight.
Wow.. ok, saving up now. That's just beautiful. Of course, with a kit like this, you just have to hang it up. I'd like to see how big a stand you'd need for this sucker...O_O!
You know, at that size, it's just asking to have every window drilled out, and filled with clear plastic.. and at this size, you could probably light the whole thing up, and film your own version of the movie.
Also, one other good thing about the size... they made the pylons thick enough to add some nice metal rods in there to support the engines.. stupid Ertl.. I must've broken those under-supported pylons upwards of a dozen times.