

DrunkenMaster2
-
Posts
237 -
Joined
-
Last visited
Content Type
Profiles
Forums
Events
Gallery
Posts posted by DrunkenMaster2
-
-
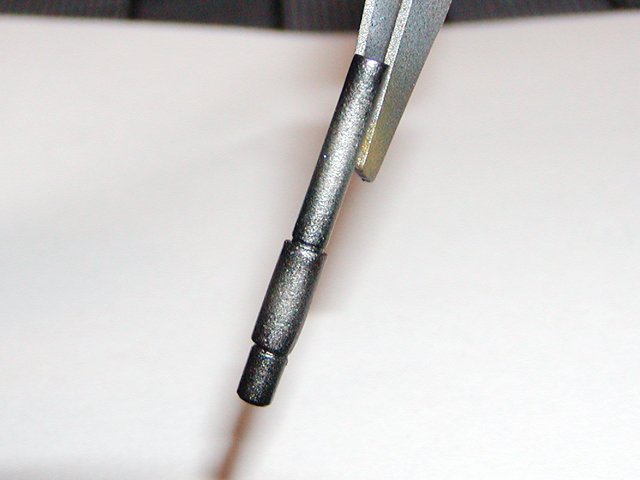
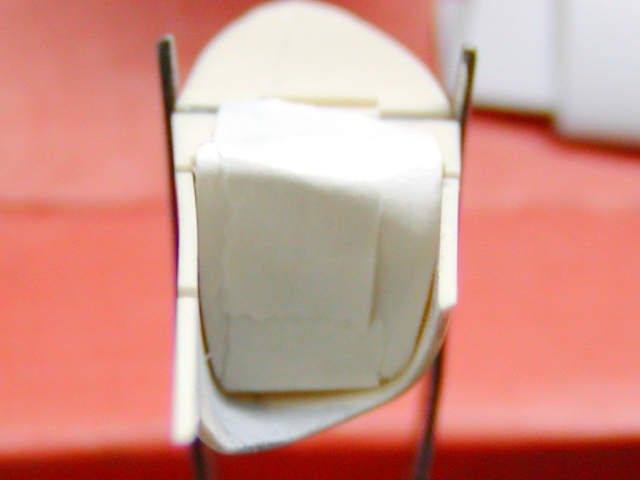
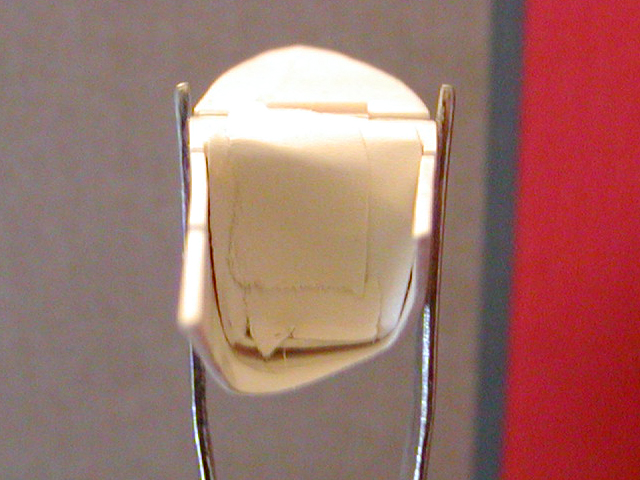
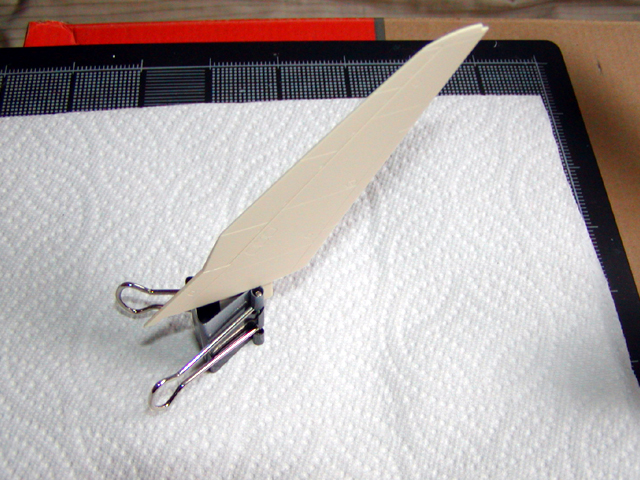
Here is the way to airbrush both sides without putting the YF-19 down to flip sides. Here I use a needle nose to hold the YF-19. Once you have your needle nose you can flip the plane over and over to paint. Don't touch the plane let it dry overnight, if you need to add more layers to the paint job wait for about an hour then apply another layer.


-
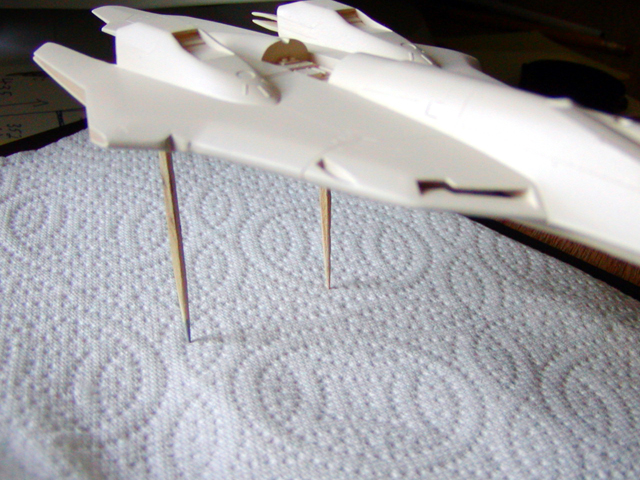
Finally I began to paint the YF-19

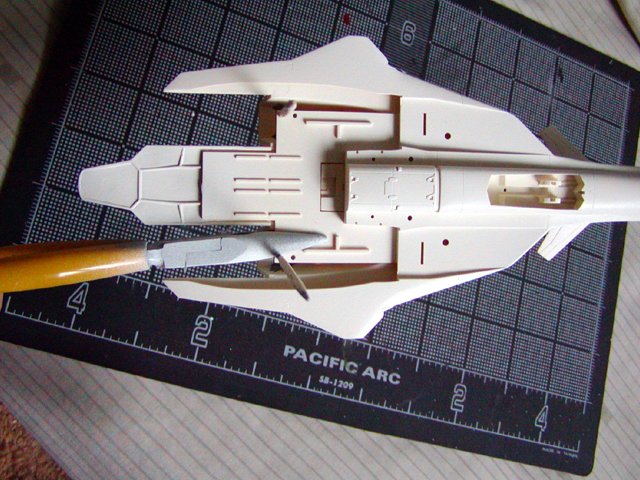
Here I use toothpicks to hold up the YF-19 so I can paint both sides. The bottom view is where I put the three toothpicks at. This will make it easier to dry once I finish airbrushing.

-
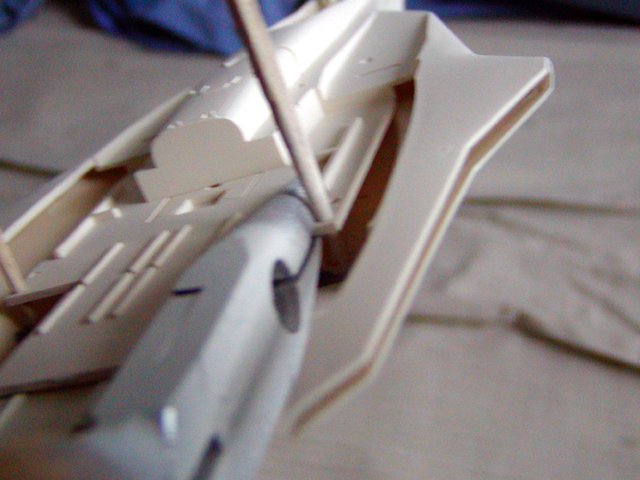
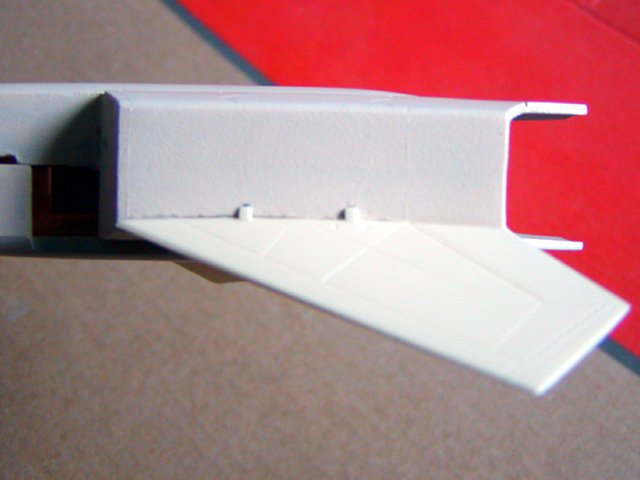
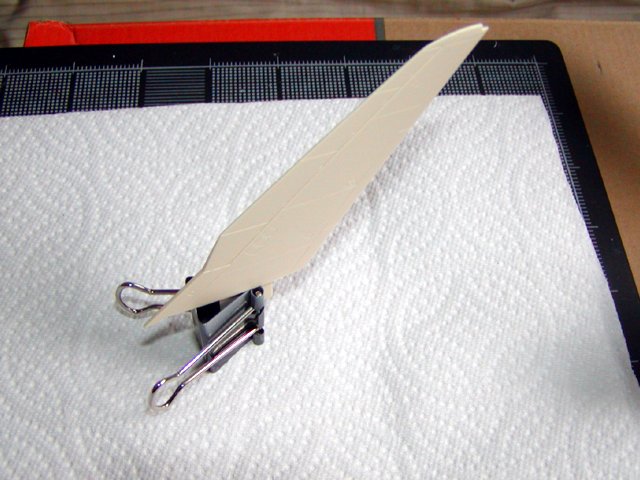
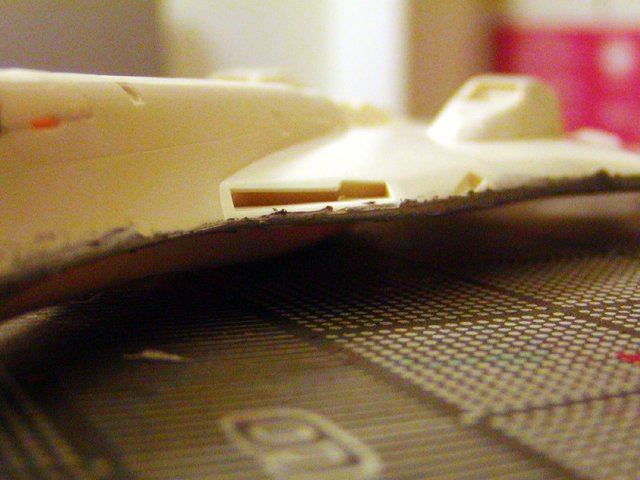
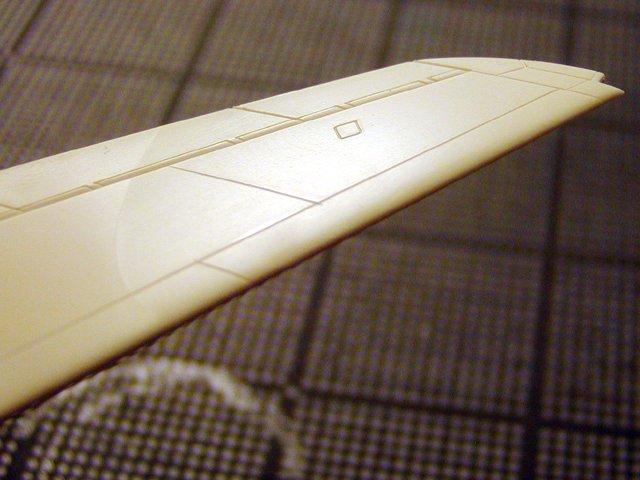
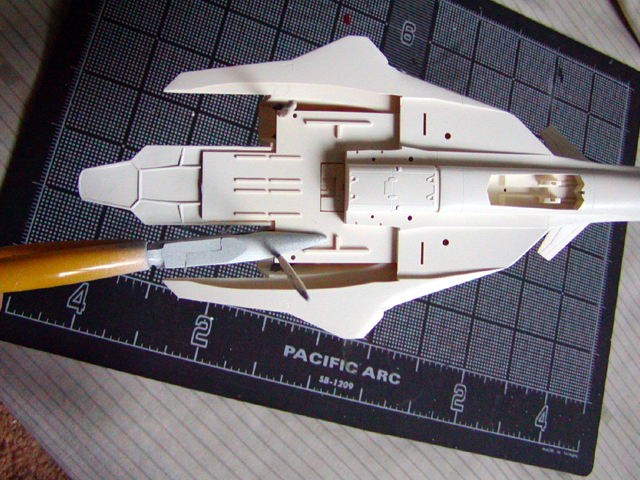
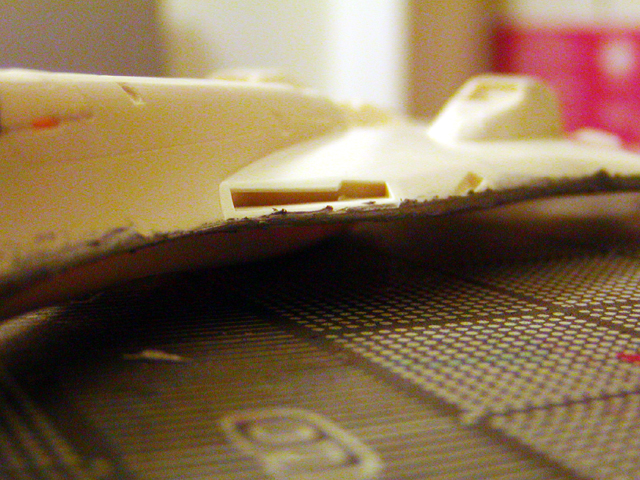
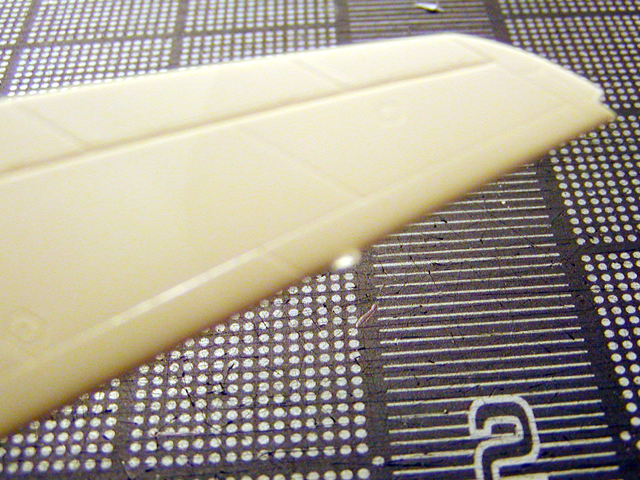
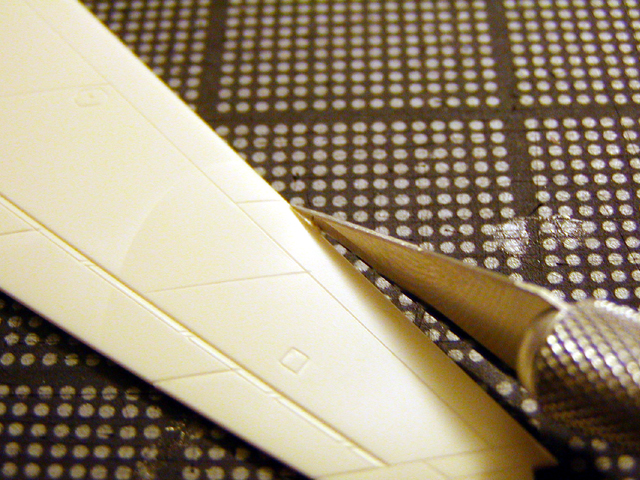
Finally got those saws, thanks everybody that helped!!! Here I rescribe the lines that was sanded off when I putty to fill the seams up.

-
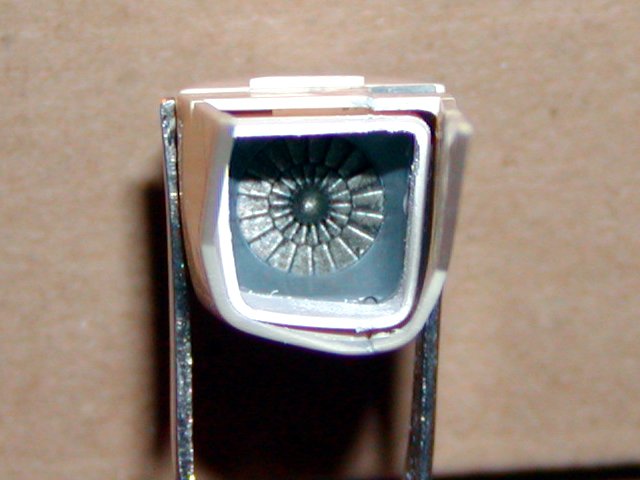
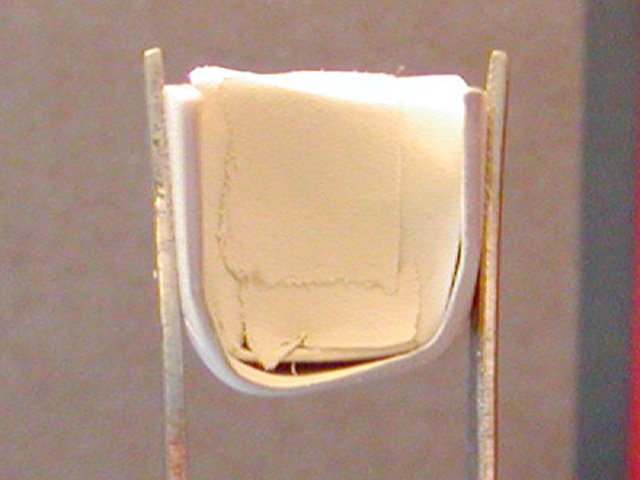
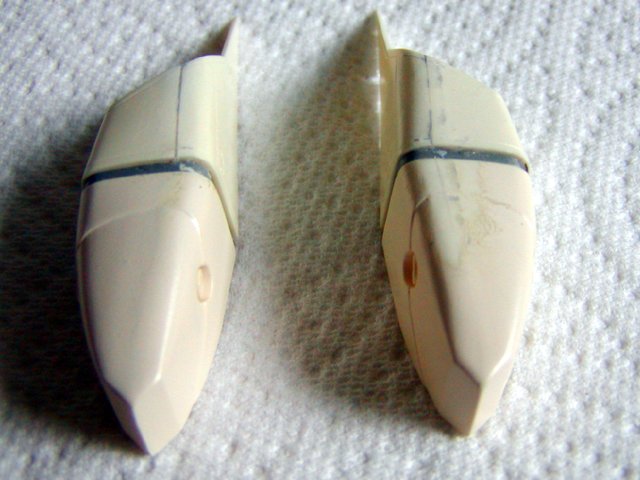
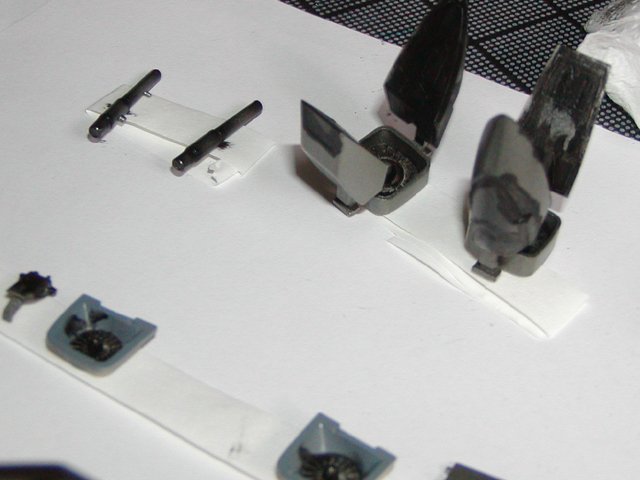
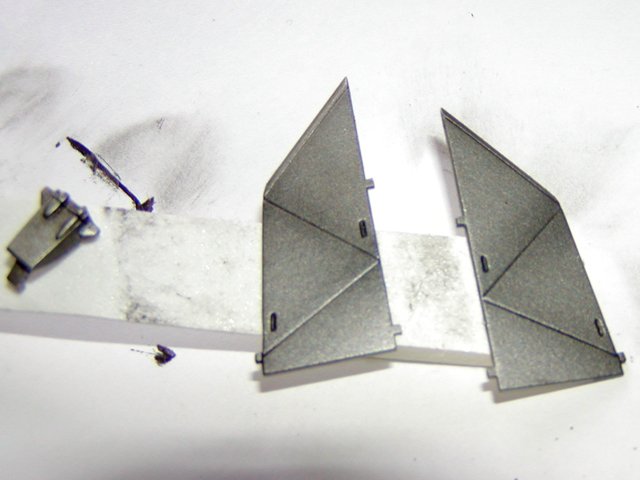
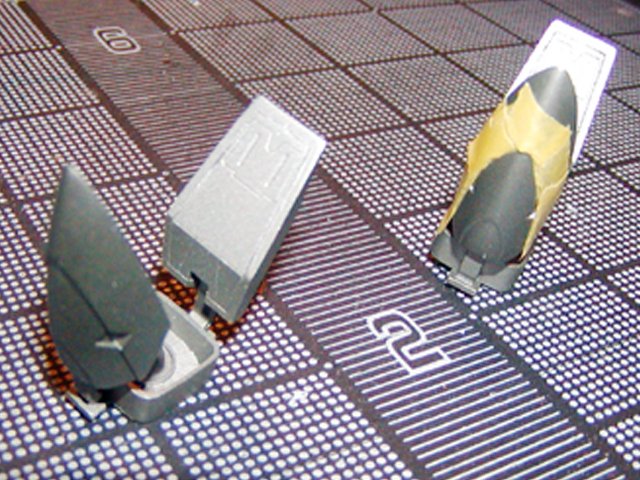
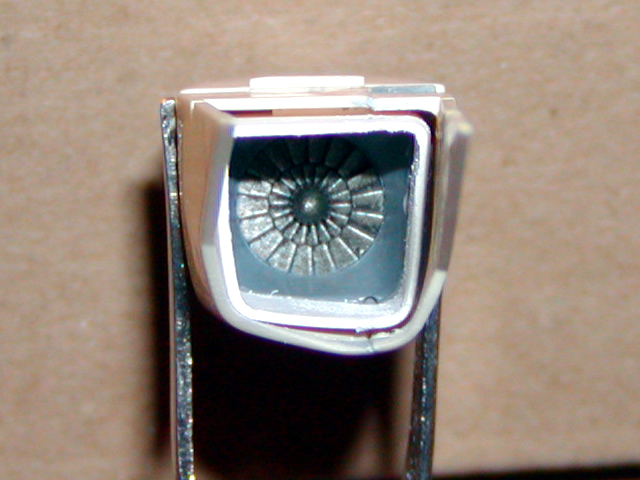
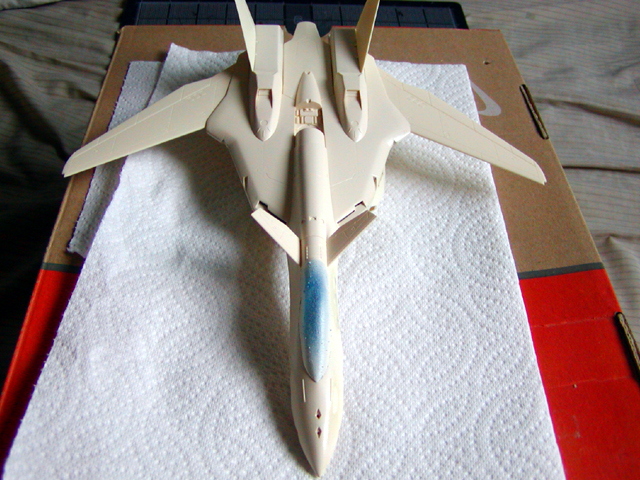
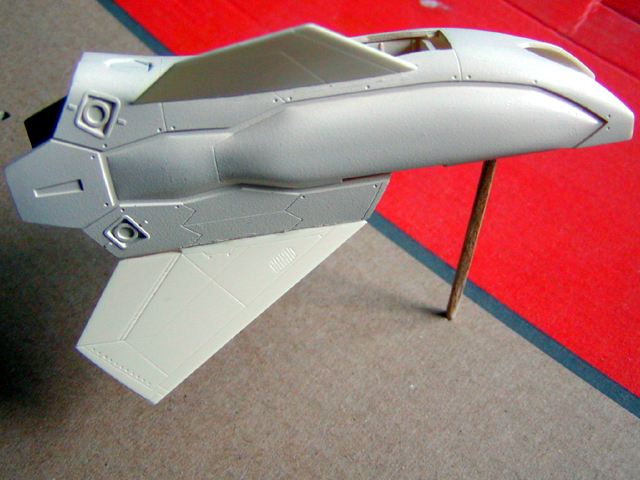
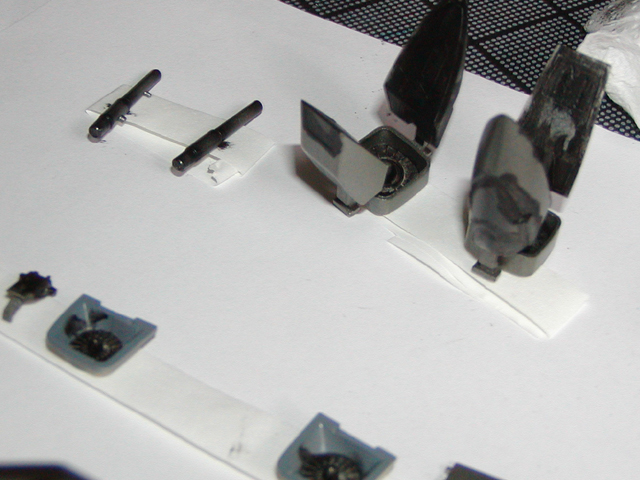
Ok I'm back. Here is what I've done so far, the intake/fan here I airbrush light grey and the for the fan I hand painted metallic grey, then for the cover I airbrush flat white. I glued the covering around the intake, both intake fans didn't look even so I put putty both of them, then sand into the shape that I wanted.


-
-
-
I bought a set of those micro saws back when they were first mentioned Master Macross Modeler WM Cheng. They have proven to be indispensable. You must buy a set as soon as possible.
I ordered them from HLJ.
Thanks for the help everybody. Gabe Q thanks for the link!!! I may have to put my YF-19 on hold
 till I get these saws. Alwhile a least I can edit this step-by-step project adding pictures and text. This plane is bigger then the other valkyrie's
  but a fun one to put together.
 -
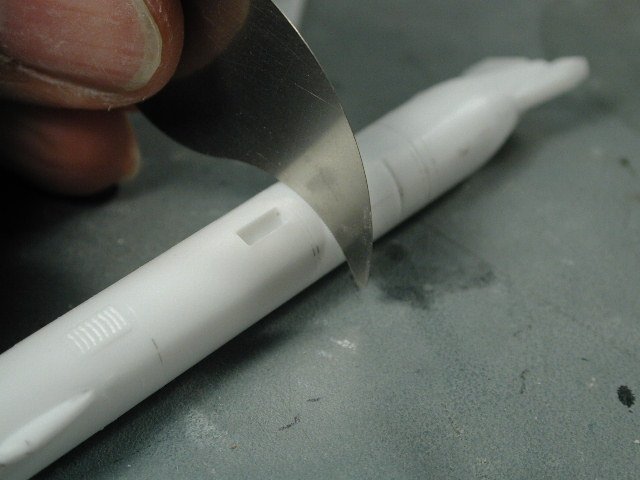
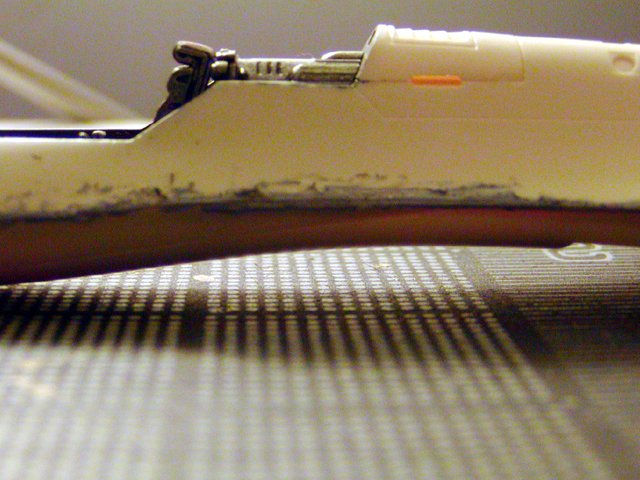
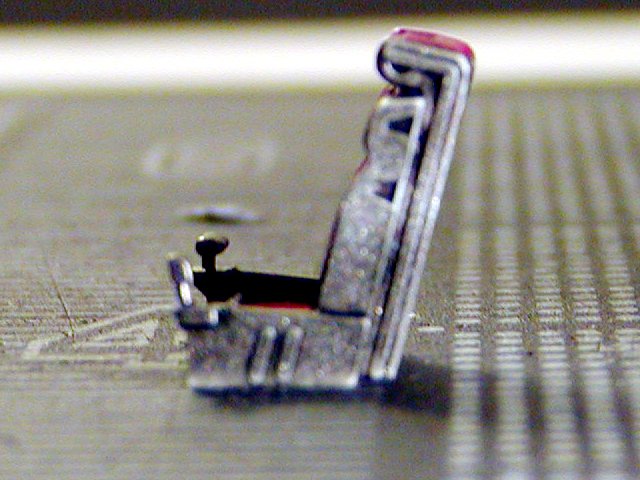
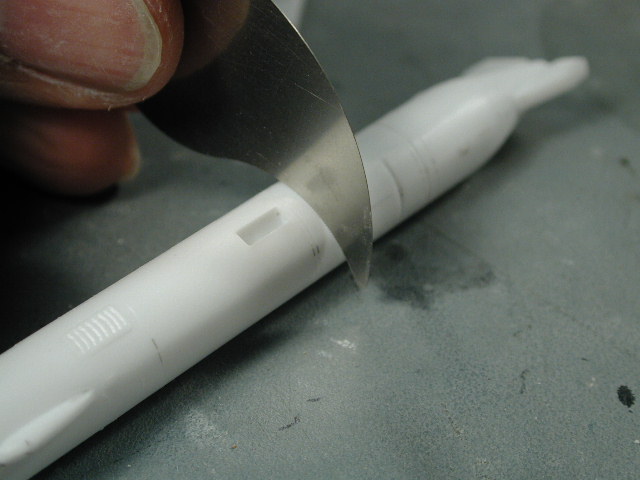
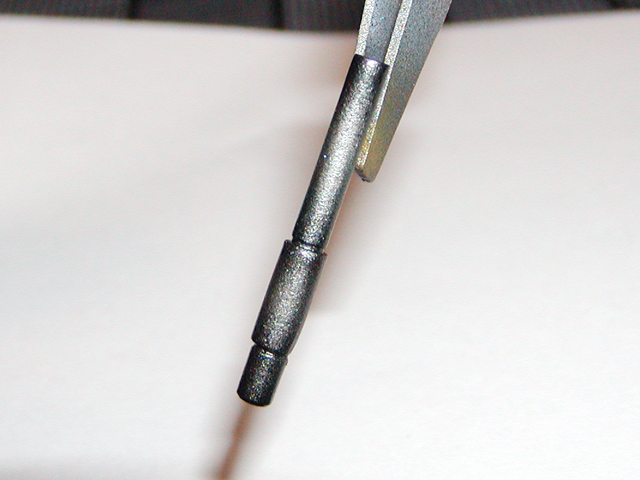
I notice that when I putty and sand I lose some panel the little lines on the kit. I was looking at wm cheng past project and saw that he use a little saw to crave the lines back. Does anybody know where I can get one in the US? Here is a picture of wm cheng using this saw.
-
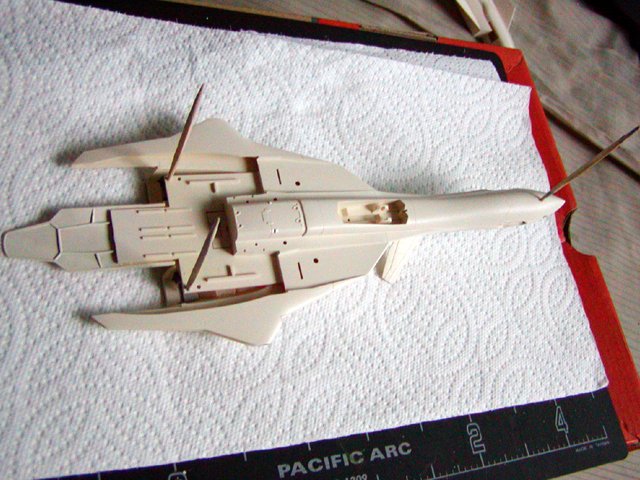
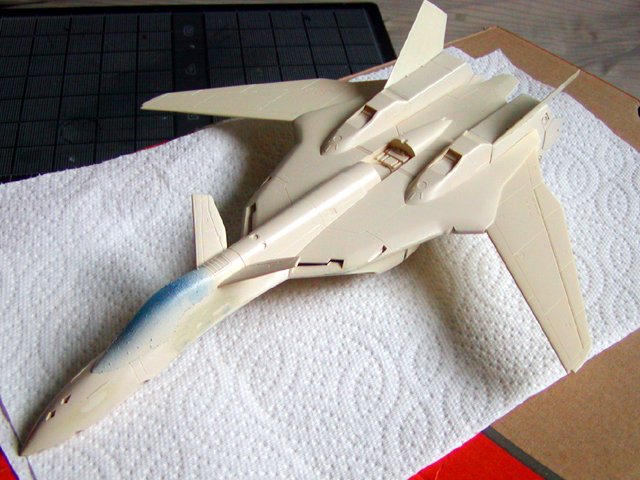
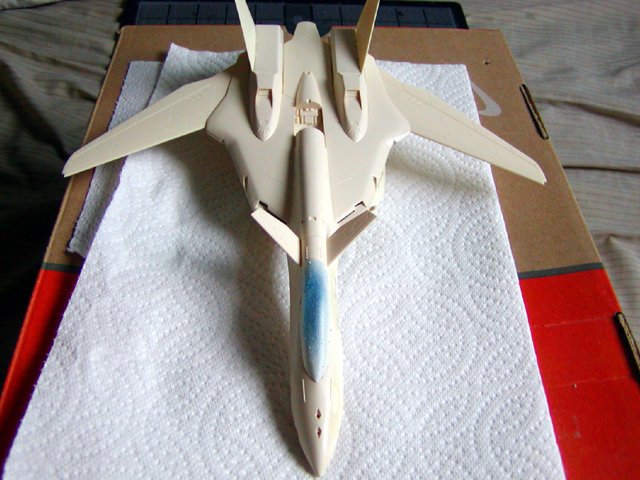
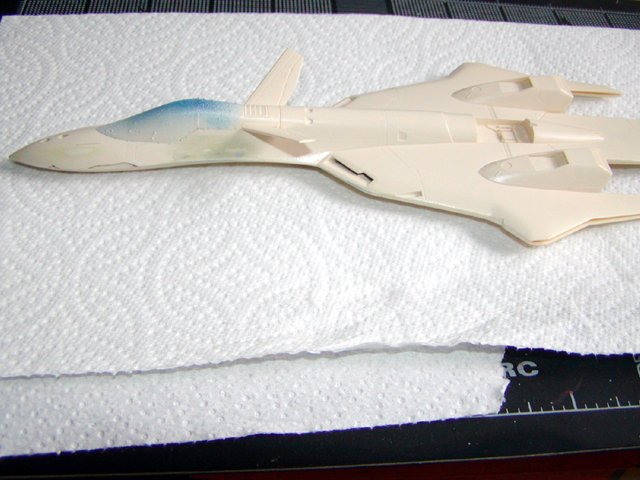
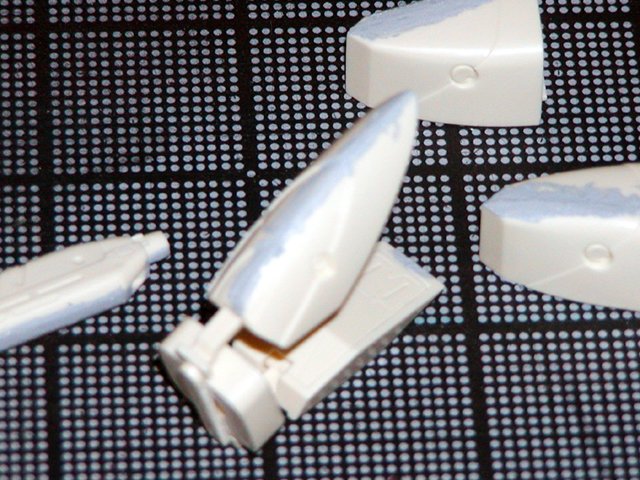
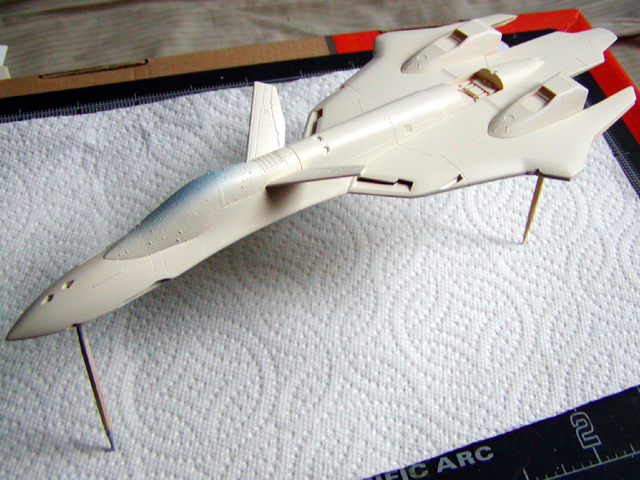
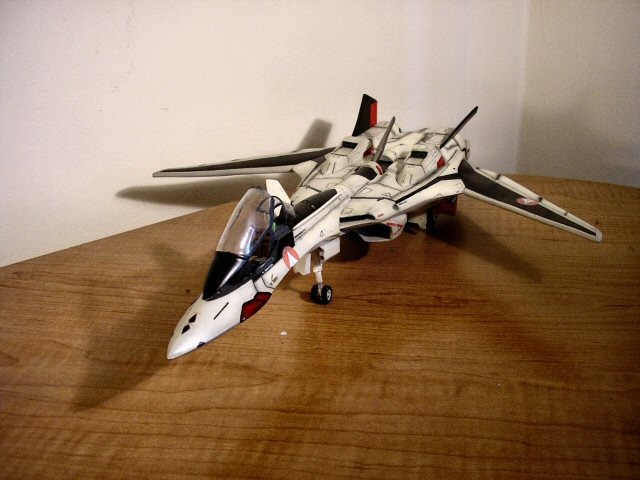
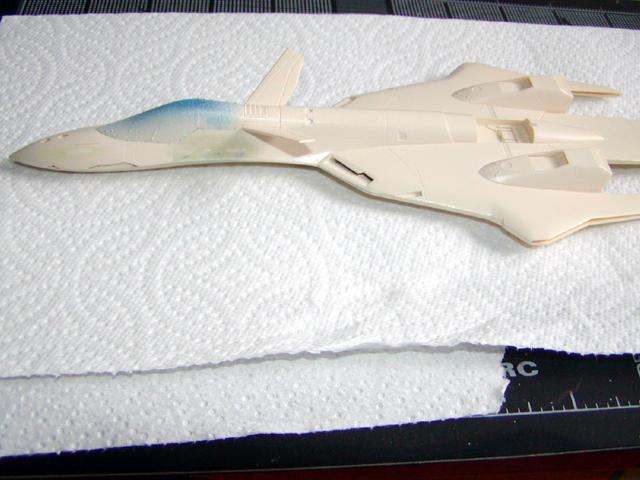
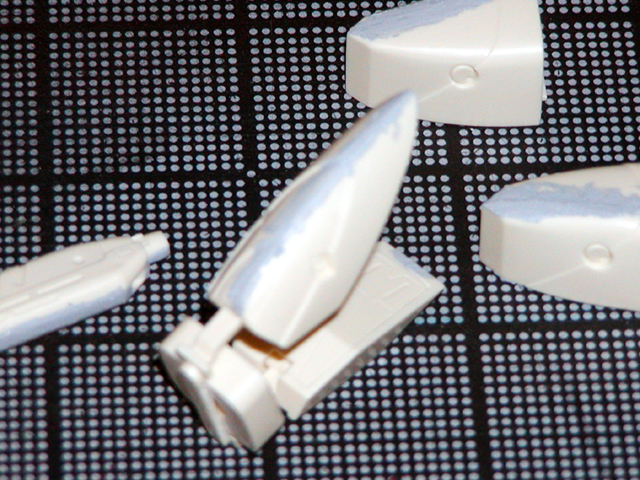
Here I dry fit the pieces, boy it's a great looking valkyrie. The blue on the canopy is a liquid mask to protact from getting paint on it.
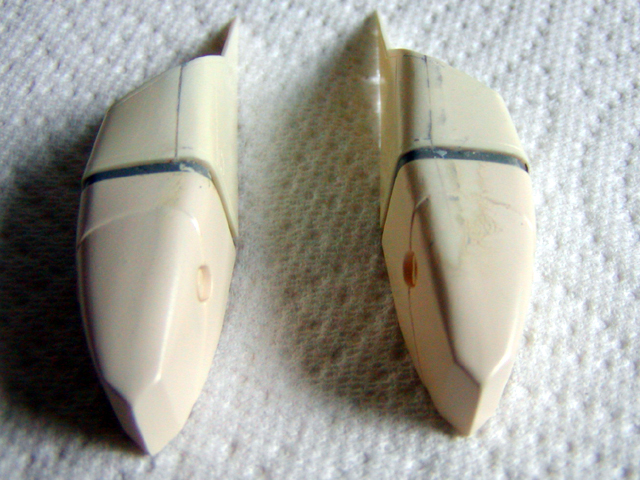
Here is the valkyrie in pieces I putty some and airbrush some pieces to see if the seam shows up or not. If it showed up I put more putty to cover it up.
Here I layout the pieces to paint. I mixed up three paints to get the color that I need. 50% Gloss White X-2, 50% Flat White XF-2, and 5-7 drops of Desert Yellow XF-59.

-
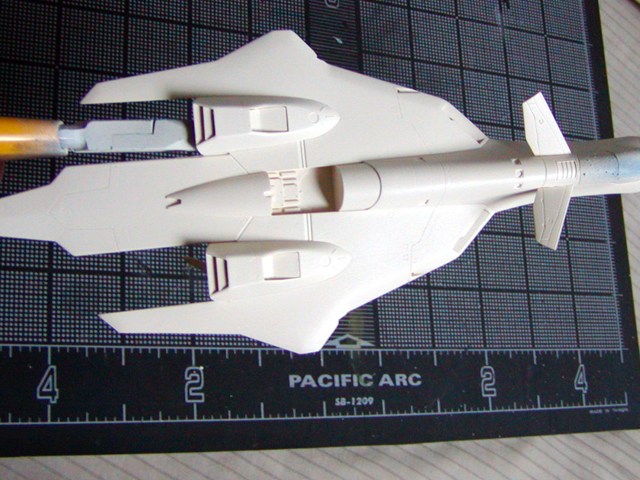
Well looks like it's almost time to paint the body of the plane. First I glue both half of the planes together, then I putty the seams. Sorry for the bad pictures.
-
HWR MKII thanks for the link!!
Here I oil painted the panel with black, I thin it out with mineral spirits odorless. I brush it on, neatness doesn't count, I let it sit for about an hour and half, then I wipe it off with a tissue paper.
Here is what the finish parts look like after the oil paint has been wipe off.
-
-
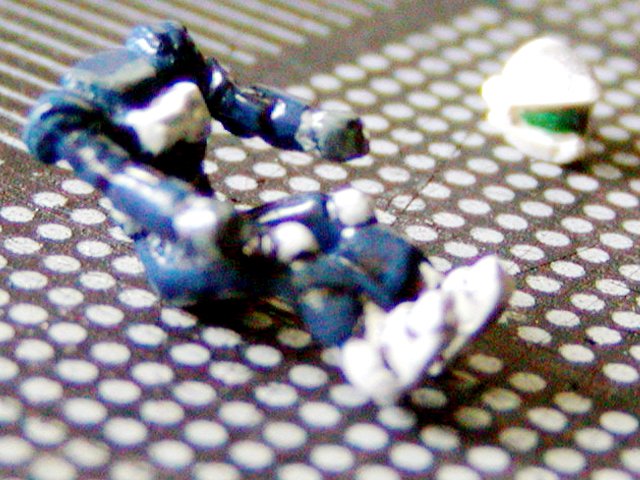
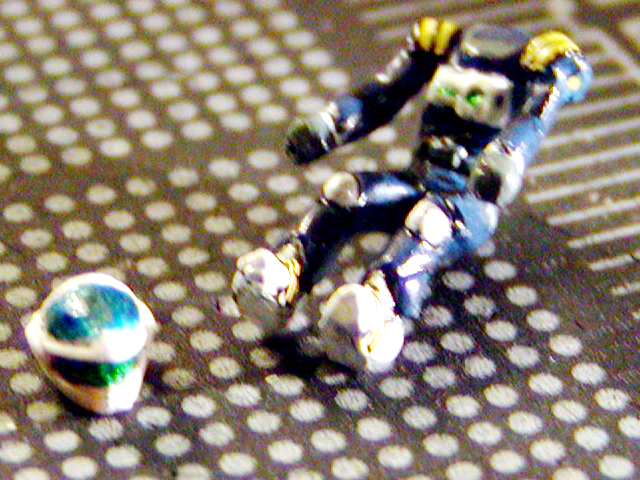
Here is my pilot Isamu, sorry for the first pic. First I airbrush a basecoat of flat blue XF-8 then paint with Flat White XF-2 and for the hands I use Light Grey XF-66. For the helmet I use Flat White XF-2 and for the back I painted with Dark Grey XF-29, for the glass on the top and front I painted with Chrome Silver X-11 then painted Clear Green X-25 and Clear Blue X-23, after that dried I painted a thin coat of Smoke X-19. After I finish with the paint I seal it with the overcoat. Then applied the decals, I had to use lots of Micro Sol to make it fit, but be very careful not to touch the decal after applying the Sol.


-
Hi,
wm cheng hope you can help along the way.

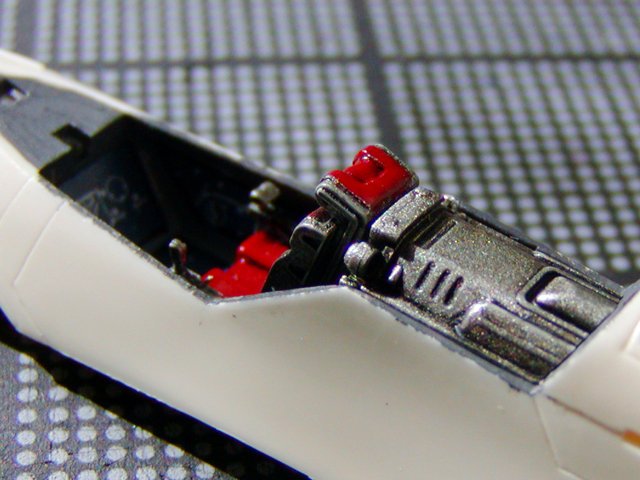
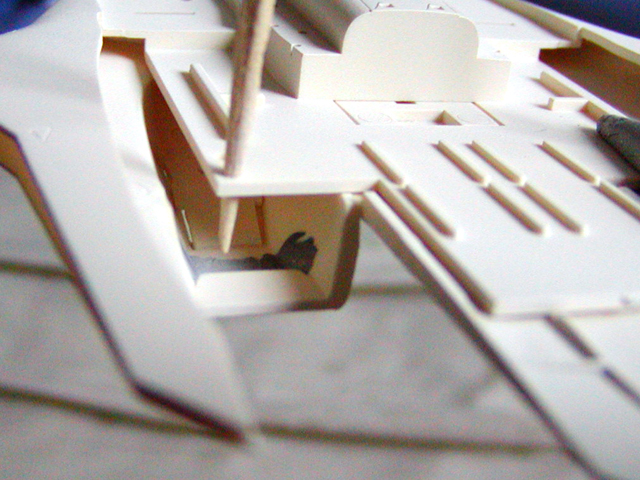
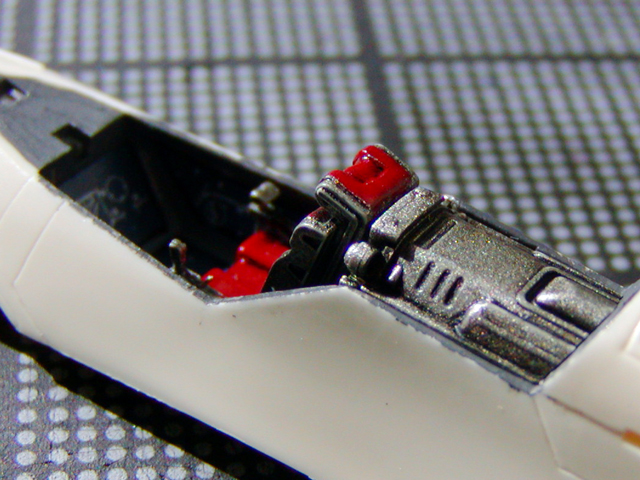
Here is what I have done so far. I glue the seat to the cockpit.
Here I glue the cockpit into the plane.
-
That's it for today I plan to take more pics soon. If I have any problems I'll post it up and maybe someone can help.

Sorry for the pictures but the paint job looks better in person then in the pictures that I took. My camera is a little tricky, keep getting blue and red pixels in the shot, any suggestion on how to correct this, so I can take cleaner pictures?
-
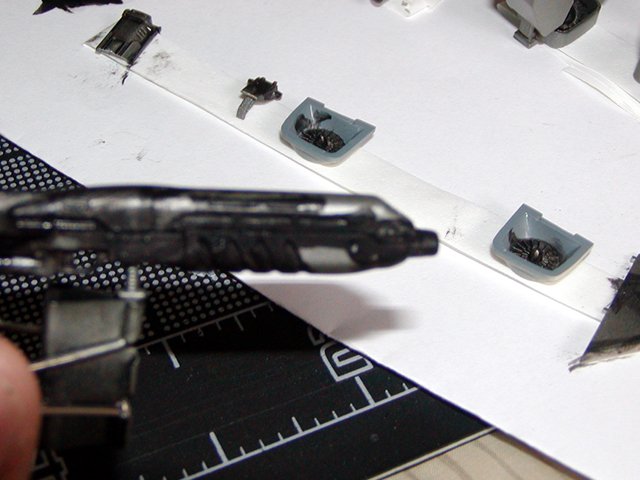
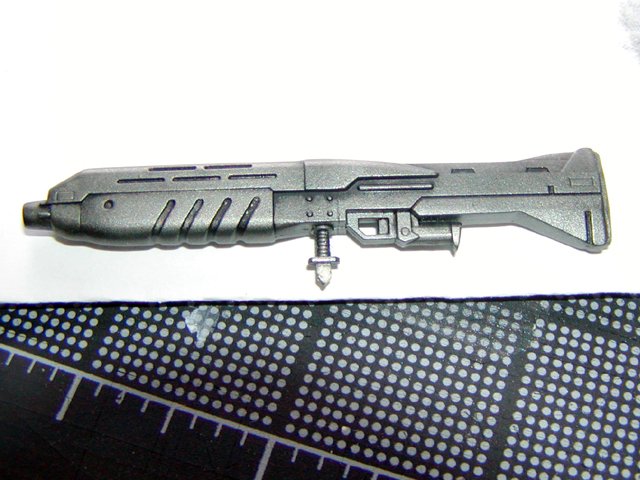
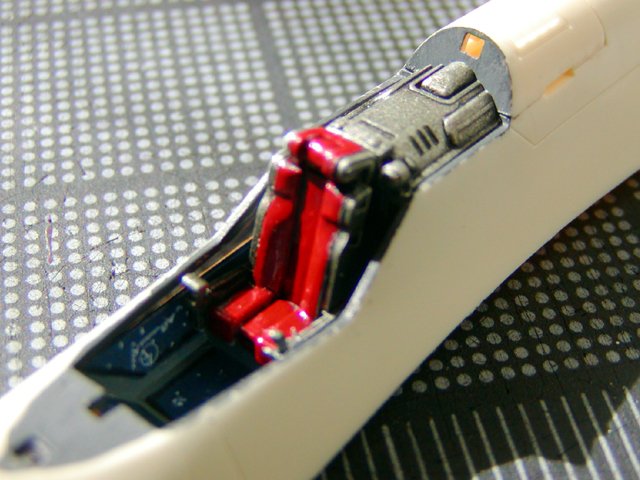
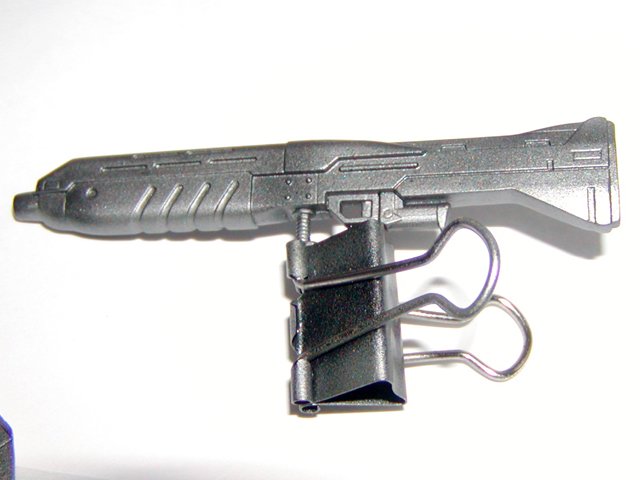
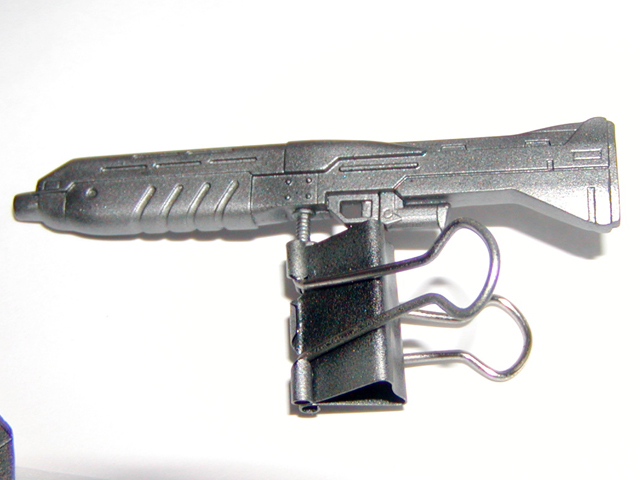
Here I painted the darker area with Gun Metal it looks black but its a darker Metallic Grey, very cool color.
With the Metallic Grey I paint the gun.

Here I use Gun Metal to shade the gun and any other parts.
-
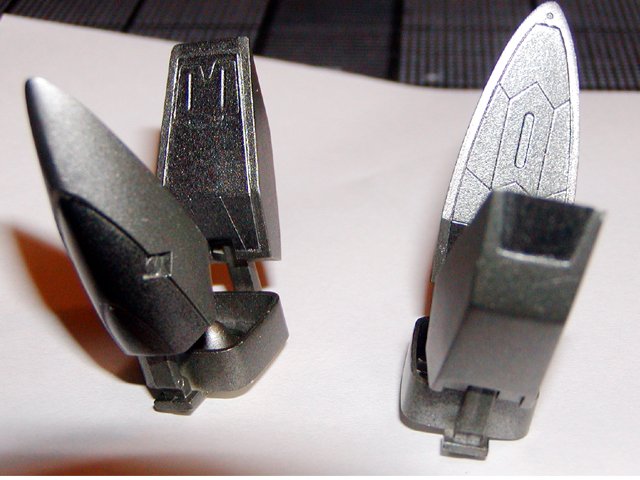
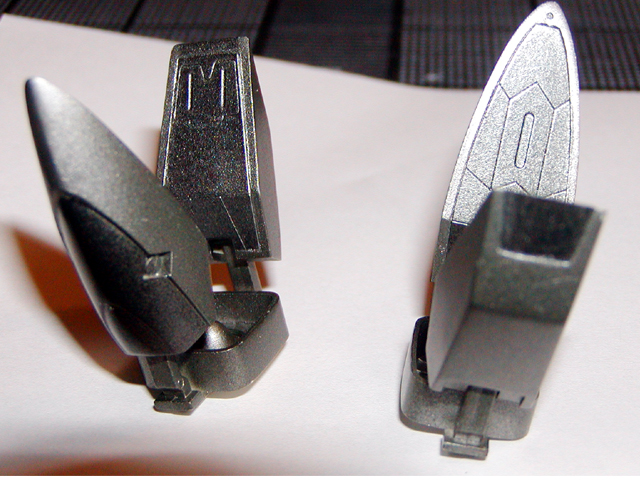
Next I putty the engine along with the gun and anything that will be painted Metallic Grey.
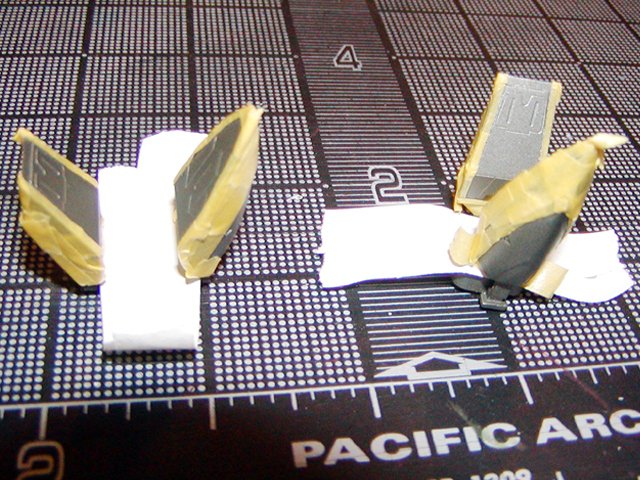
With the Metallic Grey, I painted the engine. The yellow tape is masking the next part that I'll paint.
Here I mask off the area that I don't want to get overspray on. The white tape is acid free tape, I like this tape because it doesn't peel off the paint. I plan to airbrush Gun Metal X-10 to this.
-
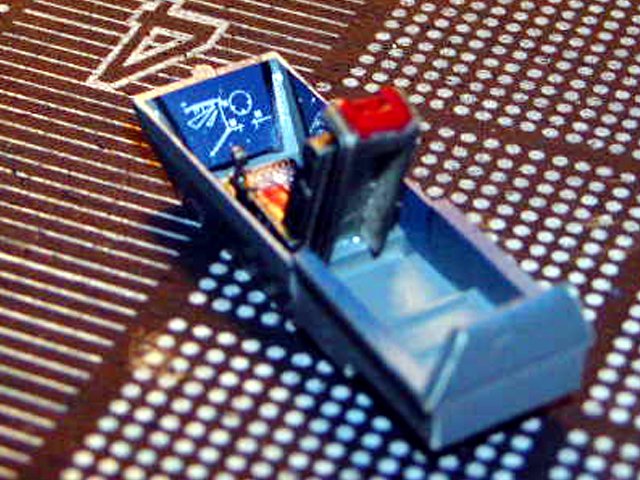
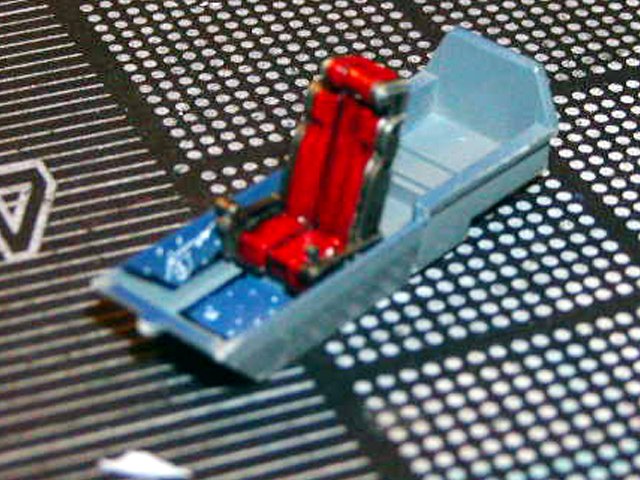
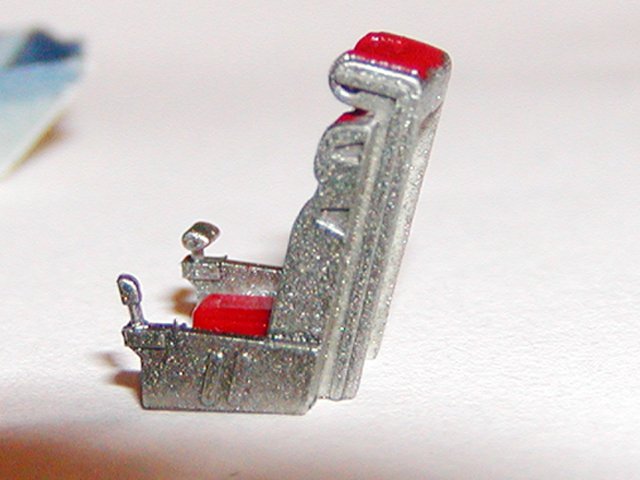
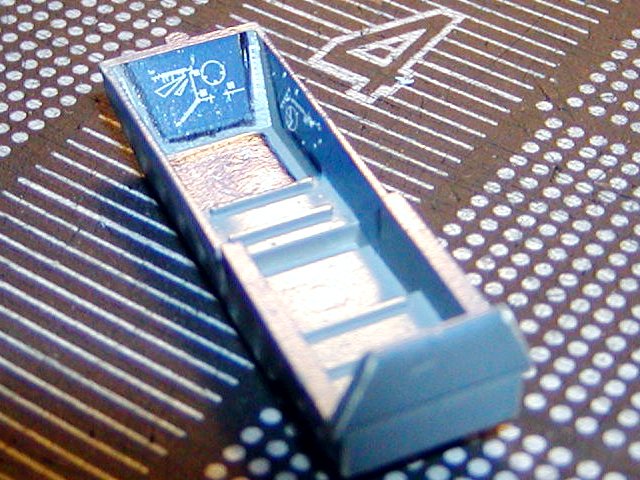
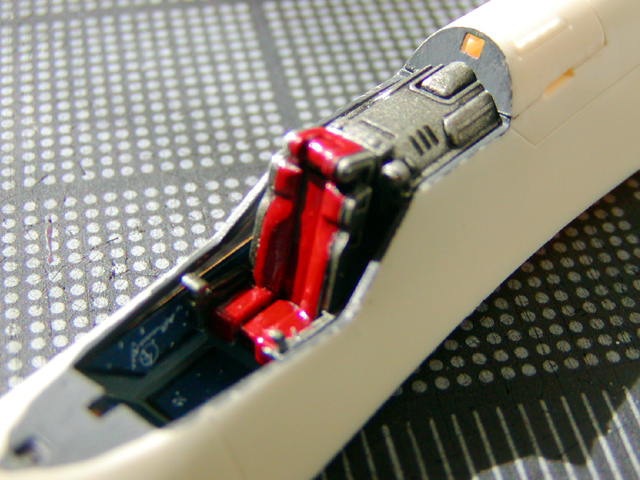
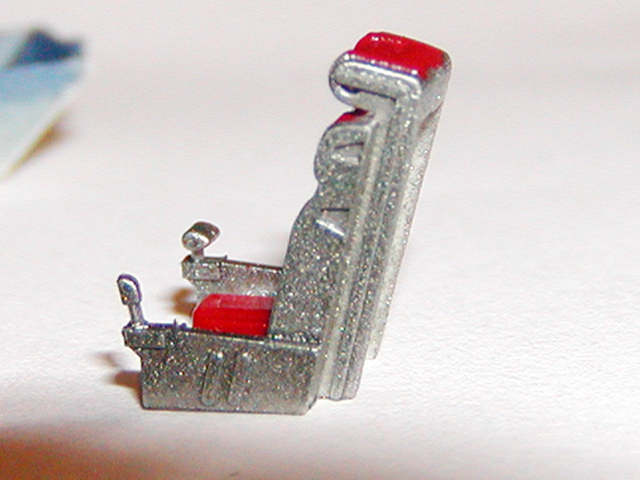
Next choose what paint to use. I like to use Tamiya paint. I started to airbrush the whole seat from the cockpit, with the Metallic Grey XF-56, then hand painted with Red X-7 for the seat. Once that dries I seal it with a clearcoat of semi-gloss (model master lacquer overcoat). I plan to paint the YF-19 like WM Cheng, I like how his valkyrie came out.
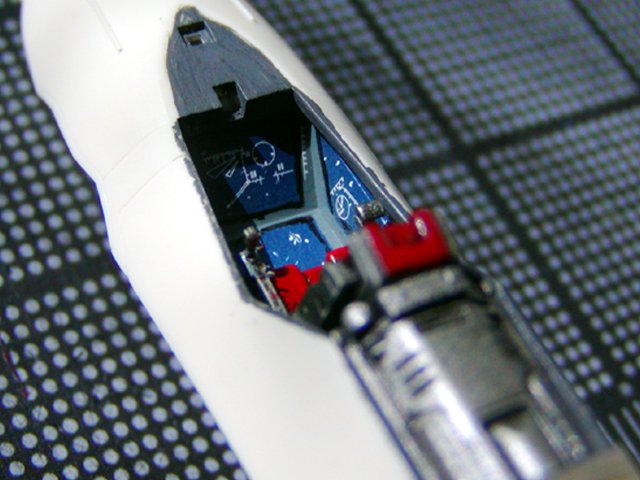
Next I fill in the panel with oil paint very simple to do. Then seal it with a clearcoat semi-gloss (model master lacquer overcoat).
Painted the cockpit with Light Grey XF-66 and made small windows to look like space.
-
Hi,
This will be my first step-by-step, I was inspired by WM Cheng and Ido!! Both are very helpful and been helping me for sometimes. If you have comments or questions please feel free to ask.
Here are the tools that I'll be using:
Tamiya paints
Tamiya basic putty
Model Master Lacquer Overcoat
Winsor & Newton oil paint (black and white) thin out by Mineral Spirits Odorless
Acid Free tape
Tamiya yellow tape
Airbrush
Very sharp x-acto blades
Super glue
Sand paper 500 and lower grit
Mico Sol and Set
Ok now, on with the project. The first thing to do is study your model, layout all your pieces and cut what your going to paint. Always dry fit all the parts before glueing. Be sure to cut away from the kit. Once you cut the piece off you will have to cut the nub off with a sharp x-acto blade and sand it down.


-
-
For the putty get the Tamiya putty basic, I like it. I don't use that green stuff no more. Don't know if you know this site but I buy most of my stuff from these guys. Tape, get a acid free masking tape it won't peel your paint off.
-
Welcome to MW Mokman
. That is one AWESOME collection you got there  !!
!! -
Cms Series 4
in Toys
DYRL Kakizaki
Claudia
Guld
another bridge bunny
bridge bunny M7
capt. gloval
-


Yf-19 Step-by-step
in The Workshop!
Posted
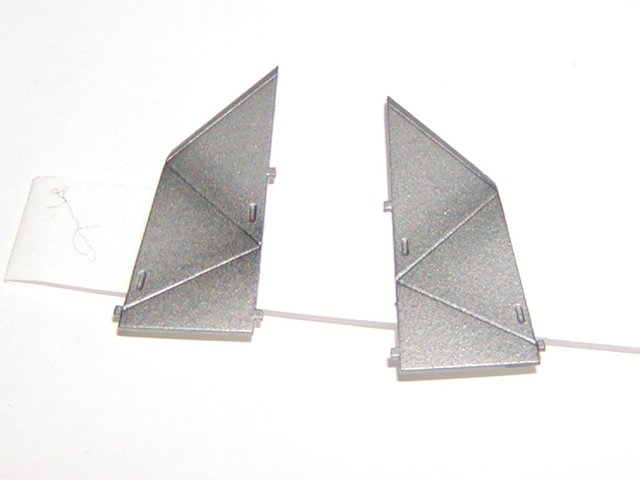
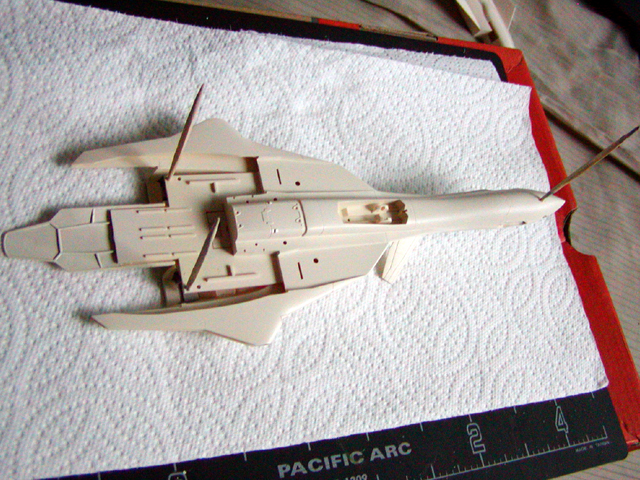
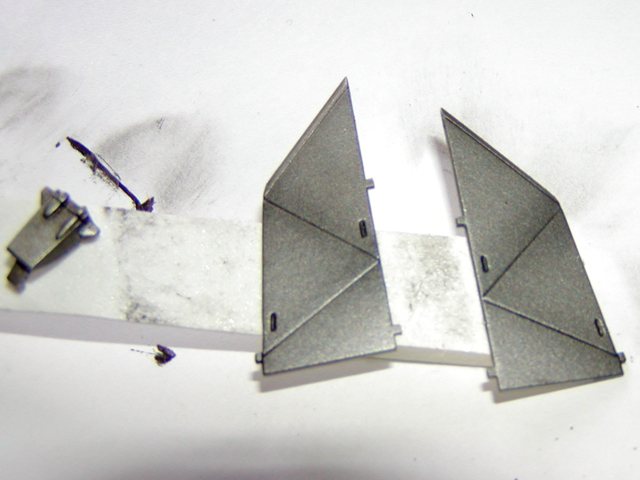
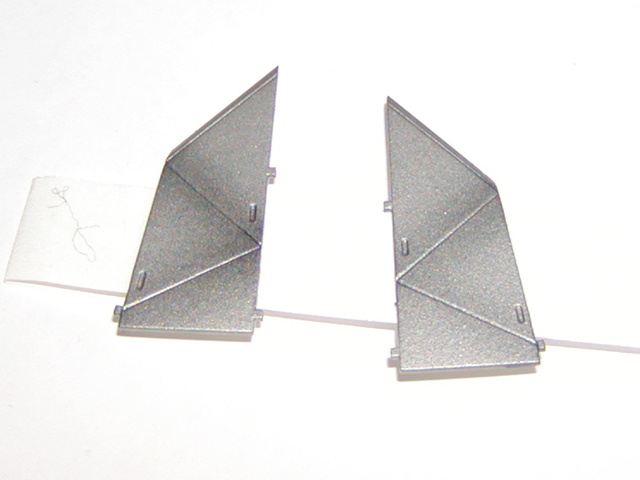
Here is the rest of the pieces that I airbrushed.