

DrunkenMaster2
-
Posts
237 -
Joined
-
Last visited
Content Type
Profiles
Forums
Events
Gallery
Posts posted by DrunkenMaster2
-
-
-
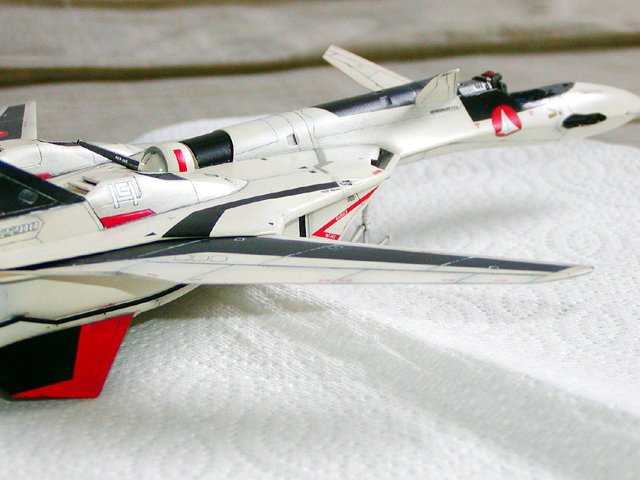
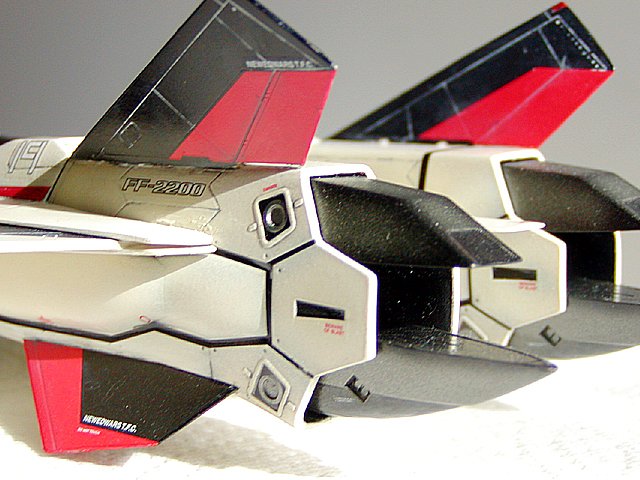
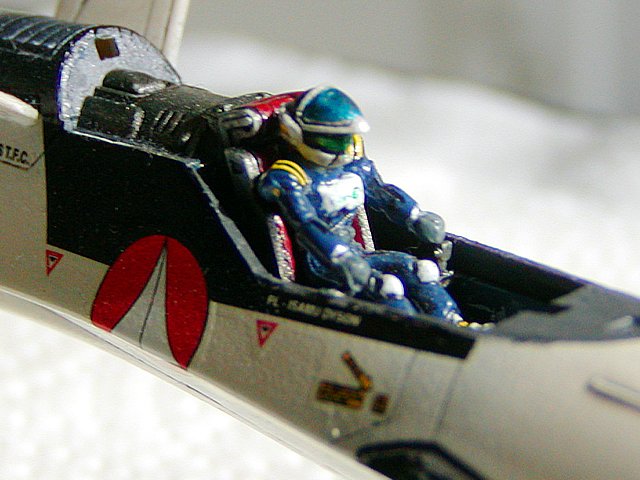
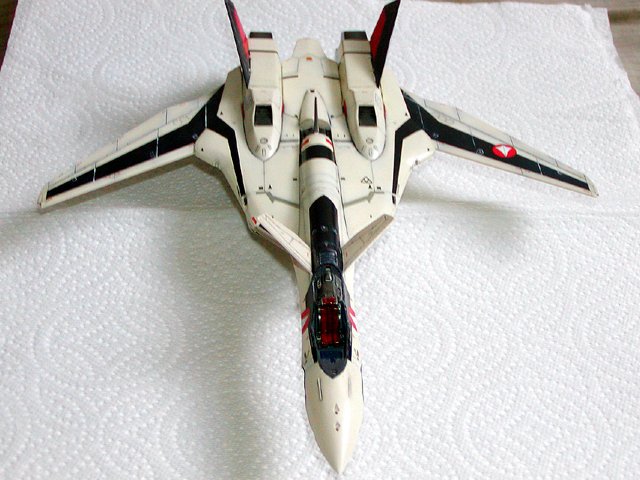
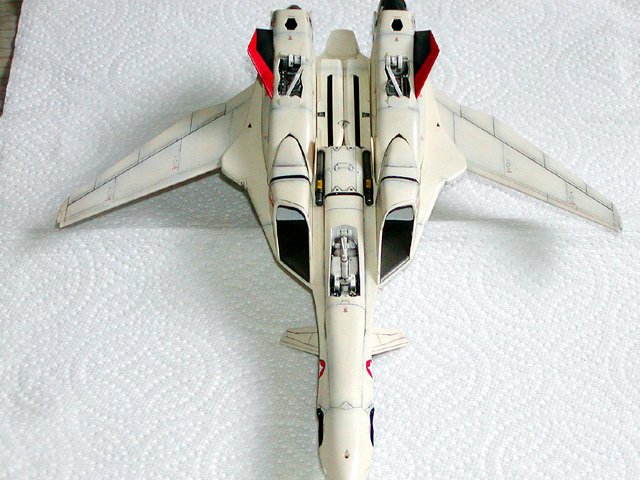
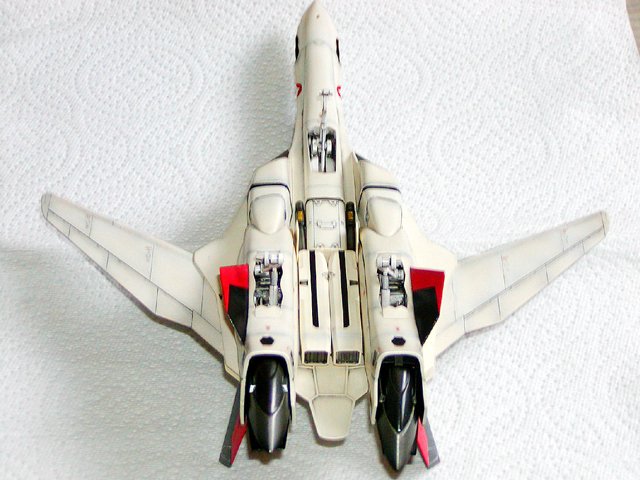
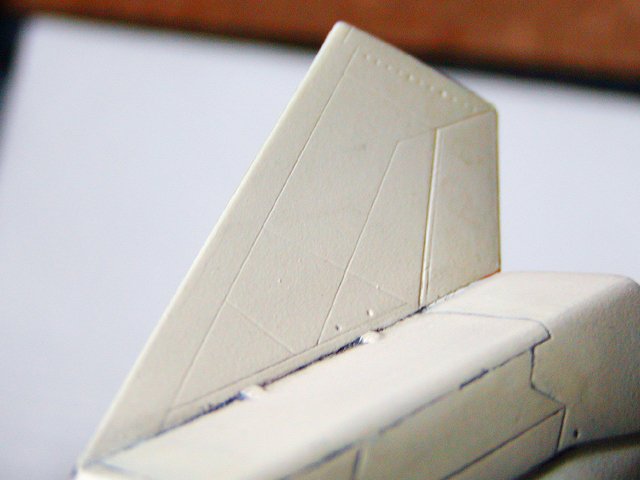
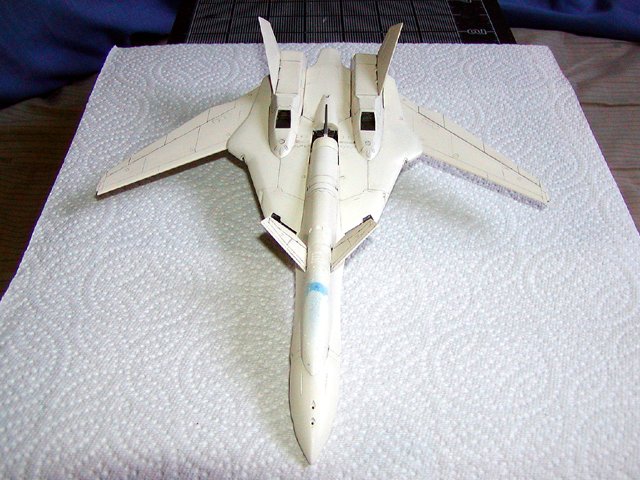
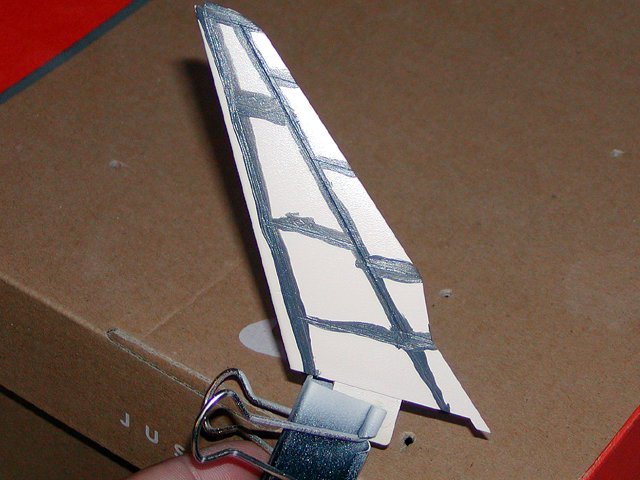
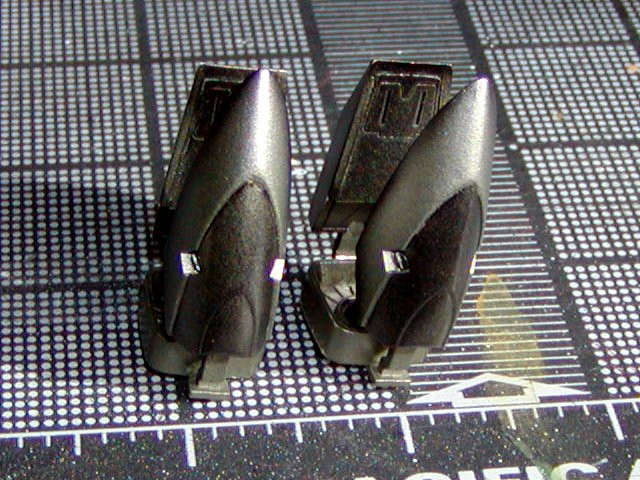
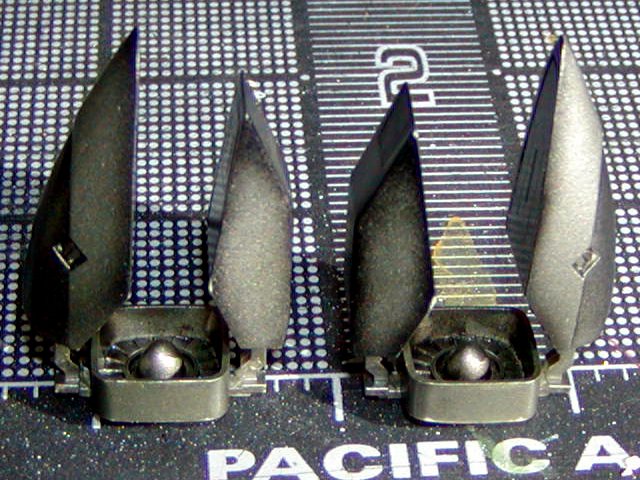
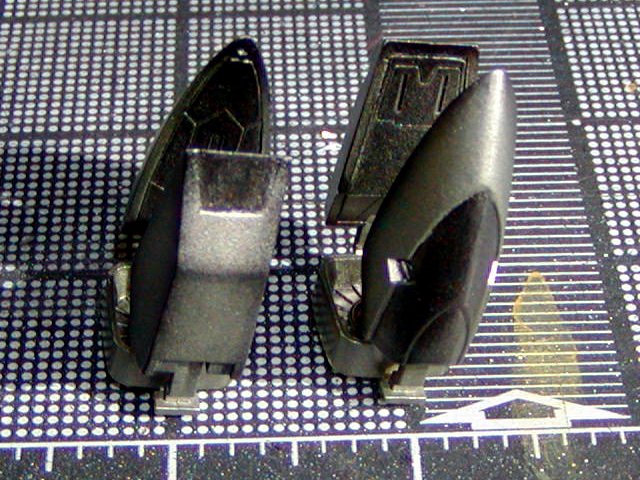
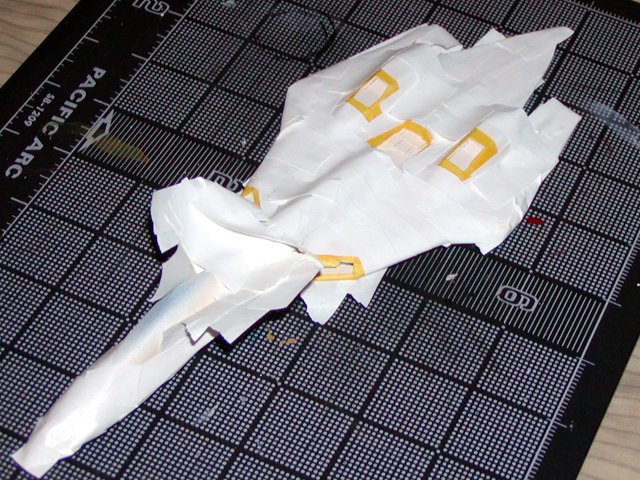
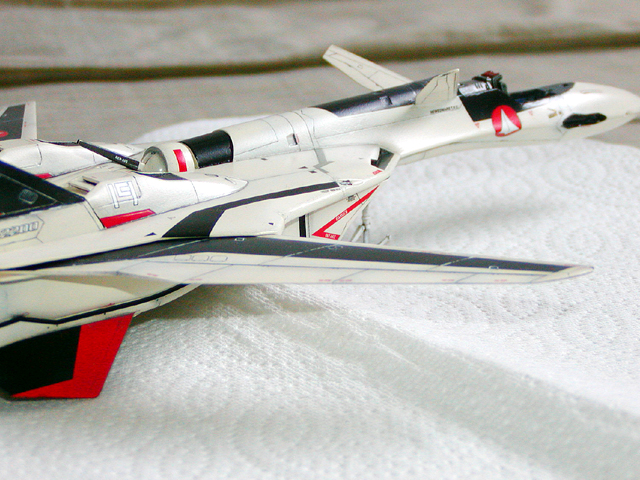
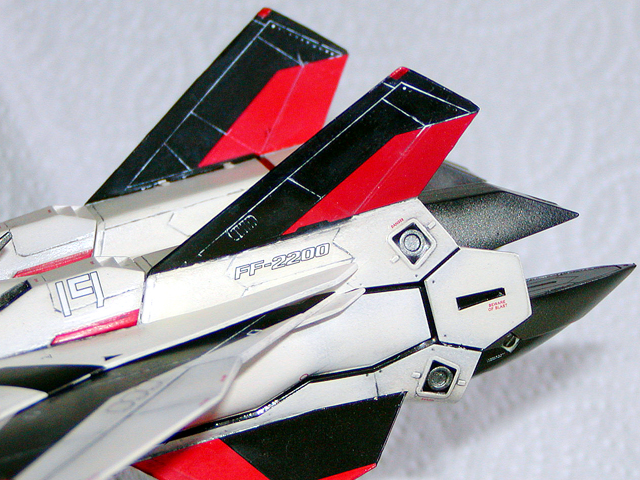
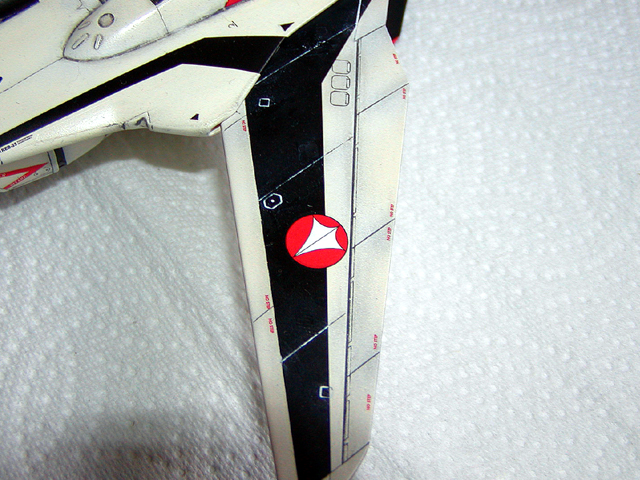
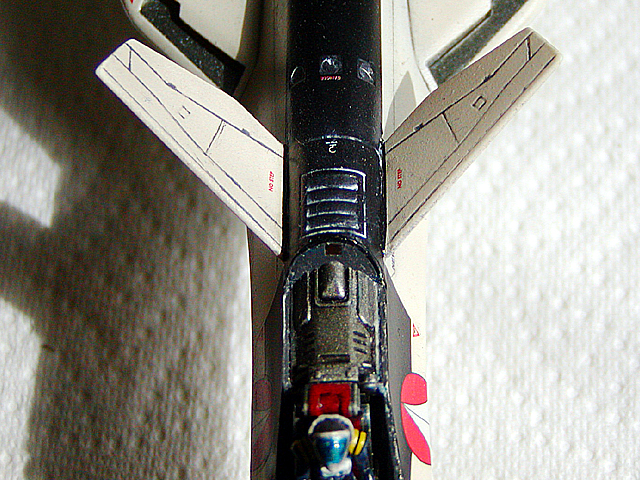
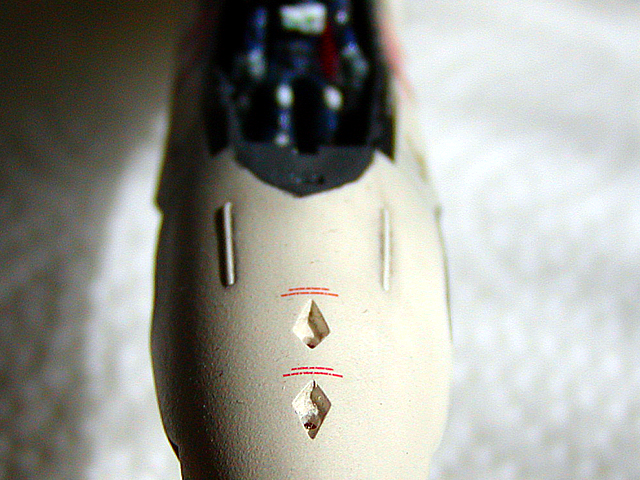
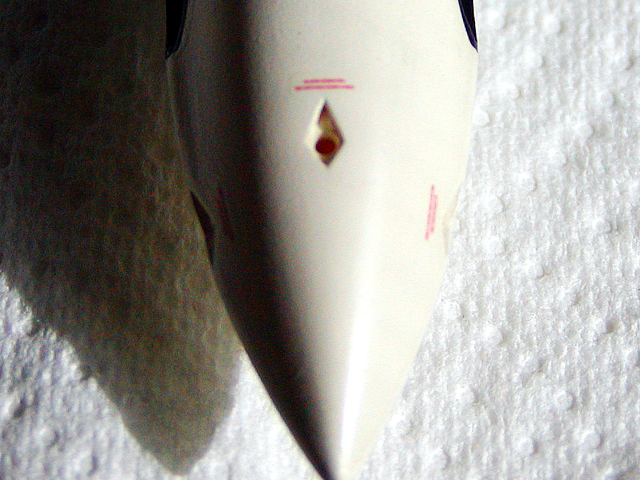
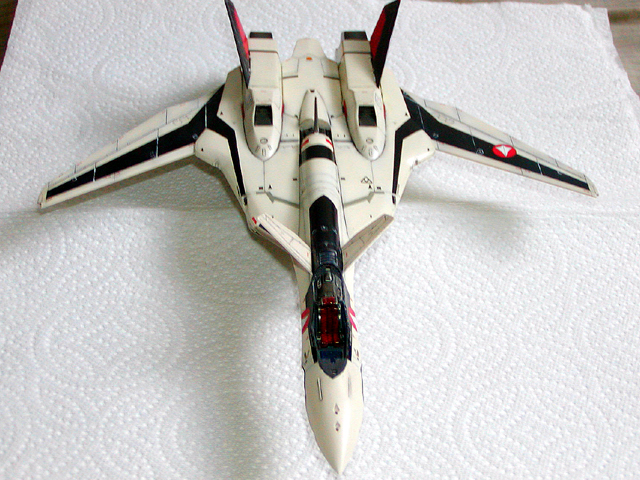
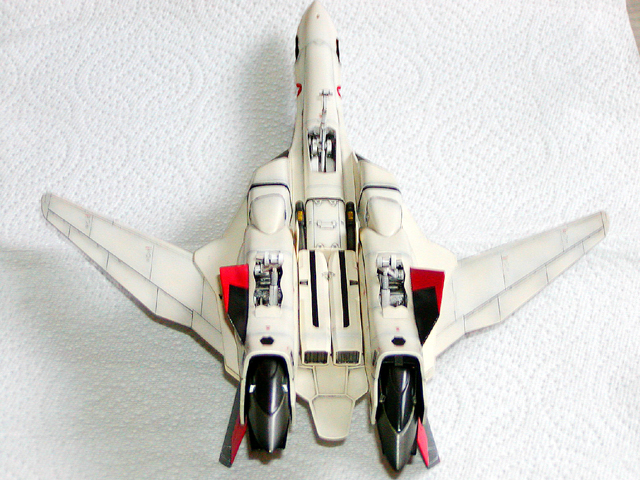
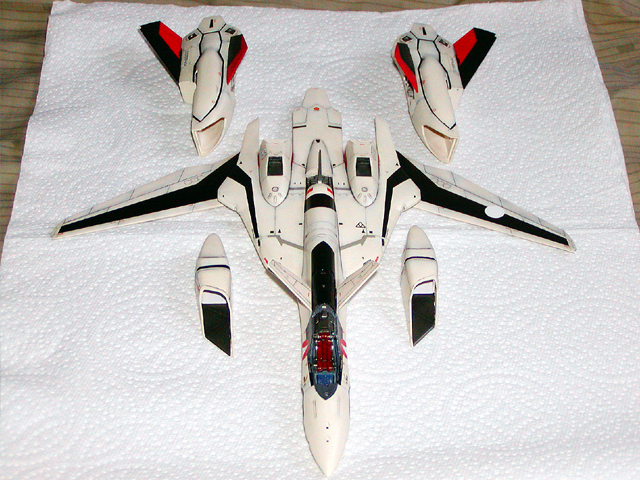
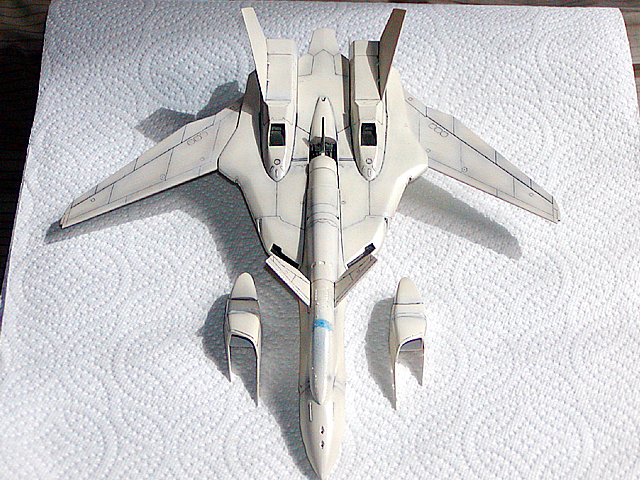
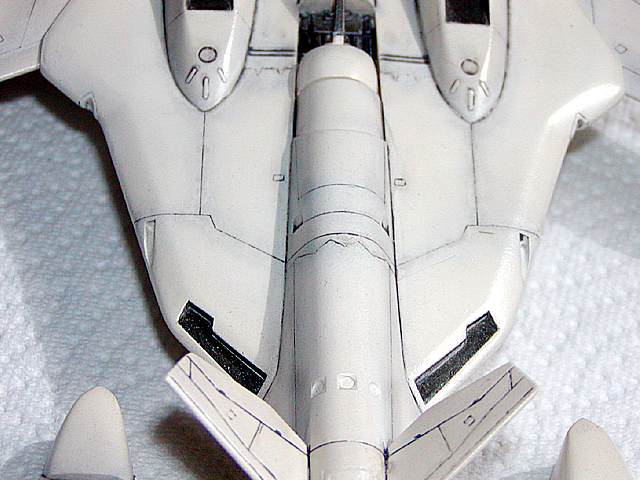
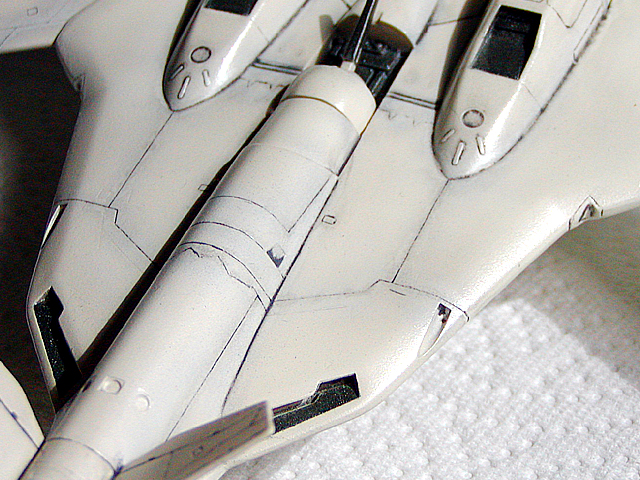
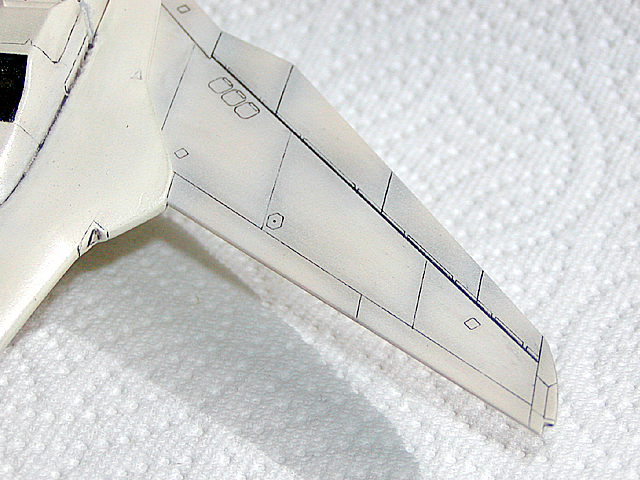
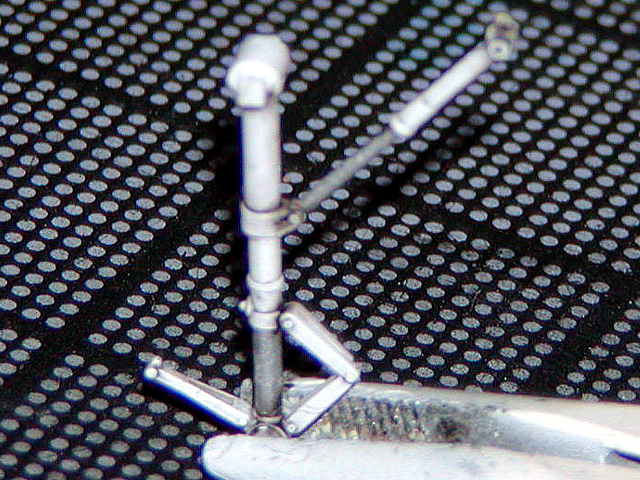
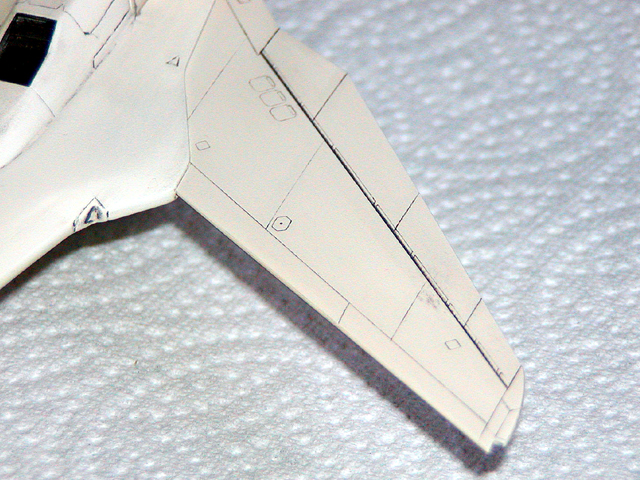
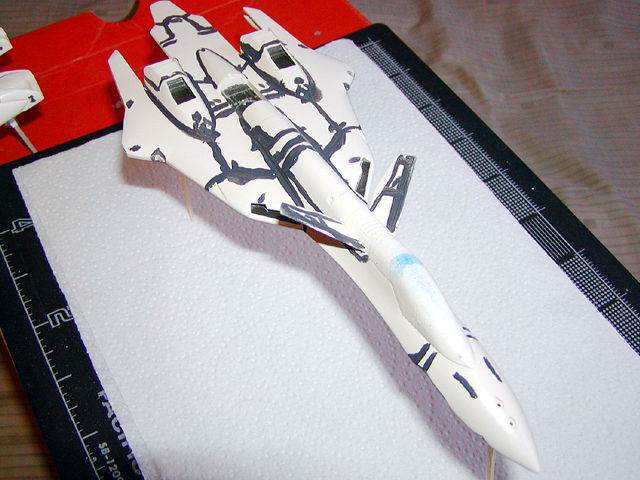
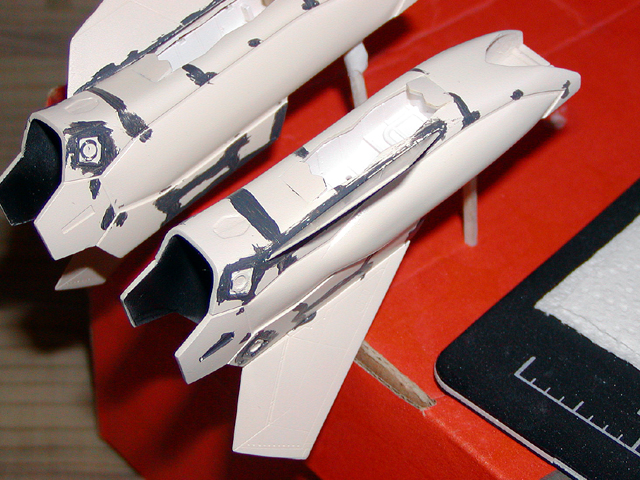
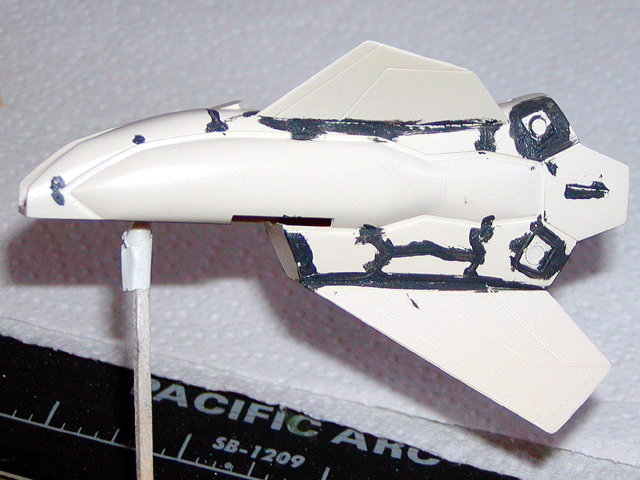
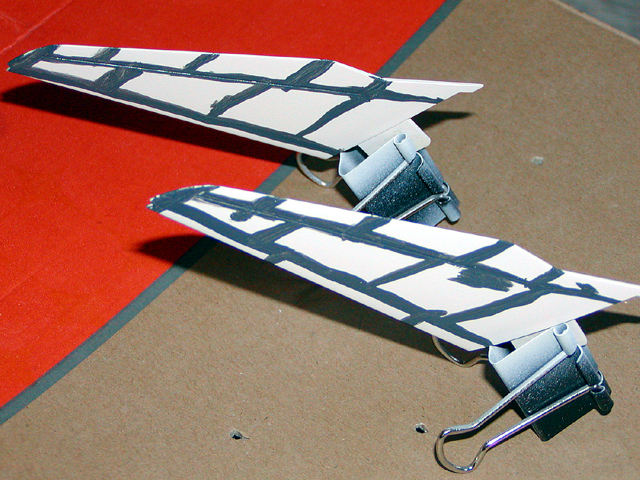
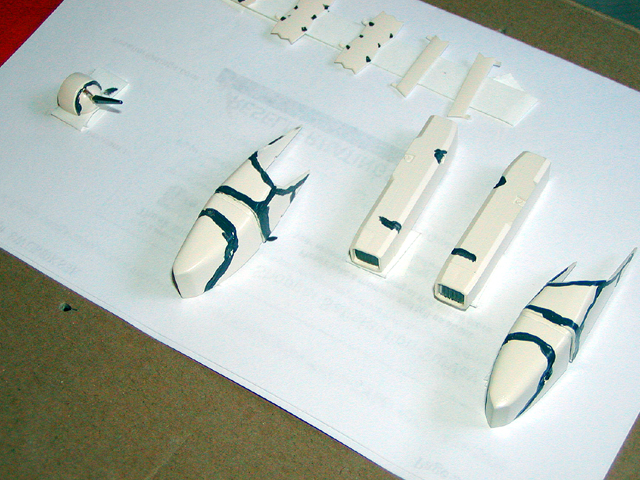
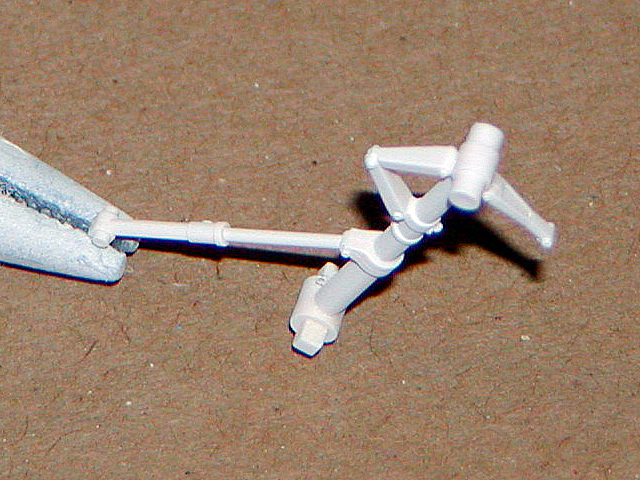
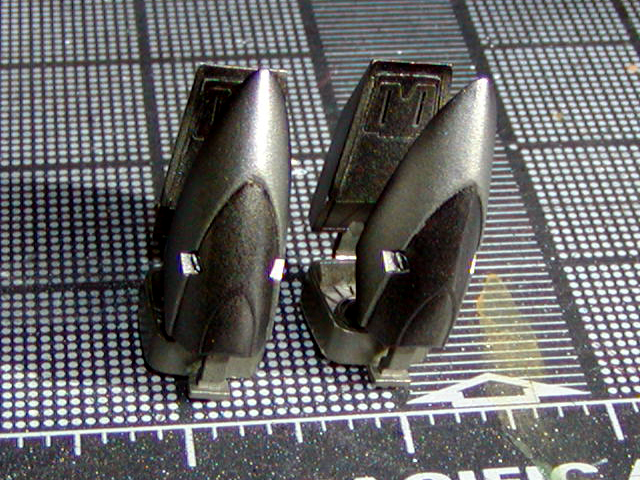
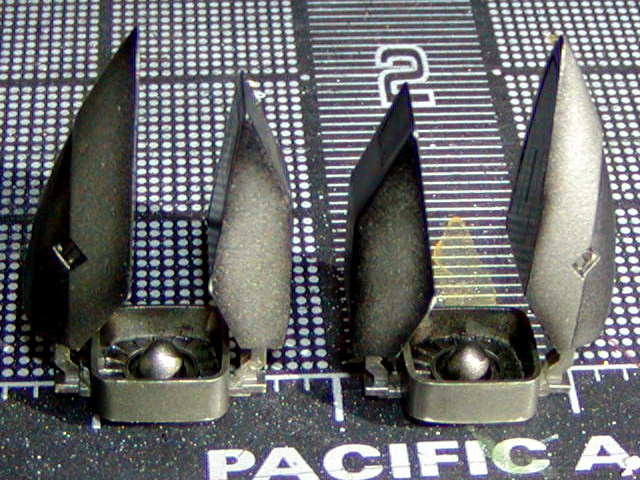
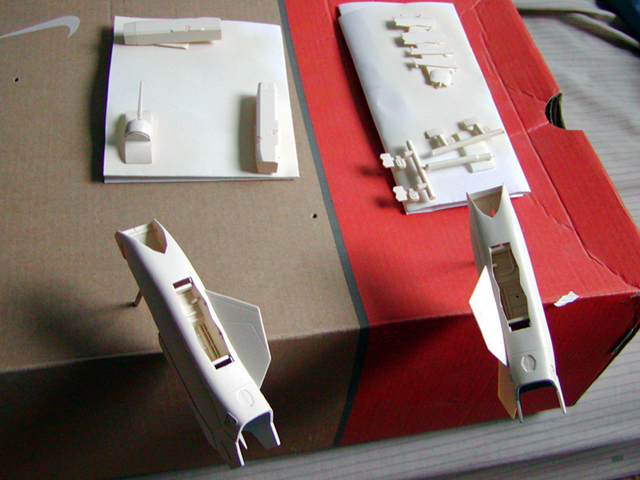
Here are different angles of the plane.
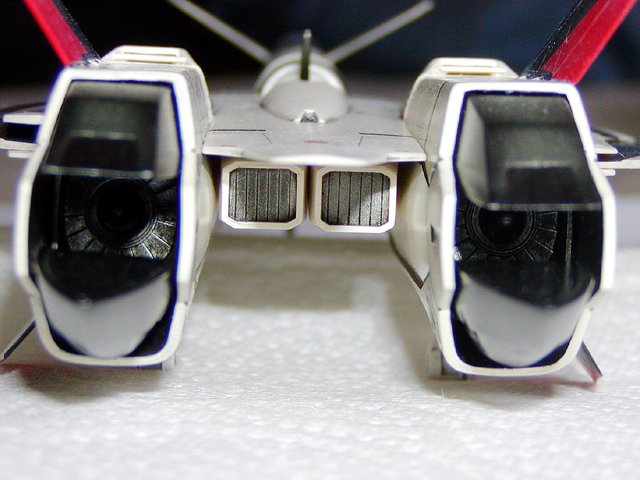

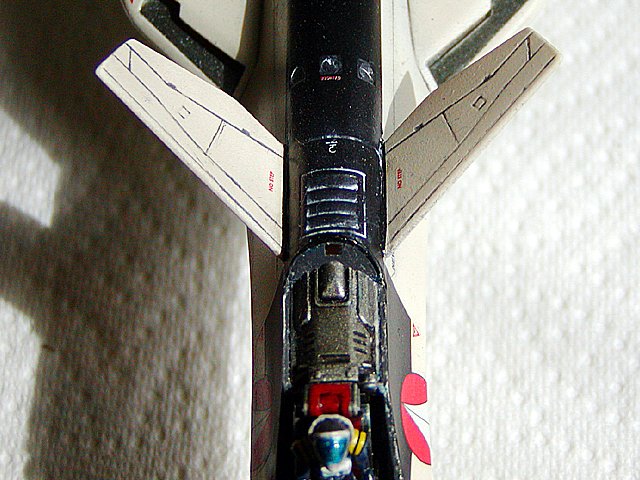


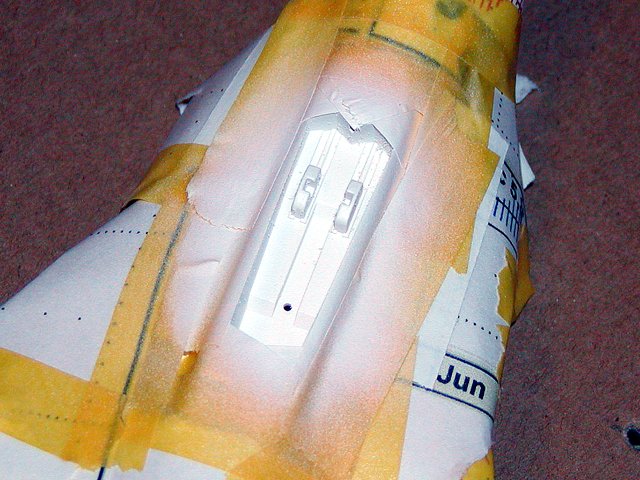
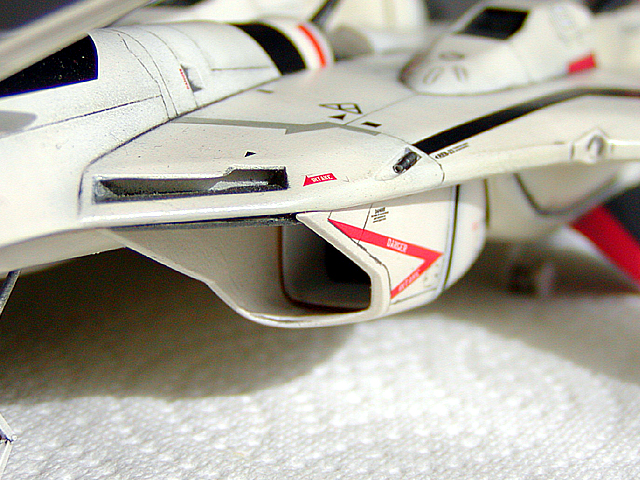
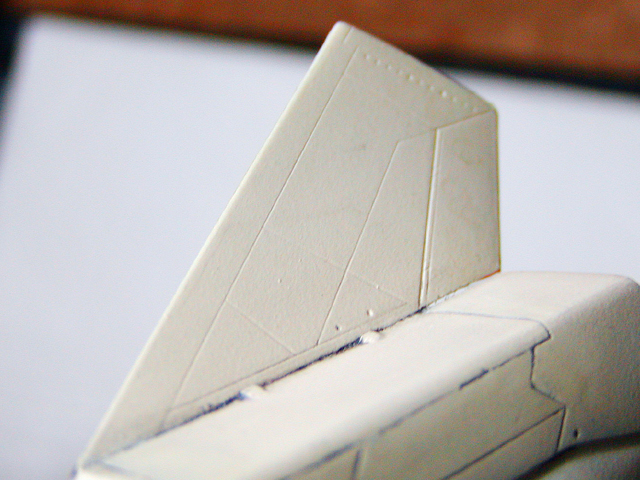
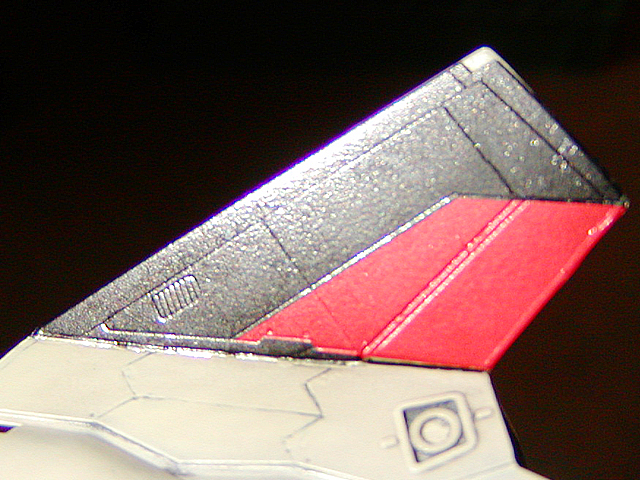
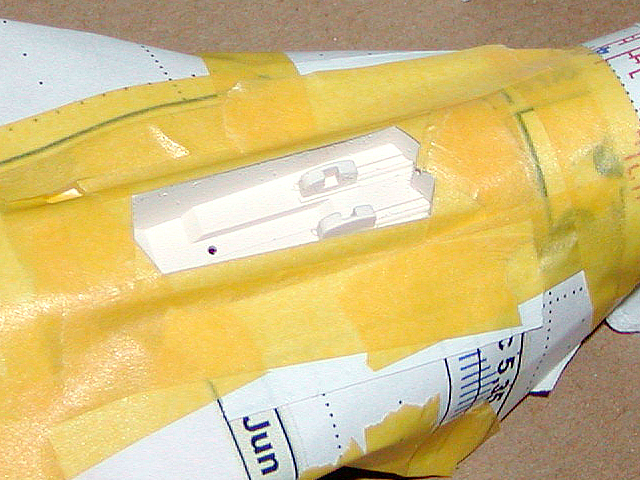
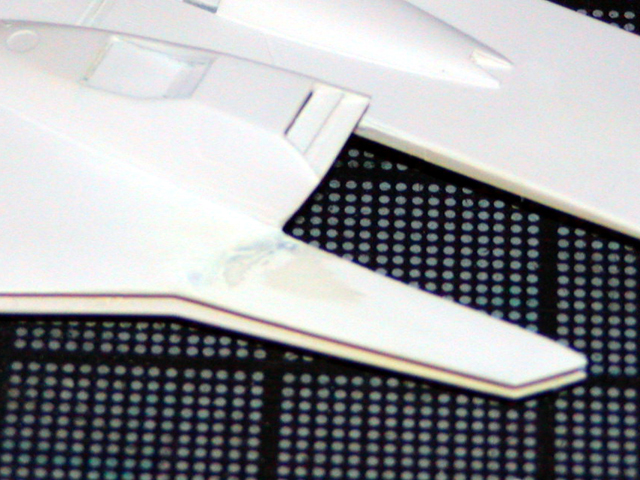
Here is the front where the cameras are. I cut the triangle out and left the little red text and apply it on the plane. I plan to paint the triangle clear part with the paint call smoke.


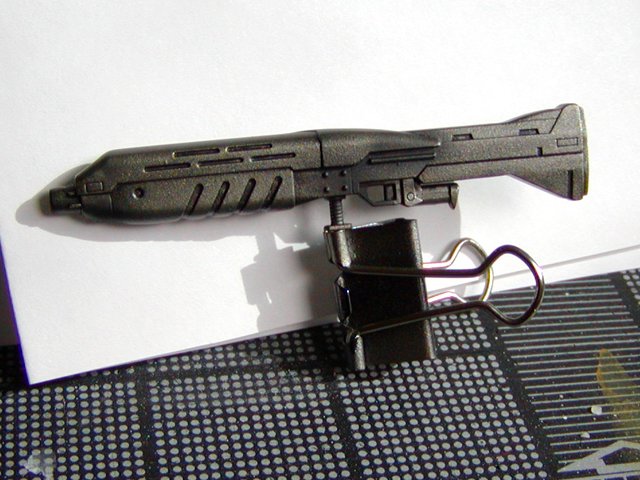
Now I have a question to anybody who knows the answer. I'm going to dip my canopy into future and let it dry. Then I'm going to apply the decals on it. Should I dip it into future again?
-
Sorry for the delay. Thanks for all the feedback from everybody. I been busy working on a Anime Fest here in Phx. It's going to be great.
Here is the website:
http://www.phoenixanimefest.com
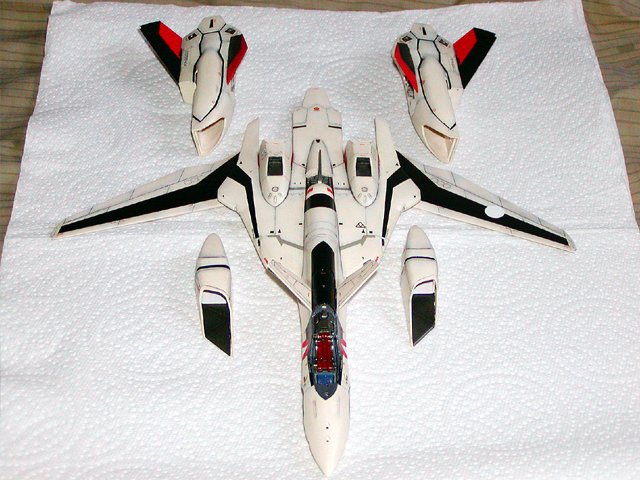
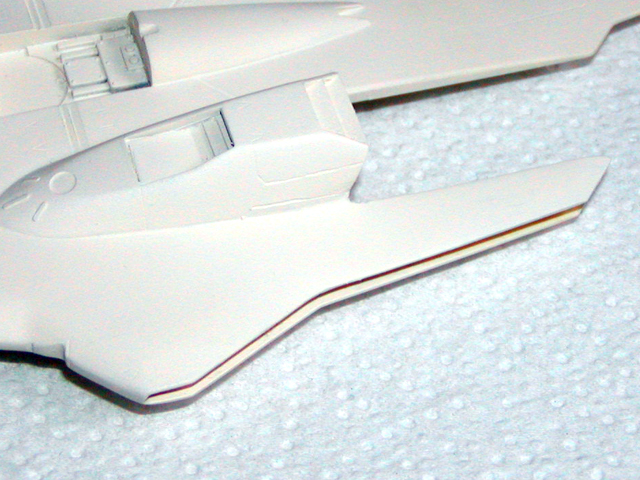
Well back to the model it's been fun putting this one together man it's big with lots of decals. Here is the top and bottom view.
-
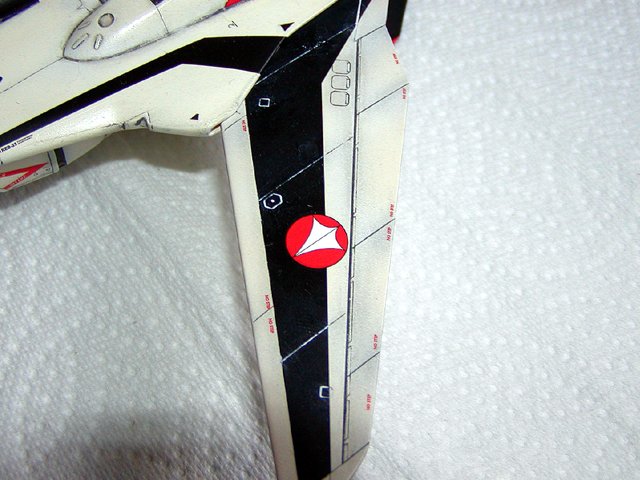
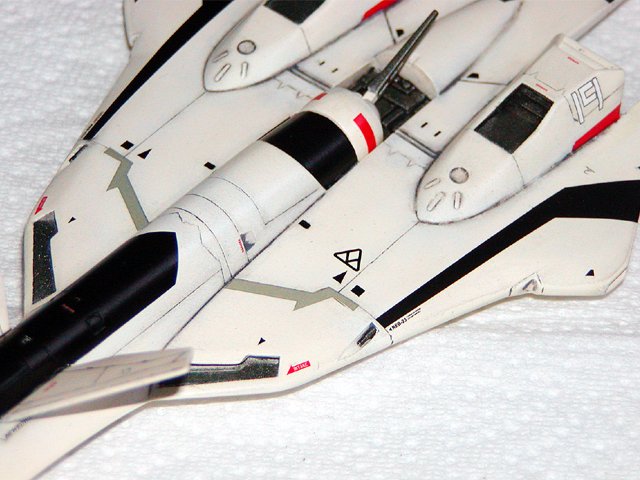
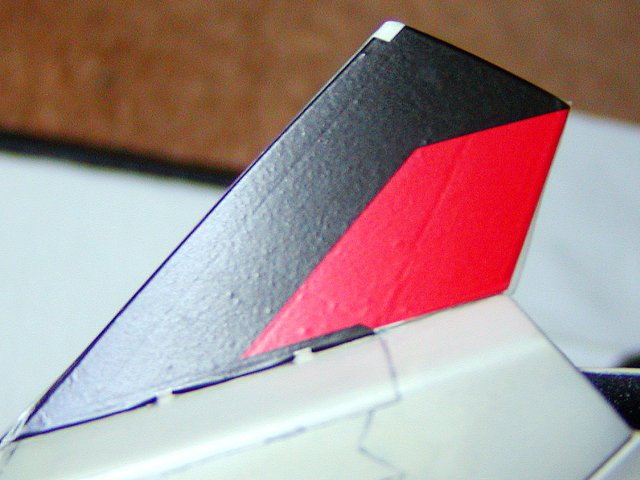
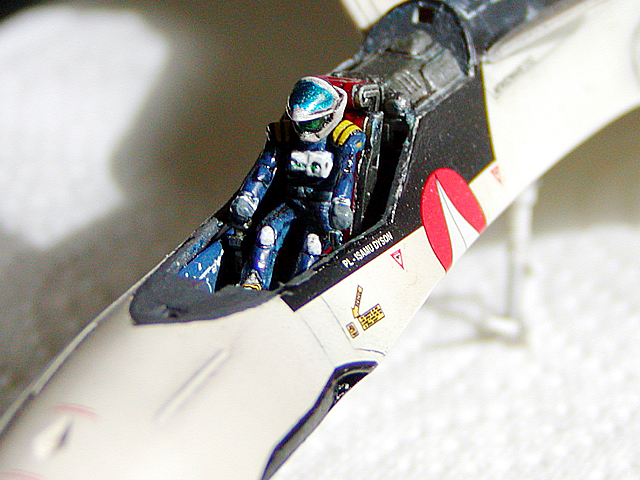
Here is my YF-19 with the decals apply, man talk about alot of decals. It looks greats with them on. More pics soon need to finish apply the decals. After that I'll fill in the panel with oil wash to finish it off.
-
Thanks ChaosWarrior, the decals did the trick!!! Well I almost finish the decals. I use MicroSet and MicroSol both are AWESOME a must buy if you are applying decals. The MicroSet, just use a brush and brush it over the whole decal. This will soften and melt the decal a bit so that it "sucks" onto the surface of the kit. After you apply the solution to the decal what ever you do -- "DON'T TOUCH THE DECAL!!!!!" You'll see the decal wrinkle a little, but when completely dry it will be flat on the kit. After it dry's you might get airbubbles poke a small hole and reapply MicroSol. Let it dry overnight.
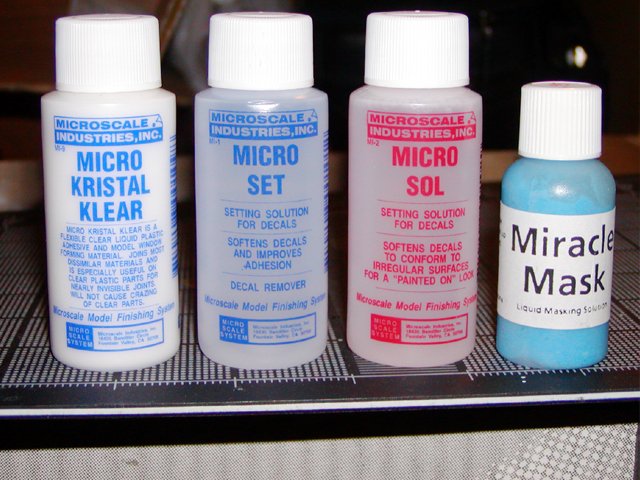
I apply MicroSet on the panel lines but be careful this solution is stronger then the MicroSol.

-
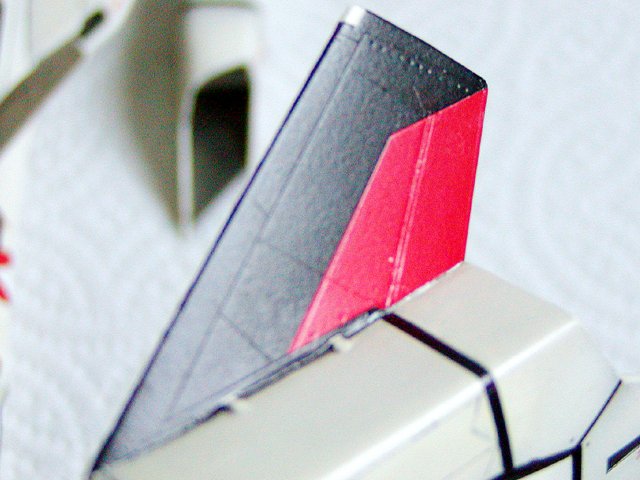
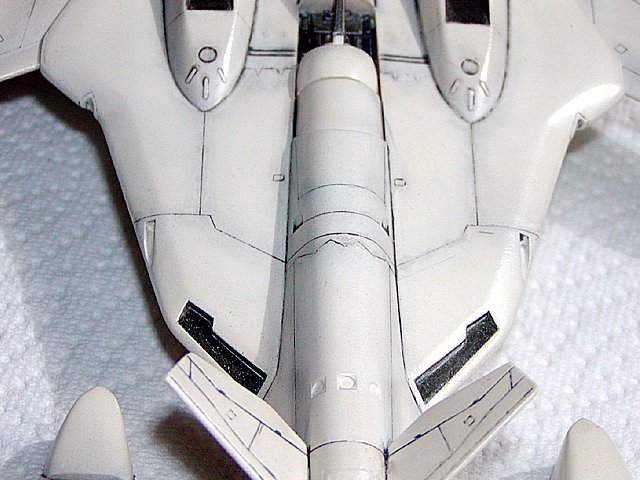
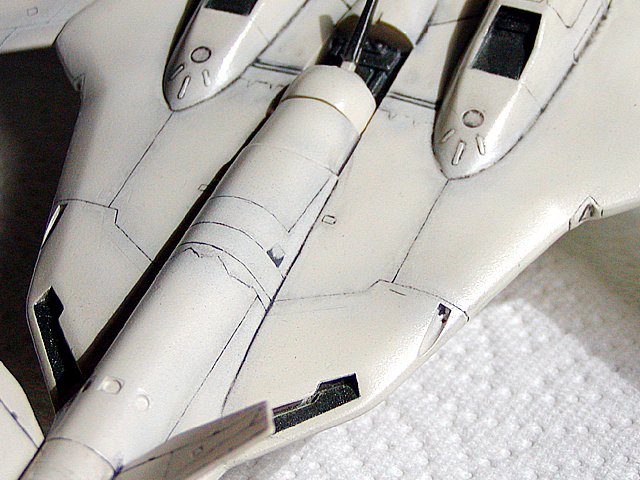
Well I airbrush some shade in the panel lines with light gray. It looks pretty good
 , I happy how it came out. Once I apply the decals I think it will look really good.
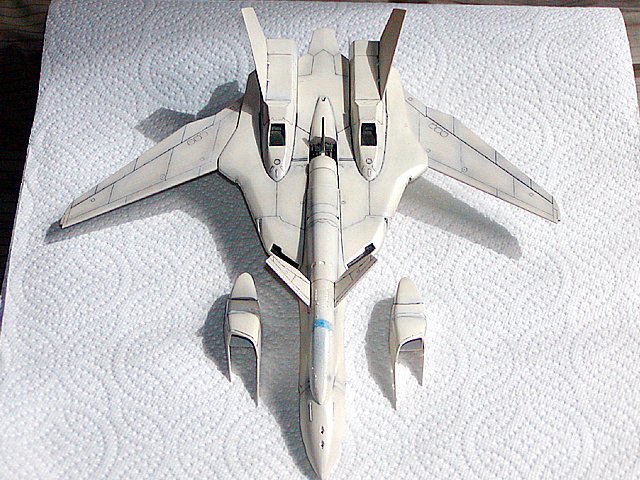
-
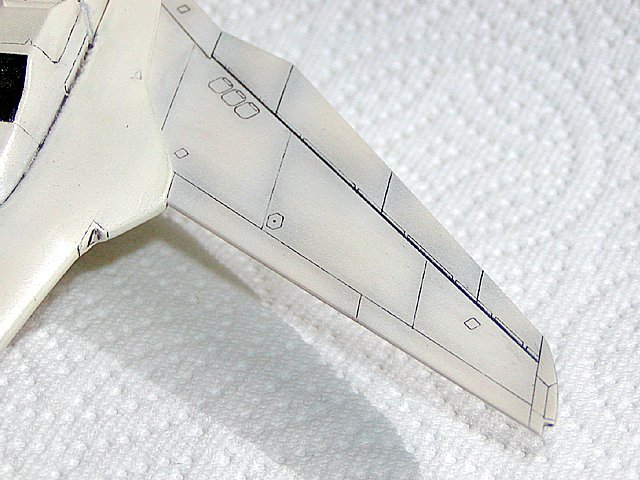
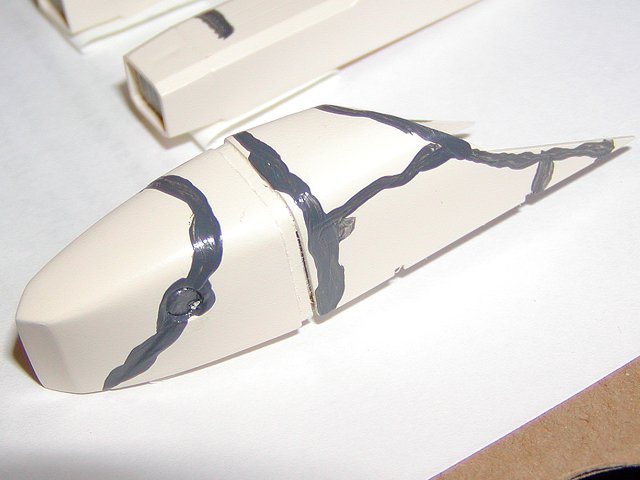
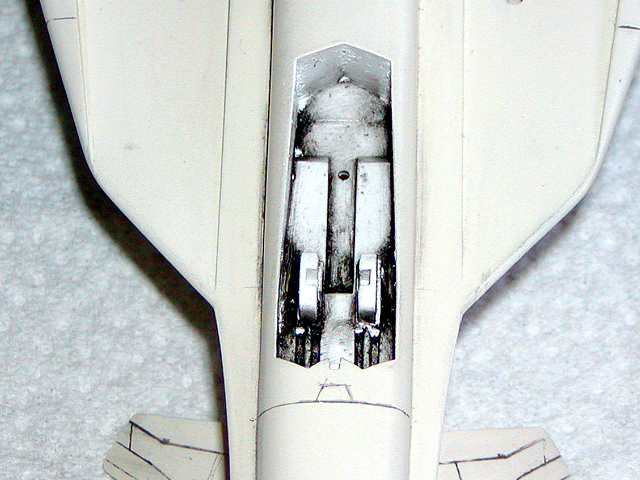
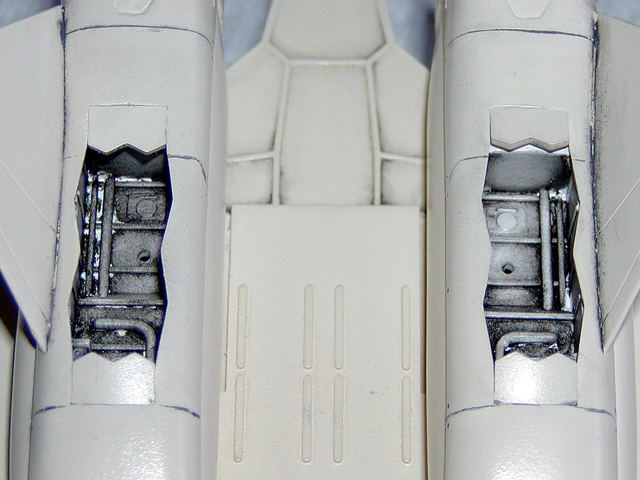
Here I used black oil wash I try to make all the parts look used, since it's a test plane I figure the landing gear gets a work out. Next I'm going to look to see if any touch ups are needed and do some repair, then I'll do a light gray shade on some of the panel lines.


-
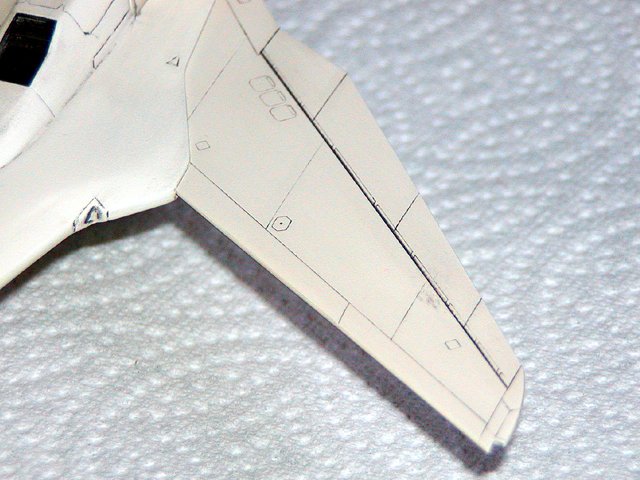
Well I'm back, again thanks for the tips wm cheng they are always helpful!!! Here is what my YF-19 looks like with the panel lines fill in.
-
No it doesn't completely dry in 2 hours I usally let it set for 2 hours then I wipe, only draw back with the oil paints is the slow drying time. I think I did lay it on to thick I should have thin it out more, but it looks good so far I'll post pic soon.
-
Here I started to fill in the panel with oil paint, but first I sprayed a lacquer overcoat to protect the paint from the oil paint. I like to use Winton Oil Color, the colors I going to use to paint the panel is gray. I mixed black and white till I get gray and thinned it out with Mineral Spirts Odorless paint thinner. I'll let it dry for two hours then wipe with a tissue paper if I miss any lines I'll repaint it, till I get it right.


-
Here is what the flat white looks like after I peeled off the tape and paper. I looks cool!! Next I'll use Model Master Lacquer Overcoat Semi-Gloss to protect the paint.
-
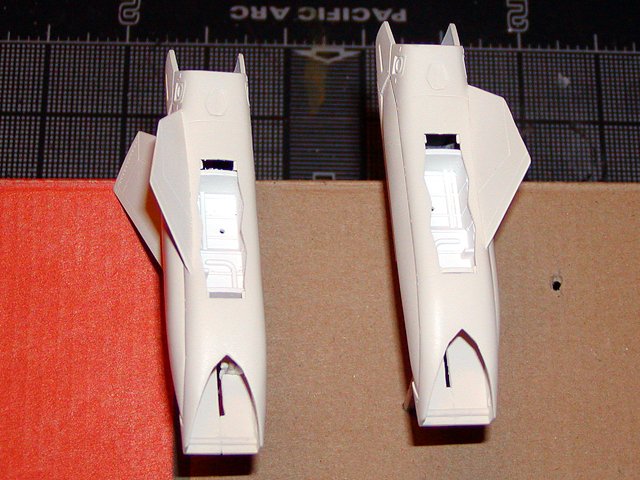
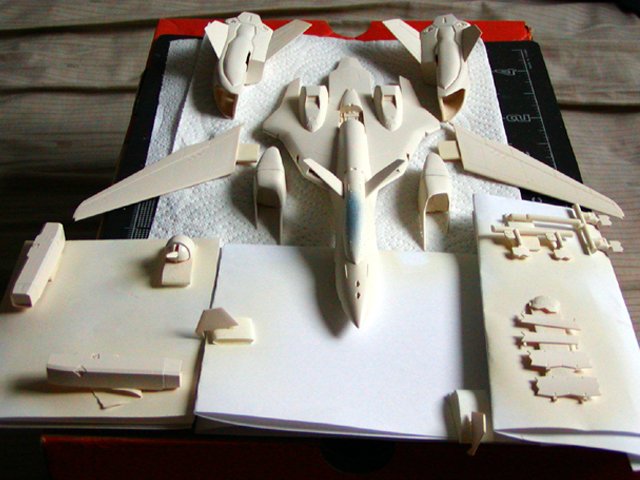
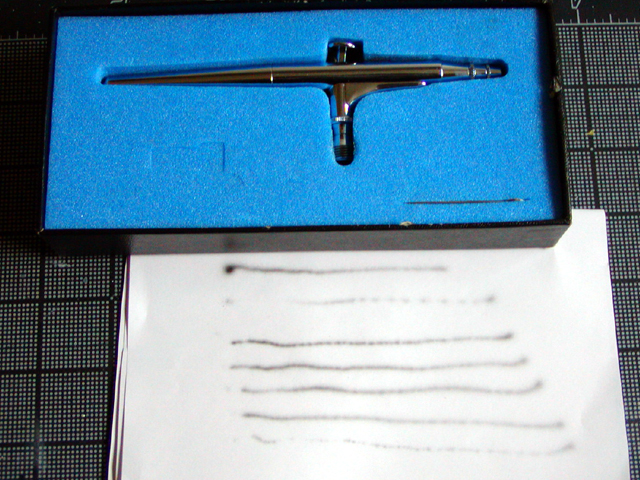
Next using flat white XF-2 I airbrush all the parts, using my Iwata Eclipse HP - BCS airbrush.


-
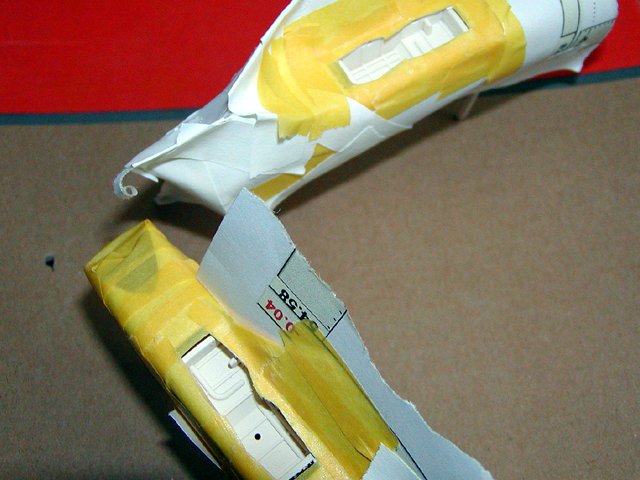
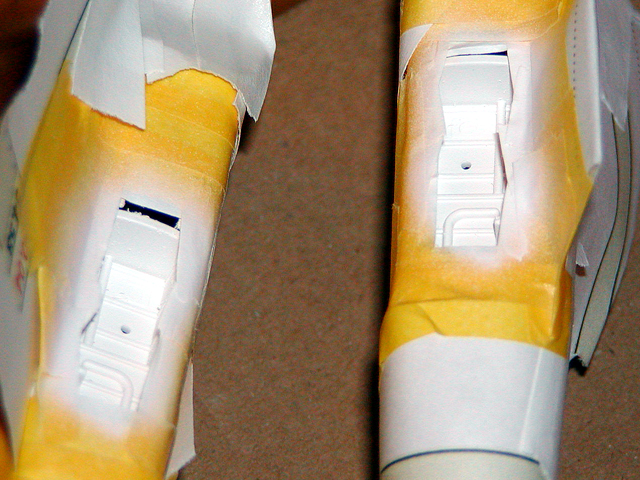
Well I'm back
 . Thanks for all the kudos. Will here I putty and tape all the parts that I want to airbrush. Here I used yellow Tamiya tape and scrape paper, to make sure I don't get overspray on the model.
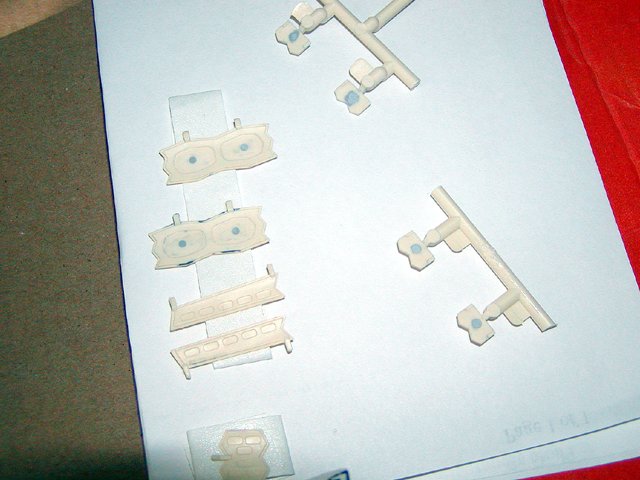

-
YES
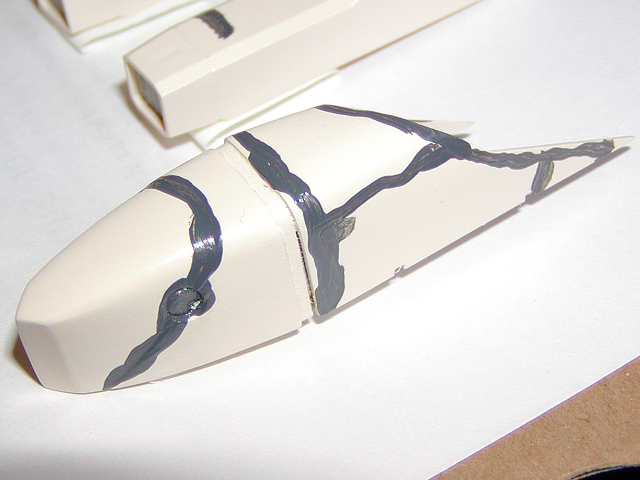
!!! Crack what crack  !? Finally finish the crack and it looks great, all I have to do is rescribe some lines, and little touch up here and there and I can go on to finish the model.
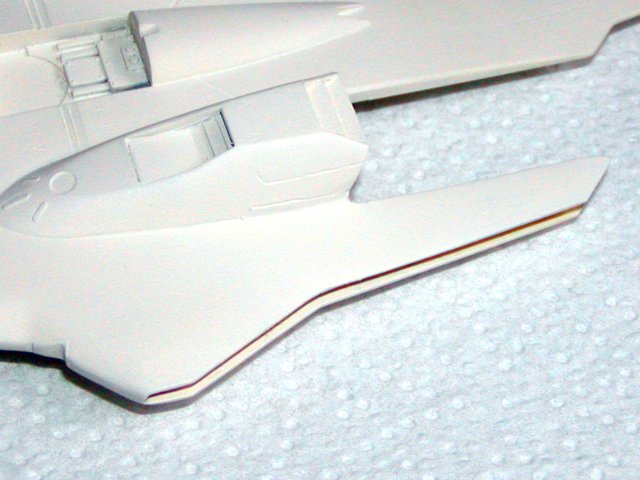
-
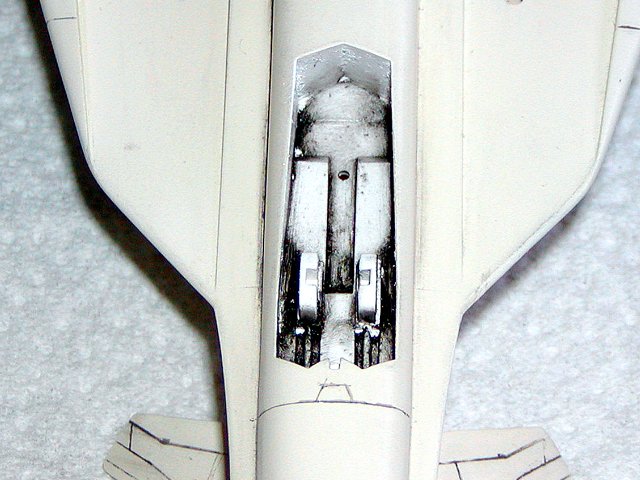
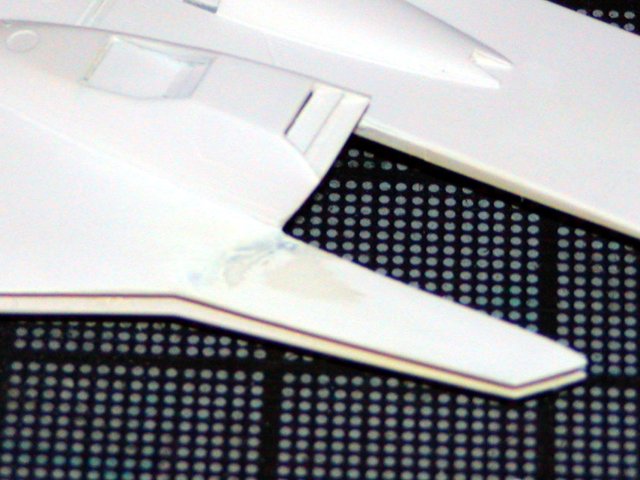
Here is what the crack looks like now. I decieded to paint a thin coat to see where I'm at. Still need to sand and add a little more putty, but it looks good so far, no crack and looks like a soild piece.

-
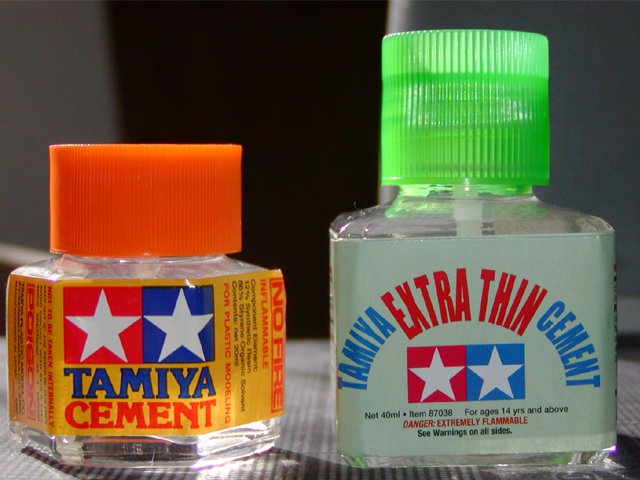
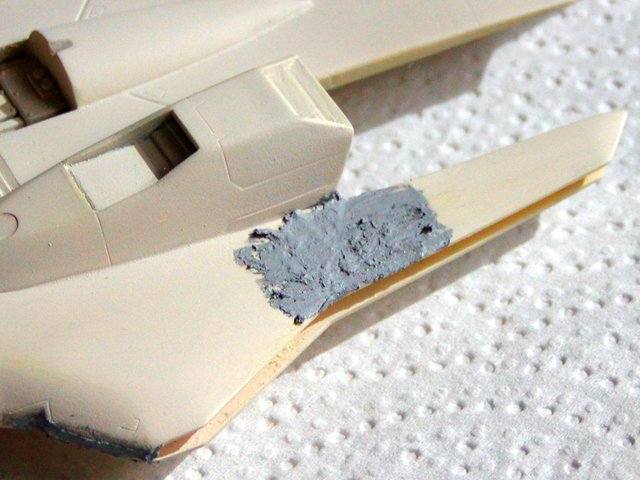
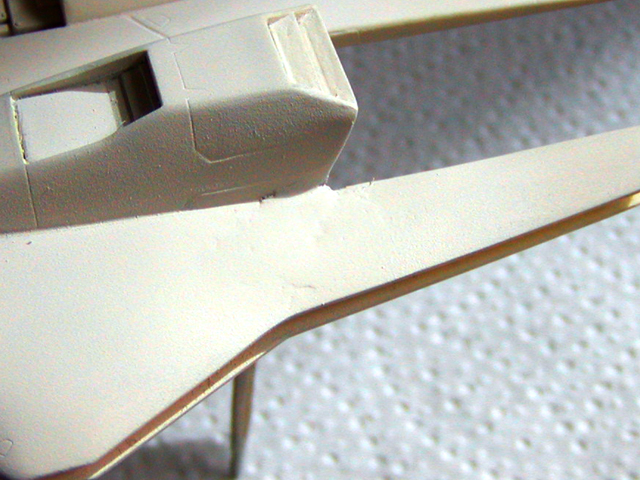
Well I have good news and bad news. The bad news first the orange glue didn't hold I let it dry overnight. When I started to sand off the glue to smooth it out, the whole piece fell off
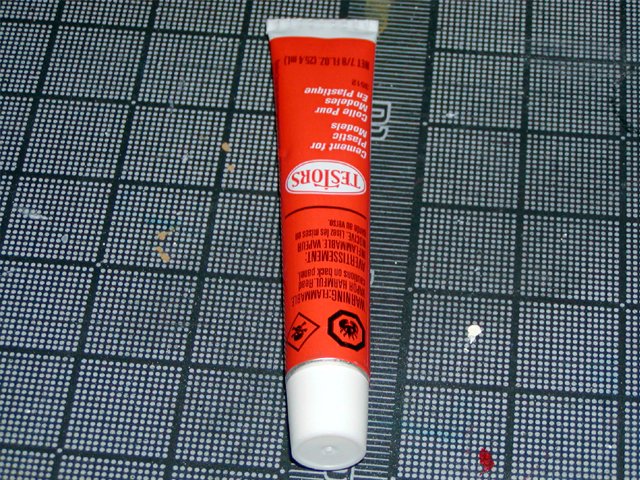
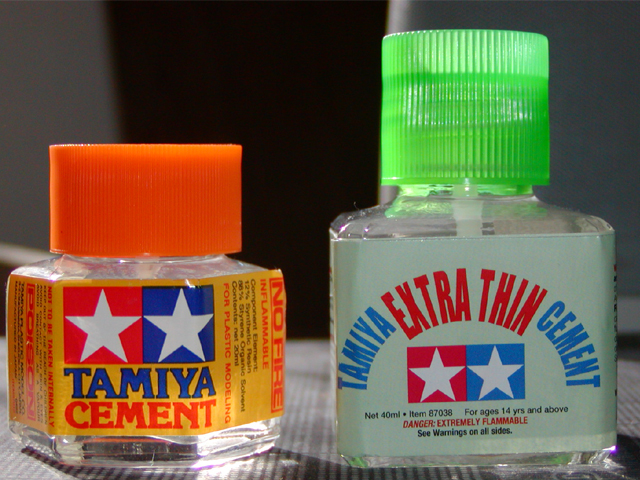
 . Now the good news, after I read about Tamiya Cement and the Tamiya Extra Thin Cement how they both can melt plastic I went to my local hobbyshop and bought both. This is one great product!!! It's holding and not letting go . First I apply Tamiya Cement to both pieces and push both side together for about 60 sec and put a piece of sand paper to hold it up so it can dry level. Then I let it dry overnight to fully cure. It worked !!
Here is what I used, great stuff!!! The Tamiya Cement in the orange bottle is for big stuff like glueing the fuselage or gunpod anything that's big, you apply it on both side of the pieces that you are glueing, if it oozes out in the seams, thats a good thing. The kit is melting and you will have a good bond when it drys. It will fill in gaps and helps avoid having to putty later.
The Tamiya Extra Thin, the green bottle is for little cracks, I just run it down the pre-built seam.
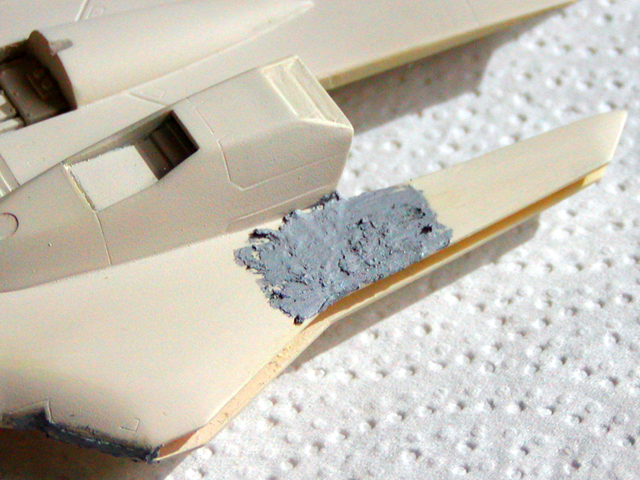
Here I layer a bunch of putty so it can be level when I start to sand.
-
It works better when you push the crack together and hold while the tube stuff sets - I find even if you sit there and hold it in your hands (pushing it together) for 60sec or so, it really helps with the strength of the bond (versus just letting sit on its own)
That old testors orange stuff is what I've been using since I was 7!
 I should try some of the newer glues out there - old habits are hard to break. I do use crazy glue, and liquid cement from time to time.
Yeah I use that orange stuff along time ago too, now I use super glue on everything. I want to try that liquid cement from Tamiya and the Tamiya Extra Thin Cement. When I glue that orange stuff I held it for 60 seconds, that was last night. It's holding pretty good, may apply some more in the crack that I missed.
-
Everybody thanks for the help
 . One thing I hate about modeling is set backs, just when you think your doing good something always happens, either with paint or a broken part.
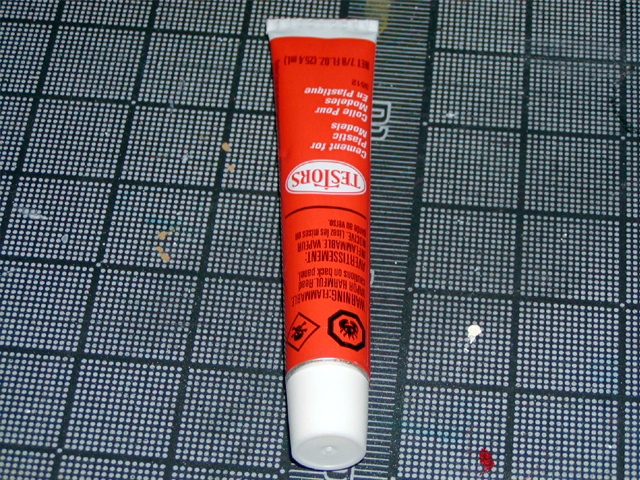
Now is this the cement that everybody talks about? I test it on a scrape piece I had laying around. So far it's holding and it melt the plastic pretty good. I apply it in the middle where the crack is, and apply it on the top and bottom.
Now the waiting begins I'll sand the glue off first then putty the model to level it off. That way it won't look like it has a dip in the back, again thanks for the help everybody.
-
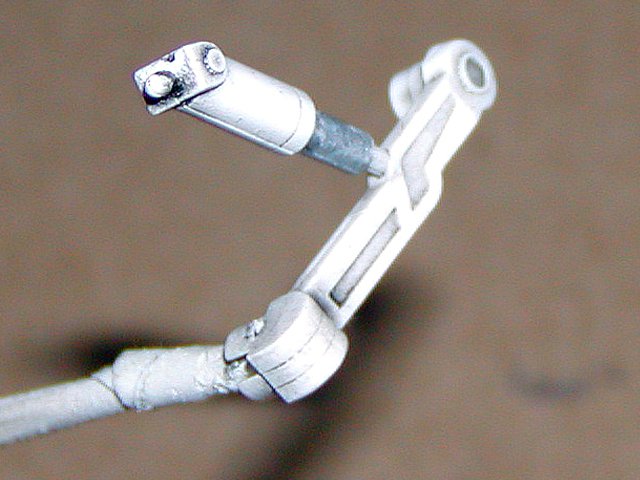
wm cheng here is my problem I think I bent this part one to many times
. Does anybody know how to fix this I'm looking to melt this part together and sand it down. I tried super glue then fill the seam with putty and sand it down, but it keeps opening back up. I want to melt this back together, does anybody know a glue or any product that can do this?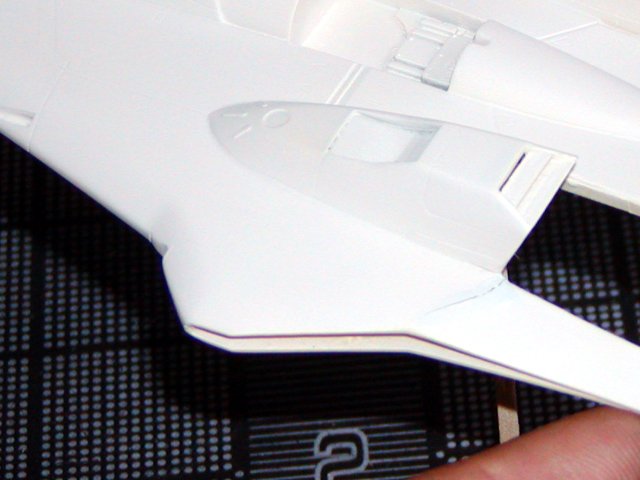
-
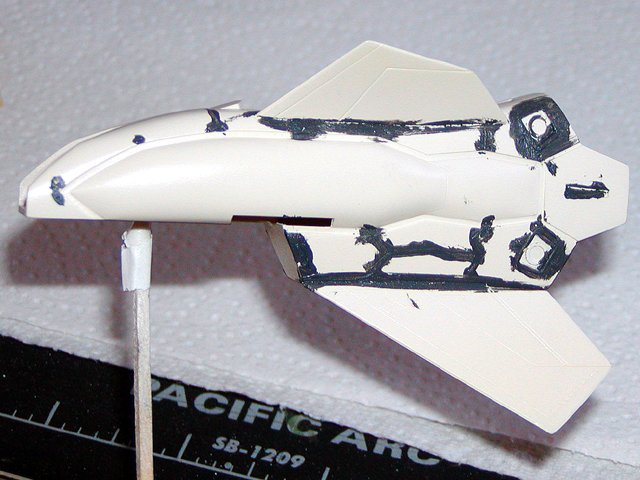
With the iwata airbrush I started to paint some black burnt detail on the engine and gunpod.

-
Well I'm back thanks for all the feedback. David Hingtgen I may have to cover everything from now on, when I airbrush lots of overspray. I ran into a problem with my plane, when I airbrush I put one to many layers on and lost some of the detail on the plane. So I had to use Tamiya Paint Thinner, which is great it doesn't harm the plastic only the paint. So basically I had to start over on the plane
.Here I begin to put some detail using one of my airbrushes. It's a iwata brand, I like this one because it's for small detailing, it's the size of a pencil mark.

-
Thanks for the feedback wm cheng!! Good tip on how to airbrush with layers, yeah I paint with thin coats, when I first started using an airbrush I use to paint thick thinking it will be faster, but nope.
Now time to paint the little details on the plane. Here I tape the plane to protact from overspray.
Here I paint with Metallic Grey.

Aaaaaaaaaaaaaaaaaaahhhhhhhhhhhhh!!!!! Overspray I hate when that happens
. Now I'll have to sand the overspray down and repaint the sanded area.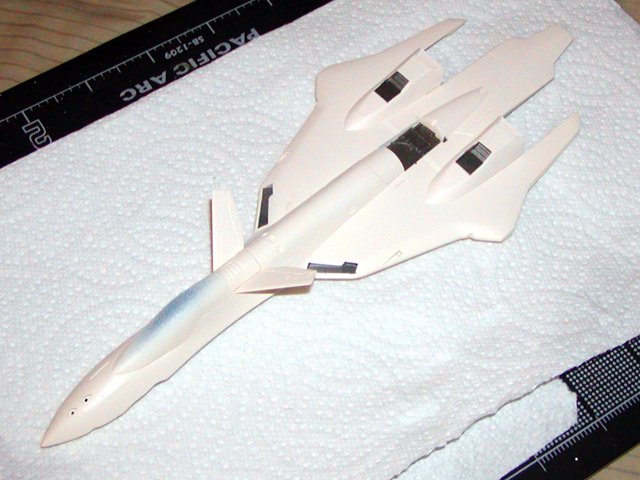
-
That's it for today
Hope everybody enjoying this step-by-step!!! -
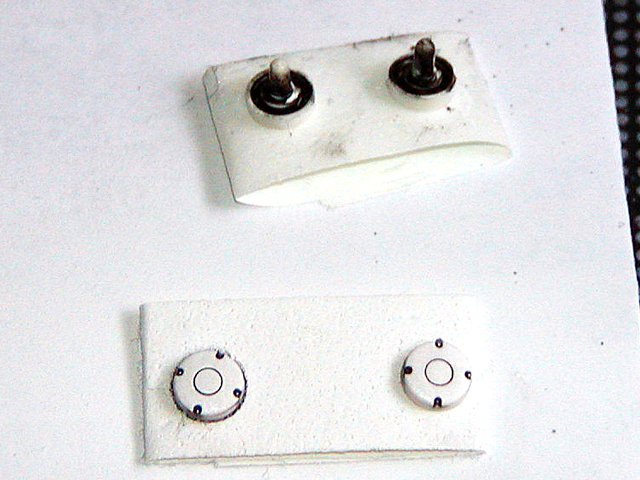
After you airbrush the pieces make sure you have a place to put them to dry. Here I use an old shoe box, poked holes on the top using a x-acto knife.

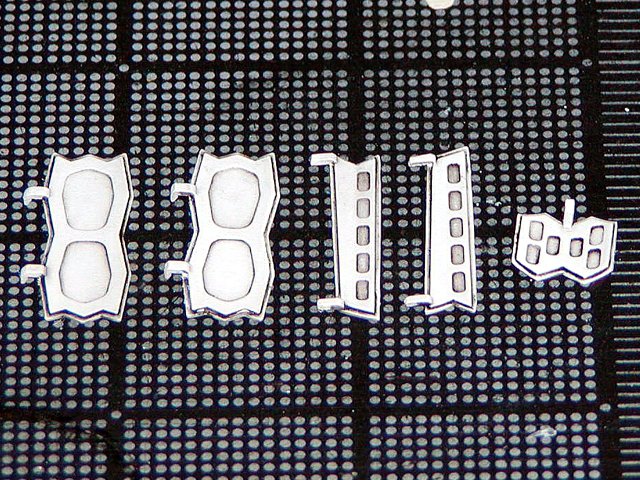
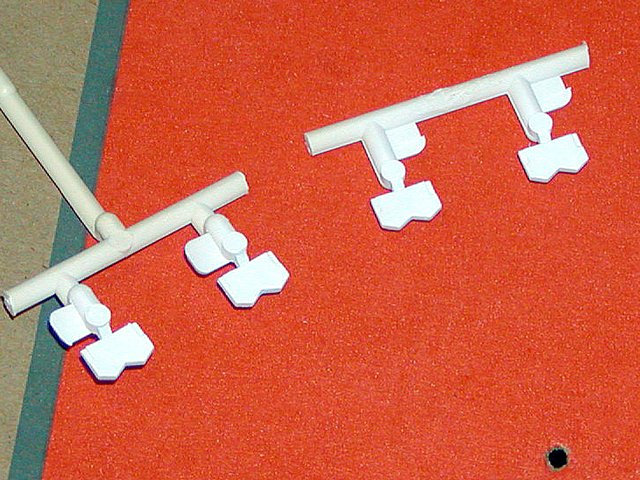
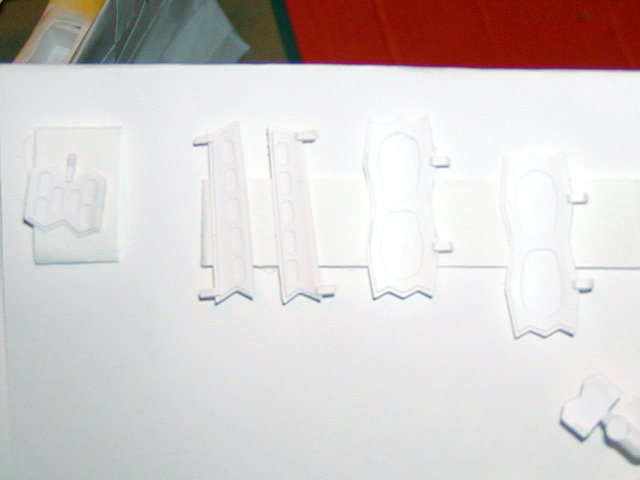
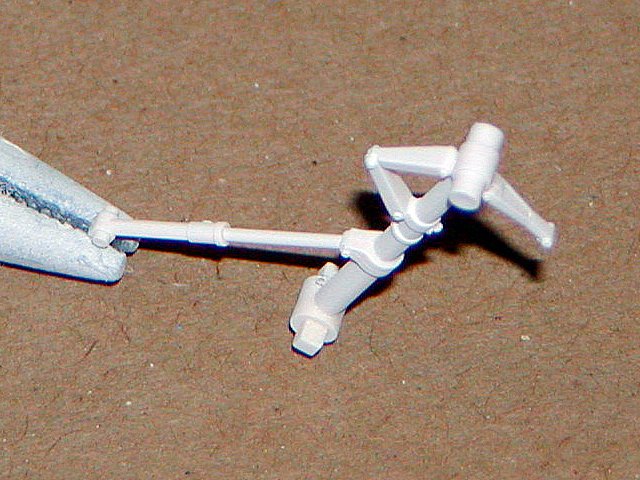
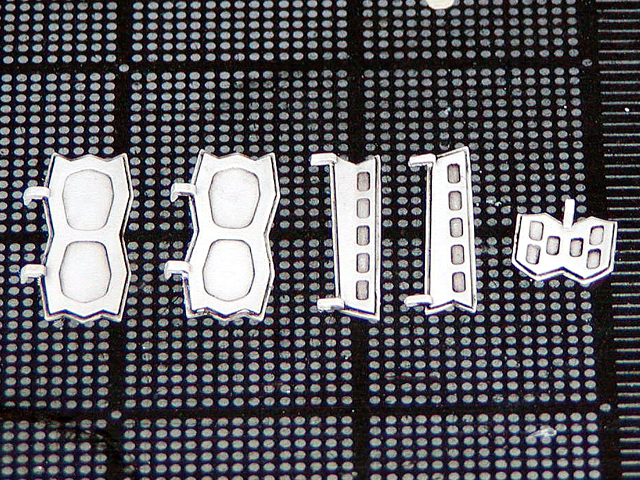
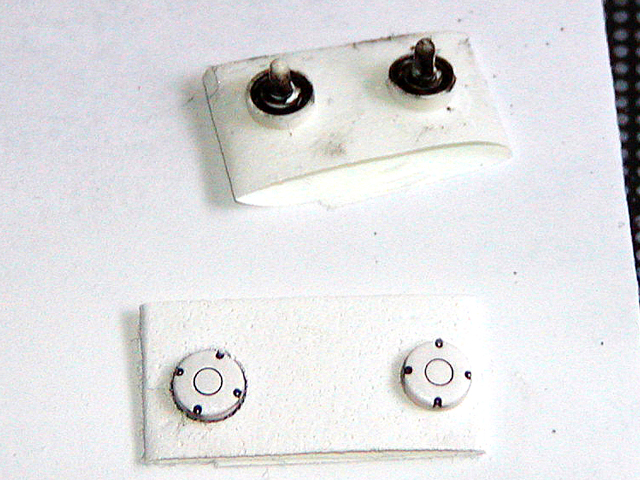
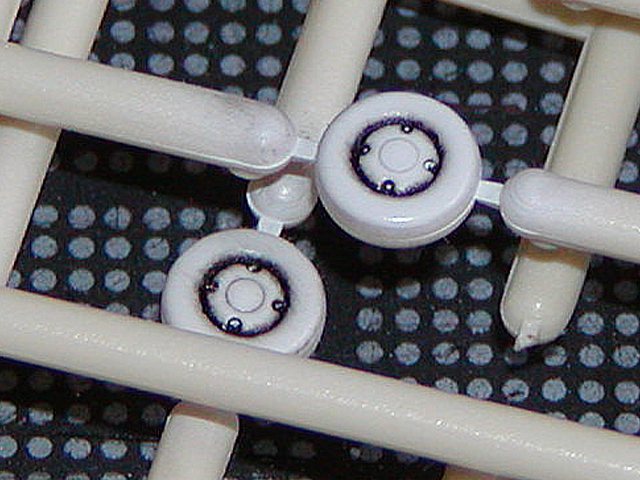
Here are all the pieces that I airbrush.
If you touch the plane before it has the time to dry you might get finger prints on it. To get rid of the finger prints use sand paper (500 or 600) grit and ligthly sand away the print, then paint over the sanded area.
 . Hmmm, still going to buy them anyways
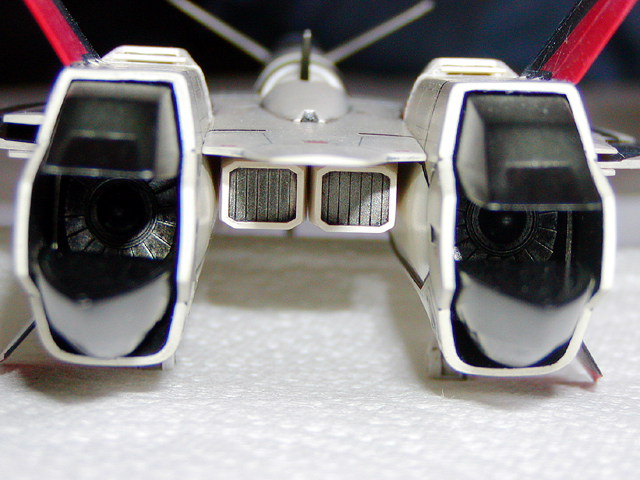


New Cm's Figures
in Toys
Posted · Edited by DrunkenMaster2
Oh your right the Minmay on the desk is different, I just look at mine and I like the new one. Do we really need a new Minmay Doll? I mean in a purple dress . The other new ones look good, maybe it's special set only minmay figures, I seen this done with gundam seed destiny figures with only the girls. Hmm, have to wait too see if it is or not. I was hoping they would finish the DYRL lineup with, Kakazaki, Claudia, Capt Gloval, more bridge bunnies. Then have Guld to go with Ismau.
UPDATE!!!
It is a Macross Collection Lynn Minmay SP 1 Box 1, HLJ has a early bird special.
Here is the link:
http://www.hlj.com/product/CMS65081