
NZEOD
-
Posts
1955 -
Joined
-
Last visited
Content Type
Profiles
Forums
Events
Gallery
Posts posted by NZEOD
-
-
Wait until you see it chained down on the deck...
-
More pics up in the work bench thread
-
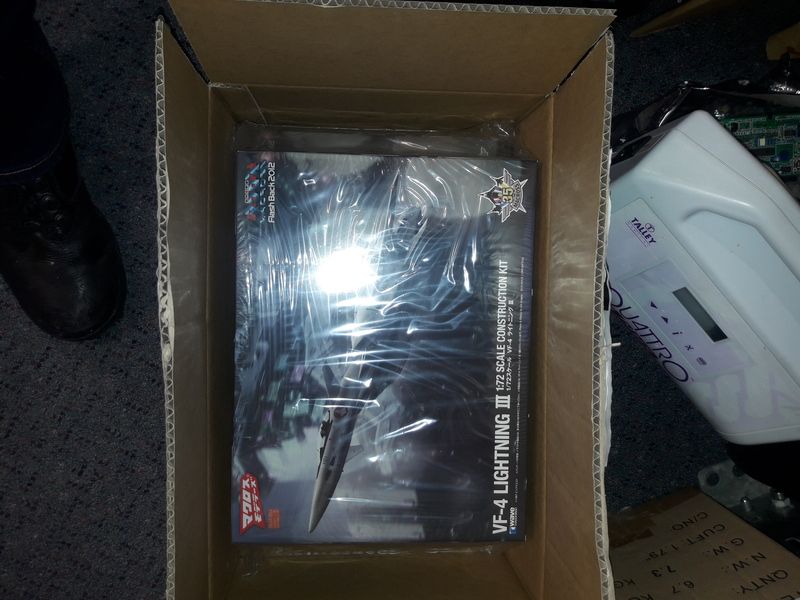
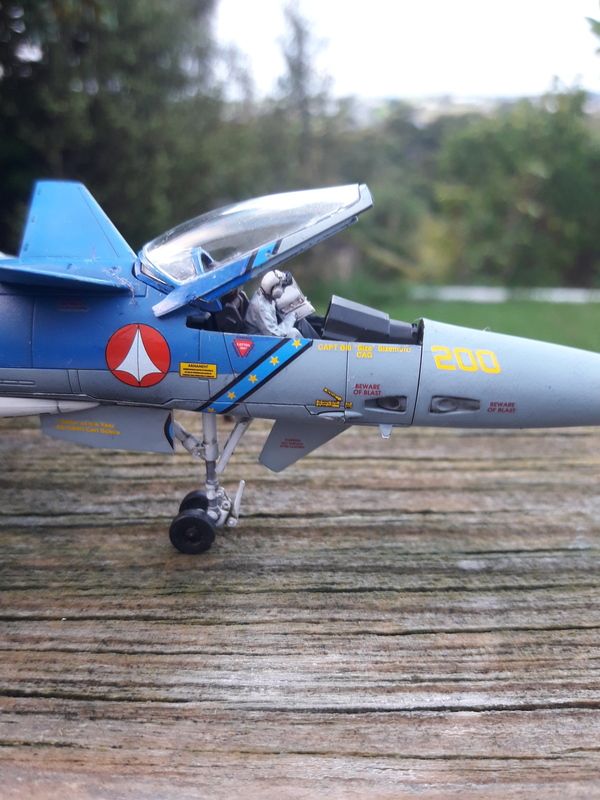
The Rattlers and Swordsmen vf4s have arrived!
-
3 hours ago, CrossAir said:
Damn, even the seat looks like it's a much bigger scale, not speaking of those manual pages
 . That's some awesome job especially as this is 1/72 scale! Could you please stop it? You make me thinking about building 1/72 Macross kits as well. That is not good for my wallet

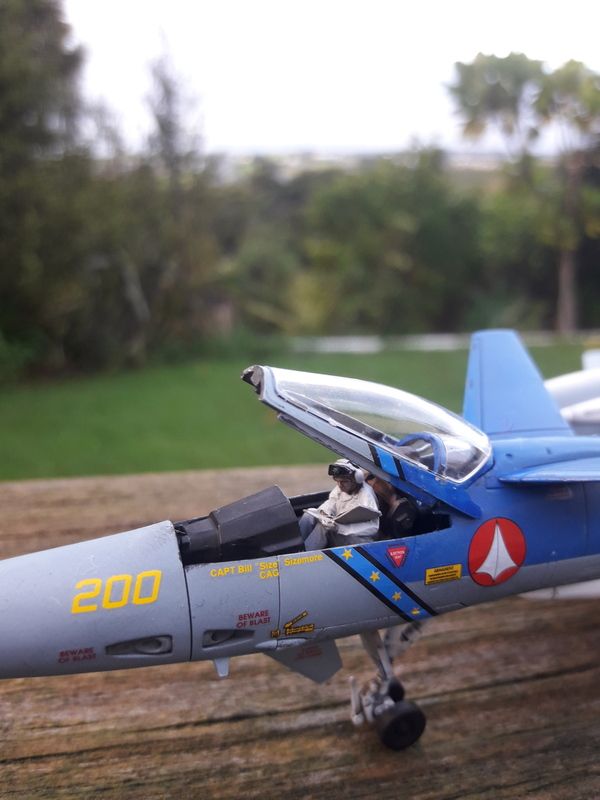
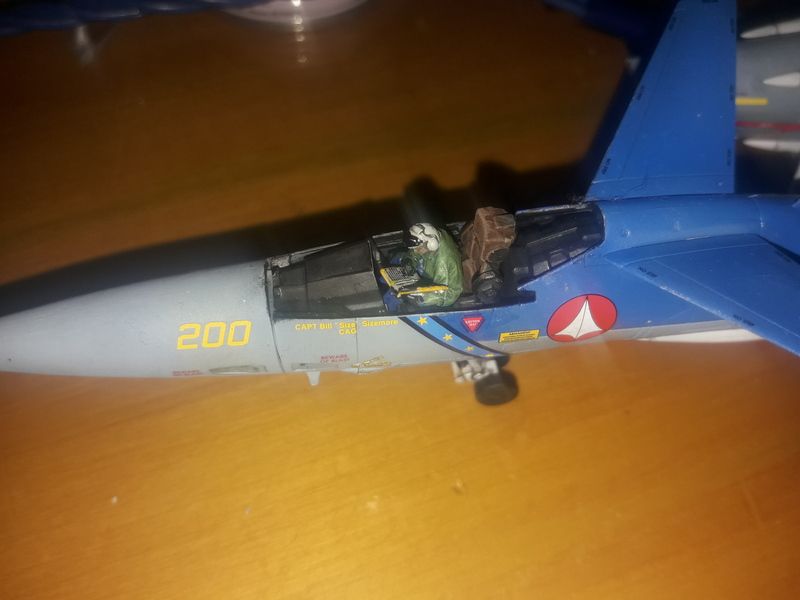
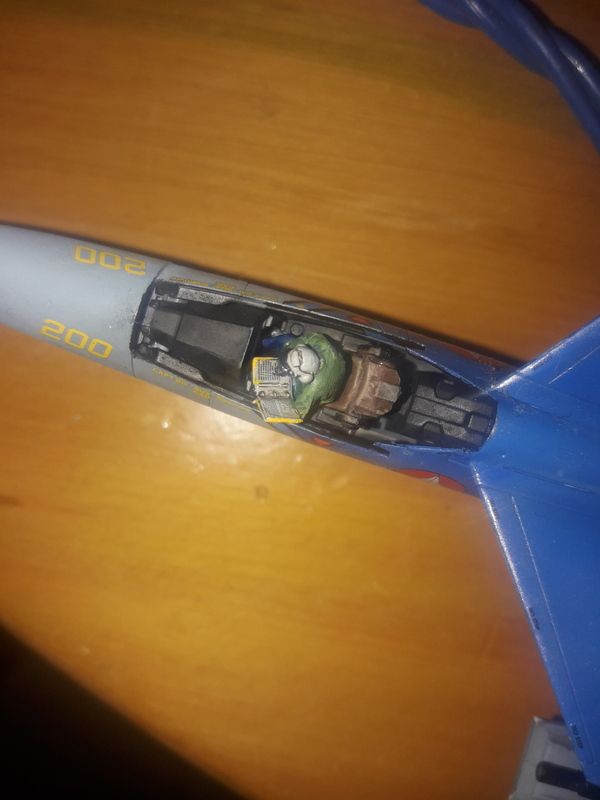
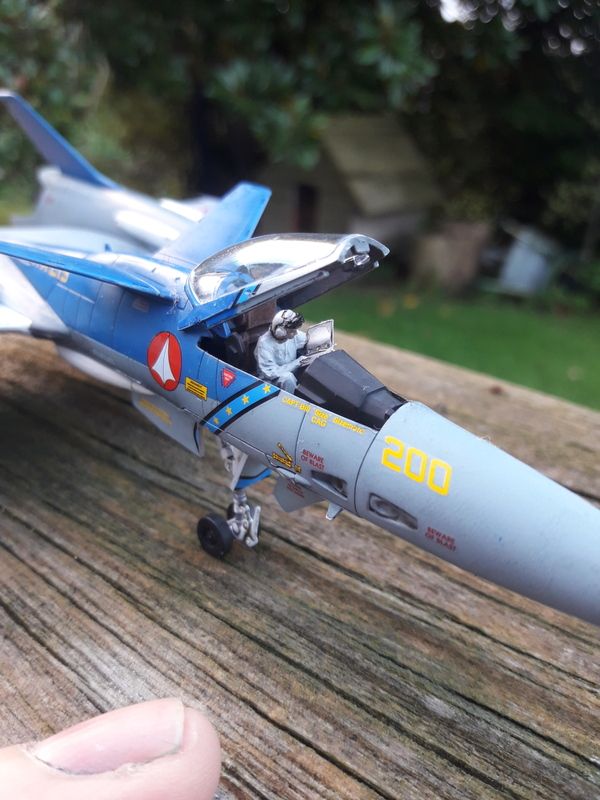
The seats the right scale, I've just leaned the tech forward so it's like he was punching in commands in the MFD. CAGs been bitching about someone wiping his BBC Concert program from the sound system, locking in Radio Hauraki instead, and replacing Bitching Bettys voice with his mothers. This tech drew the short straw in fixing their April Fools.... upgrades.
-
I hate working with glass fibre. Did an x-wing game cruiser and after getting about 30 strands into place each side managed to drop a tool on it and break off half of them!
-
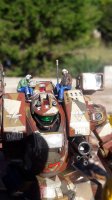
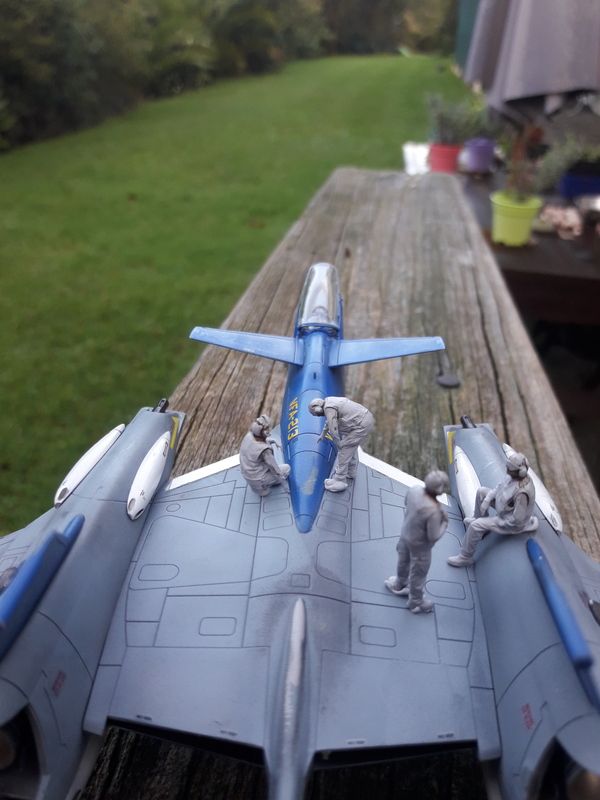
A little madness in detailing on the WAVE VF4... air wing maintanence petty officer flicking through the Preflight Checks after a hard night in the hangar. Managed to get some convincing writing into the pages of the SOP folder.
-
9 hours ago, mustang1 said:
Awesome! Thanks for the tip! May build another and try your method. Any pics?
photos are up in the original VF-4 thread
-
It's pronounced cal e ber not cal e bra.
-
5 hours ago, mustang1 said:
I usually do, but this is a snap together kits and the lines get a bit difficult.
I'e built one and working on 2 more, that section goes together fine with a small line of tamiya limonene extra thin and some clamping while it sets. ONLY PUT THE GLUE ON THAT FRONT SECTION OF THE NACELLE THOUGH AND NOT INTO THE SNAP FIT HOLLOW RODS... I've discovered the plastic deforms in the snap fit rod from the cement and can show a dimple on the nacelle surface.
That join then needs I tiny bit of putty on the tip under the gun only. As it's a flat bit it's super easy to do and sand smooth.
To get the decals in the correct place just follow the page from the Master File - which I will scan and post into the other vf4 thread already going here - as Wave doesn't show much at all for placement. Some decals are also optional like the two versions of the beam gun warning arrows
-
that's not the paint... that's the unreal resolution in the printing of these things
-
you need to glue and clamp that part, then the gap disappears
-
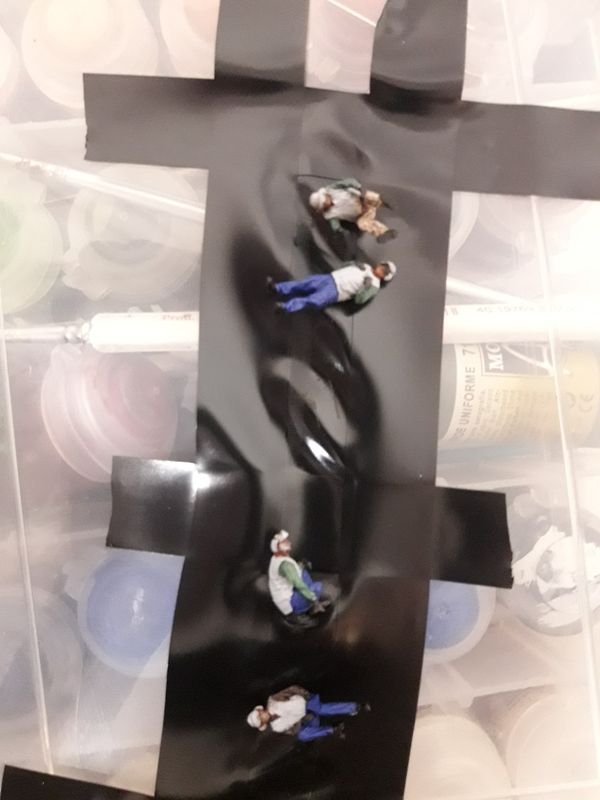
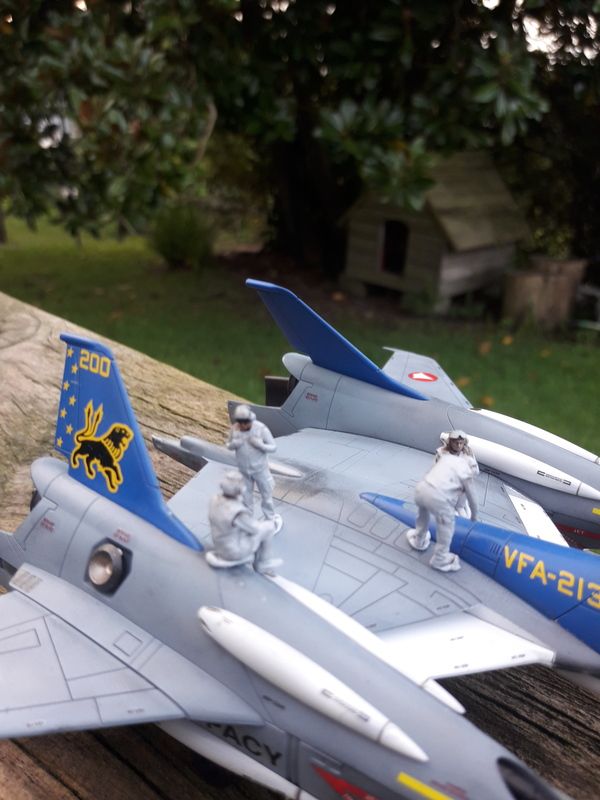
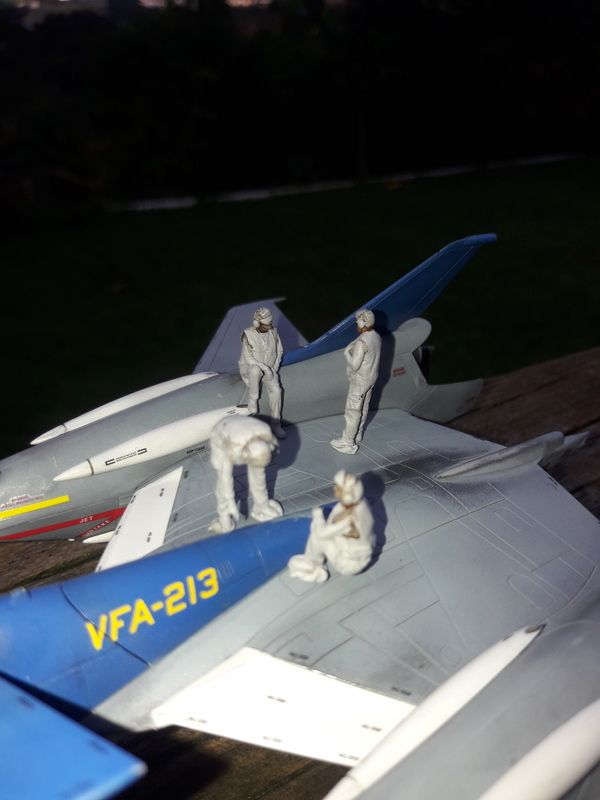
VF4 crew getting into uniform.
-
1 hour ago, no3Ljm said:
Let us know too how much paint you guys going to use.
")
Maybe.... 3L to 3.5L
-
Near as I can tell... there is no red/black stripe on any hornet, super hornet or tomcat.
-
The death rattlers have a red diamond stripe
-
I'l check my collection. What one is the blue strip from that you have? I'm after a second set of black lions ones to do the unit 2IC plane
-
I'll post up the images of the 3 guys I have like that. That one with the ring binder SOP folder, another with a clipboard and the last leaning forward with a finger out depressing a button on the MFD. All sitting in the seat.
They are taken from actual 3d scans of real deck crew members by the guy from REEDOAK.
-
Ahhh fair enough...
-
So... whats the ACTIVE referring to in the vf19?
-
Plane Capt (brown shirt) although I may switch him for a maintainer (GREEN SHIRT)
-
Yeah I'd have expected opening maintenance panels and positional control surfaces for that sized kit at that price.
This seems more toy than museum scale model.
-
You should really sell that master on to return to kits form to preserve your work...
-
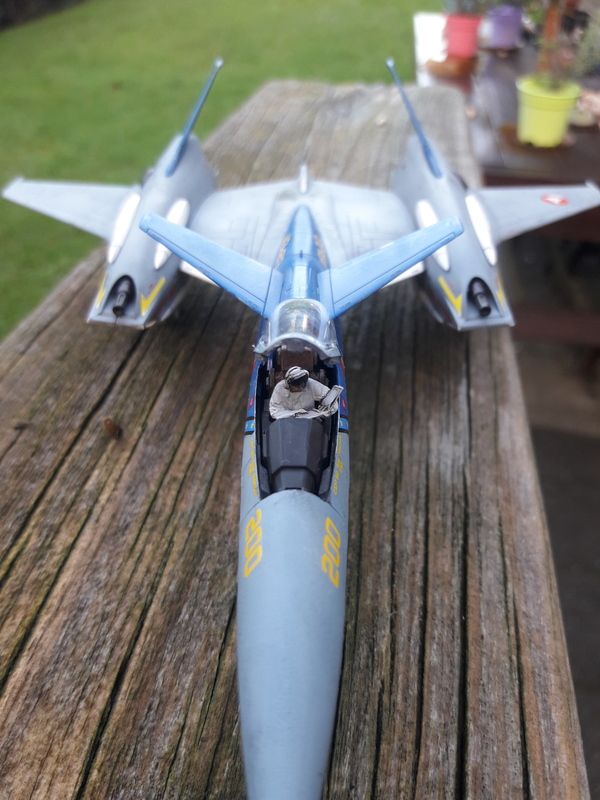
Needs touch ups, a few more decals, sealer coat, weathering and the refitting the engines and canopy. I missed the seams under the nacelle guns too
-
no, ill upset someone somewhere so I'll stick to either the Workbench thread or make a new thread for the build.
Wave 1/72 VF-4 lightning
in Model kits
Posted · Edited by NZEOD
Meanwhile work begins on the next two... mods so far as shown.
First up are the 2mm holes drilled in the wing inserts and underbody for 2mm rare earth magnets to fit up external stores.
Next is the large snap it peg box removal from the turbine engine intakes. This allows this part to be painted white inside and have the turbine blades painted in alclad stainless then fitted and removed easily while the nacelle are assembled and masked. They can slid in and removed in seconds while still clicking into place seamlessly
No masking needed this way... bonus!!!
Next mods tonight include removing and reinstalling all control surfaces and folding up the lower fins on one model as well as extending the Arrest or hook and compressing one side of the rear landing gear to show it at the moment of trapping