

Kylwell
-
Posts
585 -
Joined
-
Last visited
Content Type
Profiles
Forums
Events
Gallery
Posts posted by Kylwell
-
-
NICE! Love the detailing. Very nice paint too.
-
Fine Molds and thanks! Tried for a seriously beaten and re-build one.
-
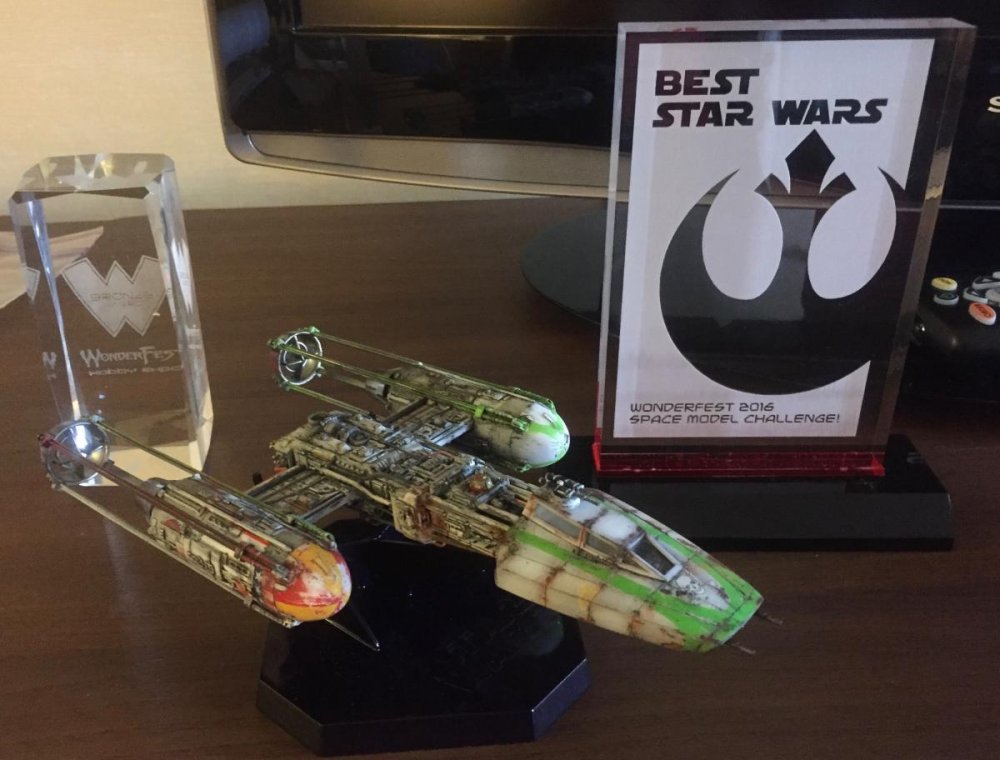
Back from Wonderfest USA. Entered one model got 2 trophies.
-
Our house has the same style roof as yours, much the same as you found a pain in the ass to work in, you eaither get real hot, or covered in itchy fibreglass or if you are really lucky both.
Running lighting and network cables was something particularly fun.....
That's why they invented tyvek bunny suits.
-
Nicely done.
-
Beautiful work on that Mospeada!
-
Right now a bit of everything. Started Alcladding Briegel parts along with doing cast texture on a lot of pieces. Hoping to get the cockpit painted up this weekend.

-
They probably couldn't get it to stand up on it's own with the usual crappy Wave engineering.
-
And, for the record, they're refurbished or demo models. Doesn't mean they won't paint a fine line but can end up with early wear and sticky triggers.
And yes, the msrp is $316. Most places don't sell them for over $200. They usually blow out remainders and demo models @ conventions for about $50.
-
There are also small dental vacuum forming machine available on ebay. They can handle about 3in square pieces.
-
There is a resin detail set make for it. Greatly improves the look. http://randycoopermodels.com/content/resin-upgrade-parts-30-hasbr-falcon
-
Industria Mechanica's release of Kalamity's Briegel, hunter edition. Beast of a kit. 1/35 and HUGE.
-
One leg fitted....

-
I can design them but it's bit of an outlay to get started in this, usually a minimum of $600 for the photoetch. I talked with Paul @ Para and he doesn't have an interest in the subject.
-
That's why I wish they'd re-run some items.
-
Well I could bring it to Paragrafix's attention.
-
I was going to ask who they ripped off for it.
-
Funny... I have a similar set up... even funnier, he got it from mslz22... lol.
And I shall steal it from him... the cycle continues...

-
Thewn there's this way of dealing with sanding/grinding resin https://www.facebook.com/roboterkampf/videos/10153452826773156/
-
Genrerally speaking you have a better chance of dying from a shark attack but why risk it when minimal preparedness eliminates those issues. There are now concerns over the ultra fine particles 3D printers generate and if you do a lot of wood working you can run into issues, tho' generally the body readily breaks down wood cellulose.
Also avoid glues that use arge amounts of MEK or toluene.
-
Awesome as usual.
-
I usually end up ordering 12 bottles of primer @ a time. That way I have back up when the lhs runs out.
-
Resin dust can act much akin to asbestos in that the lungs will suround it leaving you with the possibility of cancerous cysts. You want to take that chance, go ahead & sand w/o a resperator.
Dawn works for some mold release agents but not all. A soak with Bleche White tire cleaner or a wipe down with lacquer thinner will remove most any mosld release. It's best to do this before any pinning or glueing.
"Pinning" is the term I've herd more concerning adding support to what are typically butt joints with resin. I also recoment coarse sanding the mating surfaces. If need be drill both holes overly large to give you slop room to alligne the pieces. Pinning is much more neccessary on load bearing joints. You can also use an epoxy or epoxy putty to join surfaces. I prefer Aves.
If you sweat excessivley and/or don't bathe regularly do wear gloves when handling the parts. Your natural body oils can contaminate the surfaces leading to poor paint adhesion. Prime with a resin specific primer like Mr. Surfacer Resin Primer. Promise, it makes a hell of a difference. Fill flaws with either Aves; big flaws, rubber impregnated CA; structural flaws, or Mr Surfacer 500; small flaws. Sand & repeat priming until smooth. Laying thick primer over the model time & time again will cause a loss of detail. Do final priming with something like Mr. Surfacer 1000. Or 1200. Or 1500.
Then paint & enjoy.
-
I don't know--someone would have to be extremely brave IMHO opinion to try to light a solid resin kit--especially one's as nice and $$$ as the Moscato kits.
It's not that difficult, just a lot sof drilling holes and back-filling. I've got a Kallamity Briegel on the way and I'm considering lighting it.

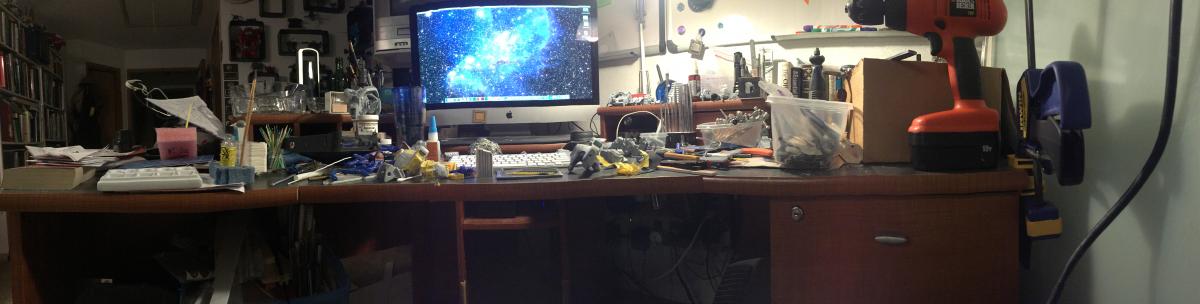
Whats Lying on your Workbench MK IV
in The Workshop!
Posted
Awesome!