

Kylwell
-
Posts
585 -
Joined
-
Last visited
Content Type
Profiles
Forums
Events
Gallery
Posts posted by Kylwell
-
-
Gold 3 #1 Engine lit.
It's even the proper shade of pink! Sweet!
-
Please help a disabled vetran of the Zentradi Warz....
-
Hello, I searched but couldn't find the exact info...I got a couple of questions if someone might help me
1. you know the sanding trick to get rid of the seam line on the plastic canopies and dunking it in future? can you do the same with the vacuum formed canopies that come on resin kits?, I got one with a small fingerprint smudge that I would like to get rid off
2. how do you make clear plastic painted but still make it look clear? errr... is it by dunking it on inked future?
3. has anyone here used "Alclad"? to make that worn out metal trick?? how exactly do you use it?? is it by putting a coat of alclad as base and later painting over it and sanding the paint to expose the alclad??
4. can the same worn out metal look be achieved by using regular metal color as base instead of alclad?
thanks in advanced

1. Yes but as has been noted vacc canopies can be thinner so sand gently
2. Ink can work, so can food coloring, or I just thin Tamiya clears with future and use that.
3. Heh....yeah, works awsome.... Still trying to quantify everything but acrylic over Alclad and rub.
4. Possibly. There are a few metals paints out there that you're not supposed to paint over as they dn't give much grip psurface for teh paint. Haven't worked with them yet but am thinking about giving some a try.
-
No I didn't! What issue of Model Graphix is it? Anyone know where I could get scans of it online? (or is willing to scan some pages for me?) I would love to see it! Thanks for the heads up.
Yep, the computer is there, but not working yet. Its leftover components from my desktop upgrade upstairs - the theory is so I can have my iTunes and references close at hand. But I have yet had the time to hook it up, it has a TV card in it so I can watch TV too - great place to use a old spare monitor and tower.
It's the April 2007 issue (4 numbe 269). Think it's about 30 pages worth.
-
Happy Father's Day to all!!
My "best-est" present was 7hrs of uninterrupted modelling! The first time I've sat down here since Alex was born. I had to literally clean off cobwebs and vacuum the entire workspace since so much dust had accumulated, my airbrush compressor oil had settled too!
You can see I got the Bandai Yamato - this will be my next treat as soon as I get a real opportunity. For now, I'd be happy to finally finish my long overdue Atmospheric Booster. Unfortnately I did not get it done, but did get a good start on finishing it. I had to spend a bit of time trying to orient myself again to remember where I left off last. I'll post some works in progress to the step-by-step thread later. After this booster, I think I'll take a bit of a break from Macross, with the Bandai Yamato and the Fine Molds Millennium Falcon battling it out for who gets my next attention (if Alex allows me some more time in the summer).
Did ya see the ultra-detailed version of the Yamoto in Model Graphix?
-
Yeah the hard part is using those darned sanding stics without opposable thumbs.
-

A mess.... from this a bat'roid will emerge....
-
awesome man, thanks.
the Mr. Hobby stuff is a little hard for me to find outside of buying stuff off the web so I may just get some Tamiya stuff because that seems more readily available at my local store.
do you recommend a spray-on or brush-on primer?
and besides the stuff you listed above have I got it pretty much covered?
any steps I'm missing as far as building a kit is concerned?
Tamiya Fine White. Even against the spray on Mr. Hobby its the best I've ever worked with. You can get Krylon primers that will work but I've always found them just too damned thick. Tamiya Fine White, it's not just for breakfast anymore.
-
Okay since the new Transformers movie is coming out, I saw the trailer on line, so here is the question.
Say if Robotechnology was here and lets say the transformer did come to earth, who do you think would win?
Lets say max in his blue valk vs star scream ? I am totally bored but I think it would be interesting to see my fellow MW members answers and inputs.
You really must be bored.
Max would win because he's the good guy.
But, Starscream should win becasue he can pull more G's.
-
Putty: Aves, Wave Strong Black CA, Mr Dissolved Putty, and Mr Surfacer 500
Sandpaper: I use cheapo coarse grit for shaping, sanding sticks and film for the finer work.
Primer: When I use it, it's either Mr. Resin Primer or Mr. Surfaer 1200. Used to use Tamiya Fine Primer in the rattle can.
Paint: Tamiya or Gunze. You can extend it a bit with Future if you want a little slower dry time.
Sealer: Testors or Future.
A lot of these need an airbrush. The Mr Surfacer now comes in the can.
-
You can try fine tipped artists pens like Rapidograph brand (Rapidograph are expensive, but there are other cheaper brands of the same style). They are like sharpies, but with better color quality inks. The pens come in lots of different tip sizes, some very fine points are available.
Use a flexible ruler to keep your lines straight and be careful not to smear the lines before they dry. If you have a flat coat, they dry faster, but if you have a gloss coat you can attempt to clean up any mistakes before it dries. You would probably need to seal the lines with a final clear coat too.
Good luck!

Rapidograph, also known more commonly as a technincal pen, can be loaded with damned near any fine ink you want.
Like this.
Much different from the Sakura and Staedler felt tip fine line pens.
-
Yeah...I'm going to need you to come in on Saturday...
...but I have people skills!....
-
In the sixth picture from teh left, what's the white thing next to the jahoobular figure?
-
Thats sweet looking. Is it a WF entry?
Ah'yup.
It's a MaK attack.
-
Waaaaay back when the Air Force was going into space they released some pictures of comflauged space suits. I think it was in PopSci but all I remember was a 3 tone gray splinter scheme.
So, that's what I did my Prawn in.

-
Kyle that looks flawless. What a great job!
How did you weather the paint? The surface looks a little faded like it has been in service a few years. Did you mist on a coat of white or did the flat coat itself do the trick??
Mark
One of the final steps is to go over the model with a very soft round mop brush loaded with some white pastel chalk. Brings out the highlights and softens things a bit. It's one of the last steps because, for what ever reason, you can't seal white pastel. It just disapears.
-
-
The Falke looks great, although it took me some time to get used to the strange camouflage.
OMG!!! Did you killed the kitty?

http://i113.photobucket.com/albums/n223/TS.../Wyvern/X03.jpg
Woah! Sweet bash.
No, that's just the way he likes to sleep.
At least he doesn't chew on the sprues.
-
I do so love getting something into paint.
-
Very nice, Electric Indigo.
***Do we really need to have soooooooooooooooooooooooooooooooooo many (x3) pics quoted?
Better?
-
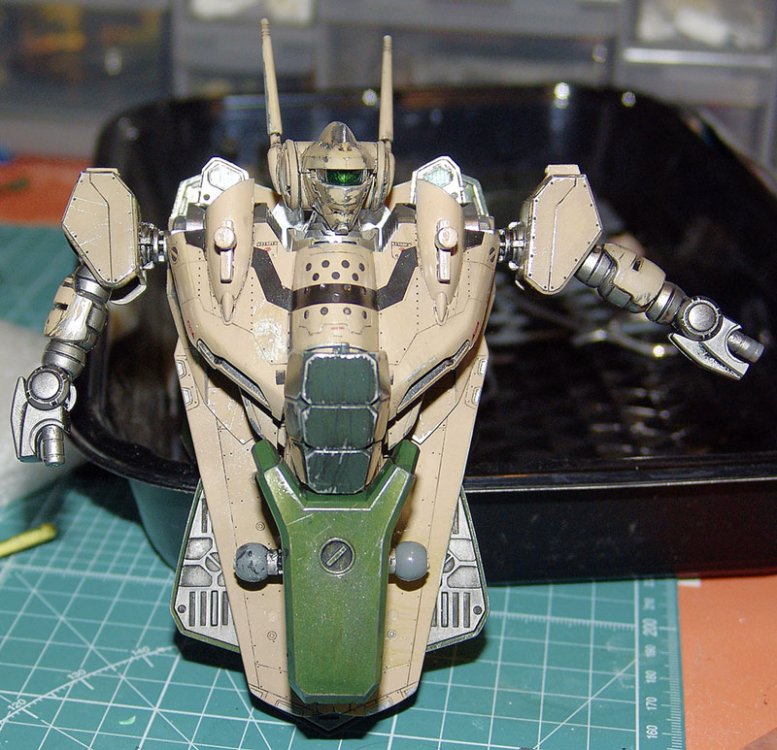
back to Gundam:
Sweet!
-
Ok everytime you post pics of your work in progress, I think wow nice job, then you go and post some more pictures and I think even better job. I now feel rather amaturish where my own work is concerned.
I know not what the thing is your making but what size is it ? It does look really detailed.
What Im hoping is that its a really big scale which will make me feel better and not the size of a pin head.
It's 1:20th scale. Part if the reason I added a lot of detail (like all the frellin' nuts and bolts). It's about 11.5 inches long overall.
The tough part is finding 1:20 scale tools.
-
-
I thin my Future with about 10% Tamiya thinner. Seems to help it go down smoother.
Than and my Future has gotten thicker over the last few years.


Why hasnt Hasegawa...
in Model kits
Posted
Because.