
Chas
-
Posts
785 -
Joined
-
Last visited
Content Type
Profiles
Forums
Events
Gallery
Posts posted by Chas
-
-
As a place to start you might consider using paper model layouts as patterns for styrene. Find a subject you like in paper model form print out the sheets cut out the parts and trace them onto styrene sheets.
It won't be pefectly straightforward, but you'll get a good start and a good idea of what you need to
consider in terms of stucture and support.
-
Found this http://www.starwraith.com/forum/viewthread.php?tid=9042 with Google. maybe it will help?
-
Cool. I've got two of the old Imai Blowsperior kits and one of the Stick version, plus a 1:15 Stick.
One of my favorite things to do is taking old kits of modifying the proportions and posabliity of them.
As I said I am looking forward to seeing how it turns out, so don't forget to post those picks whenever that day comes.
-
Sounds good. can't wait to see what you come up with.
How was/is the build? have you made any mods to the kit?
Was it a 1:12th or a 1:15th scale?
-
Woa!That is quite the haul.
Whatever happened with the mospeada ride aromr you started?
I was rely looking forward to seeing it built up.
-
That kit was originally produced in 2006 by Neograde :http://www.neograde.com/shop/step1.php?number=566
To my knowledge it has never been reissued, so any other company that you get one from is selling a recast. You might try contacting the guys at Neograde they are a pretty nice bunch of guys. I visited them when I lived in Seoul.
-
For the VF-1S I like AS-20 insignia white.
-
Hey Rob. As far as
i know the line art in the (corrected) link Mr. March posted is the closest Official line art that exists of the orthos for that vehicle. Maybe try contacting John to see if he has any that he drew up for his resin kit.
-
The T.V. version had a straight sided canopy while the DYRL version had a bubble sided canopy.
-
Looking for a complete kit I can build (don't care if it's been started so long as all the pieces are there) PM if you have one to sell.
Thanks. -
Which type of Krylon do you guys use? They have different types IIRC.
Chris
http://www.krylon.ca/ca/eng/products/workable_fixatif/
This is the stuff I use. BUt you could also use this http://www.krylon.ca/ca/eng/products/matte_finish/ as I've done in the past works well and also won't yellow. Those two give a matte finish for a gloss you could use this: http://www.krylon.ca/ca/eng/products/low_odor_clear_finish/, or this http://www.krylon.ca/ca/eng/products/uvresistant_clear/ Not sure about their tripple coat crystal clear as I've never used it, but might be worth testing for high gloss applications.
-
Also a Krylon user.
I use it for my finished graphite and charcoal drawings and also for my models.
Bonus is that because it is made for protecting artwork it is archival grade,
thus it is designed not to yellow with age.
-
OMG people you are all being way to complicated here.
It's one small panel line on the back of the model.
Valkyrie addict had it right.
Just get a mechanical pencil that will fit in the panel line and make a few passes til it looks right.
Personally I'd just leave it. weathering is supposed to be uneven that's its nature. If all the panel lines are equally darkened it just looks fake and toy-like. But that's just me.
-
Seeing as I don't play with my models the particularly finicky transformation is not a great concern for me.
It would simply be a matter of transforming it once in a while in order to display it in the different modes. These
videos actually make the kit look not half bad and have me thinking about picking 1or 2 up just to have a mod
in my collection that can show the transformation. Plus part of me still wants to fiddle with it to see what mods
can be done - particularly to the knees in gerwalk mode.
Not positive that I'm gonna get one just a lot closer after seeing those videos than I was before.
-
You mean the J right?
That's what I get for posting with my phone
-
definitely going to get one of these at first. If Hase doesn't release a strike A or a seperate strike pack then I'll get a few more, just hope they don't wait too long.
-
You have PM.
-
The Printing is just half of the equation. We Now have the other half! http://www.matterform.net/
-
Nope I'm def. out. Those flipped out knee caps in Gerwalk are a sure fire NO-Go for me. To any that do pick it up I hope you enjoy it.
-
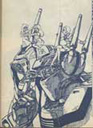
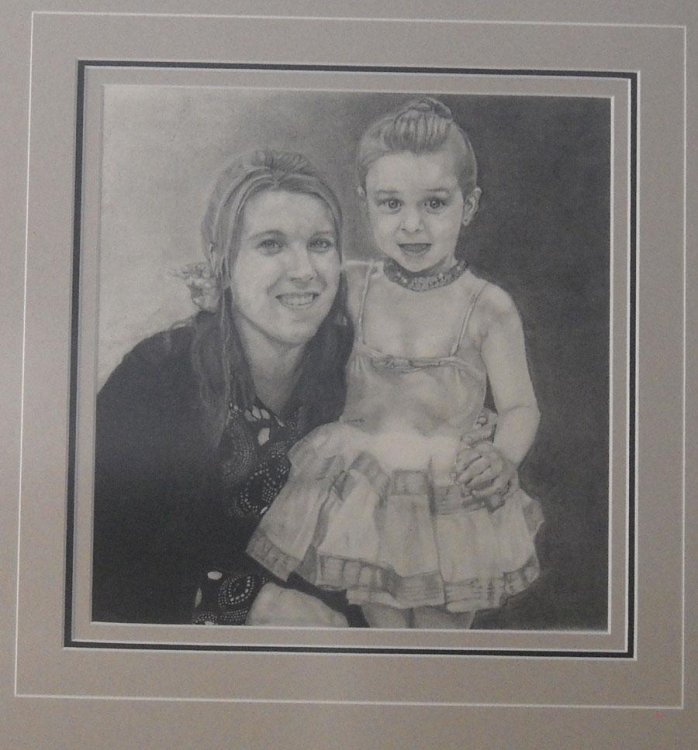
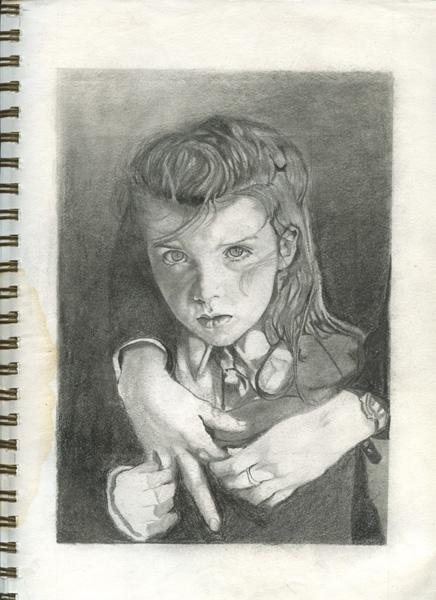
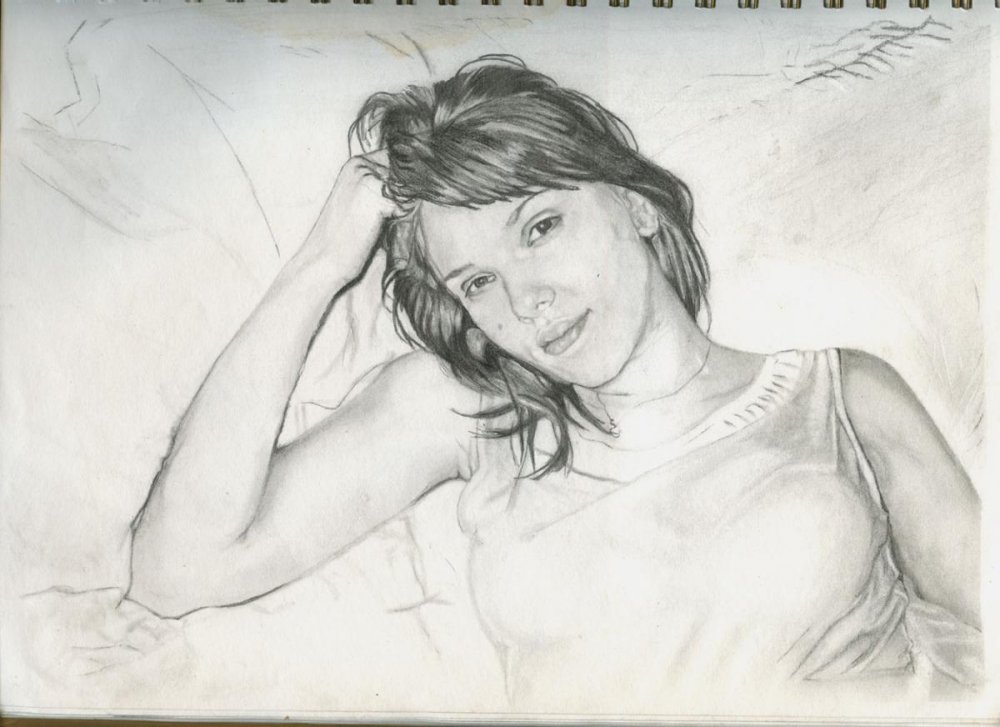
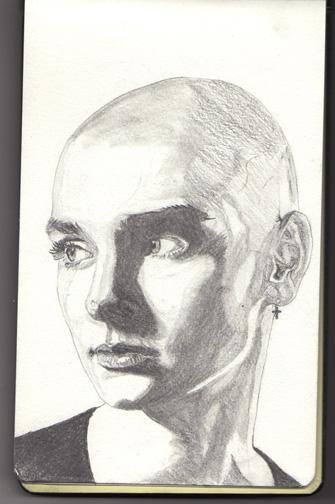
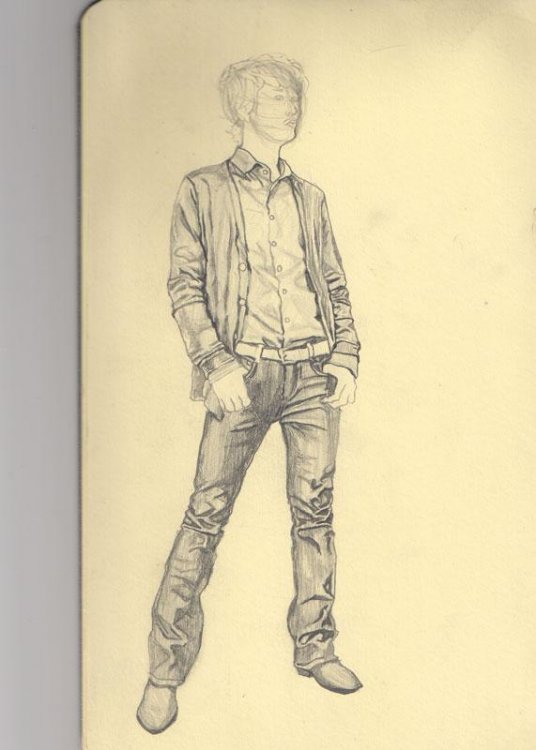
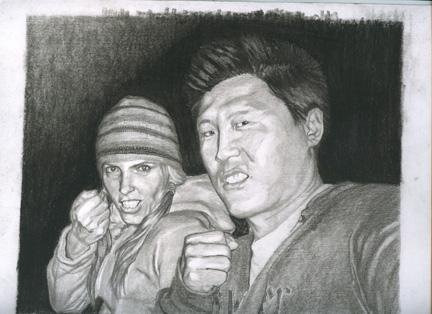
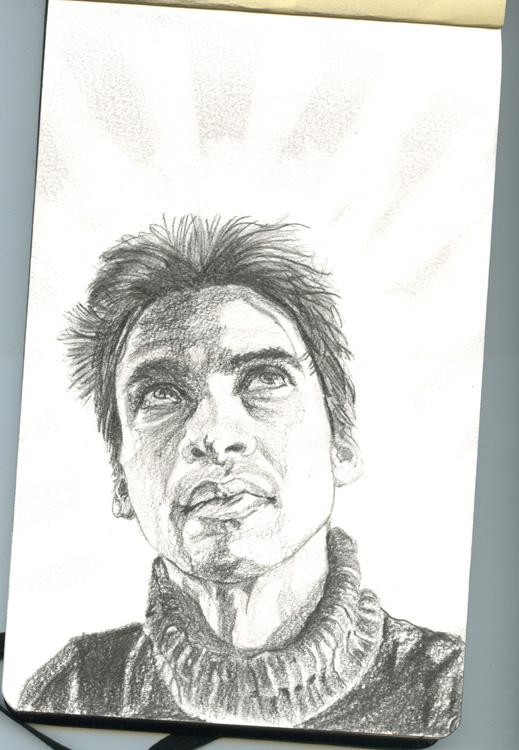
Here's some of my stuff. Most of it is pretty old. Sorry if some of the images are kinda small, they're from my sketchbook thread over at conceptart.org - didn't wanna rescan 'em. They're all graphite and/or graphite and charcoal on either illustration board or sketchbook paper. Some are finished, most are not.


-
We had this conversation before, or one very similar to it when the Bandai VF-25's came out.
There has never been a fully transformable (non parts-forming), inejction moulded kit of the VF-1.
That has only existed in the toy end of the spectrum. Due to their nature, toys do not have, and cannot have the, fine details and precise fit possible with a finished model.
Given that Bandai attempts to fuse these two dichotomous elements together there are bound to be comparisons to both sides; and given that what they are attempting is neither of these and both of them, at the same time, the comparisons work and don't work at the same time. They are fair and unfair at the same time.
Bandai has set themselves apart from both toys and models: they have essentially created a hybrid, or chimera. I am not saying that one cannot, or should not compare them to, say Yamatos or Hasegawas. I am simply pointing out that any direct comparison will be inherently flawed due to the differing nature of objects being produced, and perhaps this needs to be taken into account when making the comparisons.
For myself I think a more interesting question, and possibly more fruitful, for us as individuals is to ask Why would I want a transforming model? What are the advantages and disadvantages to this strange new beast? What do I plan to do with it when finished? What is possible with this that is not possible. or too difficult with either of the existing options?
When the VF-25 kit was released I went through this process of questioning and came to the conclusion that it was simply not something I was at all interested in. With this offering from Bandai I am very close to the same conclusion, the only thing that has me considering it is the possibility of modeling the VF-1 in mid-transformation, in transitional positions. That is something that appeals to me that I see this kit possibly making much easier than any previous or existing kit. So I am still on the fence and will have to wait until the final release to decide.
-
Nice Job! looks great in the traditional colours too! Personally I would extend the feet to avoid having the bottom of the leg in contact with the ground, but that's just personal taste - still looks outstanding!
-
Chas: Thanks for posting that link. Some day I'd like to convert my 2nd VF-1A (started as super, changed mind) to a gerwalk. It's hard to tell from your write-up & not having the kits nearby: did you use the fighter's legs, or the battroid?
"Begin the legs by assembling parts U9+U11 and U12+U8 from the fighter kit"
intakes and the 'accordion piece' are from the fighter kit. The rest of the leg is from the Battroid kit.
EDIT: I've edited the instructions to make that section a little bit clearer - you were right it was a little confusing- poor word choice on my part.
-
Ha, ha! TOOT! TOOT!
 Thanks Benson. My intention in making that thread was so that folks could follow the steps and end up with a Gerwalk. I tried to make it as complete as possible so that there were no surprises.
The one thing I did not mention in that thread was to add some weights ( I used the lead balls from some buck-shot shells in the feet, nose and front end of the fast packs - I chose those locations because of the pose I wanted the model in)


New from Hasegawa 1/48 Weapons and 1/72Gerwalk
in Model kits
Posted · Edited by Chas
Umm . . . So . . . About the tweet and the account that it came from - credibility? I mean who is this @megaroad01 and where did this info come from?
I can see no mention of it on Hasesgawa's own twitter feed in the last 12 days.
I want more info on the source of this news before I get all worked up.
Granted my Japanese reading skills are so bad as to be almost nonexistant, but I can recognize 1:48, 1:72, and VF-1 and I don't see them in any of the tweets.
Can someone get a more official source for this? Or more info on the @megaroad01 twitter account?