HWR MKII
-
Posts
2646 -
Joined
-
Last visited
Content Type
Profiles
Forums
Events
Gallery
Everything posted by HWR MKII
-
thanks ido. this camera is great. the last one i had was crap,no zoom or focus. i have started superdetailing on it and ill post tomorrow. all in all its turning out better than expected.
-
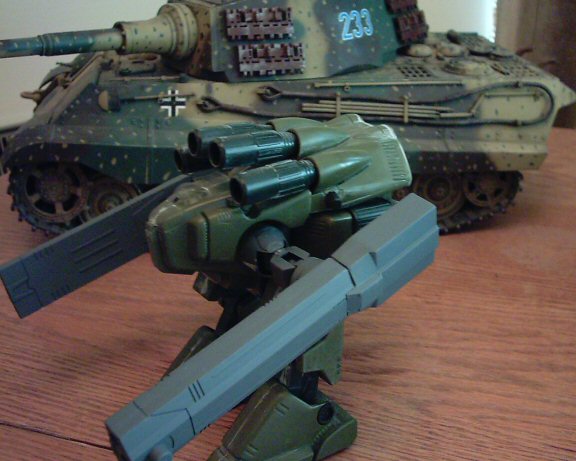
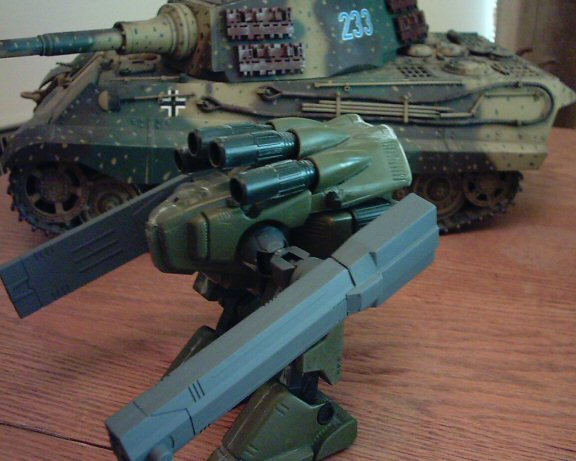
thanks neptune. i needed something to show how big the model was. the tanks are 2 feet long roughly. all in all the monster is a decent size for 1/160 scale. i also have landrover trucks and people in scale with it. the tiger 1 belongs to me its the 1400 dollar one from tamiya(500 off ebay)and the tiger2 belongs to the east england tank museum where i spend some free time.i refurbished it for them and basically saved it from the scrap heap. looked like a 2 year old built it. it needed to be completely disassembled ,stripped and remotored. both tanks run. the weathering on the tanks was done totally with brushes,pastels and washes. the only "real weathering is the mud on the tracks its from the tank museum where i spend some off time. http://www.tankmuseum.com/mainx.htm
-
the arms and legs arent glued on so i can paint it and make it easier to transport once the superdetailing is finished

-
As you can see i had to use a good amount of filler on the seams.

-
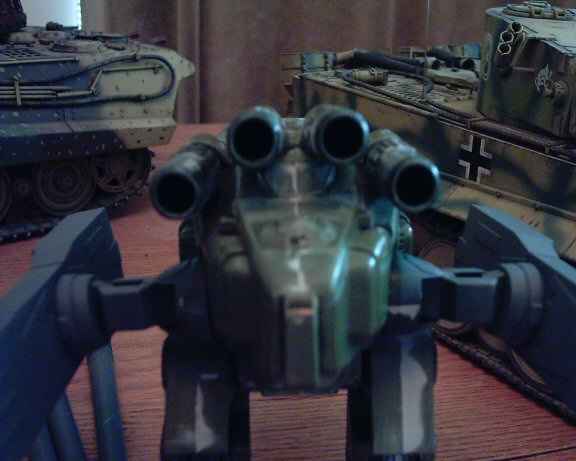
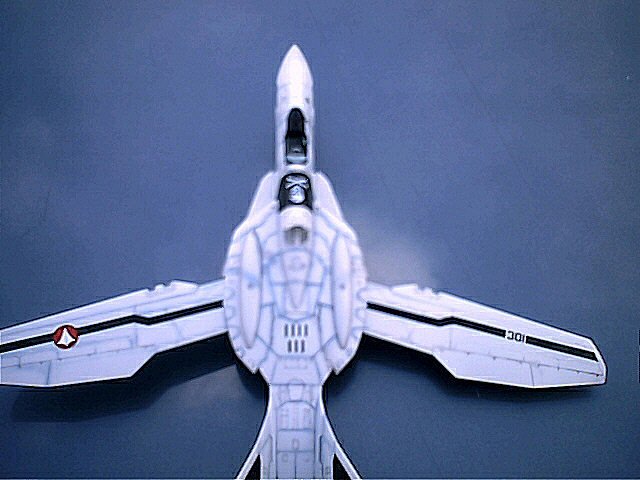
I finally got the new camera and its working great. here are the pics I have. Just for a size comparison those tanks in the background are 1/16 scale. i havent posted any pics of the construction for the simple reason that i have built the kit straight out of the box. the only mods are the addition of plastic card pieces over the hull to suggest different access panels and plates.
-
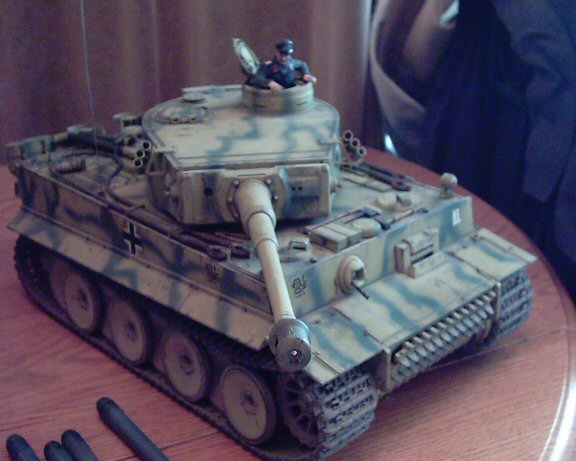
hello promethium and welcome. ive noticed your drybrushing technique. it looks good and conveys the extremely beat up look that you are wanting. i personally build tank models mostly so i do alot of drybrushing myself. what kind of brush do you use for your technique and how wet is the paint when you do it. i have found that you can get a really crisp edge highlight and more subtle effects by using a wider flatter brush with the paint being almost completely dry on the bristles. i use mainly PollyS or testors arcyl for my drybrushing. heres the kind of results i have gotten on my tamiya 1/16 scale tiger 1

-
hello again all i just won the auction for macross perfect memory. got it for 25 bucks. ill still be posting construction pics but i cannot superdetail it until i recieve the book. happy modelling. the seams on the kit arent as bad as i thought and the plastic for being so stiff and old sands down really well.
-
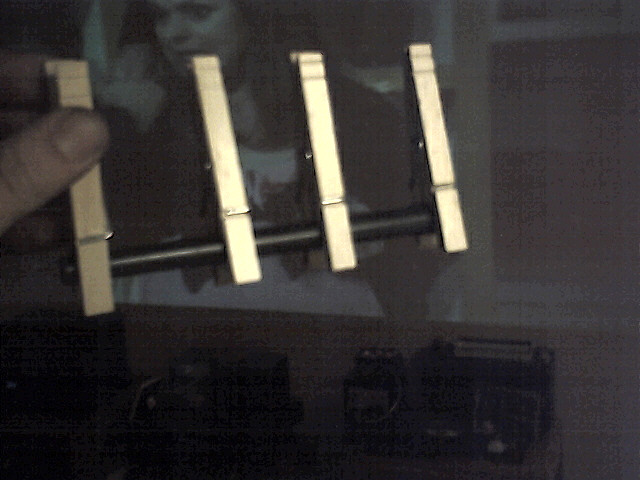
thanks for the info vectromat. im used to building early 80s kits.im going to detail this along the same lines fernando faria did on his 1/160 kit. but so far the kit fits crudely but nothing some clothes pins and filler cant fix. and i agree on the detail and accuracy too but im impressed with it.
-
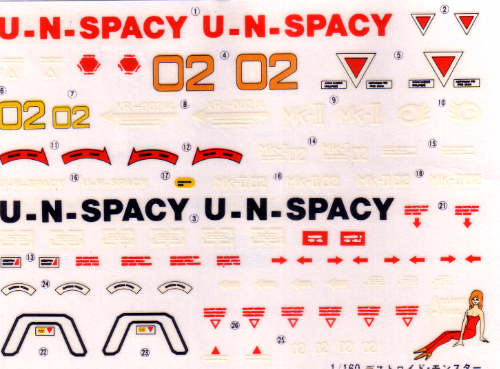
i do have a scanner grayson ill see what i can do this afternoon. heres the scan i have or for anyone else who would like some random macross markings

-
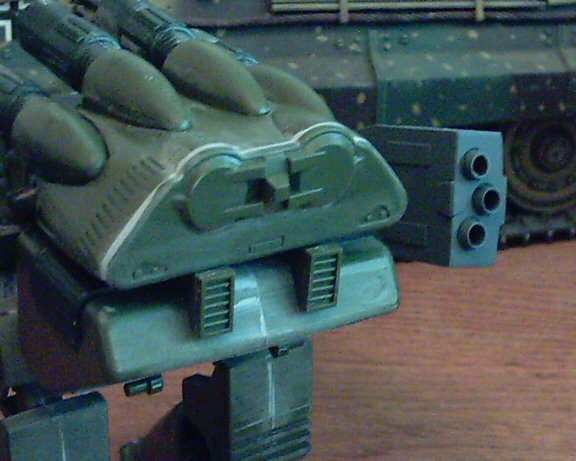
heres an example of the measures i have to take on the gun barrels just to minimize the seam. it will require some filler. (you can also see part of the screen that has been talked about in here in the background)

-
ive seen this kit for as high as 300 USD and i think it will be near8- 10 inches tall i wont know more until i have it built. what suprised me is the person auctioning it started bidding at 9.99 thanks for the welcome MBS357 right now i live in england. im stationed here. the screen is from a hitachi LCD projector and macross 0-7 look awesome on it
-
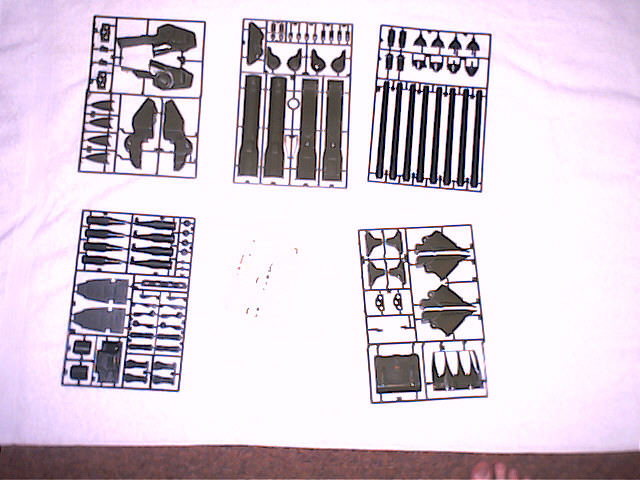
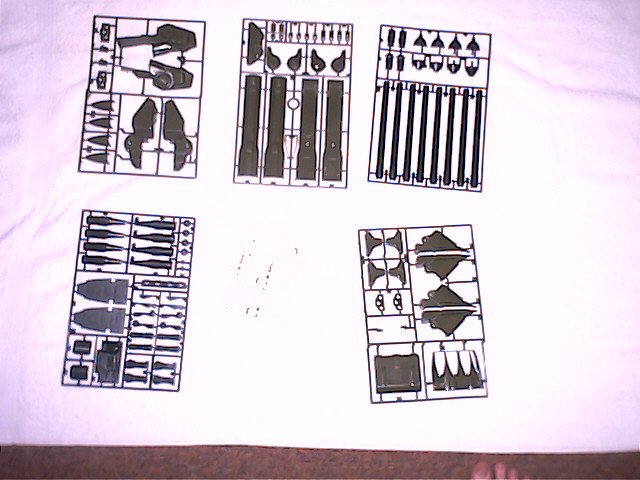
here they are first time out of the bag. all the parts still on the trees.
-
hey grayson its the 1/160 version. still has the BW sticker on it after all these years. god this camera sucks a big one
-
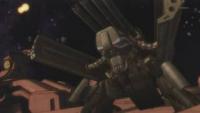
The Monster Has Arrived! i will be getting a new digital camera this weekend to document its construction. im also waiting for my copy of perfect memory to arrive for detail work but if anyone has scans of the line drawings it would be of great help if you could post them here or a link. thanks sean
-
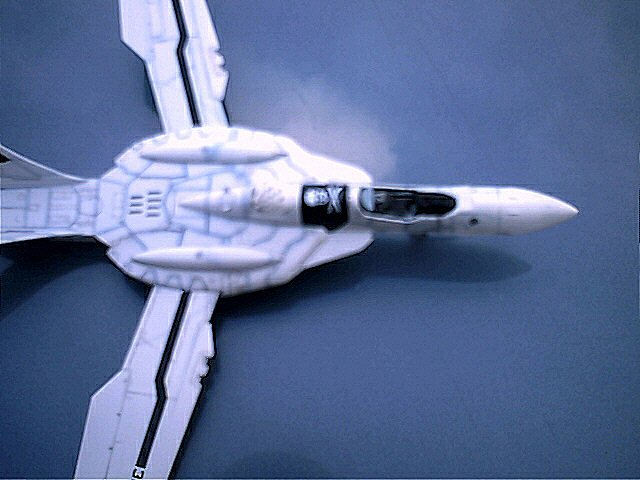
the last one was the best i could get i took 50+ shots all in all but it does show best the contrast in the finished and unfinished wings and alot of the panel lines are sharper. the pastels dont show as much on the actual model. give it a shot you might like the end result sean
-
and a final one this cam is really irking me
-
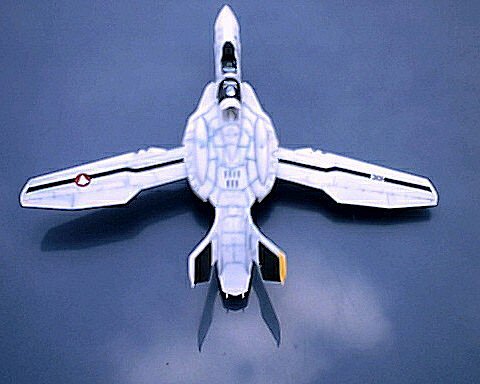
heres another pic i hope its a little sharper
-
ill try first thing tomorrow when i get home from work. its 1130 pm here in the uk so it wont be until about 10 or 11 am eastern standard time until they get posted well here are some pics of my pastel technique im sorry if they are a little blurry im trying to get a handle of my new digicam
-
on another note this one is for those of you who do not have the equipment for postshading like our friend WMchang. his work is awesome but a fine tip airbrush is expensive or you just cant get it right . but there is an easy solution. chalk artists pastels( not the stick or oil form)these are stamping pastels. they come in square plates that are very fine and the dust comes up on your brush. use a fine tipped brush and swirl it on the pad until you have some dust on the brush then apply it to the model. be sure to seal the model in a clear coat to keep the pastels in place but the effect is quite similar to his postshading and a little less messy. the pads come in many different shades of all colors in a box. they can be found on the web under stampin up! i use them alot and am not disappointed. i will post pics tomorrow once i find my usb cable for my digicam.
-

Toys aren't them? Toys R Us may sell toy unit
HWR MKII replied to Ladic's topic in Anime or Science Fiction
heres a question? whens the last time you actually saw a kid on a big wheel or outside playing with a toy dumptruck? now go to TRU and see if there is even a high quality model you have to paint anymore. and when was the last time you saw a VF1 airframe in any common stateside TRU location.kids have changed from when we were all 10 and they have no interest like we do for putting time in on something like a model or going OUTSIDE with their friends to do something that doesnt require spraypaint. TRU is going under because they couldnt change and when they tried it was too late. they lost the good stock of items we used to like and the prices went up. sean -
beautiful! beautiful!beautifulbeautiful! ! this is your best work WM. ive read your other buildups and i love the way you use simple techniques to get advanced results. im working on the VF-0S myself and this thread has given my eye the information that my dvd cant clearly interpret. i wish i had thought of using magnets on the CFTs (conformal fuel tanks),they dont look to have the thrusters that FAST packs do, and the engines being fuel hogs thats what i thought they were. we use the same type of thing on the F-15E. AWESOME!!! cant wait to see more from you. sean P.S. if you want to do a night shot and photoshop in the lights the slime lights are a very intense blue green color
-
it depends on where you live i guess. im stationed in the UK right now so testors is the cheapest for me. if you mean polish as in get the metal part clean and the residual paint out the only thing i can think of is liquid cement or something i use. its the paint thinner for the paint used on english tanks. its really strong and will clear a room. i have to wear a breathing mask when i aribrush with it. your brushes should be ok as long as you clean them really well with testors thinner. i have never really had a problem. another thing you could try after youve cleaned them is to wet the brush in water , put a drop of dawn or some other dish detergent in your palm and scrub it around a little. it will get alot of the remaining dirt out of the bristles. sean
-
welcome ido. for enamels thinner is definately needed. testors airbrush thinner is good and can be found almost anywhere. i didnt quite make out the last part of your question but the best way to polish enamels ,at least gloss ones, is to spray them with some testors glosscoate. its a laquer that wont be easily torn up by car waxes or plastic polishes.
-
id like to but its hard to know what to put in without a starting point. right now there are alot of things in the forums that could be transferred like the chrome stripping thread. i personally like to use Whestleys Bleache White to strip chrome and paint on any model. a 2 to 3 day soak in that stuff will remove the paint or plating off anything. it doesnt harm resin,plastic or vinyl. once its soaked just wash the parts in hot water and scrub them with a toothbrush. the Bleache White is available in 2 gallon jugs at most automotive stores its made to clean whitewalls on old cars. its really cheap and you can reuse the chemical no matter how dirty it is
-
anyone who needs tips feel free to ask ive been building since i was 5 and im 28 now. im also a national ipms award winner. i have lots of info to share also some inexpensive techniques that work really well.