
jardann
-
Posts
1050 -
Joined
-
Last visited
Content Type
Profiles
Forums
Events
Gallery
Posts posted by jardann
-
-
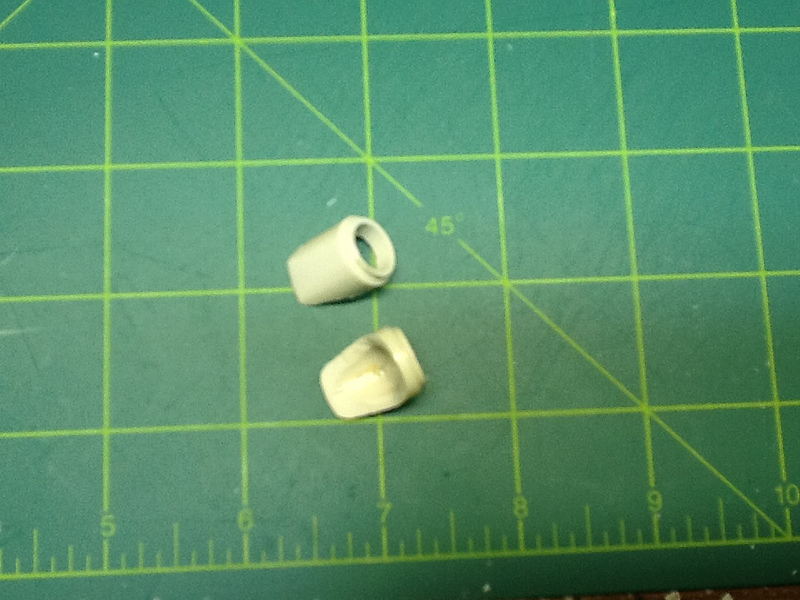
Looking at the box top and line art for the Regult, I decided that the thruster housings on the "ears" were more round than the original parts represented. So, I scrounged around and found a couple of these to start with:
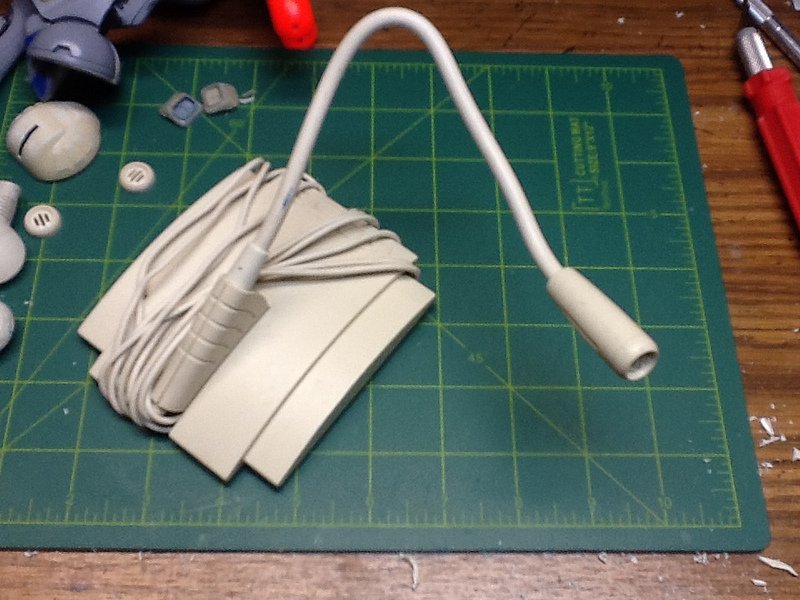
They are old PC microphones. I am using the microphone end part and cutting it to conform to the "ear" part on the Regult.
After a bunch of cutting, grinding, sanding and filing:
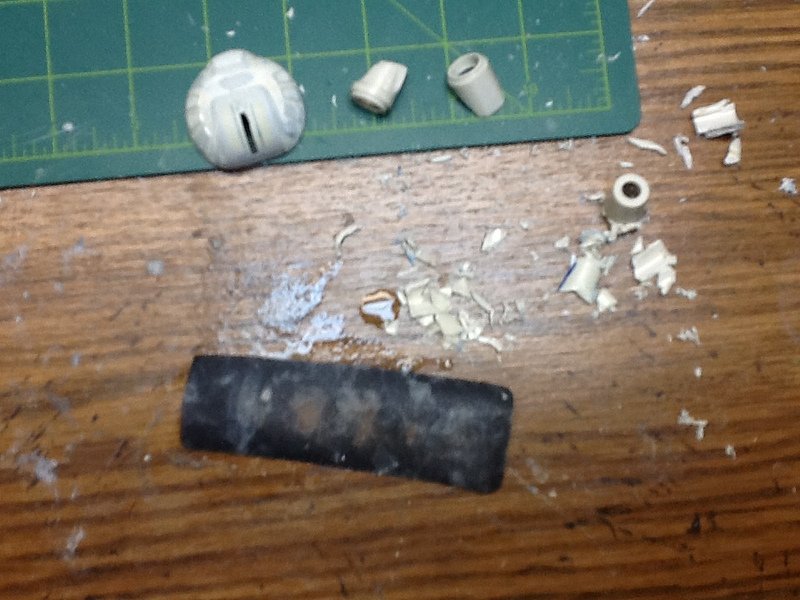
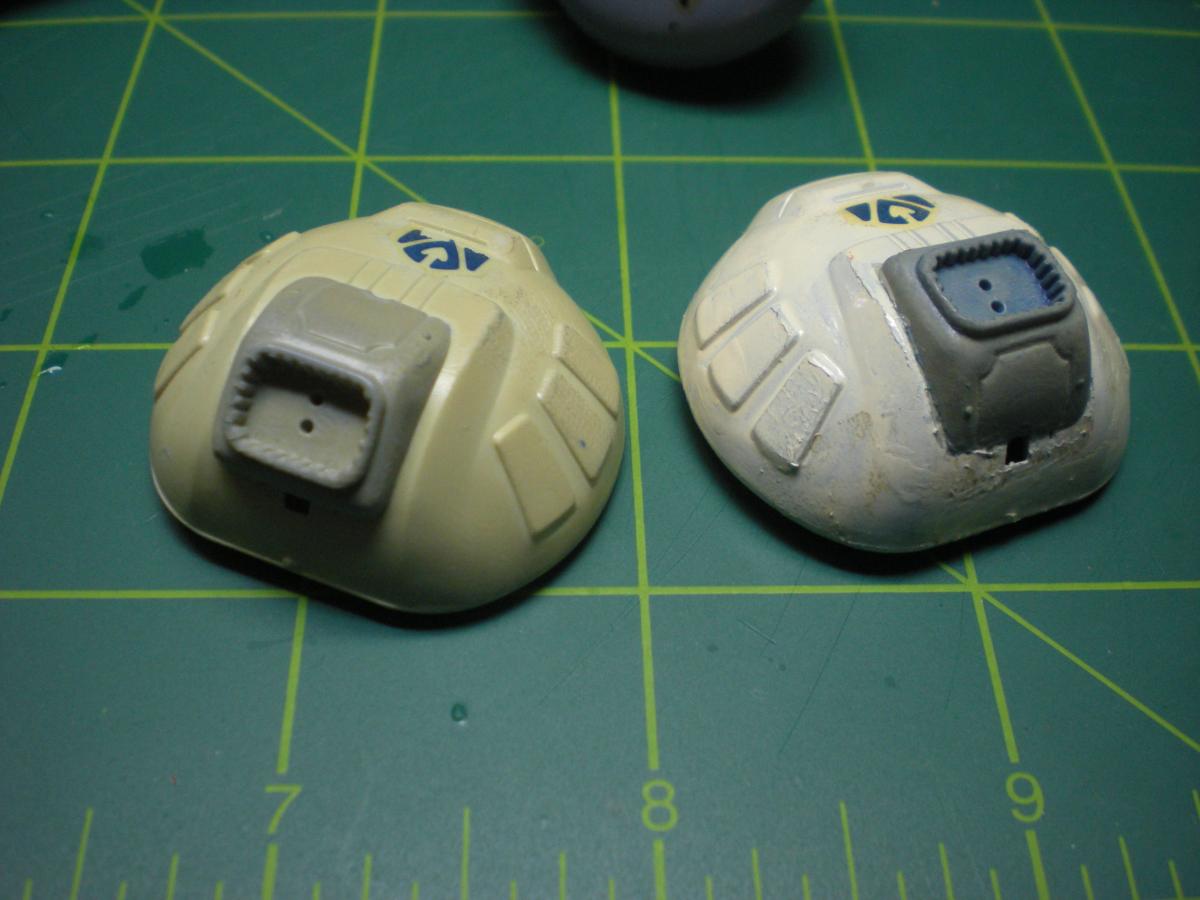
I was able to come up with these new thruster housings:

You can see the difference here:

I'm pretty pleased with them and I have found the perfect size bell housings to fit in the ends to represent the actual thruster nozzles.
-
Hi everyone. I've been pretty quiet on these boards lately, but I've begun work on an old Imai Regult 1/72 kit and I thought I would post some pics about it here. I actually started a WIP thread over on Starshipmodeler Forums, but since this is a Macross kit I thought it would be good to post here as well.
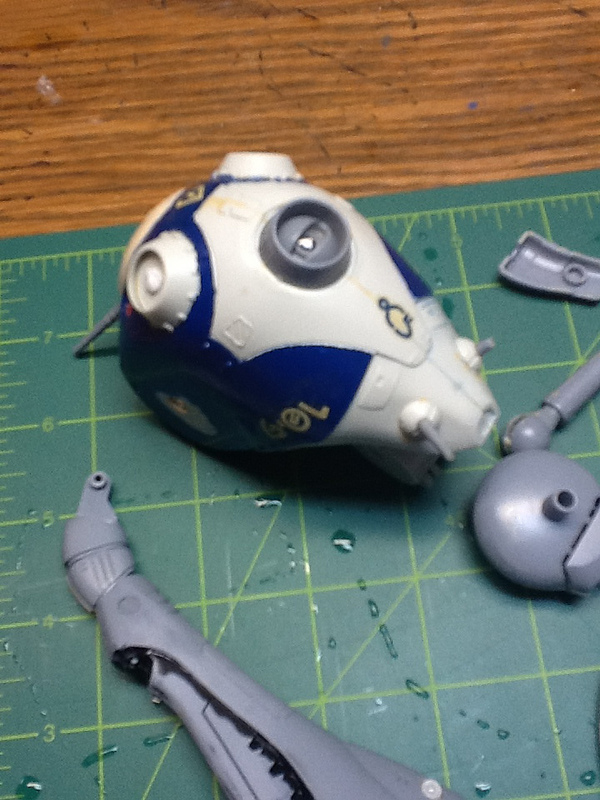
This kit came to me from a large lot of built and unbuilt kits that I picked up off of Ebay a long time ago. I got a ton of stuff for cheap and have had a bunch of fun looking through all of the old kits and random stuff that was thrown in the lot. The Regult kit had been built, but was done pretty poorly and was in pieces anyway. You can see the state the parts were in in the following pics:
Pieces
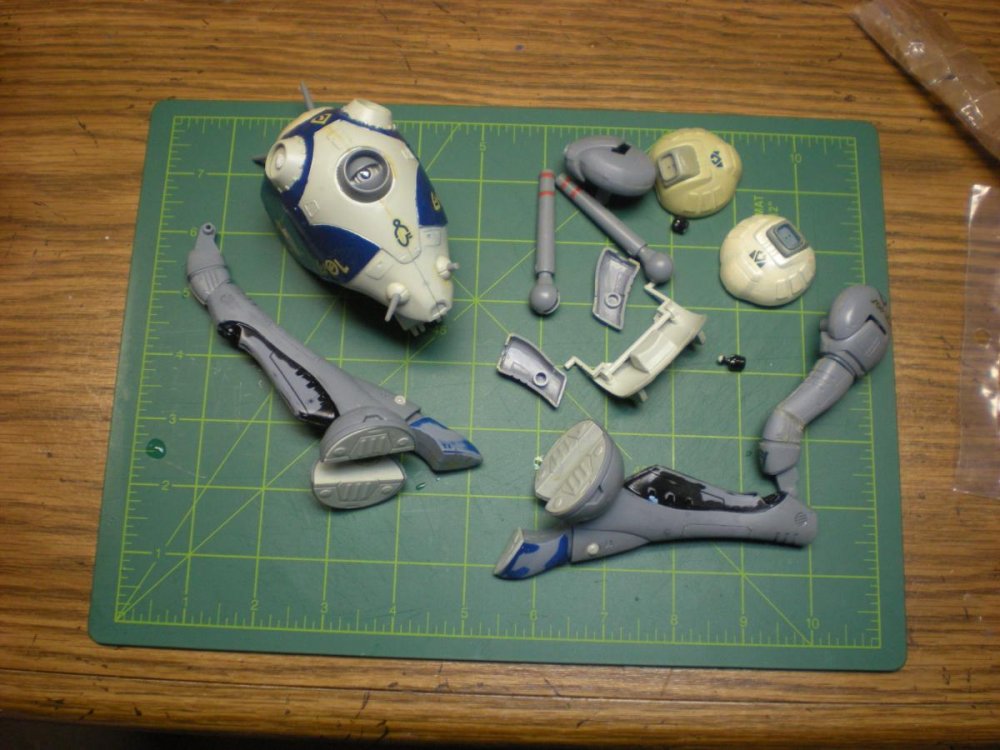
Close up of the head, showing the heavy and sloppy paint job and the ugly seams.
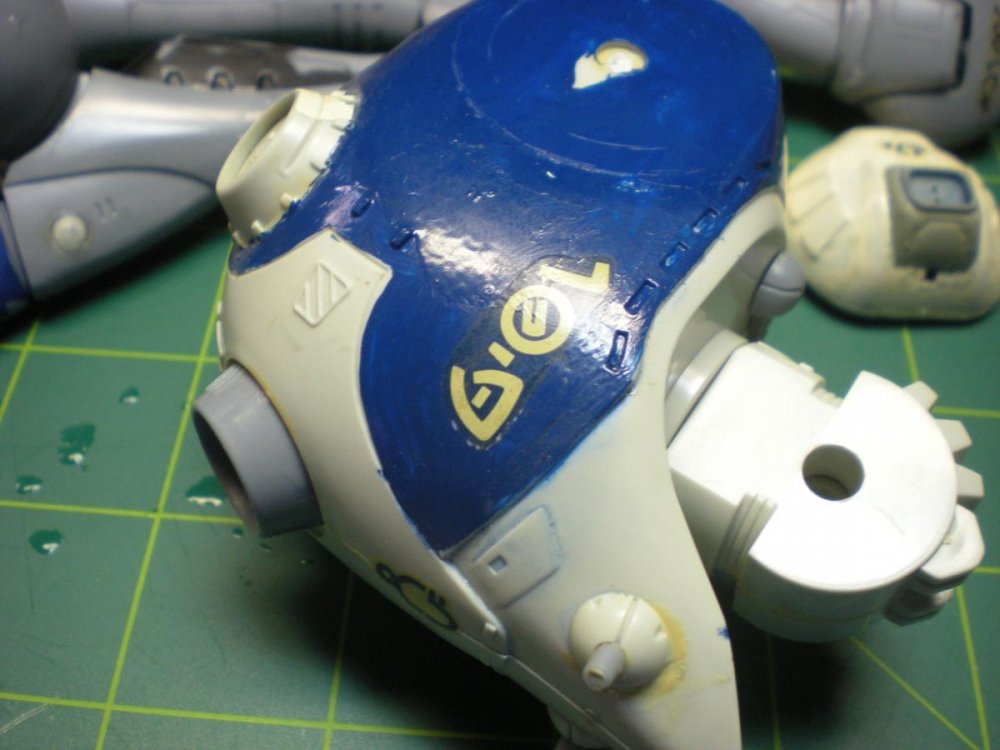

You can see in this pic that one of the thruster details for the "ear" parts is installed upside down and the paint is piled on the one part.

Those thruster detail parts had to come off, but unfortunately the edges broke into ragged pieces and I decided to scratchbuild some replacements.
-
No reason why you couldn't just mask around the blue areas and overpaint with the correct color red paint. That's the theory anyway. In practice, you may find that you would need to prime over the blue in order for the red color to show the correct tint. Also, you would have to be very careful to leave all of the blue parts uncovered or else you could find a strange thin blue stripe around parts of your new red color. It would probably be a good idea to test the paint you plan to use to be sure it does not cause a bad reaction with the blue factory paint.
If you are only wanting to cover the blue areas though, I don't see why you would really need to remove the blue. That would be an added step and added difficulty. The factory tampo printed paint seems to be pretty durable so it should be an OK base for the new color; as long as there are no chemical reactions between the paints.
I think you can often find the Hikaru 1As on sale for a pretty reasonable price though. It may be worth your time and effort to pick up one second hand. Then you could have two valks, or you could sell the Max to recoup the costs.
-
Wow! Your progress on this is incredible! It looks quite amazing. I can't wait to see it completed.
-
-
I just caught up to this thread and I've gotta say things are looking pretty sweet in here!
I think the tops of the engine nacelles need to be a bit more rounded. They should have a bit of a humped look to them. All of the corners on the nacelles need to be rounded a bit. They are still too square. They definitely look much better lowered "into" the wings a bit. They don't really stand off of the wings on mounts or anything. The rear exhausts/vents on the nacelles look very good now.
I also think you will need to round off the fuselage top at the wing/fuselage joint. It needs to conform more the the rest of the fuselage shape. It shouldn't be so square across the top. It is kind of like a flat piece of clay that is draped over the fuselage to form a ridge at the front and then blended at the back. I hope that description helps you.

The intake (pod..bump?) on the top of the fuselage right behind the cockpit will probably need to be enlarged too, but I'm probably getting ahead of your process a little bit.
 Wow! That passenger cabin must be a really noisy place. Especially during VTOL!
You're really progressing along great on this project! As always, my little quibbles are just posted to hopefully help you in the process. Hopefully I will be able to pick one of these up when they get to the kit stage.
-
Congratulations! That must be quite a feeling of accomplishment to see your work generated in solid three dimensions. Can't wait to see it with a primer coat for a better view of all the details.
-
Fantastic job on that kit. It looks great! I don't usually care too much for camo schemes on destroiods, but your SEA camo turned out quite nice if you ask me. I have to agree on the mud, it needs some volume/chunkiness maybe and color variation to make it look a little bit more appropriate. Everything else looks lively and very realistic.
-
That thing is awesome! Your work never ceases to amaze man. I would definitely like to be on the list for a kit when you get around to it. I remember a small picture in a Starlog magazine of the primary regult attack on Macross island is what piqued my interest in Macross. It took me a couple of years to track down any more information on the series, but the look of the regults stuck with me until I could find out what it was all about. I really think the enemy mecha are the most unique and inspiring designs from Macross. Fantastic project Mike!
-
Hey! These look really sweet! Please add me to the interest list if it's not too late.
You may want to start a thread in the for sale section to pick up more interest. I just saw this thread today and had no idea this project was in the works.
I also noticed mention of a 1/72 scale set. I would be interested in that too depending on price.
-
Amazing work on that lolicon! Just getting those stickers to conform like that must have been a real PITA. The time and effort paid off though. I can't believe Bandai did not produce those as decals!
-
Yes!!! These have been needed for a long time! Thanks for finally getting to this set.
-
Here's a bump for sh002's thread. A great guy to deal with. I just had a big box of cool stuff delivered yesterday. Great service, great items and fast delivery. Thanks for the great deal!
-
Nice Grayson! One of my all-time favorite planes and you've got it looking excellent. How was the build with the Hasegawa kit? My LHS just got the new Trumpeter 1/32 Skyhawk in and I was soooo tempted to pick it up, but I didn't really have the funds ($124) available that day.
-
Thanks for all the tips and info. And the great pics! Those are certainly some beauties! I'm going to have to take some time and try the Alclad stuff. Don't know if I can get the surface prep good enough for it, but I'll never know until I try!
Good to hear about the kits too. I always appreciate knowing about some older kits that still have great potential. -
That's a great looking airwing you've built there Noyhauser! Lots of great detail for 1/72 scale and the finishes are fantastic!

You did an especially great job on the bare-metal jobs. My hats off to you for those! I'd love to hear some tips about the methods and materials you use for them if you find the time.
If you don't mind, could you tell me what kits you used for the Sabres? They look fantastic and I just love the lines of that plane!

Keep up the great work and thanks for sharing them with us!
-
OK, I voted 1/1000. I have the Oberth and would love to have them in the same scale. I know I suggested 1/1400 earlier in the thread, but I guess bigger is better.
It doesn't matter too much though, because I've been wanting a nice size ARMD kit for a long time and I'm sure I'll pick up whatever you produce.
-
Although bigger is usually better, I vote for 1/1400 too. Seems there's more stuff to compare with in-scale.
This will be an awesome project!
-
I do think that the cockpit/front fuselage area could be more streamlined, but this is still a sweet looking kit. I agree on the old grey/white combo schemes. They look great on almost any airplane!
-
Fighter mode is my favorite for this bird. Looks like you did a great job on it!
-
Here's a quick shout out for sh002 and robotechdave.
Both are already on the SSL, but I just concluded some good deals with both of them. thanks!
-
Everything about this is just stunning! It is truly an awesome piece of creativity, engineering and skill. A masterwork that I am soooo disappointed I couldn't fit the finances around.
It is fun and exciting just to watch this come together. I'll be living vicariously through the lucky members here who are able to purchase the kit.
I salute you Captain!!!

Keep the pics coming!!!
-
I like that parts breakdown. This stuff is looking very cool!!!
Thanks for sticking with it Yeti!

-


Refurbishing an old Regult kit
in The Workshop!
Posted
Oh yeah, the kit had some exciting "bonus" figures riding around inside the box too. Take a look at these specimens!
Pathetic aren't they?