
Checkmate
-
Posts
206 -
Joined
-
Last visited
Content Type
Profiles
Forums
Events
Gallery
Posts posted by Checkmate
-
-
Thank you! I had a blast building this kit, so expect a couple more of BF's from me. I'm just waiting for mu order from HLJ to arrive.
-
How long after did you remove it? I usually wait 6+ hours, and then am really gentle on how I remove it. I often use the removal technique to introduce stains and other lines, like from oil leaks or fuel spills.
I left it on overnight. Maybe the Yamato panel lines grooves are too shallow?
-
this is going to sound odd, and probably won't be helpful to anyone on here, but it might amuse some people at least. When I panel line, I throw on a pair of cheap, lint-free white cloth gloves and start lining away using Gundam lining and real touch markers. I work really messy with the markers and just wipe away the excess with the gloves as I go. it actually gives pretty clean results and requires no thinner and is pretty much mess free.
Hmmm, I might try this on my next kit. I oil washed my Yamato VF-1S which was airbrushed with Future. It might be my oil paint or the ratio but the panel lines wre not consistent. Gaps showed on the panel lines. It's like somebody was sending Morse code. LOL.
Acrylic wash: I have had more success with this in the past. Use this over a non-acrylic surface. Mix black acrylic paint with water and a drop of liquid soap. The soap prevents the acrylic paint from sticking too much to the surface. BTW, prep the surface first with any clear coat aside from acrylic.
-
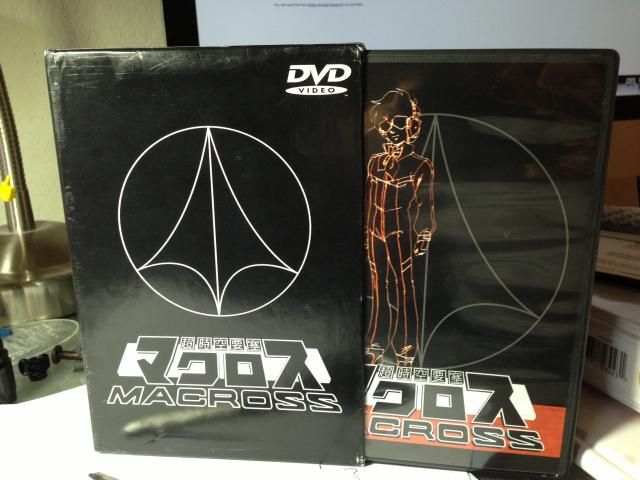
I finished watching it already. As promised, here are pictures of my recently purchased ANimeigo SDF DVD set. It's used though.
-
Thank you! First time posting my work in the models section. Long-time lurker. ha ha.
-
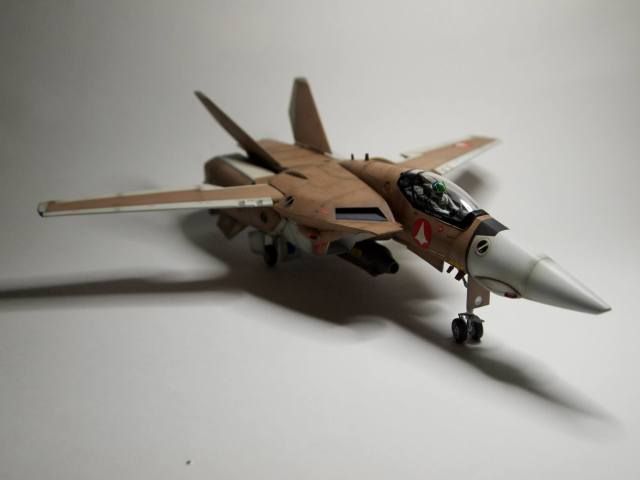
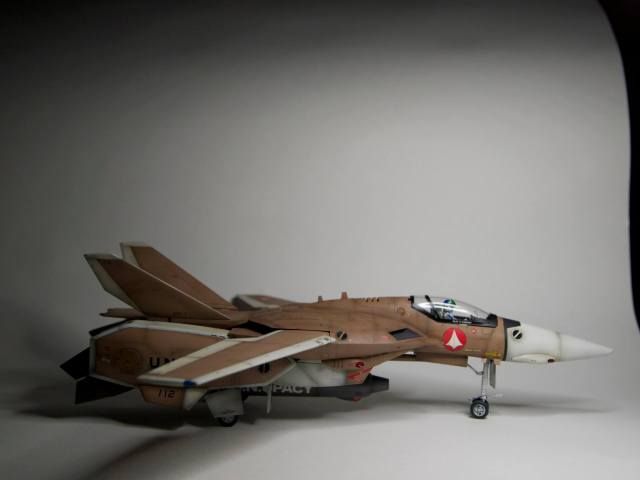
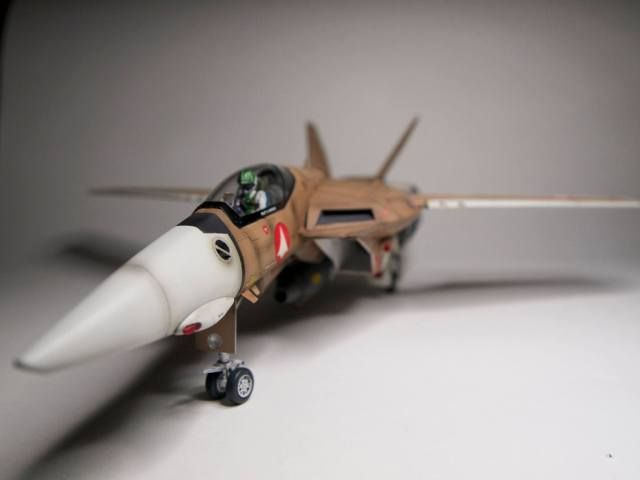
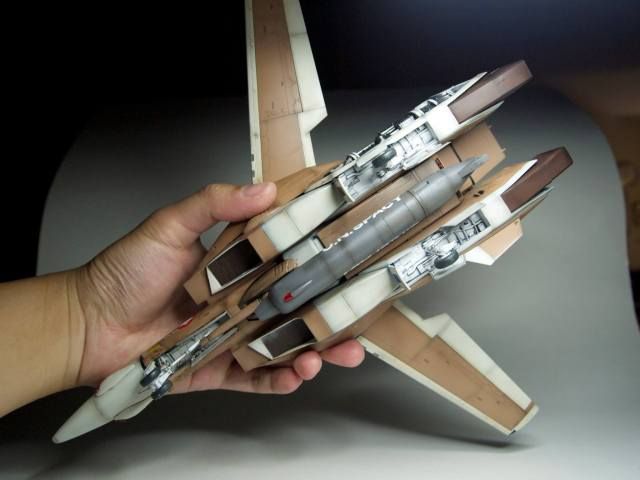
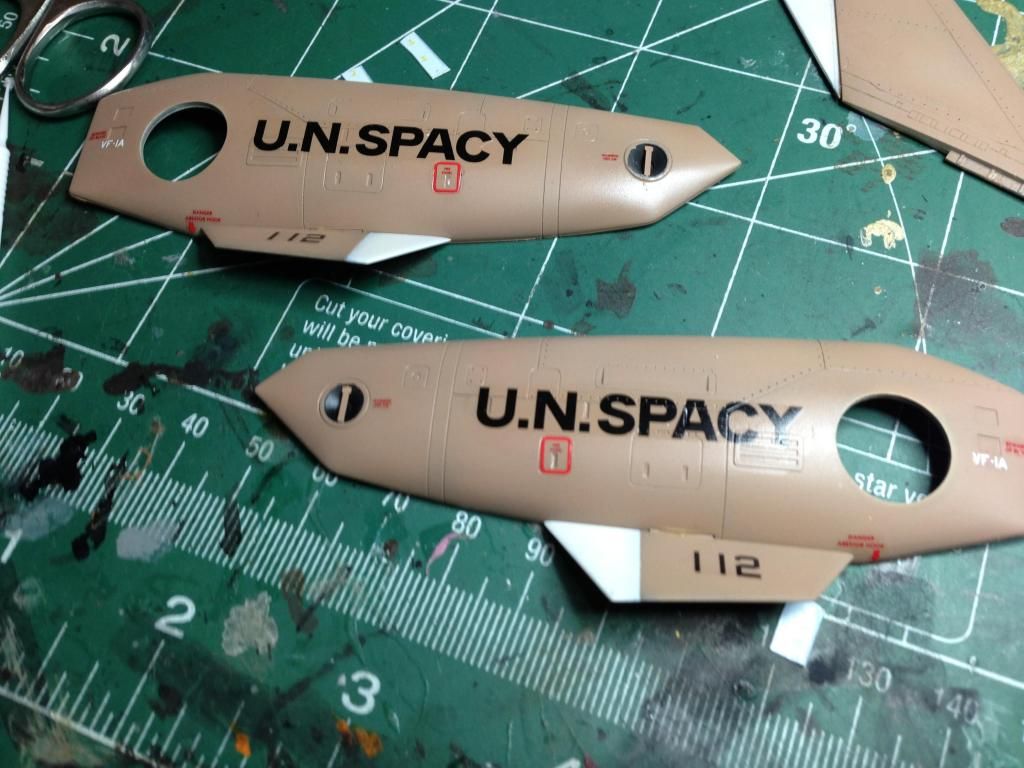
Hi! finally finished this kit. whew!
build time: 1 month.
Paint: Gunze laquer paint. Brown- 1:1 woodland brown and flesh. But, I ended up experimenting with the ratio. The 1:1 ratio was too "fleshy" so i added a little more brown to the mix.
Tamiya Paint marker silver then covered with Tamiya clear red/ blue for the lights.
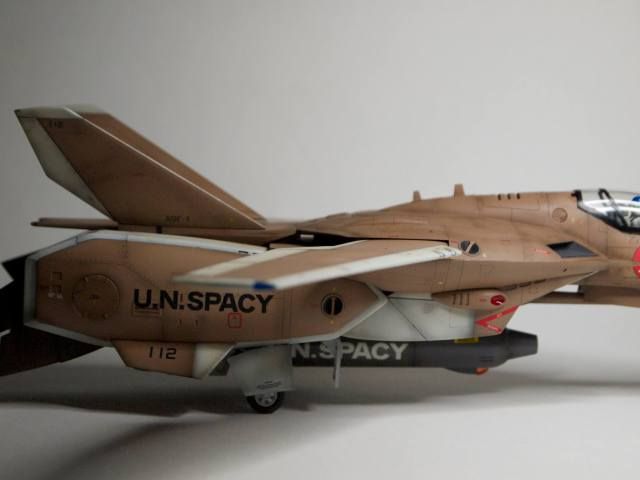
Black trim was masked because I suck at decals! LOL!
White: The kit called out for Pure white, but IMO it's too clean for this bird. So i used the grey recommended for Hikaru's VF-1J and added a little pure white to it.
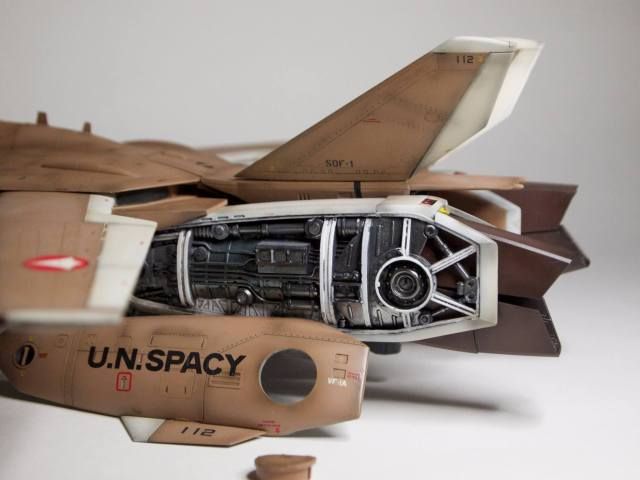
Photo-etch: I used the Hasegawa PE made for this kit. Some parts like the small fins by the nose cone are too fragile, I recommend applying it LAST.
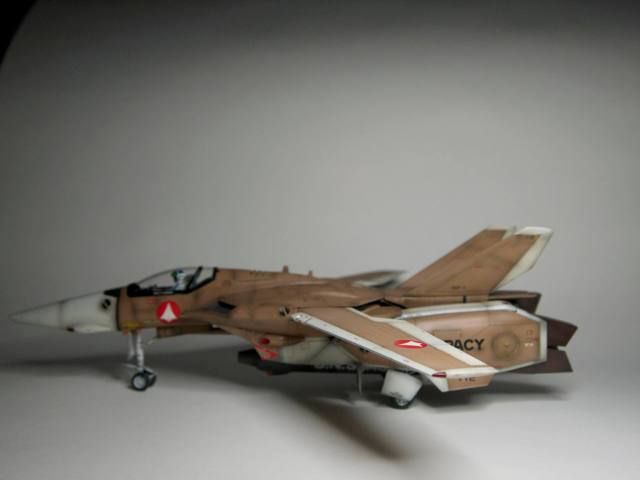
Verniers: Airbrushed it black then I plugged it with white tack. Worked perfectly!
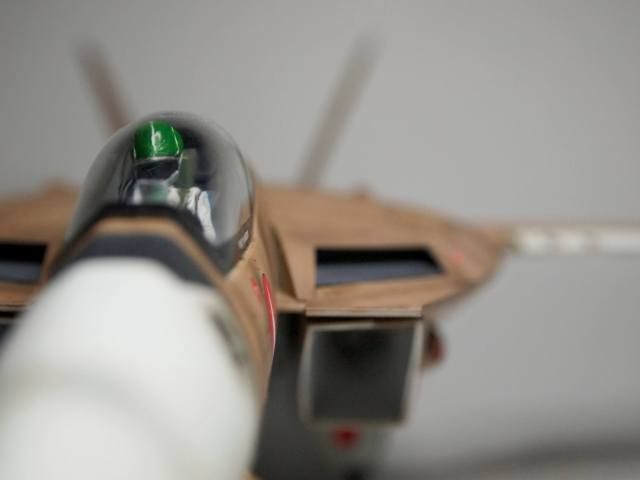
Canopy: First time to use Bare-Metal foil for masking. I did 4 attempts and eventually was happy how it turned out. I just needed some getting used to cutting the foil. JUST a little pressure to score the foil, otherwise it would tear the foil. The residue sticky residue after removing the foil was easily removed using WD-40.BTW, I dipped the canopy in Future first.
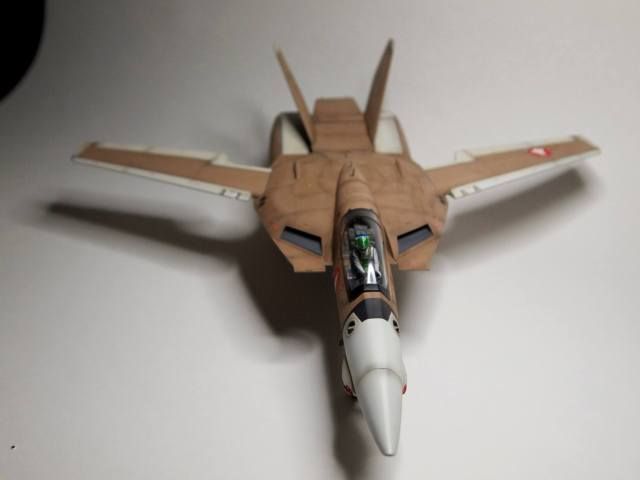
Pilot: It's not Kakizaki but since there is no decal for my name I used his. : )
Why the CF scheme? My very first macross toy was a Takatoku CF. I think it was a Korean knock-off too.
Reference: Jefuemon provided me a scan of a CF and also Mecha manual site.
Why 1:48? It's big! easier to build with my failing eye sight. Ha Ha!

-
-
Thanks! I'll ask my contact if Hasegawa will accept print outs.
-
Thanks, Major. I think Hasegawa needs the actual coupon. I'll ask Jef first. And also the link is for a 1:72 scale.
-
Hi, I'm looking for a copy of this kits manual. Since the kit is so expensive and I have an extra YF-19 kit I decided to just order replacement decals for this one. I need the cut-out order form from the manual and the last two pages for decal placement. I hope you can help! : )
-
Good job, Jef!
-
I'm sure MW modellers will make wonders out if this kit even if there are flaws. Wrong or missing panels lines? Misplaced gun pods? Wrong color? It can be fixed. It's a new Macross kit! Affordable! I'm excited!
-
Thanks to Benson13 for giving me his cluster missiles for free!
Thanks also to Jefuemon for helping me with a decal purchase from Japan.
I have been lurking the MW forum for so long and it's just this year that I started becoming active. I learned that Yamato closed shop and that MW MEMBERS ARE SO HELPFUL!!!
-
-

I don't want to post another thread for a simple question. Benson was kind enough to give me his 1:48 Yamato cluster missiles. I'm ready to repaint and I just need verification for the colors. Picture is from http://www.macross2.net
-
it does look good in black! : ) thanks for the input, guys. Cleaning airbrush? I use laquer thinner that I bought from Home Depot. It's just for cleaning right? Strips away acrylic and a lacquer paint from your AB. I've been using it for years and so far have not encountered any problems. When I use it I have my gloves and respirator on. ALWAYS.
Oops, I didn't read the original question. Disregard my previous post. : )
-
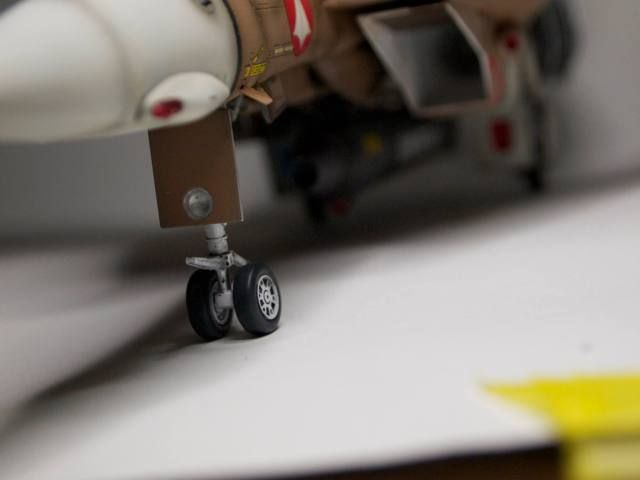
Actually, you'll probably be OK with the black one, as there's no real consensus on what color the CF has for the leg markings. My Google image searching showed up about 1/3 with white, 1/3 with black, and 1/3 with none. I myself am going with the black on my build.
I based the black markings from the Wave CF. Then, i did a little more searching and saw that the Yamato toys had white ones. Whew! I panicked a bit there. Thanks, Jeff!
-
Noyhauser,
O.K. I'll start scanning tomorrow.
-
Guys,
Have you tried applying a wet transfer decal over another one?I used the black instead of the white UN. SPACY decal. : (
-
Cain,
I'm not familiar with the mecha but that looks impressive!
-
I'm not sure if this is the right section to place this thread. Mods, feel free to move it.
I received my VF Manual last week. It's beautiful! i'm willing to scan the "how to section" of the book if you guys are interested in translating it for the Non-Japanese.

-
ANy upcoming events that you guys know of, that Bandai might show us some more photos? I'm still undecided on whether to cancel my HLJ order or not.

-
Nice!
-
While building my 1:48 Hasegawa kit, I've learned a few tricks. : )
Verniers: I painted them in advance then filled it with White tack to mask it.
Kite decal: Have you applied those kites to your kit only to notice that the base color is showing through the white Kite?
1. airbrush the approximate spot where you're Kite needs to be applied with white paint.
2. affix the round sticker. this will act as a mask.
3. airbrush the base coat.
Canopy: The kit came with two canopies. I attached the more rounded canopy on the kit with white glue. Used this while painting the rest of the kit.
Paint brush: I have been airbrushing fro years and never thought of using an old paint brush to clean the insides of the AB's paint cup. Learned this trick from Flory's pro-modeller website.
Yellow latex gloves: This is a godsend! I've always used latex gloves from work. But those kind gets melted easily by lacquer thinner. You can buy the yellow ones from any CVS or Rite aid for $1 a pair.
3M respirator: I have been using this since I started airbrushing. If you don't have one, get one now. Save your lungs!
Resources: The internet. EVERYTHING I needed to get started on airbrushing, model building I learned from the internet. oops, also some old issues of Fine Scale modelling.
Beginner's Model Building Construction BASICS
in The Workshop!
Posted
I'll do that. Thanks, Noy!