

redfinger61
-
Posts
98 -
Joined
-
Last visited
Content Type
Profiles
Forums
Events
Gallery
Posts posted by redfinger61
-
-
Update.
I will pst some pics later this weekend, but now that I have the arm roughed in I am starting to work on the hull piece and the launch bay...I think I may have found a solution to my problem of replicating a deep shaft.
I was thinking of using mirriors and such, but I decided to build the first 4 inches or so of the launch shaft, including the personel view port in the bottom of the shaft, then behind that there will be a secondary set of blast door that will be shut...I think it will work.
Like I say I am still in the roughing stage and the pics, when I post them will be pretty simple.
Ashton
-
very, very, very, well done!!!
Ashton
-
Any updates WC? This is looking great so far!
Ashton
-
Ok...
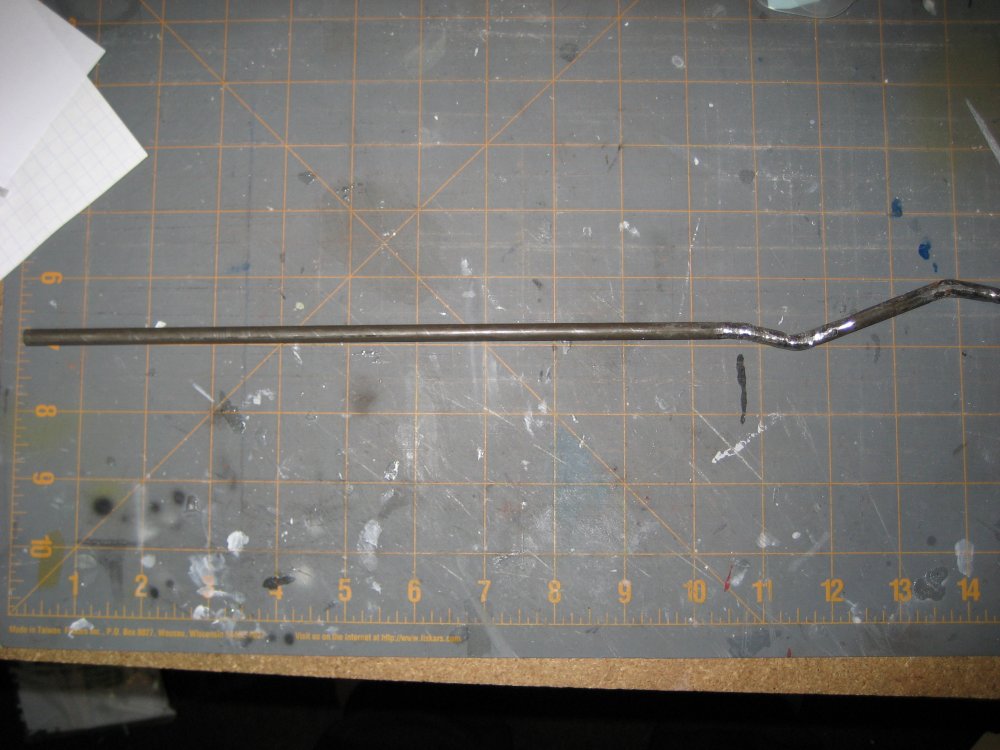
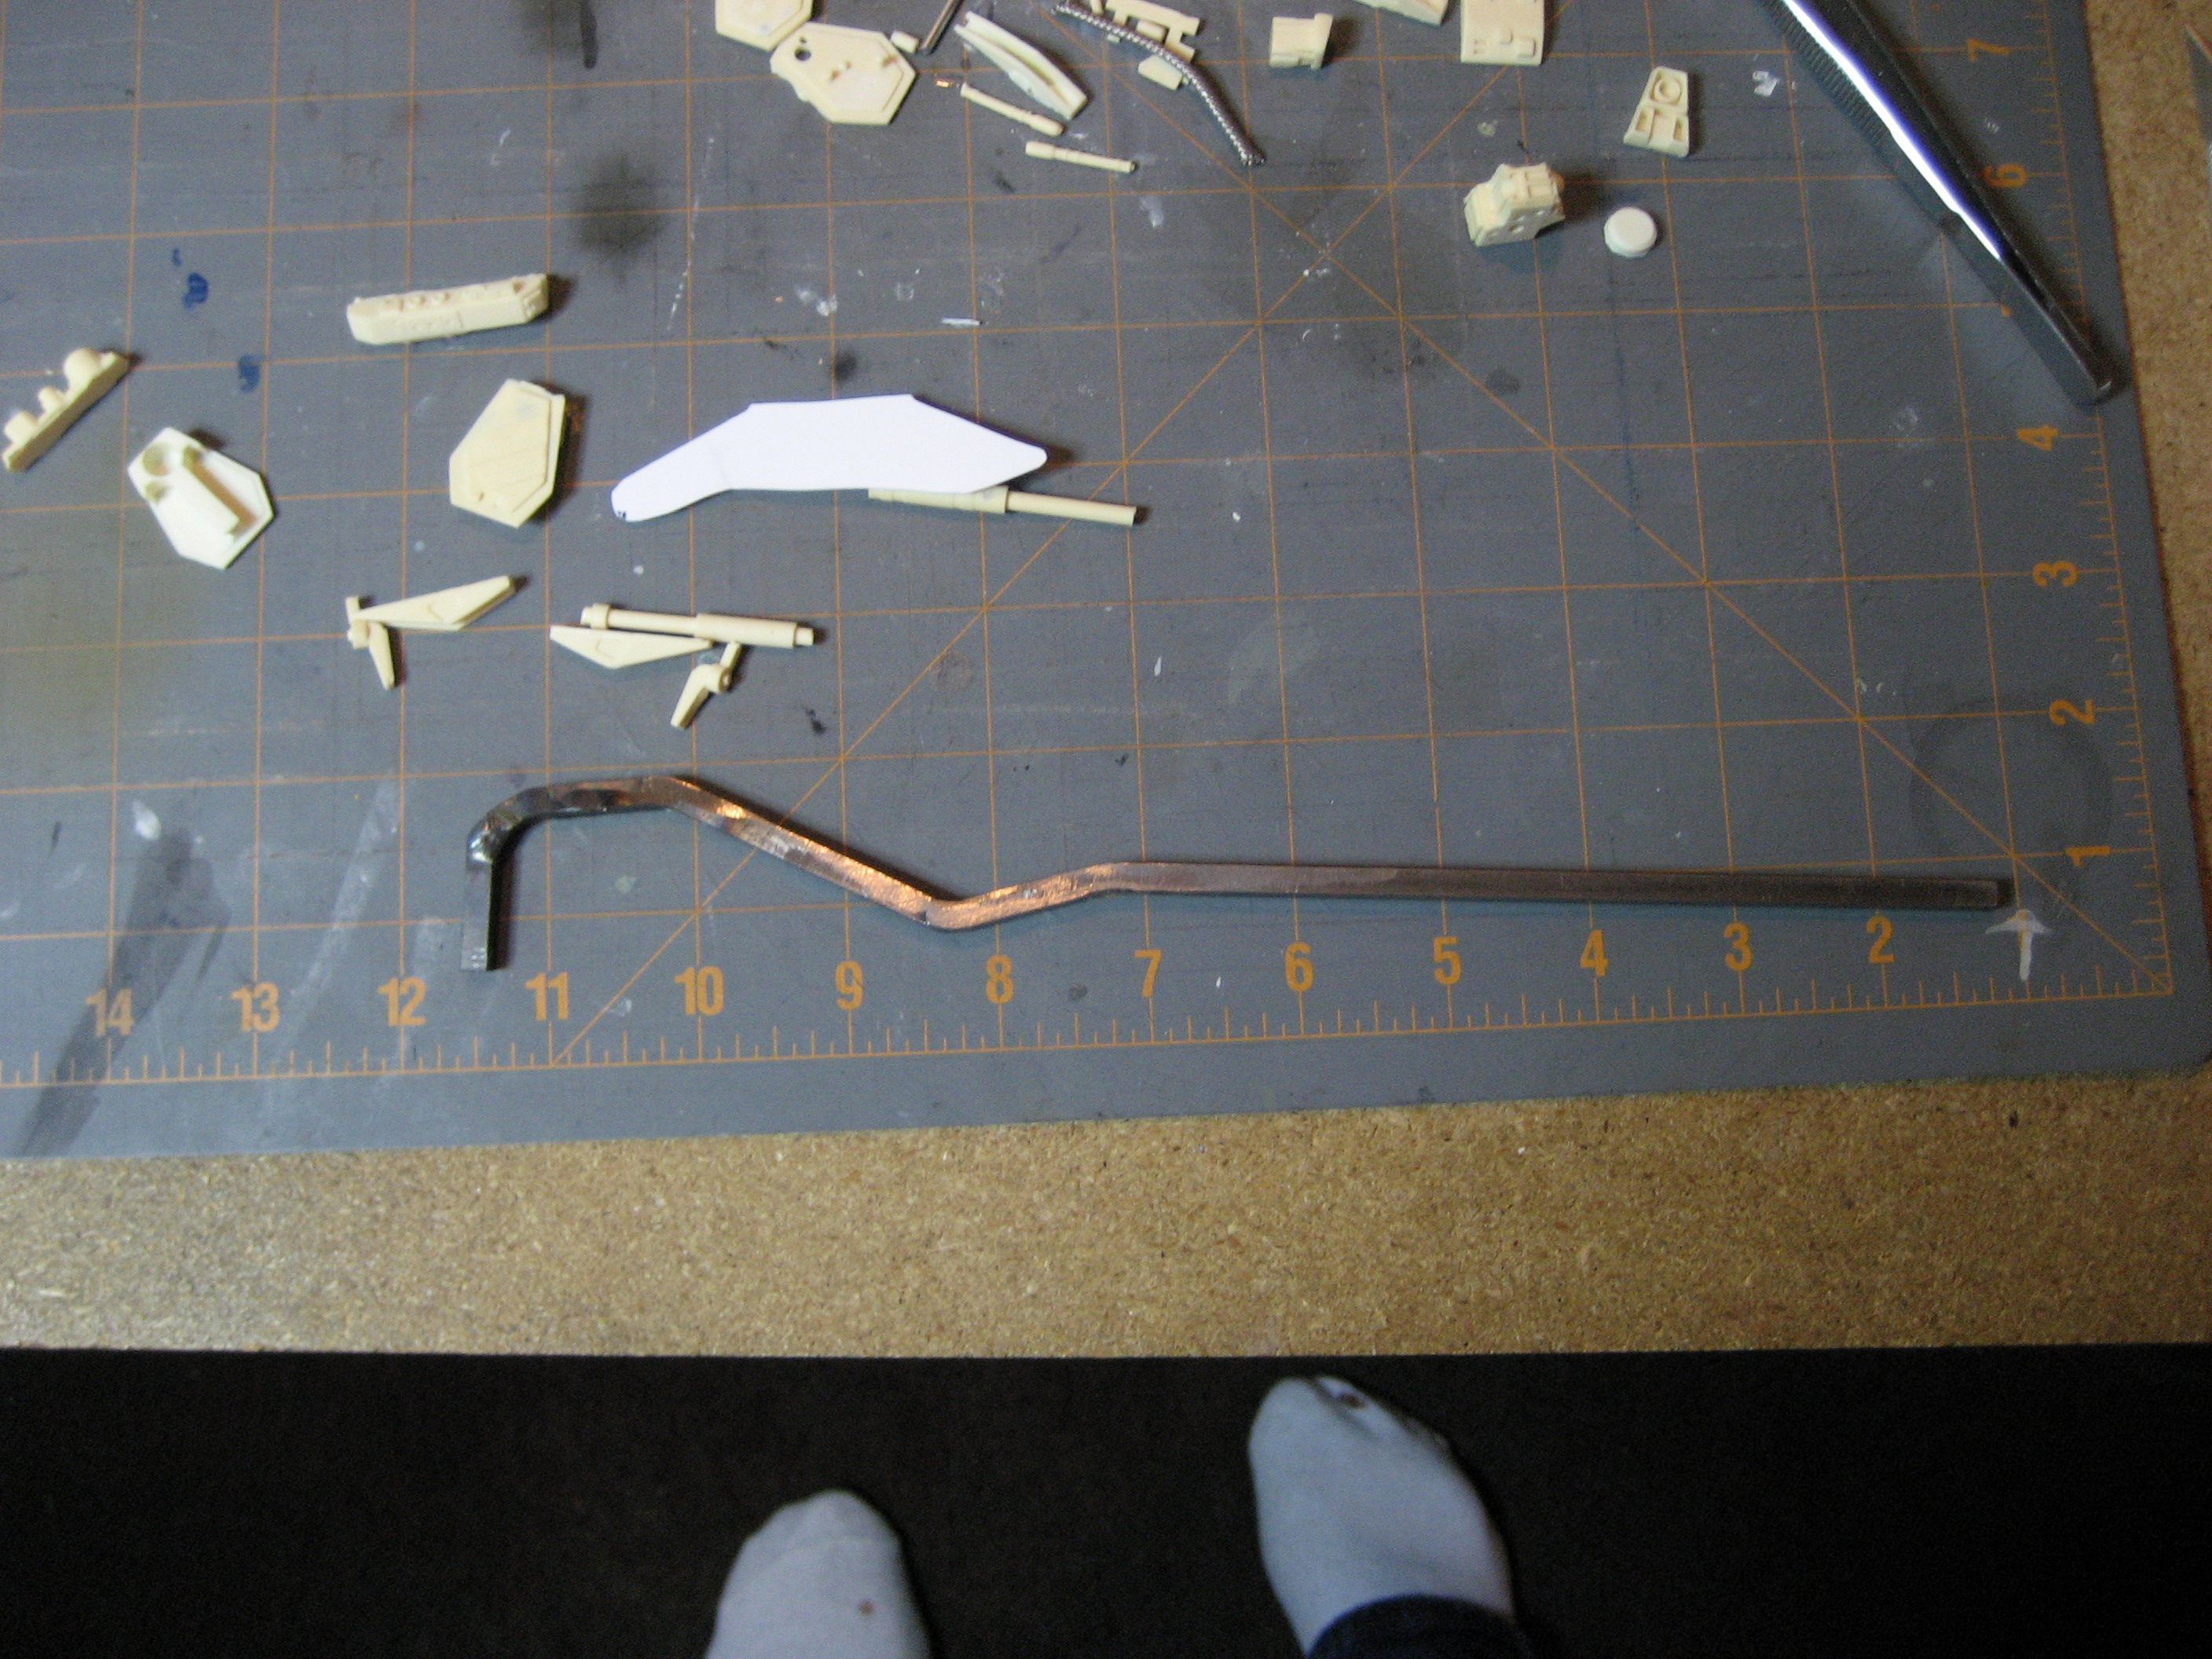
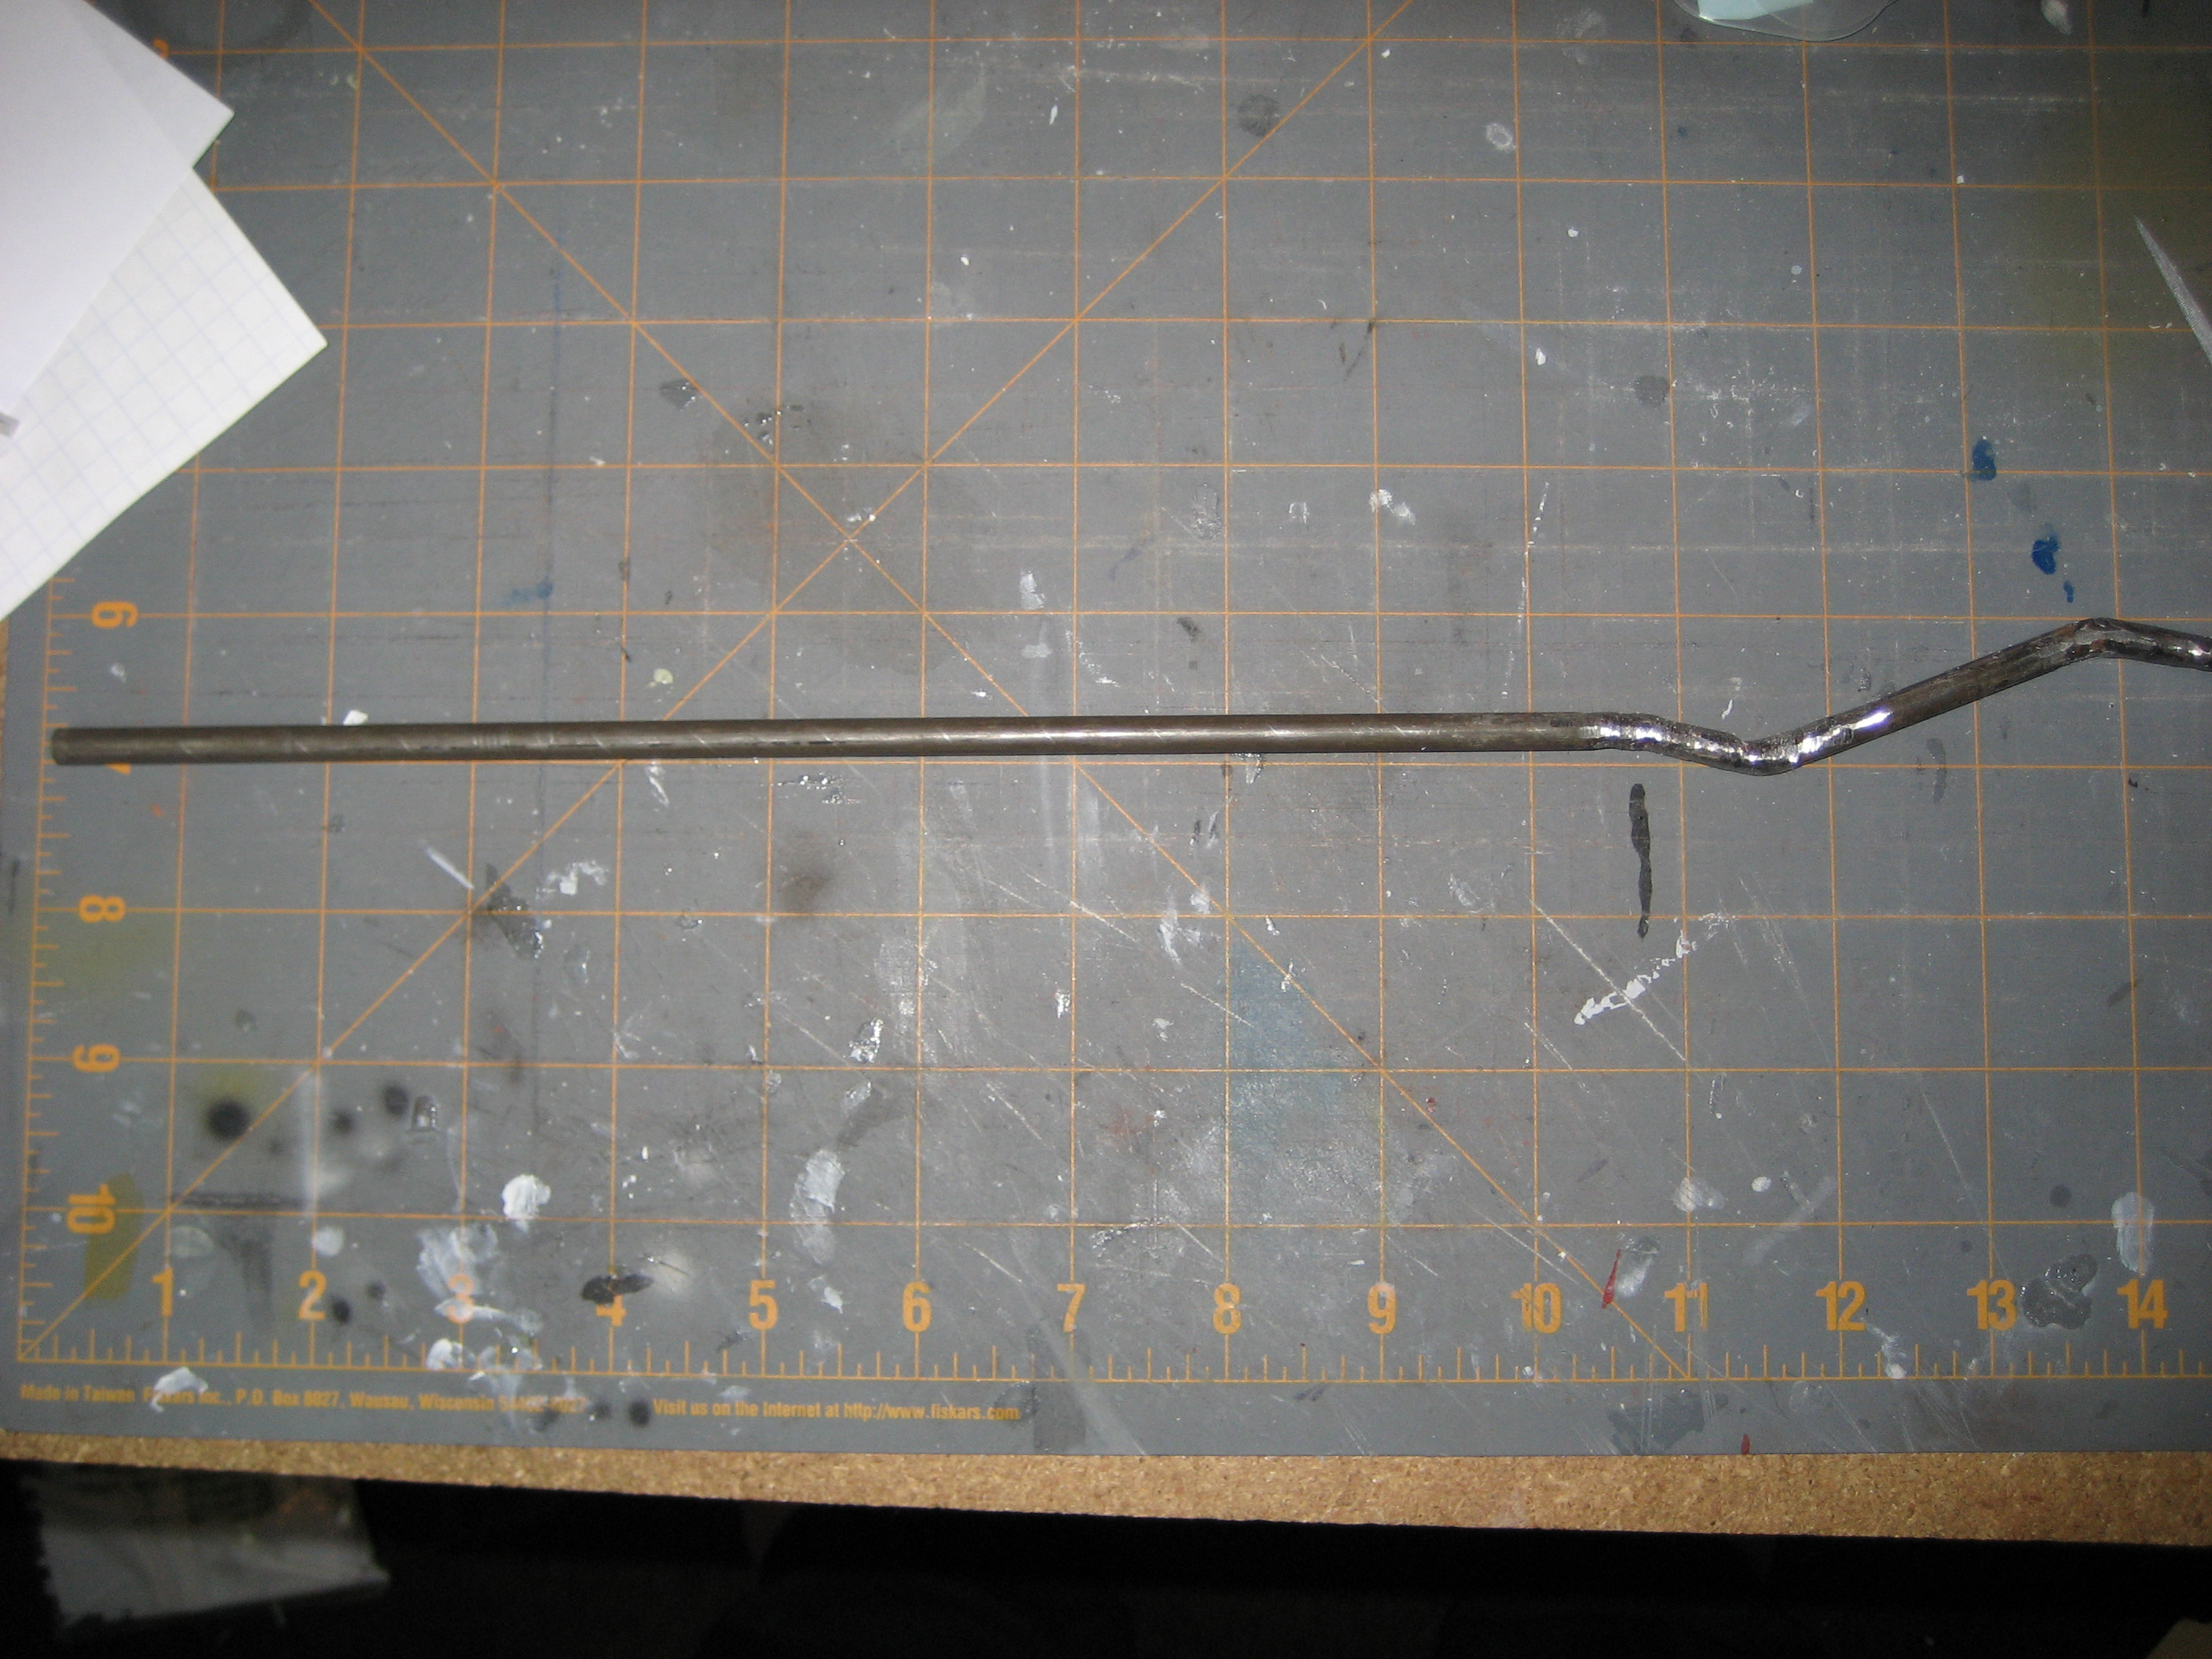
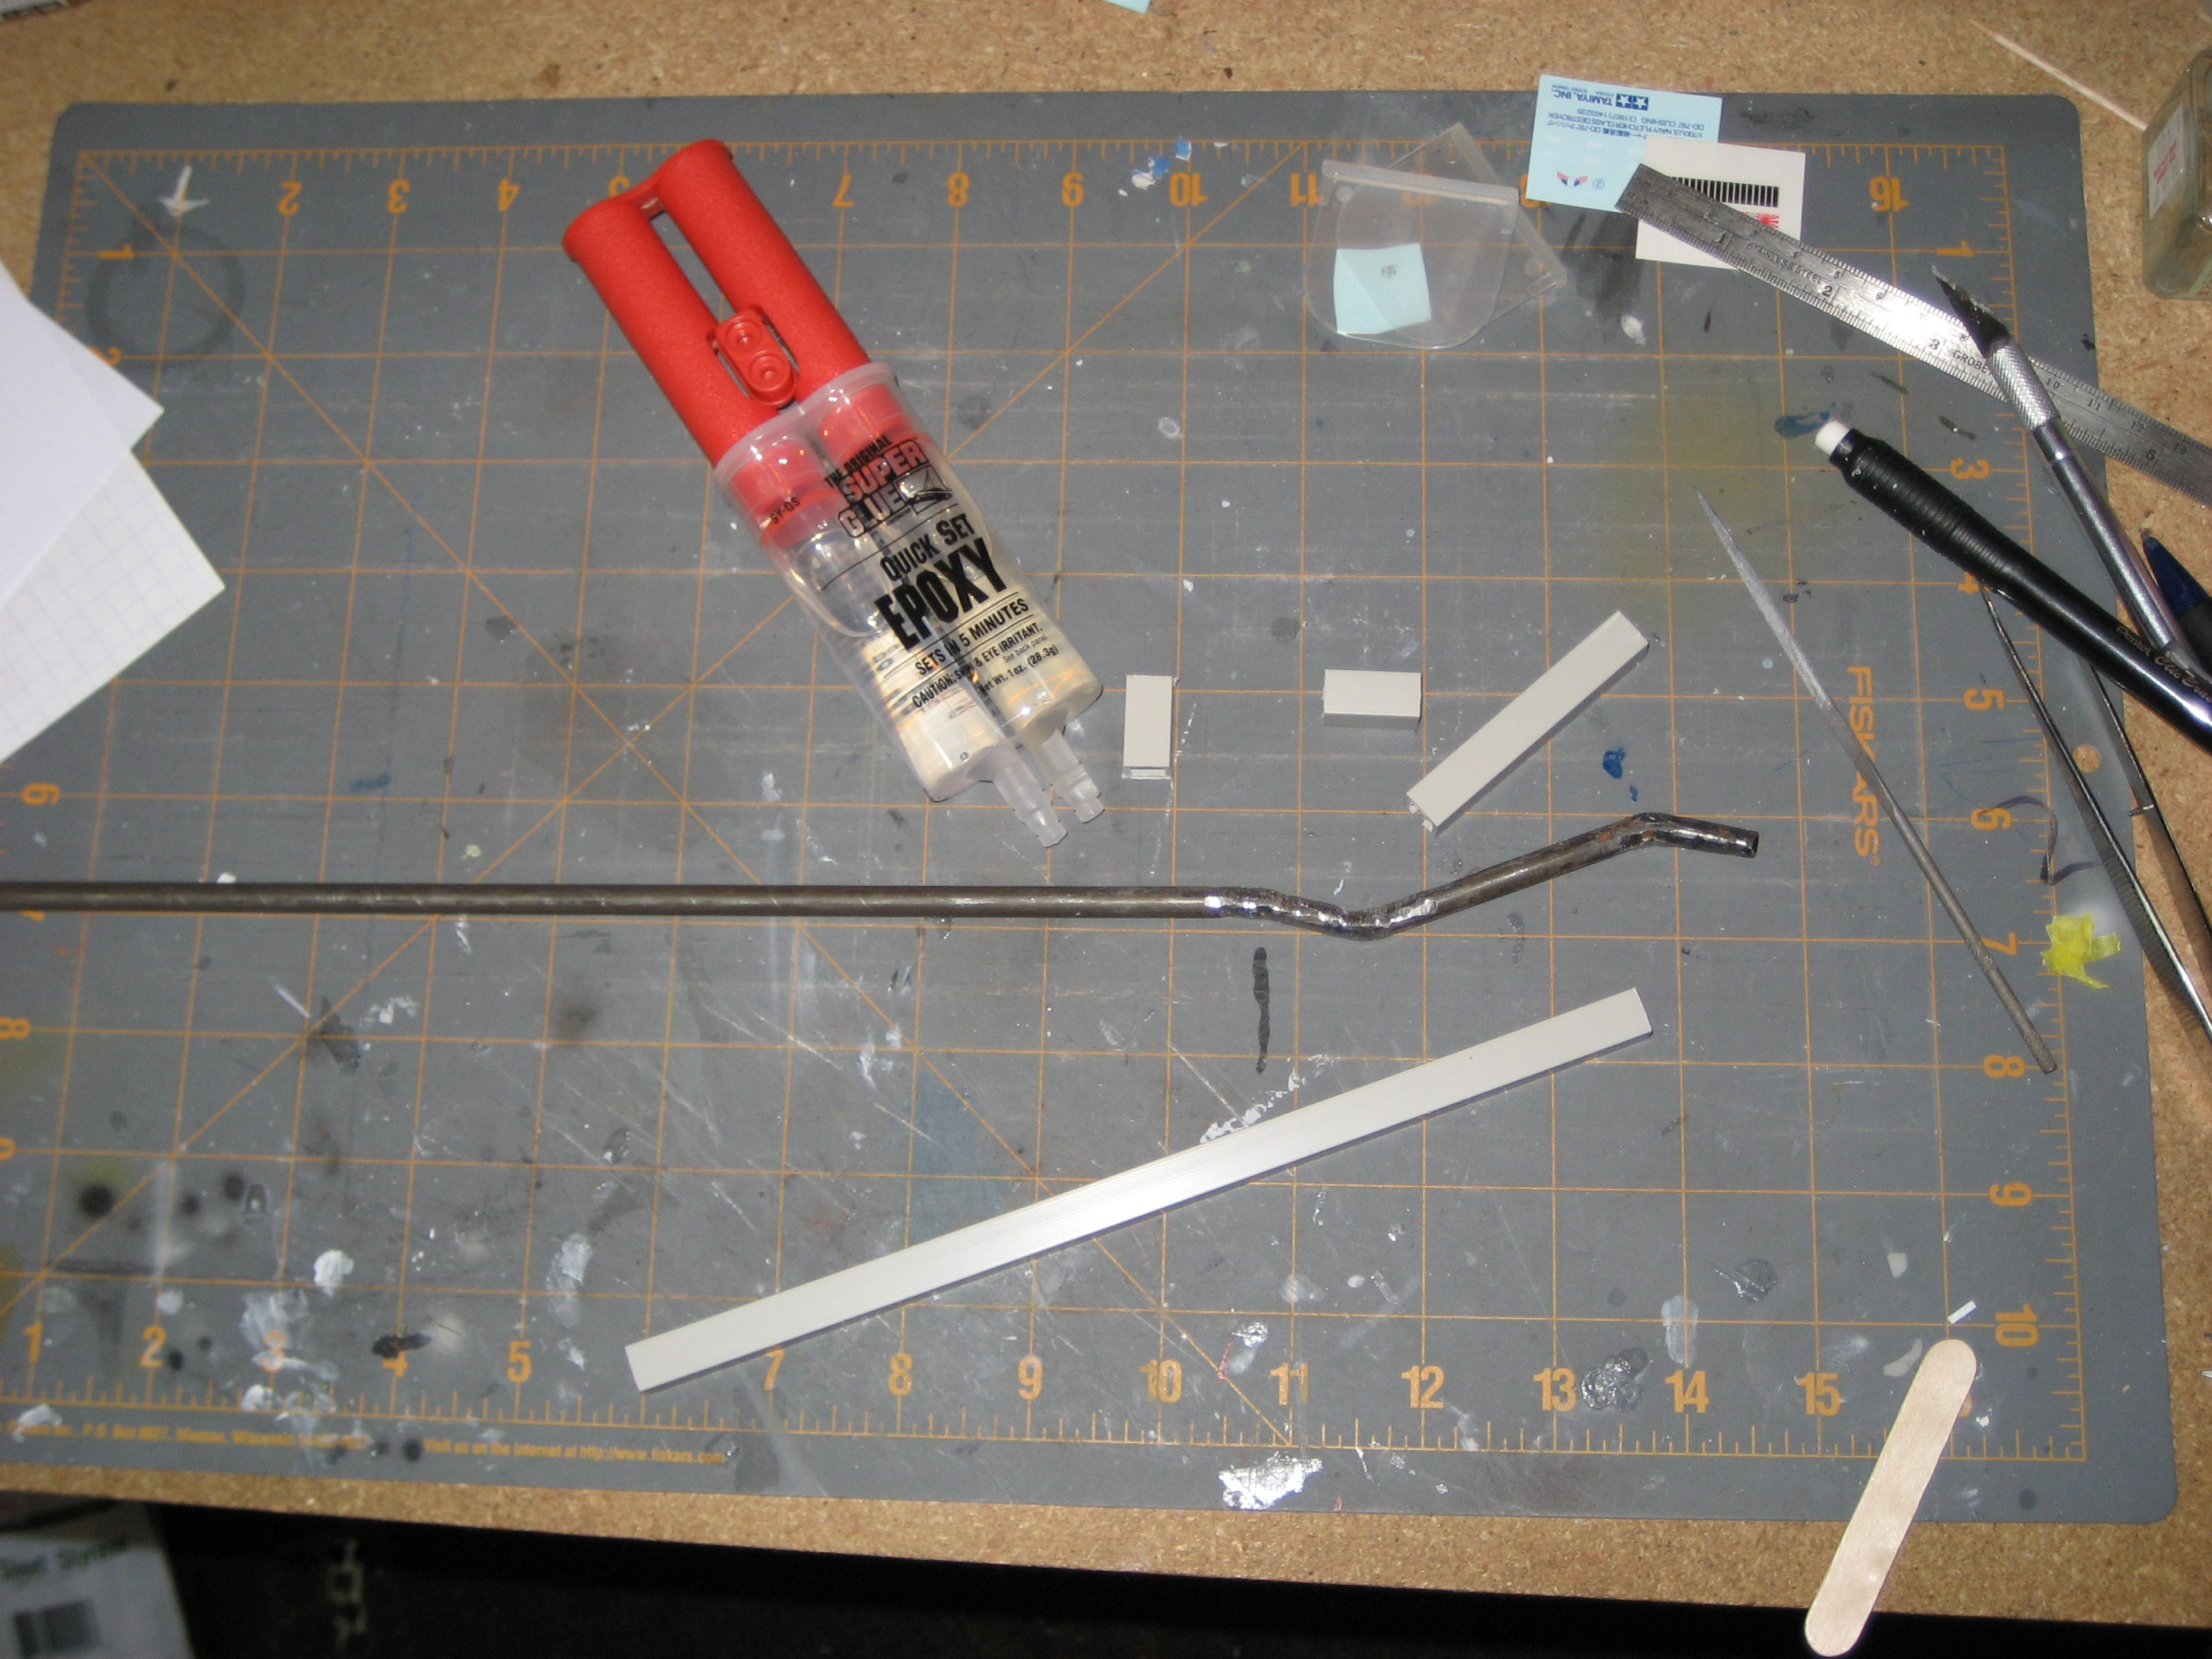
So i found some 3/16 and 1/4 solid steel stock, I decided to go solid so I dont warp the hollow, thinner metal while welding, metal of that thickness needs alot of heat to melt it. So I went to work on the 3/1g, I may weld it too the 1/4in so that arm has a "telescopic" look to it, not sure yet though.
As far as te weight went, I attached a 2lbs weight to the end of the rod (a little less then a kg for you metric folk...) and the bar hasnt even flexed!!! So I think I have found the right set up!!
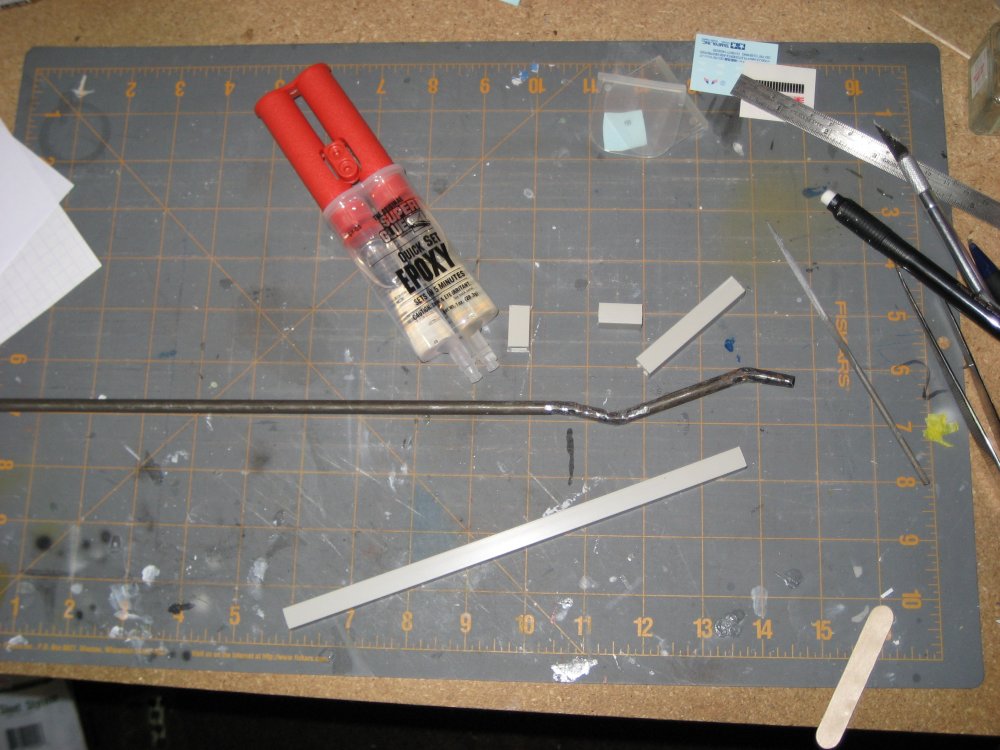
Below are the images of just the stock I welded and the stock w/ a few of the detail bits that I recieved from gundam and that I cut!
Ashton


-
Hey redfinger61 - 1/2" wouldn't be overkill... get the thickest, or at least vertically tallest metal stock you can find inside that arm! it can be quite laterally thin, just tall. I'd go with 1/2" bar stock at least 1/2" the way up the arm, then dress it out with gak to hide it.
I mounted my arm horizontal and after a bit of time, it has unfortunately begun to sag considerably (you'd think a 1/72 Hasegawa kit wasn't that heavy?!) I suppose if you mounted the arm vertically it wouldn't sag as much. But if I were to do it again, I'd definitely beef up the metal stock inside the arm. Just something to look out for - you can tell the sag especially because the secondary arm holding the light "GO" unit is still straight and provides a contrast to the arm holding the Valkyrie.
WC, thanks for the sound advice...
Small update in regards to what WC talked about.
So I scratched the idea about the 1/4 in steel rod because I felt it was out of scale. So I went to the hobby shop picked up some more brass square tubing. Well I cut it up, used some heavy duty epoxy resin and let it dry for a few days, I even reinforced it with styrene....then I did a little test.
I weighed one of my finished valks and attached the correct amount of weight to the end of my "arm" and let it sit over night, when I cam back the next morning the arm had snaped at one of the resin joints...so scratch idea number two...
I my have a line on some 3/16 and 1/4in square tubing, hollow is always stronger than stock, So I am going to see what I can find today and try welding it up.
Ashton
-
Got a fun little package in the mail today...Gundamhead sent me some bits from the launch arm he mastered, he has jumped started my project forward about 3months probably, thanks gundam!!!!!
I stopped by the hobby shop after work today and picked up some small square brass tubing, I think I have what it takes now to make the base of the arm, I am going to work on it tonight and see if I cant post some pics.
Ashton
-
what size of valk will you be using?
this will be for the 1/72 hasegawa kit.
Small update.
I have spent most of the evening working on the claw that will grab the fast packs...and I think the the 1/4in rod is too big, when compared to the moch-up of the claw, the shaft looks to big and out of scale, I dont want to make the claw bigger, then the Valk will look out of scale.
So I feel the solution is to go with a smaller rod, 3/16's maybe...I think I am also going to revamp the jig I built to correct the angles a little more.
Ashton
-
Gonna use this thread to keep pics and progress updated on this build.
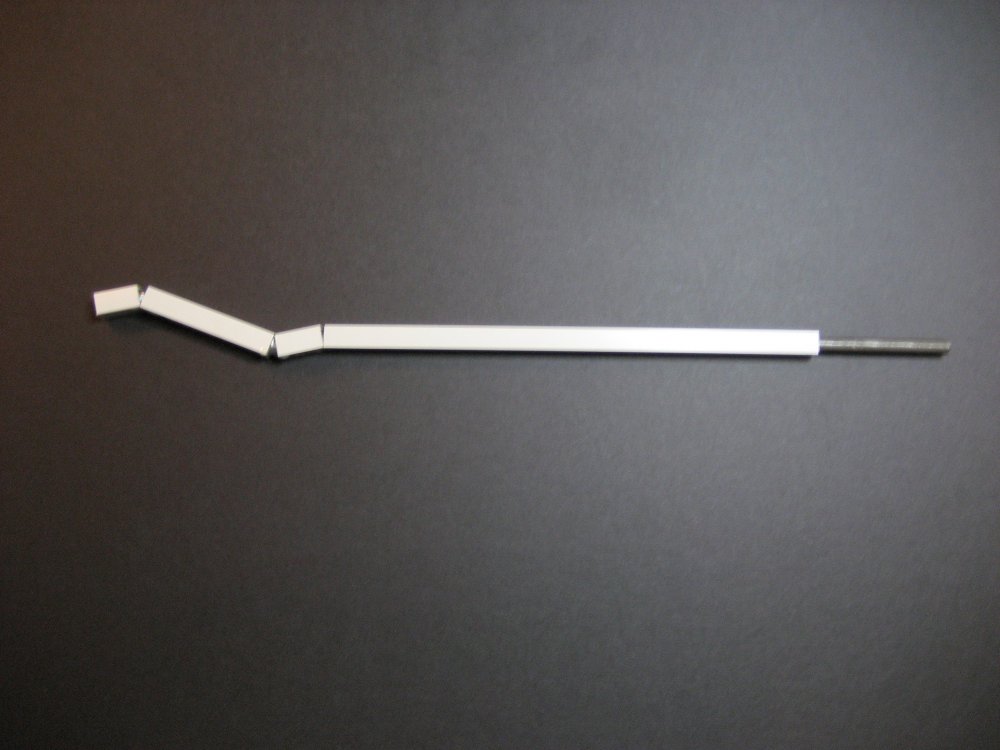
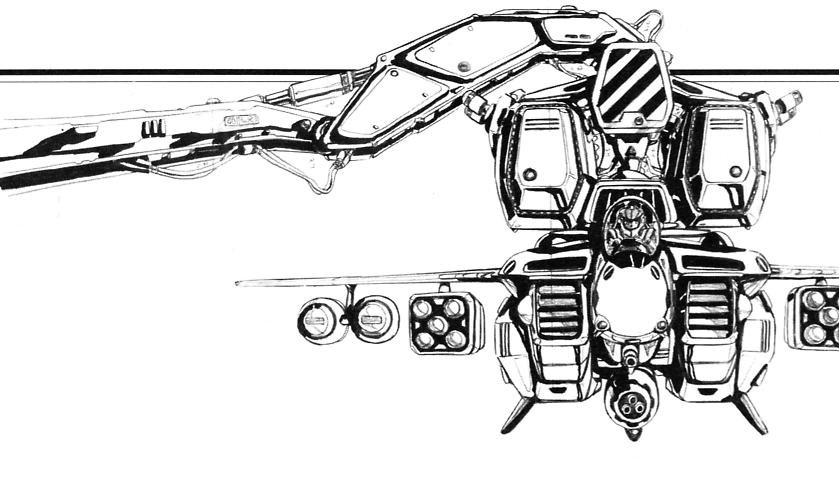
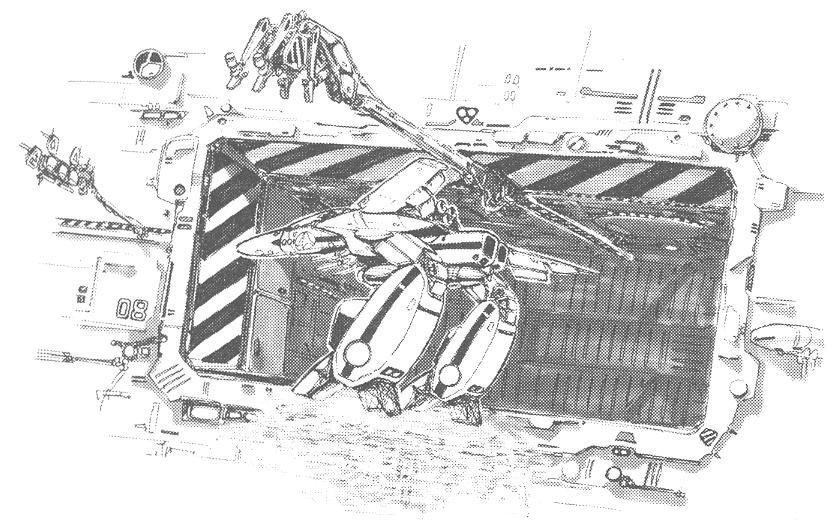
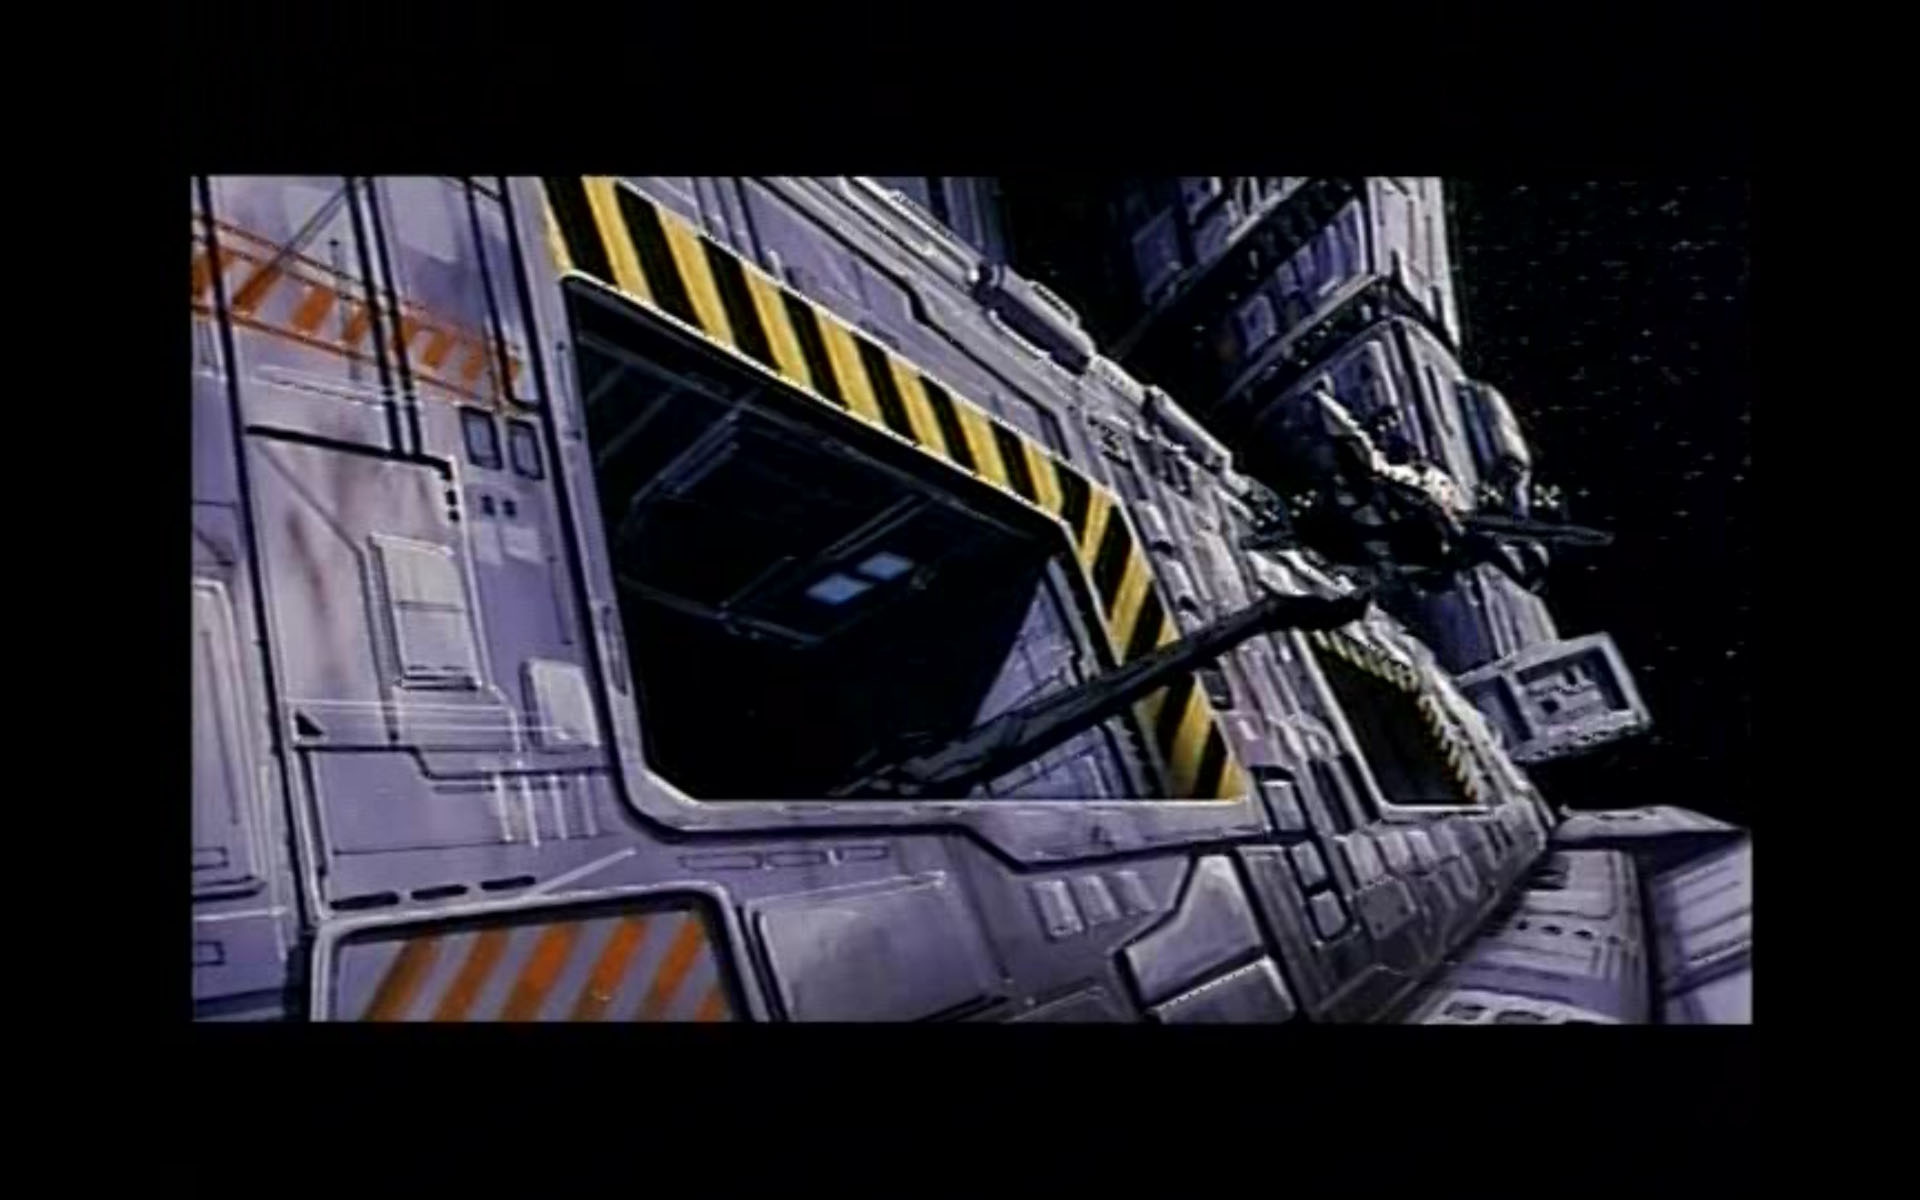
Pretty straight forward here...I basically drew to scale the arm that I am gonna build. I use the attached image/studio art to base my arm off of. I took 1/4in steel rod and cut the lengths I needed, rigged up a jig, set the rod in it and welded away.
After that I smoothed out the welds, then encased the steele rod in the proper size plastic square tubing. The idea is the use this square tubing as a base from which to build the arm, while the steel rod on the inside gives the arm the needed stregnth so that the arm doesnt bend with time. The steel might be a bit overkill, but it is what I have access to in my garage right now.
The next step is to fill in the gaps at the joints with some putty and smooth it out. After that I will probably work on the claw or fast pack grasp, and then onto the rest of the arm, followed by the base(still not sure what to do about that yet.)
Ashton
Pics;

-
or you could wait a few months since the kit is in the casting que for reissue at Starship Modeler

Yeah that was a thought, but accoarding to Linda it is several months to possibly a year...I really dont feel like waiting that long, and since I was gonaing to make some pretty significant changes to the original, I thought I might as well make my own.
Ashton
-
I got the "red box" version and it does come with the pilot, which is in metal!
Is yours an original or recast? The "red box" was just a first release, later on strike kits also came in "blue box" with a sticker placed over super wordings.
I am not sure but I believe the Hasegawa pilot should fit with monor alterations.
I am almost 100% positive it is an original, or a very, very, very good recast...That being said i dont have the strike version it only has the normal, non-strike fast packs, no cannon...I will look again but I am pretty sure there was no pilot in there...I also think the Hasegawa pilot will be a little too big for this model, when compared to the Hasegawa kit the club-m kit is slightly smaller...
Ashton
-
Recently I bought a 1/72 VF-1A w/ fast packs, the one built by Club-M/Yellow Submarine. It is the Blue box version, not the red "Strike" version.
I was looking on the main MW site and the I noticed that the red or strike version indicates in the instructions that it comes w/ a pilot....
Mine had no pilot??? So did I egt screwed out of a part or did this particular kit not come w/ a pilot?
Ashton
-
You may take a look a this, I think that you will find good references here. wm Cheng is the Master
http://www.macrossworld.com/mwf/index.php?...t=0#entry341193
Yeah I have viewed thaqt thread many a time...While Gundamhead's and WC's work is great, even inspirational, mine is probably goning to look a bit different, a little more screen accurate, or at least as accurate as the screen grabs/concept art I could find.
Ashton
-
I have got all my supplies together to weld the frame of the arm together...I am at work this weekend but I should get to it in a few days, Iwill post some pics then...
Ashton
-
A metal armature sounds like the go.
I think Umi Ryuzuki on the SSM forums put in some pretty good advice on using two way mirrors to achieve the hollow effect you're after... I believe they did that sort of thing for some of the effects shots in Return of the Jedi, specifically when the Falcon was flying through the Death Star Mk 2.
Good luck!
Yeah the more I think about it the more I think that is the way I will go..
Ashton
-
I have spent the majority of the evening laying out how this launch arm will got together, I dont think I am going to use the alluminium stock...instead I am going to use 3/16 steel rod and weld it all together, basically it will follow the angles of the boom and launch grapple.
The plan then is to build up around the steel rod with putty and styrene to get the shape I want.
I dont have any pics yet but I will post some in a day or two when I get some gas back in my welder again...
Ashton
-
Ever since I saw the bas Gundamhead built I have wanted this kit it looks sooooo cool.....SSM aparently has the masters for this but they say that it is months away...so I was thinking I would make my own.
If I ever did get my hands on one of those bases I was gonna make some changes anyway to make it a little more screen acurate, so i suppose building my own isnt that far off from modifiying one up...
So I have a plan to make the arm very solid, I am desiging this to be mounted off my wall, so I am using 1/4in alluminium solid stock and I will build the arm up around it.
Not to take anything away from the fine work that Gundamhead did, but there are some changes that I will make in my version that I think will make it look more accurate to the movie
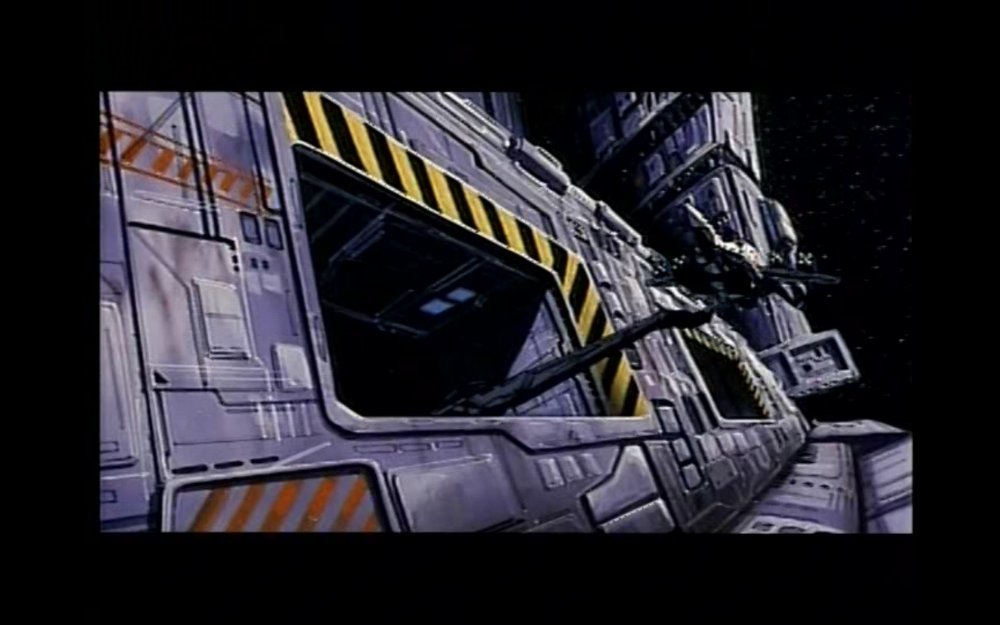
1. The "hull" base- It was originay modeled as a square opening with the door shut and the "boom" attached to the door. I am planning on having the entire opening visible and looking like it does in the movie. This could pose a problem, how do a design/build the shaft so that it is merly not a black empty hole....I was thinkinng of using mirrors or something.
2. The launch arm, at least in the drawings doesnt seem to come out as far so I will be shortening it up a little.
3. The lauch arm seems to have more of a taper to it, I will try and fix that.
4. instead of 2 plates on the grasping arm there should be 3.
All in all they are pretty minor changes but I am hoping it all turns out fine, of course mine will look different and I am not out to try and copy Gundamhead or anyone else who worked on this model, I just figured if I am gonna build it I should make it look close to the movie.
My biggest concern is the Tunnel opening..I could maybe have a door closed partially or something, but I dont want it to look closed completely, that is one of my pet peves with the current kit that is out there.
Any tips?
Ashton
*photos I am using*
-
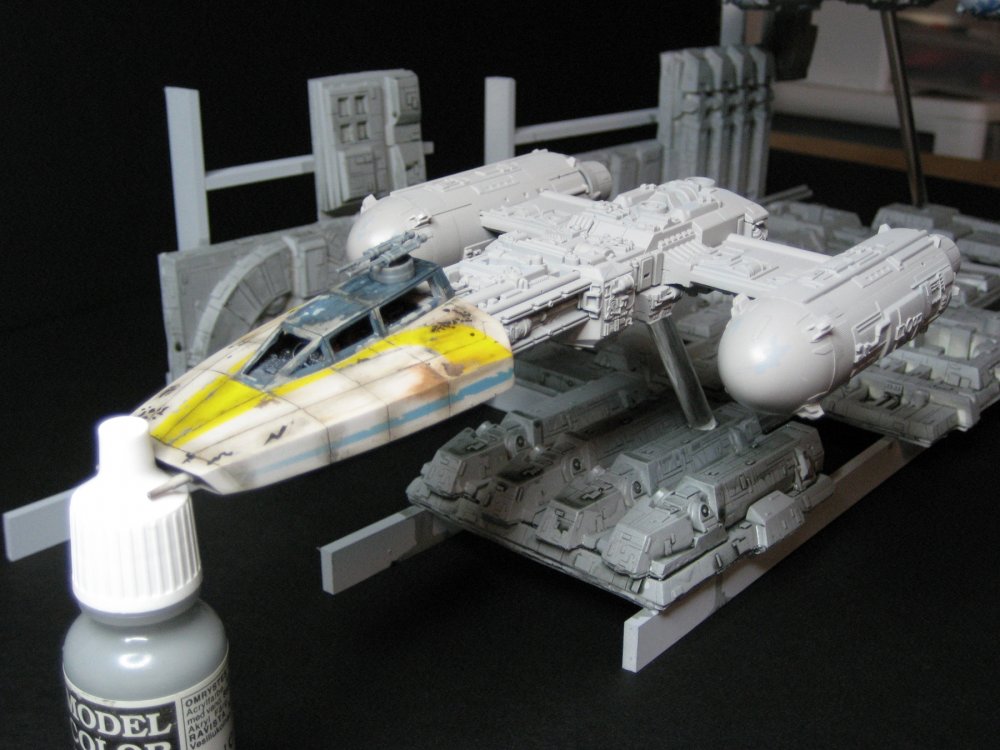
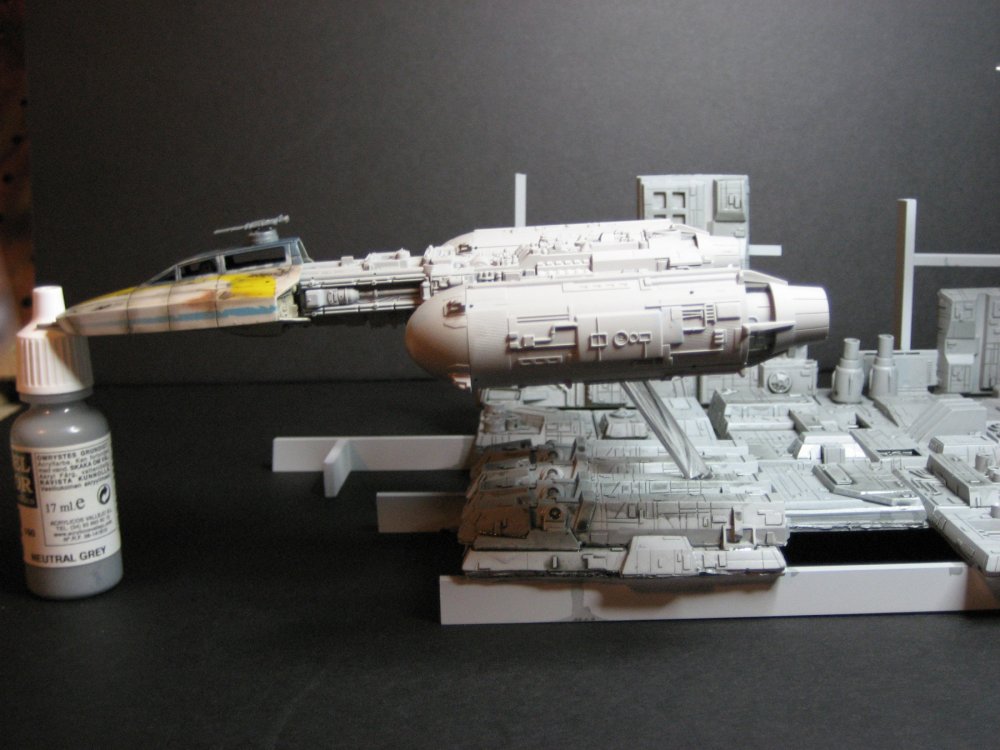
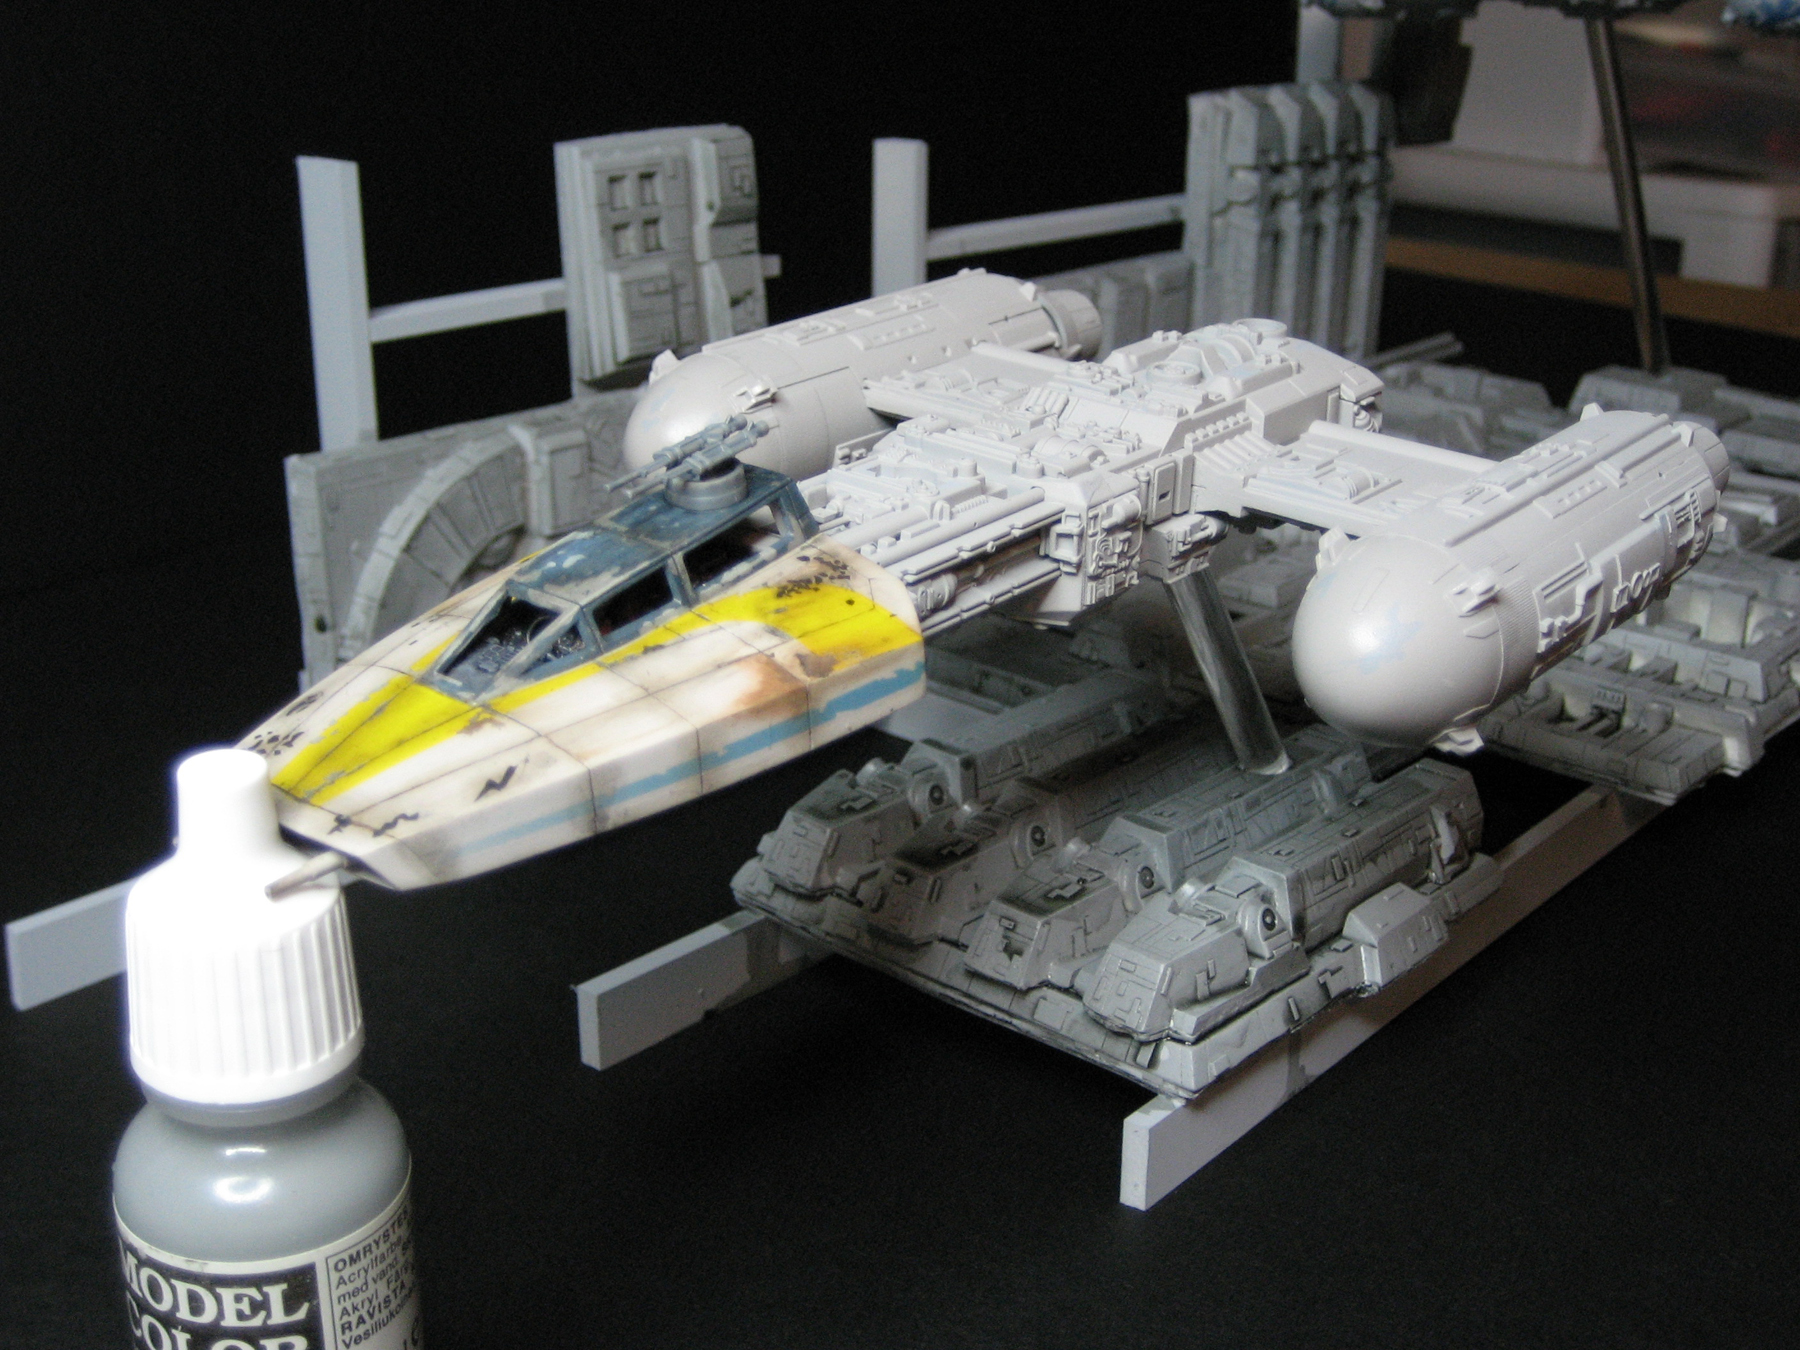
Not Macross, but I wanted to share anyways...these Y-Wings are great fun!!!!
Ashton
-
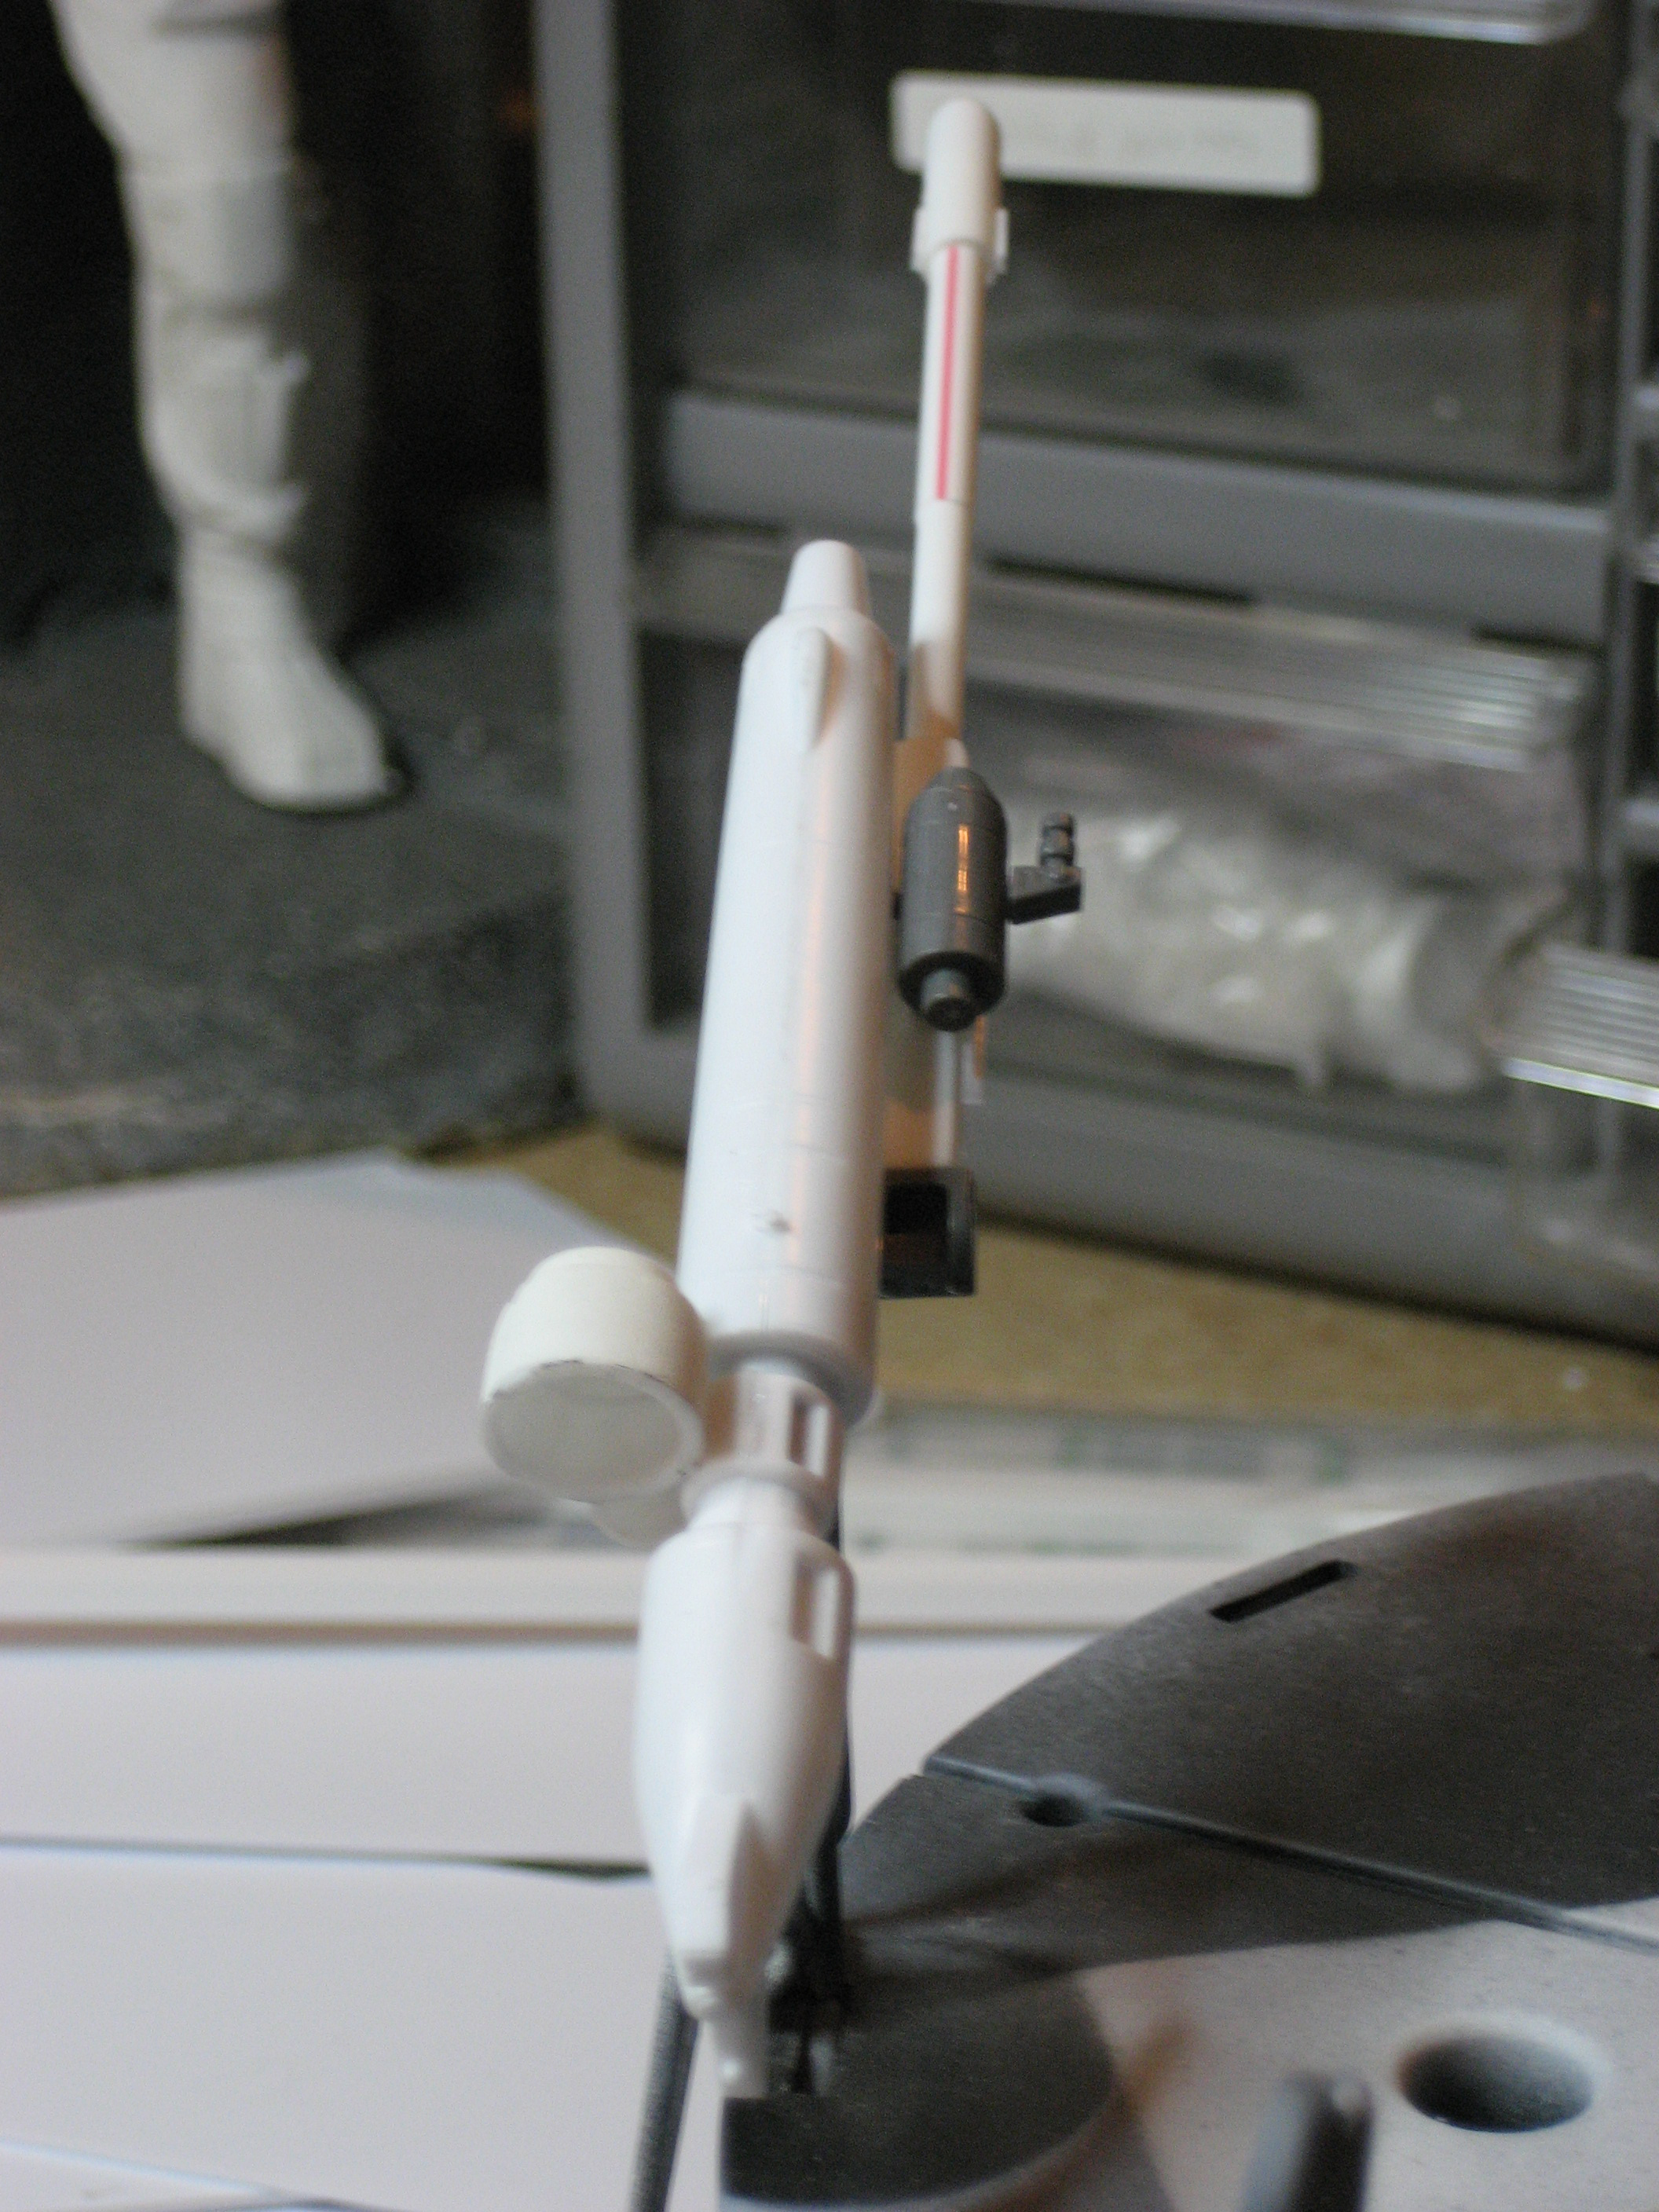
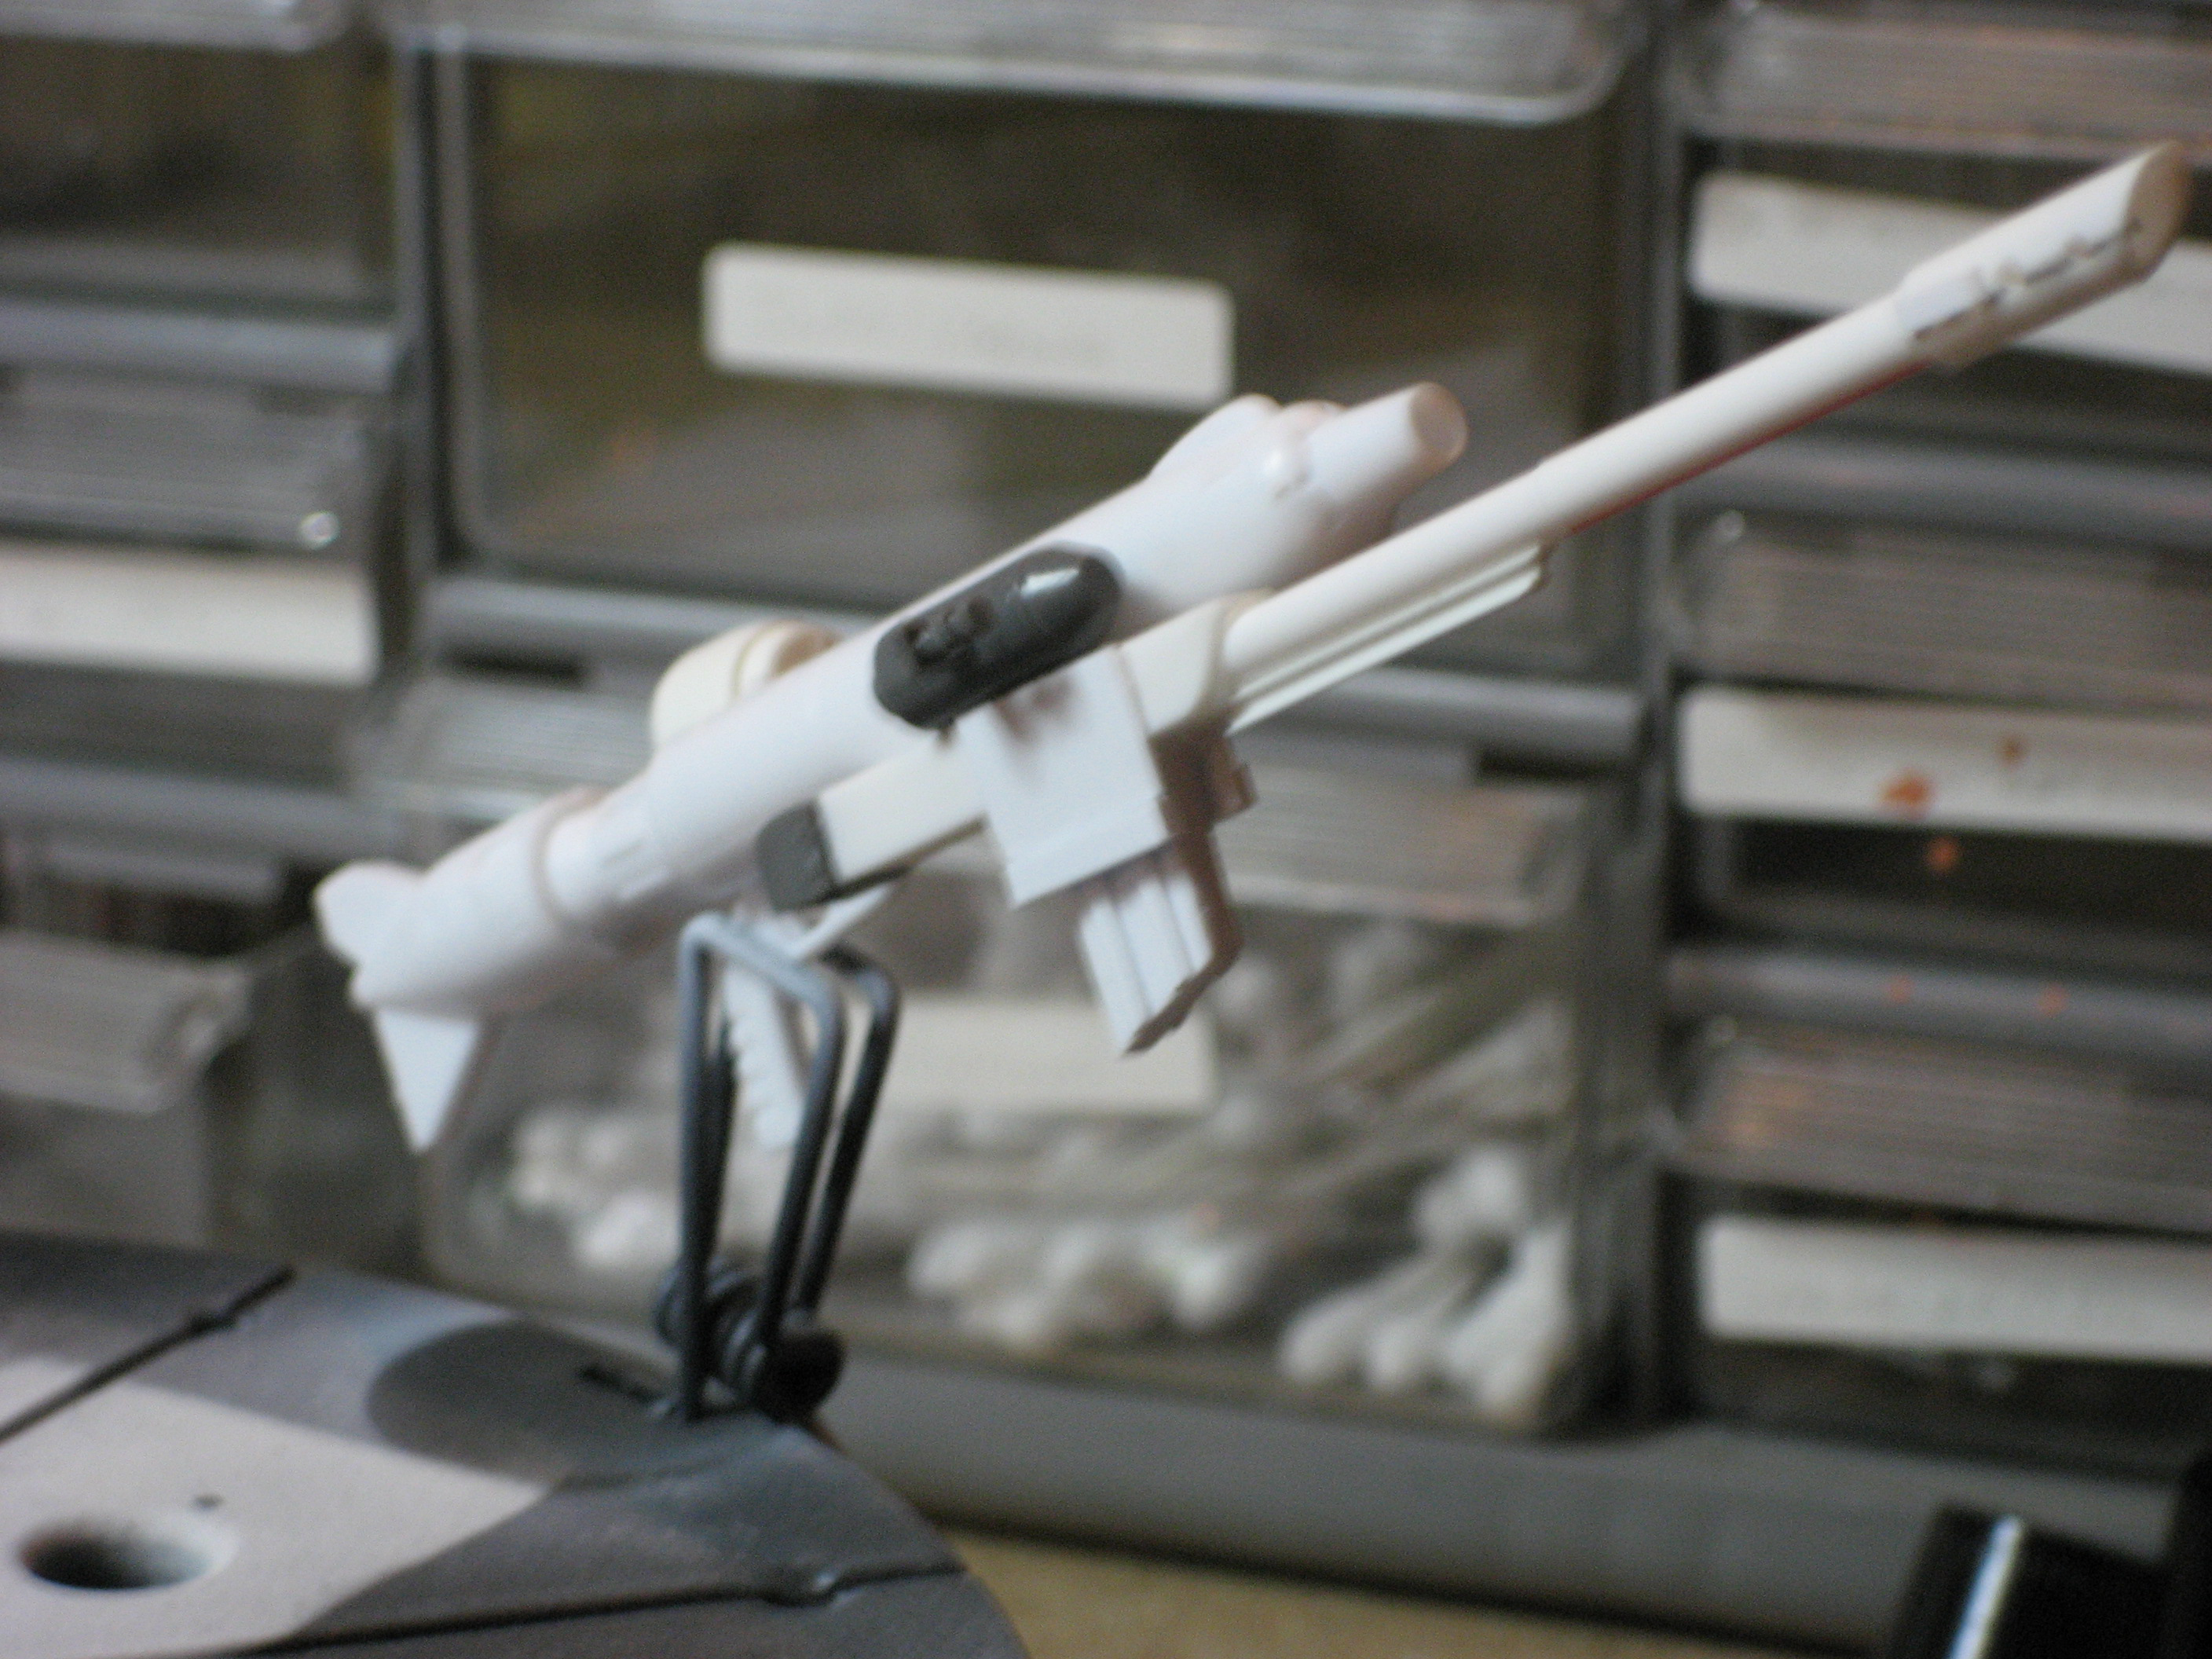
Those are not the origonal thruster cones for the manuvering thrusters....where did you get the new ones?
Ashton
-
Man that looks great!!! I LOVE the weathering!!
I am working on the Neograde Armored Batteroid for the VF series, I was planning on weathering it like a tank, to give it that worn look.
great work over all!!!
Ashton
-
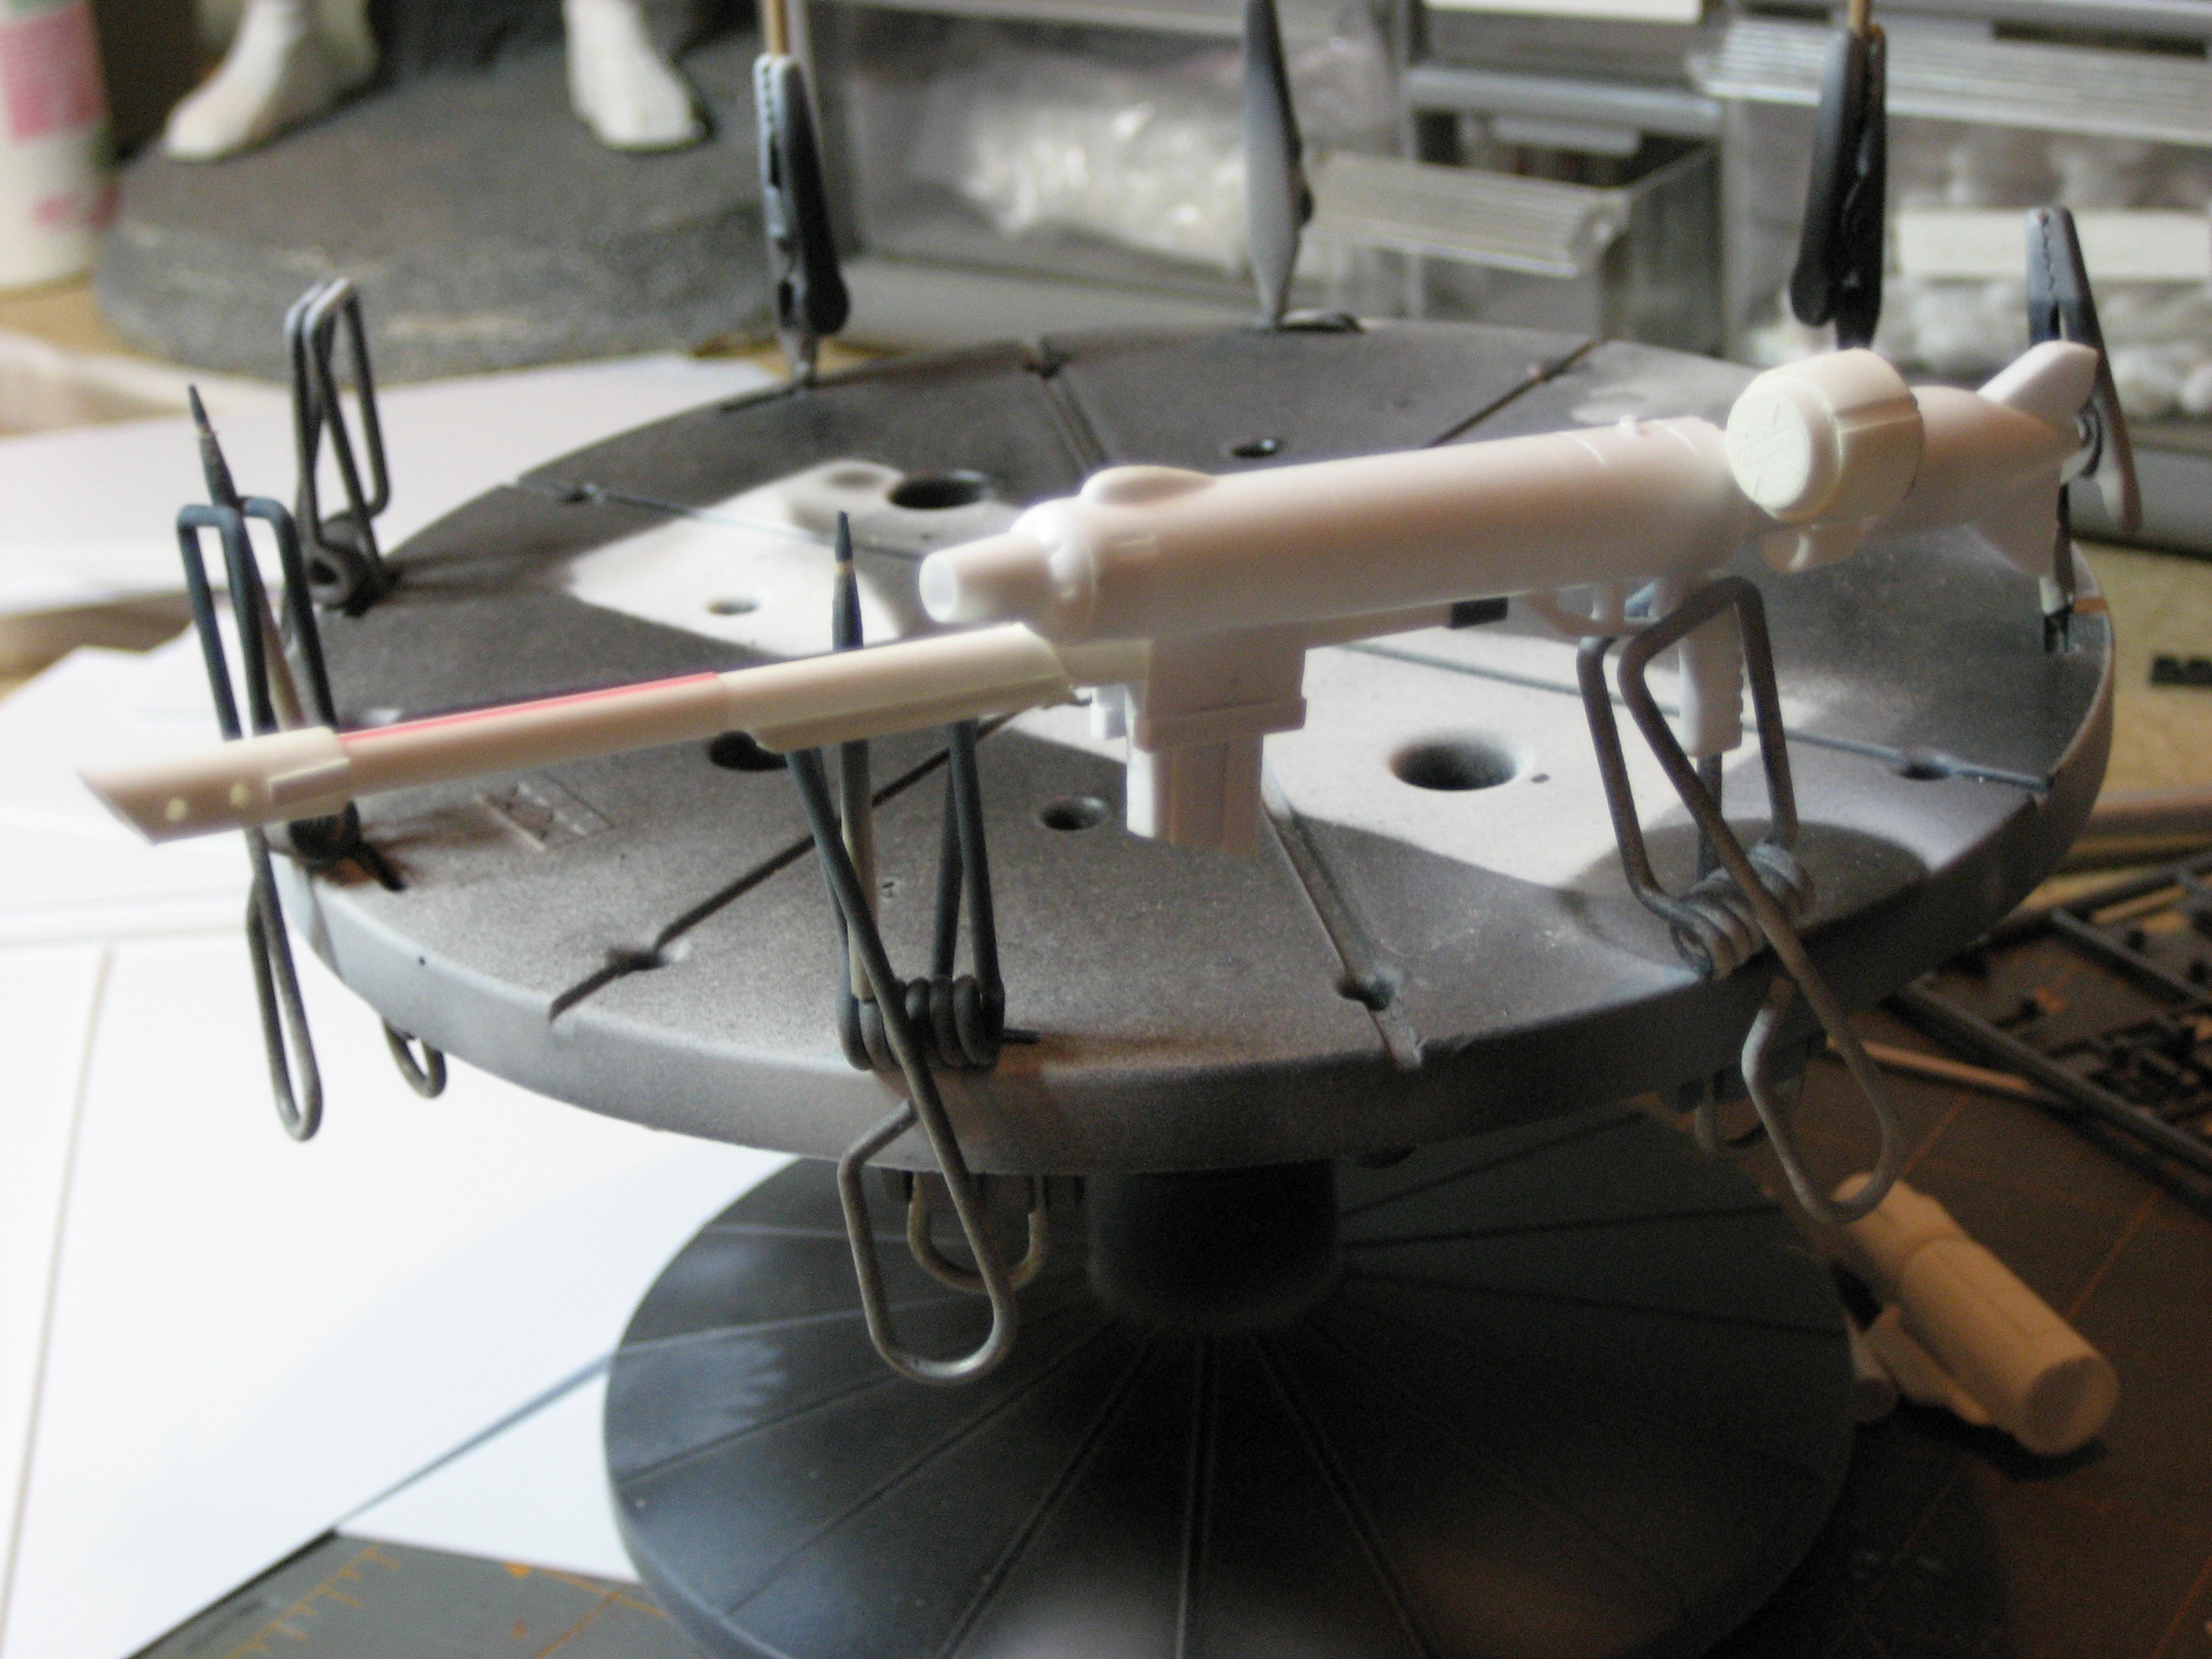
Where you get that roach clip wheel???
What caliber you think that gun would be????
lol "roach clip"
http://www.starshipmodeler.biz/index.cfm?f...;Product_ID=927
As far as caliber I have not given it any thought...maybe the .50cal mech equivelint(sp) Just big enough to punch a good hole at a long range.
Like i sadi though I still have a lot to clean up on it.
Ashton
-
Like the title says this is just a mock up, I have to clean it up a bit but I kind of like it....I may also go with a suggestion form my origonal topic and maybe make the GU-11 bigger and some additional arm shielding....
The attachment is supposed to be a long range rifle that fires a armor peircing round. The rife has some attached sensor junk to aid in firing. In addition there is a extra clip mounted on the gun, the clip is actually a high round magazine, this magazine allows for extended fire without the need of reloading.
All the "attachments" can be removed as easily as the armor can, allowing for transformation and atmospheric re-entry.
So what do you all think?
Ashton


-
A word of caution with rattle cans and those Hasegawa 1/72 kits. The detailing on those kits is very fine, and using a rattle can and all the varous coats you are talking about could quickly "fill" the panels lines and make weathering the panel lines quite difficult.
If you have access to a airbrush, use that instaead, you will get much better results, if you dont have access to a airbrush, then consider recribing the panel lines before you do anything, this will make the grooves deeper, allowing for more coats. If none of that is an option then think about a single coat of a gloss white in your chosen brand, and try weathering the panel lines w/ a pastel chalk wash or pencil, then knock the whole model down w/ a satin clear coat.
Just remember that the more "layers" of paint you have the more detail gets obscured, particularly in a 1/72 scale.
The method I use(varies from model to model)
Assemble model in to various sub scetions; nose, wings, legs, ect
Prime sub assemblies, or pre-shade depending on what I am going for and what scale I am working with. My chosen primer is Mr. Surfacer 1000, VERY thin crisp primer!
Apply color, I use mostly Vallejo acrylics mixed with Future Floor polish and water, leaves the paint already in a semi-gloss state.
If my ration if future to paint was right I go straight to decal apllication, if not a few thin coats of future.
After decal application, I apply another thin coat of future to level out decals.
Oil wash and weather
Dull coat, or sating or whatever final coat
Additional weather
Done!!!! enjoy model!
The biggest problem I think you will have is keeping the layers thin....
Goodluck!!
Ashton
**edit**
to do the "appply and wipe" method you need a somewhat glossy surface, you get better results that way.
-
How about adding an additional barrel and receiver on top and maybe even some optics. It could be a piggy back long range “sniper” armor piercing setup for taking out bad guys from a Looooooooookg way away. That would certainly “beef up” the gun pod. You could eve add a 10-20 round magazine to it so it’s complete.
Yeah, I actually built a little mock launcher and it didnt look right mounted on the GU-11, so I began to rethink my idea and was thinking of something along the sasme lines as what you ahve described. The one problem I forsee is making it look a little "gundam-ish" so I will mock something up again and we will see how it goes....
Ashton
-
Is a "second run" list going at all? if there is one I would love to get on it.
Ashton


Club-M/Yellow Submarine V-1A question...
in Model kits
Posted
ok then, does anyone have an extra club-m pilot?
Ashton