redfinger61
-
Posts
98 -
Joined
-
Last visited
redfinger61's Achievements
ARMD Deck Swabber (2/15)
0
Reputation
-
And I am not sure if this is in the right place.... Anyway I dont know what happened but for the longest time I could not access macrossworld.com anymore...I tried resetting my server, modem reinstalling my internet software, everything!! I just could log on close to a year now! Any way I can log in now, so hi everyone, how is everyone doing? Good to be back! Ashton
-
I am actually building my own launch arm and hanger, here is the link, http://macrossworld.com/mwf/index.php?showtopic=24059 it is showing the build up of the hanger, it might give you some ideas on how to scratch build one your self. Ashton
-
As far as "detail" goes quite a bit I guess, the whole interior of the hanger will be detailed out, the control room will even have operatoers in it, I plan on adding various hoses and such to the arm....so i feel it should look well enough. Ashton
-
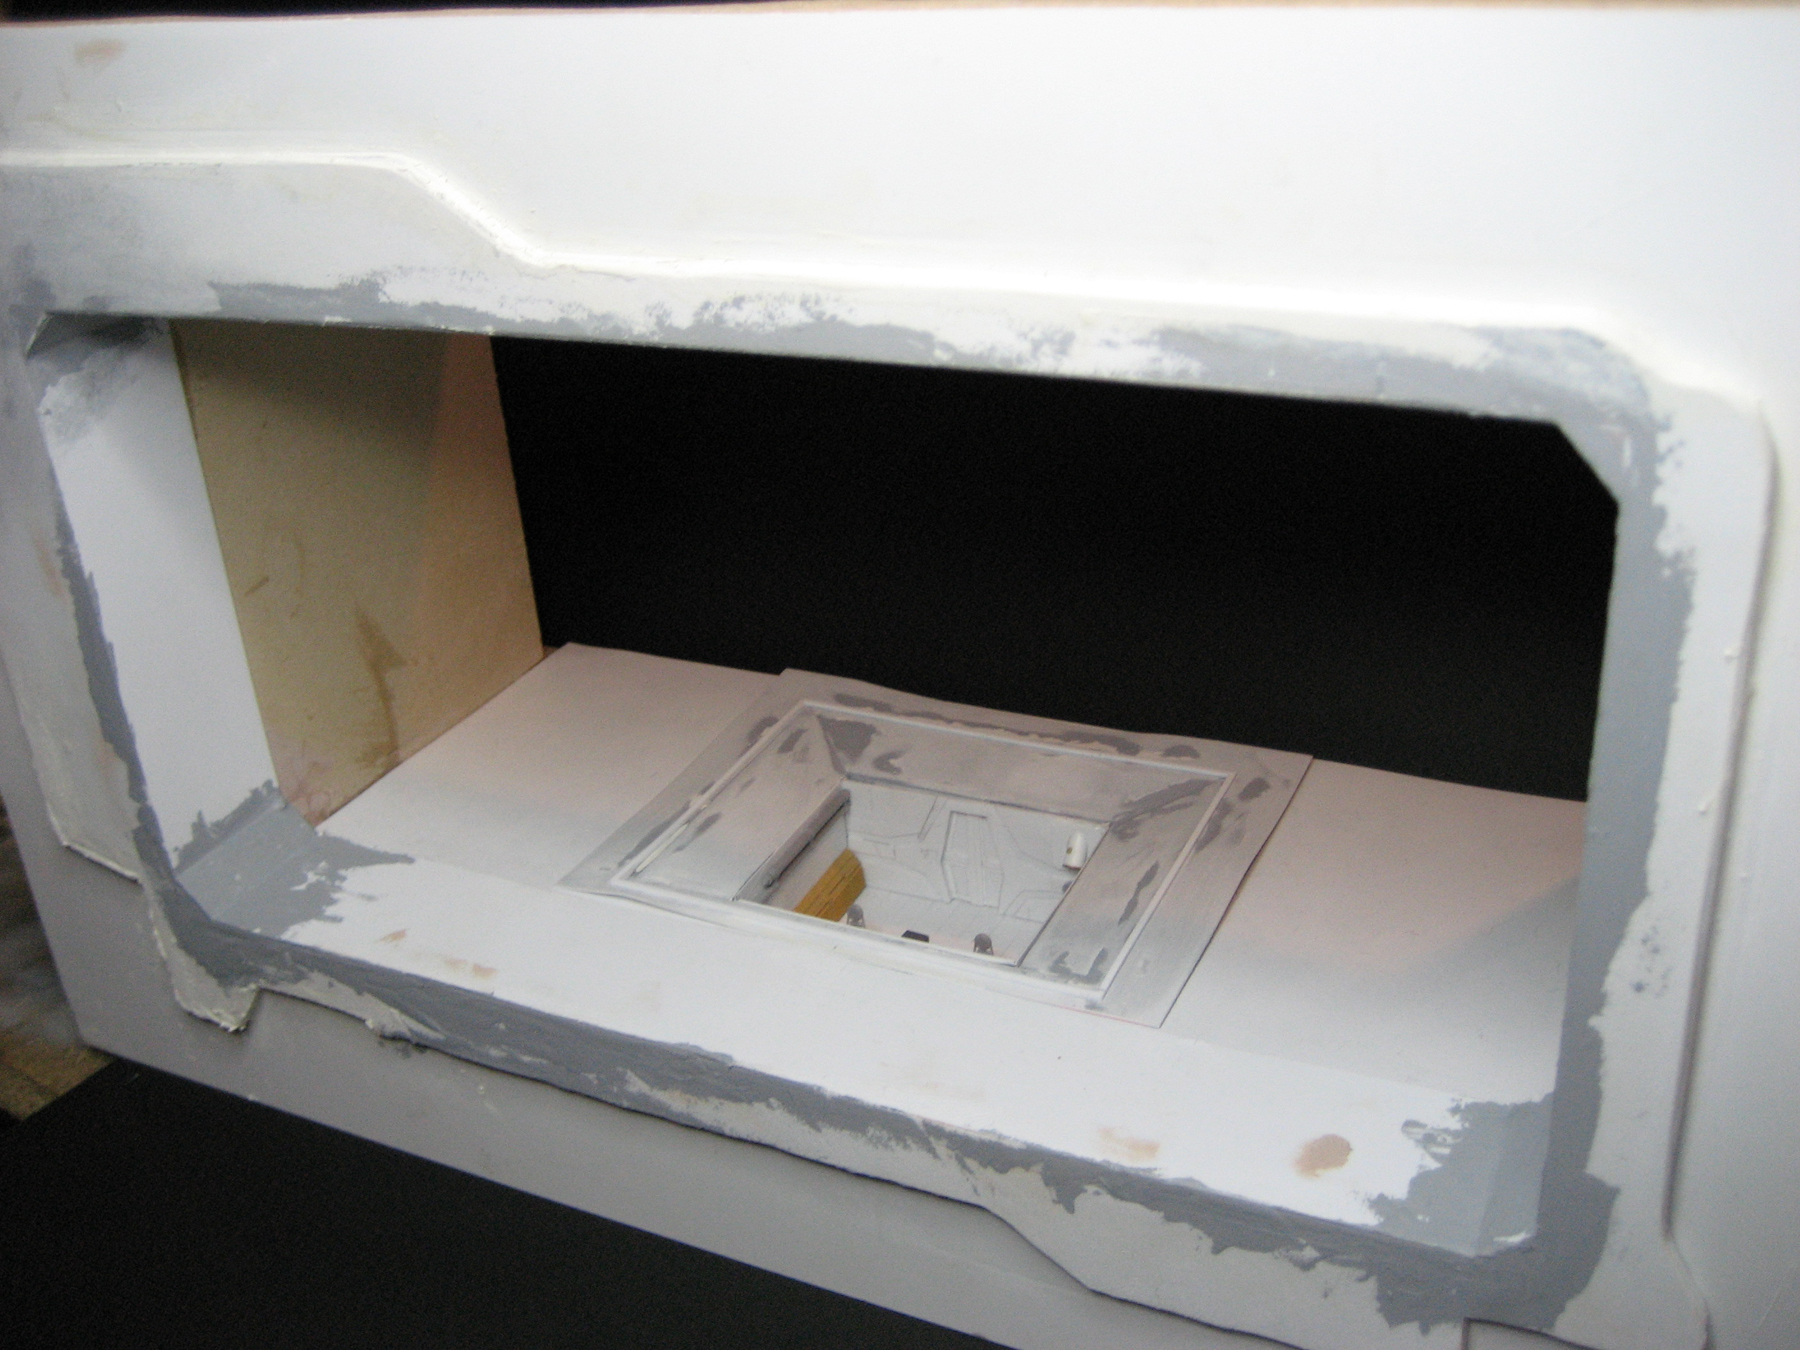
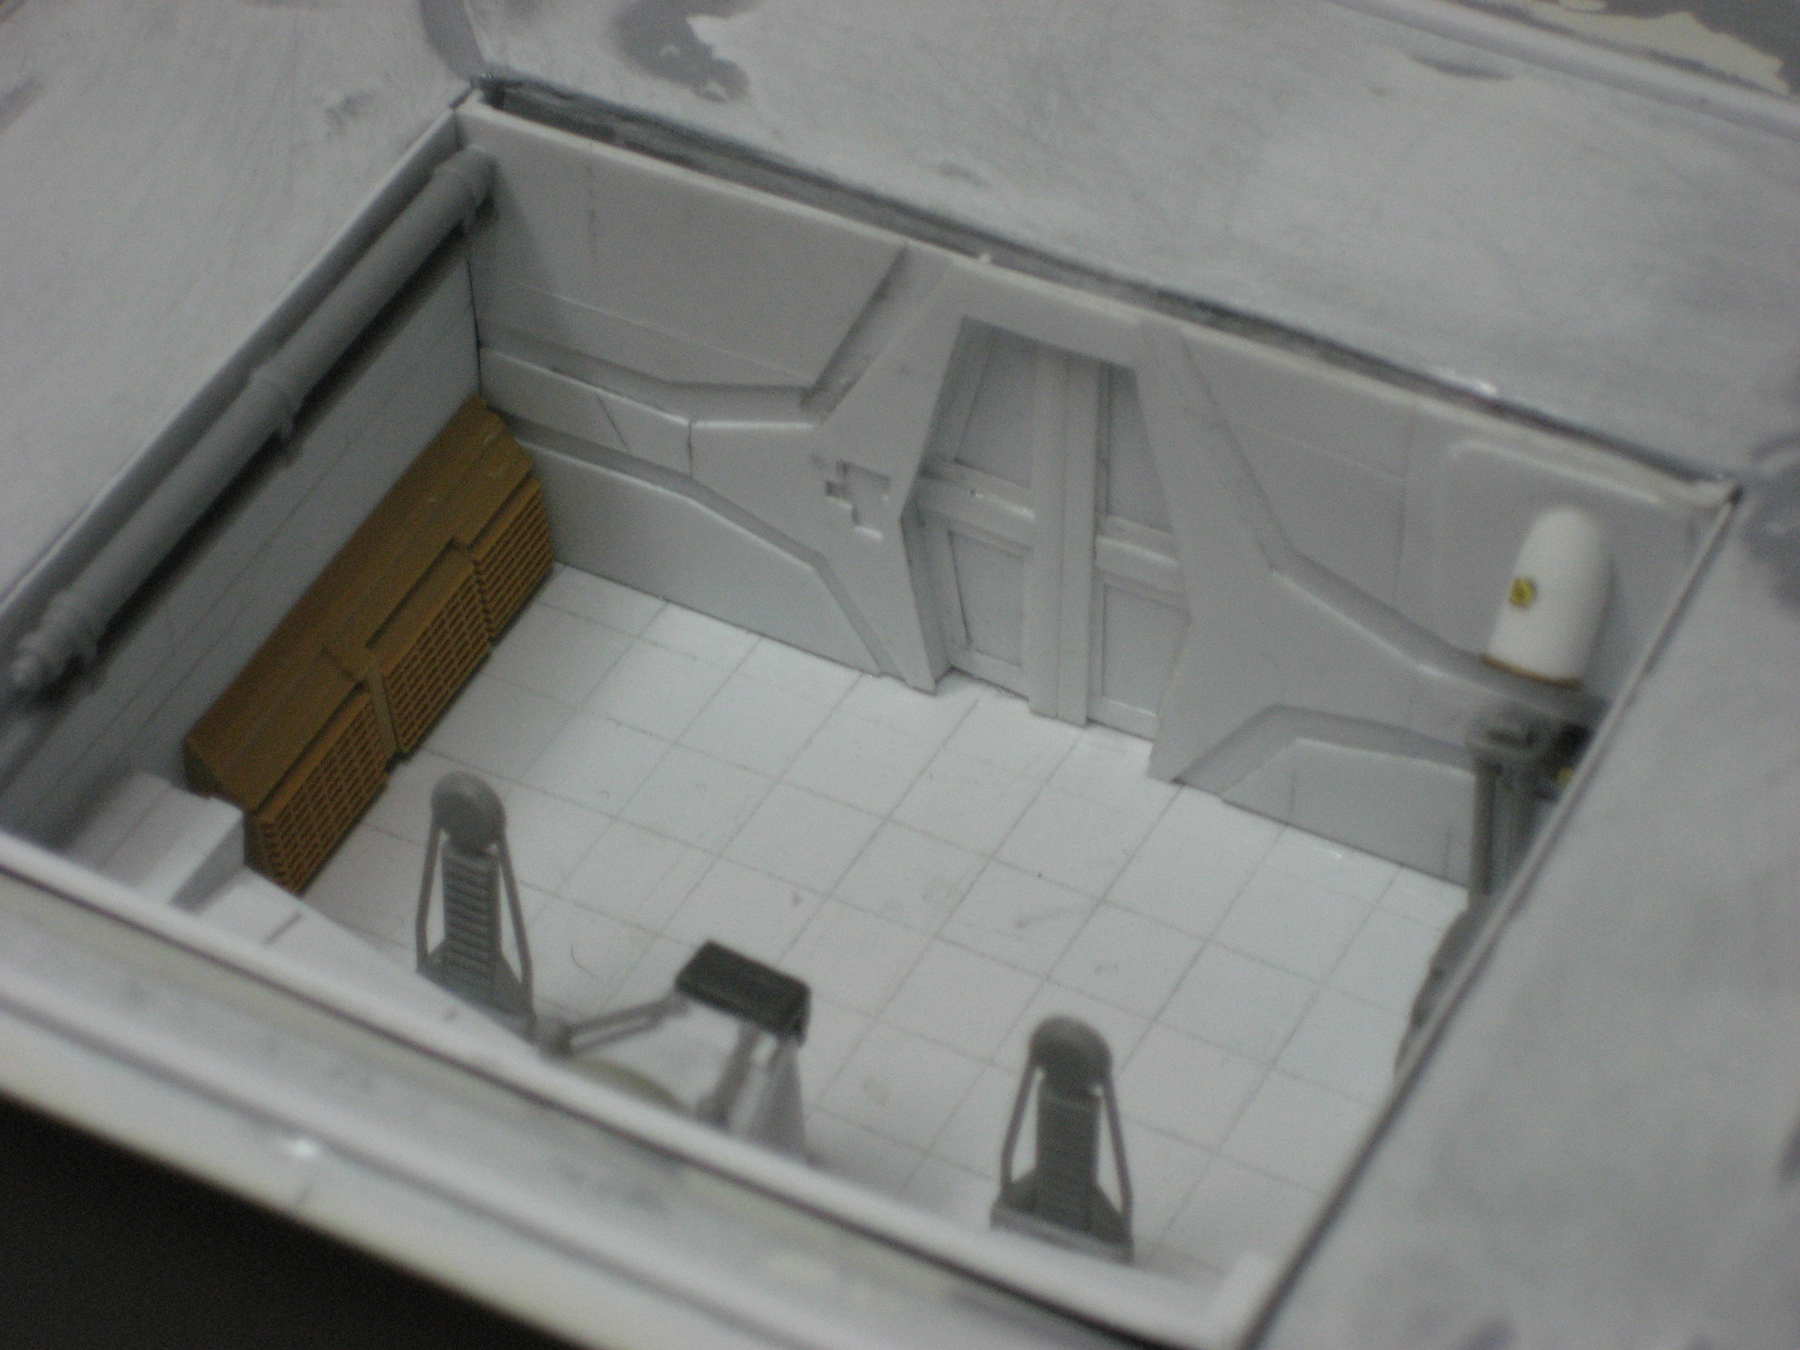
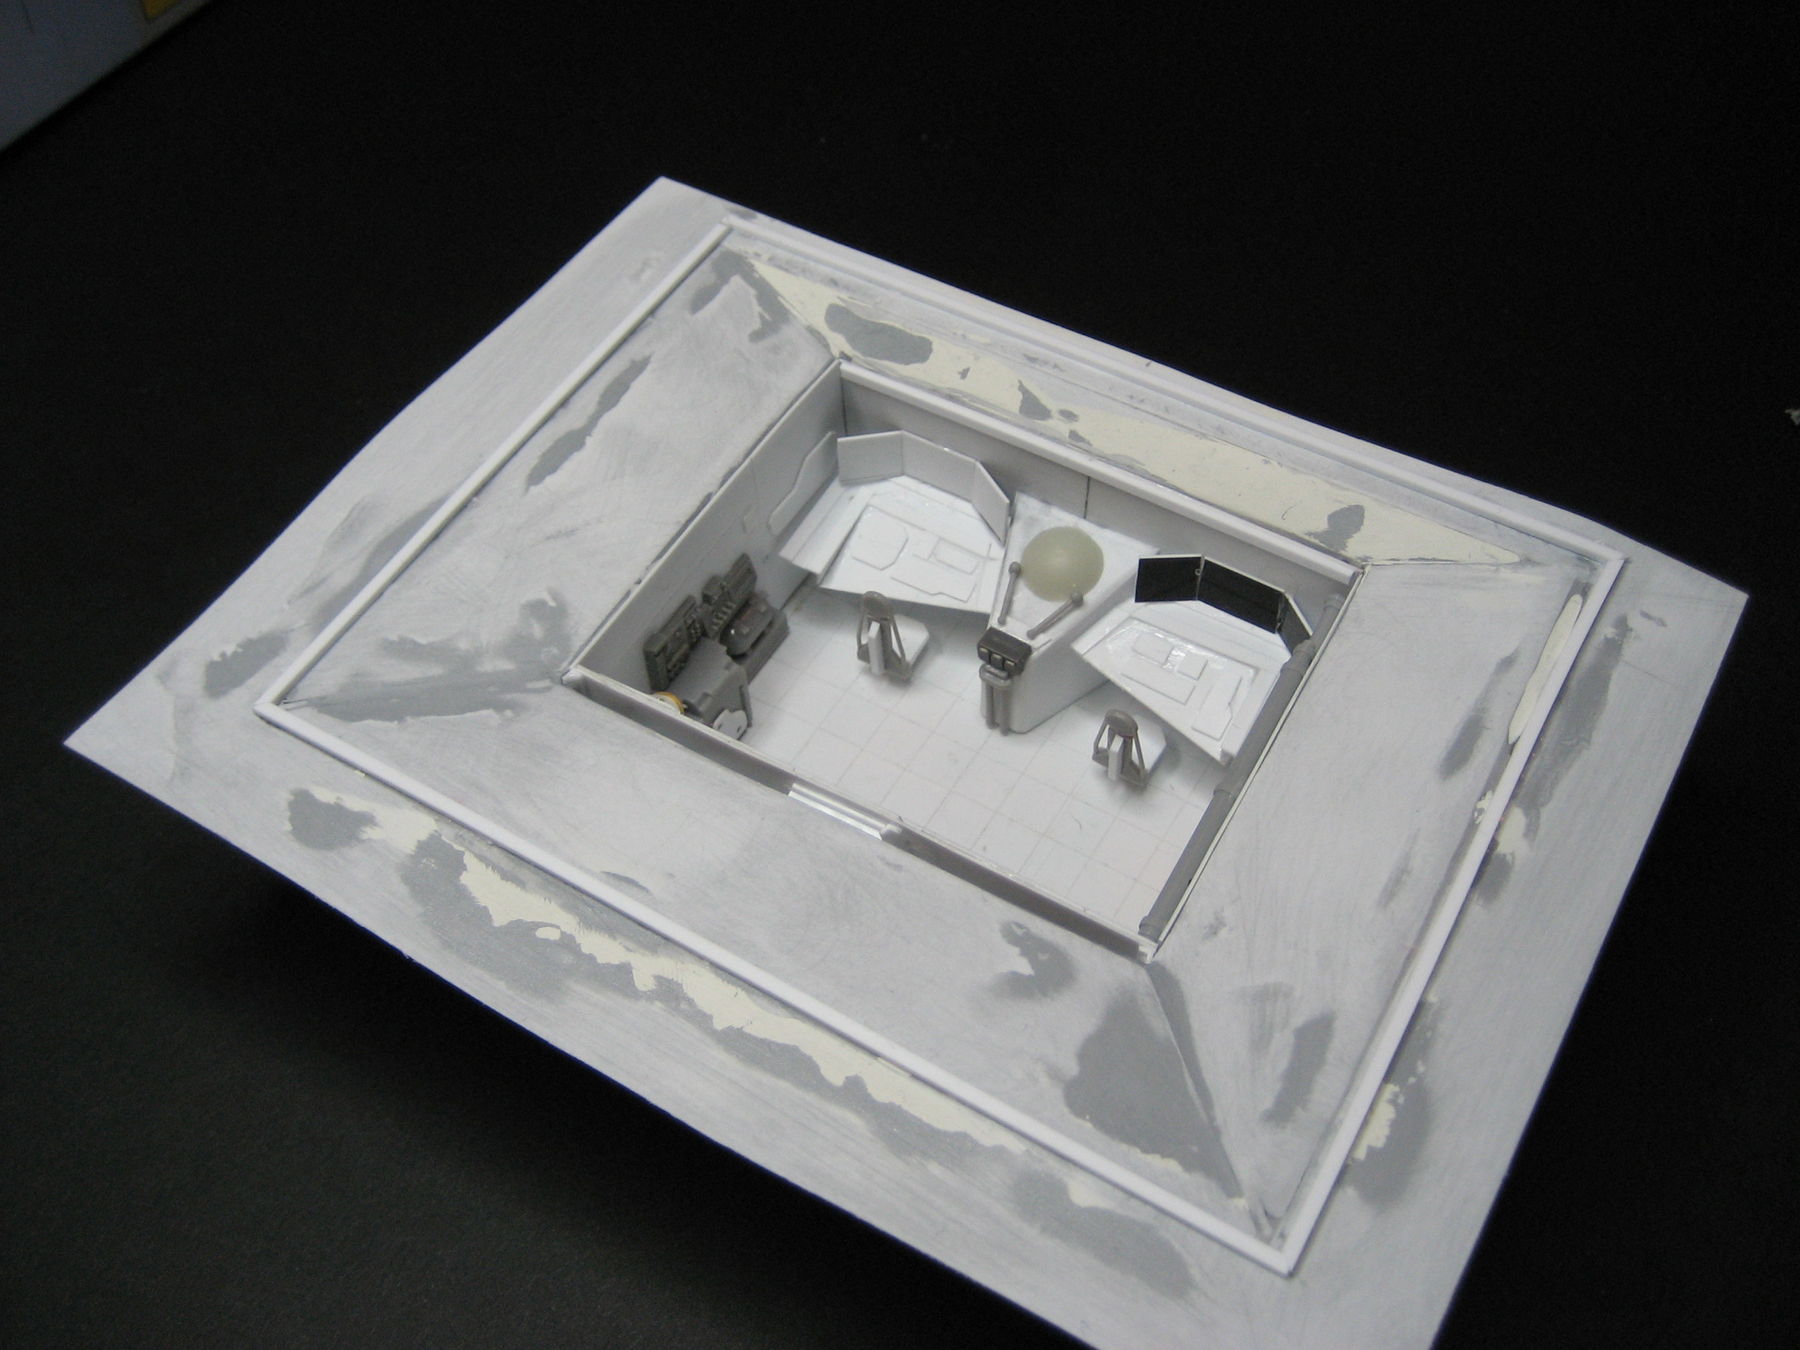
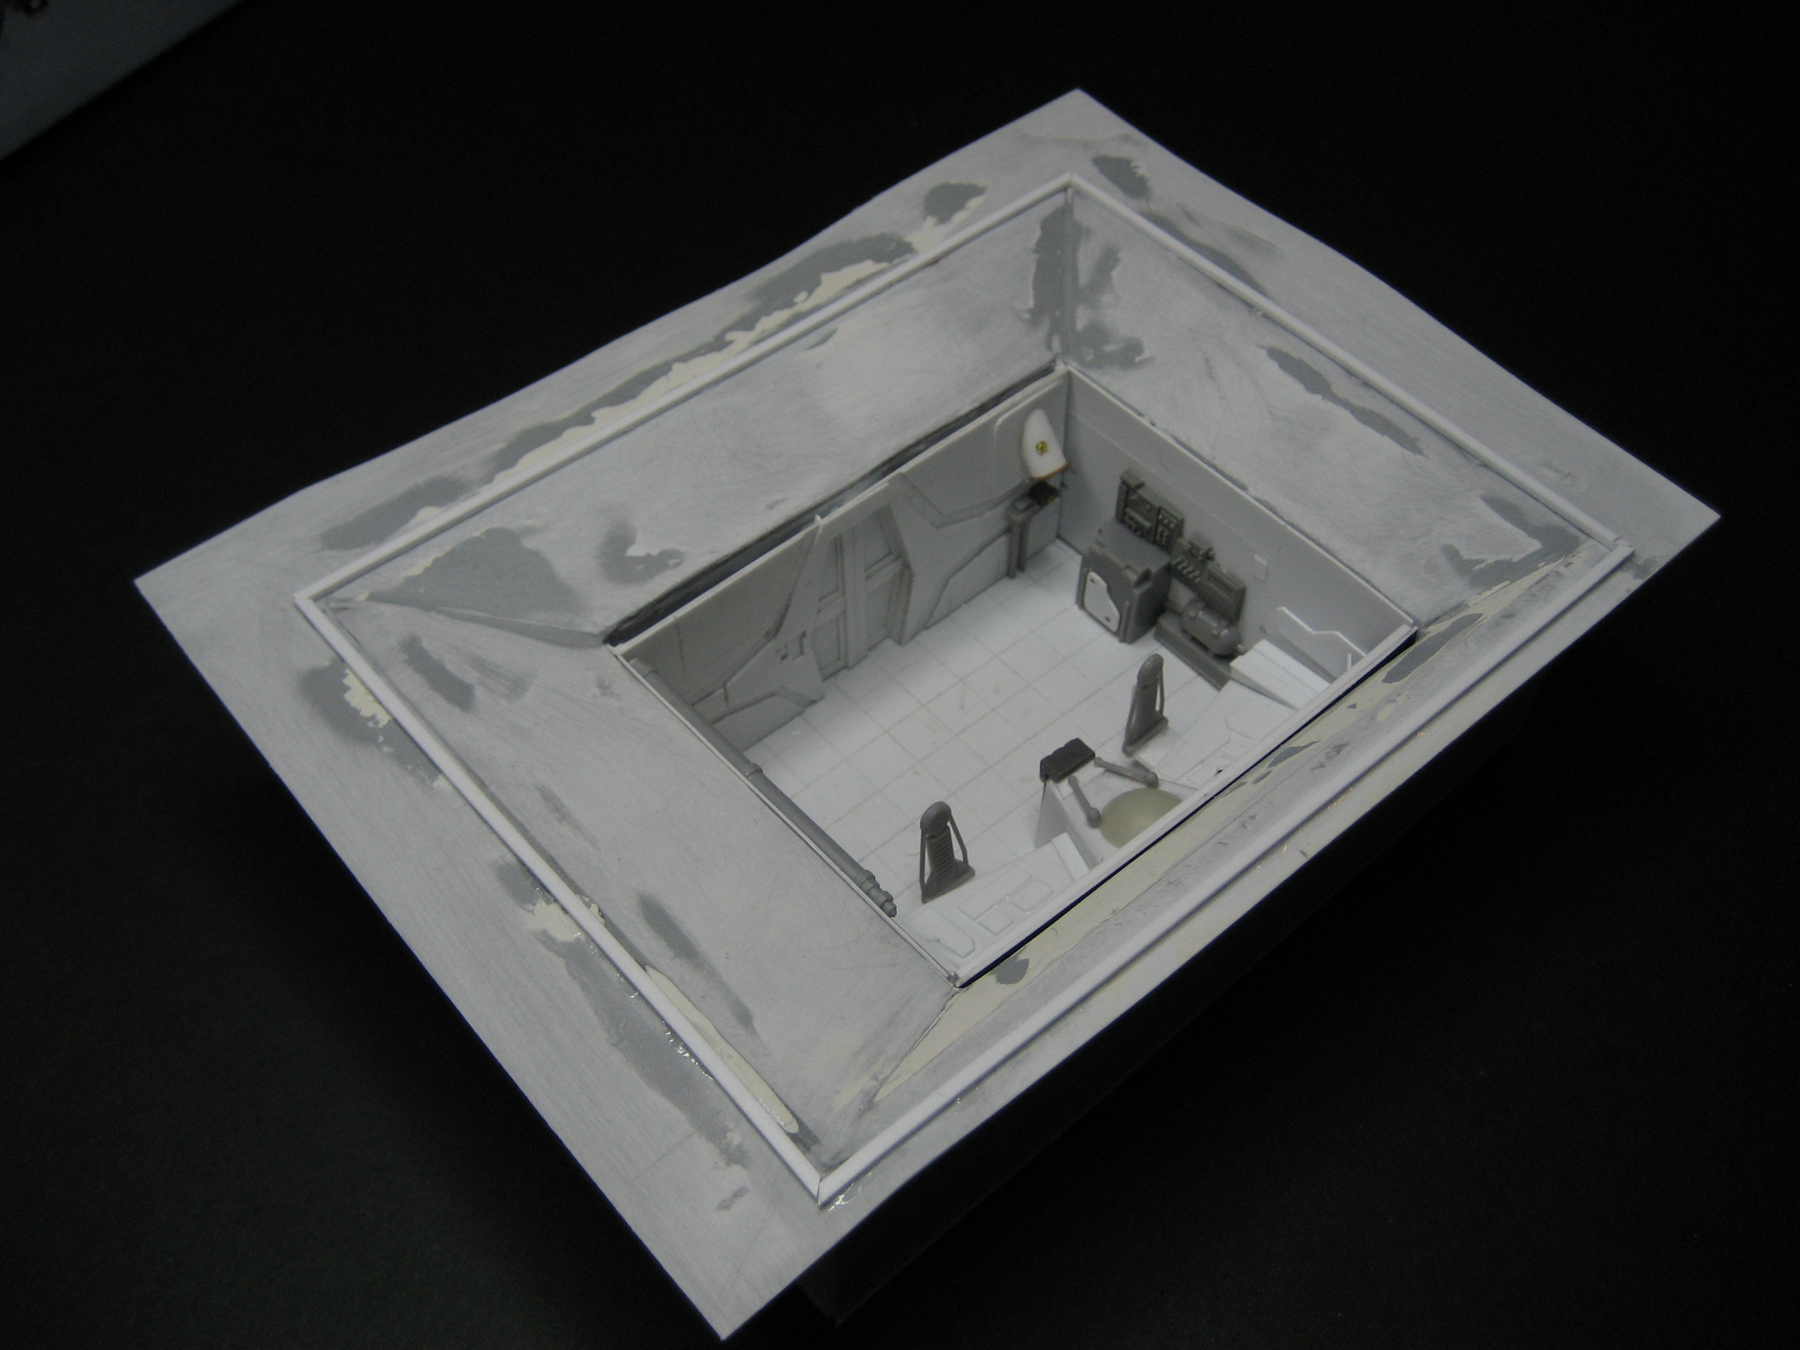
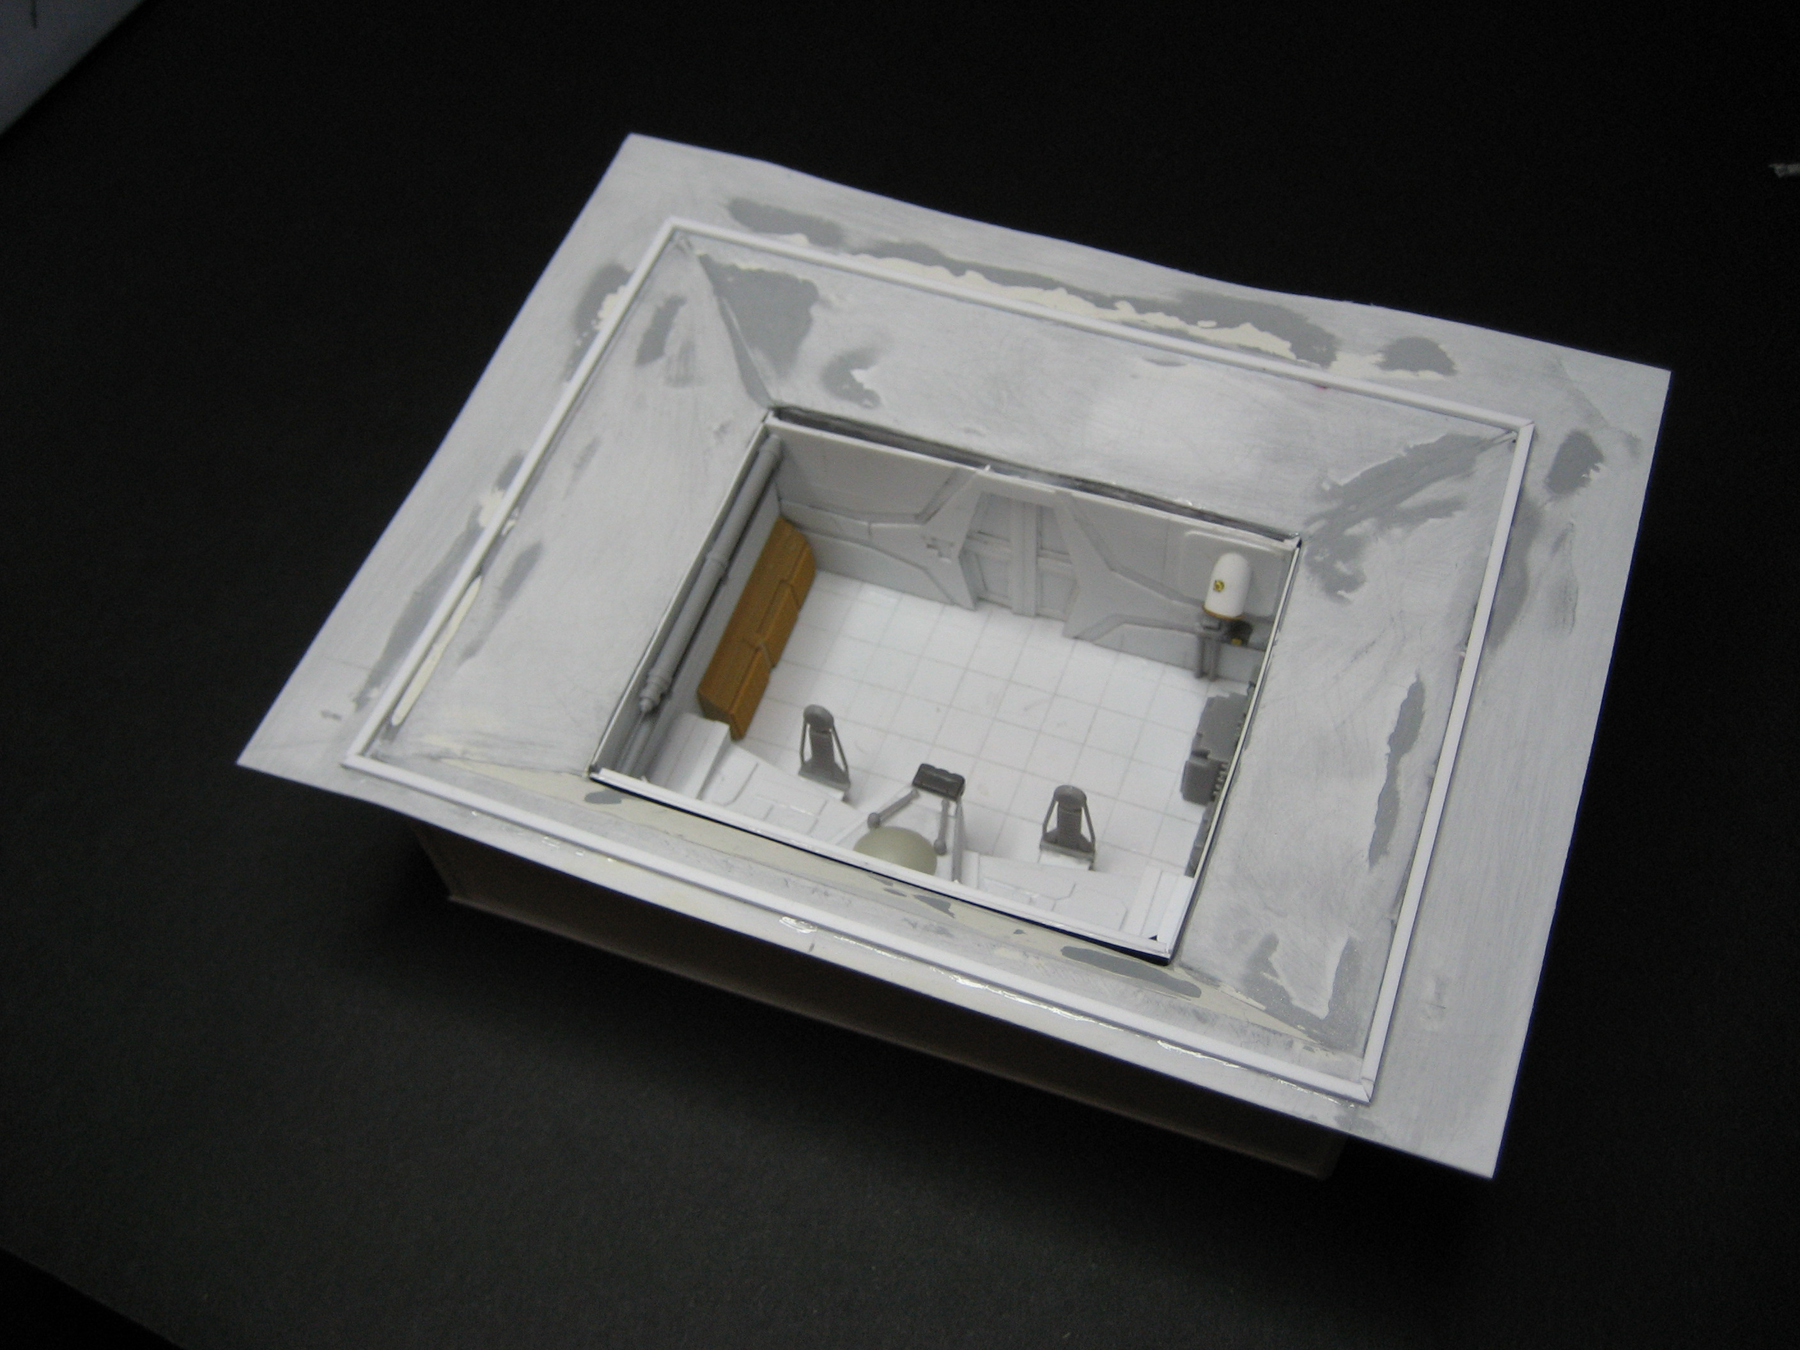
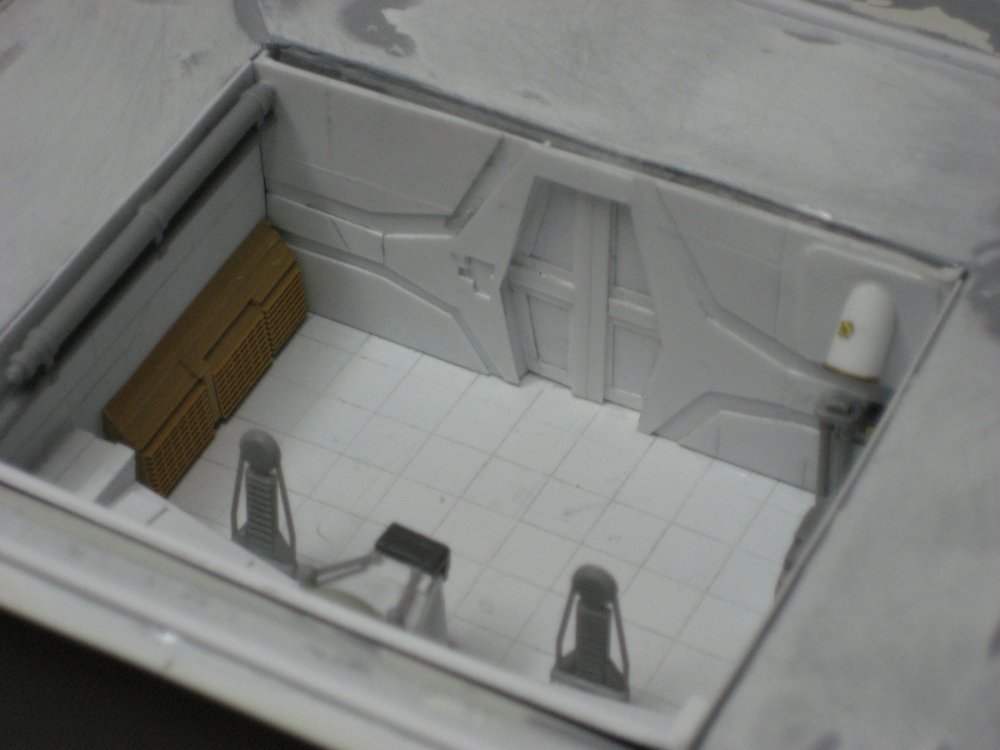
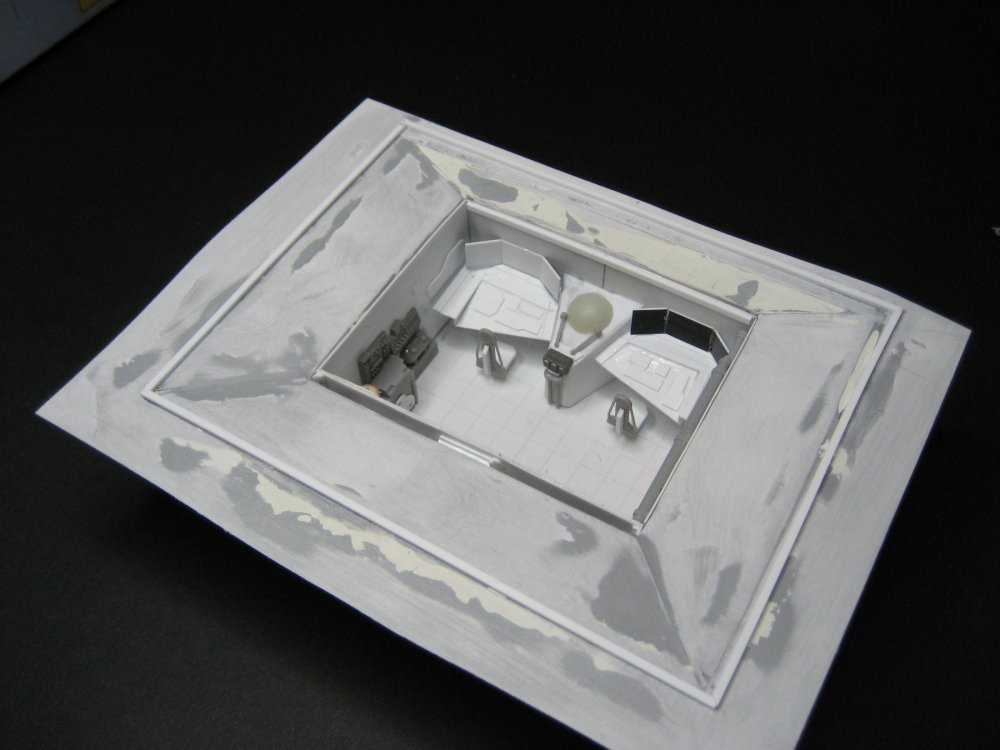
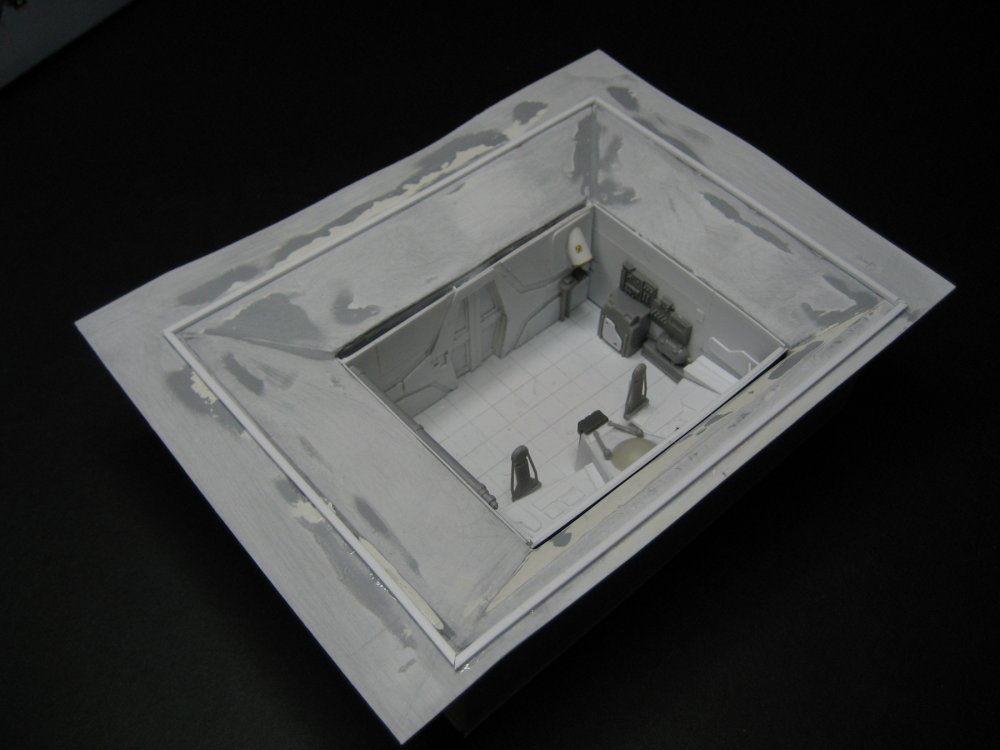
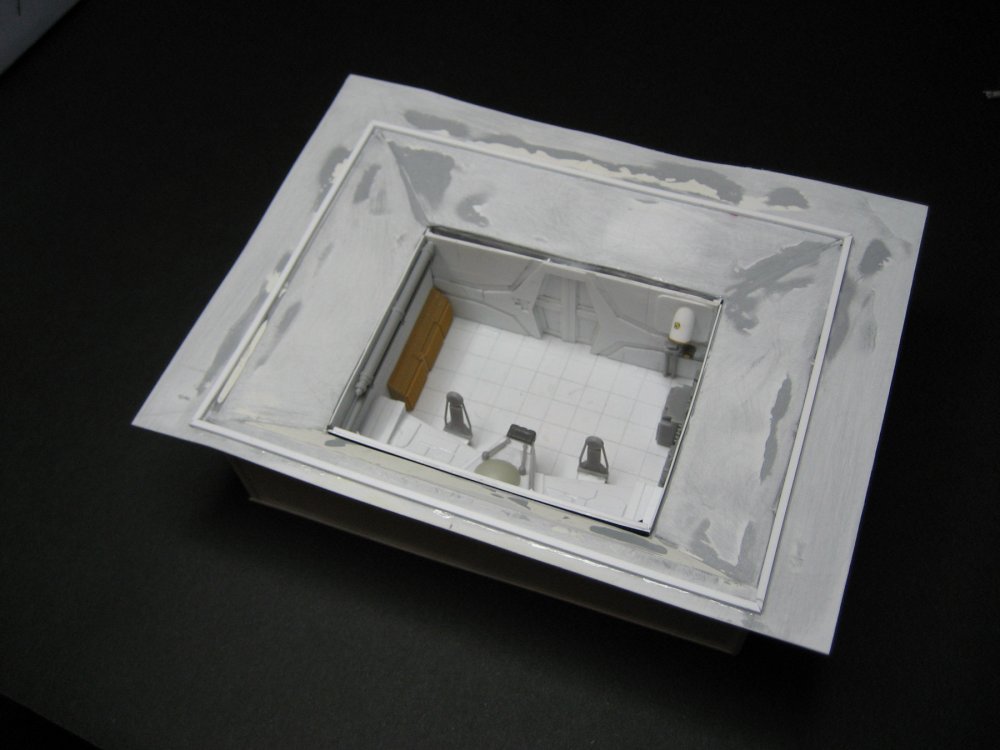
Ok here some pics of the control room, I still have a bit of work to do on them and I also need to build the frame work for the clear panels as well. enjoy!!
-
equal parts future + equal parts acrylic paint = a nice even mix for a brush mark free application, works for me... Ashton
-
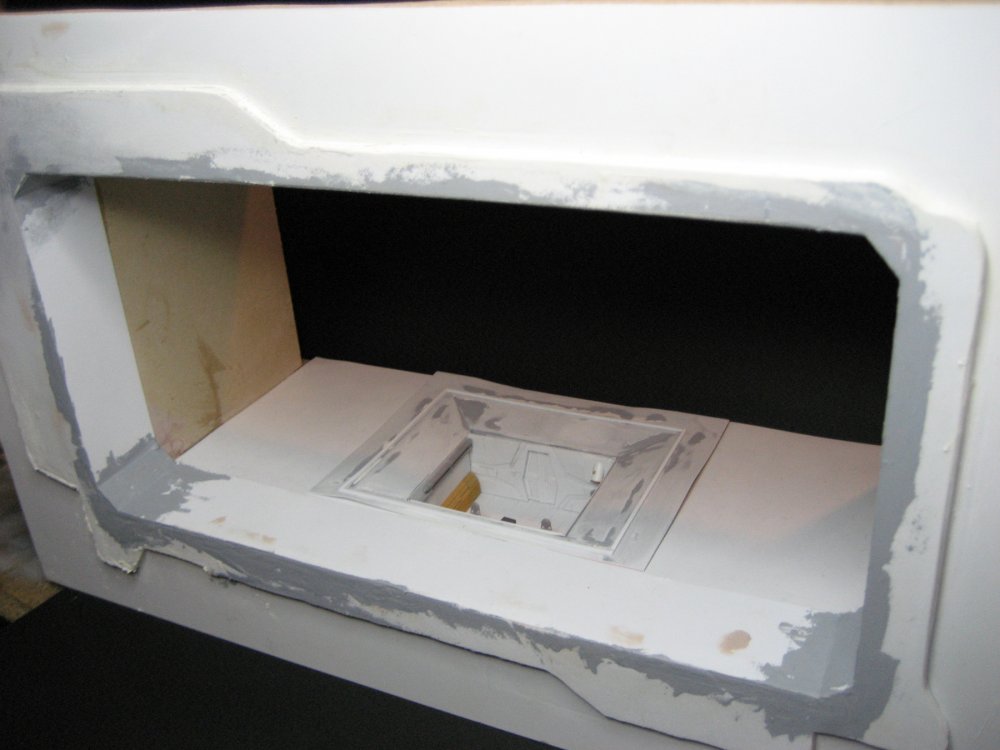
So I am back working on this project again, just about done too...I will post some pics tomarrow when I have some time to take a few photos. I have pretty much finished the control room that will sit in the floor of the hanger. The arm is done and I am almomst finished w/ my putty work on the face of the hanger, then I can start the detail work there. Ashton
-
first off, get an airbrush as soon as the $$ flow allows, much better results than out of the can....and here are a few more suggestions 1. Mr Surfacer, some of the best primer I have ever used!! The stuff seems to almost automotive grade, it also comes in a can to, get the "1000" brand. Depending on where you live this might be kinda hard. 2. When sraying out of a can, as stated above keep the burst's short, and use sweeping motions, not gangster tagging motion.... 3. Start spraying before the model, and stop spraying after the model, that way there is no build up in on spot. 4. As you have already discovered, press the spray nozzel down a time or two before applying to your model. 5. this one takes practice, do not be too close or too far from the model, if you are too close you will put the paint on too thick, too far, and the paint droplets dry before they hit the model and you are left w/ a "dusty" looking model. 6. finally, practice, practice, practice....and good luck! Ashton
-
nice work, good use of pre-shading, I really like it. how did you do the weathering on the wings? where the pivot point is? Ashton
-
Thanks for the encouragement guys. I am putting this project on hold for a week or so, two reasons, I dont want to get burned out on it, and a friend needs some help w/ some modeling tips, so we are going to build a few models together. I learned a long time agon when I was first learning to lead-fill and paint cars that it is very vaulable sometimes to just step back, and walk away from a project for a few days, often times I have returned w/ fresh ideas and renewed enregy to finish the project right. Ashton
-
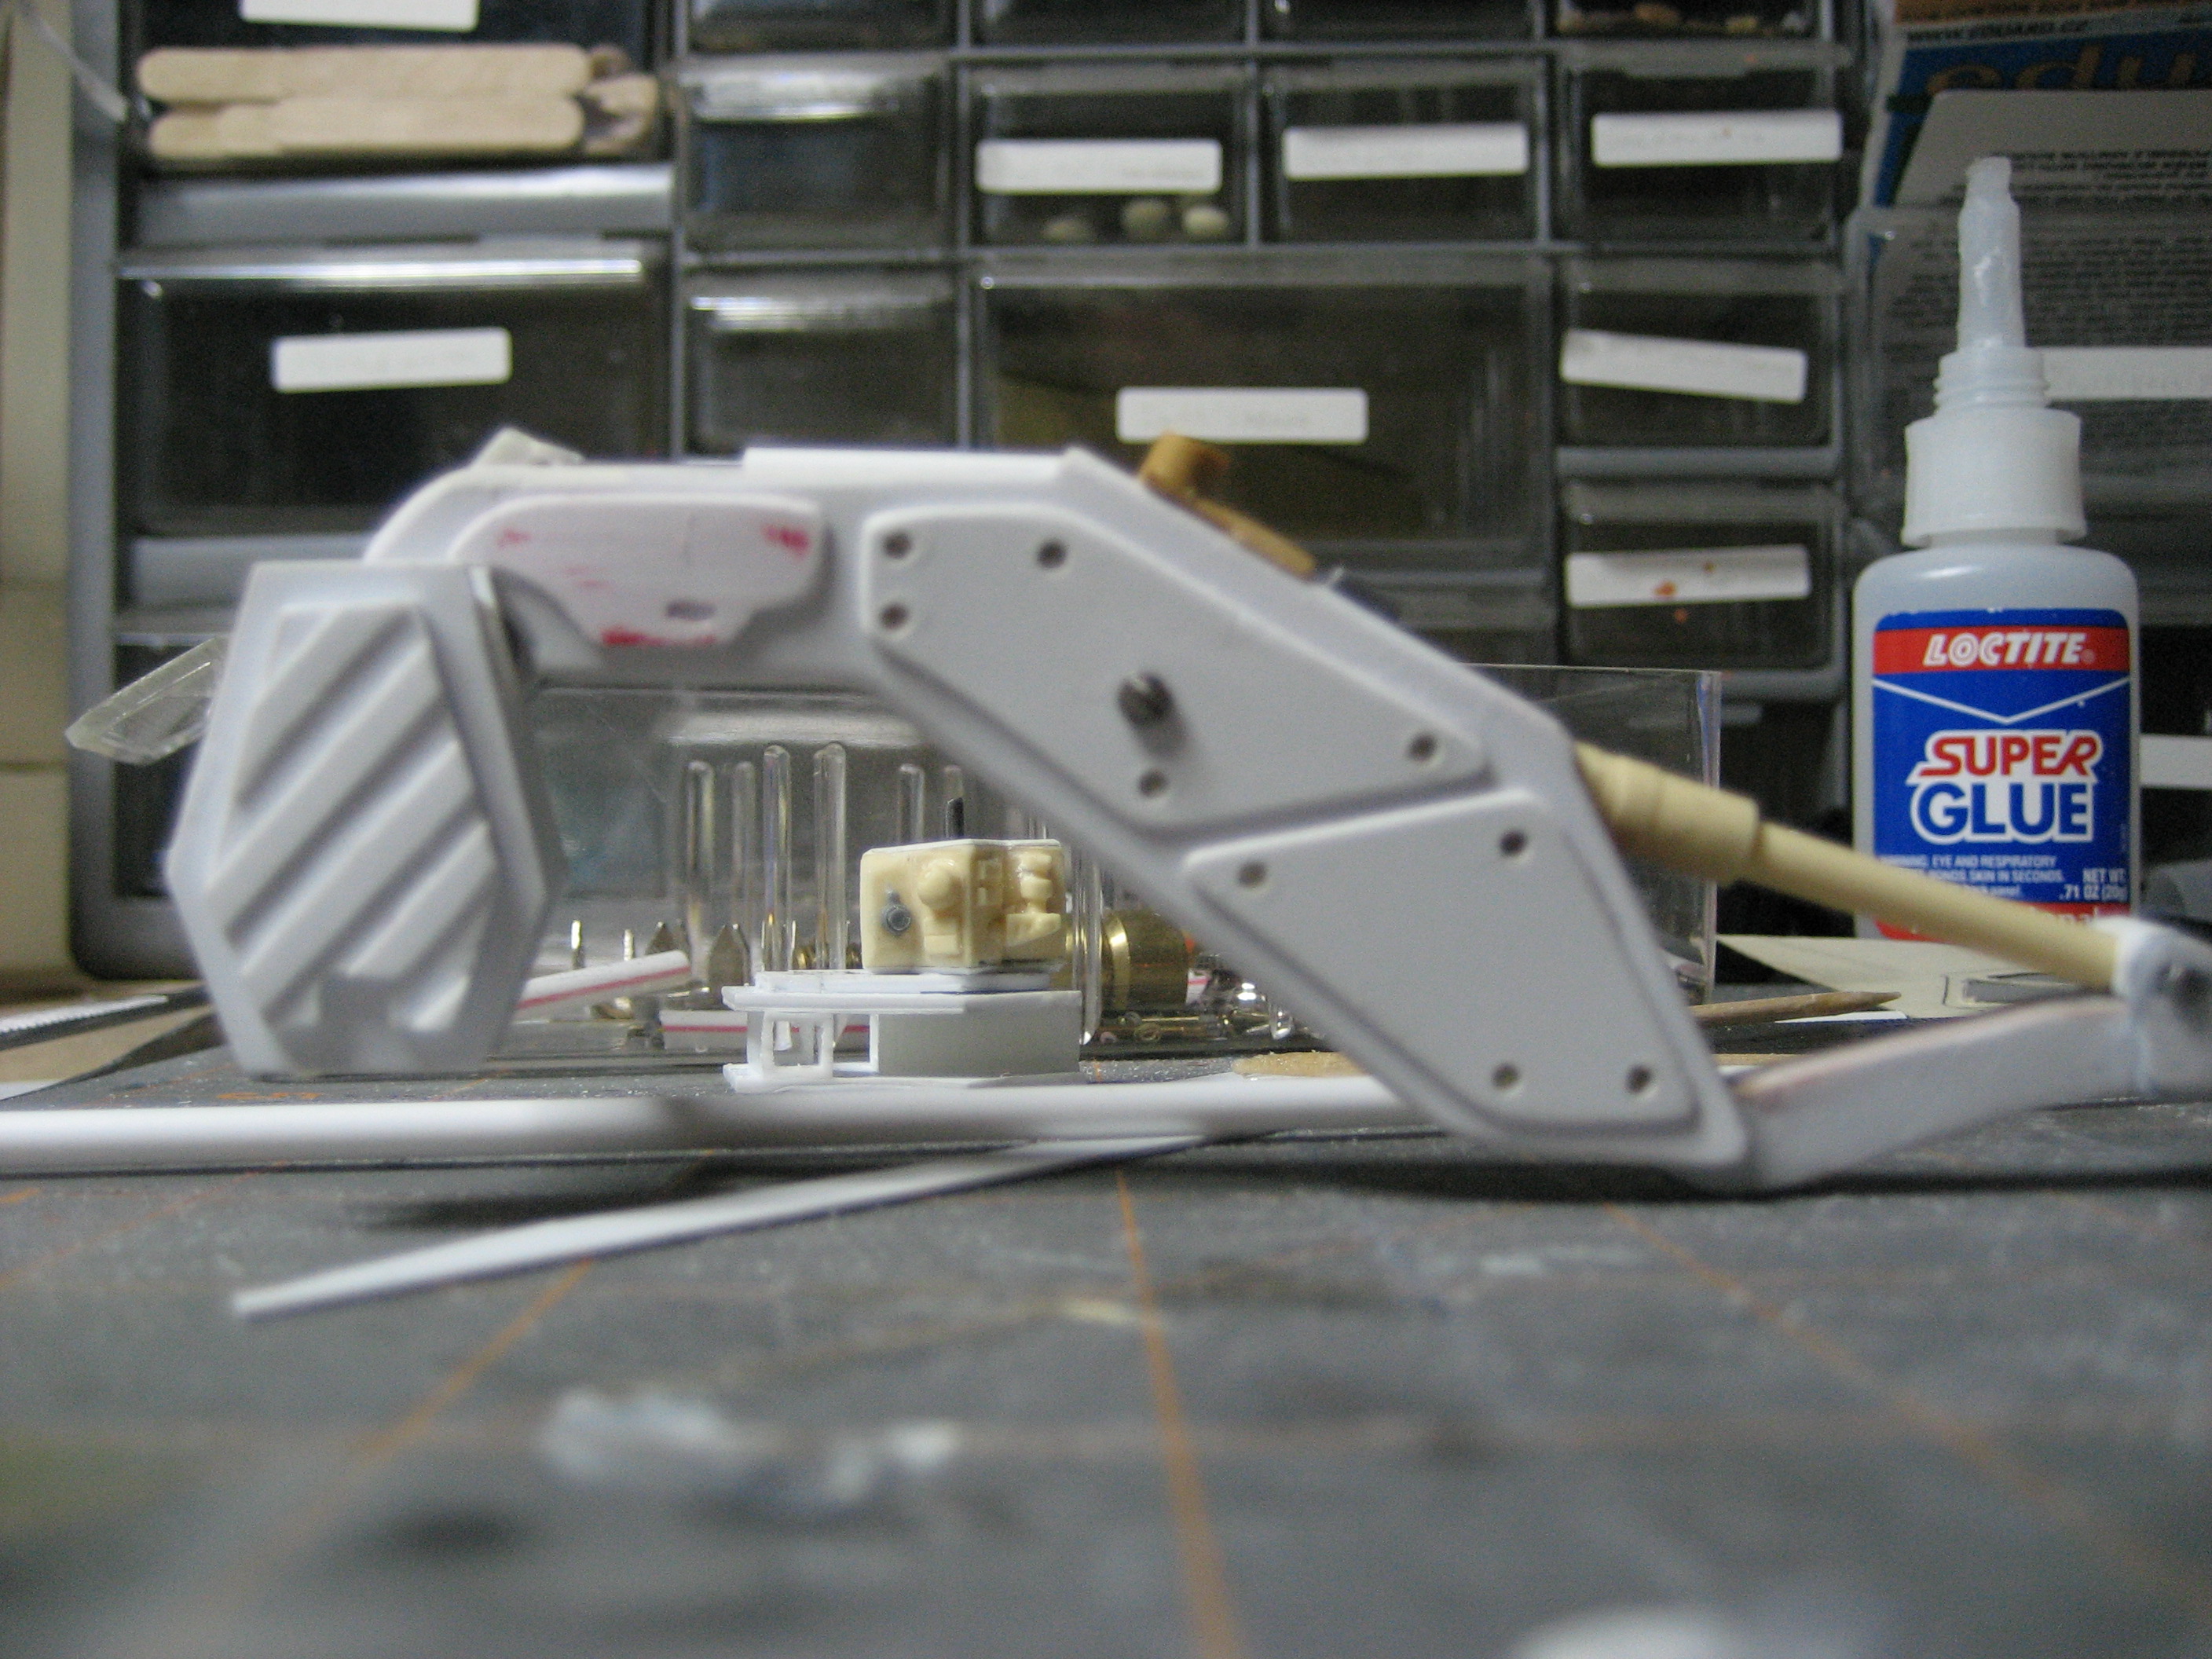
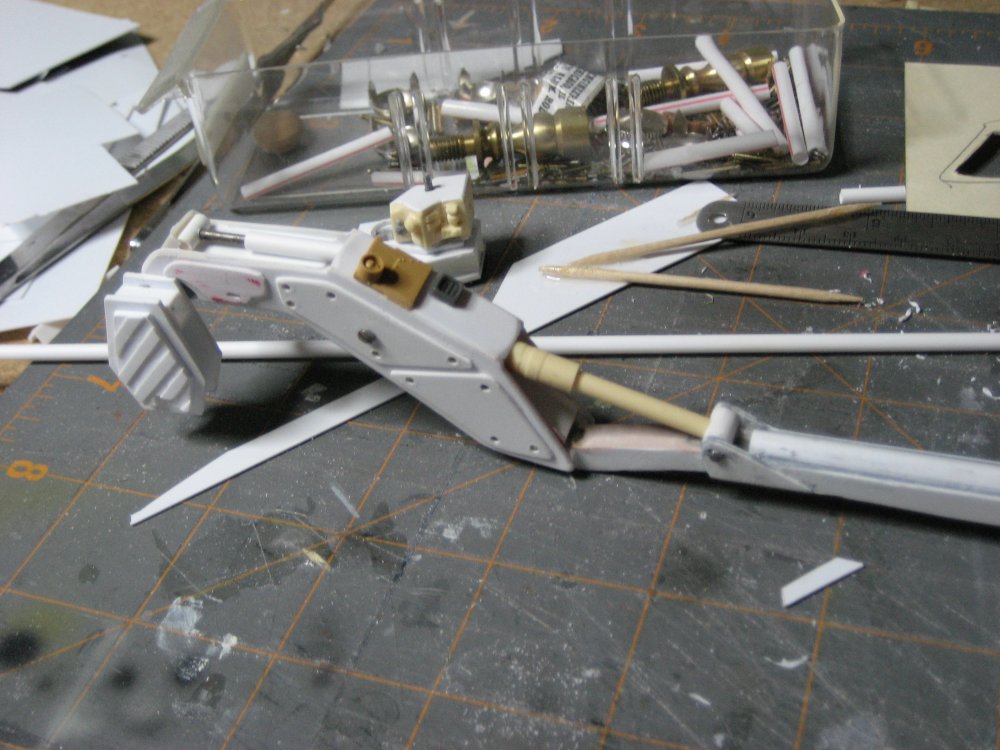
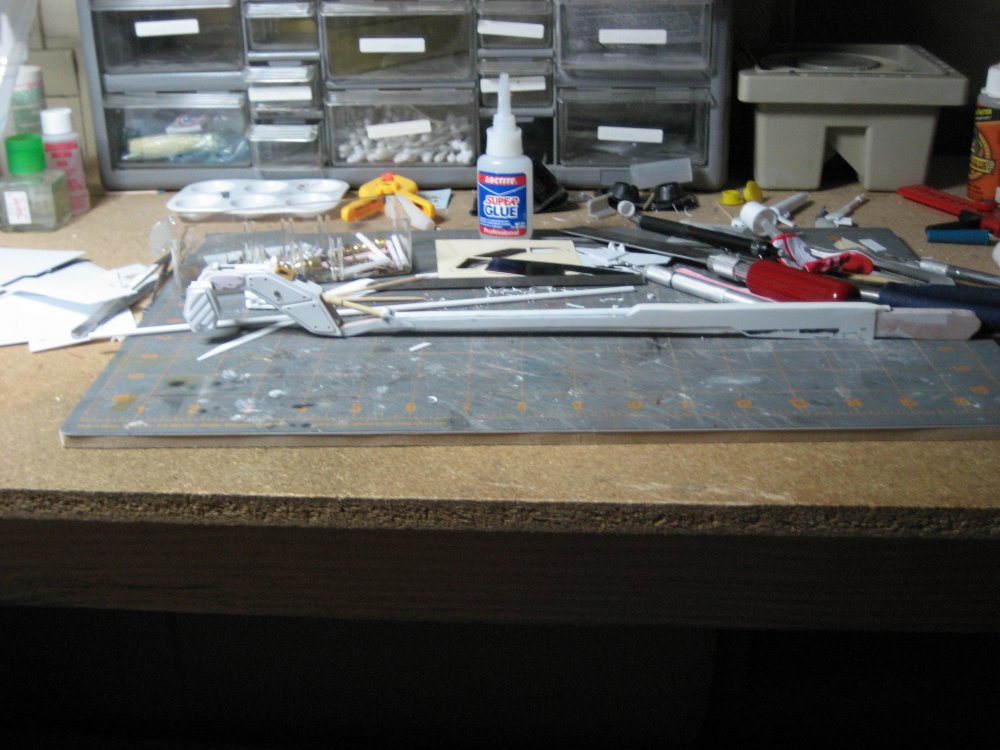
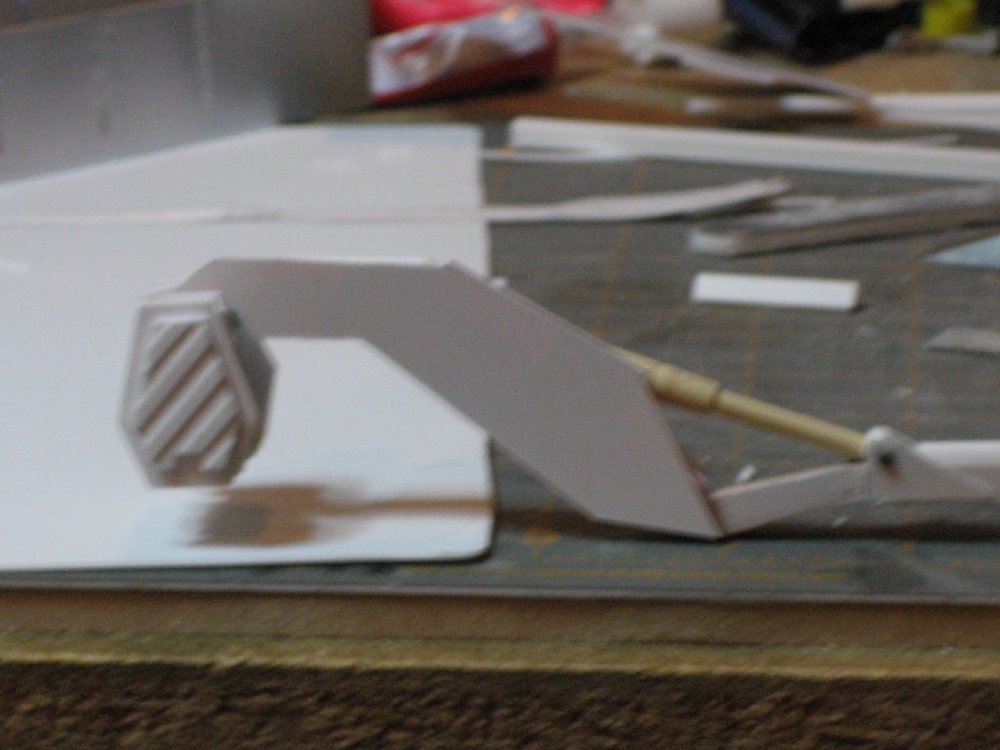
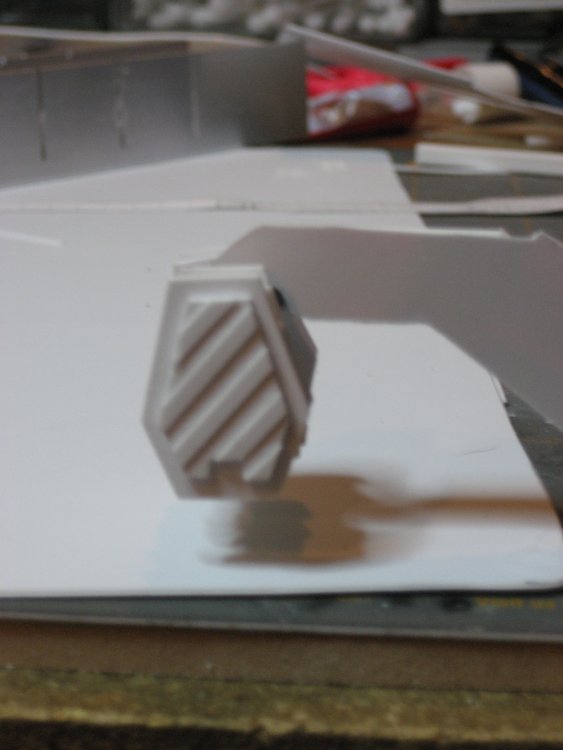
I got a bit more of the detail done near the "claw" section of the arm, also I finished roughing in the control room as well, I will putty the seams and start building that next. I dl'd some pics of how the arm stands now, enjoy them. Ashton

-

Awesome new paint scheme to try---F-16 Arctic camo
redfinger61 replied to David Hingtgen's topic in The Workshop!
I was thinking of a similar design for a low-vis VF-1A w/ fast packs....thought it would look cool. Ashton -
I find the canned stuff tends to be a little thick for the hasegawa models...if you have a airbrush invest in some Mr. Surfacer 1000 and the branded thinner, the stuf applies very thin and gives a good bite for the paint to stick too. just use it in a well vented area. Another tip, anywhere on the model where you may see some of the inside of the model, like where the head attaches, or the feet, or near the vents, ect...paint those areas black, or hell paint the whole inside of your model black, this way if someone catches the inside of your model on a quick glance the black tends to make it a little less obvious.
-
VF-1S Strike Battroid Valkyrie step-by-step
redfinger61 replied to DrunkenMaster2's topic in The Workshop!
that really turned out well, very clean! if you can, I would suggest doing something with the base, the plain wood looks a little too plain for such a dynamic model. Perhaps you can cut some styrene into squares and make a hull? or even a high-gloss black paint would look good as well. If your feeling rather ambitious you can try to recunstruct a lunar landscape, complete w/ small craters and debris. One last suggestion would be to angle the rod. A straiht verticle rid gives no "motion" to your art, for example, in the y-wing dio I recently completed I mounted the y's on slanted acrylic rod, this gave the impression of motion, and movement, perhaps something like that could help here. The model looks great, my only cratique is the base, other than that, well done!! Ashton y-wing photo for reference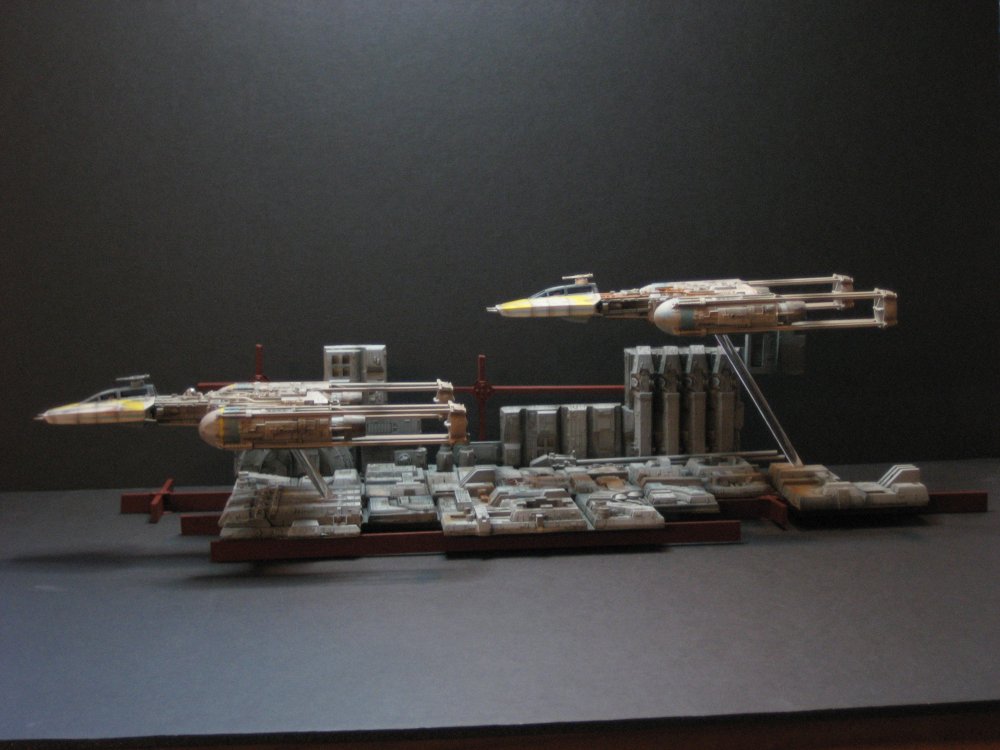
-
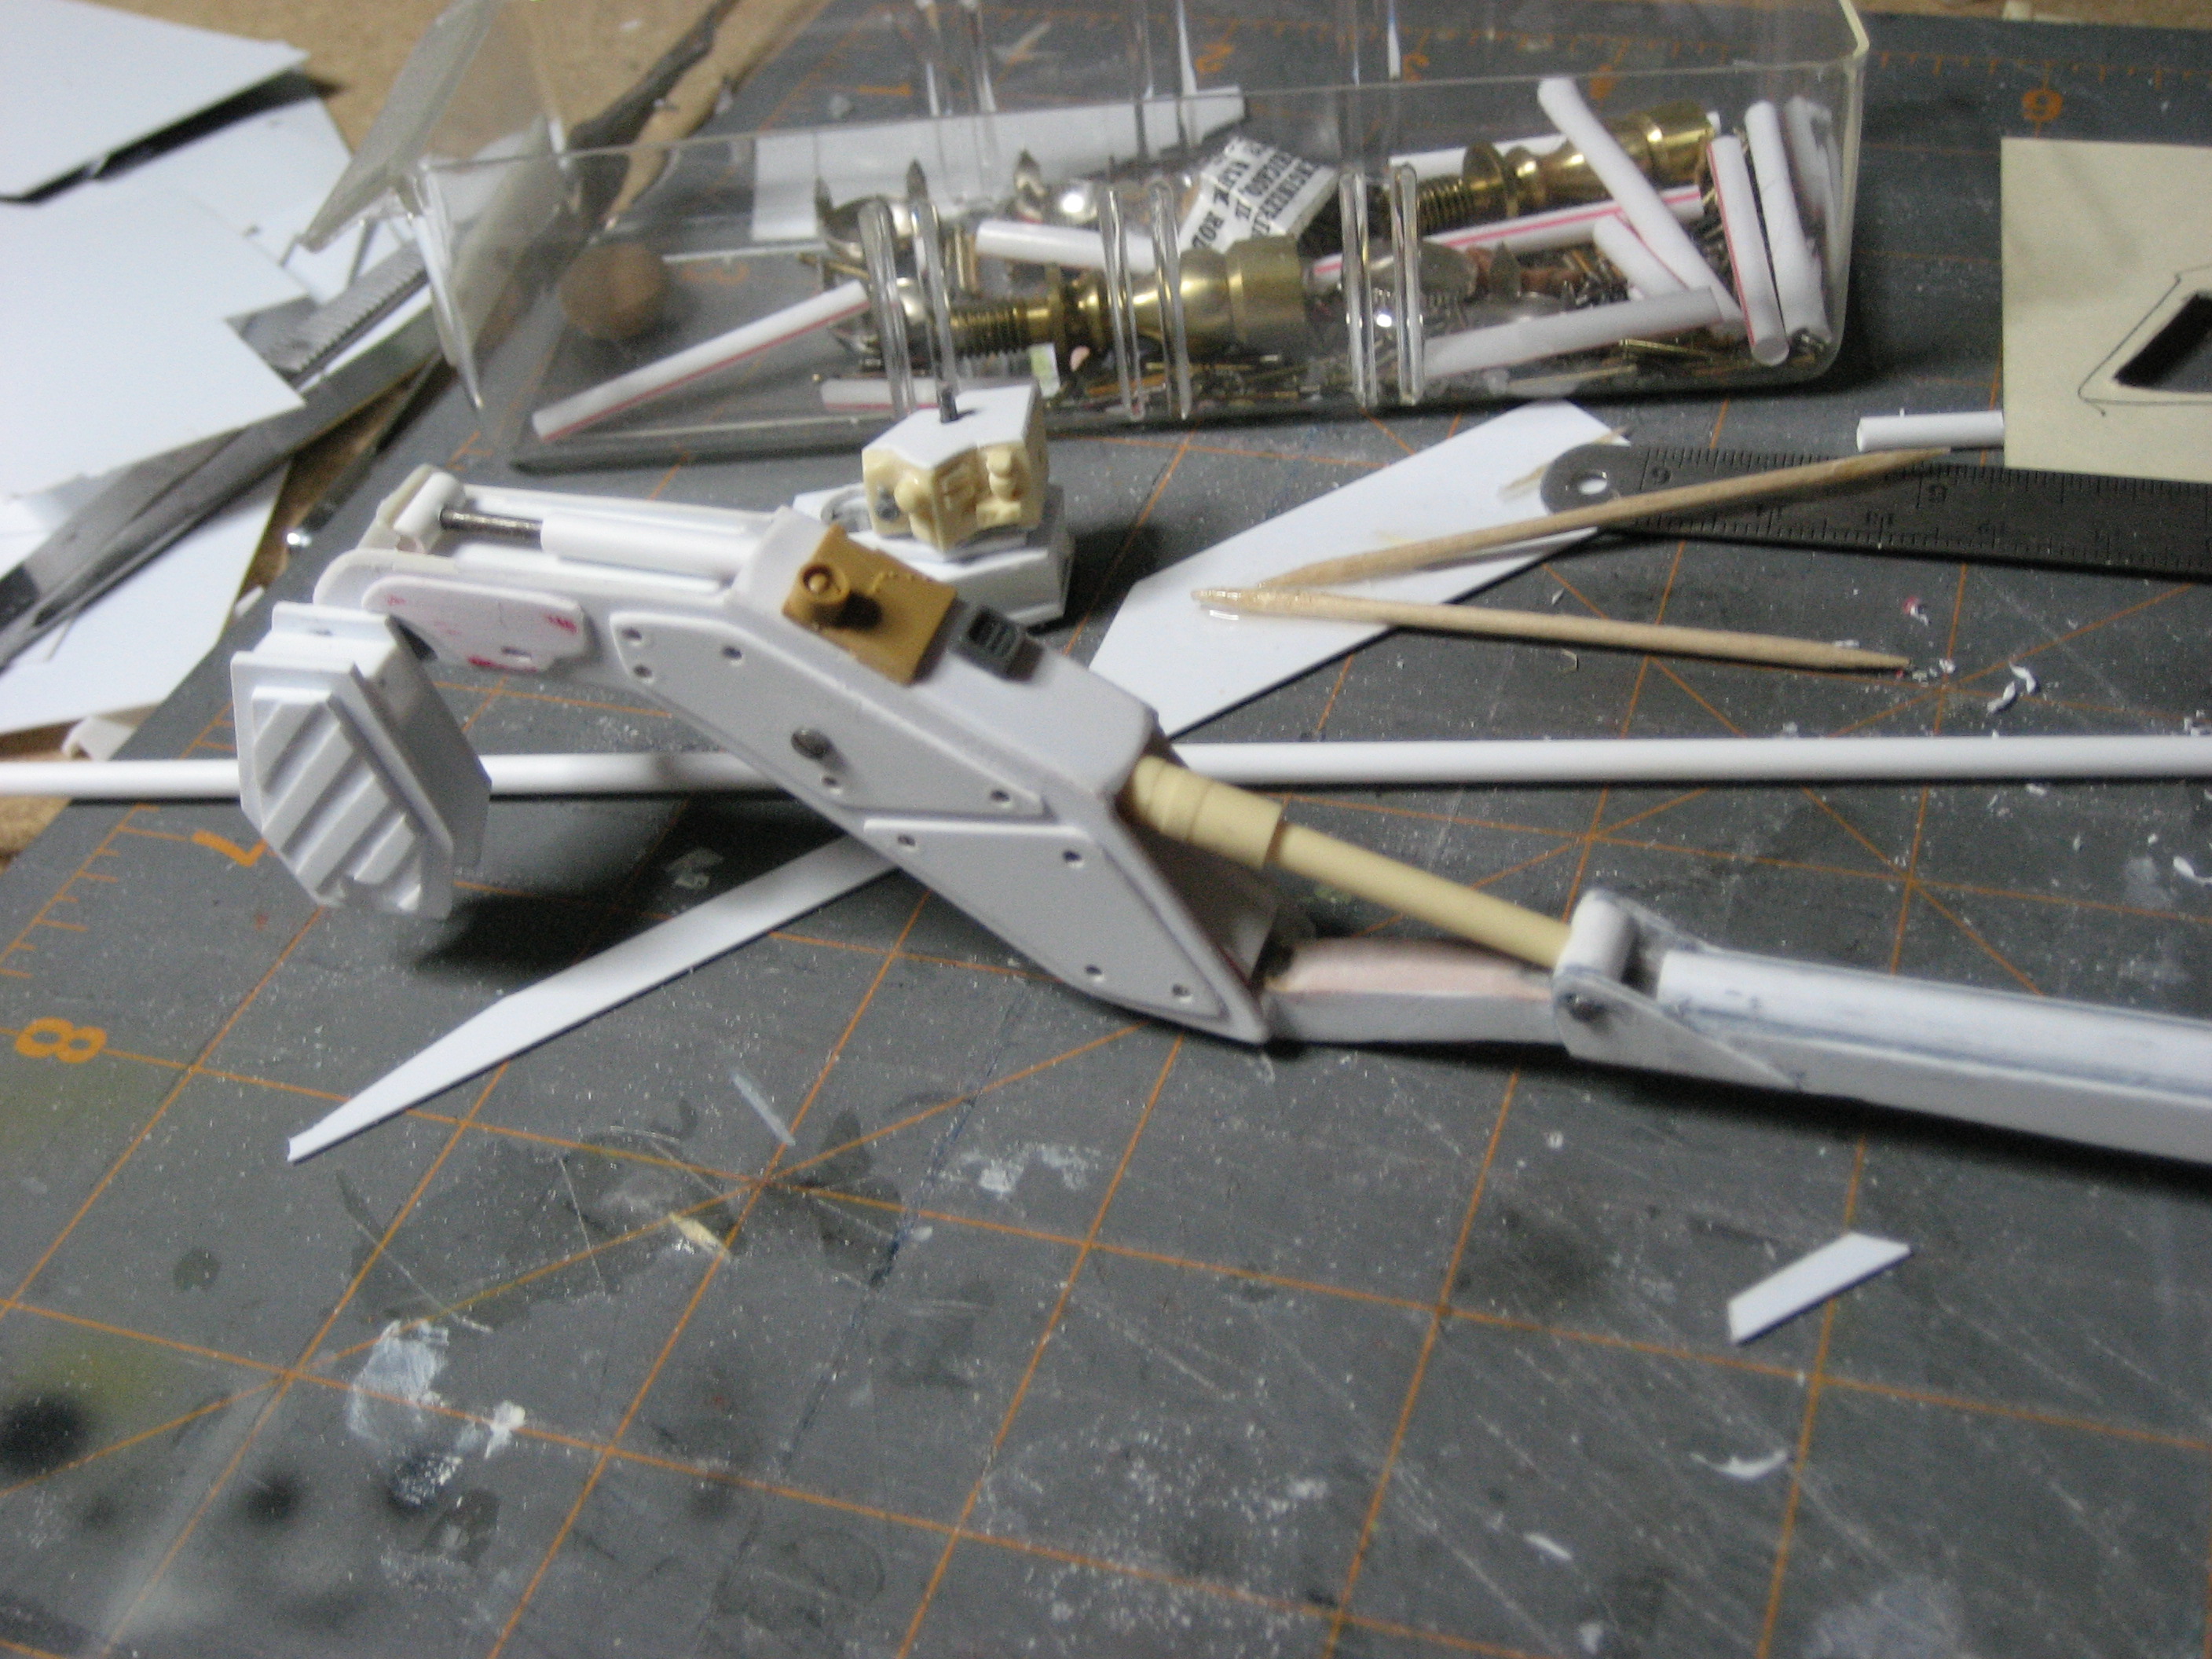
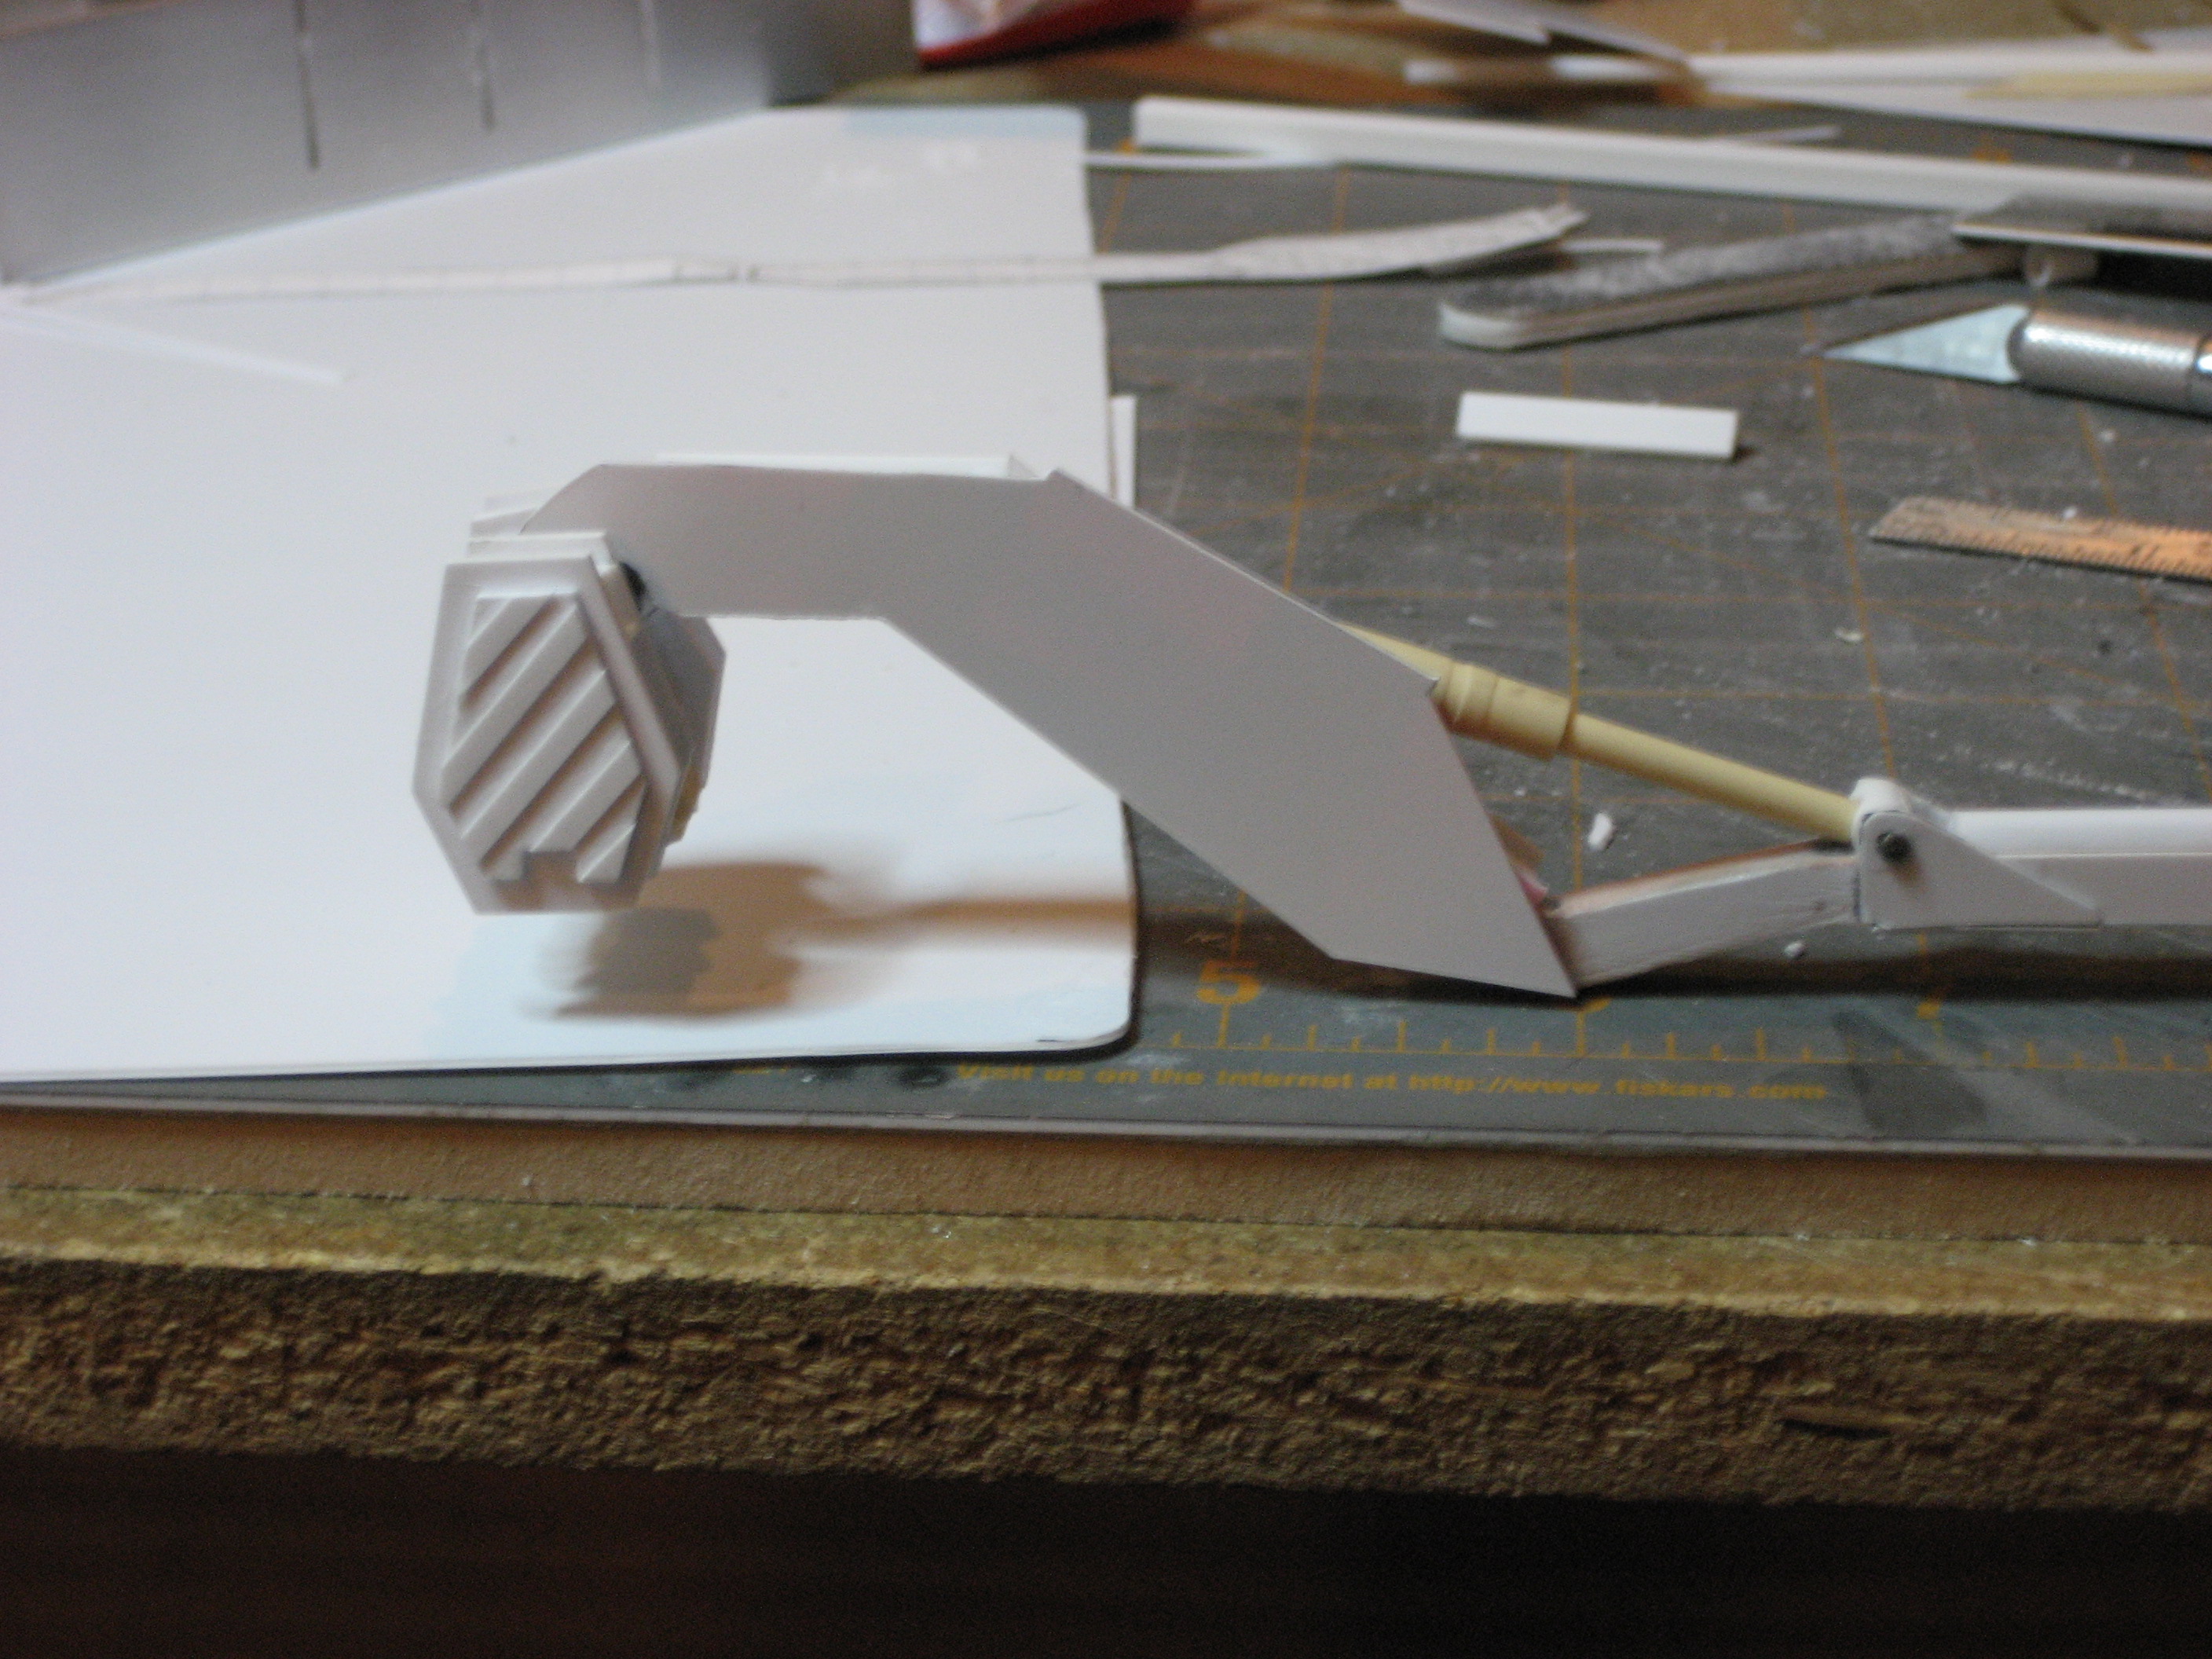
ok small update. Now that the new arm shape is done I have started to build the "claw" section. Although I had bits gven to me from Gundamhead, because of my new design I have ahd to rebuild them so they can attach to my new arm. I am really happy with this new shape and design. In the concept art the boom is fairly simple, and in the movie it is quite detailed, I will probably go with something in between. The hanger is coming along nicely, slowly but nice. I might try to post some pics of it later, but for now I just want to keep rolling with the claws. Ashton

-
Ran into an interesting and unforseen problem today. I was doing a mock up of my newly designed arm and the valk that I am going to be attatching to it, I am using a strike valk, the one with the cannon instead of the missle launcher attached to the fast pack.....well, the missle launcher and the cannon are at two different heights and different angles, making it almost impossible to attatch the "claw" the way that gundamhead intended. So I need to either redesign the claw, or not go w/ a "strike" version of the fast pack. I suppose I can make one of my other valks a strike valk, maybe one of the Max and Millia ones that I will do will be as a strike valk. Other wise things are coming along well. I have the hole cut out in the hanger tunnel for the control room, the arm has be redsigned, welded and the first layer of styrene and filler is on it. I started building some of the valk as well, it will be a VF-1J, Hikaru's valk. Anyone remember the # on his? Before he took over Skull-1? Ashton