

modelglue
-
Posts
324 -
Joined
-
Last visited
Content Type
Profiles
Forums
Events
Gallery
Posts posted by modelglue
-
-
Hehe, that's the stuff Noyhauser. So that is the Fine Molds kit? I expected better. I'm sure you did too. Guess I better get started on the Dragon version soon?

Nice save with the aluminum look. I don't think I'll attempt that myself, maybe try the overall metal look with the mottle some Japanese planes carry. I'm liking those tanks you guys put up too, that zimmermit must be a satisfying sight after all the patience you put into it.
-
Excellent, thanks guys. Just when I got semi-familiar with the Macross realm and the various mecha and off shoots, I had to go and open up this door.
I'll be looking over that link for the rest of the morning for sure!
-
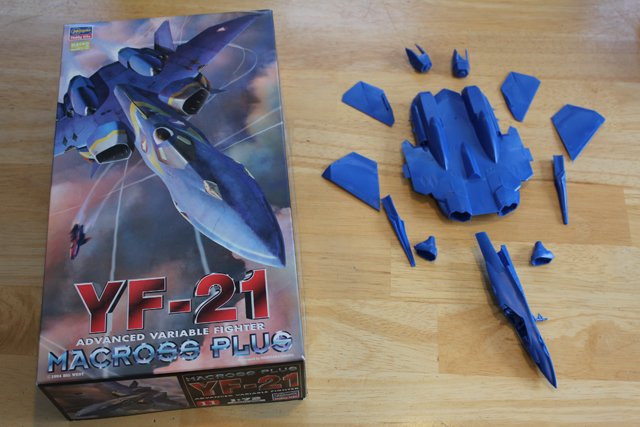
Guys... just got this in the mail yesterday from a fellow in-Province. I am pretty pumped as this is my first 'toy' purchase. I am well aware that this isn't really in the same class as lets say... the Arcadia 1/60 VF-19P but it is still exciting as I have some naughty plans for this and a Hasegawa YF-19... want to do a custom model and paint it in the Bird of Prey scheme.


Thanks for tuning in! I'll try and post updates as I go, but sometimes it's hard to capture progress in an organic situation like a mod of this magnitude!
-
...I'd go with the shiny new paint style.
Folding into combat is pretty...badass.
I'll have to finally watch all the episodes and follow on movies some time soon. I think I got into double digit episodes before I had spiritia fatigue.Thanks for the advice.
-
Thanks V-A, The drop tanks won't be making an appearance on this airframe... I plan on sticking some Hasegawa missile boxes to it, or maybe those large white ones with the yellows tips. Reaction warheads???
I've been reading William's logs pretty much exclusively for reference but I am no master. They do however, serve as a goal to aim for.
I'll do the Max scheme to the best of my ability, The only thing I foresee being an issue is the canopy, but I do have a backup plan for that: dremel down that hump inside the forward area that would normally be blanked off and mask the pattern you'd see on a VF-22.
Question about the Max scheme: Would the airframe exhibit wear like a front line Valk would? I am wondering about paint chipping and oil streaks etc. I just don't know enough about Jenius' character to decide if he was OCD about maintaining his rides.
-
Looking good, I'm anxious to see more from you guys as I haven't been able to land one of these yet.
-
Hello, and apologies for dragging this from the crypt of eternity... I know some of you get grumpy about resurrections.
Can someone please tell/show/point me to more info on the second mecha from the left next to the Monster? I like that shape and I want to know more about the design. If anyone feels compelled, maybe a complete line up description would be handy for other interested parties? ...there are a few more in the line up that I would like to know more about as well.

Thanks!
-
I recently had successful and excellent dealings with Jefuemon and Major Tom. I also got some goodies with Psychodynamix which shouldn't be left unsaid: Great to deal with as well.
-
That's a shame, that you had that bad experience for your first time returning to Macross modelling. Despite the horrors you endured you did a really excellent job of portraying the Valk. I'd love to see what you can do with a Hasegawa kit.
-
Thanks guys for the moral support.
If you're going to use the clear pieces for the wingtip lights on the -21, be sure to cut out the space while holding the clear part on the wing...
Thanks for the heads up, Jefuemon.
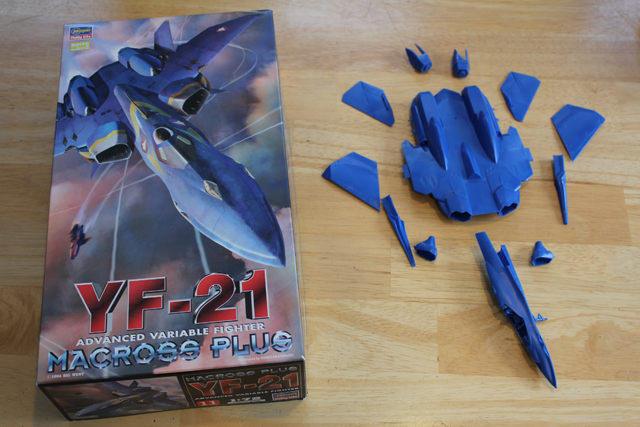
I think I'm going to take the easy way out and paint them with a coating of window making glue.I got out my airbrush (not really, it's always out) and fired on a base coating of a dark blue to add some depth to the finished product. I followed that with a lighter blue which I determined was a good proxy from what I could see here:
http://www.macross2.net/m3/macross7/variant-vf-22s-max/vf-22s-max-fighter.gif
Thank you very much for the awesome Library of reference material.

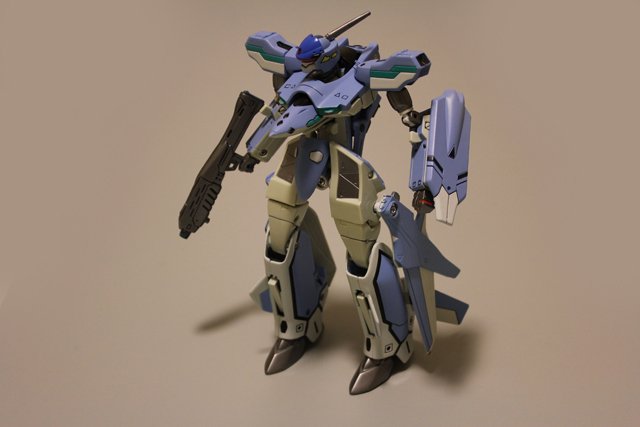
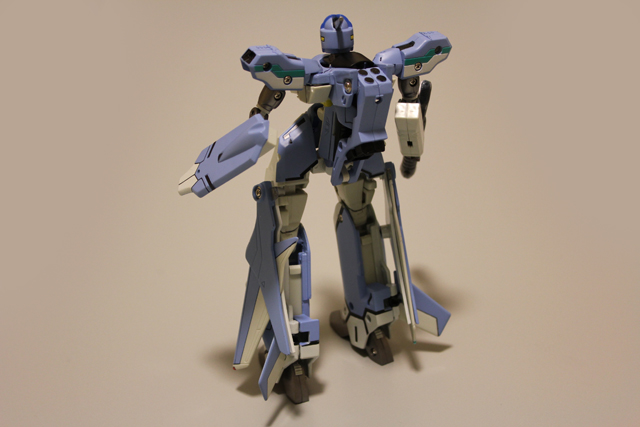
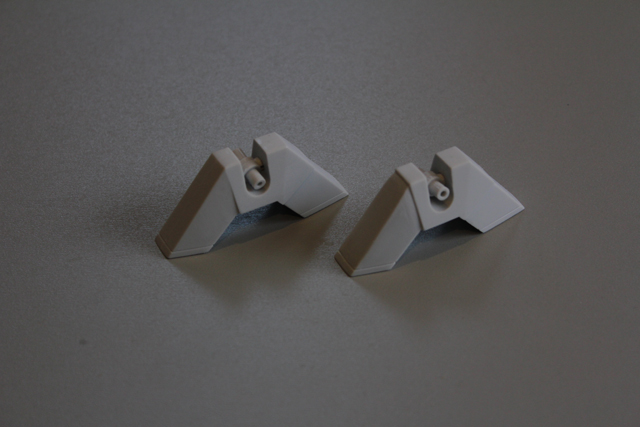
I posed the unpainted gun next to the YF-21 model for contrast, in the event it didn't look painted.


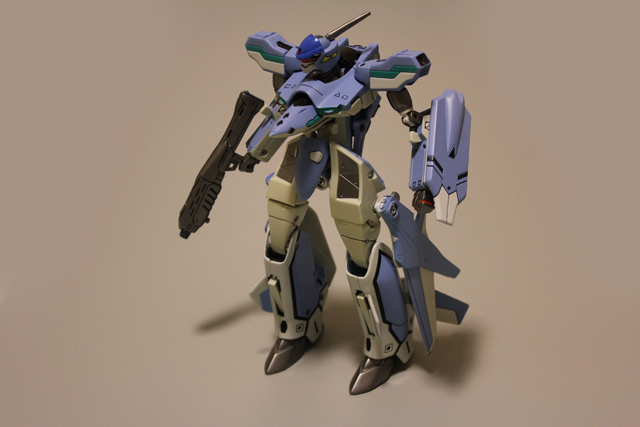
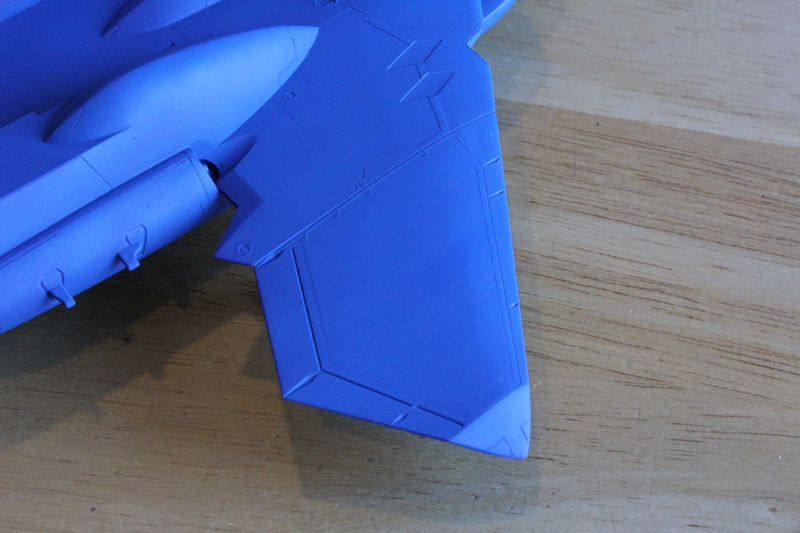
I did some subtle streaking on the wings to either represent stress in the flexible wings or inter-atmospheric wearing. It may not be visible in these pics but hopefully will be emphasized later as I get to panel fading and weathering.

I love that the detail in the Hase' kit stands out more with a coat of matte paint on it. This should really capture some panel line wash (on the way from the far east).
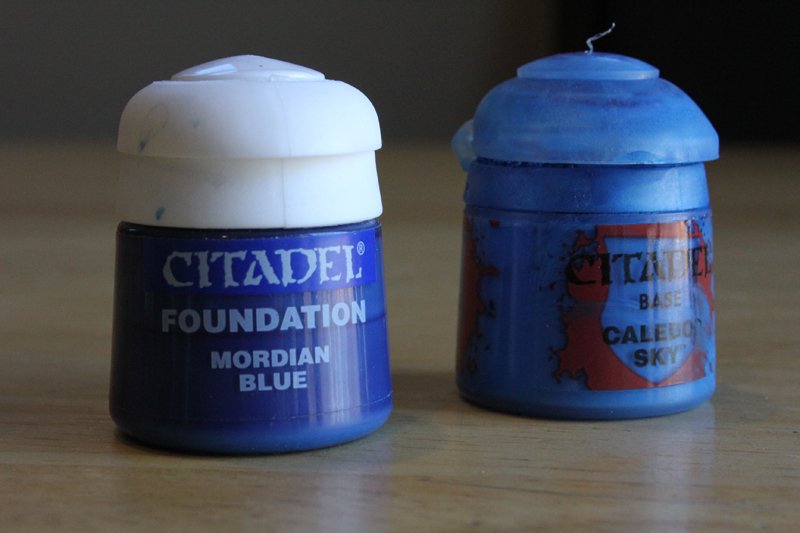
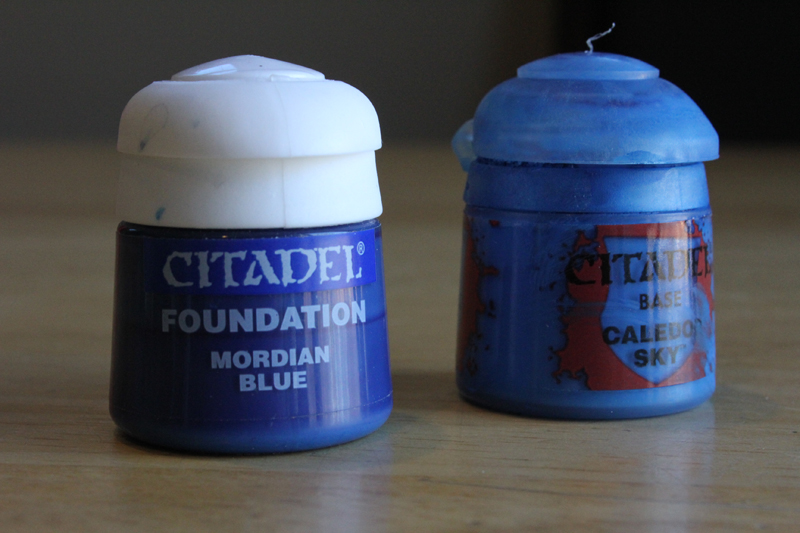
And here's the paint I used. Thinned down with 70% Isopropyl Alcohol and Future, 1:1:1 with paint. I shot it at various pressures ranging from 15 through 40 PSI.
More to come.
-
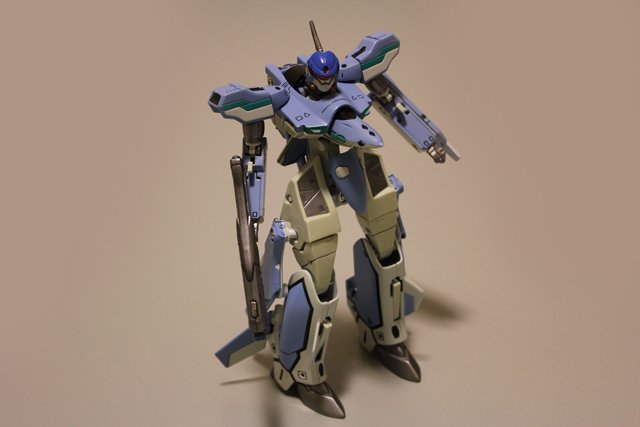
I started Bowman's YF-21 from the 1/72 Hasegawa kit, which I think I'll paint as a Max version. I really like the idea of the grey scheme used in the moon shooters release but I feel like it makes for a pretty boring battroid when you plunk it next to VF-11's and other low-viz examples (which I prefer to the demonstrators).
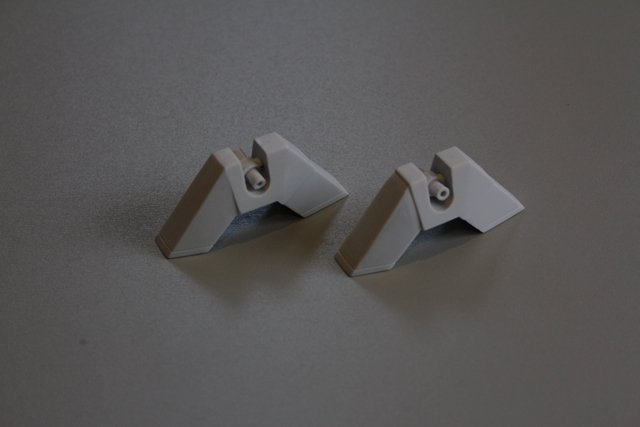
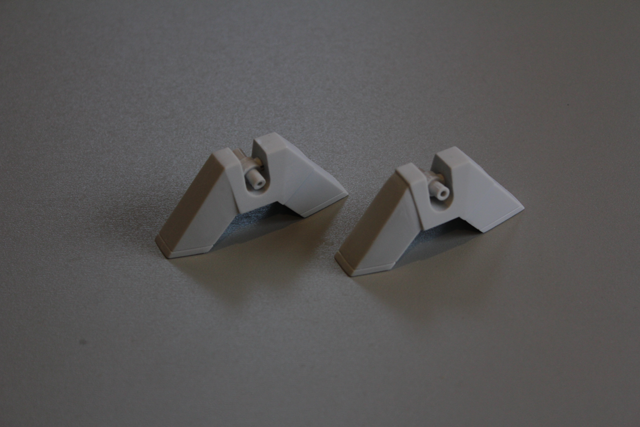
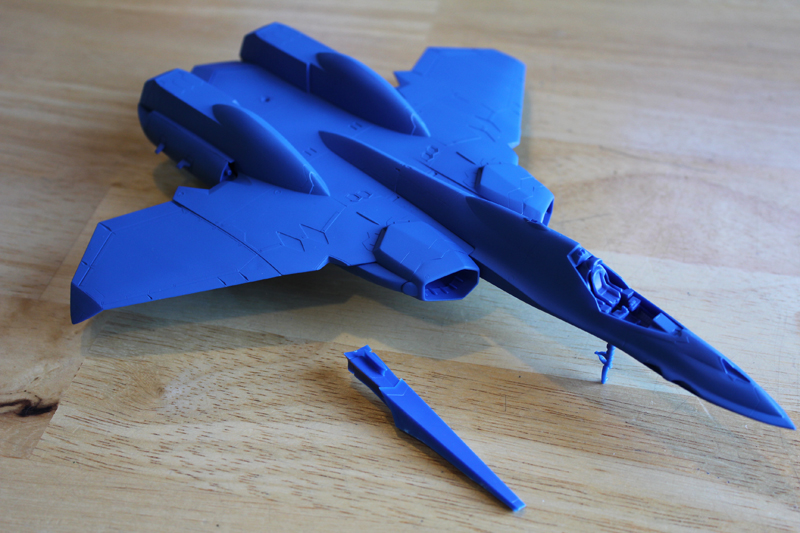
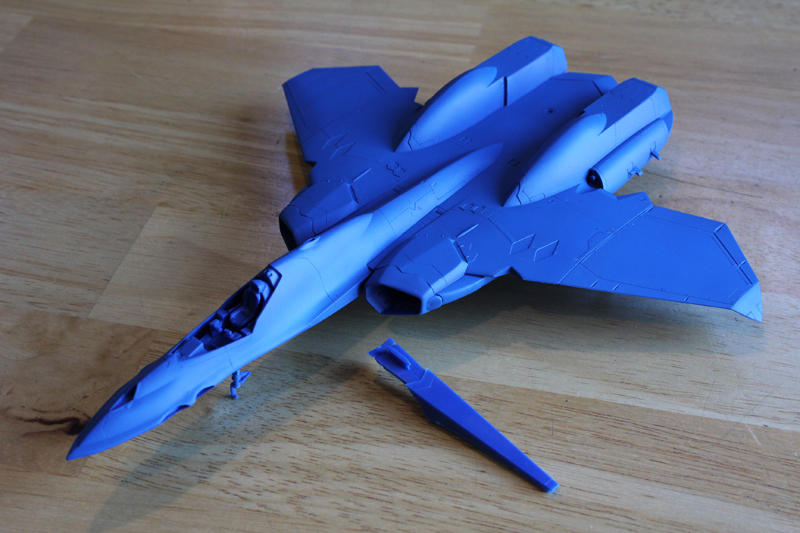
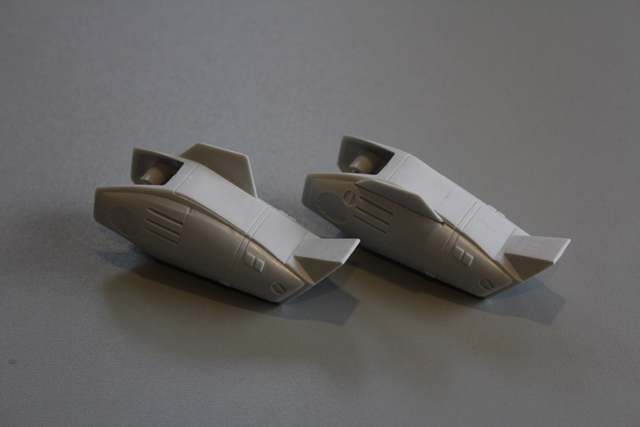
So here is my progress on a VF-22:
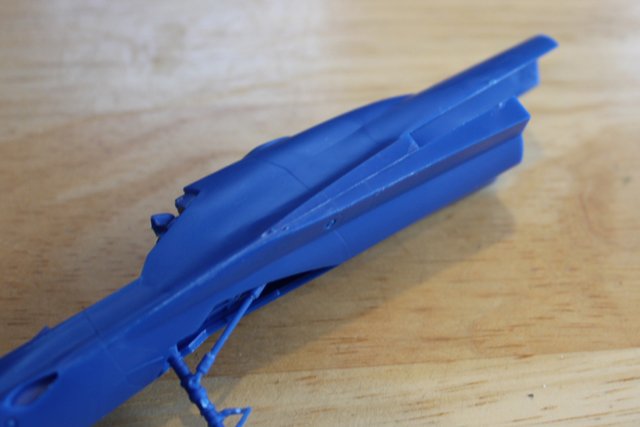
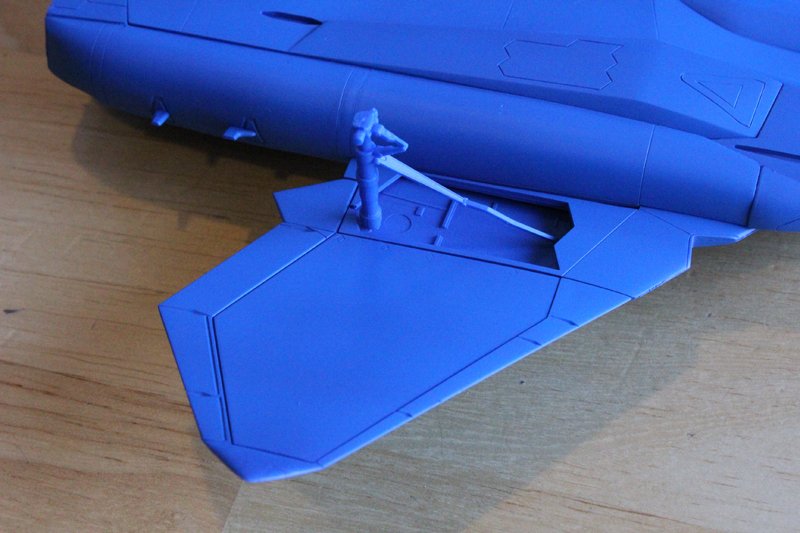
The only real major seam to clean up in on the exposed fuselage ahead of where the inlet is.
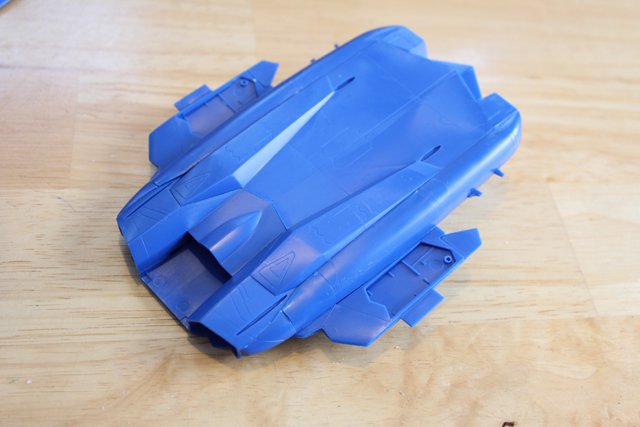
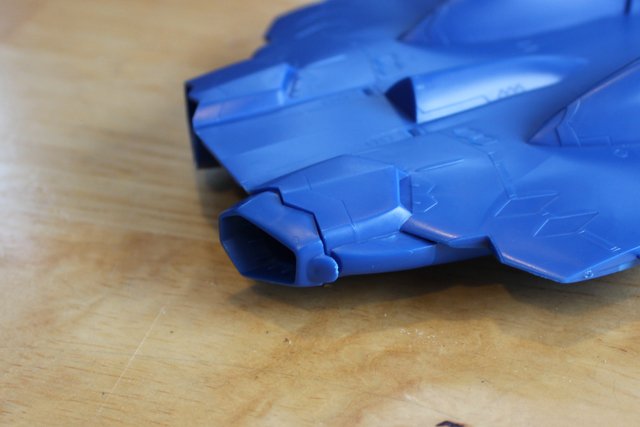
The port inlet is just sitting there, but you can see that gap behind where the wing root (fast pack?) meets the inlet.
Overall this kit pretty well fell together, not too many fit issues considering the somewhat unorthodox construction process. The subassemblies are heaven sent though, being able to paint them separately is nice.
-
With some time to myself before the holidays I did some more clean up on my 1/72 Bandai vintage VF-1J. I also took some comparison shots to scrub this model against the Hasegawa Valkyrie of the same scale. The first two pics are of the same subject but of different file formats, top is .jpg and bottom is .png, I wanted to see/share the differences as was being discussed elsewhere on the site:
The feet/thrusters. I did a bit of modification to add detail and panel line recesses.
The lower legs needed lots of sanding and levelling to get them presentable.

Not as much work with these parts but still enough to justify getting out the files.
Hasegawa kit in white, which is the VF-1S Strike version.

There isn't as much scale difference as I thought initially, but still enough to make them look awkward side by side. The hase' seems skinnier.
That's all for now, maybe on to paint after the big day coming up.
-
Easy answer: No modding required of the kit you were looking at (the one with the three non-scale pods).
You can build it in either configuration, by using option parts within the kit. Go ahead and buy it, you won't be sorry.
-
Stellar work!

Looks like something a prop-master would use on set, it's that realistic.
-
No laughs here, but I definitely had my jaw drop for both builds! Nice work on those two, and I like the base for the X-Wing.
-
This kit comes with a 1/72 Minmay? Damn! These Bandai guys knows how to get my attention...
"... you had me at 1/72" LOL. Right?
-
You've got to love the action this thread is getting.
My personal choices are:
VF-0A
VF-2
VF-27b
I prefer the 'grunts' of the armed forces as opposed to the popular 'S' variants that get so much custom attention.
-
That's Beautiful Hervé! The kit is a bit on the expensive side though isn't it? Oh well, hasn't stopped me yet.
Liking that -25 from Hase' too!
-
Very nice, thanks for sharing. I like that VF-11 pose, lots of movement!
-
Great work!
I know what you mean about the straight lines, my example has some wonky panel lines that look more like worm track than anything else. It's ok though, nothing I can't fix with time and after it's all done I'll have something like you've accomplished here. -
Yes, another vote here for 1/72.
These cost 25k Yen, is that a reasonable price for resin kits?
When you consider the limited amount of models being produced and the very limited amount of options regarding the subject matter, throw in that it is resin, highly collectible and from it looks like to me - extremely well done... then yes. Perfectly fine. I mean, there is colour separation! In 1/100!
I'm amazed. I hope that helps you barurtor.
-
That is awesome on so many levels. I'm feeling an Idol Master vibe from this, maybe next one will be a VF? I convinced my wife after reading your post about the finemolds decal paper that we needed a laser printer. It would be more economical for me to print my own than to keep buying aftermarket items.
Back to post again today, I have some work done on this old 1/72 Bandai kit of the VF-1J. I think I may have paid too much for this kit now that I scrub it against the Hasegawa Battroid. My plan was (mentioned earlier) to convert this into a Destroid with some fancy background writing to accompany the model. Something along the lines of: This newer larger class of VF based on the -1 didn't pan out like intended... converted into perimeter defence for low value bases... you get the idea.
Here is a pic so far. I've been trying to level the parts where they attach. The steps between the pieces are why I experienced fatigue in the first place and they ever wore me out after a few hours of finicking with the smaller pieces today.
I think I'll leave the forearms and hands off for now until I resolve what I want to arm it with. Might be cool to have the forearms terminate in barrels?
Here is a shot partially assembled:
-
Hey guys and gals, as the subject indicates I am looking for the 1/72 VF-1J Armoured Valk' in Battroid mode.
Please PM me with shipping cost included in your asking price, to St Thomas, Ontario, Canada.
Thanks.
-
I'd be interested in the Hasegawa 1/72 VE-1 - $25, Hasegawa 1/72 VT-1 - $25
PM sent.


Whats Lying on your Workbench MK IV
in The Workshop!
Posted · Edited by modelglue
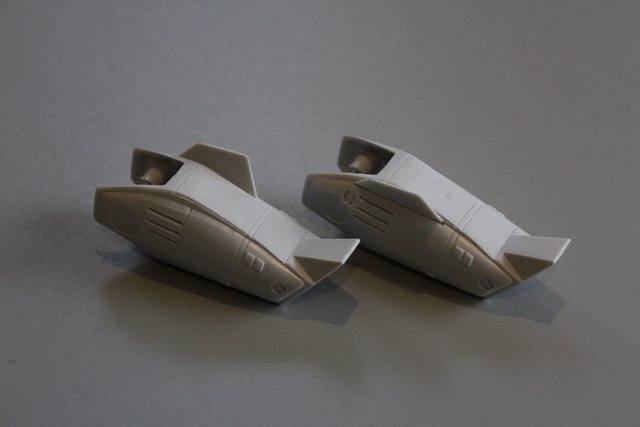
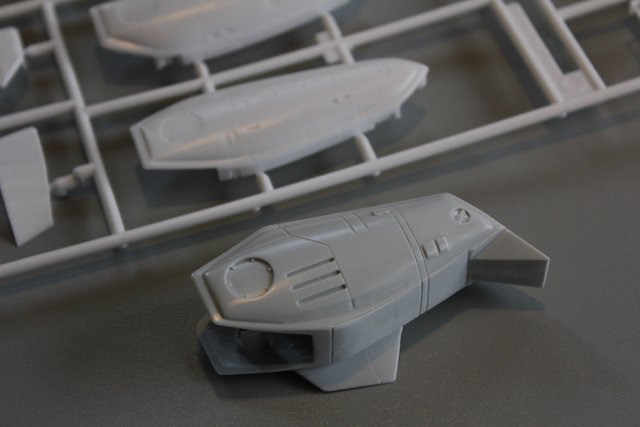
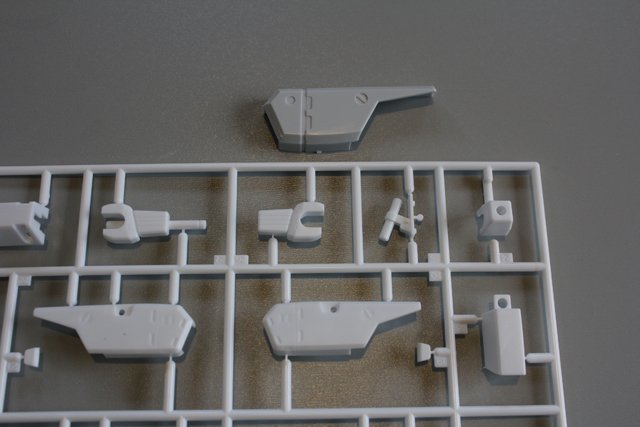
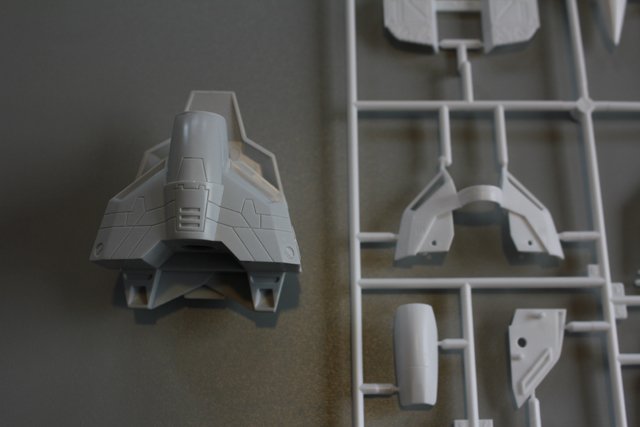
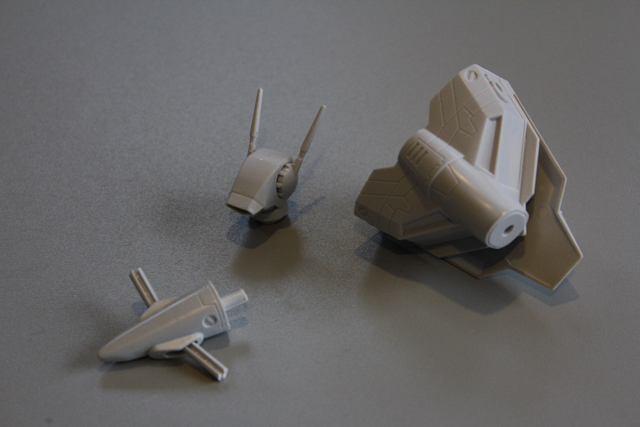
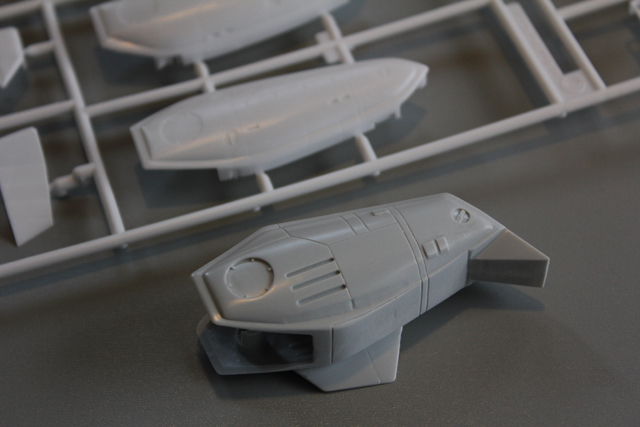
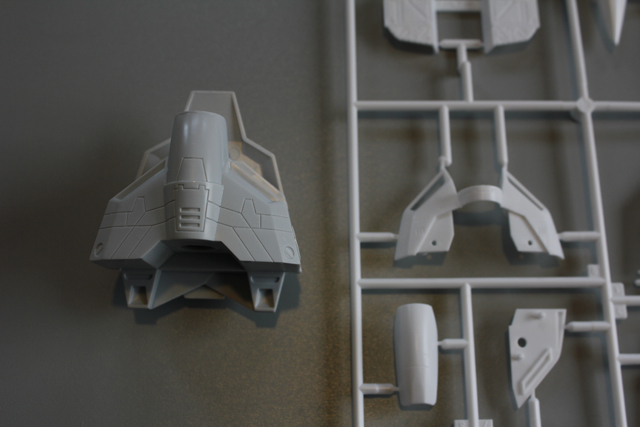
Sat down today to work on this Iota. The weather is lousy and after a water heater failure and a slight fender bender out on the road I thought it best to not tempt fate and stay home.
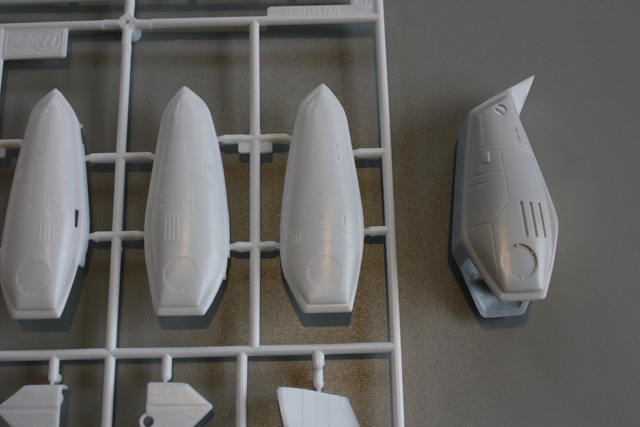
My first Wave kit, similar to Bandai in the format and sprue layout.
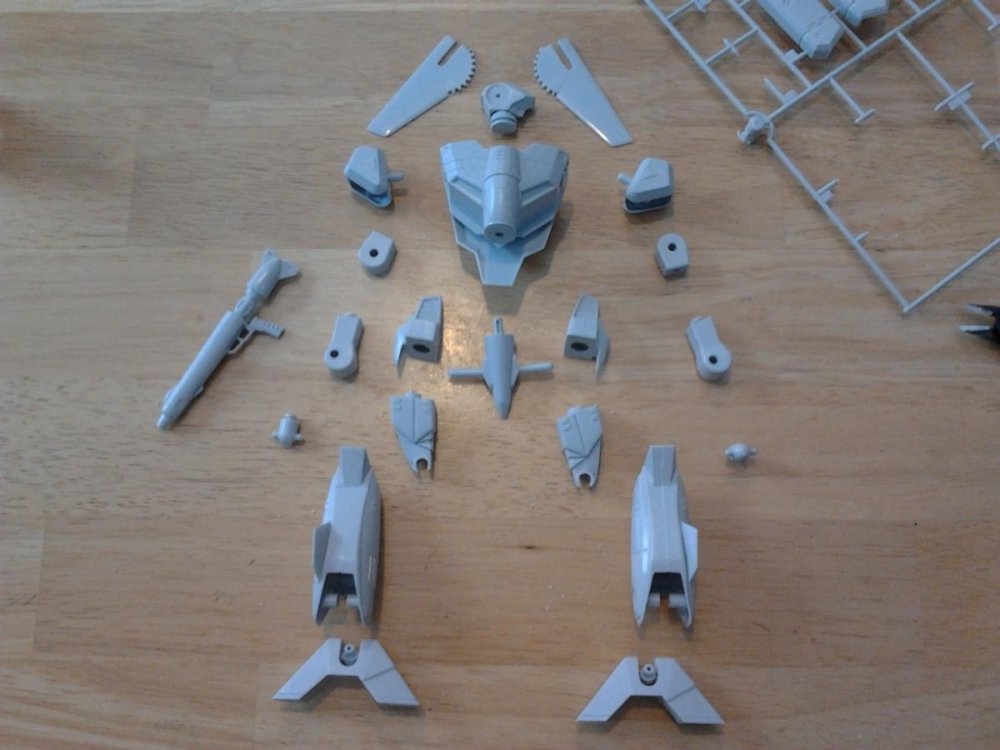
Subs done after a few episodes on tv and hours gone by.
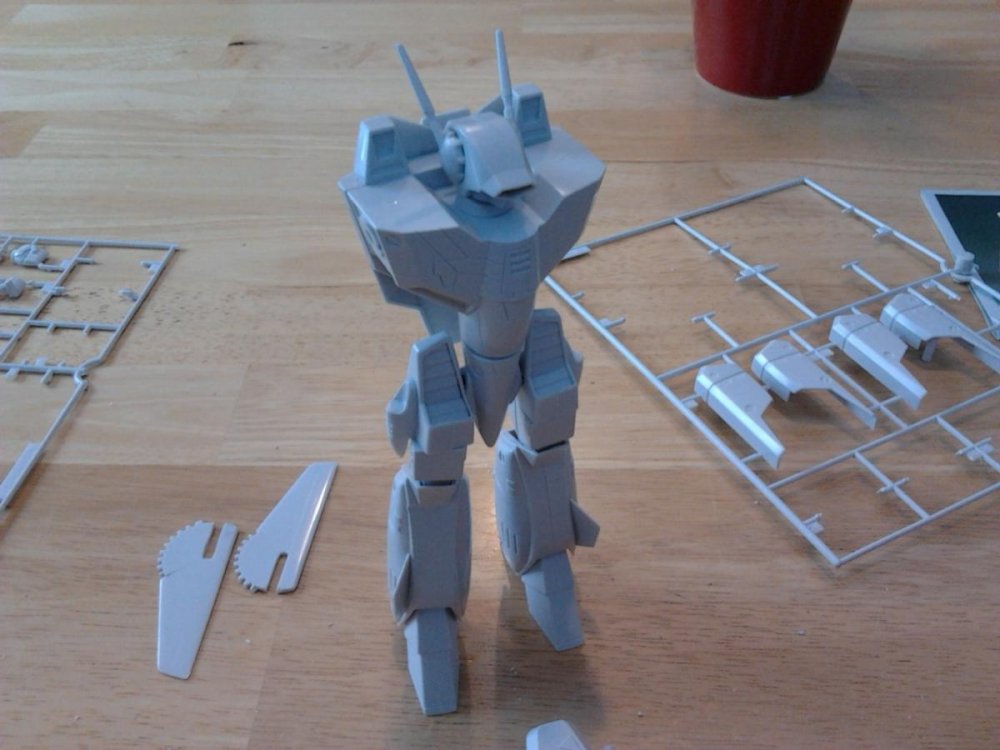
Ta-Da! Smaller than your typical Valk' but should shine up nicely once painted. I needed this to get my through my winter hobby slump.
Paint to follow after I do more in my progress thread.