arbit
-
Posts
2630 -
Joined
-
Last visited
Content Type
Profiles
Forums
Events
Gallery
Everything posted by arbit
-
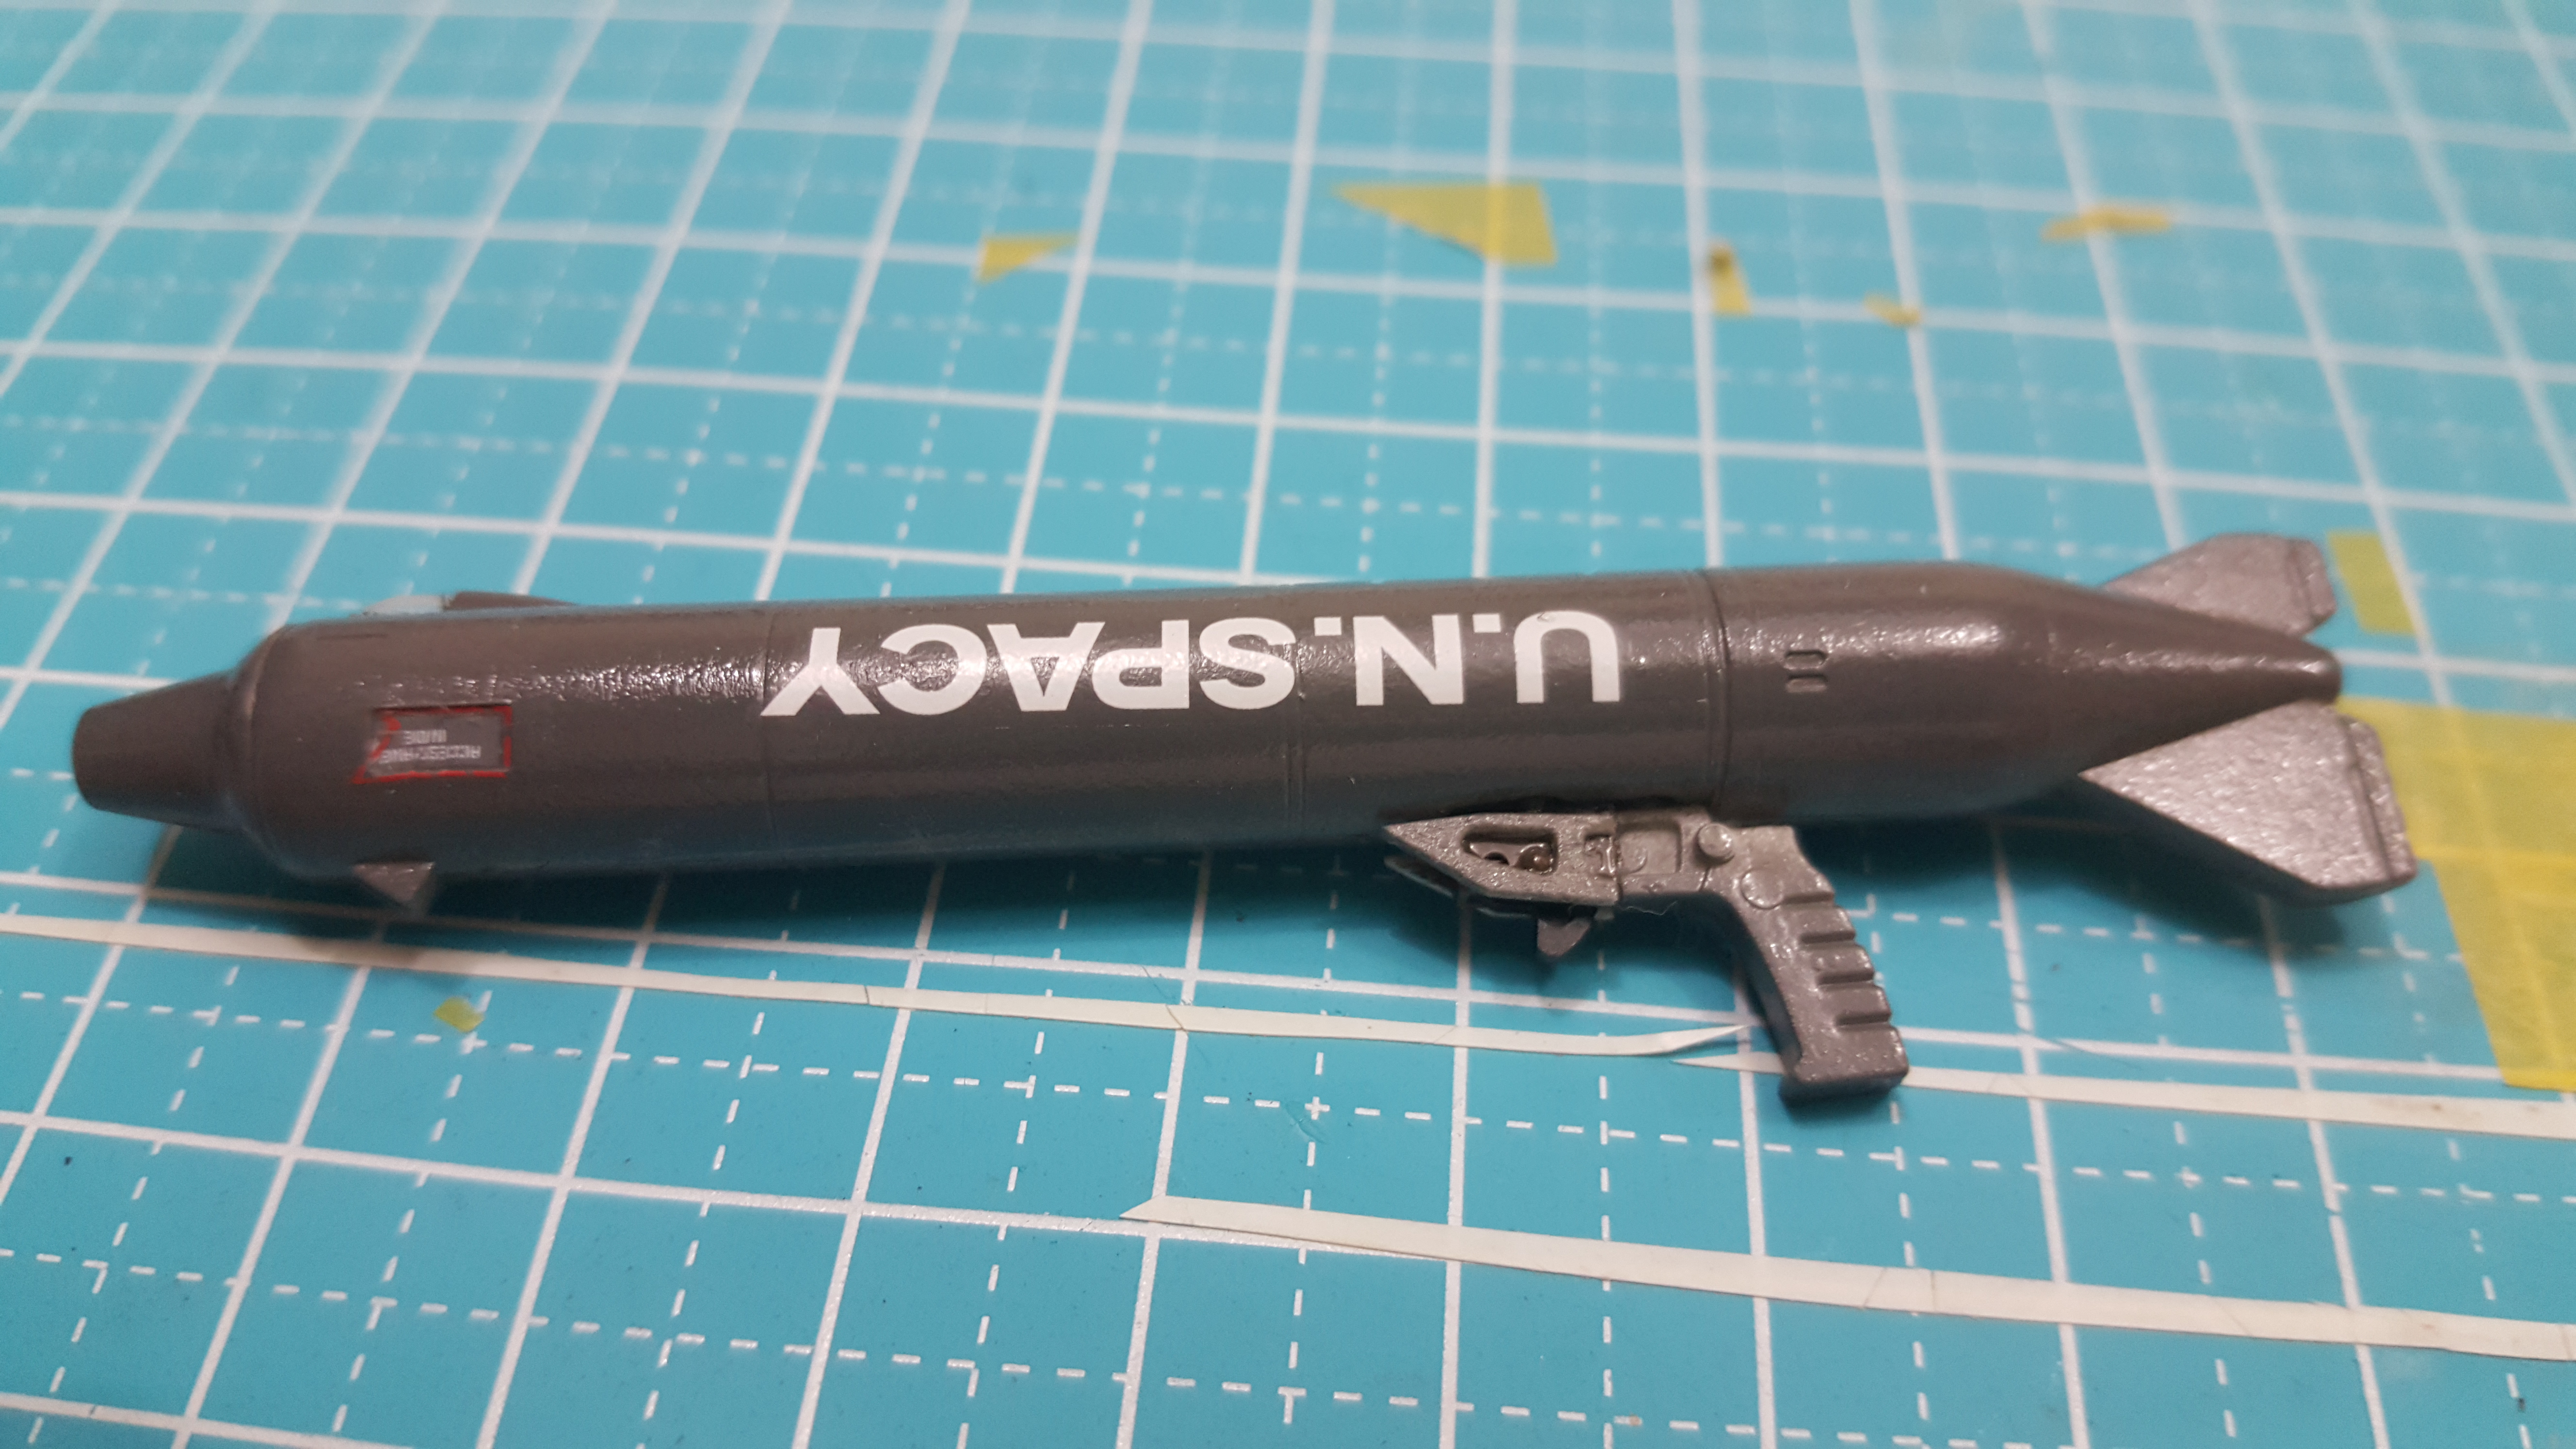
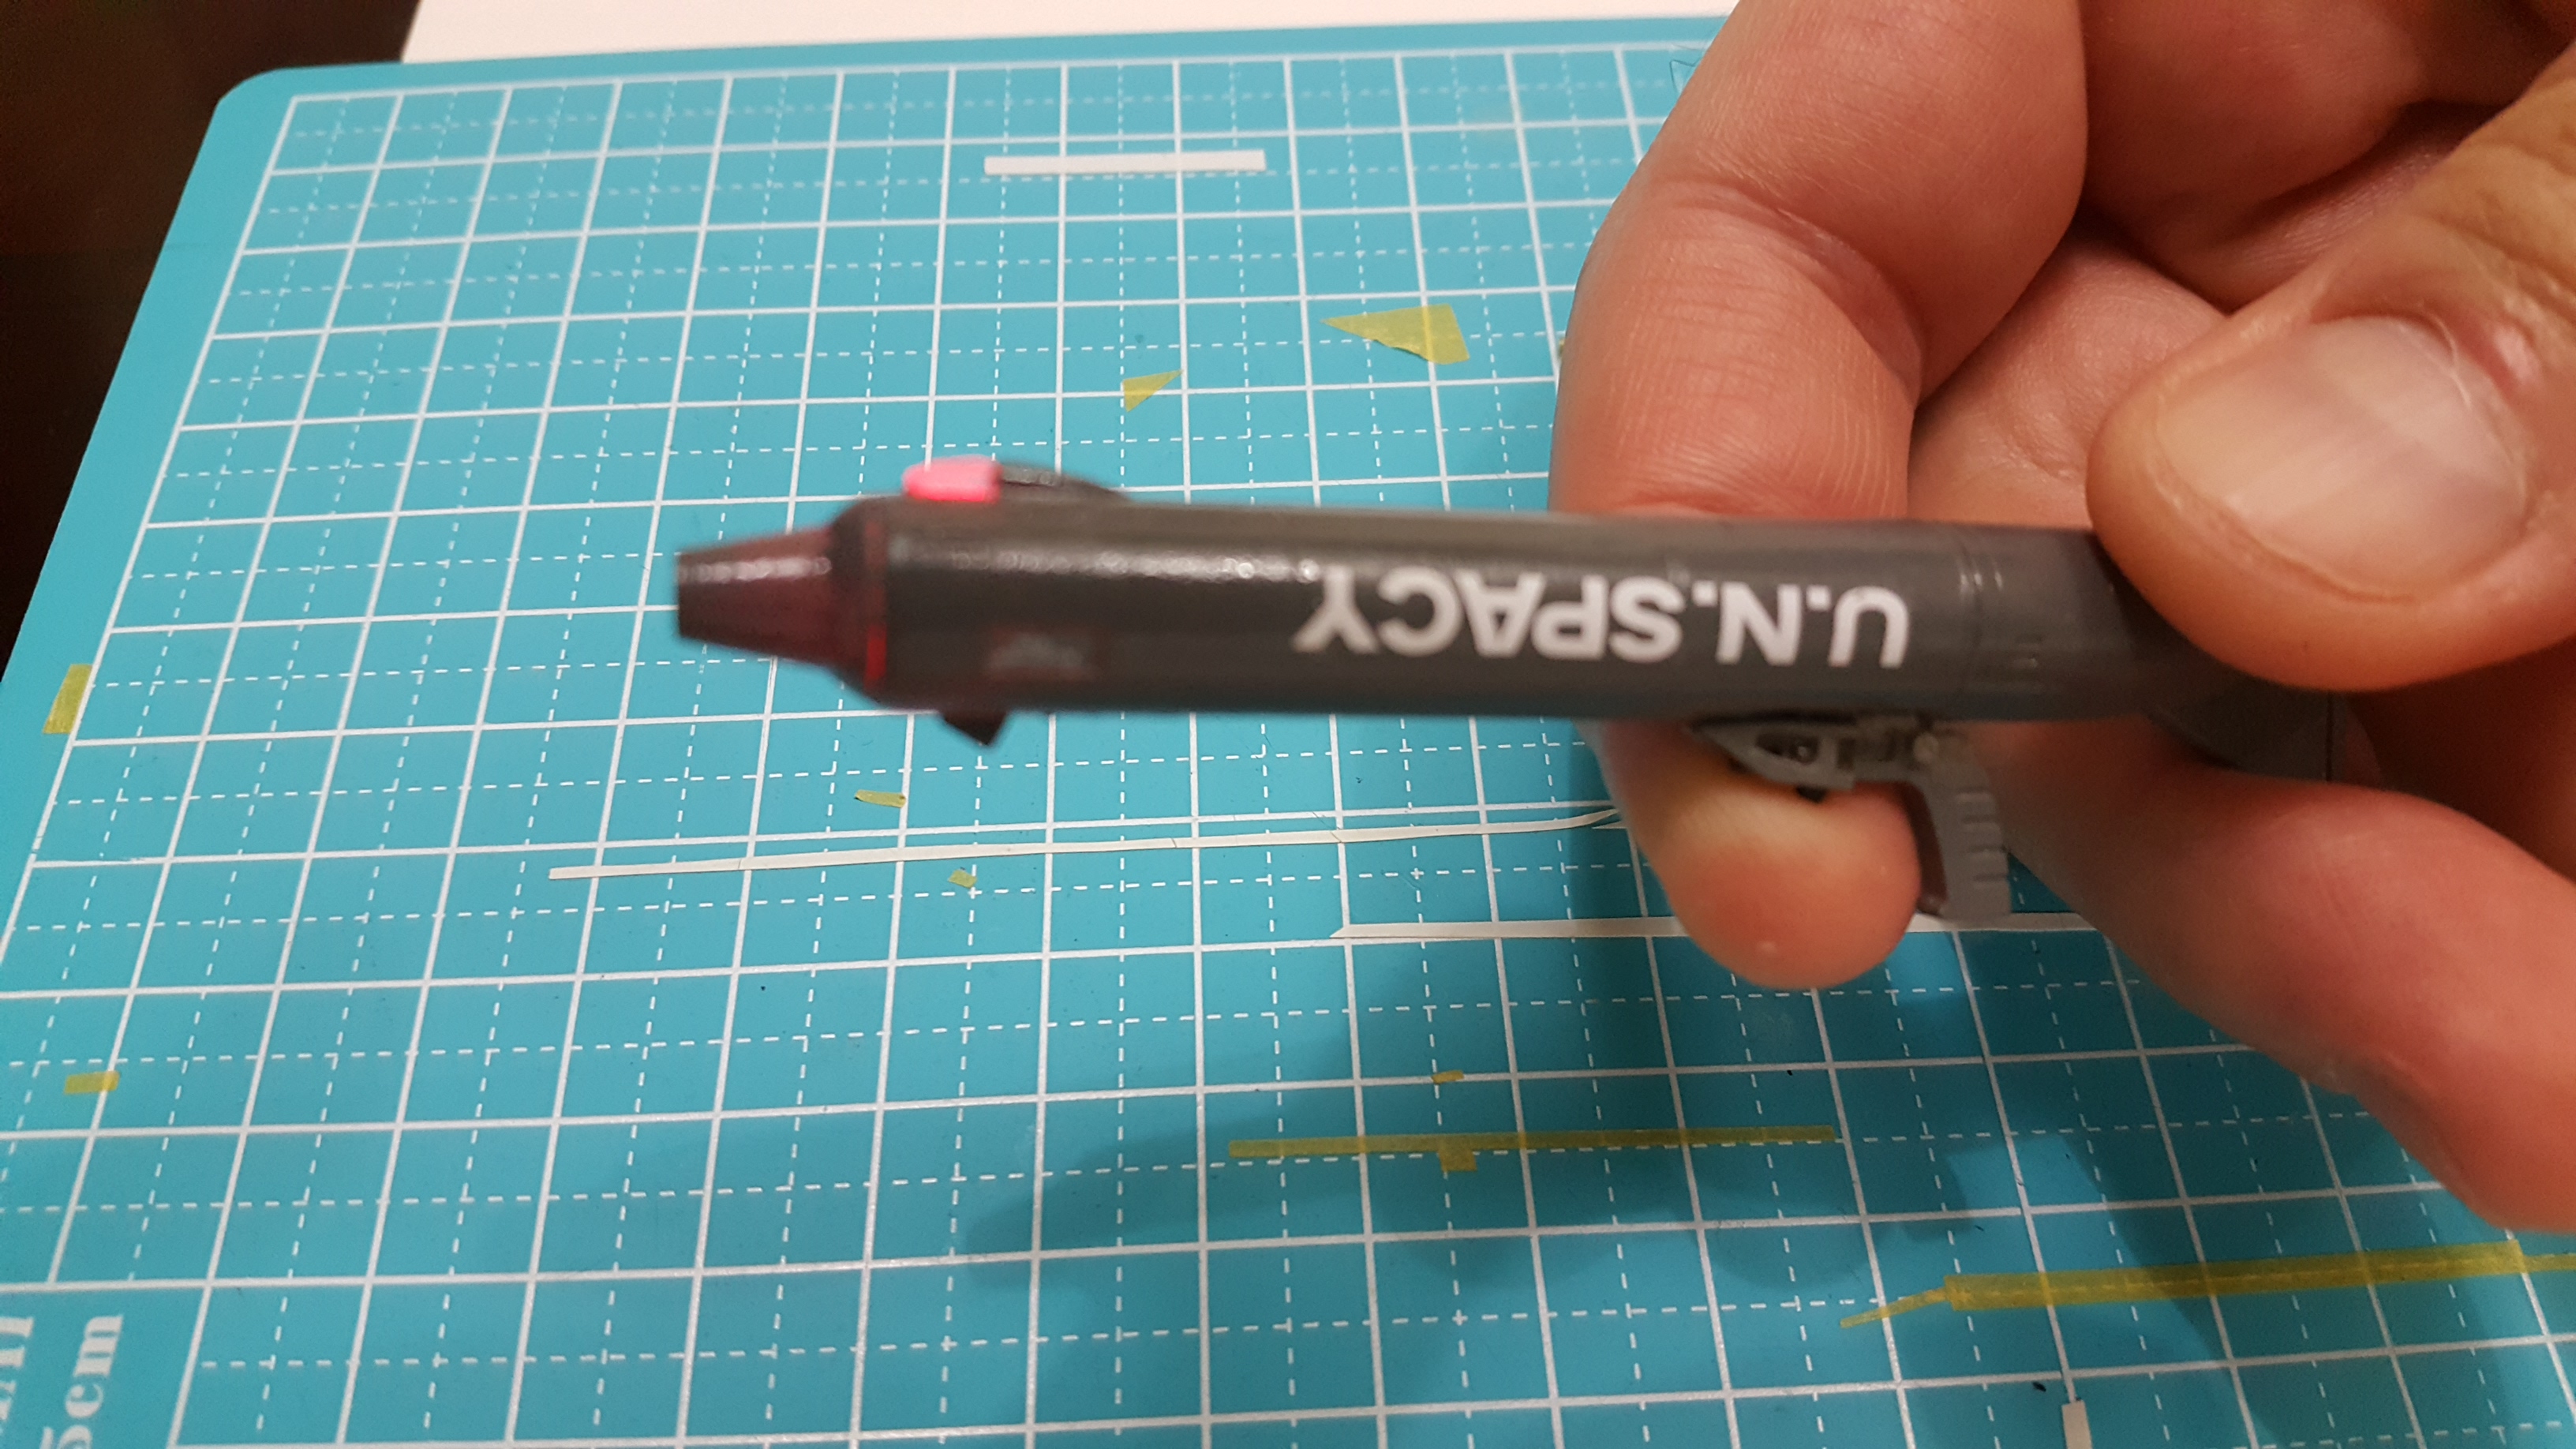
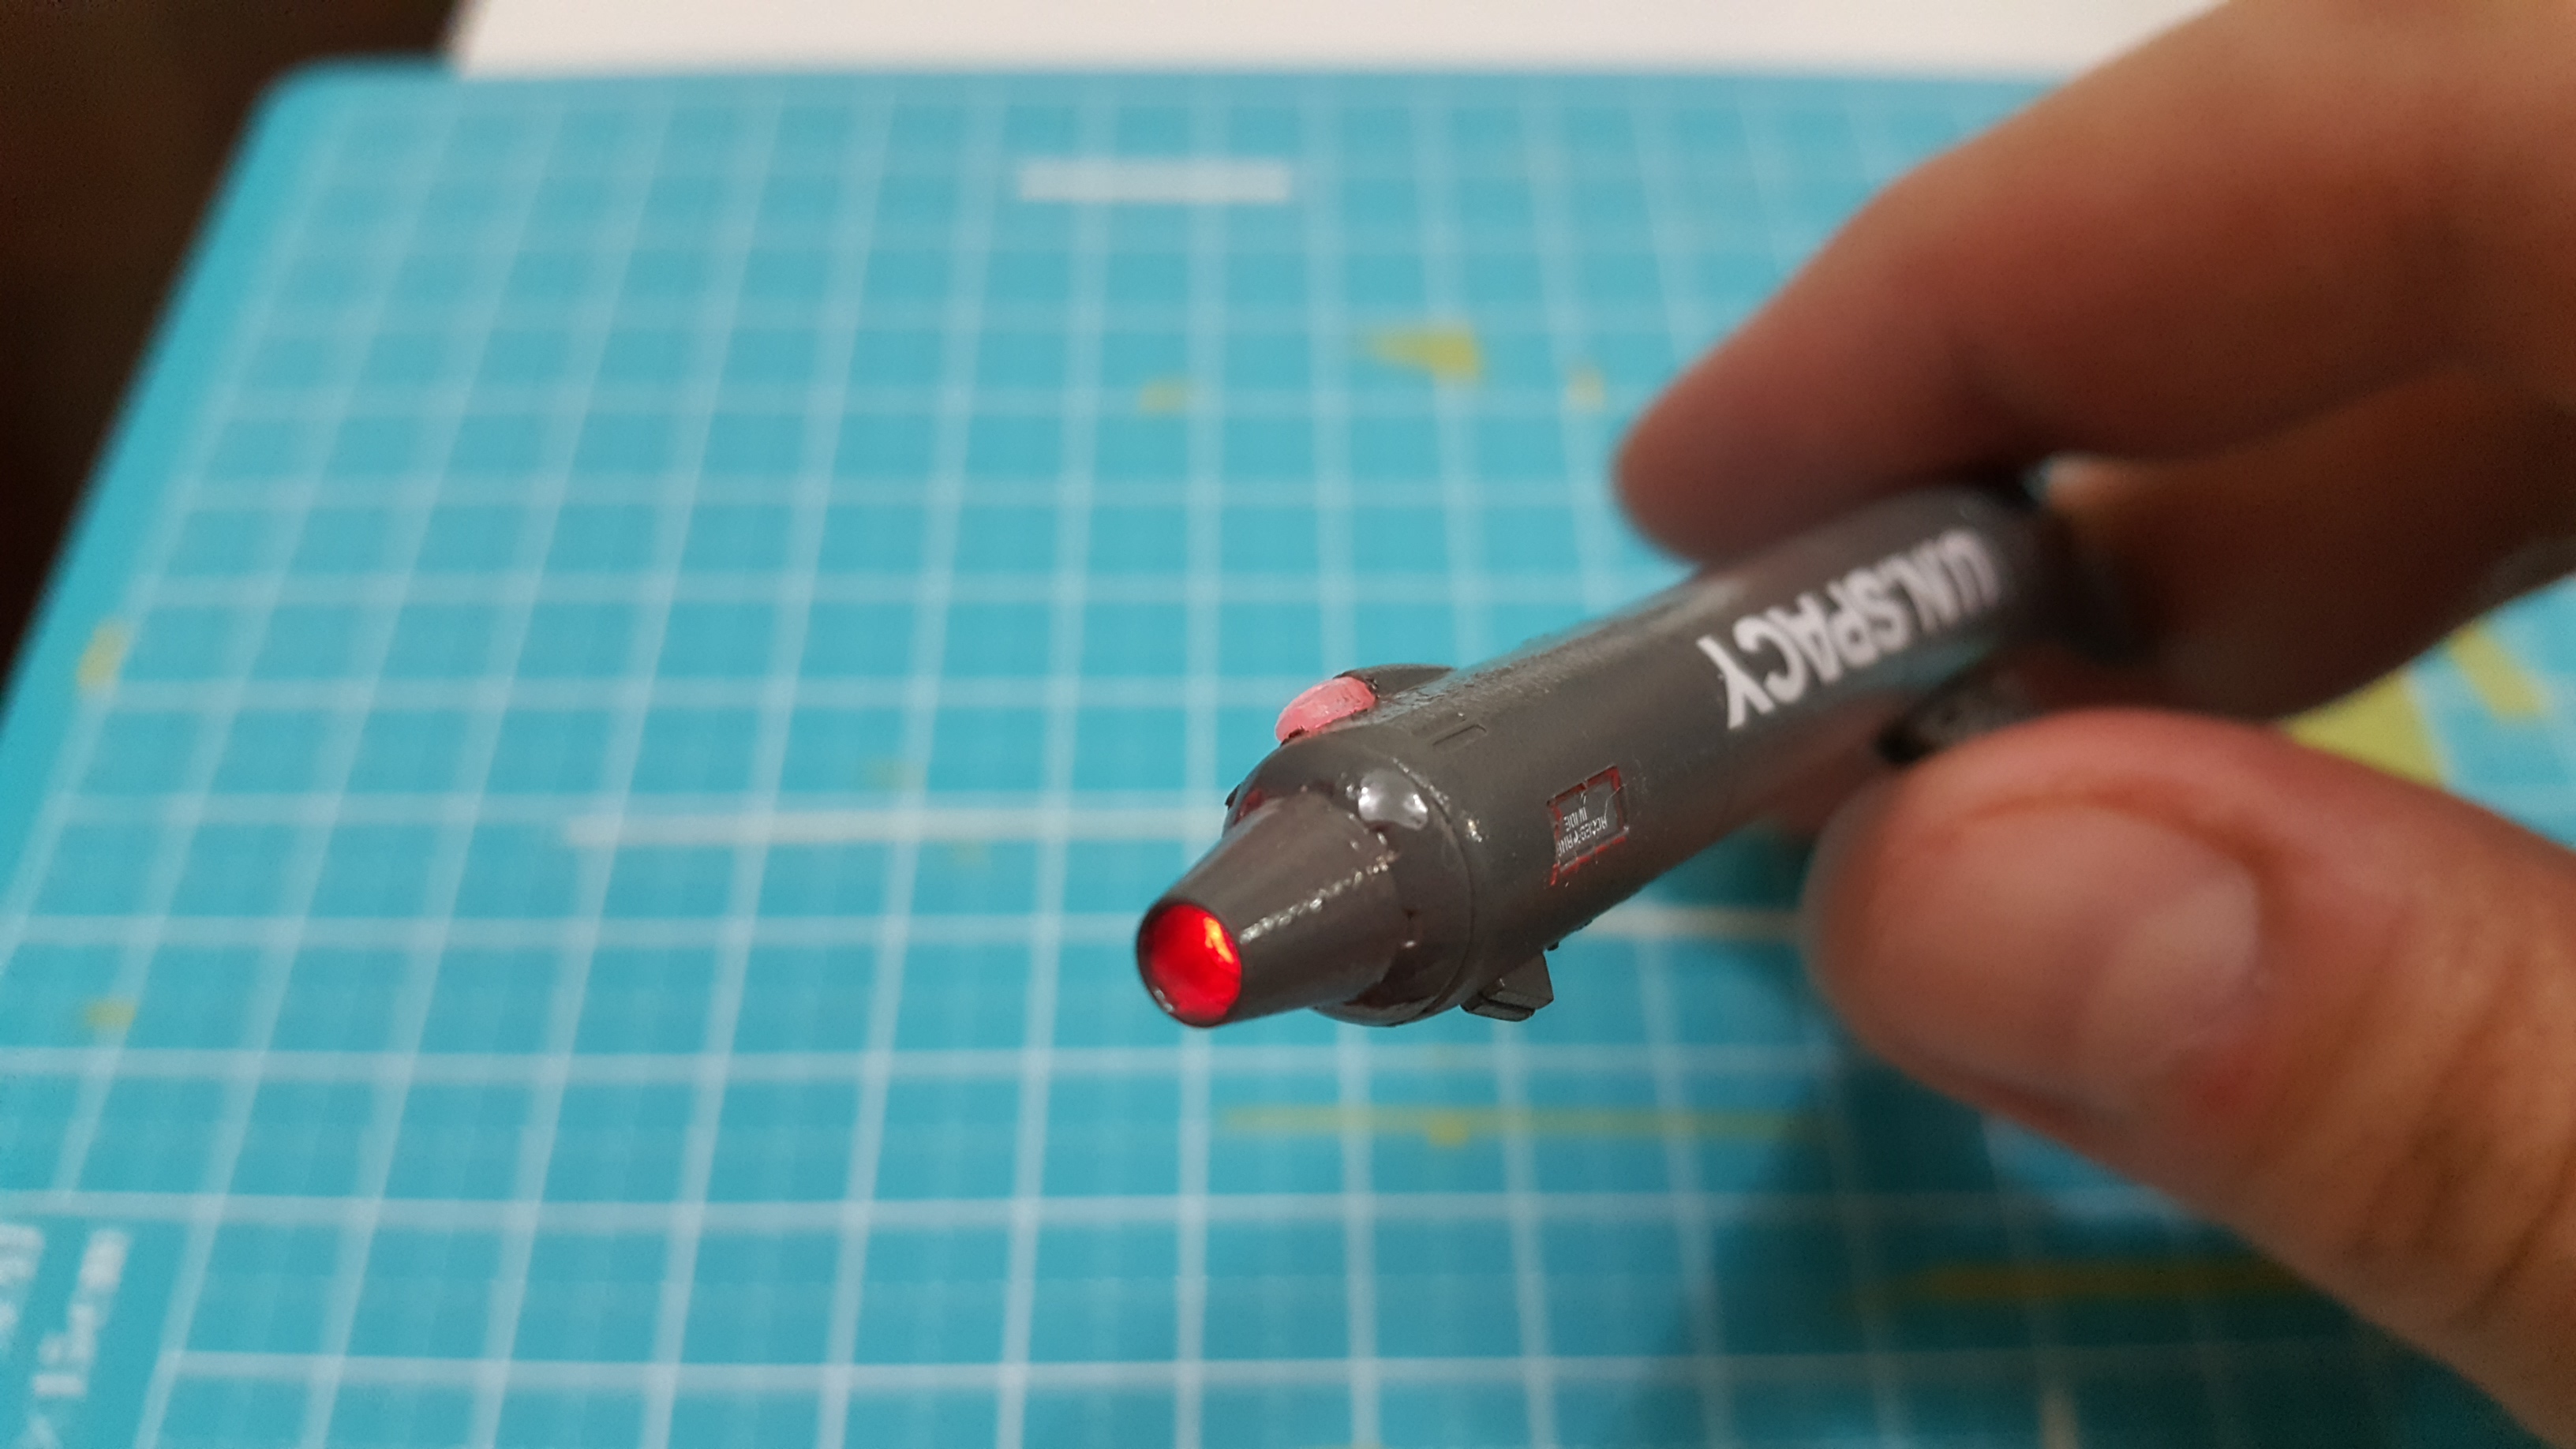
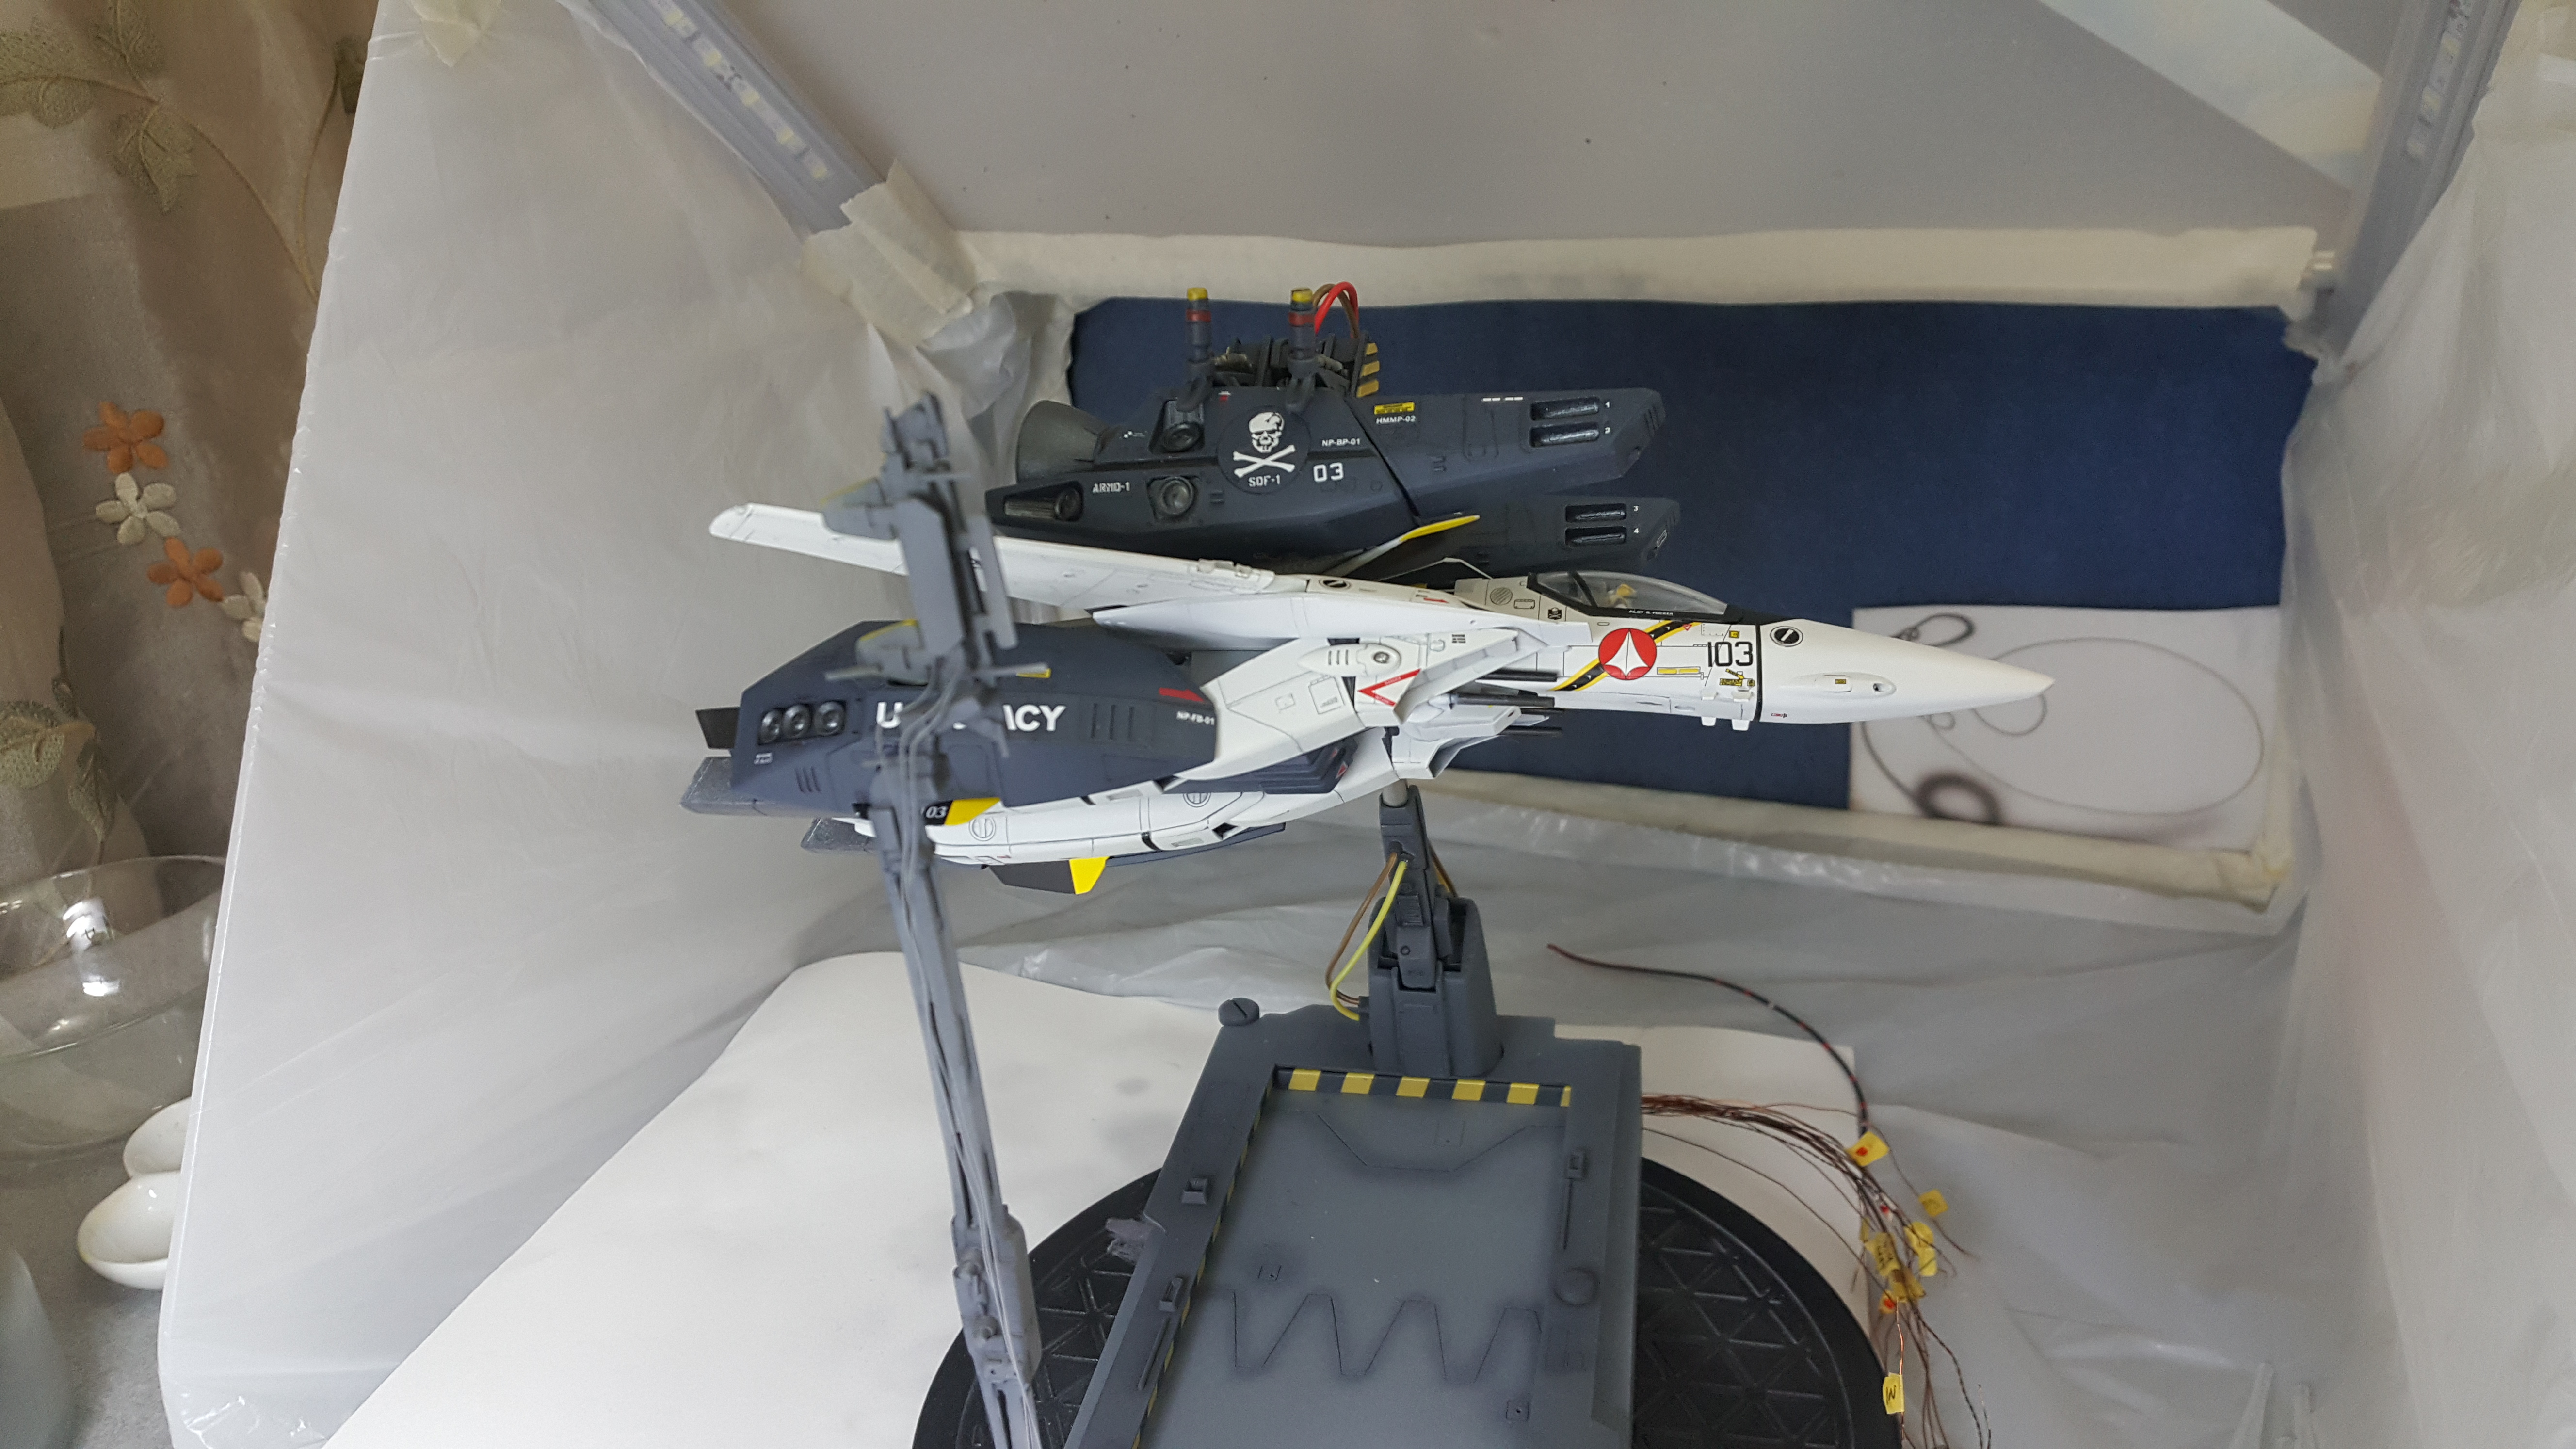
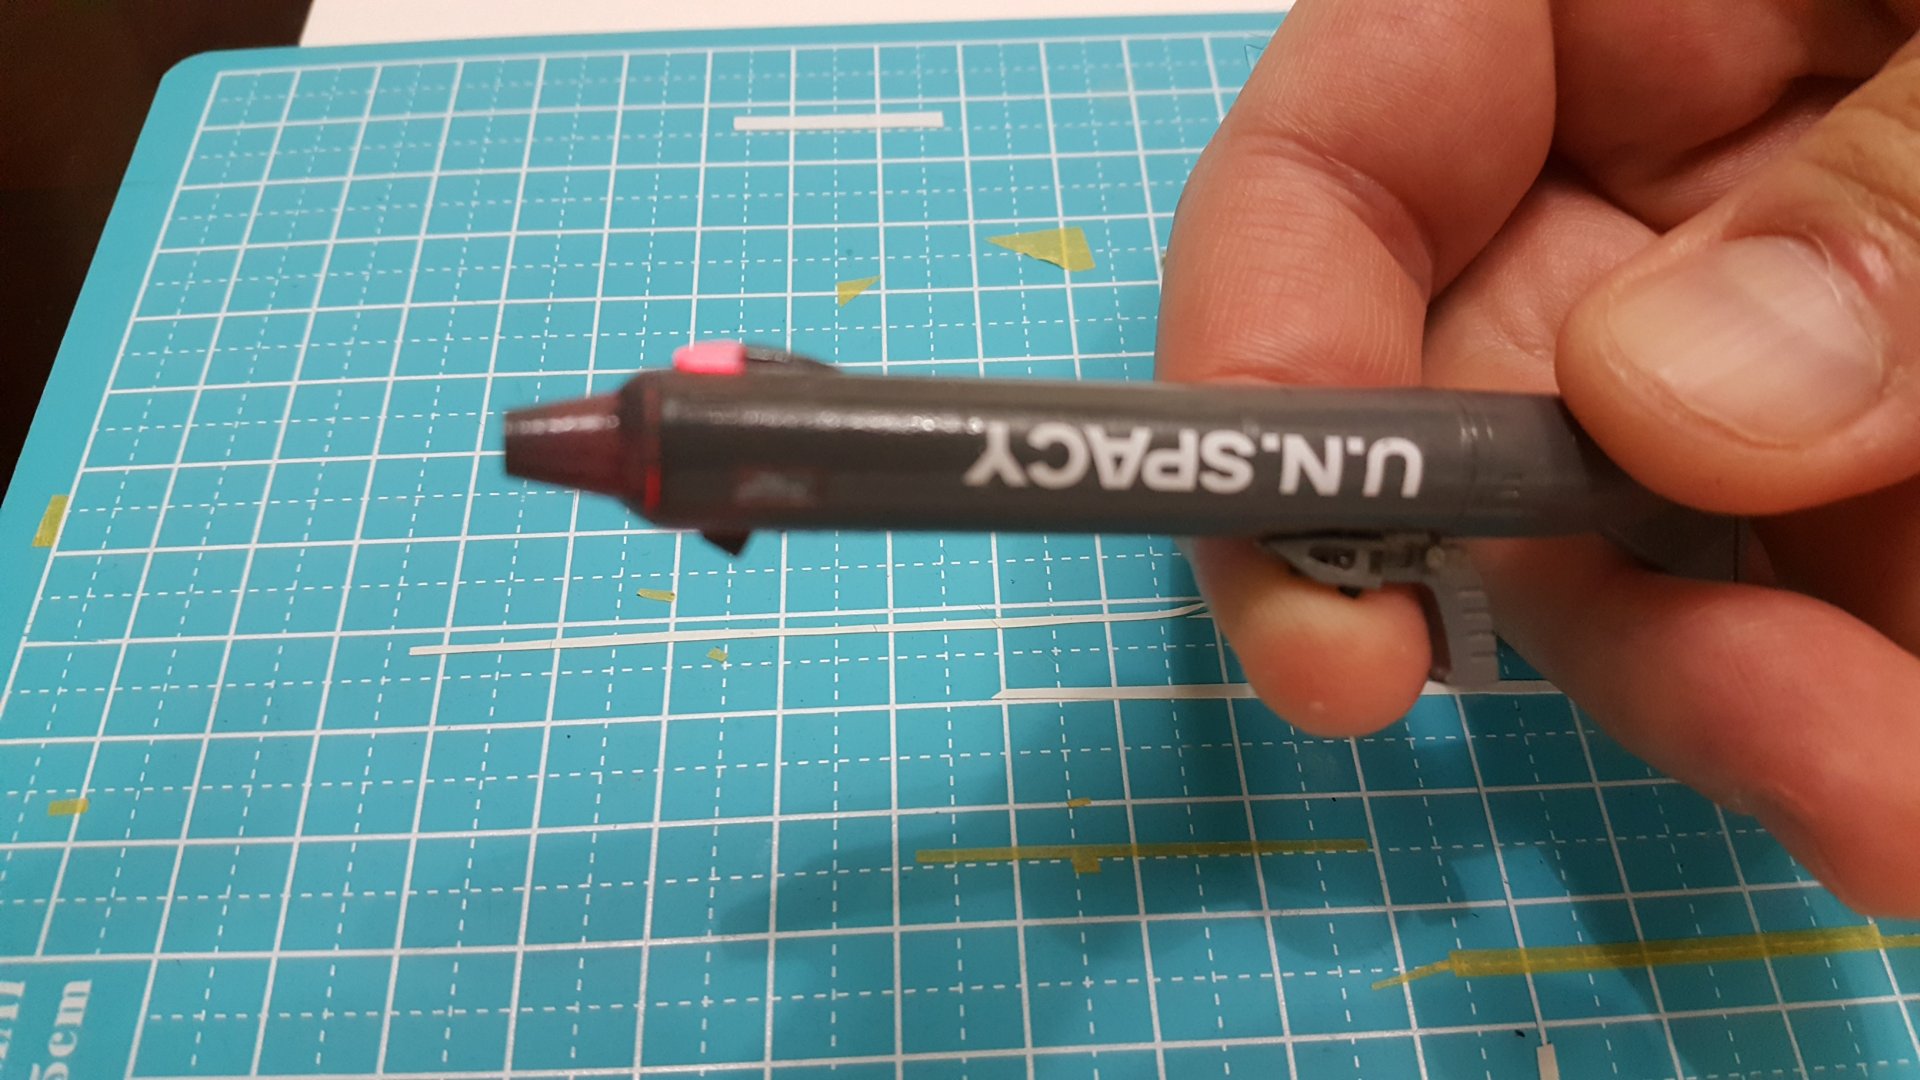
This is the "Not 1/1 GU-11 Gunpod" And it costs a lot less.


-
Thanks Xigfrid. That's very kind of you. Funny thing is, I'm in awe of your work. No idea how you do it!
-
A true junk yard dog. Love it.
-
That's sneaky
-
Sorry my video sucked... I need to redo it in widescreen and daylight. And more close in for quality.
-
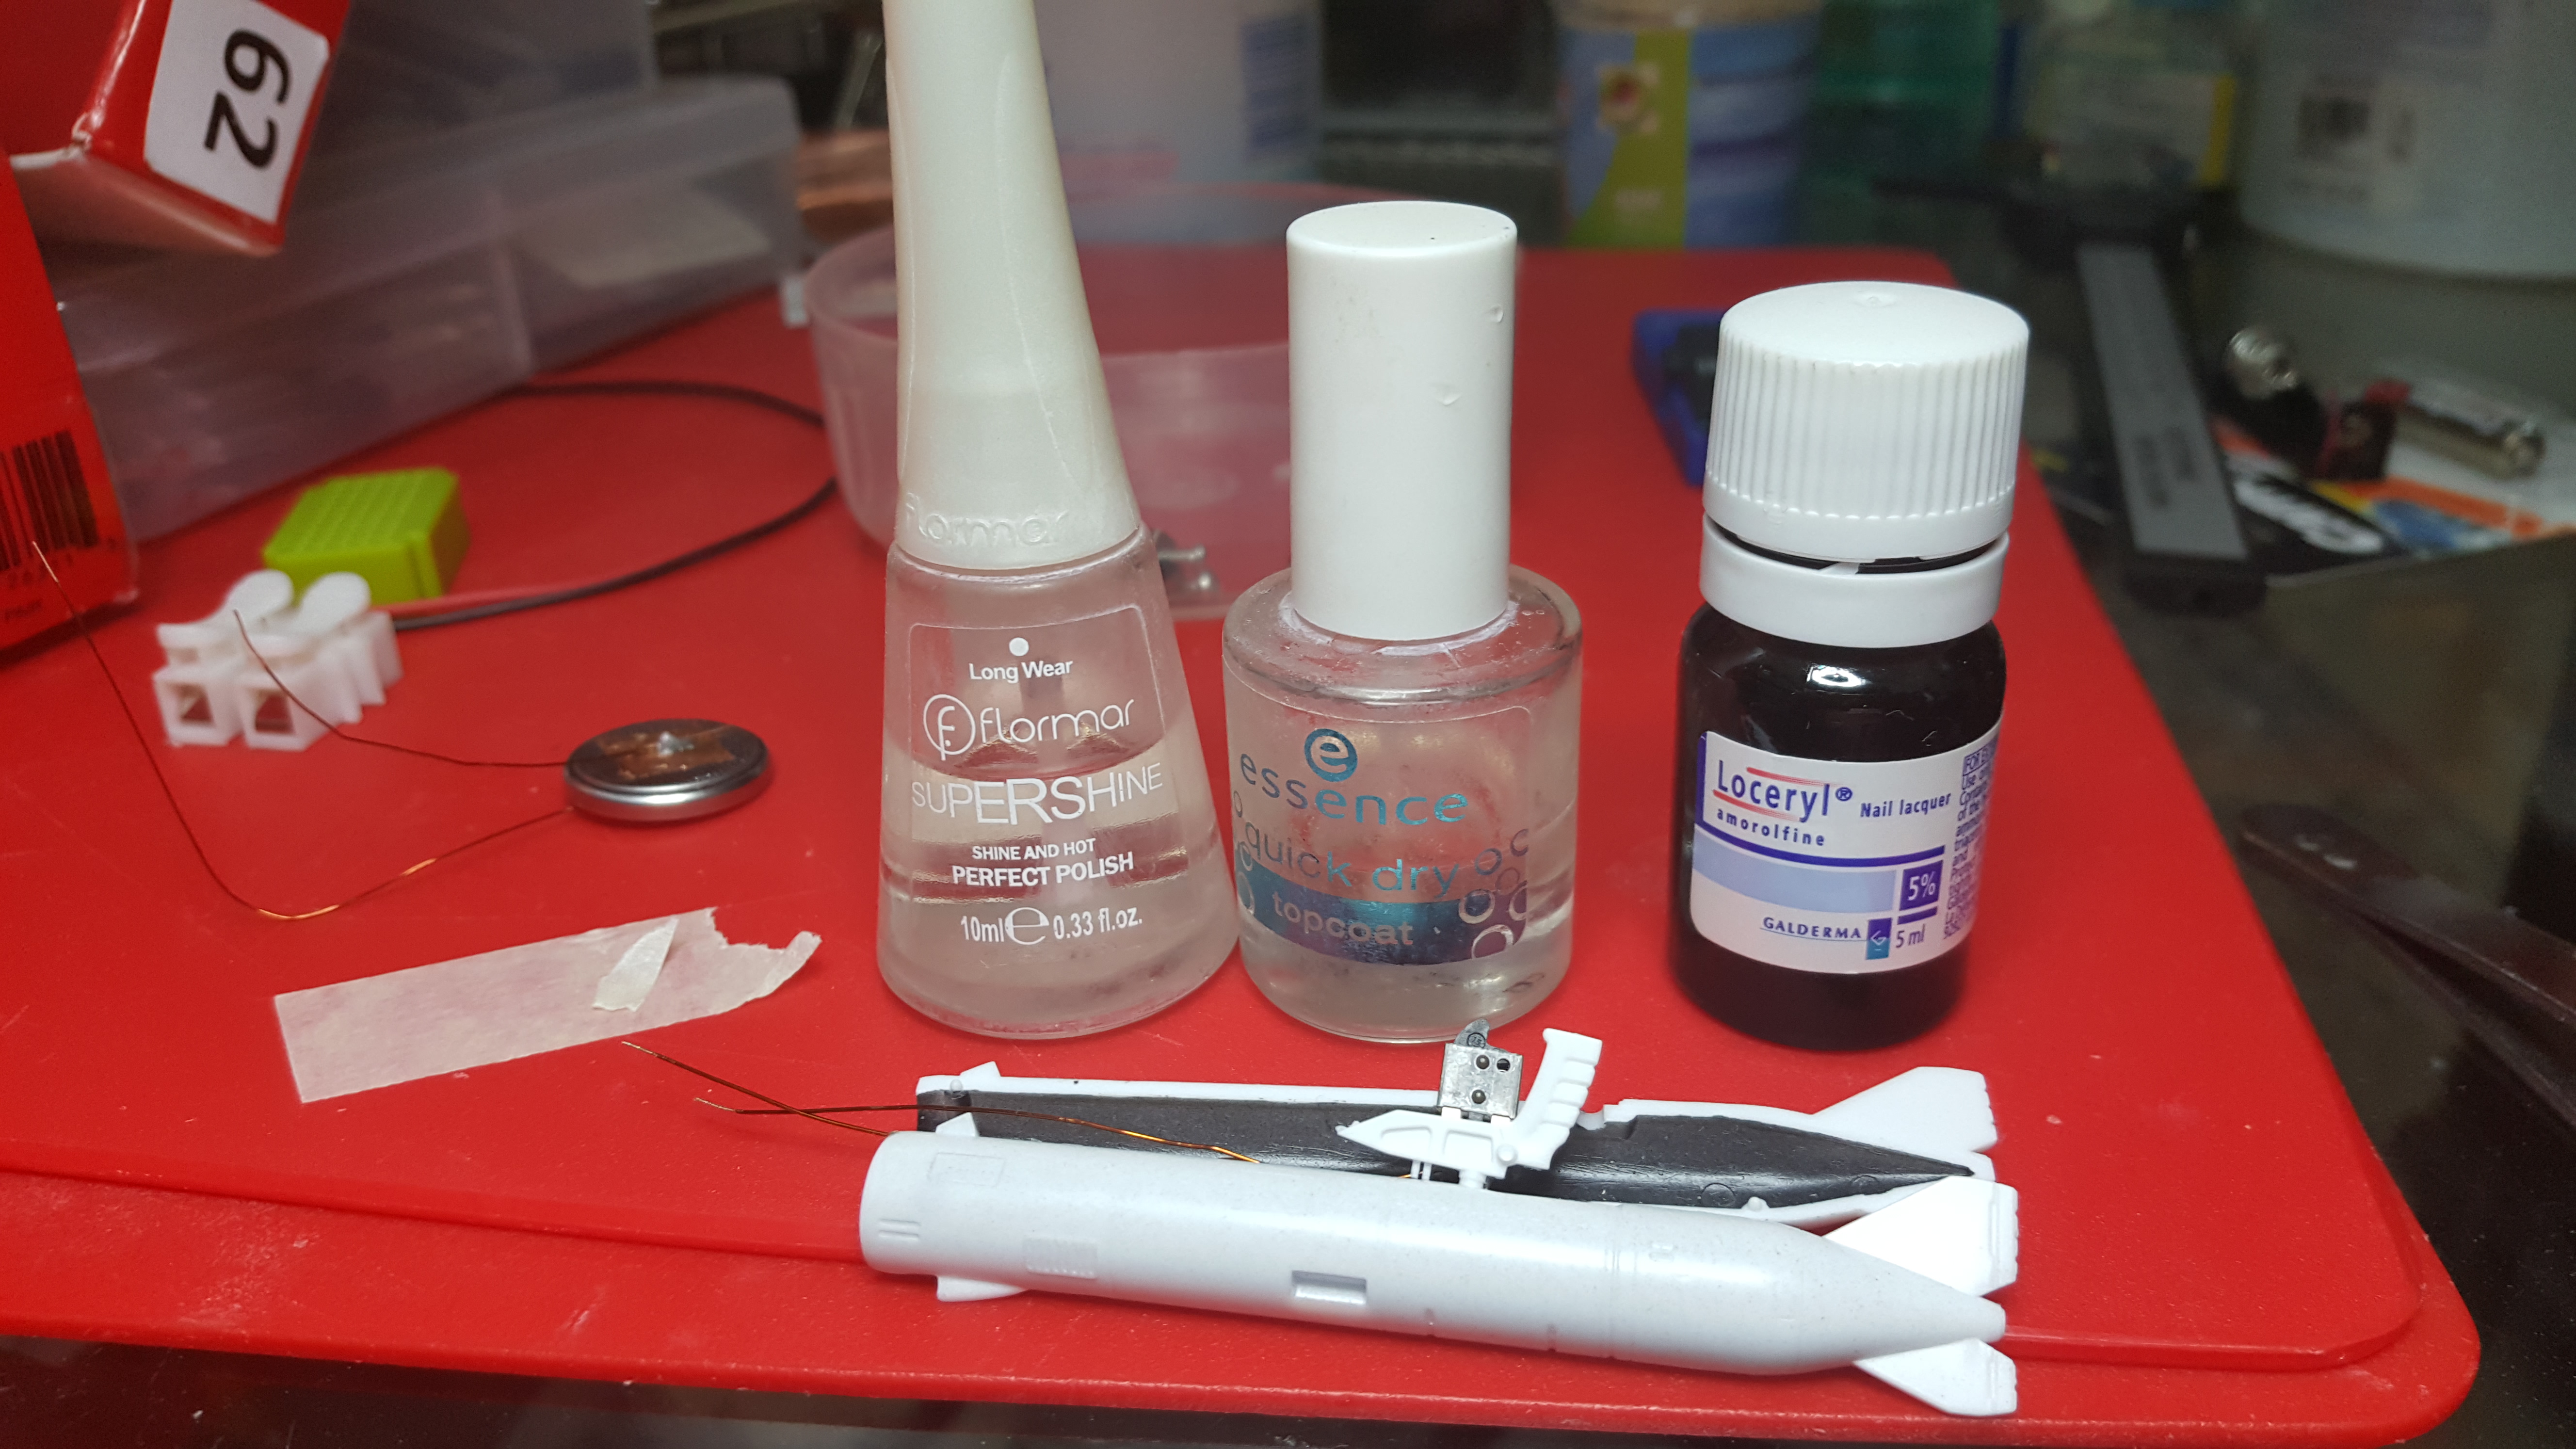
Hmm.... I have the exact same nail polish. But I recommend nail lacquer, it's even tougher. I'm always in the make-up aisle to find stuff. A powder brush is very wide and soft for cleaning your models. And don't forget the nail file blocks and tweezers.

-
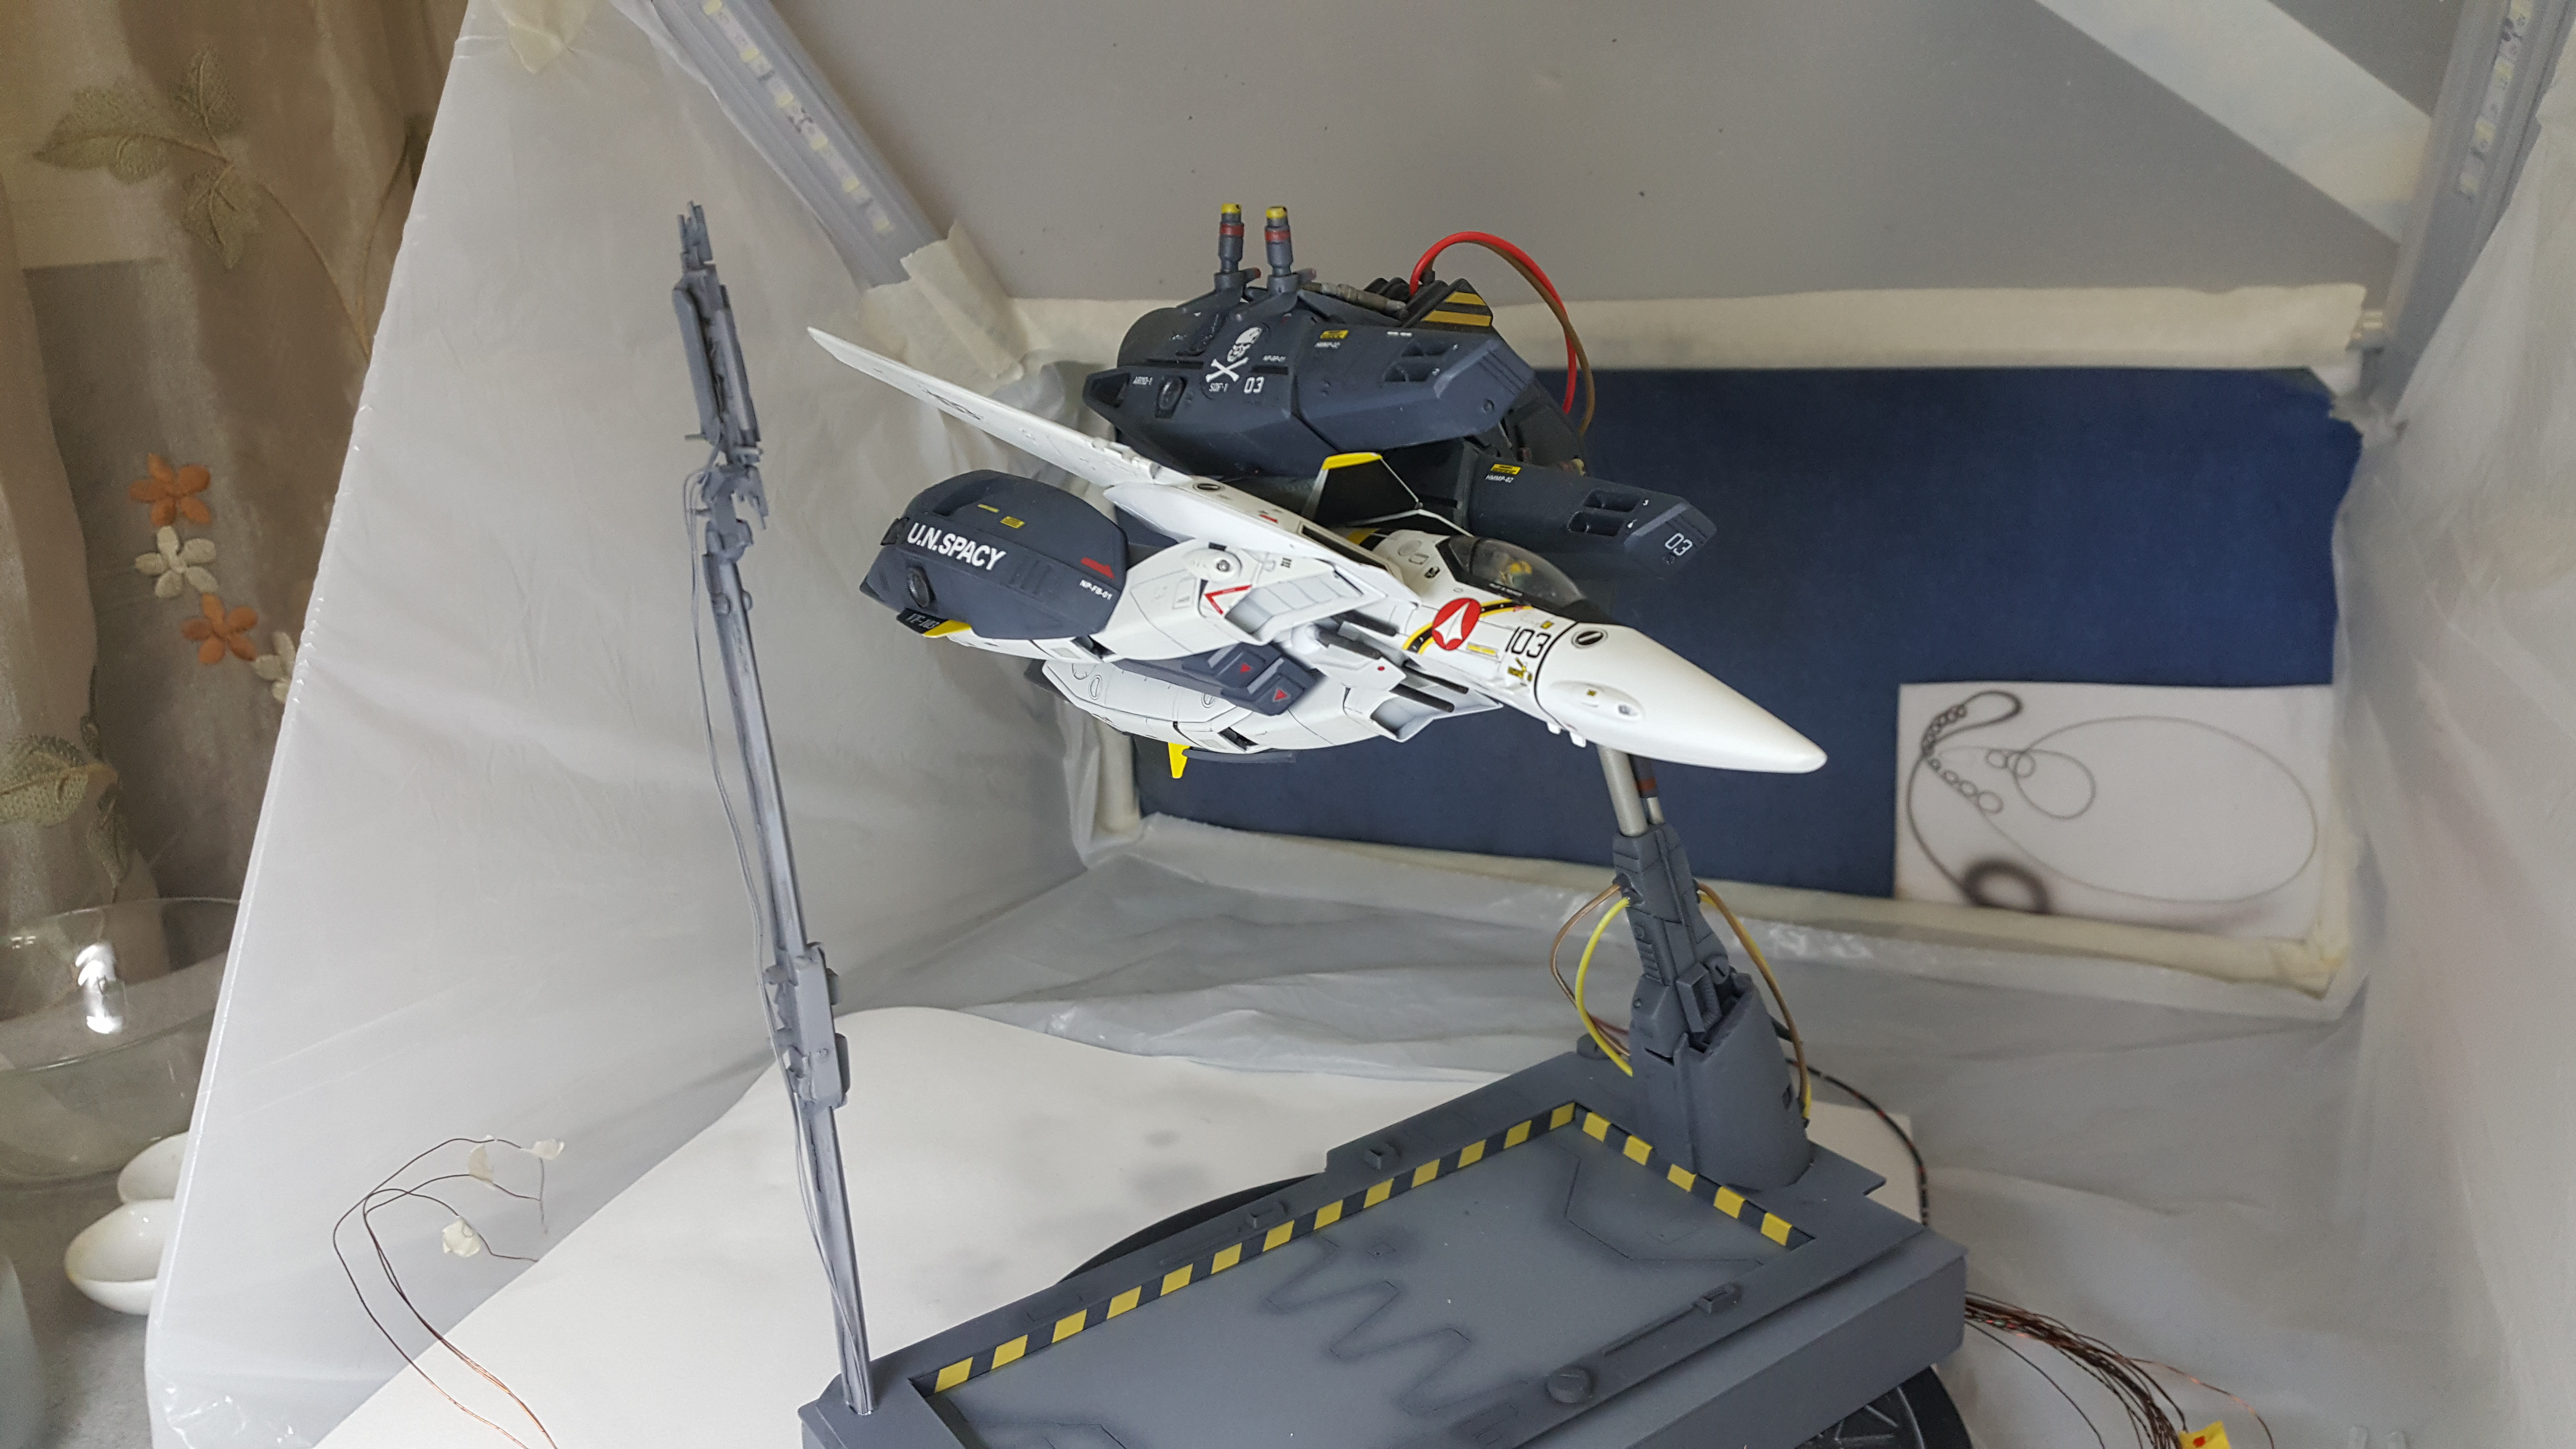
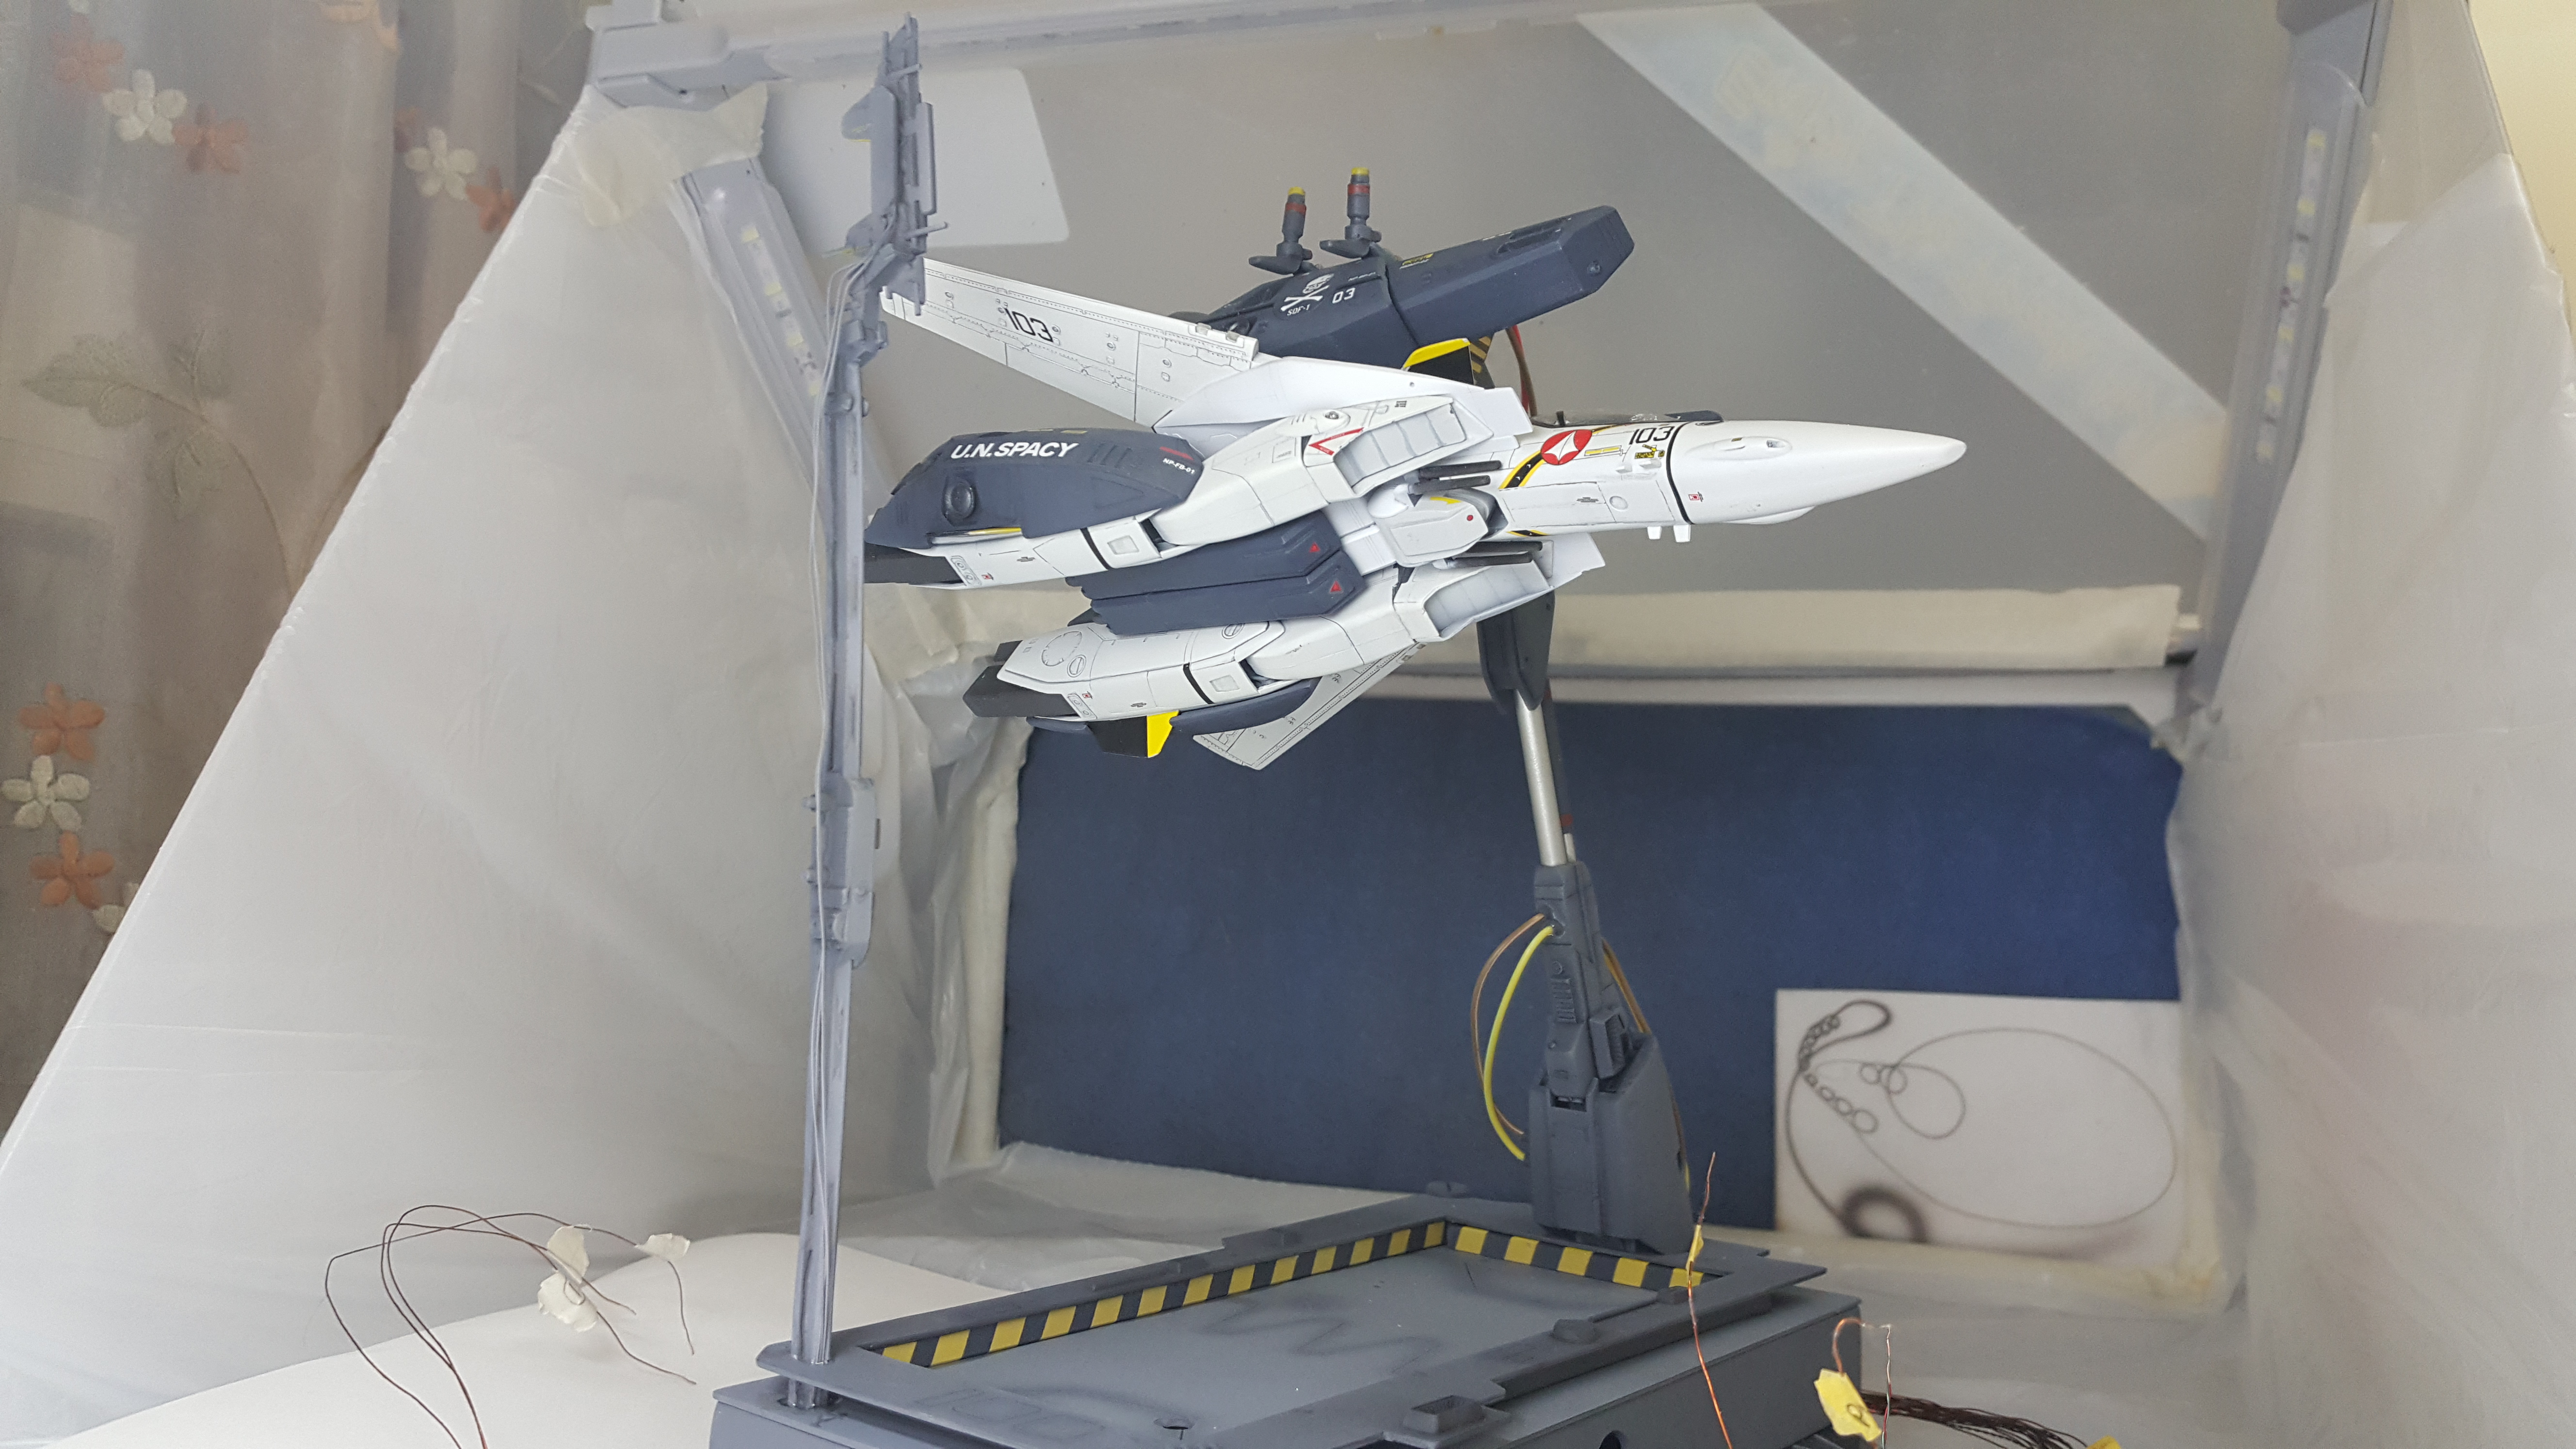
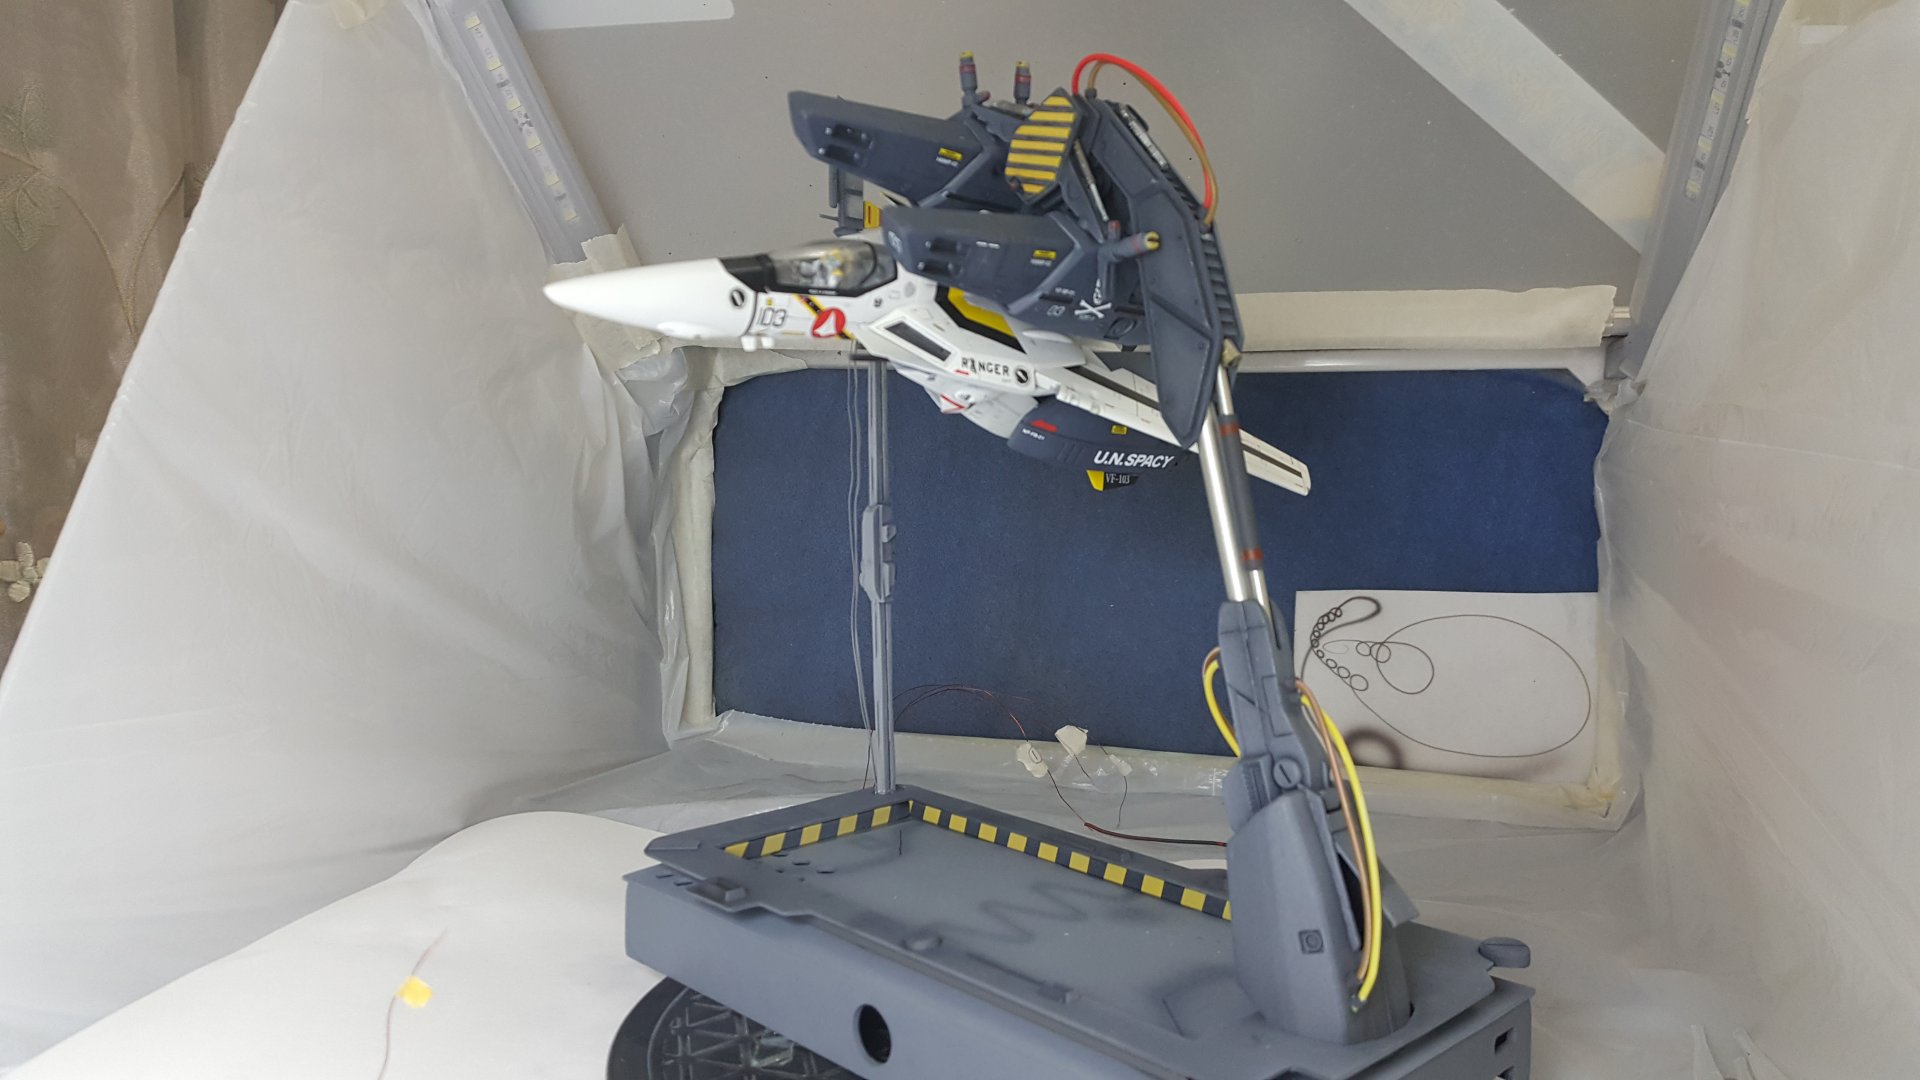
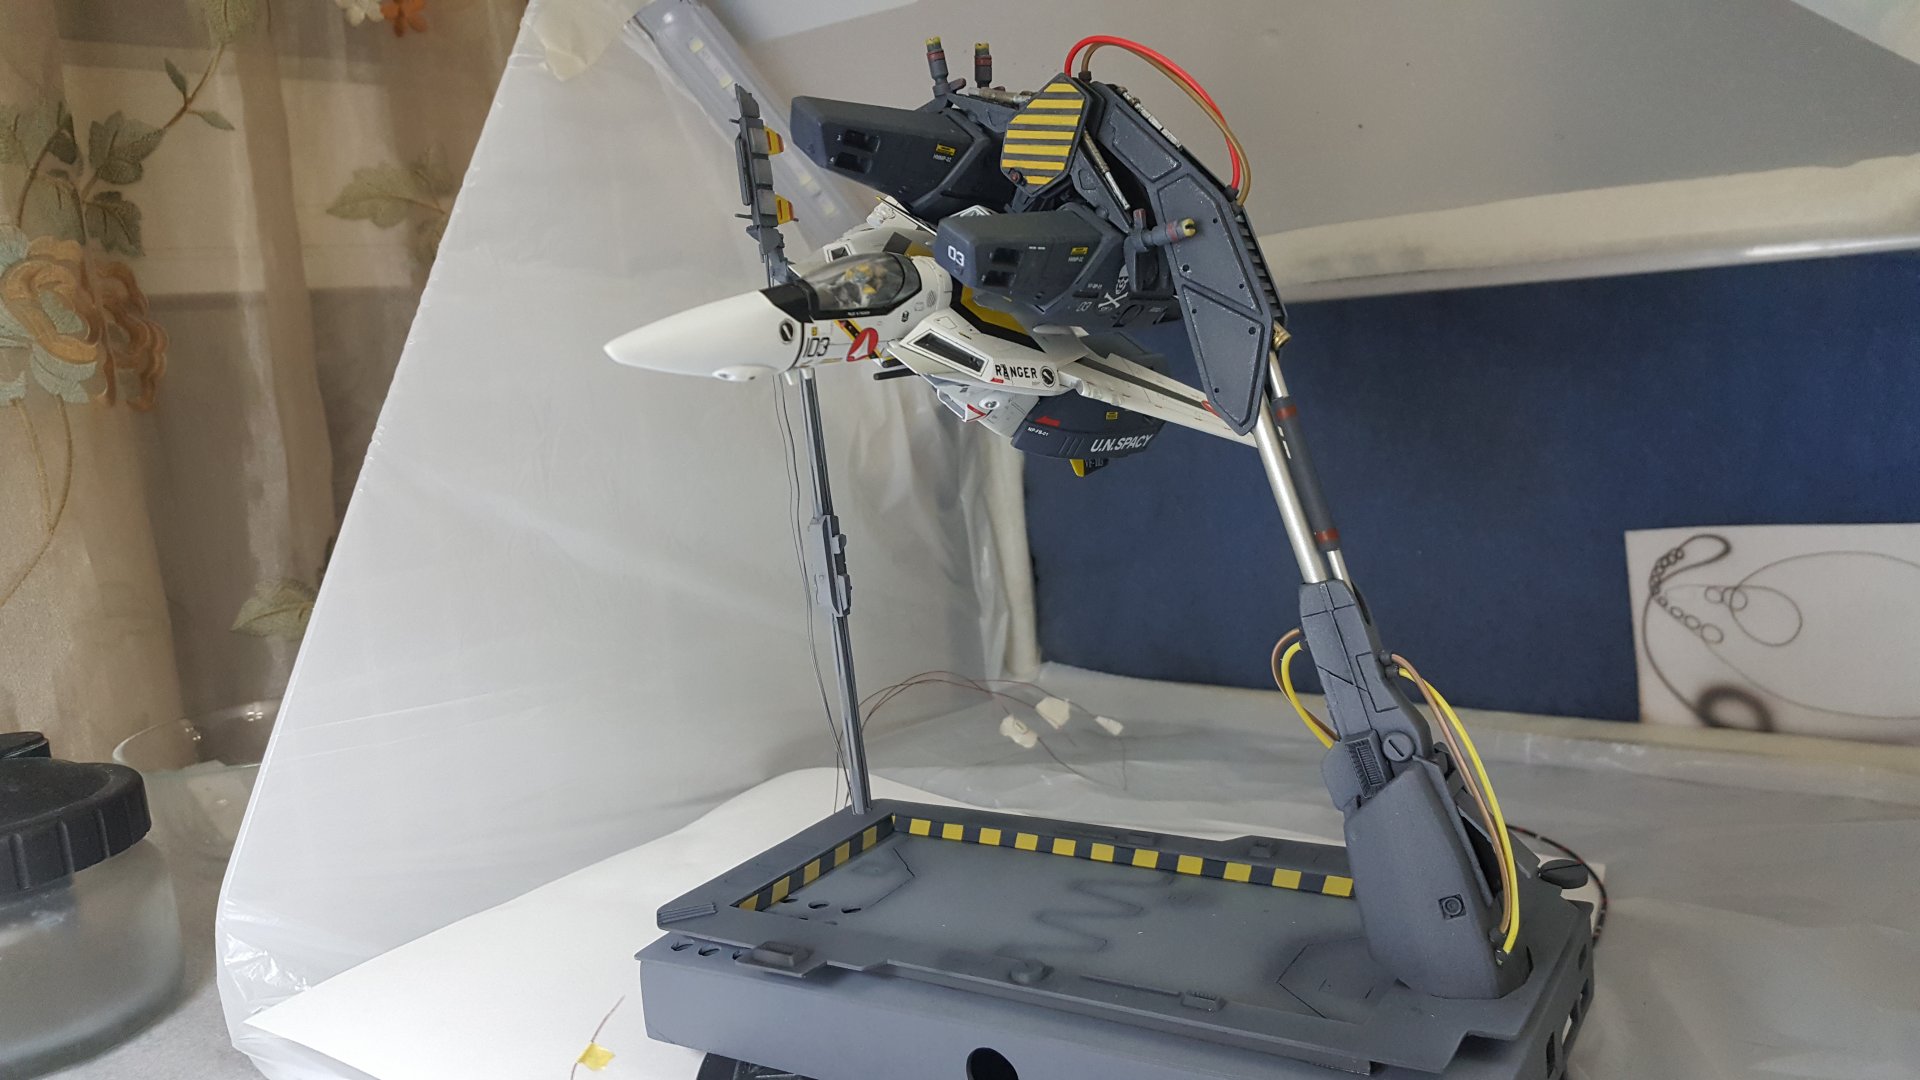
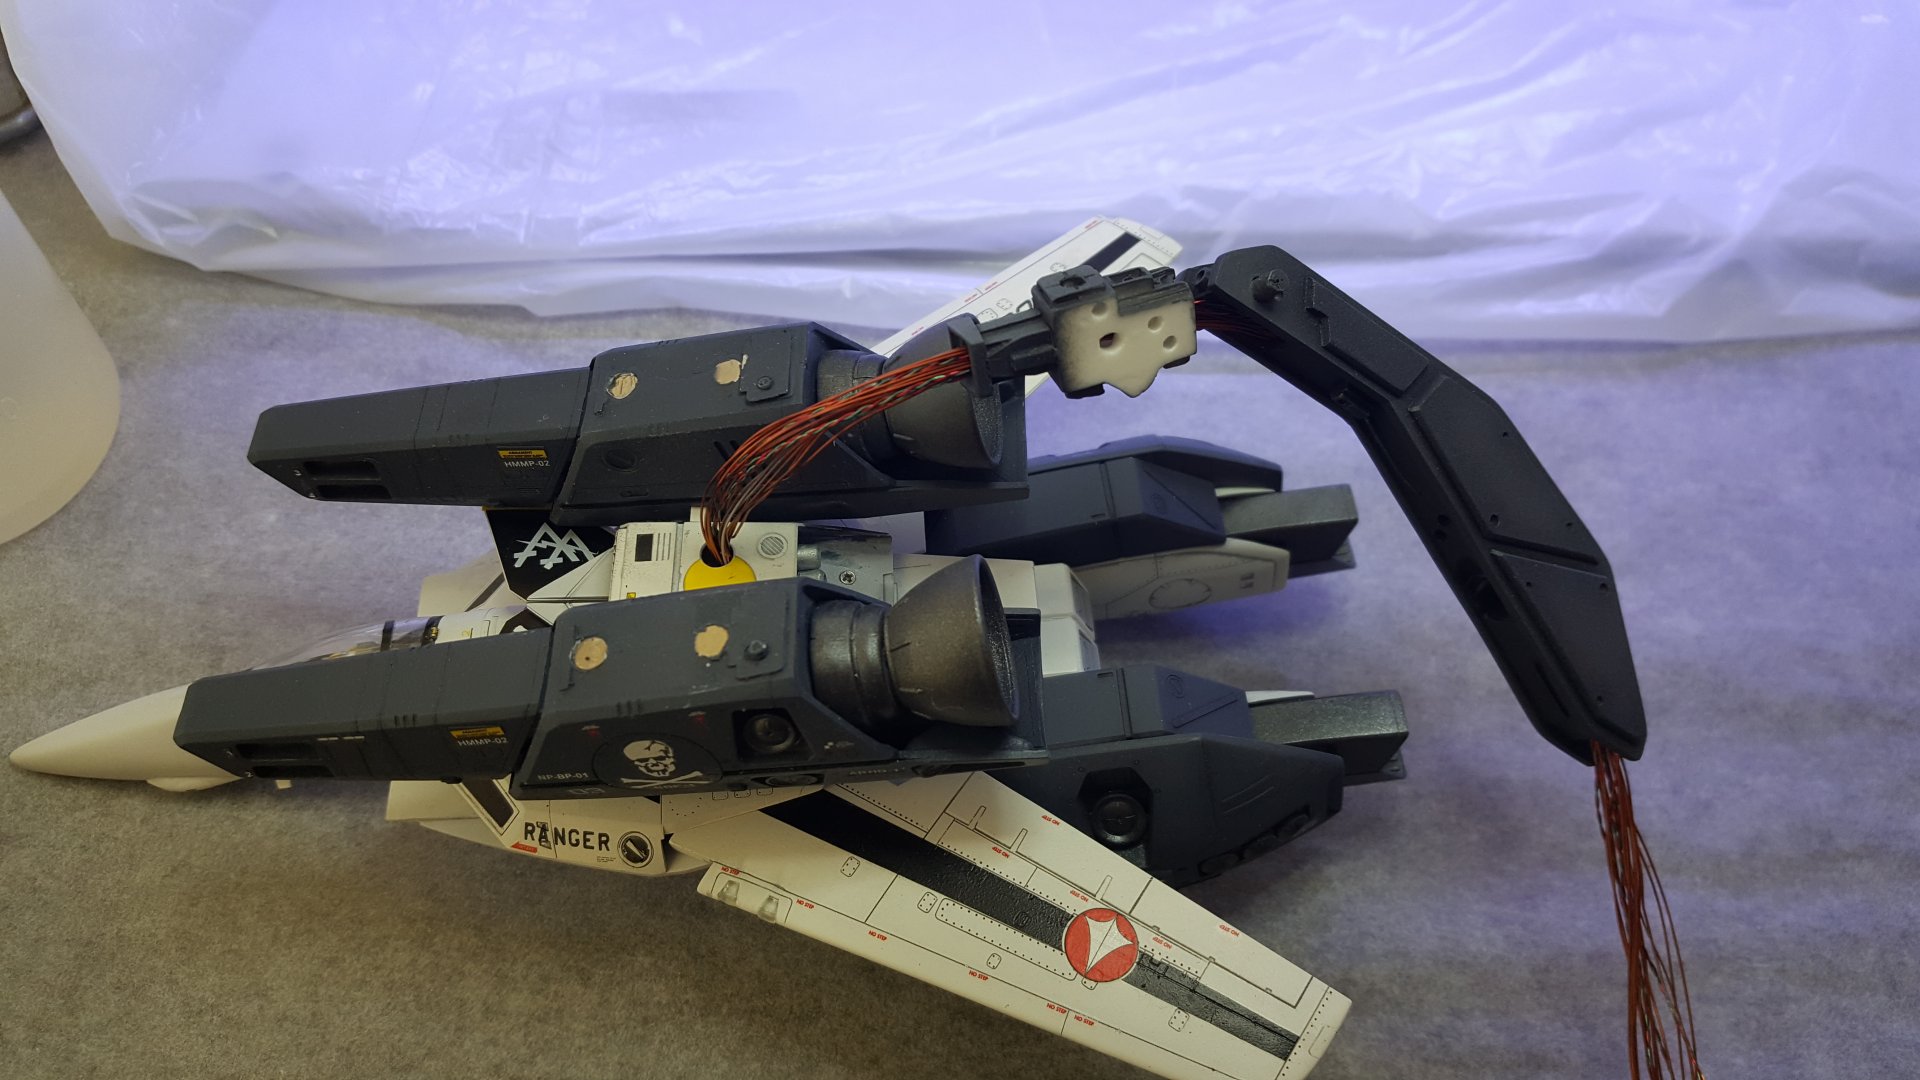
Mixed response in my house: My 8-yr old says he likes fast wings going "Zoooooom!". And my wife wants to know how I will conceal the brown and yellow wires...
-
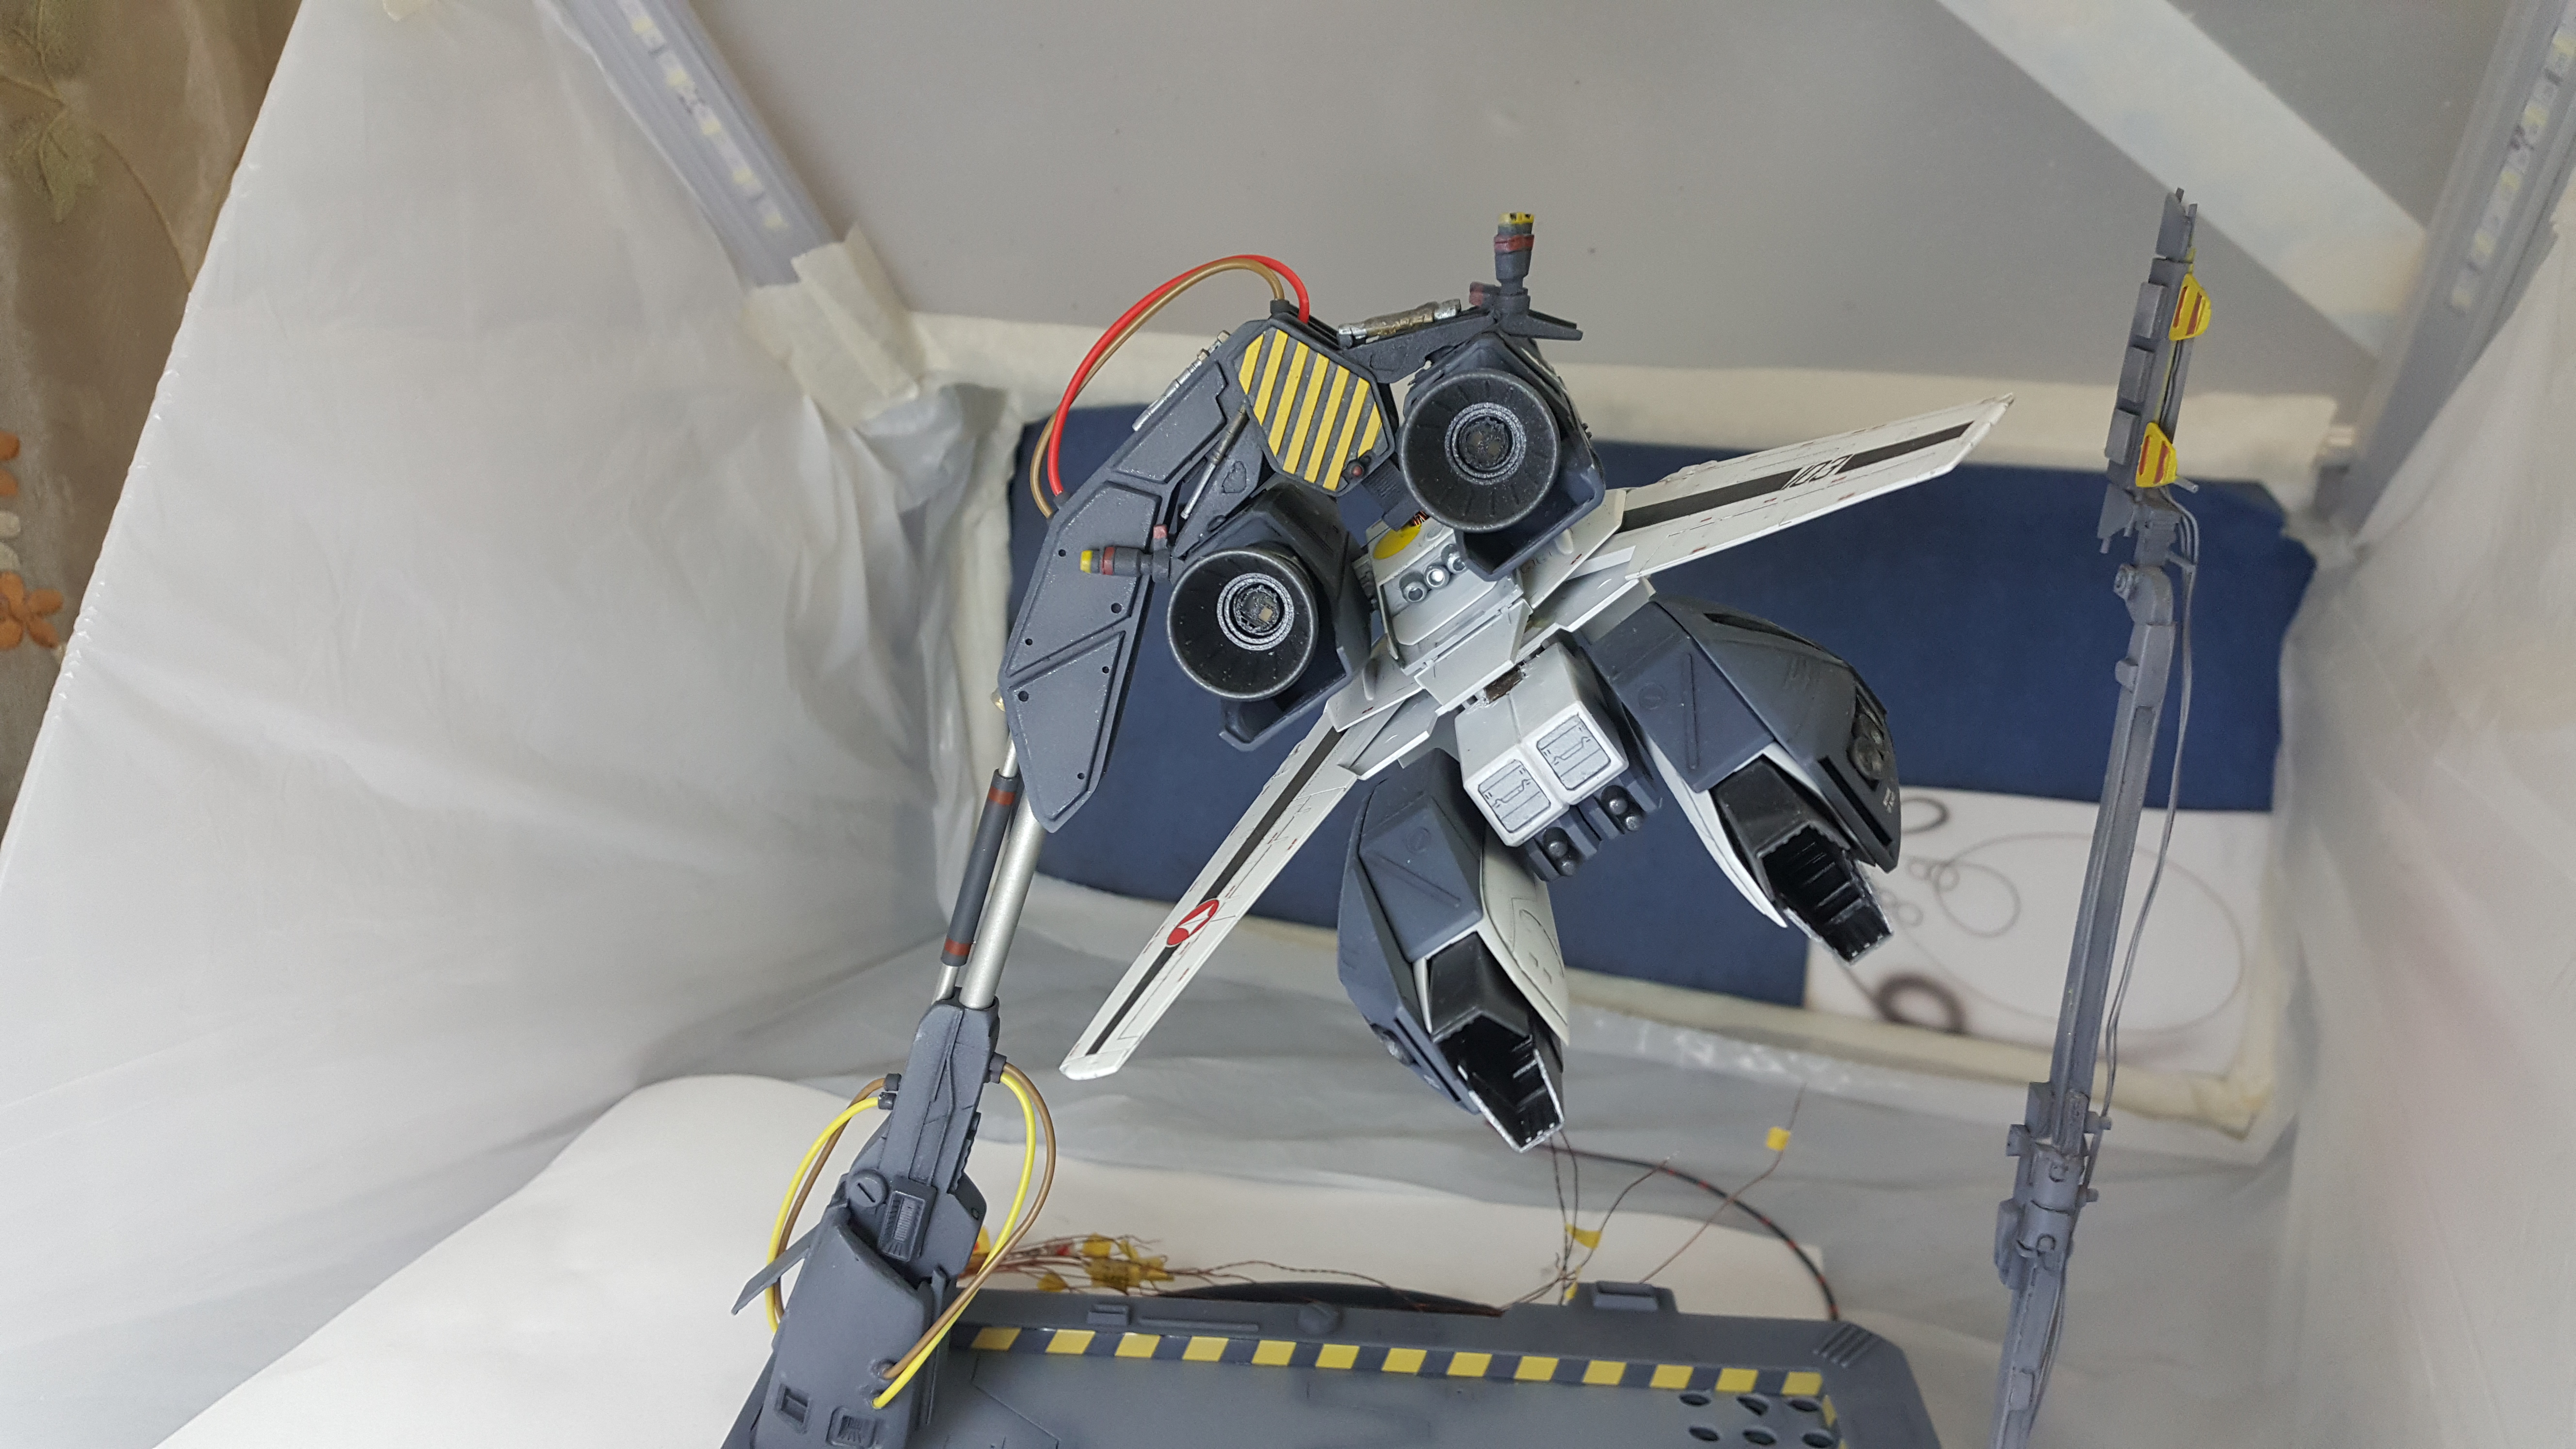
That sucks. I though it has a hinge. How did you fix yours? And what the heck is that armored battle valk in the background?
-
Hope you all like it. It's dedicated to you...
-
Hmmm... I thought it already opens, at least on the Storm Attacker version. And here is my final video of the motorized valk. I'm giving you guys the unedited version. Shorter cut is in my Model Kits thread.
-
Thanks. Having WM Cheng's guides helps move things along. I tried to bring lots of ideas from different modelers, and a touch of my own ideas for a change.
-
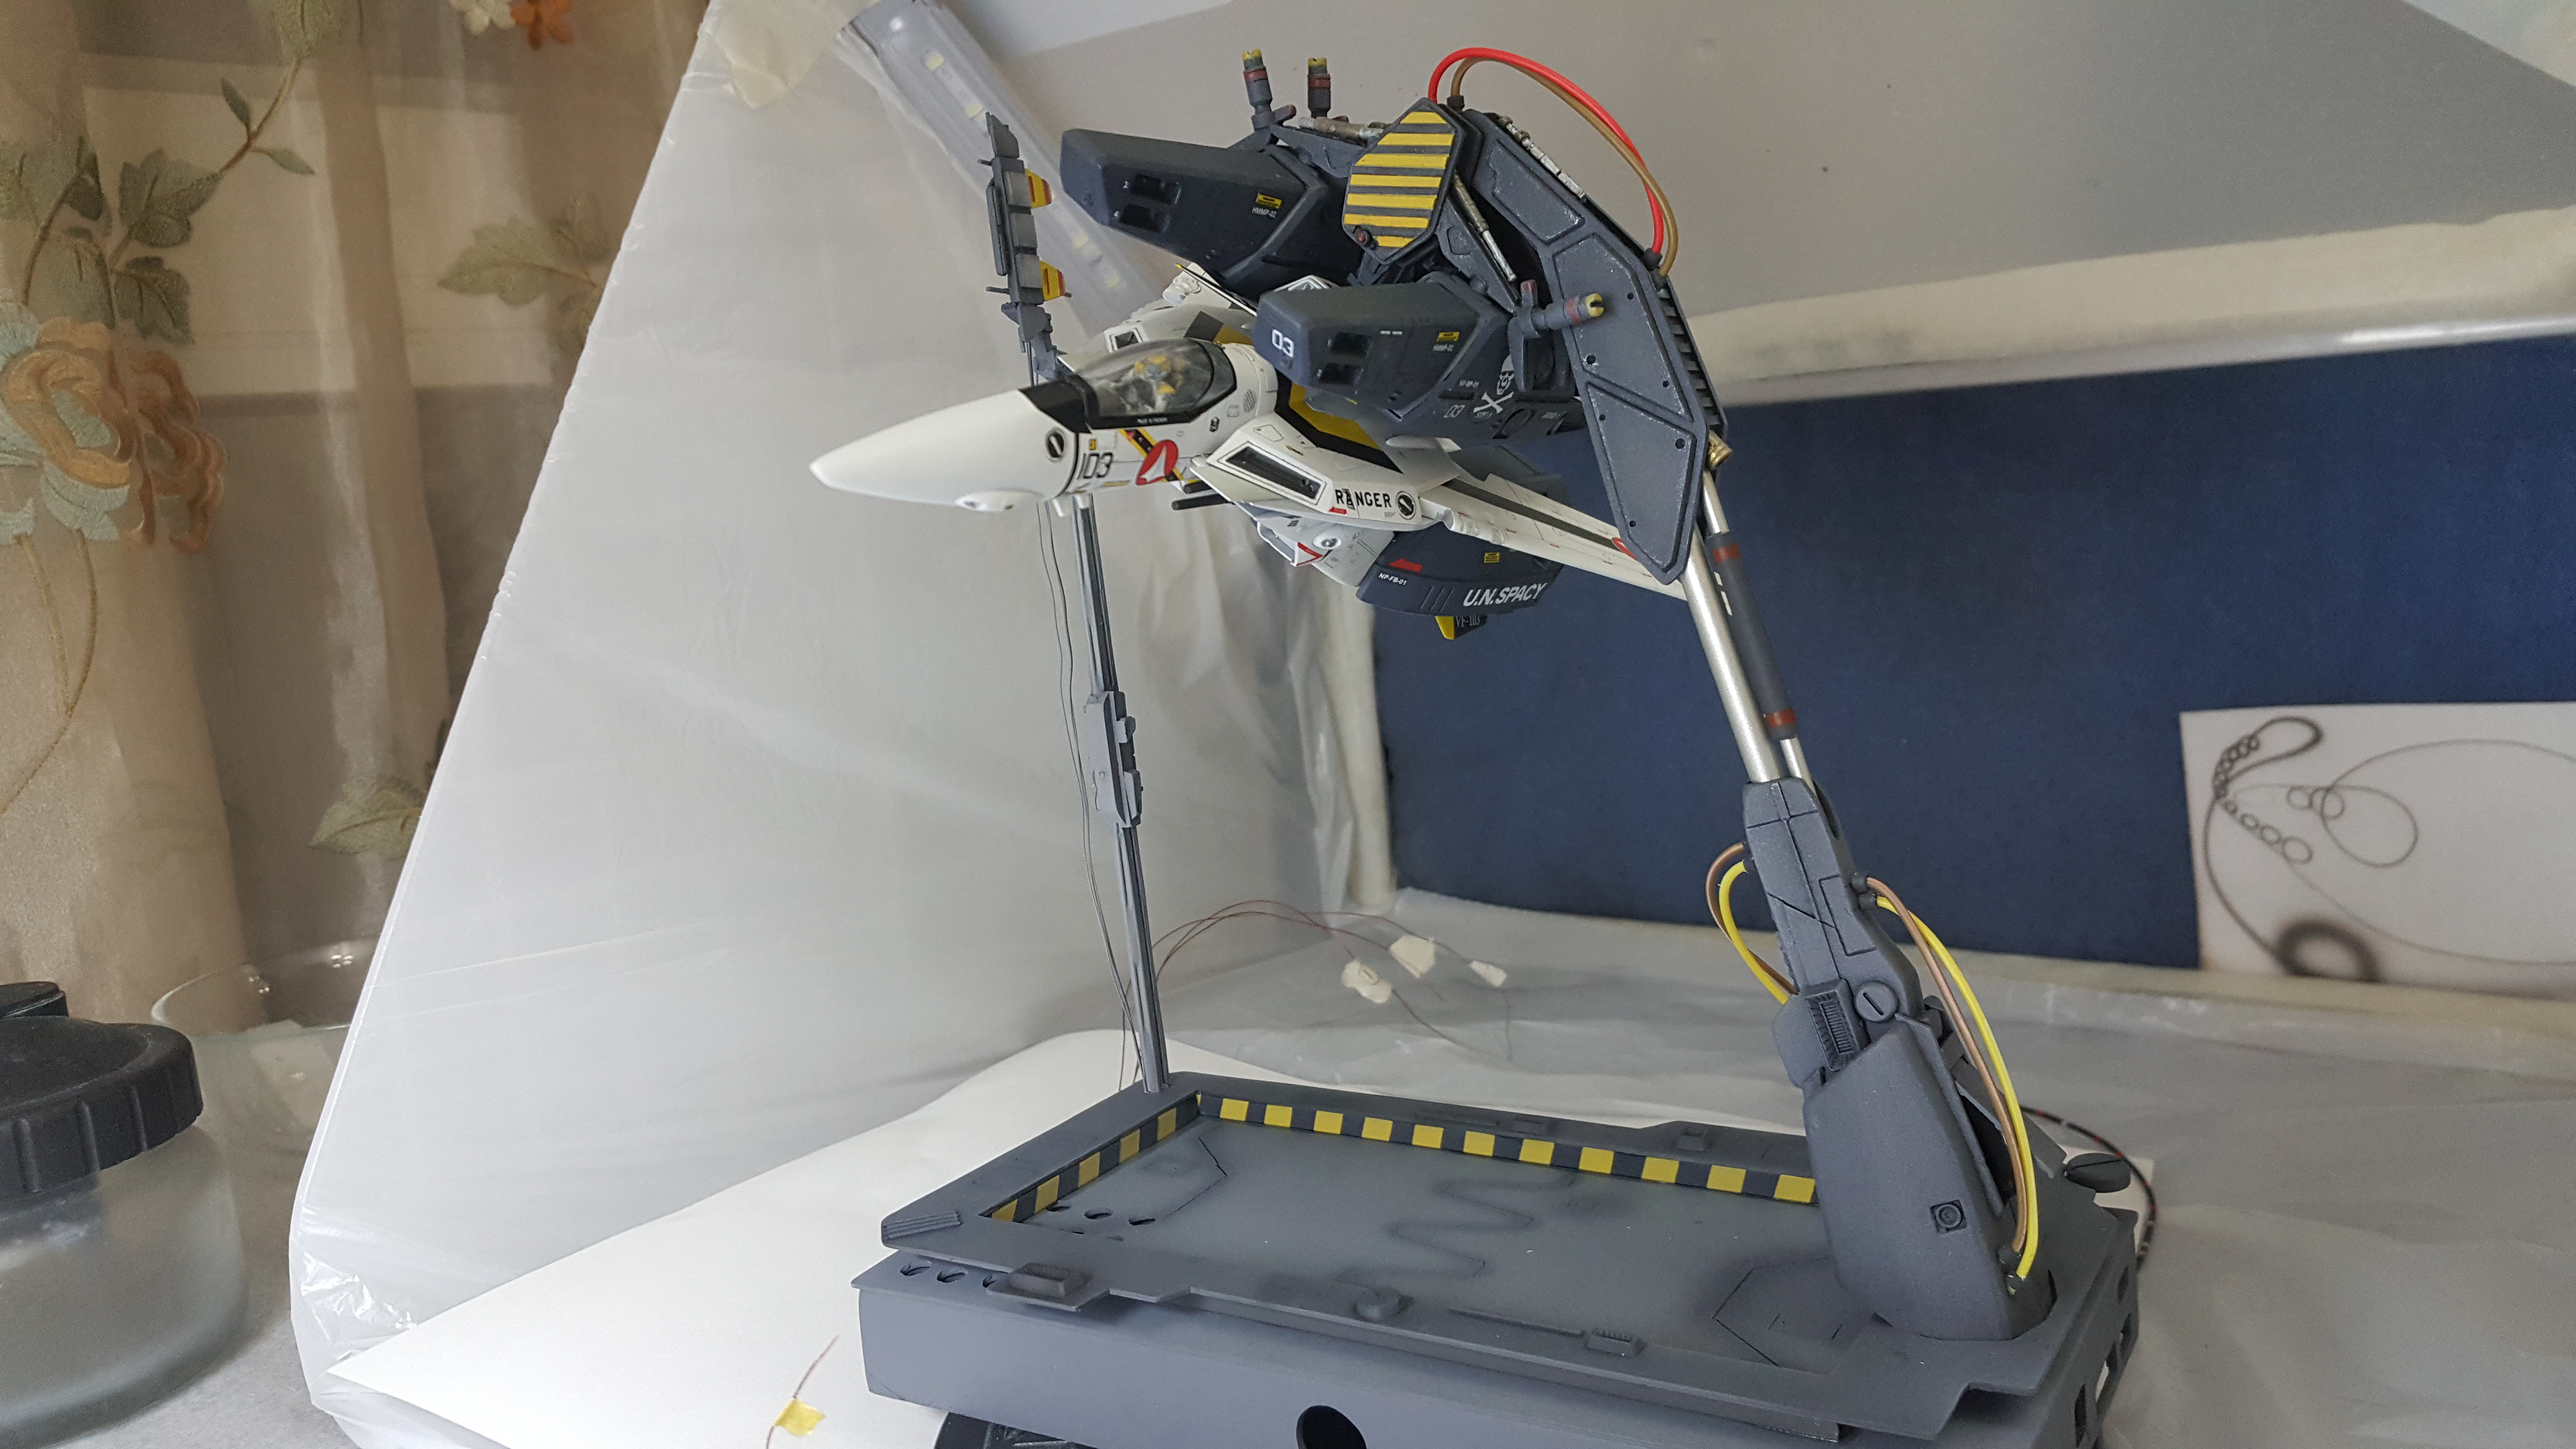
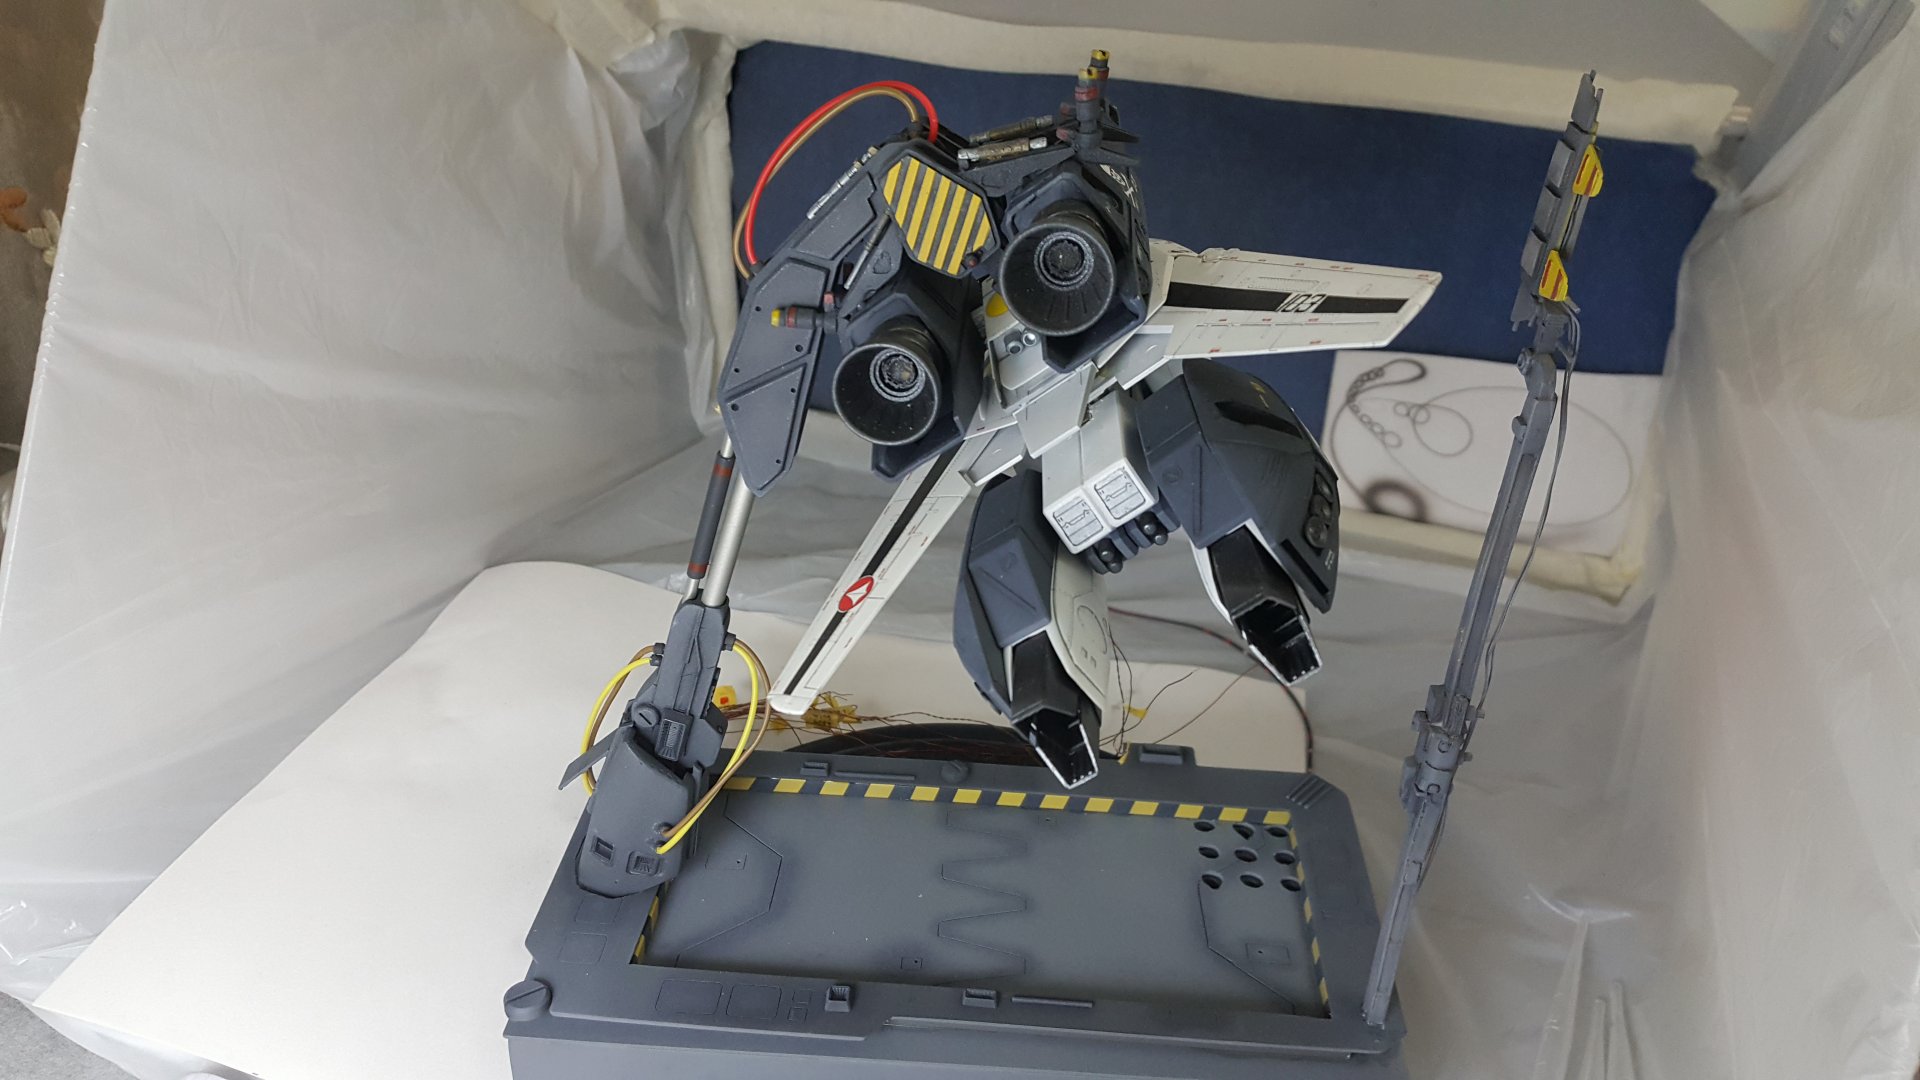
Thanks kajnrig, I worry about putting everything together with all the wiring and tight spaces. But the arm itself is very strong. That metal tube is not only for show, it runs all the way through. Actually I weighed the valk because it felt so heavy, but it only weighs 100 grams even with all the stuff inside.
-
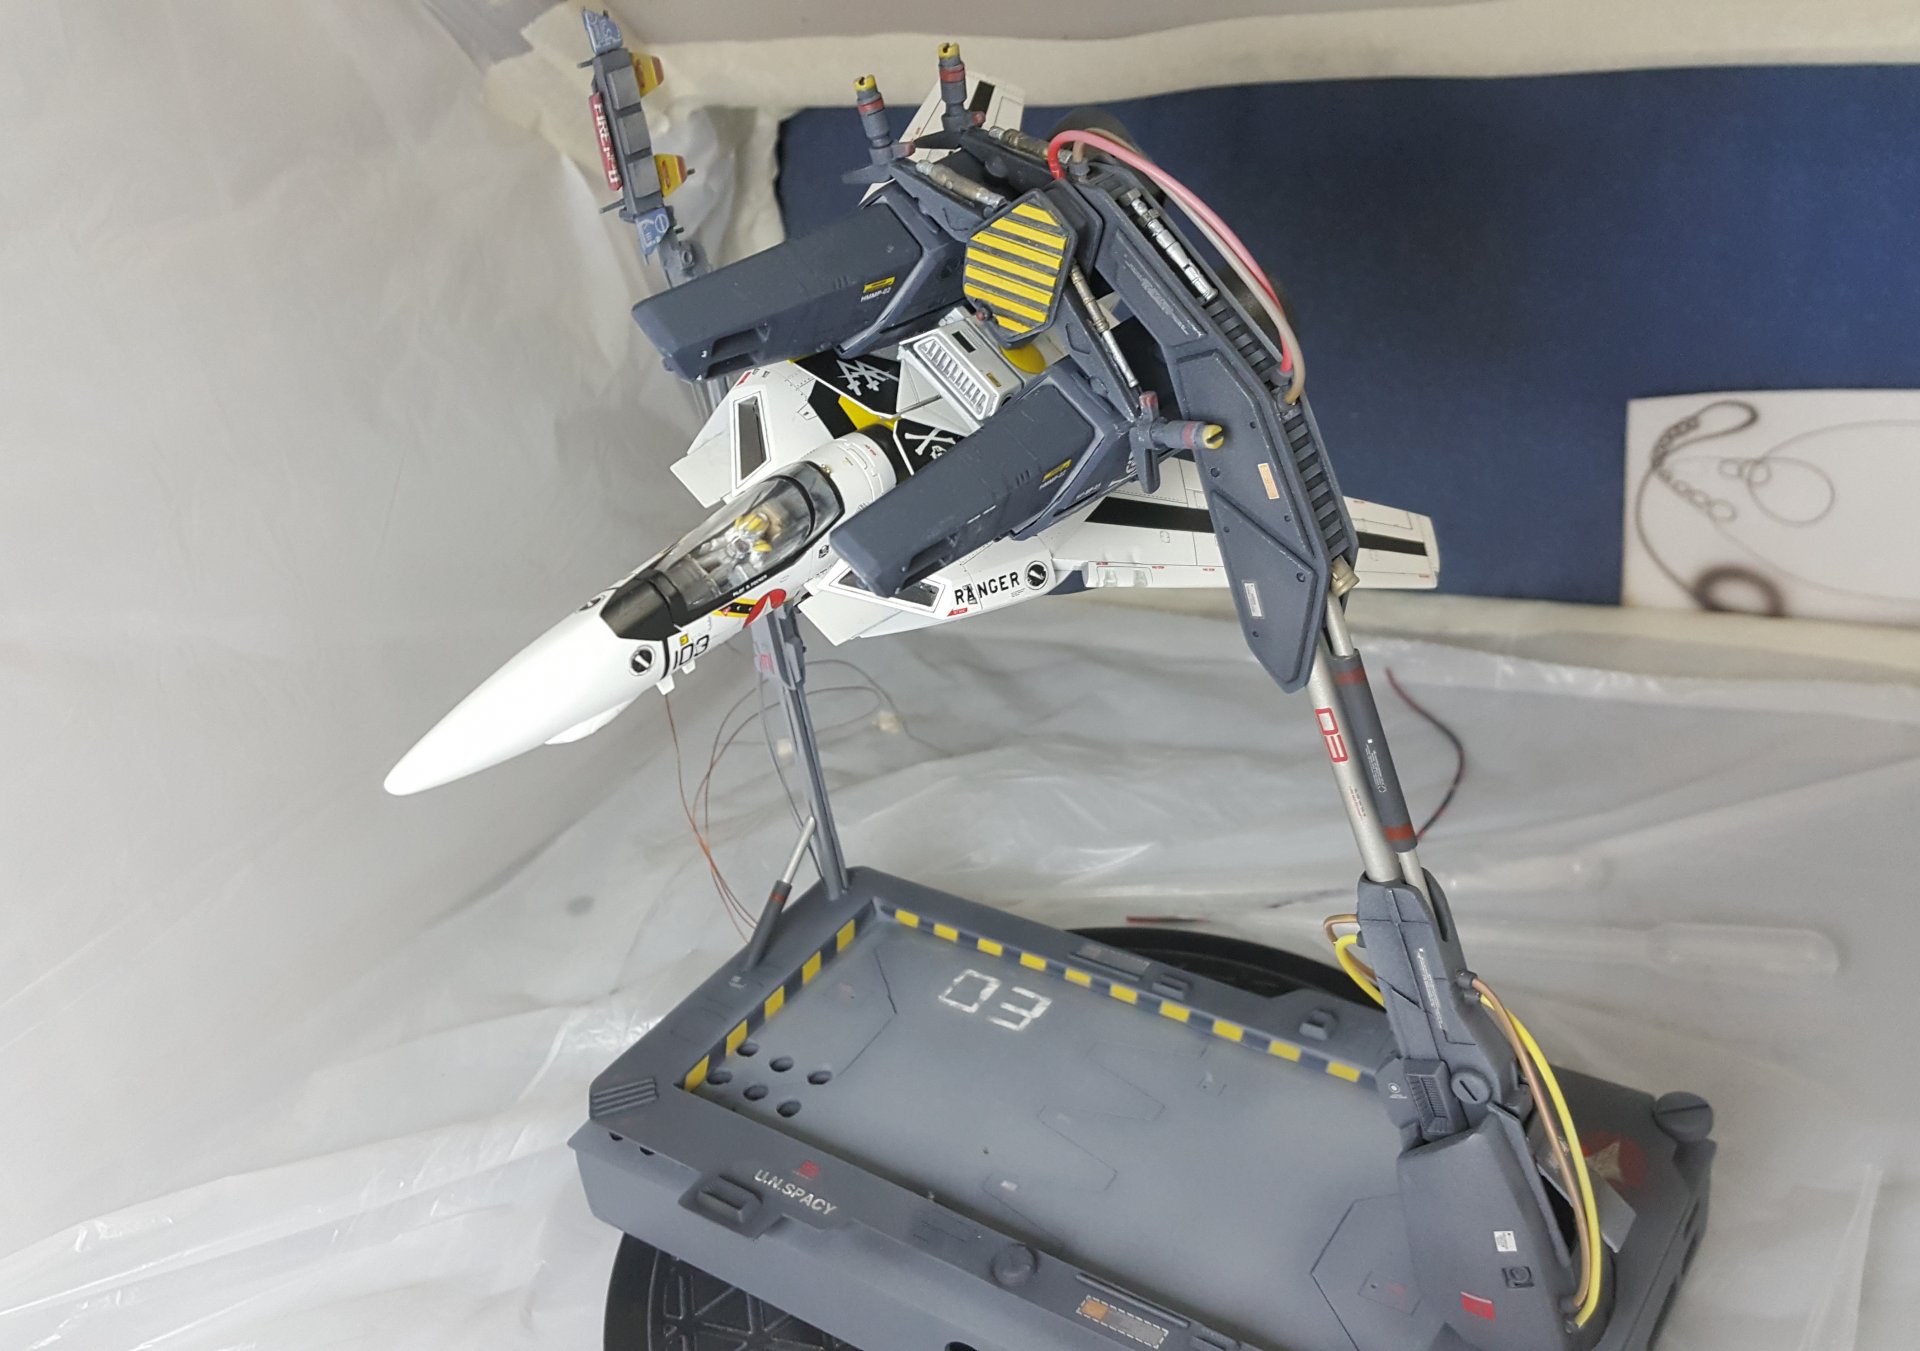
Got the decals on, and then tried my first post shade to muck up the base and arm. Wont be trying that on the valk though...

-
Off the painting workbench, moving to the electronics bench.
-
I was hoping for a VT-1 next, but with the HM-R versions of the VE and VT not flying off the shelves, I am worried it wont happen.
-
My suggestion is you paint a few of your Gundams for practice first. Much easier than a Hasegawa Valk.
-
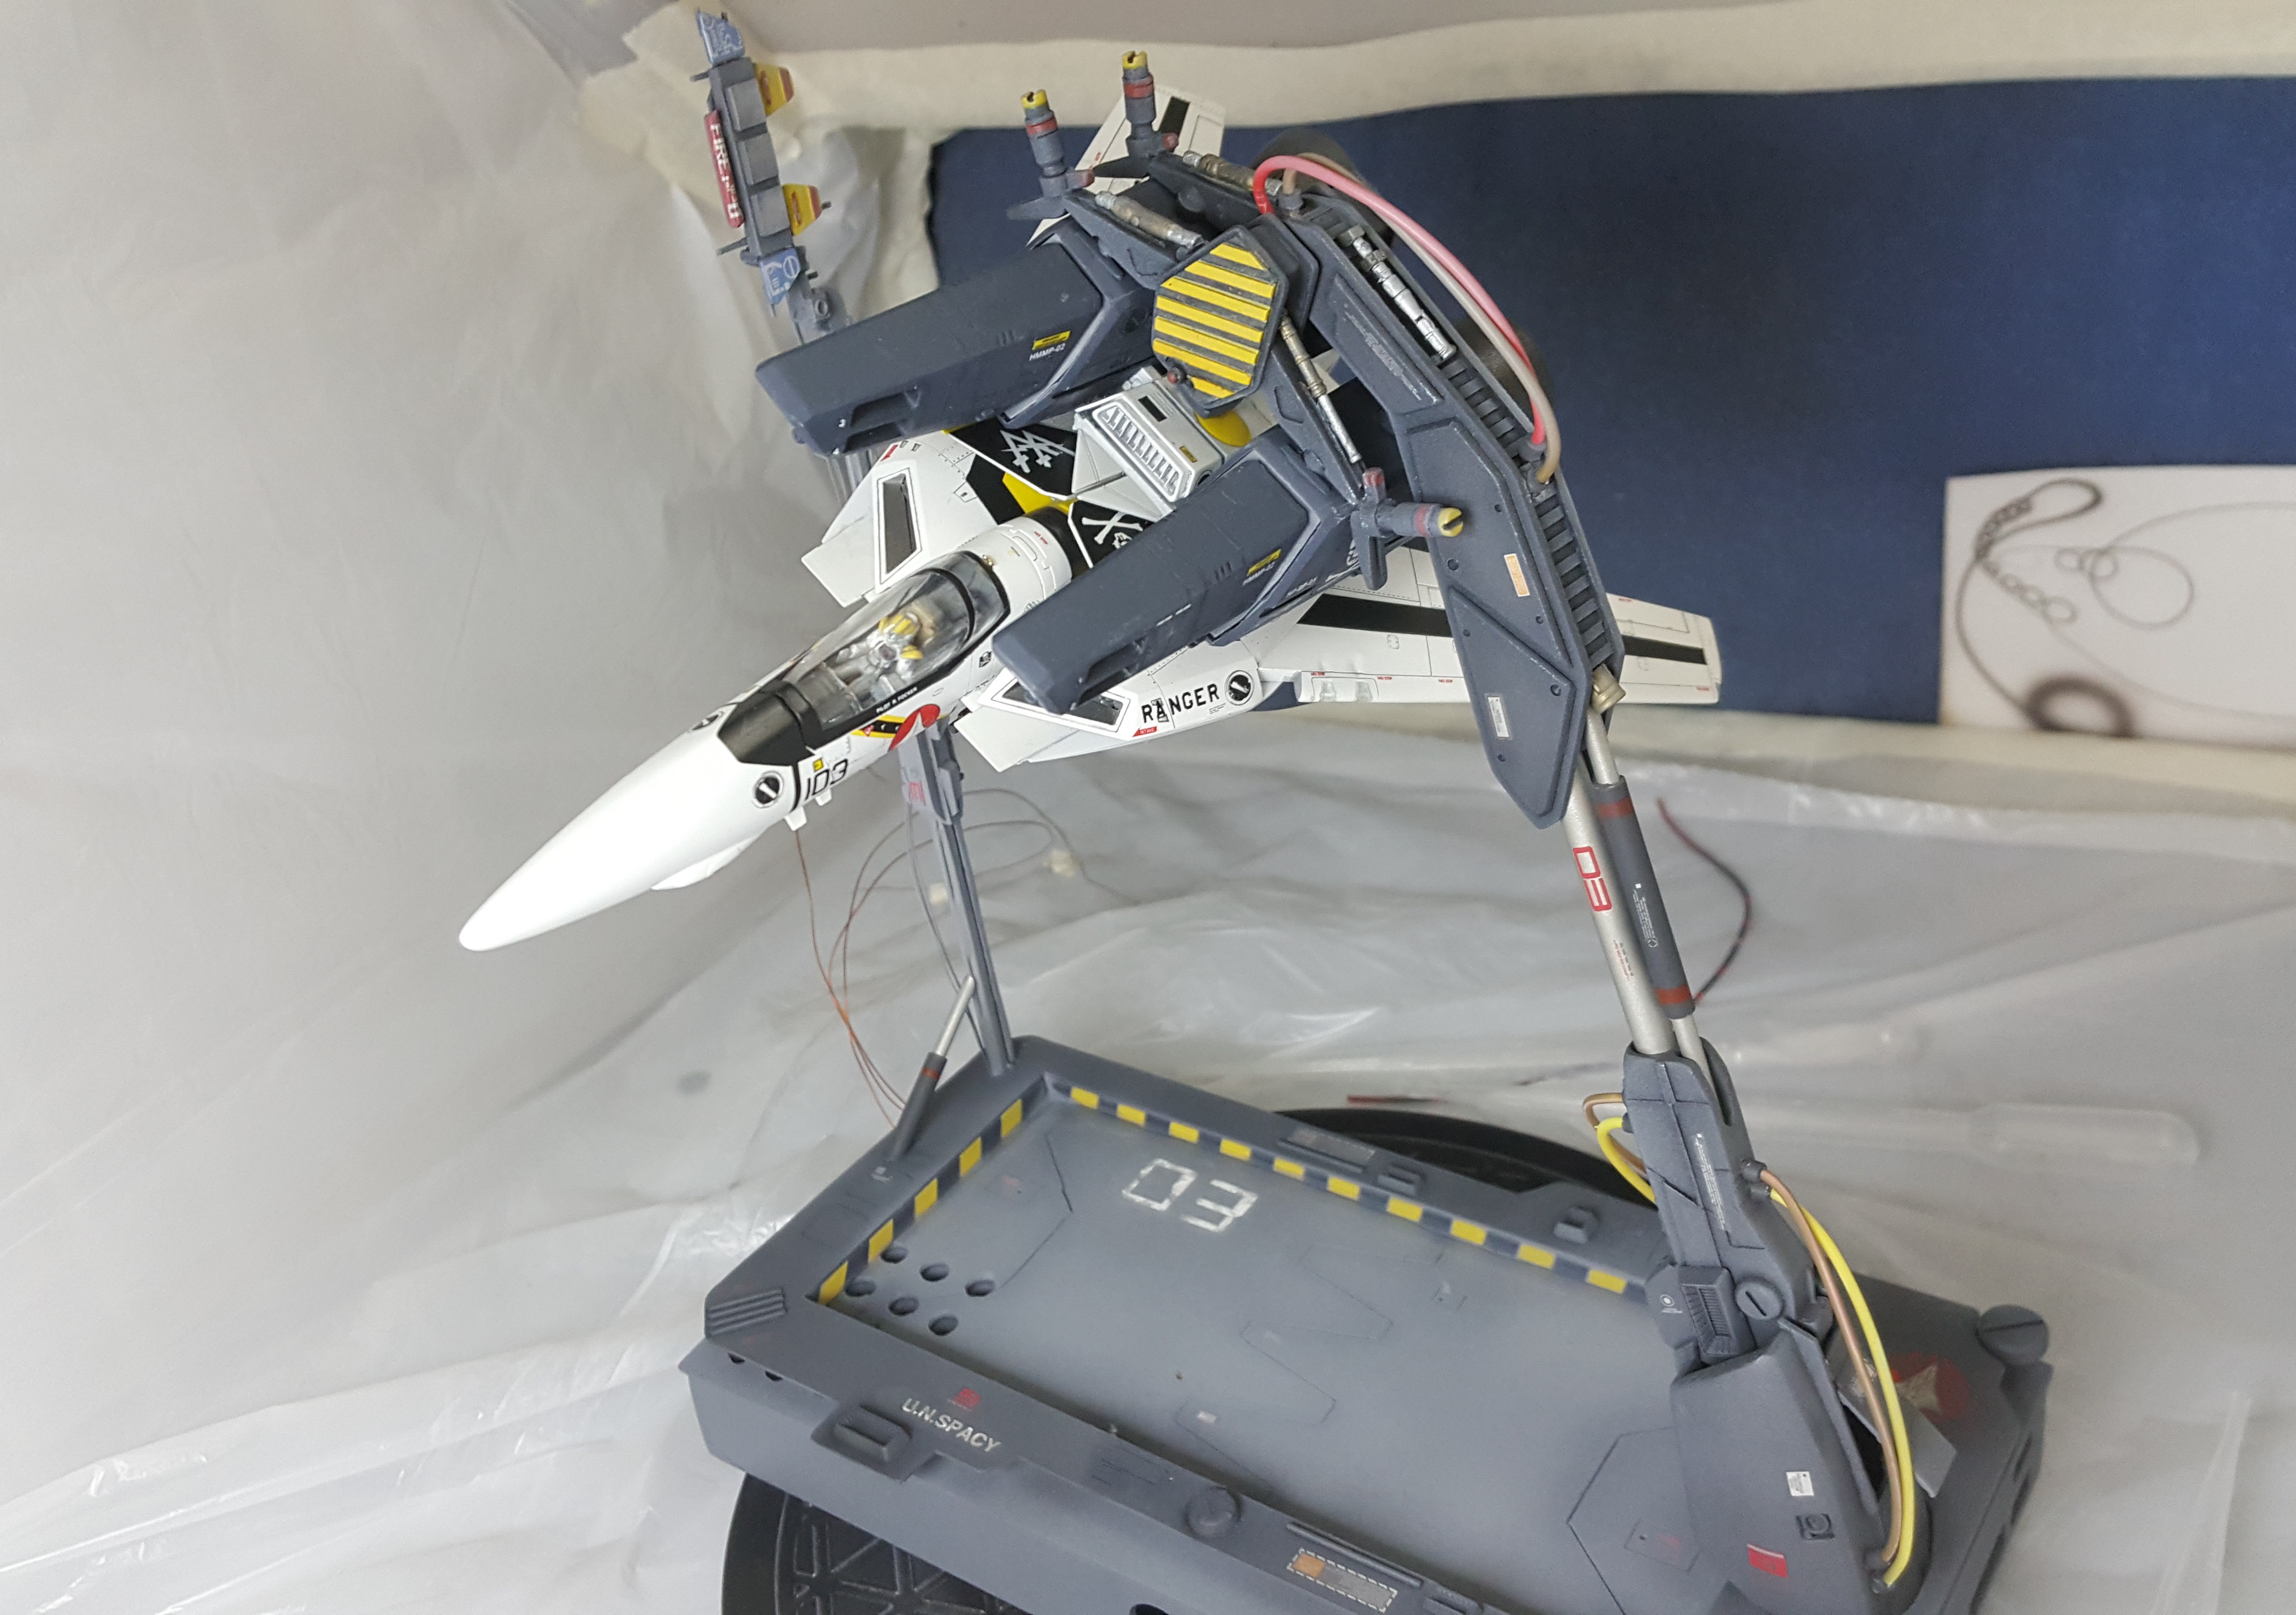
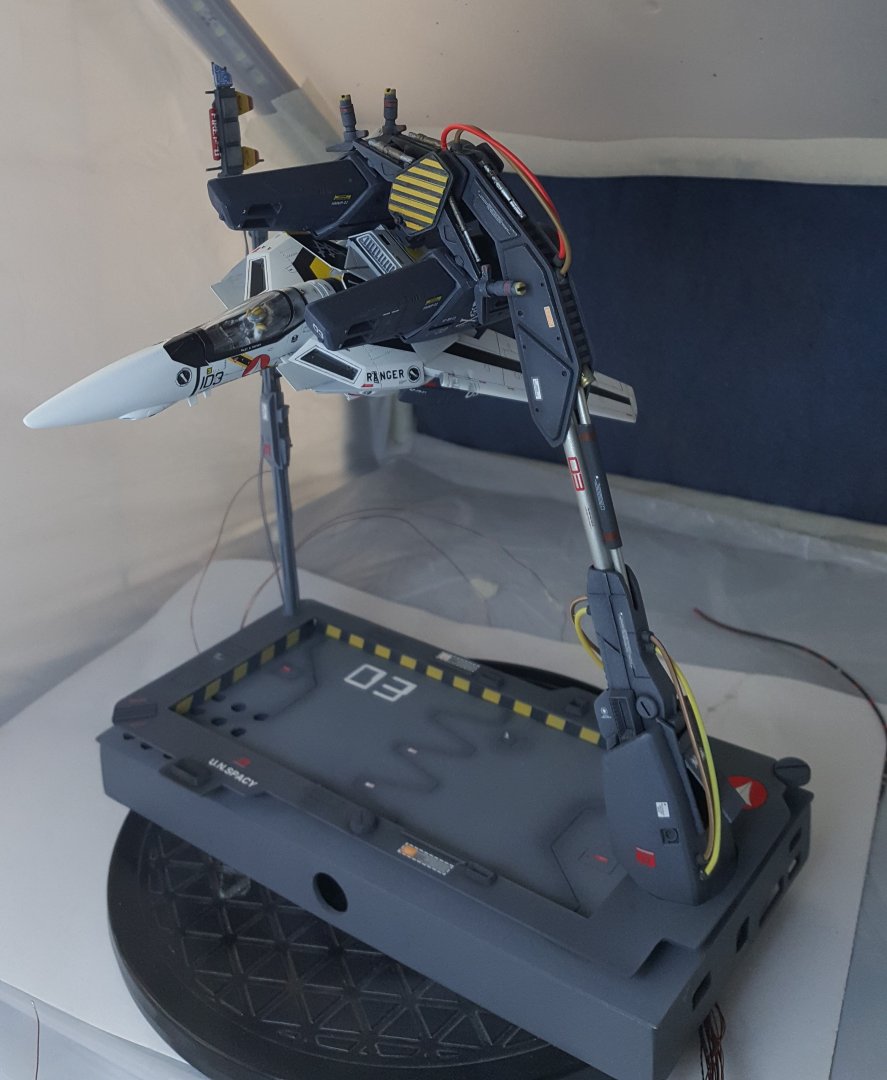
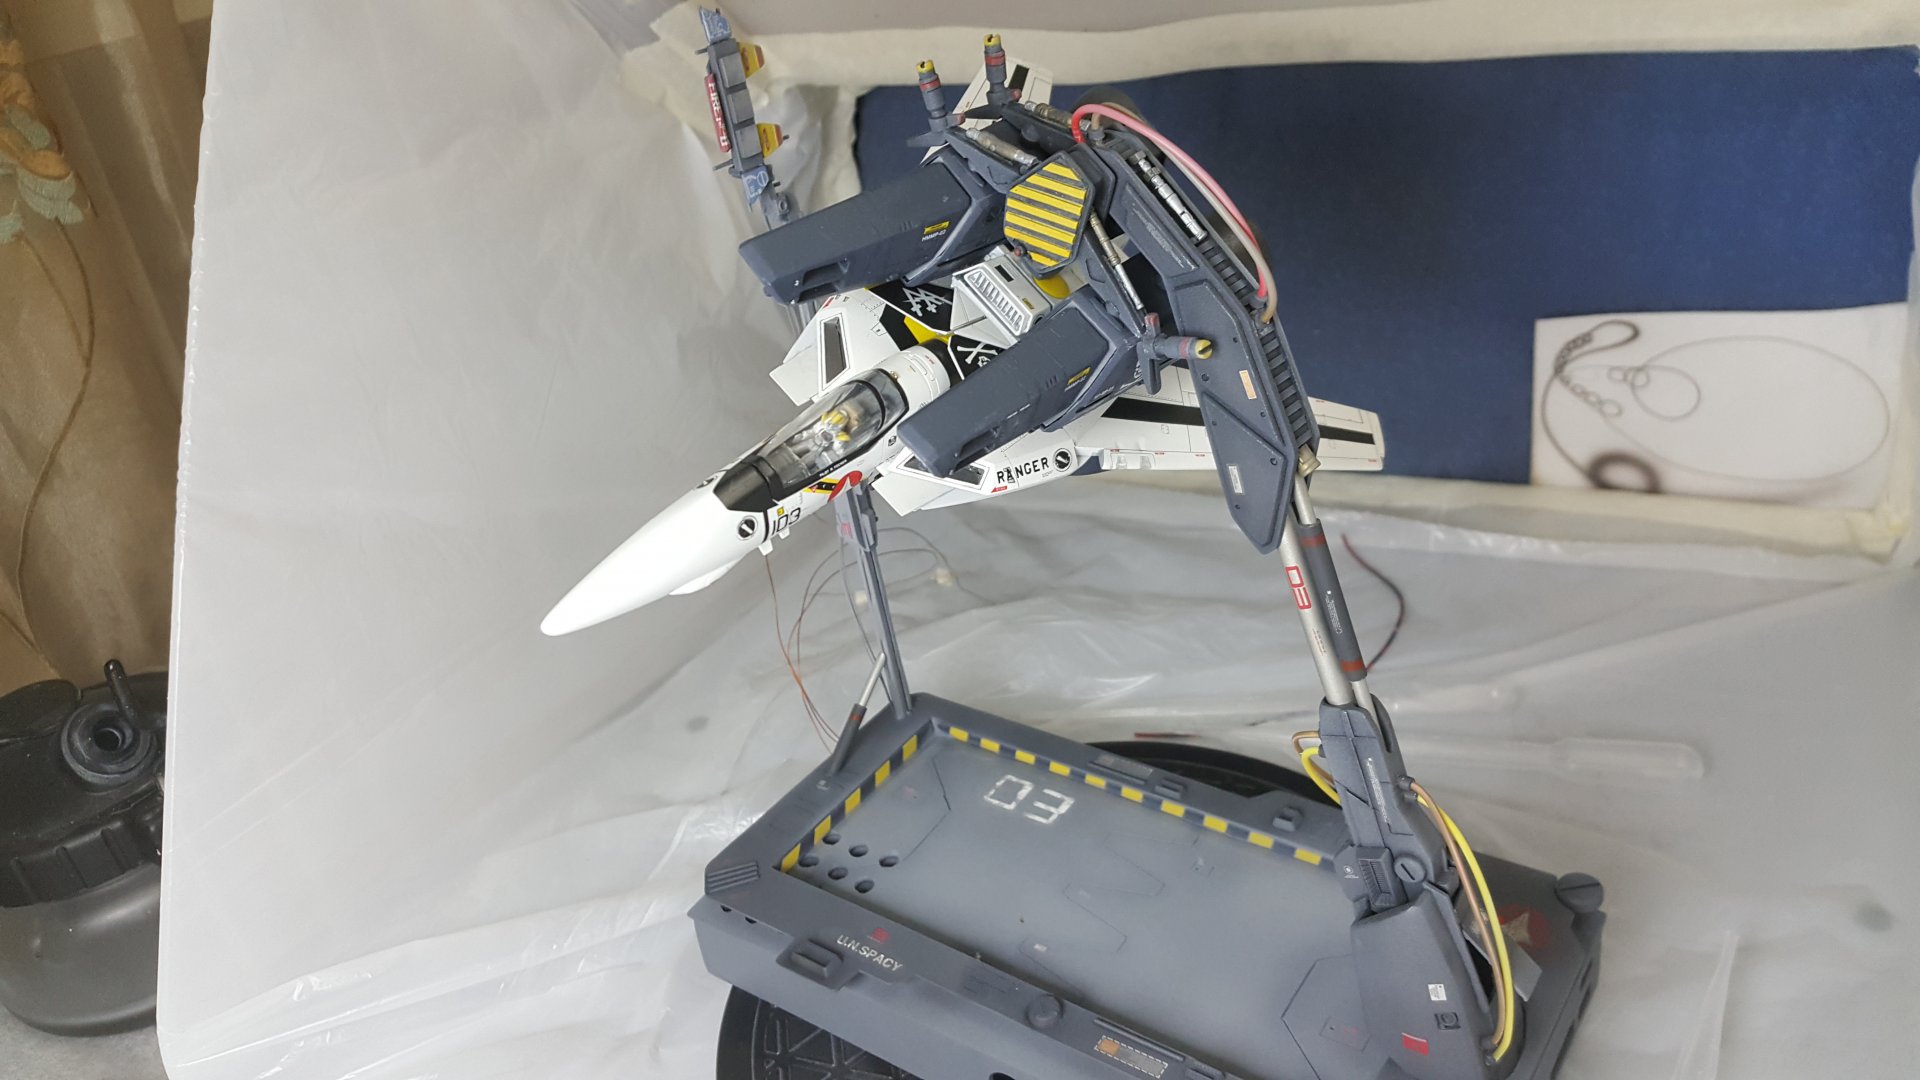
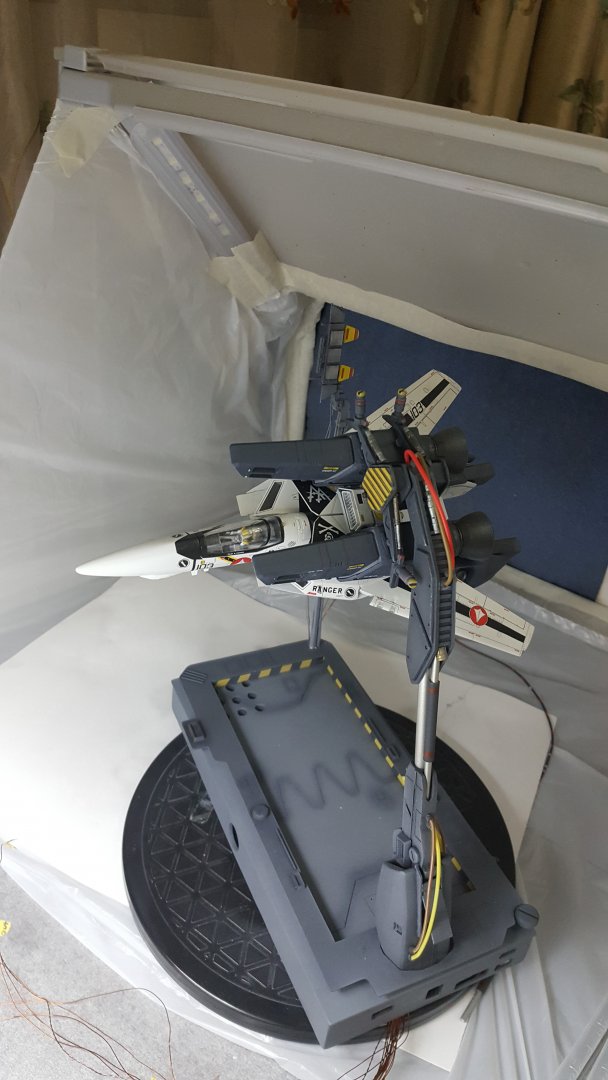
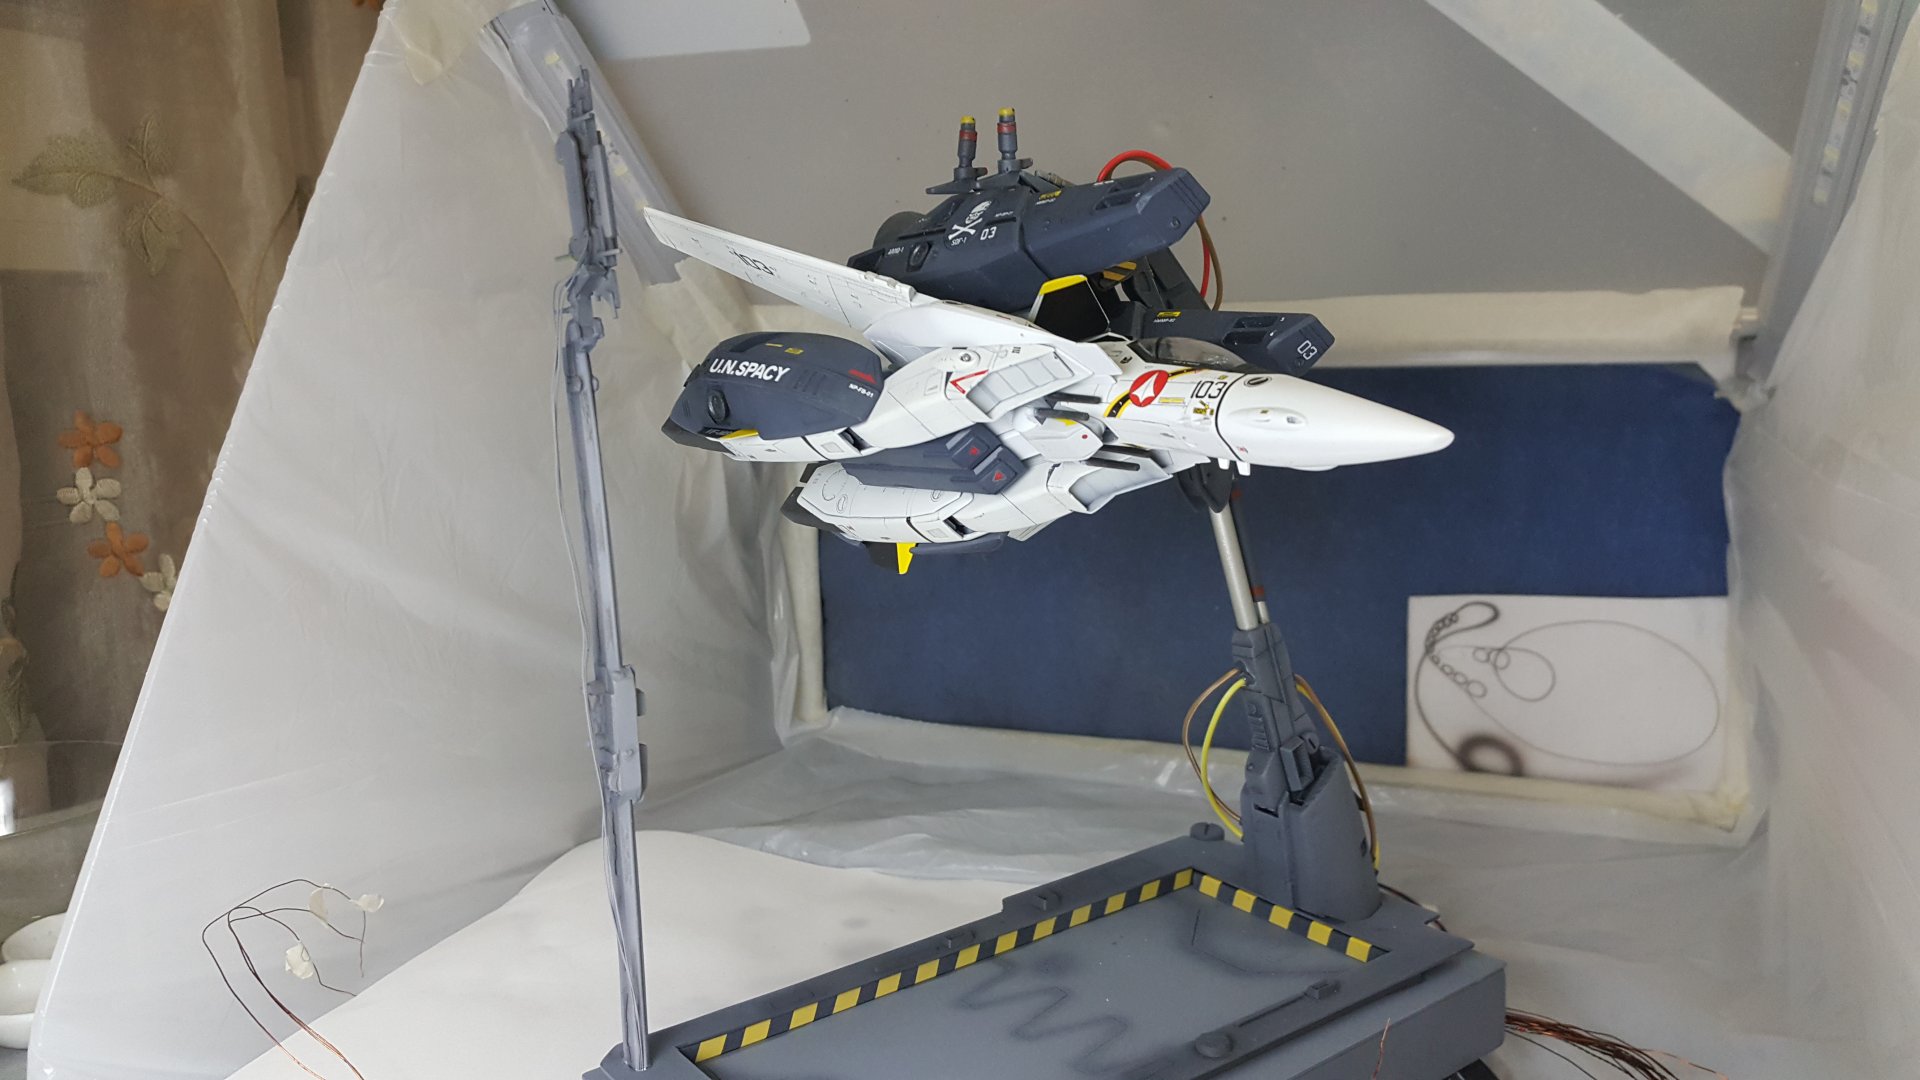
And she's up!


-
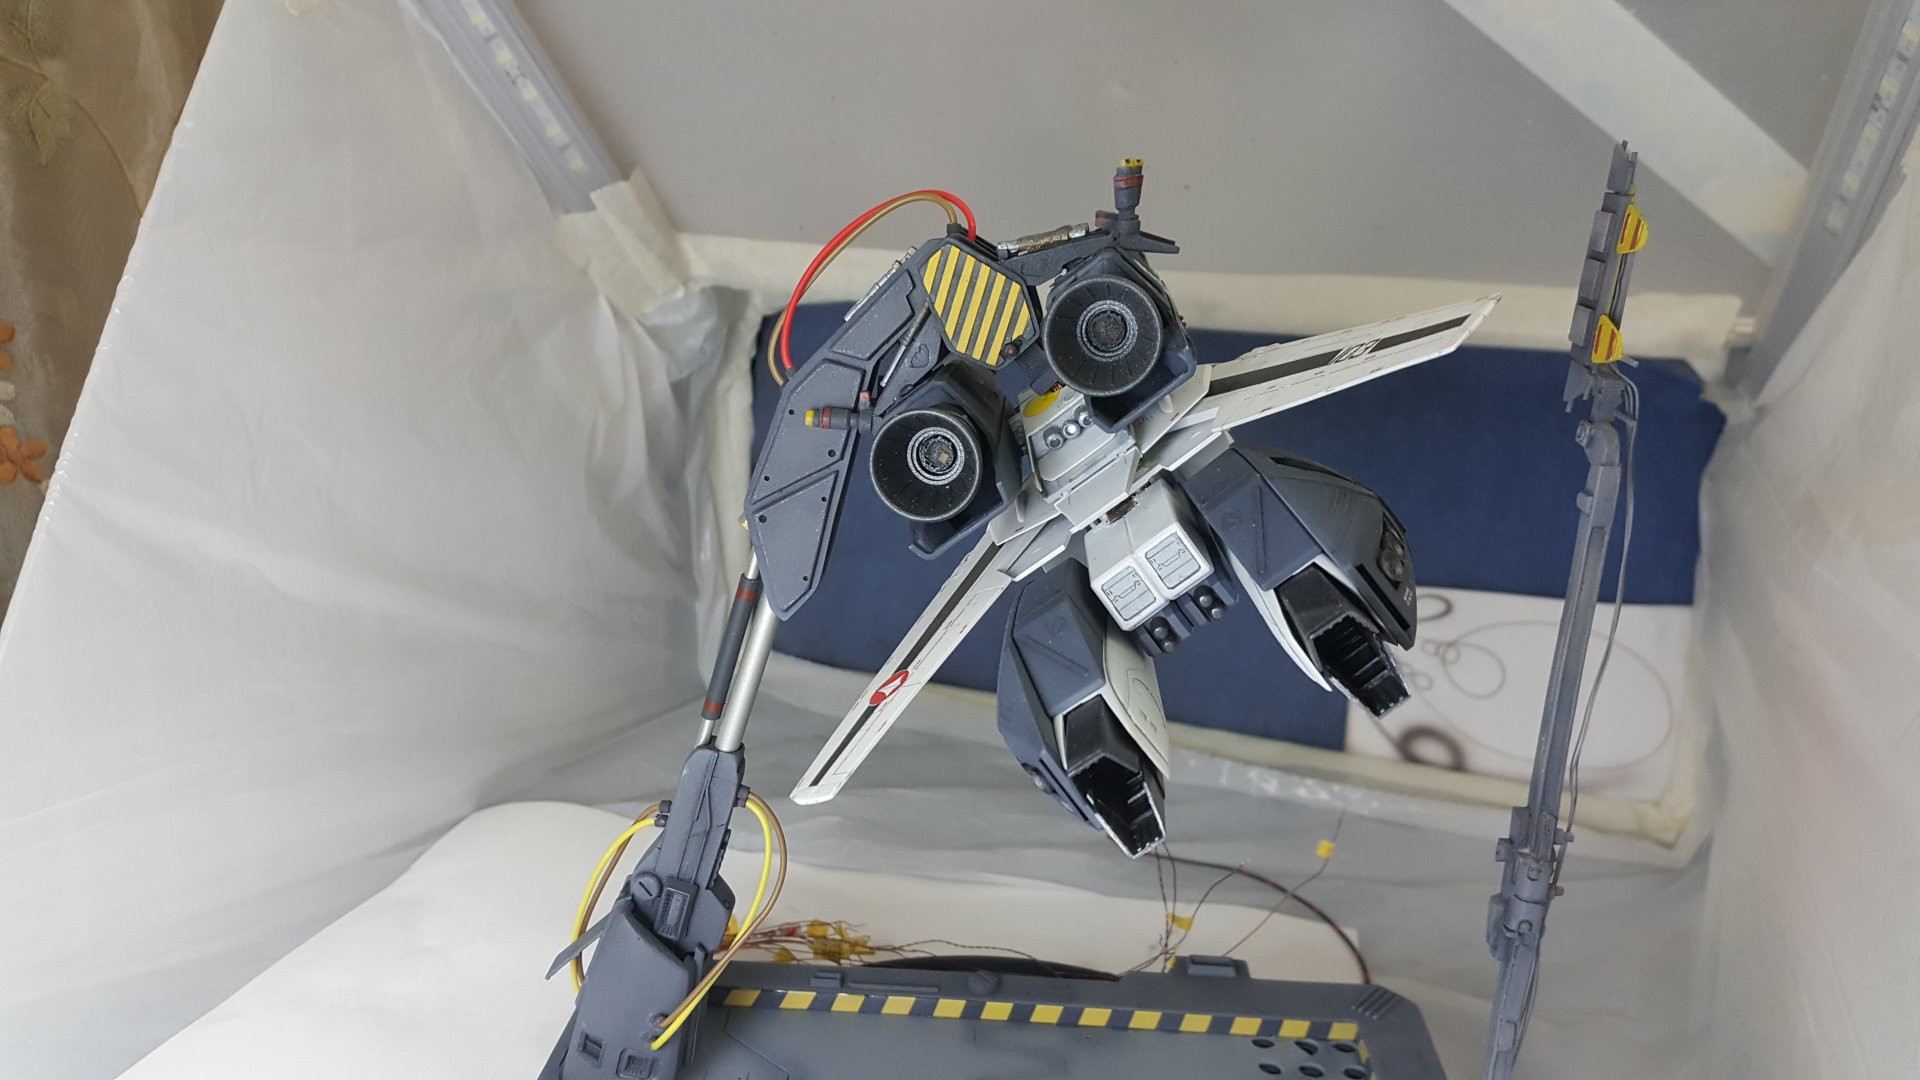
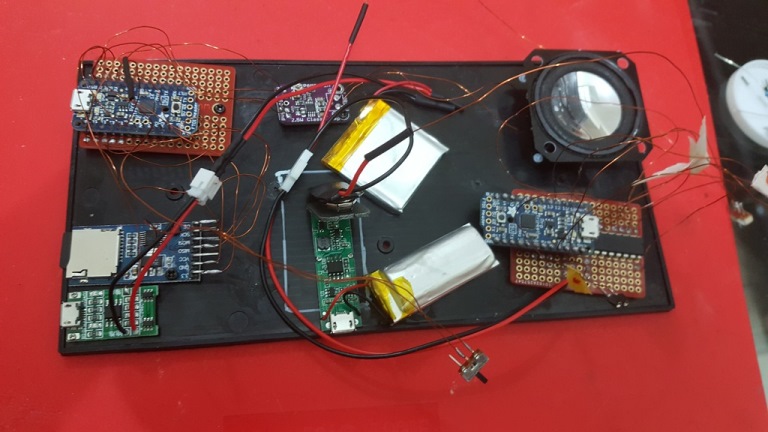
Preparing the electronics in the base, and threading the wires one by one. That is two Trinkets, one for the lights and sounds, and one dedicated to the motor. There is a motor driver IC, an amp, a speaker, two LiPo's and LiPo chargers, and an SD card. If you replace the Trinkets with Arduino Micros, this whole set up costs less than USD 20, with most of the cost going to the batteries. Most importantly, anyone, and I mean anyone, can manage the Arduino. So let me know if you are interested.
-
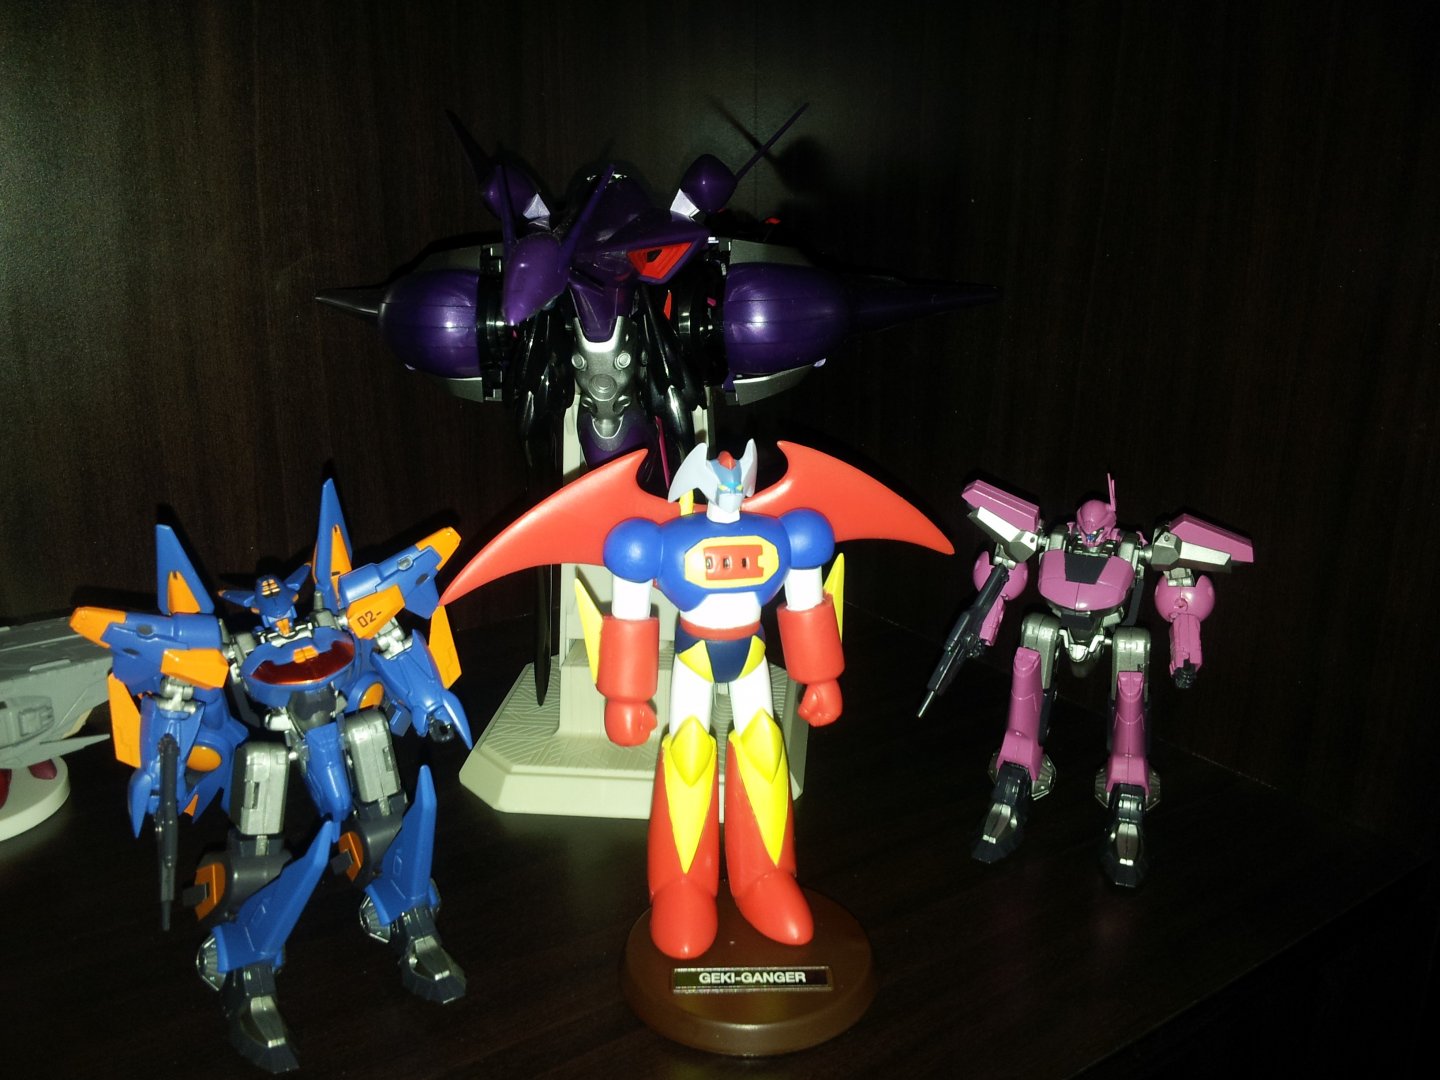
Looking forward to see how you paint that LED Gundam. And Nadesico? I too kind of want that.
-
MLP rocks. Cant mess with that. My girls would kill me.
-
Google search tells me you have April Fools in New Zealand.
-
I've decided its time to quit Macross modeling and switch over to Transformers, because Jetfire is cooler.
-
You recommended PMMA fiber a few years back. That's all I use. Give it a go. But I did't see it working, so I didn't try it with this project.
-
Here's a project concept for you. Rising platform, opening wings, rotating platform, rising catapult, and engine burn. Flying optional...
-
Here is my approach, I learned it the hard way: Use desk magnifier. Never touch the iron to the SMT. Clamp the SMT with a bench vise gently, BUT clamp only on the plastic side, not on the pads, or they will be damaged. I use rosen core and put a blob on the end of my wire by heating 5mm away from the end. Bend the wire to prep final position. Apply heat ONLY to the blob of solder really quick and you usually get a good connection. I destroyed many SMTs at first, but since then I have been all good.