

Hervé
-
Posts
114 -
Joined
-
Last visited
Content Type
Profiles
Forums
Events
Gallery
Posts posted by Hervé
-
-
Hello,My Minerva is now ready for painting. The building was quite unpleasant : lot of gaps to fill, heavy sanding, and I had to rebuild with plastic card a part of the thrusters, due to a bad casting. But I am quite happy with it now :


 Regards,.
-
Hello chyll2,
the big issue is that the clear parts dedicated for the wings just do not fit on their emplacement...
-

Hello,
few pics of my X-47, and the buiding of the tail hook and her housing :


-
Hello,
I have recently received the 1/500 Takara kit of the Minerva. It seems to be a original issue from 1985 (with the small glue tube inside). Decals are a little bit yellow, but it ca, be fixed easily. Few pics :


 Regards,
 -
There's another thread on here about Crusher Joe, you should use the search function to find it.

http://www.macrossworld.com/mwf/index.php?showtopic=21944&hl=
You're right, sorry for this "not so useful" topic !

And thank you mechaninac for the links.
regards,
-
Hello,
I have discovered this anime a couple of days before, do you know it ? I have found very few informartions on the web about it. In fact, I have first seen the hero's personel starship "Minerva" (that I have bought and ordered immediatly - cool design isn't it
 ?) :
?) :
A great build of the kit here : http://www.gemini555.com/takara-minerva.html
If you have any good links about the anime and/or details about the Minerva, I would appreciate it.
Merry Christmas !
PS : if an admin could edit the topic name : "Crusher Joe and space ship Minerva ?
-
Protecting the air intakes with pieces pf tamiya tape :
 Fins :
 And the boring stuff I have nearly forgotten to do : the clear parts :


-
Hello !Last things to do before the painting : glue the vertical fins on the legs, and protect the cockpit and the intakes with tape and paper :
 Few pics :


 Thanks for reading me.
 -
And after seeing the Holy Grail picture, I thought the box was going to contain the "Holy Hand Grenade Of Antioch."
Unfortunately, nothing but an heavy load of resin.


-
MKII Monster? Maybe those are the gun barrels we see on top?
MKII Monster was my 1st thought, those are some big cannon barrels!

Yes : 1/72 Monster ! Big cannon barrels is the clue...
This one is coming from e2046.com (designed by Kitspower http://kitspower.com)
-
 IT has arrived today (my own christmas present made to me by myself) :


-
Hello,
in order to breathe a little bit from the Hasegawa VF-1A building, I have started that :
The first UCAV to pancake and to be launched on/from a carrier (july 2013, CVN Bush)a kit review here : http://www.cybermodeler.com/hobby/kits/platz/kit_platz_ac7.shtmlFew parts, and it seems that the fittings are "lego like" :

-
Here's a suggestion to you for your next VF-1 build. Remove the mirror parts from the cockpit display decal, and apply a little silver paint to that area. Looks better, and you don't have to worry anymore about getting those tiny bits to line up correctly.
You're right Jefuemon,
I'm going to re paint the mirror partts. Thanks !
-
Hello,
as said previously, a small update... the buiding is nearly over. Few things to finished before starting the painting..;
The cockpit is ready to received the ejection seat :

Several Alclad lacquers have been used for exhaust, before clossing half parts of the legs. I have to say that I am a little disapointed by the very bad fitting of those parts !

The head hase been updated, with the change of the cannon, by using a micro tube section :

An overview of the parts wating to be glued together :

Thanks for reading me,
see ya !
-
Sadly not, even in spanish... sorry.

Damned ! I have found a (good) recast of the Club-M kit... and I have to find a step step wip !
magnifique
I love WIP threads. Looking good, that a photoetched piece or styrine to block the wing opening?
Thanks ! it is photoetched, from Hasegawa set.
See you soon for a small update.
-
Hello, a part a 1/72 Hasegawa VF-1A, here is the two other "in progress" kits :

AMT A-Wing


A (very bad) "thai" 1/6 PVC Priss, from Bubblegum crisis
-
Hello,
I don't know if it will be useful, but here is the reference for this hasegawa kit :
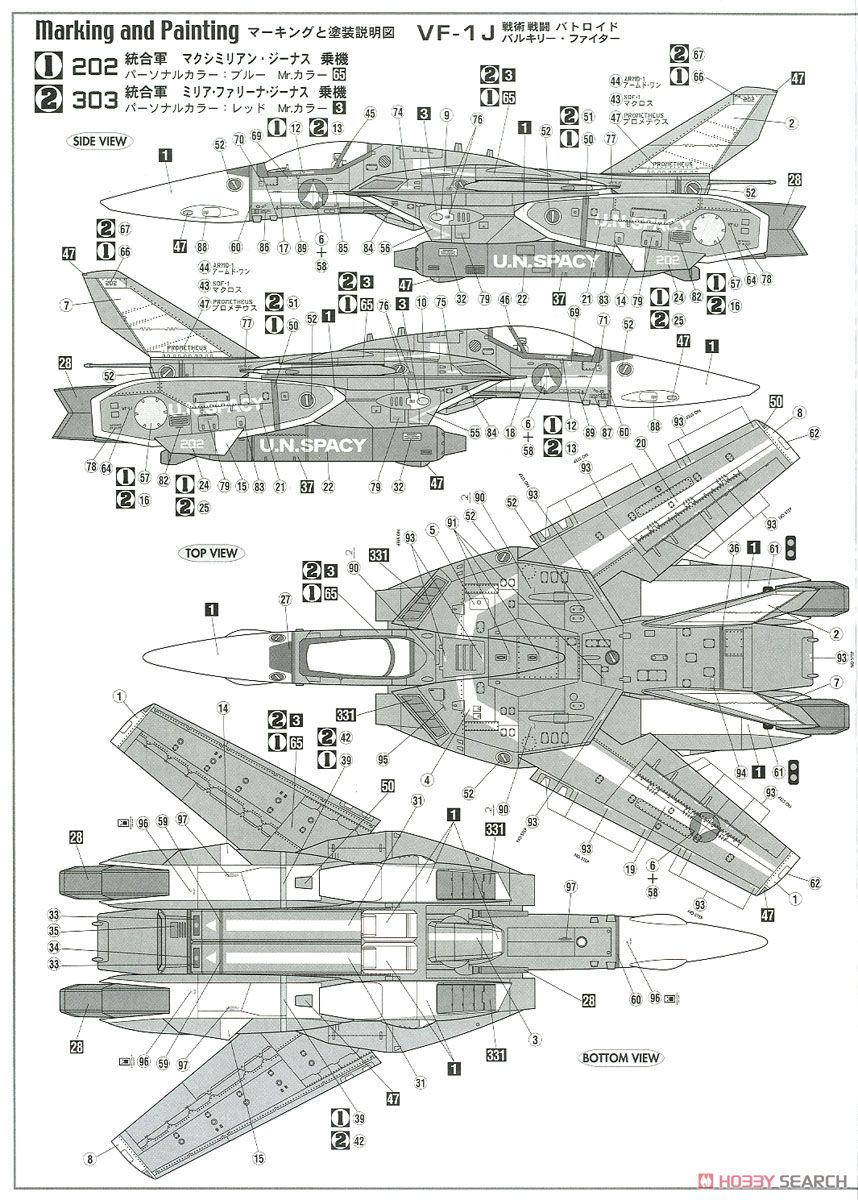

regards,
-
Thanks !Great advances, please post more!
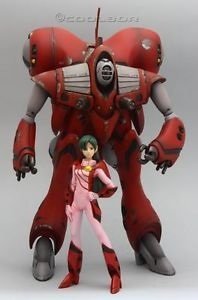
Nothing to do with it, but do you have a link towards your superb 1/72 Miria's Queadluun Rau building ?
-
Very interesting topic, many thanks for all thé pics and explanations !
-
Hello,
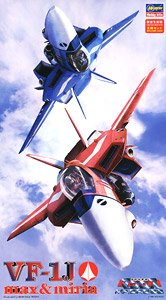
few pics of my new building, a VF-1A Valkyrie.
The box art :

Building will be quite simple, only few updates thanks to parts taken from this :

No main issues for the building till now :

More work to come on the desk :

Wings will be set in open mode :

Let's have a quick look :

It seems that it looks like a Valkyrie uuuh ?
the paint will be probably a us navy inspired, with a heavy weathered grey camo.
Thanks for reading me.
-
Hello,
Here is new topic about the QF-3000E Ghost Fighter, a resin kit from Neptune Models.

Starting by the intakes, that look quite bad :

Cutting everything, and doing it again with plastic card :


And soon it seems to look like to... uuuh an UAV :


Next step : painting !
Thanks for reading me.
-
Hello,
Thank you all for the comments. After a (quite long) break, here is some pics of this tomcat :
Lot of time sanding and re-scribing the panel lines :

The fuselage is more or less done, with the adjustment of the beaver tail :


Thanks for reading me.
-
Hello,
still looking for this kit !
Thanks for reading me.
-
Hello,
still looking for this kit.
Regards,


Crusher Joe
in Anime or Science Fiction
Posted · Edited by Hervé
Thanks !
Building is now over... painting time !